Recitation 4
Process and Results
Step 1: Built the circuit
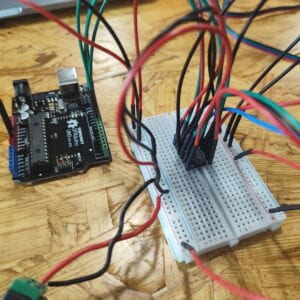
Due to The COVID lockdown, I was not able to attend the recitation section last Friday, so I built the artifact alone. The circuit is a bit complicated though, as long as I strictly followed the graph given by the instruction, I can build it. One extremely important thing I’ve learnt from this circuit is that I can’t connect an outer power to the main circuit because it caused the short circuit and burnt my Arduino Board. Unfortunately, my own Arduino Board was broken, but fortunately, My computer still functioned well because of the use of USB protector. Also, when the circuit turned normal, the code could work too. Then I can see the DC motor turning fast.

Step 2: Build a cardboard mechanism
This part was relatively easy but took much time. I got a graph and a cardboard from my professor, then I started cutting it using the exact size the graph showed me. There were about ten pieces and I cut all of them in an hour. After cutting off all the pieces, I heated the hot glue gun and stick the structure together and put the motor in and it eventually worked.
Step 3: Personalize it
I made a dancing figure who is doing the translation movement. I sticked the figure one one side of the mechanism and used the motor to complete the dance move. Since the movement is quite fast, I change the speed of the motor that could make it turn faster and make the dancing move more vivid.
Additional Questions
Question 1:
Question 2:
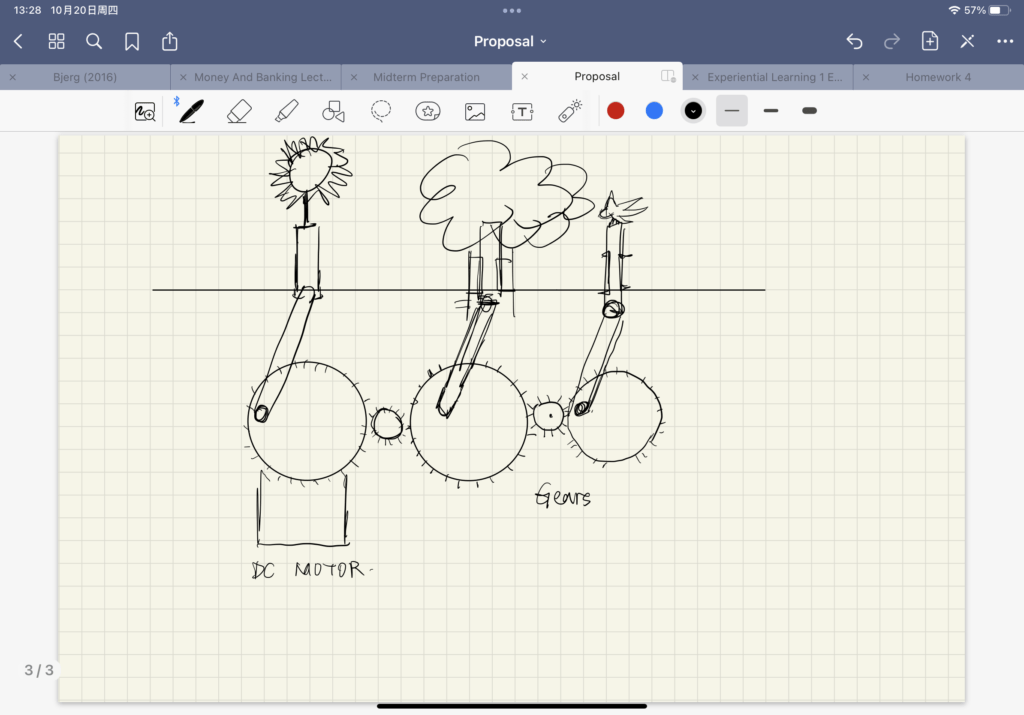
I’m planning to use slider-crank mechanism and gears in my midterm project. The slider-crank mechanism can lift or descend objects, which help me show real time animation to tell a short story or displaying signs. The user don’t see the animation inside a screen but real objects moving. I consider this form of animation more interactive. The gears can connect separated mechanism together and saves the number of motors.

