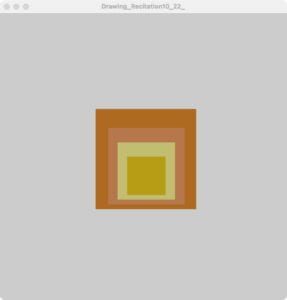
Step 1: My motif

Step 2: Draw my image in Processing

size(600, 600);
noStroke();
fill(175,106,33);
rect(200, 200, 210, 210);
noStroke();
fill(182,119,77);
rect(226, 240, 160, 160);
noStroke();
fill(#C1BD71);//fill(211,203,109);
rect(246, 270, 120, 120);
noStroke();
fill(182,157,21);
rect(266, 300, 80, 80);
Step 3: Documentation
This is my first attempt to learn processing knowledge, and the image I choose can be applied to all the knowledge I have learned. This image was taken from the teacher’s suggested sources. The first thing you see is a couple of squares, rect(); Write down where you want it and the size of the square. Then the more complicated it was to choose the color, I asked the teacher for help. She taught me how to use RGB, HSB, and HEX to express myself, and I decided on RGB this time to get a better color. The only difference between the final product and the photo is that the image has a kind of oil painting material, which I haven’t learned yet. I hope I can learn more formulas and apply them in the following learning process. If I can skillfully use processing painting, I can draw works close to the real world.
Leave a Reply