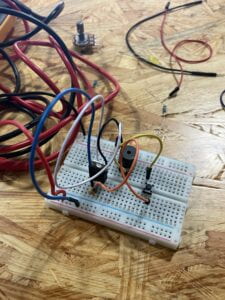
Circuit 1: Door Bell


This is my first experience in the Interaction Lab!!! I was so excited about it. Sherry and I didn’t make it work in the beginning. After the professor’s help, we made it work. The main process of this circuit is to make it a doorbell that could sound. There is one moment that we were putting the output on the side of input, we solve this problem step by step.
Circuit 2: Lamp
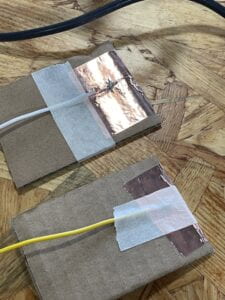
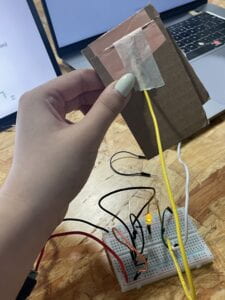
When we finish the first activity successfully, we were asked to switch the switches. We learned how to solder and solder long wires to an arcade button. Then we used this switch as our new switch for the lamp. It was easier than the first circuit. The LED turns on when the switch touch.
Circuit 3: Dimmable Lamp
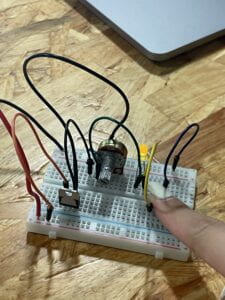
We get the processes of the circuit to become faster. In this circuit, we just need to add R2 10kΩ from the last one. It also works when we change the switch back to the original one. I could see a huge difference by looking at the picture of the second circuit.
Question 1: After reading The Art of Interactive Design, in what way do you think that the circuits you built today include interactivity? Please explain your answer.
I think the switch we create for the circuits makes it interactive with people after reading The Art of Interactive Design. People could press the switch to control the whole circuit in the way they like it to be.
Question 2: How can Interaction Design and Physical Computing be used to create Interactive Art? You can reference Zack Lieberman’s video or any other artists that you know.
Physical Computing could make a lot of things moving and Interactive Art needs it. I know an artist called Jamie Zigelbaum, he made an interactive lighting installation by using LEDs, Electronics, Software. The pixel-tiles change their color in response to touch.


