2. Crafting
DAy 1
Due to our lack of experience in cardboard cutting and building skills, Maggie and I attended Professor Andy Garcia’s Cardboard Workshop, during which we learned basic cardboard cutting, shaping, and gluing techniques. We scheduled our group meetings on Tuesday (Feb 21) and Thursday (Feb 23) evenings, so we started to work on our “Carnival Mirror” right afterward with the newly acquired skills. We did the following steps:
-
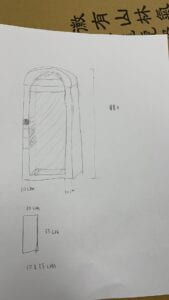
- Grabbing the huge cardboard, we felt hard to handle with them. I drew a sketch of it, as we briefly discussed in our last meeting. I marked the length (1800mm) and width (600mm) of the mirror (which then turned out to be too large because it was hard to find a complete piece of that size that we could use).
- Our second challenge was figuring out how to support our mirror – to make it stand. We came up with the idea of making little rolls and sticking them together as the mirror frame. Thus, the mirror would have its “thickness.” The rolls also had a decorative effect because they looked nice with textures from a distance.
- Moreover, we decided to add an arc top for the mirror.
Next, we put all our theories into practice, and started building the prototype mirror.
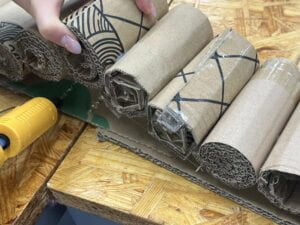
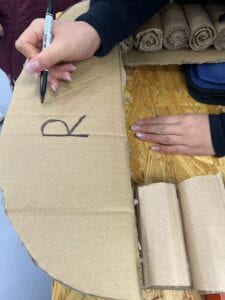
We divided our tasks: Aidan and I mainly cut the cardboard, and Michelle and Maggie bent the rolls and stuck them with glue guns; Sean was responsible for the arc top. After spending hours cutting and sticking rolls, we assembled several thin hard cardboard pieces along the frame to support the mirror.
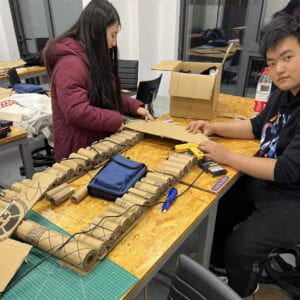
At the end of the day, a mirror was taking shape.
DAy 2
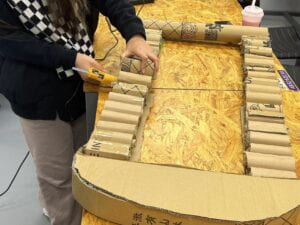
On Thursday (Feb 23), when Sean brought the mirror back to our “studio” from his room, we found big problems: 1. the mirror is somewhat broken because some connections between the rolls were loose 2. the mirror cannot stand on its own. Regarding the two problems:
-
-
- We fixed all the rolls and glued them back together, which consumed much time!
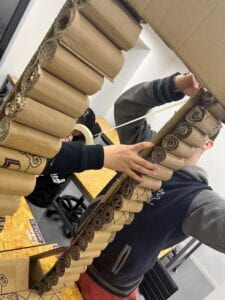
- The Paper Tape Saved Us
-
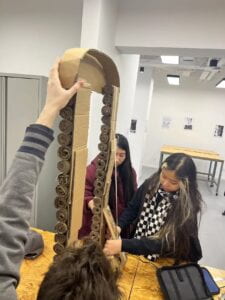
Yeah, It Worked! - We thought of different ideas to make the mirror stand including: add iron sticks from my shoe shelves (❌ could be too heavy for the mirror because that would add additional weight to the structure); glue thicker cardboard on the frame (❌ couldn’t find any extra cardboards and it was heavy too); try pulling the top and bottom tightly with a string (⭕️ by genius Aidan). Connecting the arc top part of the mirror to its base is like a suspension bridge, where the force (gravity + friction + pressure) is evenly distributed among different parts of the mirror/bridge. We asked around and sent a help post in the group chat; however, no one had a string. Then I suggested we try with the tape first. The first time we tried the black insulation tape, it did not work due to a lack of stickiness. The second time we applied the paper tape, and very surprisingly, it worked! We wrapped multiple layers to reinforce its adhesion.
“MIRROR” 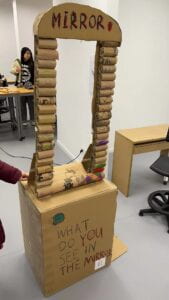
Done! Finally, here came the most relaxing and exciting part: decoration! We all left our special marks and colorful paints on the mirror. I wrote “MIRROR” on the mirror so the audience would know this is a mirror; some scary words were written on its base; Michelle drew a button for function transitioning.
- We fixed all the rolls and glued them back together, which consumed much time!
-
One thought on “Carnival Mirror – Group Research Project”