Recitation – 11/25 – Digital Fabrication
Step 1 – Design
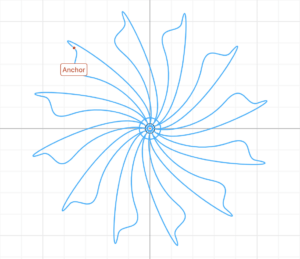
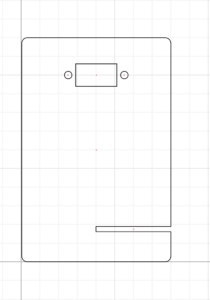
Our first step in this recitation was to design the pieces of our final product using cuttle, a CAD software that allows us to use vectors to laser cut stuff. I designed the moving part of our project, while my lab partner, Kenny, designed the static part. Together, we also designed to stand for our final project. Here are pictures of our designs on cuttle!


Step 2 – Laser Cut
After having our design approved and ready for laser cutting, we went to 823, where Andy helped us load the documents onto the machine. Here’s a timelapse video of our pieces (and an additional two pieces belonging to the pair after us) being cut!
Step 3 – Assemble
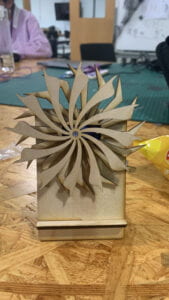
After carefully removing our pieces from the wood, we assembled everything together with a servo motor and ran some code. Here is a picture of the finished product!

And here’s a video of our project in action!
