15/11/2022
In this Recitation, we mainly learned the interactive project of using Processing and Arduino to carry out music and light strips. I think this recitation helped me understand the possible interaction between Processing and Arduino, which is a very beneficial attempt.
Step 1:
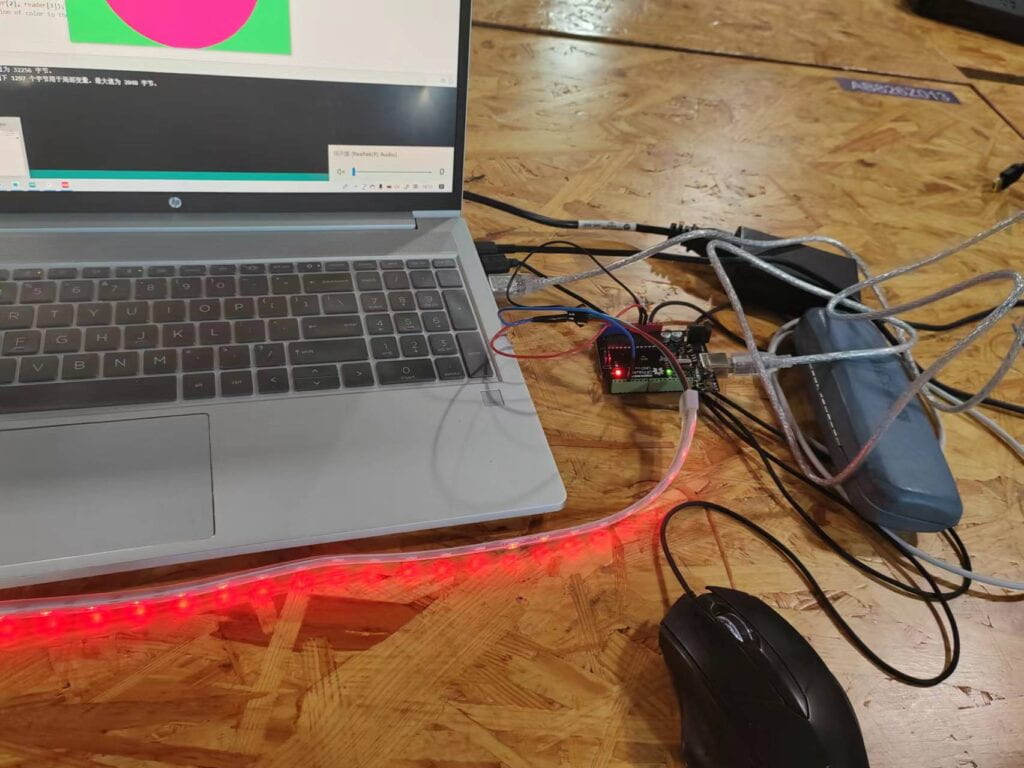
Task 1 is relatively simple, and I quickly completed the installation of the library and the construction of the circuit under the instructions. In Task 2, I also quickly finished lighting the NeoPixels.
Here is my working record:

Step 2:
In task3, I went well at first, and quickly completed the song analysis program, but when the step entered the combination of Processing and Arduino to analyze the songs I chose, and was asked to make innovations, I encountered two problems , the first is that the program cannot run after chimera, which was solved when the teaching assistant instructed me to re-embed it step by step; the second is the NullpointerException I found after class, and after asking the professor, I found that it was because the name in the program was still pointing to the original music file, and when I replaced the file, the problem went away.
The innovation I have made is mainly to design a corresponding light strip according to the tone. When the tone changes in the four ranges I set from low to high, the light strip will give four different lights according to these four ranges. Variations, meanwhile, I chose “Cruel Angel’s Program of Action” as the sample song because I was so impressed with it and Eva, who used it as the theme song.
Here is the result of step 4 in task 2:
And here is my code in Processing:
import processing.sound.*;

SoundFile sample;
Amplitude analysis;
import processing.serial.*;
import osteele.processing.SerialRecord.*;

Serial serialPort;
SerialRecord serialRecord;

int W; //width of the tiles
int NUM = 60; //amount of pixels
int[] r = new int[NUM]; //red of each tile
int[] g = new int[NUM]; //red of each tile
int[] b = new int[NUM]; //red of each tile
boolean wasLoud;

void setup() {
size(640, 480);
W = width/NUM;


// You can use this syntax and change COM3 for your serial port
// printArray(Serial.list());
// serialPort = new Serial(this, "COM3", 9600);
// in MacOS it looks like "/dev/cu.usbmodem1101"
//or you can try to use this instead:

String serialPortName = SerialUtils.findArduinoPort();
serialPort = new Serial(this, serialPortName, 9600);
serialRecord = new SerialRecord(this, serialPort, 4);
serialRecord.logToCanvas(false);
rectMode(CENTER);
// load and play a sound file in a loop
sample = new SoundFile(this, "cg.aiff");
sample.loop();

// create the Amplitude analysis object
analysis = new Amplitude(this);
// analyze the playing sound file
analysis.input(sample);
}

void draw() {
println(analysis.analyze());
background(125, 255, 125);
noStroke();
fill(255, 0, 150);
for (int i=0; i<NUM; i ++) {
//fill(r[i], g[i], b[i]);
//rect(i * W + W/2, height/2, 10, 10);
}
// analyze the audio for its volume level
float volume = analysis.analyze();

// volume is a number between 0.0 and 1.0
// map the volume value to a useful scale
float diameter = map(volume, 0, 1, 0, width);
// draw a circle based on the microphone amplitude (volume)
circle(width/2, height/2, diameter);
int n = floor(constrain(map(volume, 0, 1, 0, 60), 0, NUM-1));

r[n] = floor(random(255));
g[n] = floor(random(255));
b[n] = floor(random(255));
if (volume > 0.6) {
wasLoud=true;
for (int i=0; i < 59; i++) {
serialRecord.values[0] = i; // which pixel we change (0-59)
serialRecord.values[1] = 255; // how much red (0-255)
serialRecord.values[2] = 0; // how much green (0-255)
serialRecord.values[3] = 0; // how much blue (0-255)
serialRecord.send(); // send it!
}
} else if(volume>0.4 && volume<0.6){
wasLoud=true;
for (int i=0; i < 59; i++) {
serialRecord.values[0] = i; // which pixel we change (0-59)
serialRecord.values[1] = 245; // how much red (0-255)
serialRecord.values[2] = 150; // how much green (0-255)
serialRecord.values[3] = 20; // how much blue (0-255)
serialRecord.send(); // send it!
}
}
else if(volume>0.2 && volume<0.4){
wasLoud=true;
for (int i=0; i < 59; i++){
serialRecord.values[0] = i; // which pixel we change (0-59)
serialRecord.values[1] = 145; // how much red (0-255)
serialRecord.values[2] = 90; // how much green (0-255)
serialRecord.values[3] = 99; // how much blue (0-255)
serialRecord.send(); // send it!
}
}else wasLoud=false;
}
Overall, I am excited to try new methods and hope to have more opportunities like this in future classes.