Hanwen Hu
28/11/2022
In this Recitation, we mainly learned how to build a model and cut it out with Laser Cut. Finally, we were also asked to use a motor to make the cut model into a rotating trinket. And I’m in a group with Haowei(Harrison) Ding.
Step 1
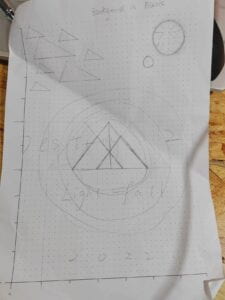
In the first step, we were asked to design our pattern on Cuttle. I was in charge of the design of part B in the group. The drawing of the basic graphics was not difficult. The drawing of the base was completed quickly, and the drawing of the Pattern was also successfully completed after I was proficient in Rotational Repeat.
Here is the patern I drawed:
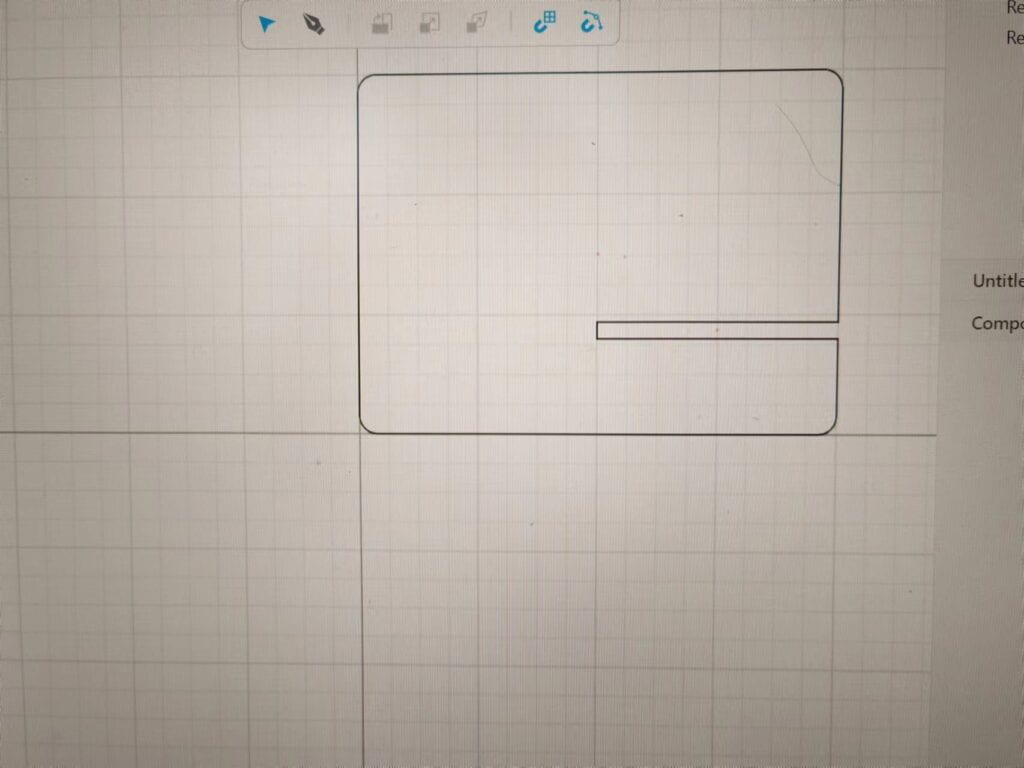
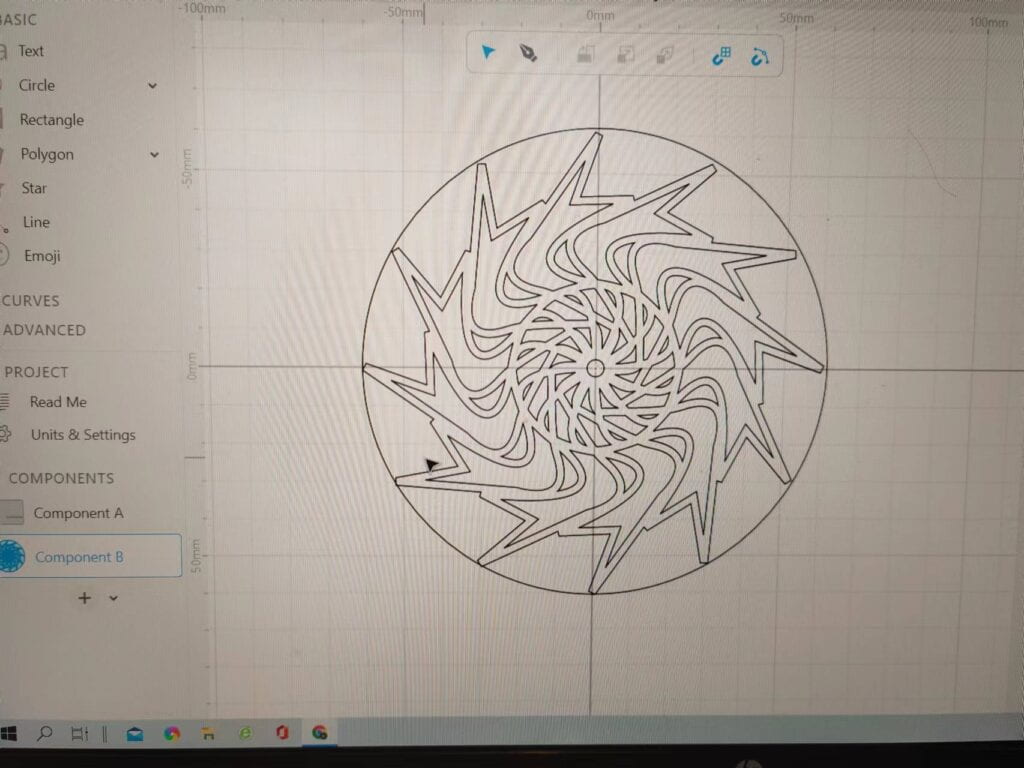
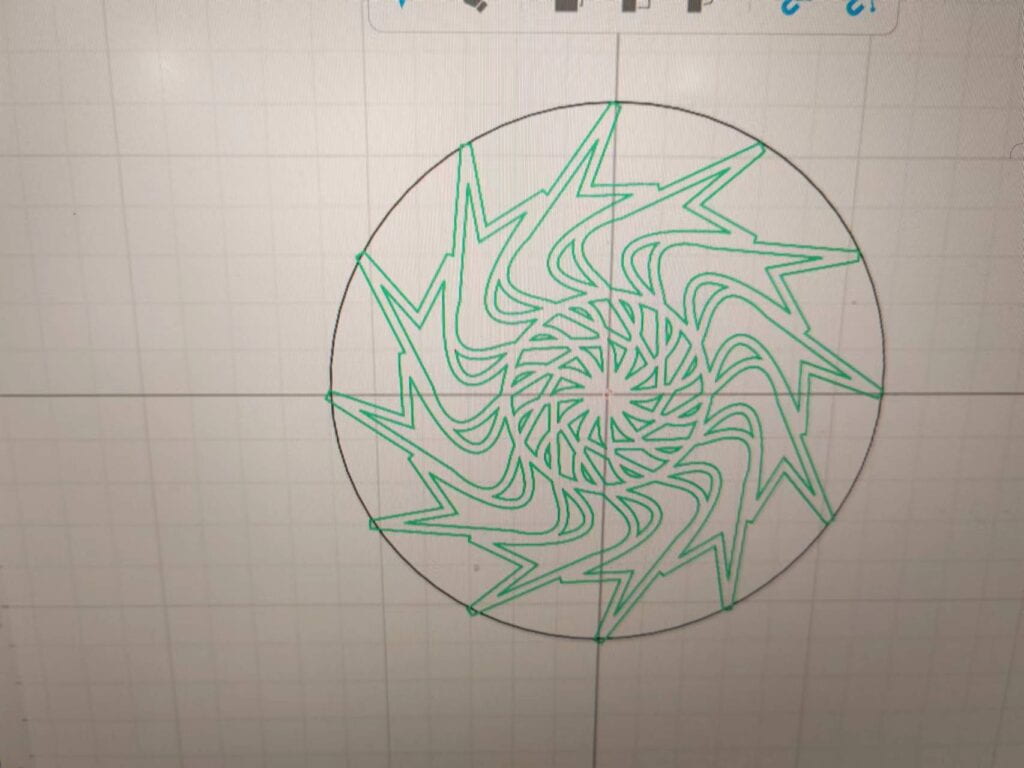
The drawn results will then be uploaded to Google Drive. Here’s proof of a successful upload:
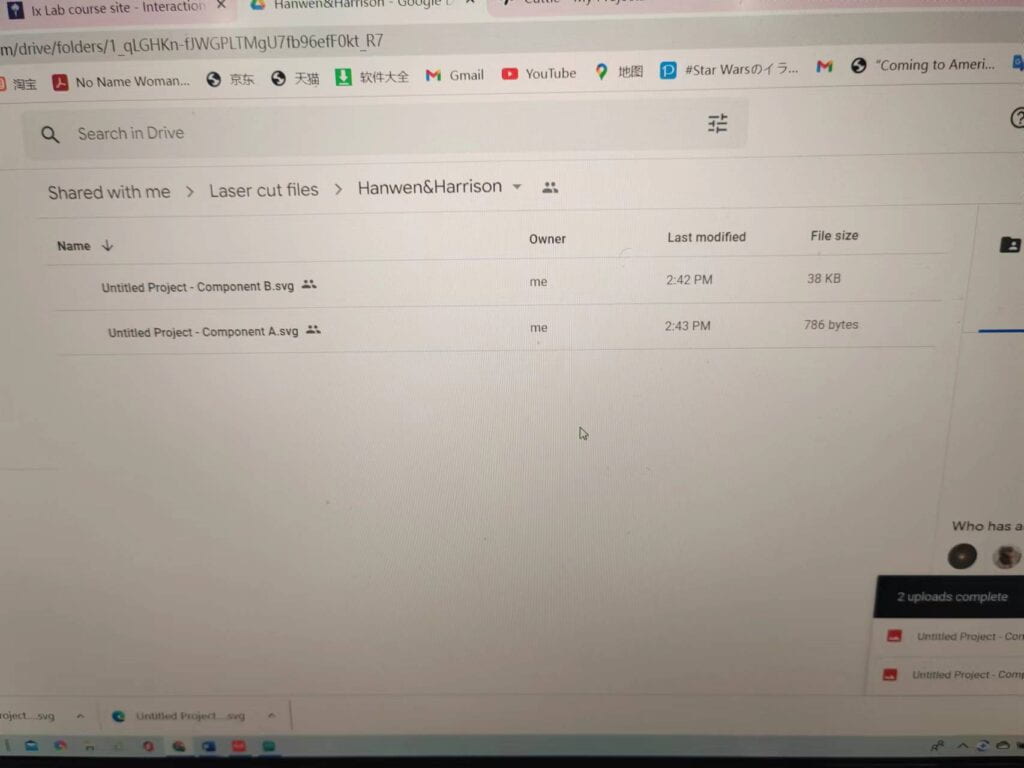
Step 2:
In the second step, we need to use the uploaded results to use Laser Cut. Professor Andy who is in charge of the machine is very responsible, and also helped me solve some small flaws that I didn’t find when drawing,for example, the inner diameter is too small and may not be connected to the motor.
Here is the video about the laser cut:
The last part is assembly and program operation. The overall process is smooth and smooth. This production experience is very interesting. I should be able to design more interesting works next time.
Here is the final work and the code:
#include <Servo.h>

Servo myservo;  // create servo object to control a servo
// twelve servo objects can be created on most boards

int pos = 0;    // variable to store the servo position

void setup() {
  myservo.attach(9);  // attaches the servo on pin 9 to the servo object
}

void loop() {
  for (pos = 0; pos <= 180; pos += 1) { // goes from 0 degrees to 180 degrees
    // in steps of 1 degree
    myservo.write(pos);              // tell servo to go to position in variable 'pos'
    delay(15);                       // waits 15 ms for the servo to reach the position
  }
  for (pos = 180; pos >= 0; pos -= 1) { // goes from 180 degrees to 0 degrees
    myservo.write(pos);              // tell servo to go to position in variable 'pos'
    delay(15);                       // waits 15 ms for the servo to reach the position
  }
}
