My Experience of Building Circuits–Blog 1
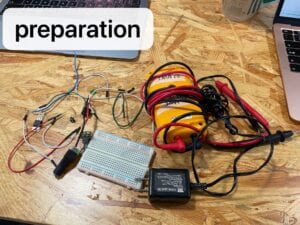
In this week’s recitation, I learnt how to build different simple circuits on breadborads. Although it was very difficult for a new hand–me, it was very interesting at the same time.
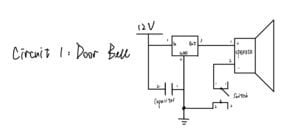
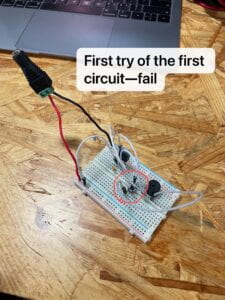
First of all, we tried to build a circuit that included a doorbell. In this circuit we used a power supplier, a capacitor, a voltage regulator, a speaker, a switch and of course some wires. Obviously, the power supplier is used for providing electricity. The capacitor is used for increasing the capacity of the circuit. The voltage regulator is used for maintaining a constant voltage automatically in the circuit. The speaker is used to make a sound to let us know whether we have created an unobstructed closed loop and the switch is used for controlling the speaker by controlling whether the flow of current can pass to the speaker or not. And the last thing is the wires, they help us to build a closed loop on the breadboard. At first, my partner and I had completely no idea how to connect all the small parts together on the breadboard. But we still tried without connecting the power supplier in case any dangerous situation happened. We first put the switch, the voltage regulator and the speaker to the breadborad, then we tried to add the wires to make them connected with each other. However then we faced the first difficulty–we don’t know where to put our capacitor. With the help of learning assistances, we finally solved this problem. But at the same time the learning assistant found a big problem that existed in our circuit. Because we wrongly inserted the speaker horizontally on the breadboard, and the horizontal holes on the breadboard were interconnected, we caused a short circuit. Fortunately, we didn’t connect to the power station so nothing happens. With assistant’s help we got it right. But when we add the power supplier, the speaker didn’t make a sound so we went to the assistant again. With her check, we learnt that when we connect switches, we can only connect wires on the diagonal, not side by side. Finally, we succeeded by ironing out all problems.
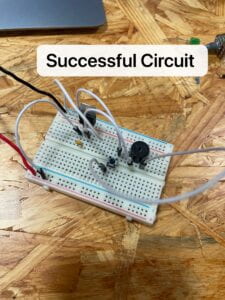
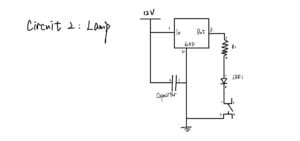
Then we switched to the second circuit which includes a LED light. Parts of the components of this circuit is the same as the first circuit. The new things includes a resistor and an LED. The main role of resistor is heating, if in the process of use and other components in the circuit . The LED is used similarly as the speaker. But from my perspective, the main difference between the LED and the speaker is that the LED needs a resistor, which means that the current allowed to pass through the LED is smaller than the speaker. With the practice of connecting the first circuit, we made ourselves to success quickly.
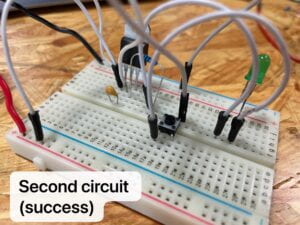
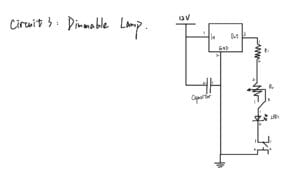
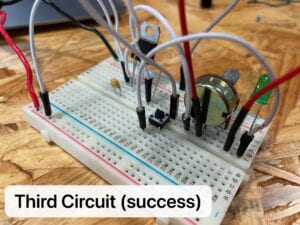
The third circuit is the to connect a dimmable lamp in the circuit. The only difference from the second circuit is that it uses a variable resistor to control the current that can flow through the LED instead of a regular resistor. It’s was much easier since we only need to replace the resistor by the variable resistor. At first after we completed the circuit and when we the spun the variable resistor, nothing happened on the LED, but after we checked the circuit again and didn’t find any problem, we realized that the LED was broken. So we changed another one and we succeeded.
Q1: In reading ‘The Art of Interactive Design’, the author define the interaction as “a cyclic process in which two actors alternately listen, think, and speak.” In a more academic way, he believes that “If we want to get academic, I suppose we could replace listen, think, and speak with input, process, and output”. The input, process and output are just the same as what we connected in the circuits. To be more specific, the battery or the power supplier is the input, the speaker and LED are outputs, and all the other components that are contained in the circuits are the process. So from this aspect, I think the circuits we built today includes interactivity.
Q2: I think that the interaction design is the most important part of creating interactive art because it represents a kind of thinking, an idea of designing interactive products. However at the same time we also need physical computing to make the creative idea come true. For instance, in Zack Lieberman’s video, he talked about his research. When he came up with a new idea, he would first draw down the appearance of the item that he would like to design and all his ideas. After he completed the design on the paper, he had to use physical software for calculating or to programming on his computer to turn his imagination into real life finally, and I think this is very impressive.
