In-class Exercise
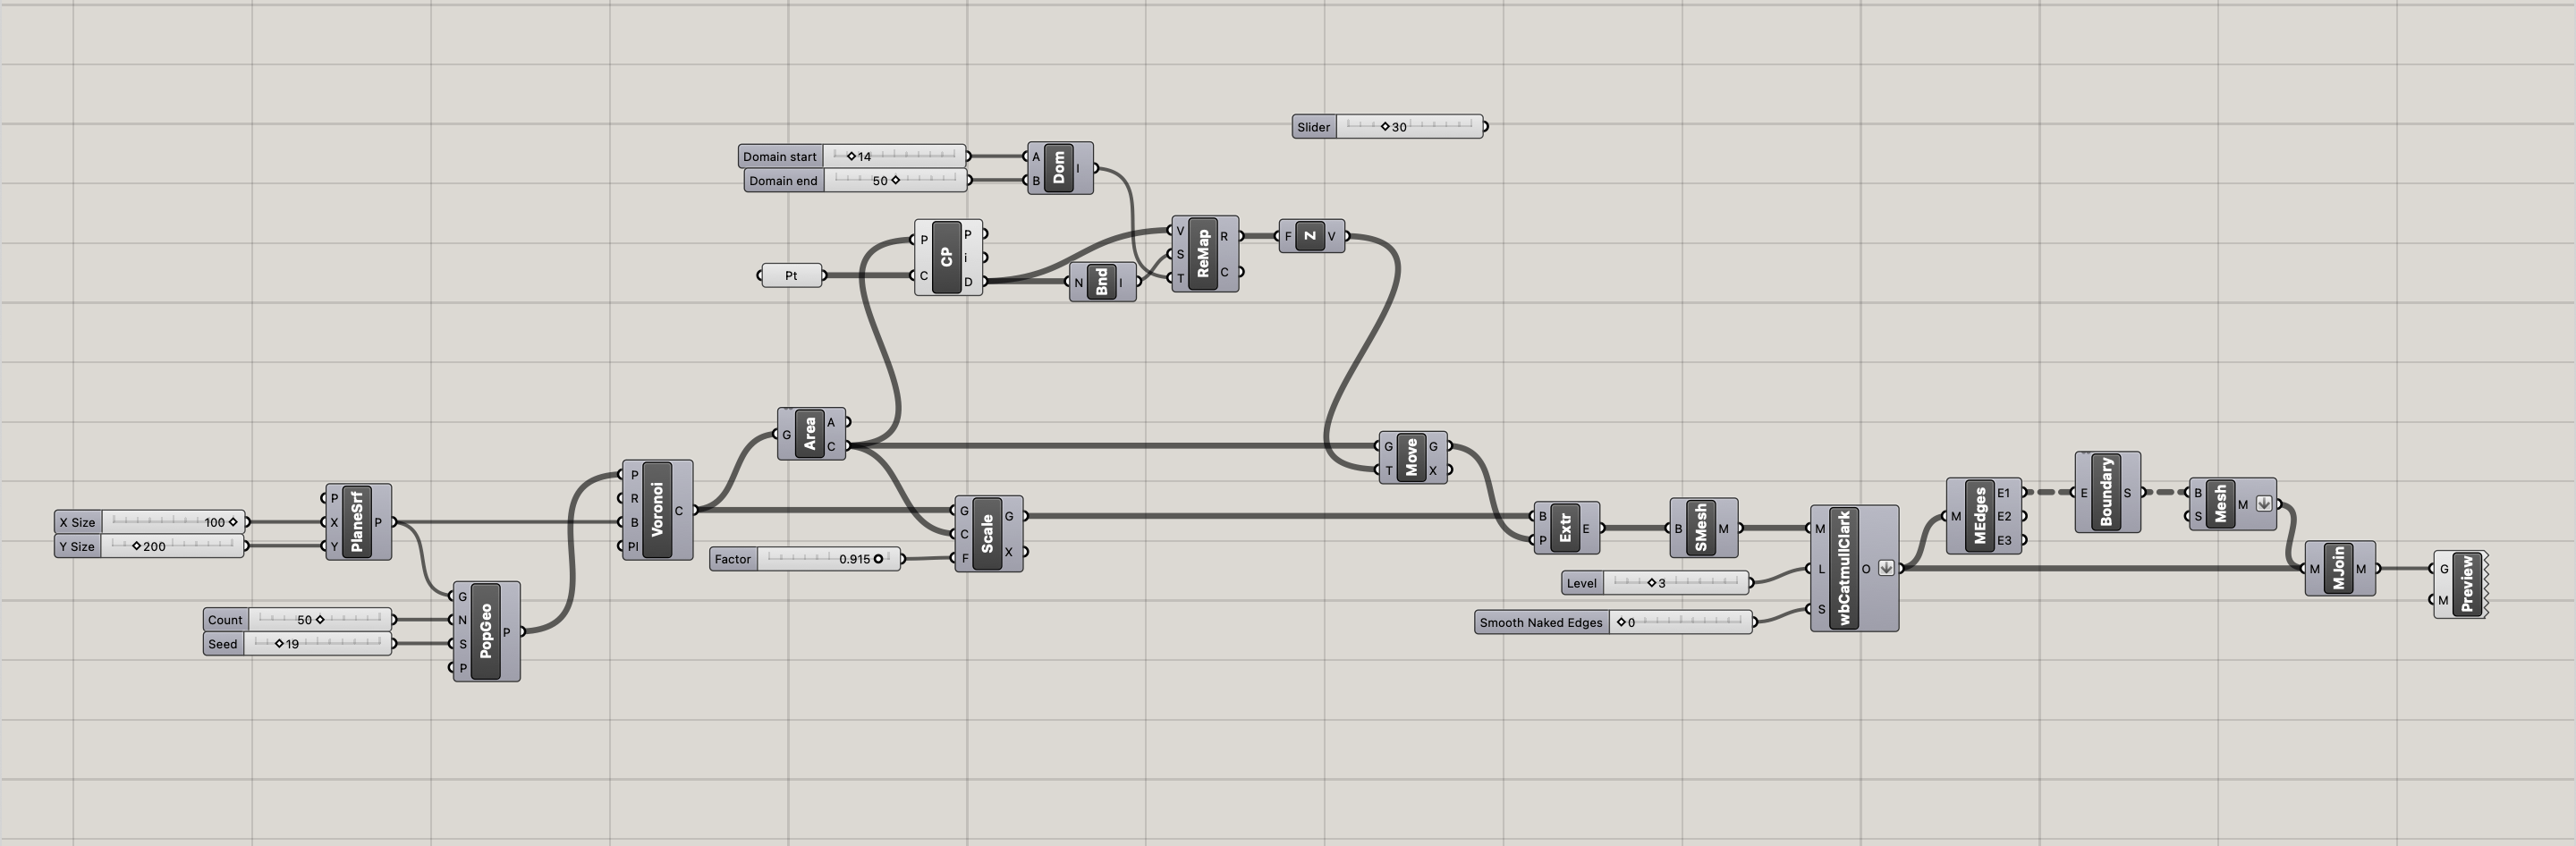
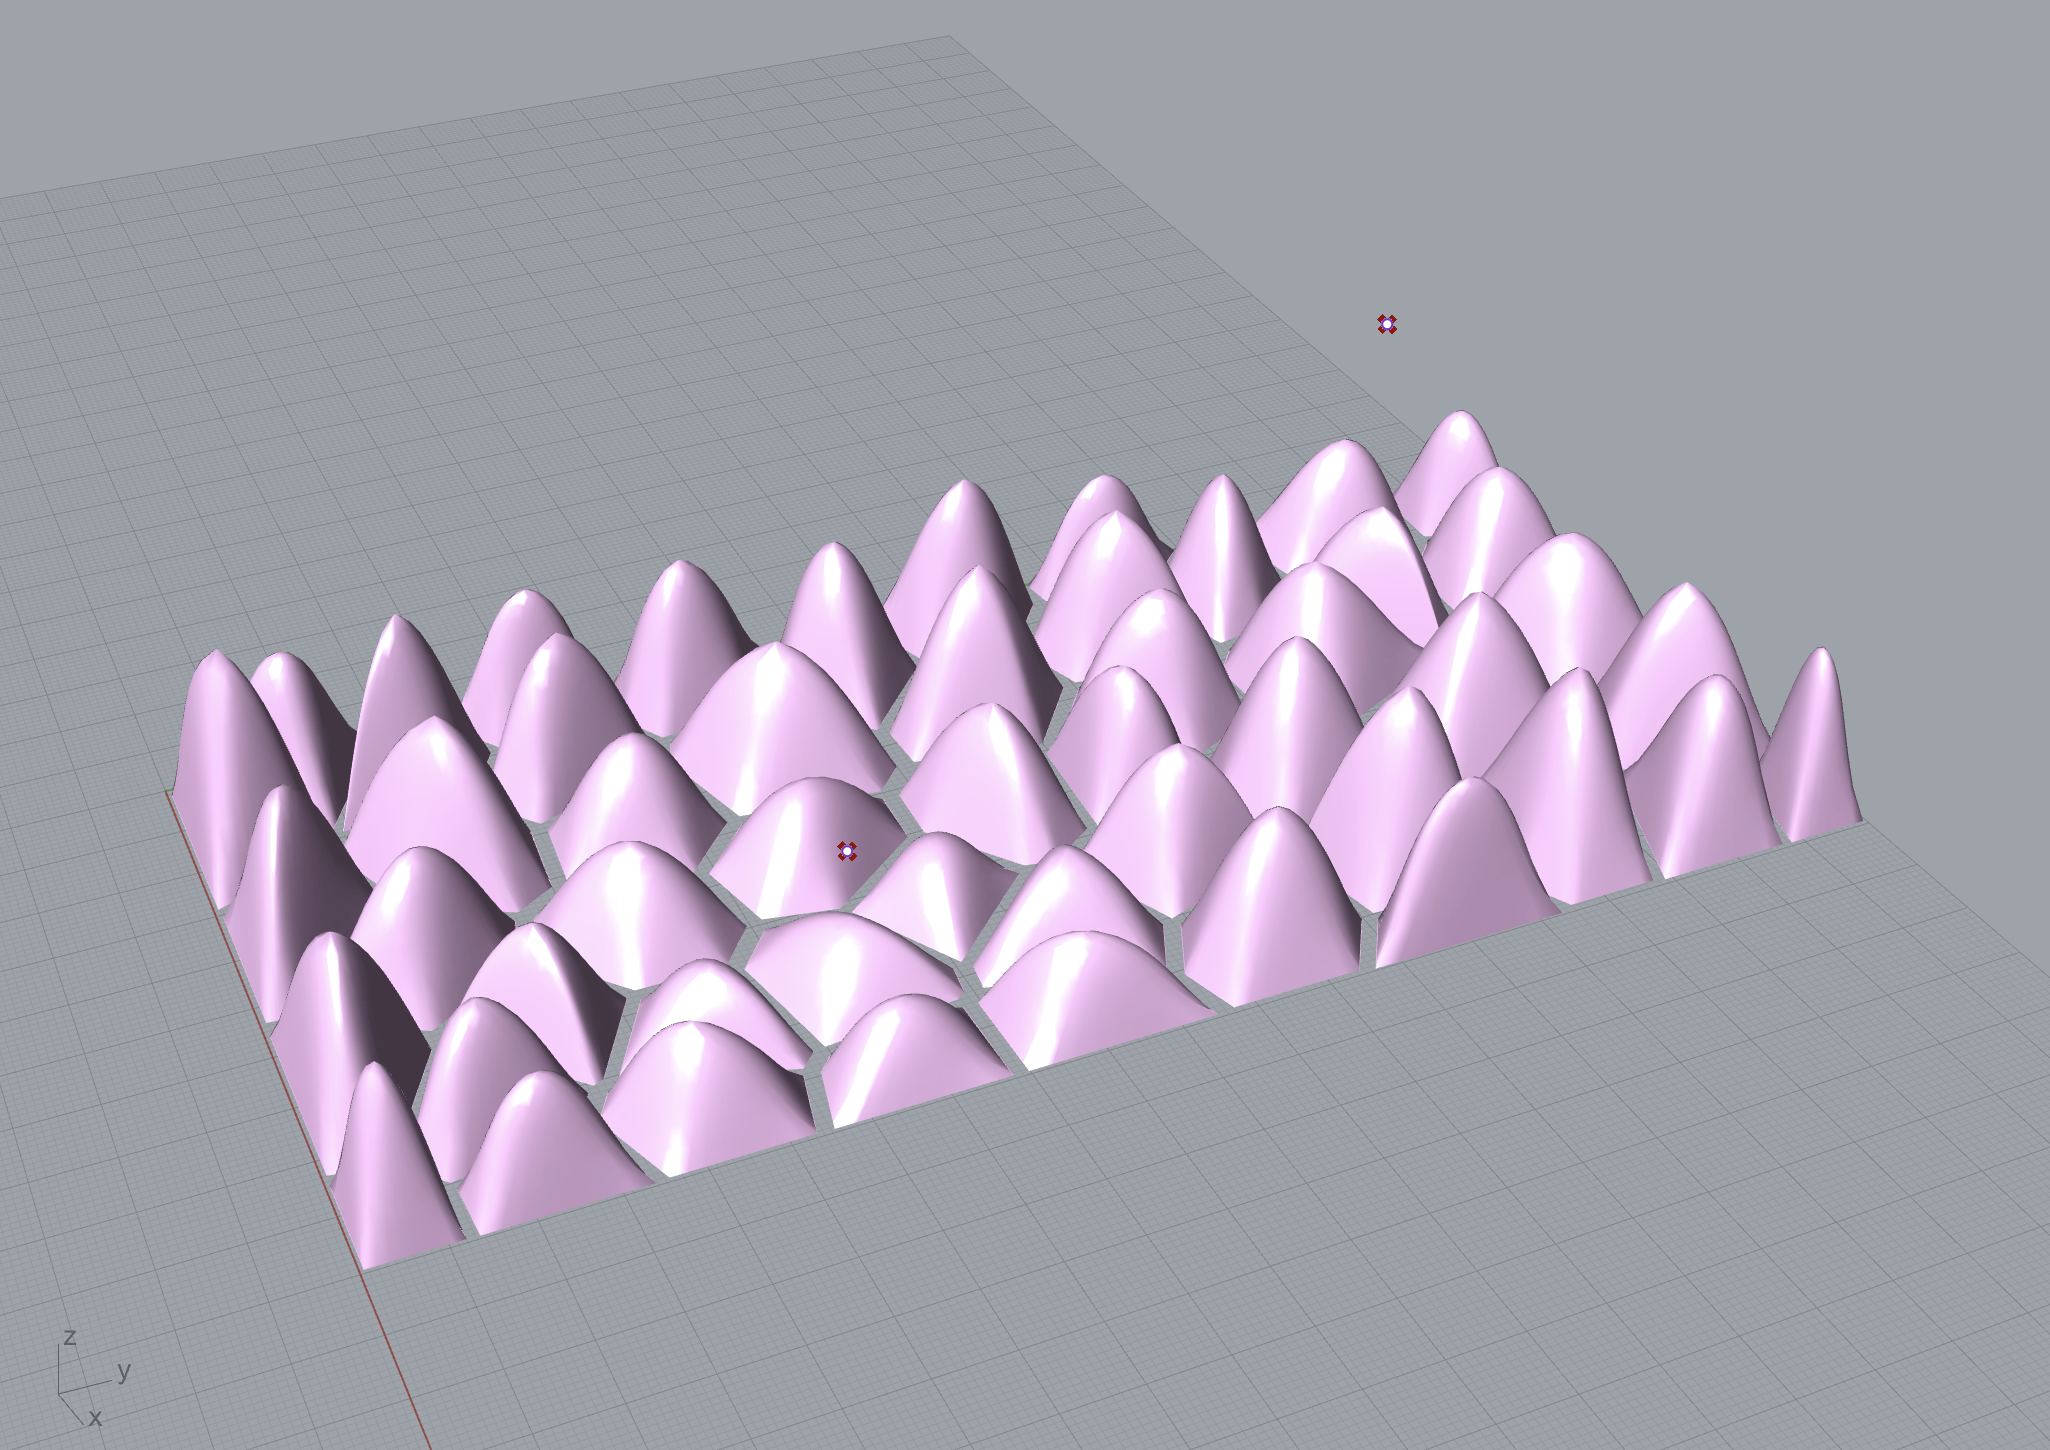
For the in-class exercise, I followed the tutorial and steps to create the vonoroi pattern, and added two points so create height differences for the pattern. The overall process was not hard to follow, and the commands in Grasshopper were straightforward as I had used most of those commands in previous weeks.
After-class Assignment
As in our final project, we wish to create a dress mimic ocean creatures, we would like to explore if we could 3D print fishing scale liked shapes onto fabric, so that the printed scales could cover the dress with movements.
To create fishing scales models in Rhino, I first thought about lofting a base polygon to a point. After doing some research, I found that hexagon is often used for the bases of scale shapes. Then, I tried to draw a hexagon, and set a point to loft them. The shape does not look very nice, so I thought about adding a base before lofting.
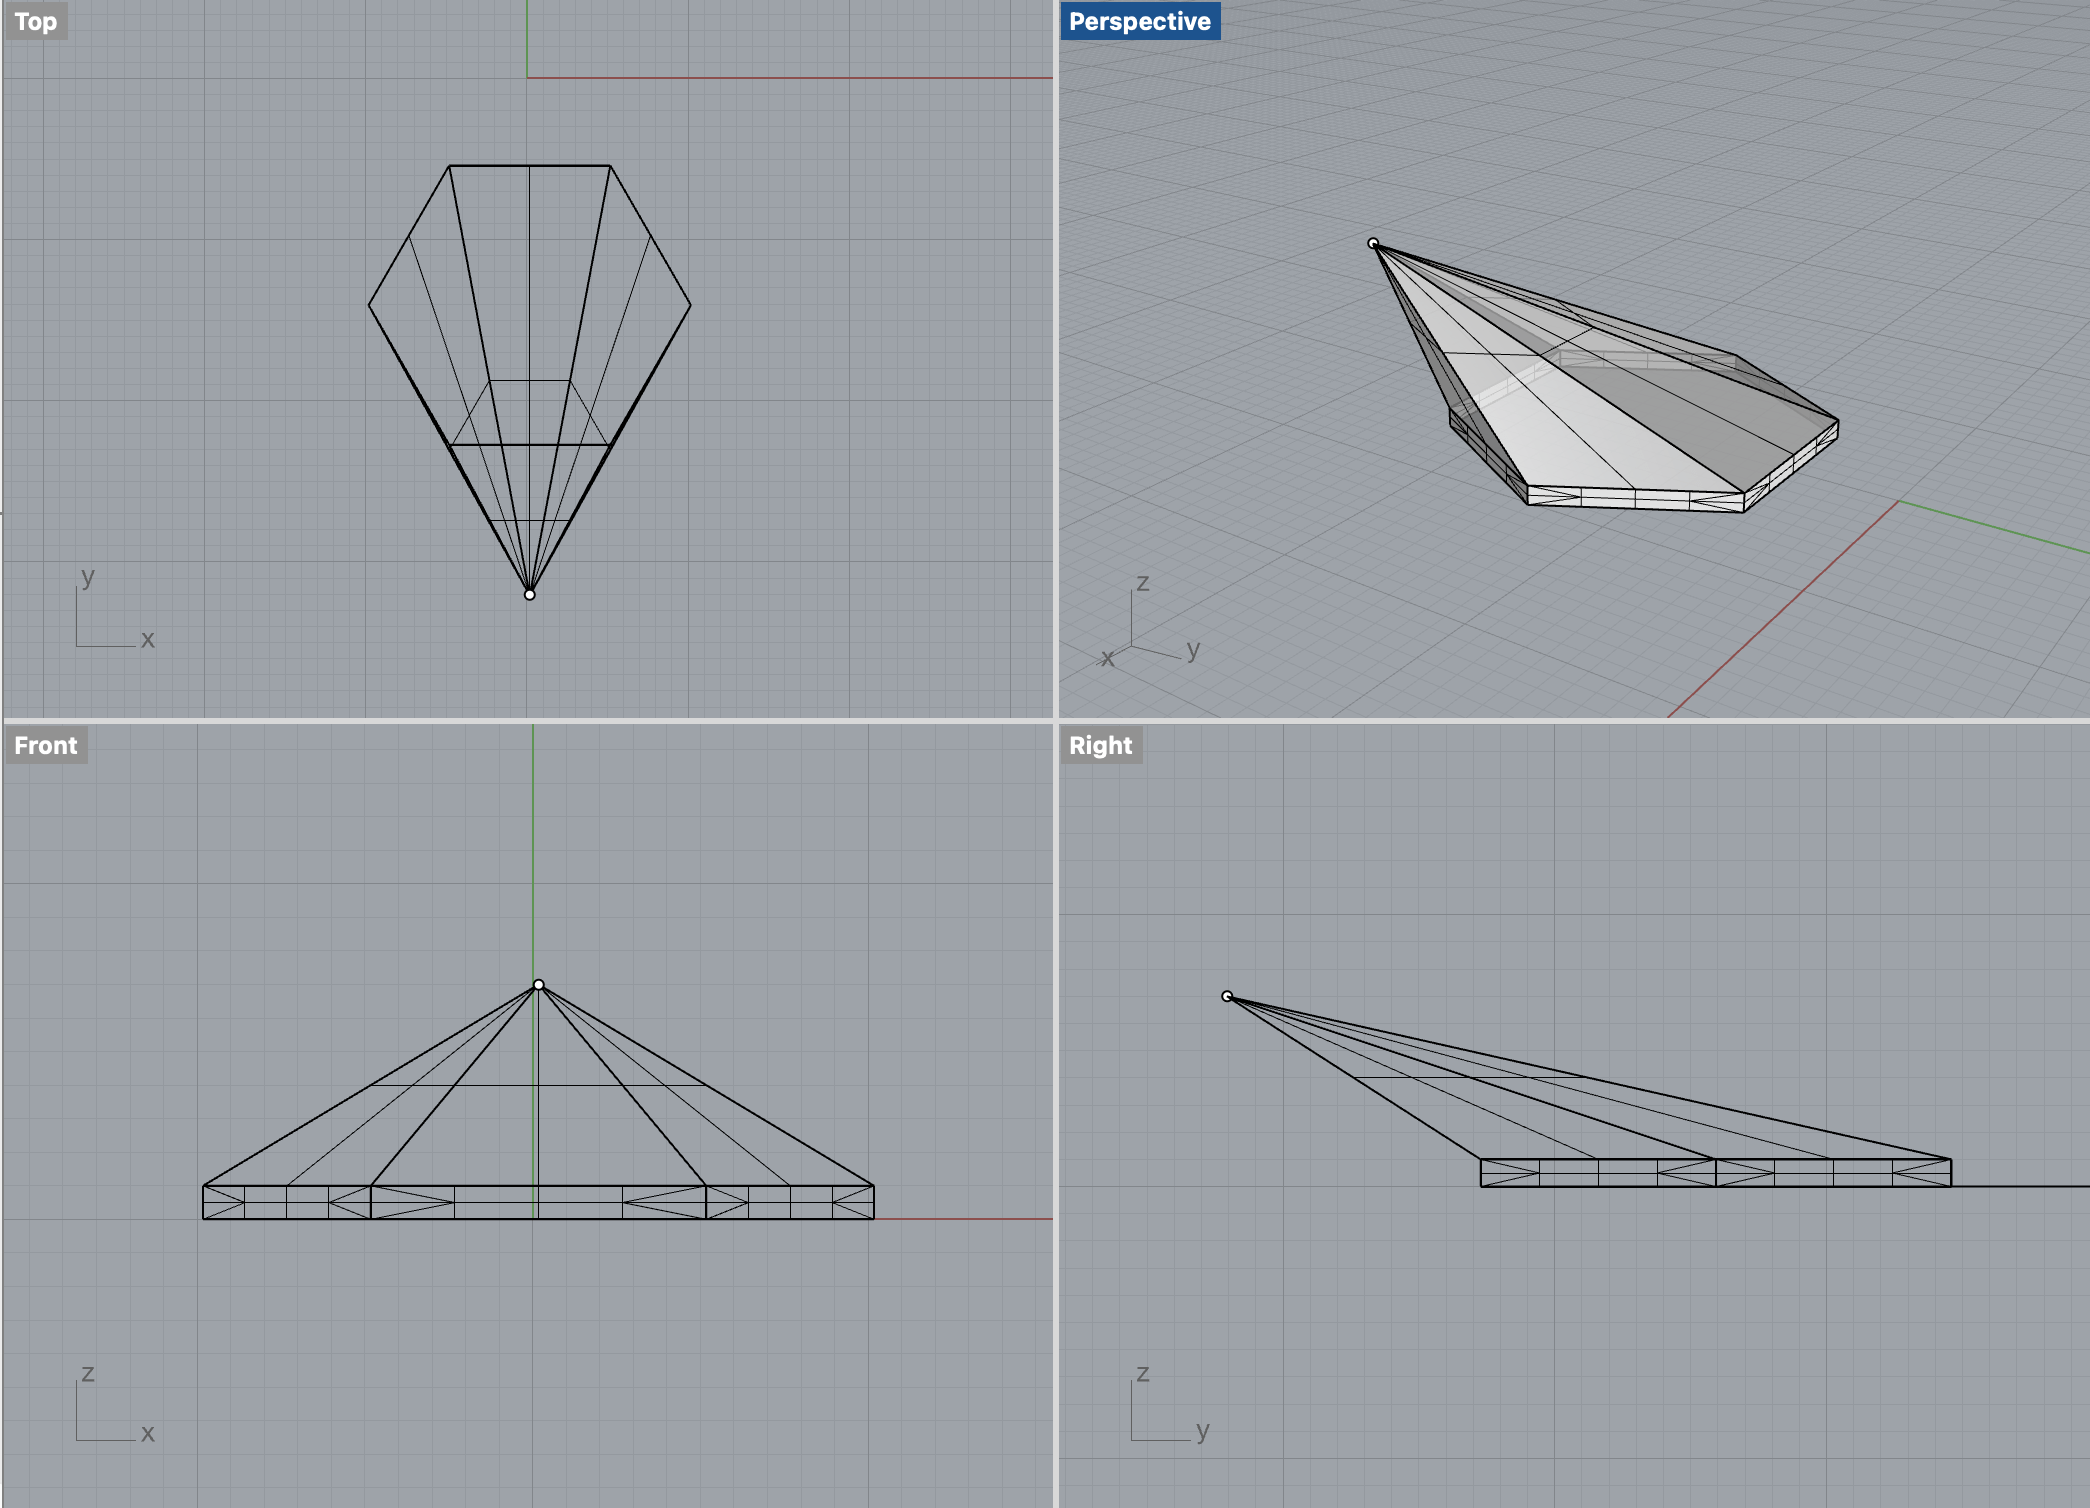
The overall shape does not really resemble a fishing scale, also that the edges are too sharp. Along with the problem that I would need multiple of such scales and aline them together, I decided to build the model with the in-class exercise commands.
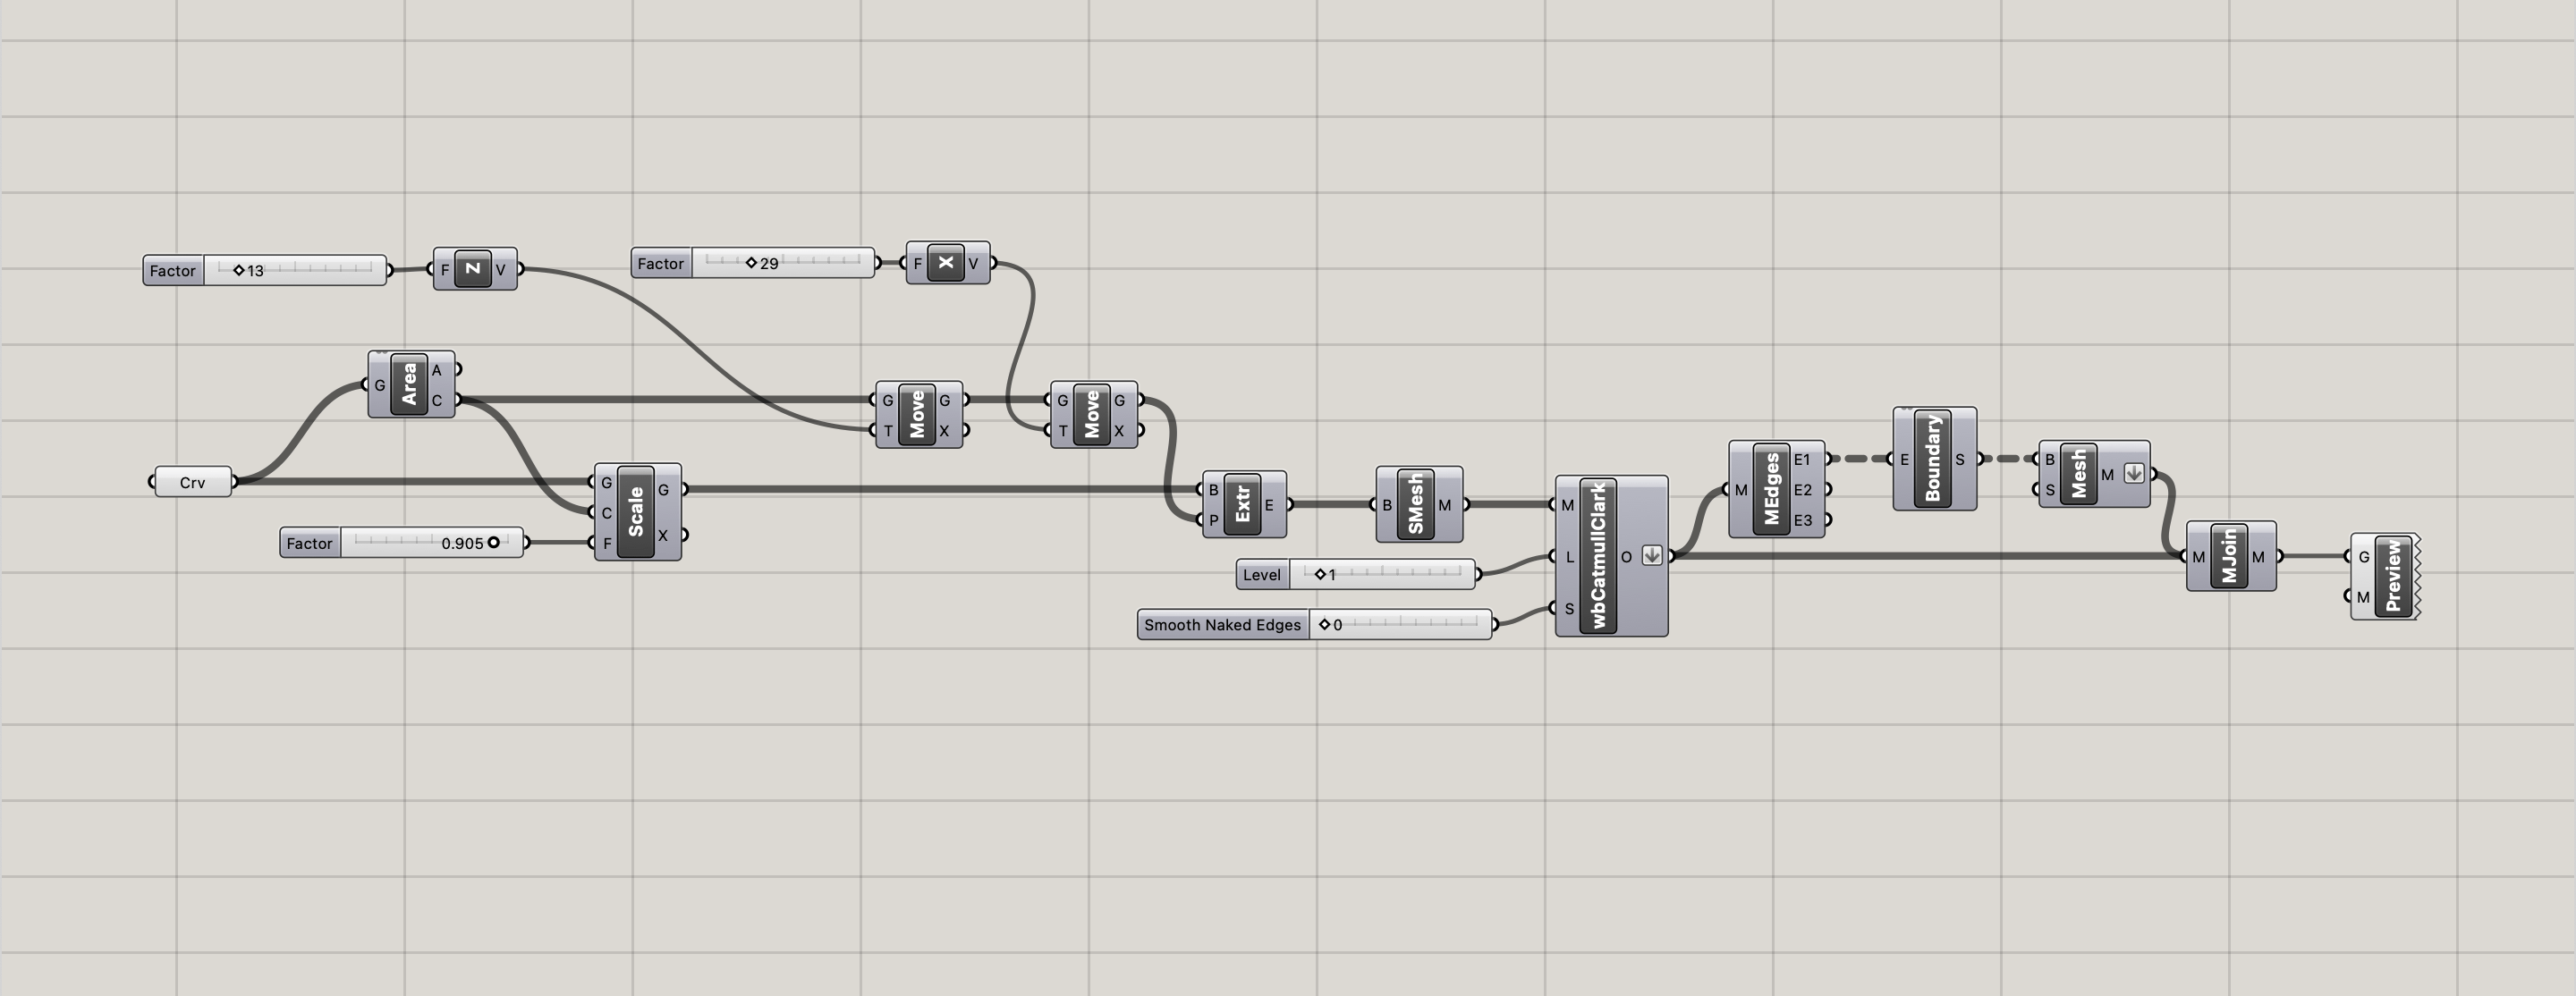
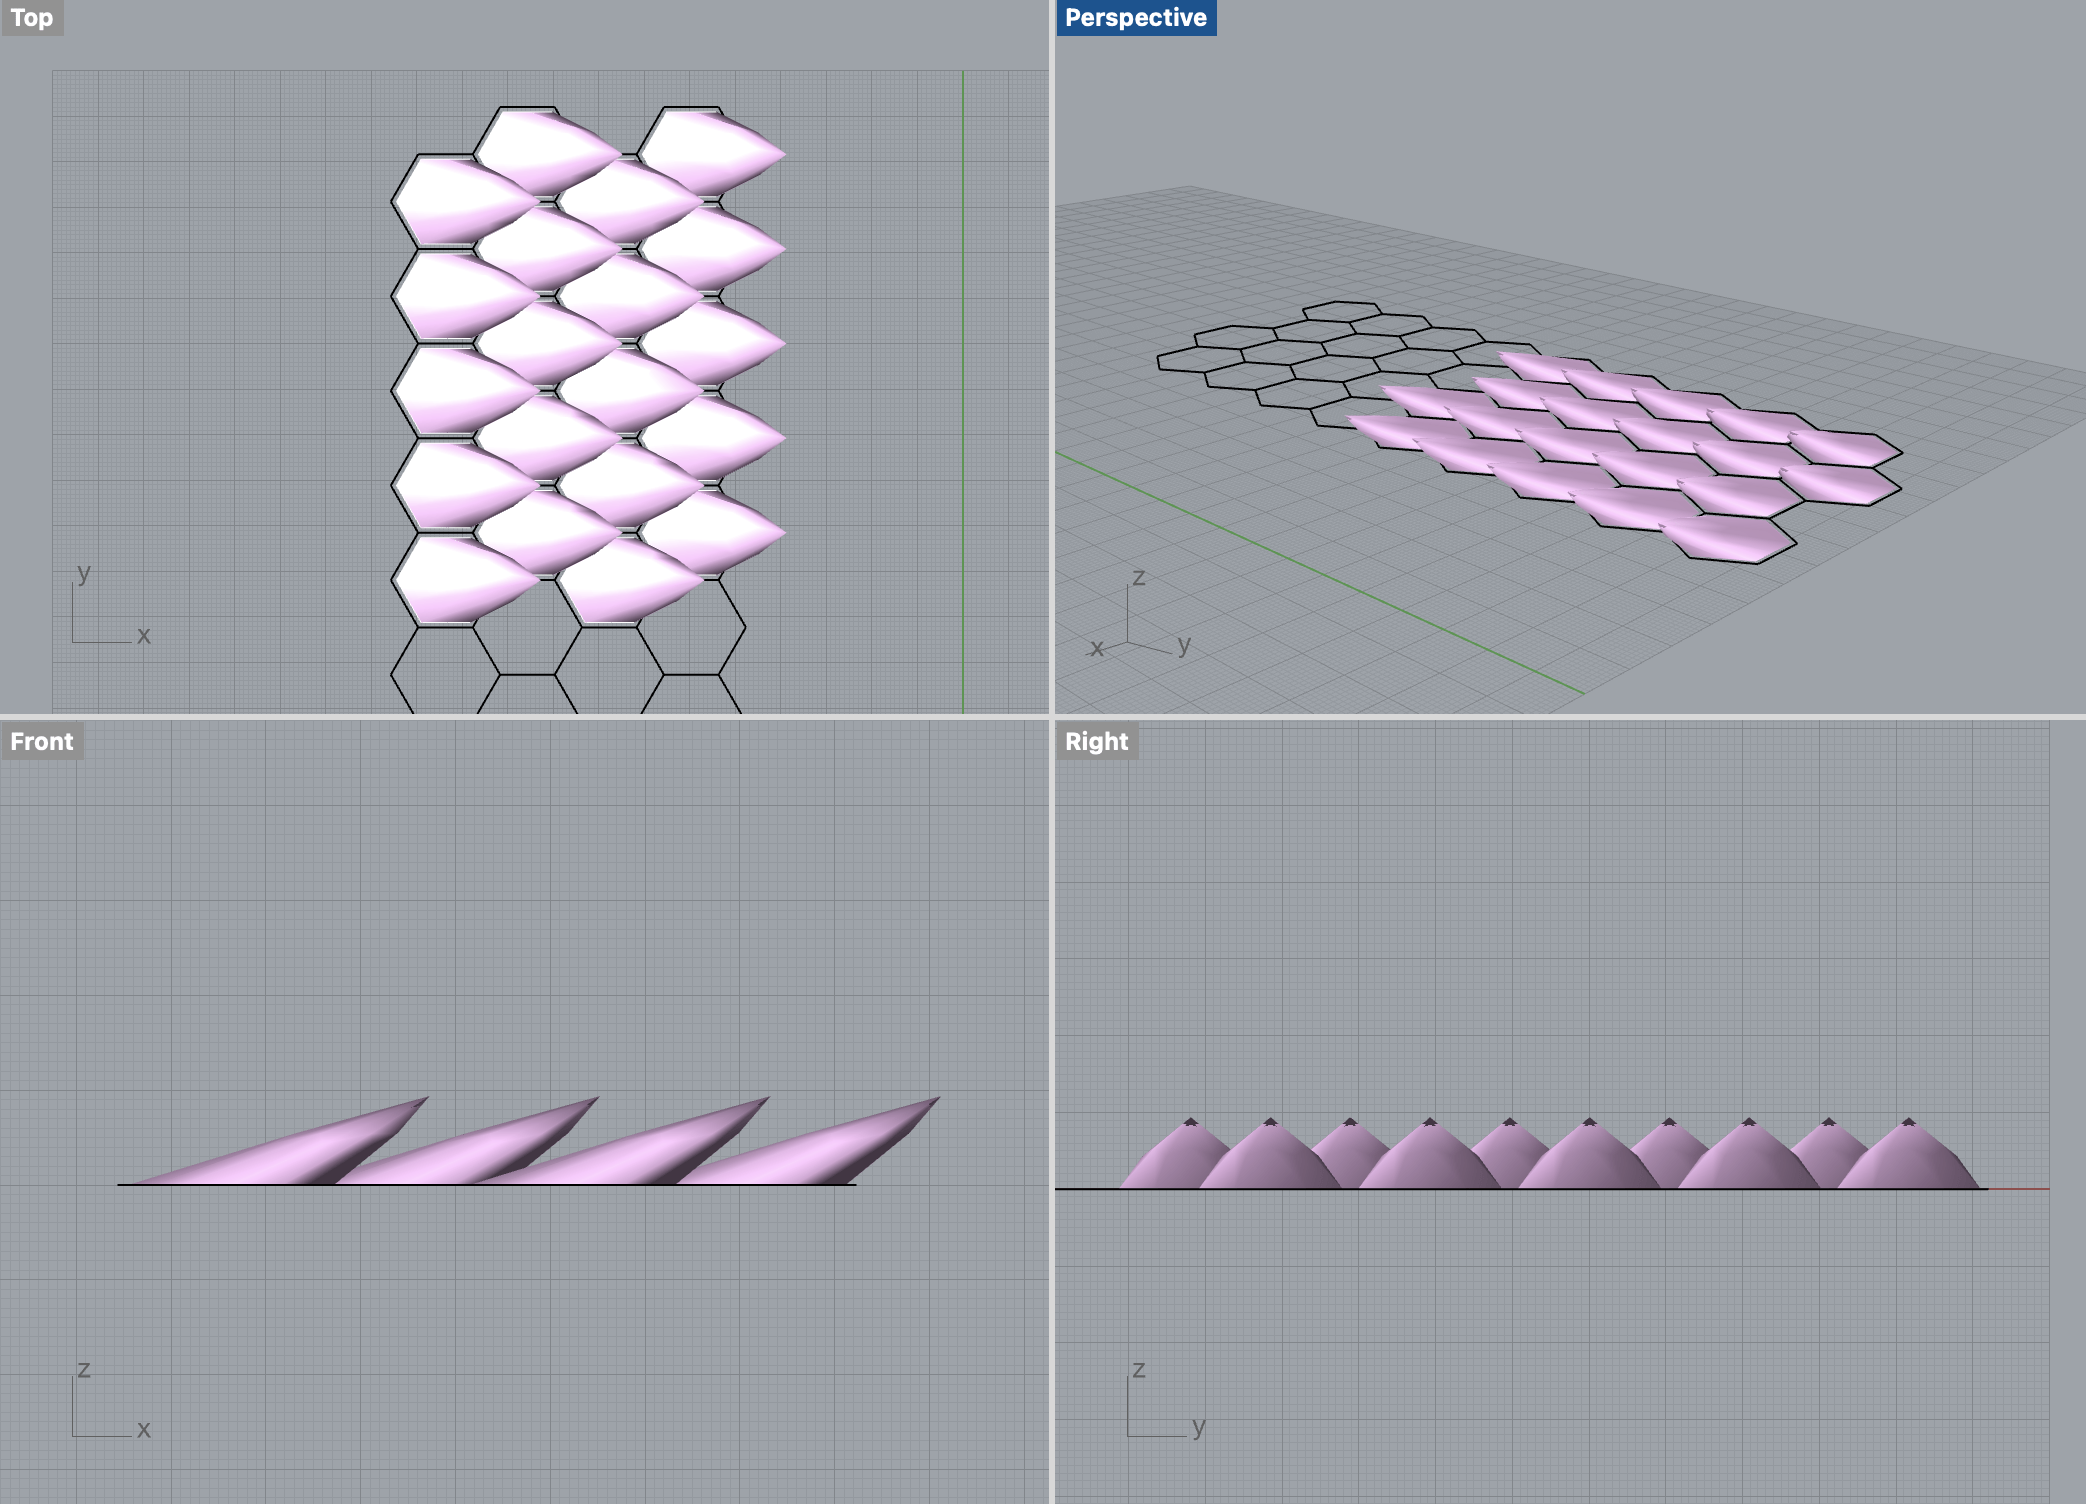
I modified the commands used in the exercise, keeping the overall logic, but changing the base curves and the position of the upper points. I also removed the parts where the heights would differ according to selected points.
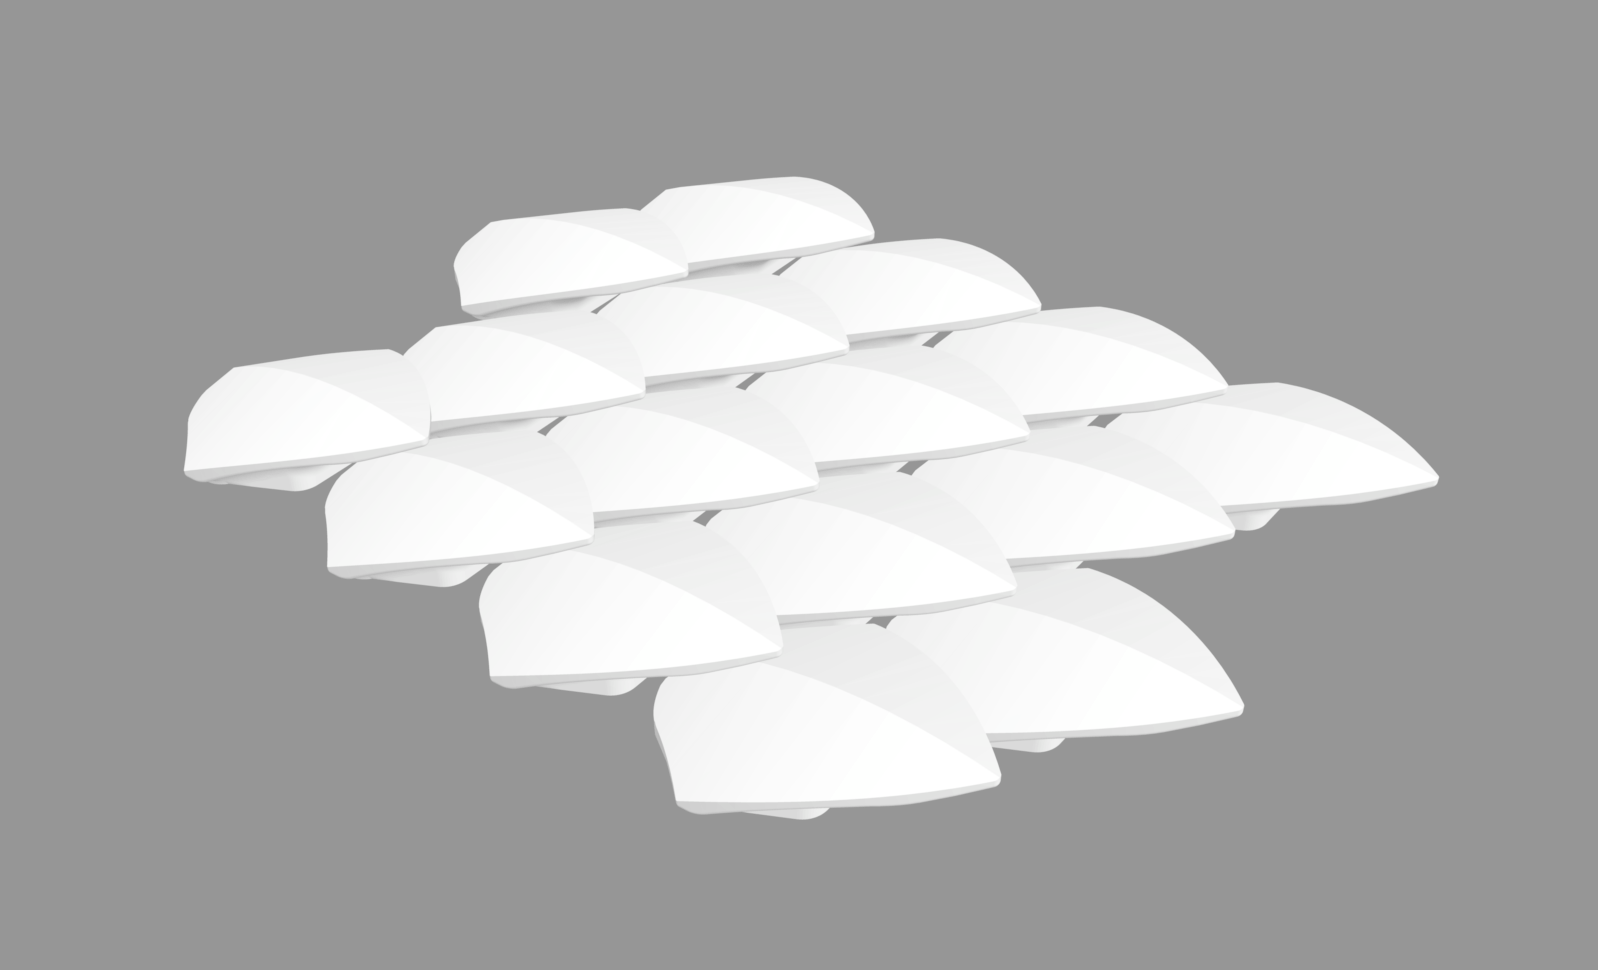
As I decided to use hexagon as base shapes, I manually drew several hexagon curves and assigned them to the curve command in Grasshopper (because I was not sure how to create hexagon shapes directly in Grasshopper). As for the center points, instead of having them lifted up 10 millimeters, I also moved them along the x-axis to make them look like real scales.
In the mean time, I found such models do not resemble fishing scales so much, and I searched online for similar models and tutorials. I found this blog for 3D-printed dragon scales. In which it provides a STL file for the models. So I decided to print both my model and that well-designed dragon scales.
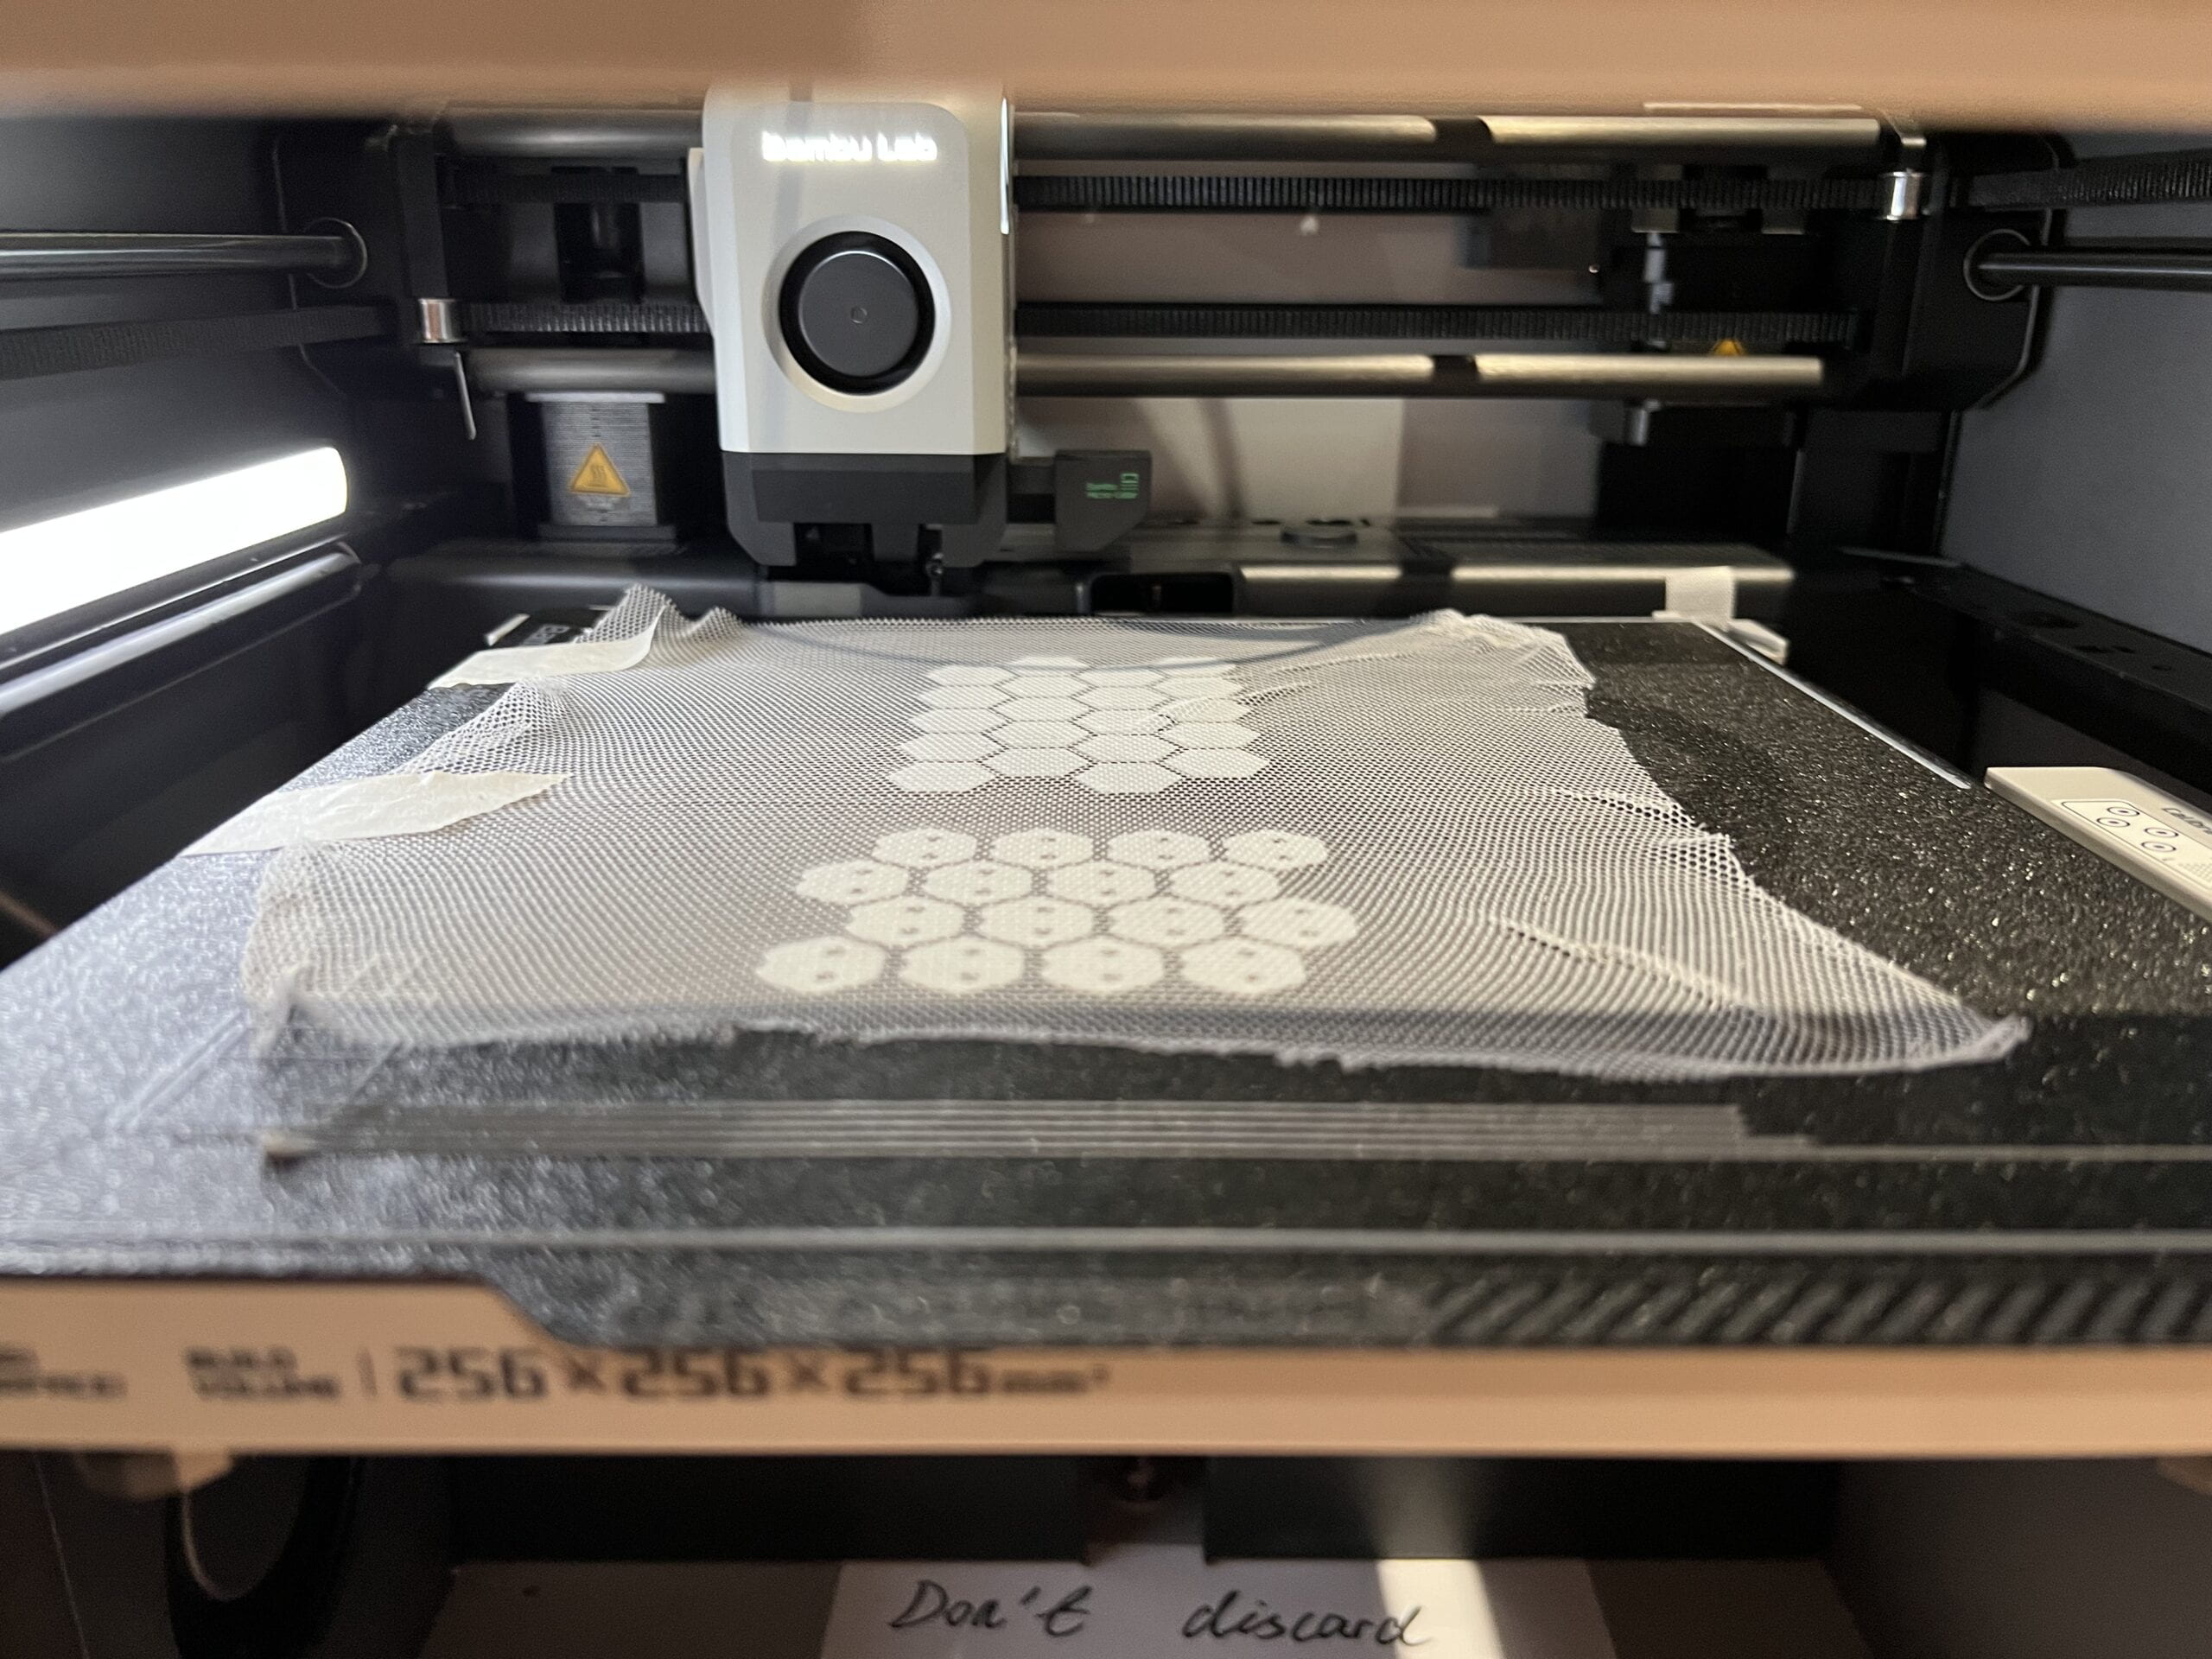
Then, I put both STL files into the 3D printer app, set for the first layer to be thicker and place a stop after the third layer. One difficulty I encountered was when putting the fabric onto the 3D printing surface. Although I applied tons of glue on the fabric, the wind generated in the printer still blows the fabric away constantly. Therefore, I also used paper tapes to further secure the fabric, and resumed the printing.
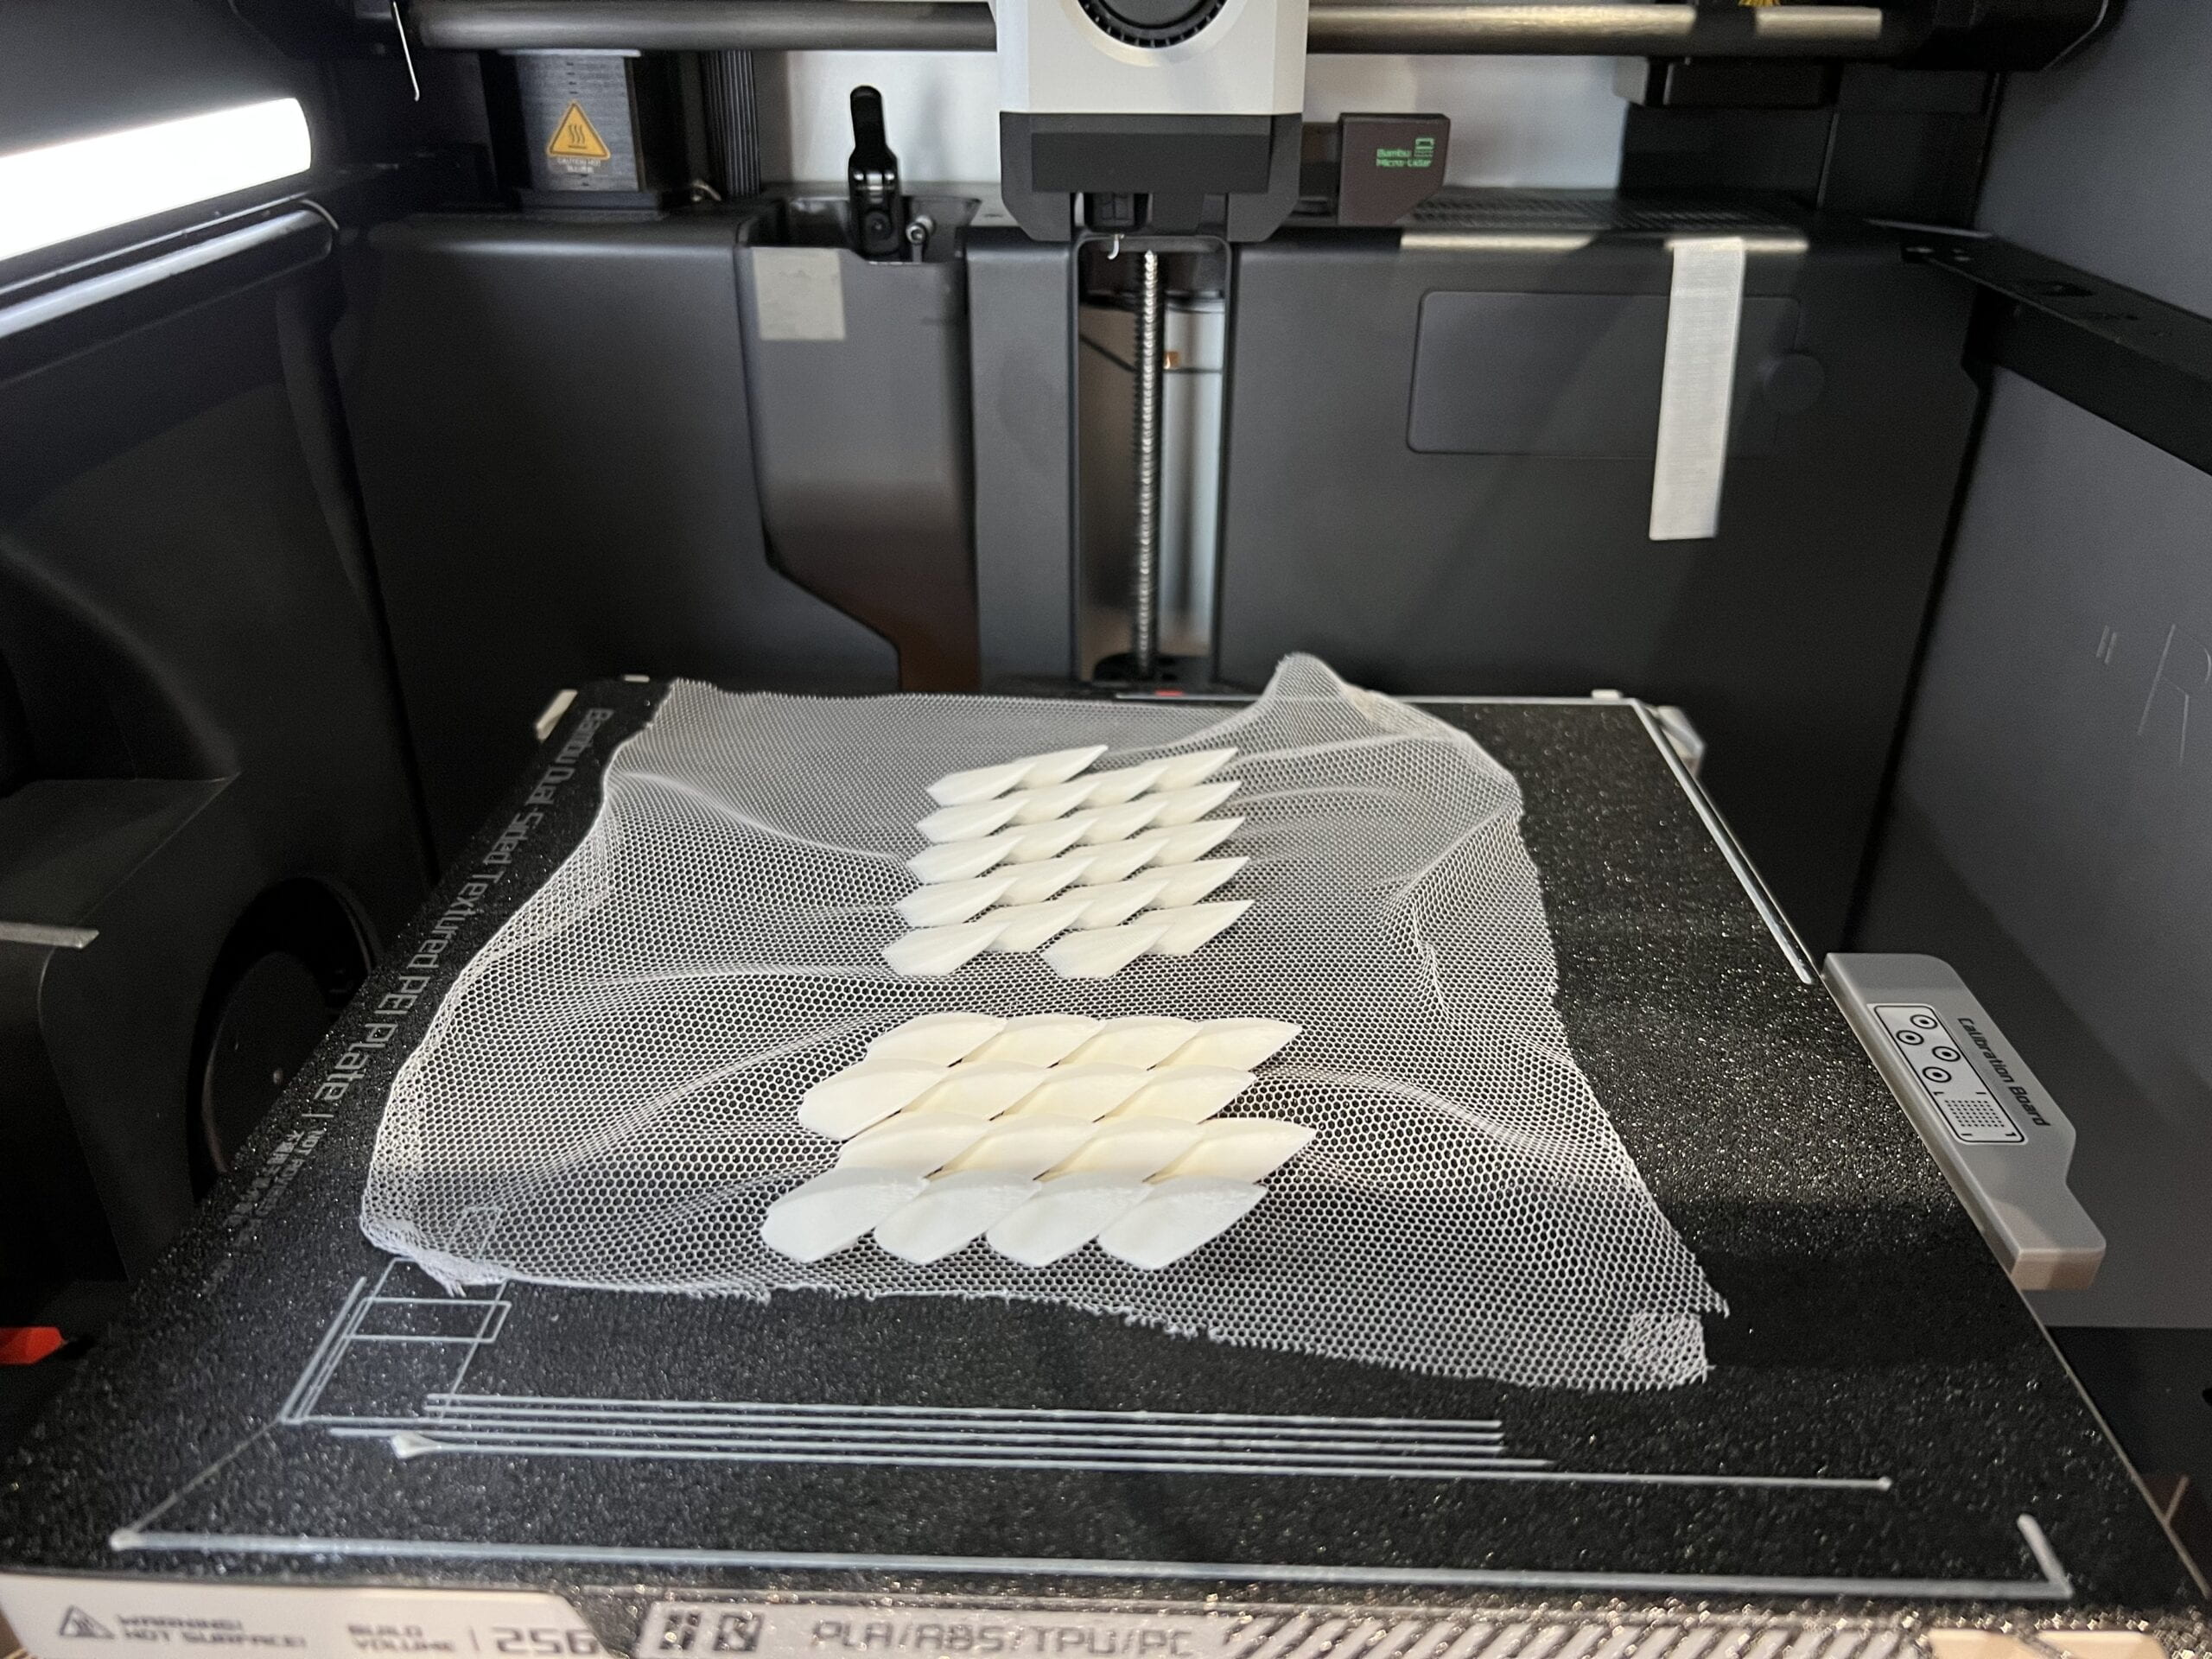
The final outcome looks pretty nice, and the models I made looks much better than I previously imagined. Some improvements are that I could shorten the gaps between each scale, which is to scale up the model a little bit, as now each scale is pretty far away from each other, and the gap can be easily observed. One other improvement is to round the edges as now they are pretty sharp and harmful.
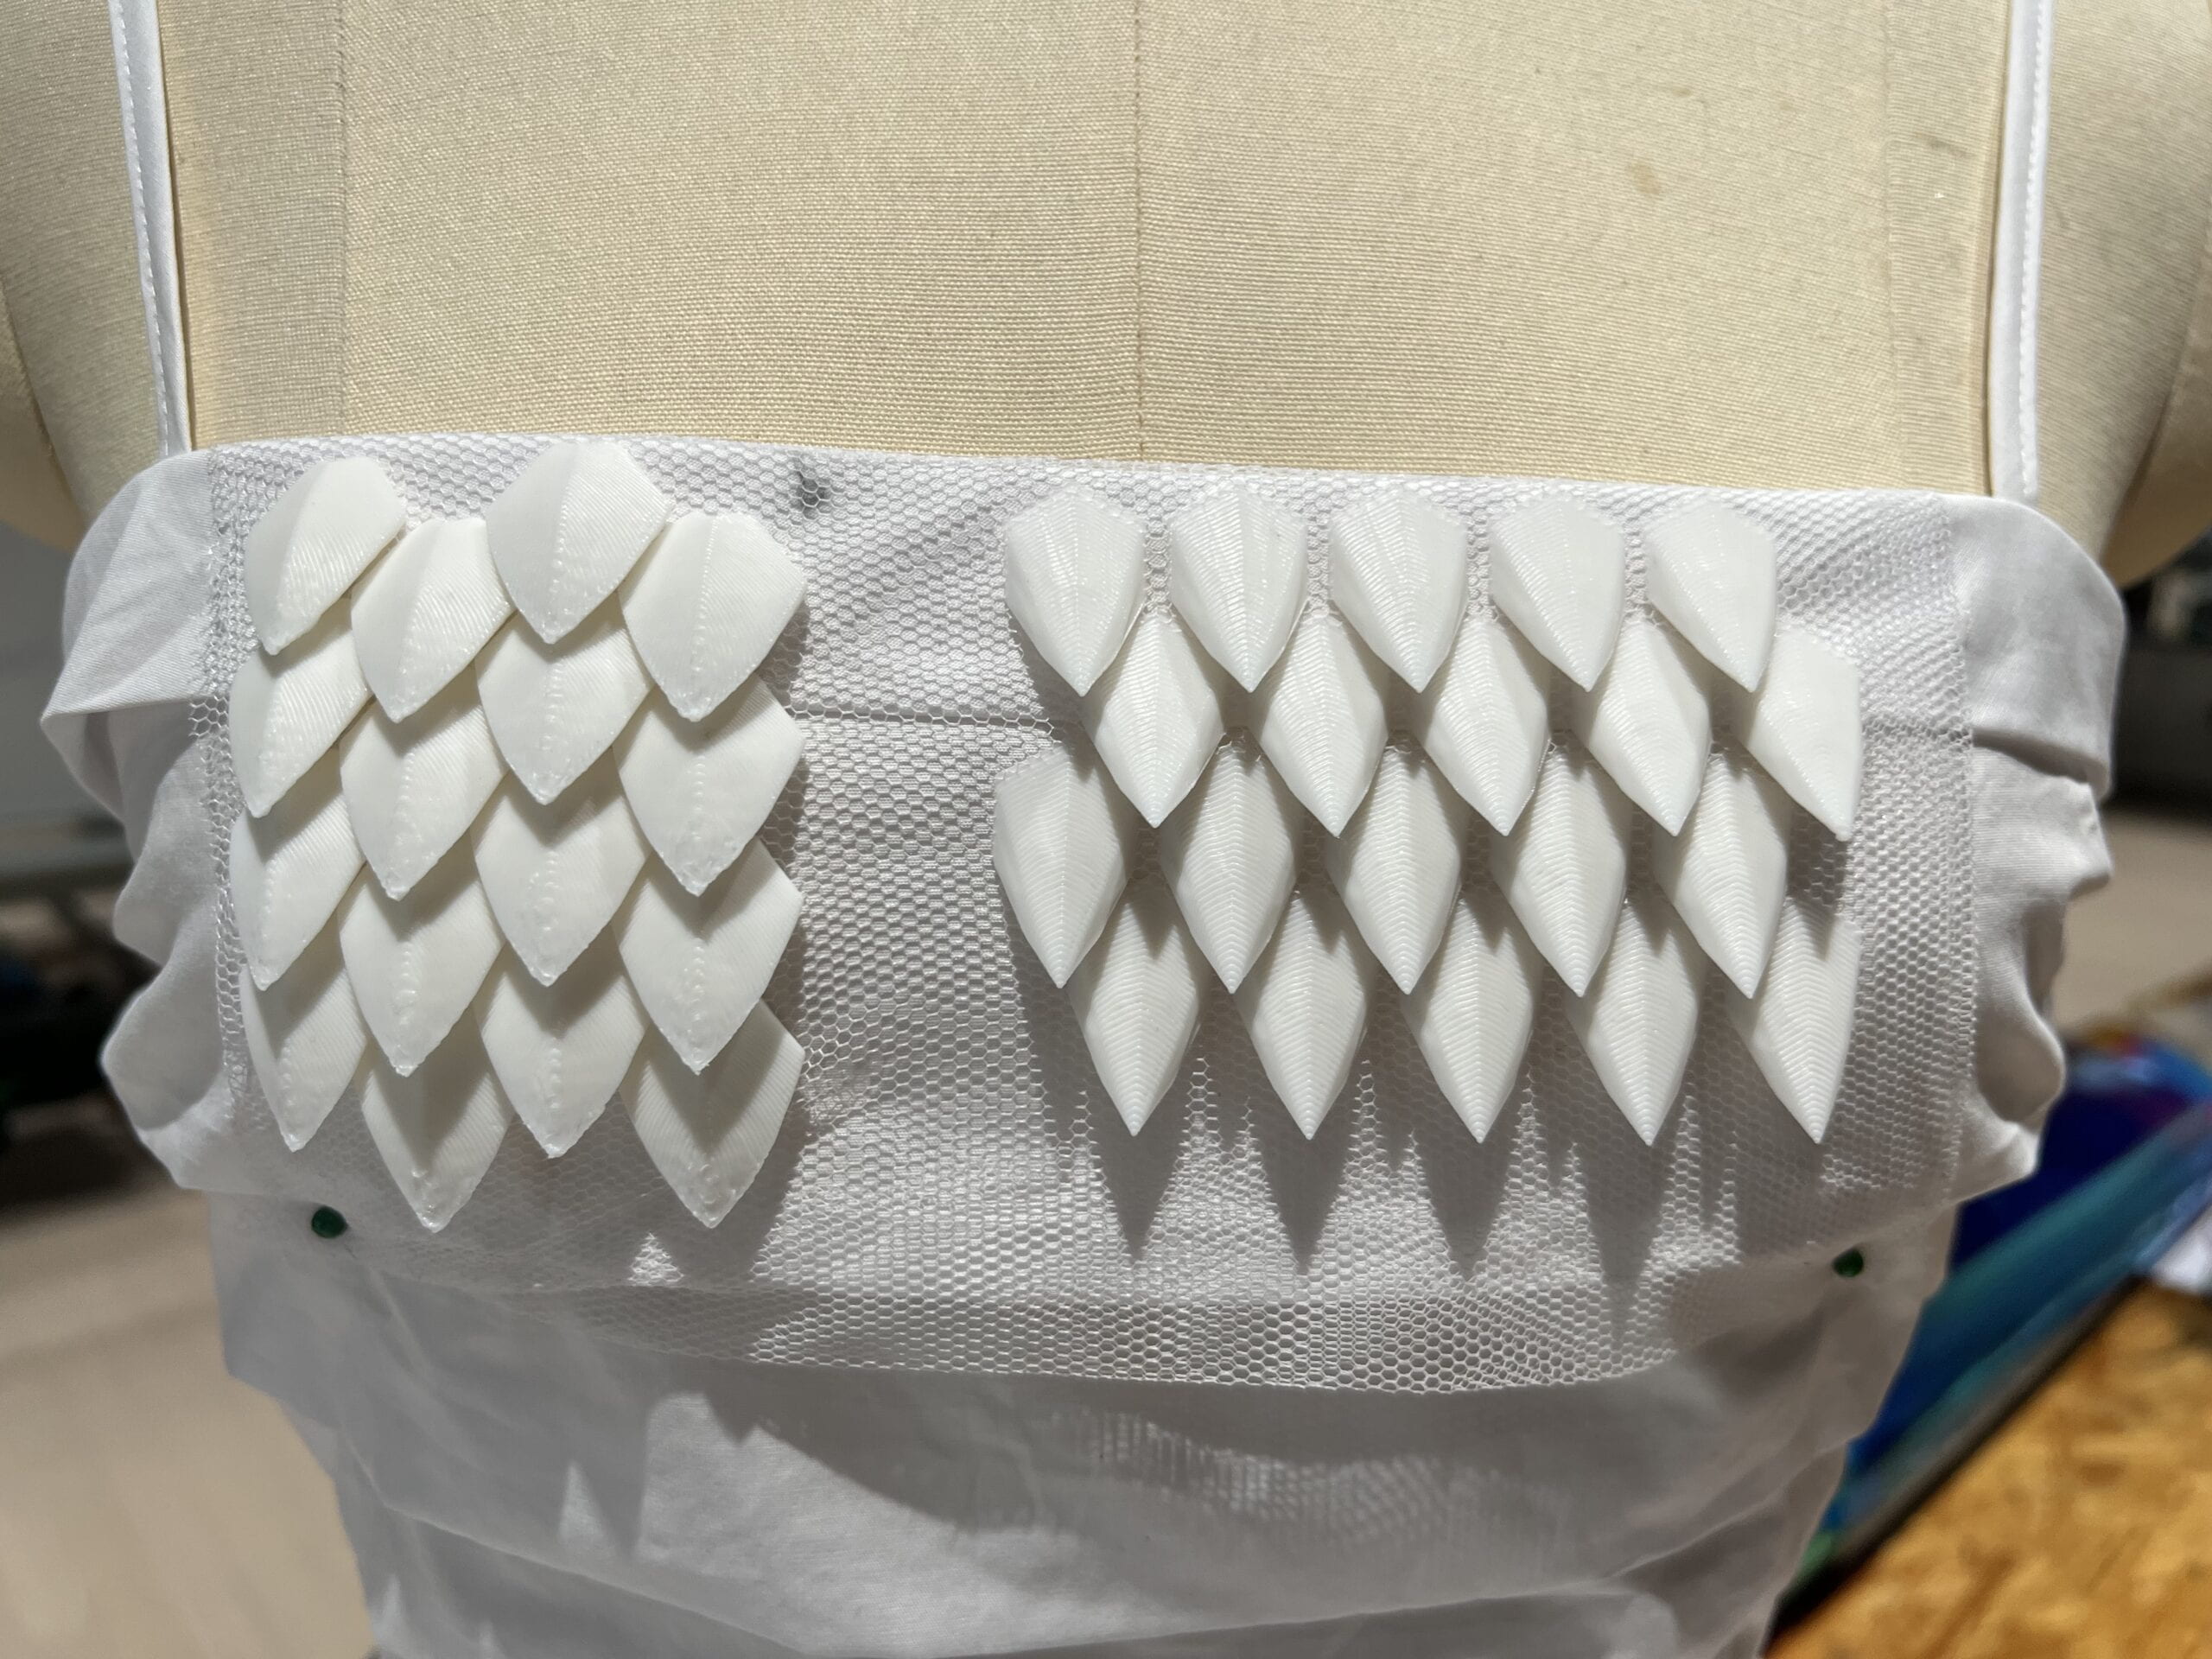
The scales look really good on the model, and we could print them into other colors and use them in our final project.