DIY Actuator
The circuit and codes for the actuator are not difficult, just taking advantage of the H bridge to change to positive and negative current in the actuator. The Arduino codes are intuitive too, which basically controls the frequency of changing currents. After connecting the circuit to the actuator, I found that the power adaptor was not required to make the actuator move, as the power from the Arduino broad is strong enough. But when connecting the actuator with something heavy, the power adaptor could help to strength the actuator up.

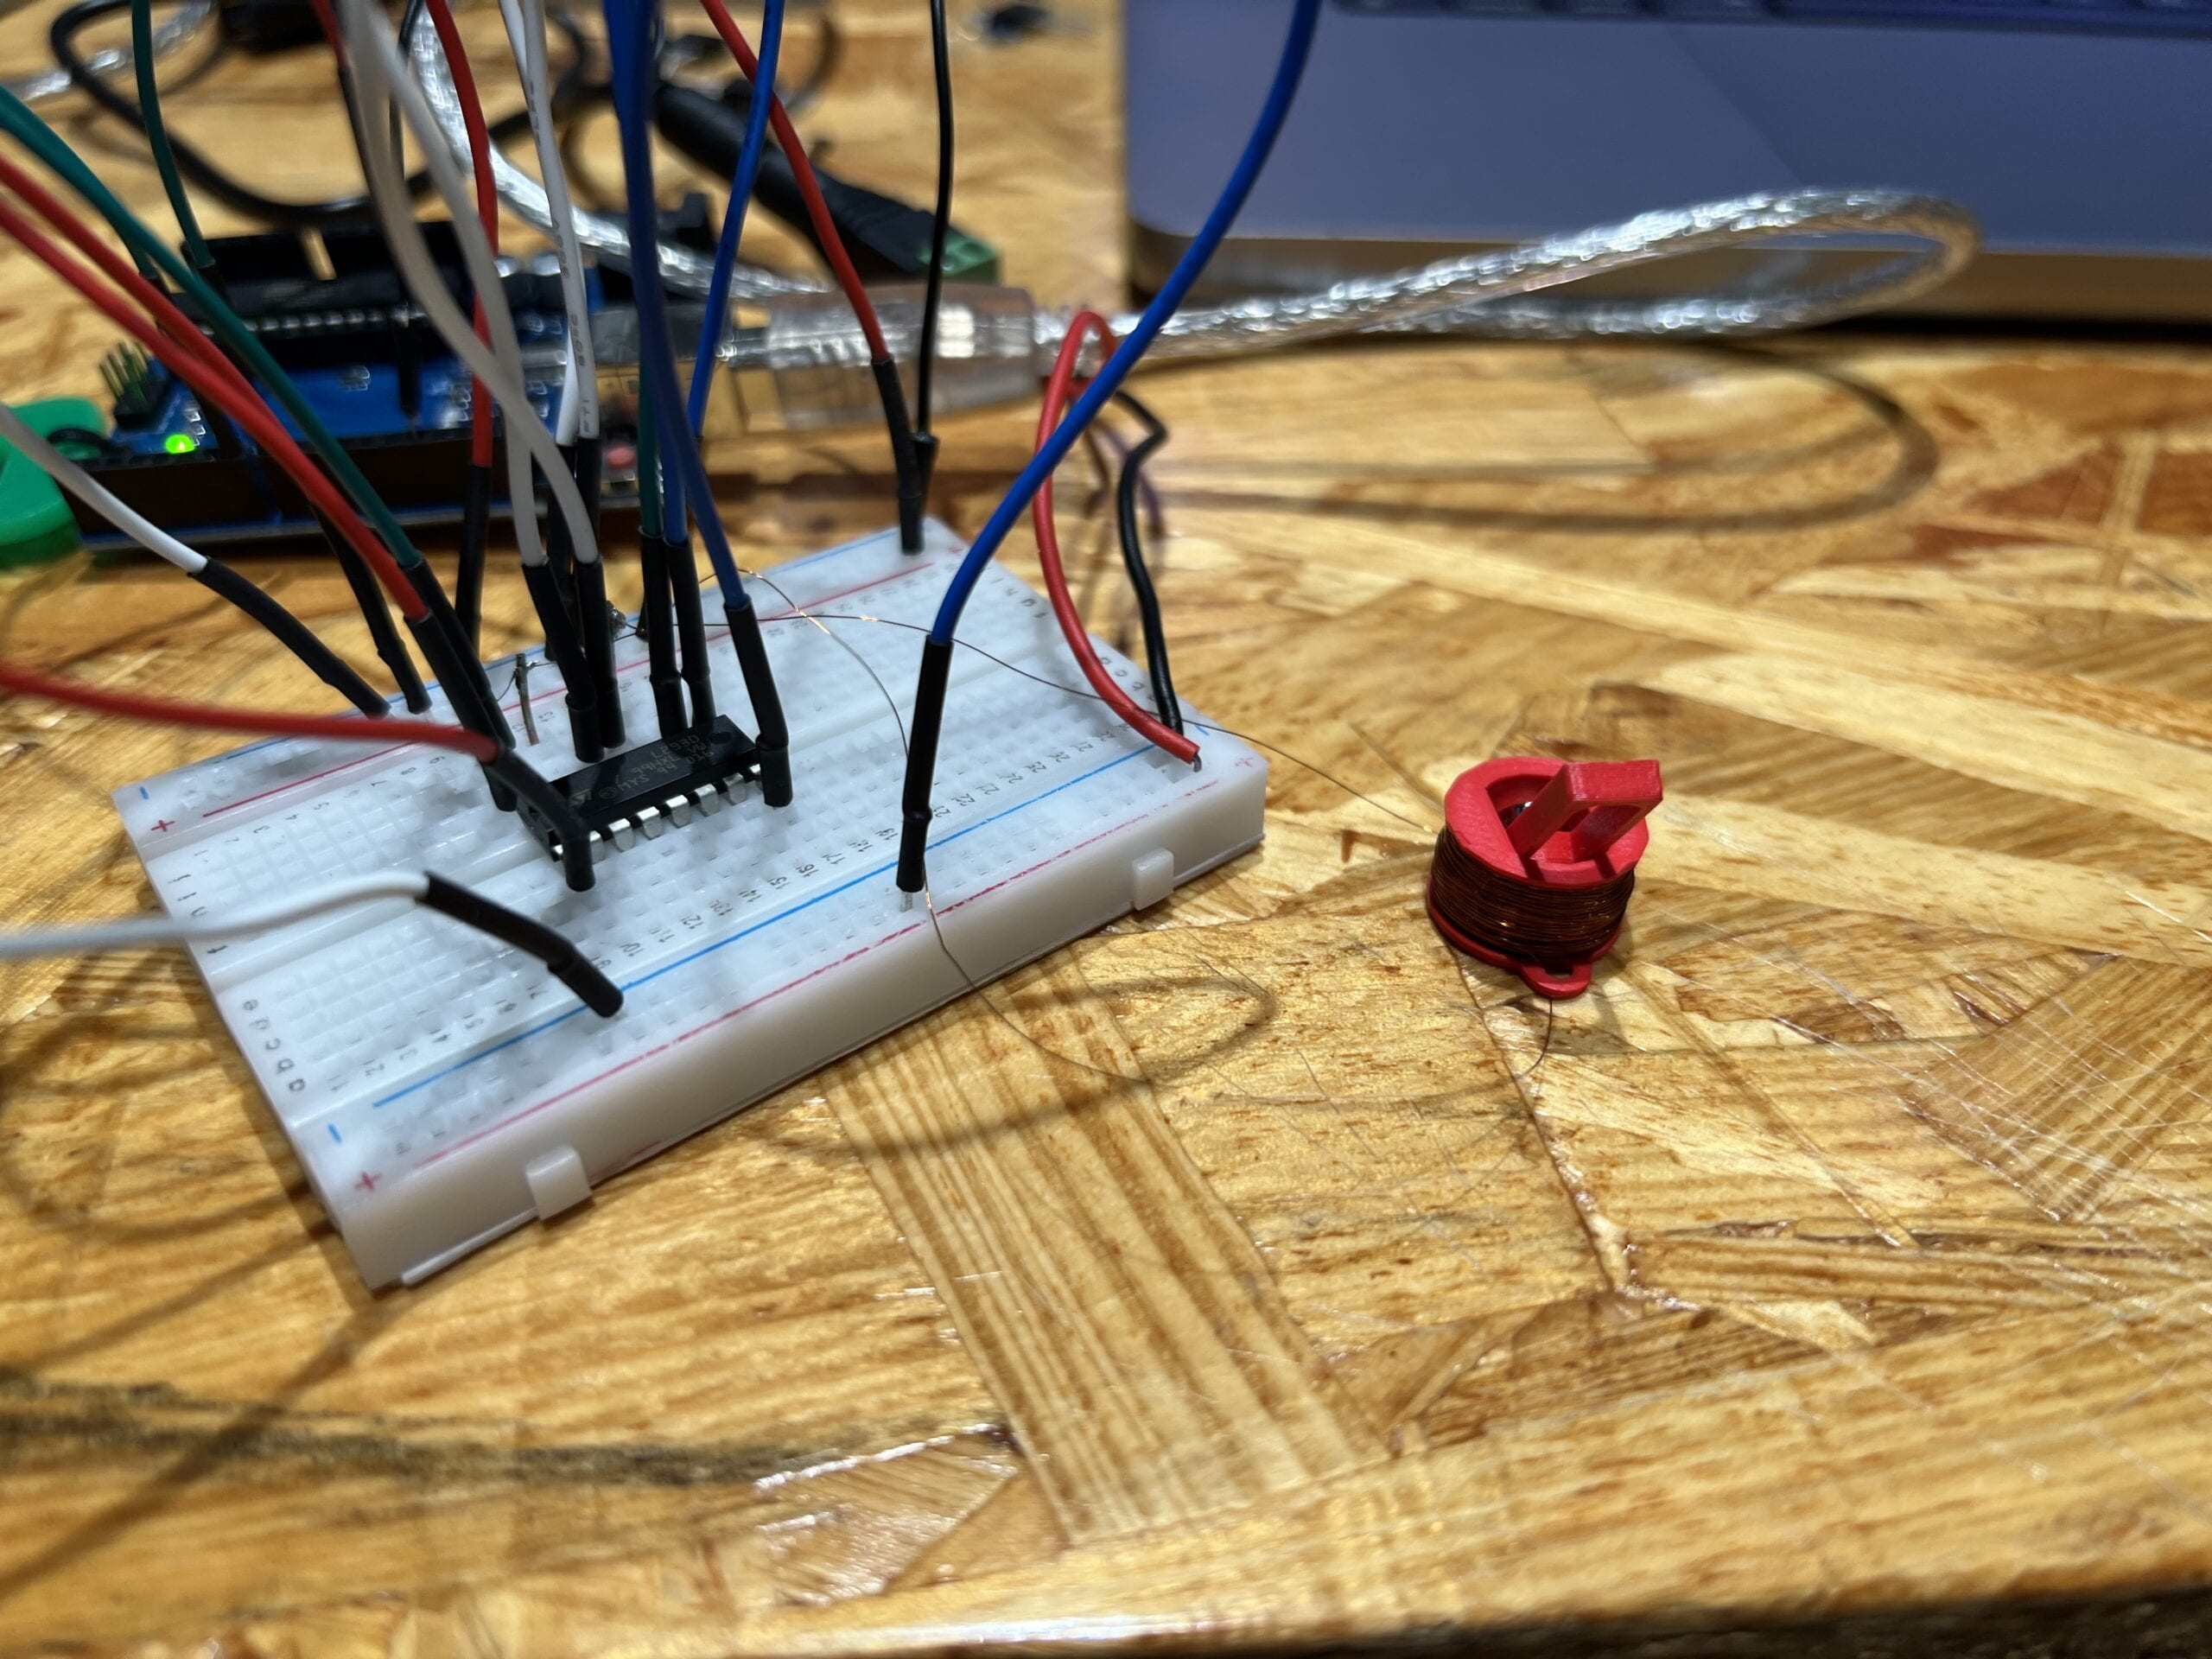
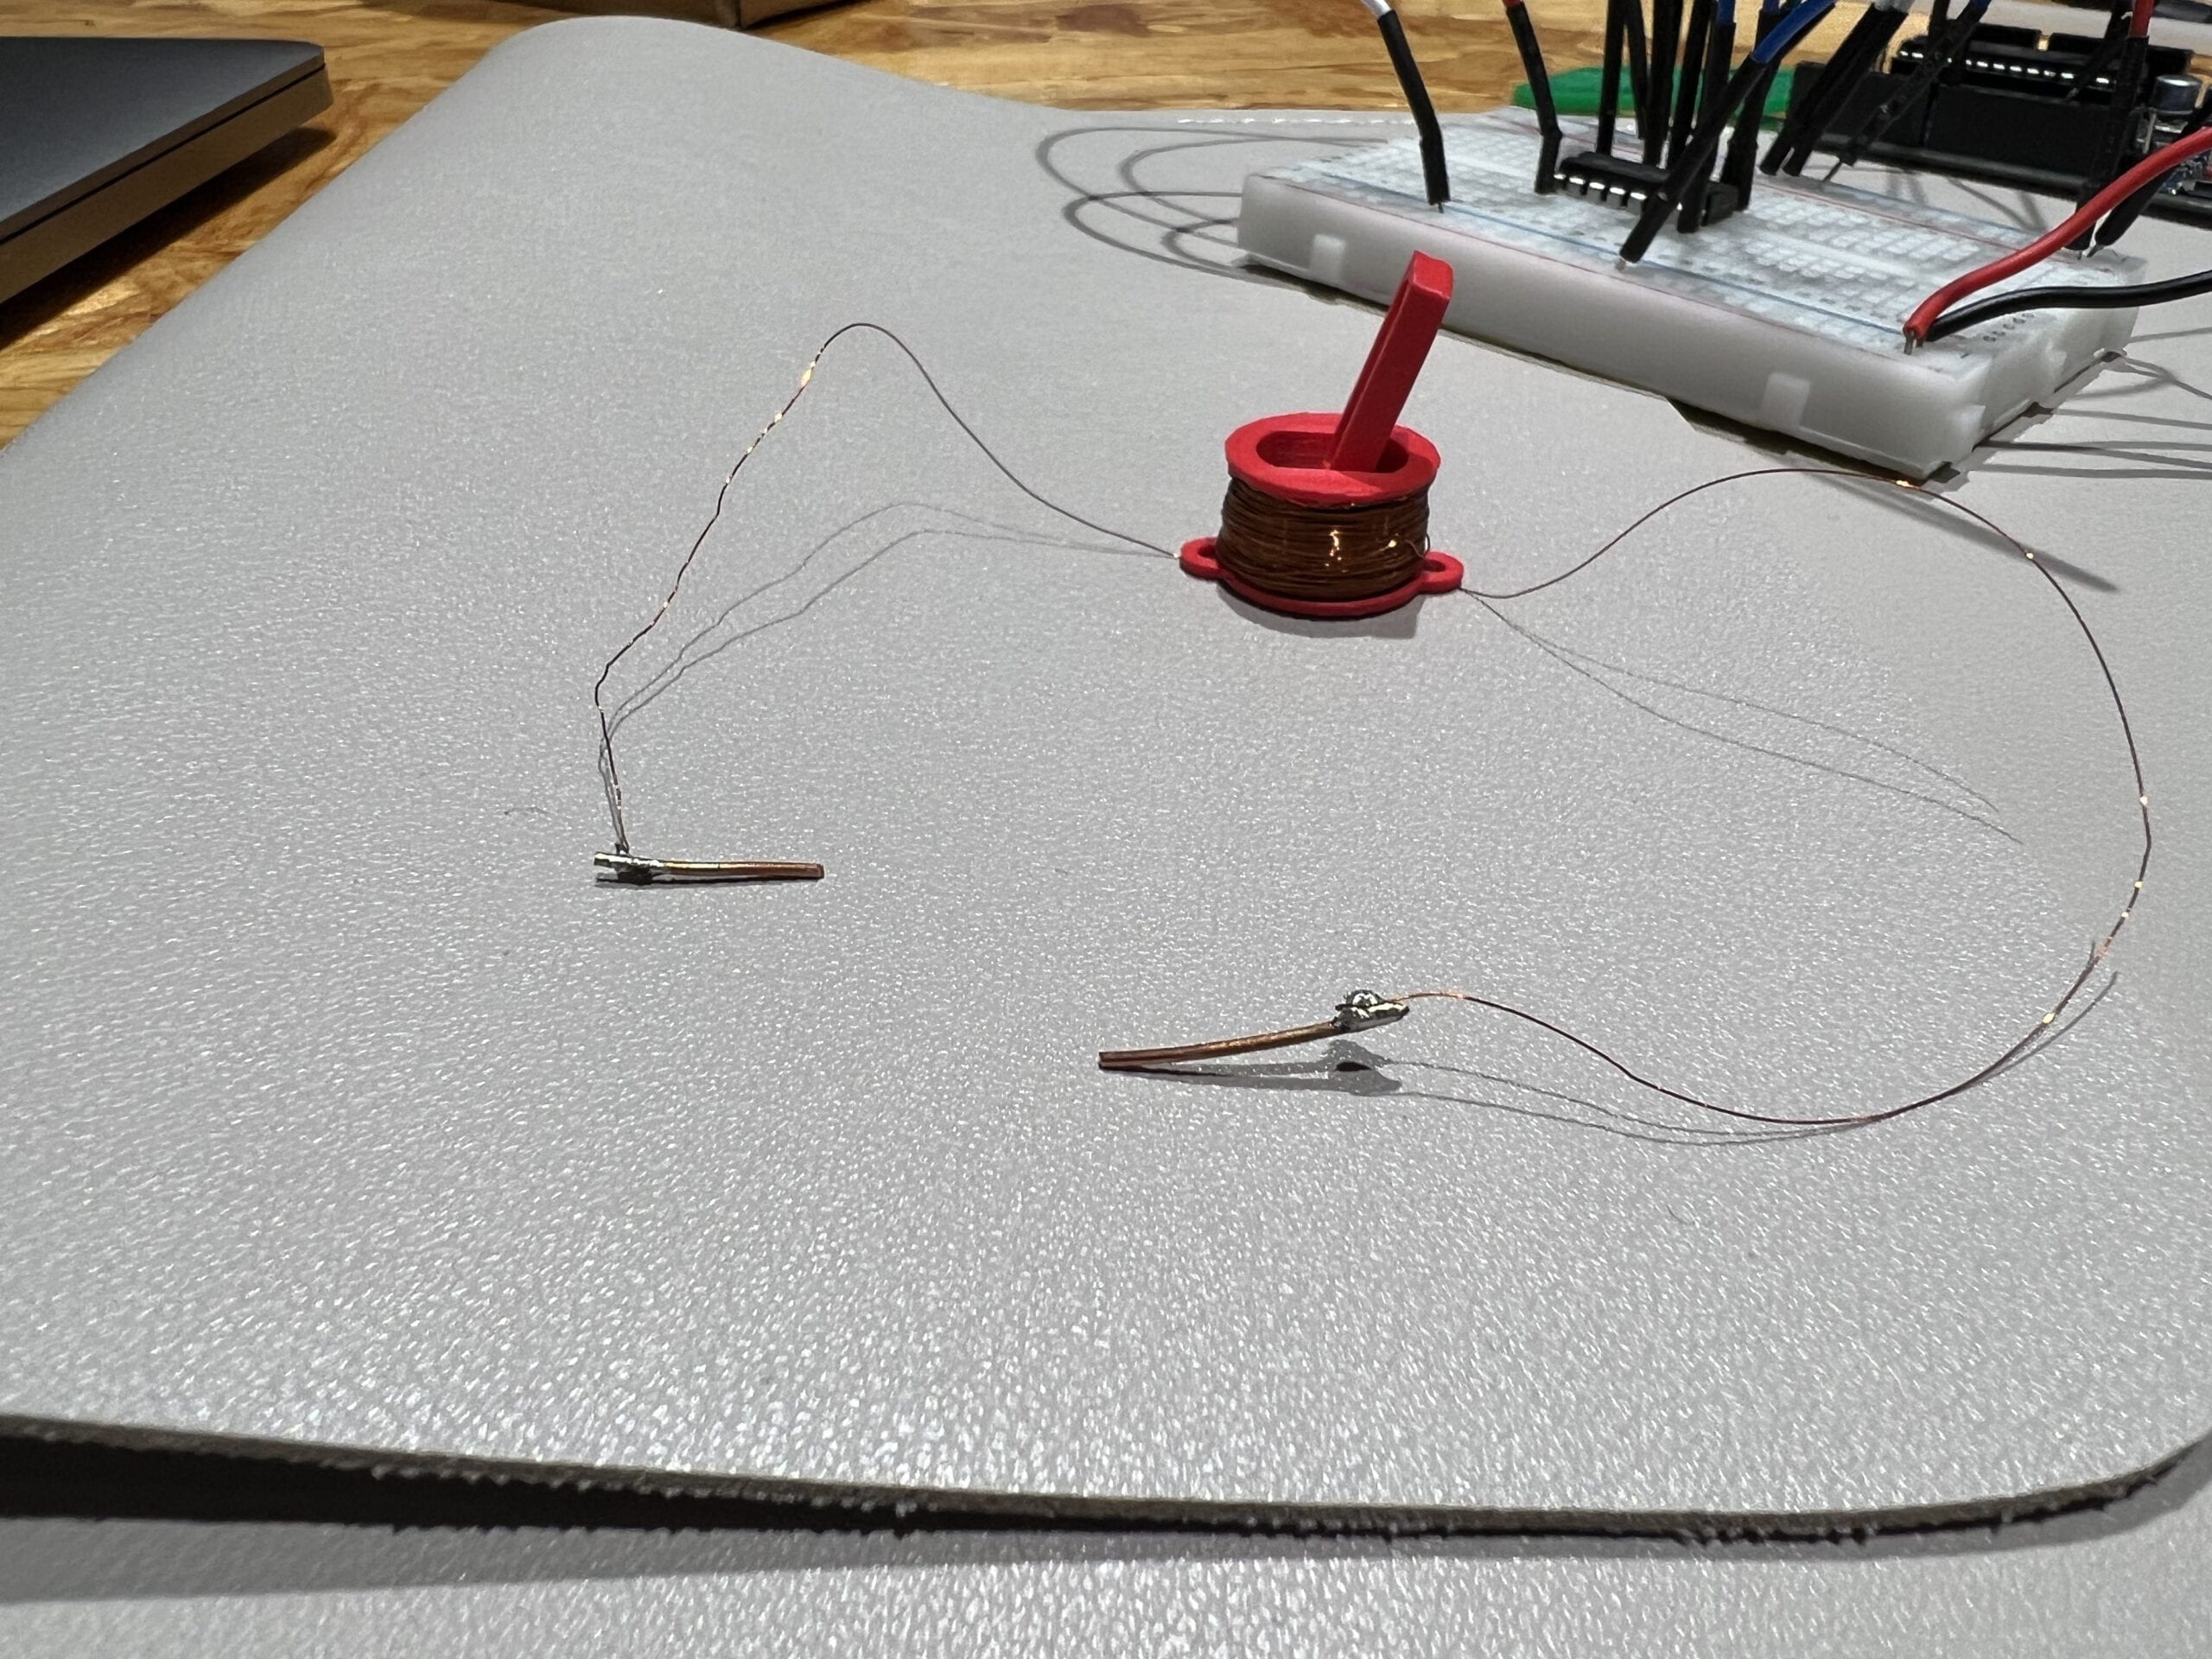
Building the actuator was a lot of fun. Following the instructions, the whole process was not difficult. I found it really brilliant to stuck wires into holes to stable the two 3D-printed pieces and to use the sewing machine to wrap the wires around.
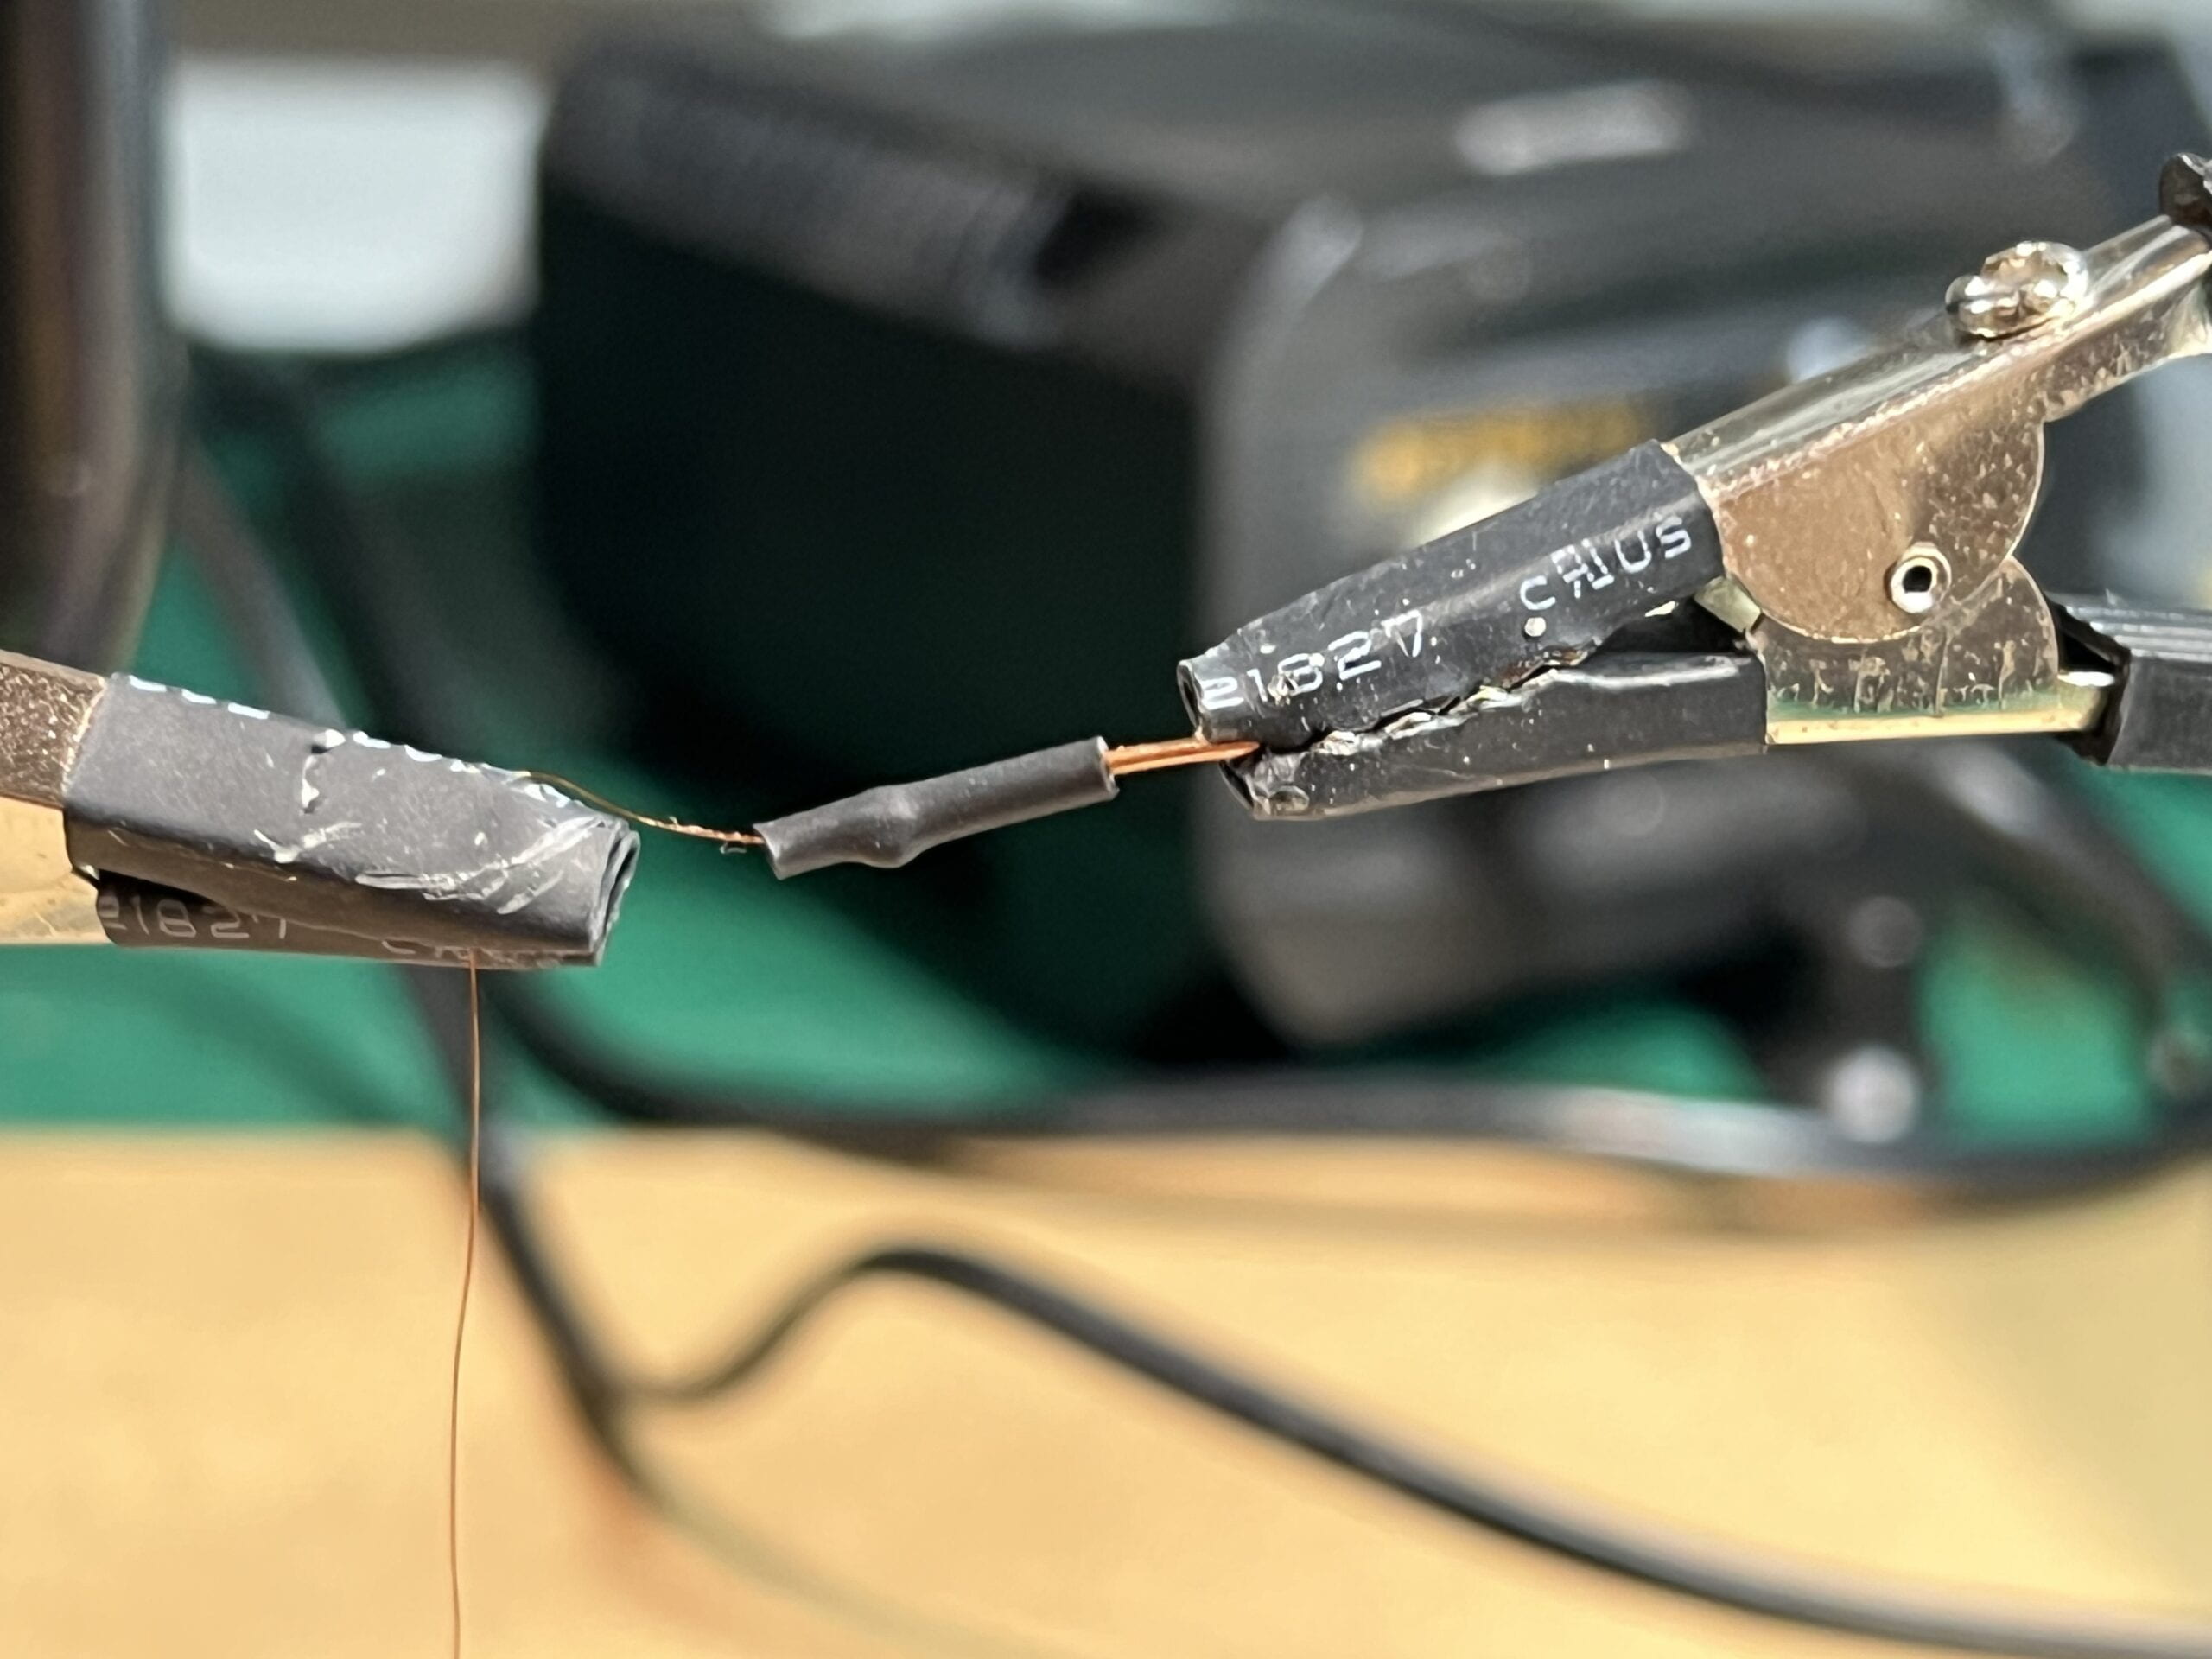
The most tricky part would be to solder the wires and connectors together, as the wires are so thin and fragile. After soldering those together, I tested the actuator on the circuit and it worked smoothly. Then I used the heat shrink tubes to cover the joints of the previously soldered parts, to make them more secure and less vulnerable.
Overall, the DIY actuator worked pretty well, as it turns whenever the current flow changes direction. Something to notice are that this actuator are not very
powerful to pull very heavy items, maybe enlarging the size could help that. Also that the wires could heat up when the current is relatively high (above 5V), so users should be careful not to hold the actuator by the wires when using it.
Mechanism
Rainee and I were attracted by several mechanisms showed in the slides, using strings to pull up and down pieces, as they resemble the movements of ocean creatures, specifically the fishing scales and other soft tissues.
We used the most basic materials to make some prototypes, including cardboards, TPU, and normal papers. We used hot glues and paper tapes to attach pieces together. We also tried to use acrylic boards to make the moving parts, however since acrylic are not able to bend, it would be harder to joint them together to the baseboard.
The mechanism worked pretty well when pulling by hands, pieces are able to be lifted up with pulling the string. Then I tried to use the DIY actuator, and I faced two major difficulties. One is that the actuator is not powerful enough to pull the rather heavy string. Even when giving it hight voltage, the actuator itself is too light weighted. The other problem is that the actuator could only pull the string for a very short distance, as such distance is decided by the length of the actuator arm. Enlarging the size might be able to solve these problems, but I think other motors, such as DC motors and stepper motors might also be able to finish the task.
One other mechanism we tried are to use strings to bend a strip shaped “bone” that are structured by several acrylic pieces joint together so that each of them could rotate. The mechanism itself worked pretty well, with the minor problem of fixing the joint to a certain degree that it would neither be too loose to bend itself, nor to0 tight to be pulled by strings.
Further exploration of the mechanism and motors are documented in the next blog post for project 2, the kinetic prototype.
int pin1 = 7;
int pin2 = 8;
int d = 500;

void setup() {
  // put your setup code here, to run once:
  Serial.begin(9600);
  pinMode(pin1, OUTPUT);
  pinMode(pin2, OUTPUT);
}

void loop() {
 //  put your main code here, to run repeatedly:
  digitalWrite(pin1, HIGH);
  digitalWrite(pin2, LOW);
  delay(d);
  digitalWrite(pin1, LOW);
  digitalWrite(pin2, HIGH);
  delay(d);
}