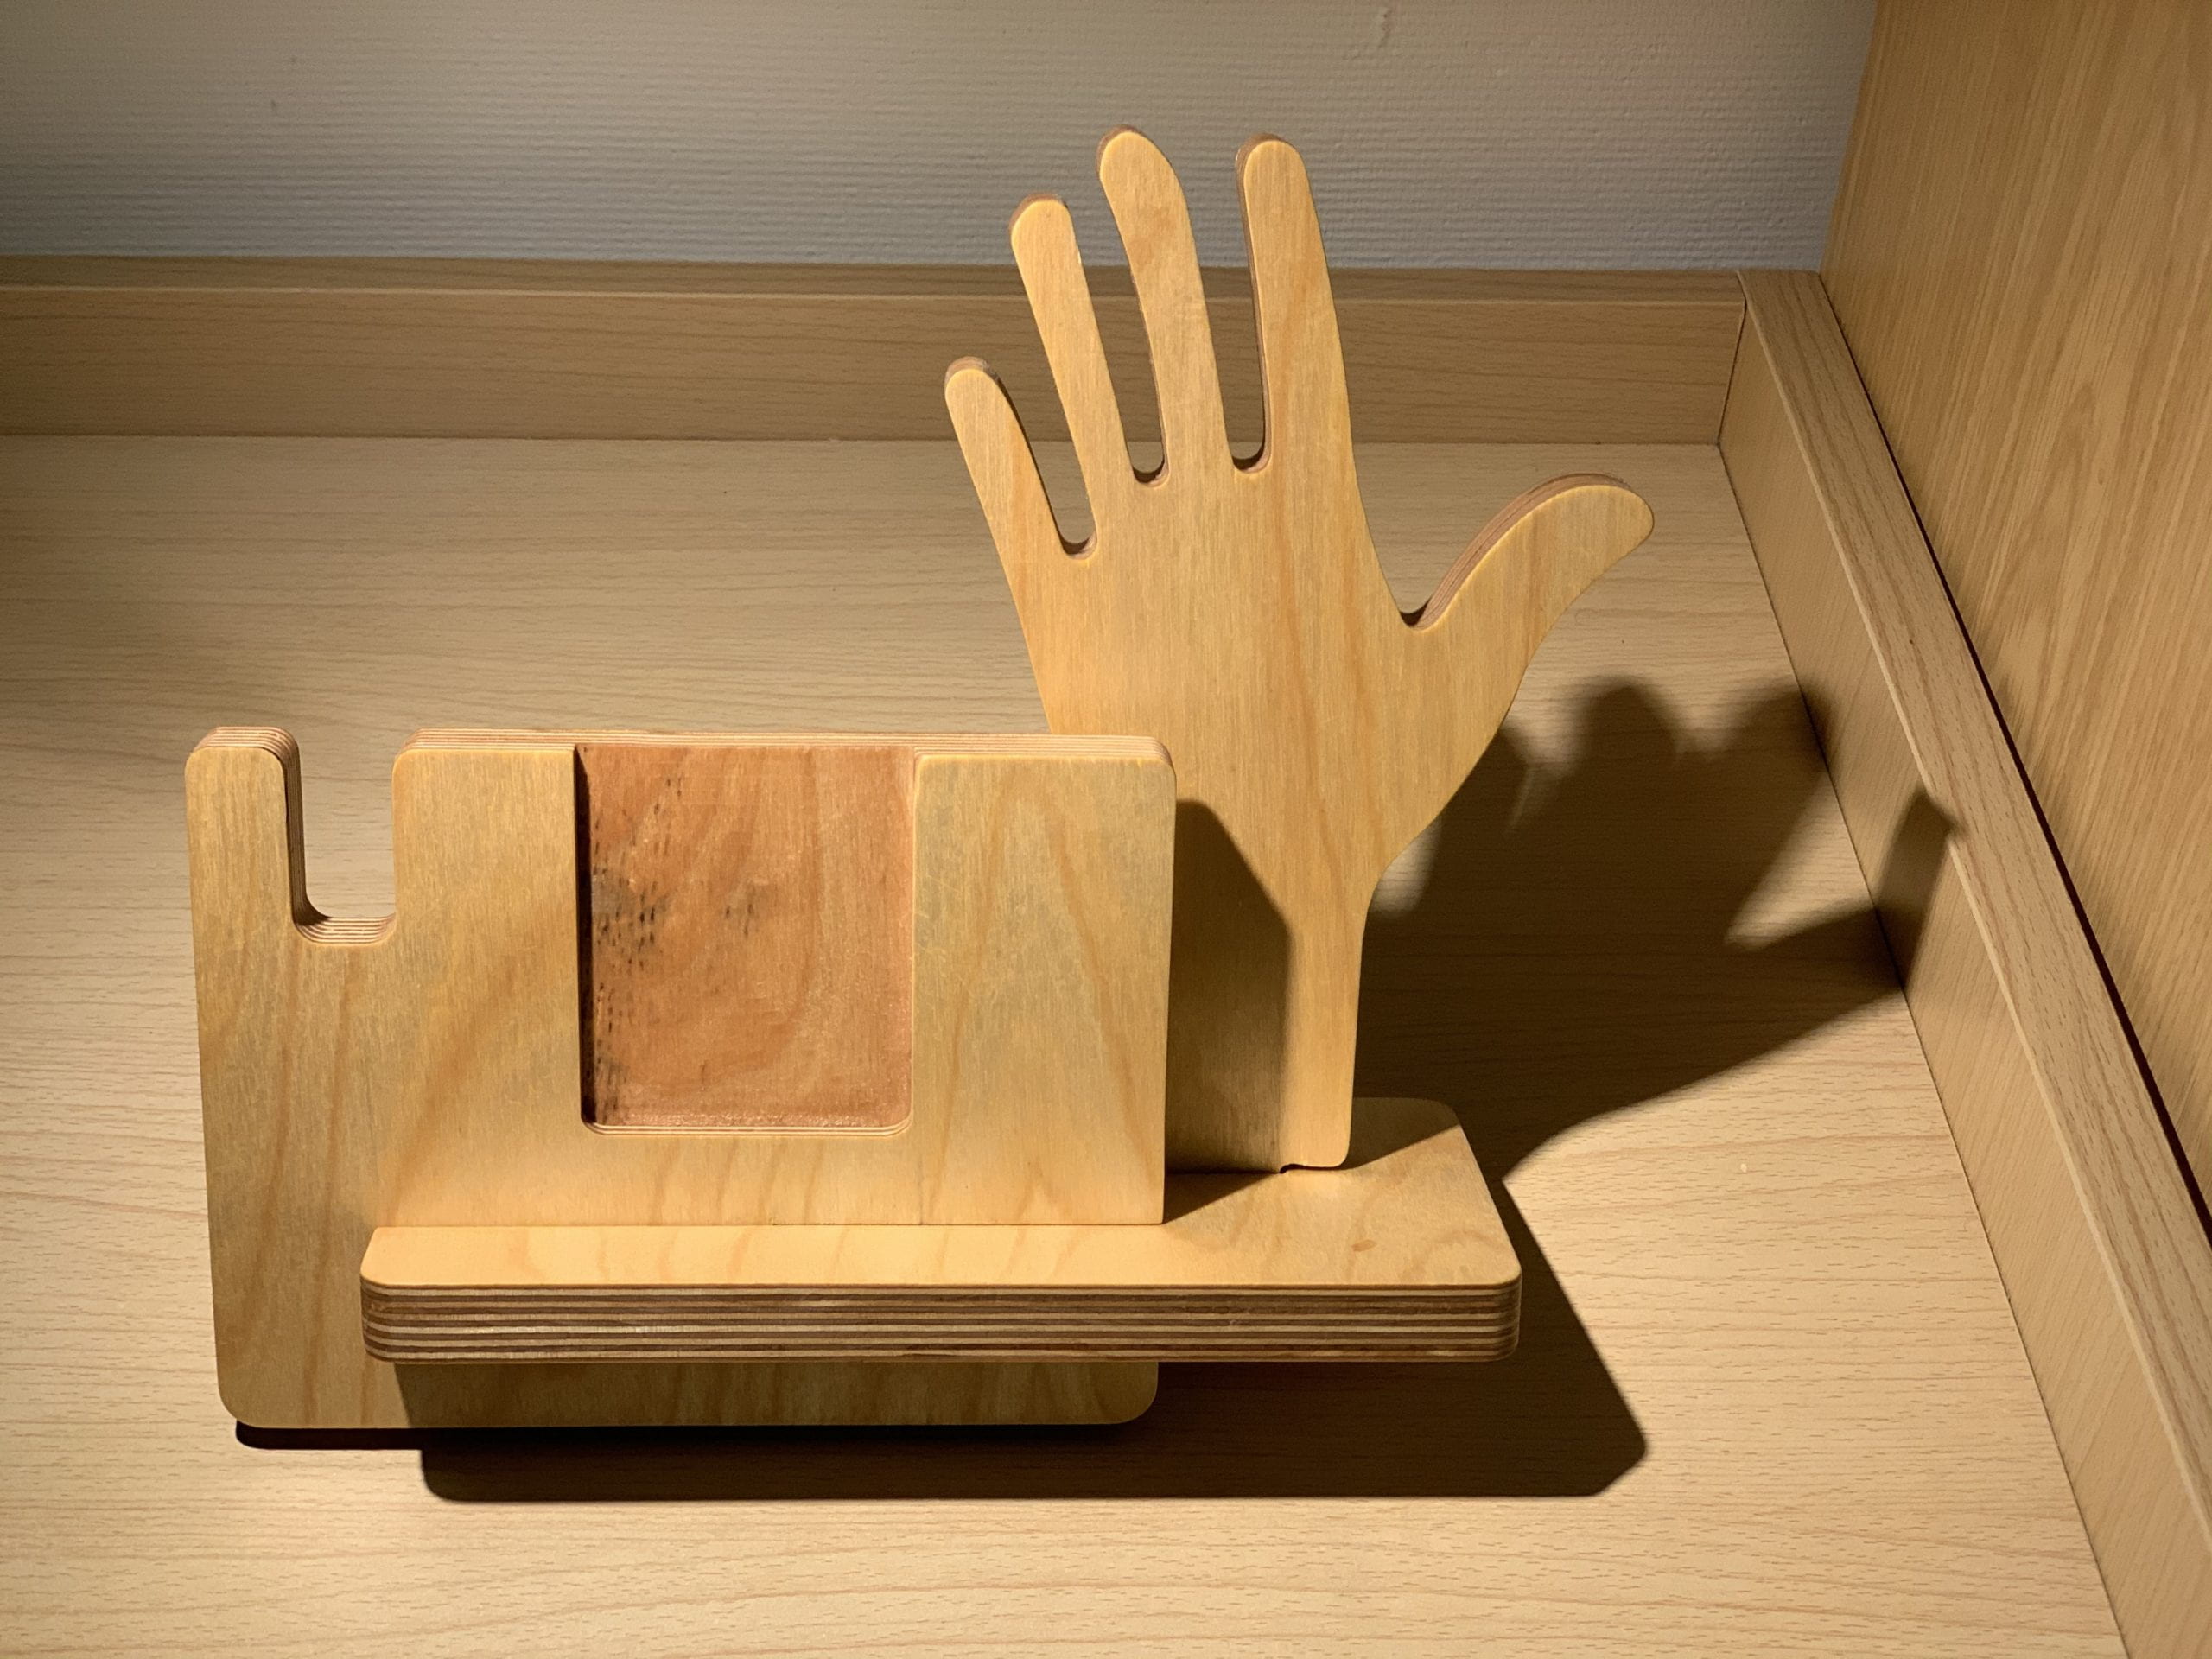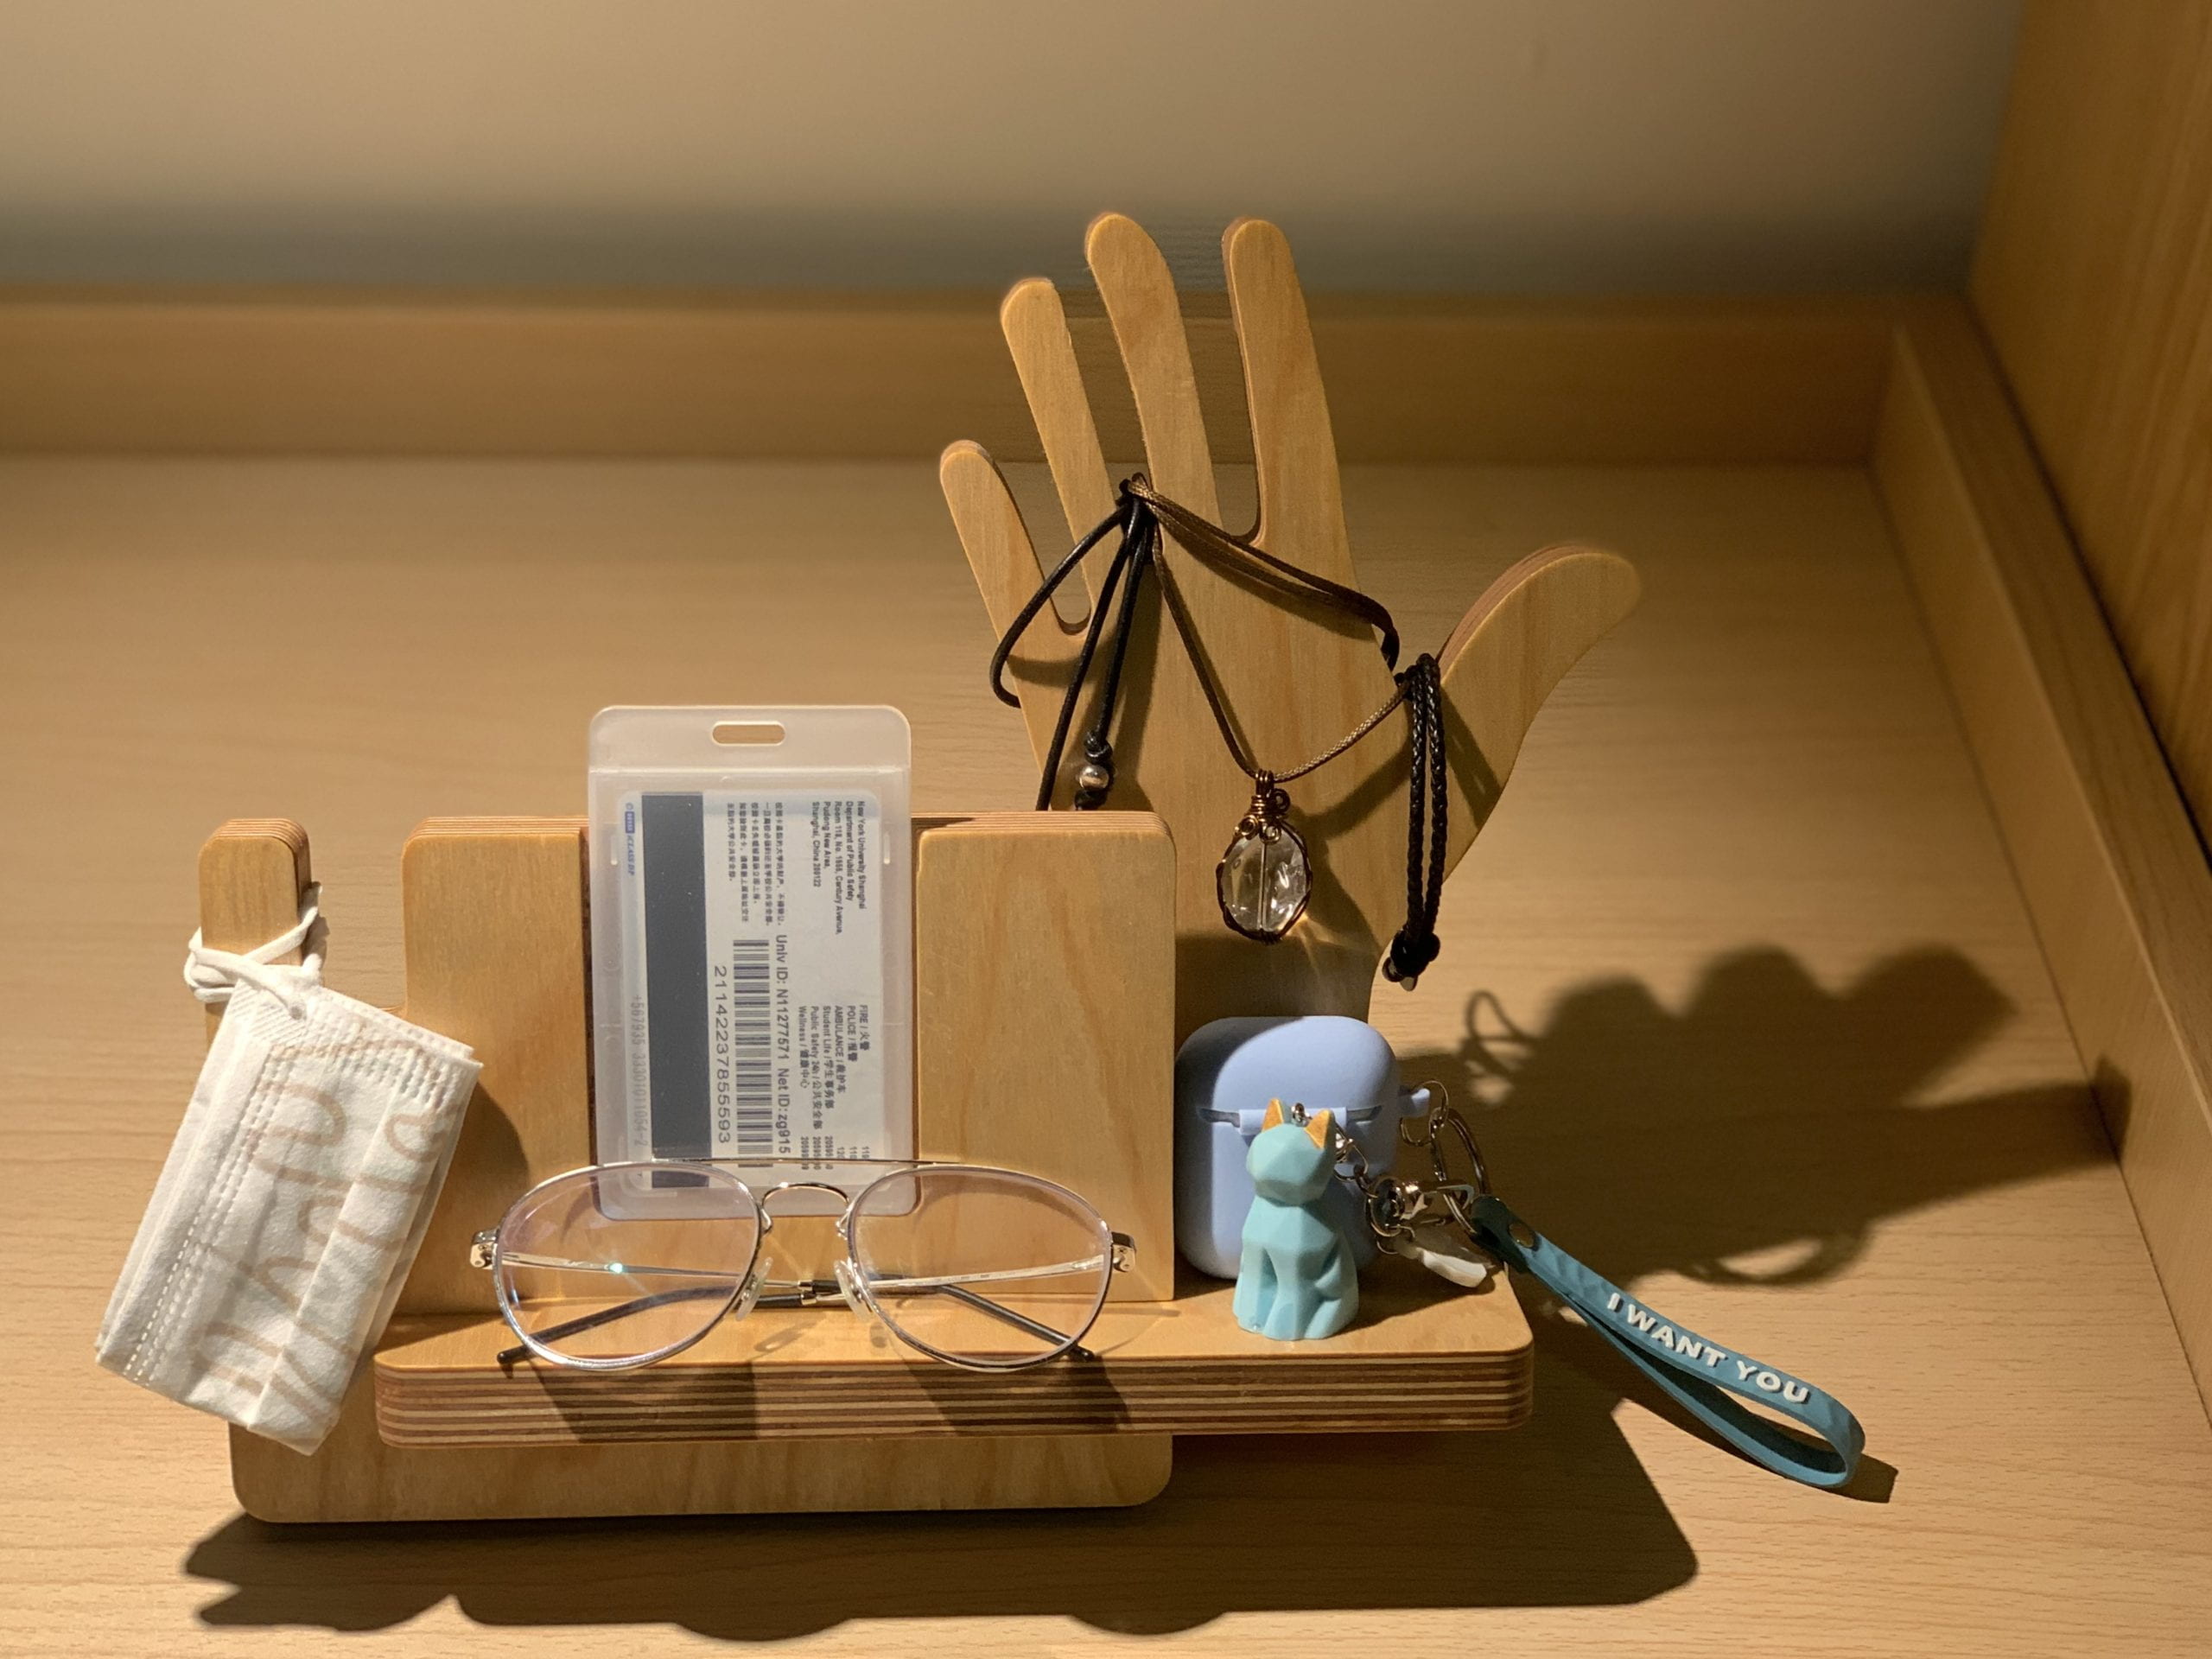
This project of the small object stand is about using the CNC machine to create a stand holding some small personal items. I used the adobe illustrator to create the shape and CNC to cut the wood piece. I then sand the piece and add finishing onto it.
Design
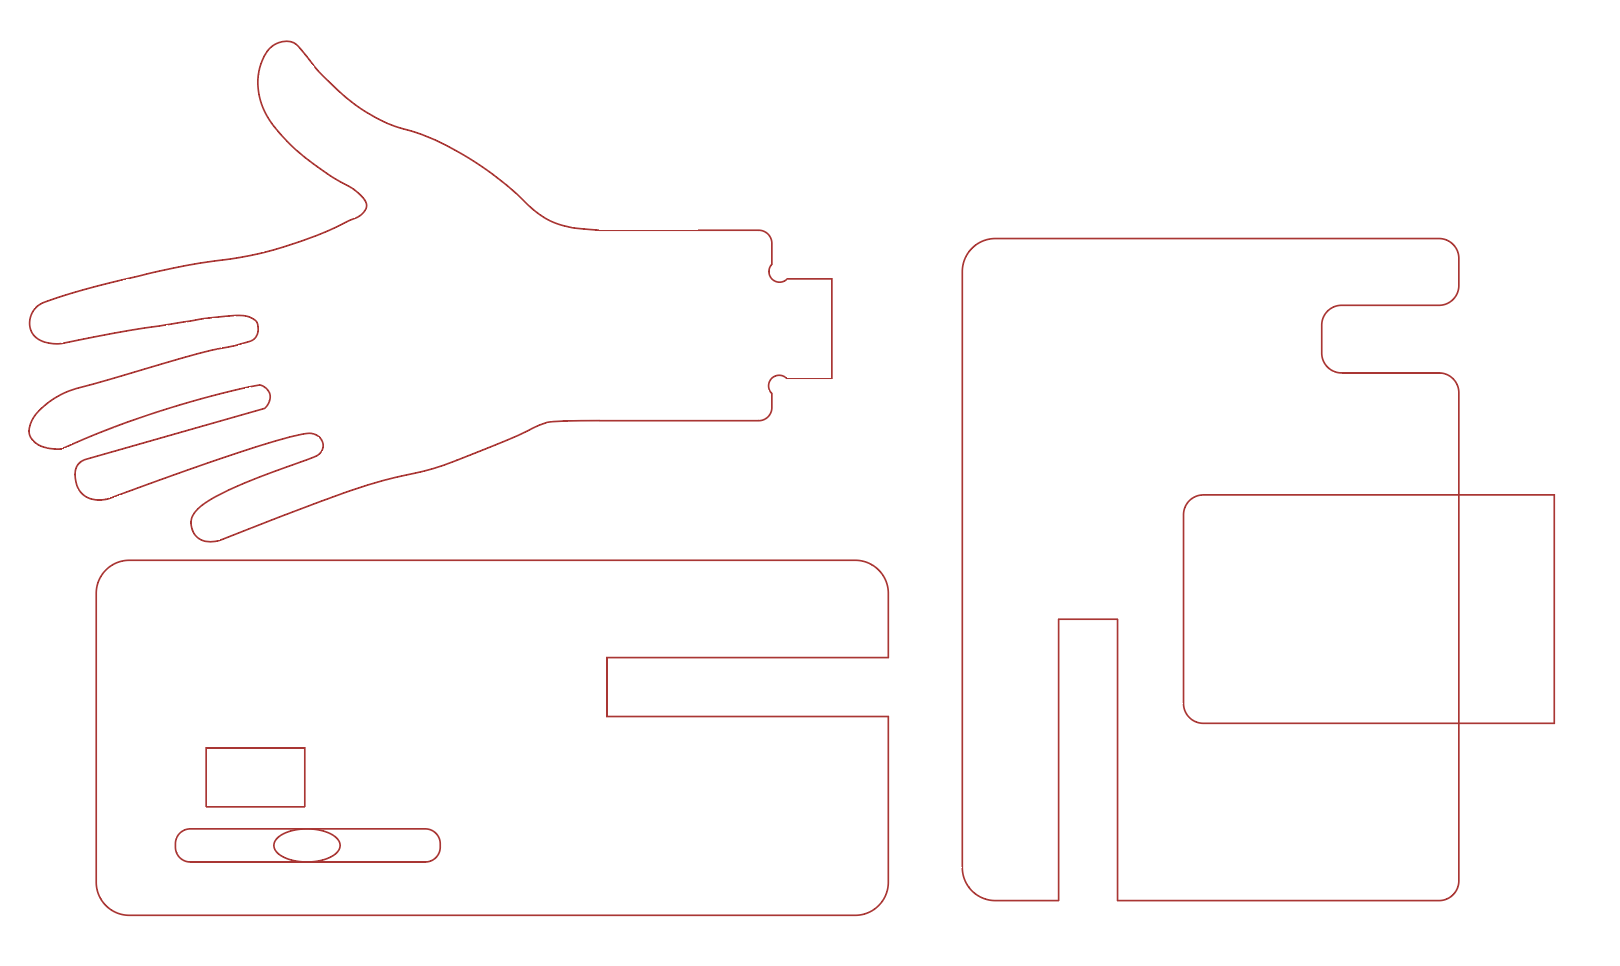
I designed the wood piece to hold my phone, ID card, glasses, mask and some other like rings or necklace. I’m inspired by two similar wood piece from the Internet.
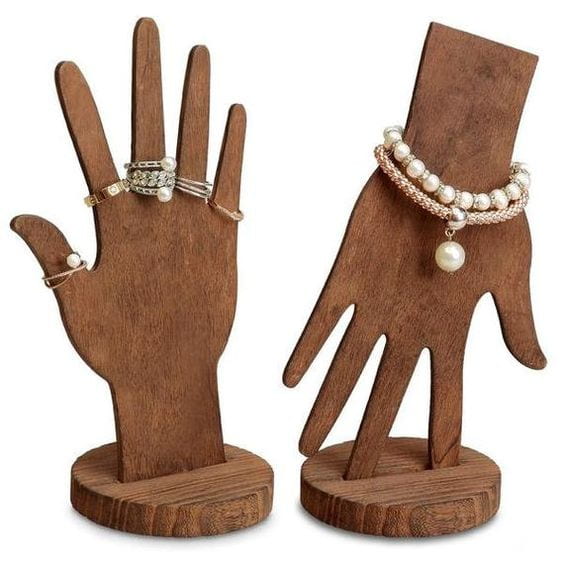
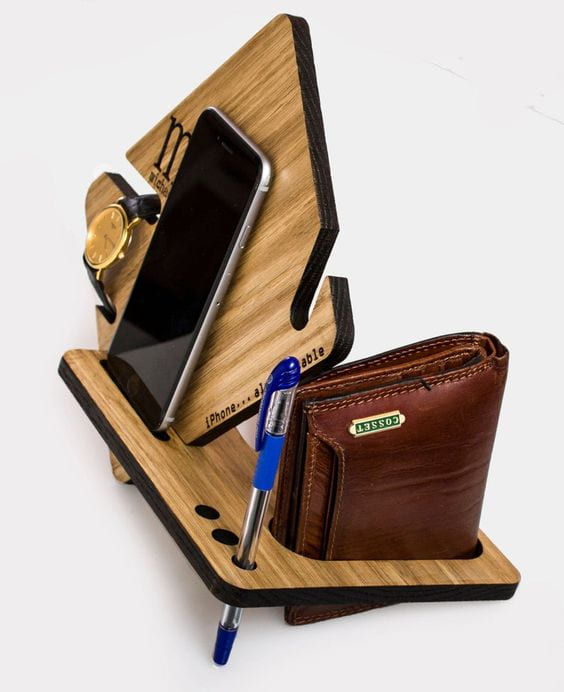
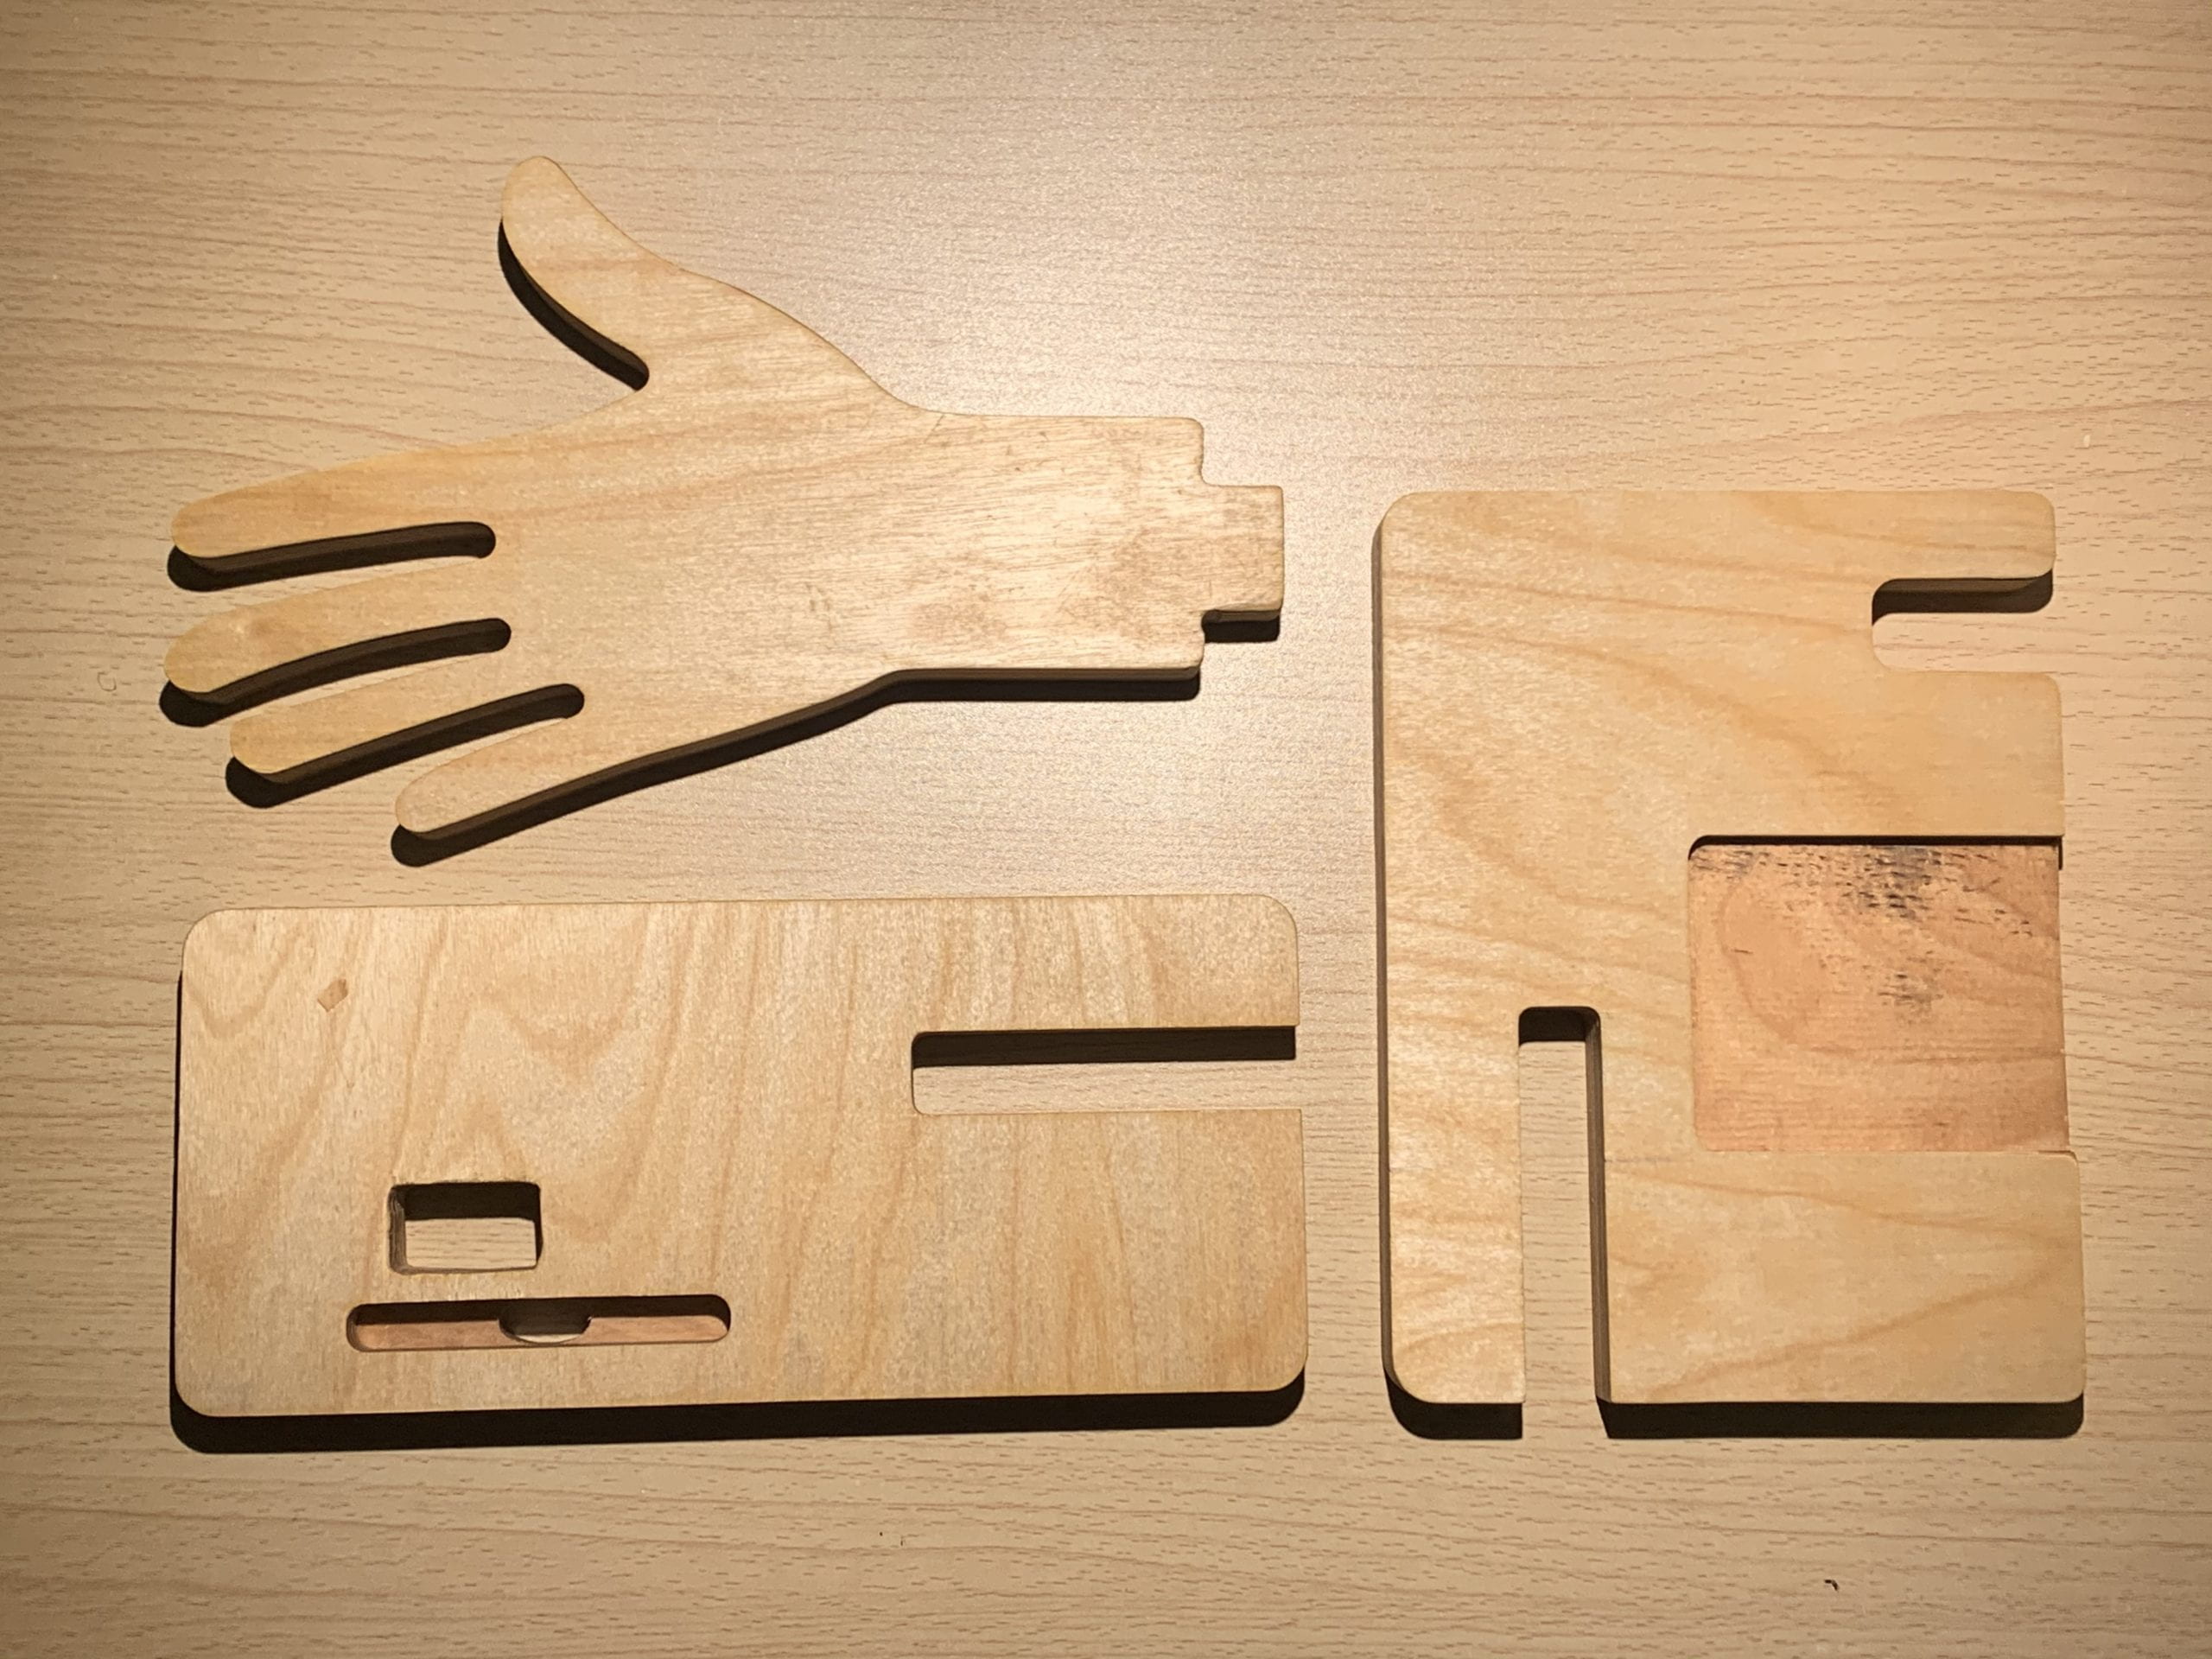
Thus, I decided to cut the shape of a hand and insert it on my object stand. I measured the size of the objects and use adobe illustrator to design the piece. I created the piece with the exact size so that my objects could fit. For the joint, I reduced a 0.2mm in order for the pieces to join together tightly.
Fabrication
CNC is used to cut out the shape of my piece. CNC is a quite powerful machine that I could directly get the piece of wood from what I designed on the computer. However, this CNC is actually not so easy to use and I met quite a few problems during this process.
It takes a long time to set up the CNC, involving creating each cut, initializing the position, fix the wood used for cutting and so on, which makes the CNC a bit time-consuming.
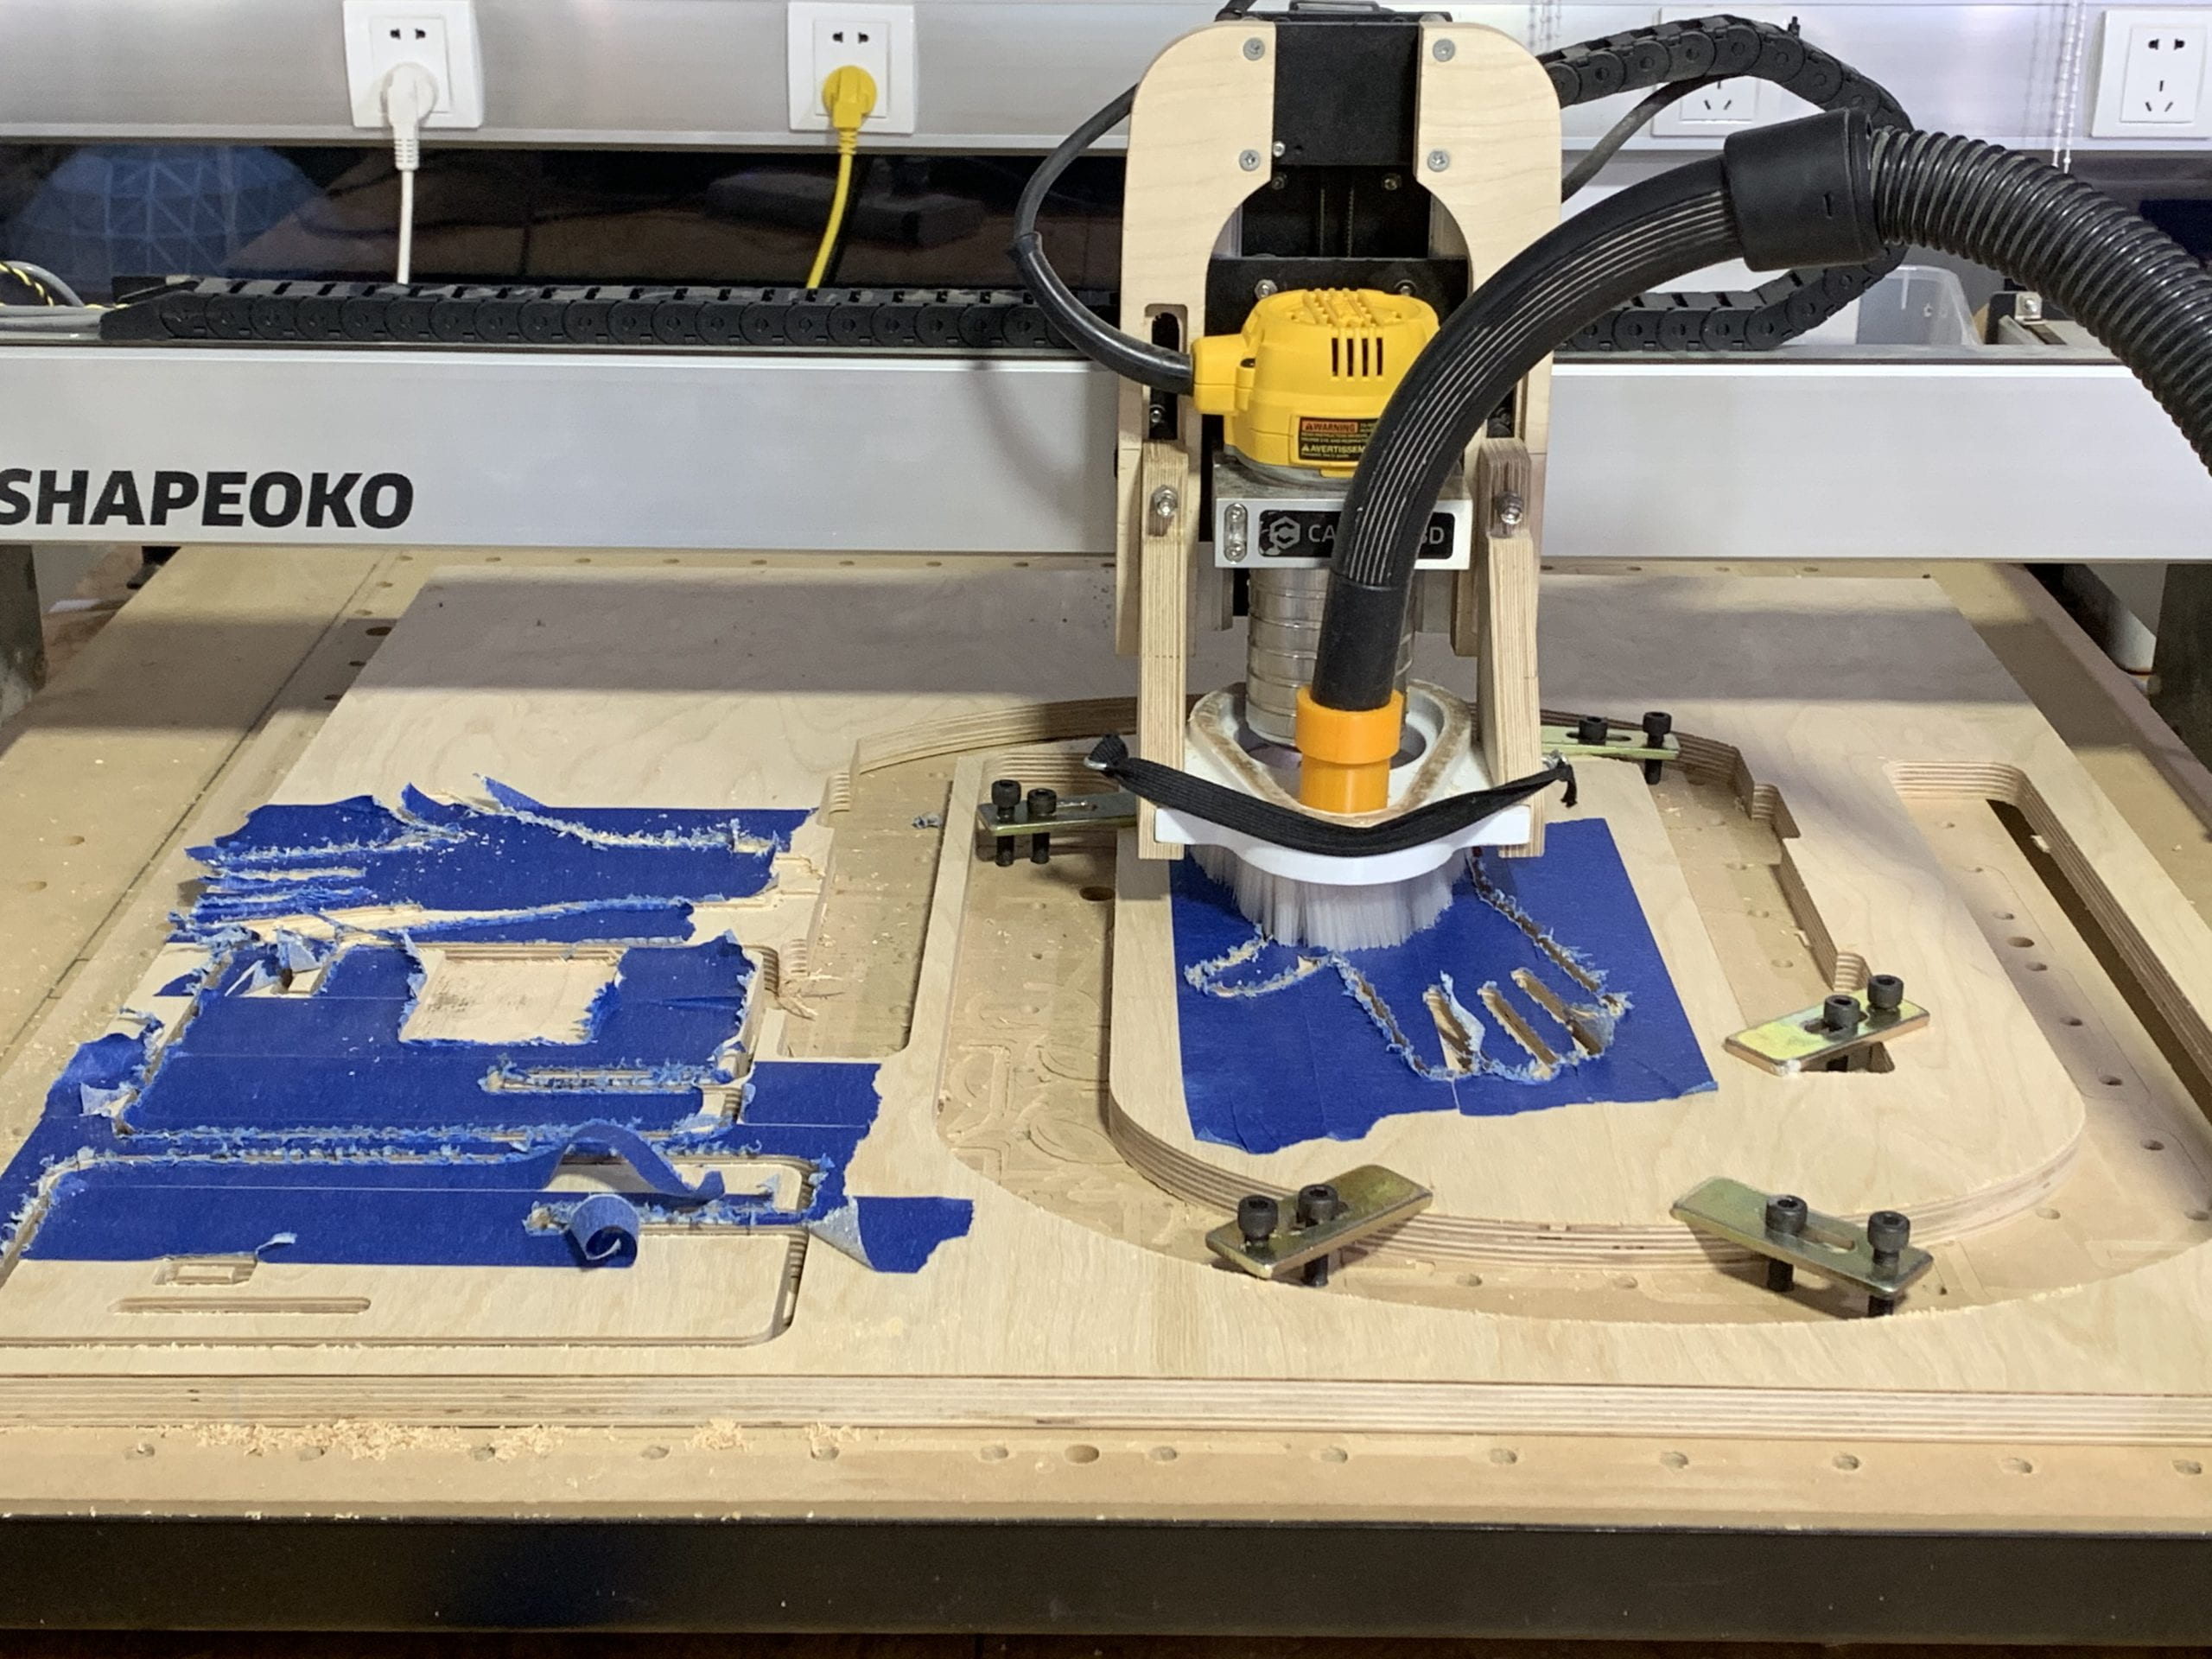
After setting up everything on the computer and initializing the machine, I covered the wood with blue tape so that it would not tear out so much.
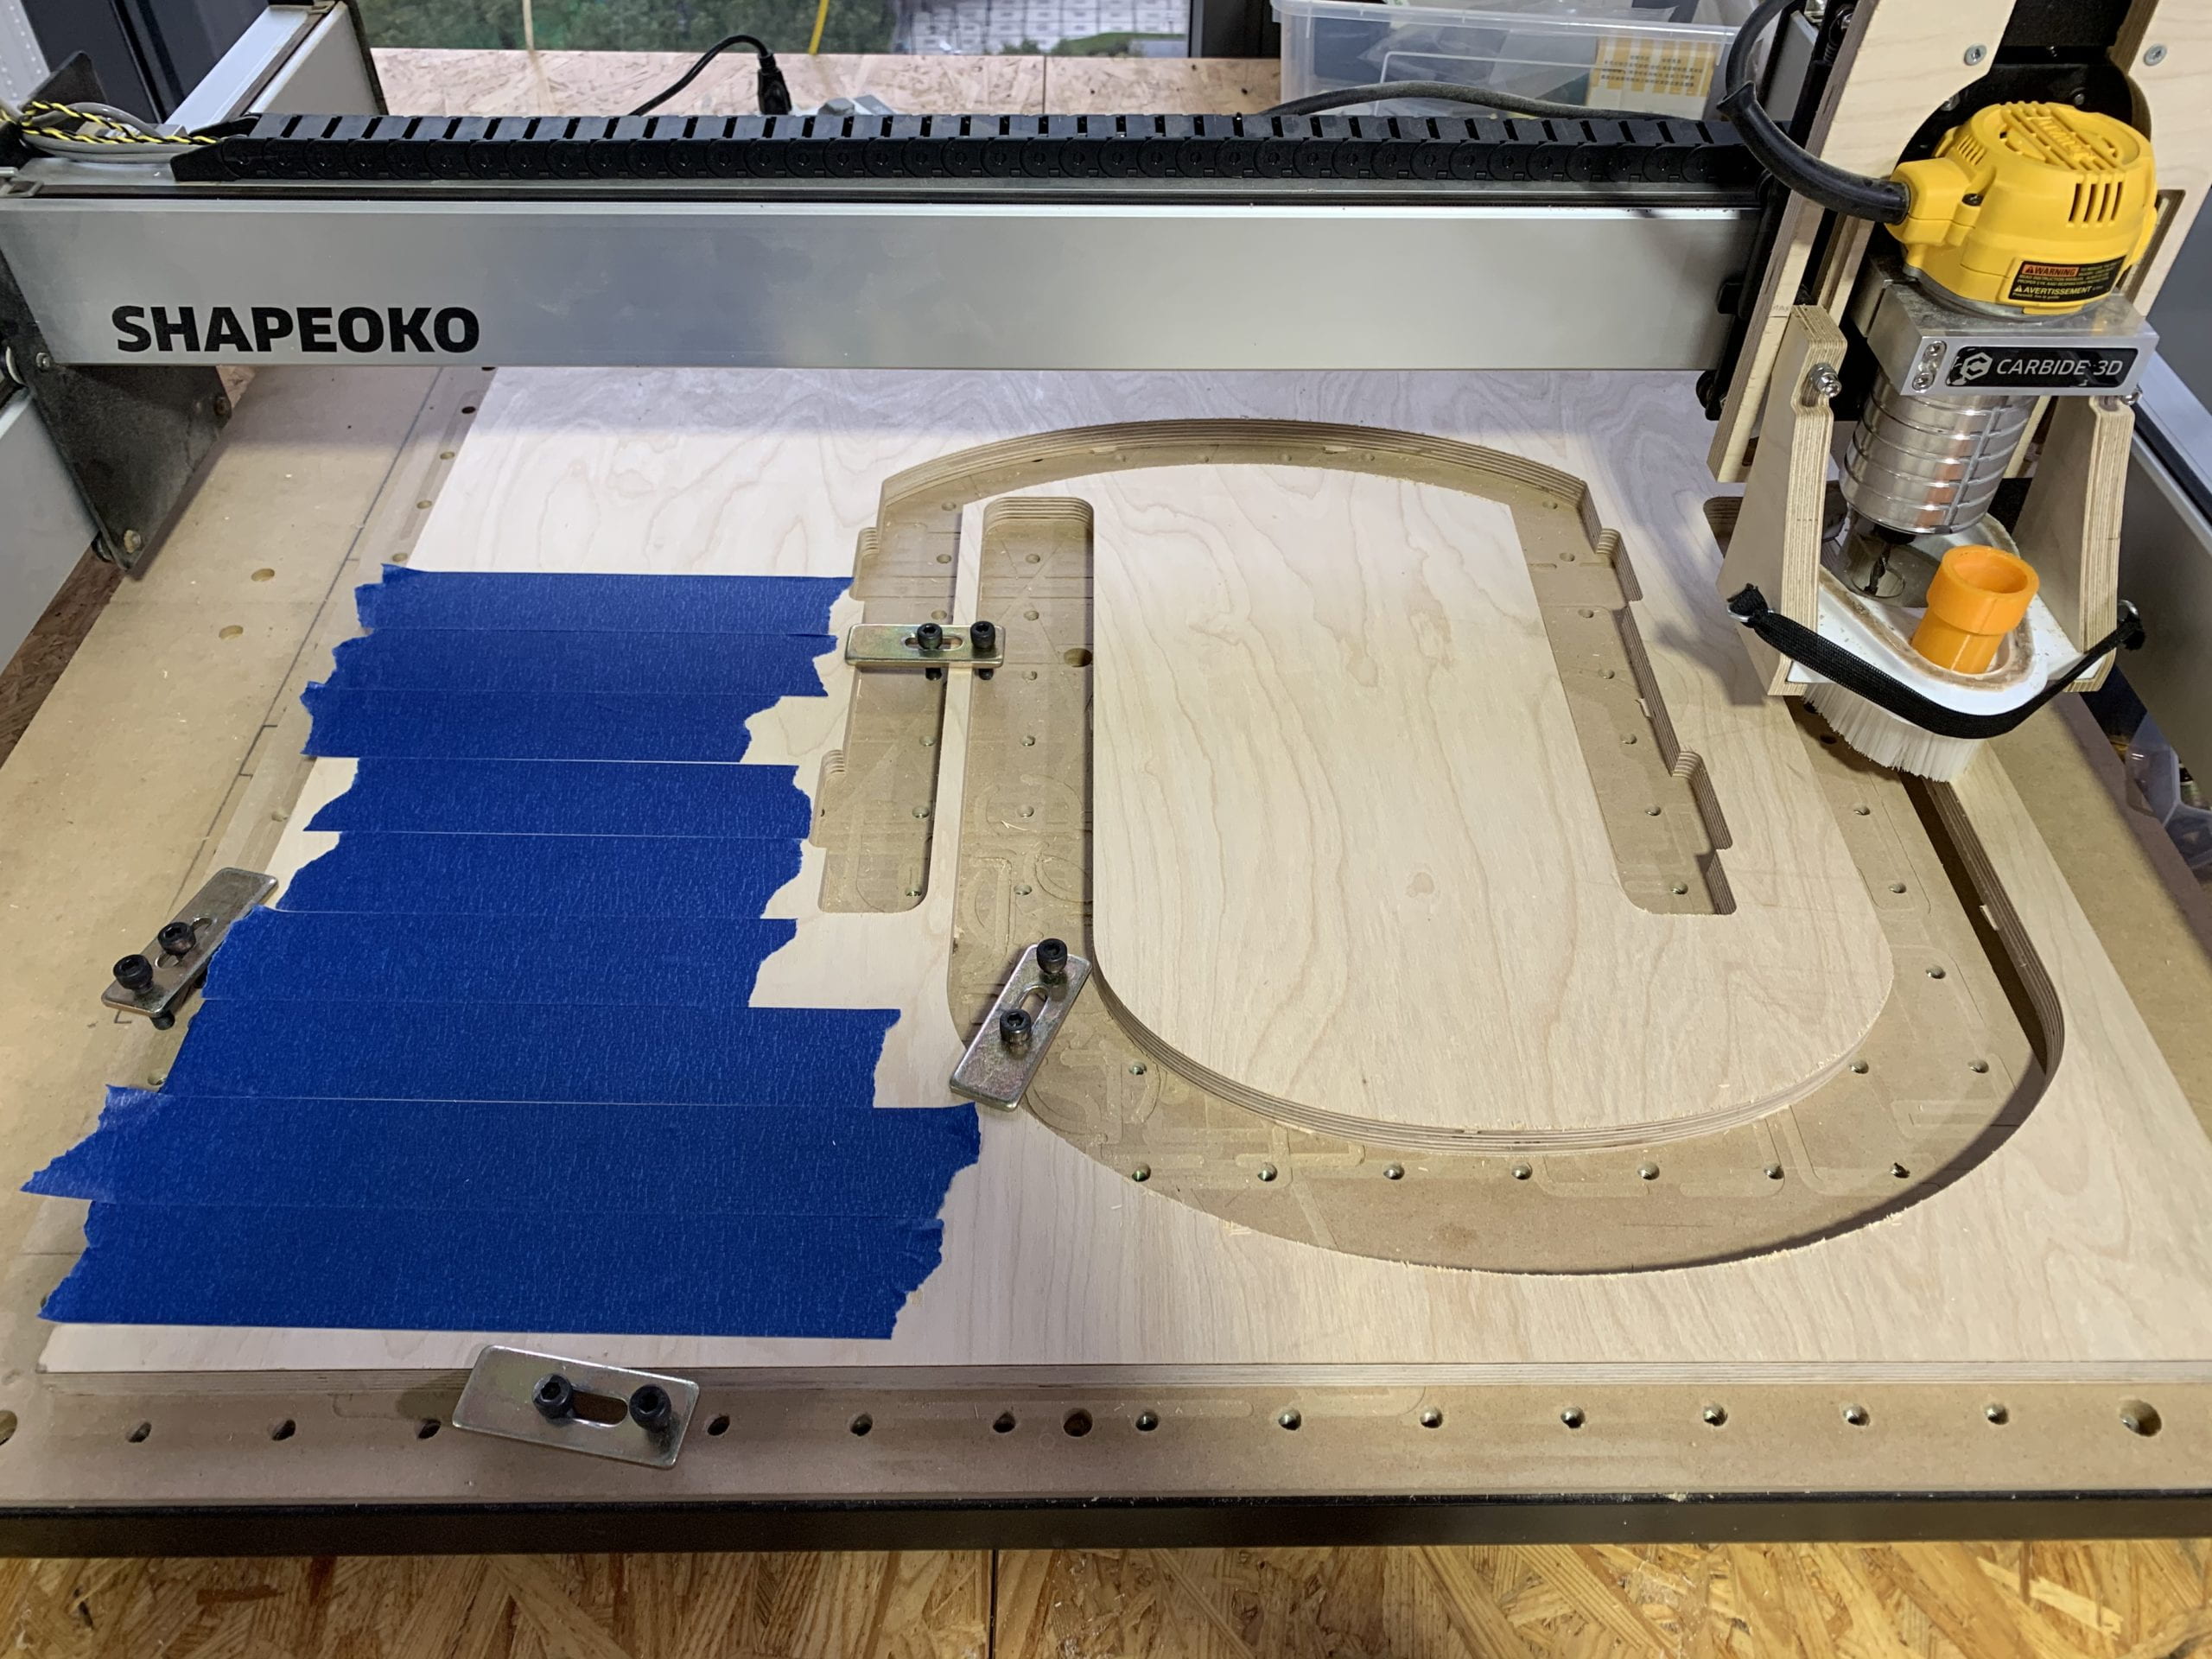
During the cutting, Andy and I heard one loud and strange sound, so we paused the machine immediately. And then we found out the drill bit hit one of the fixing metal. So we changed the position of fixing metal and continued the machine.
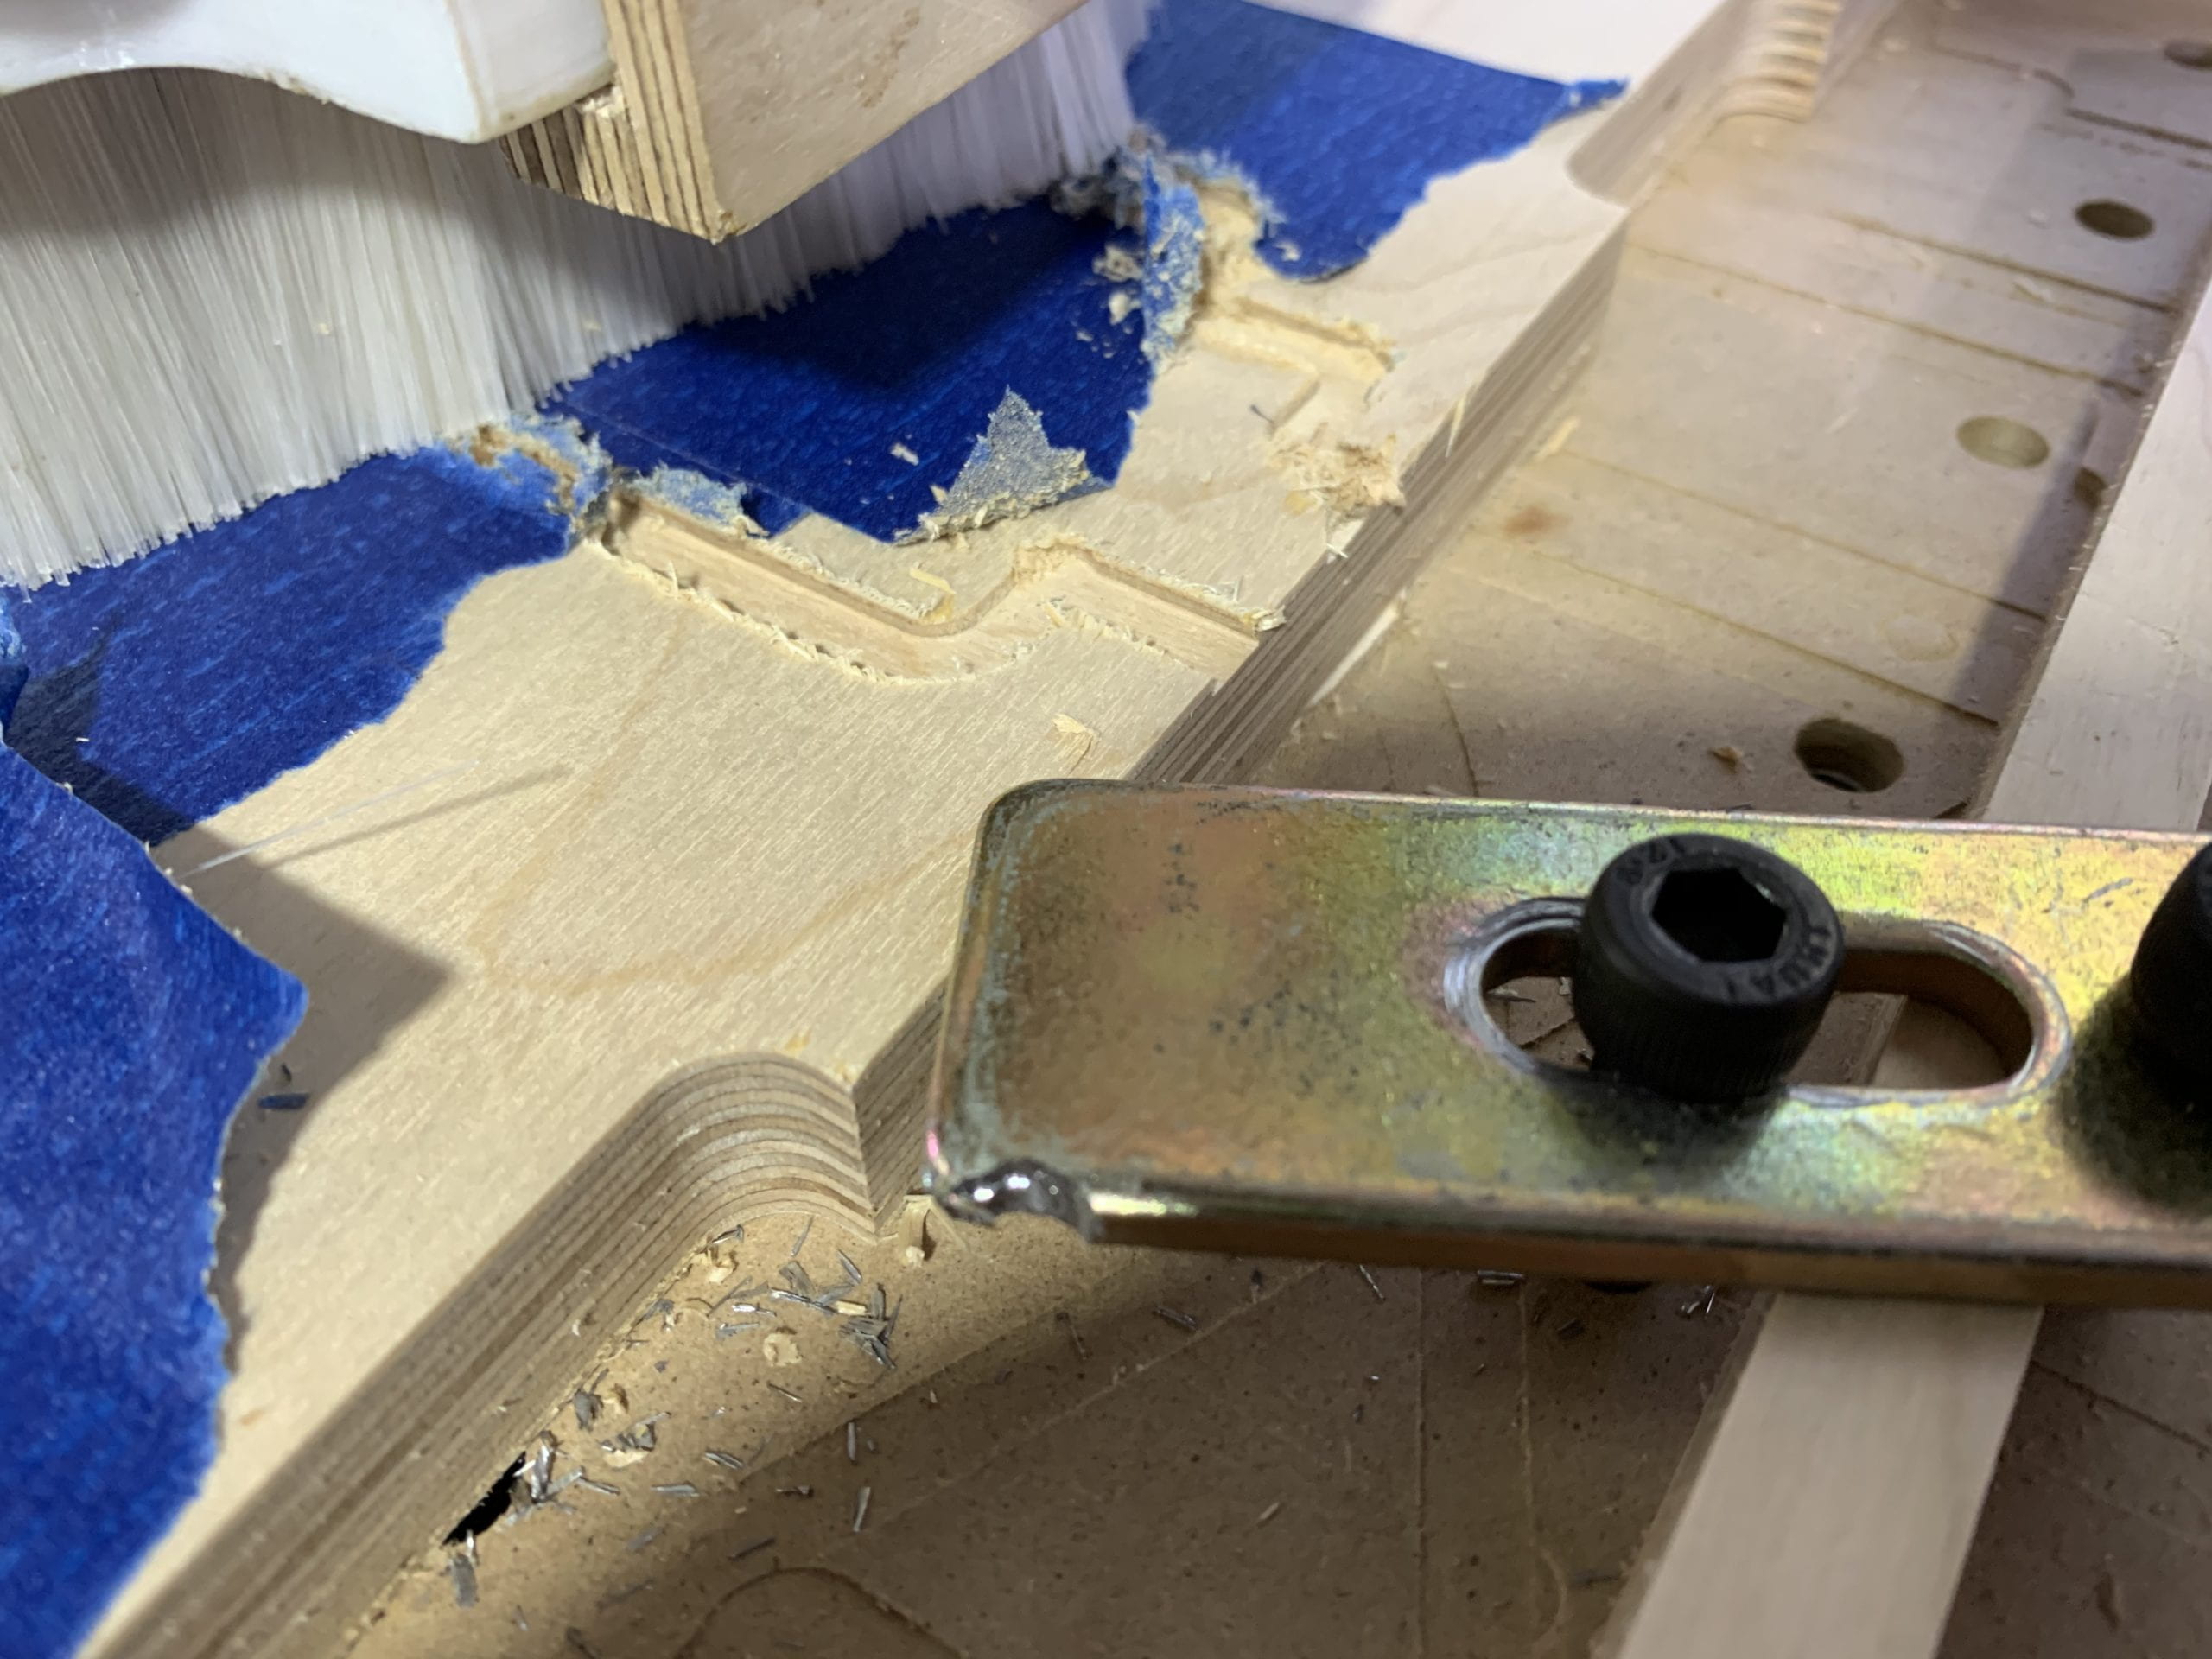
However, it turned out the hitting had actually changed the position of drill a little, so that the machine was not cutting the same position as before. Thus, CNC cut the wrong position of one wood piece. We then have to initialize the machine again to finish the cutting of other pieces and recut the damaged piece in another place.
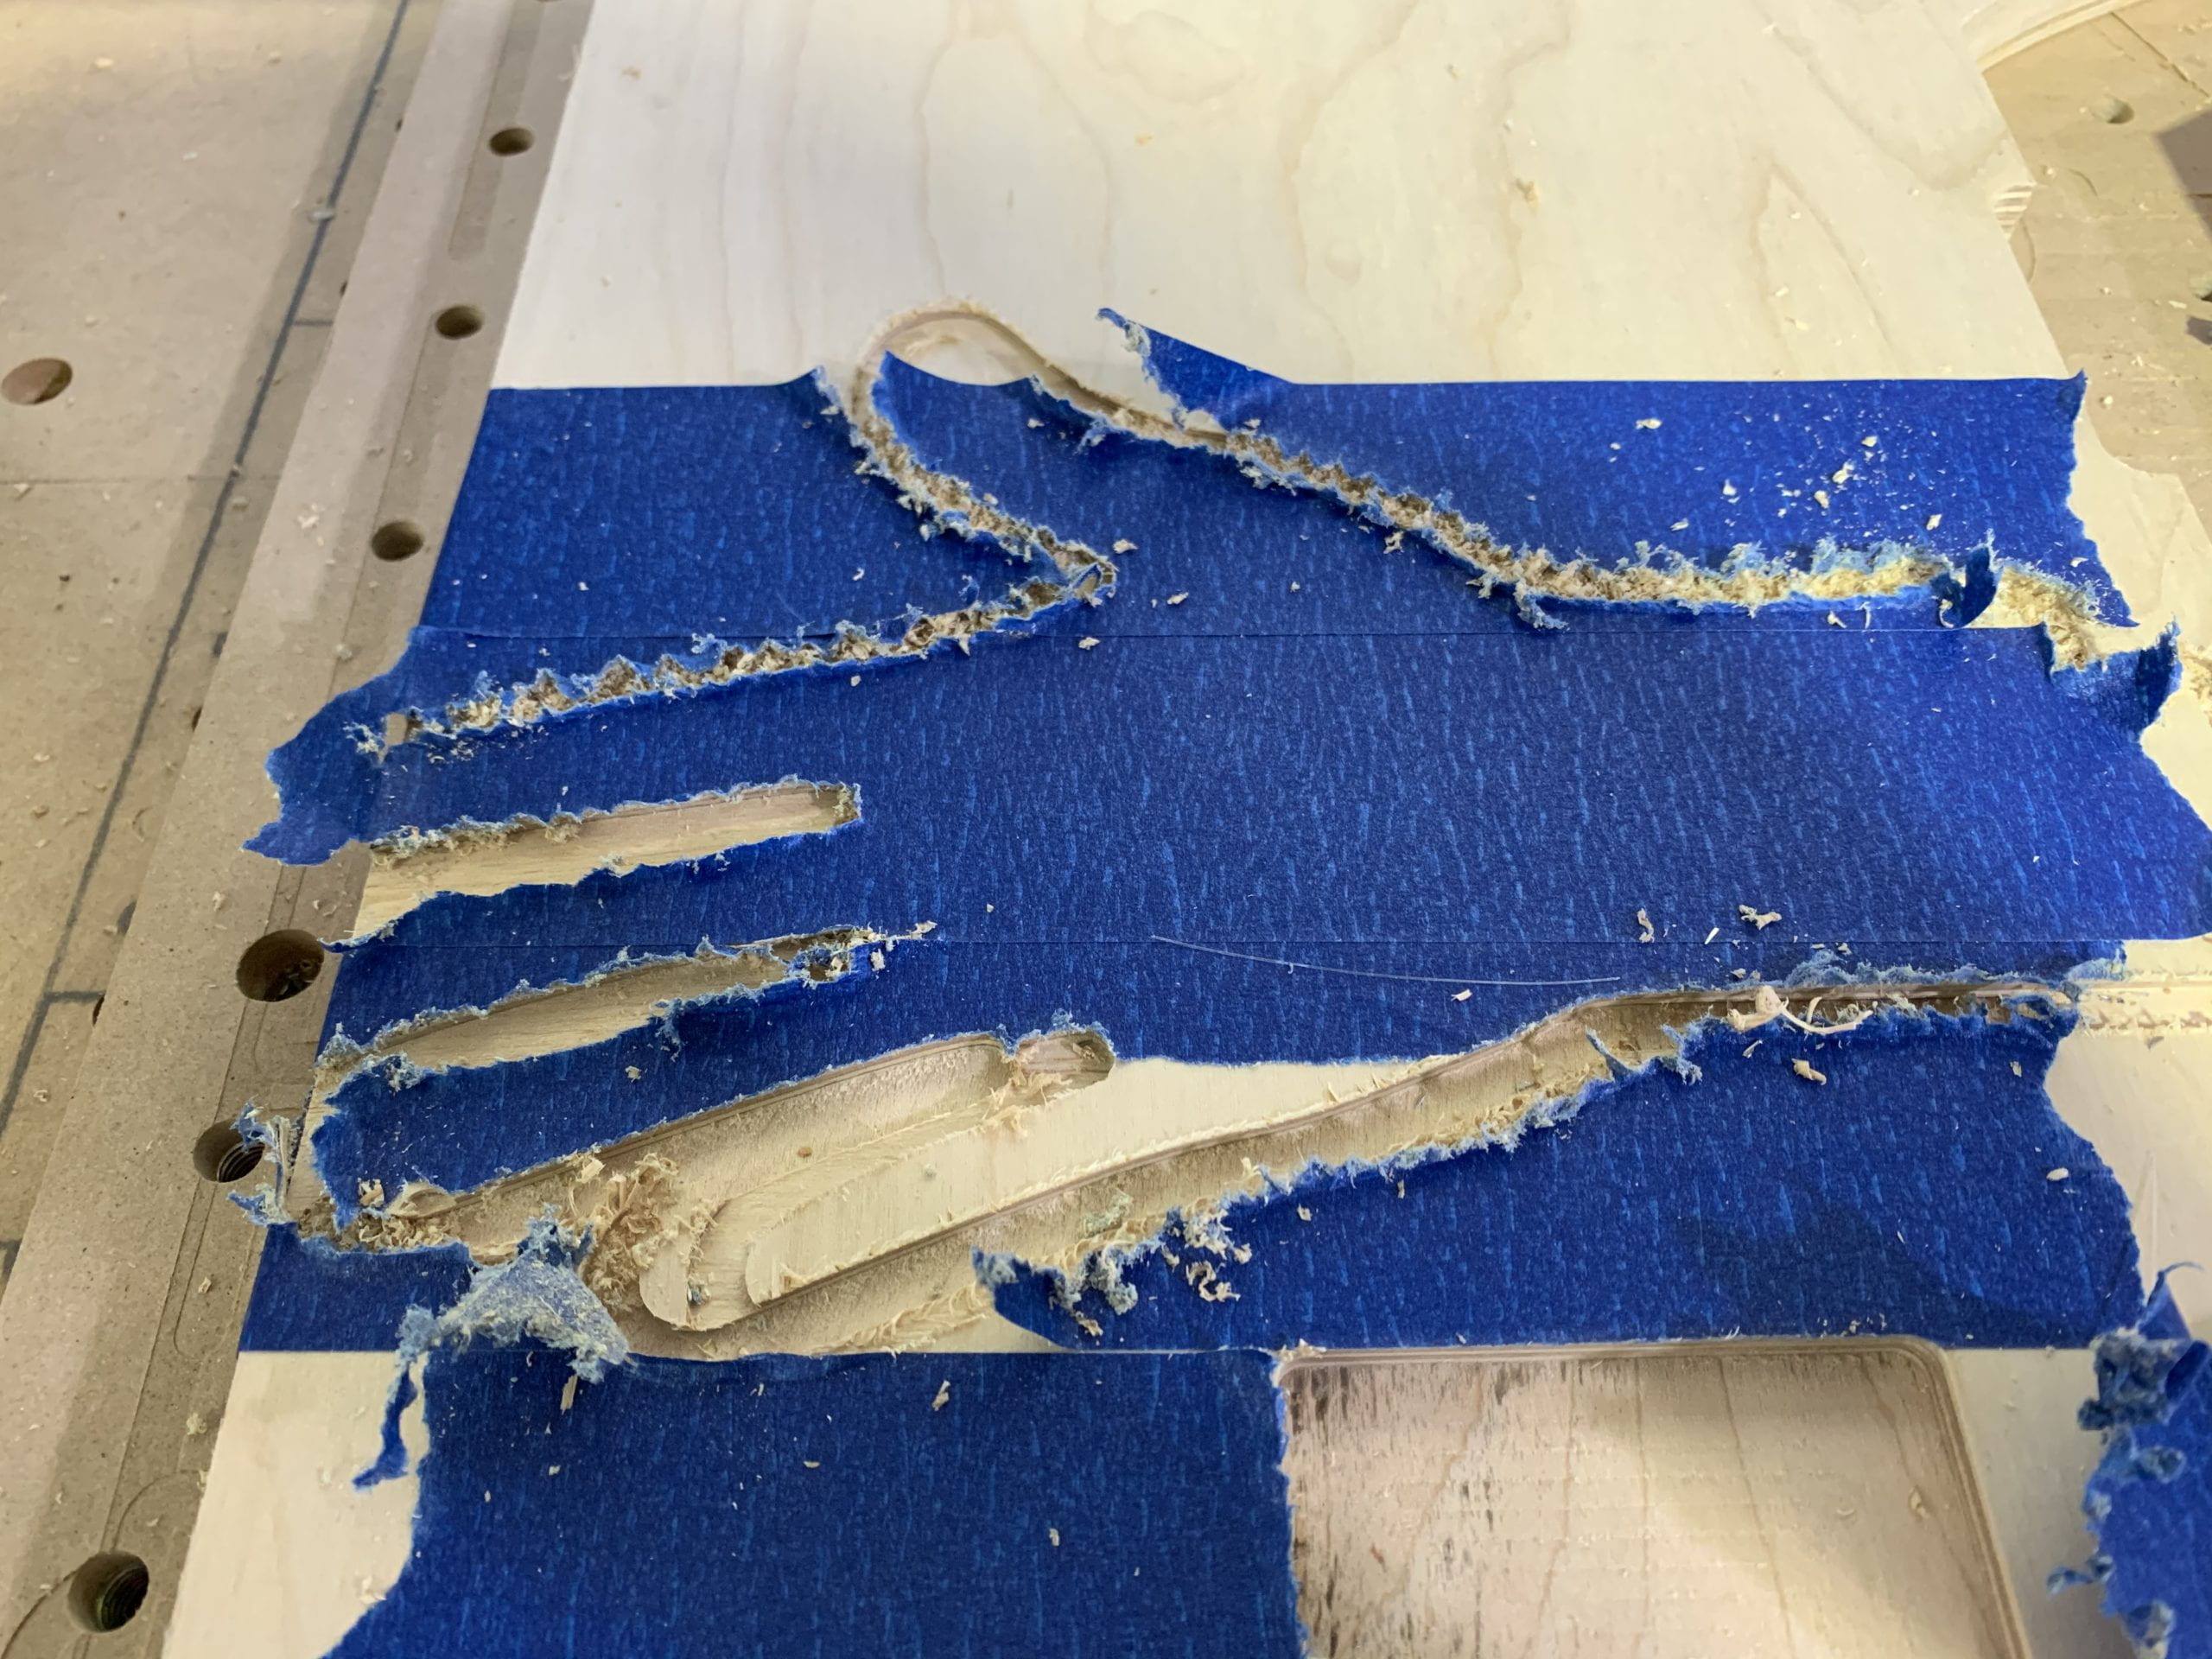
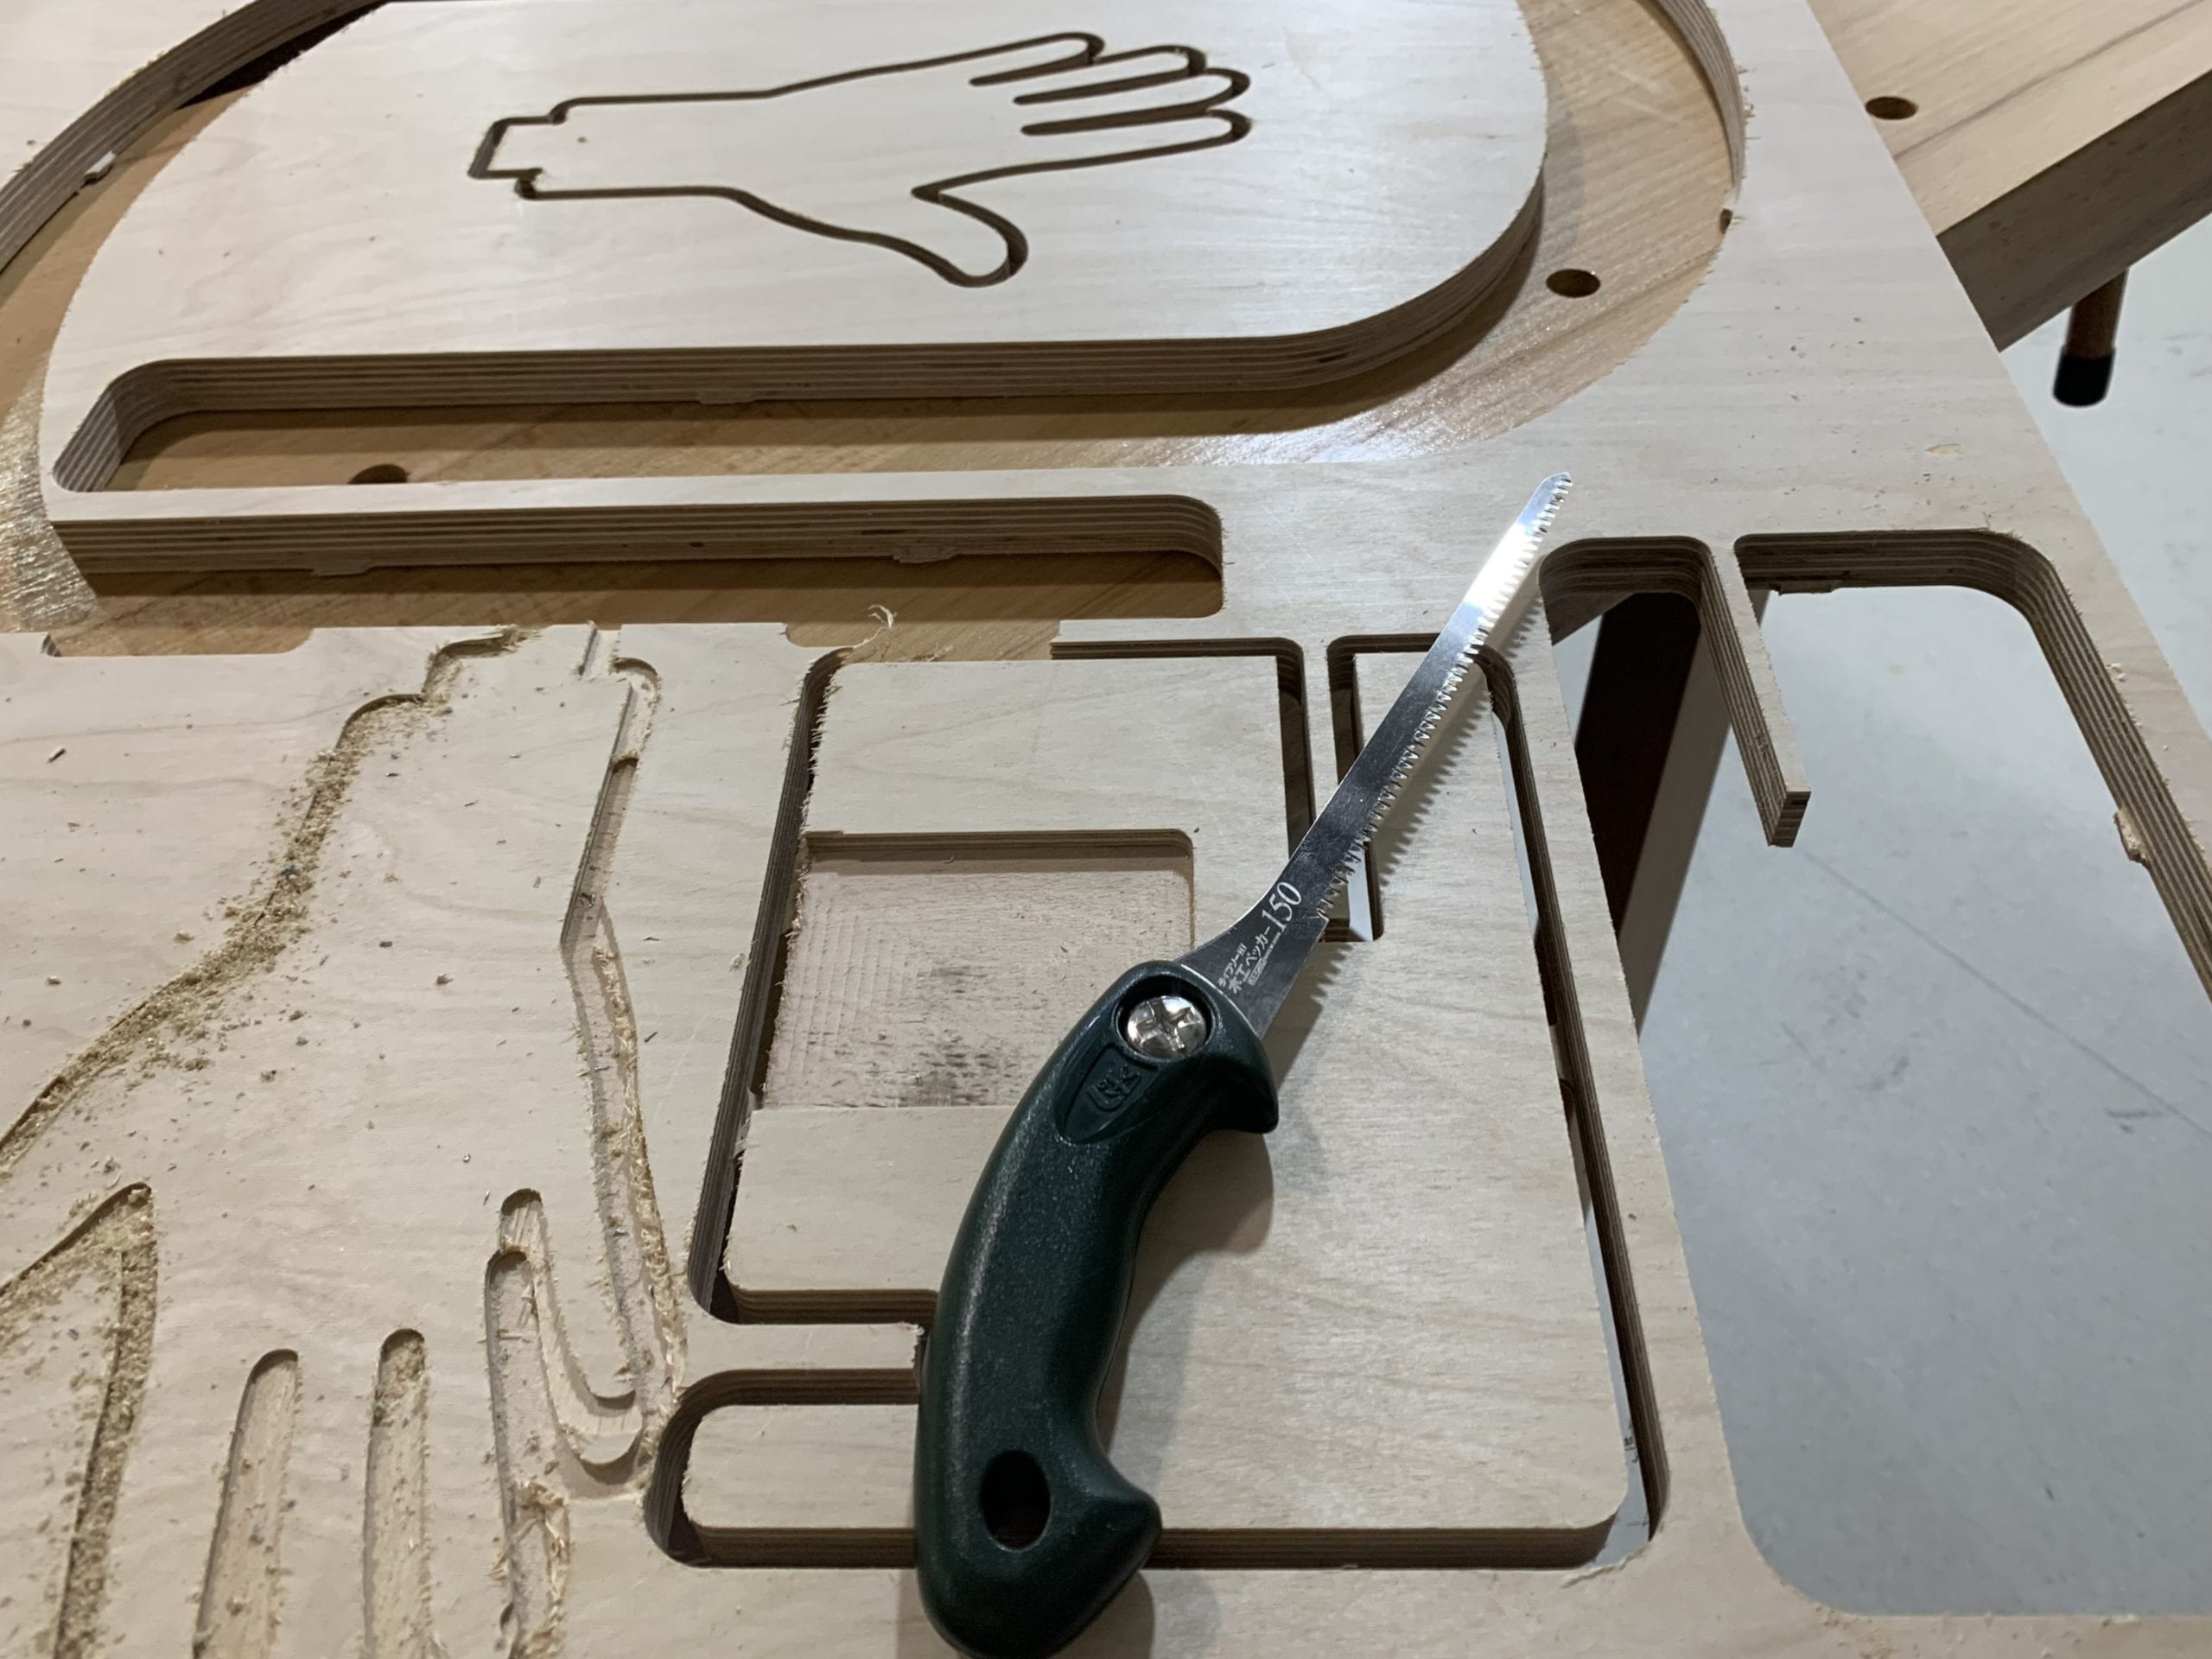
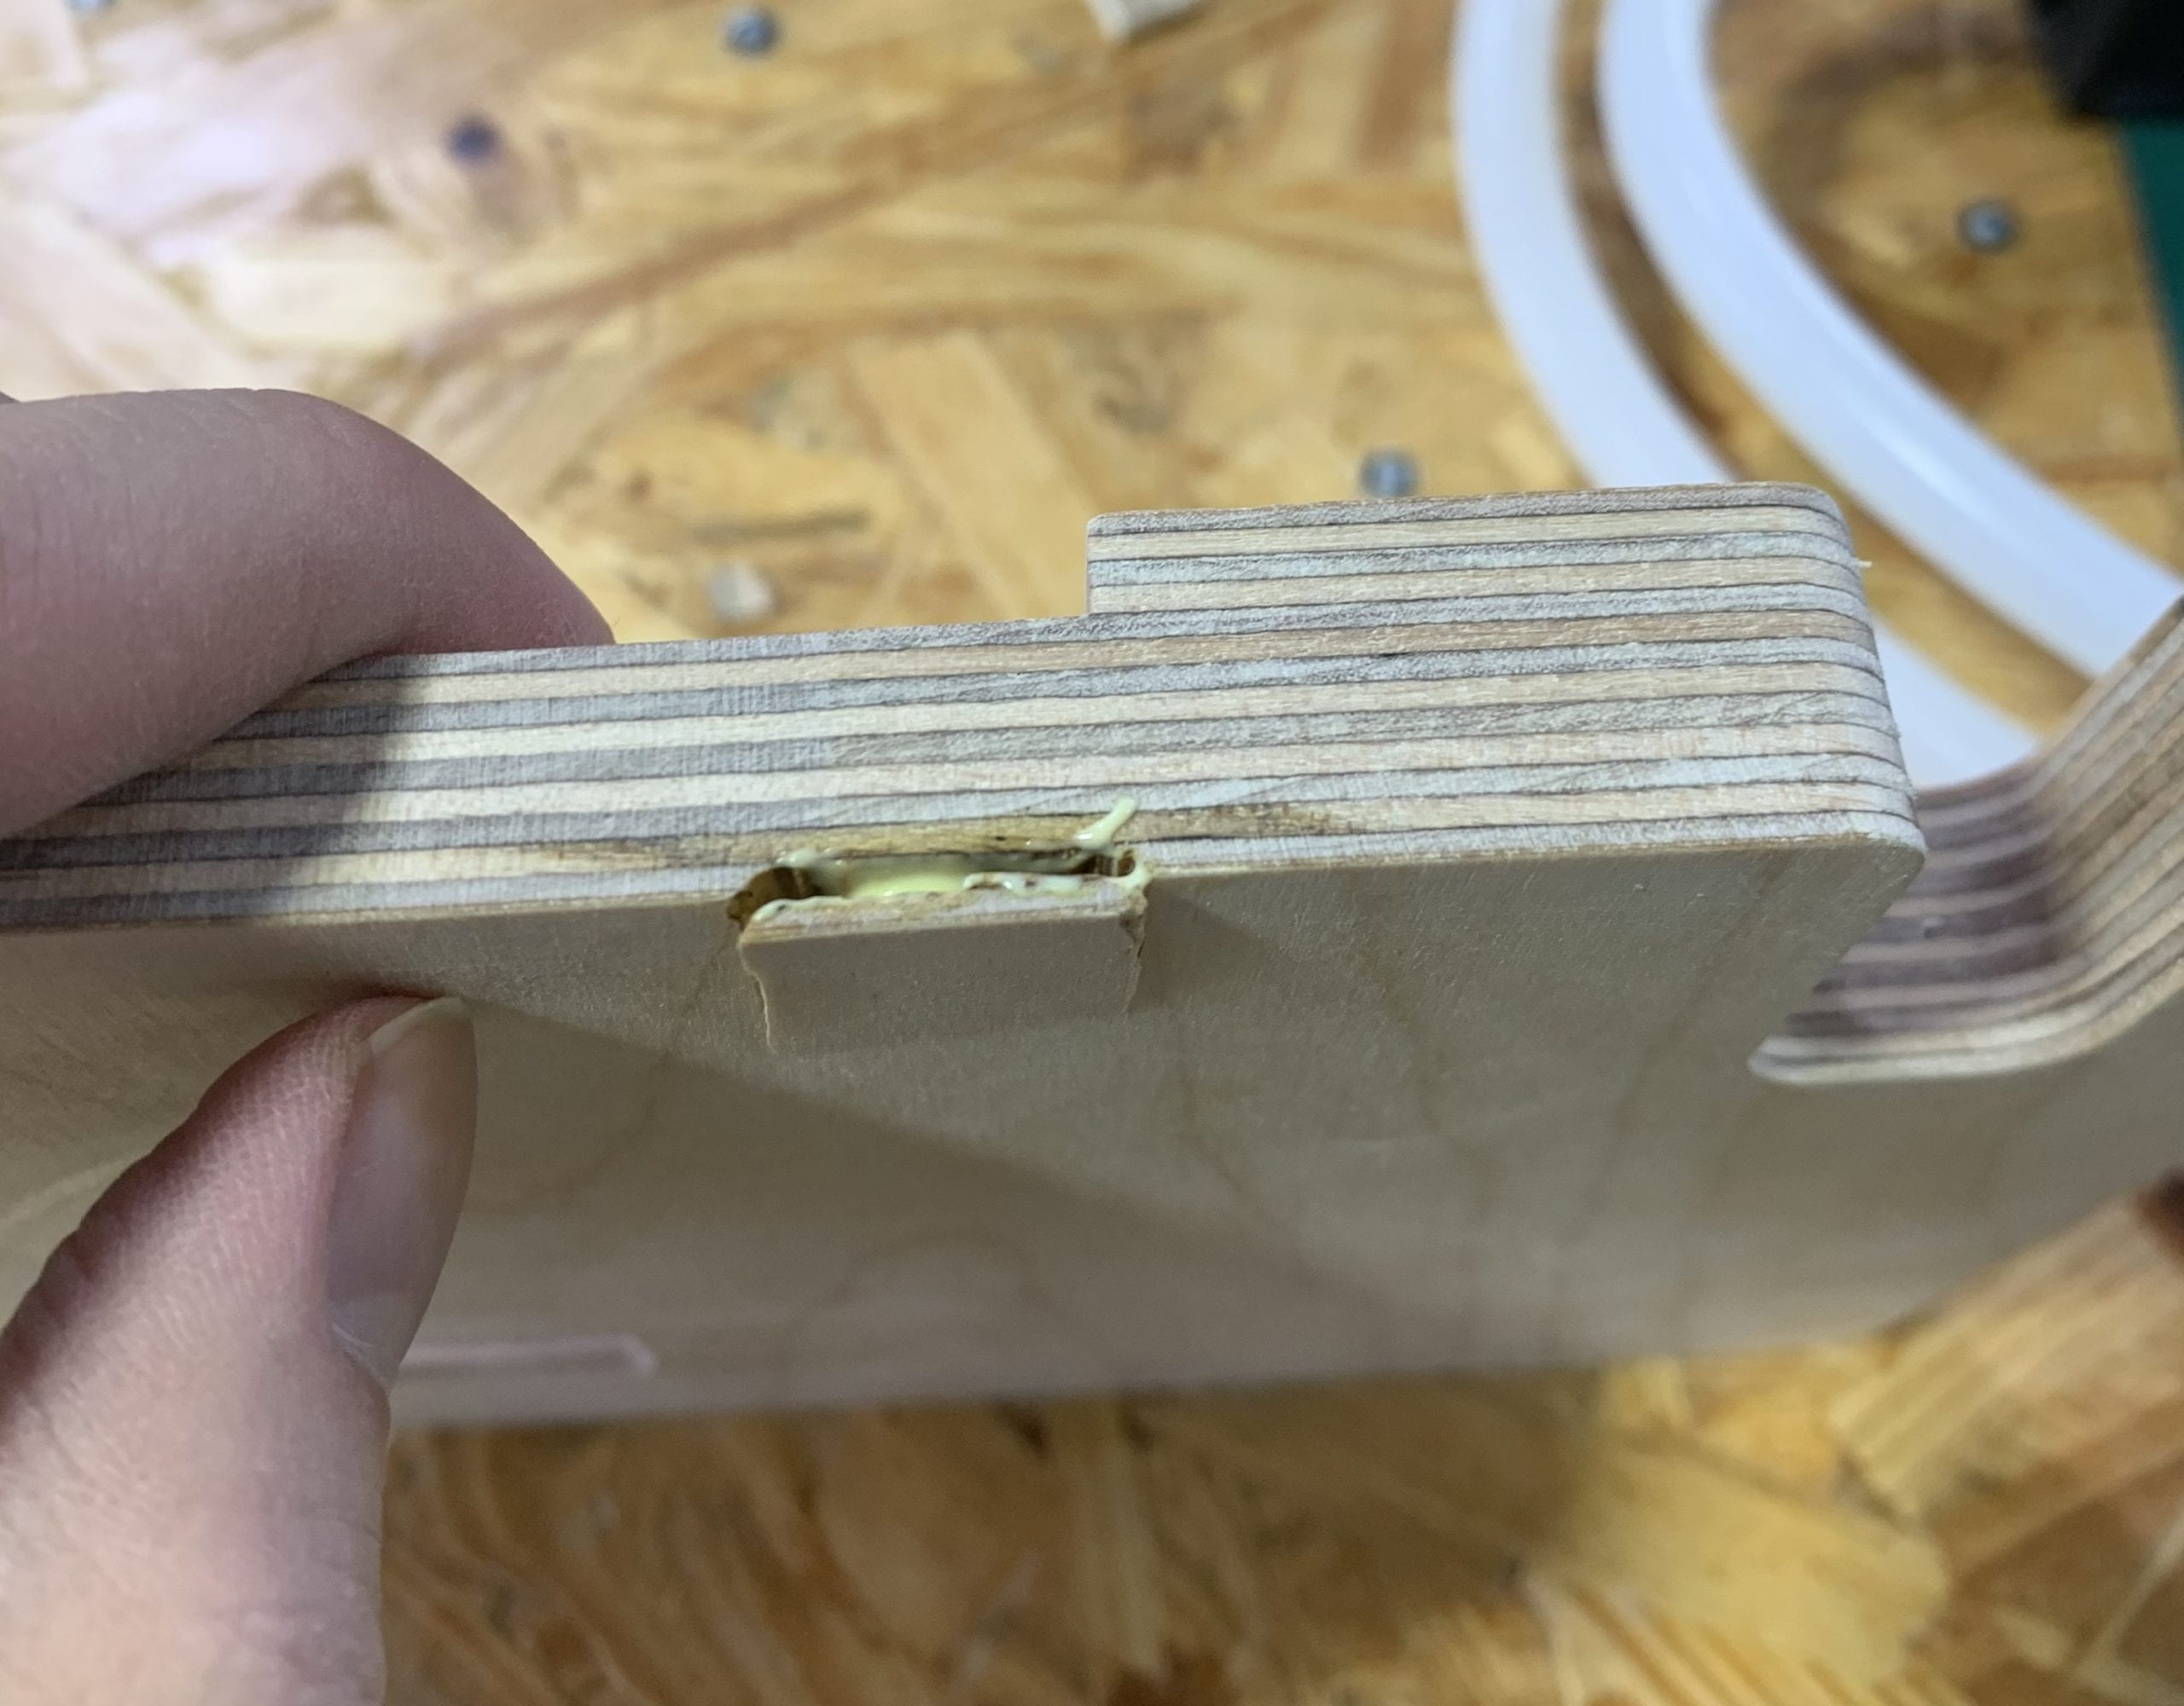
After the whole cutting process, I removed the pieces from the big board and did a lot of sanding for edges and all other parts. I also found out that though I covered the board with blue board, there were still many tear outs. I sand some of them, and Andy told me that I could glue the bigger ones.
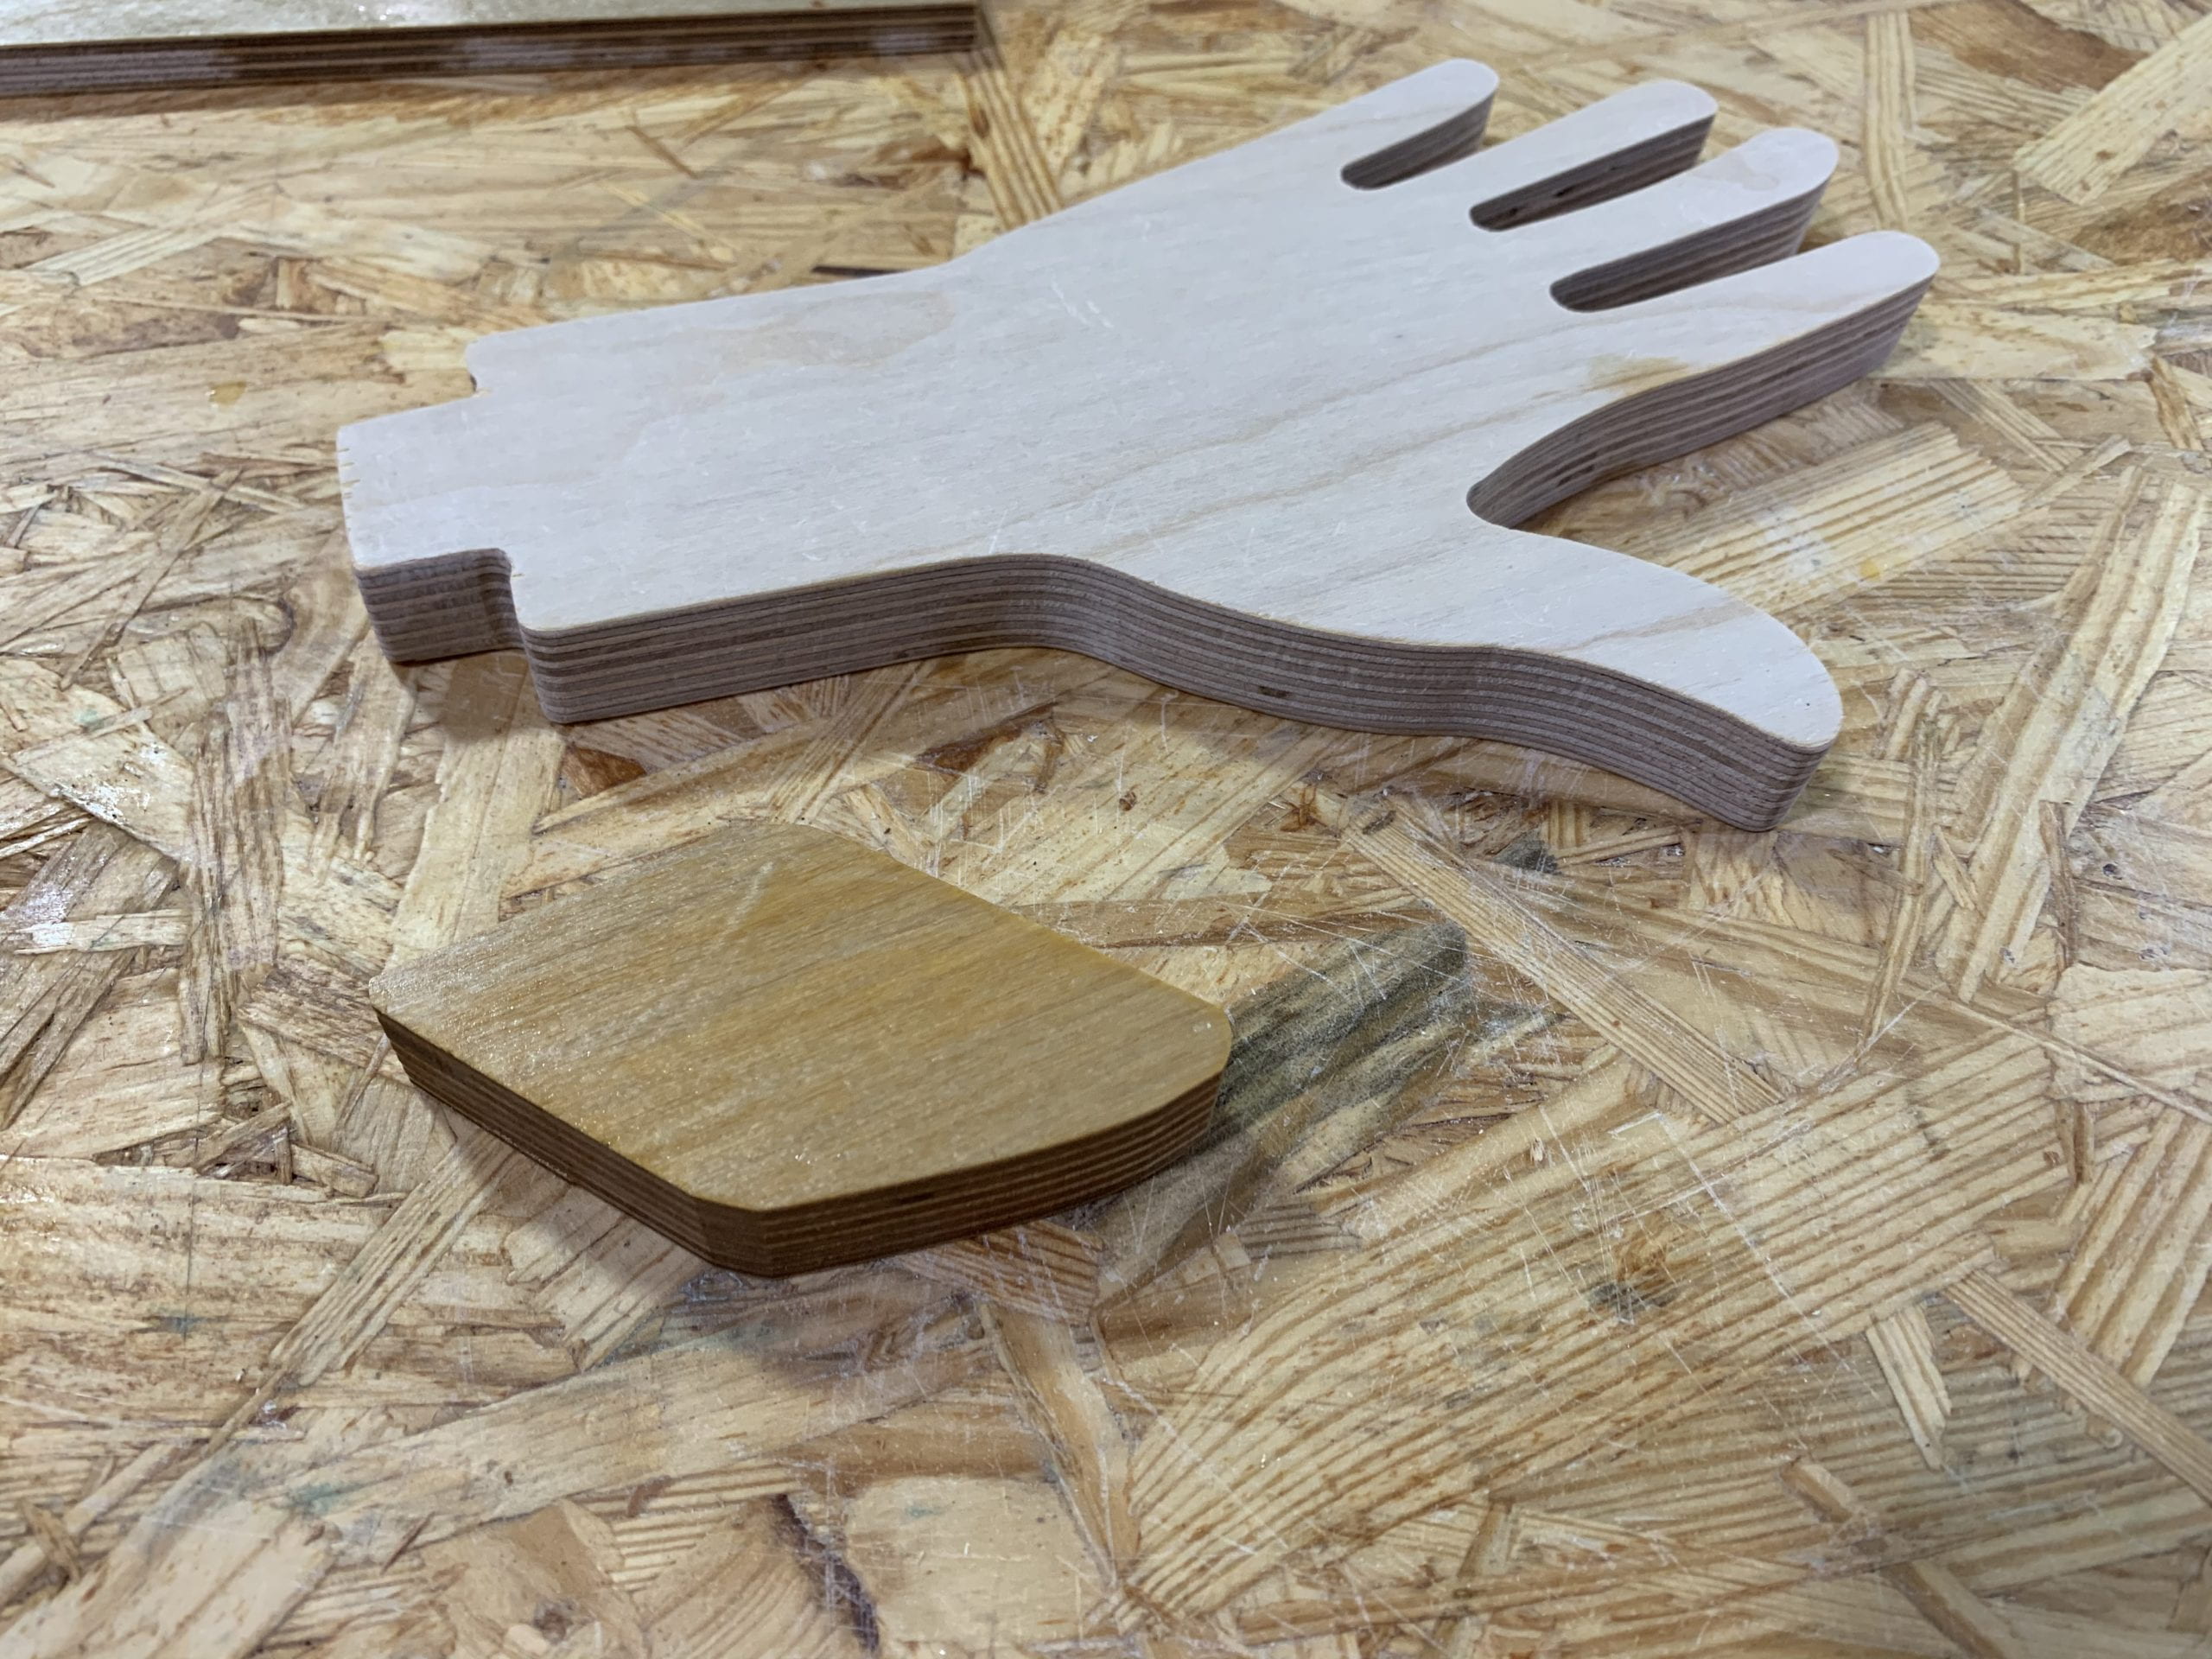
After a long time sanding, using disc sander, oscillating Spindle Sander, sanding block and also sanding paper, I added the finishing onto it. I first tried one finishing using a sample piece, then conduct the oil to my own piece.
Reflection
I had actually make several mistakes in the designing process, and not until I cut out the piece did I notice those things. Since the CNC is too time-consuming, I didn’t have time to cut again, so I can only live with the mistakes and try to figure out how to solve them in another way.
After using the CNC, and having the piece on my hand, I found out that I designed one piece in the mirror position, which means it can’t join with another piece in the direction I wanted. I could only join them in the opposite direction, and thus changed my whole initial plan. Another thing I found was that I only measured the size in 2D, but forget the thickness of the wood. So it turned out that for the hand part, it is too thick to fit any rings I have 🙁
1. Knowing what you know now, if you were to start over again, would you make any changes to your original design design? What is advice that you would send to your former self?
If I could start all over again, I would change my design accordingly. Double check whether the different pieces and join in the way I want, also choose to use a wood board with a different thickness that could fit my rings.
2. If you were to build a similar project, what would you keep the same from this project? What would be different?
I find that the joint I used this time is quite tight and fits well. I think I could use similar joint or similar techniques for other projects. I would also like to try more different kinds of joint and unique shapes if using the CNC again, since I find that CNC is really good at cutting some weird and unique shapes.
