This bandsaw box project is mainly about making a wooden box with drawers using the bandsaw machine as the main tool. The project involves the process of planing the wood, gluing different pieces of wood together, using the bandsaw to cut all the shapes and then the sanding.
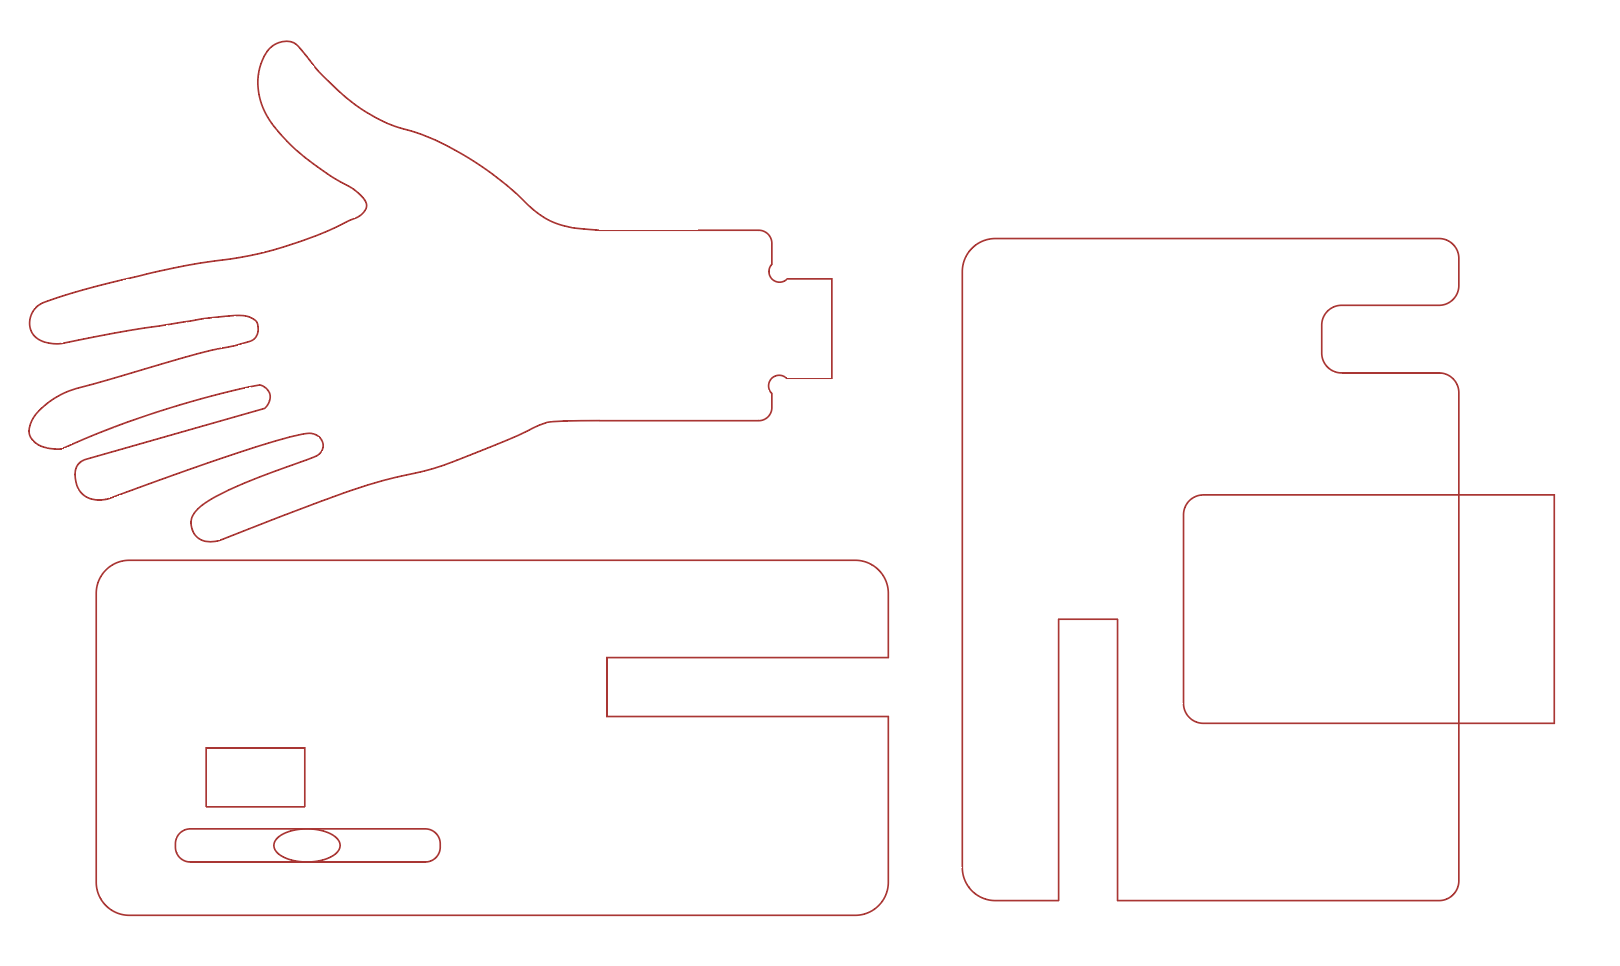
Design
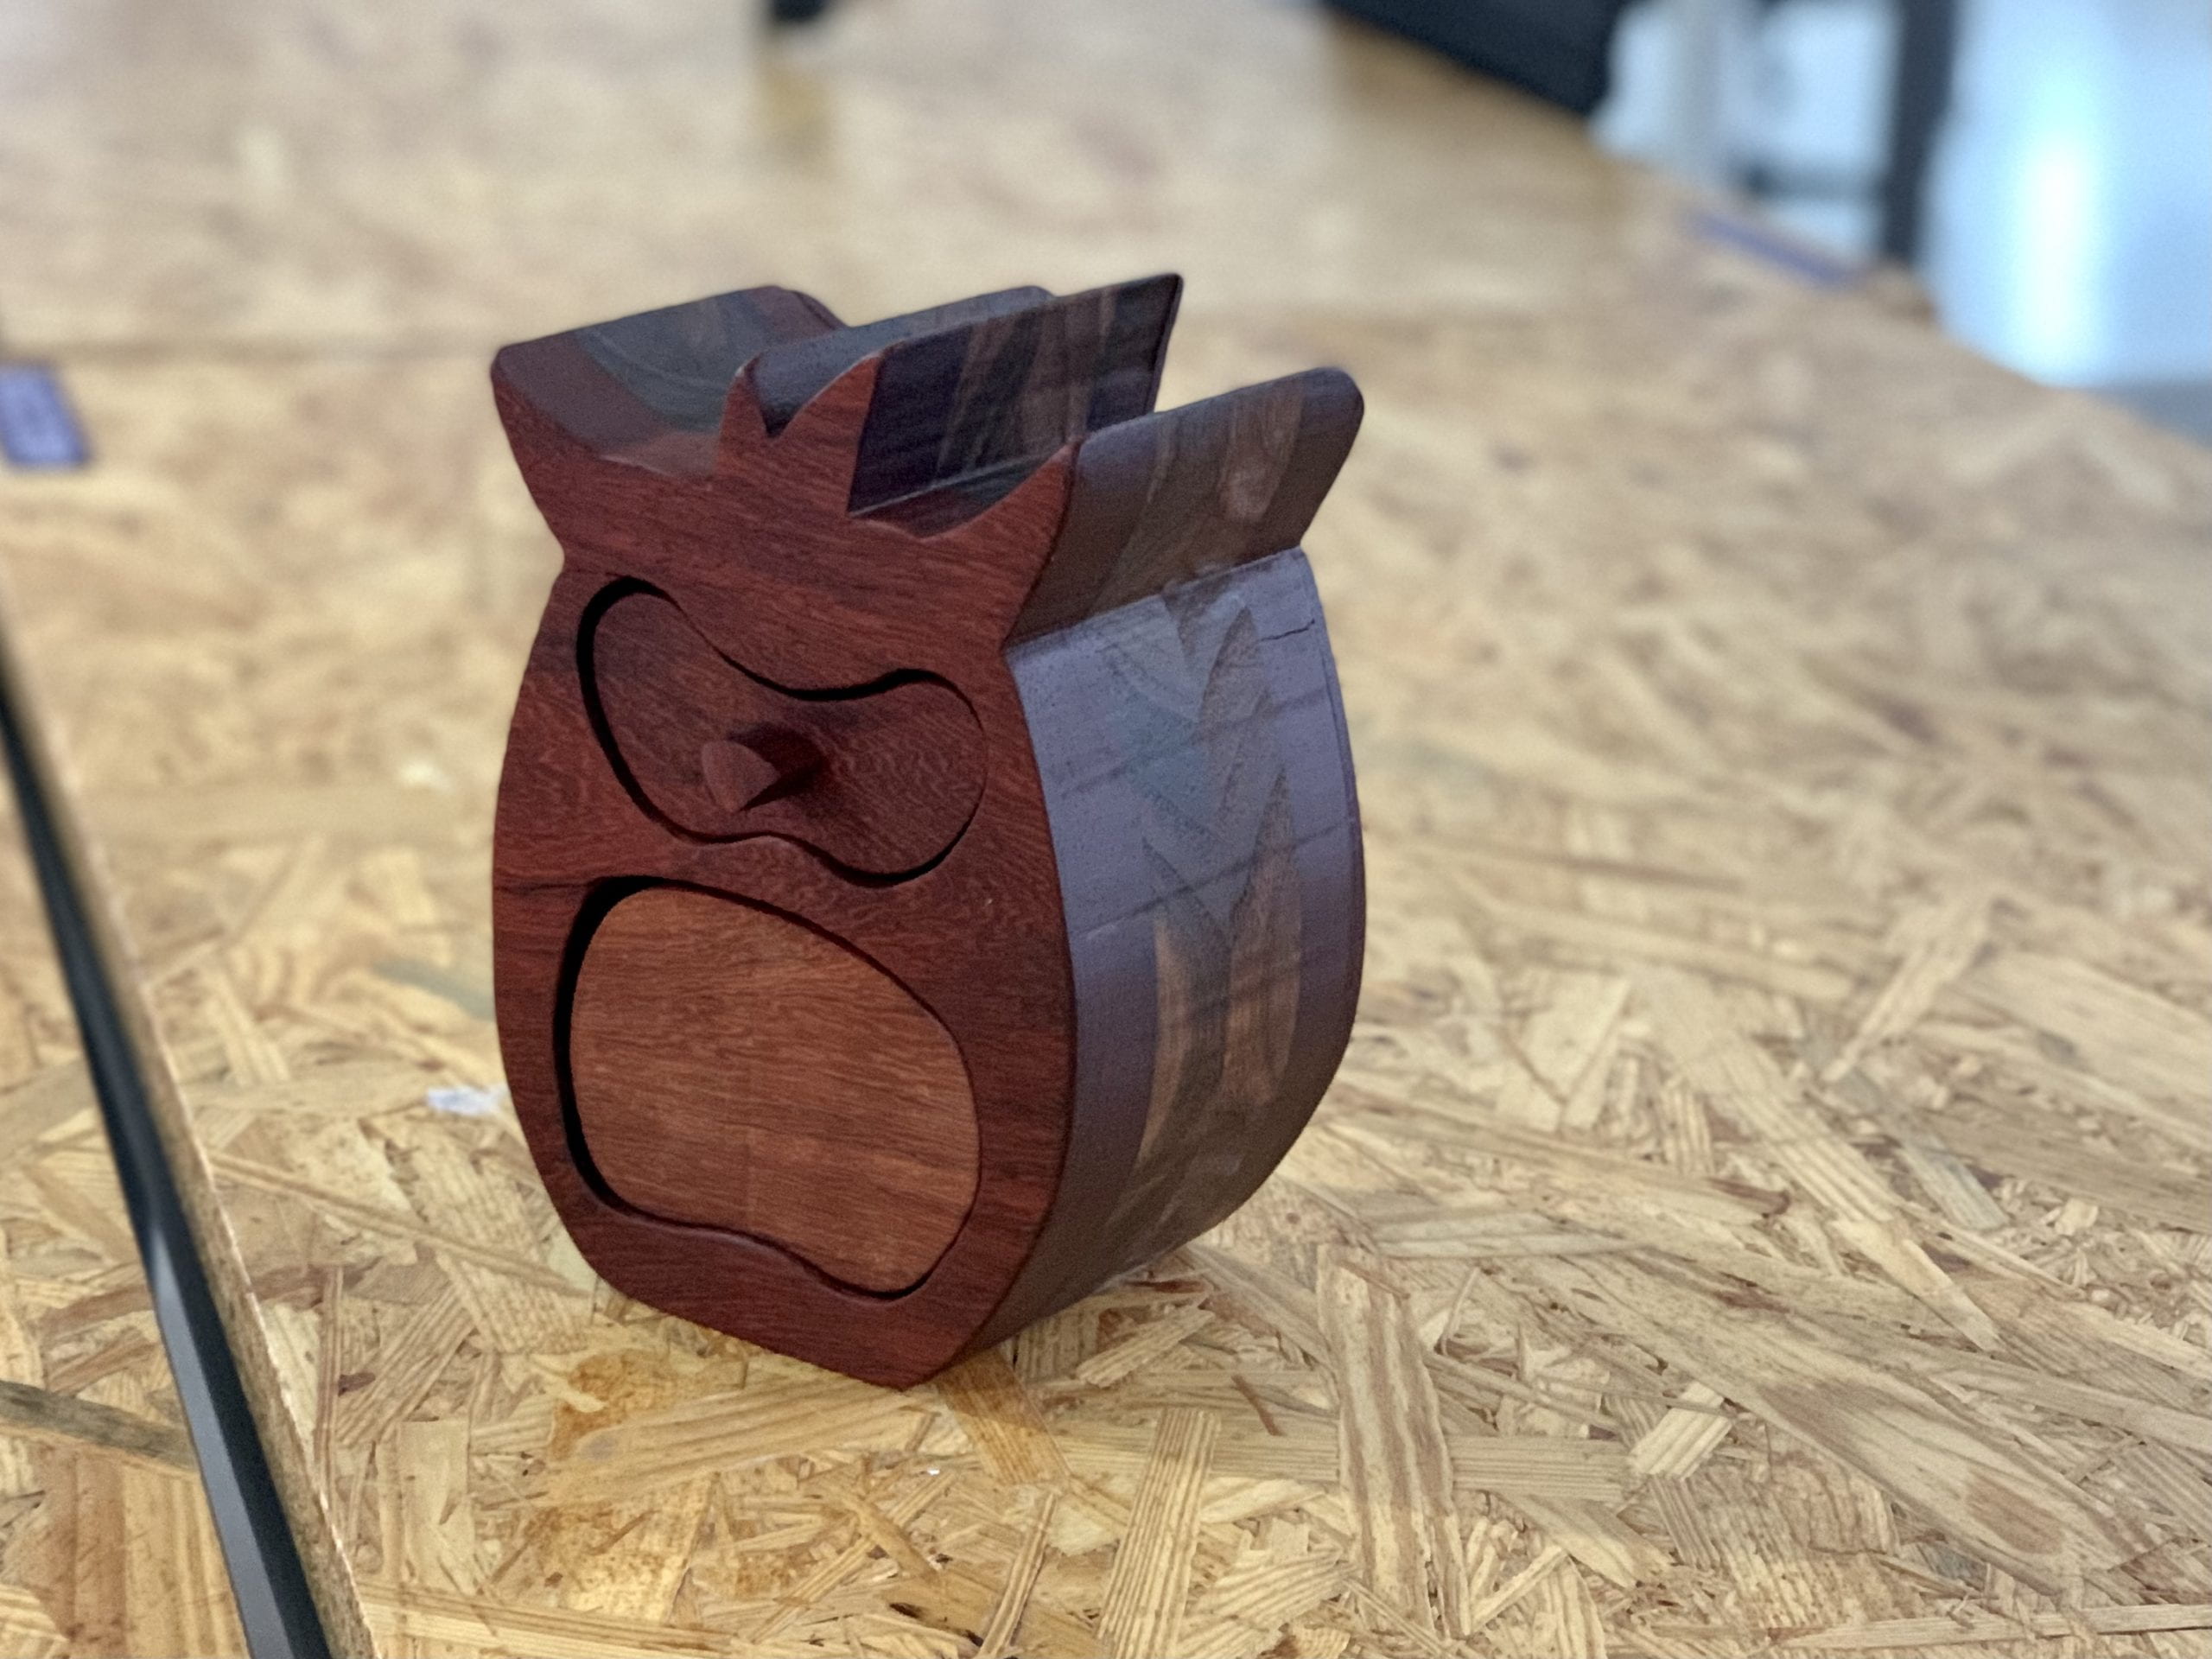
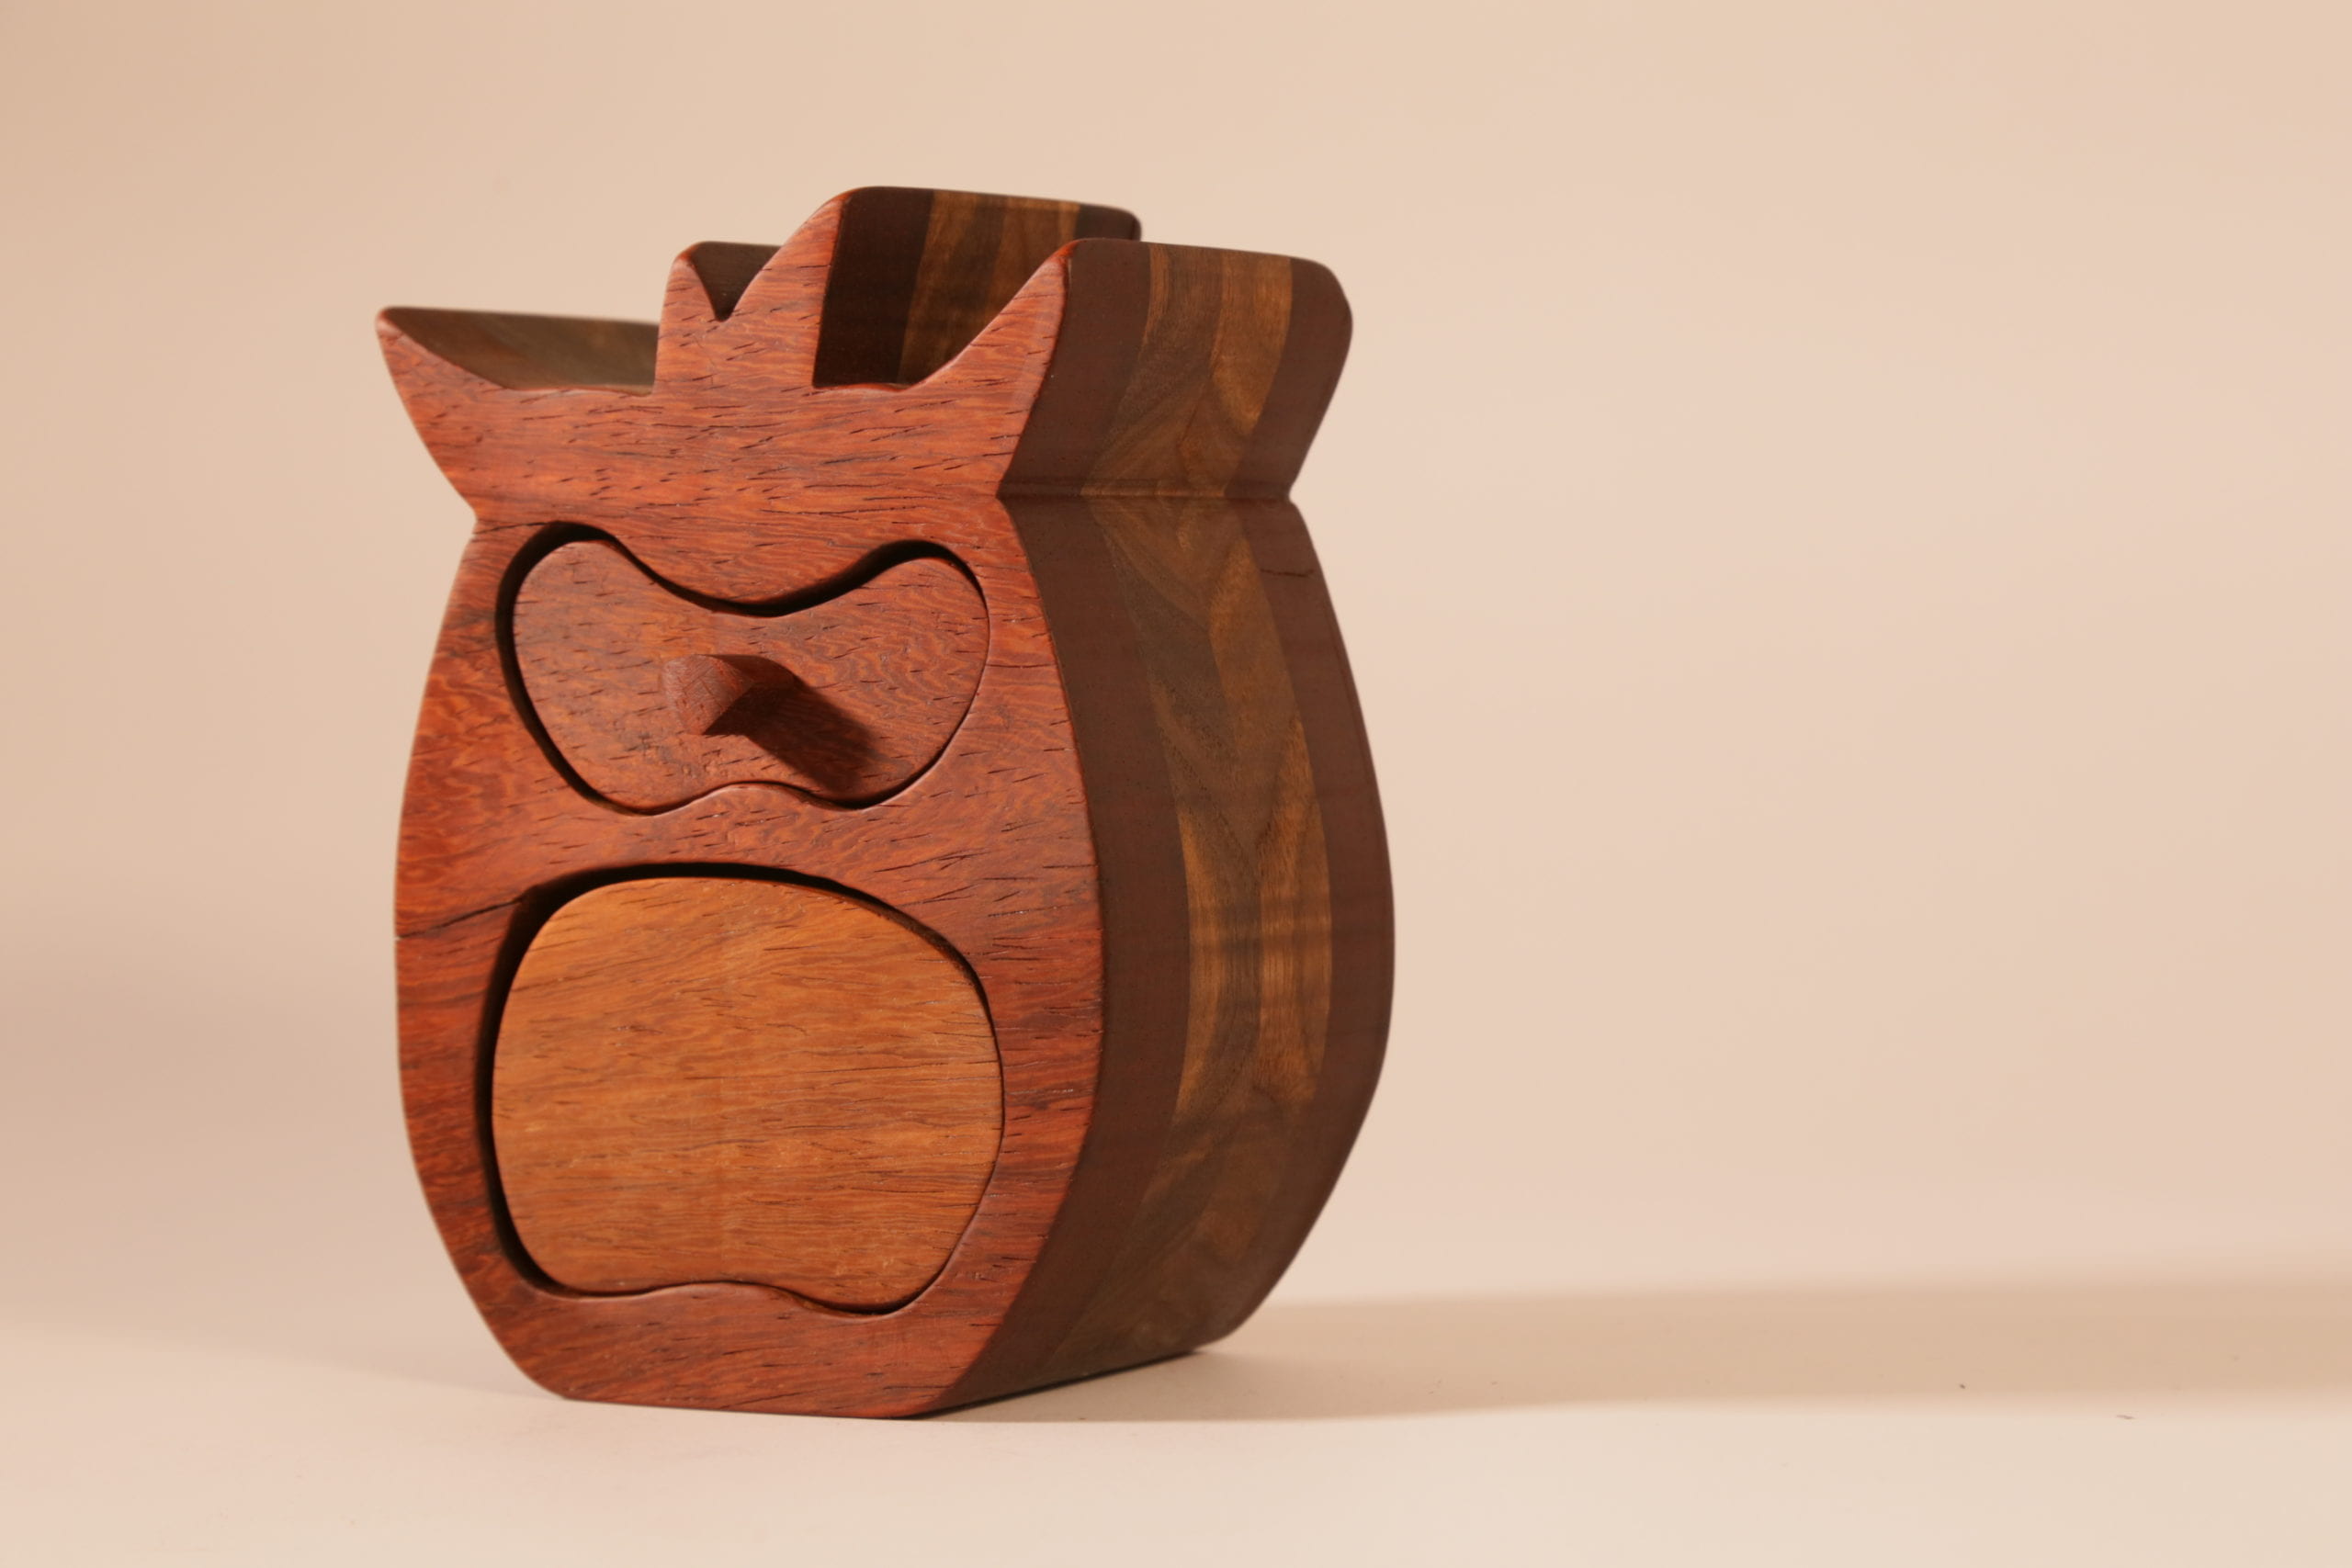
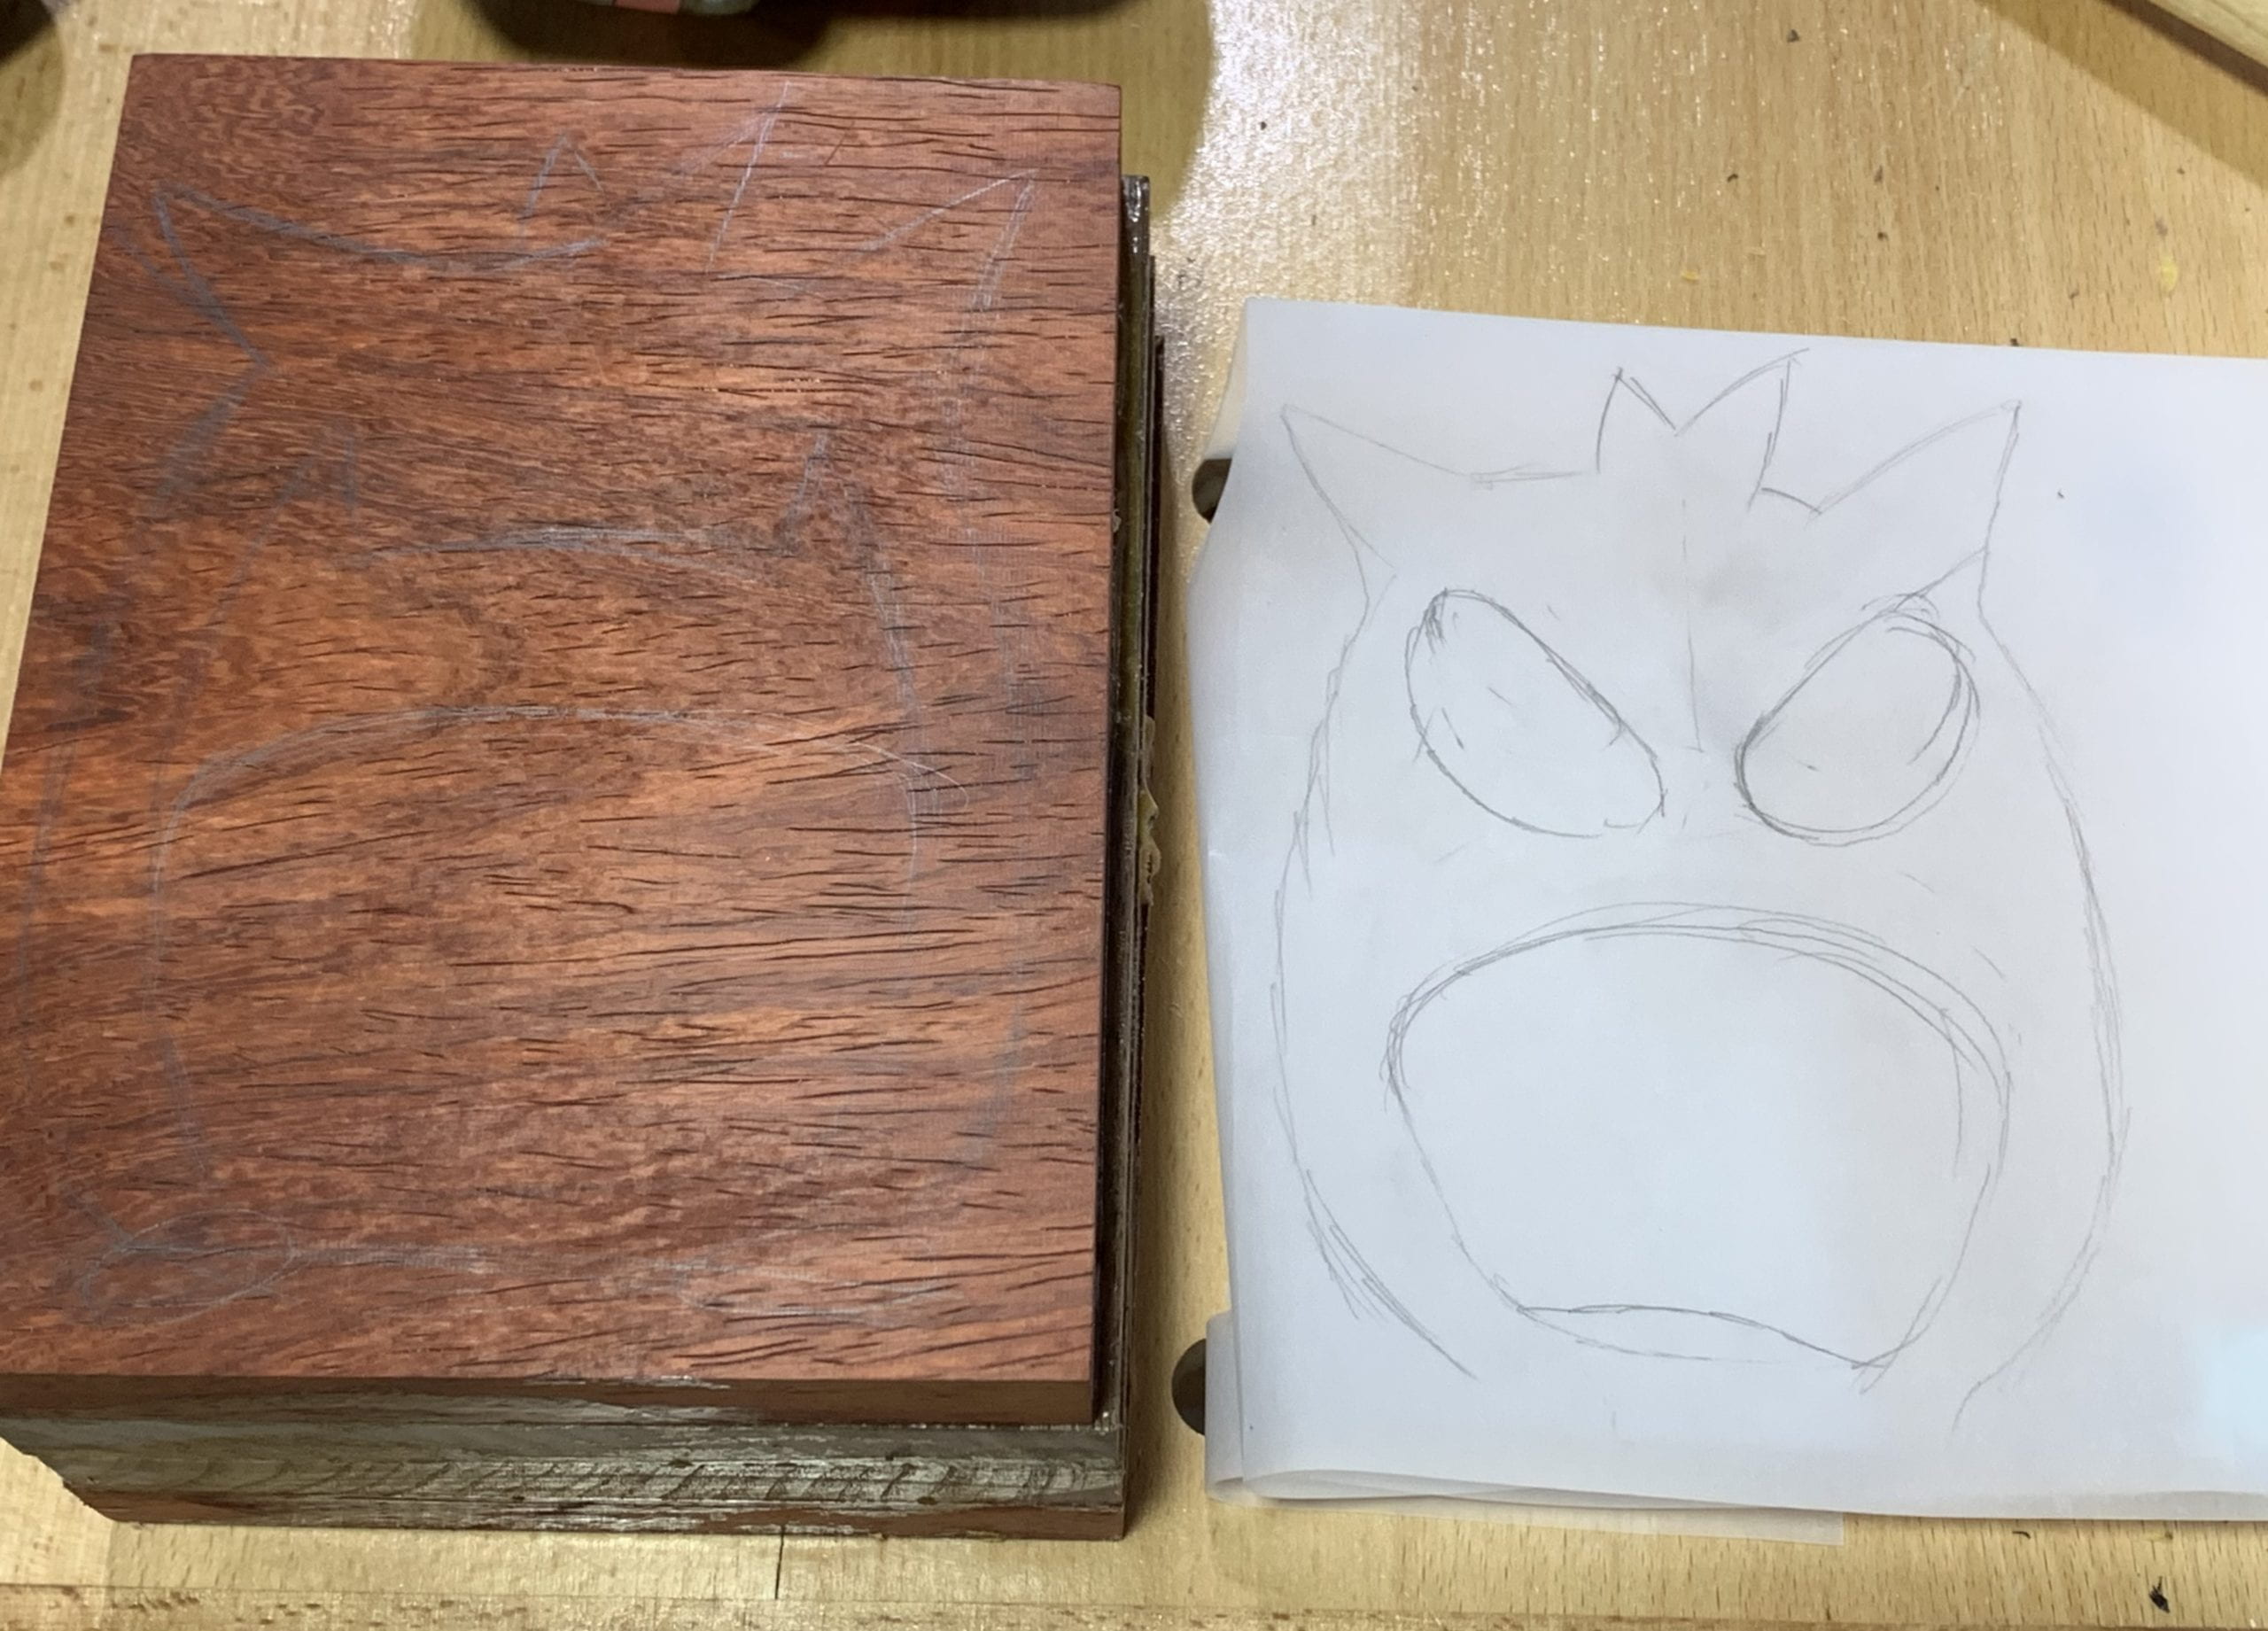
Initially, I wanted to make a box with the shape of Ganger, one cute Pokemon character, with the mouth and two eyes as drawers. However, the bandsaw is harder than I thought to use, I had to make quite a few adjustments to the design, and the final piece turns out to be more like a pineapple or an owl.


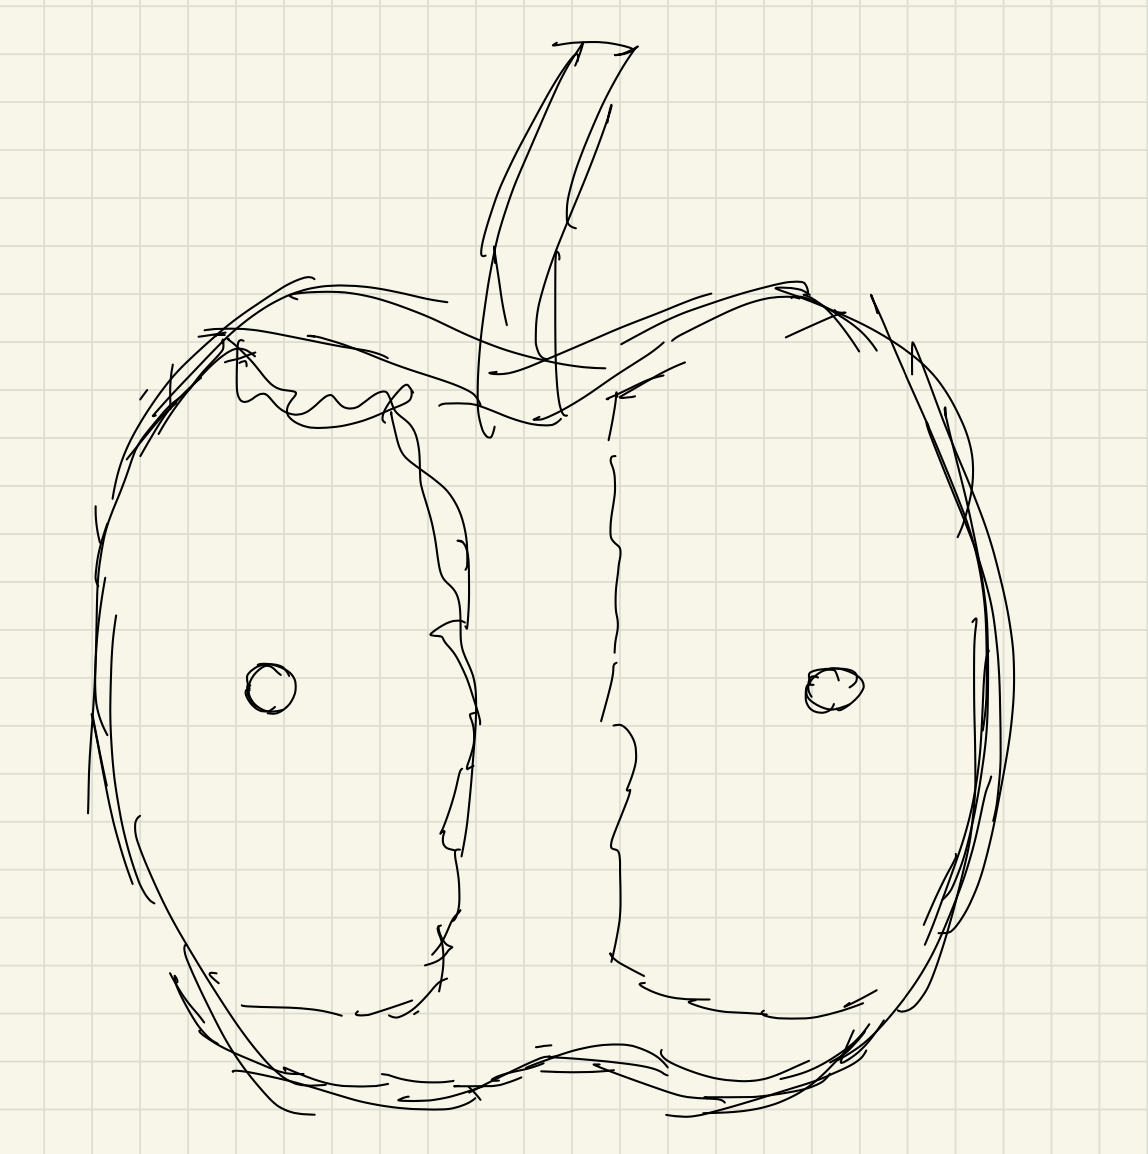

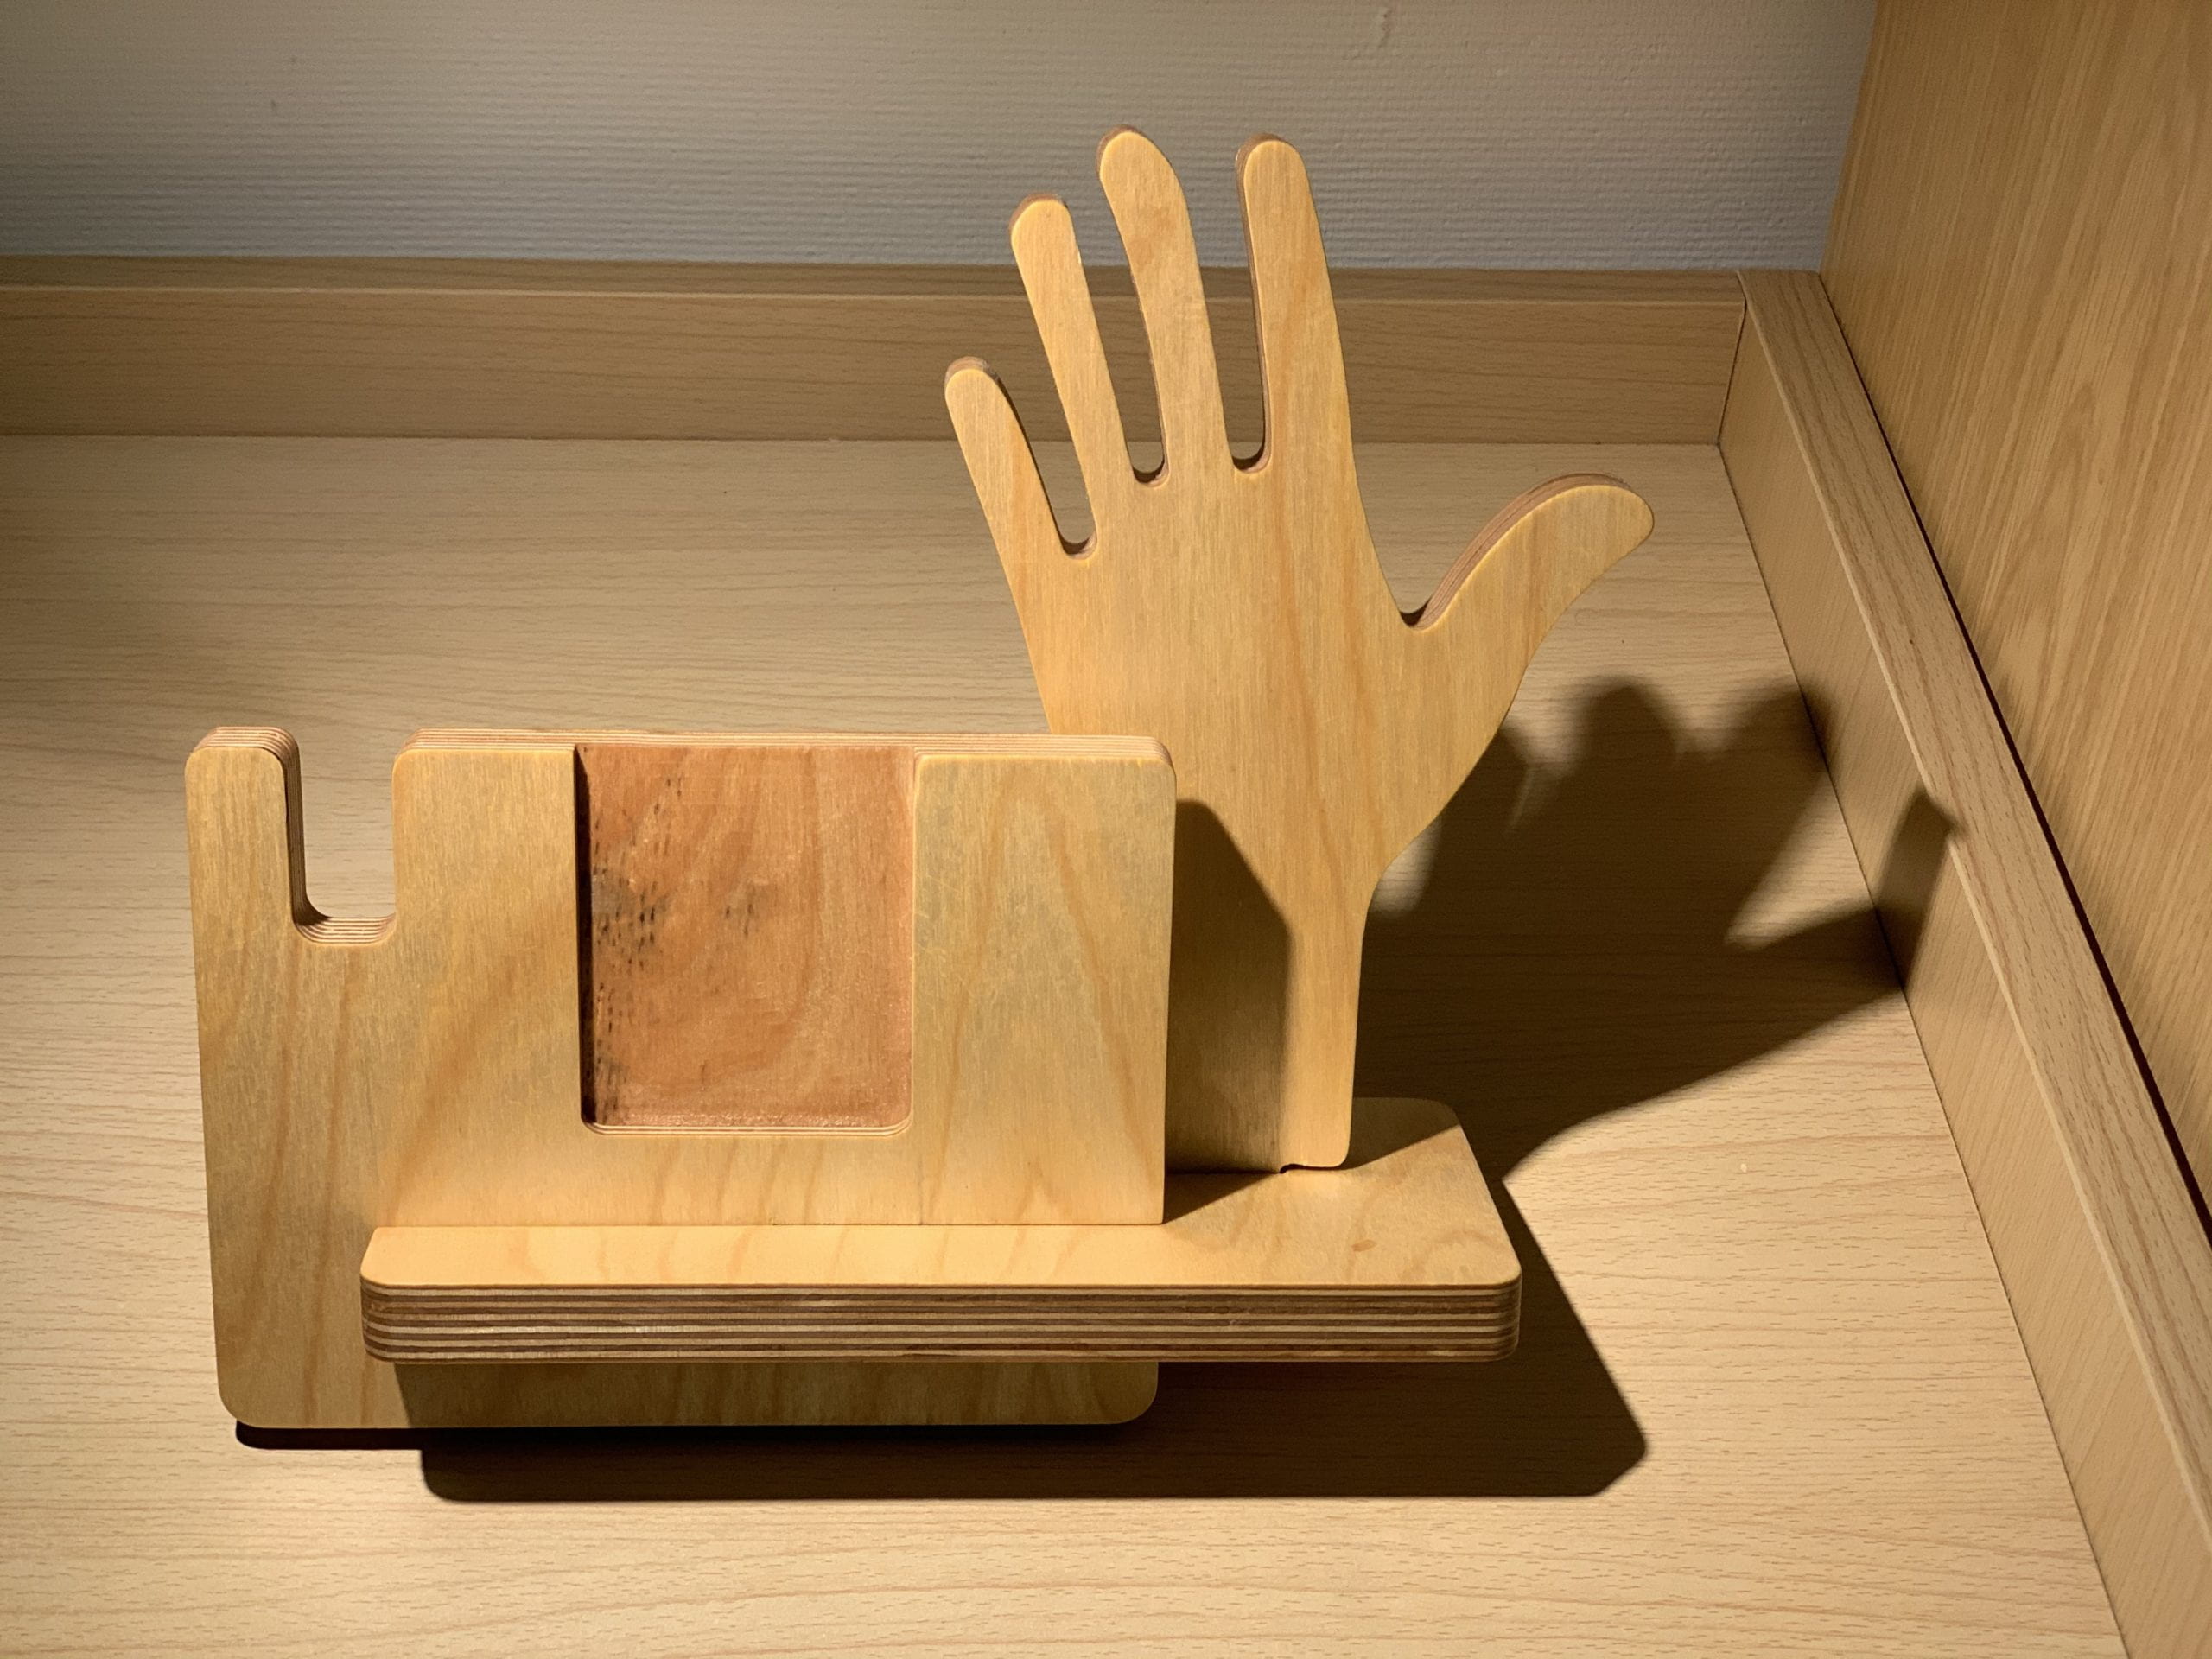
At first stage of design, I wanted to make the shape of an apple, having two drawers on the two sides. But I later found out that it difficult to fit the drawers in that position, since there’s might not enough wood holding the drawers from falling down. Thus, I turned to the idea of Ganger. I designed the drawer to have two sharp teeth, which looks more like a mouth, but Andy told me that the drawer has to be in one single cut, indicating that sharp shapes are not possible for the drawer. So, my final design is the round drawer.
Fabrication
The first process of this project is to plane and glue several pieces of wood together. I chose two African pear wood and walnut to glue.
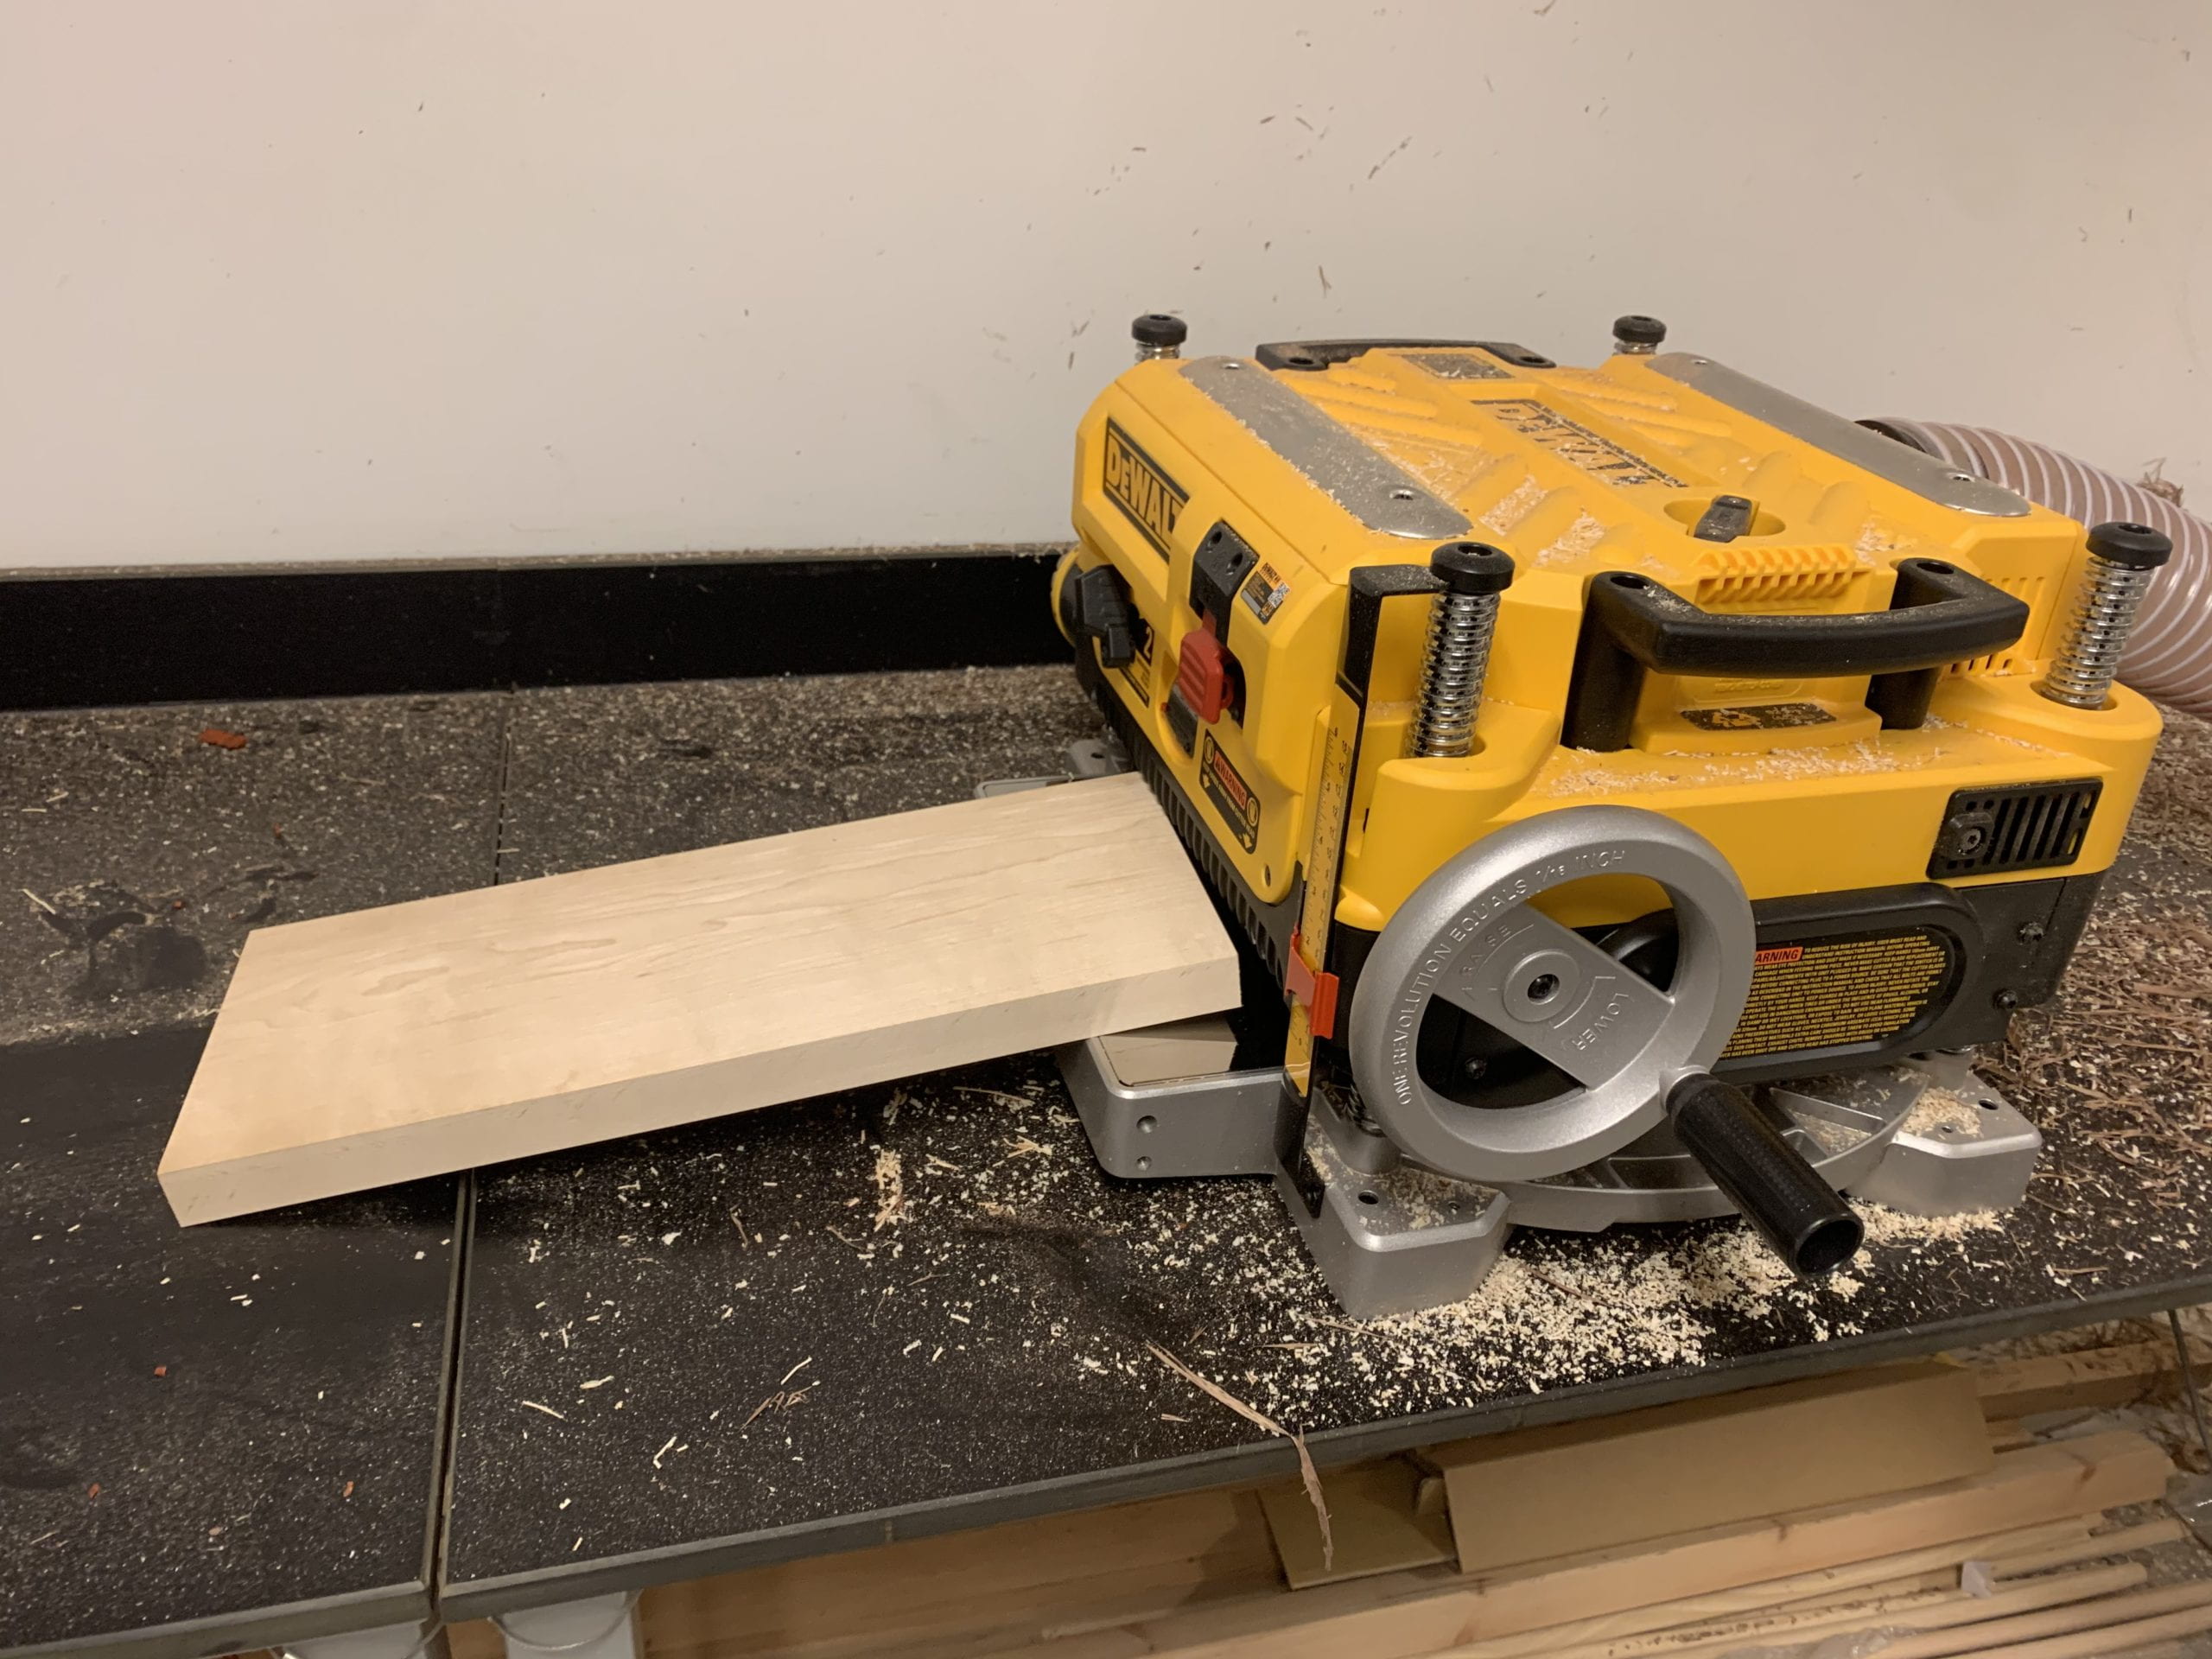

Both powered thickness planer and hand planer are used for the planing process. The powered tool can plane large piece of wood easily by continuous flipping the wood and plane till both sides are smooth. However, for the hand planer used for smaller pieces, the hand tool took much more time. The hand planer isn’t so easy to use especially when the blade is not sharp enough. I took a long time trying the plane one walnut piece to fit other pieces, but it turns out that certain piece has a so uncomfortable shape to plane, and I chose another piece at last.
After planing the wood, I have to glue them together. This is the process with most stress because the wood glue would start to solidify in five minutes, so all the gluing need to be done within five minutes.
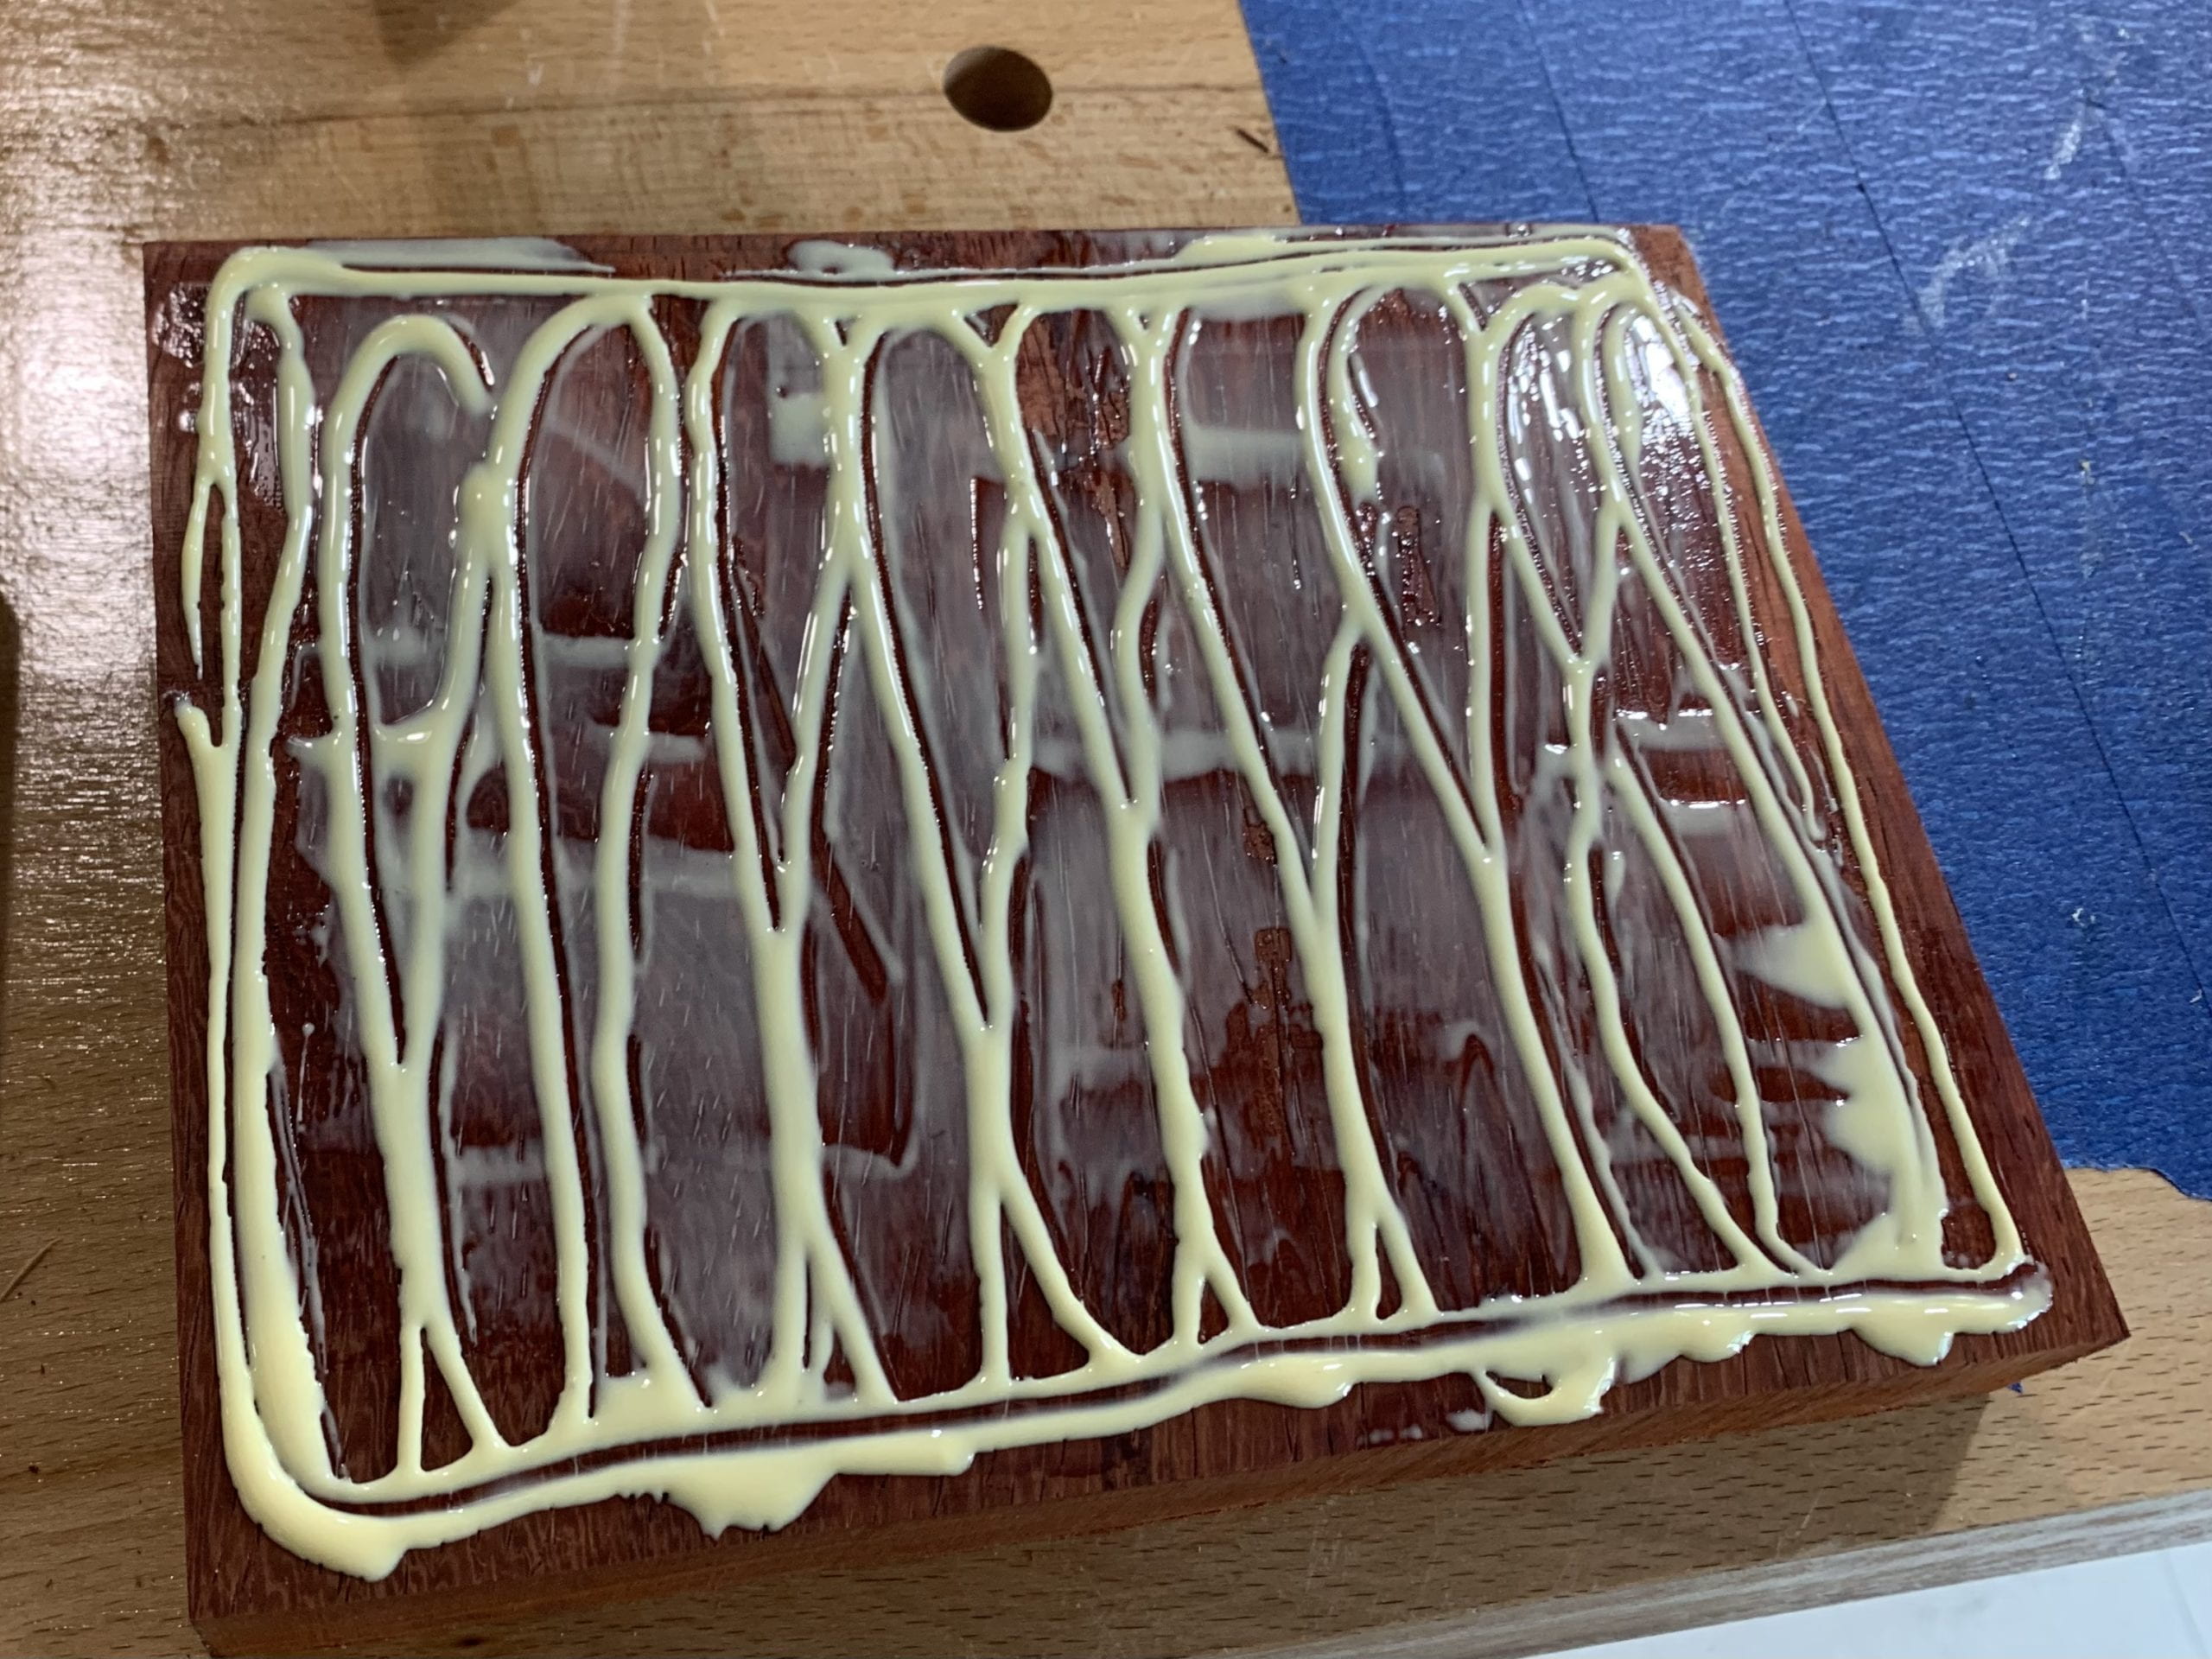
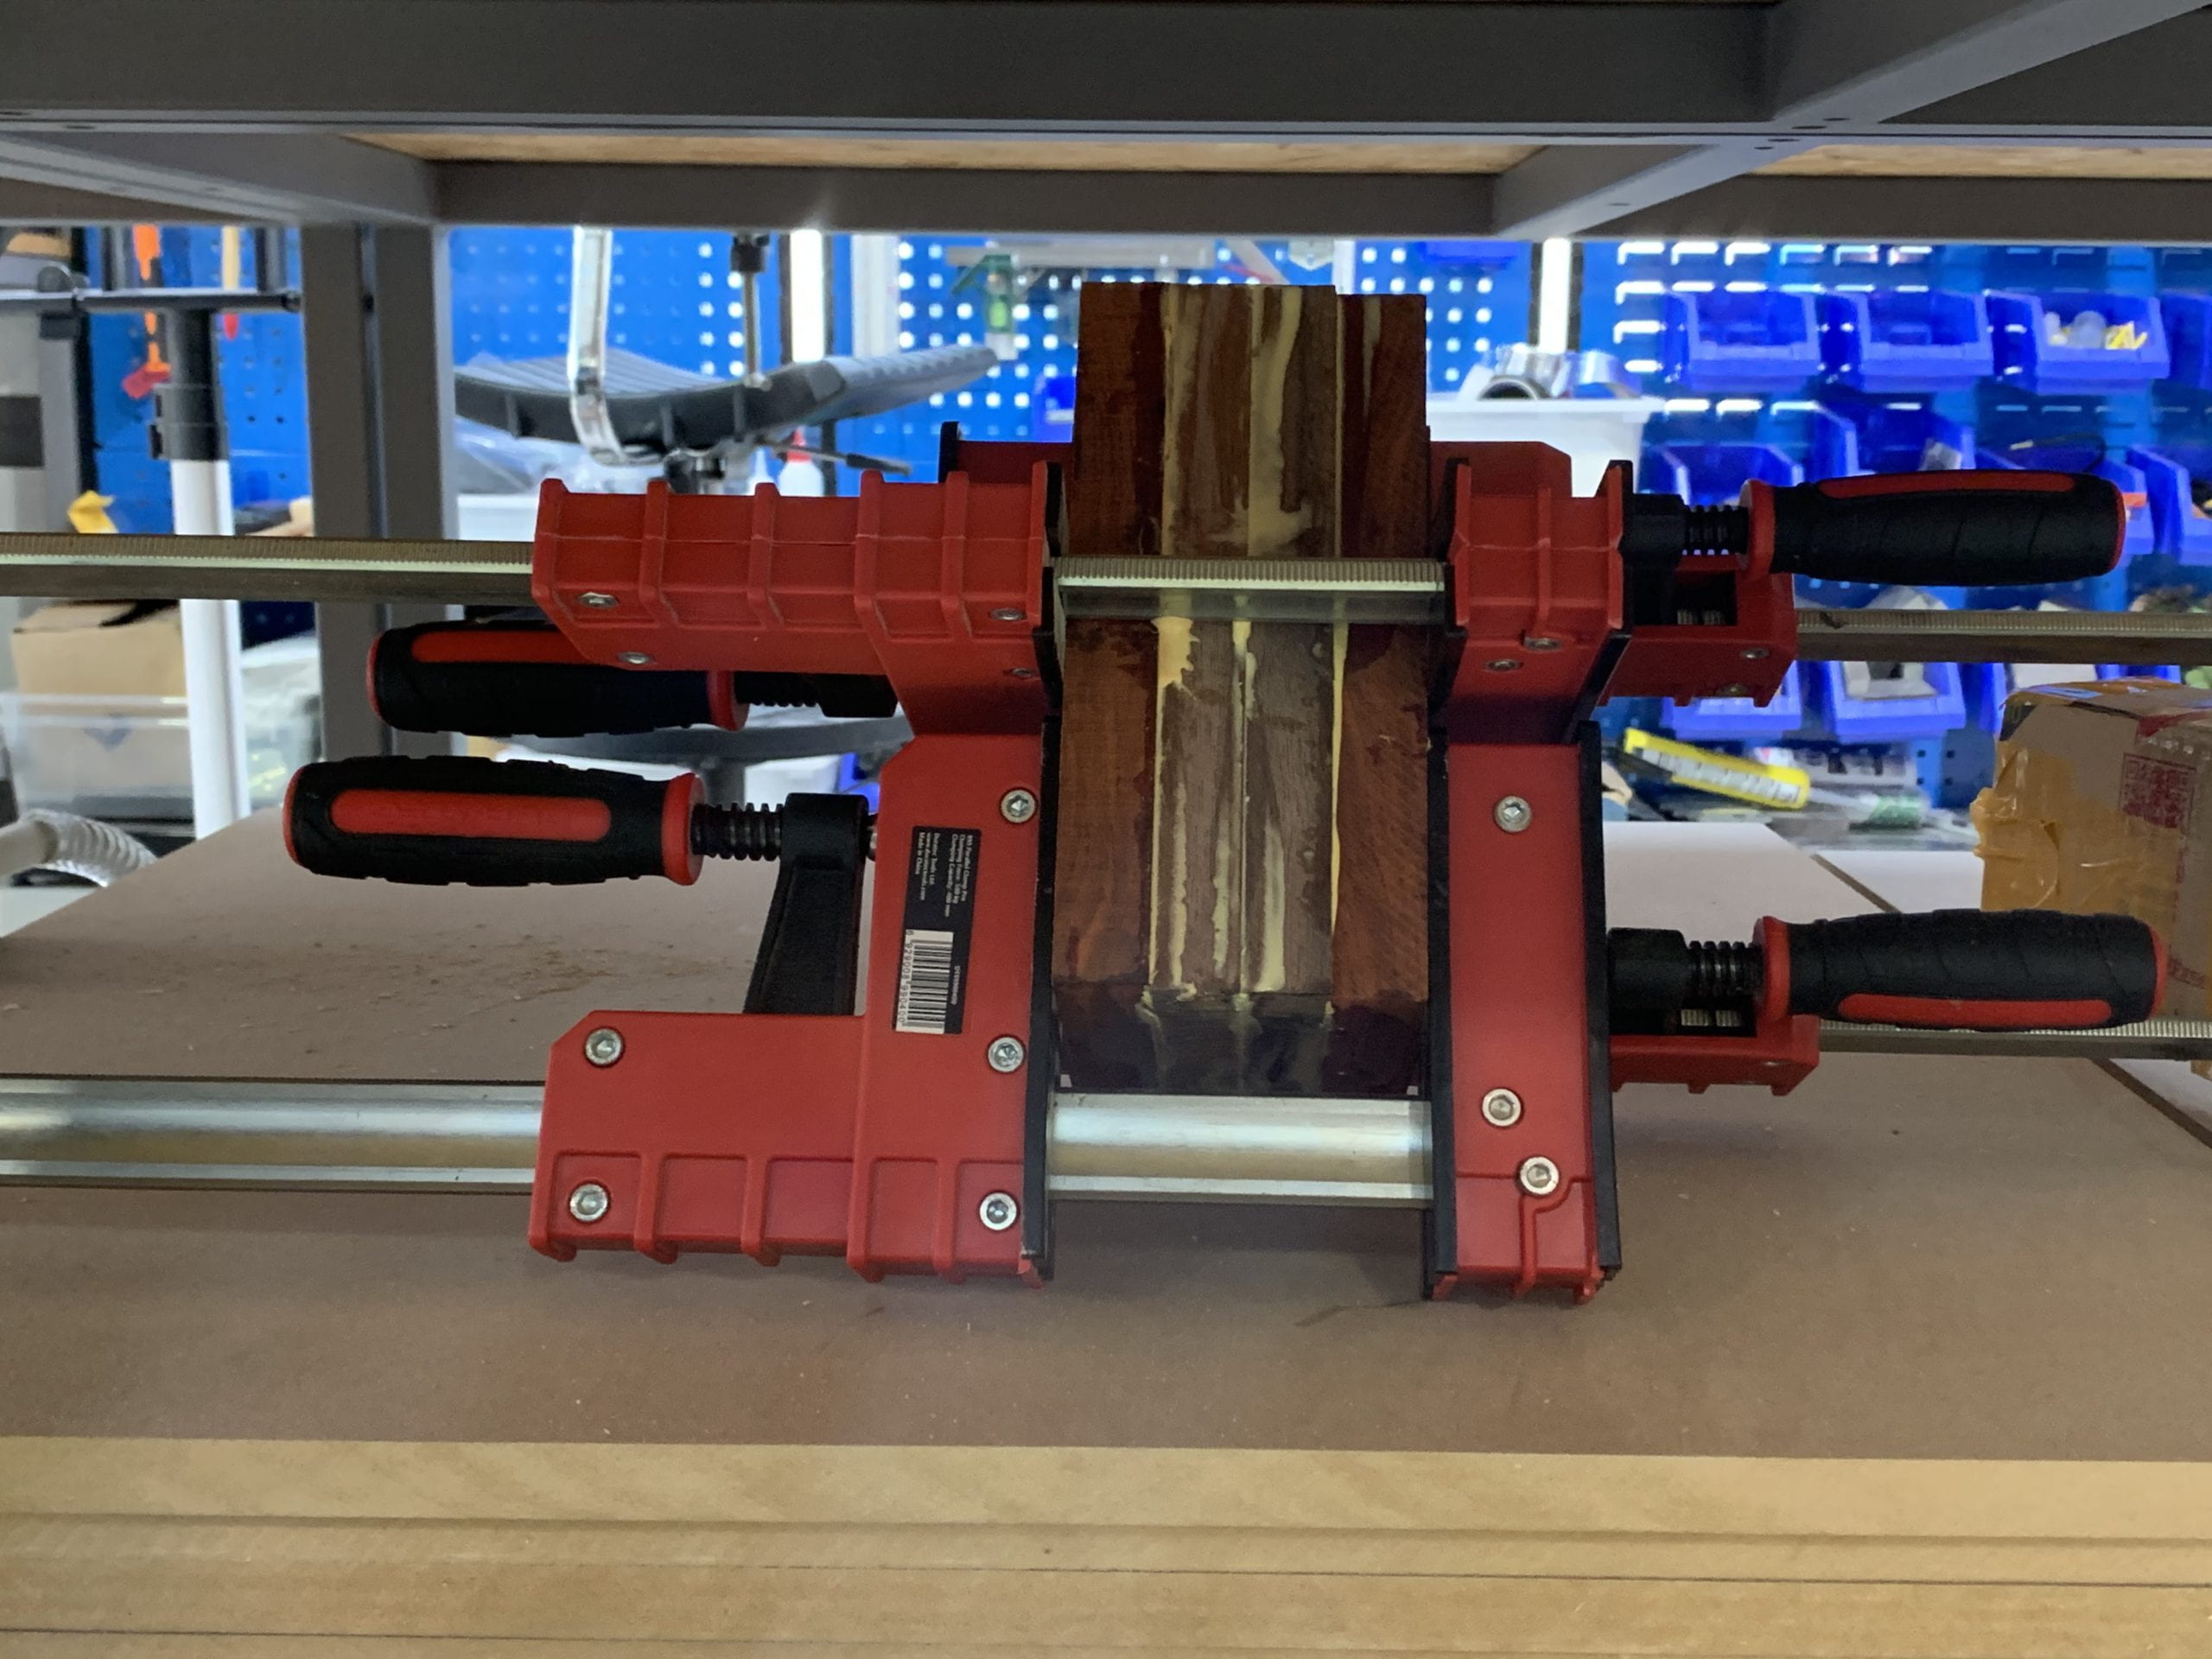
Multiple clamps are used so that I could clamp the four pieces of woods tightly together. The gluing process took a whole day.
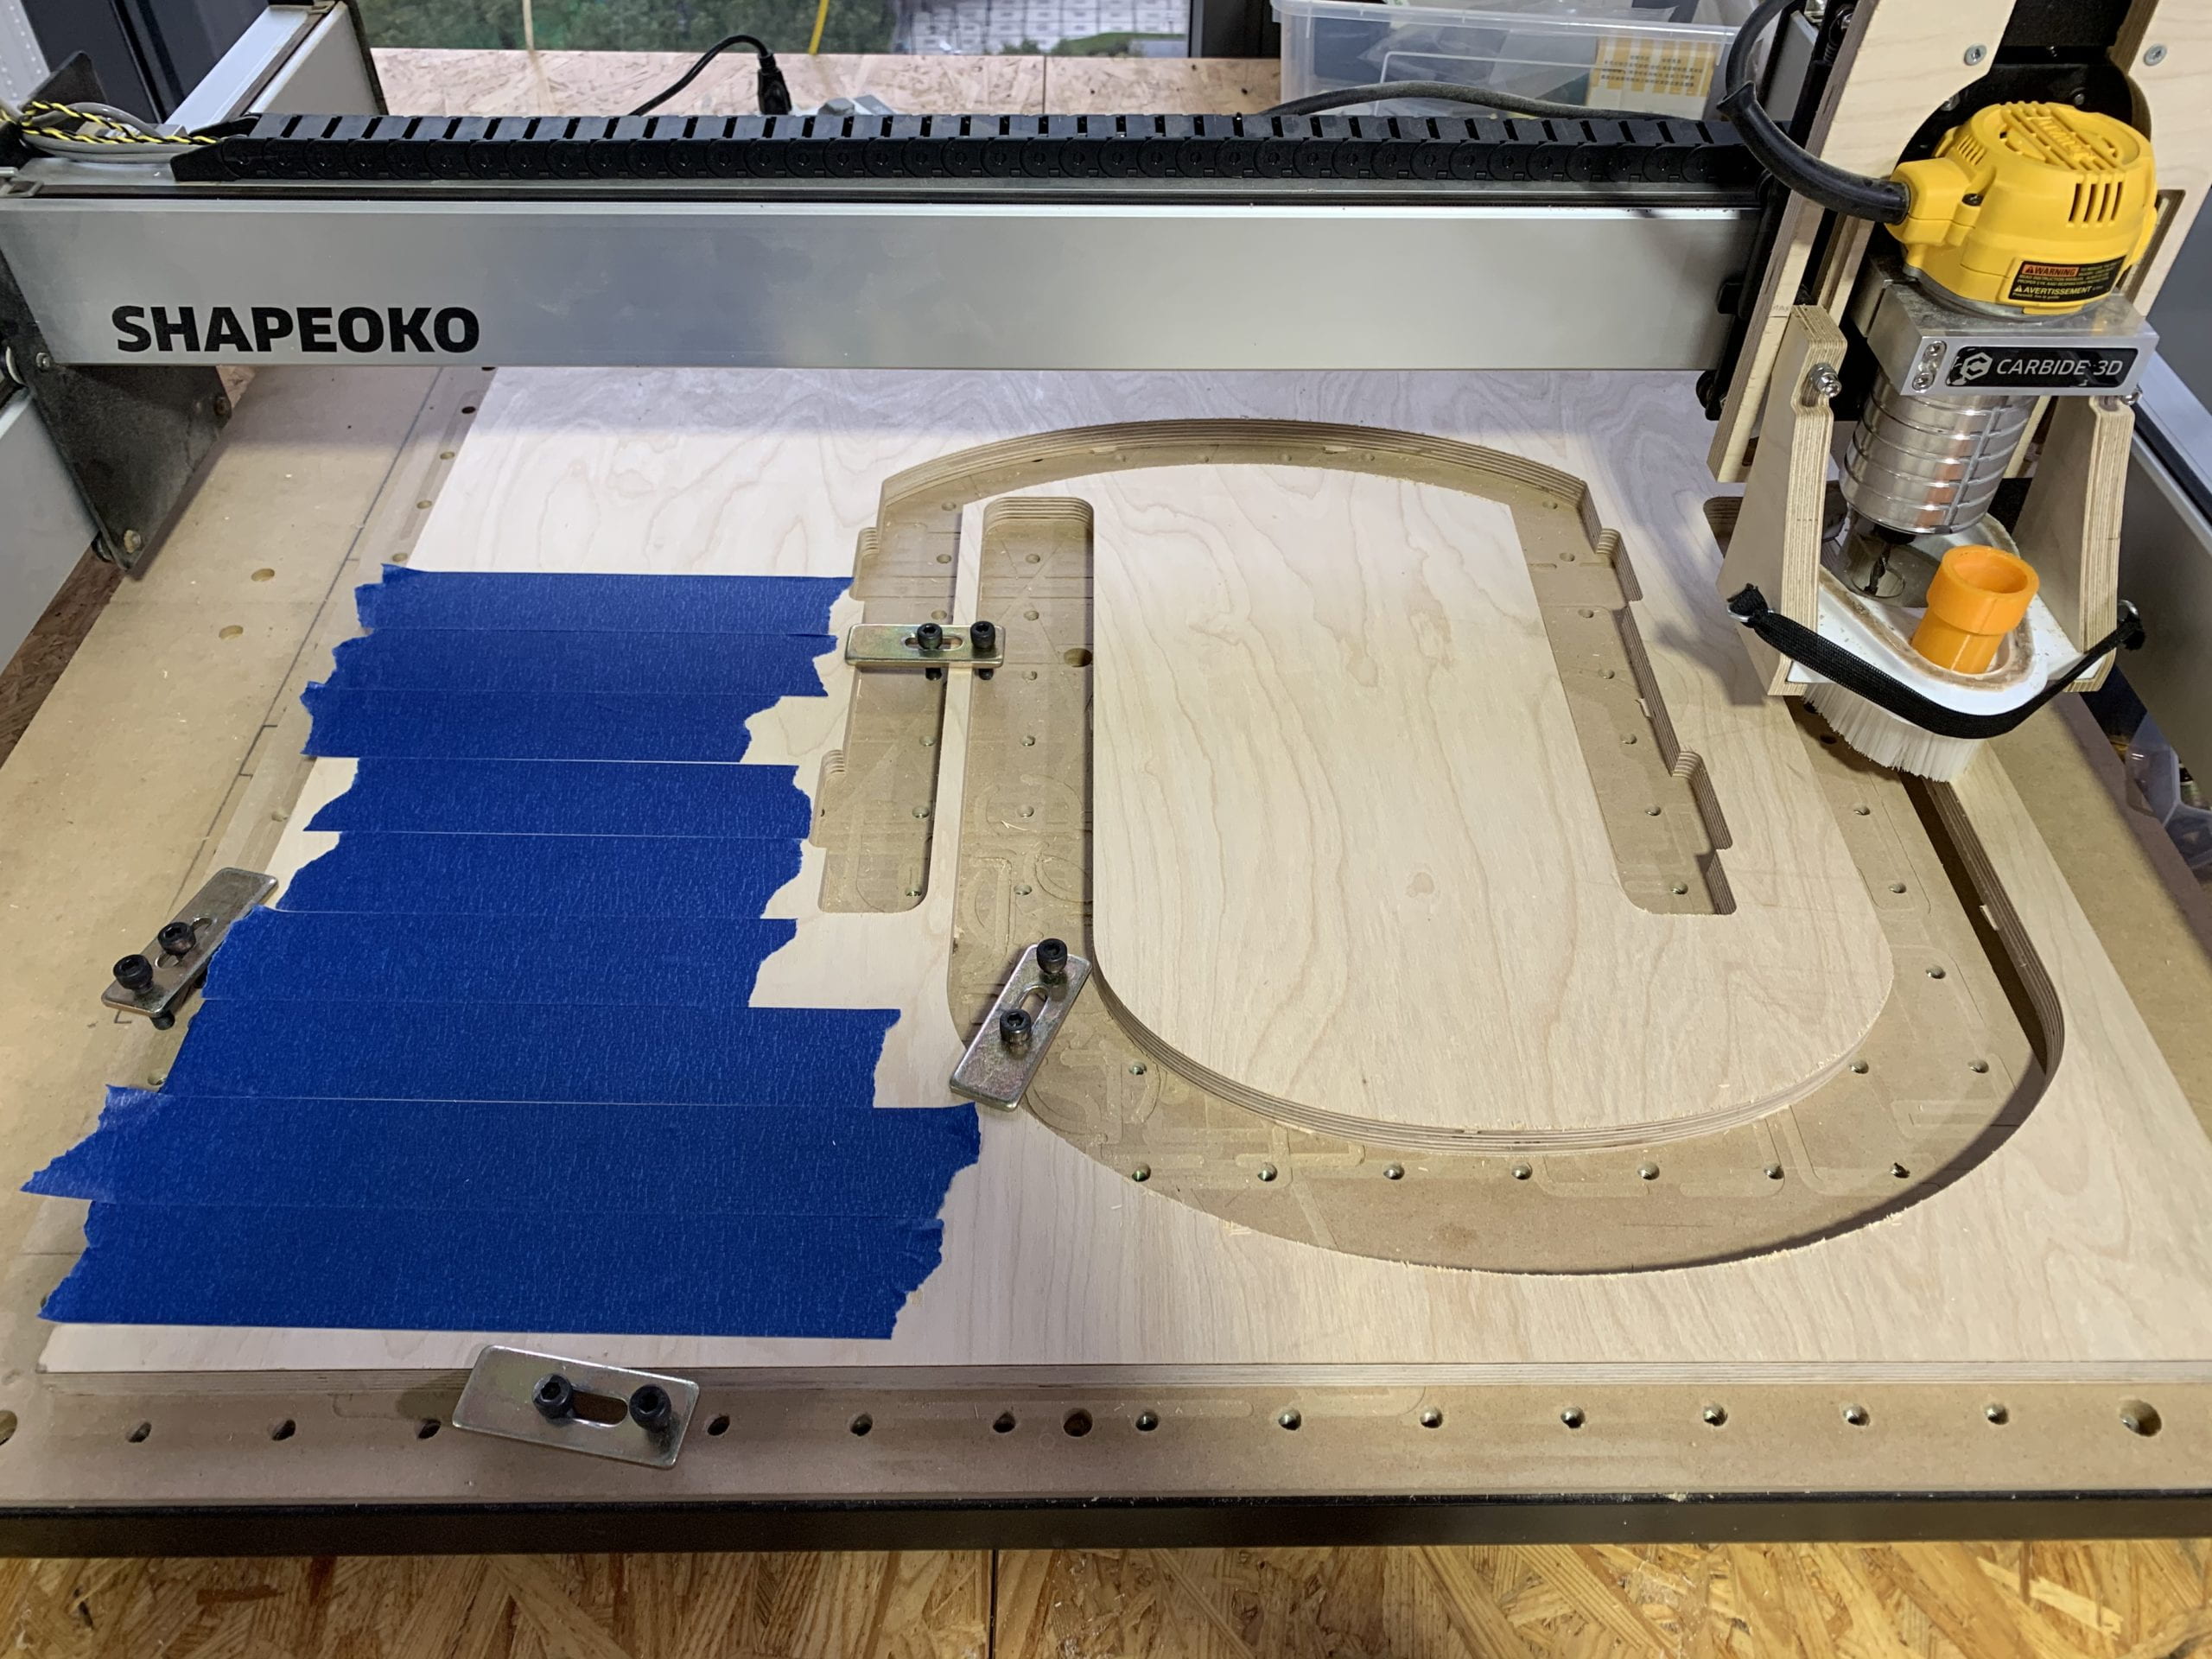
After gluing the pieces together, then came the time for bandsaw.
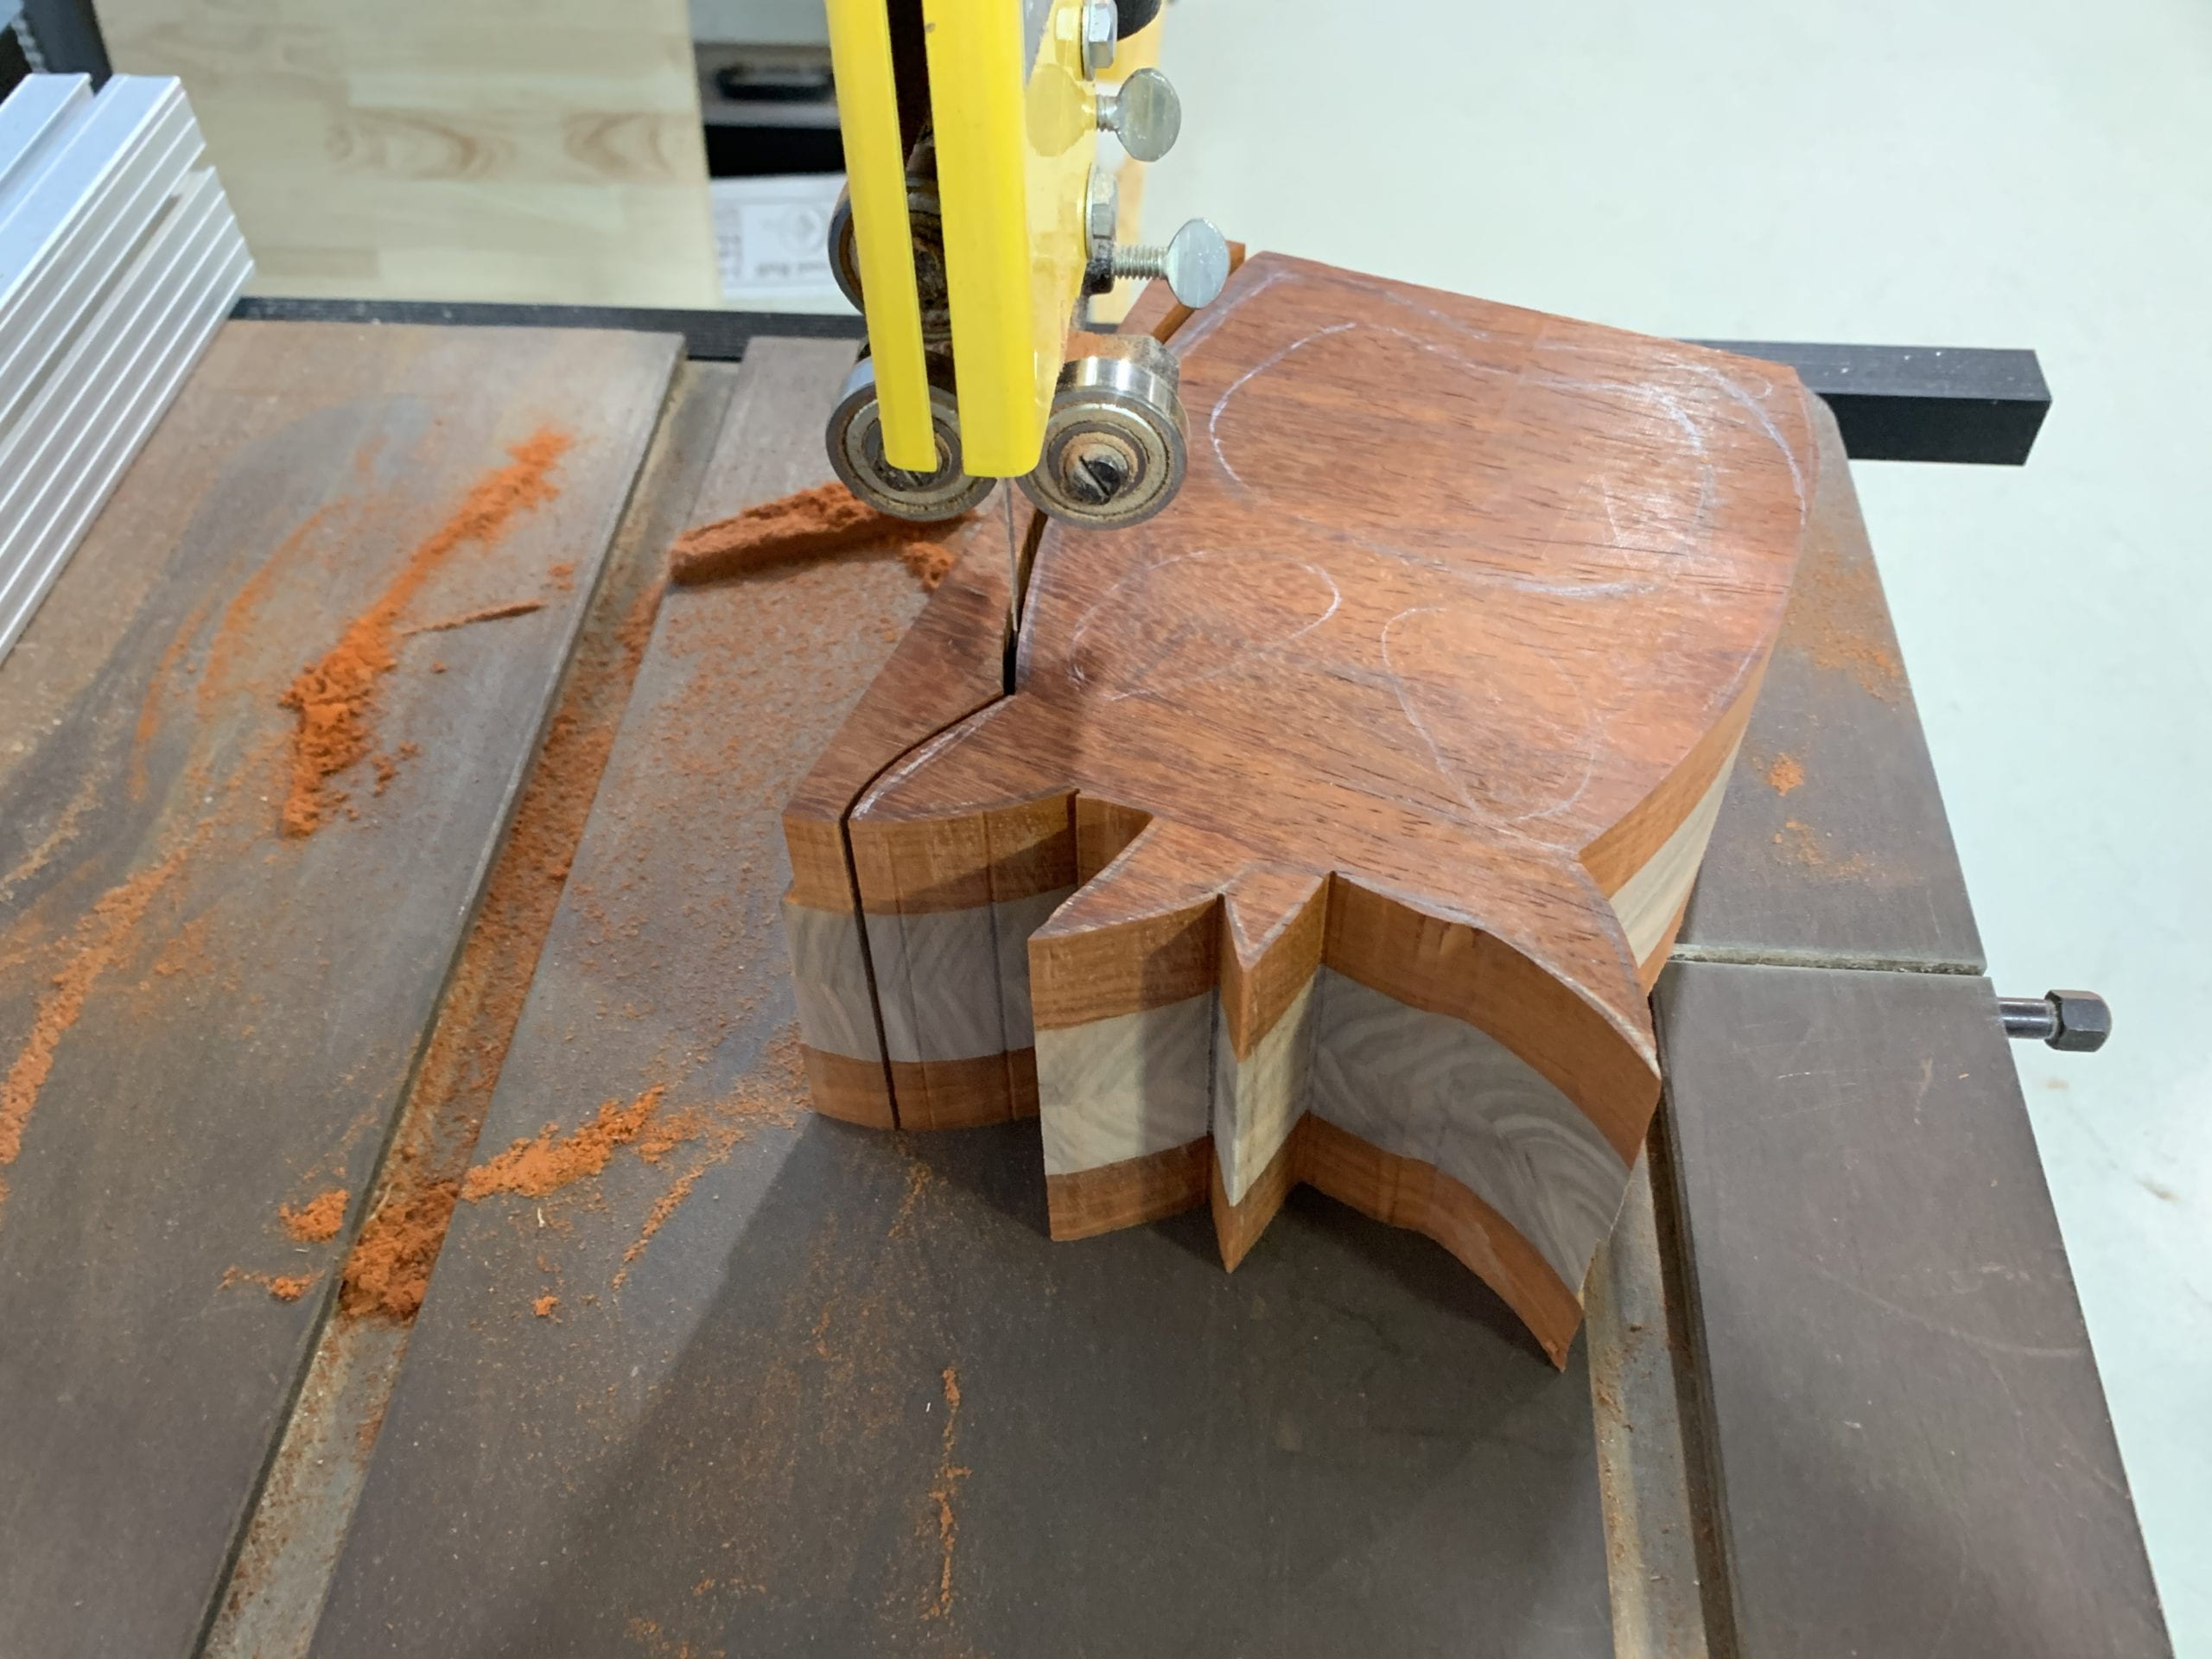
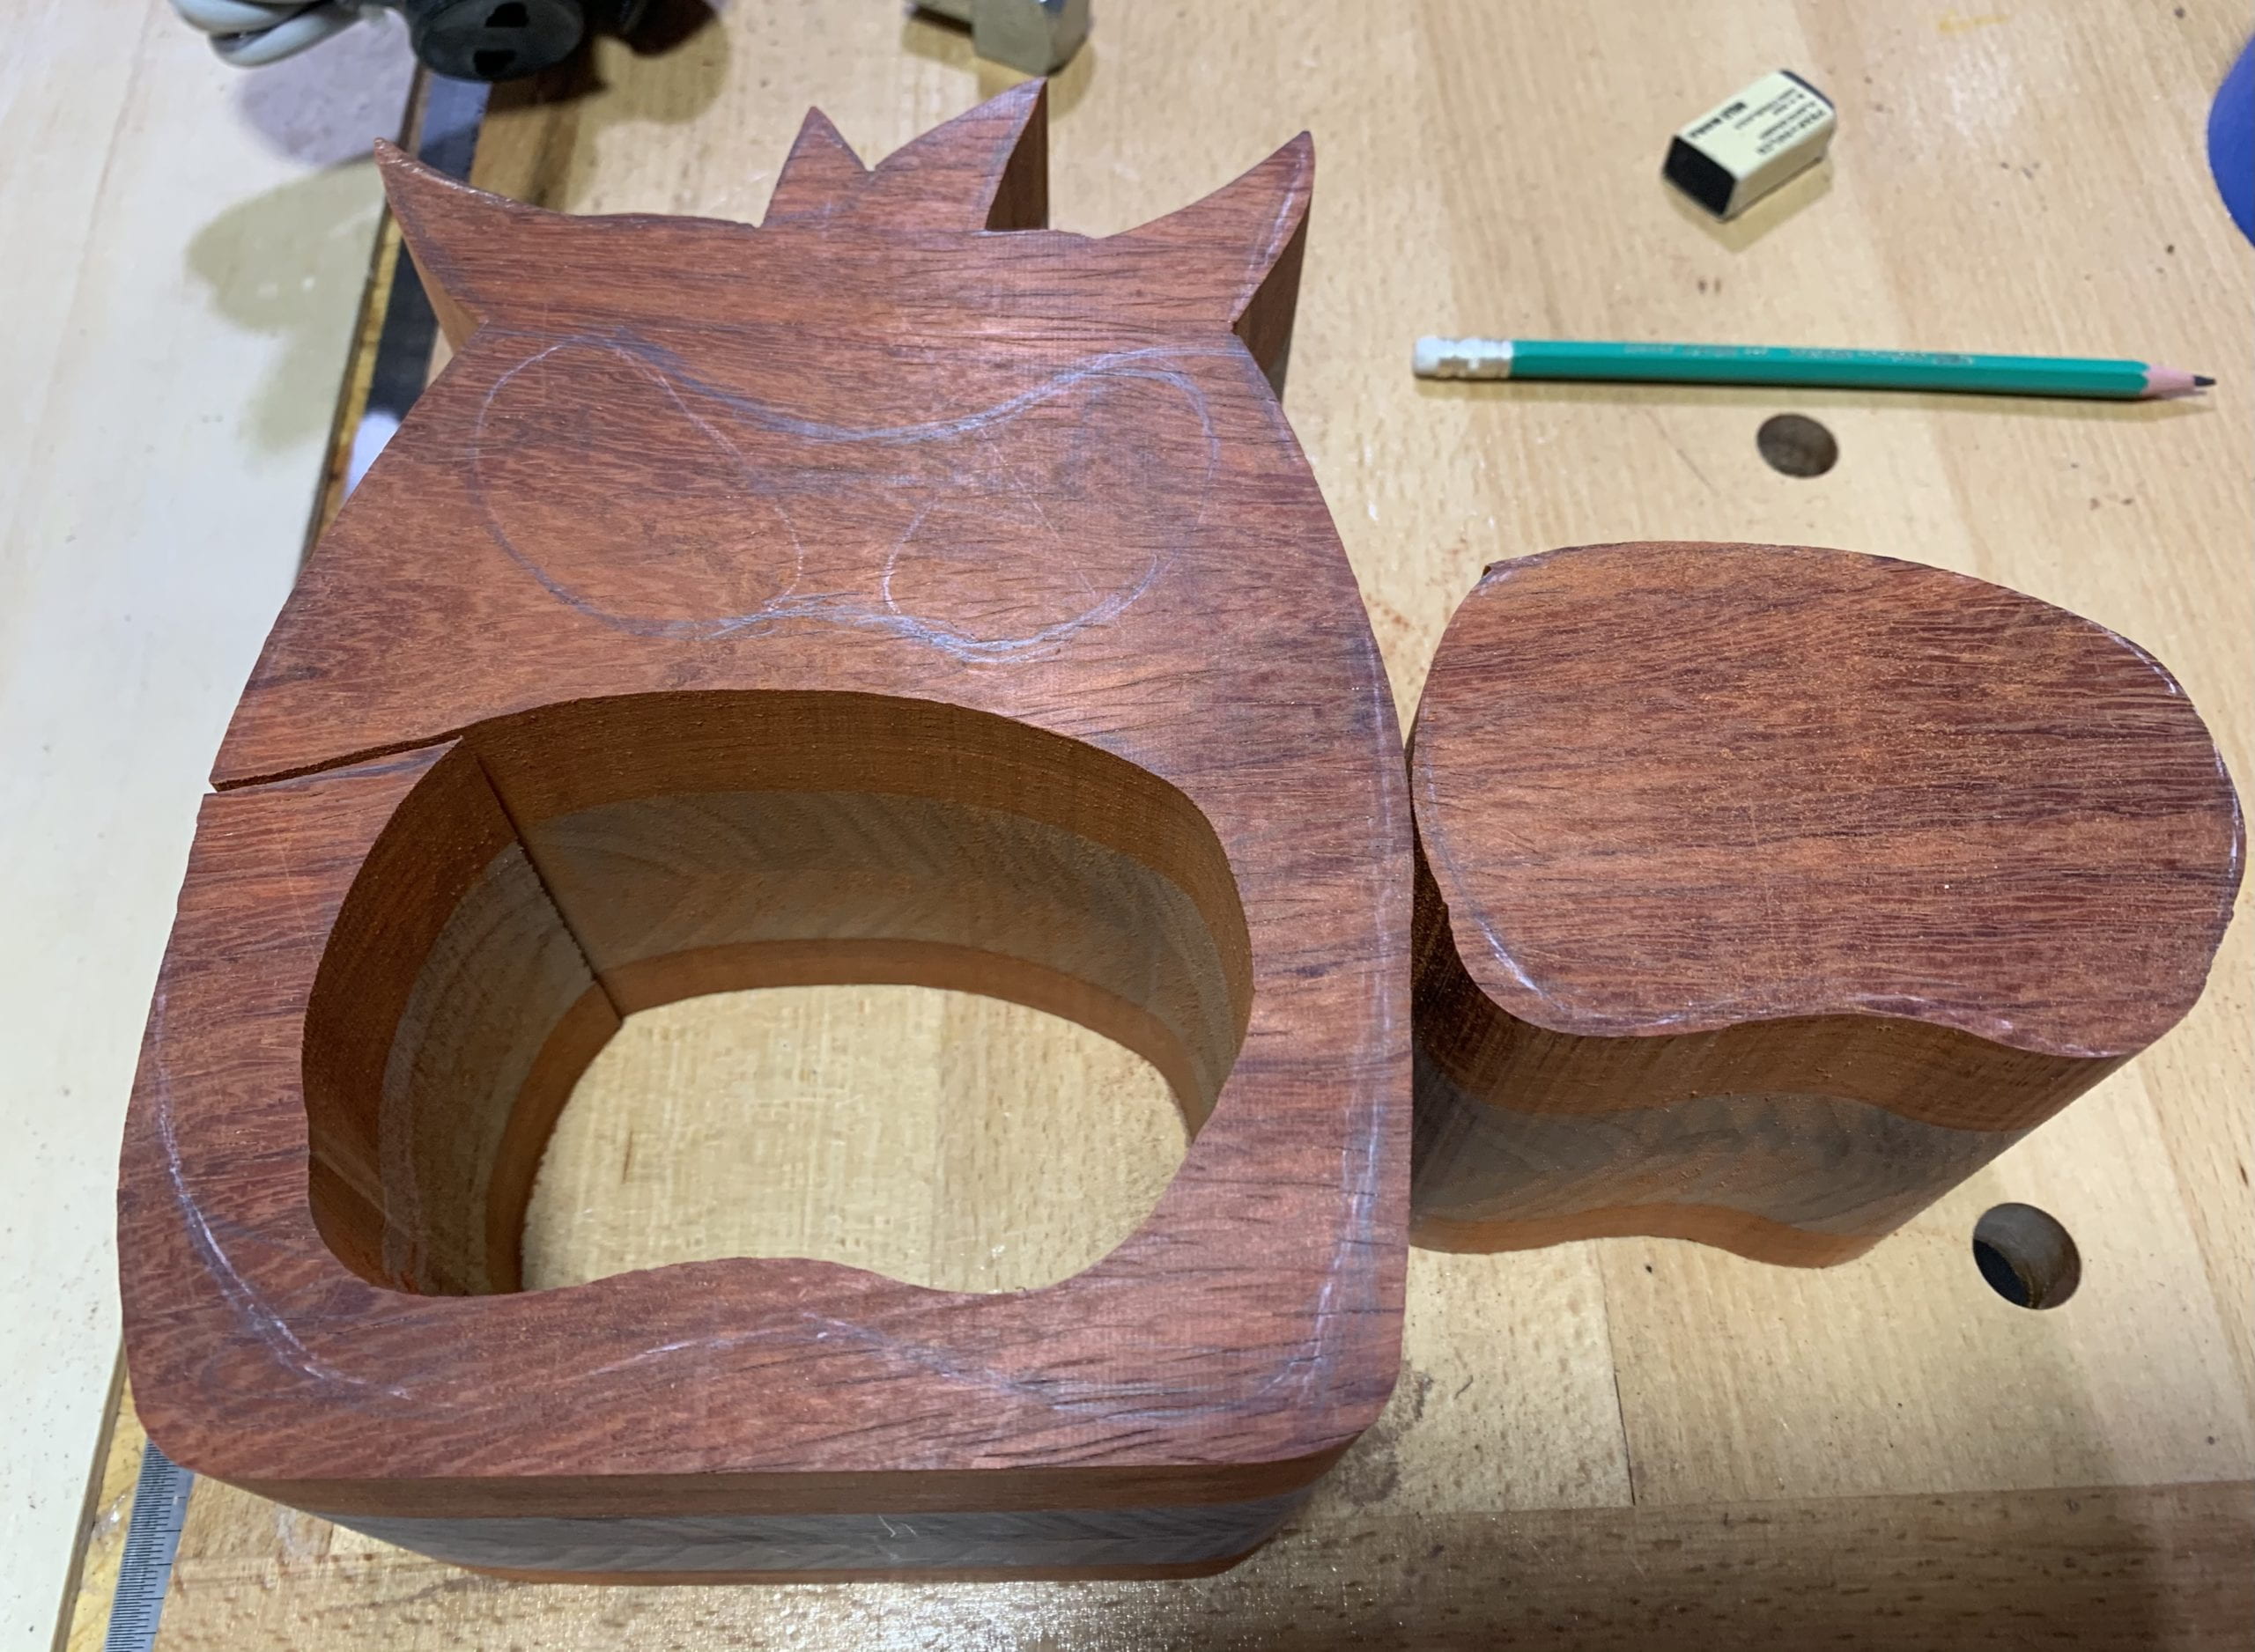
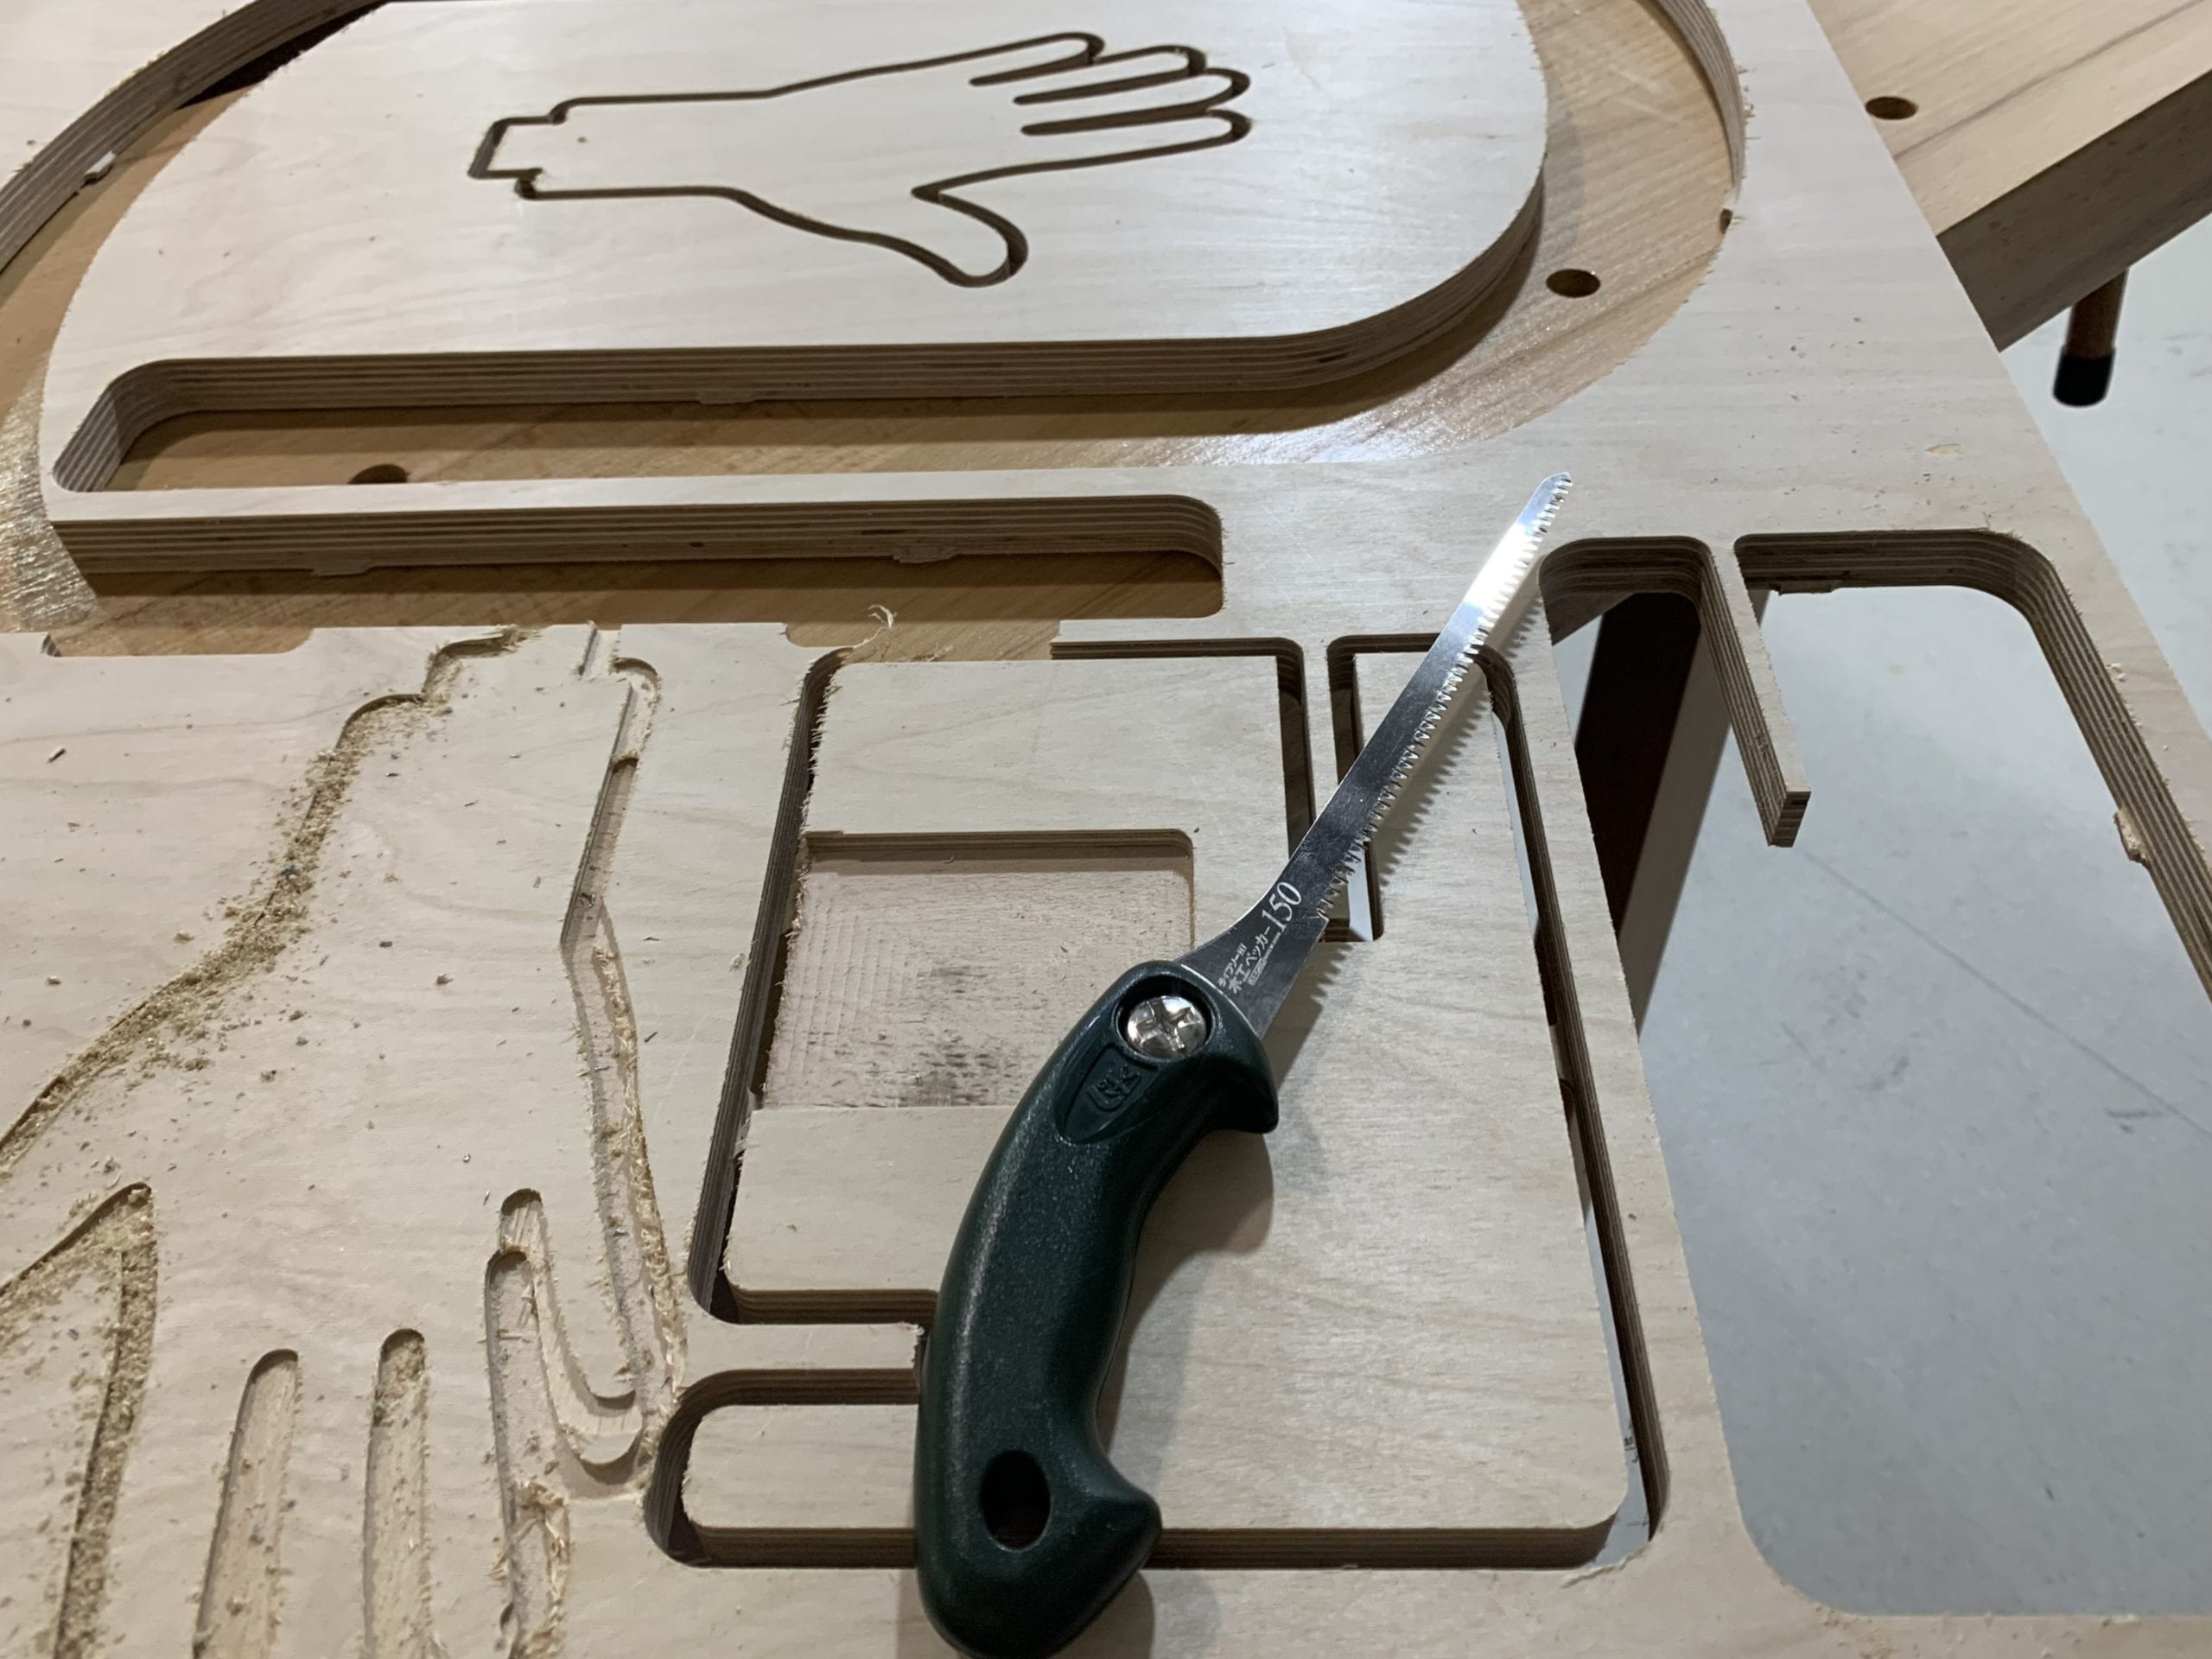
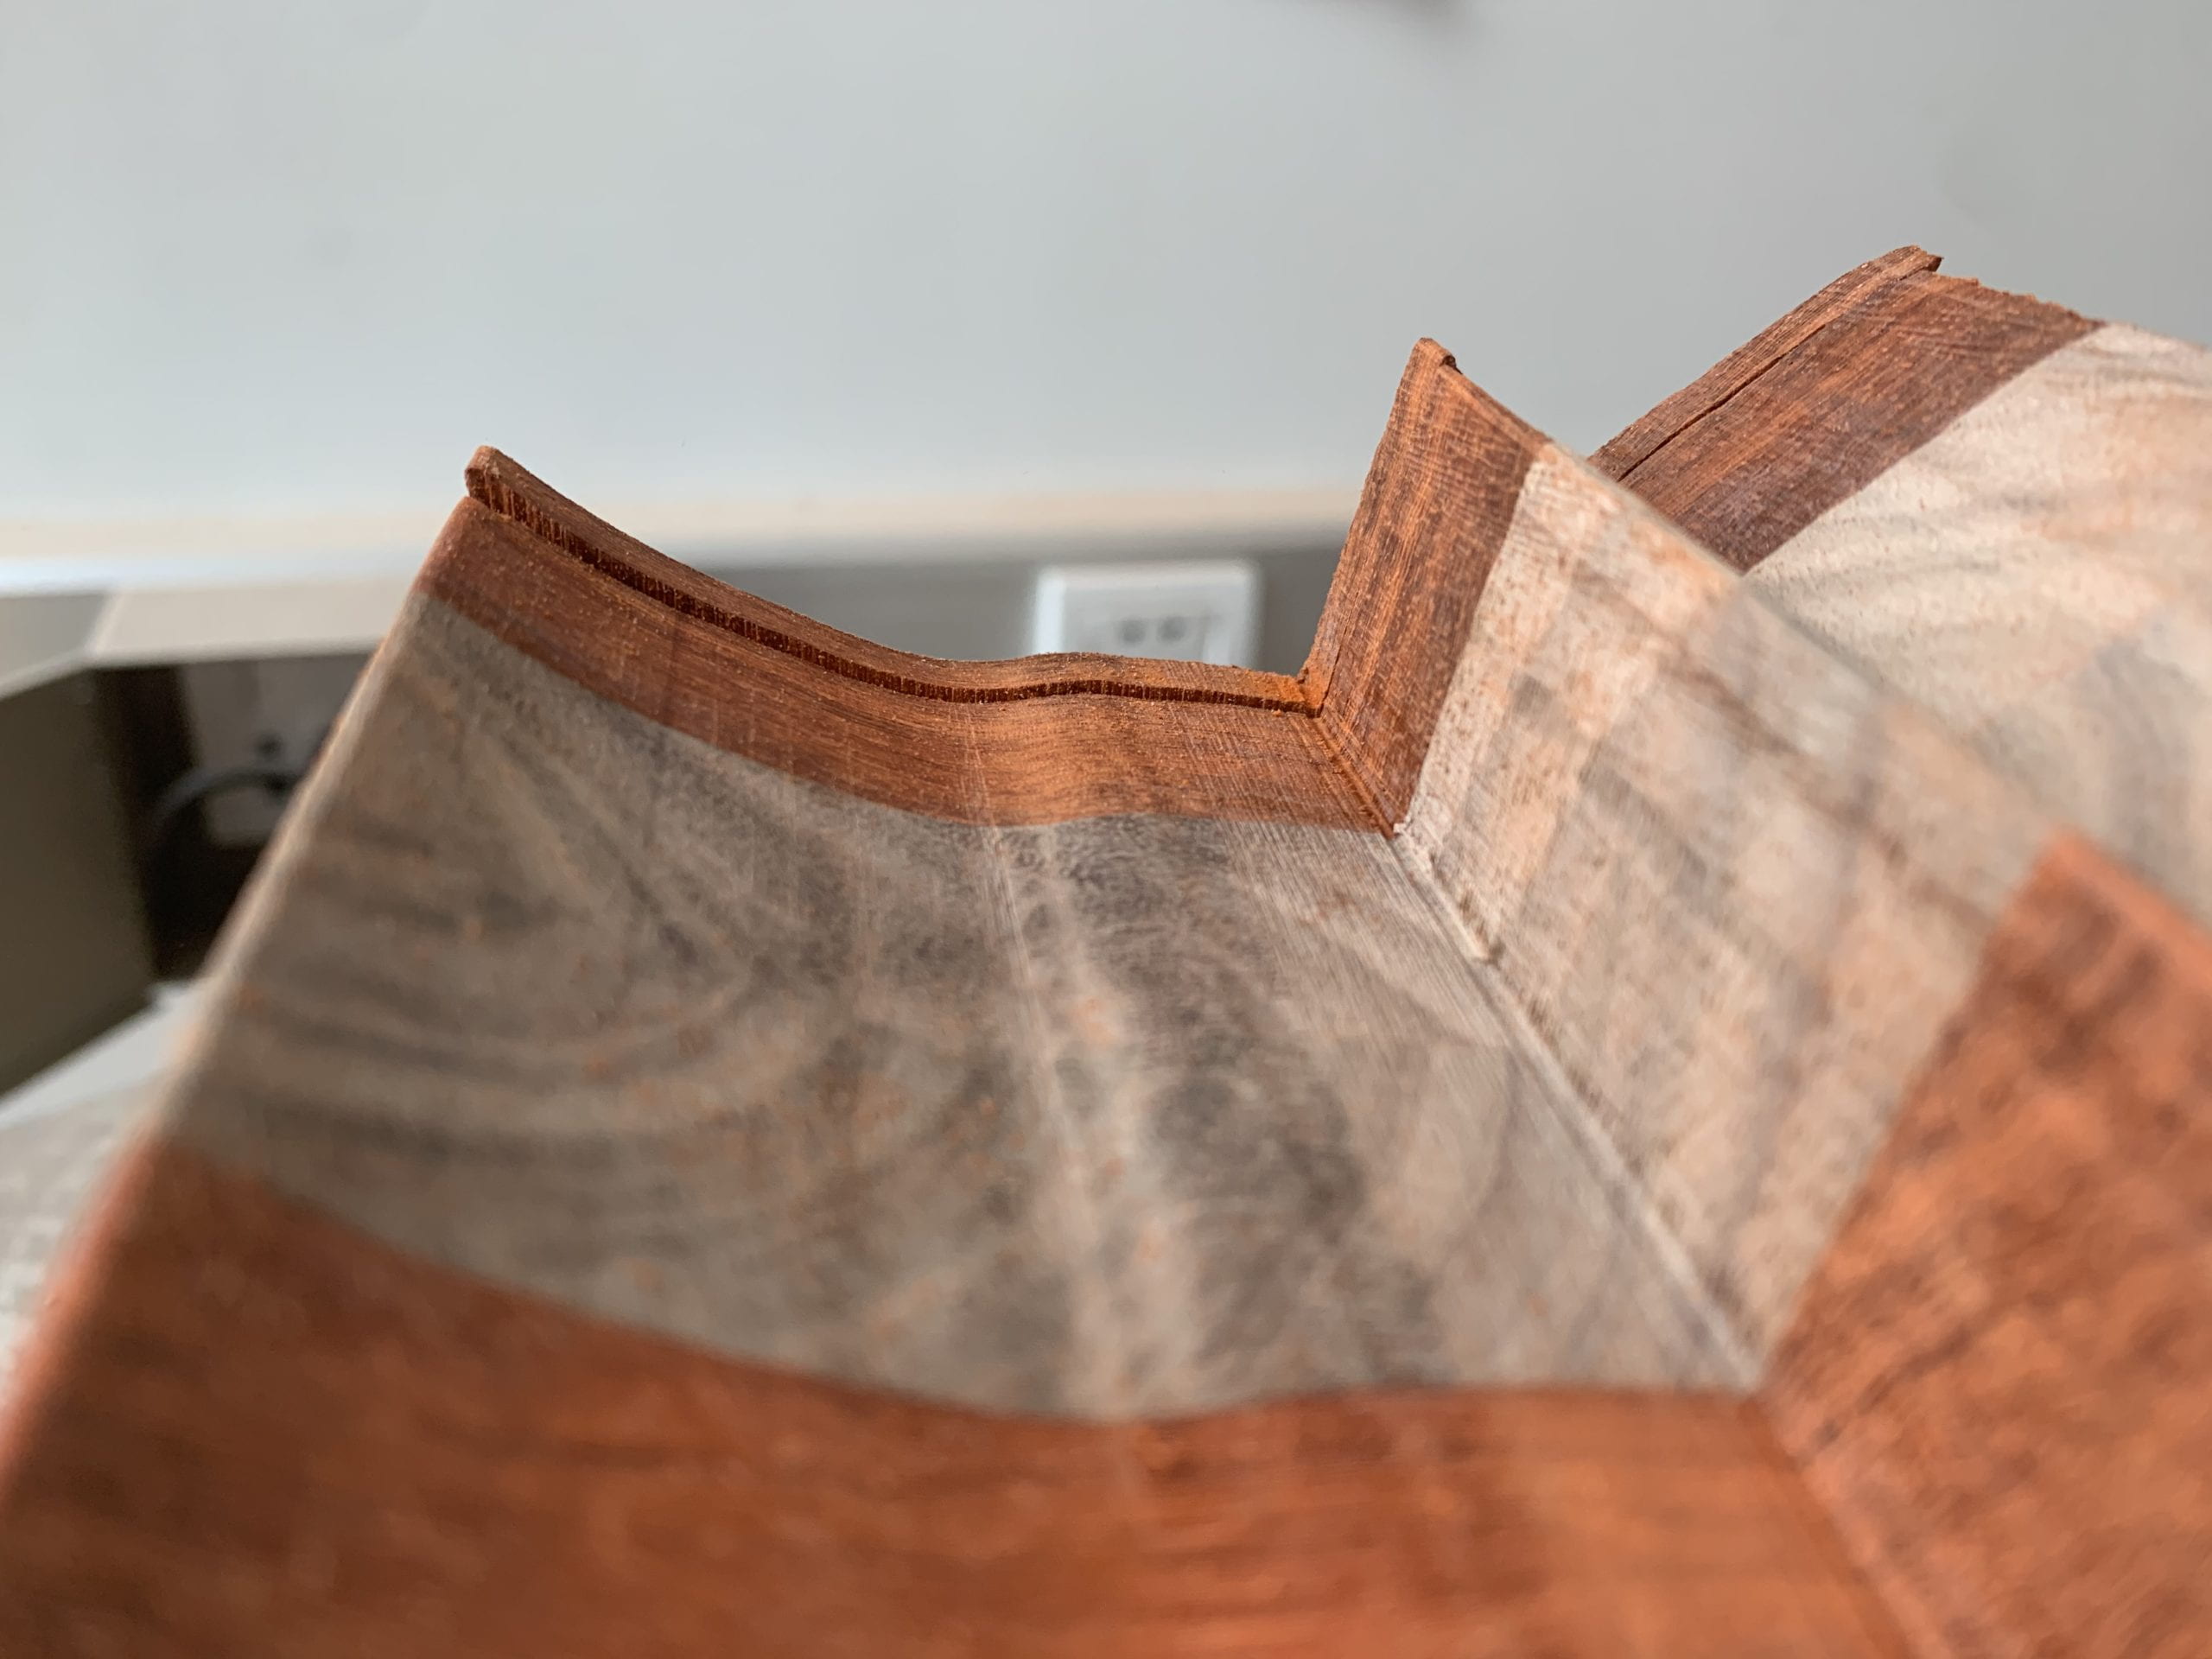
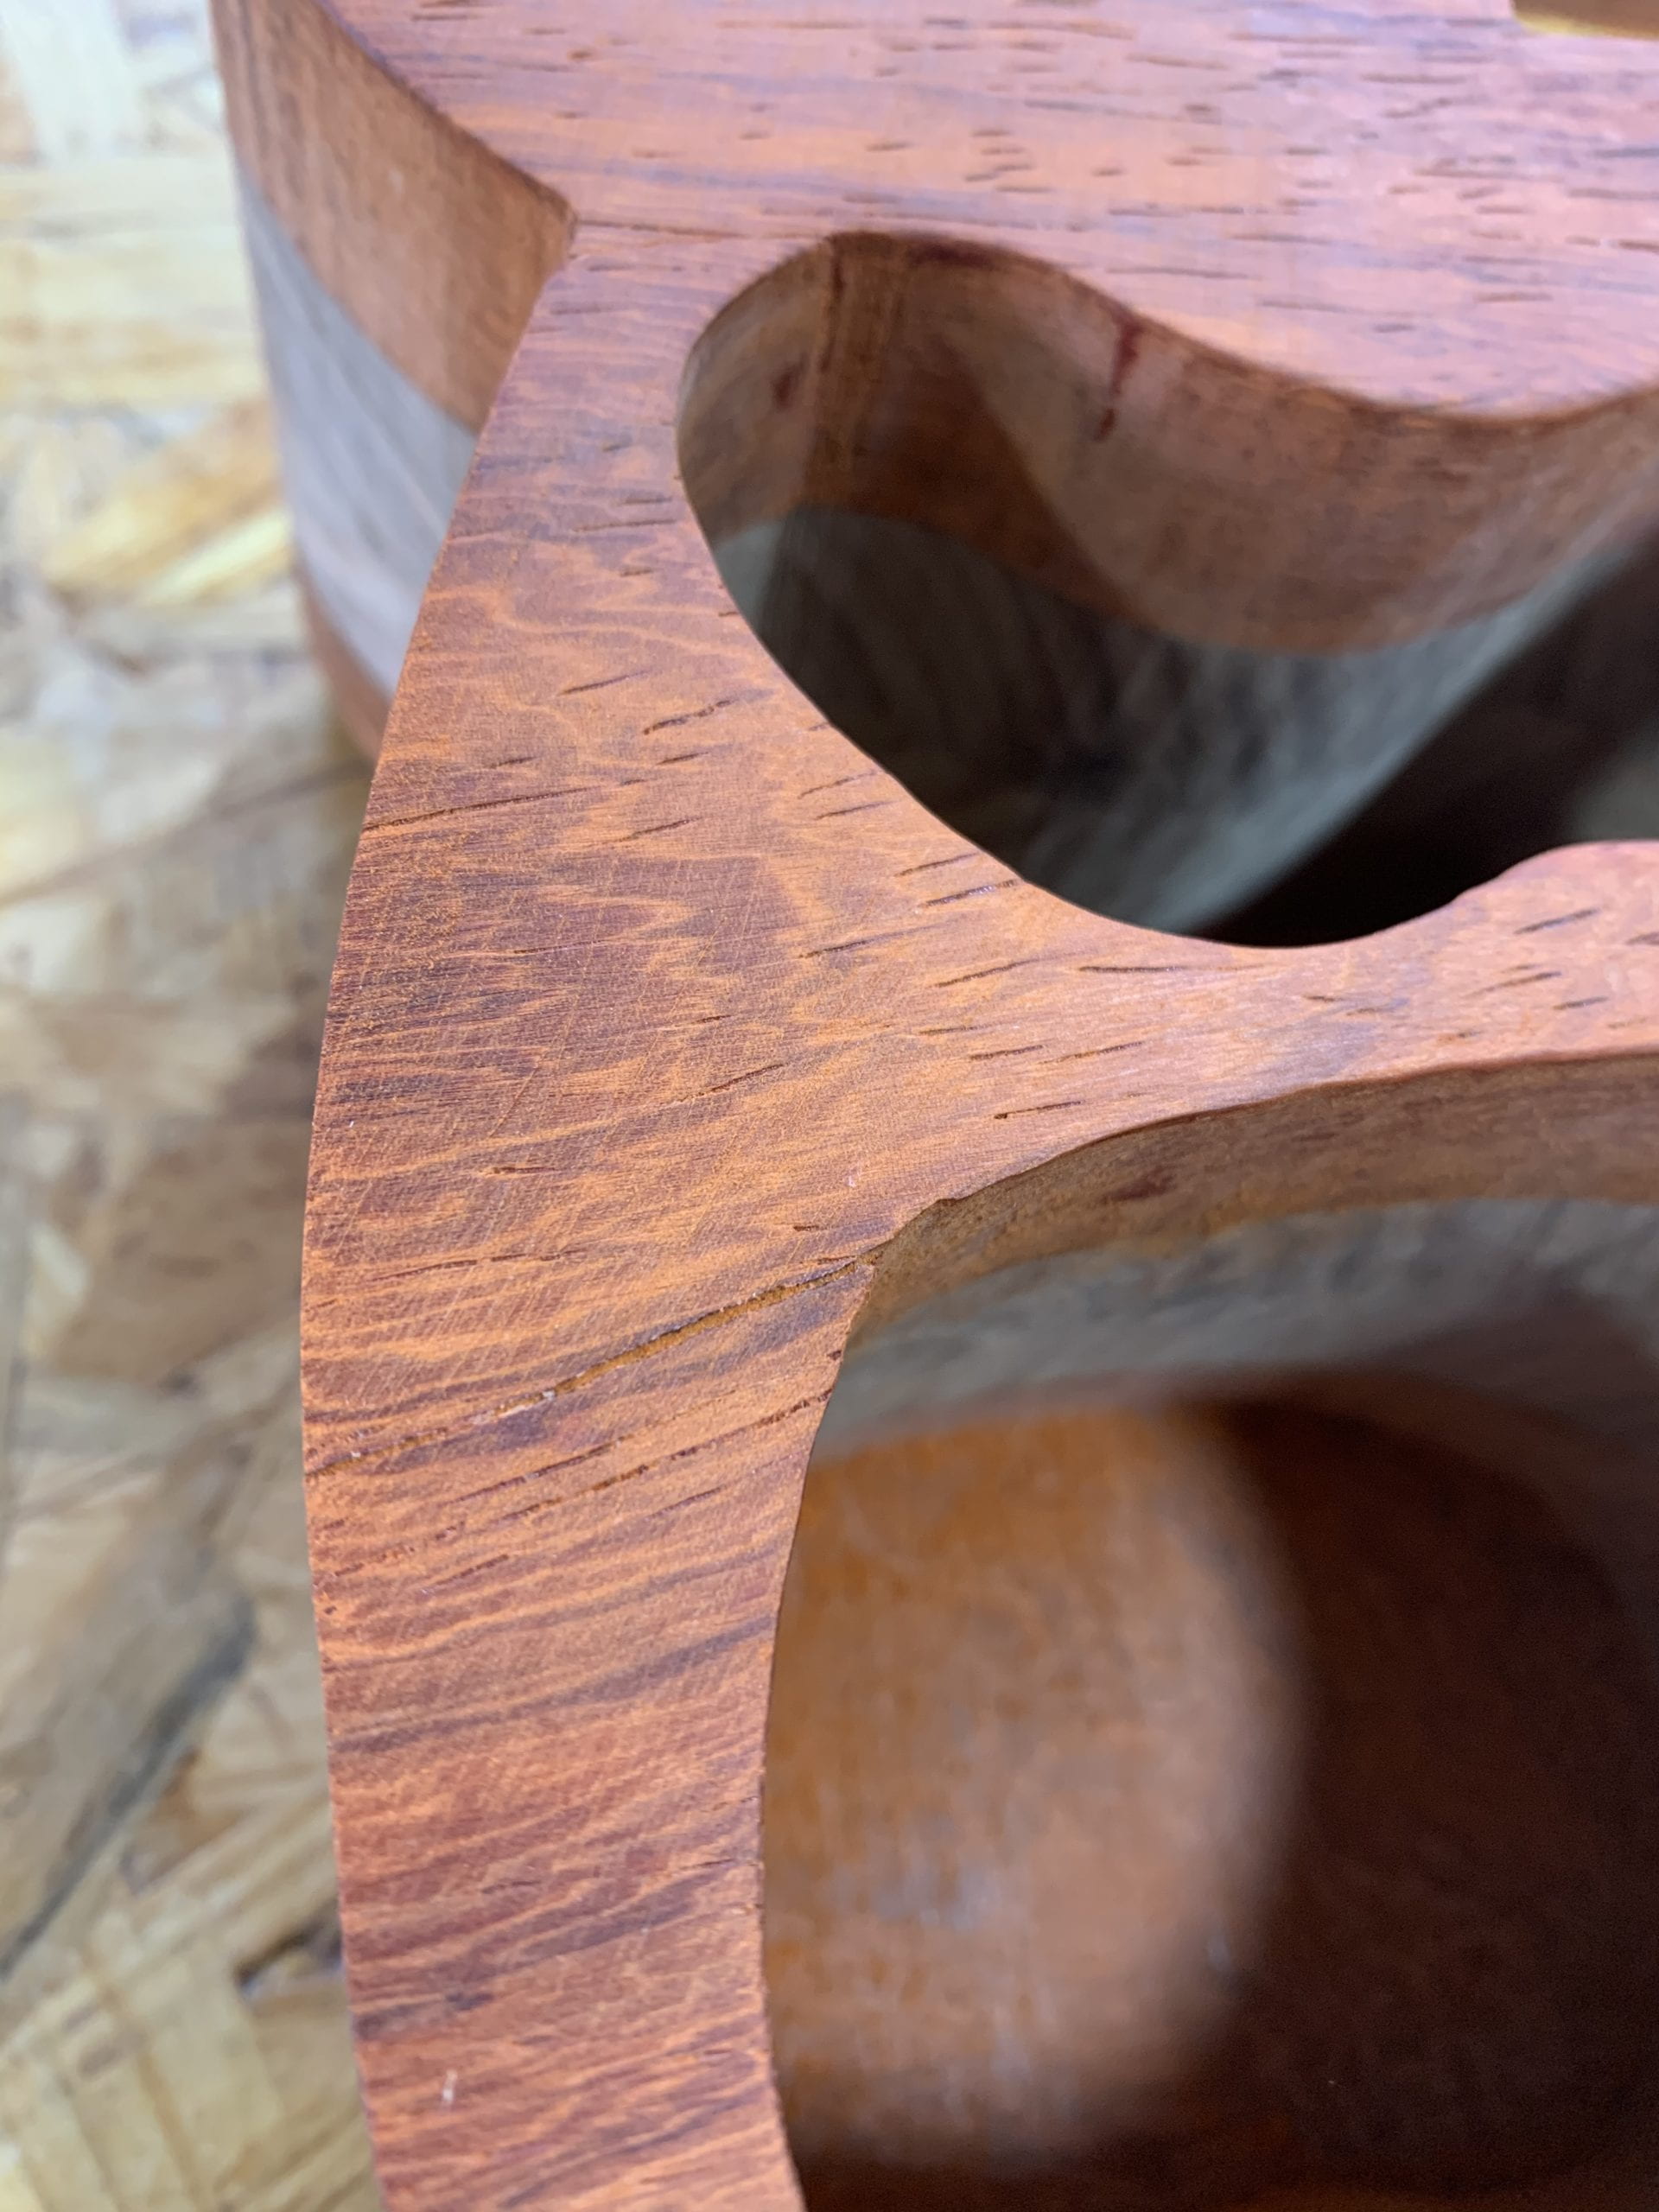
The bandsaw is much hard to use than I previous thought, especially when cutting angles. For the cutting process, I first cut out the outer shape, then cut off the back, the next step is to cut the drawers. After having all the drawers cut, the back is glued back again.
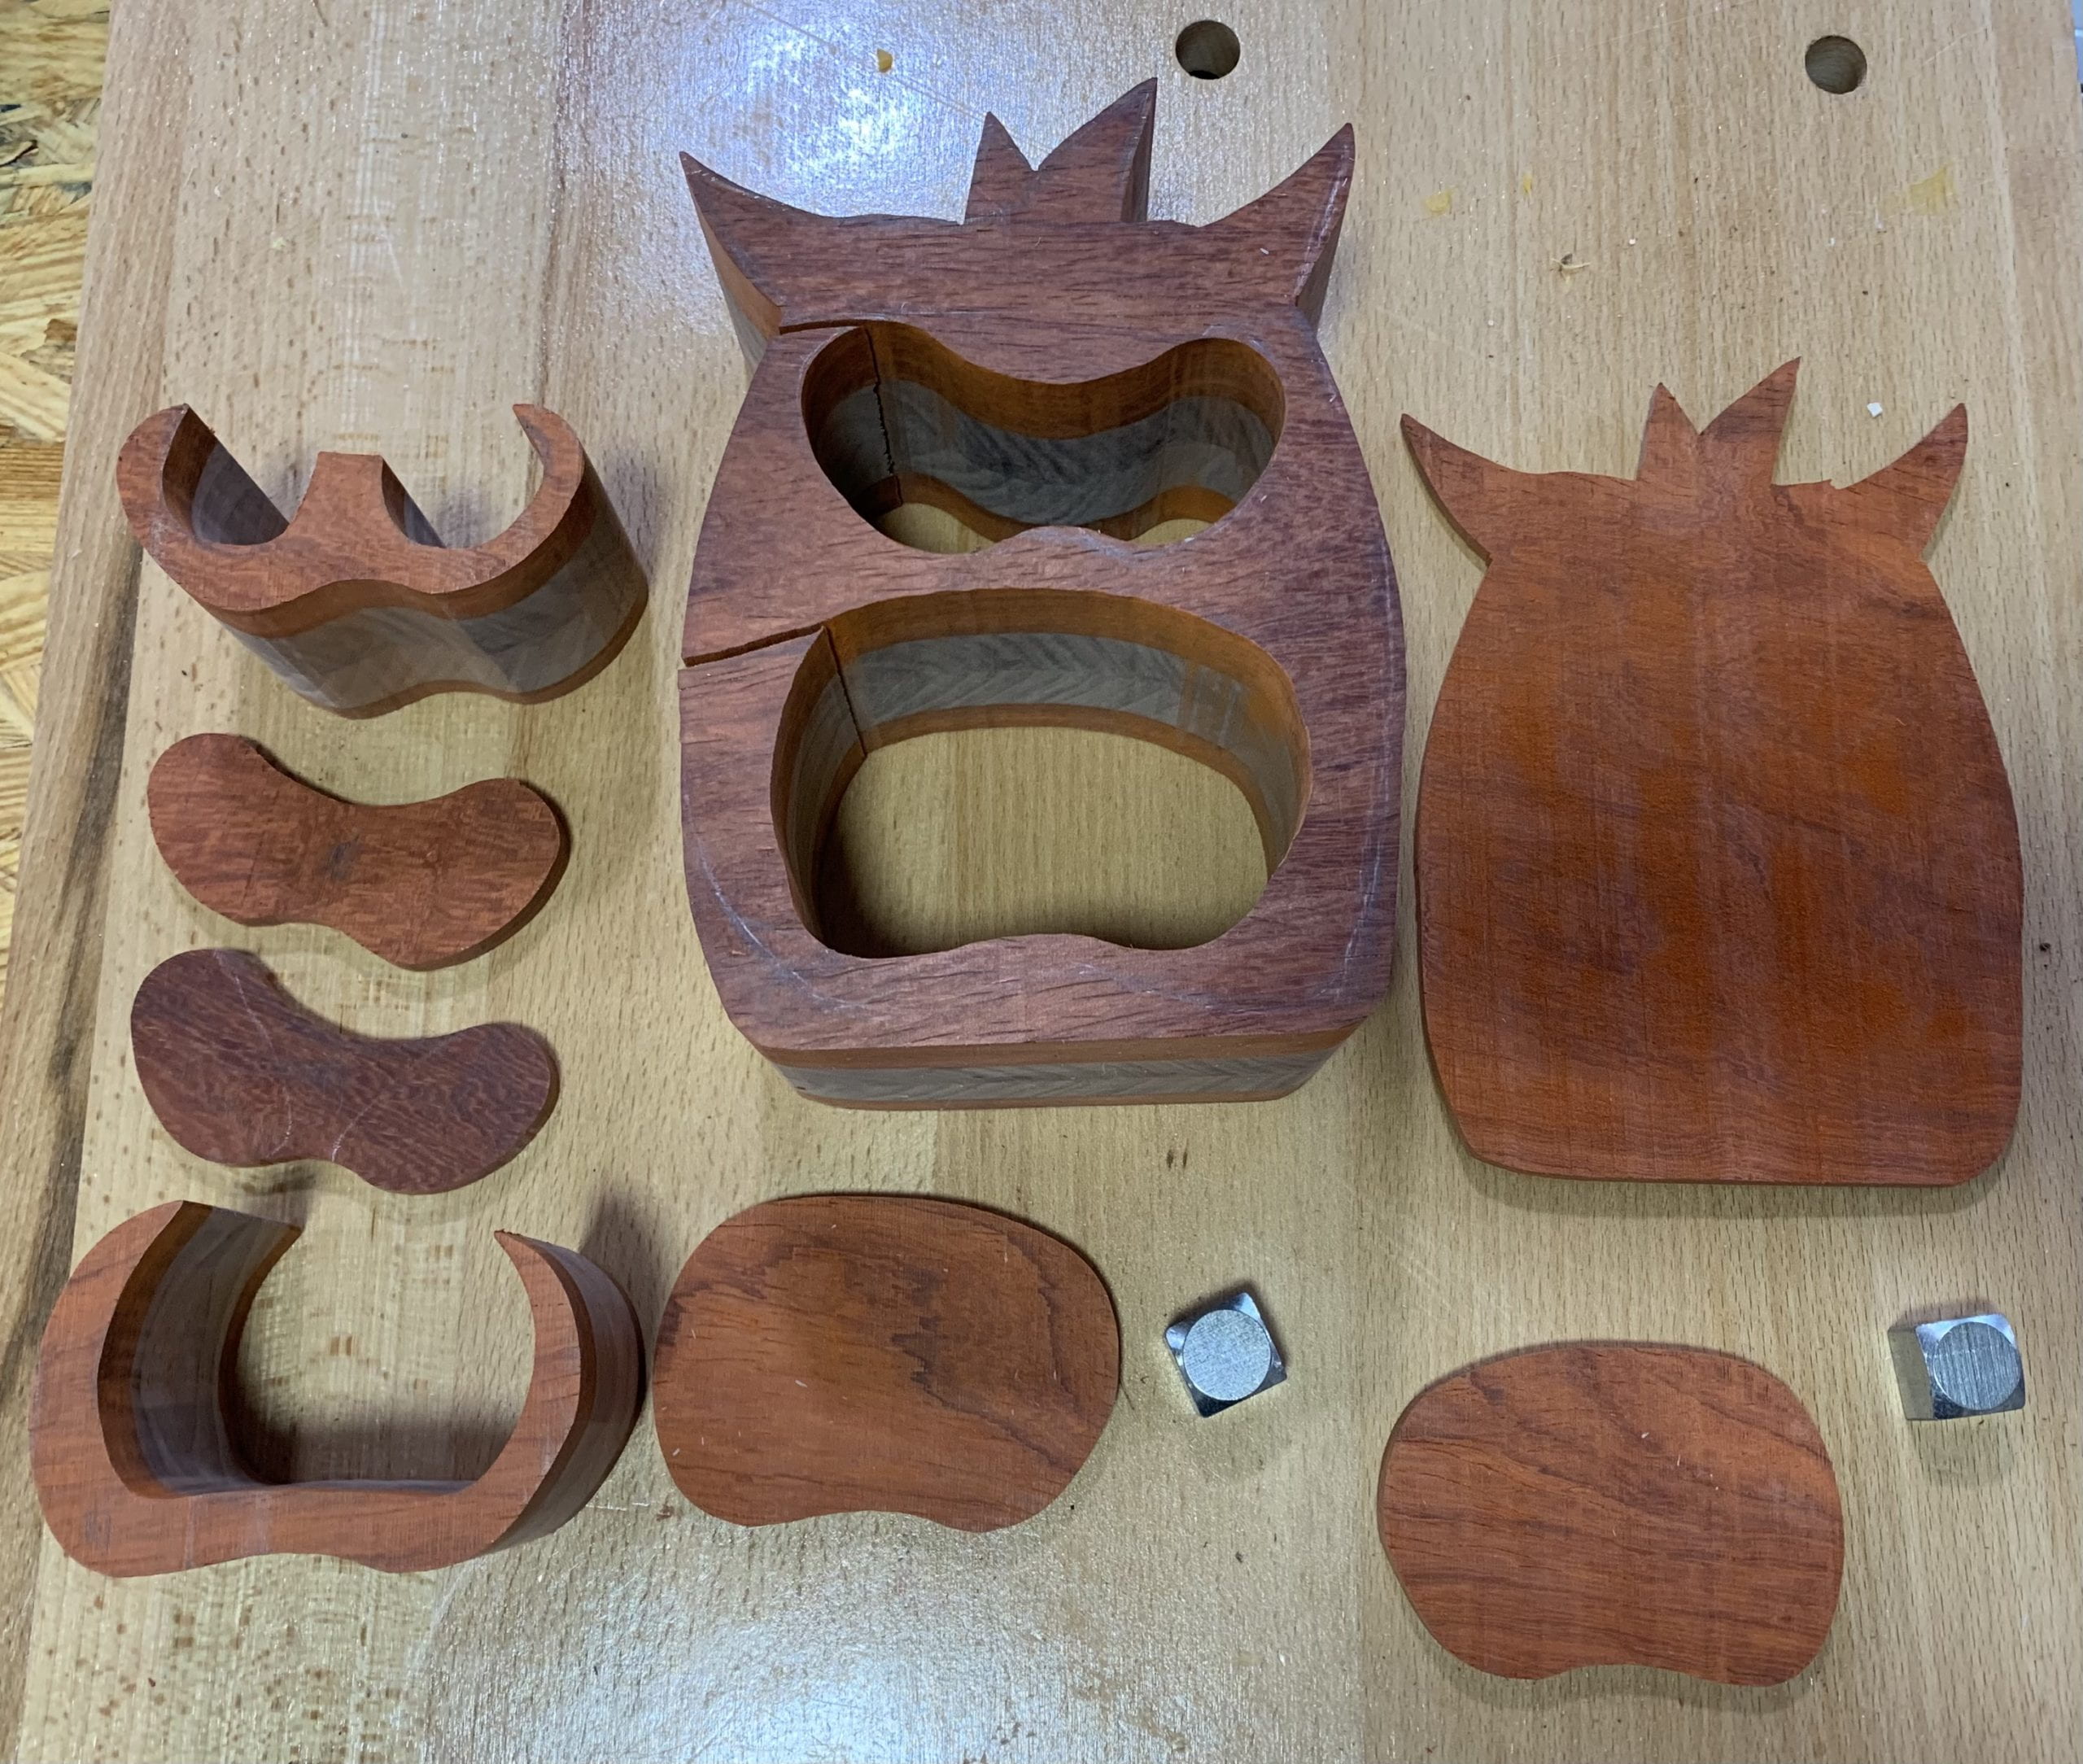
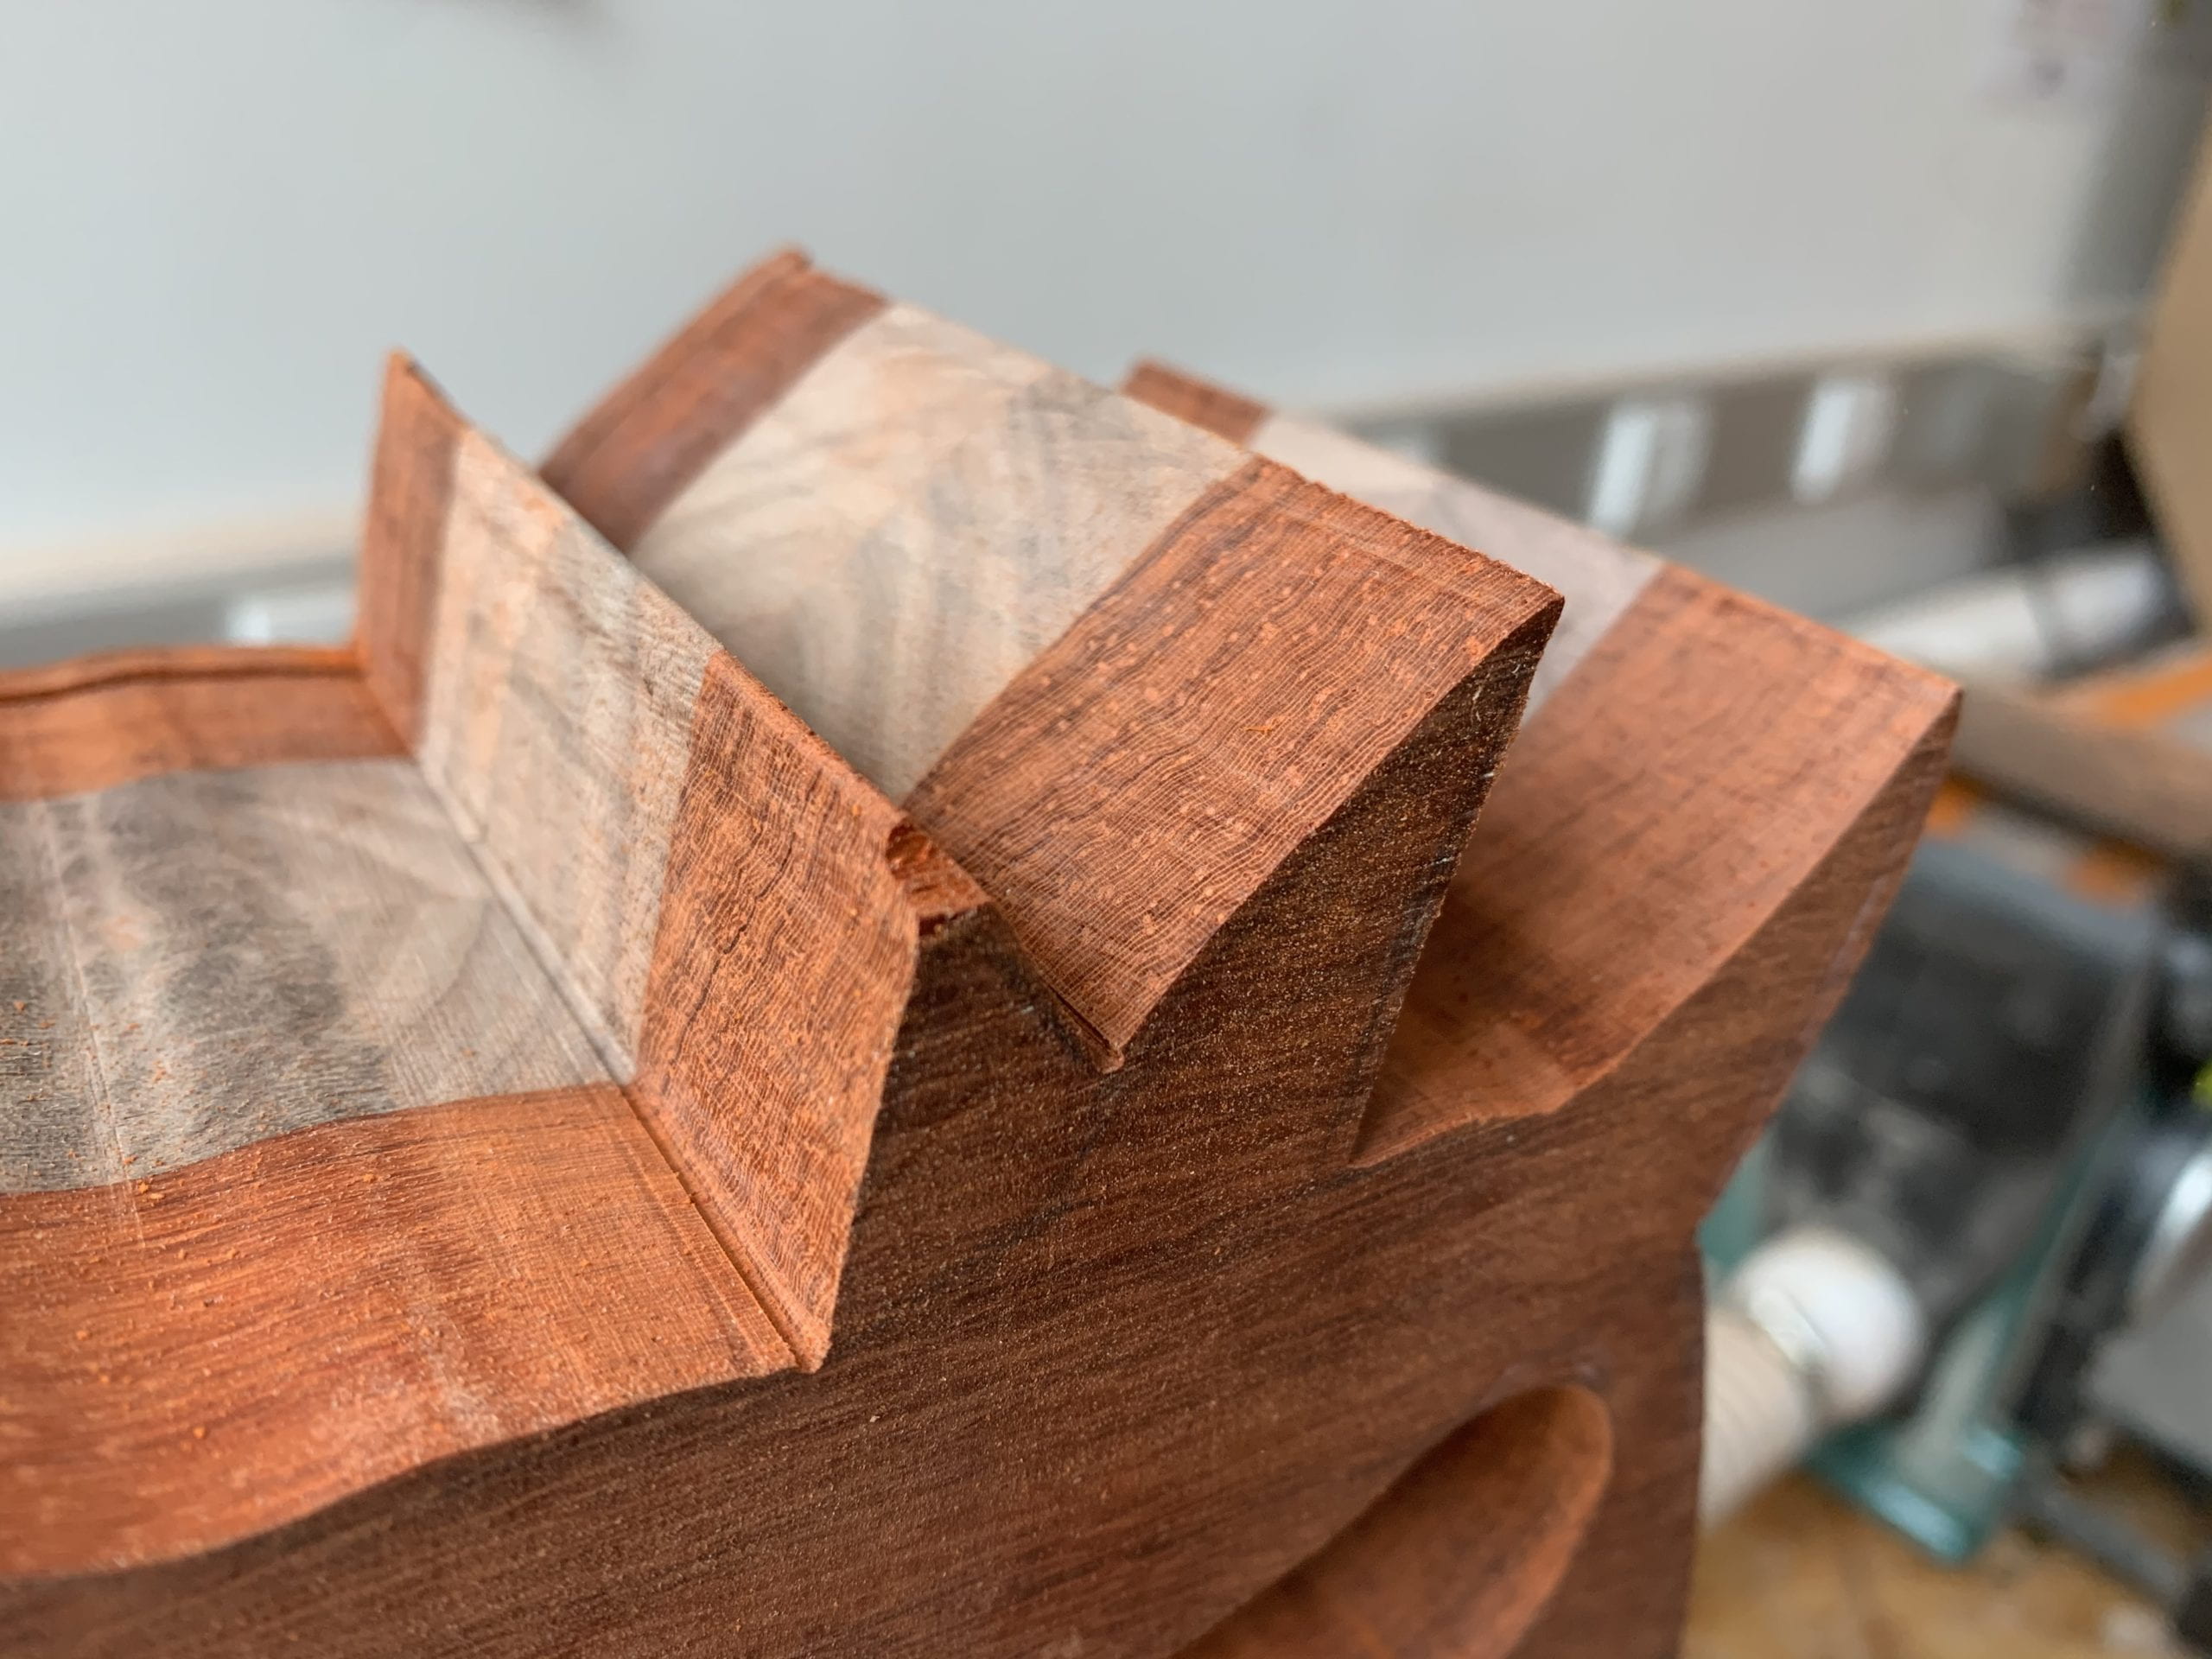
When I cut off the mouth drawer, I noticed that I didn’t do a good job, the shape is not symmetric and I can’t control the bandsaw as I want. I didn’t think I would be able to cut the two small eyes, thus I decided to cut a bigger drawer with two eyes together.
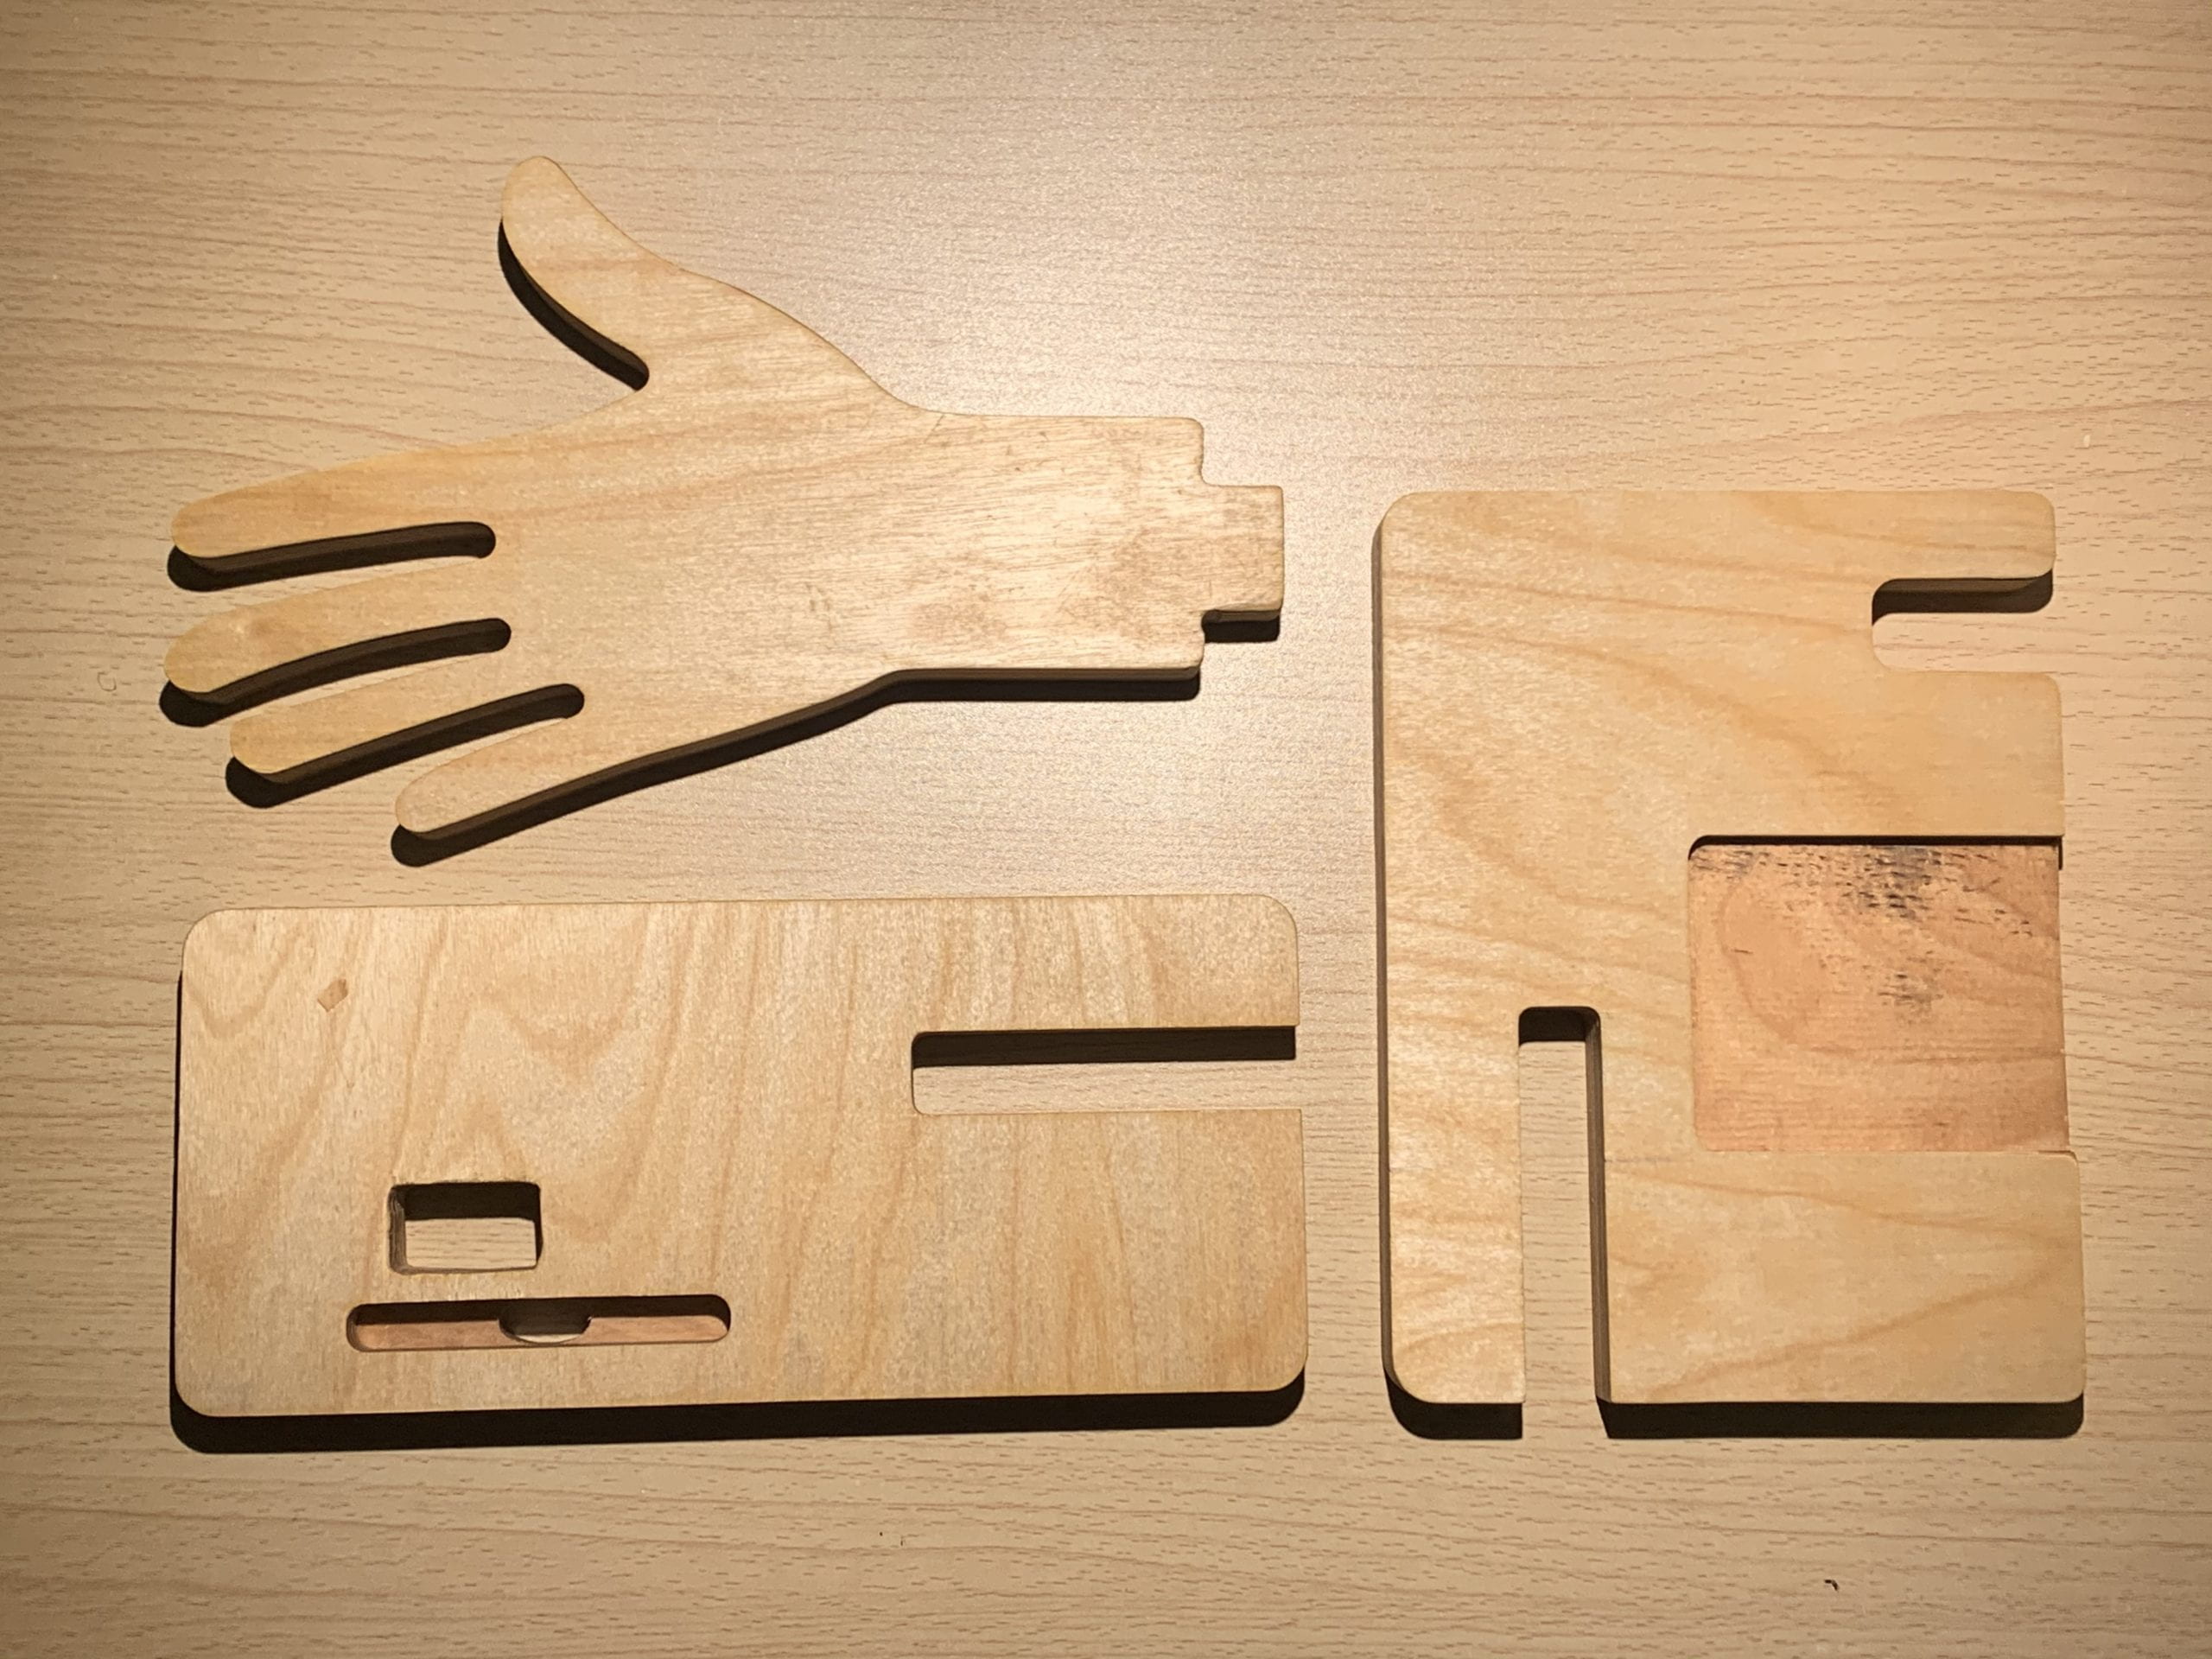
The next step is to glue everything back, before the gluing, I sanded the pieces a bit for those faces that would be hard to sand after. Since I cut the two drawers, there are two cut left on the piece need to be glued back.
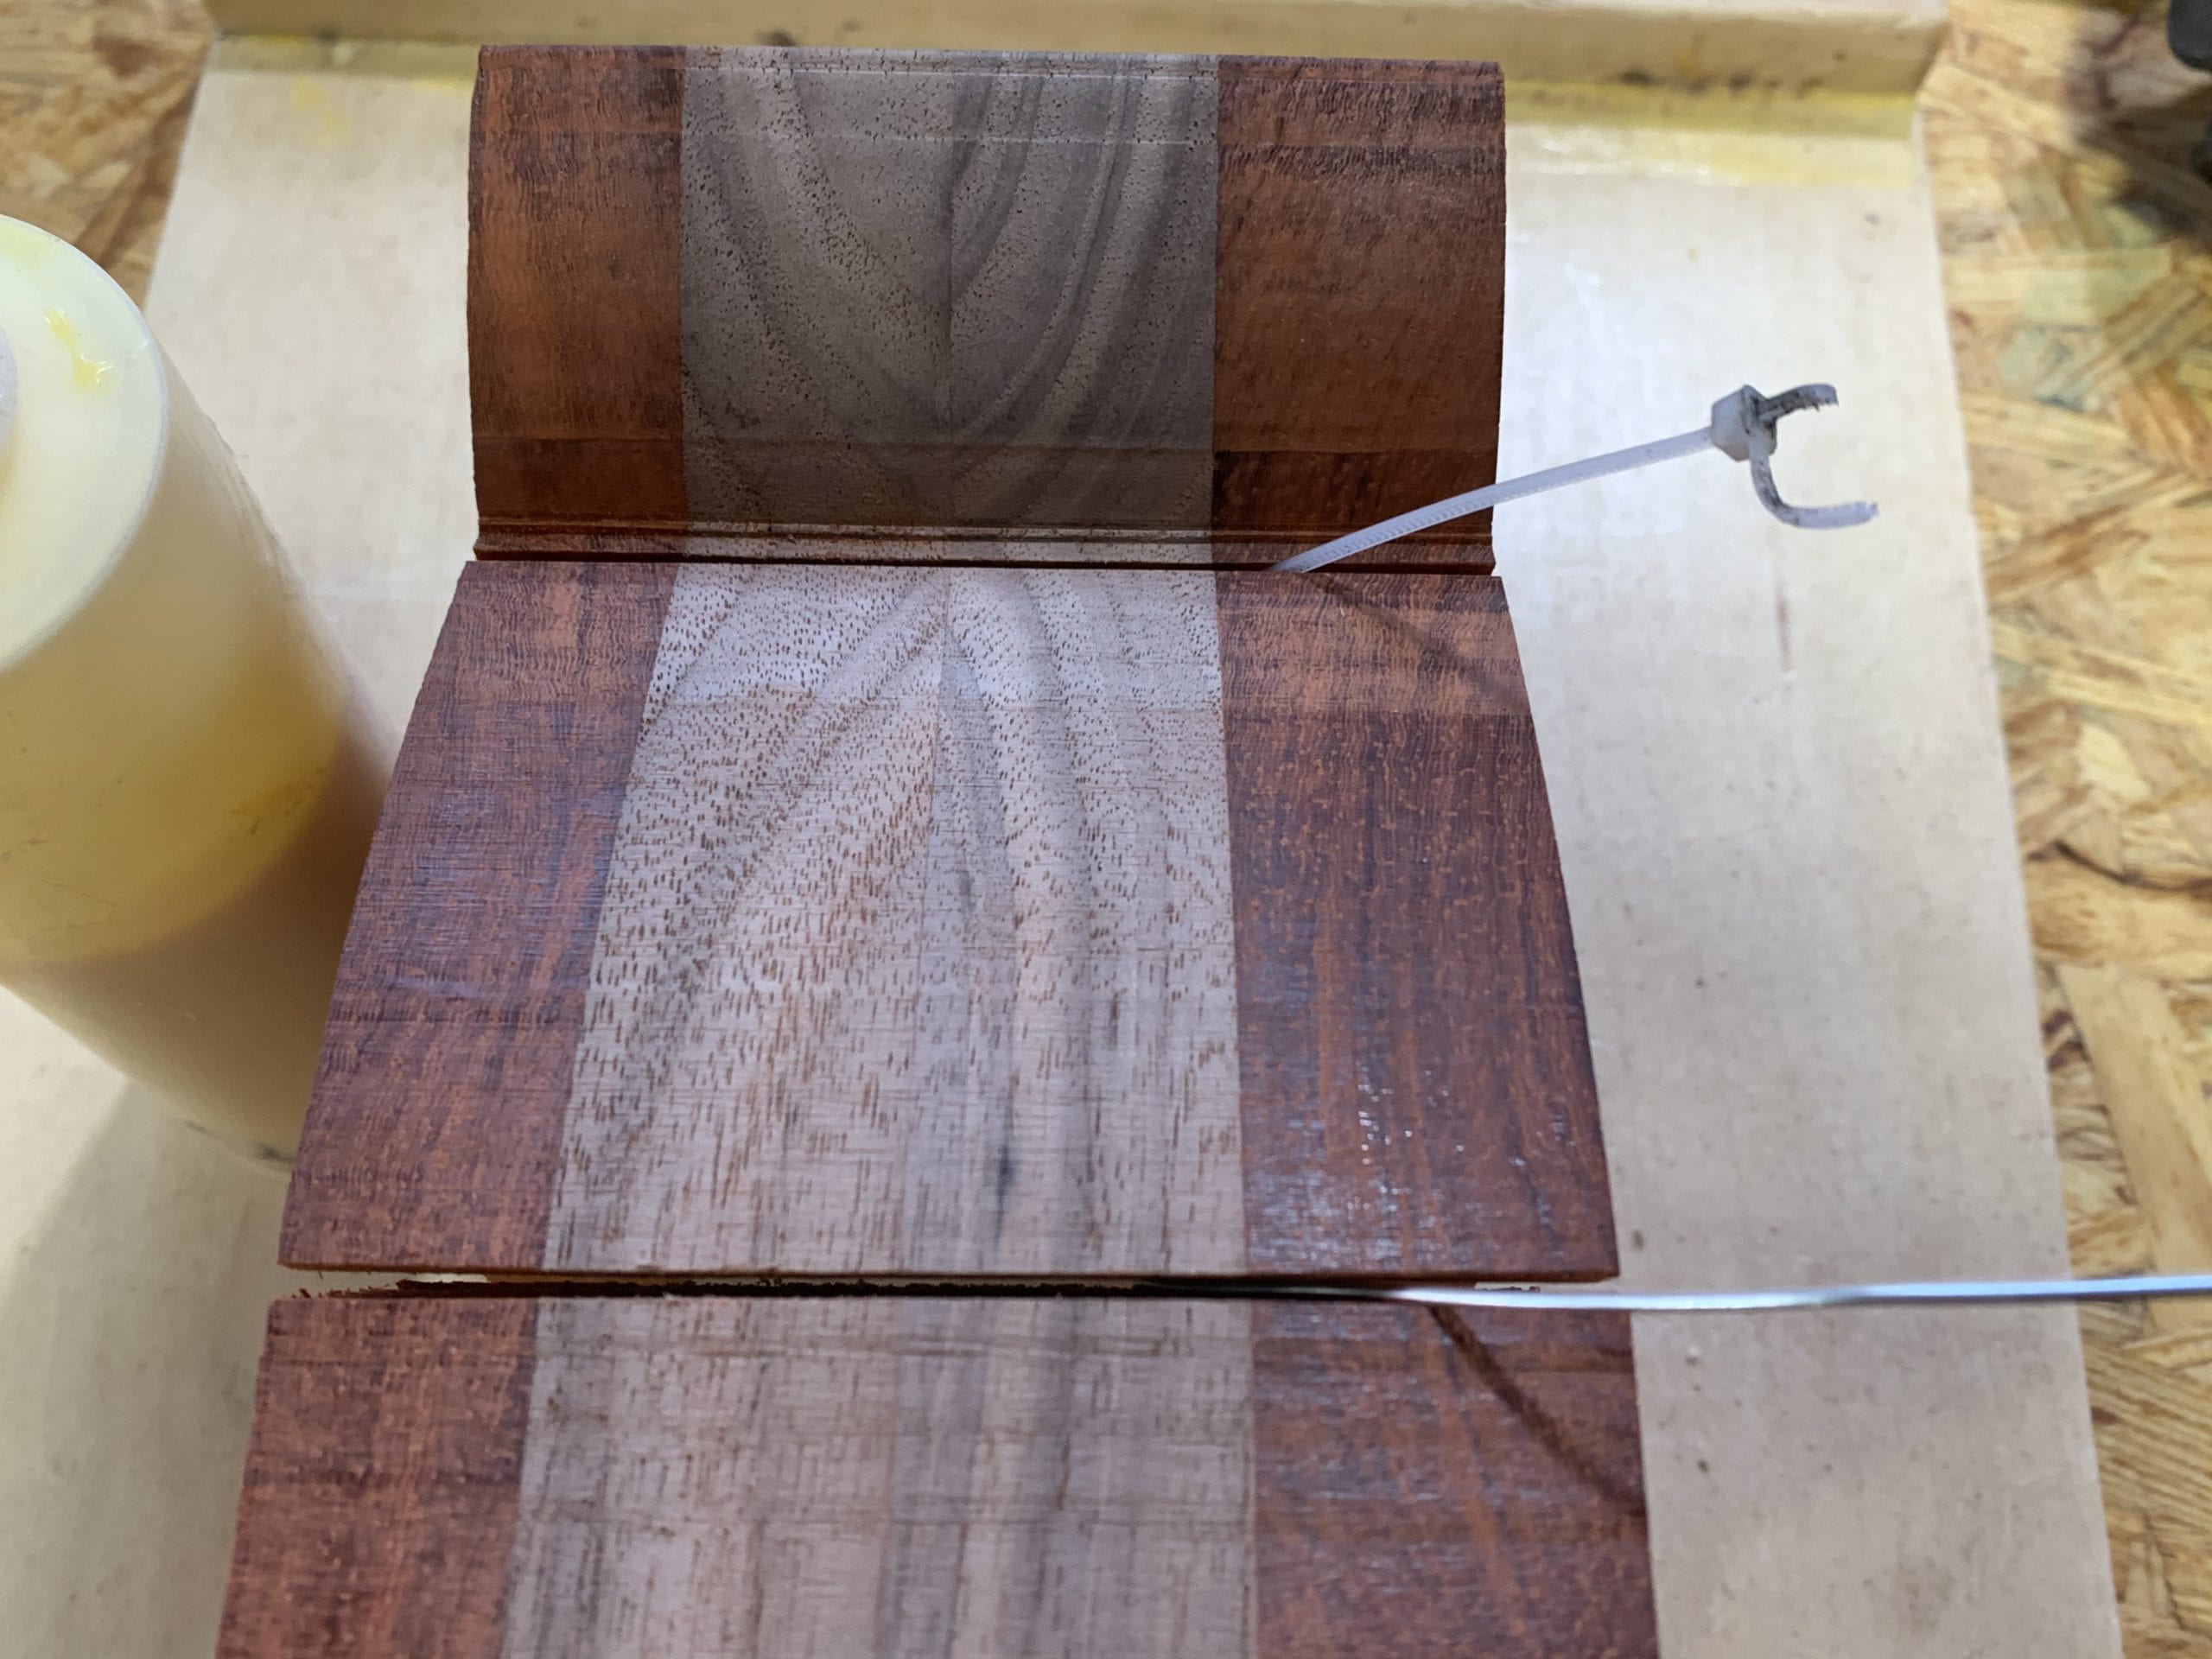
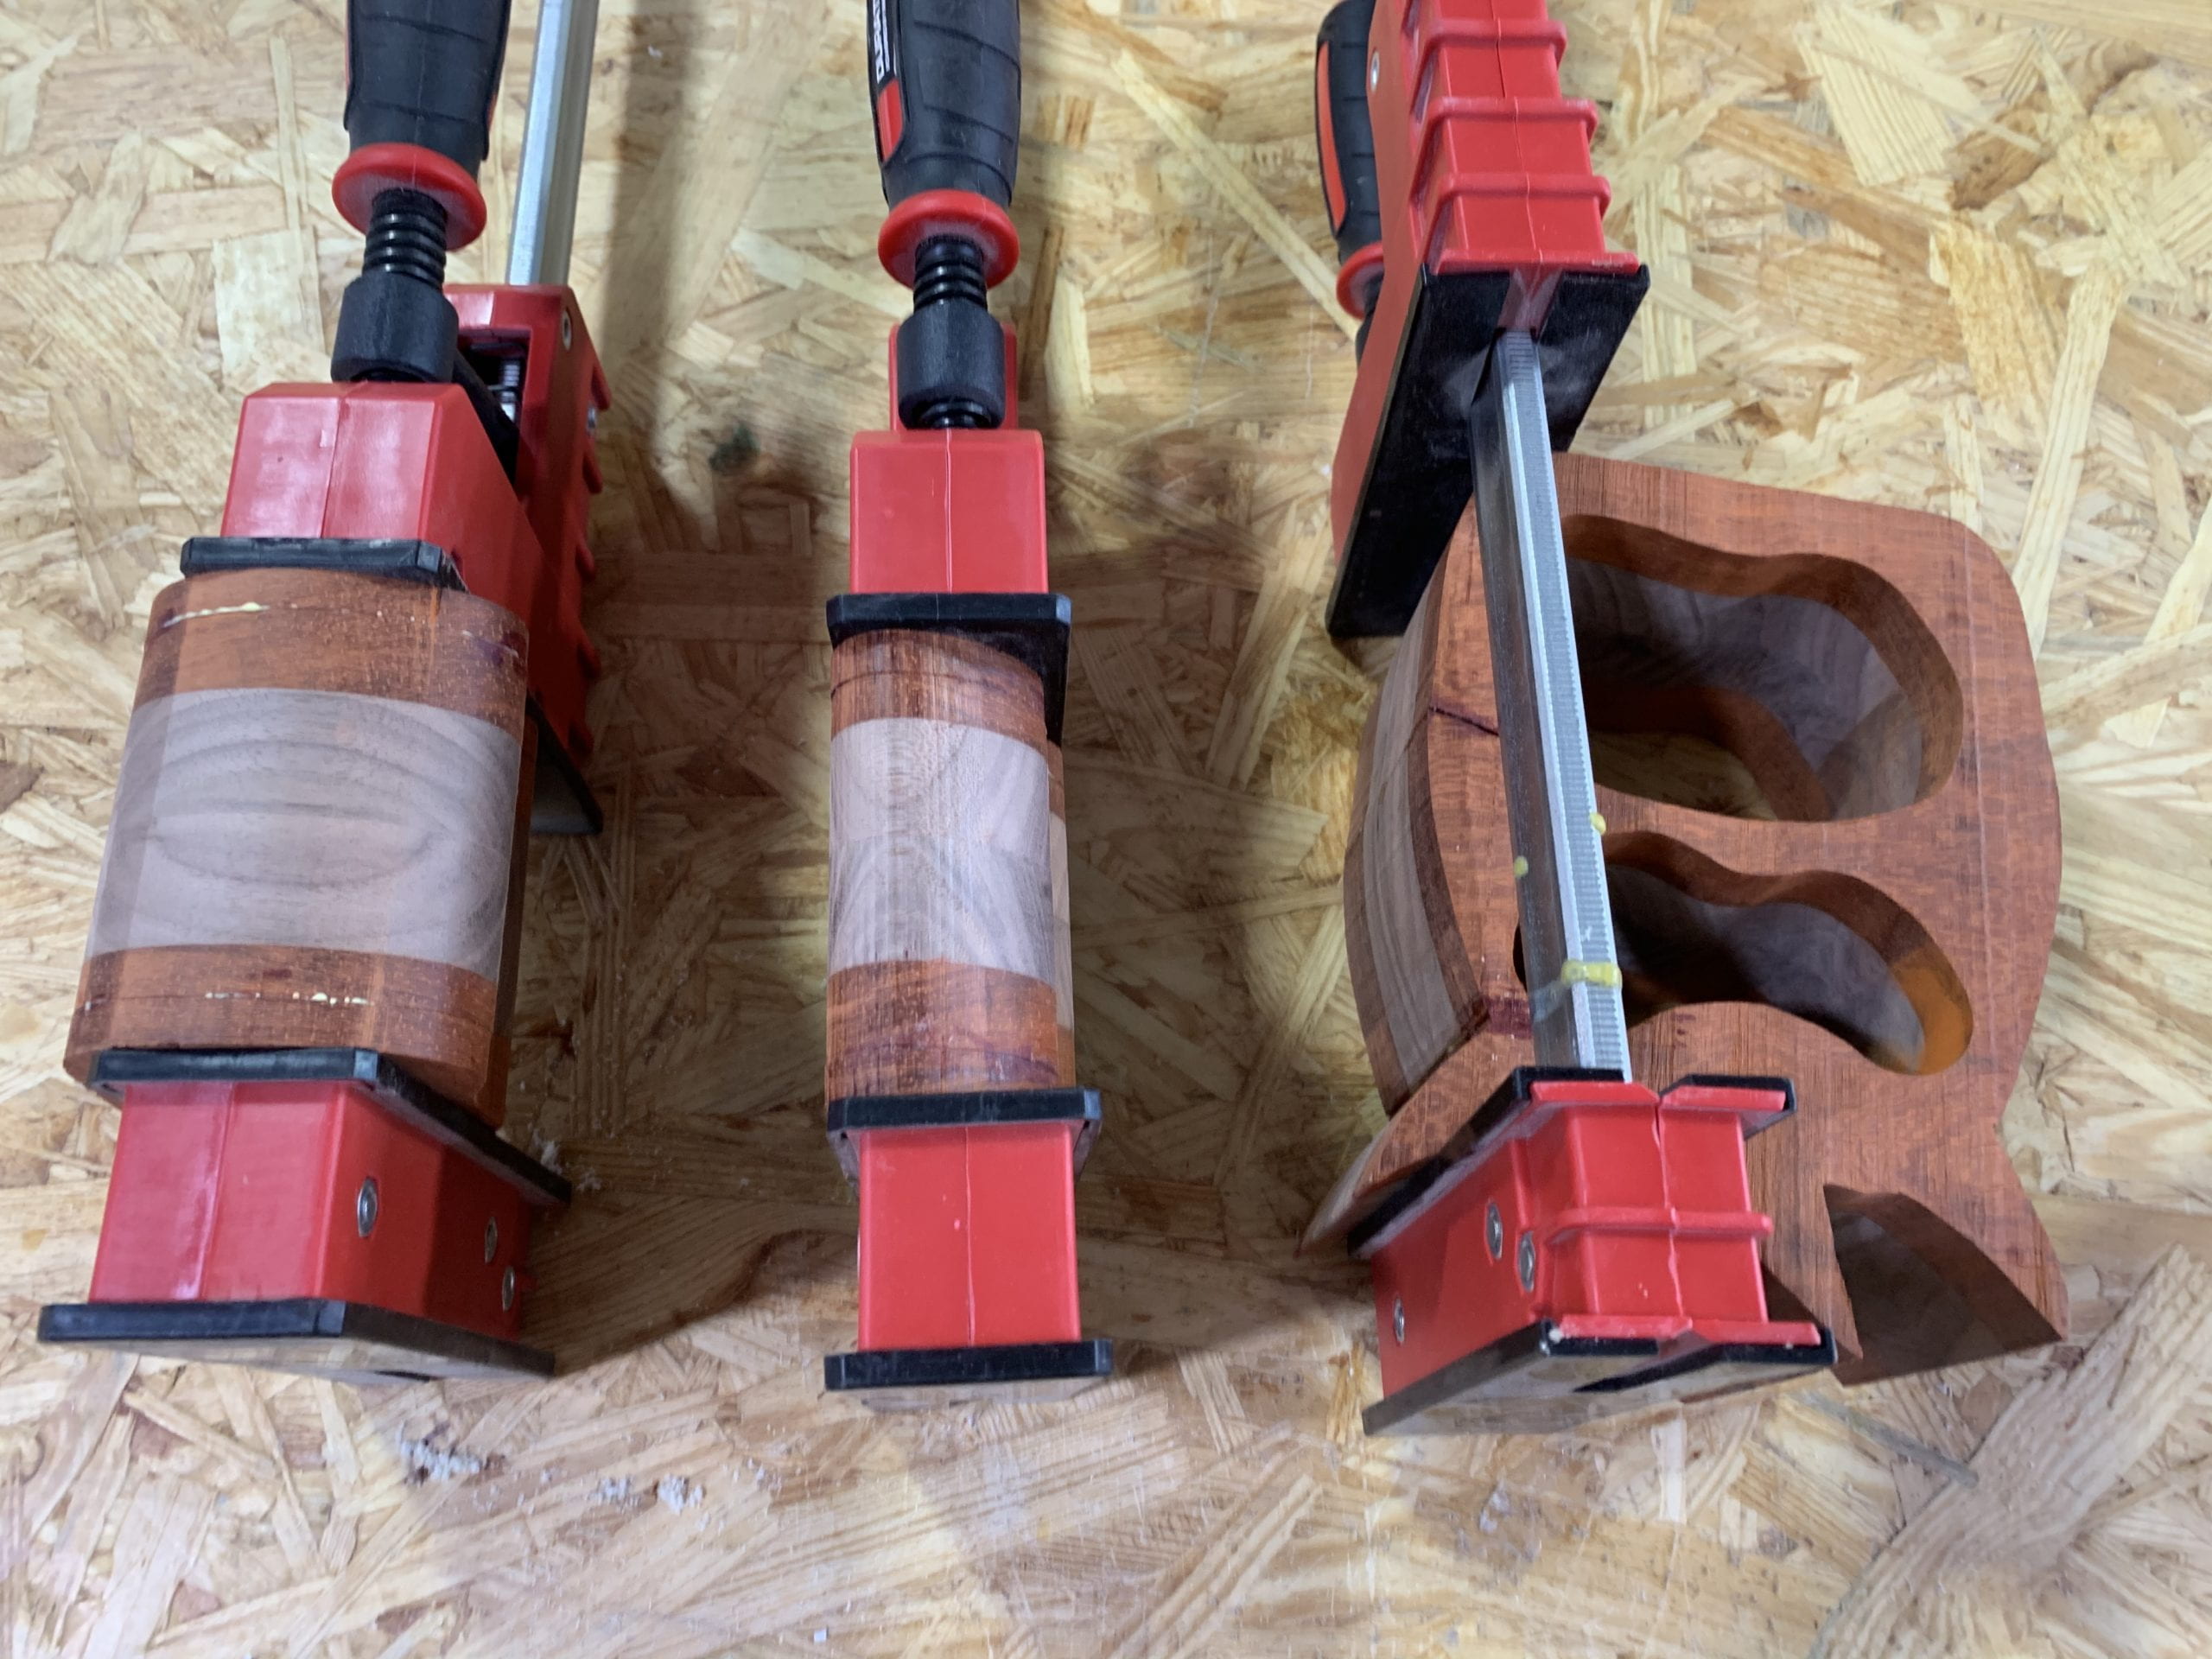
I used a wire to apply glue into the small gaps, then clamped everything together for another day.
After gluing, the next step is about sanding and making up all the mistakes and faults.
The back wasn’t glued to match the box exactly, as the two piece would move a bit in the process of clamping, the back and the front did’t match perfectly. This means a lot of more sanding to hide the gaps and trace.
I also noticed that one corner of the shape was off, which might because of a hit. But this shows that as one corner could be off, all the other corners might be hit off later too. So, I decided to sand all the corners to a smaller and more smooth angle, to prevent the piece from further damage.
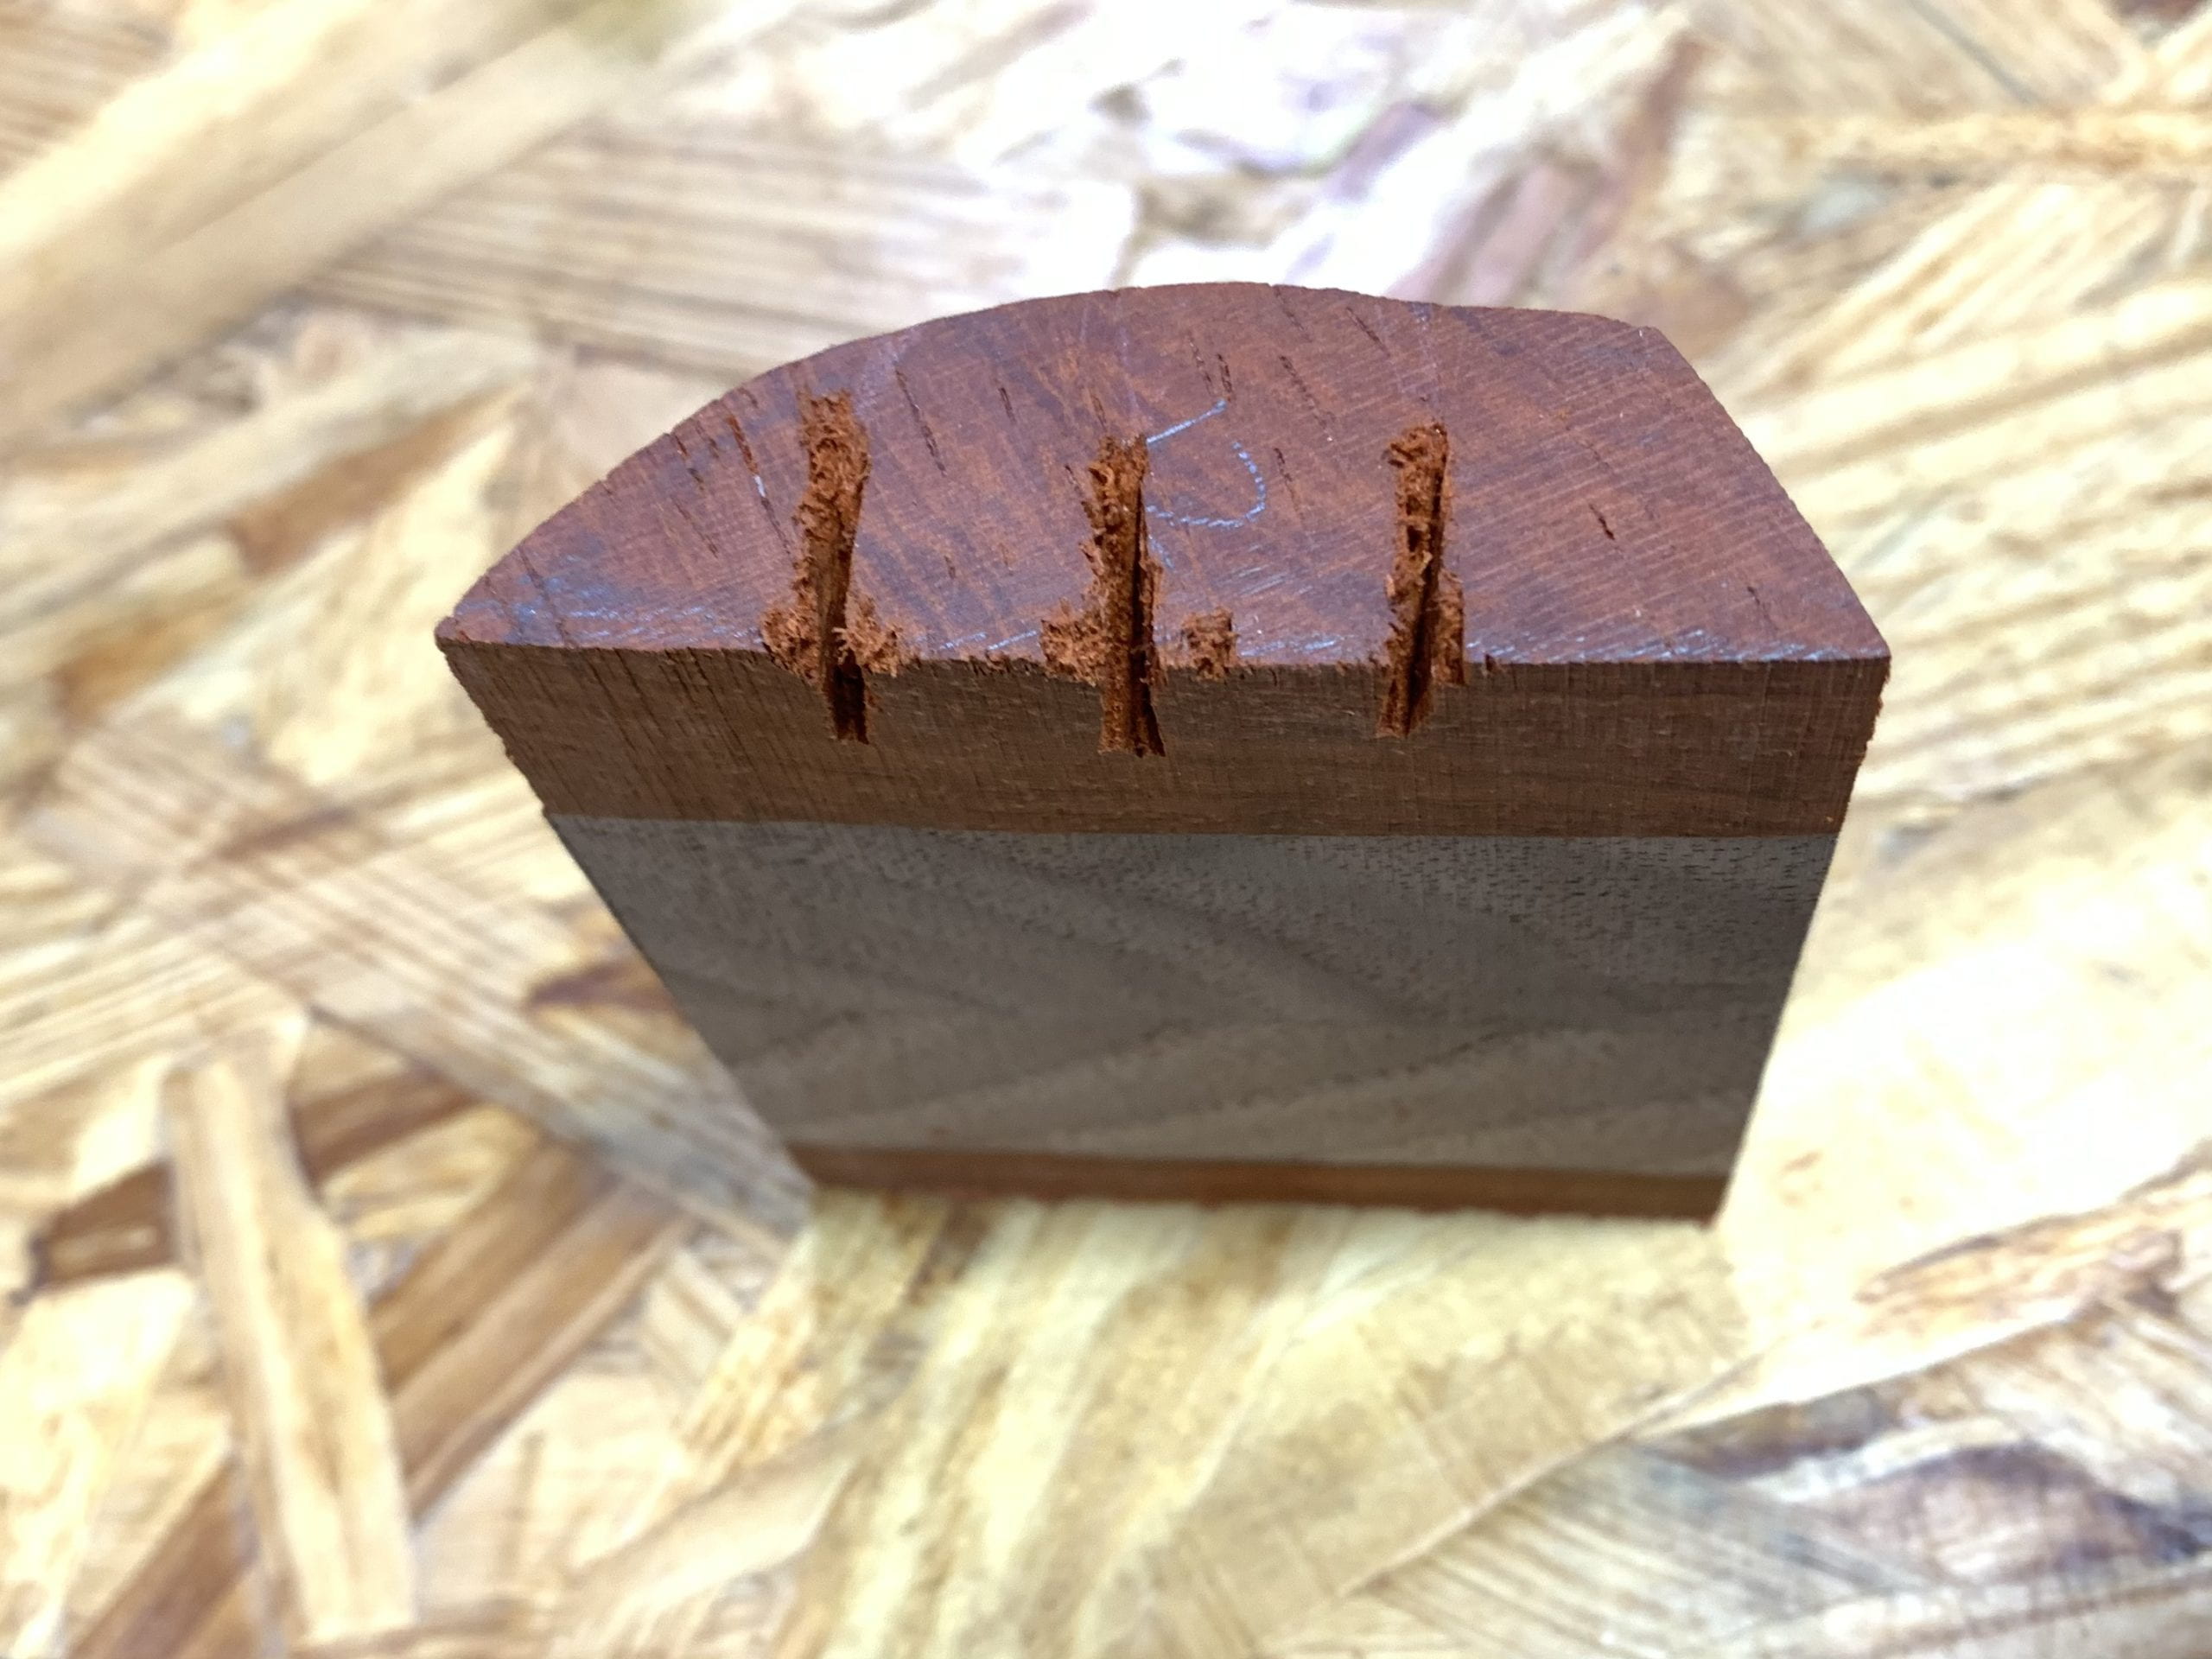
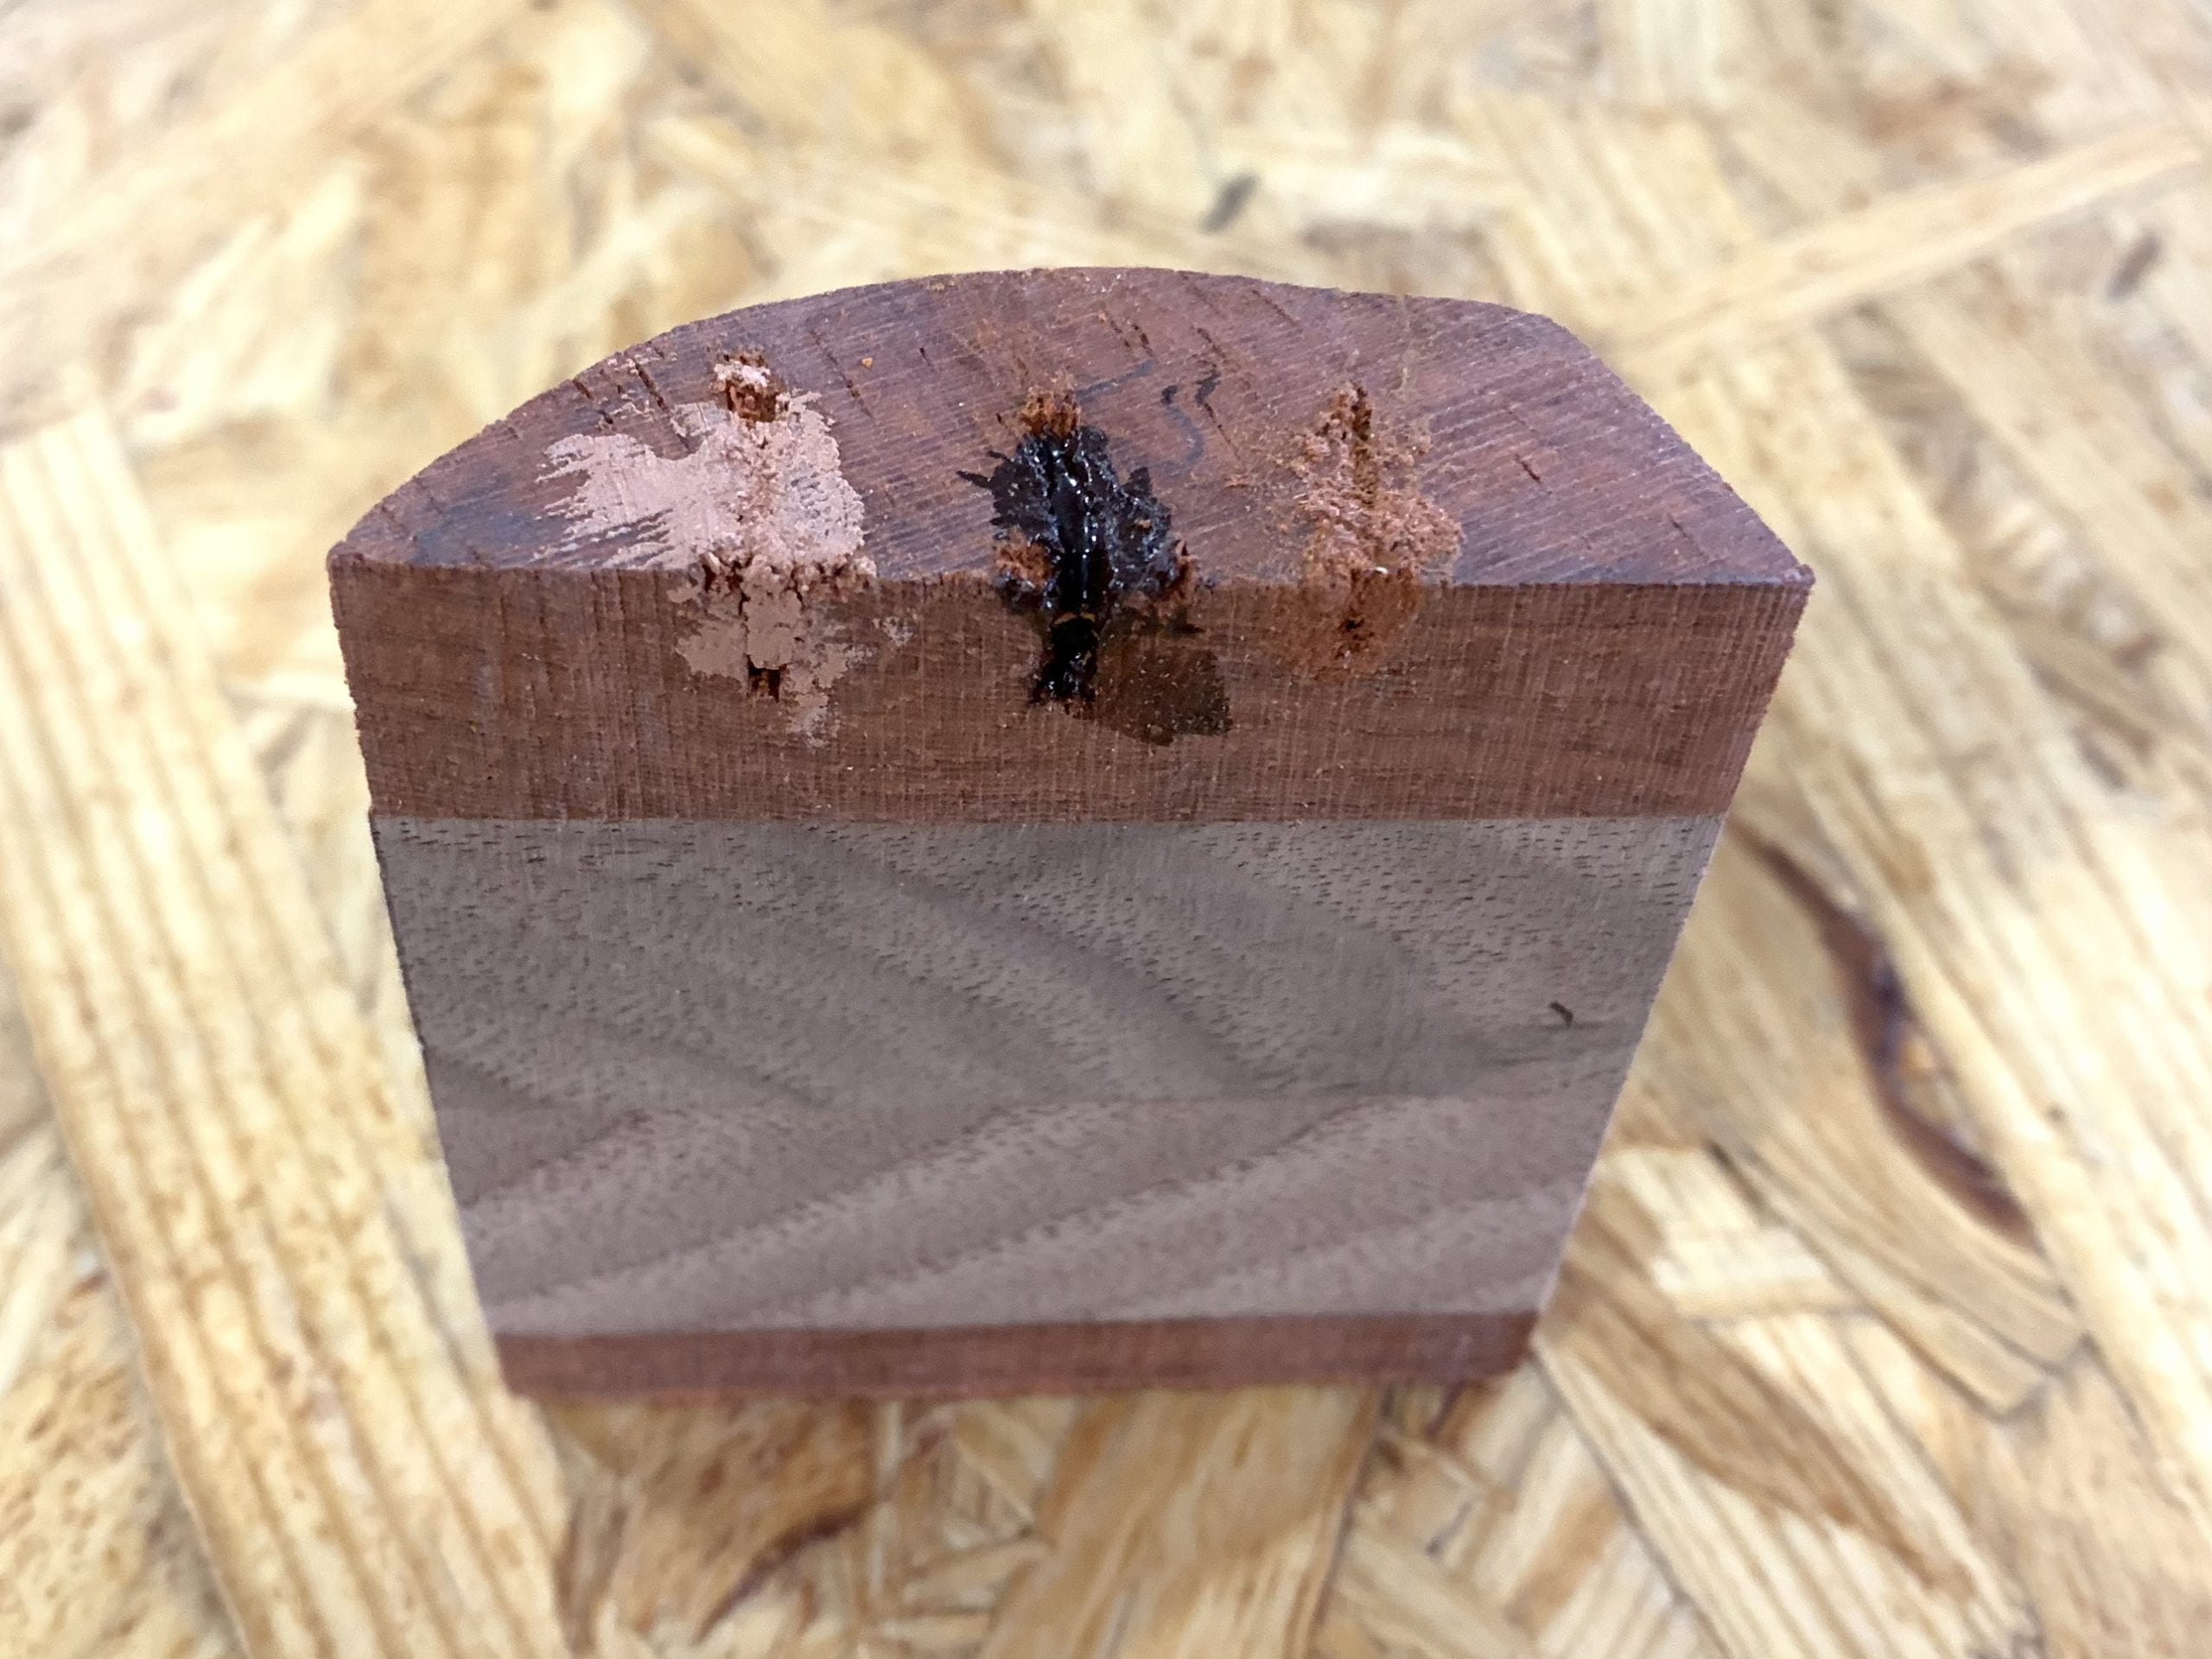
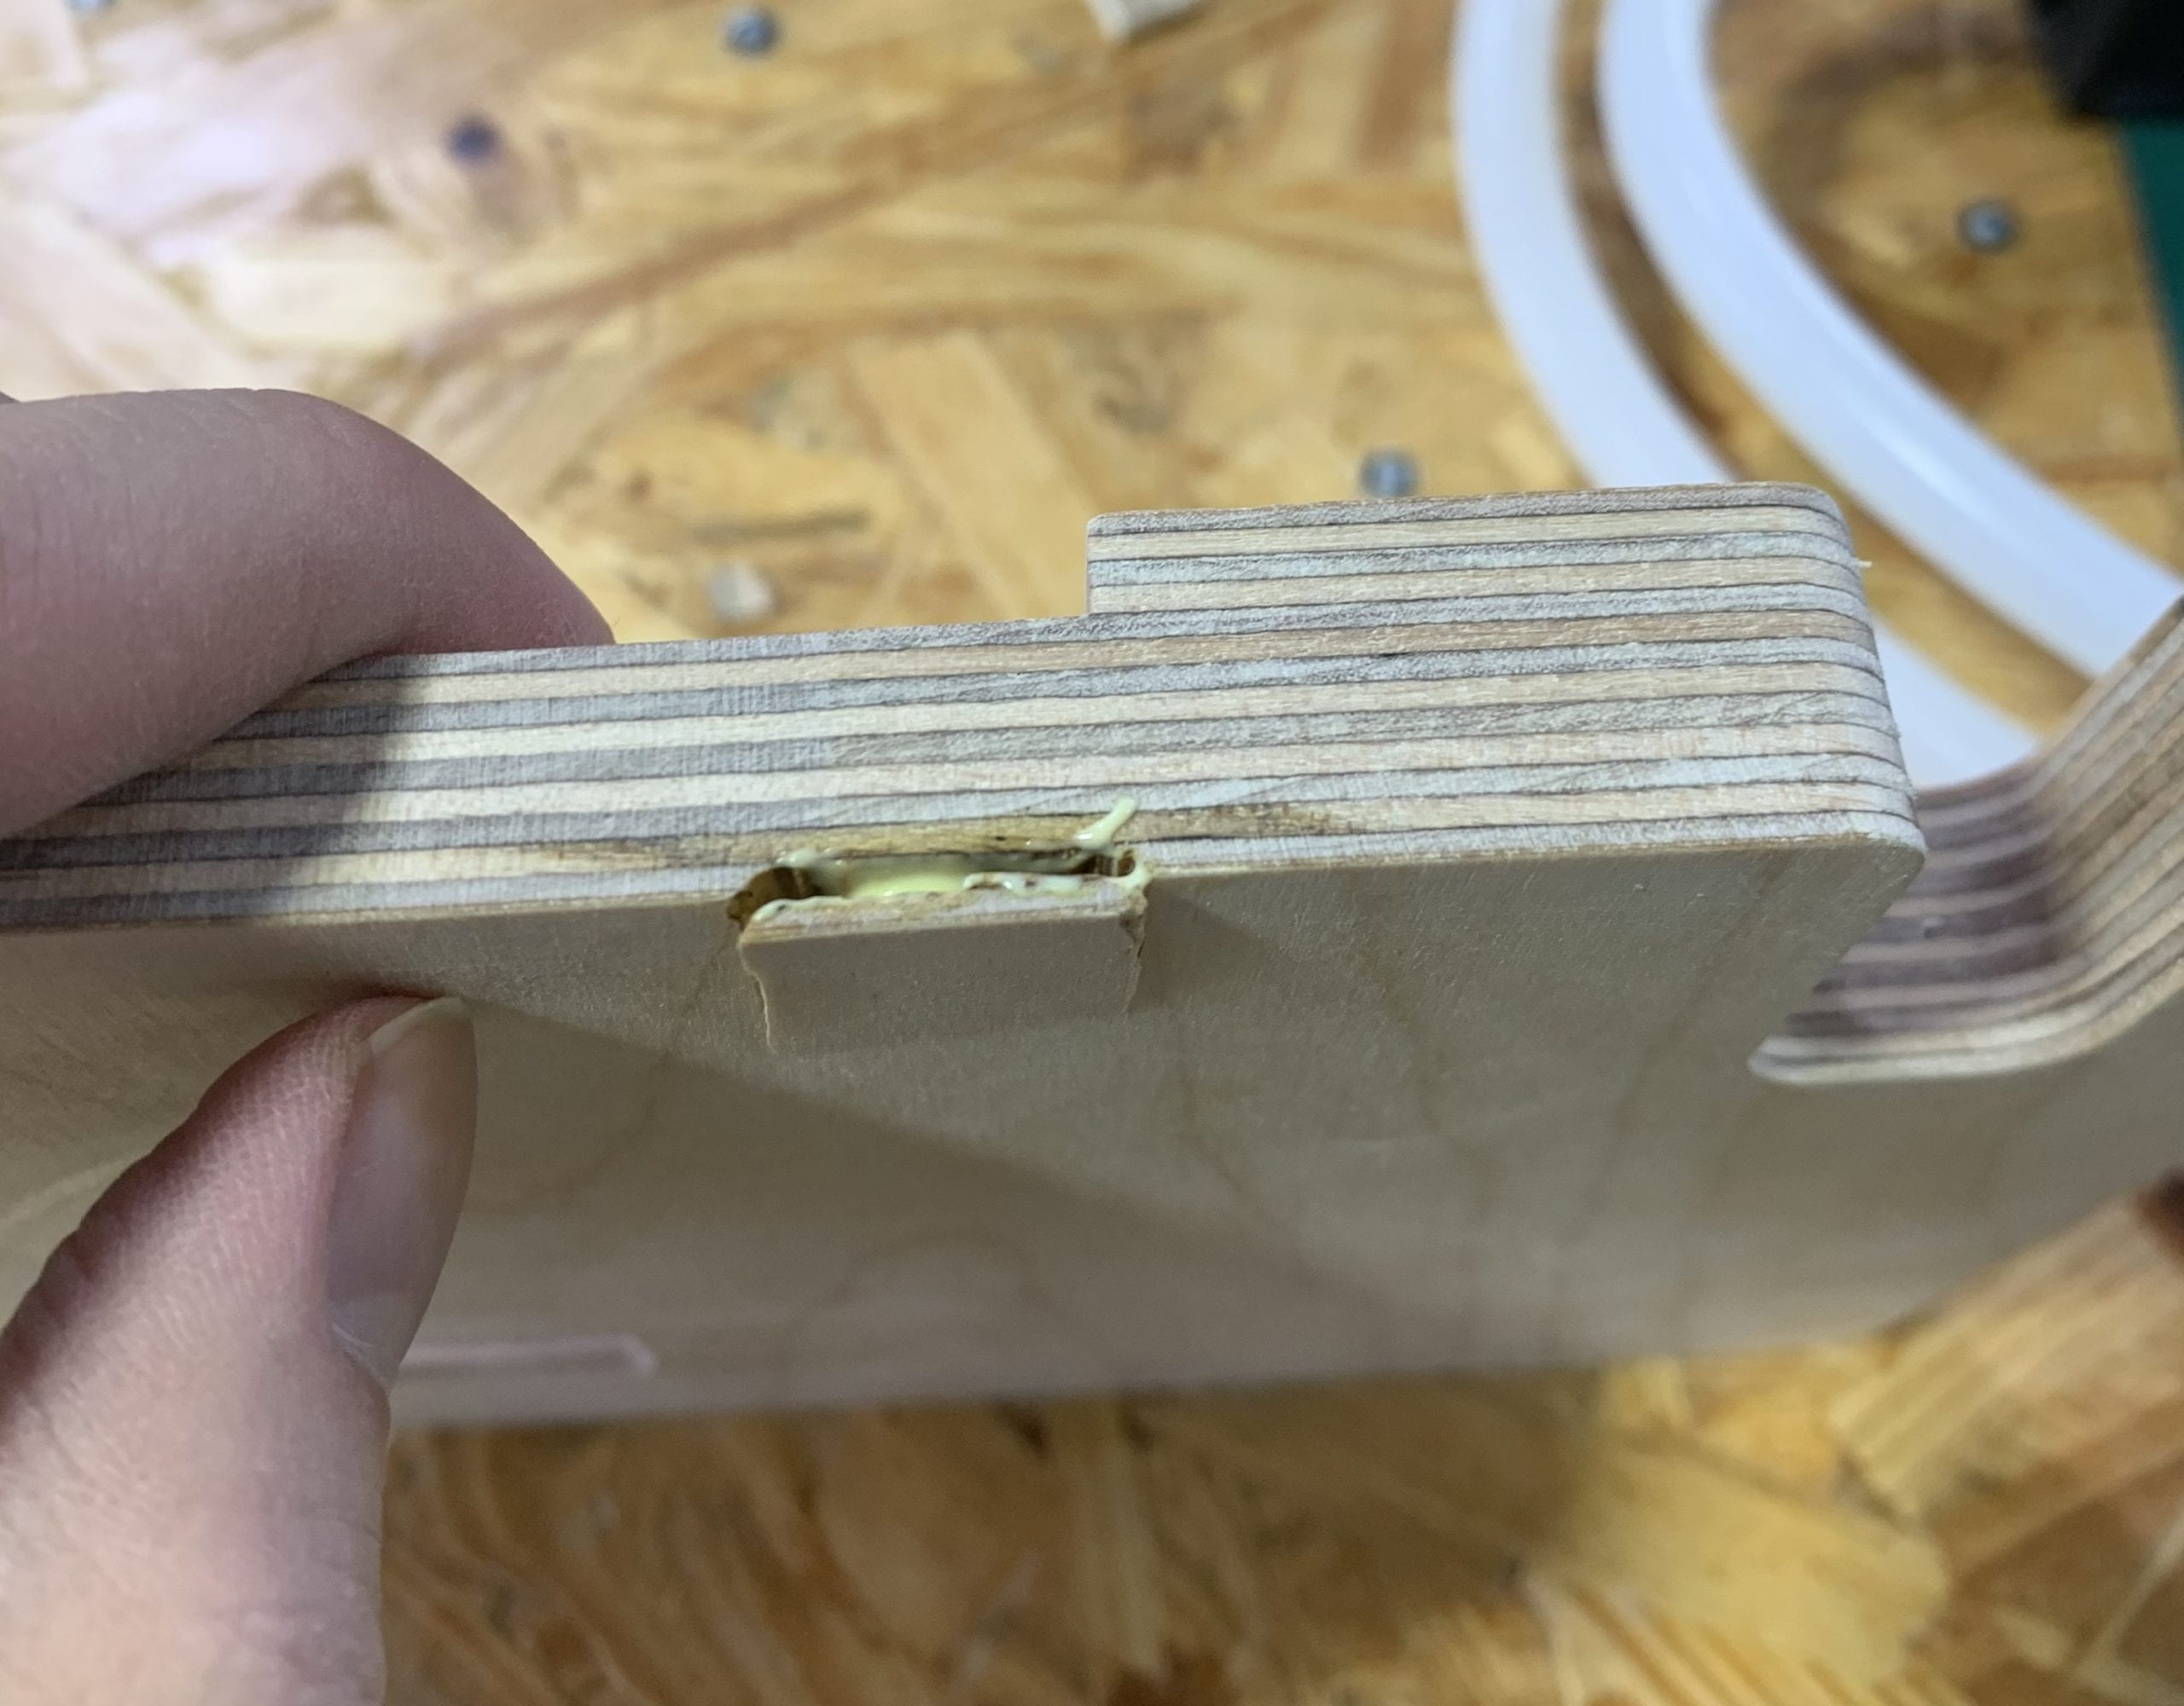
For the band saw cutting gap, the glue didn’t close up the gap completely. There remains a visible and noticeable gap after the gluing and clamping. Professor Oliver told me to use a wood filer for the gap. I then tried several different types of wood filer on a useless piece. It turns out that all those kind of filers didn’t match the color of the pear wood and they didn’t work so well for filling the gaps. Thus, I decided not to use the wood filer and try to sand off the gaps a bit. It turned out that sanding helped covering up the gap. After a great work of sanding, the gaps were not that visible any more, so I didn’t use the wood filer at last.

 before sanding after sanding
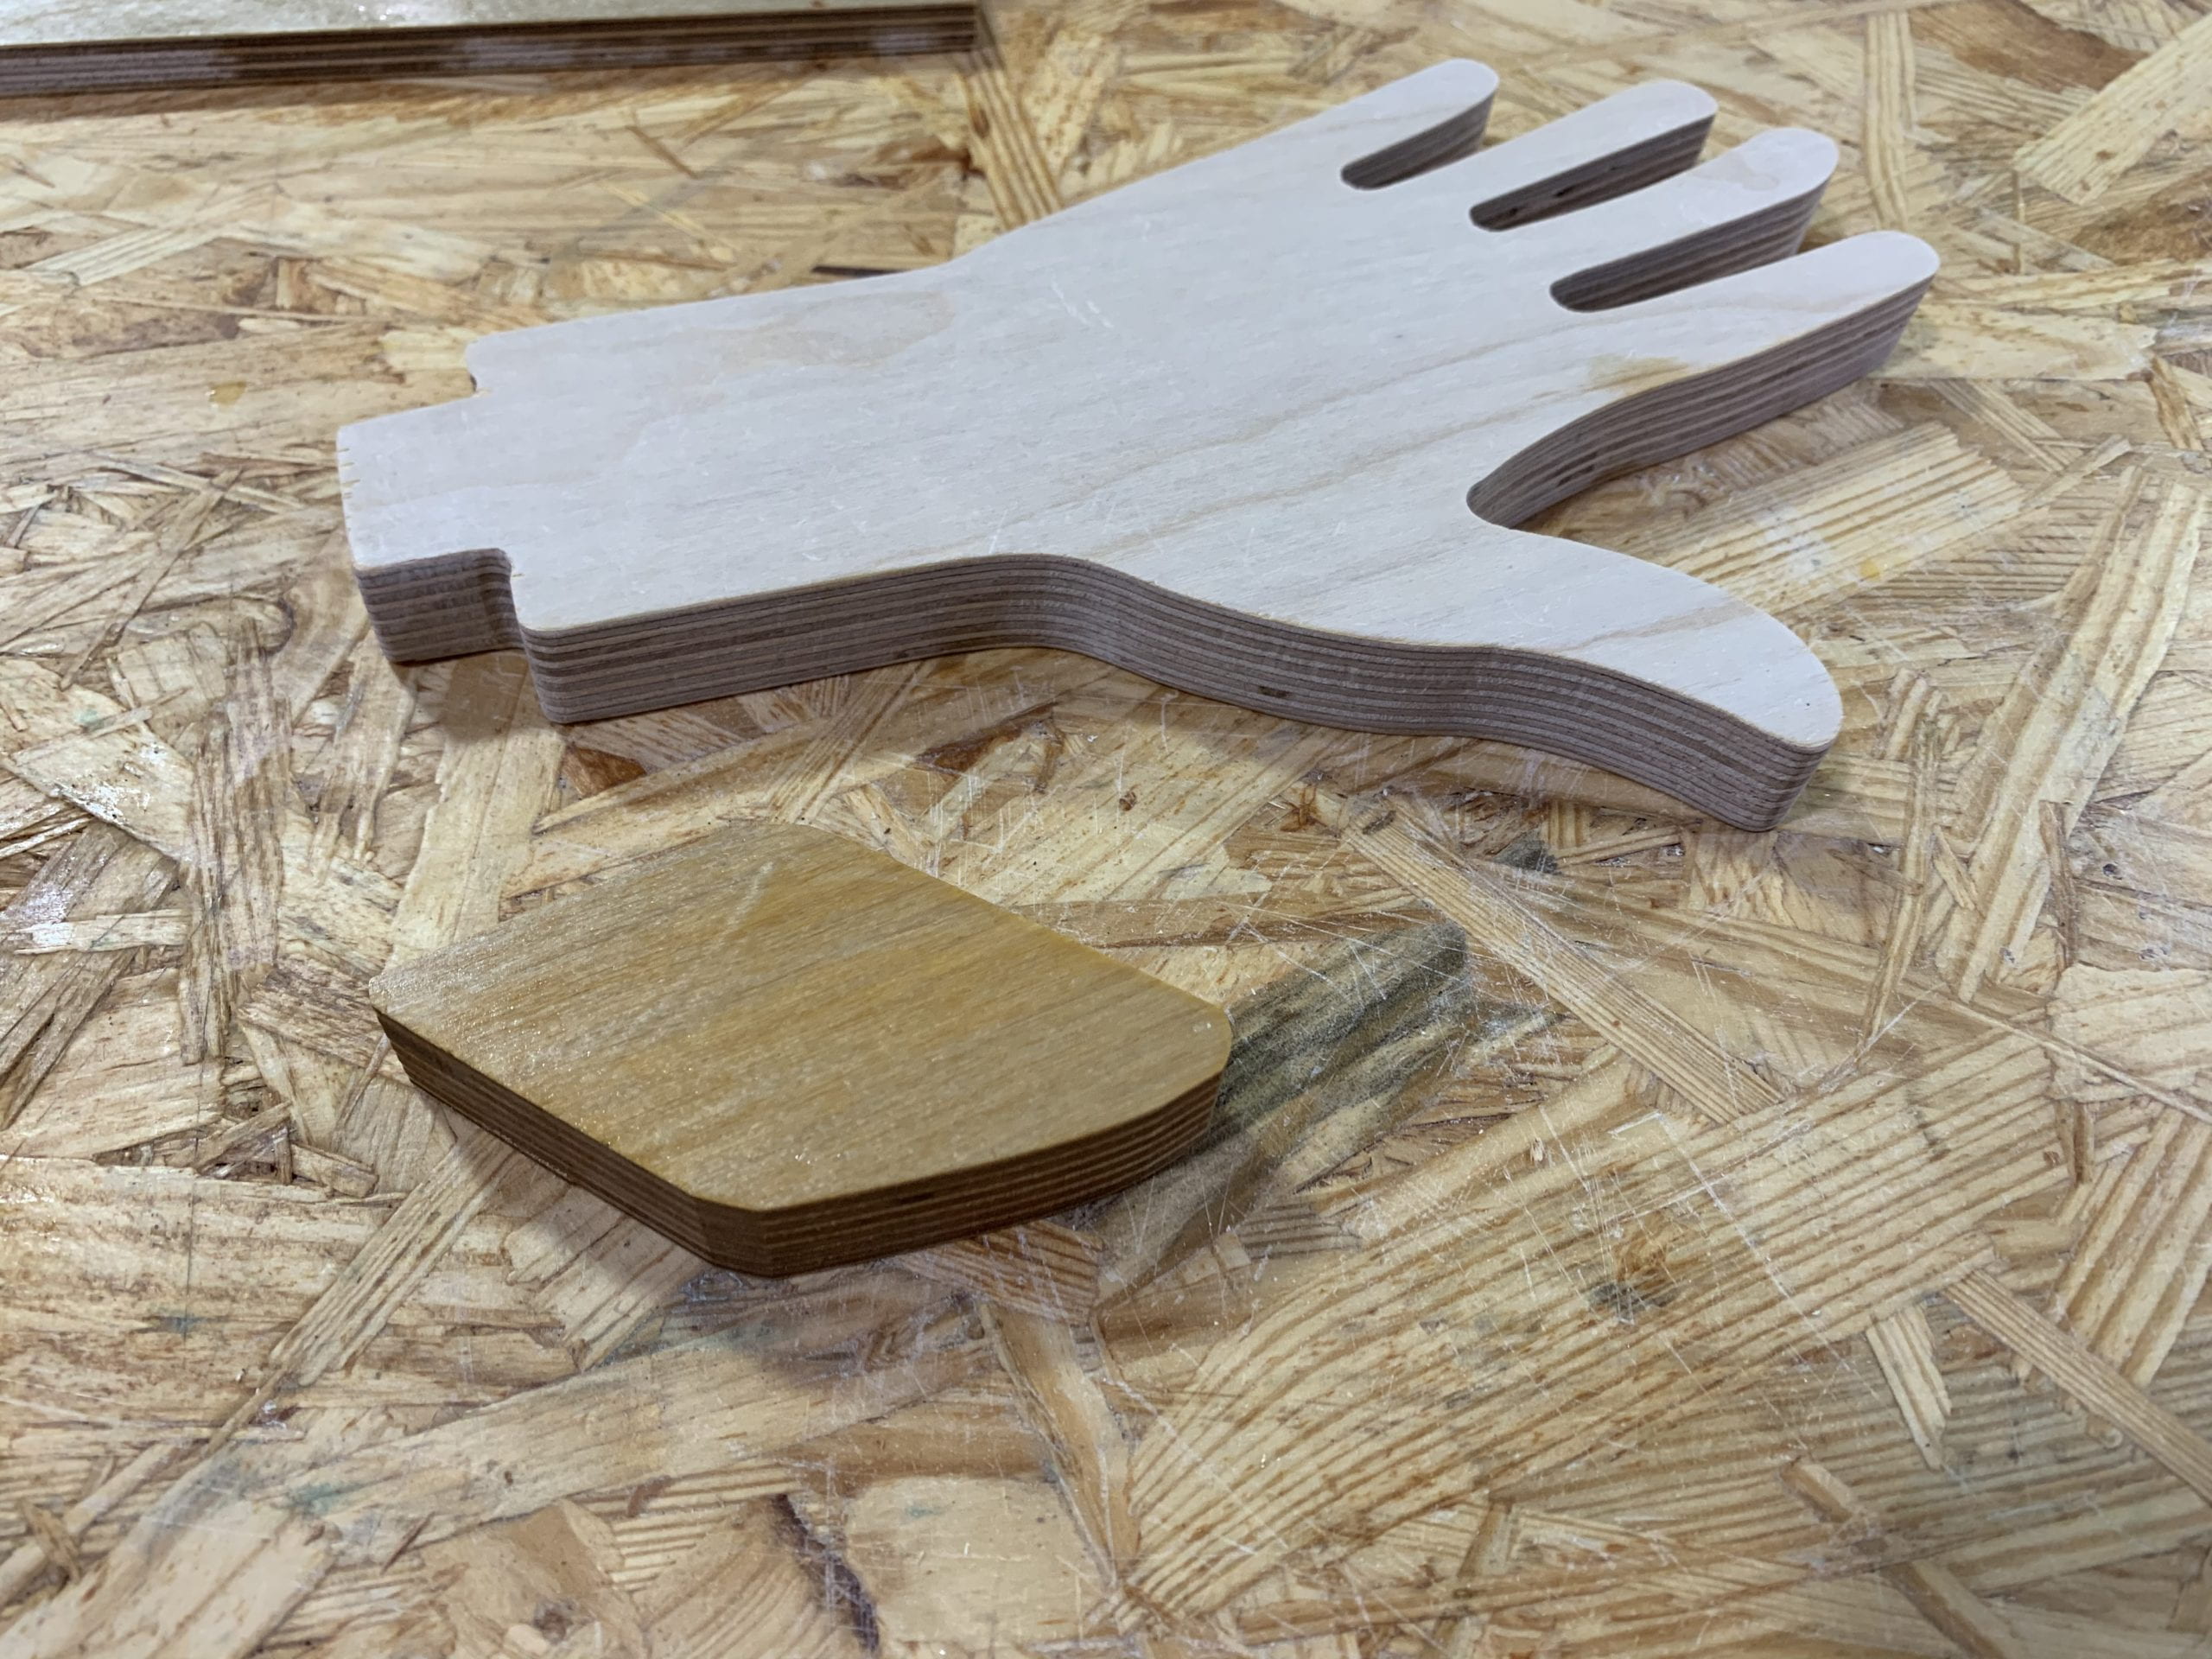
The last step before adding finishing is to make handles for the drawers. I used pieces of previous cut offs. However, this step is much harder than I thought. Shaping a very tiny piece is really difficult and frustrating. Since the piece is so small, I couldn’t use power machines for I might can’t fix the piece well. The piece is so small that I could not hold it easily for any hand tool either. I end up spending a huge amount of time using sanding paper to shape the wood handle. And the handle didn’t look so good after the hard work.
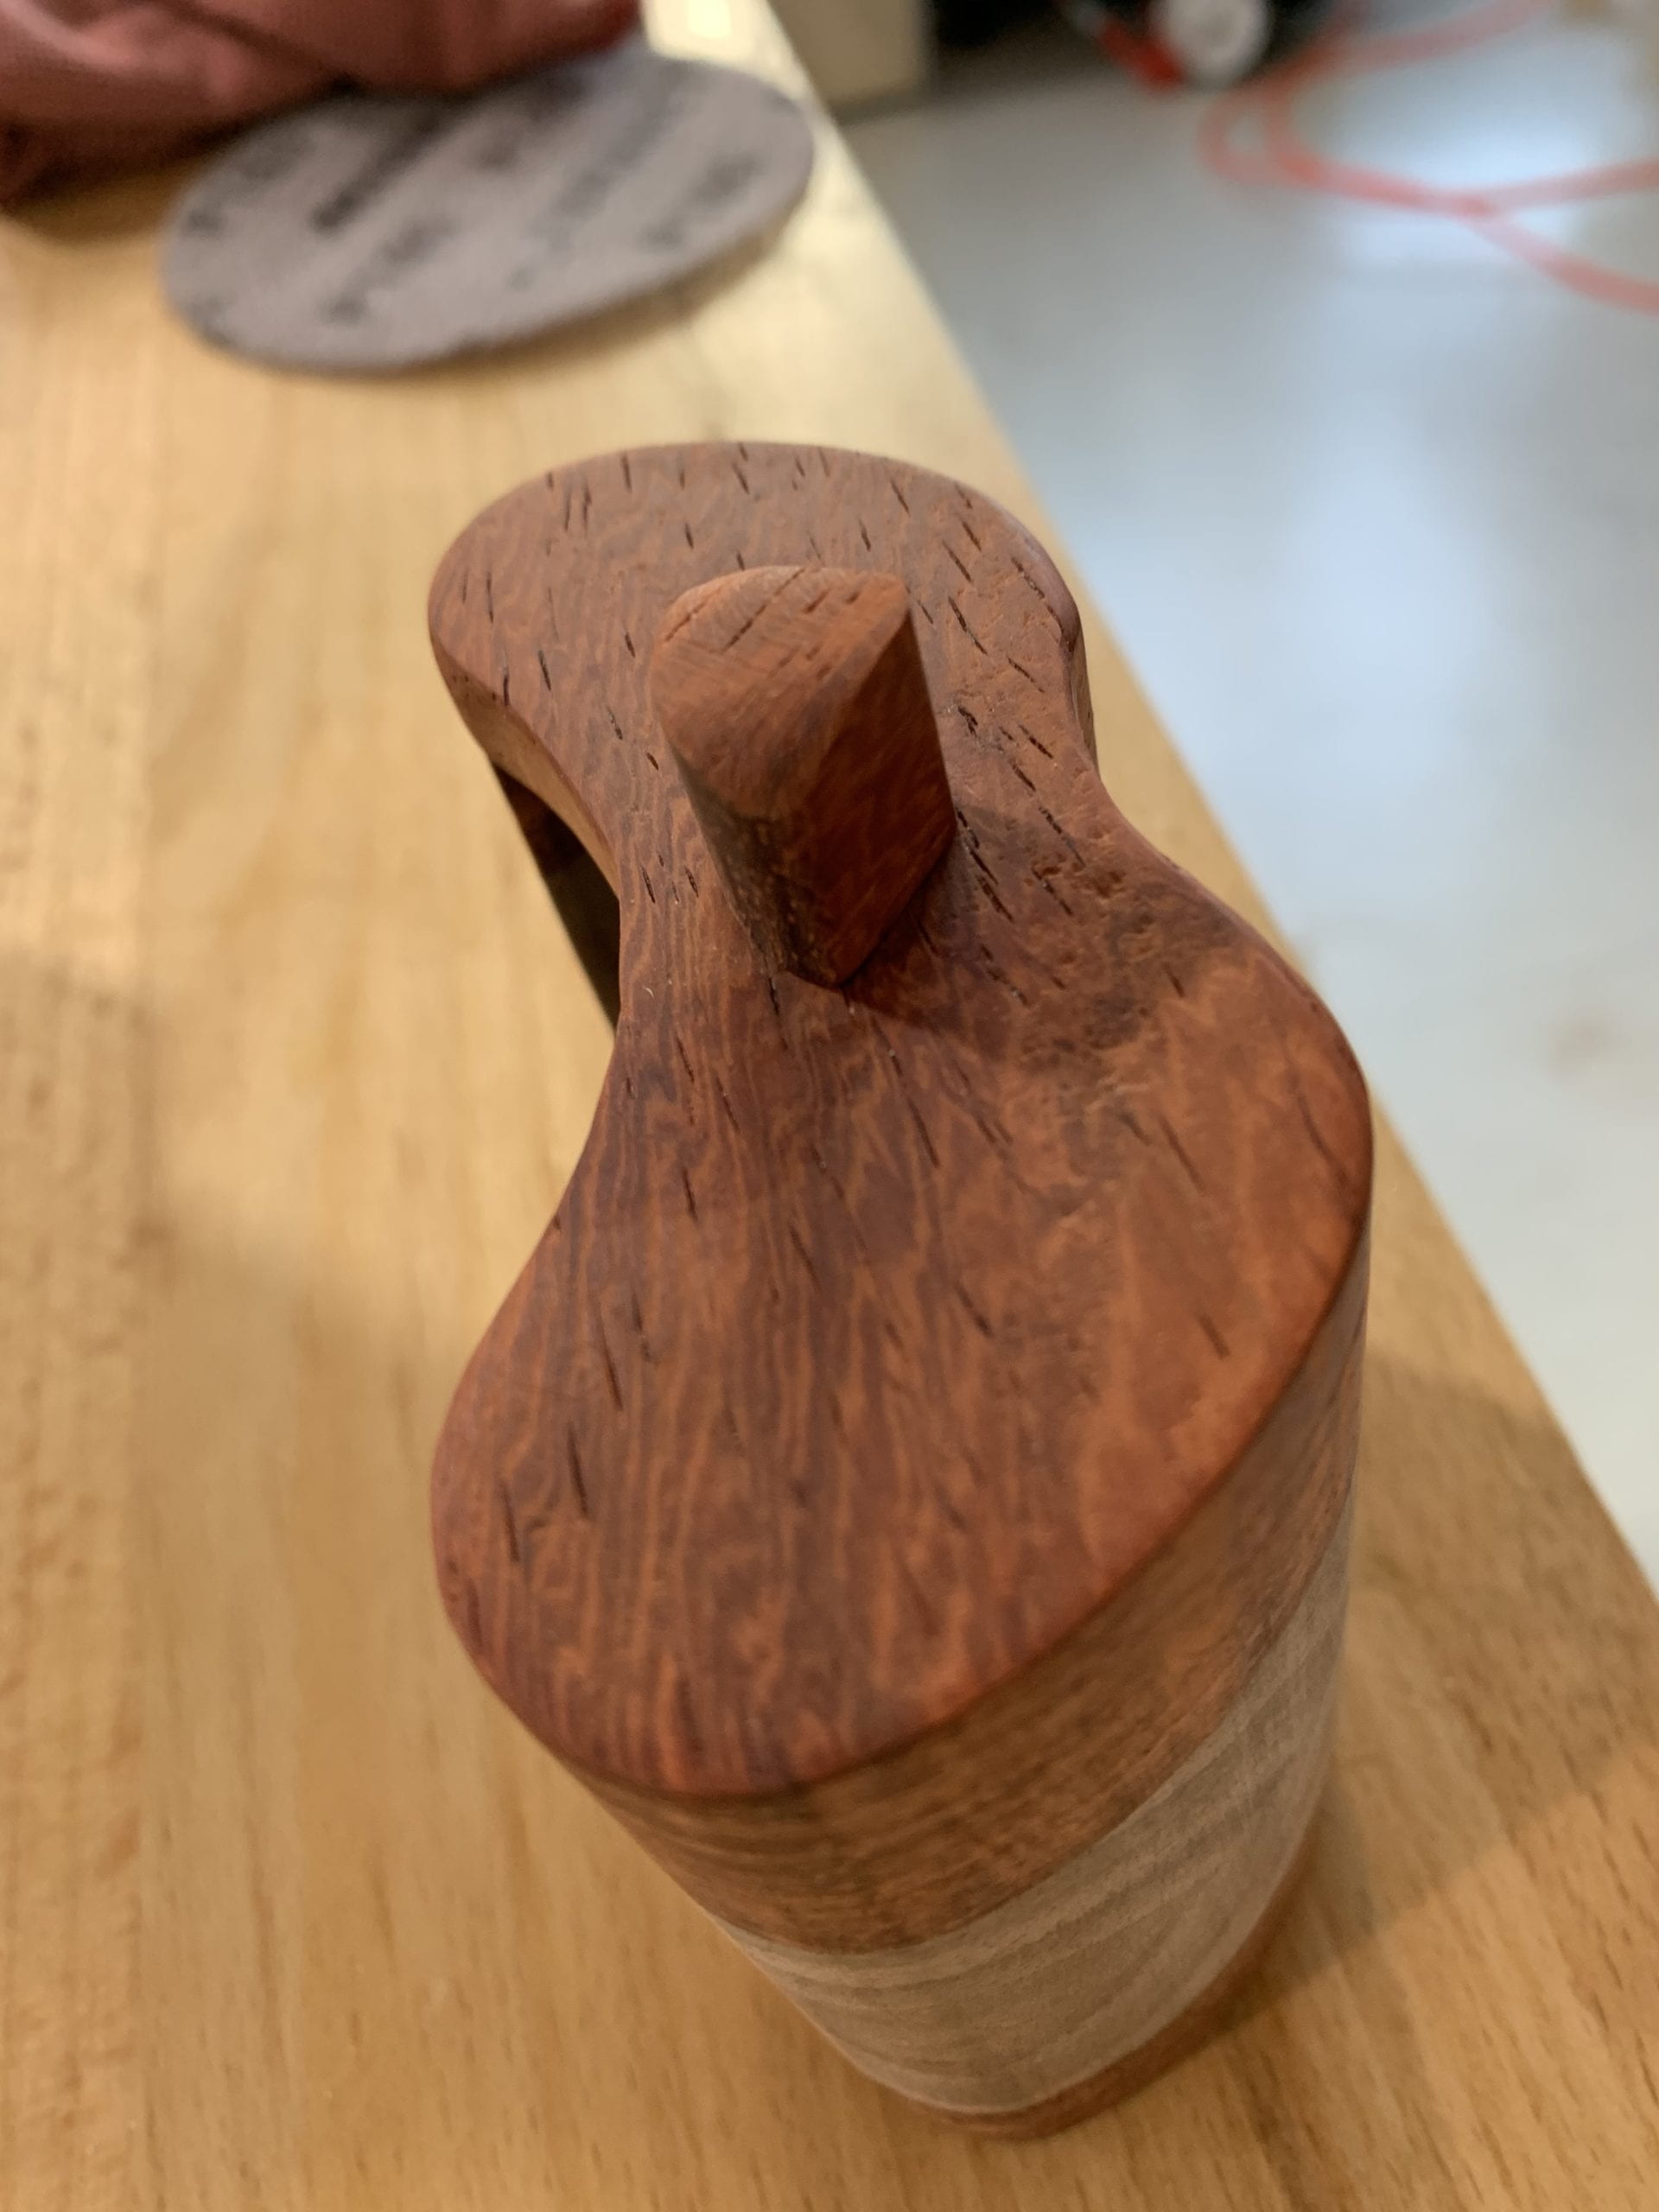
For the very last step, finishing, the color before and after finishing really surprised me a lot. The finishing oil made the pear wood even more red and the walnut really dark. The final color isn’t quite what I expected at the very beginning, but it looks good after all, especially that the pear wood after finishing oil looks red and shiny under sunlight.
Reflections
During the fabrication process, I have actually met quite a few problems and unexpected things since this project involves many steps. One thing I found most surprising is about the gluing. The wood glue is really strong, however, the gluing process is also much harder than I thought. One is about the time limit, since the wood glue could easily dry, everything during the gluing process are in hurry. Another is about the clamping, though clamping could fix the gaps and make two pieces tightly together, the pieces may also move around during the clamping step since the glue is slippery. This makes the matching of two pieces extremely hard. And pieces would often be not in the right position after one day of drying.
Thus, I was think about maybe we could actually shape and cut the wood after the gluing process, so that we don’t need to match the woods so perfectly. In this way, the order of making a band saw box might be first cutting off the back, then cut the drawers, gluing the back and then to cut the outer shape of the box. In this sequence, we don’t have to focus so much on matching the pieces when gluing.
1. Knowing what you know now, if you were to start over again, would you make any changes to your original design design? What is advice that you would send to your former self?
If starting over again, in the designing process, I would like to make more round corners and angles, which would not be that vulnerable. Also, I would want to think more about the position of cutting the drawers. The gaps I now have are hard to glue and hide. Given another chance, I would switch the gaps to somewhere easier to glue, or to make the design that I don’t need to glue back the gaps, as making the gaps part of the design.
Also, I would choose some easier shapes for the band saw to cut, as this time I changed design quite often when finding out what curves the band saw can make and what can’t. So, I should think more about the limit of the tool in the designing process rather than changing plans during the fabrication.
2. If you were to build a similar project, what would you keep the same from this project? What would be different?
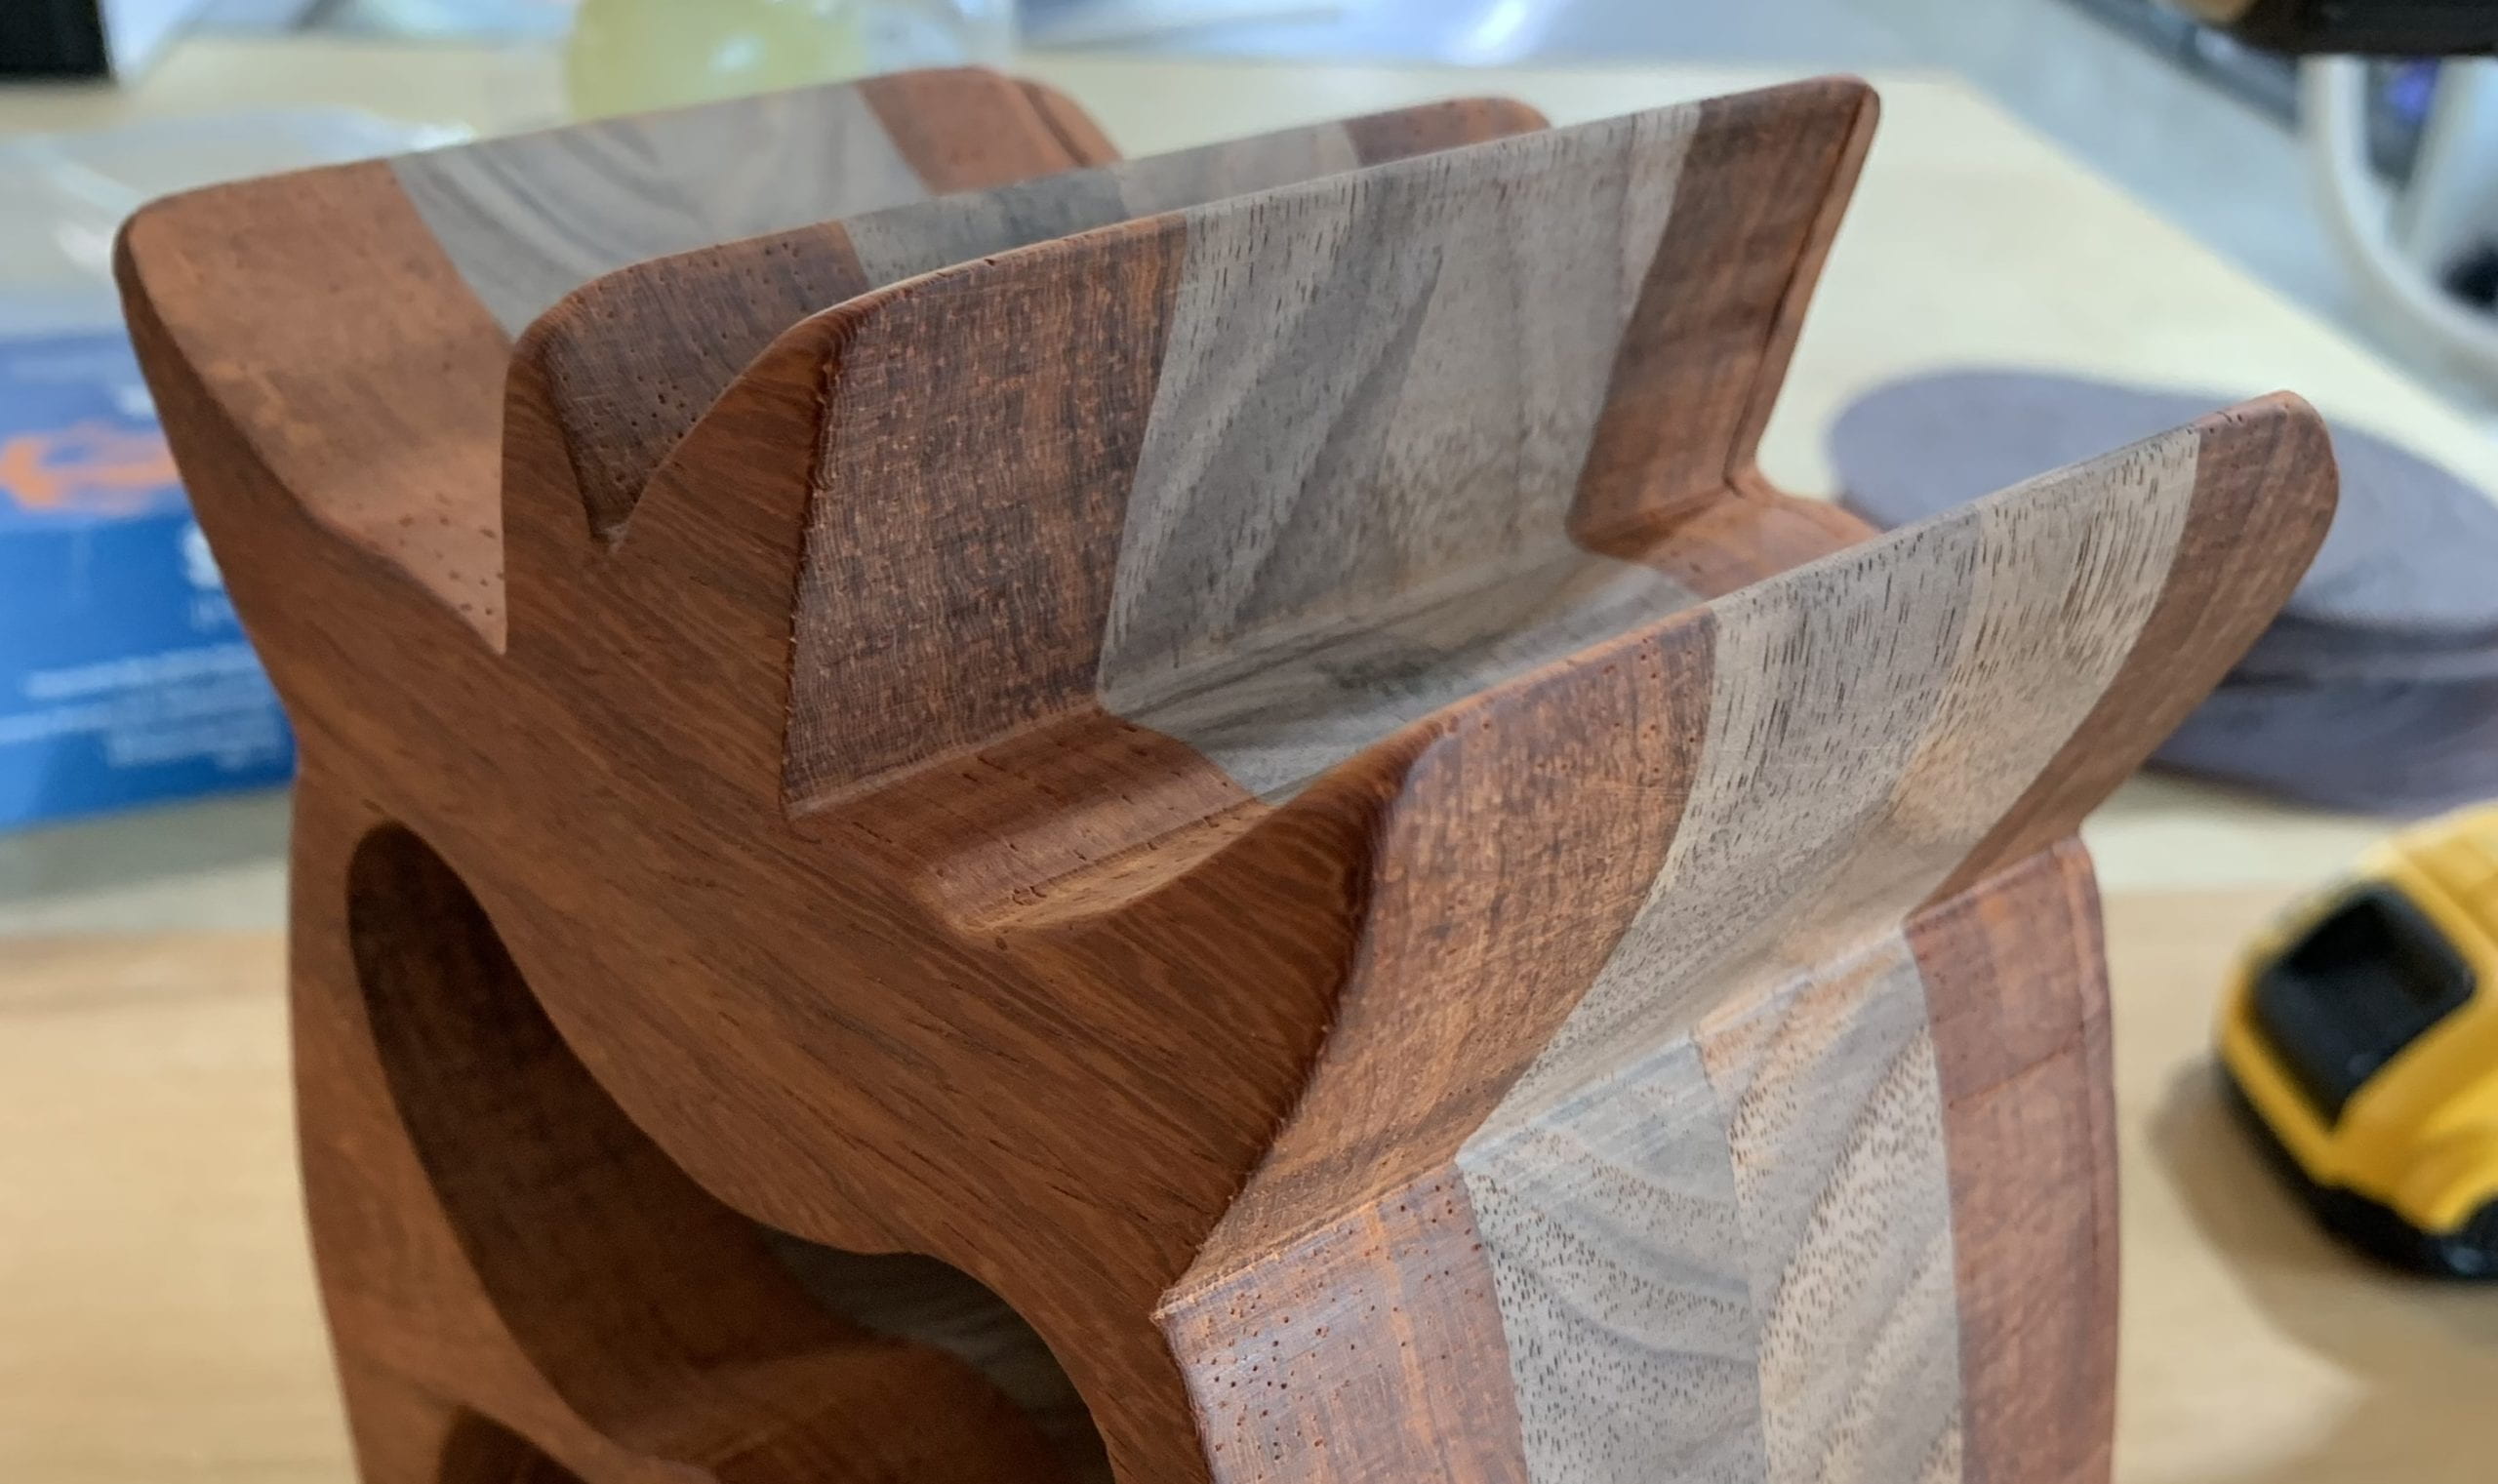
I really like the design of the top drawer, having two separate space inside one drawer. I think I could adapt this kind of design into other projects.
For differences, I would change a lot in the designing. First, I might not want sharp angles. Also, I would make better use of the wood, which means that I could design bigger drawers, instead of the tiny drawers with much space of solid box I now have. I might even change the choose of wood and test how would the wood look like after applying finishings before making the decision.