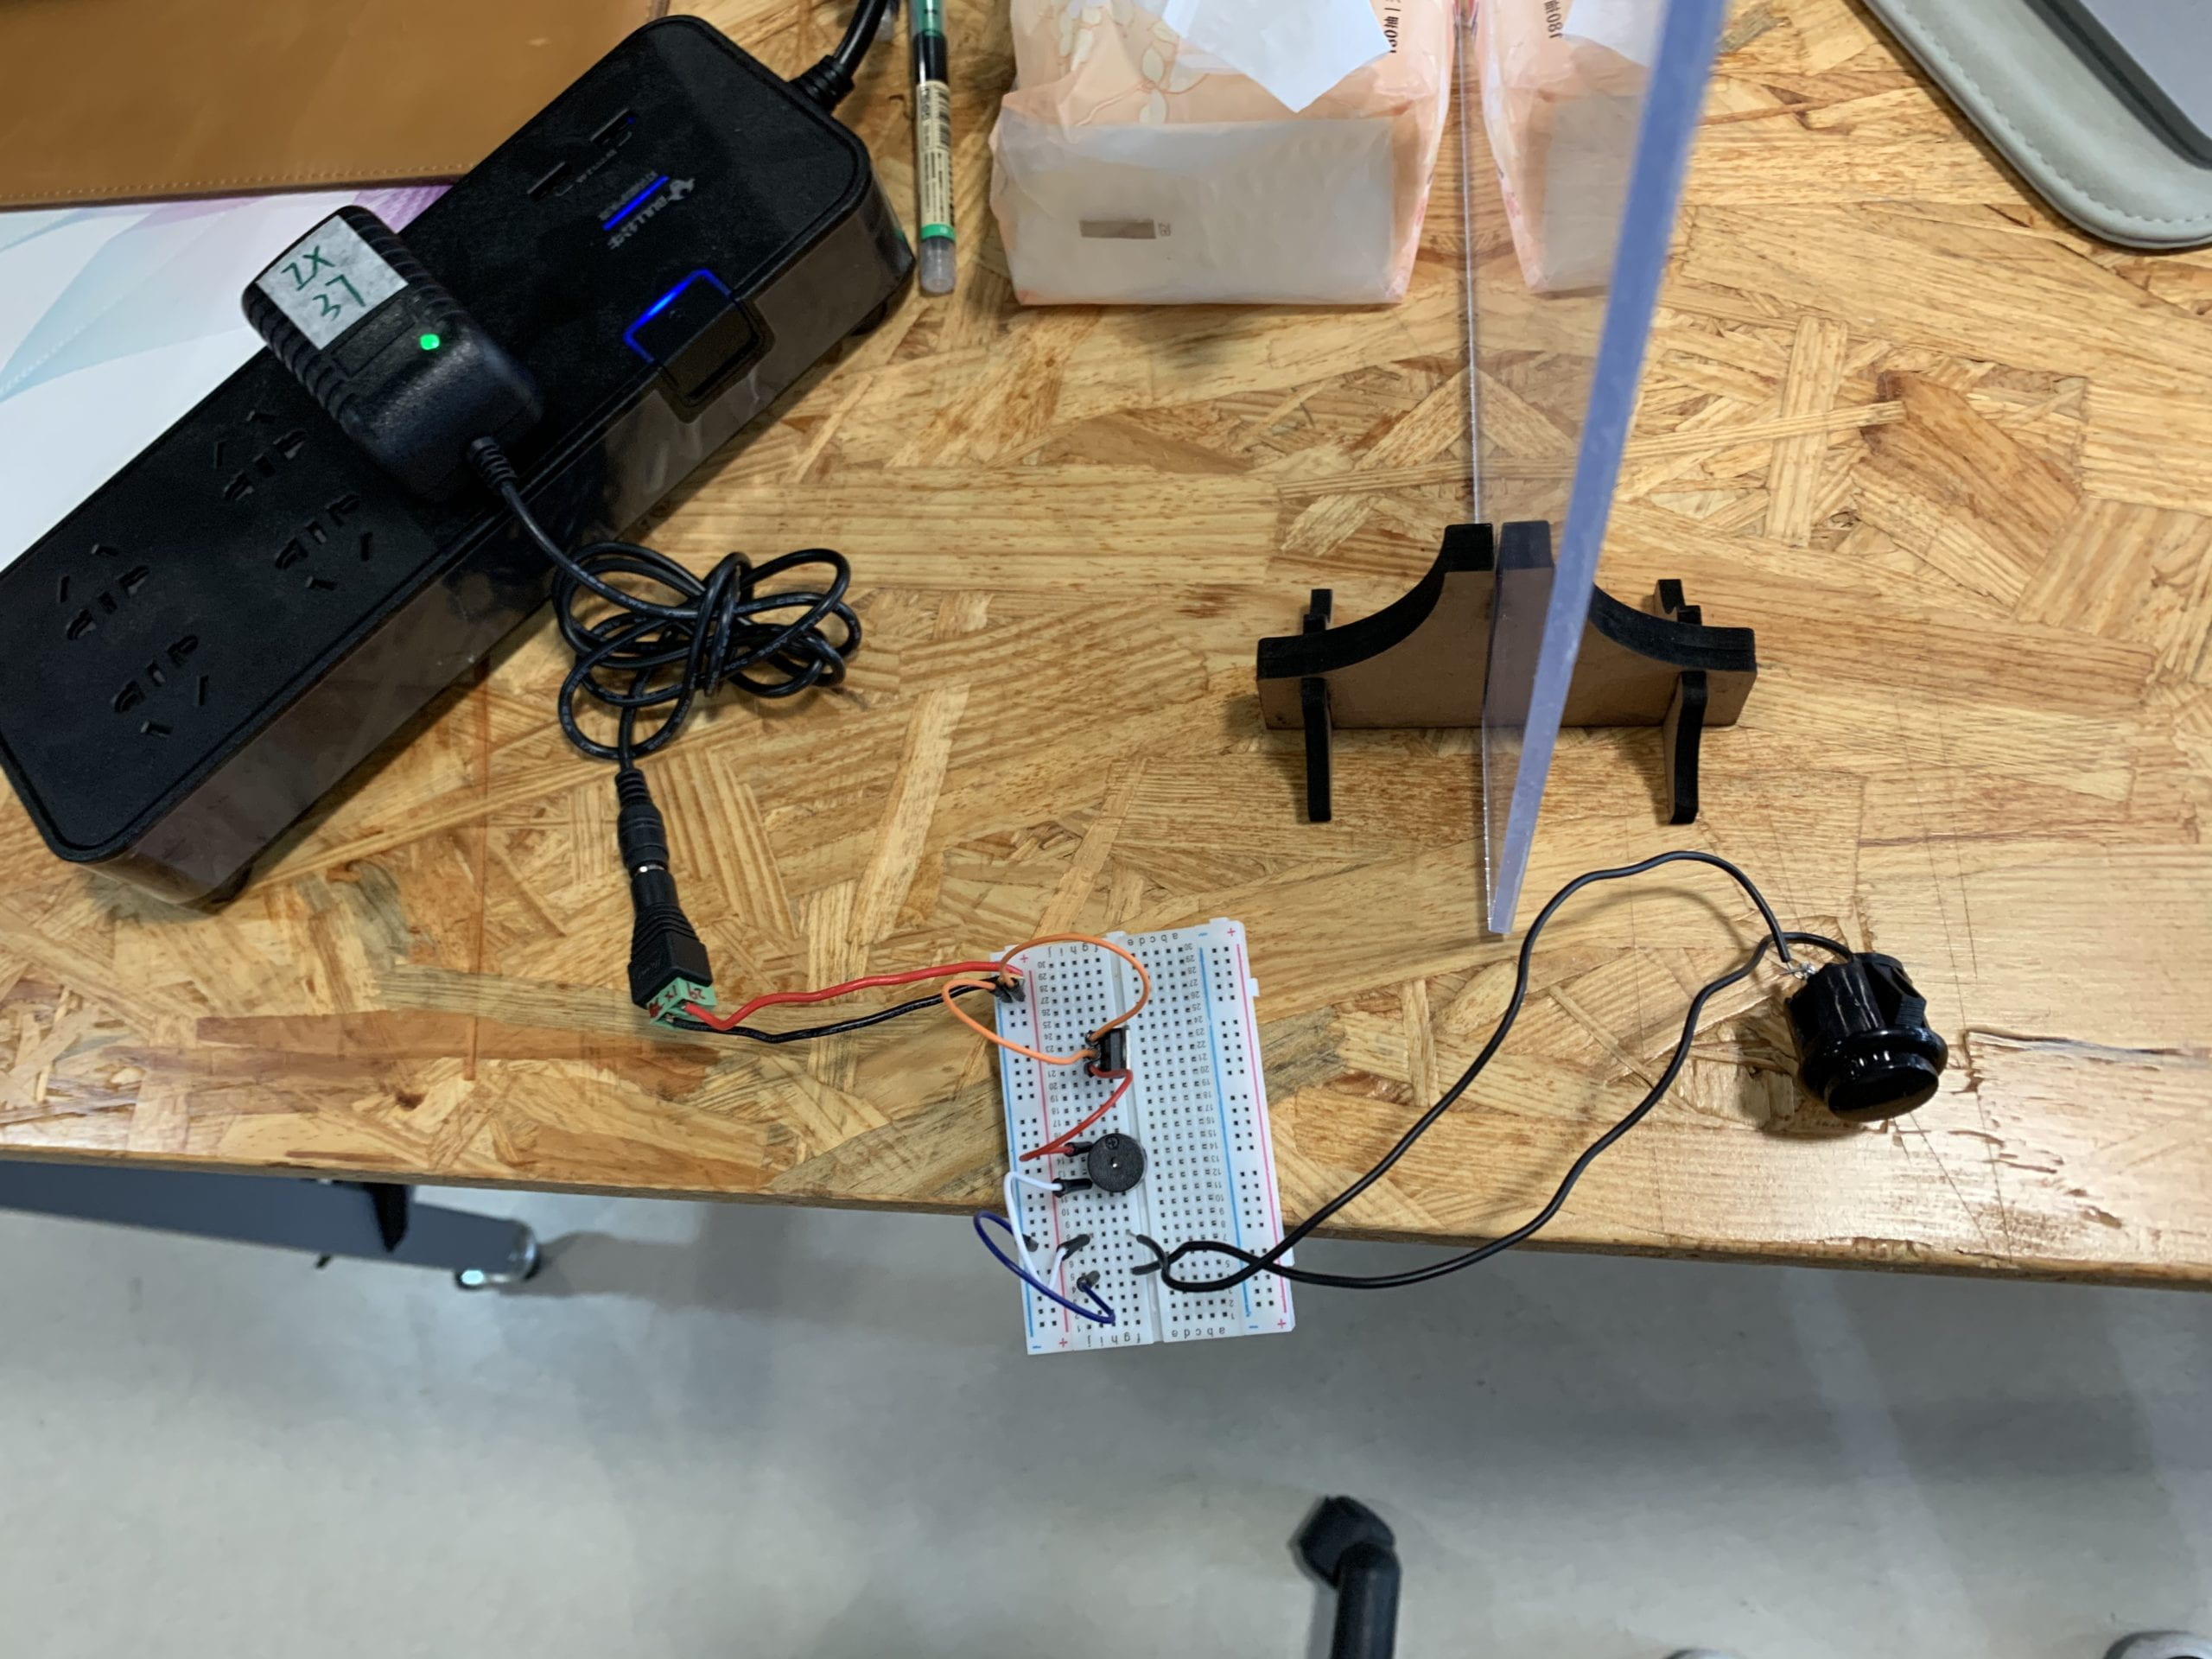
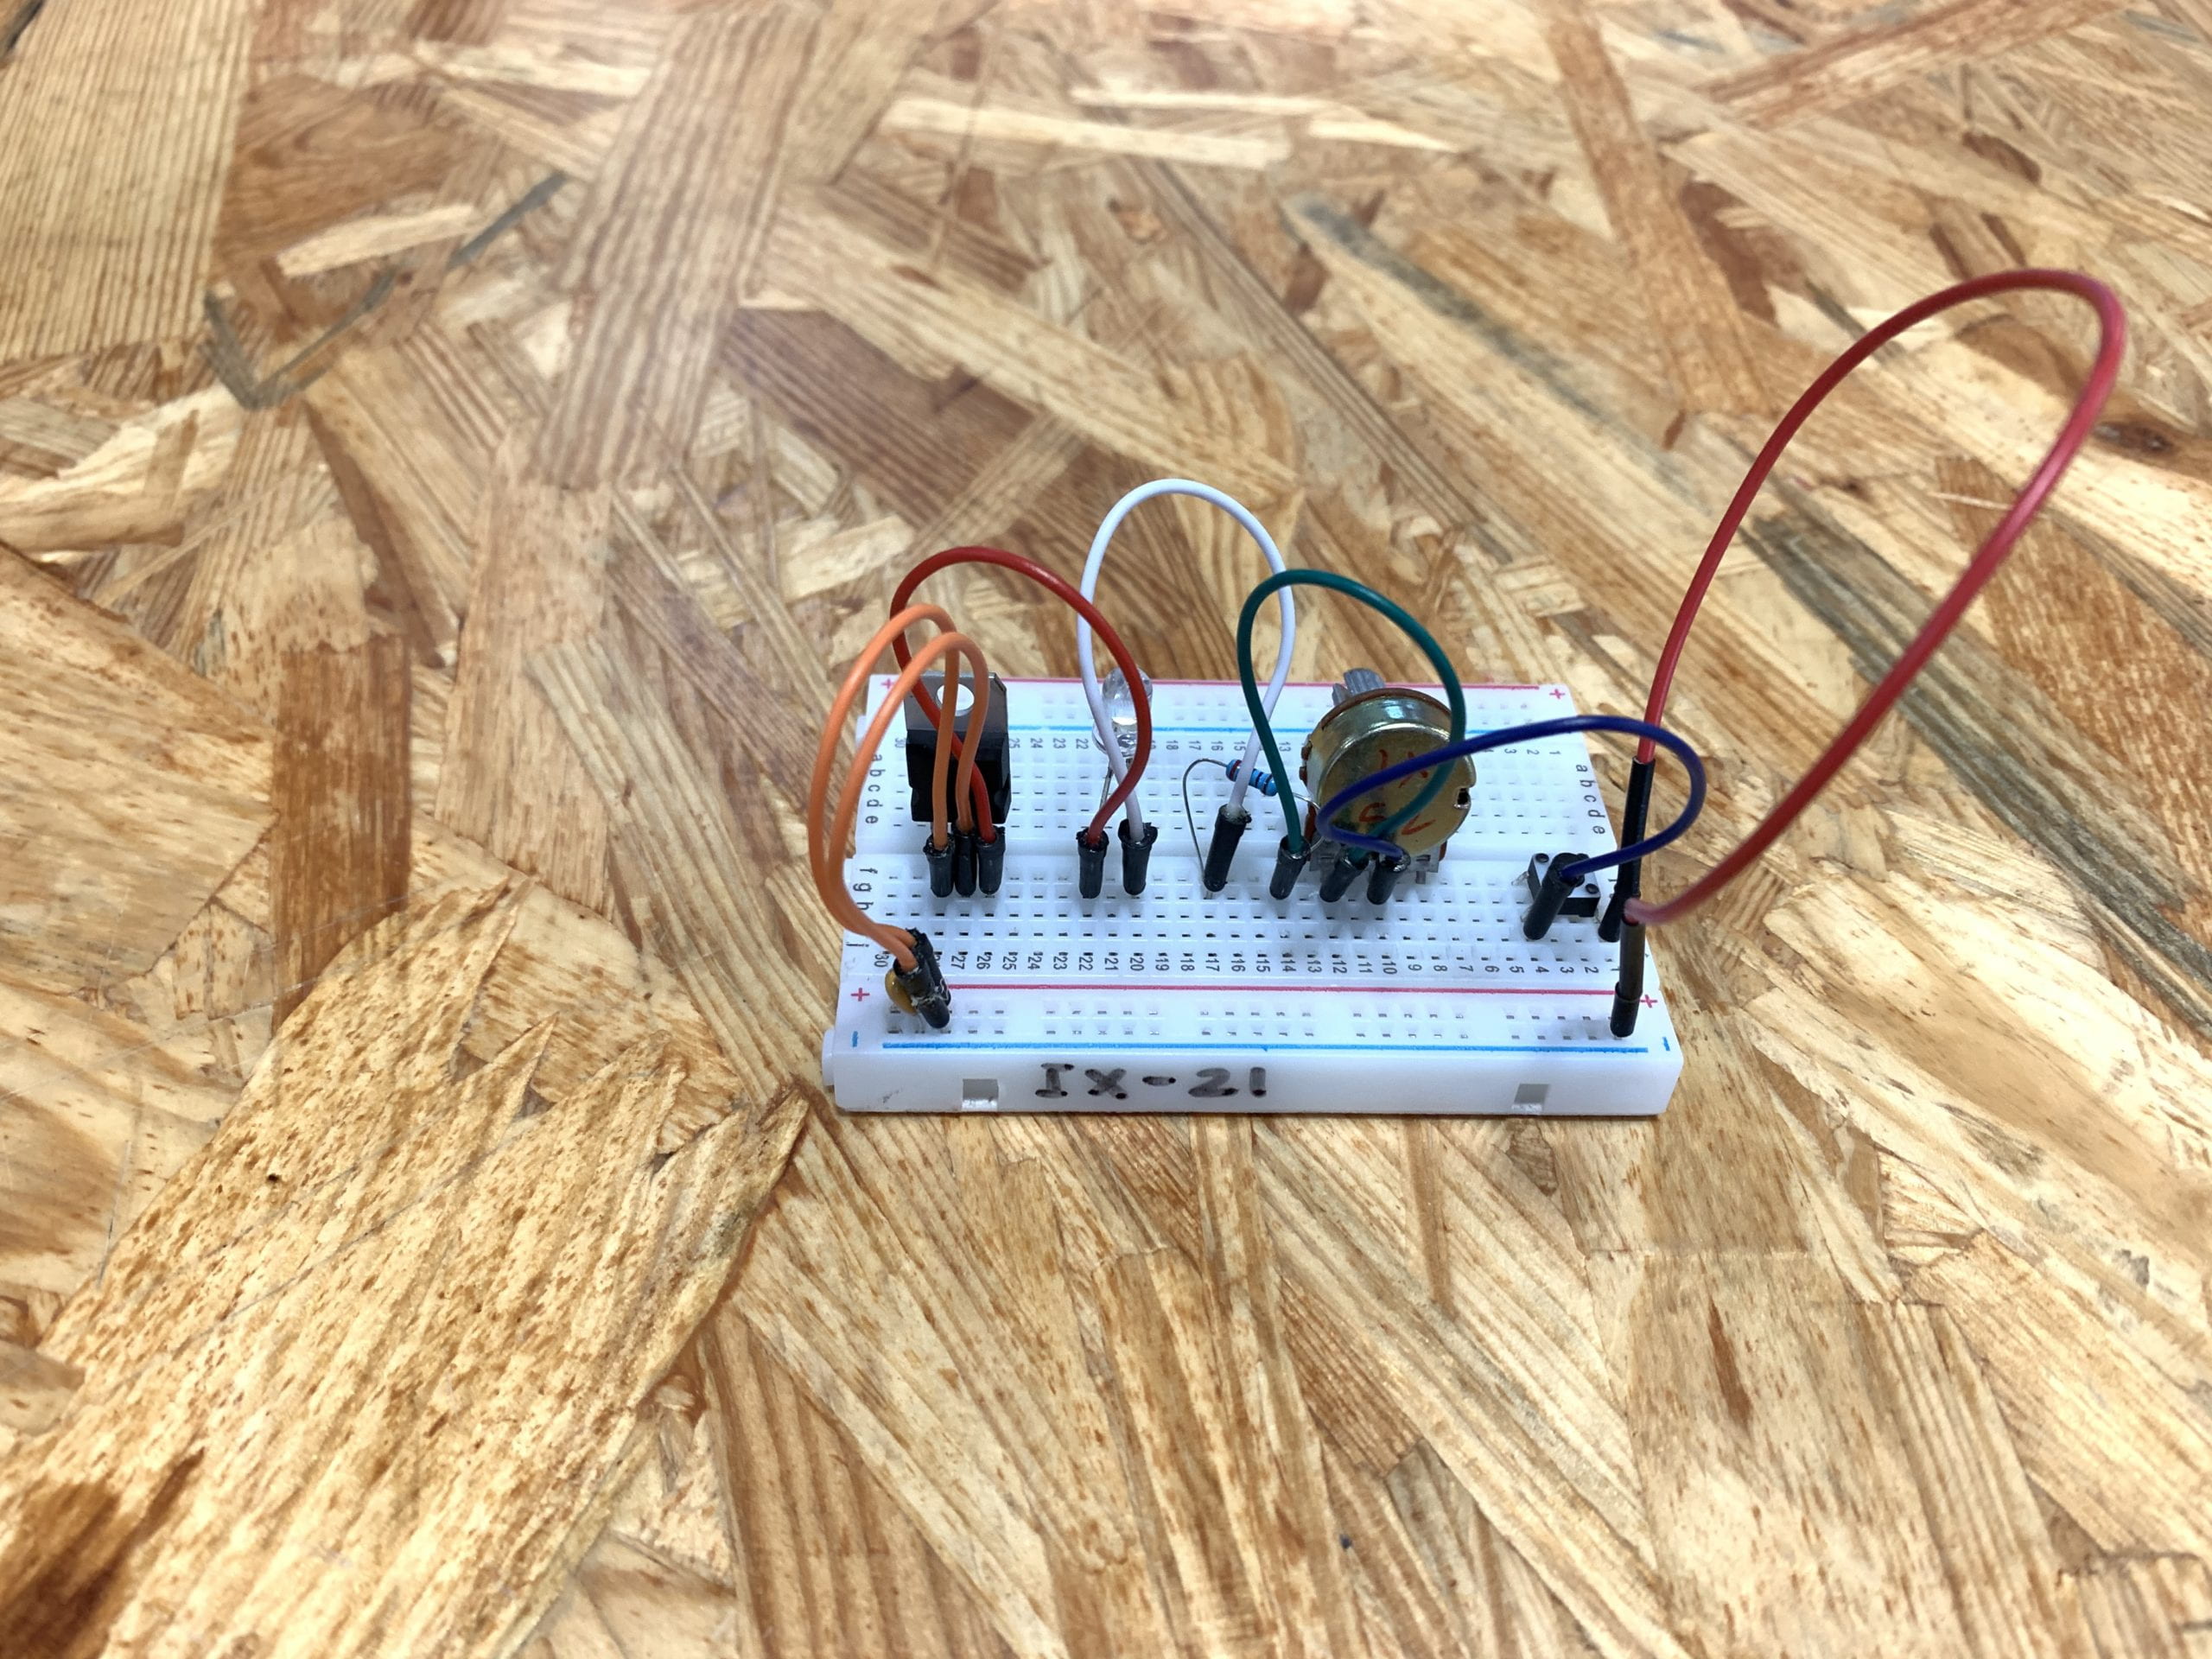
Components in the circuits:
1. Power: The Power provides the electricity for the whole circuit to function.
2. Capacitor: Capacitors can store the electricity flowing into them. In these circuits, it is used the stabilize and smooth the flow of electricity.
3. Voltage Regulator: The Voltage Regulator changes and stabilizes the voltage for the circuits. In these circuits, it changes the input to be 5V for other components to function .
4. Resistor: Resistors can resist the flow of electricity to control the flow of current. In there circuits, it is used to prevent the speaker and the LED from having too high current.
5. Variable Resistor: Variable Resistors have the same function as Resistors while they can adjust the amount of resistance. In these circuits, it is used to control the brightness of the LED.
6. Switch: Switches can be used to interrupt the flow of current through a circuit. In these circuits, it is used to turn on/off the speaker and the LED.
7. Speaker and LED: A speaker can make sound and a LED can give out light.
8. Breadboard and Wire: They are the essential parts for the electricity to flow through the circuits and connect all other components.
Building the circuits:
In the process of building the circuits, the biggest problems I met are 1) to understand circuit diagrams provided 2) to figure out what each component is and how to use them properly. To name the items, the voltage regulator and the variable resistor are the ones I don’t know how to use as they have three legs. By asking the LA for help, I understand what does the “ground” on the circuit diagrams means as well as how to use the voltage regulator and the variable resistor. In the next stage of putting everything on the breadboard and finishing the circuits, I didn’t face much trouble to have them done. By comparing the circuits I built and those from my classmates, I found that I’m using a lot more wires than they do. I think this is the part that I may be able to improve by using less wires and make the circuits more clear.


Answers to the Questions:
1.After reading The Art of Interactive Design, in what way do you think that the circuits you built today include interactivity? Please explain your answer.
The author uses “two actors”, “listen”, “think” and “speak” to define interactivity. For the circuit to show these different stages, me pushing the switch button can be seen as “listening”, the flow of current through the circuit is “thinking” and the speaker to make sound or the LED to give out light would then be “speaking”. For the part of two actors, I would think me building the circuit involves more about interactivity than pushing the button. As in the process of building, I really have to observe the components, think about how to do it and finish putting everything together.
2.How can Interaction Design and Physical Computing be used to create Interactive Art?
In the example of “EyeWriter”, the Interaction Design would be to let the graffiti writer to draw with his eyes, and what came out last that the graffiti writer could draw again and has his pieces projected on the wall is the Interactive Art. To let the design become a fine art there needs a lot of physical computing such as the computer program and the DIY hardware. Therefore, combing the Interaction Design and physical computing can the interactive art be produced.