p5.js Web Editor | Mini project 3 (p5js.org)
General Form

Audio
Working process
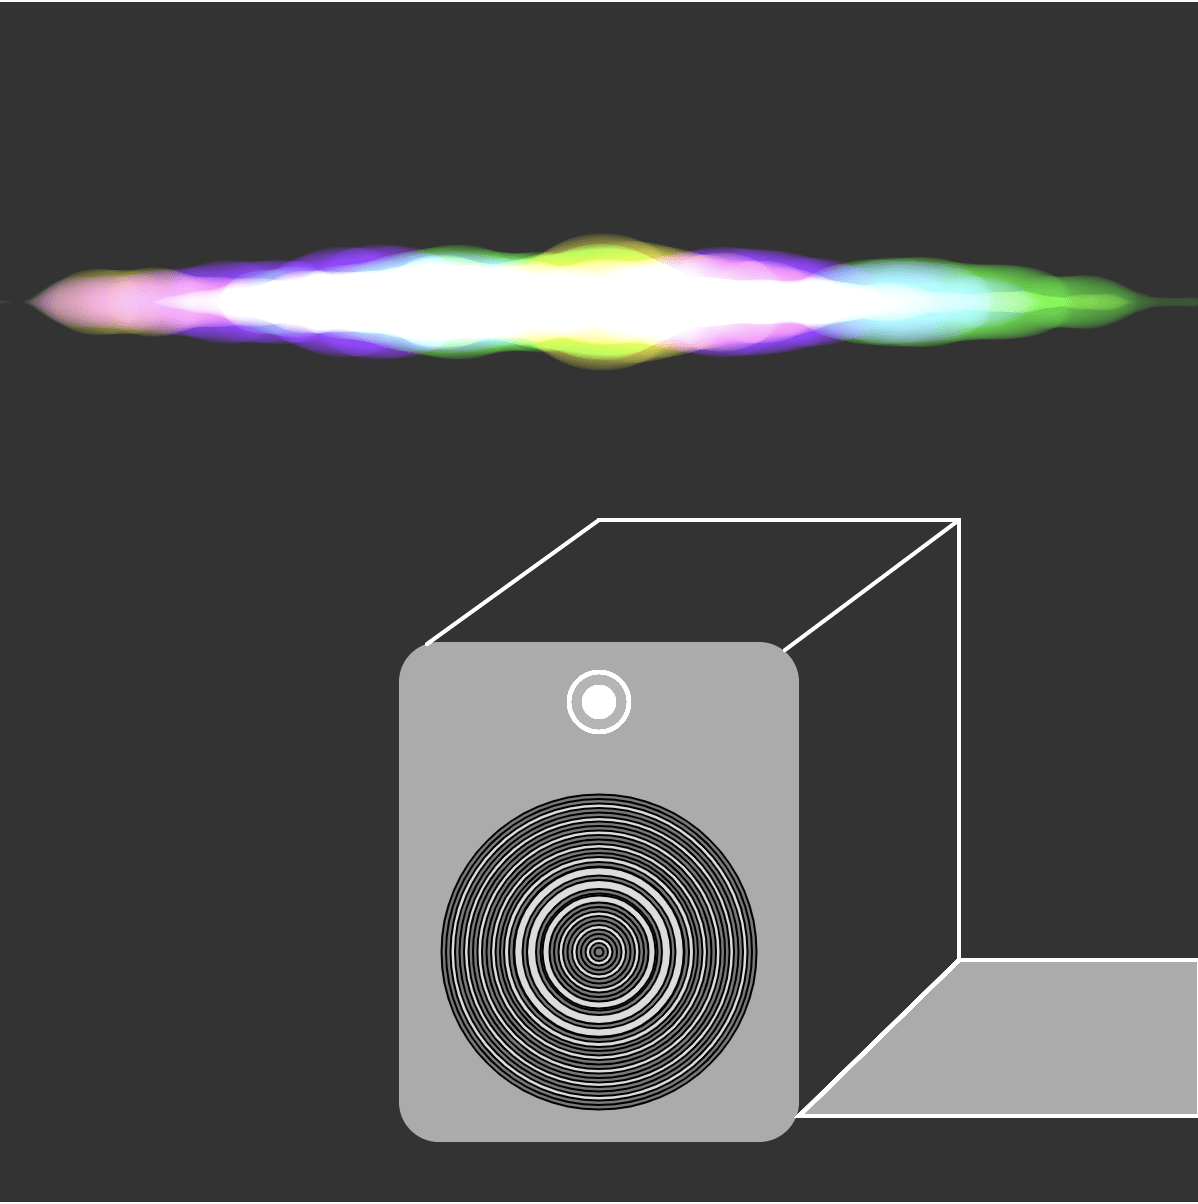
In the main, the work consists of two parts, the upper part of the sound wave and the lower part of the sound.
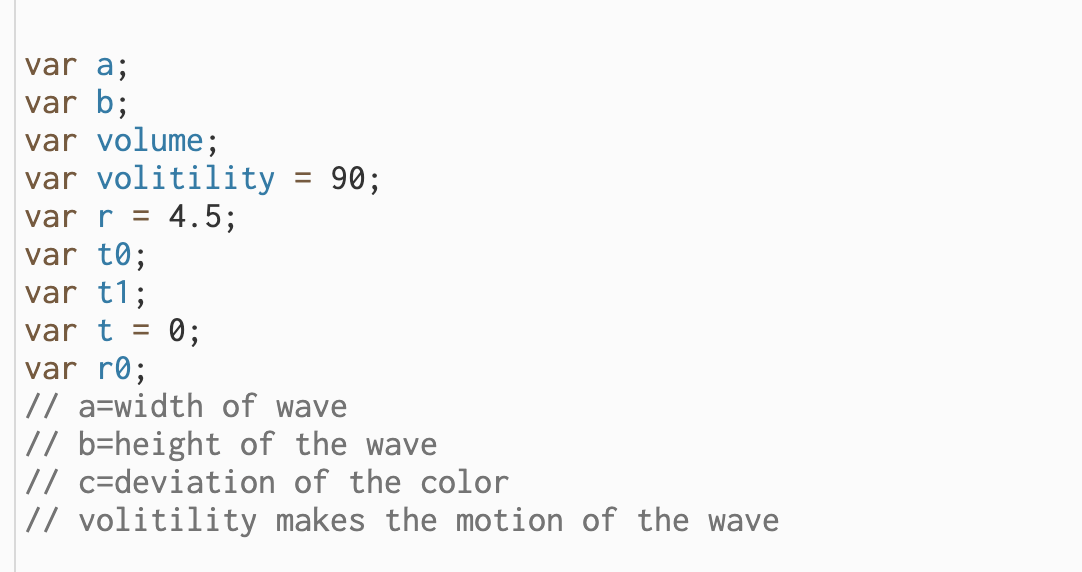
In the upper part, I used three variables to represent the ripple. a represents the ripple length, b represents the height, and c represents the offset value

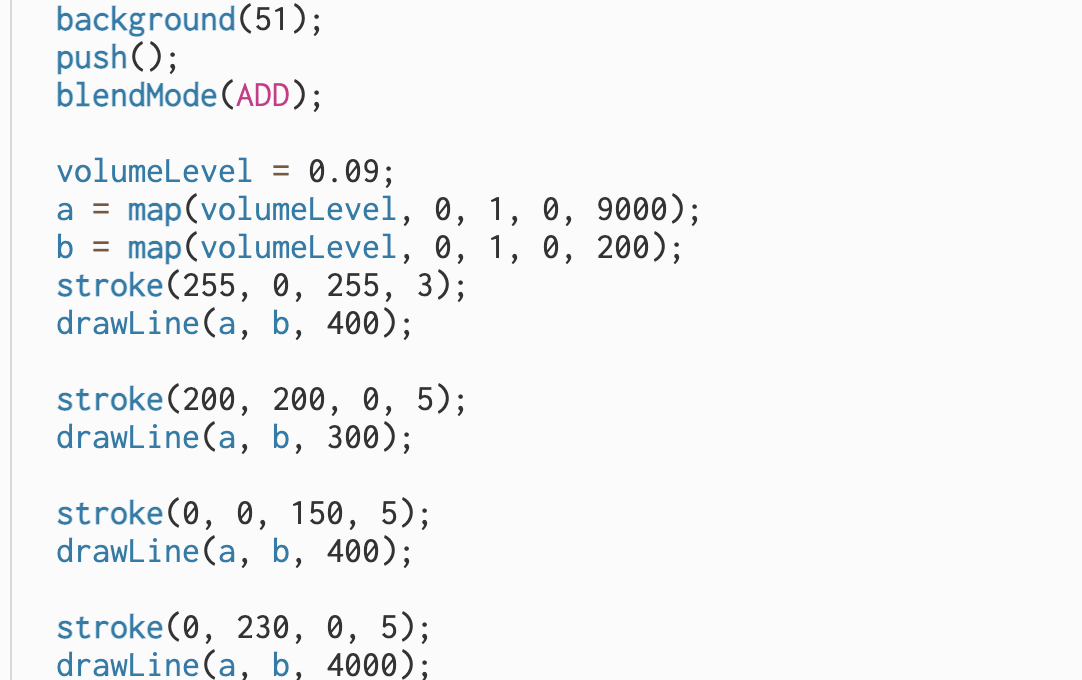
Then comes the use of the map function and lines to create ripples. It is important to note that the code blendMode (ADD) is very important.
Because at the beginning, no matter how I set the line color, the ripples were black and white, but now the ripples are a collection of different colors, so this code is very important in the whole work.

It is worth noting that the volume level setting, which refers to the amplitude, at first I set the 50 directly led to computer crashes, in the 0 to a reasonable range of the user can be adjusted at will. :)
The next function I use is the noise function. To be honest, at the beginning, I used the random function, but it is not natural at all so I tended to use the noise function.

Next I created an image of the audio.

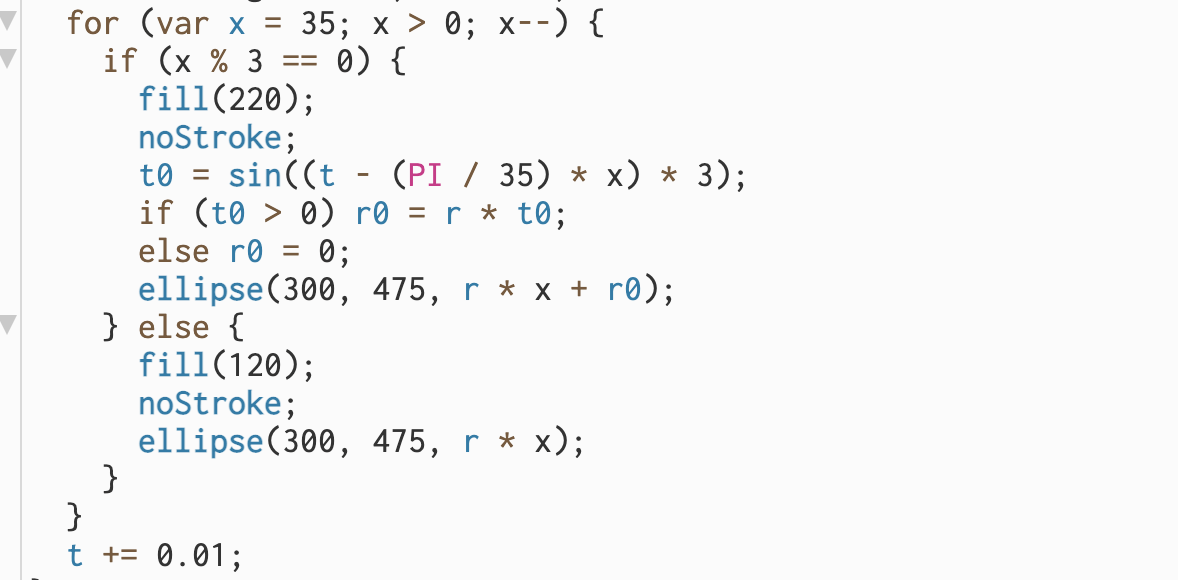
The use of sin makes the circle seems to move in a loop.
Reflection:
I tended to use the booleans to let the audio keeping changing color in a loop, and Pato helped me to complete it. However, to make the work looks more comfortable, I gave up the plan.
Meanwhile, the noise function and the map function play a big role in my implementation of ripple motion.
var a;
var b;
var volume;
var volitility = 90;
var r = 4.5;
var t0;
var t1;
var t = 0;
var r0;
// a=width of wave
// b=height of the wave
// c=deviation of the color
// volitility makes the motion of the wave
function setup() {
createCanvas(600, 600);
background(30);
//setupGif(30) // 30 [fps] is how fast the gif will play back
}
function draw() {
//beginGif();
// YOUR CODE GOES HERE
background(51);
push();
blendMode(ADD);
volumeLevel = 0.09;
a = map(volumeLevel, 0, 1, 0, 9000);
b = map(volumeLevel, 0, 1, 0, 200);
stroke(255, 0, 255, 3);
drawLine(a, b, 400);
stroke(200, 200, 0, 5);
drawLine(a, b, 300);
stroke(0, 0, 150, 5);
drawLine(a, b, 400);
stroke(0, 230, 0, 5);
drawLine(a, b, 4000);
fill(120);
rect(200, 320, 200, 250, 20);
stroke(255);
strokeWeight(2);
line(214, 321, 300, 259);
line(393, 324, 480, 259);
line(300, 259, 480, 259);
line(480, 259, 480, 479);
line(400, 557, 480, 479);
quad(480, 479, 400, 557, 600, 557, 600, 479);
fill(255, 120);
circle(300, 350, 15);
fill(255, 10);
circle(300, 350, 30);
//quad(214,321,300,259,480,259,393,324)
// quad(393,324,480,259,480,479,400,557)
pop();
console.log(mouseX, mouseY);
for (var x = 35; x > 0; x–) {
if (x % 3 == 0) {
fill(220);
noStroke;
t0 = sin((t – (PI / 35) * x) * 3);
if (t0 > 0) r0 = r * t0;
else r0 = 0;
ellipse(300, 475, r * x + r0);
} else {
fill(120);
noStroke;
ellipse(300, 475, r * x);
}
}
t += 0.01;
}
function drawLine(a, b, c) {
for (var i = 0; i < a; i++) {
var s =
noise(i / (a / 10), frameCount / 27 + c) * volitility –
map(abs(i – a / 2), 0, a / 2, 0, volitility) +
b;
strokeWeight(s);
if (s > 1) line(i + (300 – a / 2), 150, i + 3 + (300 – a / 2), 150);
}
//endGif(200); // this stops recording after 300 times through draw
}
reference: