Recitation 2: Arduino Basics
Circuit 1: Fade
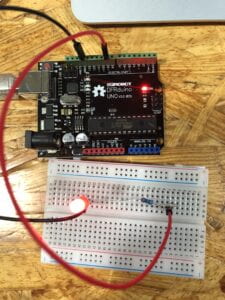
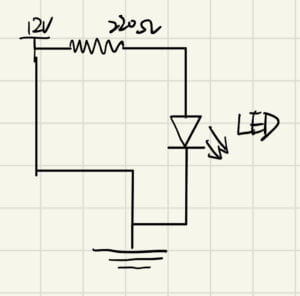
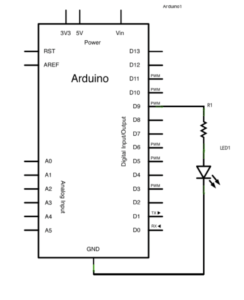
We have already done that before, so we don’t meet too much difficulties.
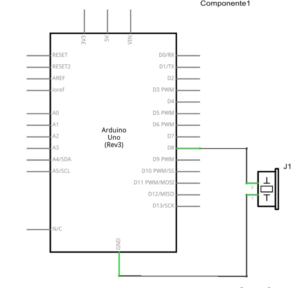
Circuit 2: toneMelody
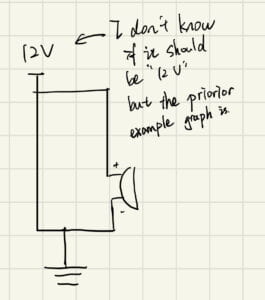
Because of the clearly instruction, we made it smoothly.
(I tried to exchange some numbers in the code and it turned to another tune)
Circuit 3: Speed Game
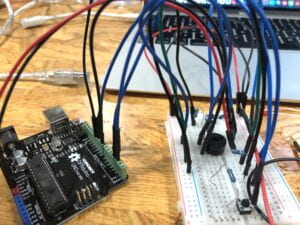
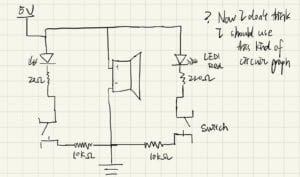
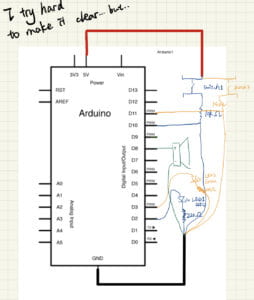
The most difficult part is to draw a schematic for it, because it is too complicated.
Also, we found that it was hard to link the components together on the small breadboard, that we had no enough space to operate.
But at last we succeeded, and the project was really funny. I wish one day I can make things just like this on my own.
Question 1: Propose another kind of creative button you could use in Circuit 3 to make the game more interactive.
From the article we know that interaction includes three parts: input, output and processing. It also includes digital parts and analog parts. If we try to change the button, it is changing the analog input parts, to make the input process more interesting.
To make the game more interactive, I think we can add sensors at the both side. For examples, players may blow against to keep a light ball to maintain at the middle of two sensors. Once a player blows the ball to the other side and touches the other side’s sensor, it means the other player loses the game, and the sensor will bring up the music from speaker. In this case, the input process is more funny and full of competitive, which make the game more interactive.
Question 2: Why did we use a 10K resistor with each push button?
Resistor is here to prevent short circuits when the switch is closed while still biasing the pin to 0V when the switch is open.
10K resistor is the most proper value, for the lower one may “waste” more current or the larger one may not always work properly as a pull-down.

Nice diary! I feel I am going to fall in love with you now! Oh, we have already fallen in love? Never mind.
What the hell are you doing here😨