Midterm Project–The Blind Stick
The Blind Stick
Rachel Duan (Teammate: Annika Wen)
Instructor: Professor Rudi
Introduction Videos
The introduction The try out
I. CONTEXT AND SIGNIFICANCE
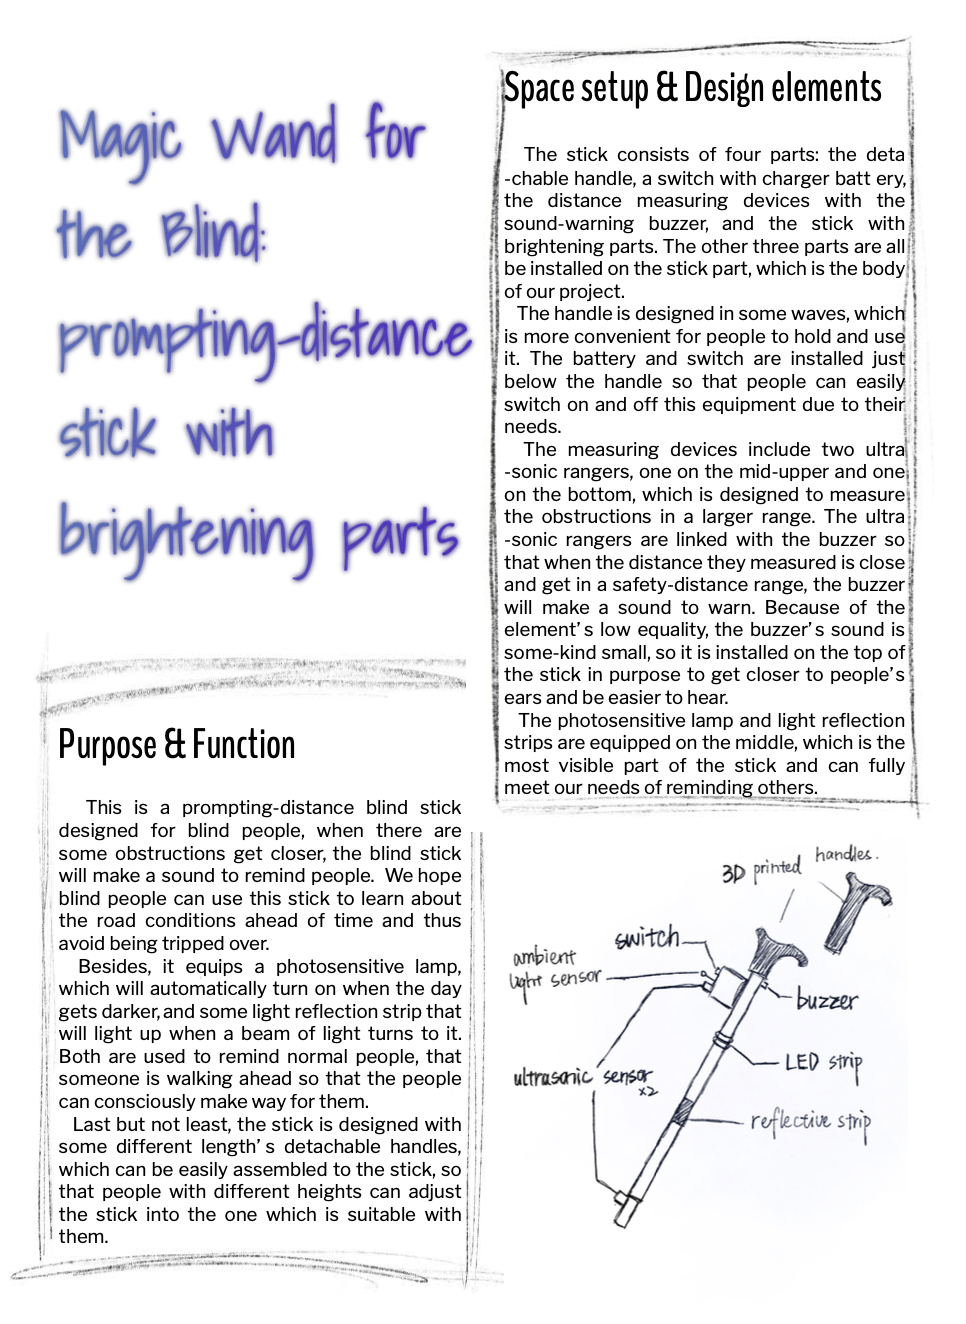
As this is our first individual project, in the beginning, we decided to use the sensors we had already studied to complete our project. During the research, we asked a sophomore what she had designed for the midterm project, and her answer was a machine to read the color for blind people. It was the time when we came up with an idea–using the ultrasonic rangers and buzzers to make a prompting-distance blind stick for blind people.
We thought it was different from the normal one because when there are some obstructions get closer, the blind stick will make a sound to remind people. The usual blind sticks are used in the way of holding it to touch if there is something ahead, and what we did was using the machines to measure the distances. We hope this stick can help blind people to learn about the road conditions more ahead of time and thus avoid being tripped over. We thought our project may be more useful than the normal one for blind people.
After the first user-testing part, we also added some elements to make the blind stick more practical. It was equipped with a photosensitive lamp, which will automatically turn on when the day gets darker, and some light reflection strip that will light up when a beam of light turns to it. Both are used to remind normal people, that someone is walking ahead so that the people can consciously make way for them.
Because it is a more useful staff rather than a thing for fun, we thought using this blind stick is an interaction thing. The buzzer will make sounds when people are holding the stick, getting closer to something, and the sound can warn people to change the way they go forward and avoid people being tripped over. This is the process of “input (the distance), read, and output (by sound)”.
II.CONCEPTION AND DESIGN
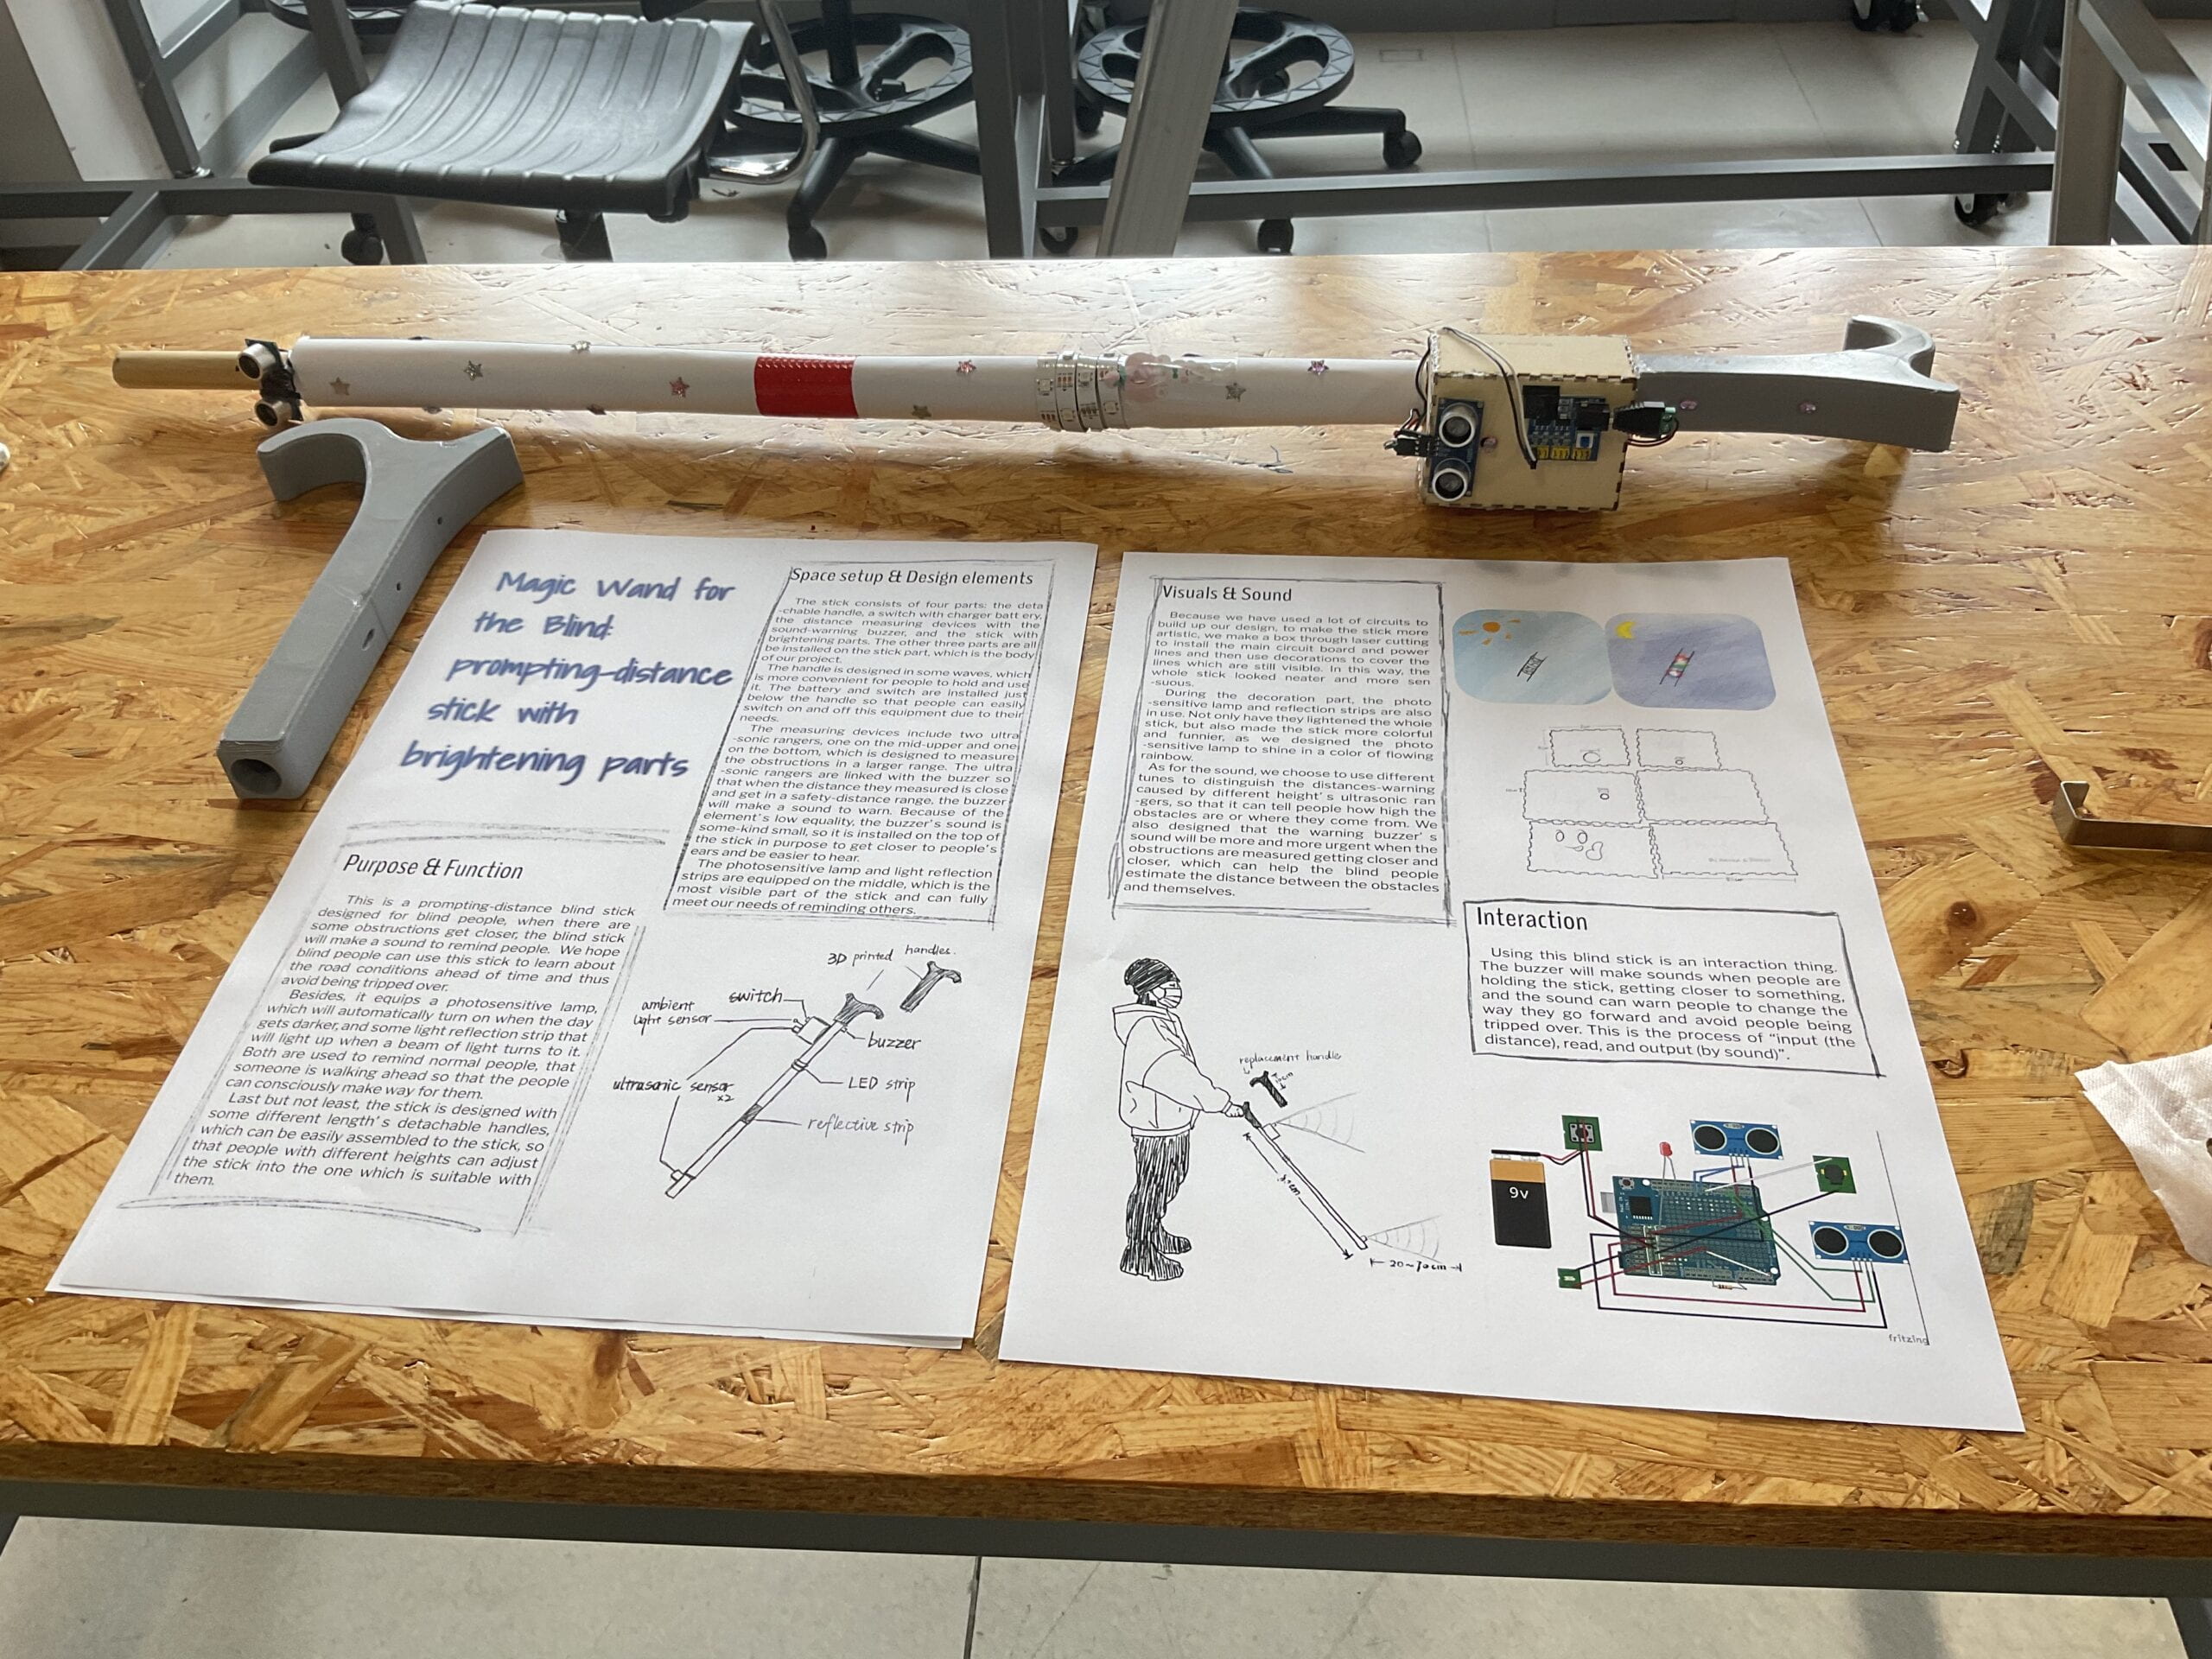
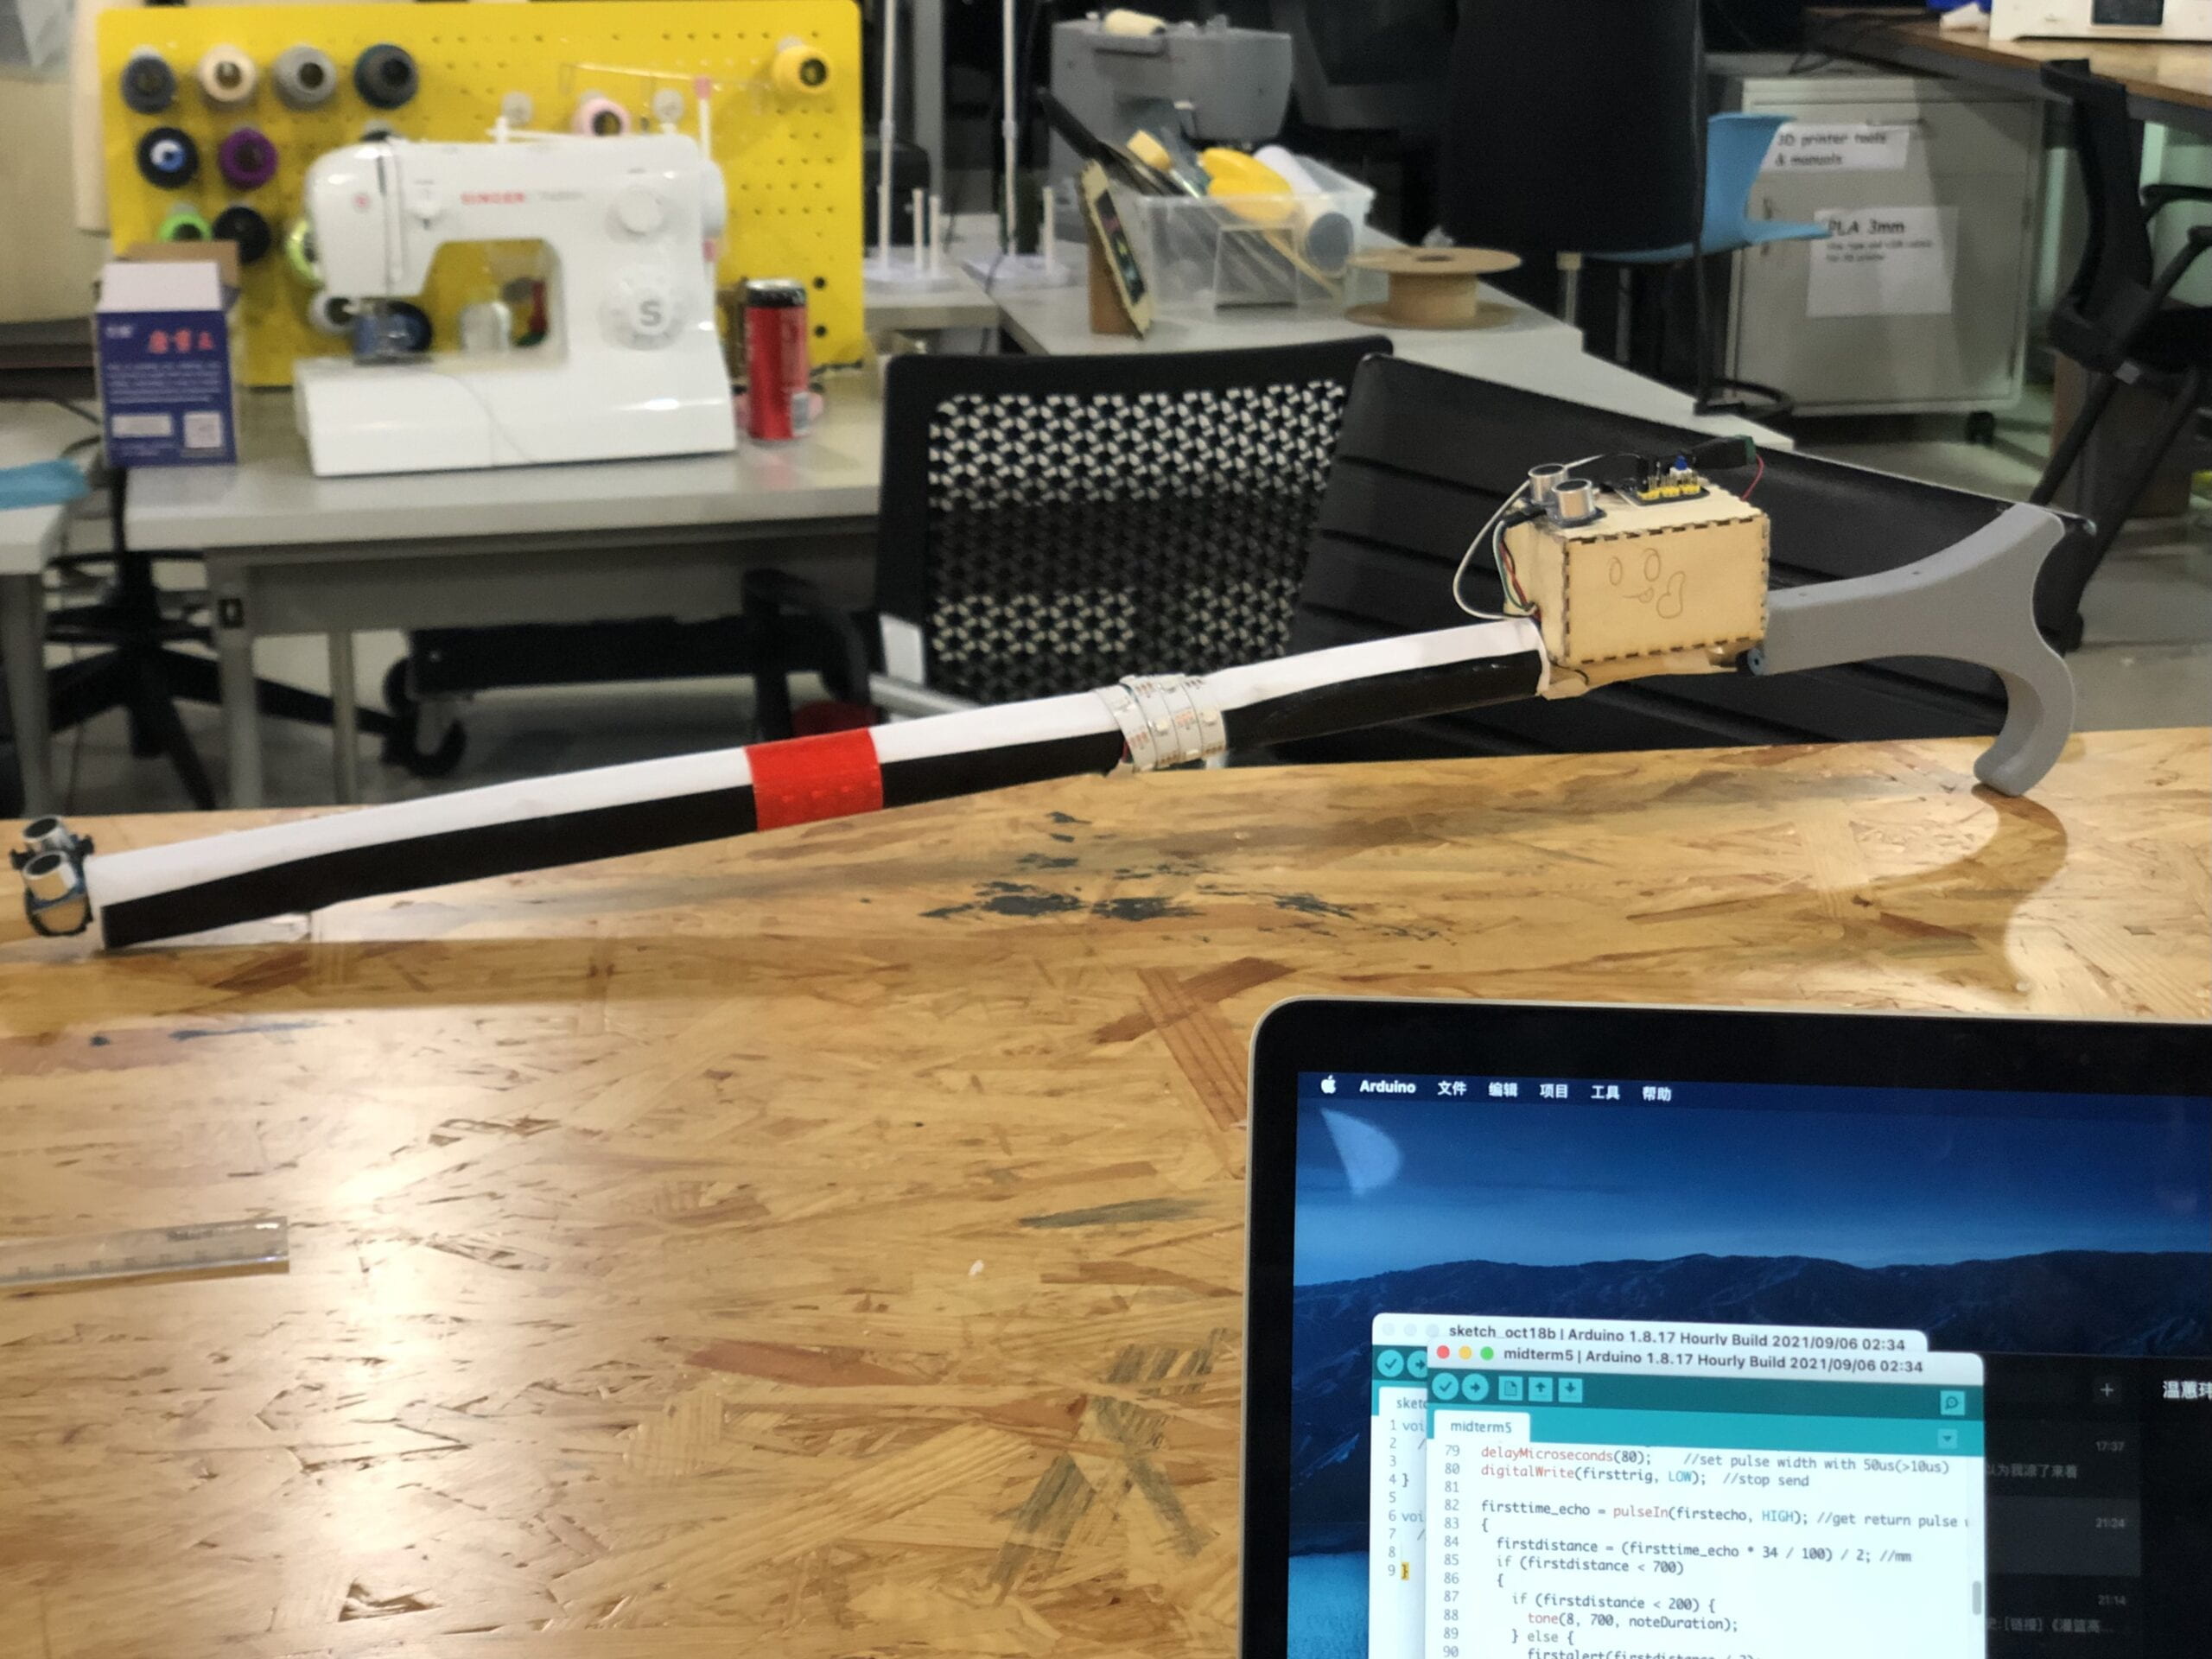
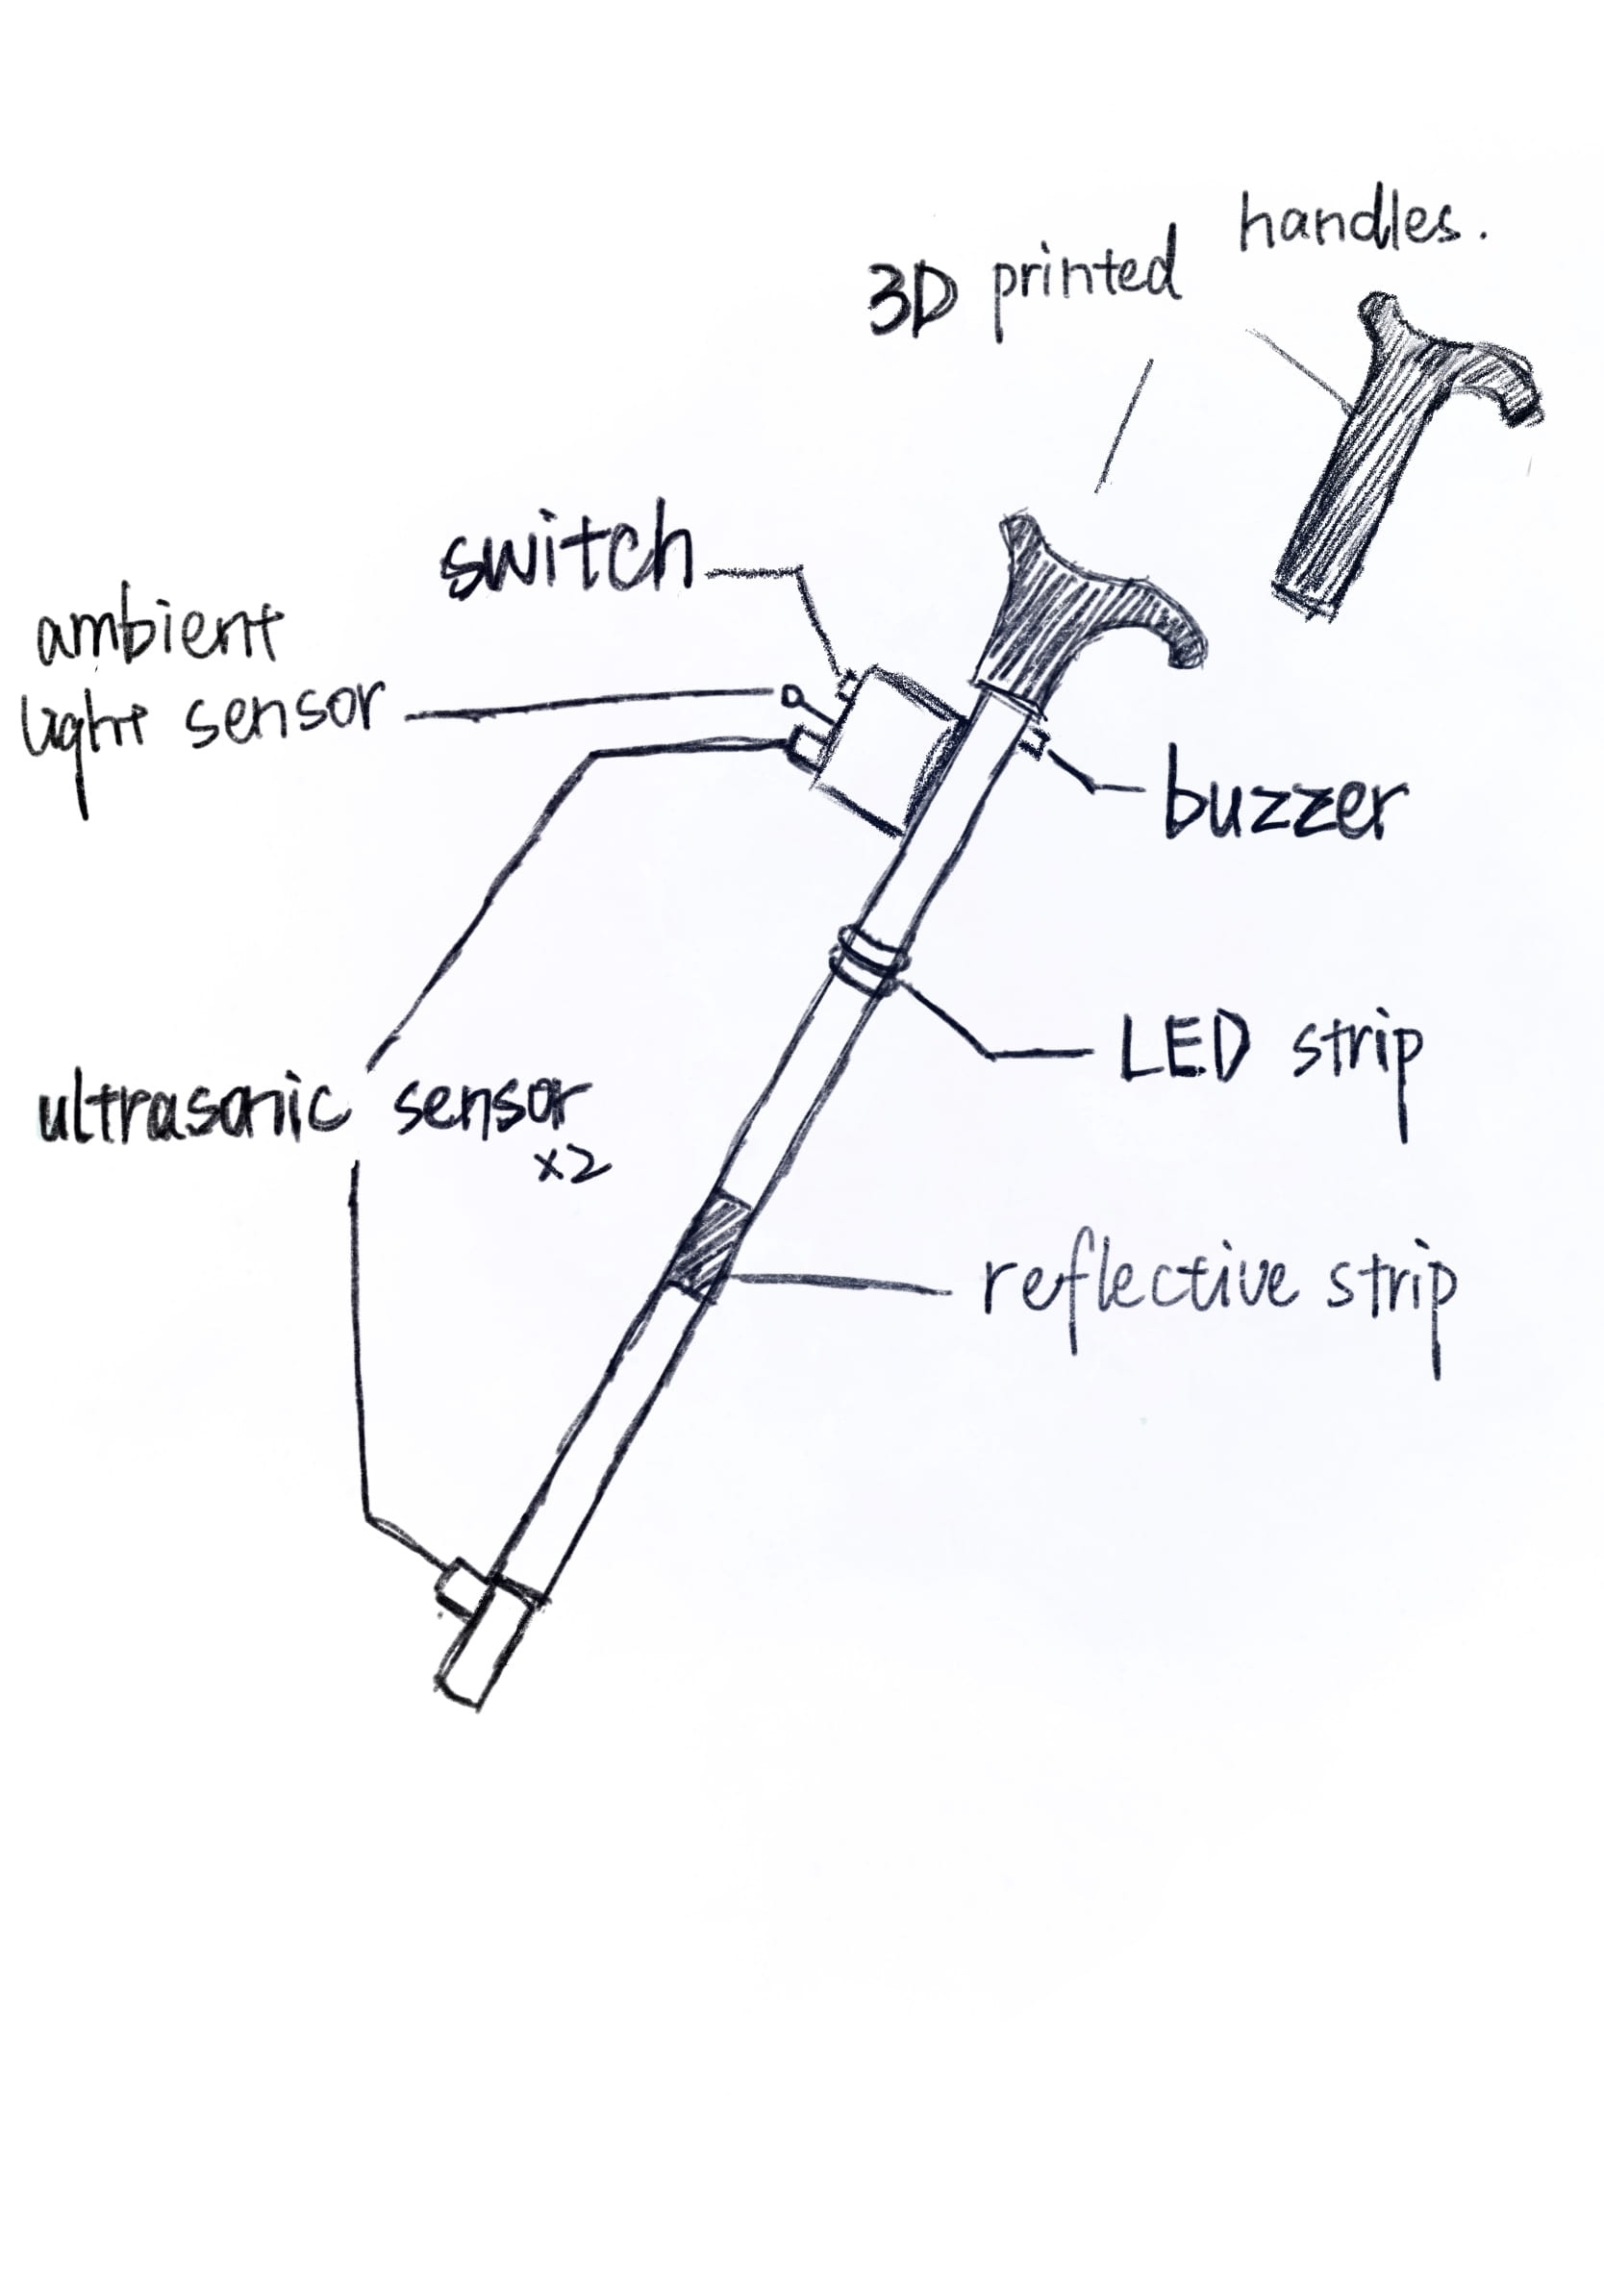
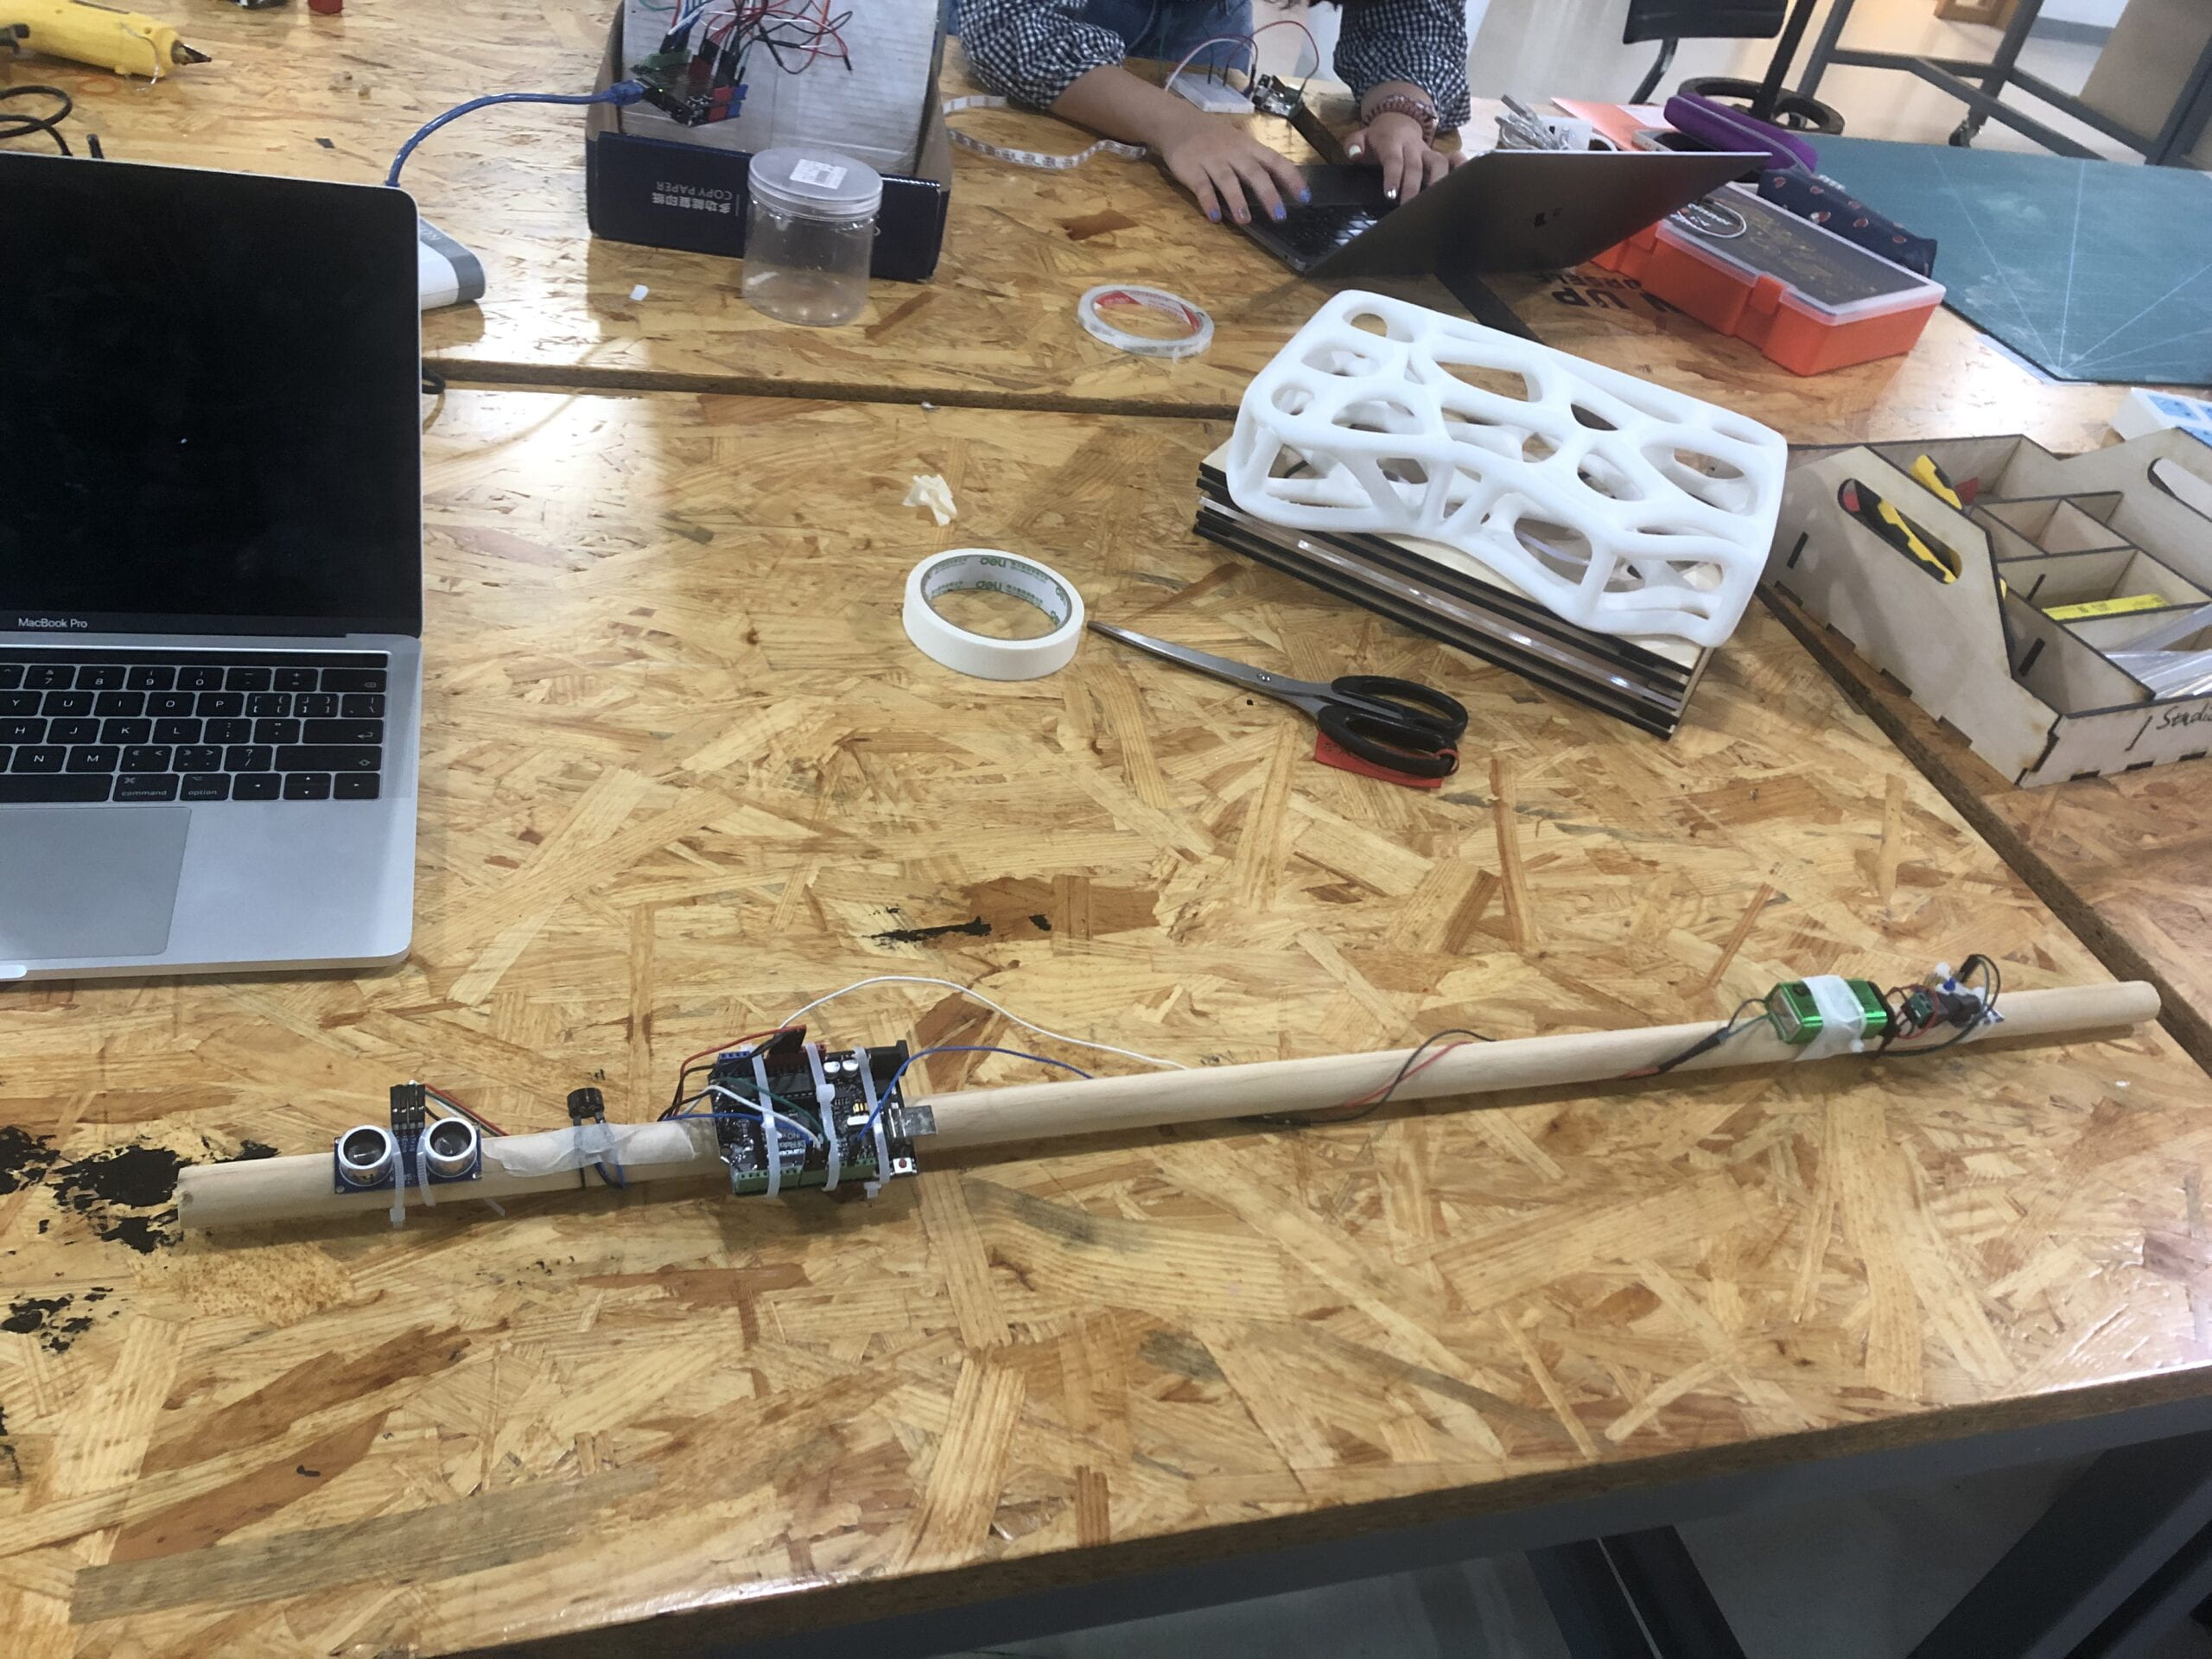
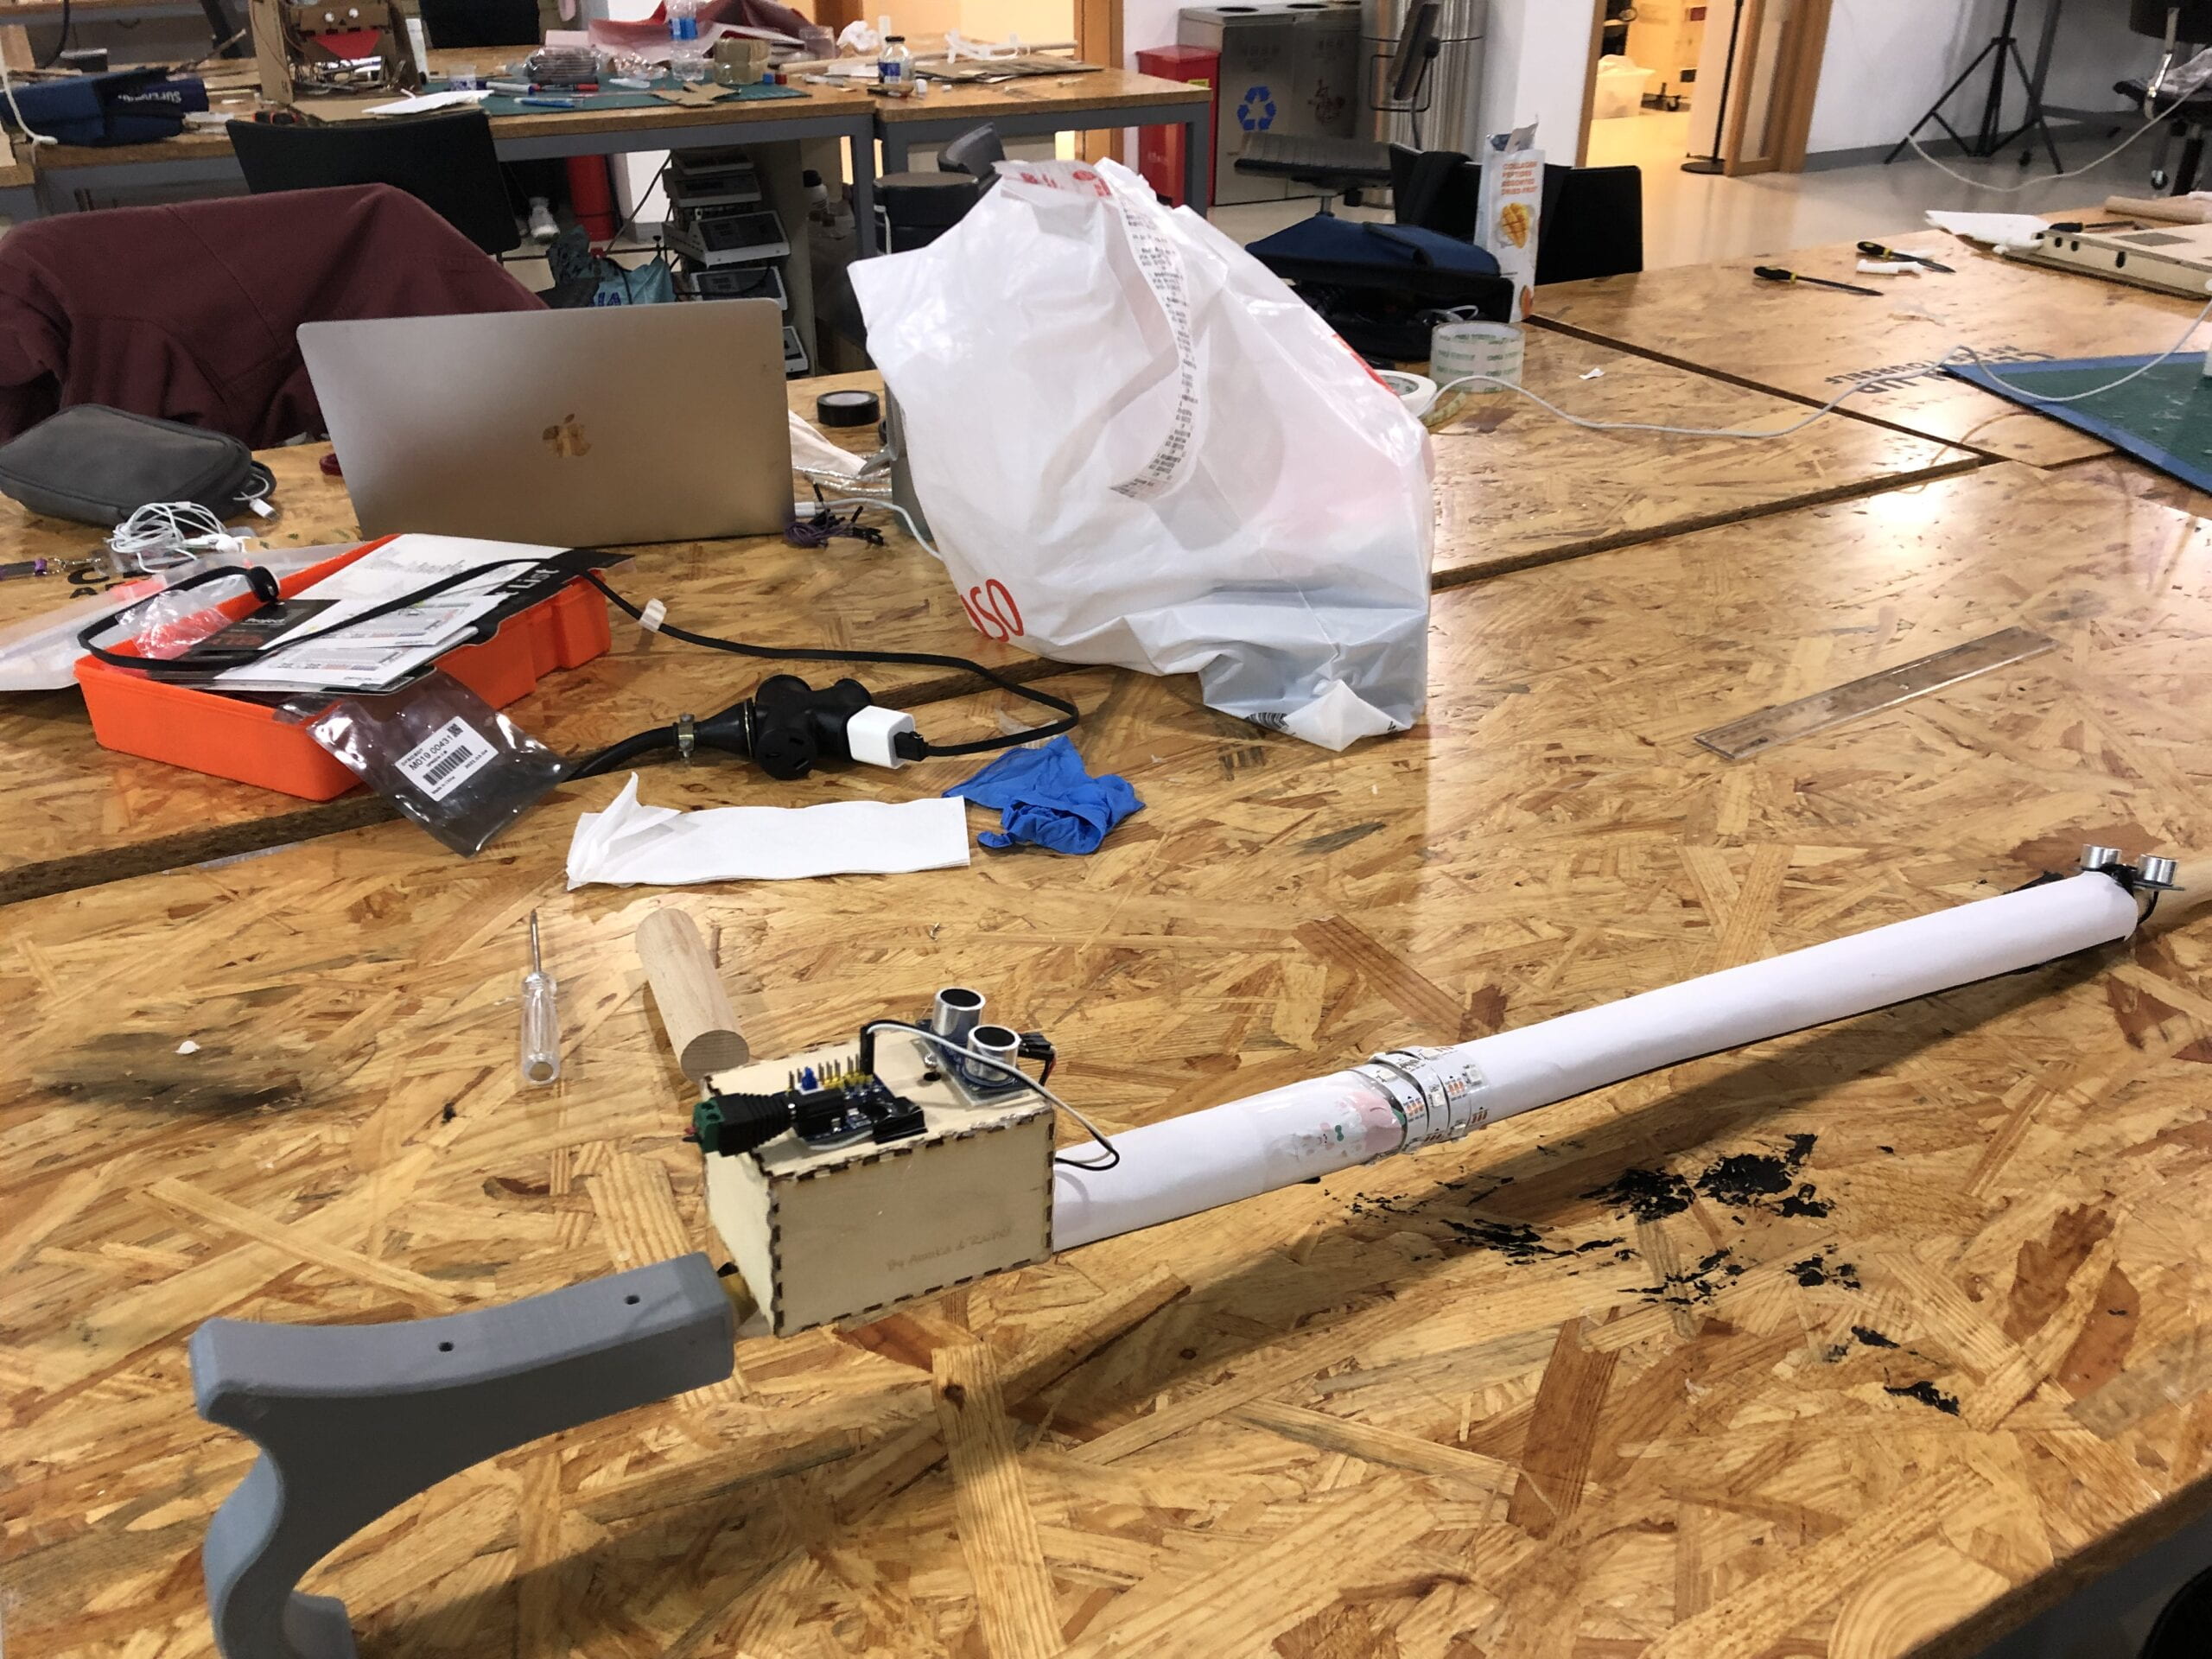
The stick consists of four parts: the detachable handle, a switch with charger battery, the distance measuring devices with the sound-warning buzzer, and the stick with brightening parts. The other three parts are all be installed on the stick part, which is the body of our project.
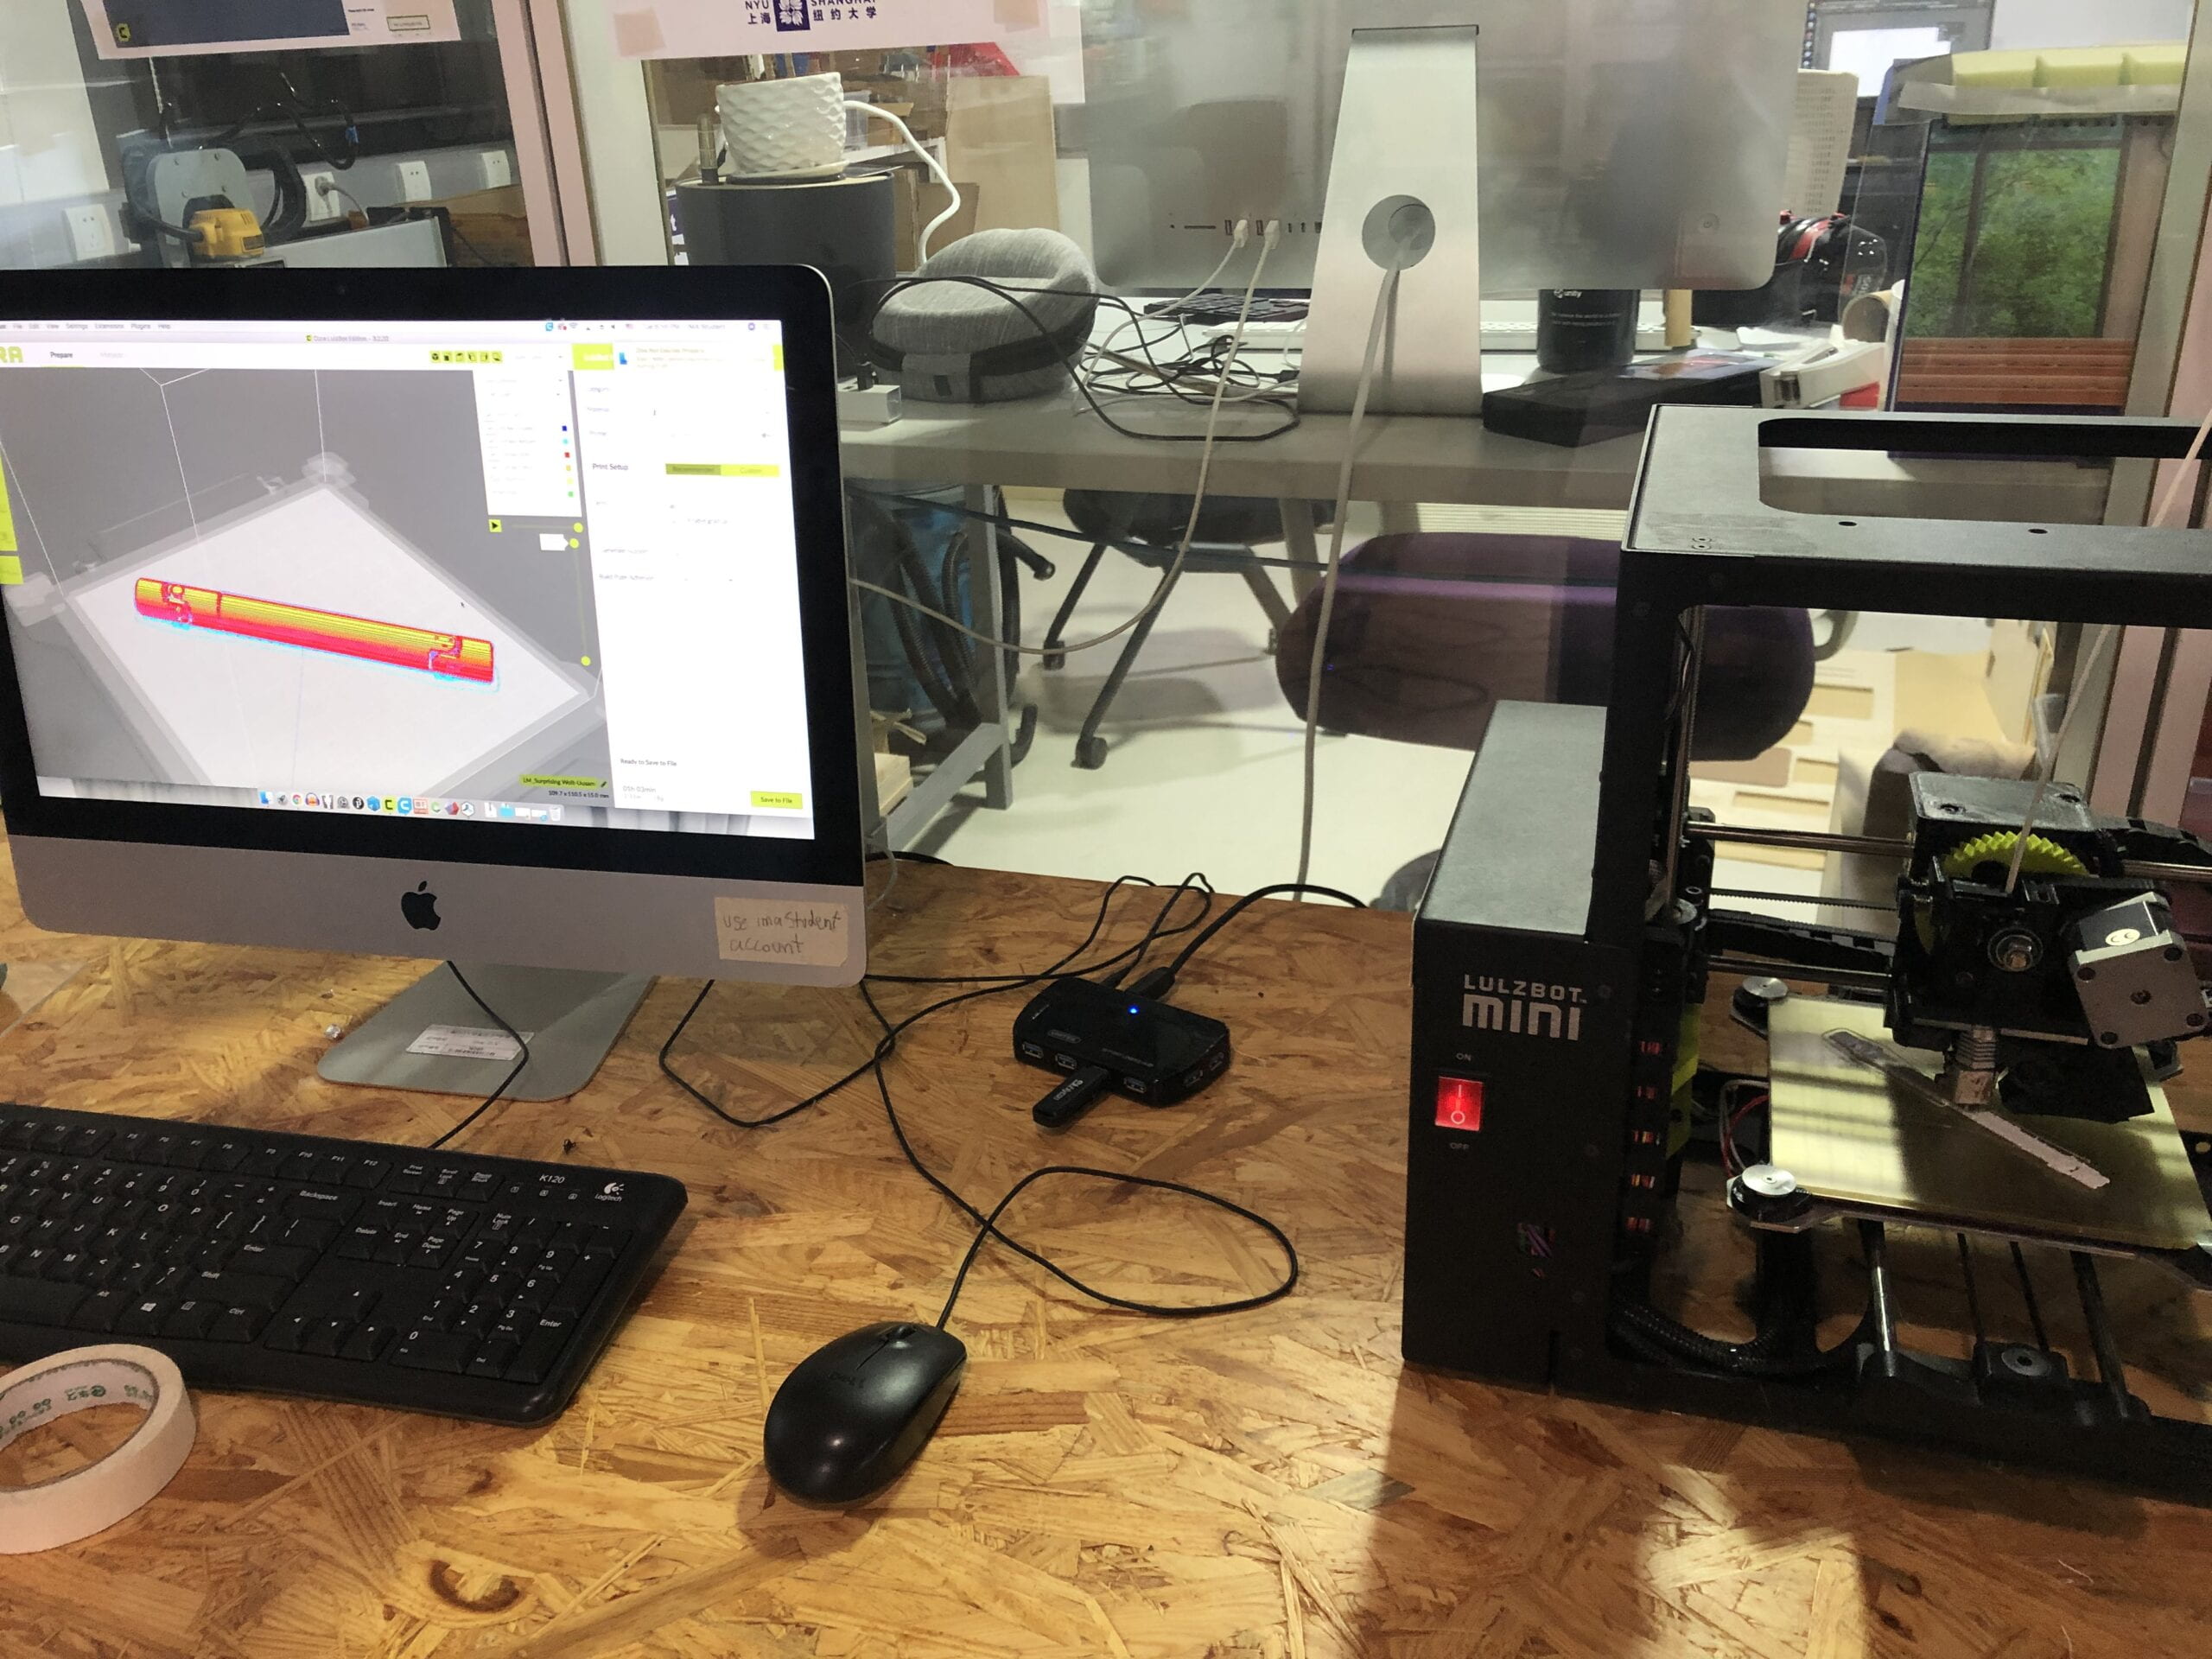
At first, we tried to make the telescopic pole to adjust the length of the stick so that it could fit with people of different heights. However, the 3D printer could not be made a telescopic pole that could slide, so we changed the idea into making the handle in different lengths. These detachable handles can be easily assembled to the stick so that people with different heights can adjust the stick into the one which is suitable for them. The handle is designed in some waves, which is more convenient for people to hold and use it. The battery and switch are installed just below the handle so that people can easily switch on and off this equipment due to their needs.
The measuring devices include two ultrasonic rangers, one on the mid-upper and one on the bottom, which is designed to measure the obstructions in a larger range. The ultrasonic rangers are linked with the buzzer so that when the distance they measured is close and get in a safety-distance range, the buzzer will make a sound to warn. To make it more convenient to use, we designed different tunes to distinguish the distances-warning caused by different height’s ultrasonic rangers, so that it can tell people how high the obstacles are or where they come from. We also designed that the warning buzzer’s sound will be more and more urgent when the obstructions are measured getting closer and closer, which can help the blind people estimate the distance between the obstacles and themselves. Because of the element’s low equality, the buzzer’s sound is some-kind small, so it is installed on the top of the stick in purpose to get closer to people’s ears and be easier to hear.
The photosensitive lamp and light reflection strips are equipped on the middle, which is the most visible part of the stick and can fully meet our needs of reminding others. This part is also very useful during the decoration part. Not only have they lightened the whole stick, but also made the stick more colorful and funnier, as we designed the photosensitive lamp to shine in a color of flowing rainbow.
At last, to make the stick more artistic, we make a box through laser cutting to install the main circuit board and power lines and then use decorations to cover the lines which are still visible. In this way, the whole stick looked neater and more sensuous.
III. FABRICATION AND PRODUCTION
The circuit:The design drawing:
The poster:
The code:
#include <FastLED.h>

int beeppin = 8;
int noteDuration = 100;

//for the LED
int LED = 13;
int val = 0;
#define AD5 A5

//for the forward
int firstecho = 10;
int firsttrig = 9;
unsigned long firsttime_echo = 0; // record the pulse width by sensor returns
unsigned long firstdistance = 0; // record the distance value;

//for the ground
const int secondtrig = 4;
const int secondecho = 5;
unsigned long secondtime_echo = 0;
unsigned long seconddistance = 0;

//For the LED
#define LED_PIN     13
#define LED_TYPE    WS2811
#define COLOR_ORDER GRB
#define NUM_LEDS    15
CRGB leds[NUM_LEDS];
#define BRIGHTNESS   64

#define UPDATES_PER_SECOND 100

CRGBPalette16 currentPalette;
TBlendType    currentBlending;

extern CRGBPalette16 myRedWhiteBluePalette;
extern const TProgmemPalette16 myRedWhiteBluePalette_p PROGMEM;

void setup() {
  Serial.begin(9600);
  pinMode(beeppin, OUTPUT);
  pinMode(LED, OUTPUT);

  delay( 3000 ); // power-up safety delay
  FastLED.addLeds<LED_TYPE, LED_PIN, COLOR_ORDER>(leds, NUM_LEDS).setCorrection( TypicalLEDStrip );
  FastLED.setBrightness(  BRIGHTNESS );

  currentPalette = RainbowColors_p;
  currentBlending = LINEARBLEND;

  //for the forward
  pinMode(firstecho, INPUT);
  pinMode(firsttrig, OUTPUT);

  //for the ground
  pinMode(secondtrig, OUTPUT); // Sets the trigPin as an Output
  pinMode(secondecho, INPUT); // Sets the echoPin as an Input

}

void firstalert(unsigned i) {
  tone(8, 700, noteDuration);
  delay(i);
  noTone(8);
  delay(i);
}

void secondalert(unsigned i) {
  tone(8, 600, noteDuration);
  delay(i);
  noTone(8);
  delay(i);
}

void loop() {

  //for the forward
  digitalWrite(firsttrig, HIGH); //send pulse
  delayMicroseconds(80);    //set pulse width with 50us(>10us)
  digitalWrite(firsttrig, LOW);  //stop send

  firsttime_echo = pulseIn(firstecho, HIGH); //get return pulse width
  {
    firstdistance = (firsttime_echo * 34 / 100) / 2; //mm
    if (firstdistance < 700)
    {
      if (firstdistance < 200) {
        tone(8, 700, noteDuration);
      } else {
        firstalert(firstdistance / 2);
      }
    }
    Serial.print("forwardDistance: ");
    Serial.println(firstdistance);
    delay(10);
  };


  //for the ground
  digitalWrite(secondtrig, HIGH); //send pulse
  delayMicroseconds(80);    //set pulse width with 50us(>10us)
  digitalWrite(secondtrig, LOW);  //stop send

  secondtime_echo = pulseIn(secondecho, HIGH); //get return pulse width
  {
    seconddistance = (secondtime_echo * 34 / 100) / 2; //mm
    if (seconddistance < 700)
    {
      if (seconddistance < 200) {
        tone(8, 600, noteDuration);
      } else {
        secondalert(seconddistance / 2);
      }
    }
    Serial.print("groundDistance: ");
    Serial.println(seconddistance);
    delay (10);
  };


  //for the LED
  val = analogRead(AD5);         // 读取电压值0~1023
  Serial.print("the light is:");
  Serial.println(val);         // 串口查看电压值的变化
  Serial.println('\n');
  delay(10);

  if (val < 800) {            // 一旦小于设定的值,LED灯关闭
    fadeToBlackBy( leds, NUM_LEDS, NUM_LEDS);
    FastLED.show();
    delay(0);

  } else {                       // 否则LED亮起
    ChangePalettePeriodically();

    static uint8_t startIndex = 0;
    startIndex = startIndex + 1; /* motion speed */

    FillLEDsFromPaletteColors( startIndex);

    FastLED.show();
    FastLED.delay(1000 / UPDATES_PER_SECOND);
  }
}

void FillLEDsFromPaletteColors( uint8_t colorIndex)
{
  uint8_t brightness = 255;

  for ( int i = 0; i < NUM_LEDS; ++i) {
    leds[i] = ColorFromPalette( currentPalette, colorIndex, brightness, currentBlending);
    colorIndex += 3;
  }
}


void ChangePalettePeriodically()
{
  uint8_t secondHand = (millis() / 1000) % 60;
  static uint8_t lastSecond = 99;

  if ( lastSecond != secondHand) {
    lastSecond = secondHand;
    if ( secondHand ==  0)  {
      currentPalette = RainbowColors_p;
      currentBlending = LINEARBLEND;
    }
    if ( secondHand == 10)  {
      currentPalette = RainbowStripeColors_p;
      currentBlending = NOBLEND;
    }
    if ( secondHand == 15)  {
      currentPalette = RainbowStripeColors_p;
      currentBlending = LINEARBLEND;
    }
    if ( secondHand == 20)  {
      SetupPurpleAndGreenPalette();
      currentBlending = LINEARBLEND;
    }
    if ( secondHand == 25)  {
      SetupTotallyRandomPalette();
      currentBlending = LINEARBLEND;
    }
    if ( secondHand == 30)  {
      SetupBlackAndWhiteStripedPalette();
      currentBlending = NOBLEND;
    }
    if ( secondHand == 35)  {
      SetupBlackAndWhiteStripedPalette();
      currentBlending = LINEARBLEND;
    }
    if ( secondHand == 40)  {
      currentPalette = CloudColors_p;
      currentBlending = LINEARBLEND;
    }
    if ( secondHand == 45)  {
      currentPalette = PartyColors_p;
      currentBlending = LINEARBLEND;
    }
    if ( secondHand == 50)  {
      currentPalette = myRedWhiteBluePalette_p;
      currentBlending = NOBLEND;
    }
    if ( secondHand == 55)  {
      currentPalette = myRedWhiteBluePalette_p;
      currentBlending = LINEARBLEND;
    }
  }
}

// This function fills the palette with totally random colors.
void SetupTotallyRandomPalette()
{
  for ( int i = 0; i < 16; ++i) {
    currentPalette[i] = CHSV( random8(), 255, random8());
  }
}

void SetupBlackAndWhiteStripedPalette()
{
  // 'black out' all 16 palette entries...
  fill_solid( currentPalette, 16, CRGB::Black);
  // and set every fourth one to white.
  currentPalette[0] = CRGB::White;
  currentPalette[4] = CRGB::White;
  currentPalette[8] = CRGB::White;
  currentPalette[12] = CRGB::White;

}

// This function sets up a palette of purple and green stripes.
void SetupPurpleAndGreenPalette()
{
  CRGB purple = CHSV( HUE_PURPLE, 255, 255);
  CRGB green  = CHSV( HUE_GREEN, 255, 255);
  CRGB black  = CRGB::Black;

  currentPalette = CRGBPalette16(
                     green,  green,  black,  black,
                     purple, purple, black,  black,
                     green,  green,  black,  black,
                     purple, purple, black,  black );
}


const TProgmemPalette16 myRedWhiteBluePalette_p PROGMEM =
{
  CRGB::Red,
  CRGB::Gray, // 'white' is too bright compared to red and blue
  CRGB::Blue,
  CRGB::Black,

  CRGB::Red,
  CRGB::Gray,
  CRGB::Blue,
  CRGB::Black,

  CRGB::Red,
  CRGB::Red,
  CRGB::Gray,
  CRGB::Gray,
  CRGB::Blue,
  CRGB::Blue,
  CRGB::Black,
  CRGB::Black
};
In the very beginning, we searched for some strategies online to build the basic circuit. However, during the process, we changed the circuit and code due to our new needs, and we slowly got rid of the model of online strategy and successfully built our own project.
My teammate Annika first built the basic circuit part according to the online model, and she fixed the elements to the stick. After trying out the first version, we decided to add the battery and the switch so that it was more seemed like a tool, but not a project made by students, which is the second version. Then we came up with some ideas for preventing the security problems, which made us decide to build the part of the photosensitive lamp. This is almost the last version of the blind stick and is also a unique improvement for our project. At last, to make the stick seem more complete, we added the laser-cut box and some paper to cover the electric wines.
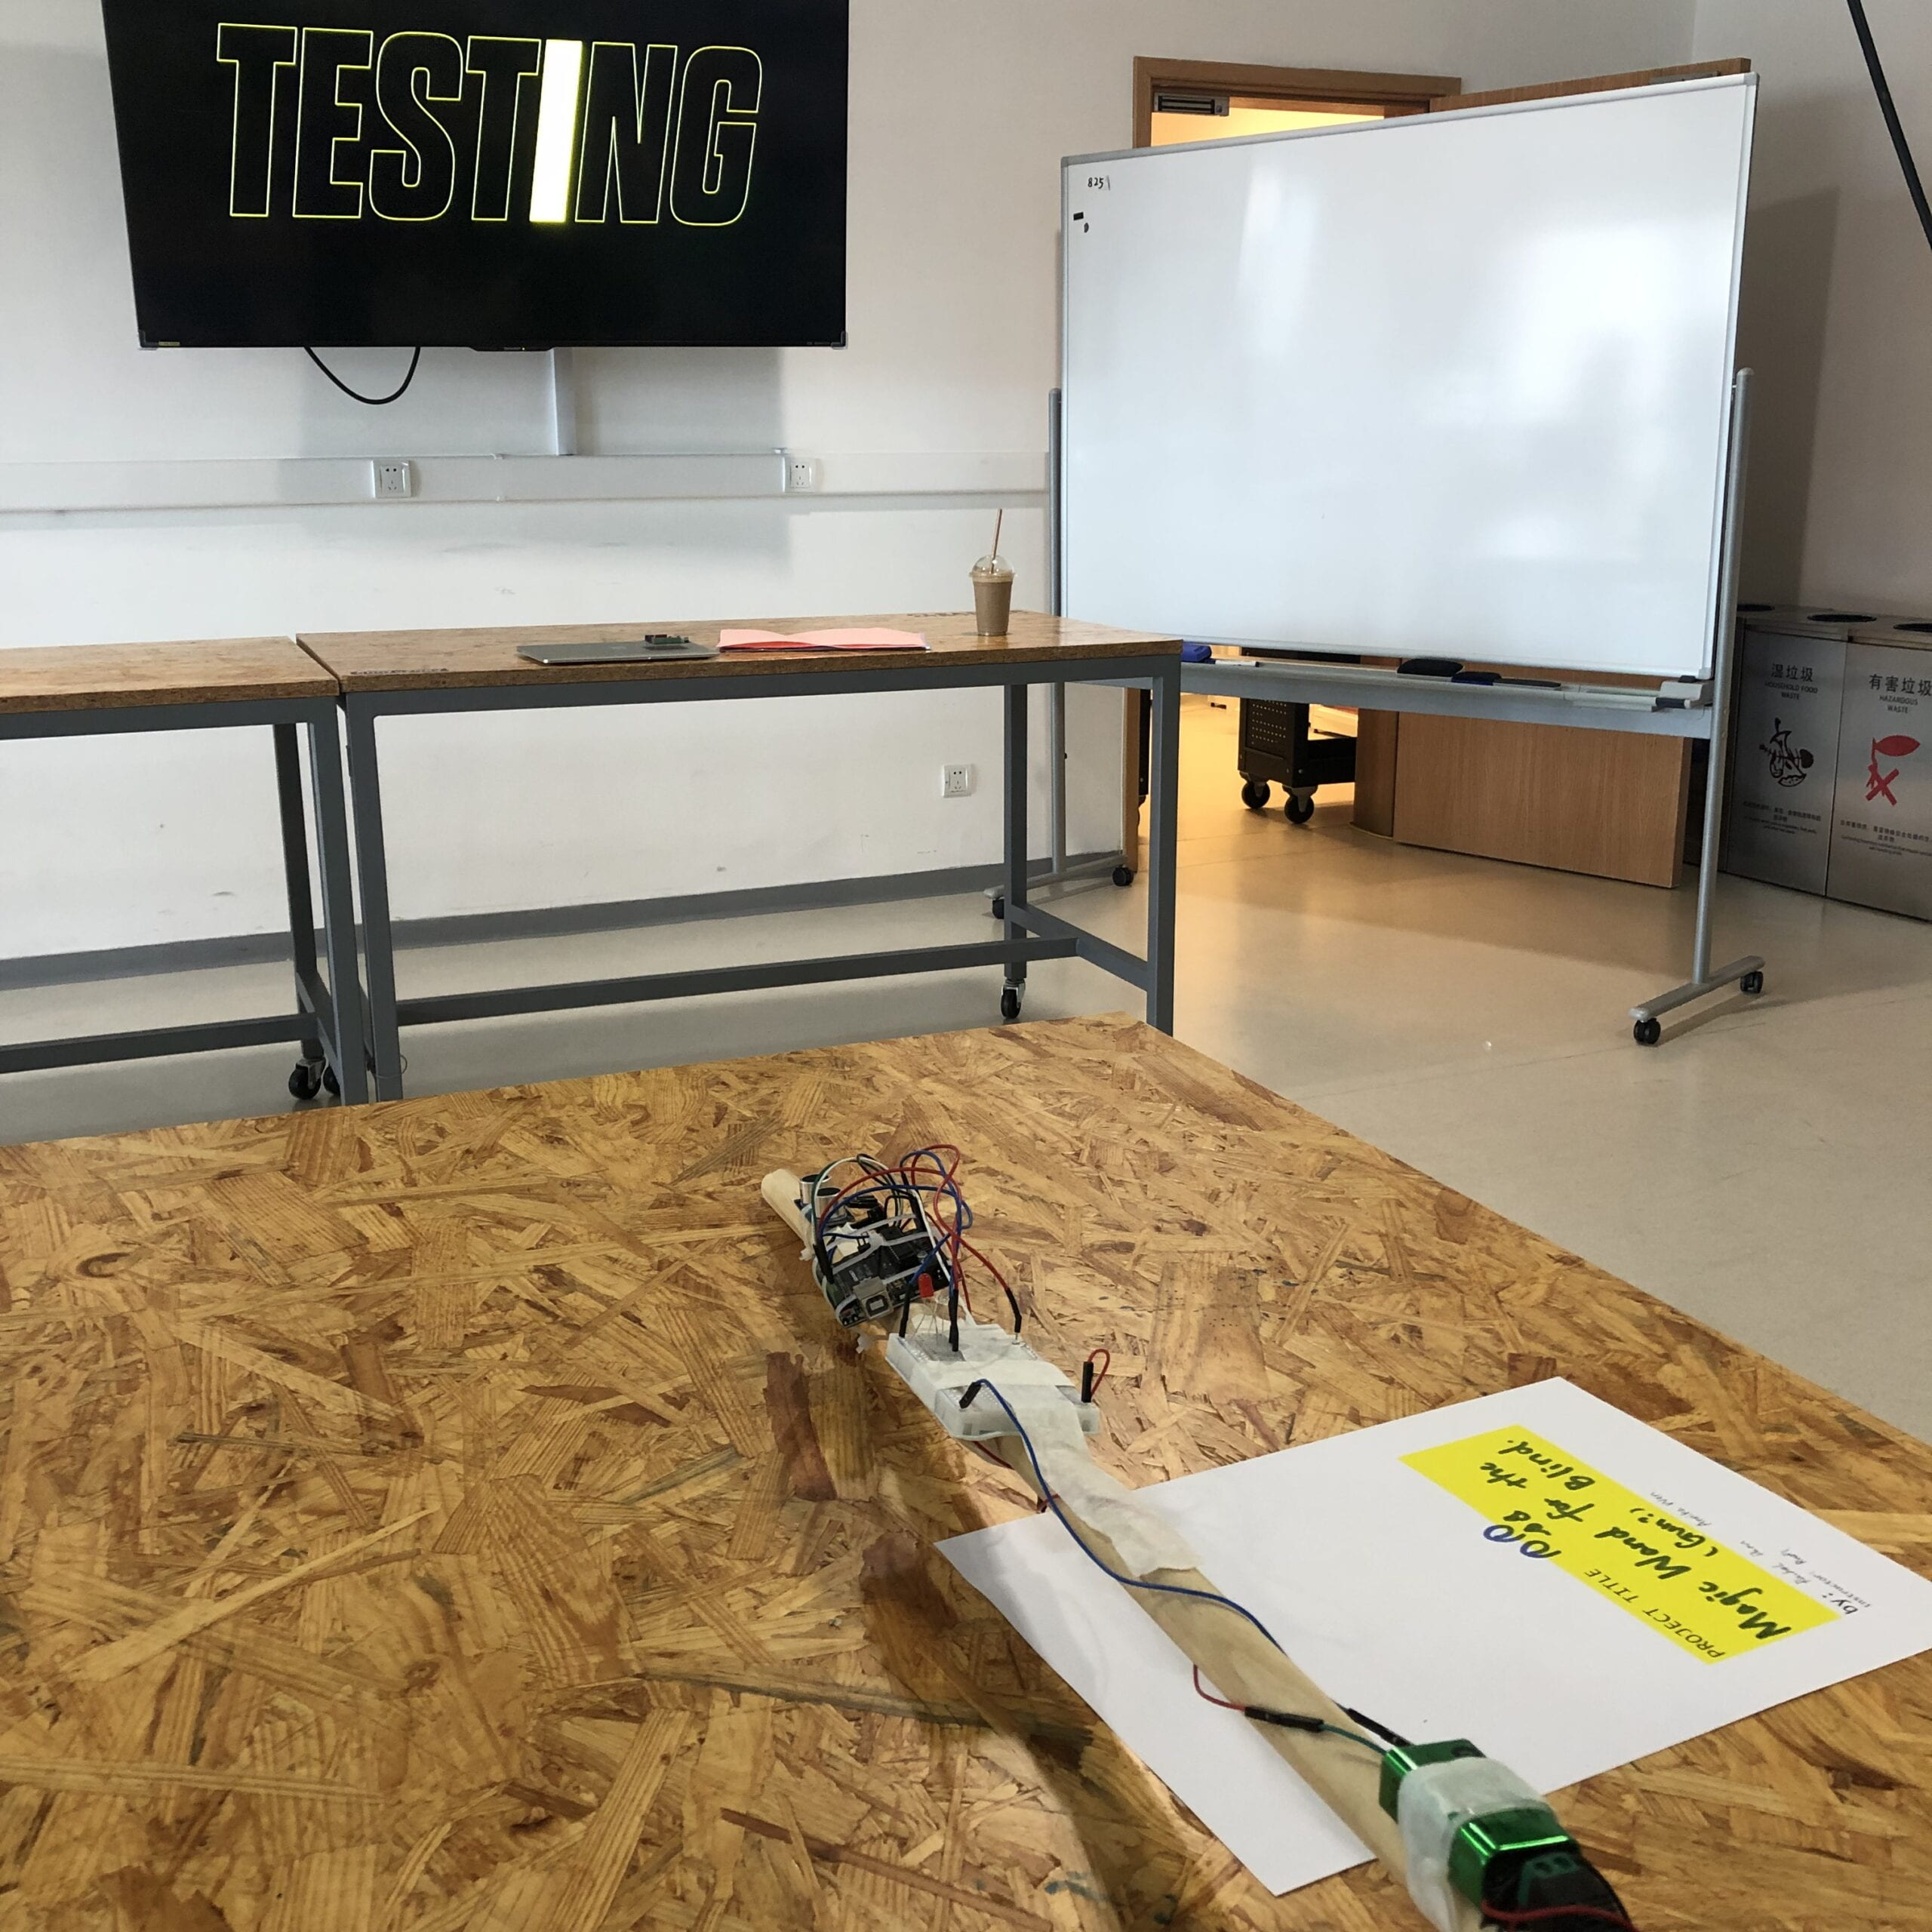
During this time, according to Rudi’s advice, I made t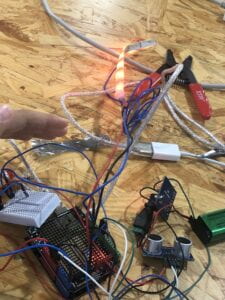 he main circuit and tried to cut down the amounts of electric wines. Besides, I also finished the coding part, such as making the buzzer sound more urgent when the obstacles got closer, and improve the coding part of the photosensitive lamp, and changing the small LED’s code into a colorful LED strings’ one. Thanks to the online resources and the professor’s help, we successfully made our code, which I thought was the hardest part of our project.
We also met a lot of difficulties. For example, at first, we had no idea about 3D printing and laser cutting, and it felt hard to ask for help at first. Thanks to Annika’s bravery, I had beaten my fear and asked for help, which helped us to complete the project. The most impressive difficulties appeared near the end of our project making. Before we fixed the top of the box, we suddenly found that the light sensor got some problems. It was hard to operate in a narrow box, but we managed to change that sensor. However, after we fixed the top of the box, which made the circuit in a sealed place, we found there are something wrong with the LED string. At that time, there were only 14 hours before the final presentation, and we still could not fix the problems. At last, it was Professor Andy who saved us, who told us how to check the wrong place of the circuit, and told us: “Never obstruct the road before you ensure everything is ok.” This is an important lesson for us.
IV. CONCLUSIONS
This was an impressive experience for me, for it was the first time I totally made a thing by myself. This feeling is amazing and I really love the sense of achievement.
Besides the pleasure, according to others’ feedback, I also found that we still got a lot to improve. First is the model of the handle wasn’t good enough for people to hold, and also the rangers sounding range were too small so it couldn’t catch all of the obstacles. What’s more, the buzzer’s sound was low and was hard to hear when the background was noisy, which was also a big problem to fix. However, I thought these could all be handled as long as we got higher-quality elements.
As for the interaction part, at first, I thought what we made was a perfect interactive thing. However, after admiring other projects, I found that our interaction part was too simple. For the improvement, I thought we could record different sentences in the reaction of a different situation, such as “Turn left” or “Stop and don’t move!”, or even funnier: when nothing is ahead but the person who handle it stopped, the stick could say “why don’t keep walking? I am here to protect you!” In this case, the interaction may be more complex, just like an AI.
All in all, there is still one thing we should celebrate, that everyone can quickly understand what thing we had made! Hooray!
Reminding all the process we had to make through, I felt like it was just a dream.
During two weeks, we came through the process of coming up with the idea, built the basic model, asked for help and improved it, and finally got our project which was just fit with our design. We stay up late at school, making through a series of problems, and then met new problems. It was hard to keep going, but luckily we had made it.
There are two important lessons I have learned about. First, is never be afraid to ask for help, no matter from reality or from the internet. Not knowing something isn’t an ashamed thing, and asking for help is the best way to solve it. Second, is I fully understand the sentence: If you can dream it, you can do it. At first, I always felt the project was complicated, but after the step-by-step improvement, we made the project which was ten more times complicated than the first version. I learn that just keep dreaming and you can all achieve it due to the hard work at last.
Thanks to my teammate Annika, we had a great time together. And thanks to my professor Rudi and extra helper professor Andy. Thanks to Steve, who is a nice teacher and friend. Thanks to myself at last, for I overcame all the difficulties and made the success.
This is just the beginning, and more challenges and achievements are waiting for me! I believe I can make it!
