For our final project, we are expanding on our midterm project–to demonstrate the power of women breaking through social stereotype.
Concept:
Women have long been described as fragment, elegant, weak, need protection and women are always being described as flowers. However, these stereotypes have constraint women’s equal stance on all aspects of life and many injustice have happened to women because of these stereotypes. Women shouldn’t be having powerful position at work because they should be cooking and doing laundry, giving birth and taking care of the family; women should be listening to a man because they know less and have less ability; women should always be elegant, like a flower, and should be always well-behave…… these standard are black and white and seems like women need to follow. But why women can’t be strong? why they can’t protect themselves? why they can’t make their “red” out of the black and white standards and stereotypes?
So our project aims at showing the power of women, the power that women has to defend themselves, to break through the elegance and to make their splash of color out of black and white.
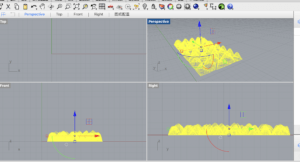
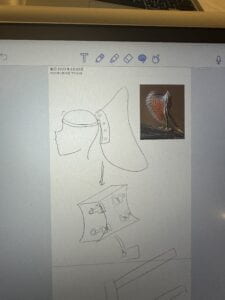
Before starting, we searched for references about “Aggressive flowers”, and these are the flower models we find:


Some common points we find:
1, They have sharp sticks or aggressive color/pattern
2, They have the motion of closing the patels to protect themselves
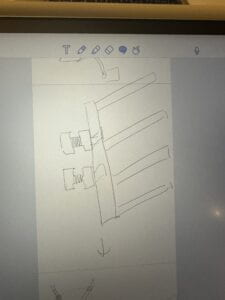
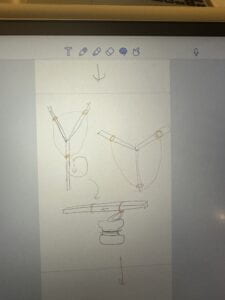
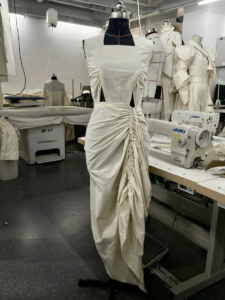
Based on these, we’ve decided to create sharp/sticks parts on our clothes, as well as a mechanism that’s similar to the closing of patels. And we will base these elements on a dress that’s showing elegant, but have parts that are folded, torn, which are not fitting in the standard of tidy and the whole elegant style, in order to show the idea of “Breaking stereotypes”.
Materials:
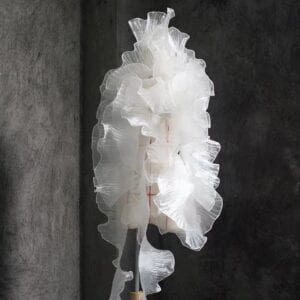
1, white fabric
I used a white fabric with little elasticity as the base fabric for the whole dress. This fabric is very tight so it can show how constrained women are when wearing it. At the same time, I discovered that when this kind of fabric is torn, it would have long fiber coming out from the part that’s being torn, which has a pretty good visual effect that echo with our concept “women don’t need to be always elegant and tidy, they can be messy”, also, it exaggerates the visual effect of “toring apart the stereotypes”.
2, Lace cloth
I used four type of lace:
Grey Lace(soft)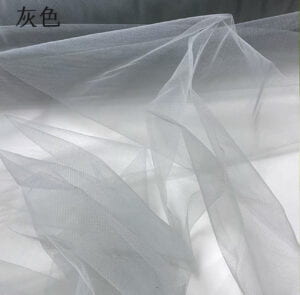
White fishnet-like fabric(soft)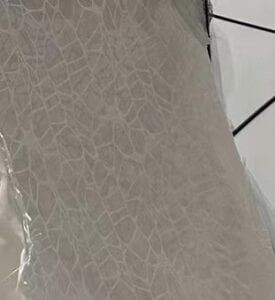
Black Lace with gold silk thread(quite hard)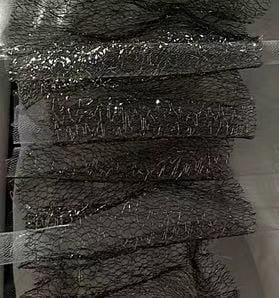
Black and white flower lace (hard)
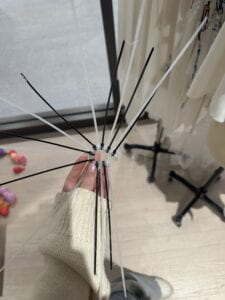
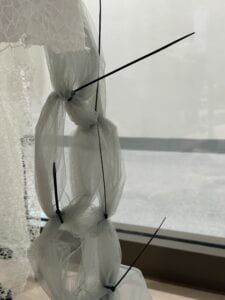
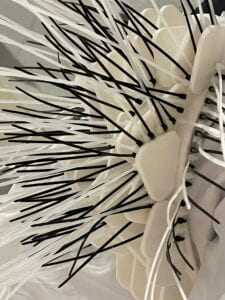
3, Z tags
We use black and white Z tags to create the effect of aggressive sticks pointing out
4, PLA materials for 3d printings
5, Silicons for inflatables
Process
Before I start making the dress, I searched online for some inspirations:
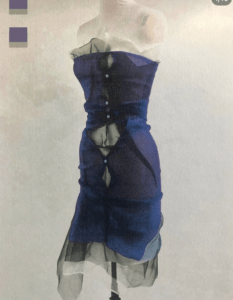
Some important parts when making the dress:
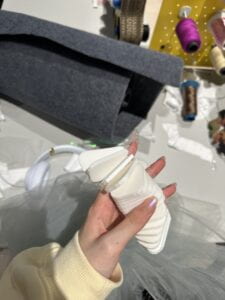
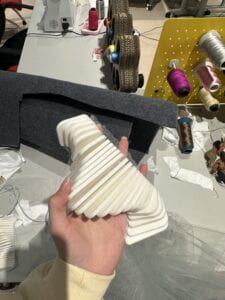
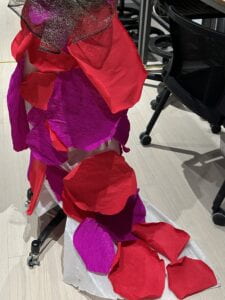
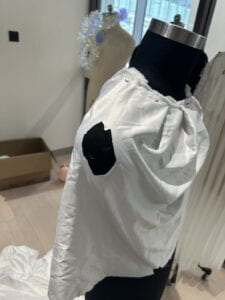
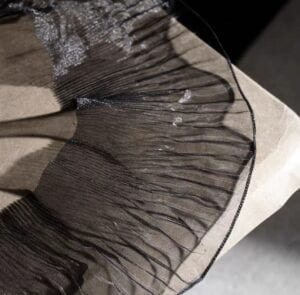
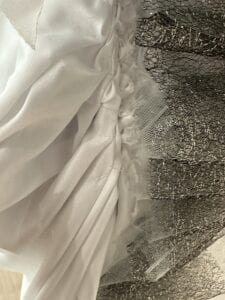
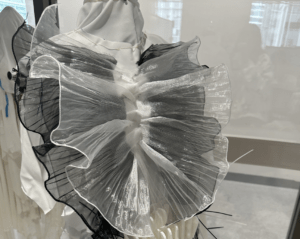
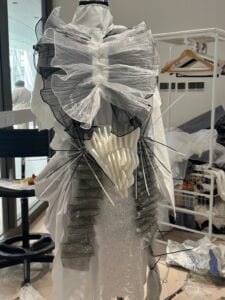
1, the folds on the dress
In order to create a better shape of the body, and add on the visual effect, I was trying hard to copy the folds on the first picture, however, it was harder then I thought first because of the threads constantly go messy because I used a really long thread, however as I shorten it, because of the constant change of threads, it makes the folds really loose. So I encountered these issues. However it turned out to look nice after some tests:
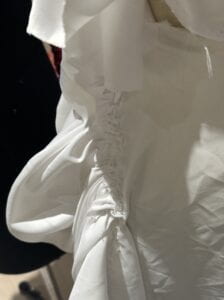
I also did the same thing on the upper body:
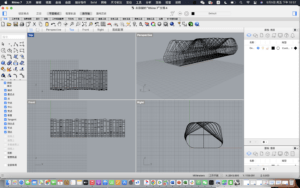
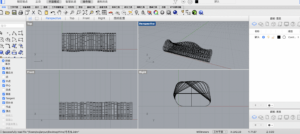
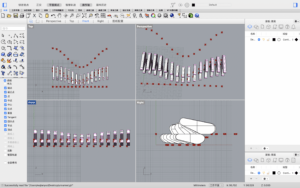
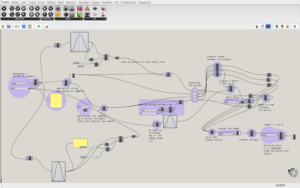
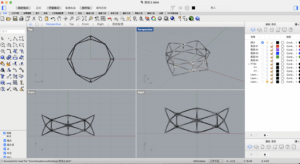
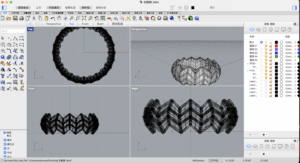
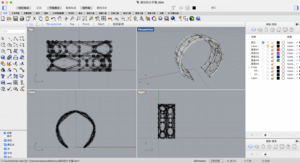
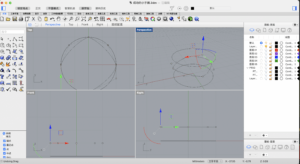
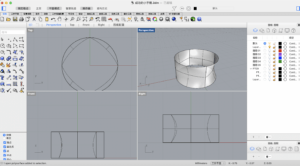
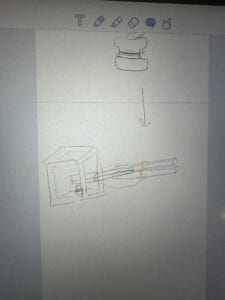
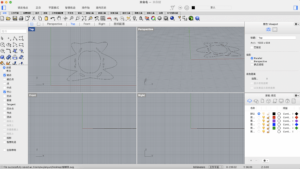
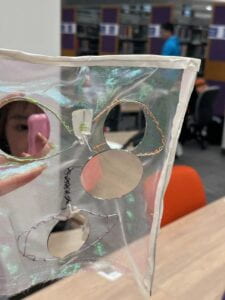
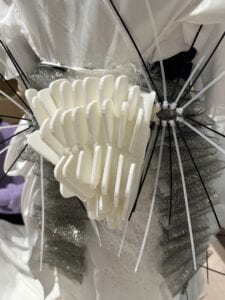
2, 3d printings
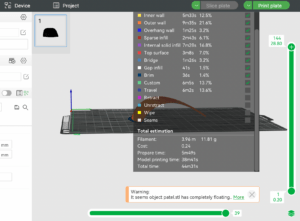
I also encountered several issues with the 3d printings:
1, failure to print. There were two times I left after seeing the first layer being printed smoothly, however when I checked in the morning, it was mysteriously paused for some error occurs
2, need to wait a thousand year for one available machine
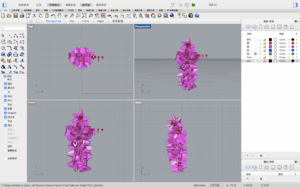
However, these are the models I used(some got printed successfully and some doesn’t):


However, due to the fact that I could barely get an available 3d printing machines, I used what I successfully printed and assembled them into structures like this:
3, adding on the Lace
I used different ways when sewing on different Laces:
For the grey lace, part of it, Jelena and I used z tags to knit it:
Another part of it, I sew it with the black and golden lace with a pattern on the front piece of the dress:
Also you can see from the picture, I sewed the fishnet-like lace between the two column of mixed laces
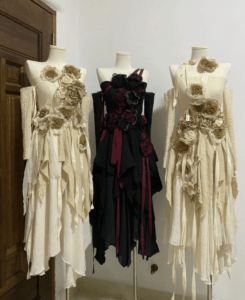
And the flower lace, I sewed them symmetrically on the front chest with black at the outside and white at the inside:
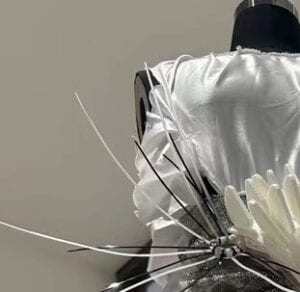
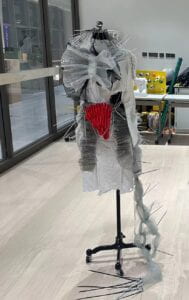
4, adding on the z tags
There are two parts where I add more z tags on, both on the 3d printing parts but in different ways:
The front part has two z tag structures on both sides:
The back part, I integrated the z tags inside the 3d printing part:
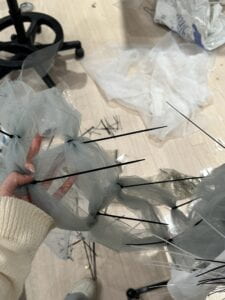
Jelena also uses ztags on the inflatable part, along with a necklace made by ztags:
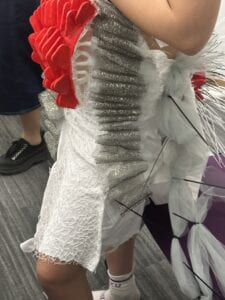
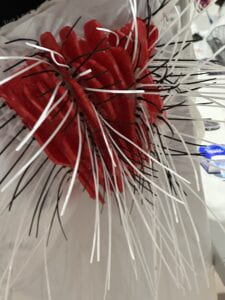
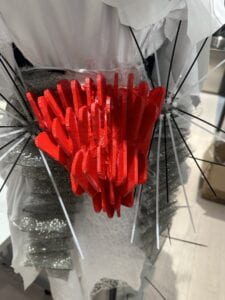
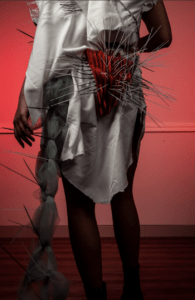
5, painting
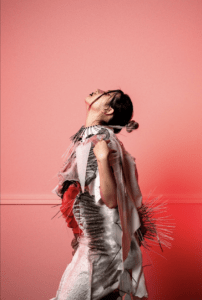
After the presentation, Sylvia and Marcele suggested that we can actually paint the two 3d printing parts as eye-catcher, and this idea is also very relevance to our concept of breaking through the black and white standards and stereotypes, so I painted the 3d printing parts to red (Thanks Johnny for borrowing me a 3dprinting part to test if the paint can stay on the pla):
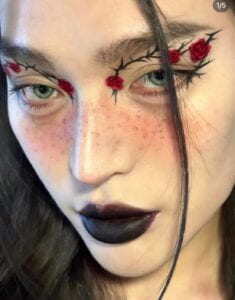
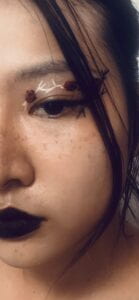
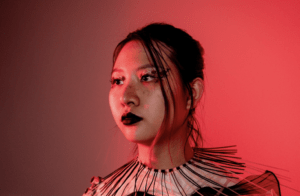
6, makeup & model
I communicated with our talented makeup artist Beatrix and decide to do this makeup:
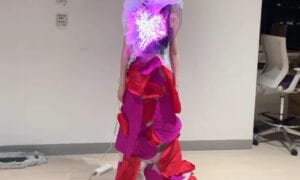
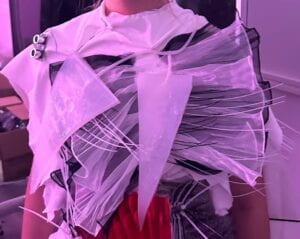
This is how it looks like on our amazing model Mingway:
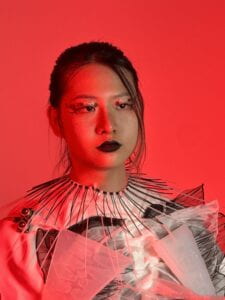
She has perfectly demonstrated what we wanted to convey: women confidence and power

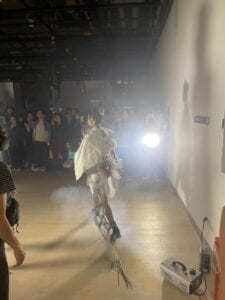
Last but not least, great thanks to Victoria who came to help me on the show day, thanks to all efforts paid, thanks to talented makeup artists and models who add spirits and anima to the dress, thanks to Marcele’s help and encouragements and friends’ congrats after the show. It has been a GREAT GREAT experience and would be a beautiful memory!!