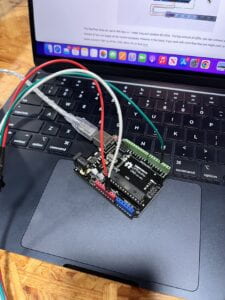
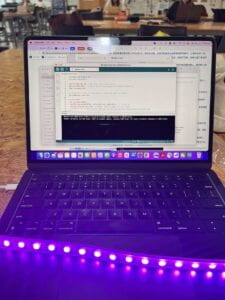
Task #1: Test the neopixel
I put together the Arduino according to the picture given on the recitation web page. By doing so, I then downloaded the required libraries and tested out my LED strip. The code is programmed to light up 60 lights, but to avoid burning out the LED and arduino, I changed the number down to 30. I had some trouble downloading the libraries, but with the help of Rudi and another classmate, I was able to get it done. Task 1 went by smoothly.


Task #2: Use your computer to light up neopixels.
I had a few problems with this task, mainly because of errors from missing downloaded libraries. After following the instructions based on the error messages, I was able to get both Arduino and Processing to run. I also had a problem where I was not able to change the LED lights, and that was because I did not change the number of LED lights in processing to 30, like how I did in Arduino. With the help of my friend, Isa, I was able to learn from my mistakes as well as interacting with this code with the LED strip.
Task #3:
In this task, the beginning part went by pretty smooth. I was able to get the code running with the given beat. After, I need some guidance with converting music into a mp3, but other than that, I had my code running smoothly with my music of choice. I even customized the colors of the background and circle to match the theme of the artist. However, after that, I had a lot of trouble with combining the two codes. I was able to run it separately and move the LED manually, but was not able to connect the two codes together and have the LED’s move with the music. WIth some help from classmate Stephen, I was able to figure out the code. I moved the code from the first LED code to their corresponding sections in the music code. Then after, Stephen taught me how to use the map code, and I was able to change the coding according to that, which ends up with the LED music project that I have embedded in the bottom of this documentation.