Task 1:
Step 1: The first circuit connects to a button that activates the buzzer when pressed. In order for the buzzer to create a beeping sound, we connected the switch and buzzer to both the positive and negative charges of the breadboard.
Unsuccessful trial step 1: Our buzzer did not beep when we pressed the button because we did not connect the metal plates on the breadboard horizontally, preventing the flow of electricity. We attempted to figure out this problem at first, but decided to refer to Rudi for additional help. He assisted us in connected the wires, and after that, we applied this knowledge to the next two steps.
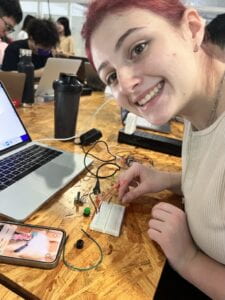
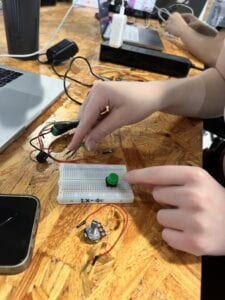
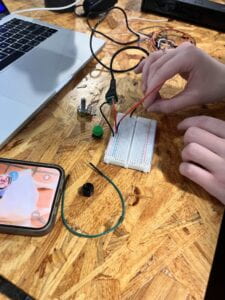
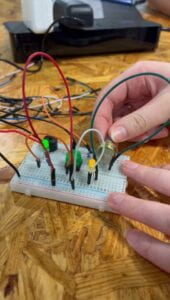
Step 2: The second circuit operates similarly to the first with the addition of an LED light. In this step, we added two wires and a resistor.
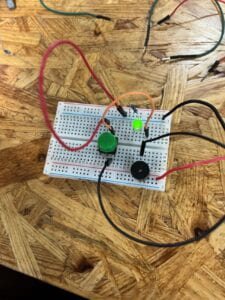
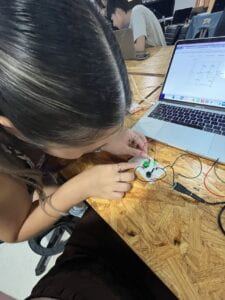
Step 3: Just like the previous 2 steps, step 3 was also similar. It added another LED light with a dimmer. The dimmer and the resistor were on the positive side while the connecting wire were on both sides of the breadboard.
Unsuccessful trial step 3:Our resistor was connected to the wrong electrical charge and our dimmer was a bad part. Due to this, our dimmer began to smoke, but we solved this problem with an instructor. She explained why the dimmer smoked and how we can connect the dimmer and the LED light.
Task 2:
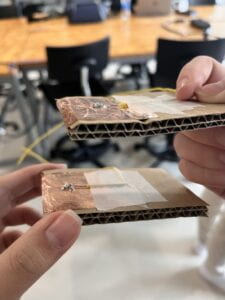
We learned how to solder with tipping the solder with a metal wire: the metal wire was melted to the connecting wire and copper tape. Something my partner and I can improve on in soldering is to bend down the wire before melting metal above it to avoid a big pile of hardened metal. Having more practice in soldering would also prevent metal piling.

Task 3:
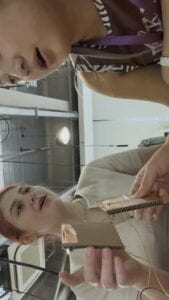
We first experimented with the sound of the buzzer and how the paddles were connected to the buzzer. As a result we were playing the sound of the beating by creating a beat. Shortly after, we looked through the morse code picture and came to a conclusion to create a morse code message of our first name initials. It took a couple tries for us to get it right, but we succeeded at the end. We also both held onto one end of the paddle to make teamwork more fun and creative.
Additional Required Questions:
1: It is to prevent the LED from overheating and burning out from the mass amount of energy from the source/outlet.
2: 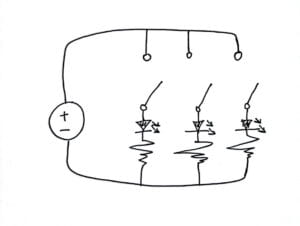
3: It interacts on a moderate level of interactivity. It is not like we are just using the light switch in a refrigerator, but we are carrying out a message through the circuit. It listens when we put the paddles together; It thinks when the energy flows throughout the breadboard; It speaks when the LED light lights up and the buzzer beeps. The circuit communicates our message through the morse code.
4: In Zack Lieberman’s video, he explains how his design in computing can be used to create art for disabled people. The program allows people to draw with their eyes, thus allowing them to use physical computing to create interactive art. The artist creating the art with their eyes are the ones creating the art. Lieberman’s design interacts with the user as the computing system allows them to communicate their ideas and art onto something physical that others can enjoy.