A. BASIC INFORMATION
Project title – Music Book
My name – Yujia Wang
My instructor’s name-Gottfried
B. CONTEXT AND SIGNIFICANCE
In Step 1 of the Group Research Project-Research Response, the interactive art project that does not align with my understanding of “interaction” is this collection of cuboids. The main reason is that, as for this project, “consumers in this situation behave more like observers than like participants.” What is more, interaction, as I understand it, should be accessible to everyone, including children, and it can be used to create meaningful experiences that promote learning and development. So it is also expected to involve creating experiences that are both intuitive and engaging. 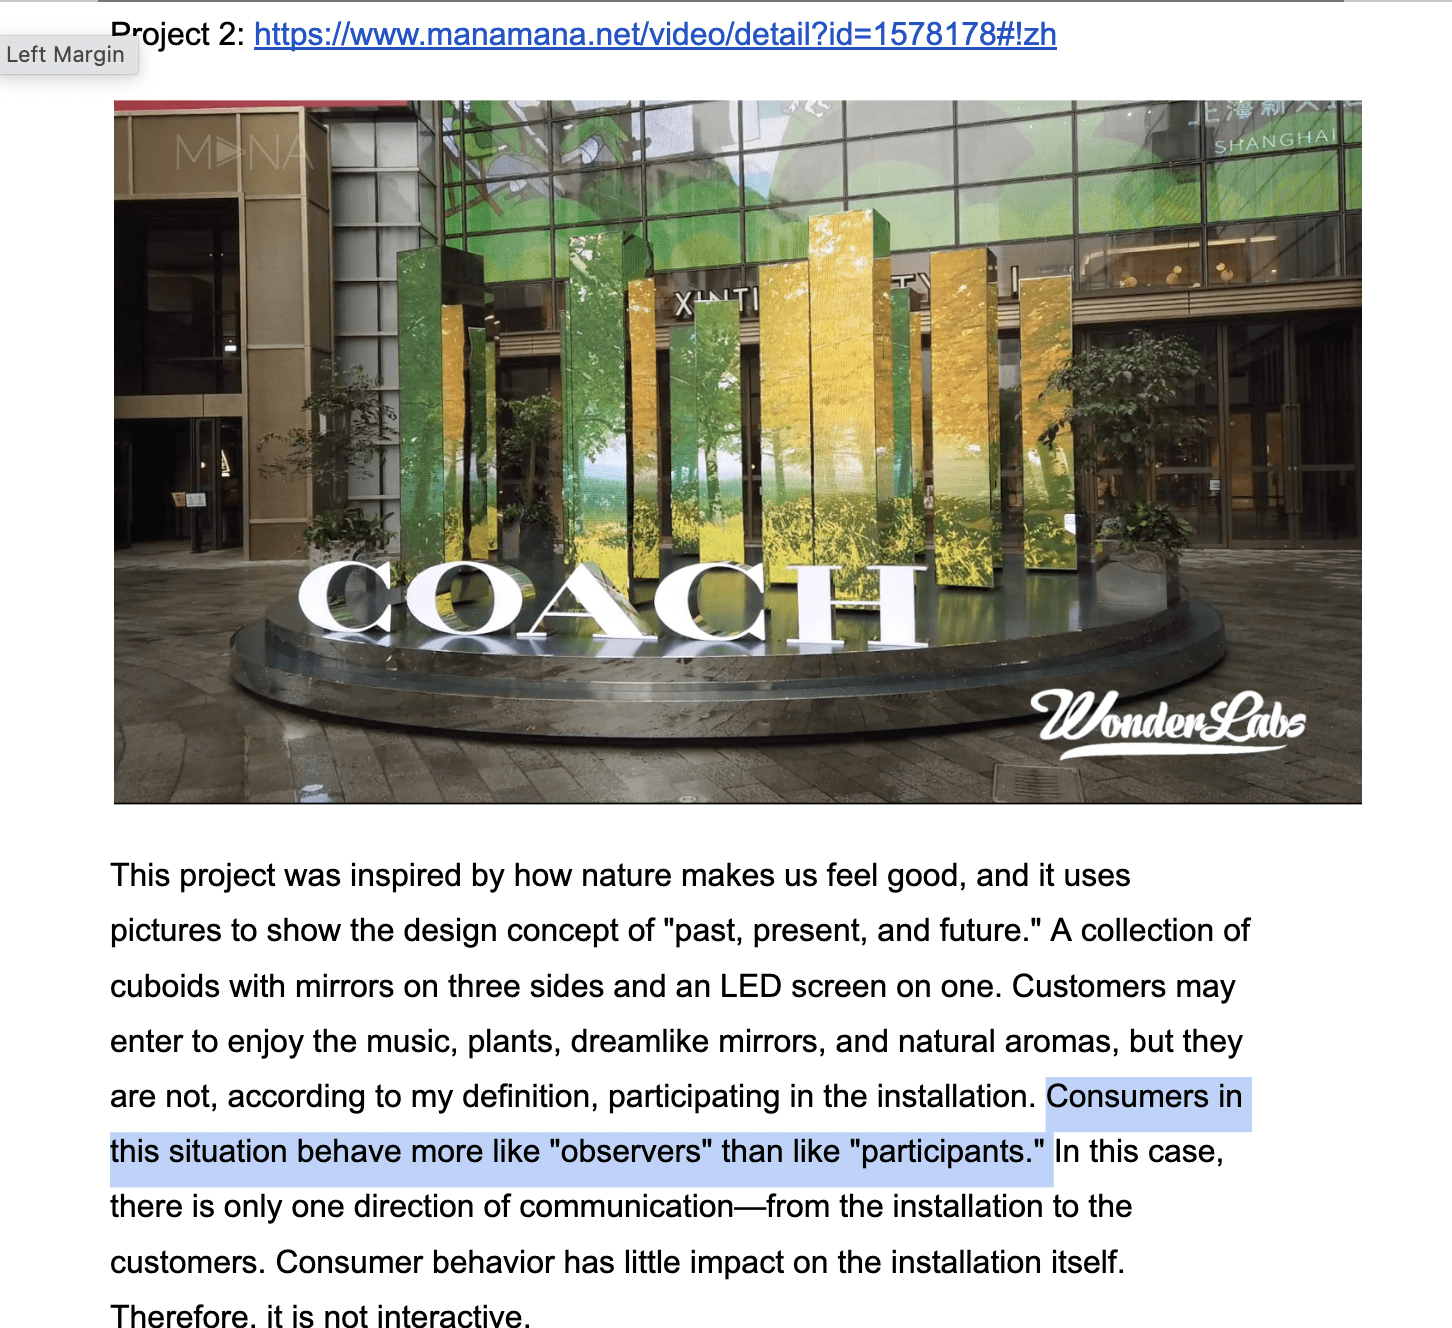
Based on these ideas, when I was initially brainstorming what to do for the midterm project of the period, I was thinking about what there was that the USER was currently observing but not really participating in that could perhaps be improved upon.
The Music Book project is exploring the intersection of art, music, and technology. Inspired by our previous understanding of early childhood educational tools, we sought to create a project that would not only engage children but also provide them with a valuable learning experience.
Our project is specifically designed for children, with the aim of providing them with an interactive music book that is both fun and educational. The book allows children to learn about and engage with music in a new and exciting way. By incorporating interactive elements such as colorful illustrations, easy-to-follow musical notation, and manipulable musical instruments, children can actively engage with the book and develop important skills such as hand-eye coordination and cognitive abilities.
What sets our project apart from other music books is its emphasis on interactivity and engagement. By creating an immersive and interactive experience for children, we believe that we can help foster a love of music in a way that traditional methods cannot.
Our project is of special value to its targeted audience of children, as it not only provides them with an entertaining experience but also helps them to develop important skills and a deeper appreciation for music. We believe that our project has the potential to make a positive impact on children’s development and inspire a new generation of musicians and music lovers.
C. CONCEPTION AND DESIGN
Our understanding of how our target audience, children, would interact with our music book project greatly informed our design decisions. We aimed to create a book that was not only visually appealing but also easy and fun to use for children.
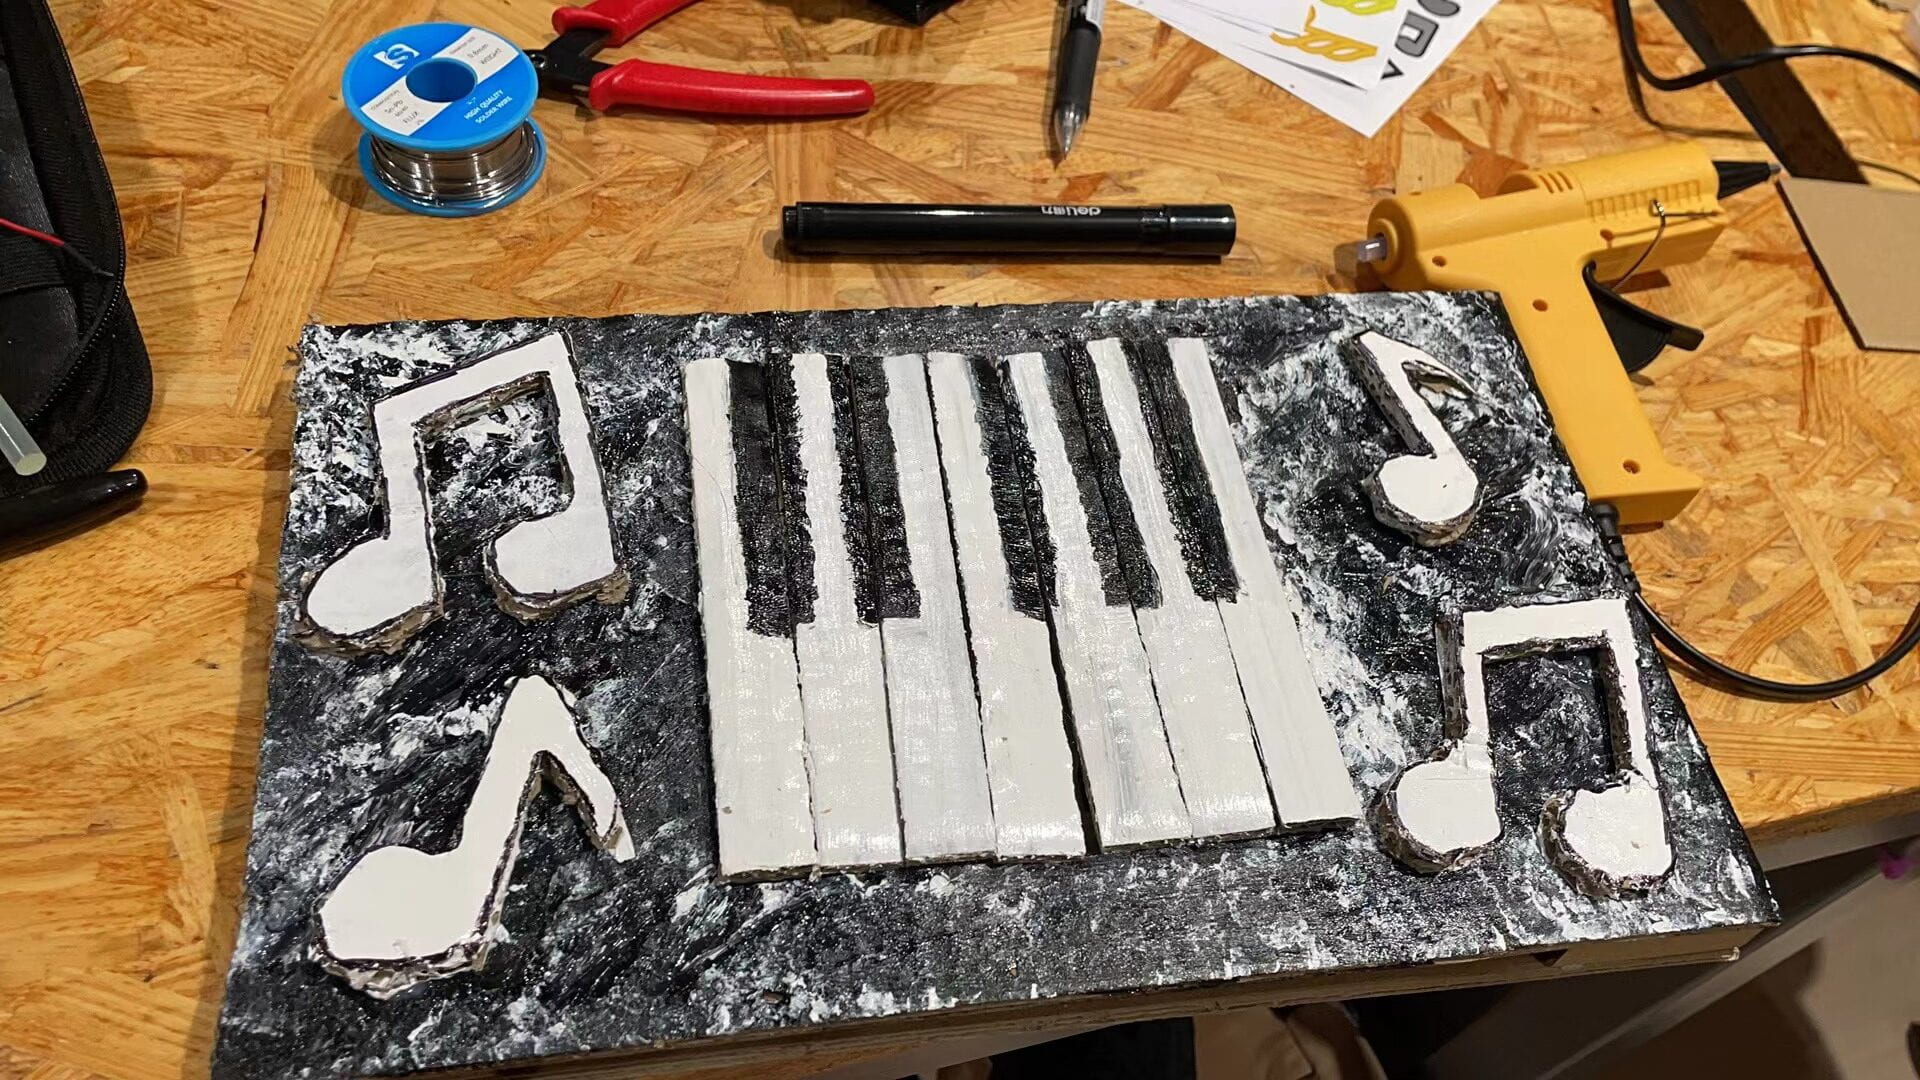
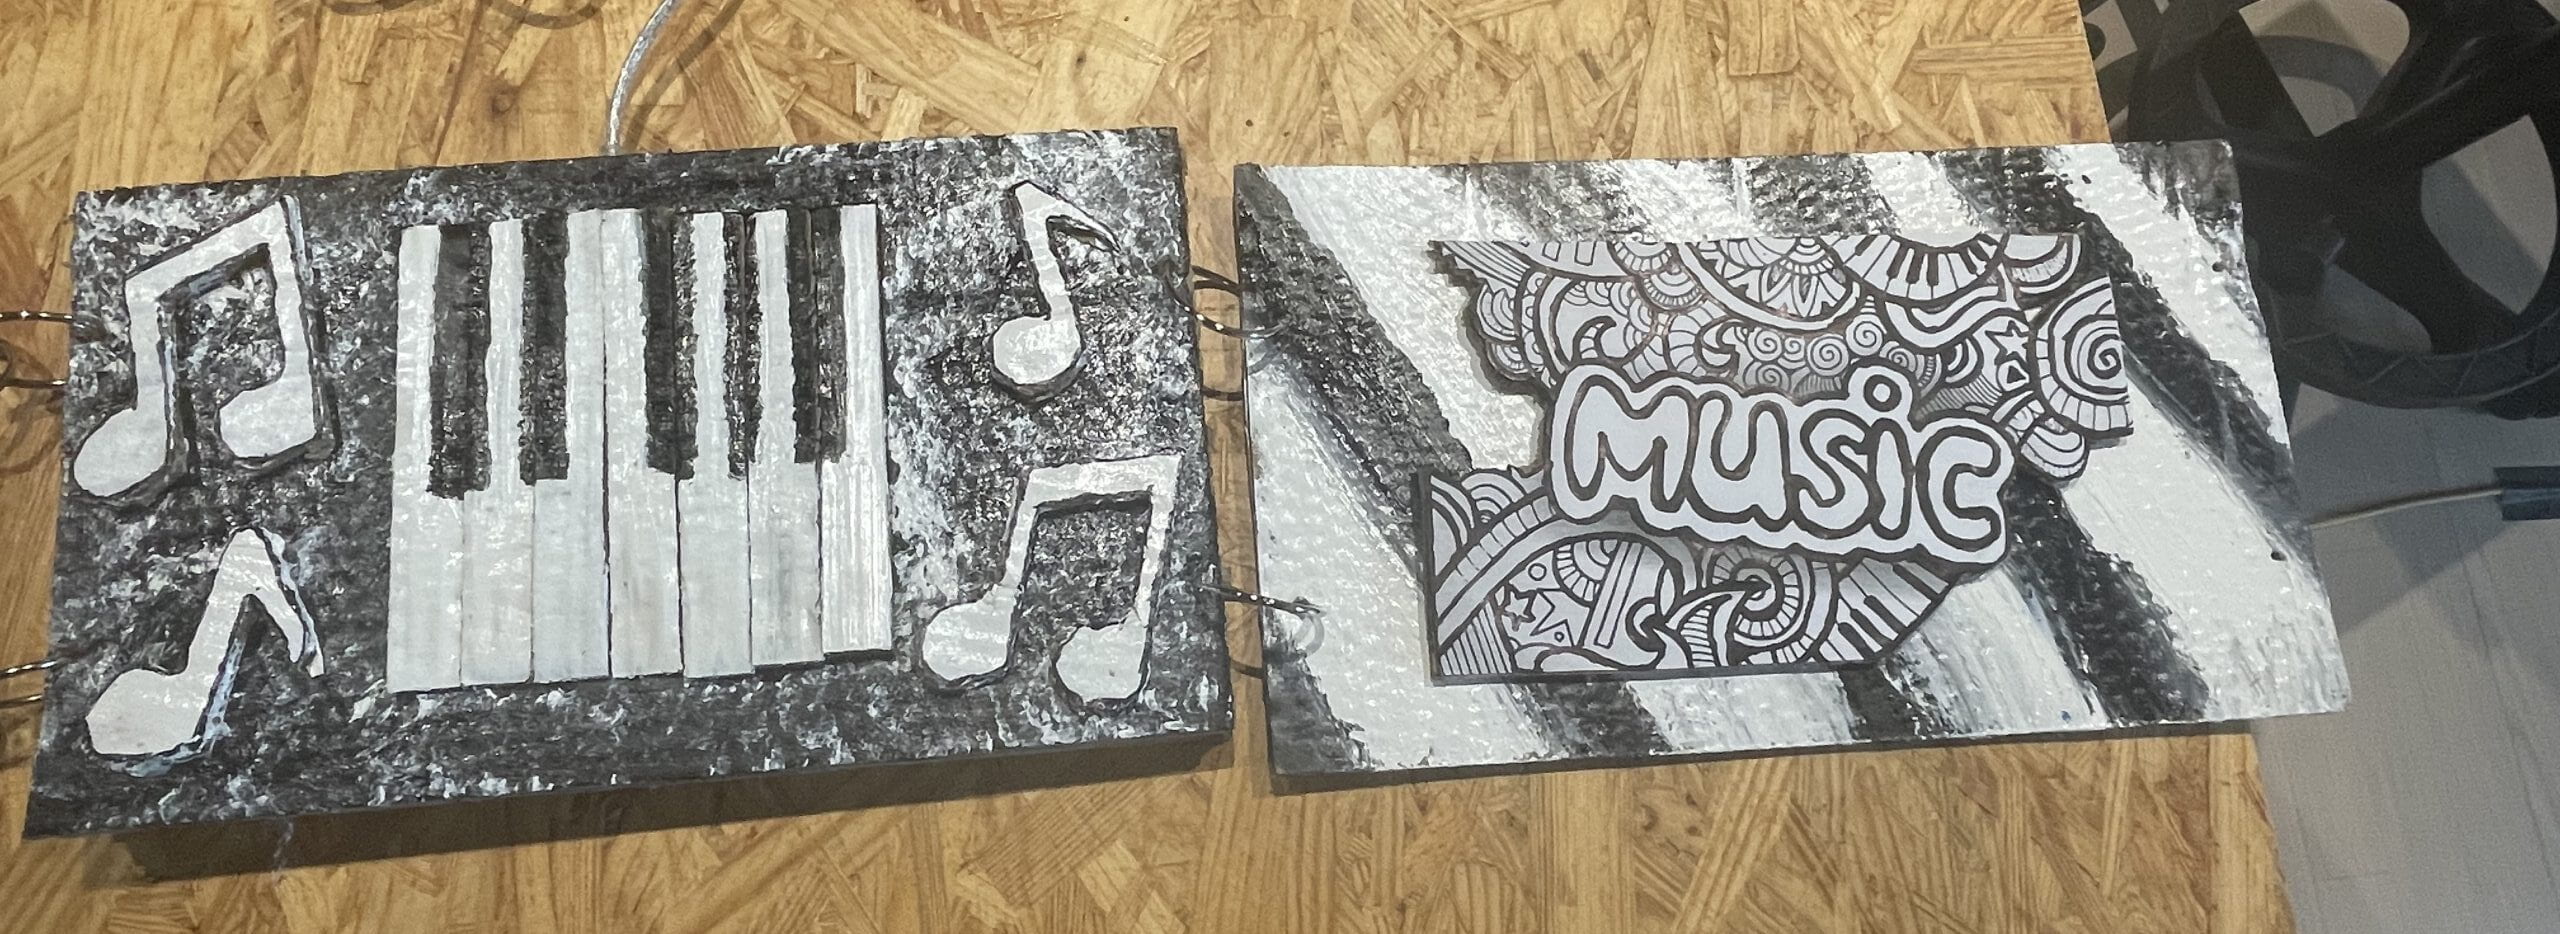
One design decision we made was to include colorful illustrations on each page of the book. We wanted to create an engaging and immersive experience that would capture the attention of children and make the learning process enjoyable. We use bright and vivid colors to enhance the overall visual experience: a black-and-white piano and a red-and-blue guitar.
We also included interactive elements such as a click when the children press the piano keys, buttons, and strings that allow the children to manipulate the musical instruments on each page. These elements not only added a fun and playful aspect to the book but also helped to develop important skills such as hand-eye coordination and fine motor skills.
Our criteria for selecting these materials were based on their suitability for the project’s purpose. The Music Book project involves the creation of a loose-leaf book with foldable pages that are designed to resemble a piano and a guitar. The book has sharp distance sensors, buttons, and buzzers that can be used to create music through different operations. For the piano, we planned to use touch sensors to trigger the buzzers at first, but we found that touch sensors were not easy to put in and users couldn’t receive any direct feedback after touching them. In this case, we replaced touch sensors with buttons, which make an obvious clicking sound after being pressed.
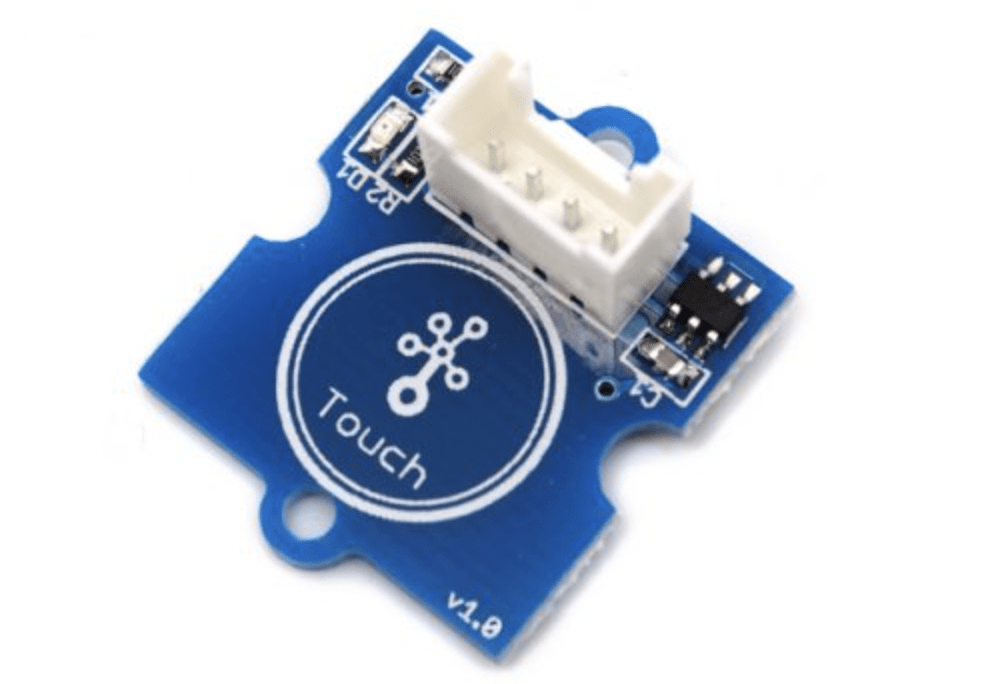
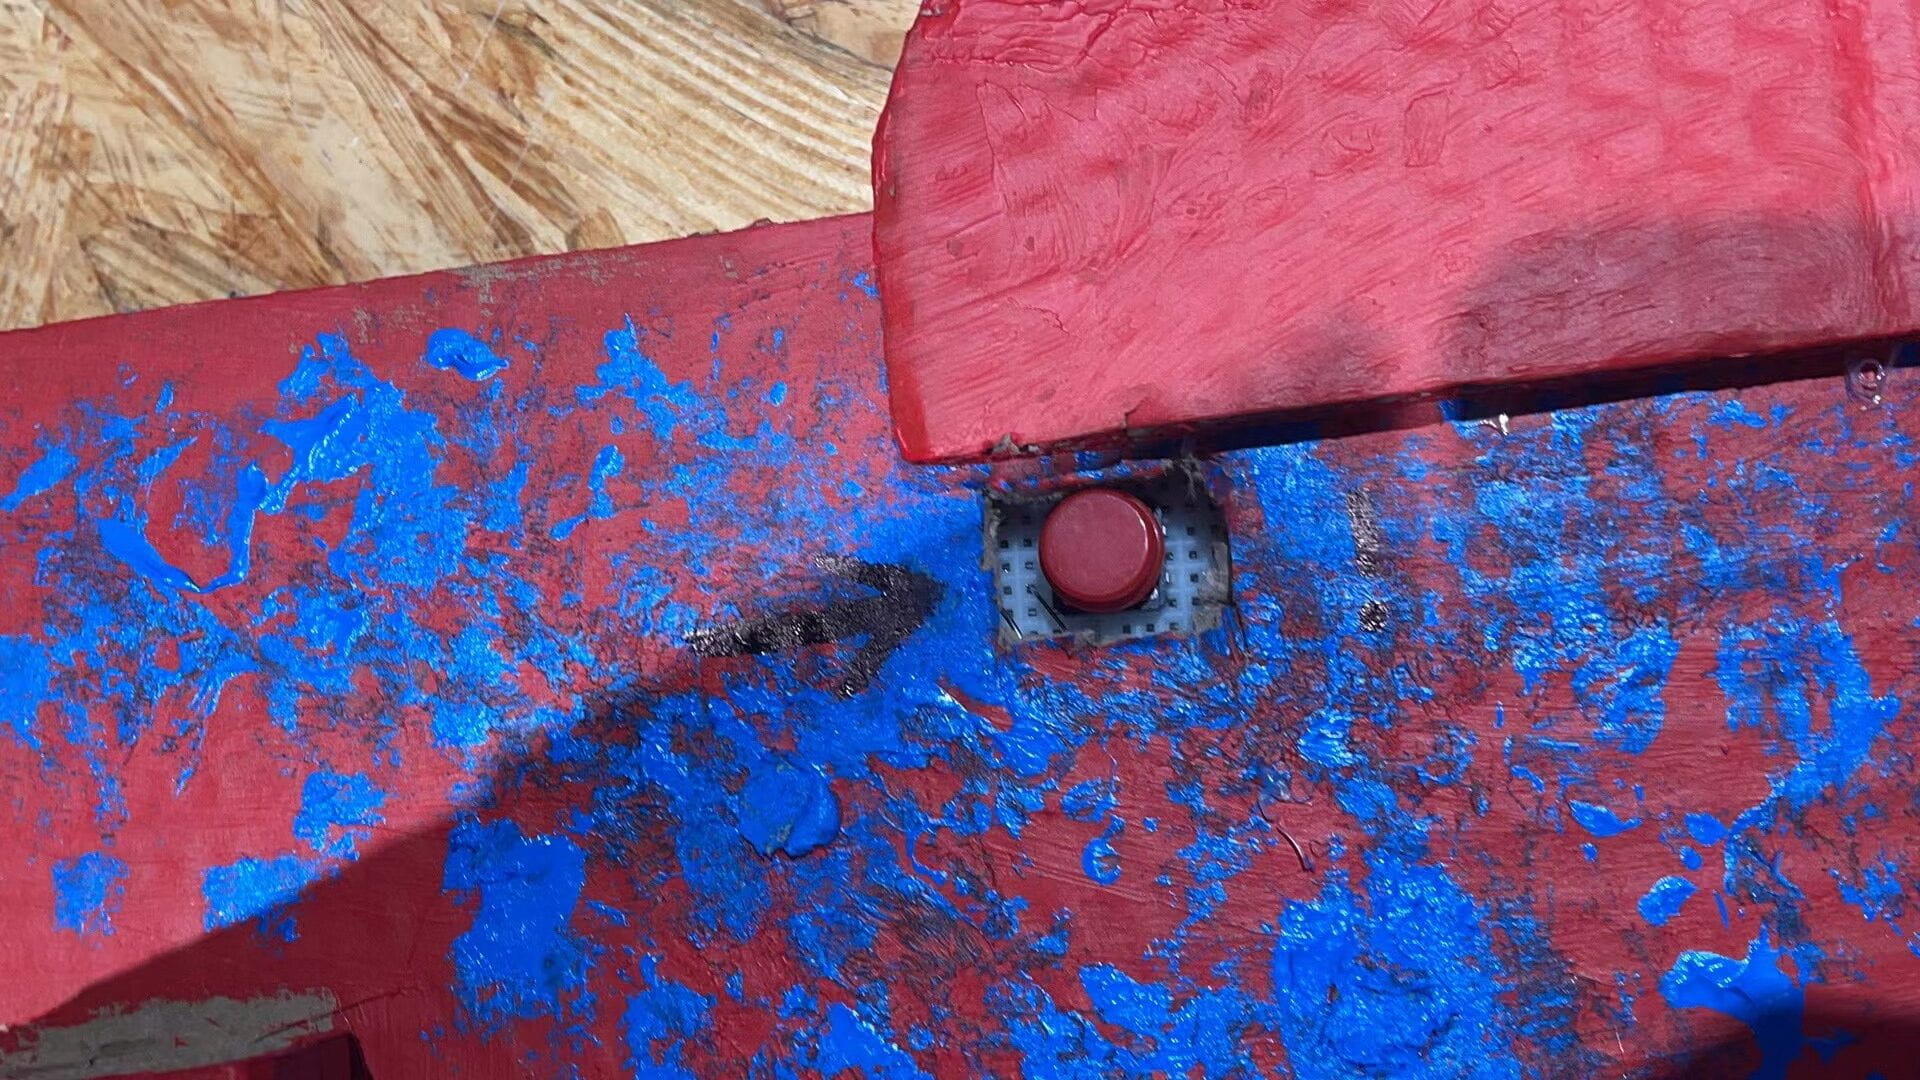
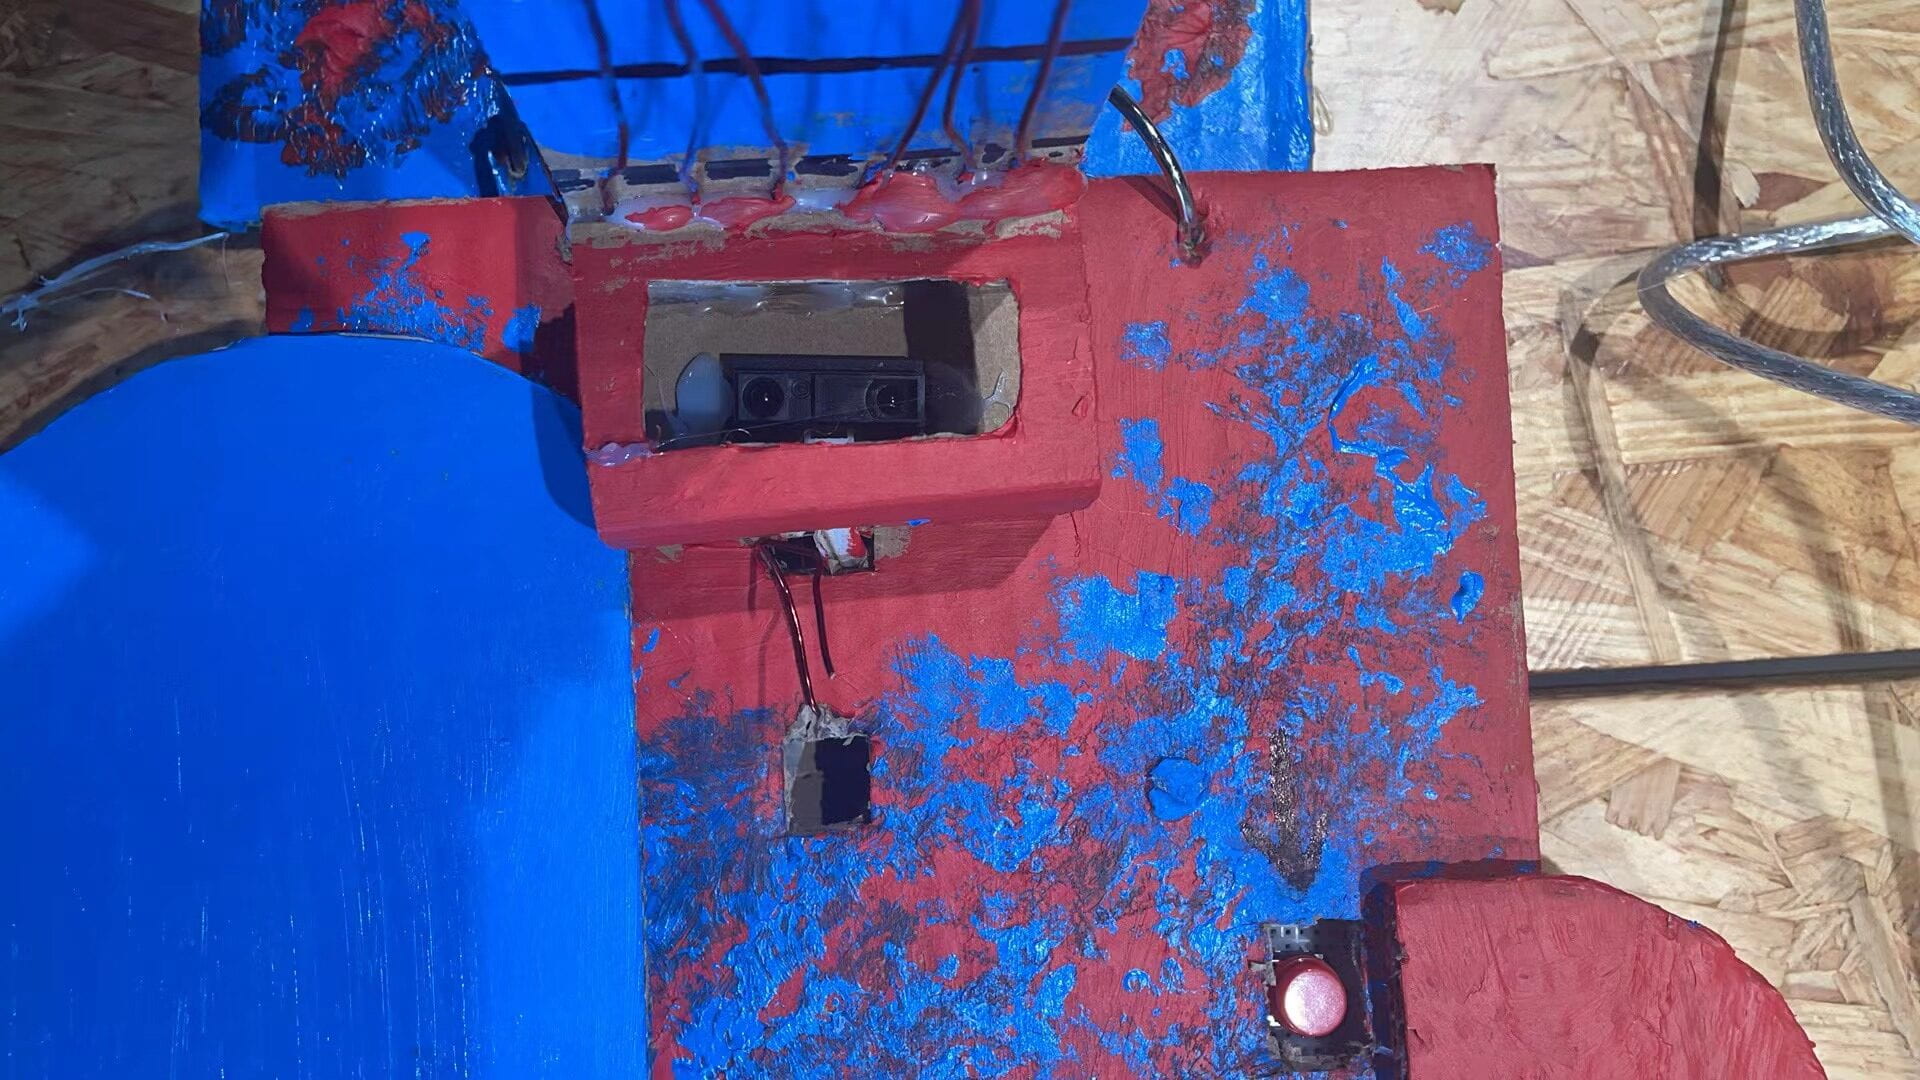
What’s more, we decided to add a button for the guitar. I will describe the design of this interactive switch in detail later. This switch lets the user decide for themselves when to start their guitar experiencing journey.
D. FABRICATION AND PRODUCTION
Doris and I did a really great job on this midterm project! In this part, I will share our collaboration processes, following the timeline.
● Mar. 5th
After getting the proposal’s feedback from Gohai, we had a brief discussion on WeChat about what we were going to do. We thought it would probably be a good choice if we made a “foldable” page like this:
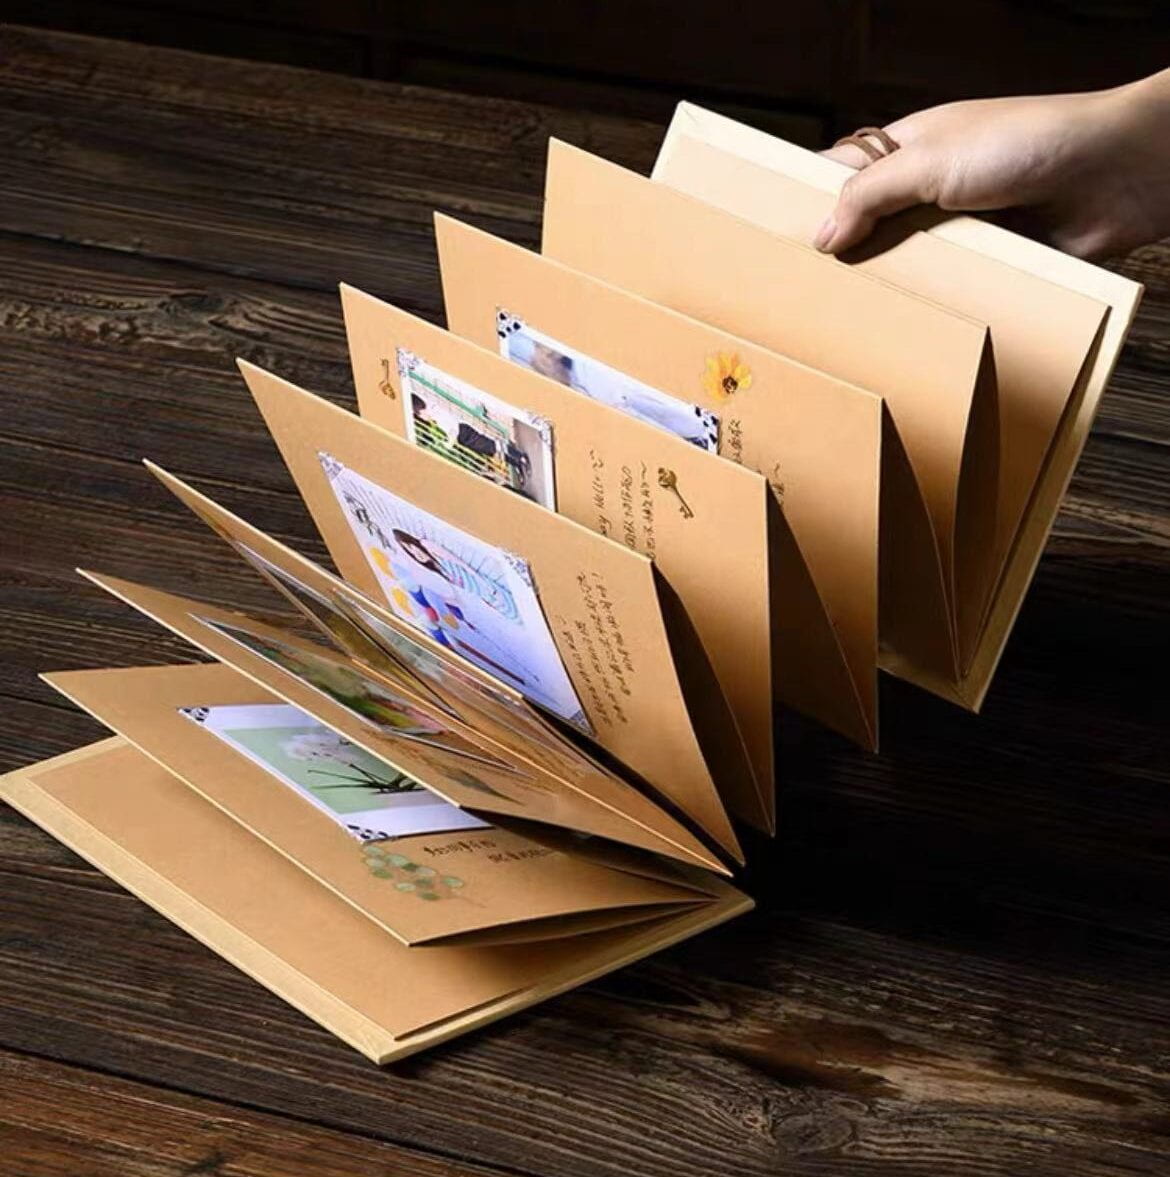
However, considering the thickness each page may have, I thought up an idea and made a simple demo for Doris.
After reaching a consensus, we thought it might be better to make the book a loose-leaf one. What is more, we initially decided to make a piano, a guitar, and some drums.
● Mar. 6th
We began by cutting six 20x35cm rectangles for the book’s pages and purchasing metal rings to connect the pages.
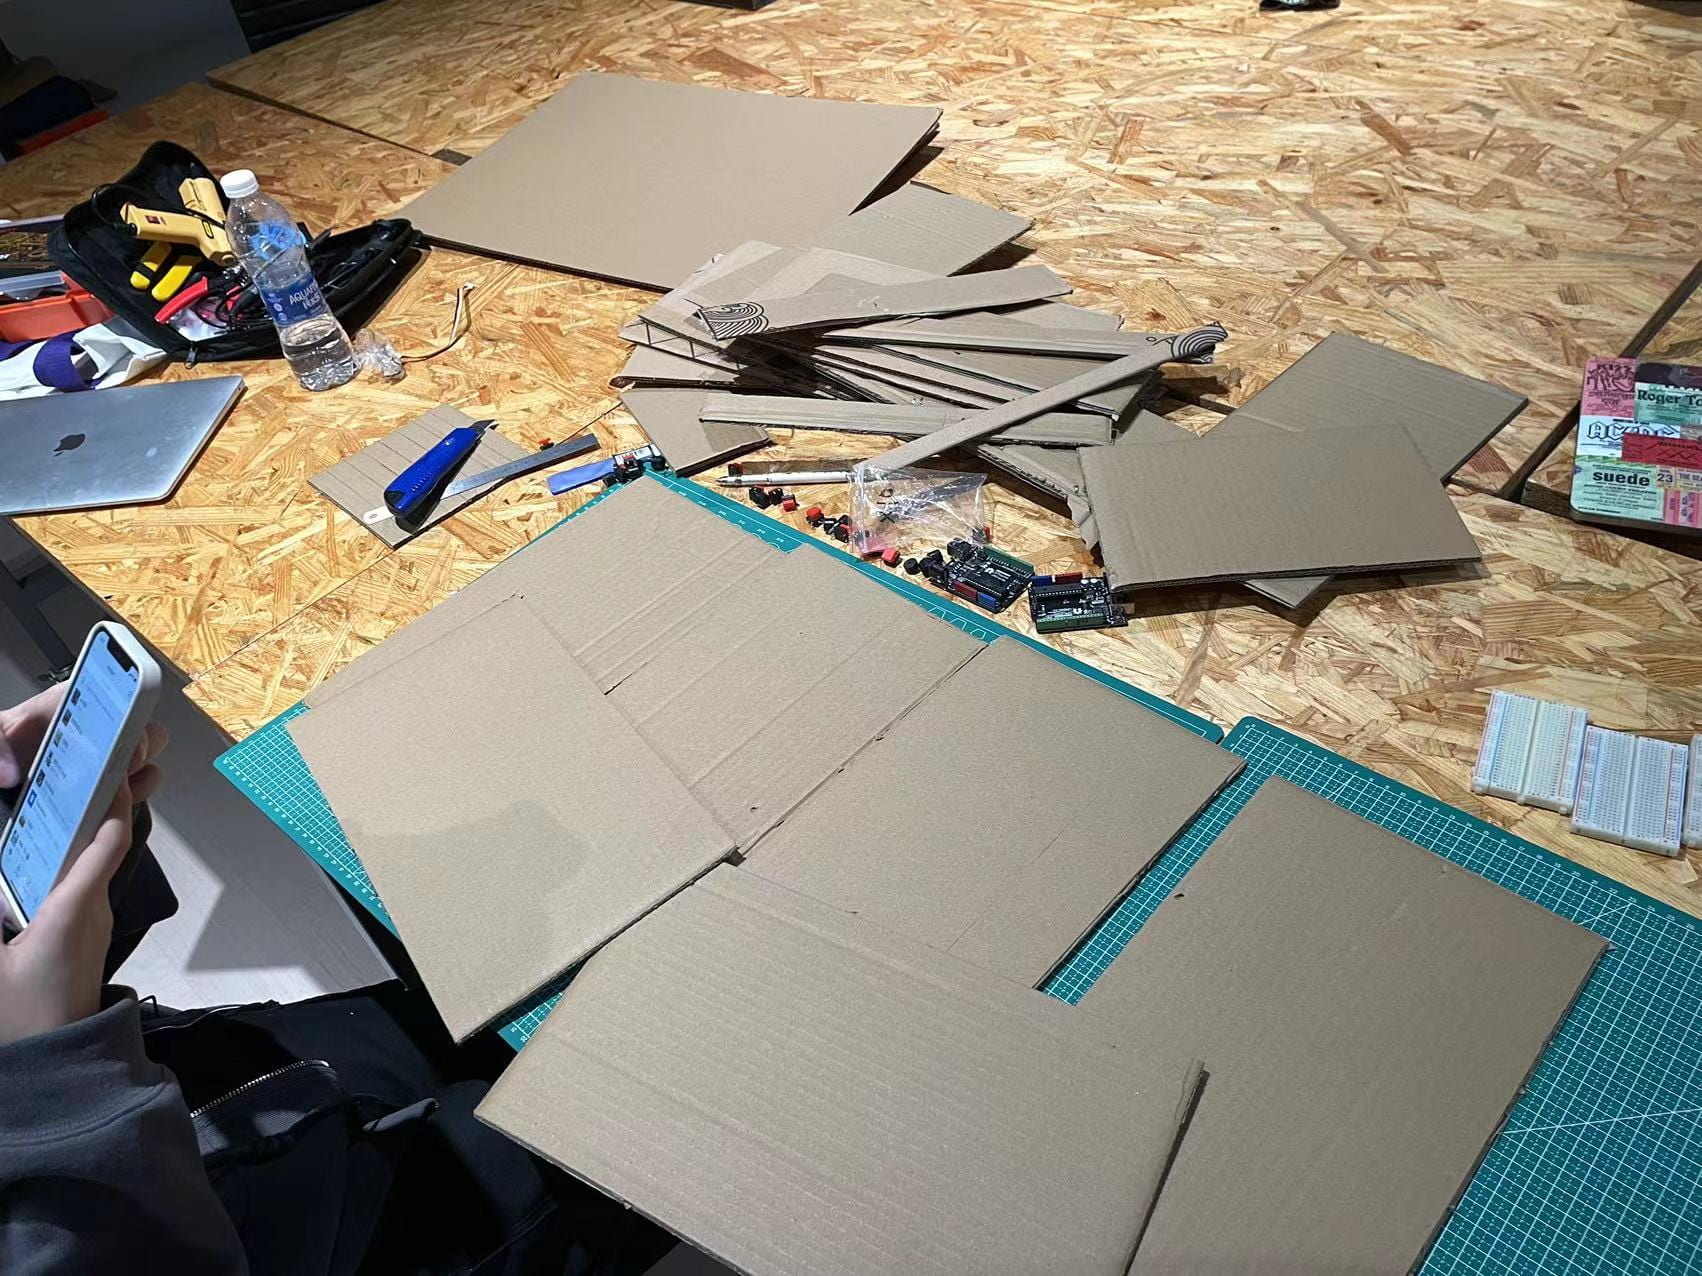
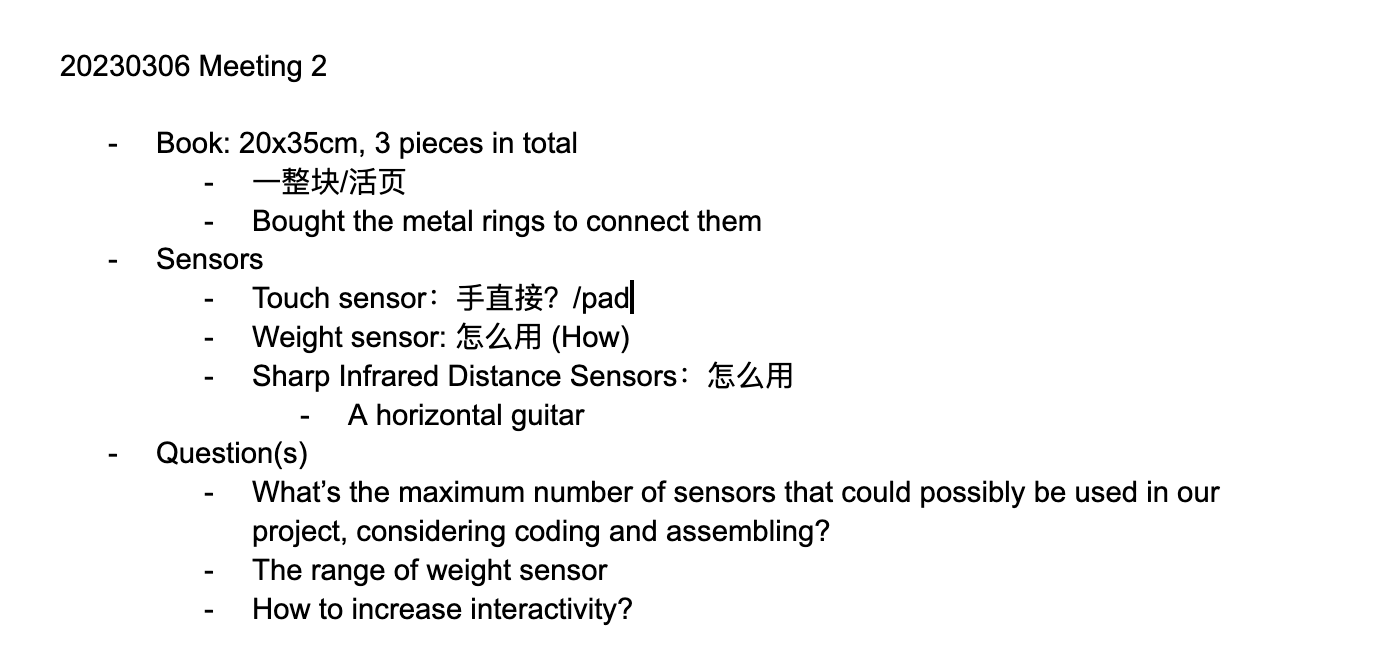
Secondly, we checked ER’s website first and looked for what we could use, listing some questions we have for the components that we would ask before we borrowed from ER. We decided to begin the project after confirming the following questions with Gohai.
(We have a doc to record what we have done everyday and problems not solved)
● Mar. 7th
I borrowed a touch sensor, a sharp distance sensor, a weight sensor, four breadboards, two Arduinos, and 12 buttons and buzzers.
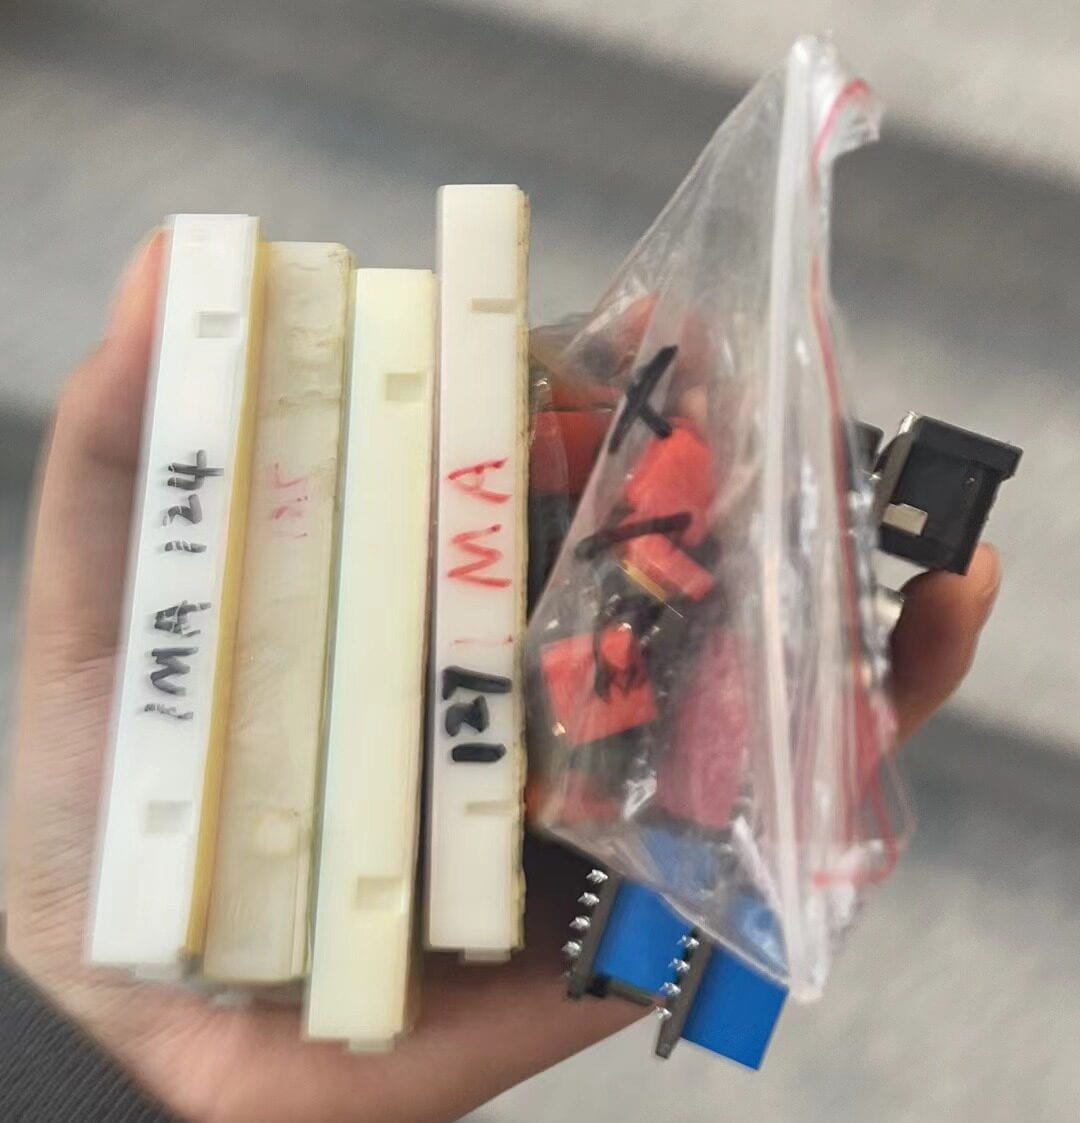
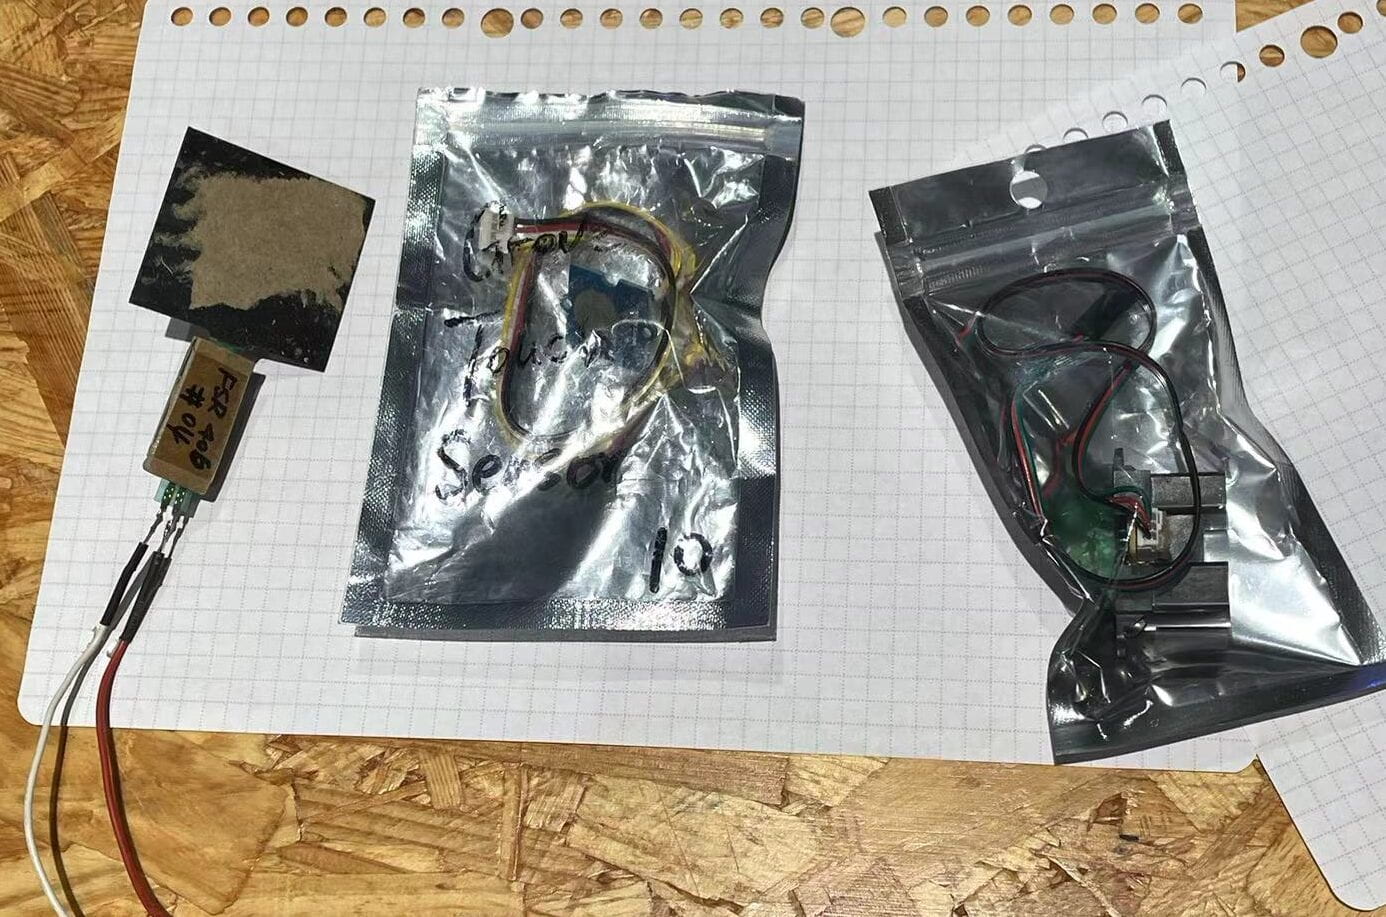
Then we began to work!
We began to connect the circuits. Our thought is to use several buzzers to control each button respectively, and in this way, we could press buttons and make different sounds at the same time, which is very similar to the real piano. But the wire we used at that time did not have a very good connection, because it was composed of many very thin and soft wires, so Doris managed to find a kind of green wire which is very hard and has only one thicker copper wire inside, which is much easier to fix.
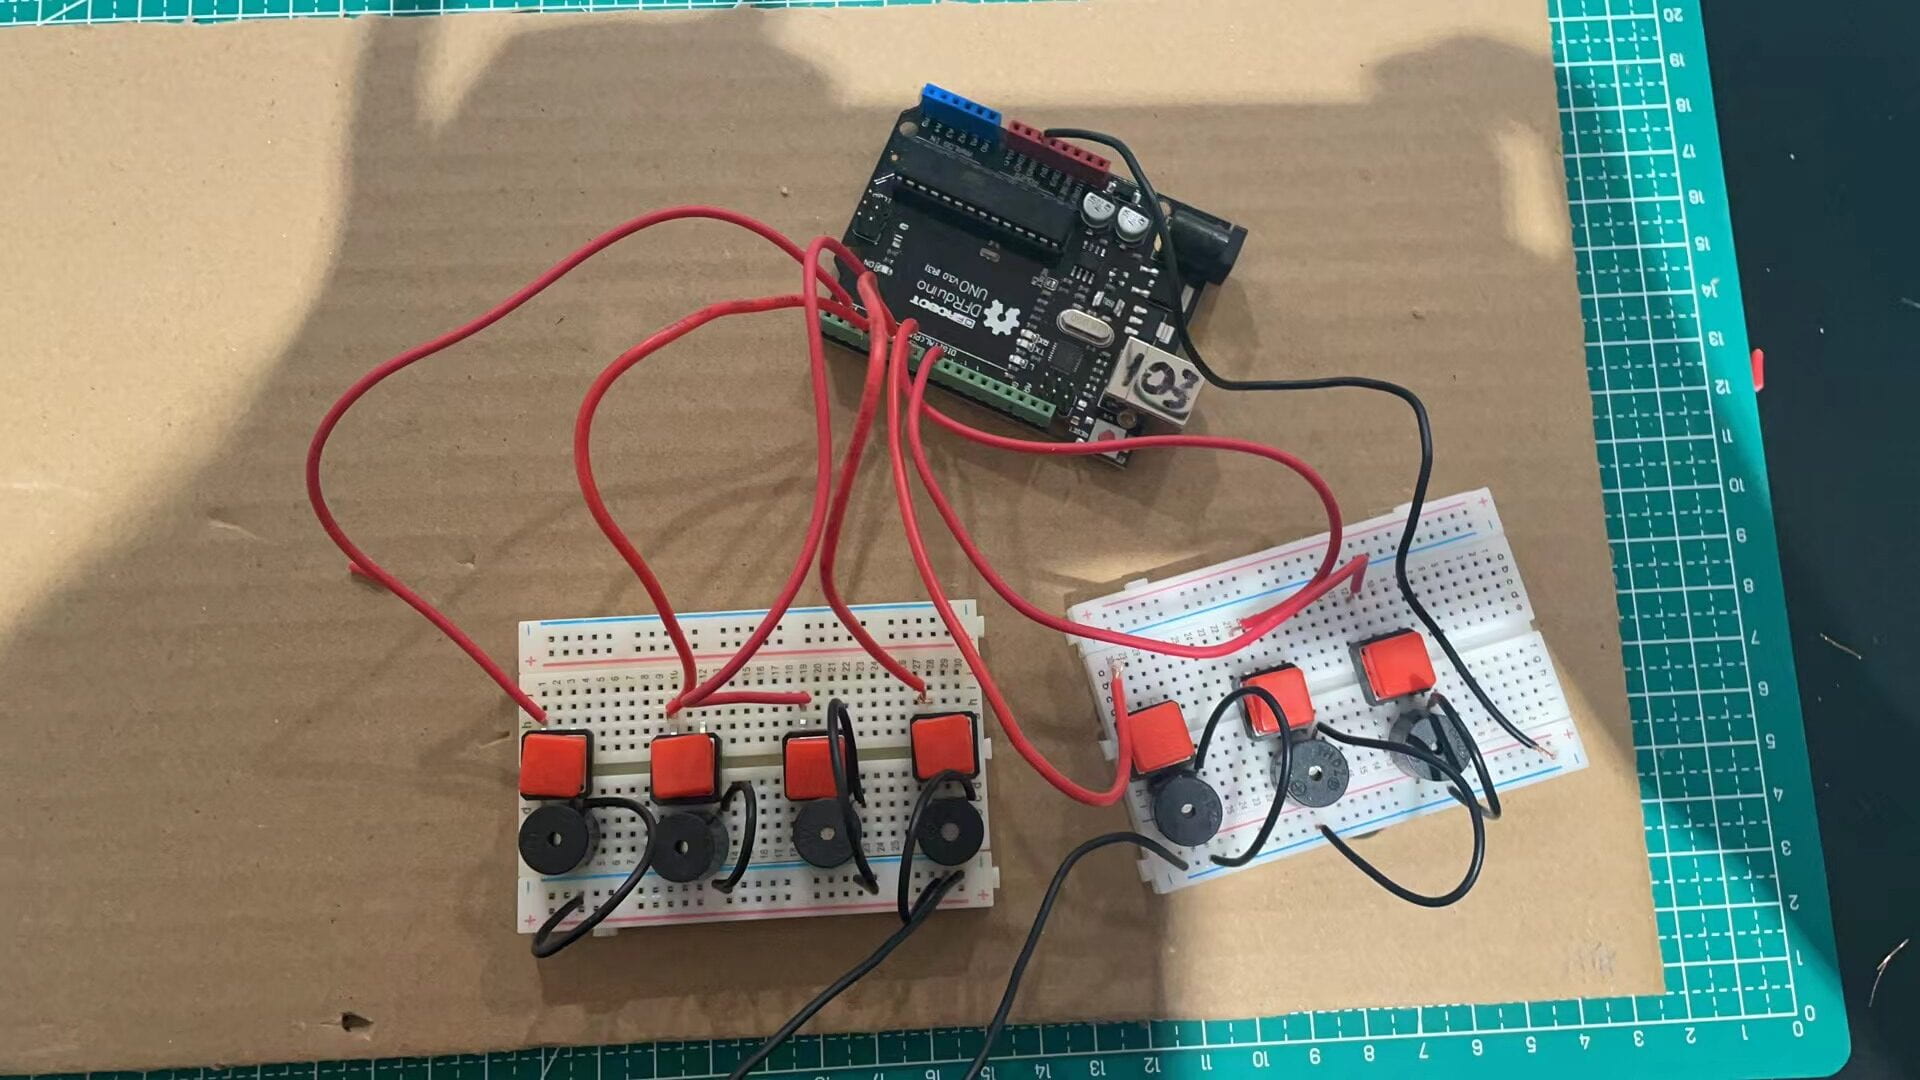
Also, codes wouldn’t be a big problem because we have learned similar ones in class.
However, things don’t always follow our “theoretically” expected patterns. After Doris uploaded the codes, not only could the buzzers not work at the same time, they had screaming voices instead of the musical tones.
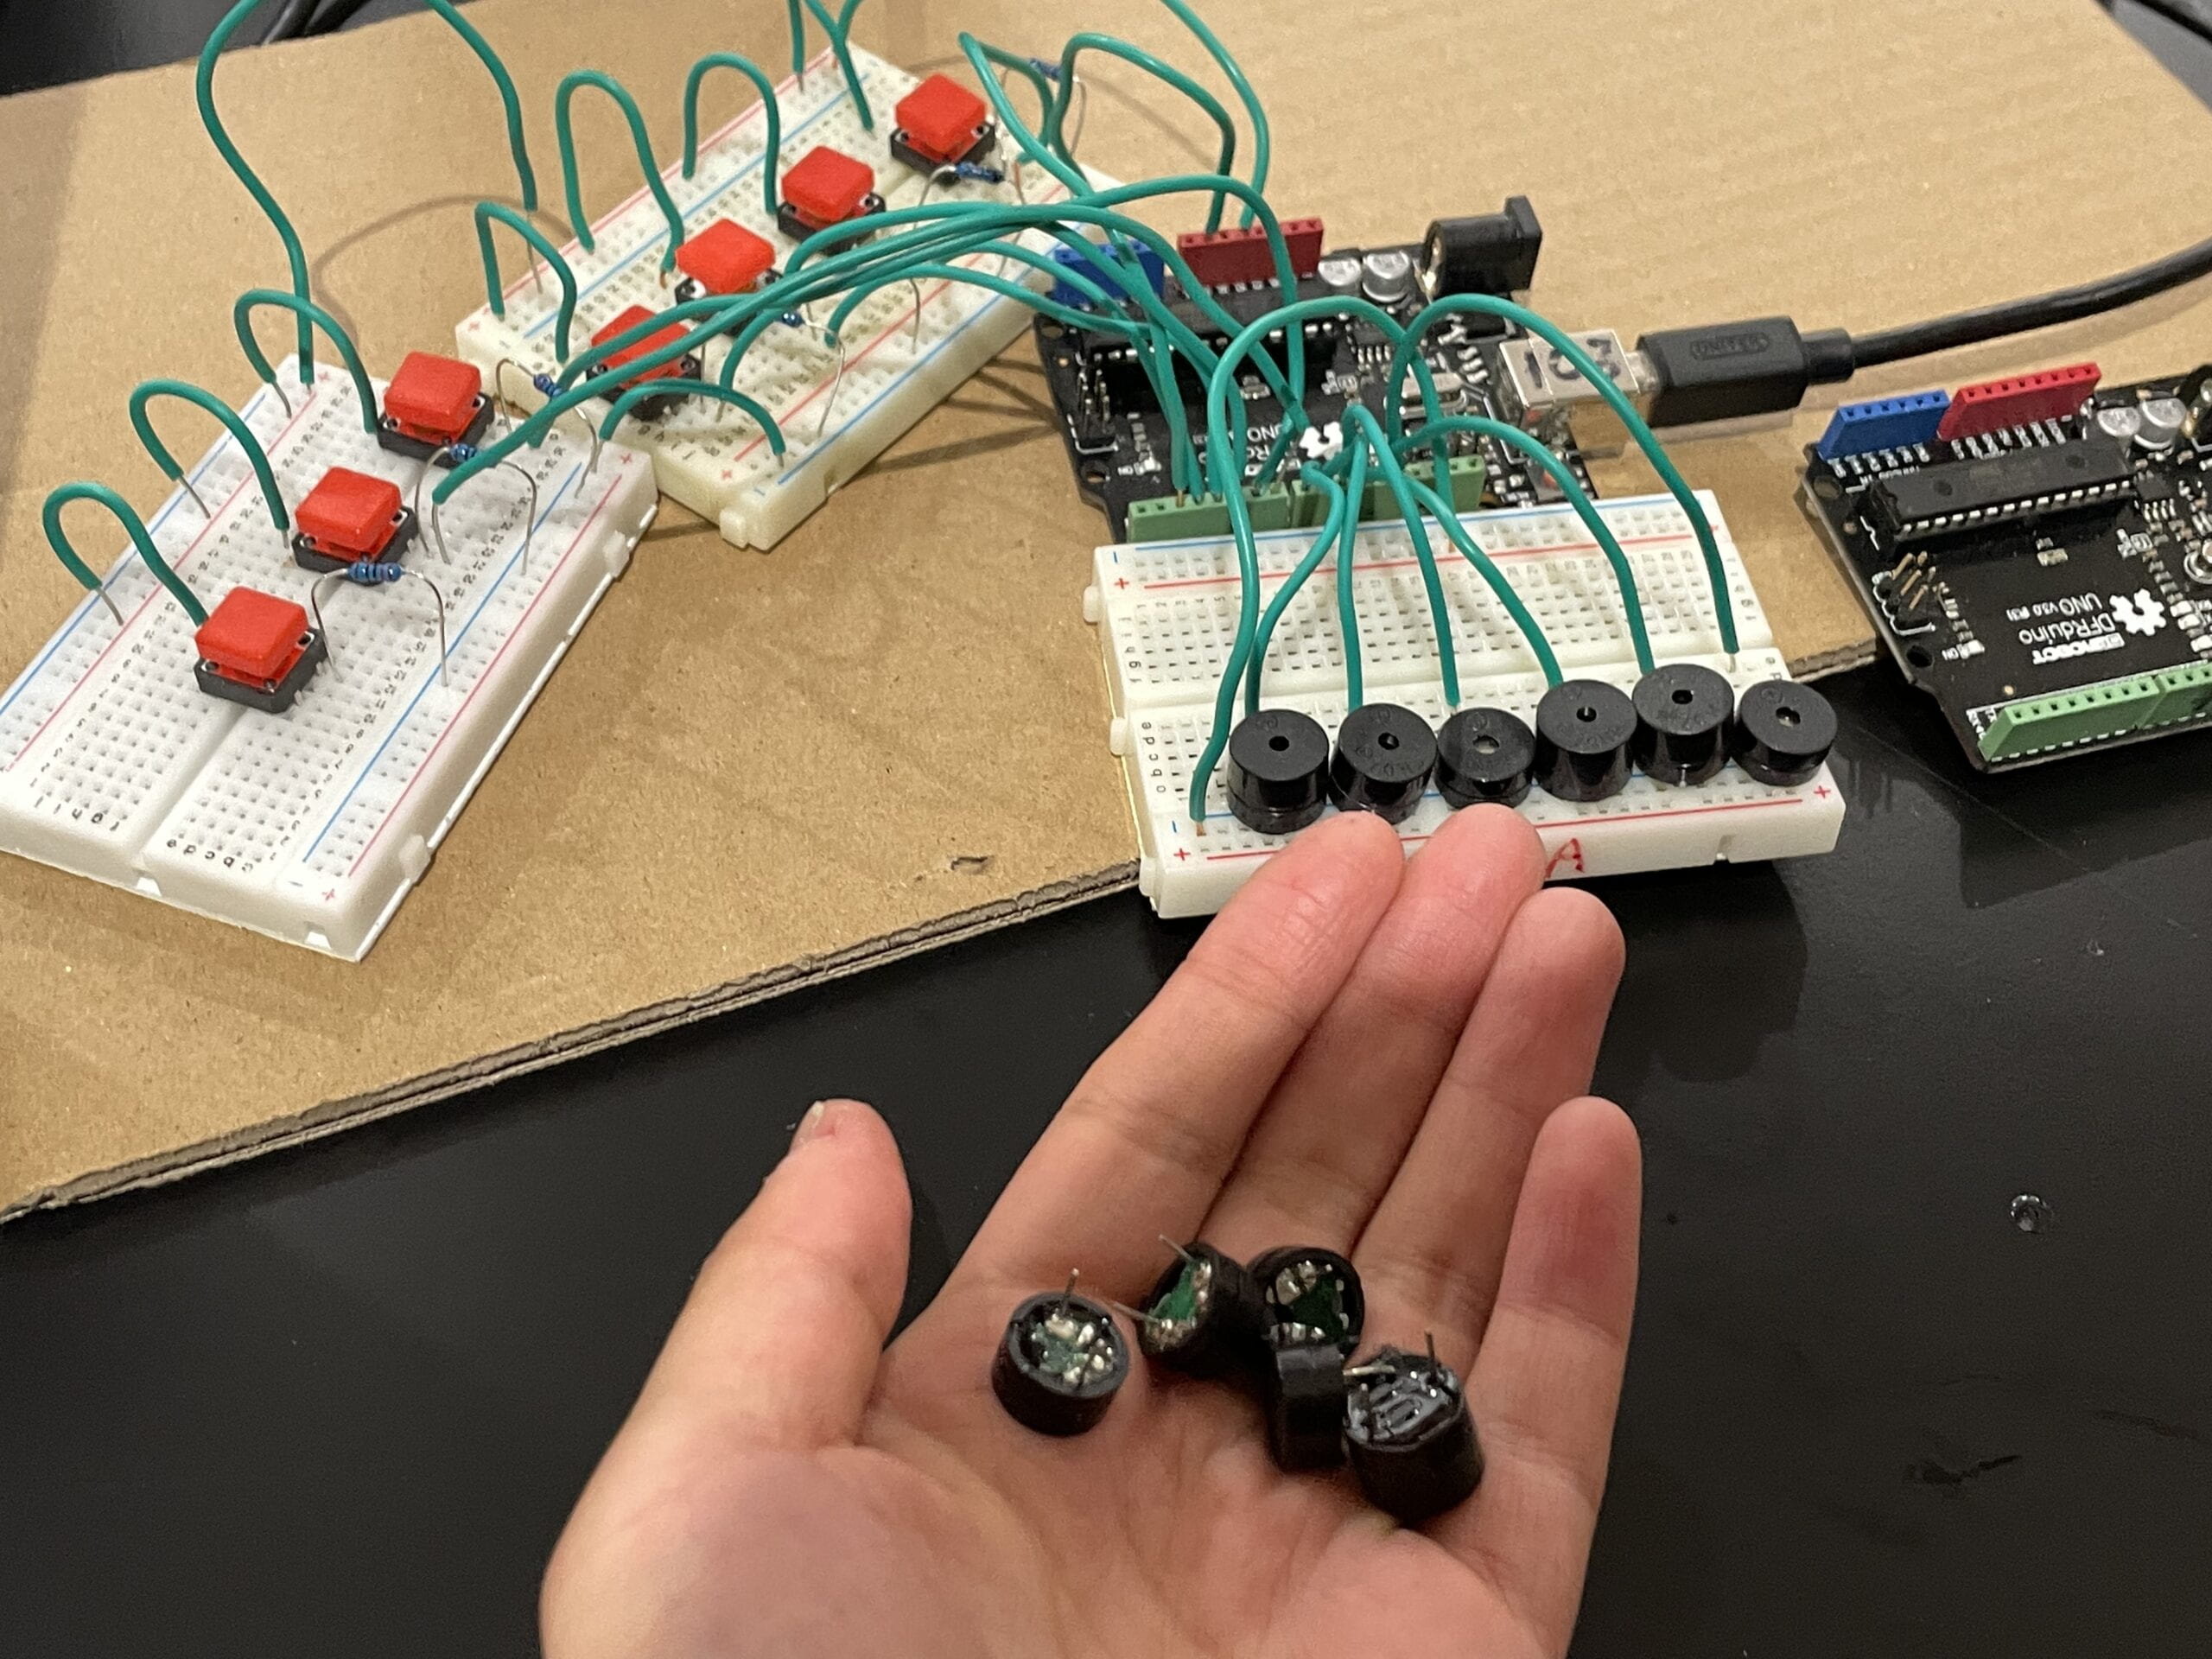
Doris continued to work on the codes, and I left for the commencement of volunteer training from 6:30 to 7:30. After I came back, Doris told me it was basically because of the buzzers. Luckily, Gohai rented several “short” buzzers to us. Unluckily, Doris’s laptop died, and she had to rewrite the codes. Since then, we will send the codes in WeChat every time we revise something.
(Here she is after changing all the wires and taking the good buzzer that Gohai gave us.)
● Mar. 8th
After I finished my class, I went to the studio to “repair” our piano. However, the sounds were still strange, and I asked Gohai for help. After checking everything, he found the problem was still the codes: the pins for each tone were all 8, but they should be 8, 9, 10, etc respectively. Then it worked!
(Here I am probably telling Doris now there are two very strange phenomena, when I press a button only the first buzzer will sound, but each one is able to make a sound. The second is to press two buttons at the same time when only one will make a sound.)
Now, we tried to find out how to make the buzzers work at the same time. This was our original codes. We think the problem is that “else if” can only satisfy one condition, so we just need to change “else if” to make the buzzers work at the same time.
long startTime = 0;

void setup() {
 pinMode(2, OUTPUT);
 pinMode(3, OUTPUT);
 pinMode(4, OUTPUT);
 pinMode(5, OUTPUT);
 pinMode(6, OUTPUT);
 pinMode(7, OUTPUT);
}

void loop() {
if (digitalRead(2) == HIGH) {
   tone(8, 262); //C
 }
 else if (digitalRead(3) == HIGH) {
   tone(9, 294); //D
 }
 else if (digitalRead(4) == HIGH) {
   tone(10, 330); //E
 }
 else if (digitalRead(5) == HIGH) {
   tone(11, 349); //F
 }
 else if (digitalRead(6) == HIGH) {
   tone(12, 392); //G
 }
 else if (digitalRead(7) == HIGH) {
   tone(13, 440); //A
 }
 else {
   noTone(8);
   noTone(9);
   noTone(10);
   noTone(11);
   noTone(12);
   noTone(13);
   noTone(14);
 }
}
After revising the codes many times, it worked for a short time and then died. Finally, after Gohai’s help, we got codes that can make at most 3 buttons work at the same time!
So here is our final codes for the piano:
#include <Tone.h>
long startTime = 0;

Tone tones[3];  // an array of tone instances
int freqs[3];    // an array of frequencies currently playing

void setup() {
 tones[0].begin(8);
 tones[1].begin(9);
 tones[2].begin(10);
}

void loop() {
 if (digitalRead(2) == HIGH) {
   playTone(262);
 } else {
   stopTone(262);
 }
 if (digitalRead(3) == HIGH) {
   playTone(294);
 } else {
   stopTone(294);
 }
 if (digitalRead(4) == HIGH) {
   playTone(330);
 } else {
   stopTone(330);
 }
 if (digitalRead(5) == HIGH) {
   playTone(349);
 } else {
   stopTone(349);
 }
 if (digitalRead(6) == HIGH) {
   playTone(392);
 } else {
   stopTone(392);
 }
 if (digitalRead(7) == HIGH) {
   playTone(440);
 } else {
   stopTone(440);
 }
 if (digitalRead(1) == HIGH) {
   playTone(494);
 } else {
   stopTone(494);
 }
}

void playTone(int freq) {
 // check if we're already playing it
 for (int i=0; i < 3; i++) {
   if (freqs[i] == freq) {
     // already playing it, nothing to do
     return;
   }
 }
 // we're not, see if there is a free slot
 for (int i=0; i < 3; i++) {
   if (freqs[i] == 0) {
     // found an empty slot
     freqs[i] = freq;
     tones[i].play(freq);
     return;
   }
 }
}

void stopTone(int freq) {
 // check if we are playing it
 for (int i=0; i < 3; i++) {
   if (freqs[i] == freq) {
     // found it, stop playing it
     freqs[i] = 0;
     tones[i].stop();
     return;
   }
 }
}
After trying, I noticed that when I pressed only one button, the buzzer connected with pin 8 worked; when I pressed two, the buzzer connected with pins 8 and 9 made sounds; and if I pressed three buttons, the buzzers connected with pins 8 and 9 and 10 worked. In this way, I detached the other 3 buzzers and remained with the first 3 of them.
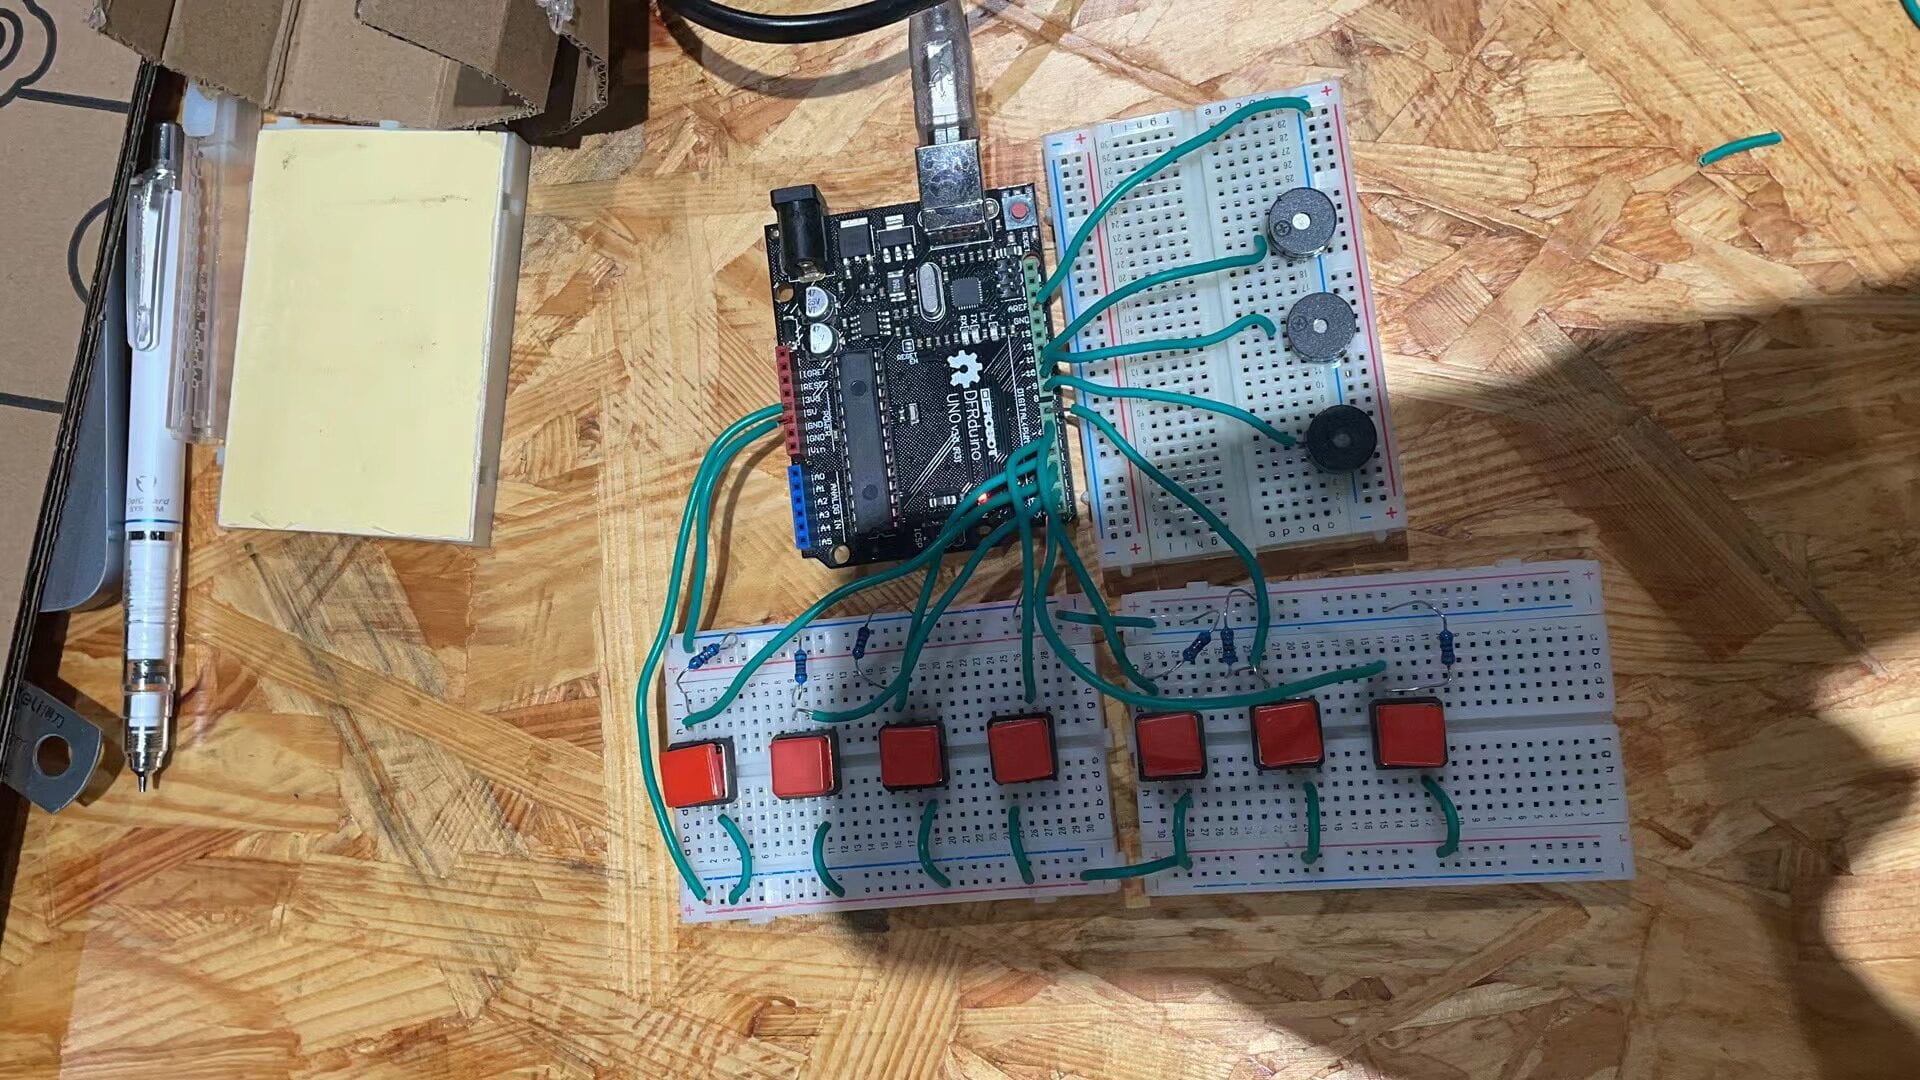
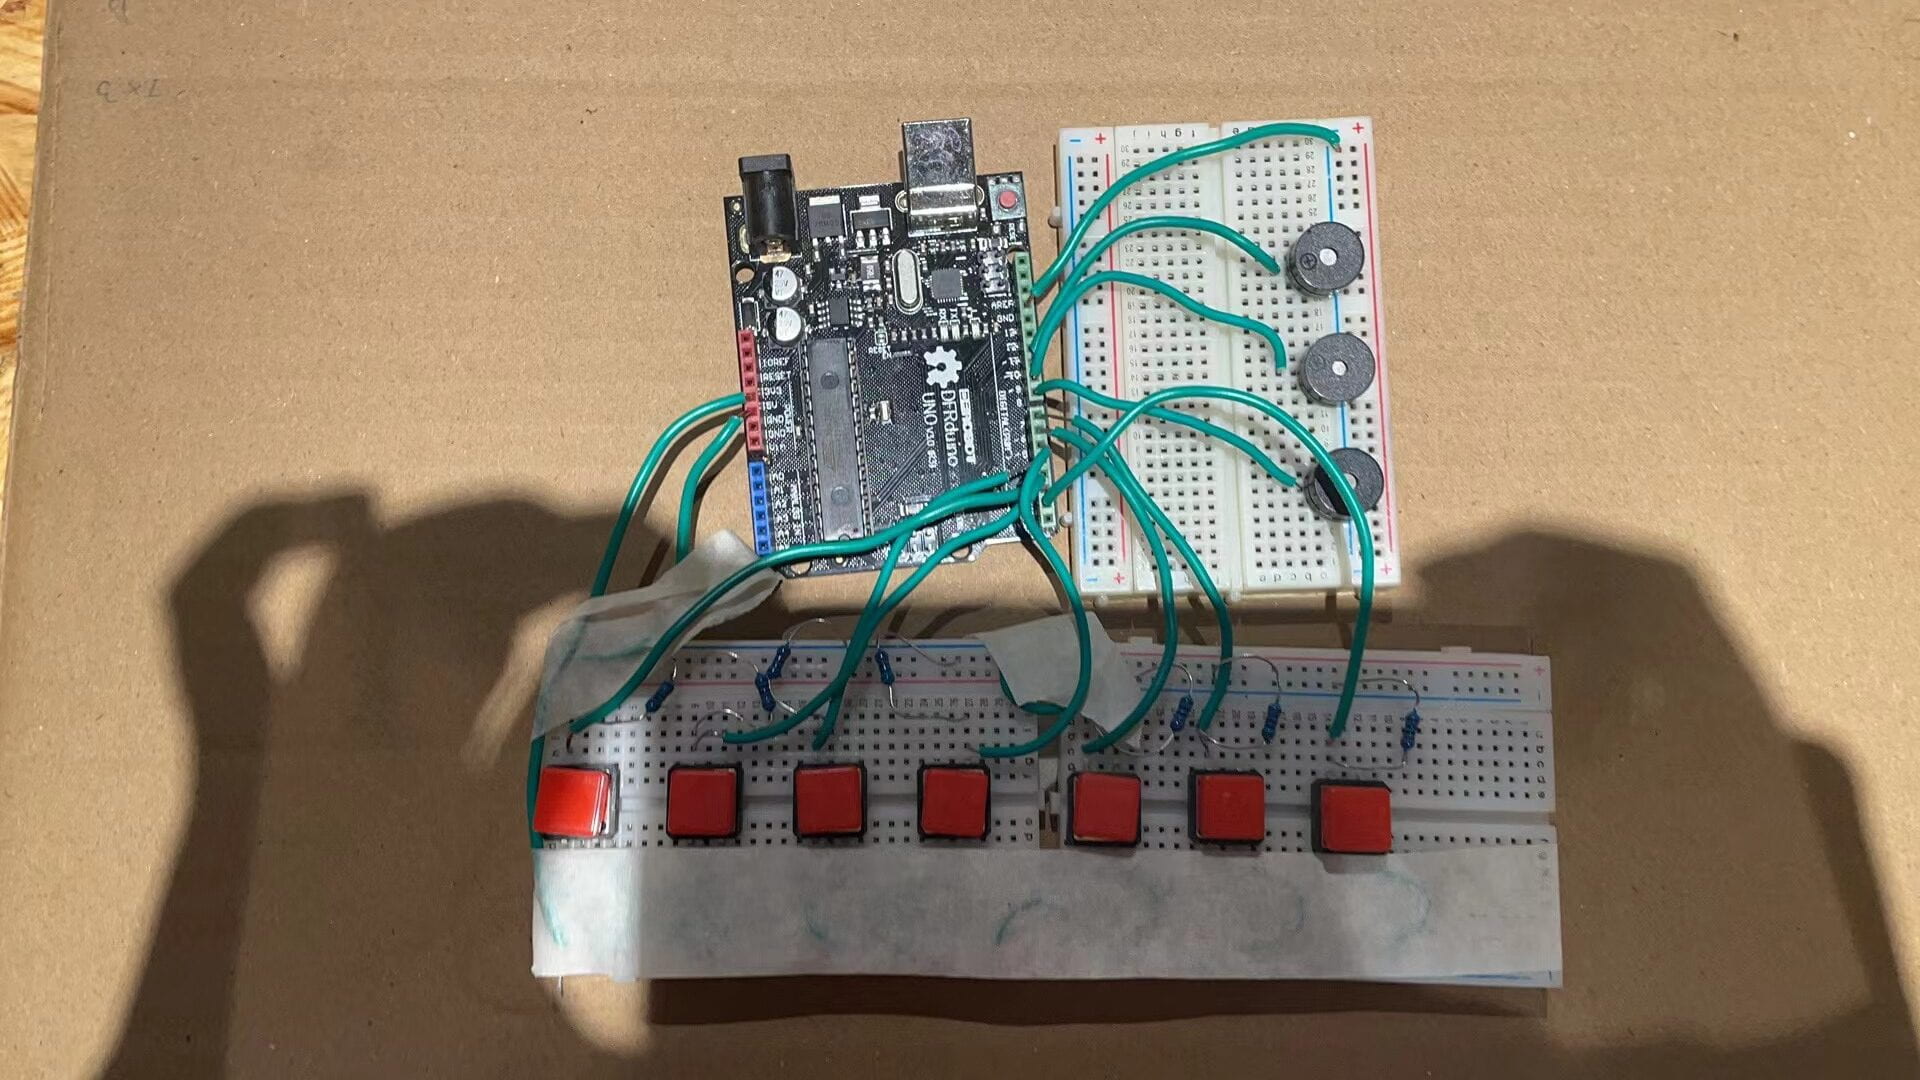
After this, we put the breadboard and Arduino on the cardboard, and then used another piece of cardboard to cut out a rectangle in the same position. After that, we cut out seven keys according to the width we measured before.
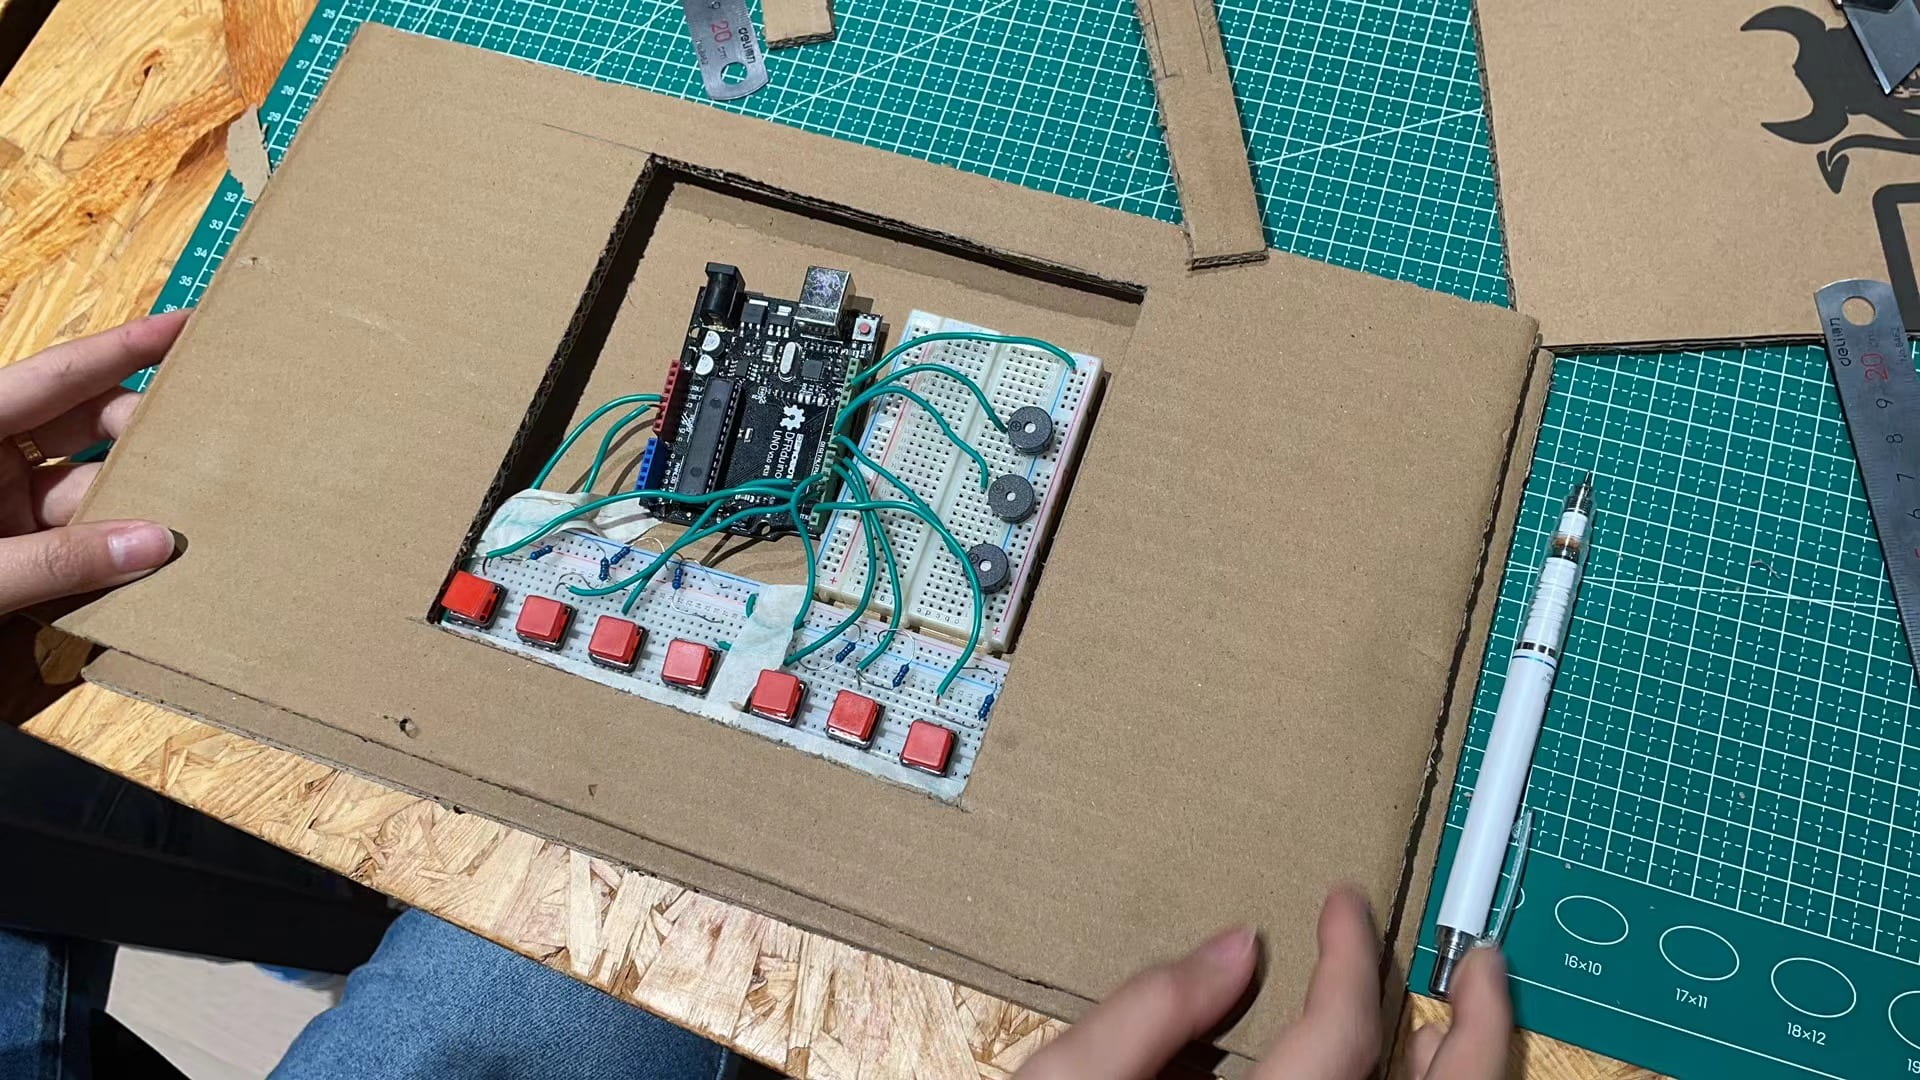
At this point, we had basically finished the piano-making. Next, we started to make the guitar.
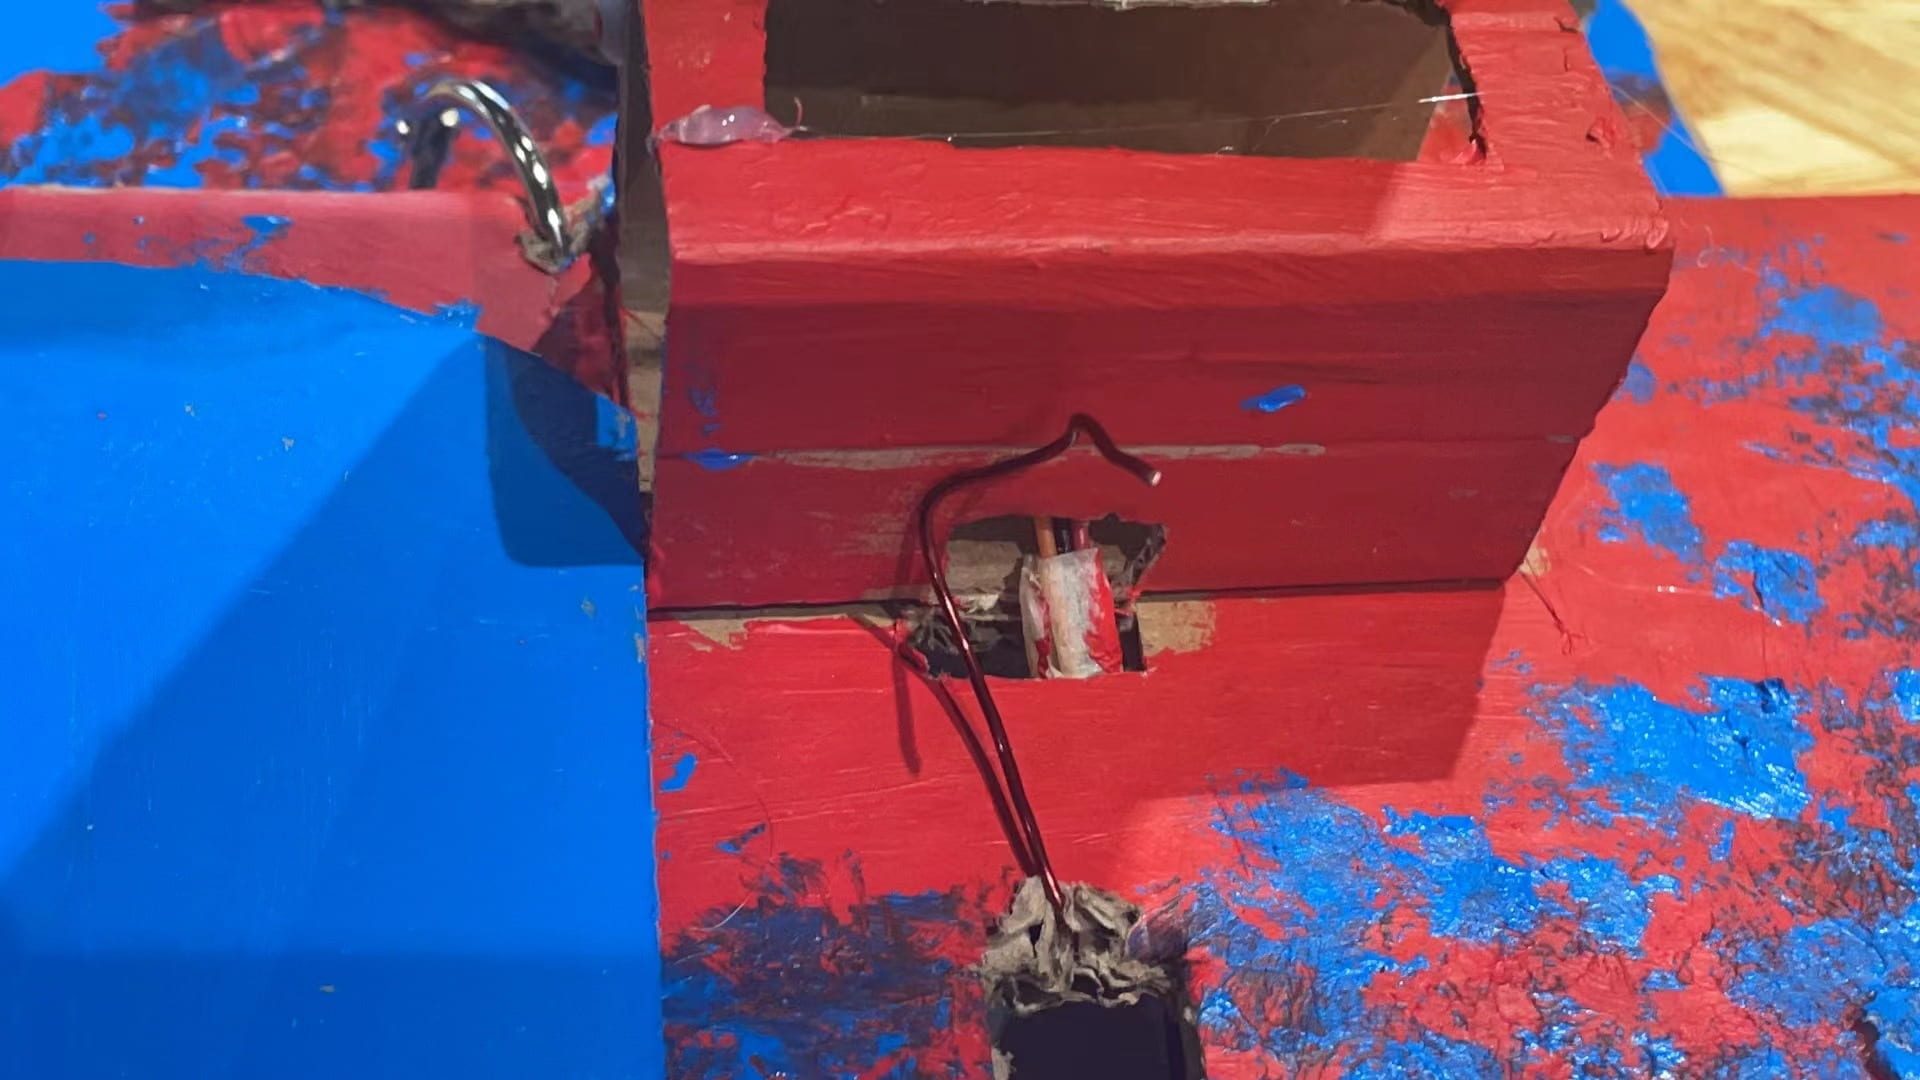
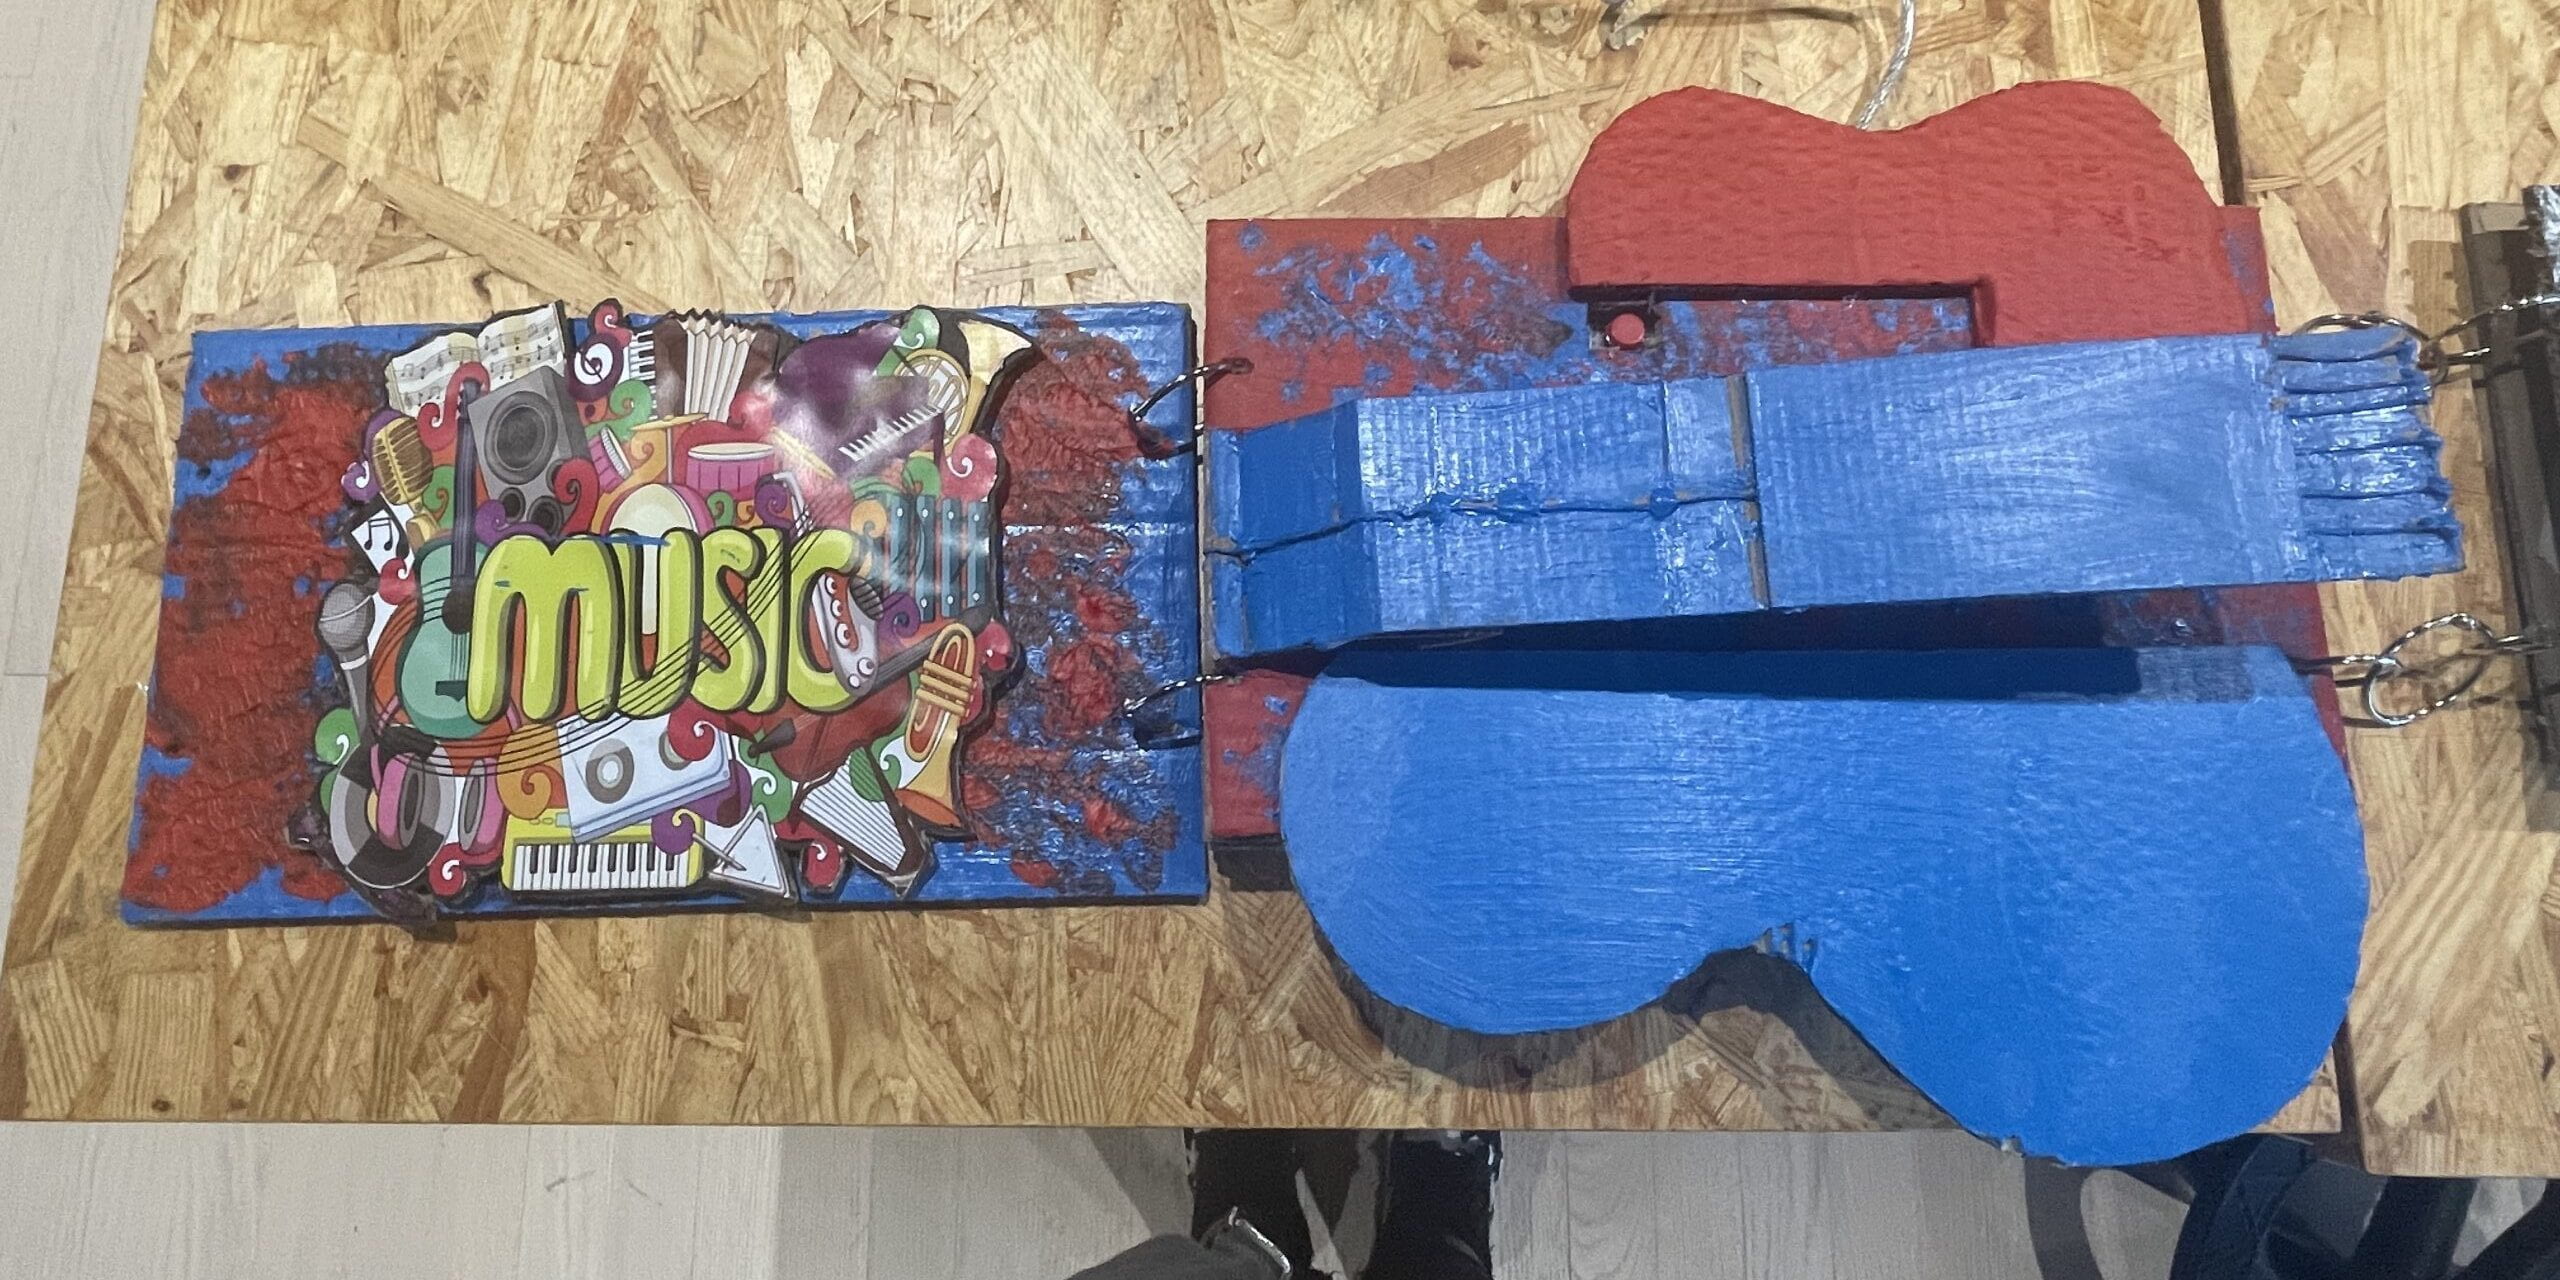
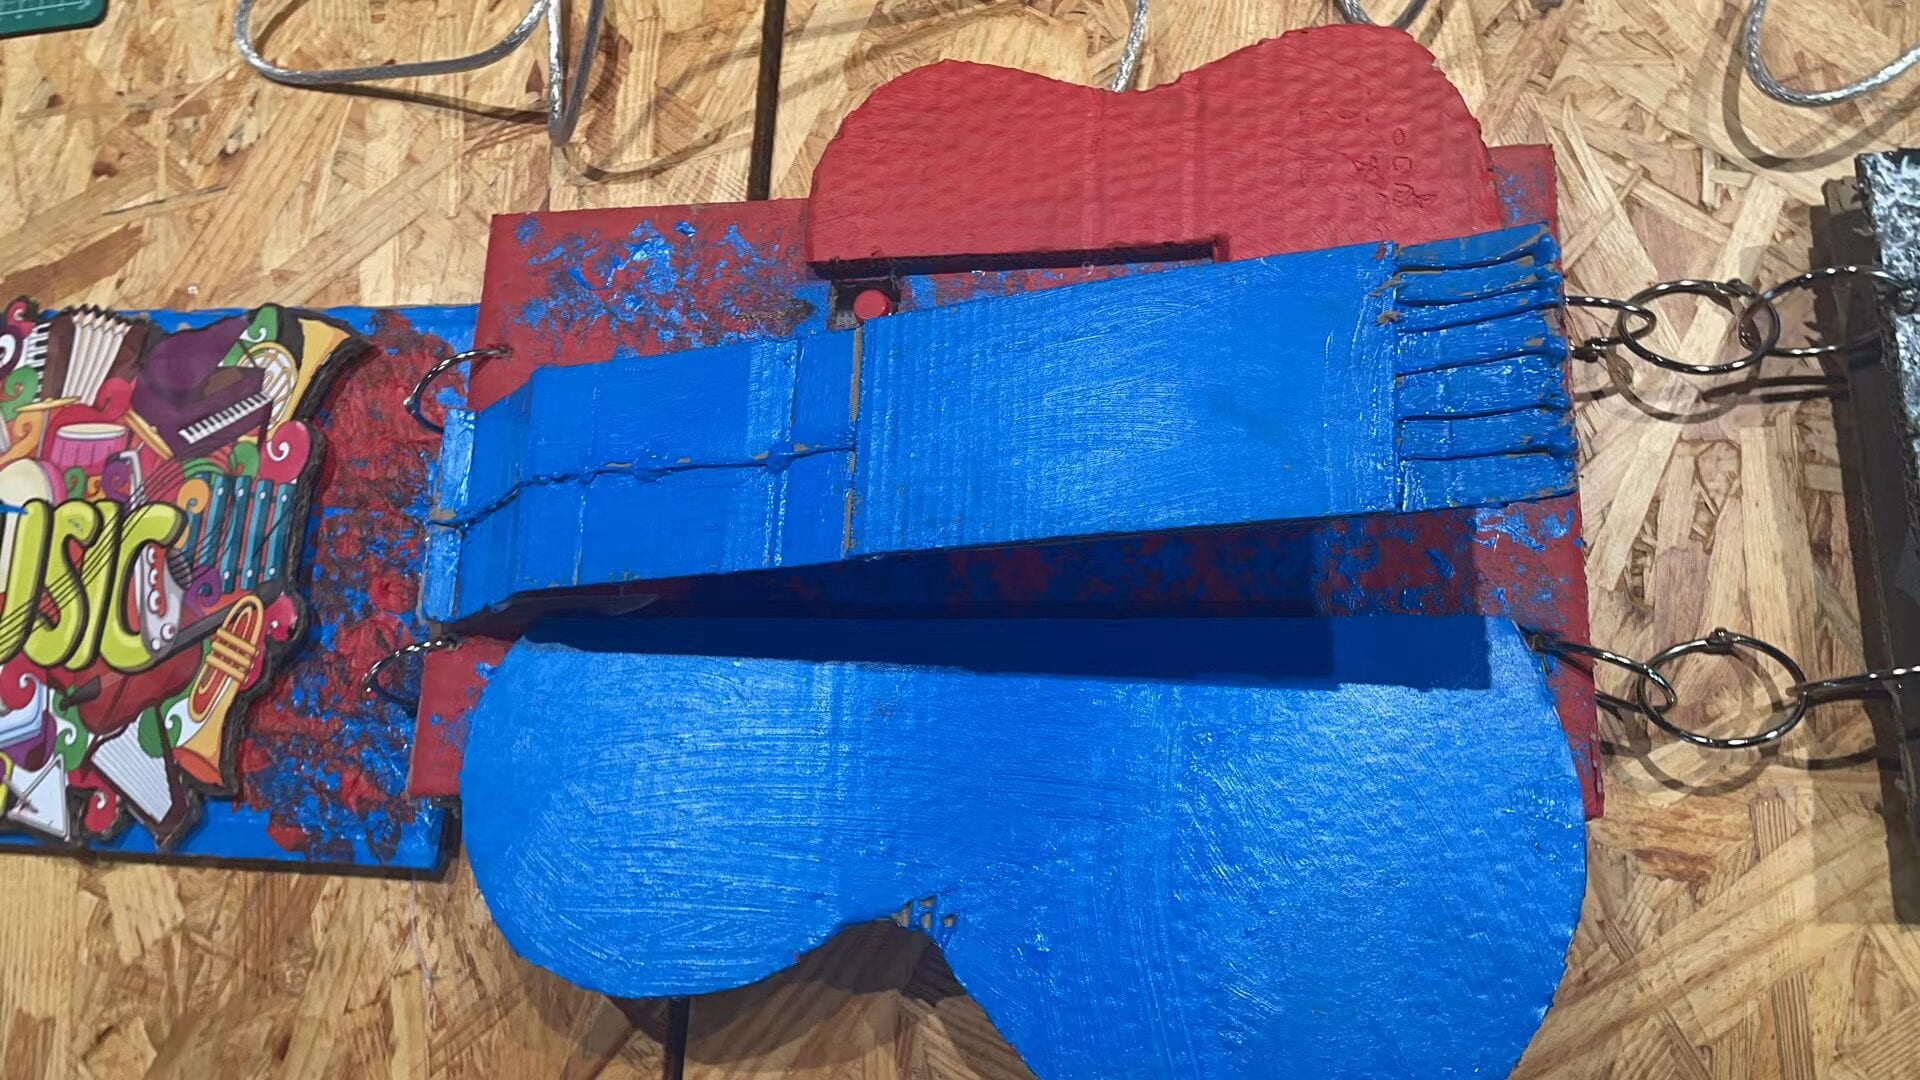
It was still not difficult to write the codes, and we tried to use a small piece to make the guitar fold (then it could become a book). Also to make it more like a guitar, we use the iron steel as the strings.
#include <SharpIR.h>

#define IRPin A0
#define model 1080

int distance_cm;
SharpIR mySensor = SharpIR(IRPin, model);

void setup() {
 Serial.begin(9600);
}

void loop() {
 distance_cm = mySensor.distance();

 Serial.print("Distance: ");
 Serial.print(distance_cm);
 Serial.println(" cm");

 if (distance_cm < 12) {
   tone(8, 262); // C
 } else if (distance_cm < 24) {
   tone(8, 294); // D
 } else if (distance_cm < 36) {
   tone(8, 330); // E
 } else if (distance_cm < 48) {
   tone(8, 349); // F
 } else if (distance_cm < 60) {
   tone(8, 392); // G
 } else if (distance_cm < 72) {
   tone(8, 440); // A
 } else if (distance_cm < 84) {
   tone(8, 494); // B
 } else if (distance_cm < 96) {
   tone(8, 523); // C2
 } else {
   noTone(8);
 }

 delay(50);
}
● Mar. 9th
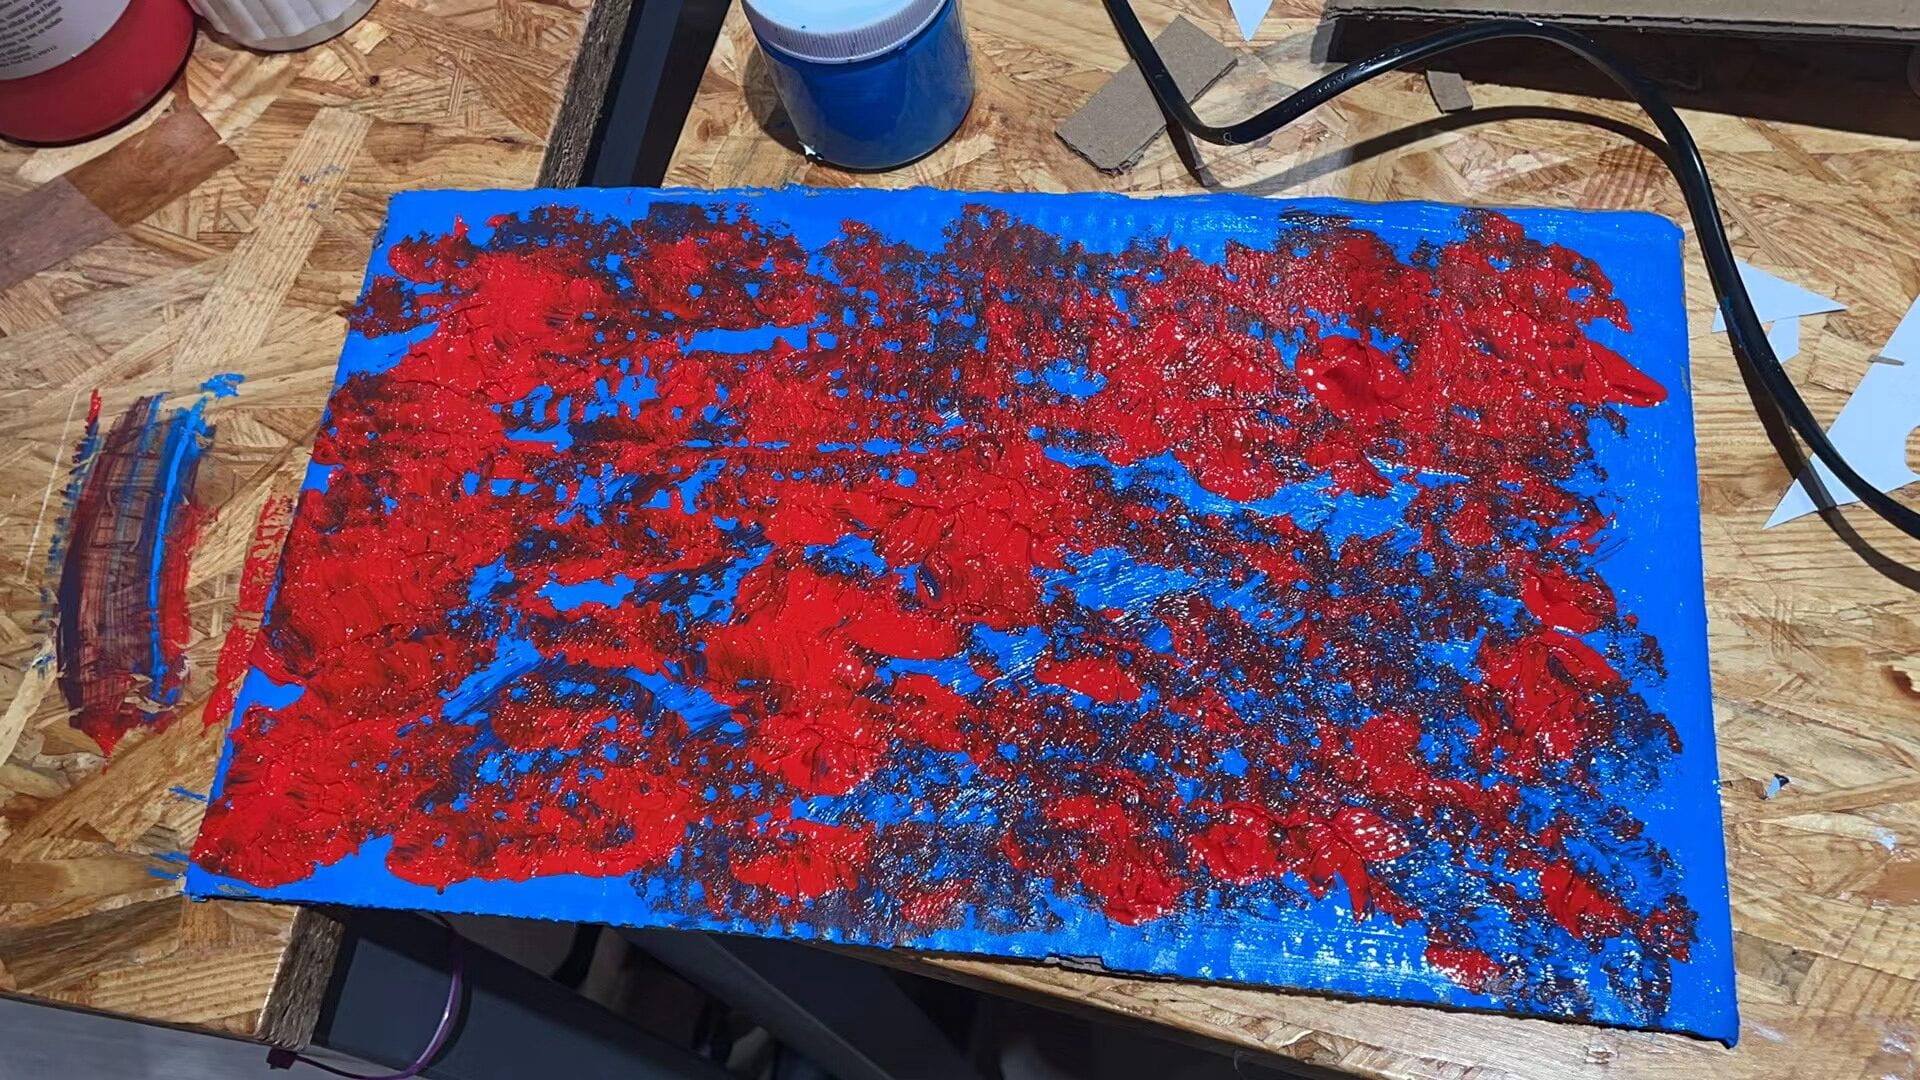
Things became much easier today. Our main object was decoration! I had printed many resources we could use and a fancy cartoon that is highly suitable as a cover before we met. The brushes had already formed hard lumps, so Doris thought up the idea to use the napkins with water. So we used them to paint the base color first, fold the paper out onto a small, uneven surface, brush out the base color throughout, and then lightly dip the top into the grain. This was really wonderful!
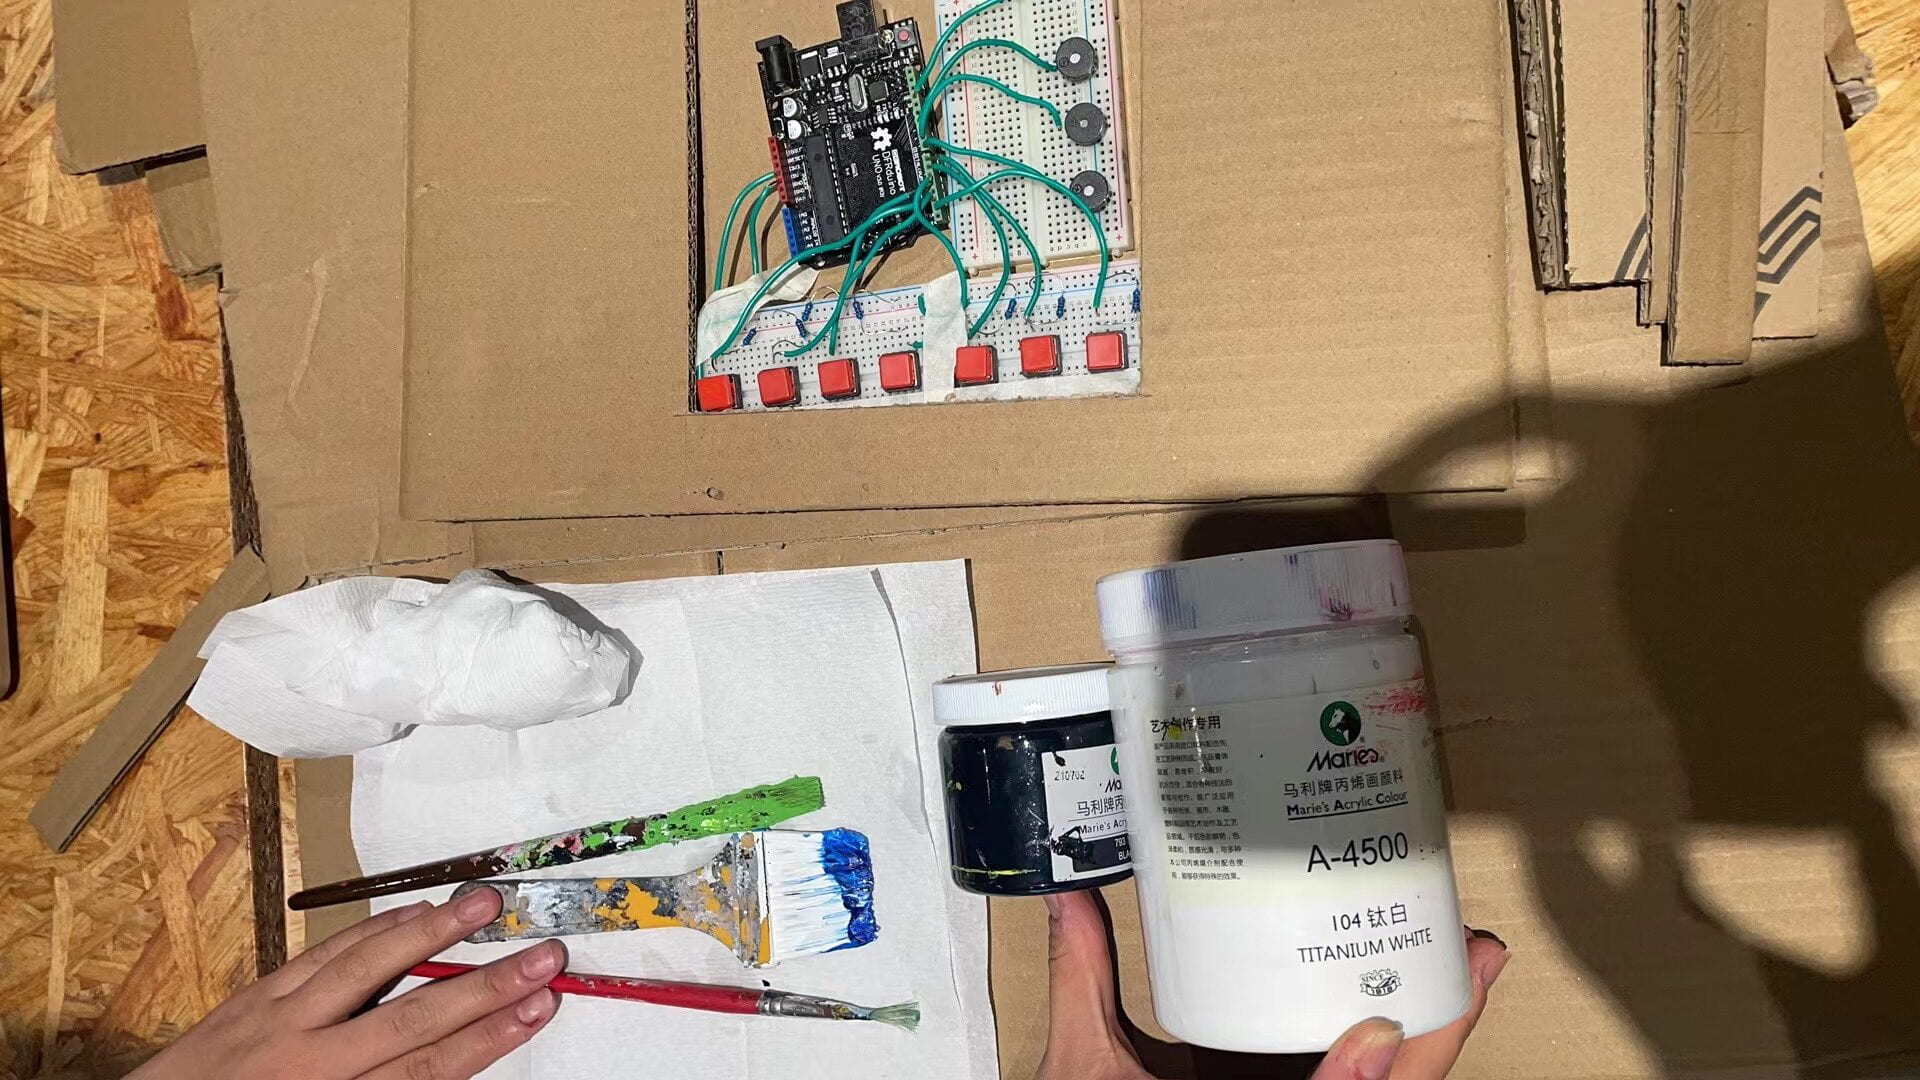
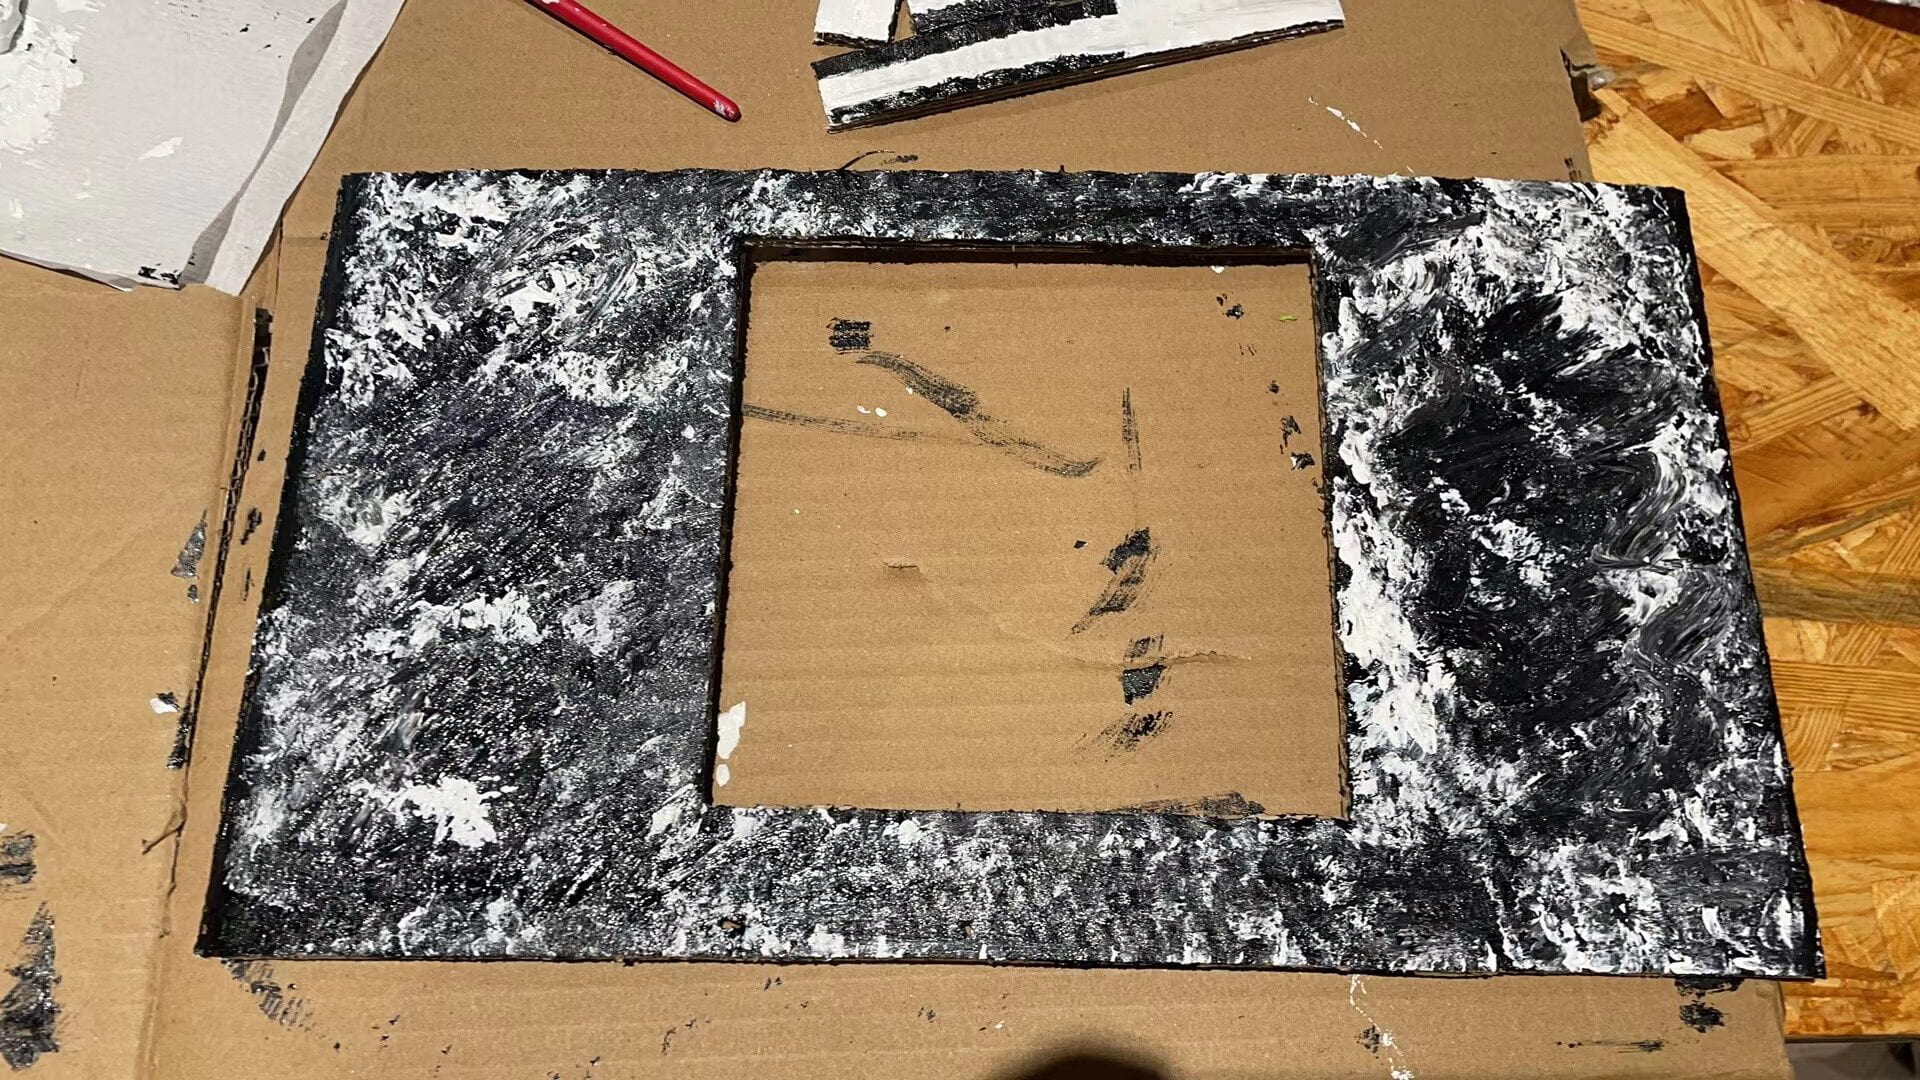
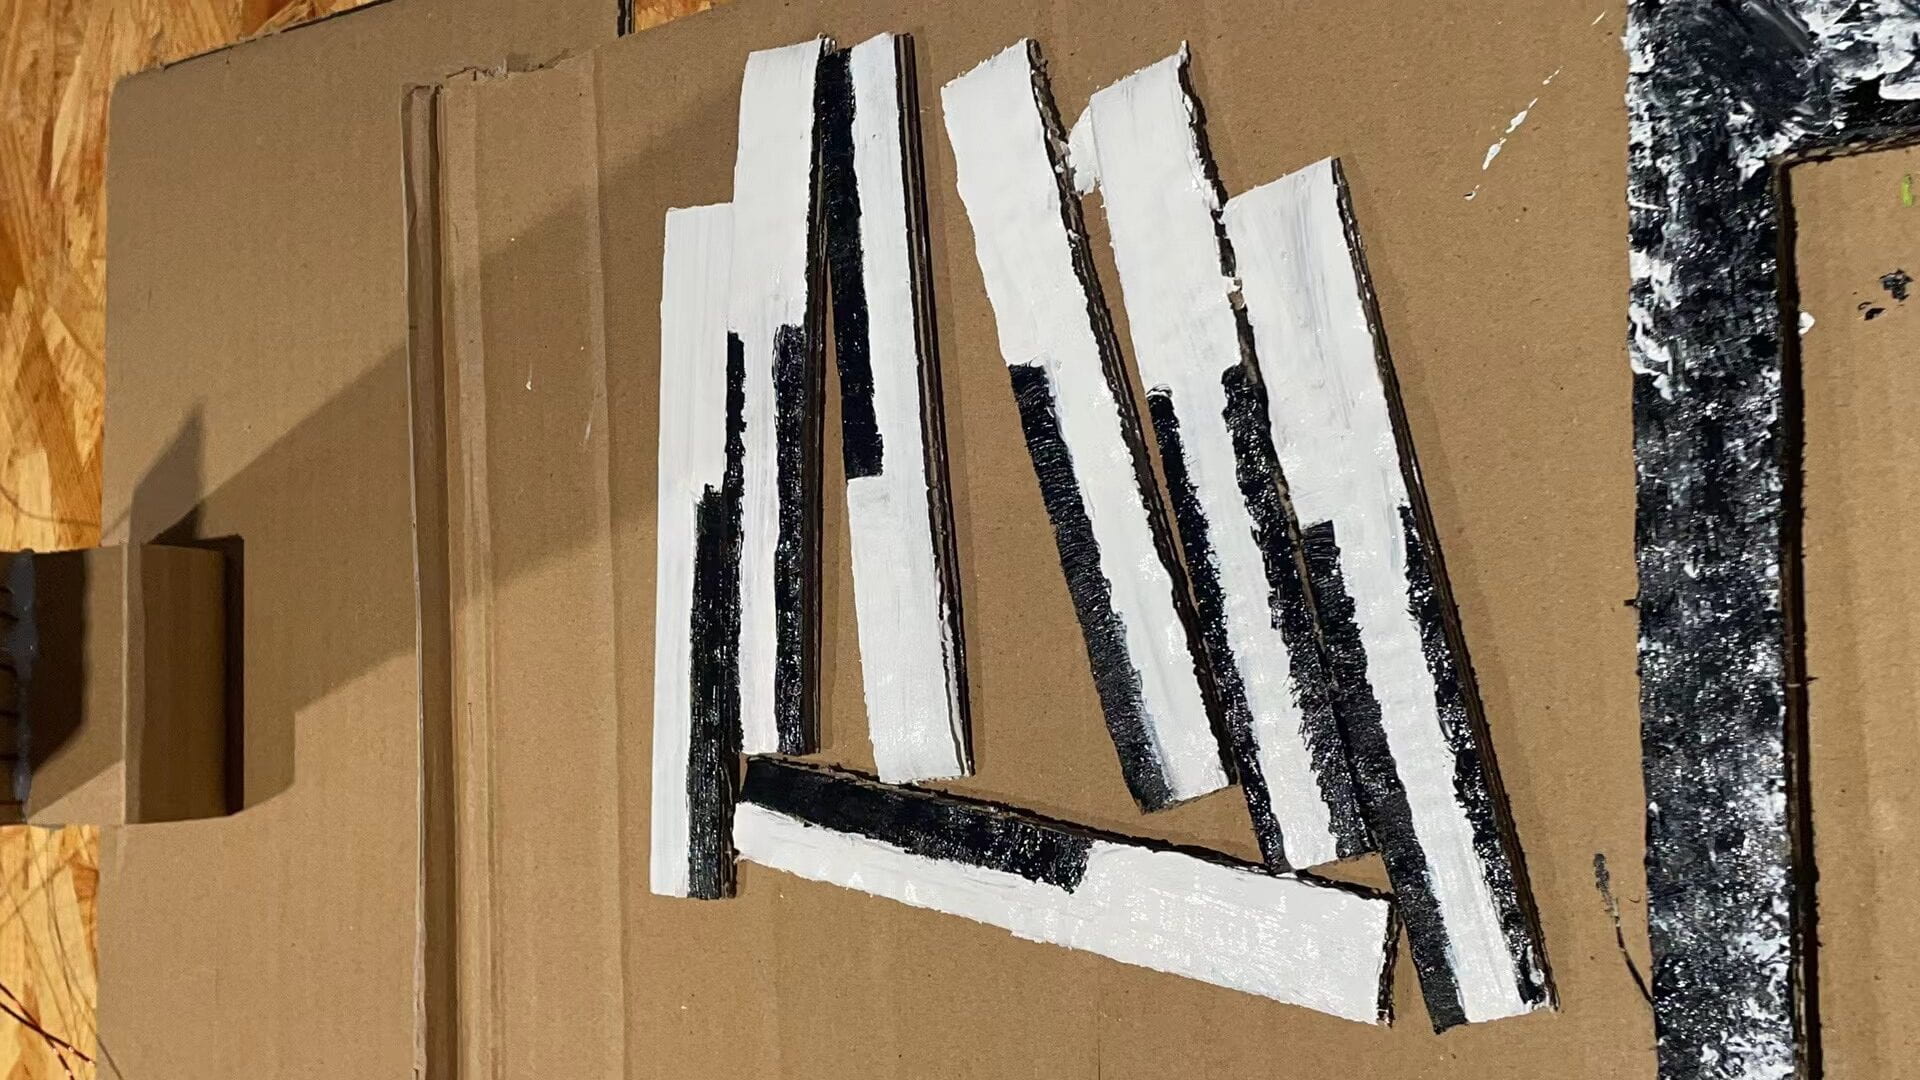
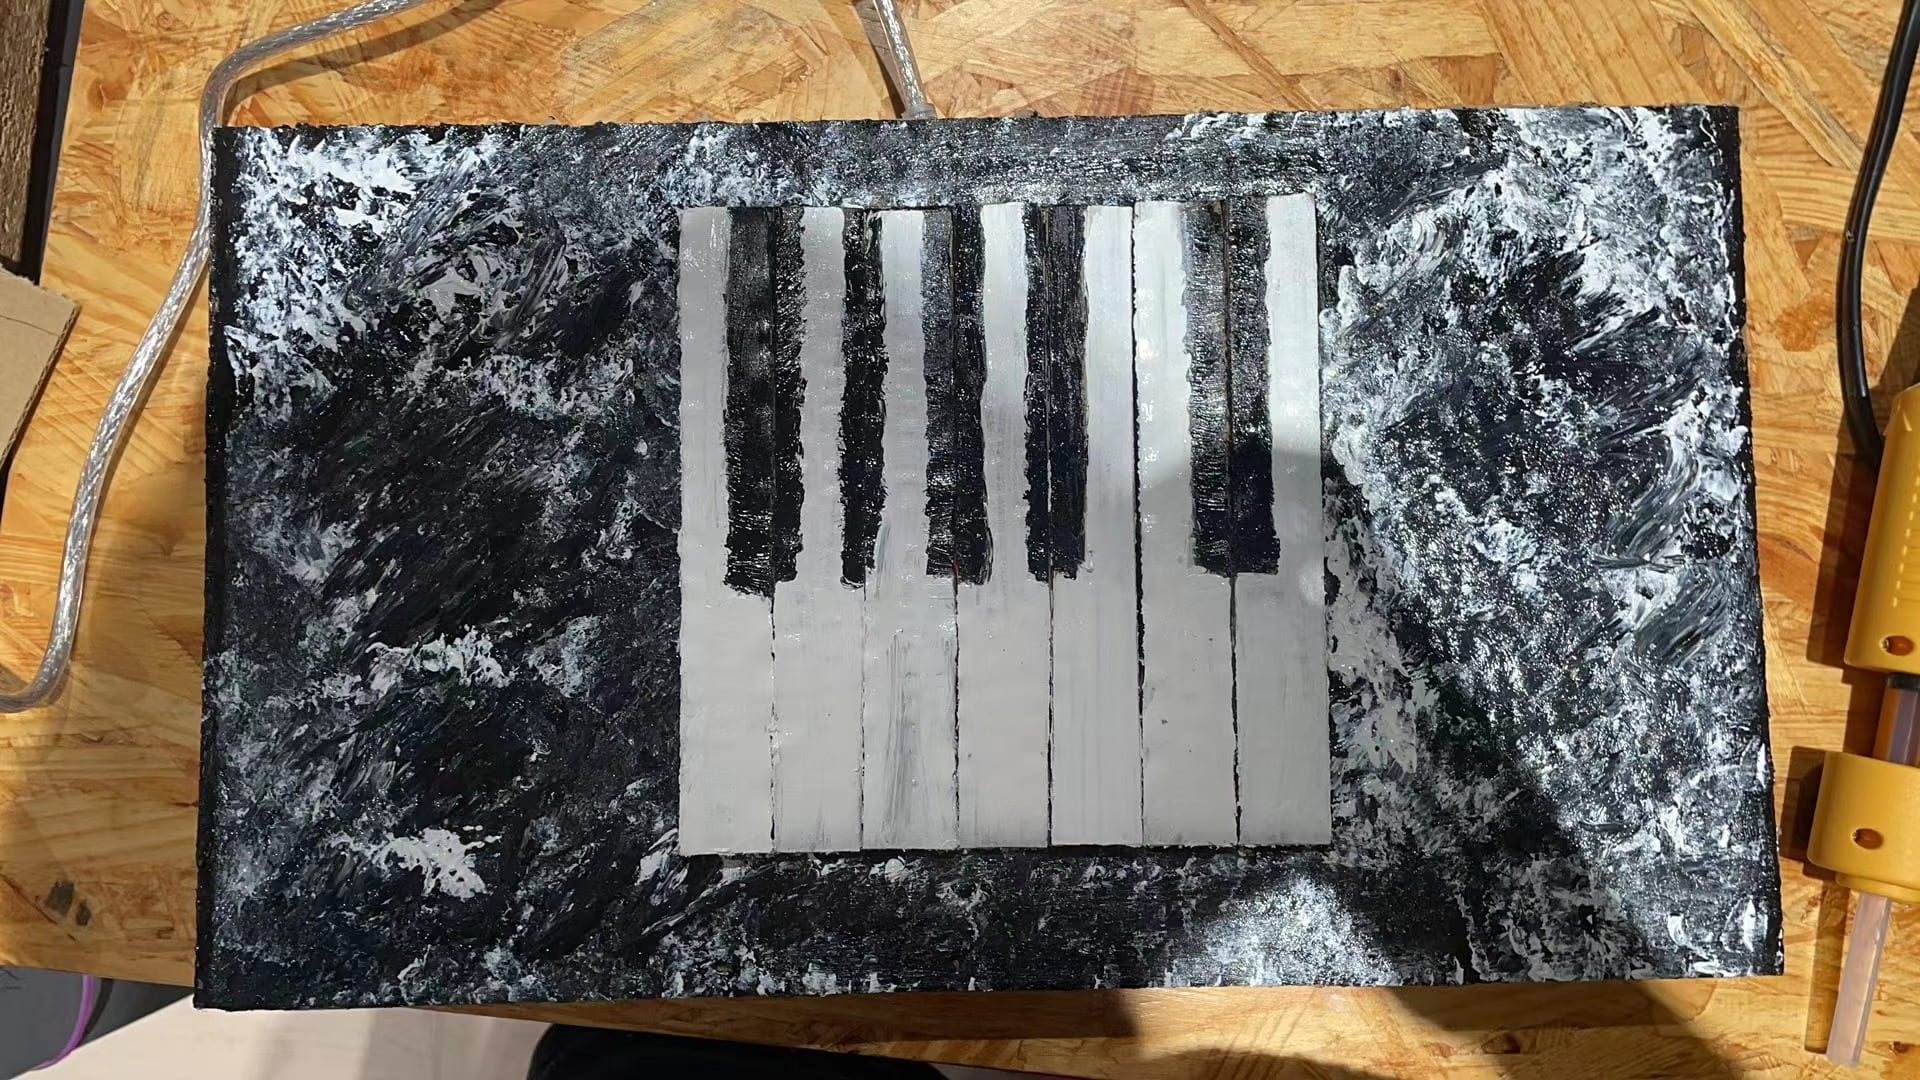
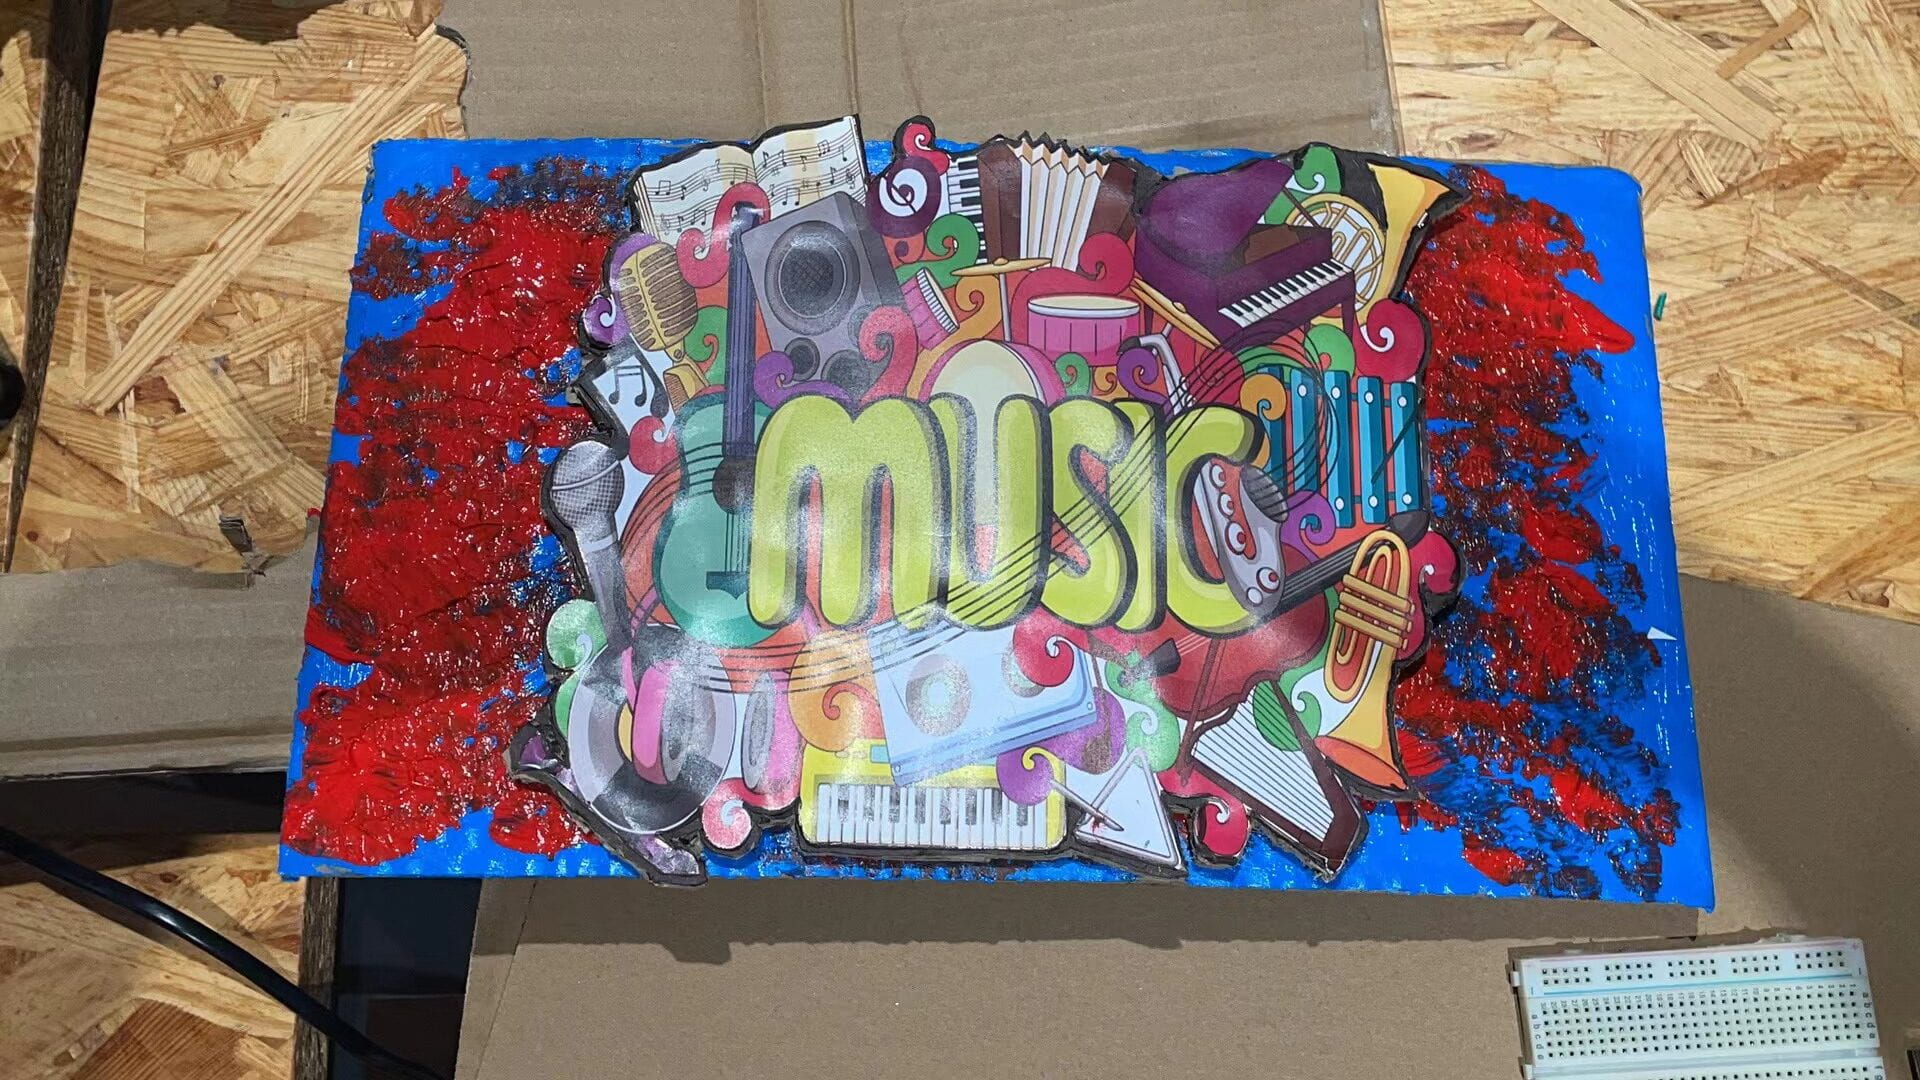
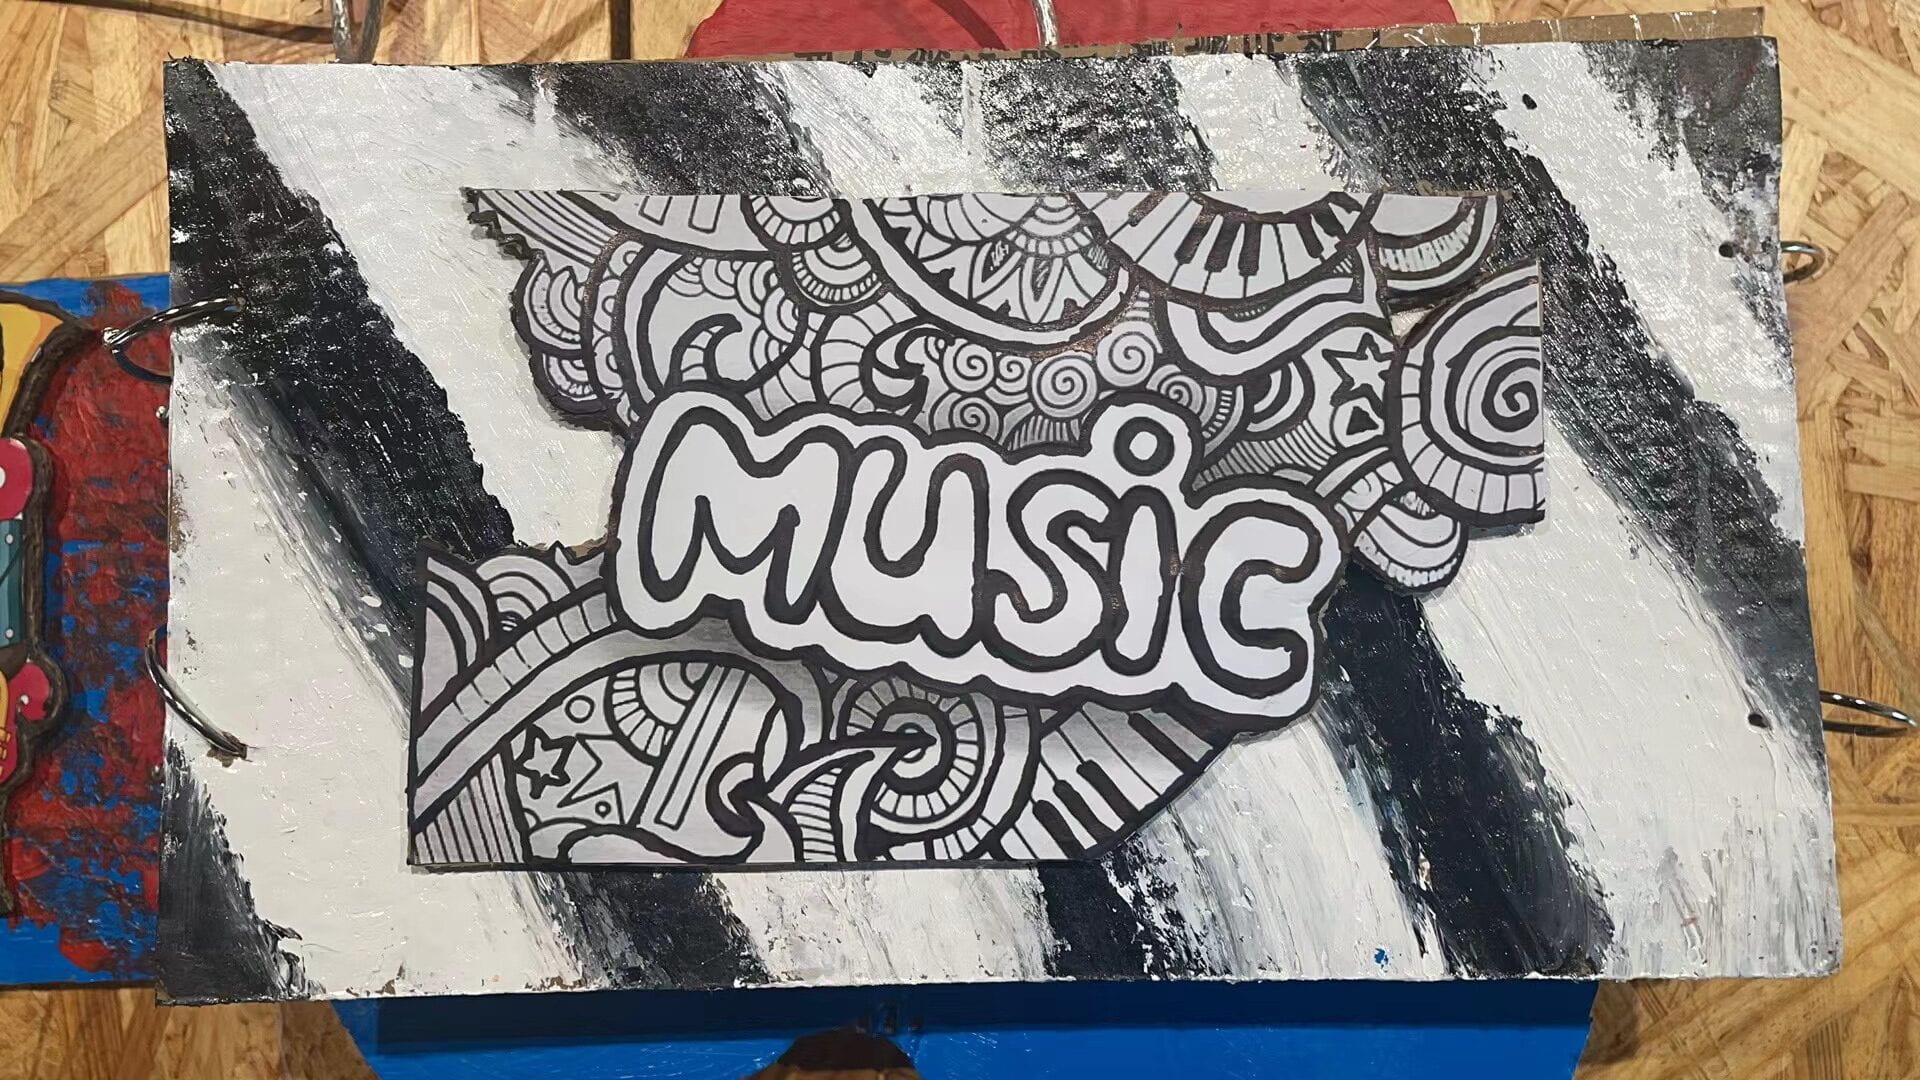
 For the decoration and the cover, we cut pieces with the same pattern as the cartoon and stuck it on the cover to make a vertical effect.
After we tried it sometimes, we noticed that as soon as the Arduino was connected with the computer, the sensor would begin to work and the buzzer began to ring. So adding a button was probably a good idea. Only after the user pressed the button would the guitar begin to work. However, there was not enough time to finish this. So Doris went back to the dorm to try to change the code to add a button to the controls, and I stayed to work on the final touches.
Here is what it looked like one day before the user test.
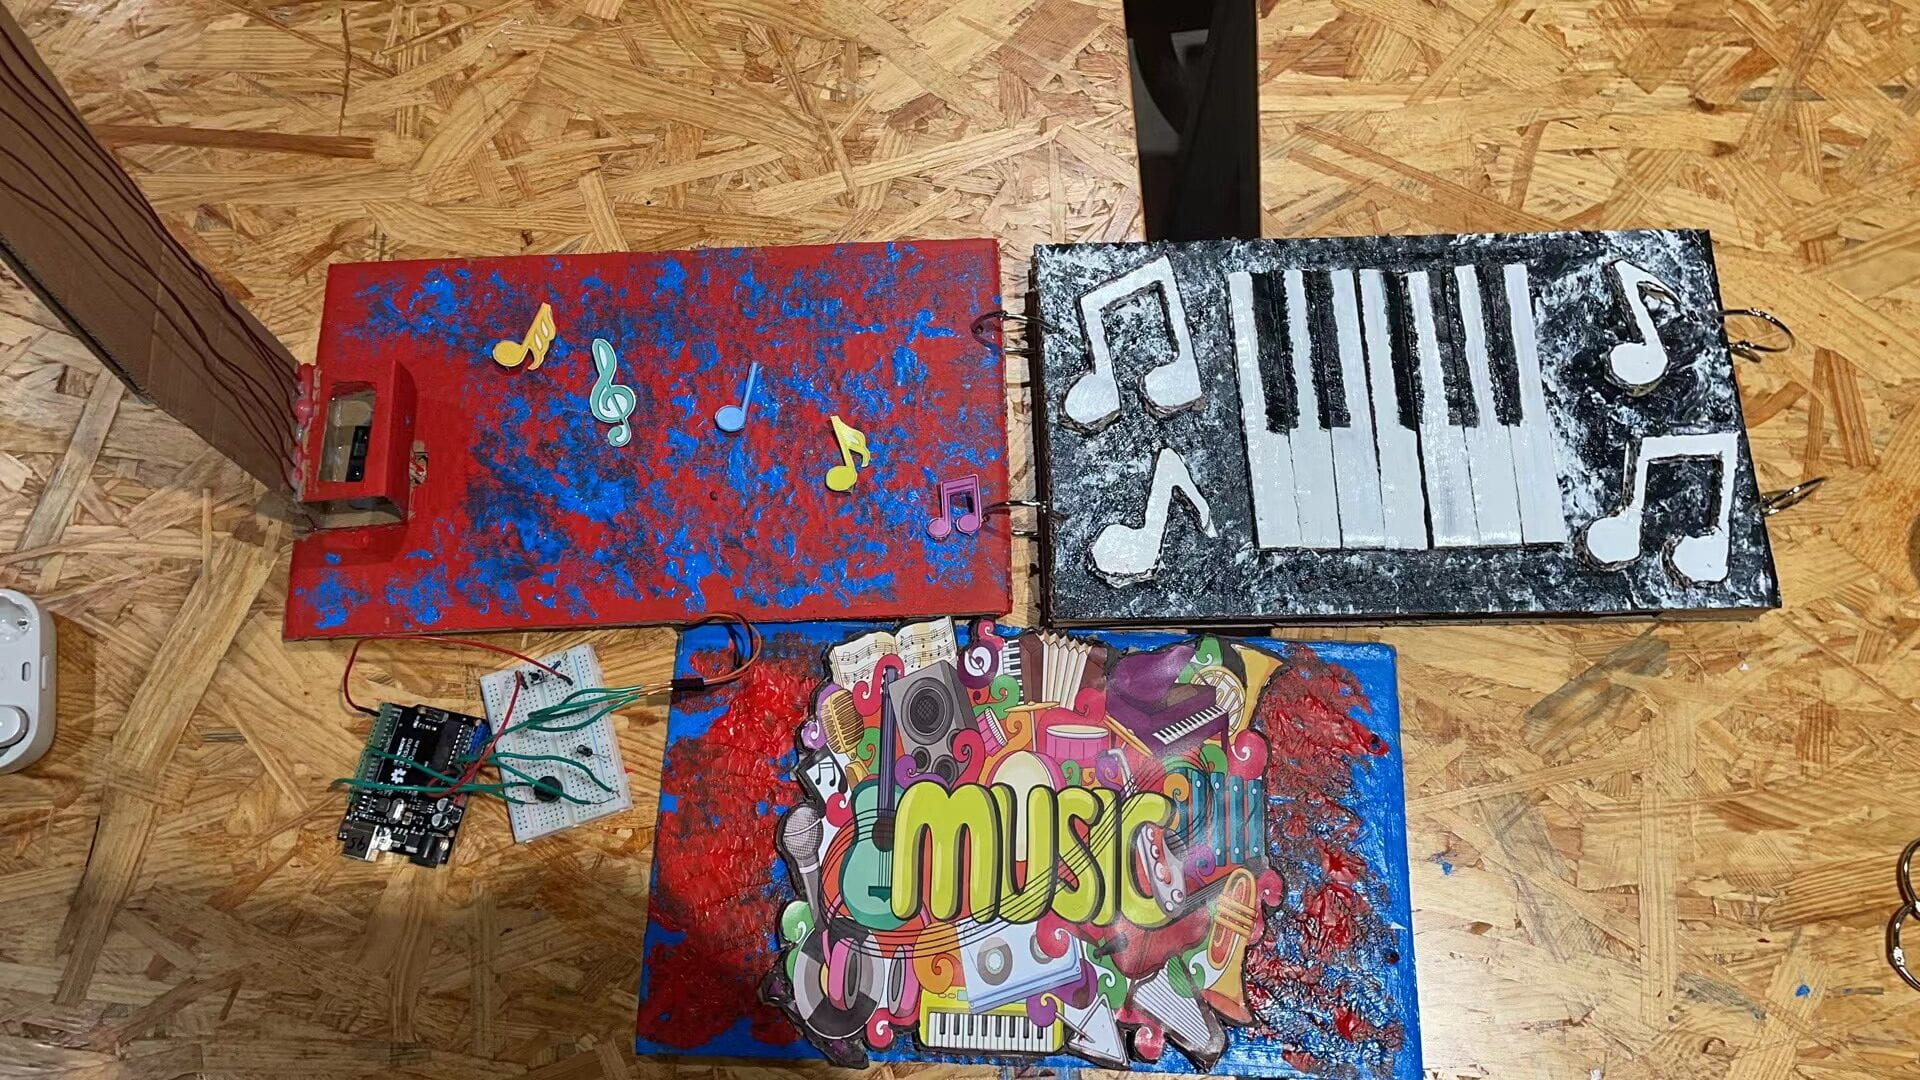
● Mar. 10th
Today was the user testing day. But because Doris and I are not in the same recitation, I have to exhibit the project myself. Although I borrowed a laptop from IT before the class, it can’t work. So after I plugged two Arduinos into my laptop, something strange happened.
The same code and circuit could have worked last night, but not now. I’m worried if I take off the wrong wires because I was trying the button code of the guitar in the morning. However, unfortunately, even with both Jelena and Gohai’s help, nothing changed.
Doris arrived at around 12:00, and we both did some more trying, but still no luck. When we were troubled, it occurred to me that if we connected the guitar to Doris’s computer and tried it out? The result is this, the simplest operation of the piano and guitar can work again.. In any case, our project was then working properly. Here are some suggestions we get:
Good parts:
Good-looking
Needing improvement part:
1. Put the buzzer outside or change a large speaker because the sound is a little small, but may be because the environment is too noisy
2. When showing it to audience, it can be folded up first
3. Minsky: Mark book and page, more like a music book
4. Gohai: separate the instruments into different books
Another thing is that we found that one computer can connect two Arduinos, but we need to connect one first and select the port and then connect the other one.
● Mar. 13th
This is the last day before the presentation. After some discussion, Doris and I decided to accomplish the following things:
First, install a button for the guitar.
After working with Tracy and Kevin for more than two hours, we didn’t write the most suitable code afterwards. What we figured out is only by holding the button constantly, the guitar speaker would turn on and off. We tried to contact Gohai on Slack, and after 6 minutes of sending him the code, he modified it to what we wanted-to push the button once to switch it.
Here is our final codes for the guitar:
#include <SharpIR.h>

#define IRPin A0
#define model 1080

int buttonInputPin = 3;
int buttonVal;           // latest button value
int pButtonVal;          // previous button value
bool makeSound = false;  // whether the sound is on

SharpIR mySensor = SharpIR(IRPin, model);
int distance_cm;

void setup() {
 Serial.begin(9600);
 pinMode(buttonInputPin, INPUT);
}

void loop() {
 distance_cm = mySensor.distance();
 Serial.print("Distance: ");
 Serial.print(distance_cm);
 Serial.println(" cm");

 buttonVal = digitalRead(buttonInputPin);
 if (pButtonVal == LOW && buttonVal == HIGH) {
   // user just pressed the button, turn sound on or off
   if (makeSound == true) {
     makeSound = false;
   } else {
     makeSound = true;
   }
   // for "debouncing"
   delay(20);
 }
 pButtonVal = buttonVal;

 if (makeSound == true) {
   if (distance_cm < 12) {
     tone(8, 262); // C
   } else if (distance_cm < 24) {
     tone(8, 294); // D
   } else if (distance_cm < 36) {
     tone(8, 330); // E
   } else if (distance_cm < 48) {
     tone(8, 349); // F
   } else if (distance_cm < 60) {
     tone(8, 392); // G
   } else if (distance_cm < 72) {
     tone(8, 440); // A
   } else if (distance_cm < 84) {
     tone(8, 494); // B
   } else if (distance_cm < 96) {
     tone(8, 523); // C2
   } else {
     noTone(8);
   }
 }
 else {
   noTone(8);
 }
}
Second, replace the piano buzzers with speakers so that they can sound louder.
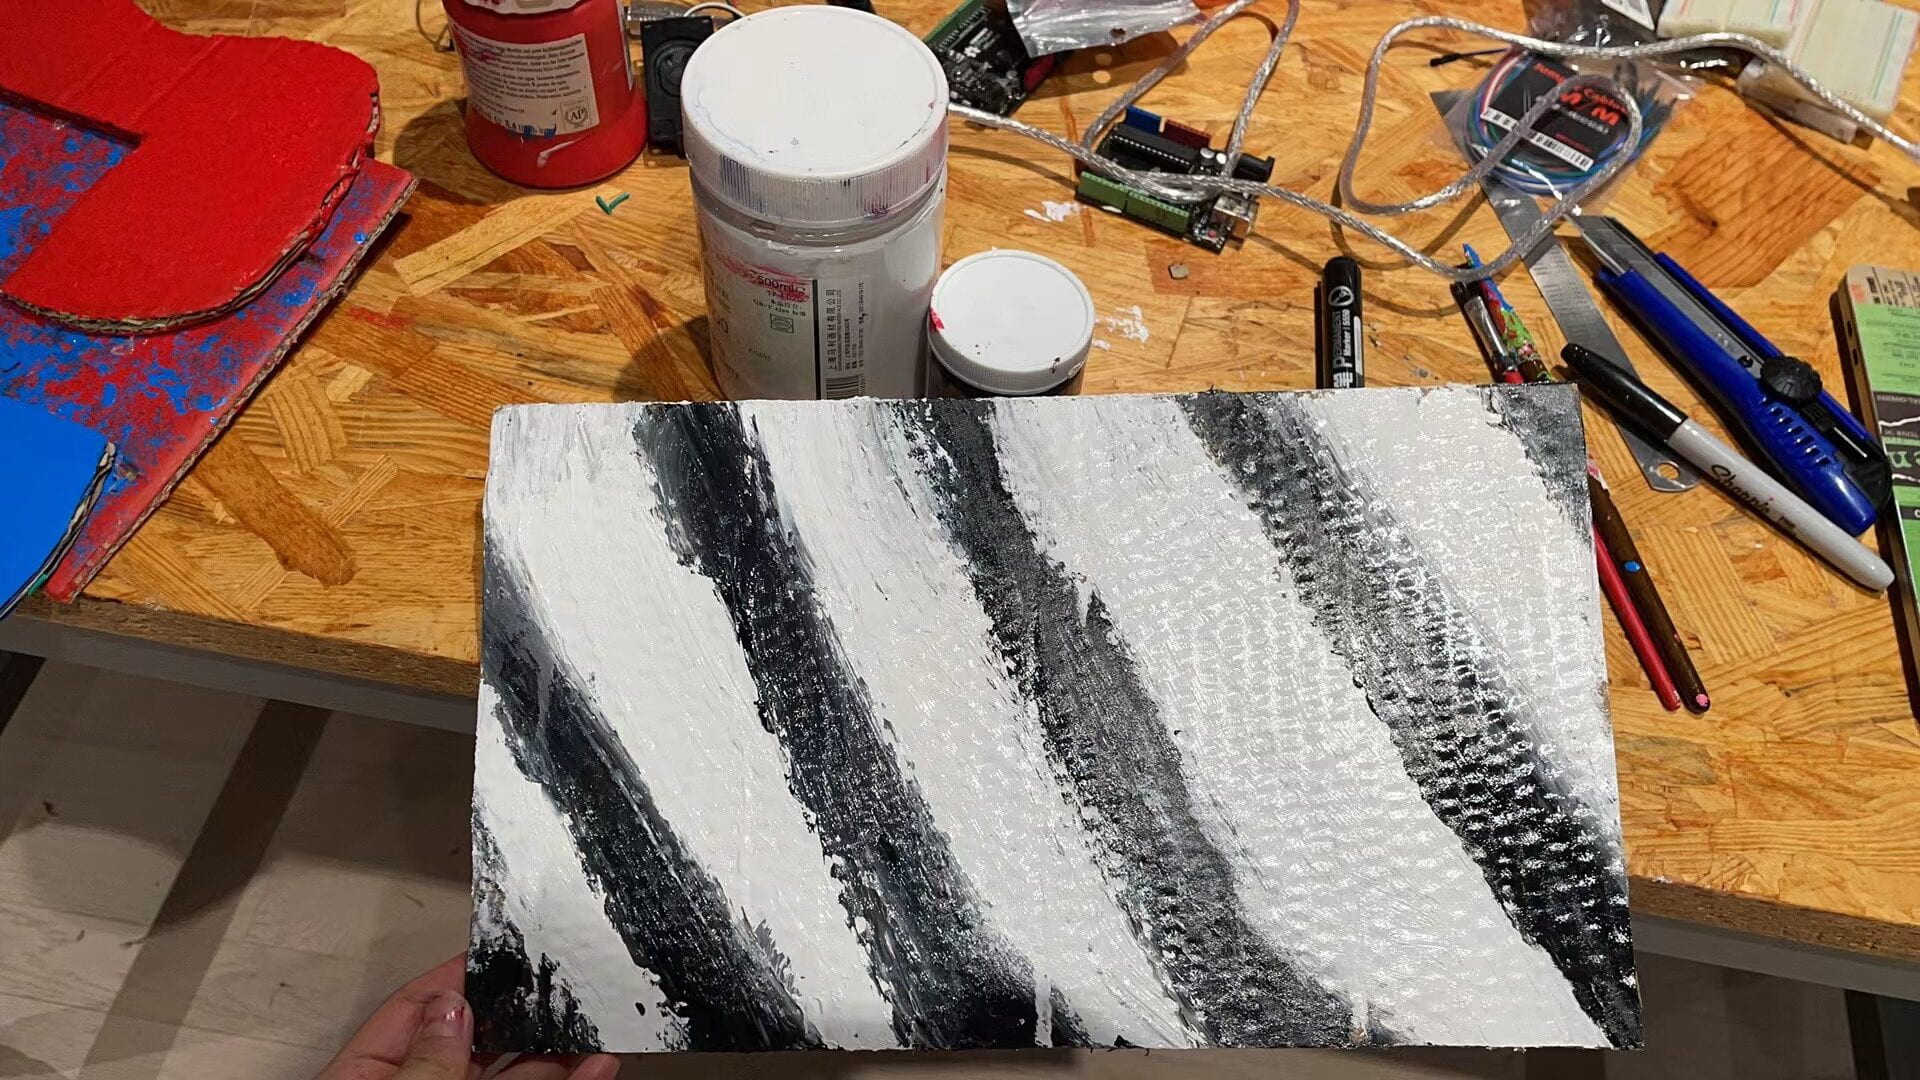
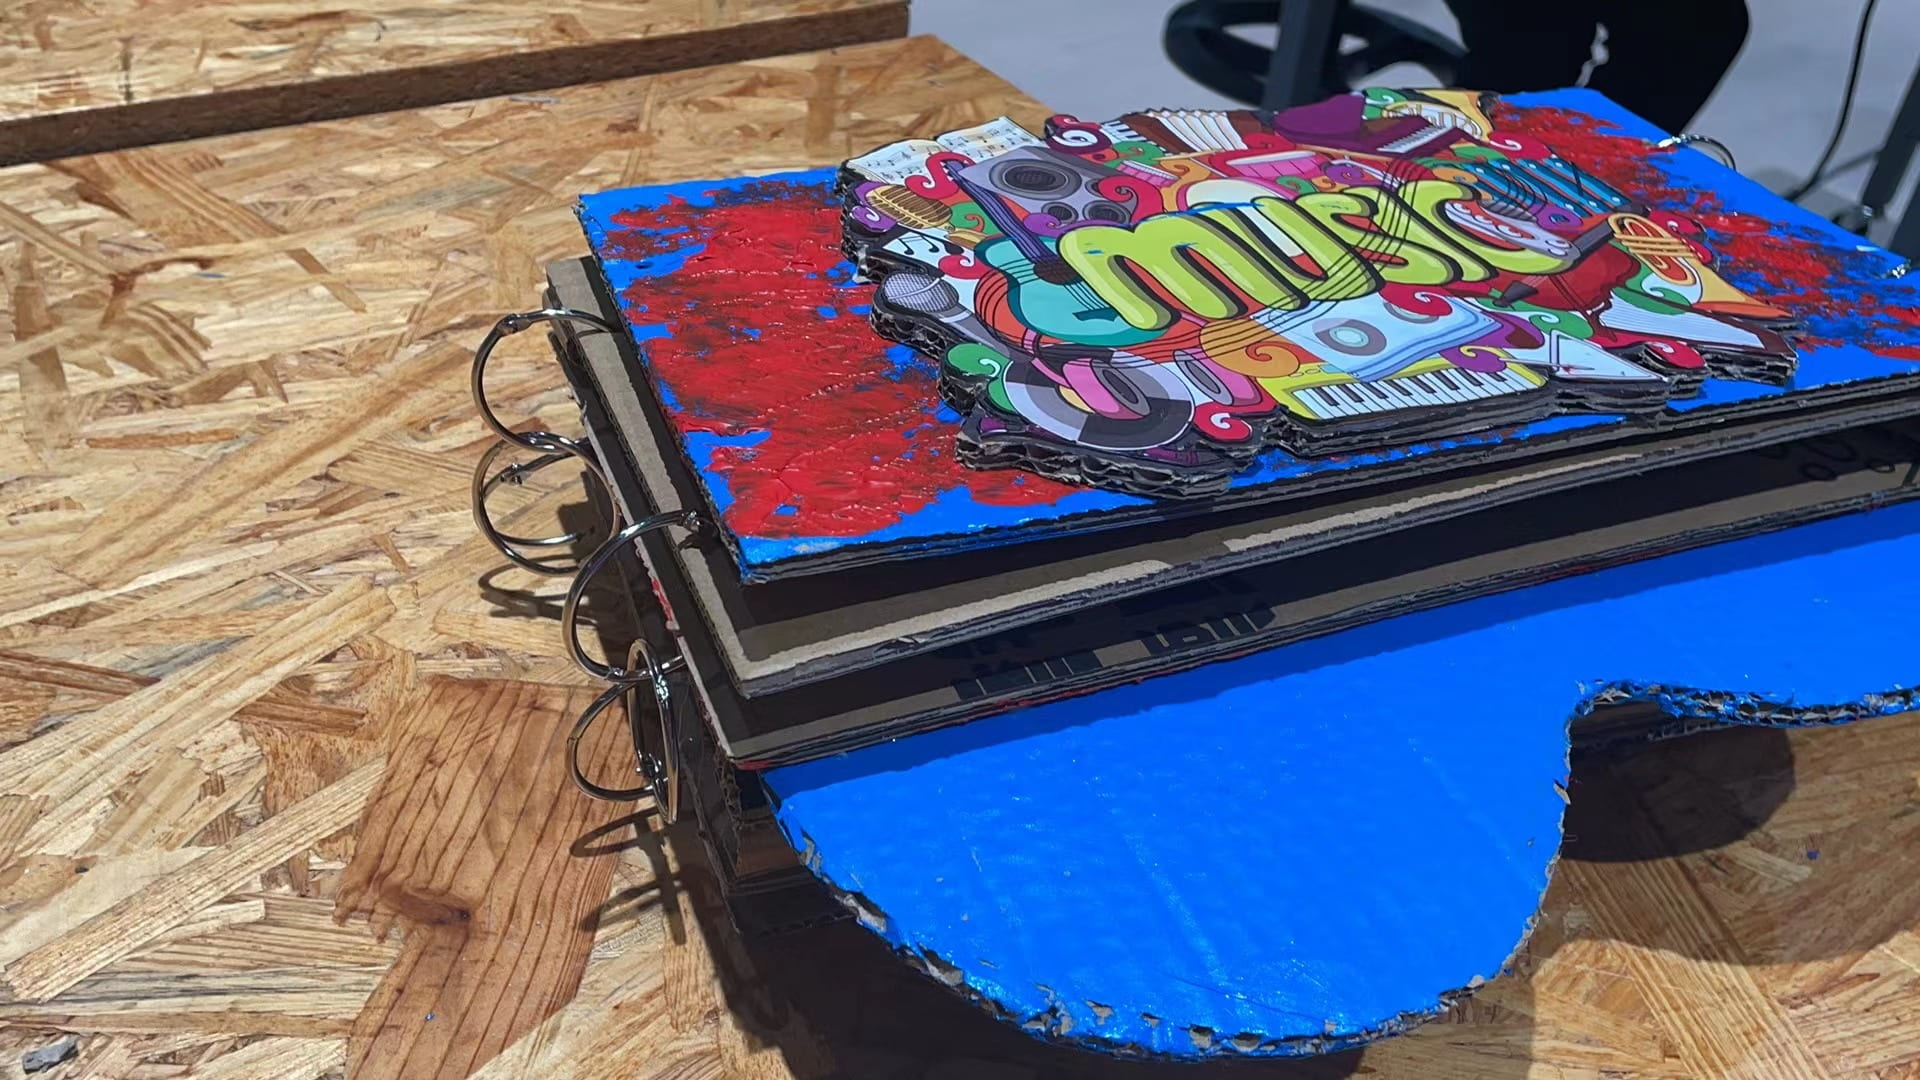
Third, make another cover, but through the metal rings, so that music book can be a book can also be two books, as well as some other decorations.
(Scale on the handle of the guitar) 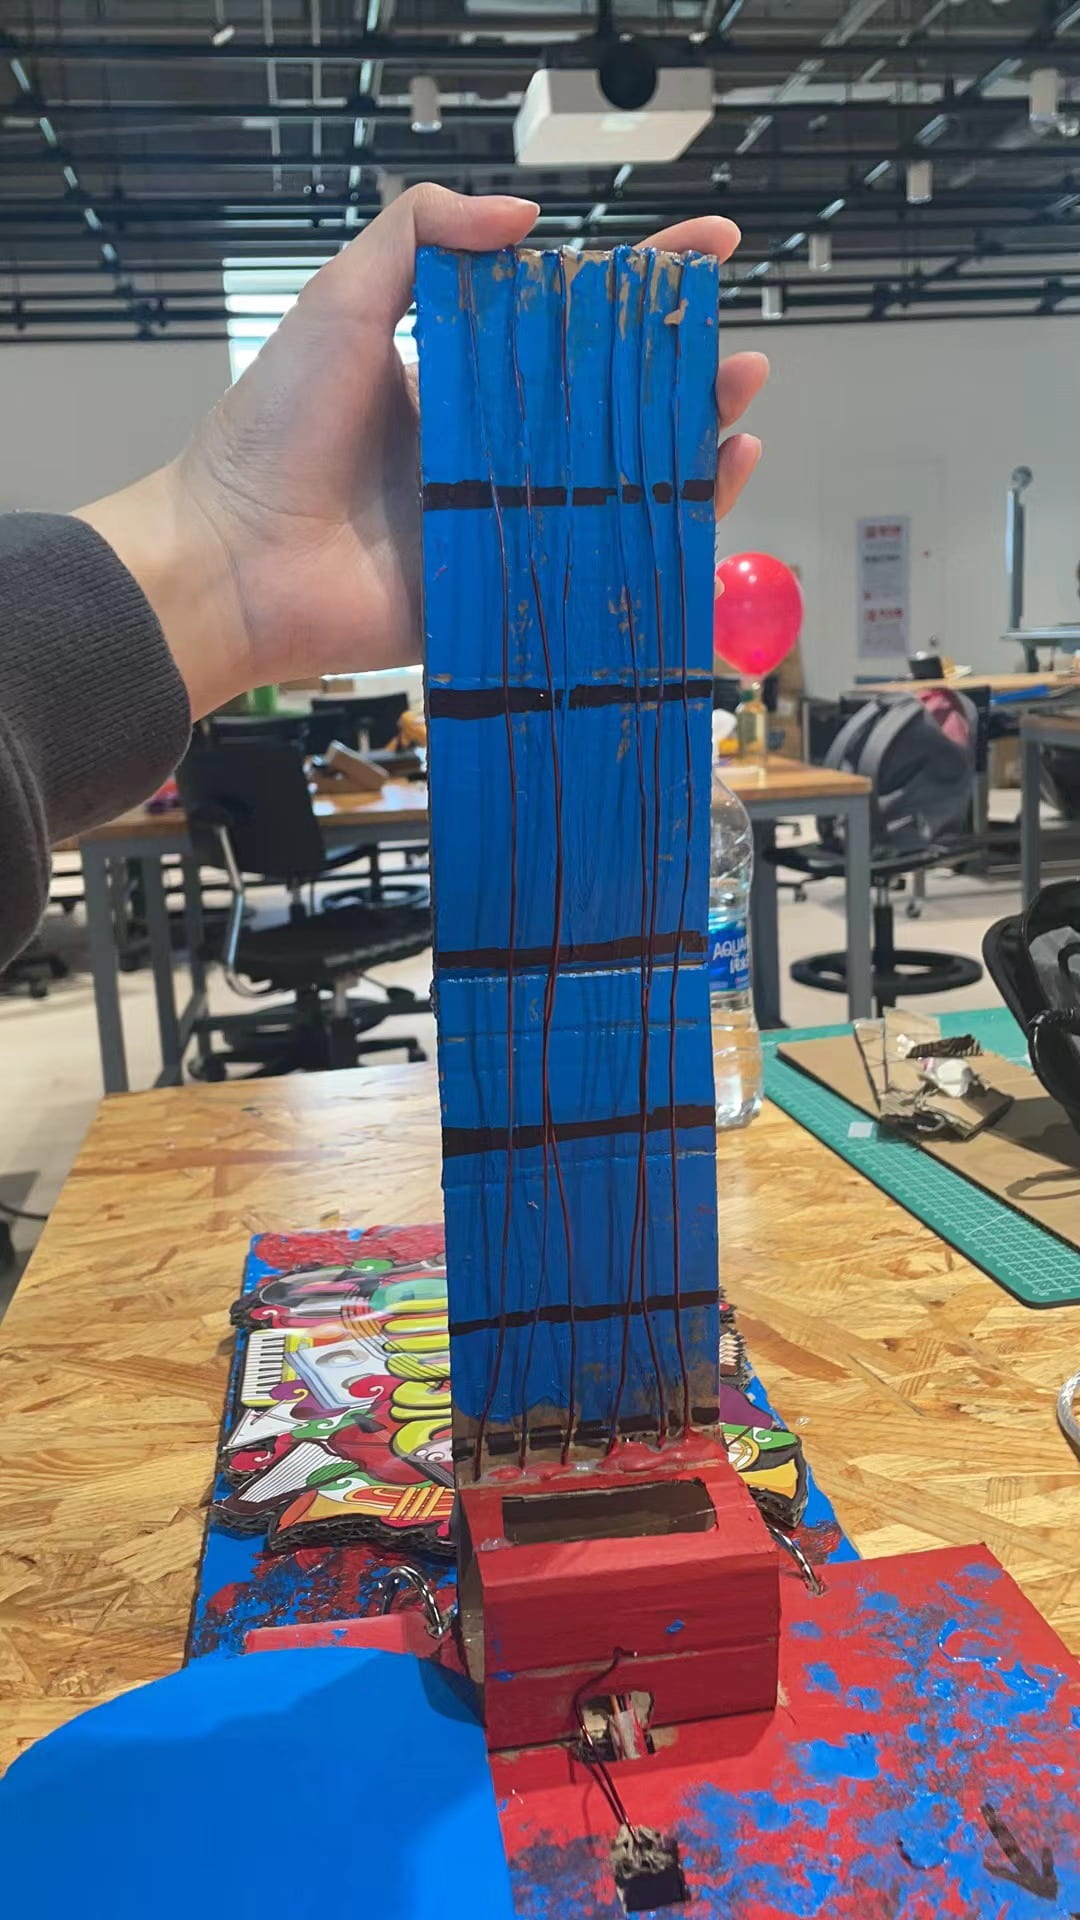
(Gohai shared with us Picasso’s Guitar out of cardboard, and we thought it’s a good way to make our guitar not that “abstract”)
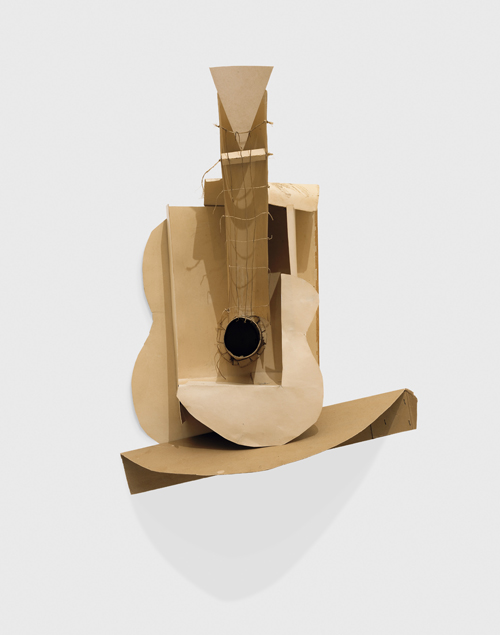
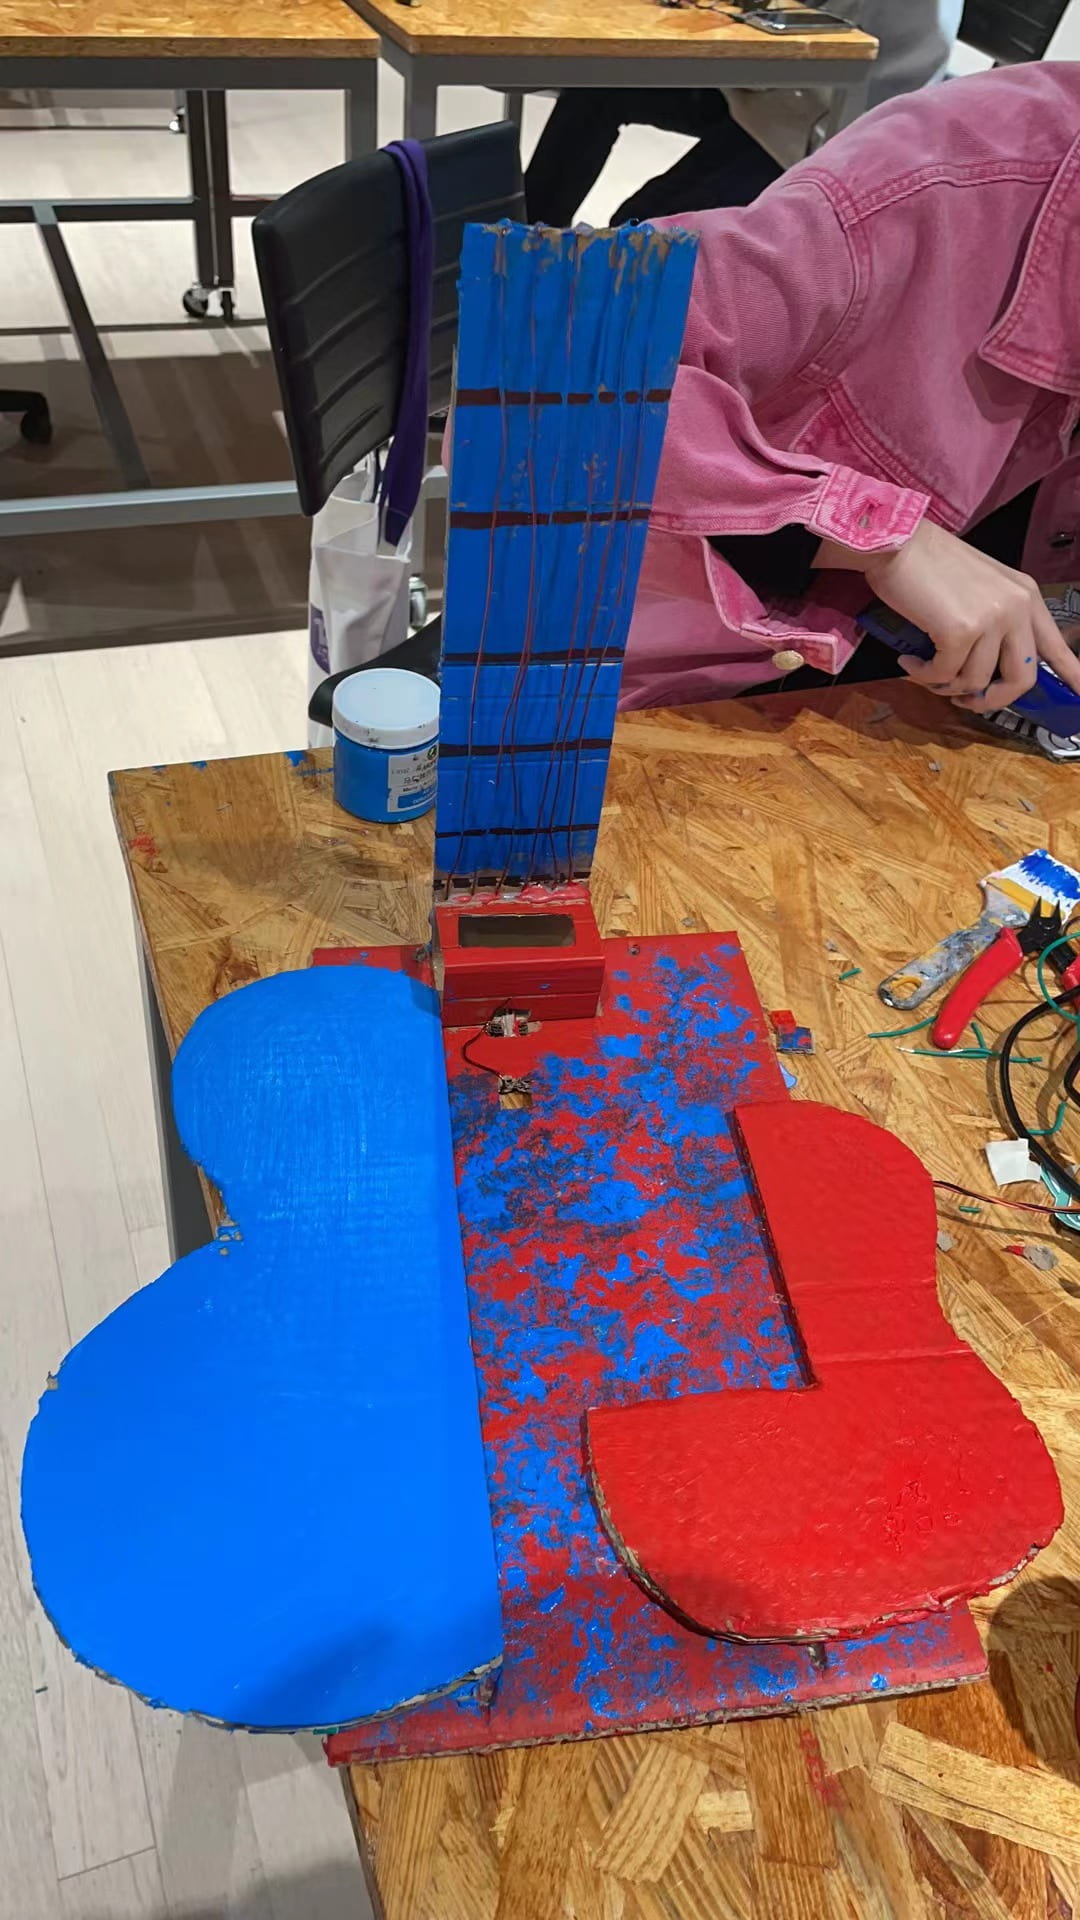
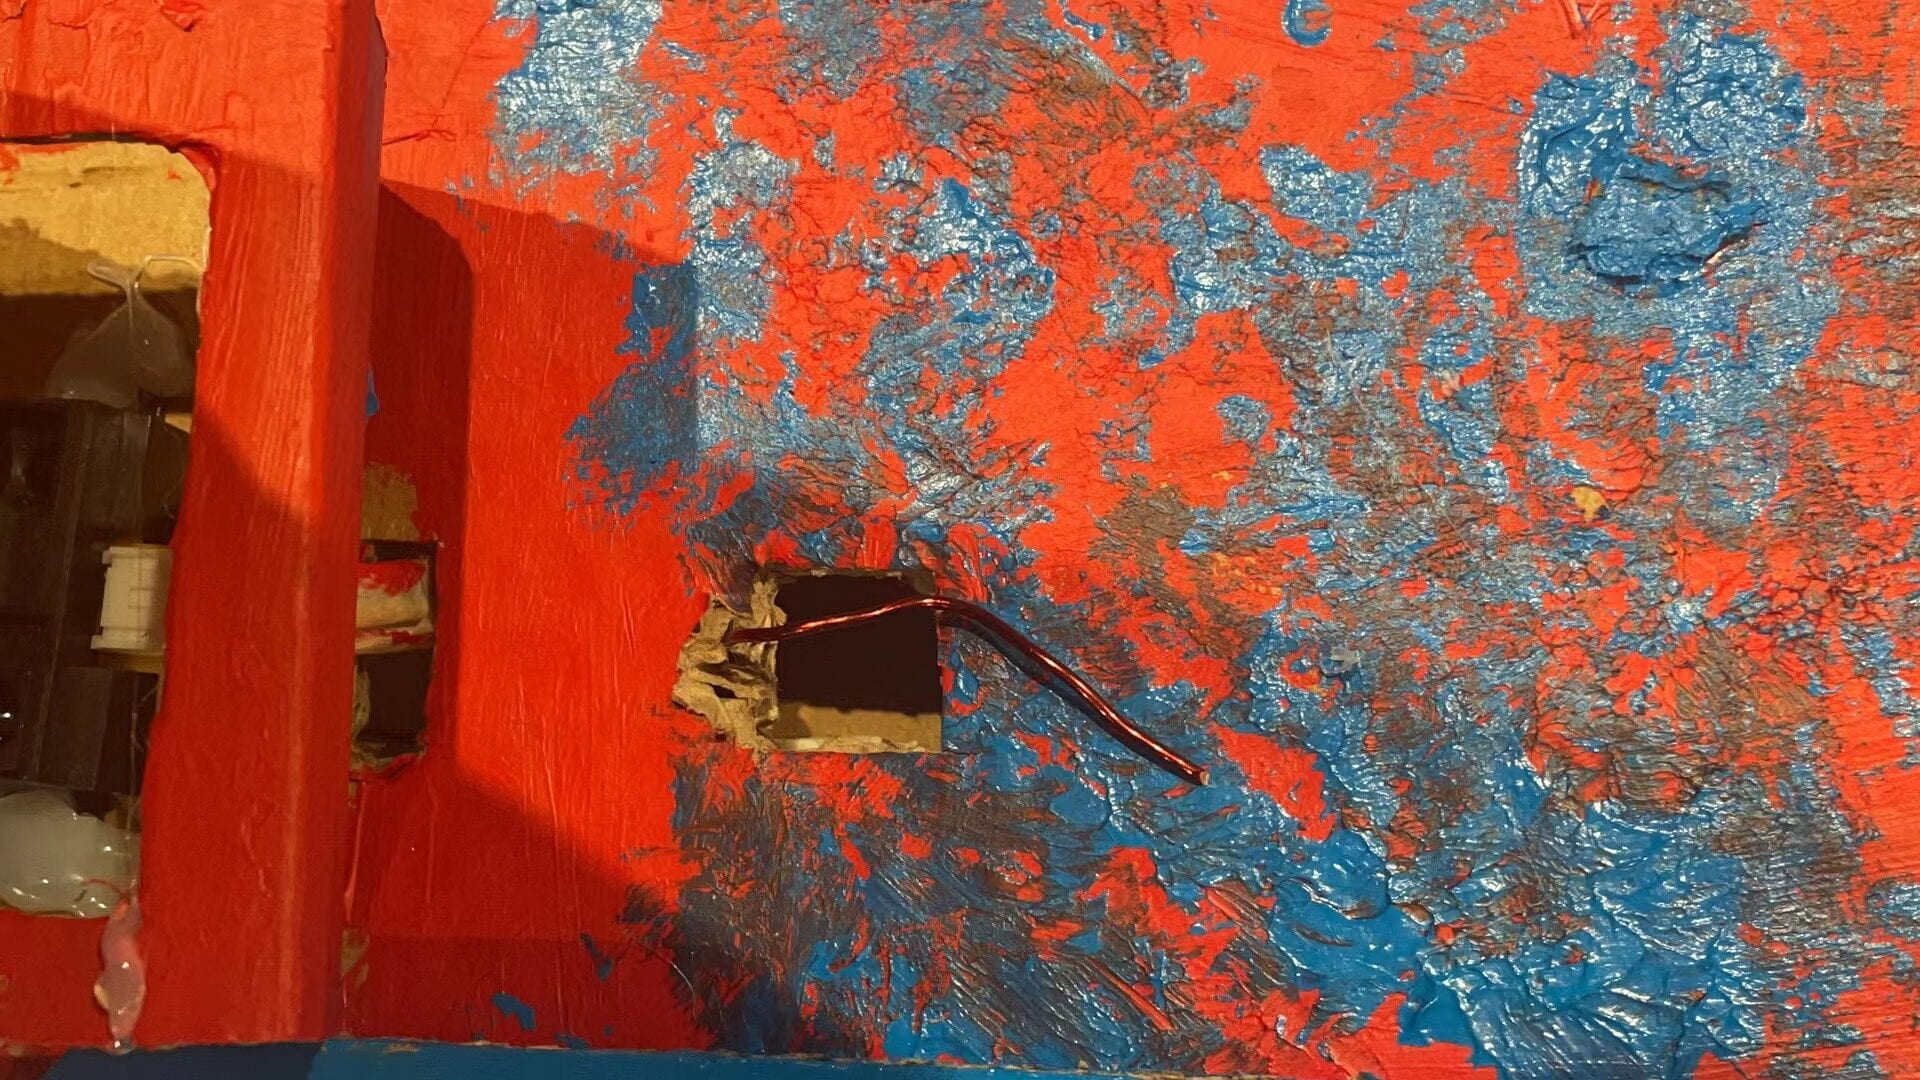
So everything has finished until now! Here are some more pictures and videos about the finished product and its details show.
The small organ that allows the guitar to fold:
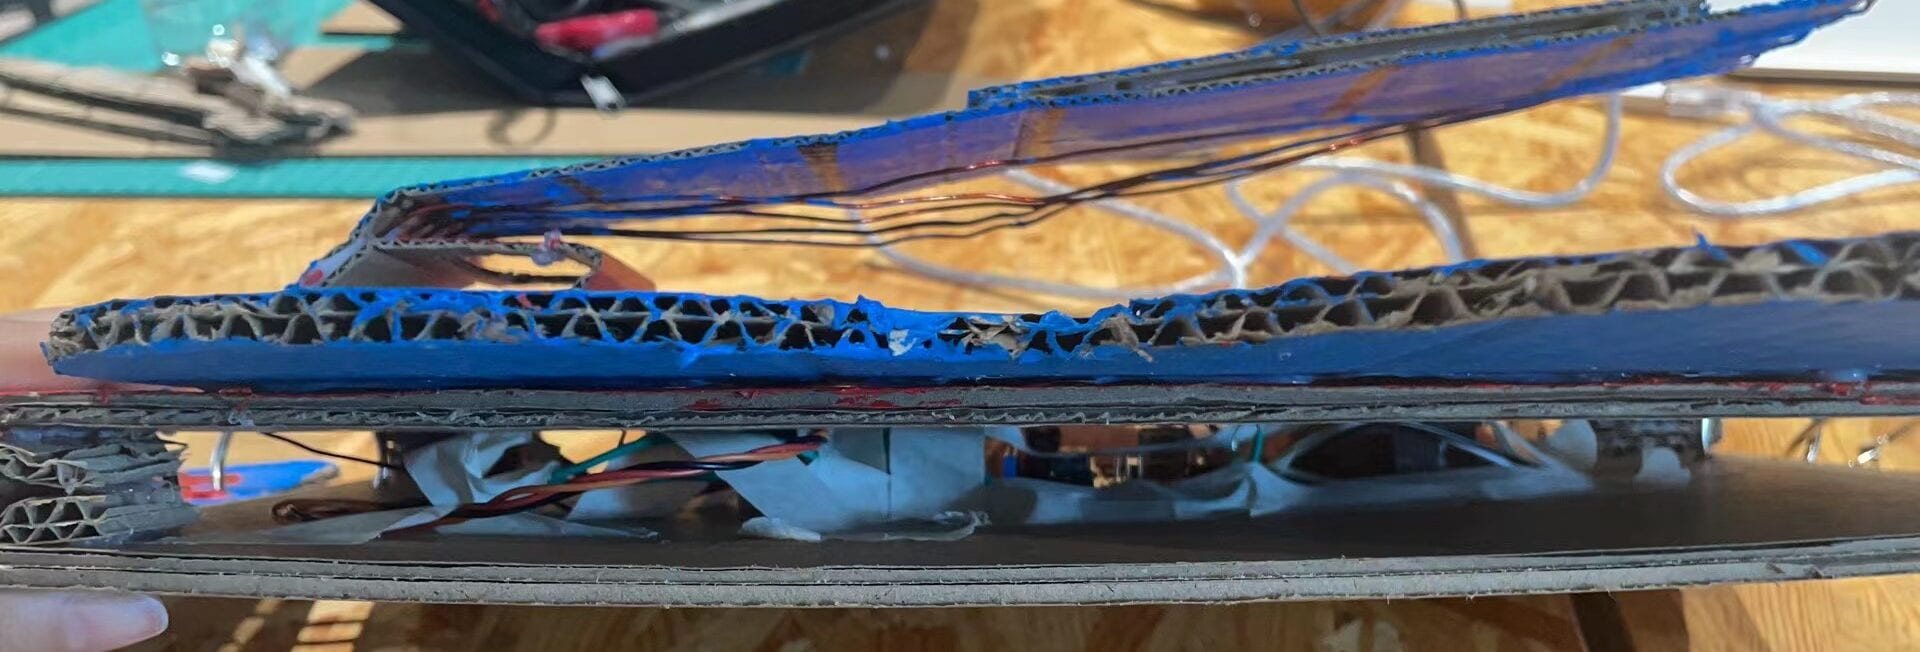
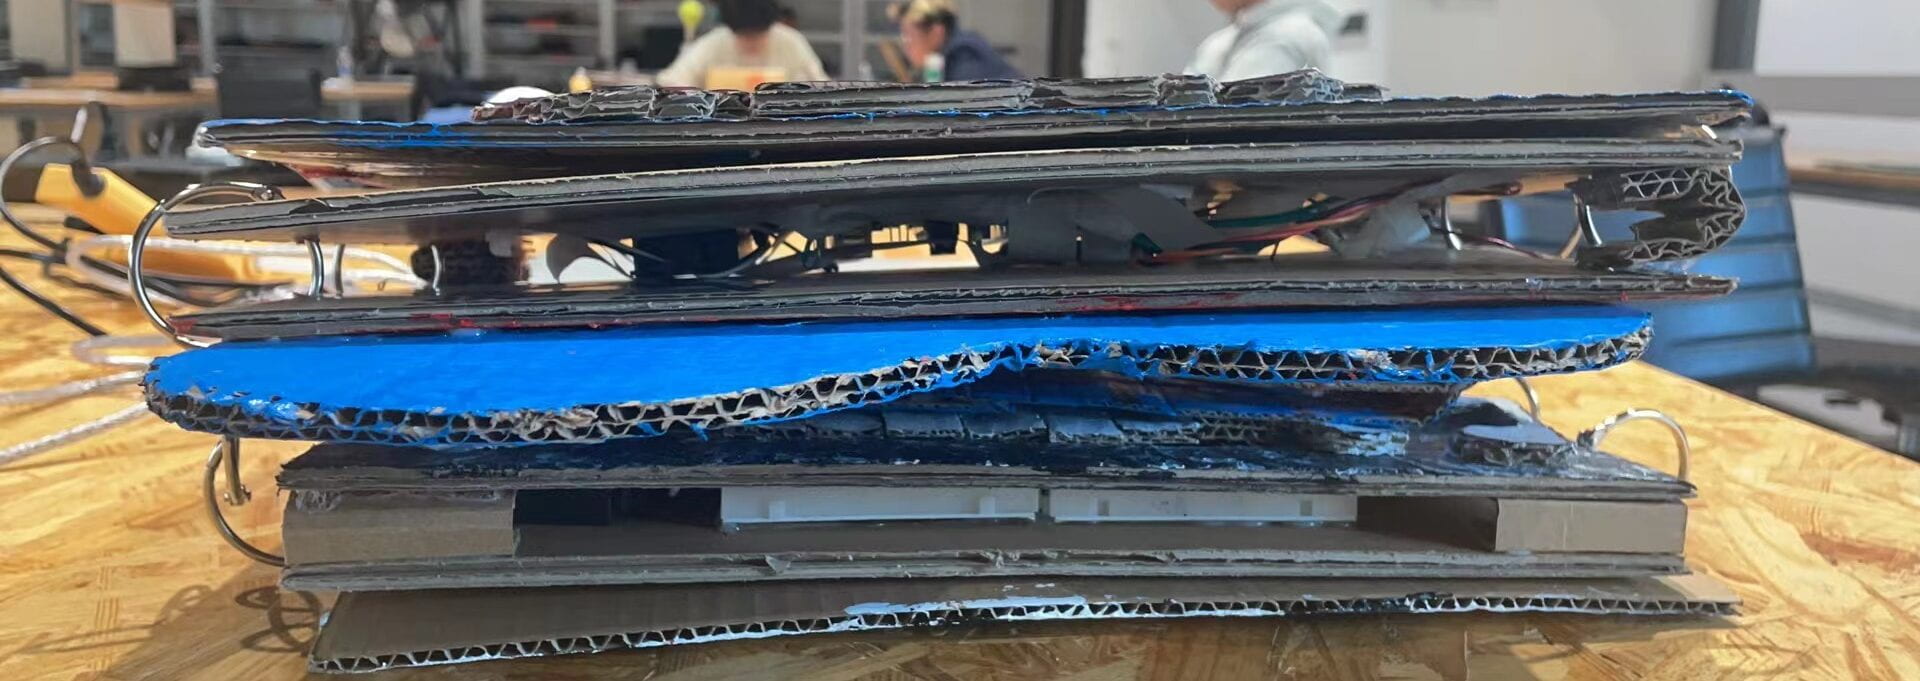
Side display pictures: 
Top view pictures:

E. CONCLUSIONS
The goal of our project is to let children really engage in the journey of experiencing music, foster a love of music, and develop some skills through an interactive music book that is both fun and educational. We hope that through our book, children will have a more realistic and rich perception of music. And on a larger level, I hope that our project will contribute positively to the development of children’s enrichment books
The interactivity of this “Music Book” comes from the fact that children can actually feel how the instrument makes sound and what kind of sound it makes by operating it, rather than imagining it by reading the words and pictures in books. In this case, the project is consistent with my definition of interaction.
I think our program is pretty interactive to a large extent, but I think if we want to do better, we can enrich the variety of instruments in the book and add a guide on how to use it, more introductions, and simple sheet music next to each instrument. As well as our speakers’ sounding the same now, our project would also be better if we could further adjust different tones that imitate different musical instruments.
Leave a Reply