Project B. Beyond the Screen – Lotus Pulse 𑁍💗

• Project: Lotus Pulse 𑁍💗 


• Brief Introduction

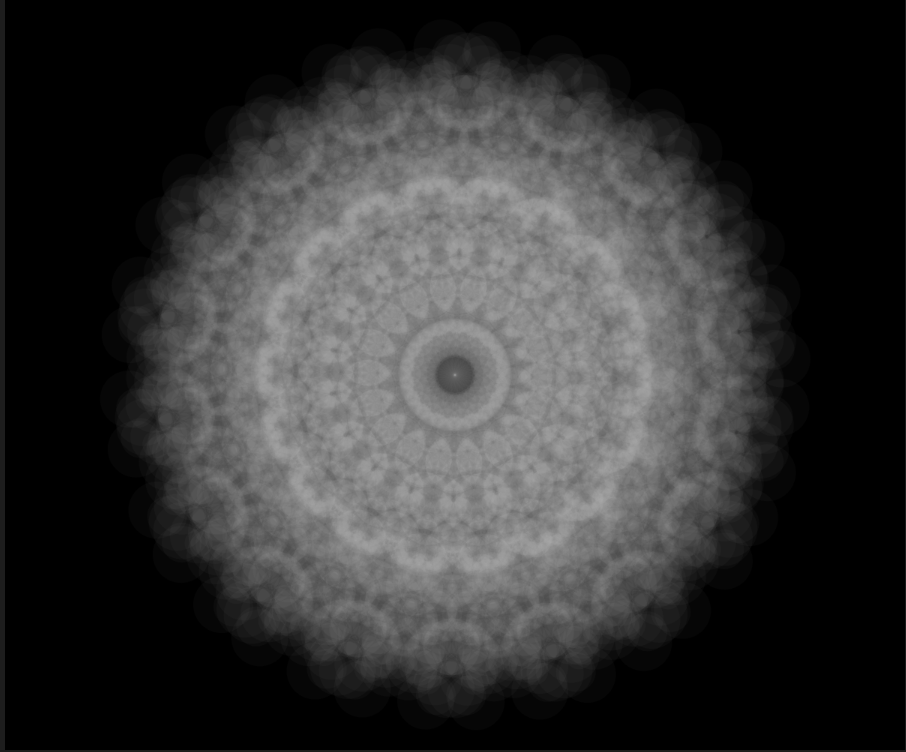
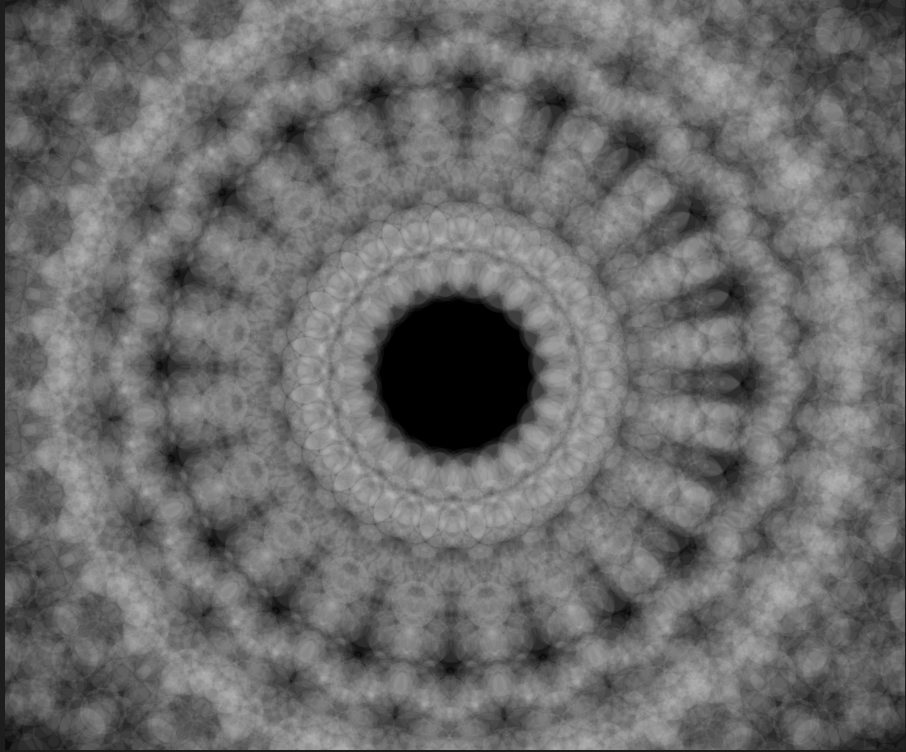
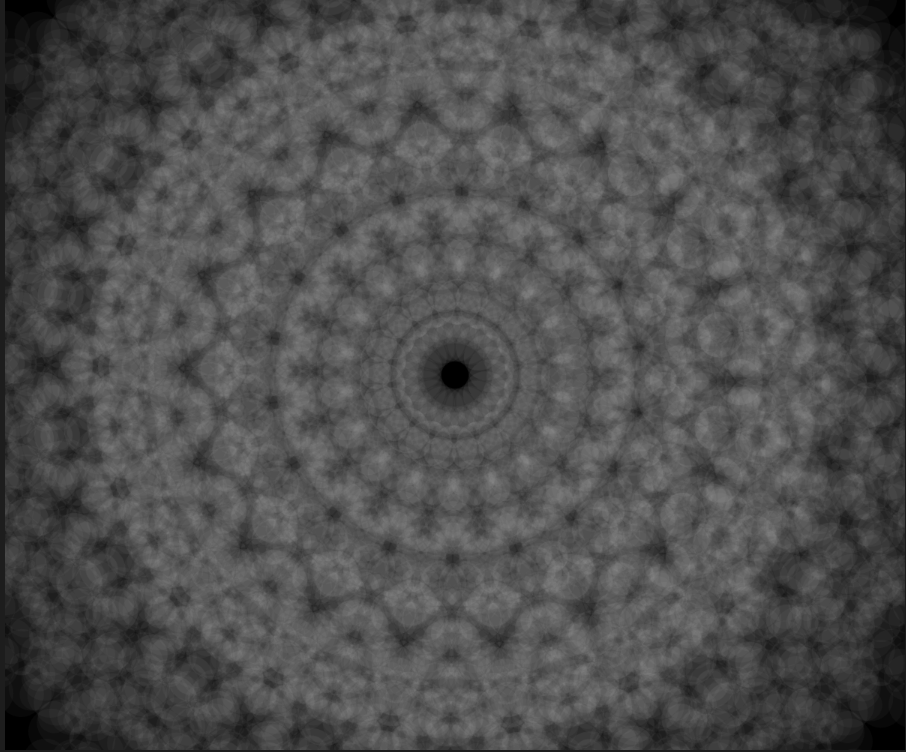
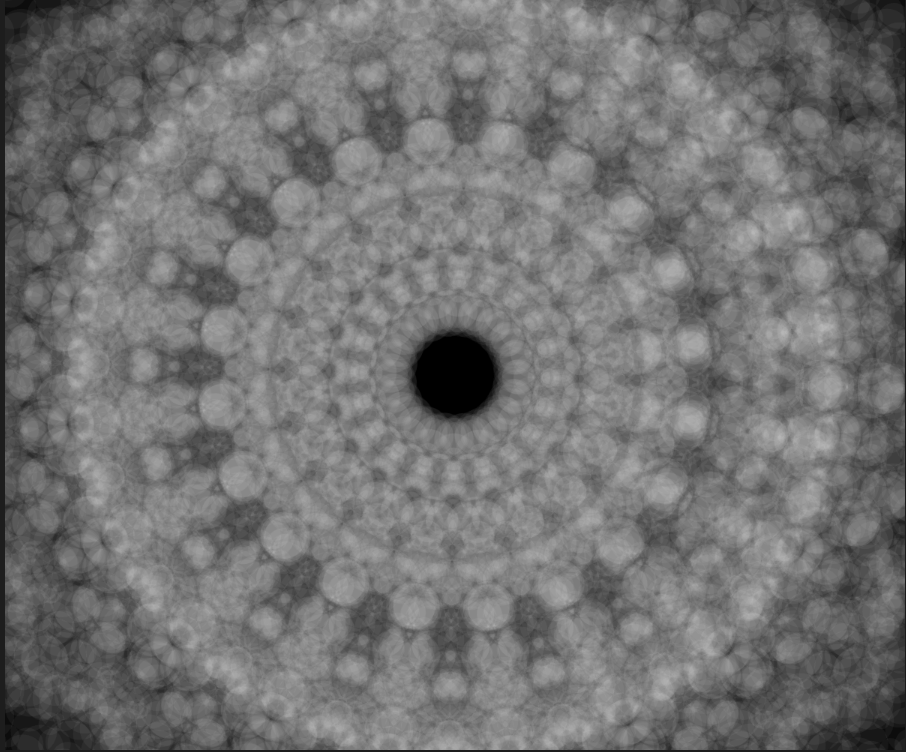
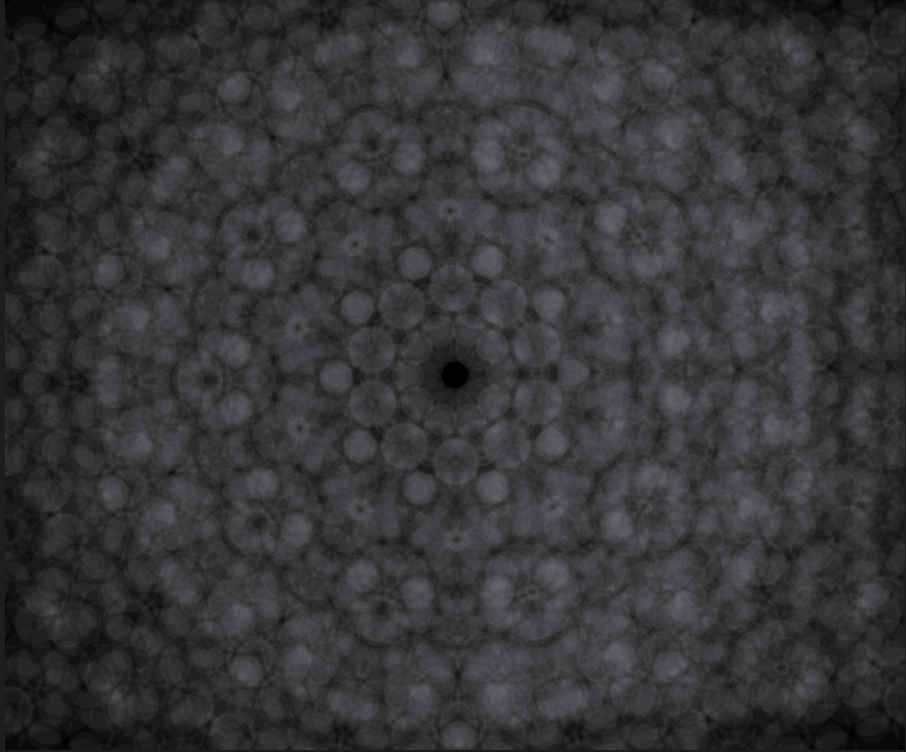
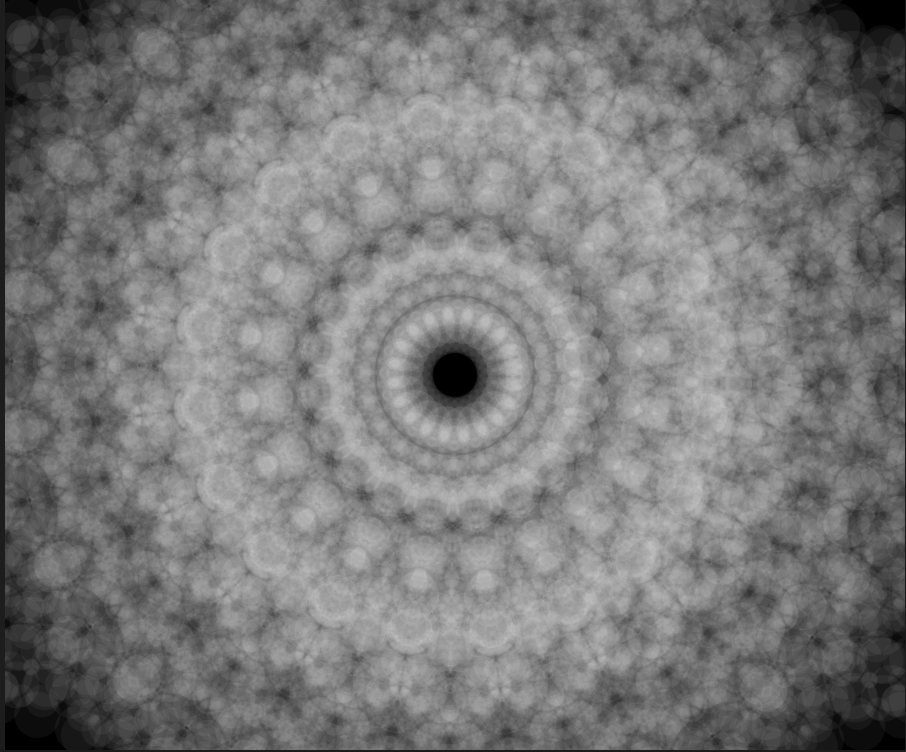
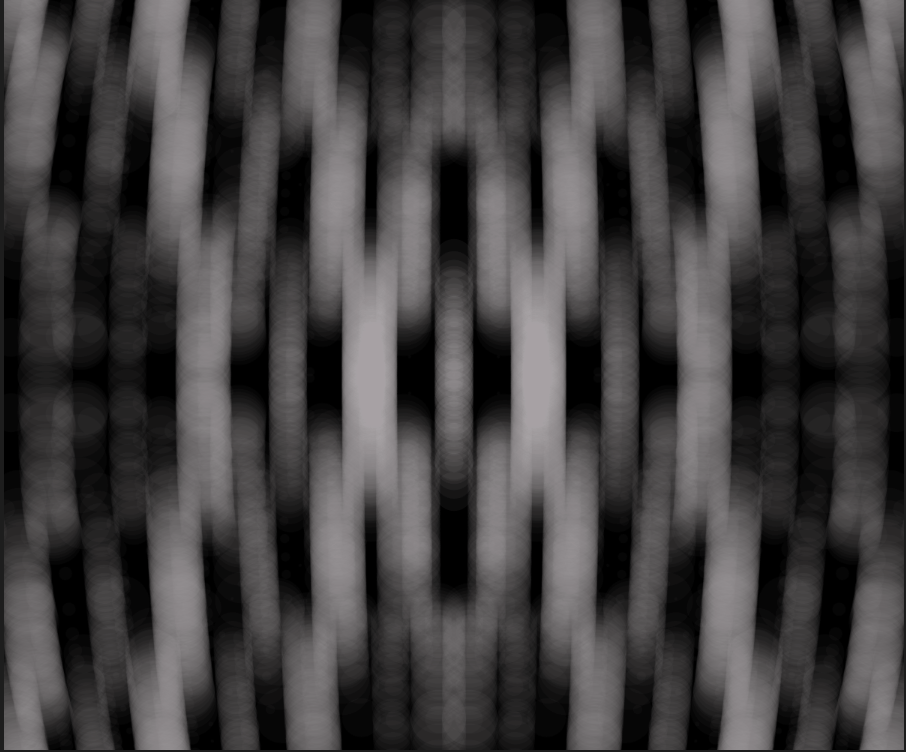
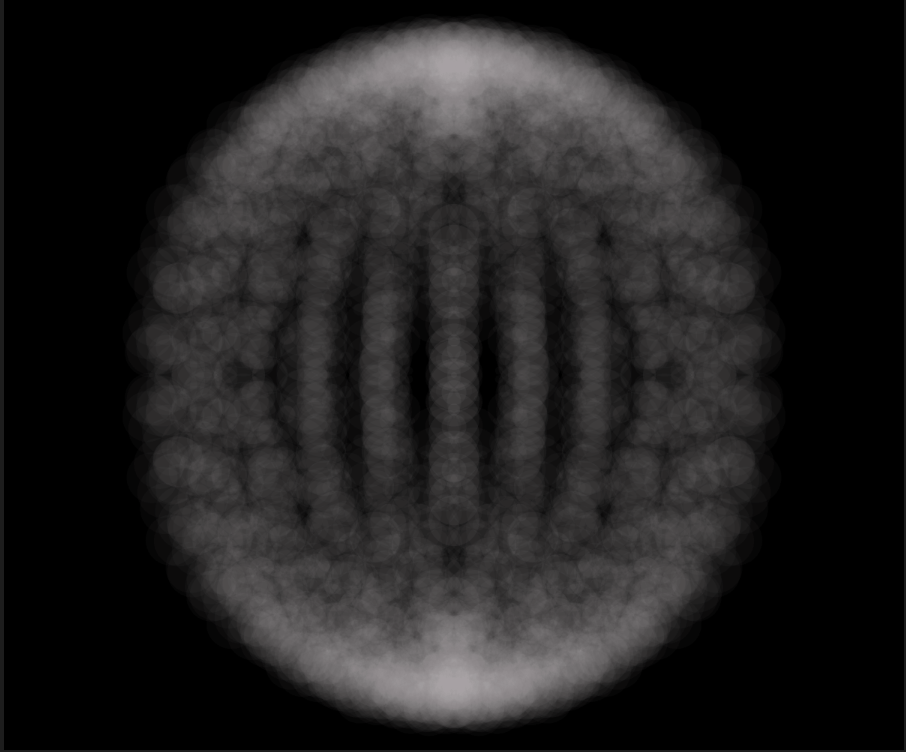
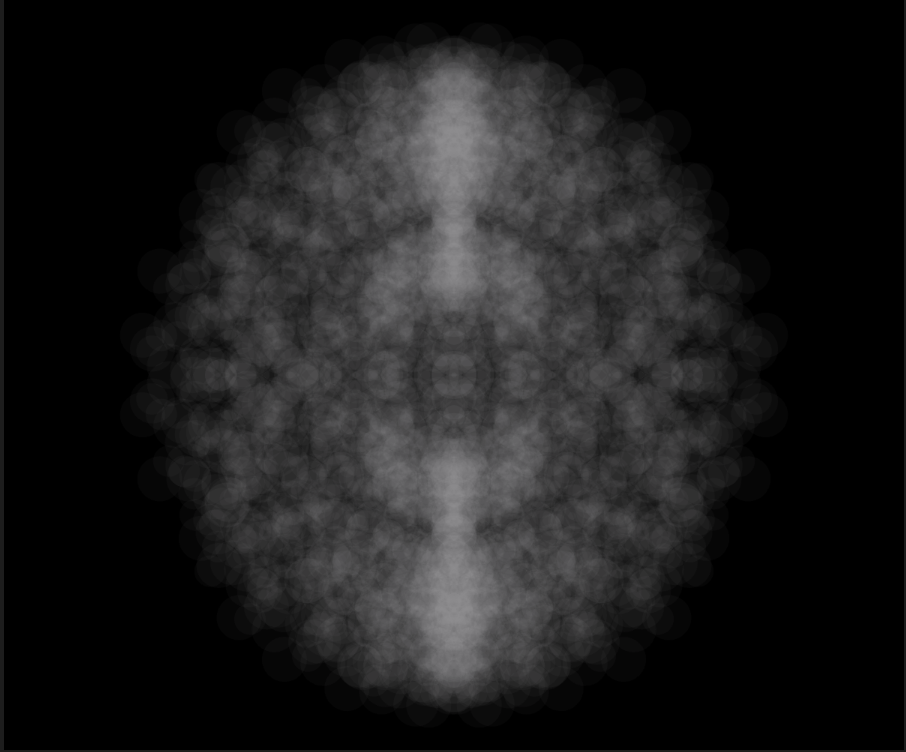
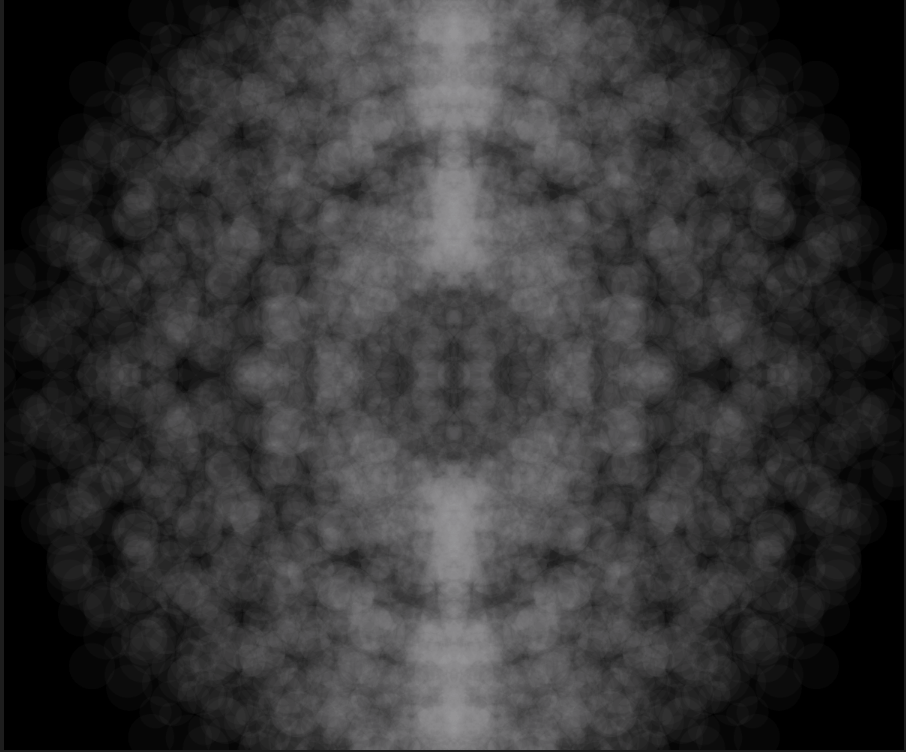
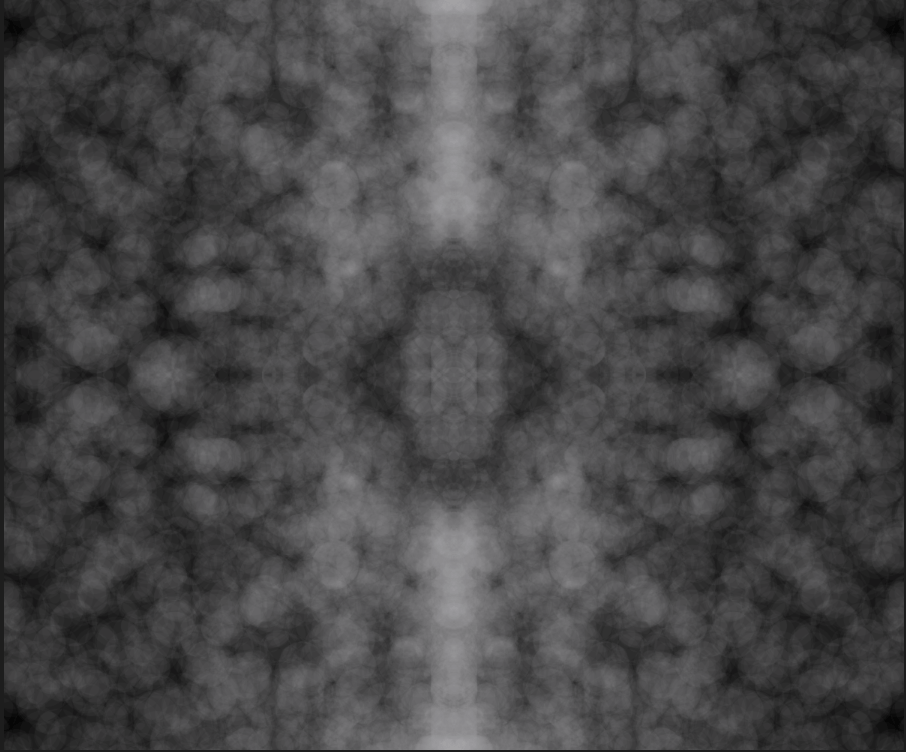
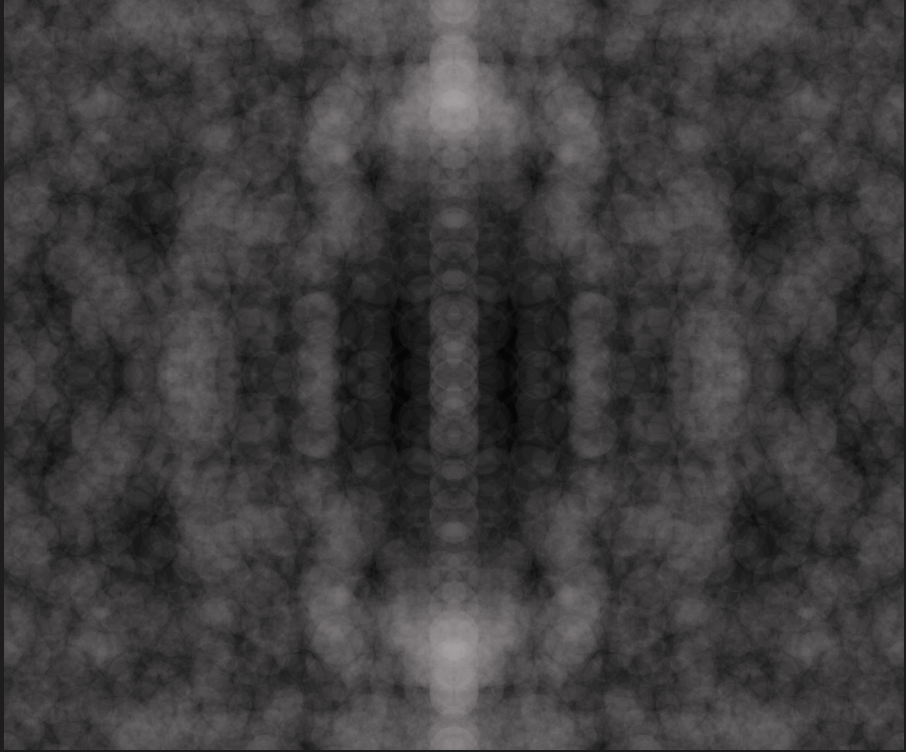
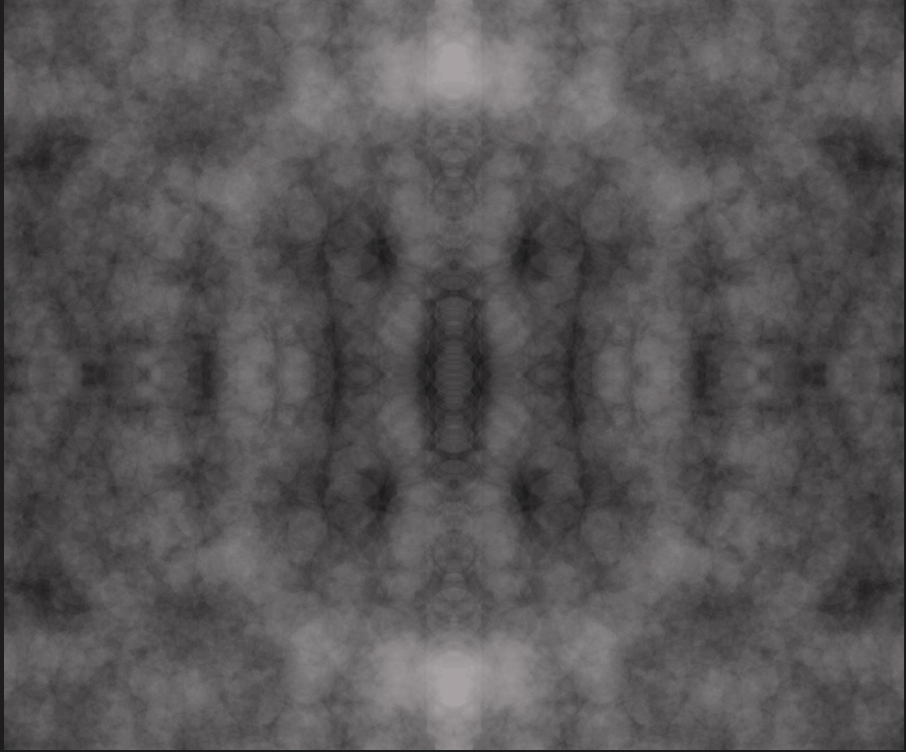
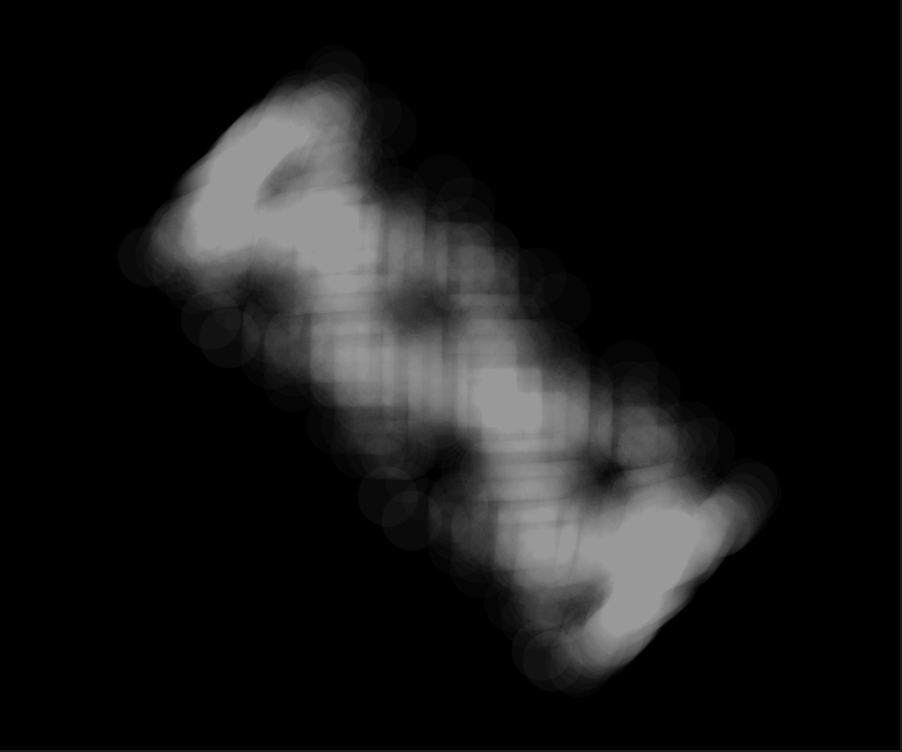
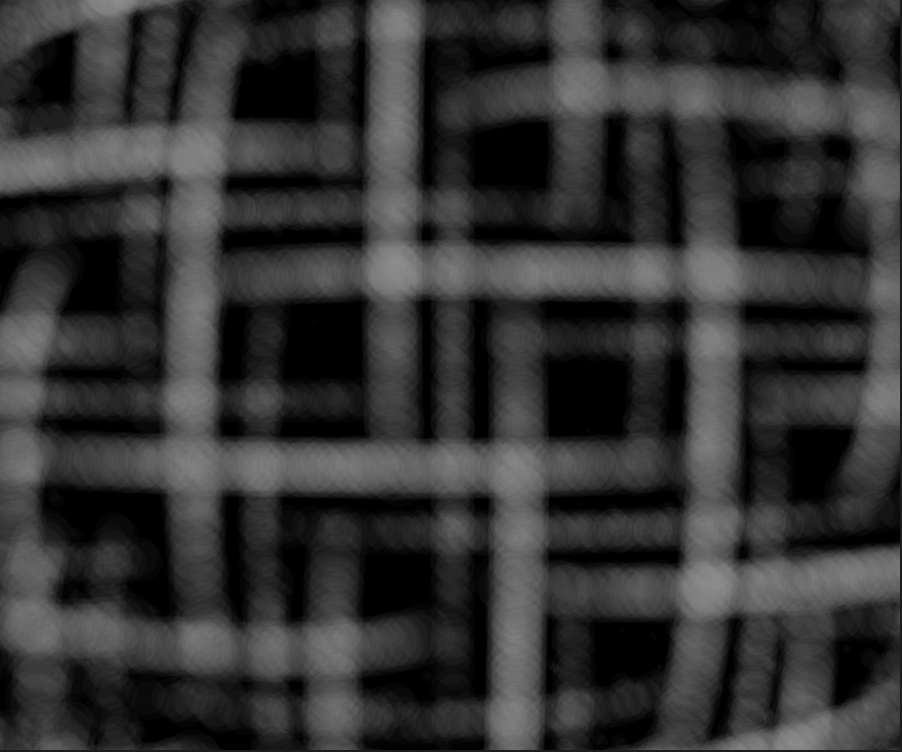
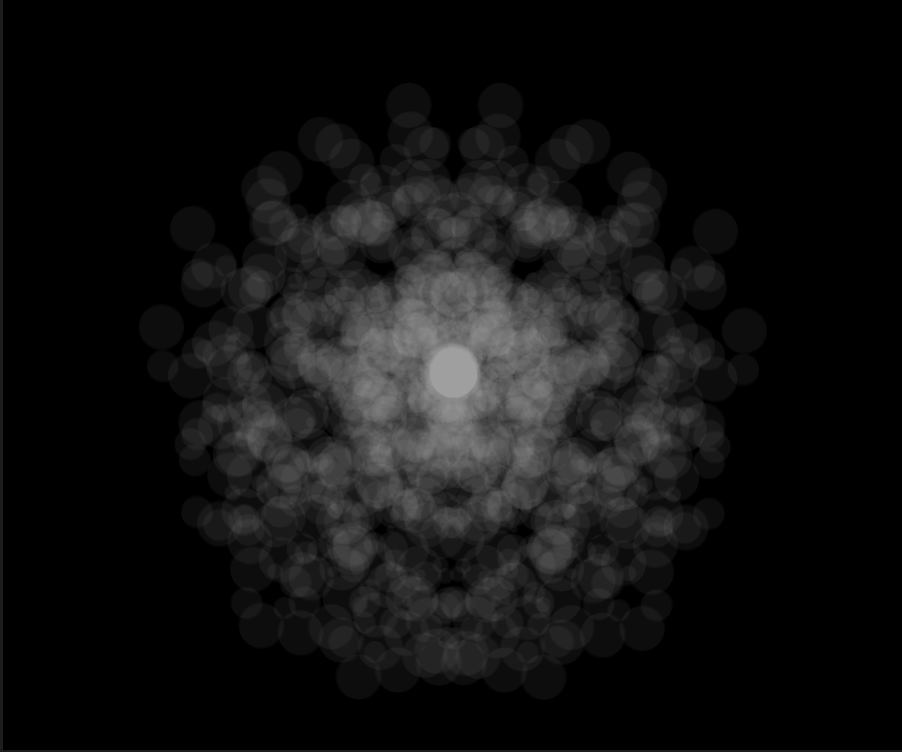
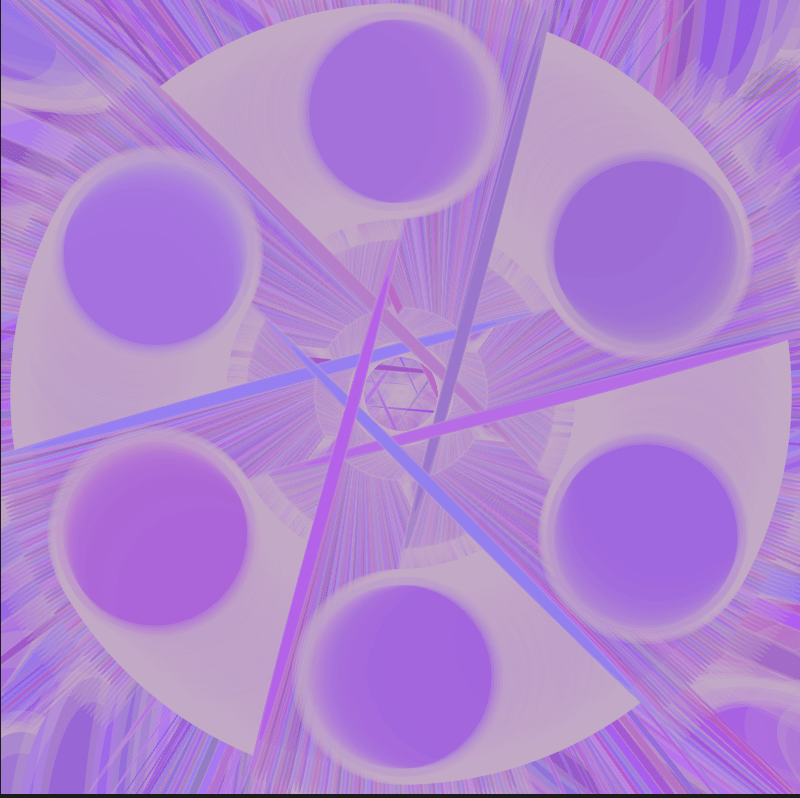
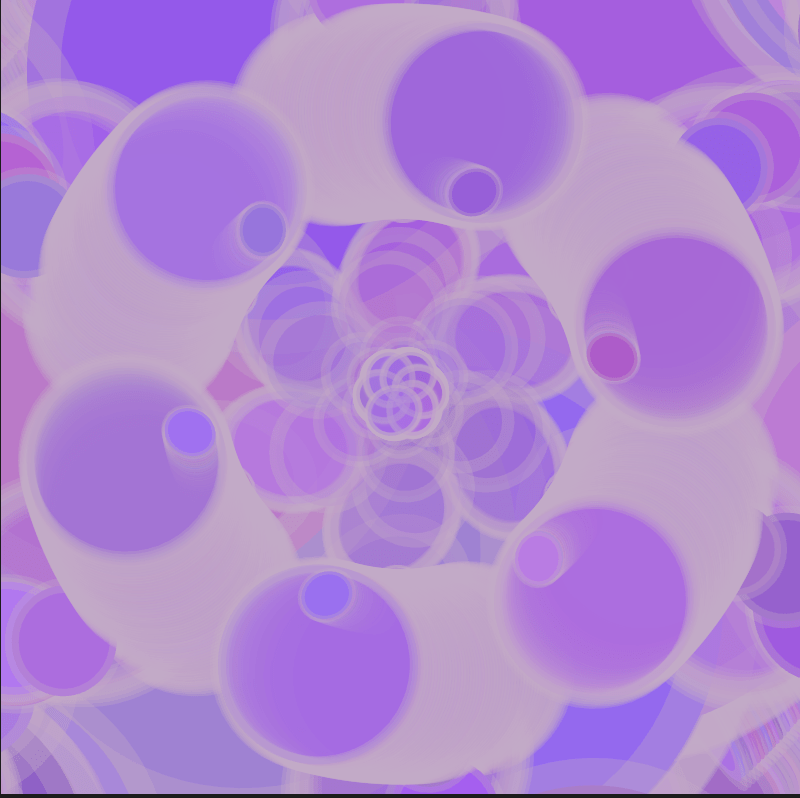
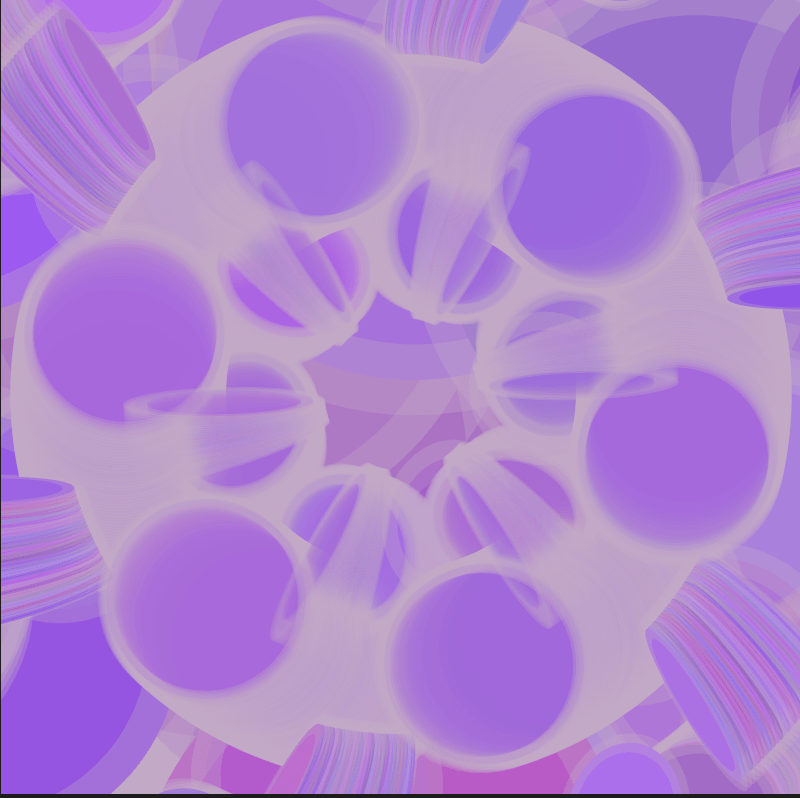
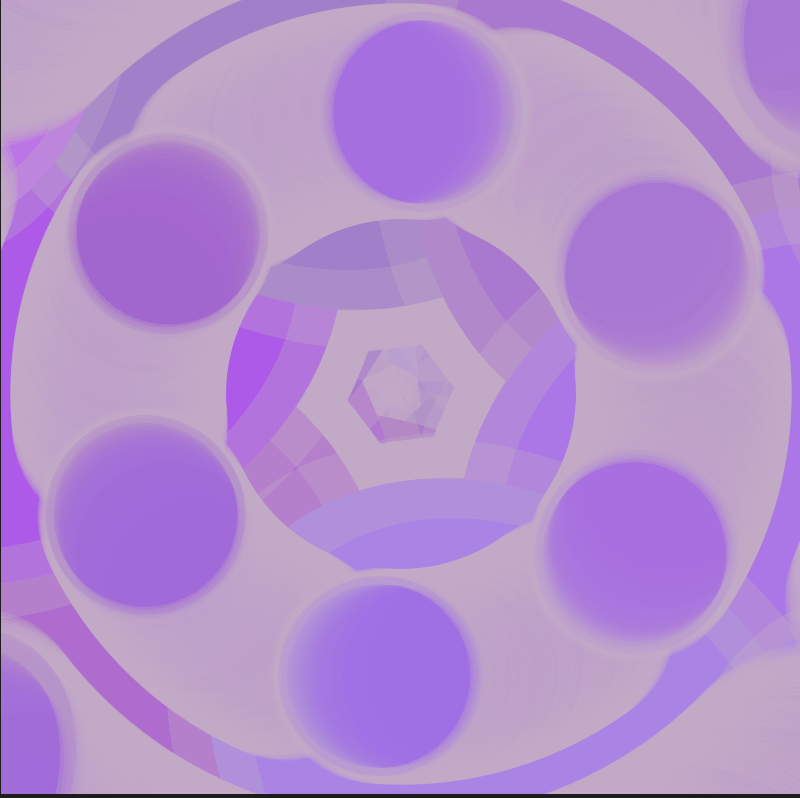
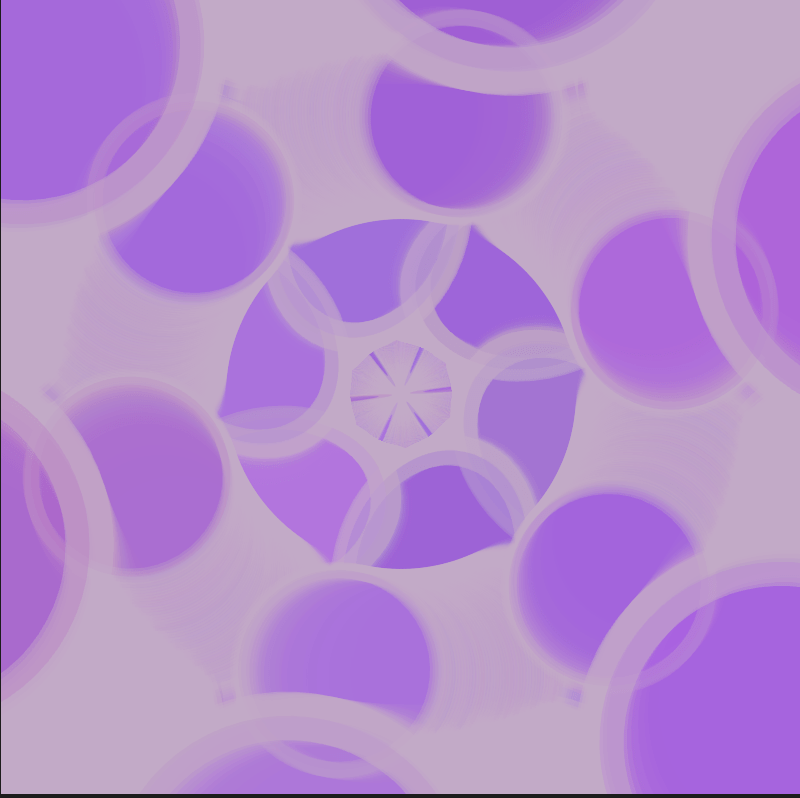
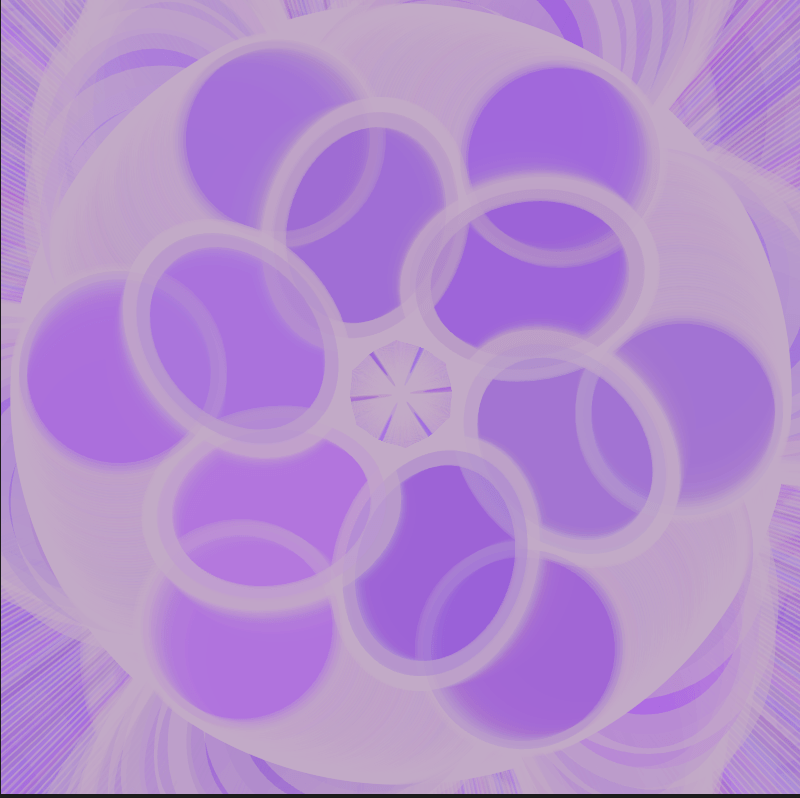
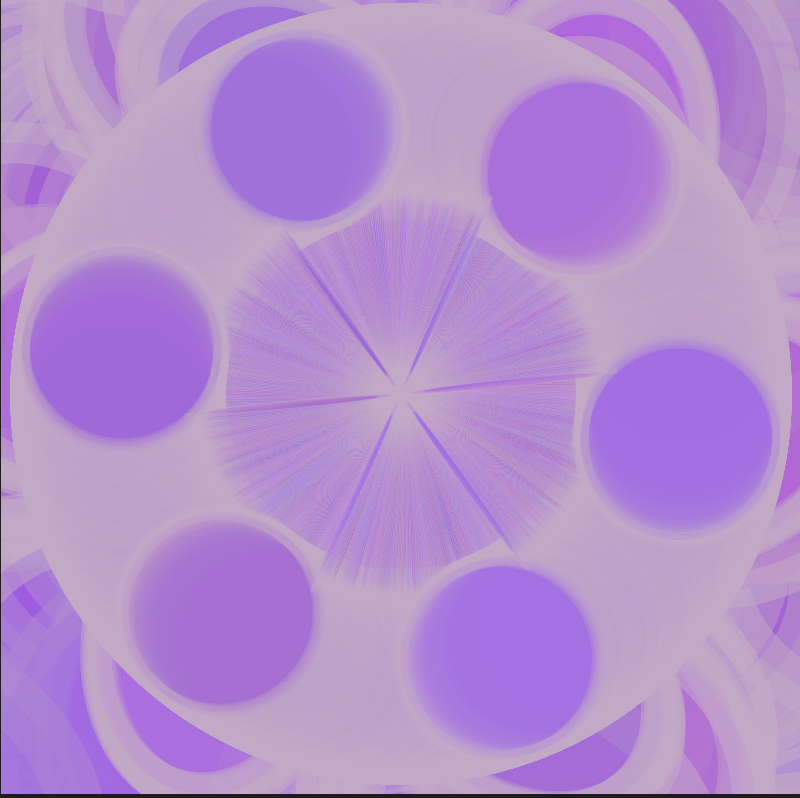
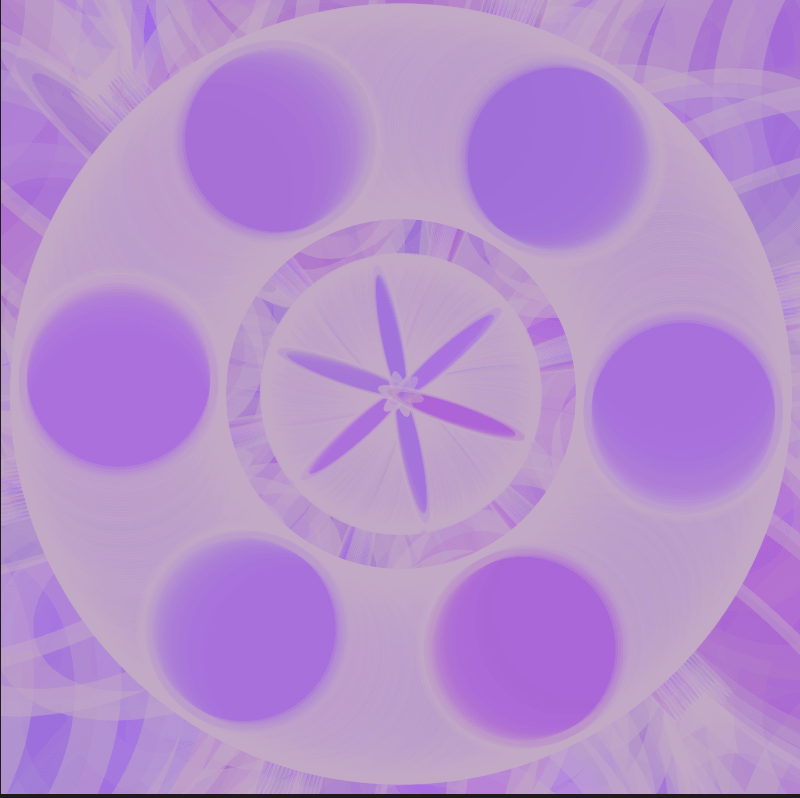
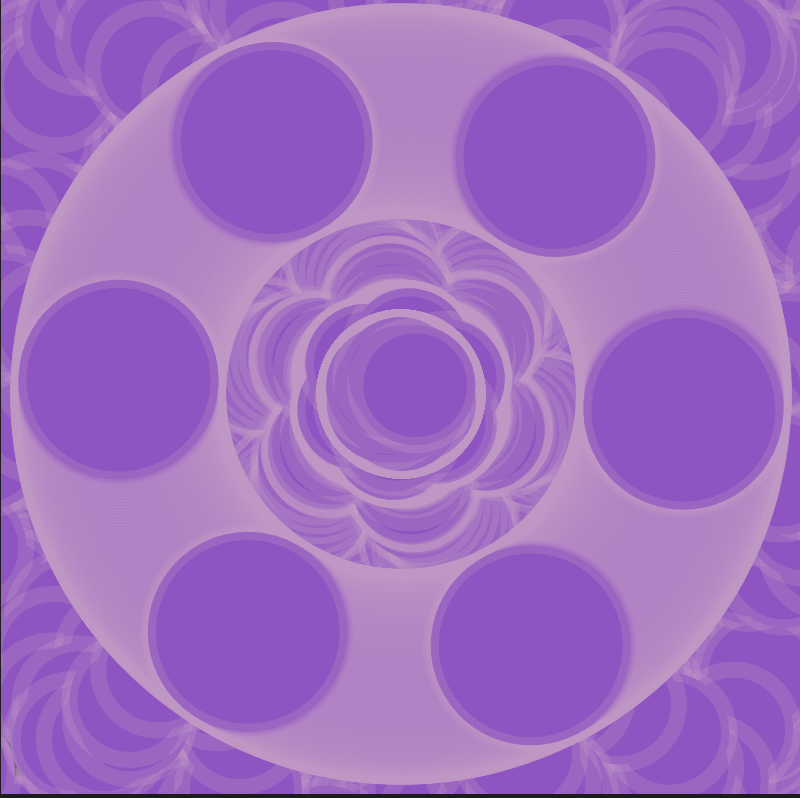
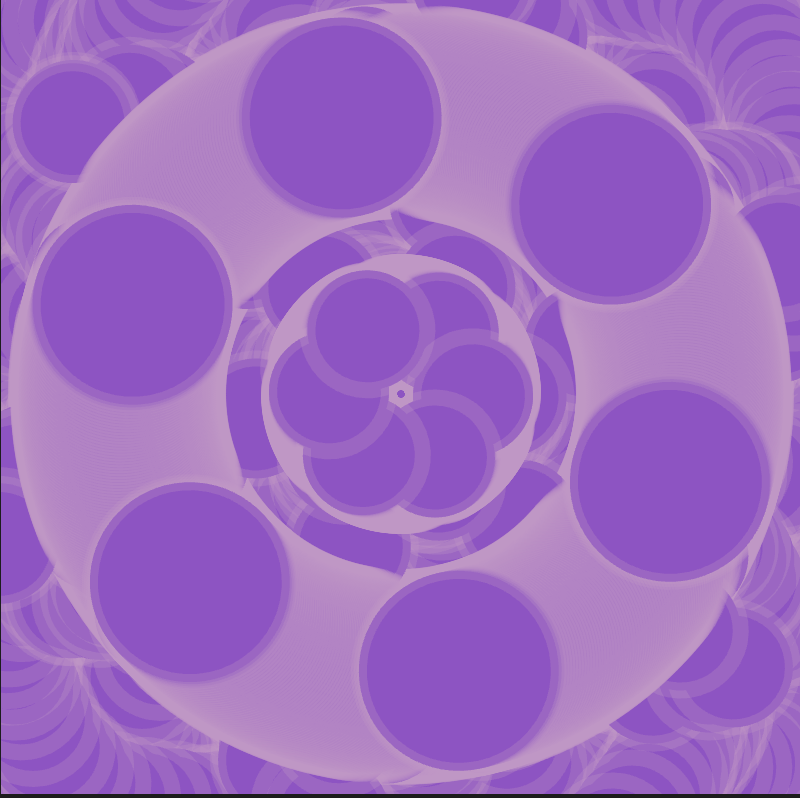
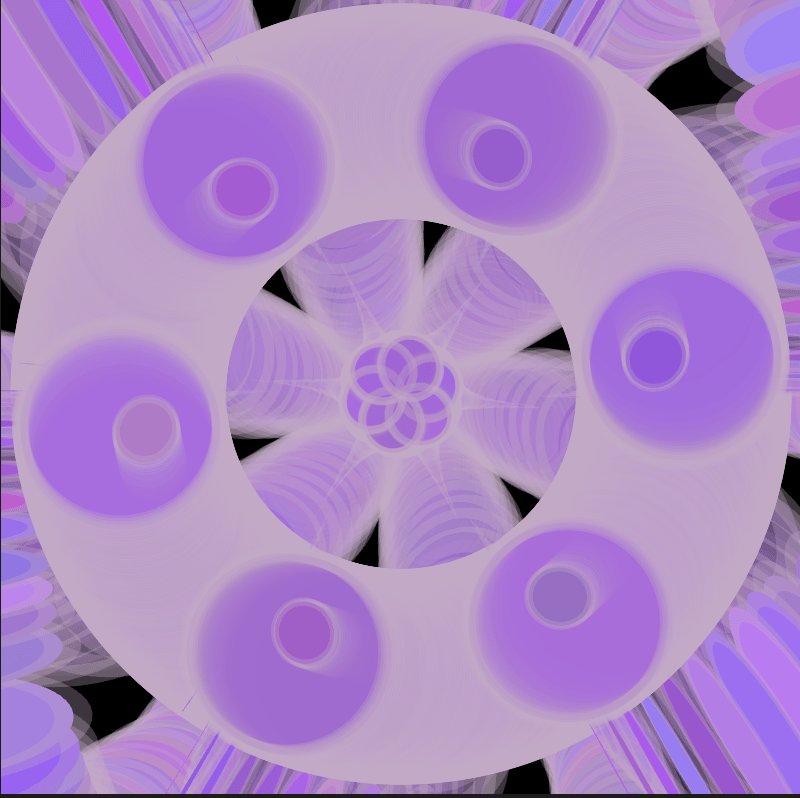
Lotus Pulse is a real-time visualization of your heartbeat in the infinite pattern of lotus flowers, turning an internal rhythm into an external display of animation. Wear the ear clip, and feel the connection between your heartbeat and the lotus flowers. (If you don’t get the ear clip, also lucky for you, then you have the chance to resonate and even synchronize with someone else’s heartbeat.)


• Process

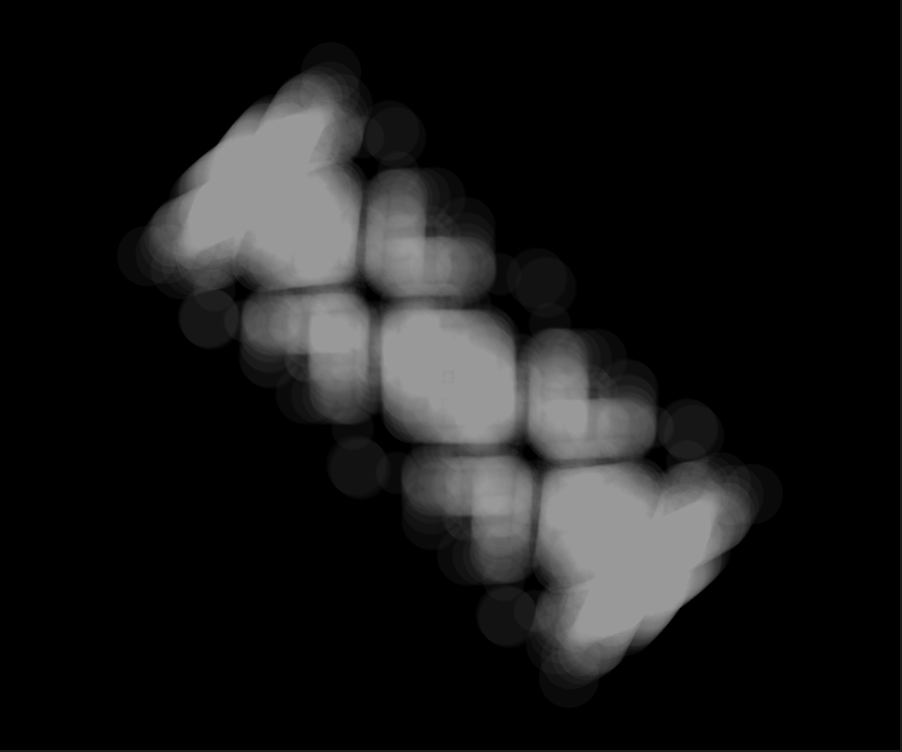
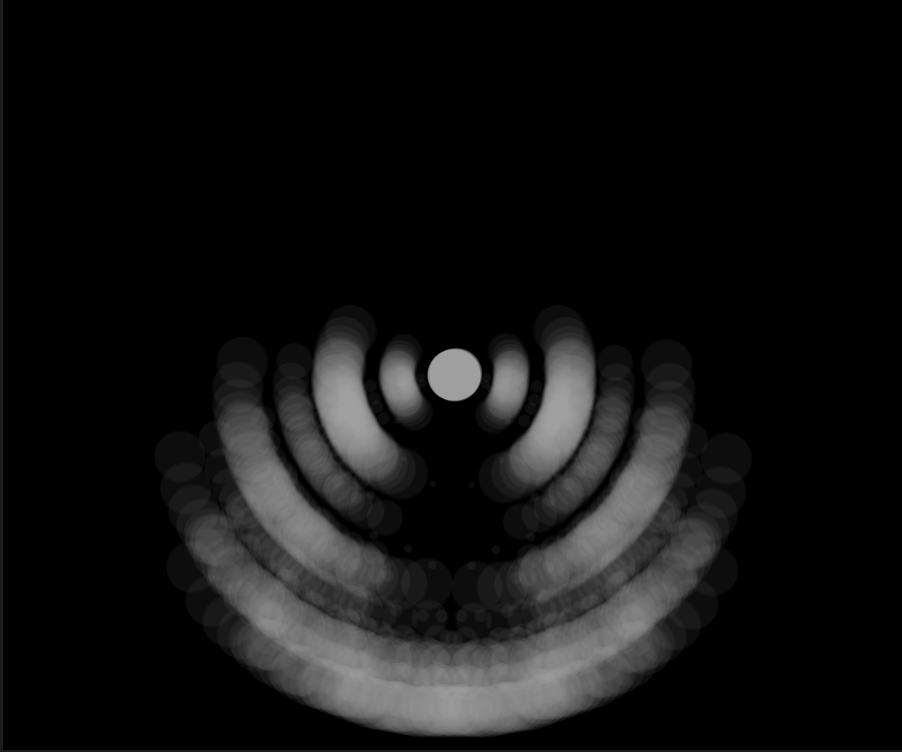
  1. First, I played with the flowfield as the basic of the whole project.

2. I changed my infinite pattern assignment code to animation.

3. After Moon’s help, I combined the pattern and the flowfield successfully.

3.

4. Connect the serial port

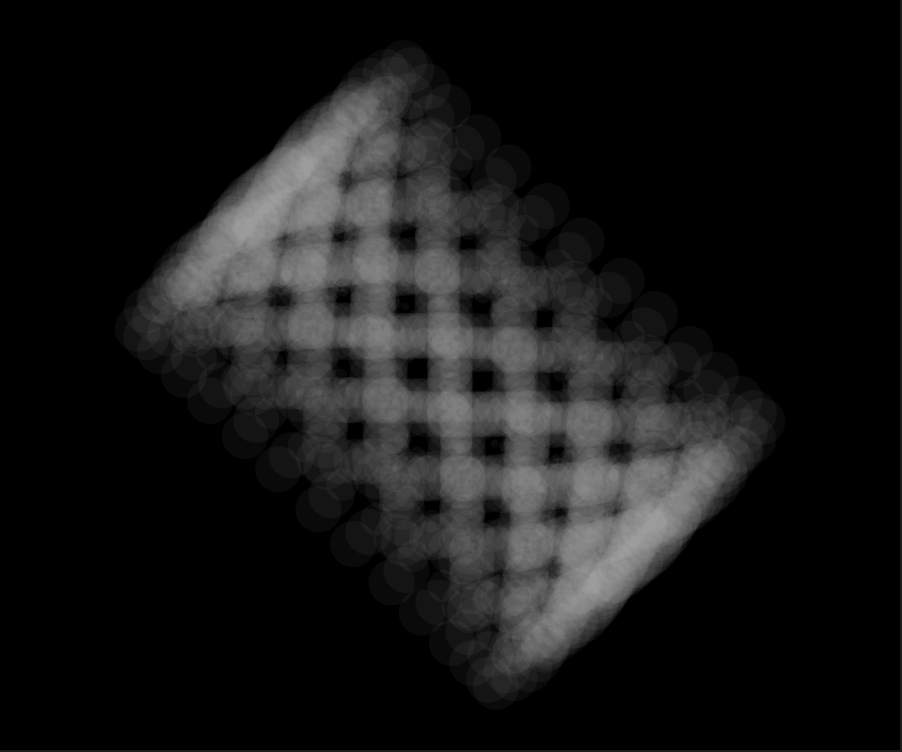
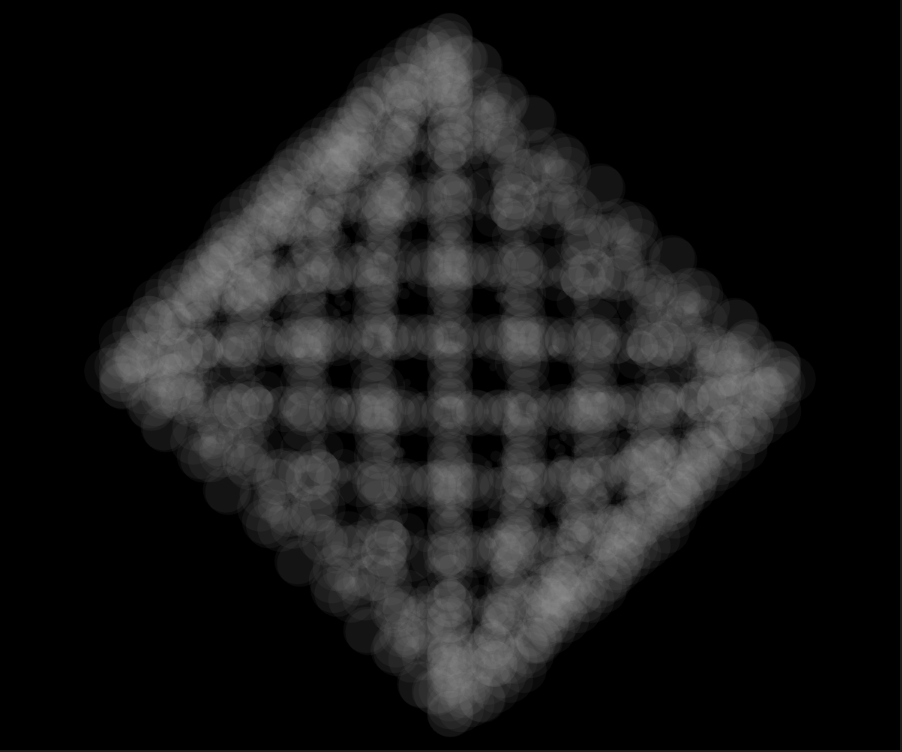
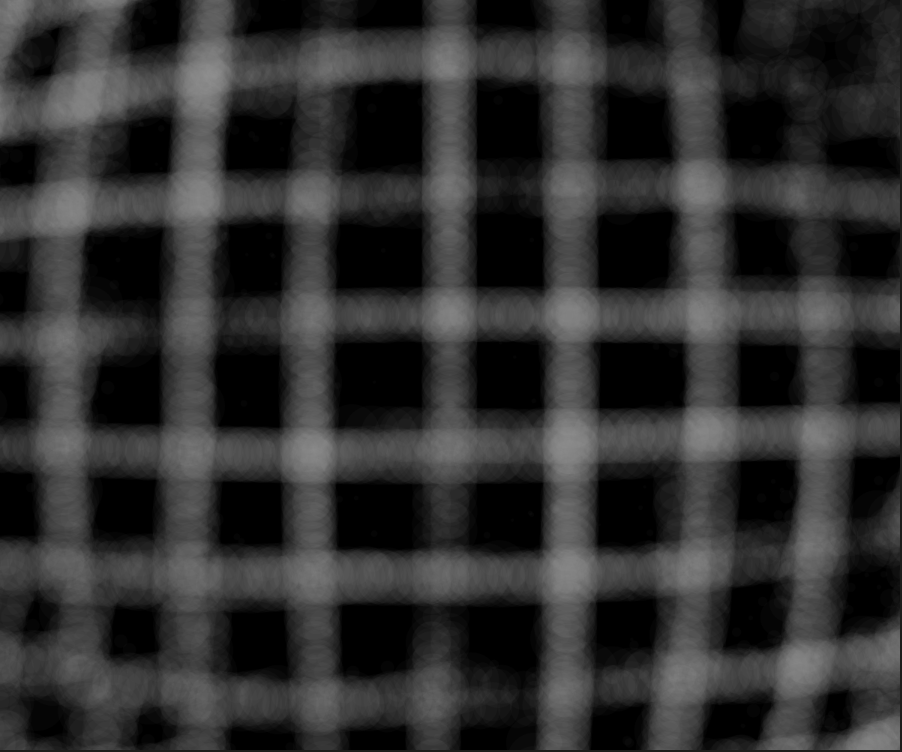
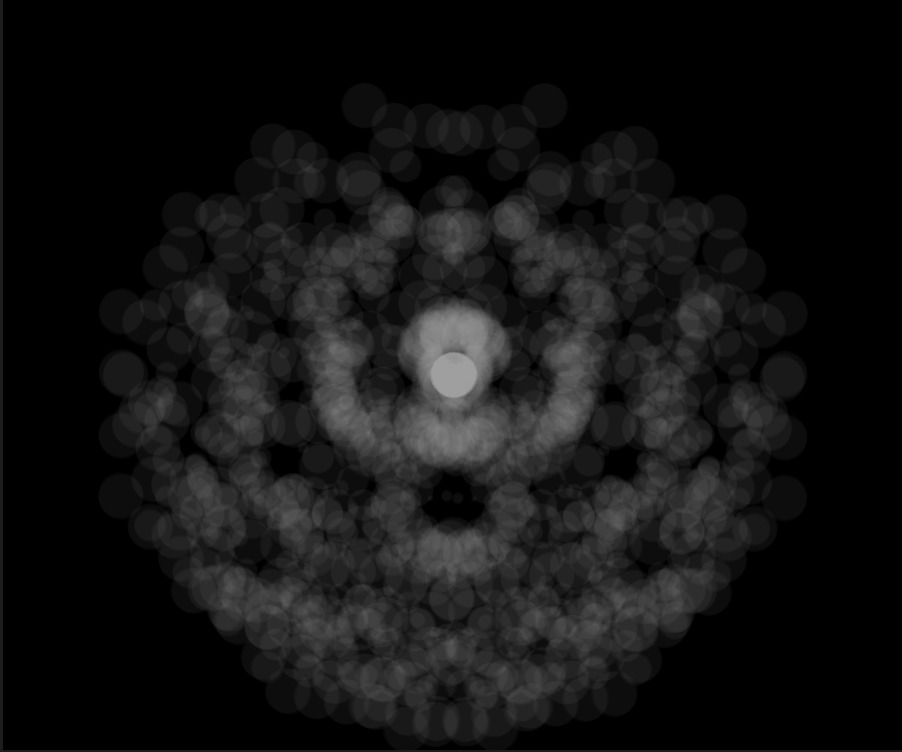
5. Duplicate the pattern.

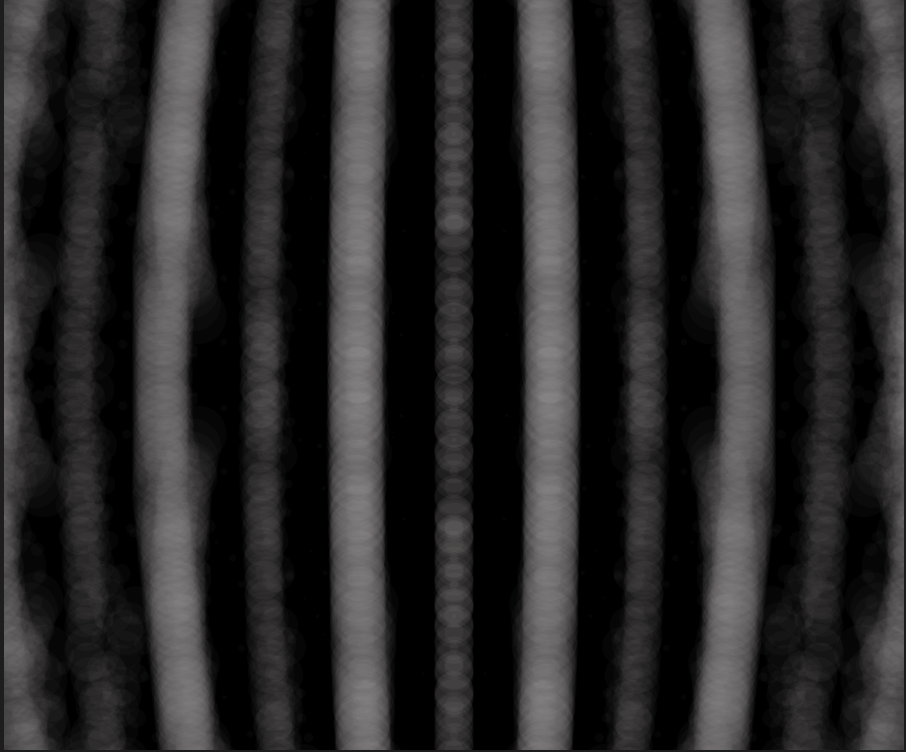
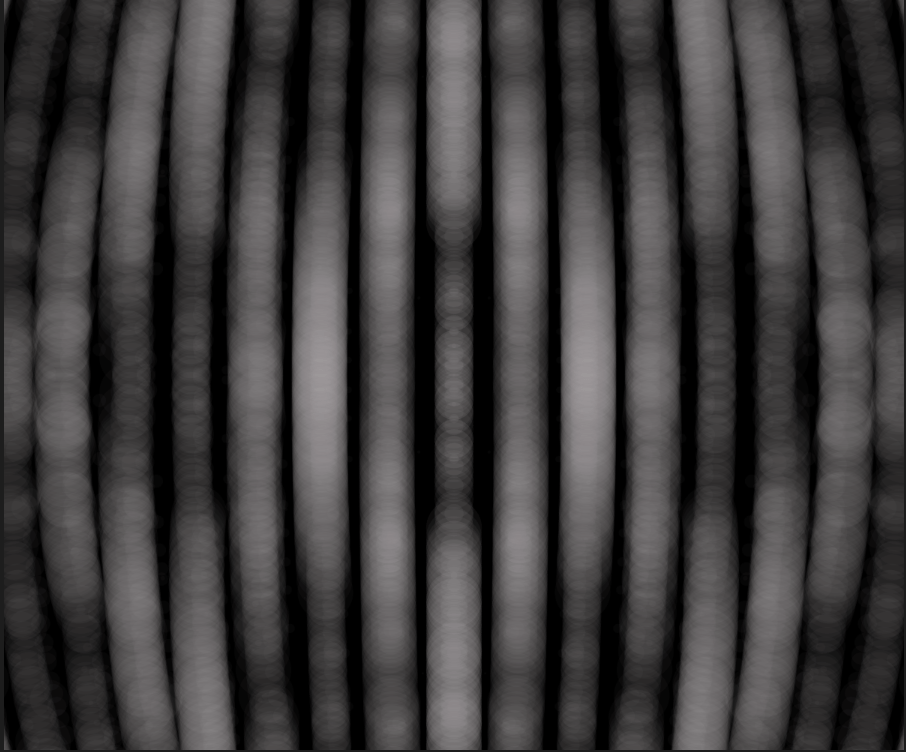
6. Transform the patterns based on the data (using the counter in Arduino).


• Reflection/ Lesson-learned

I am really excited to learn how to apply generative art to real-time visualization by connecting p5.js with Arduino. It makes me feel that my code has become lively. I always want to make the connection between reality and the virtual world through interaction. This time, I finally felt that I was connected with my code. I boldly believe that every audience who has experienced my project can feel the same connection.

However, I think this amazing effect must be due to the nice choice of the heart rate sensor and the good floor projector (It really helped a lot with the final effects). I still need to practice more with my visualization, making it more natural and smooth. For now, the lifespan is still a little abrupt and the change of pattern still follows a certain way. But I am glad that I have learned the flowfield skill. I think this is very useful and inspiring for my future coding because I’m fond of fluctuating motion, and this definitely showed how calculation matters in coding. It showed me the power and charm of mathematics and physics applied to art.

In the future, I still want to explore more on this project. I don’t want it to stop here. First I want to try how to realize my goal of multiuser. It is such a pity that one Arduino can only run one heart rate sensor. But it was also surprising that people who didn’t wear the ear clip could also feel the synchronization.

• Final Show

I was so flattered that so many people came to this little space and felt their heartbeat.


I adjusted the position and the scale of the floor projection so that it filled the blank space on the floor. The final effect was out of my expectations. 

However, the cables were not long enough so people might not choose to stand on the patterns but stand by and look at them. That was the hardware problem I needed to solve. 

Some experts told me that maybe I can think about more applications of visualization, like meditation and yoga. Some old grandmas told me that they hoped this could be applied to the hospitals. When the doctors detect the patient’s heartbeat, the patient can also see it and maybe the doctors can see it more clearly. It was such a pleasure to see my project have so much potential.

I was moved by this moment so I chose to film this. A mother kneeled to wear the ear clip for a few minutes and several children were playing on her heartbeat visualization. This brought much more meaning to my project than I expected. 
• Link to p5.js / Arduino

NOC#W10 – Penguin Hunt🐧

• Project: Penguin Hunt🐧

• Process

1. I used GUI to control the number of penguins.  However, the previous penguins will be totally cleared. But if I deleted “penguins = [];” in Line 19 , the penguins would be only increased. How can I change the number based on existing penguins?


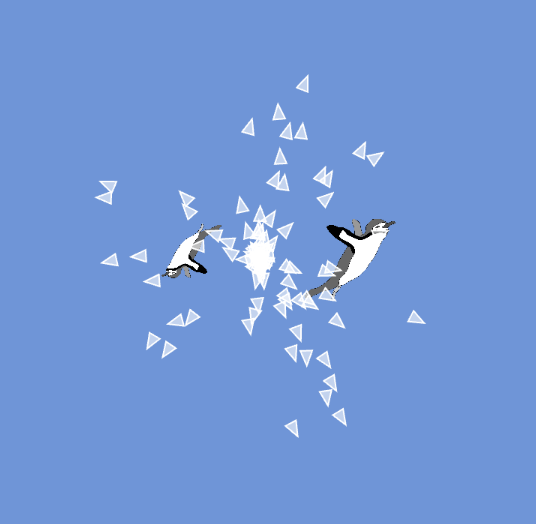
2. I inserted the image of penguins and changed the size to an appropriate scale.

3. I added a wandering system as fish. But the number seemed to be too large.  


4. I added mouse interaction.

5. I limited the number of fish. (Final Version)

6. I found a certain position where the penguins can move in a circular pattern.


• Reflection/ Lesson-learned

I learned how to let objects rotate according to its direction through “heading”. It helped a lot. I want to explore more about how lifespan can be employed in this project in the future. Also, I think it can be improved that the fish can be eaten by the penguins when they touched the boundaries but I haven’t figured out a way to realize it currently.

NOC#W09 – Infinity ♾️

• Project: Infinity

  • Version 1 – Link

  • Version 2 – Link


  • Version 3 – Link

  • Version 4 – Link


  • Process

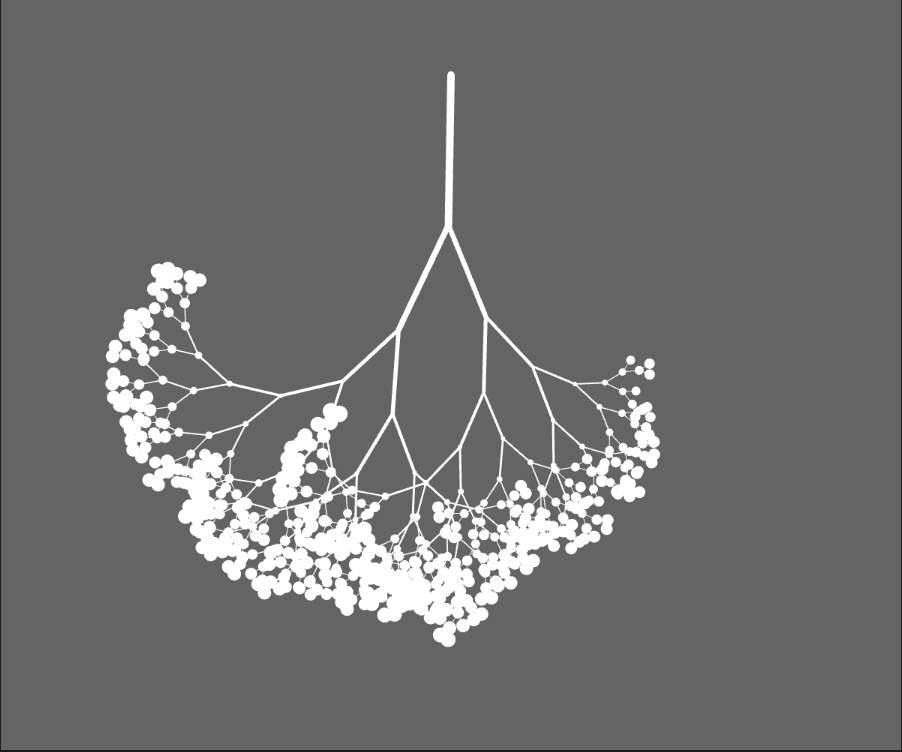
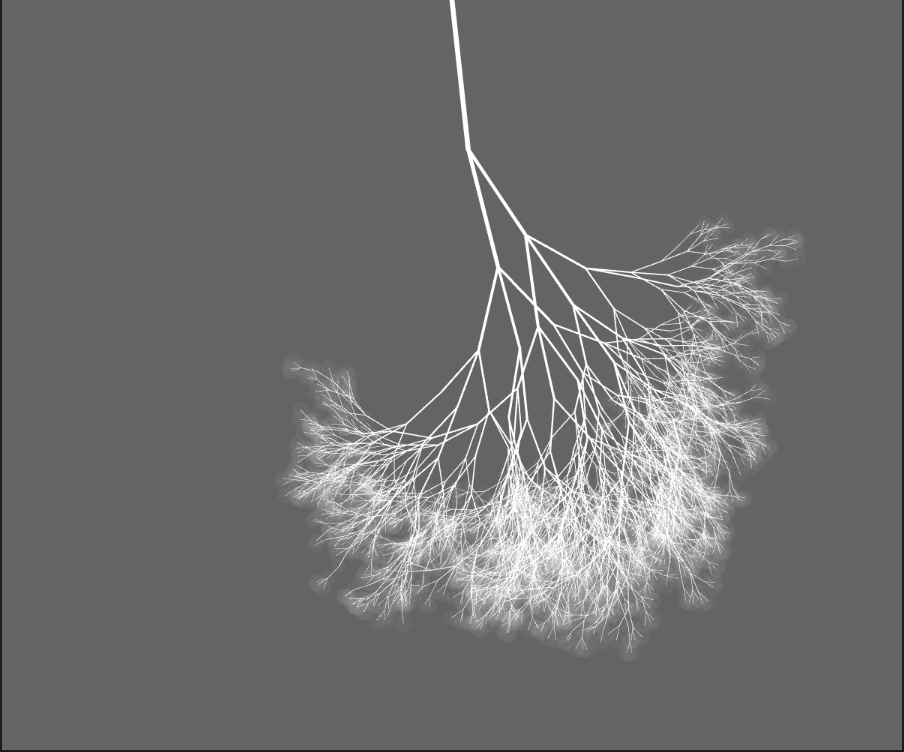
1. Play with the example code of the L-system and add some circles at the end of the branches.

2. I focused on the basic L-system and added GUI to it.

3. I changed the scale and found it more dense when the length increased. 


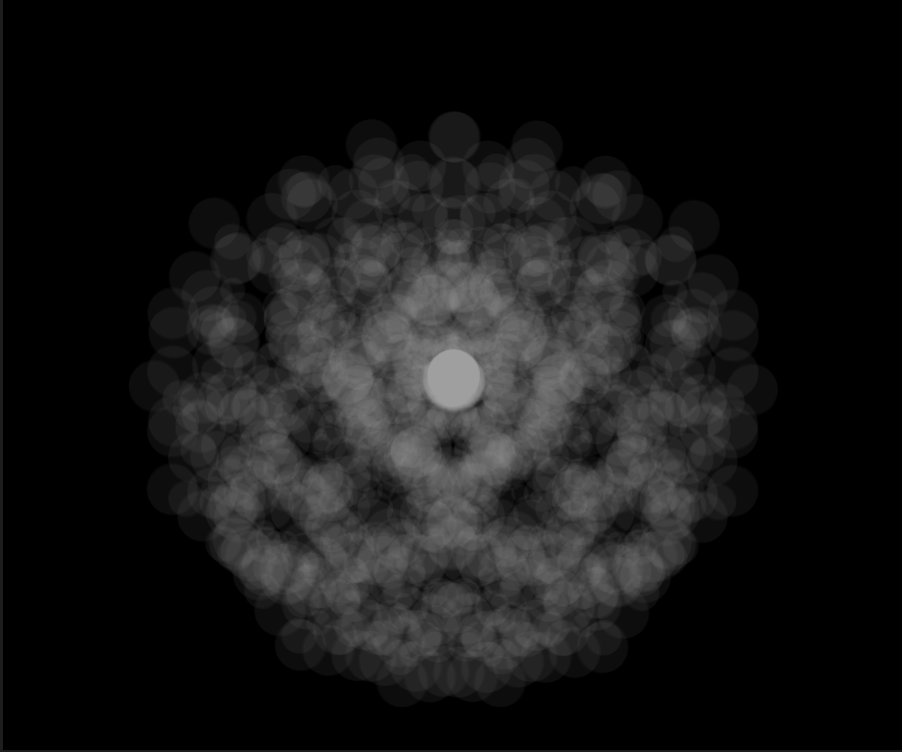
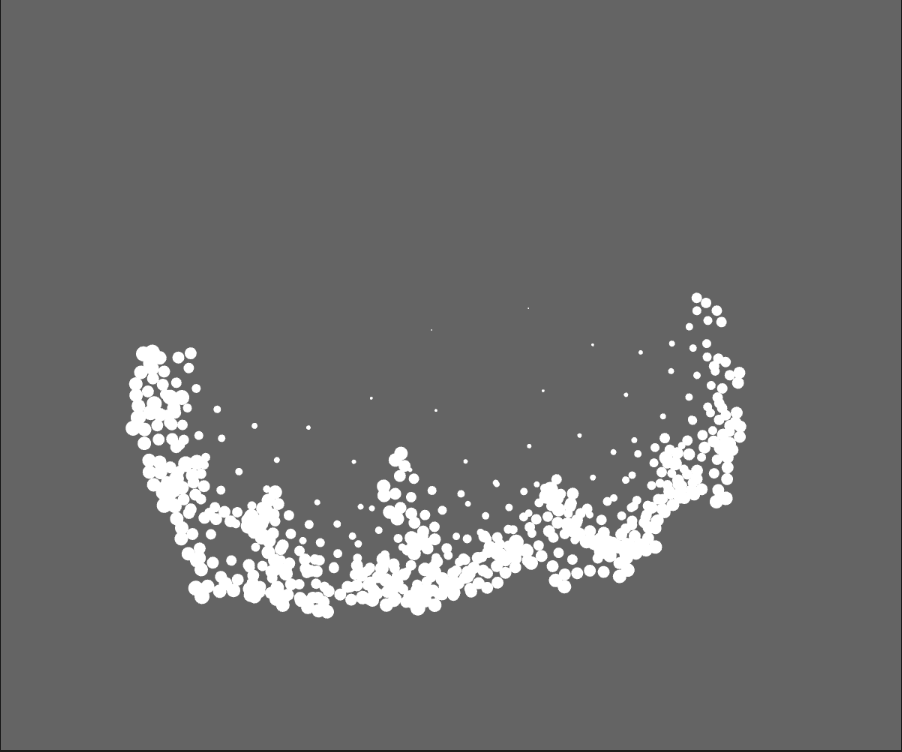
4. I removed the branches and only kept the circles. To see the overlap pattern clearly, I adjusted the transparency.


5. I added more fractal trees and found the pattern looked like a mandala.


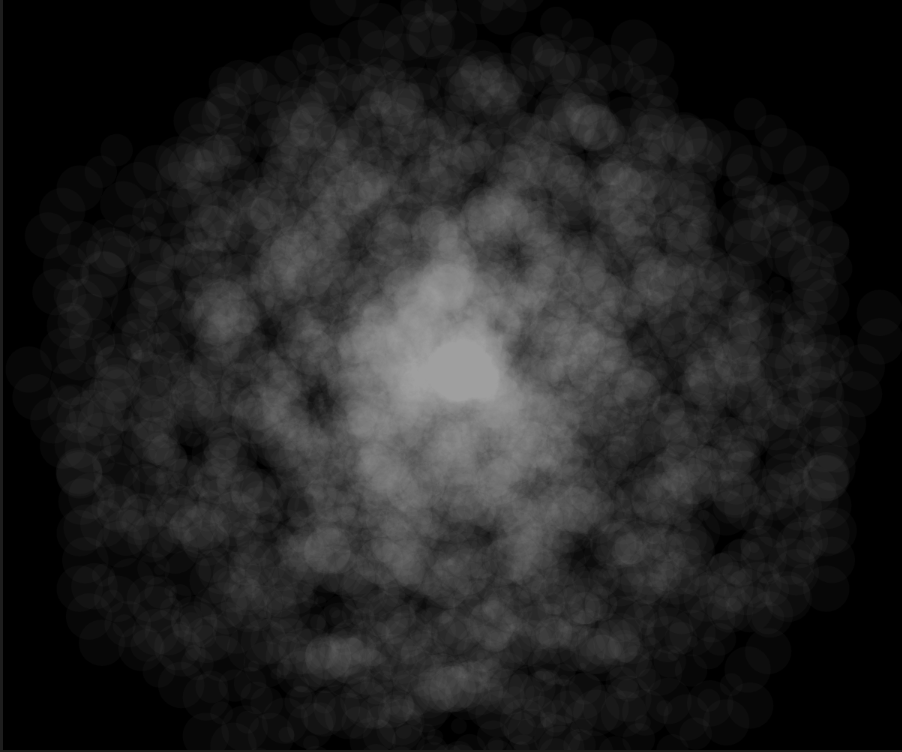
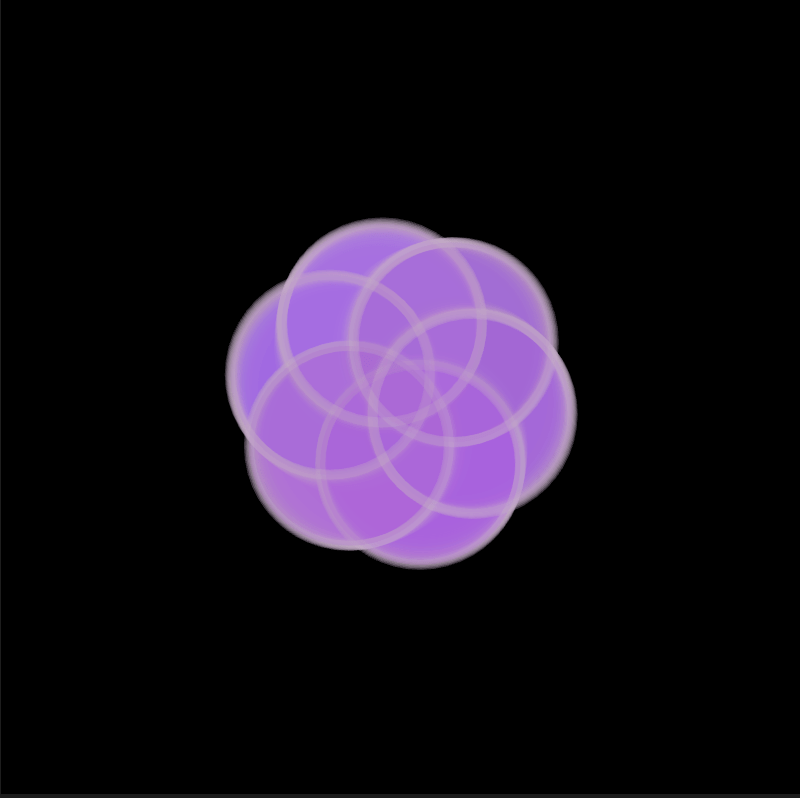
6. By playing with the values on GUI, I got a more complicated change of patterns and a strobing effect. It started to look nice and cool now.


7. I added RGB color change and transparency to GUI so that I can adjust the pattern to a better effect directly through GUI. 


8. I added the change of the number of the fractal trees to GUI and used sin() in the x-position of circles to transform.  

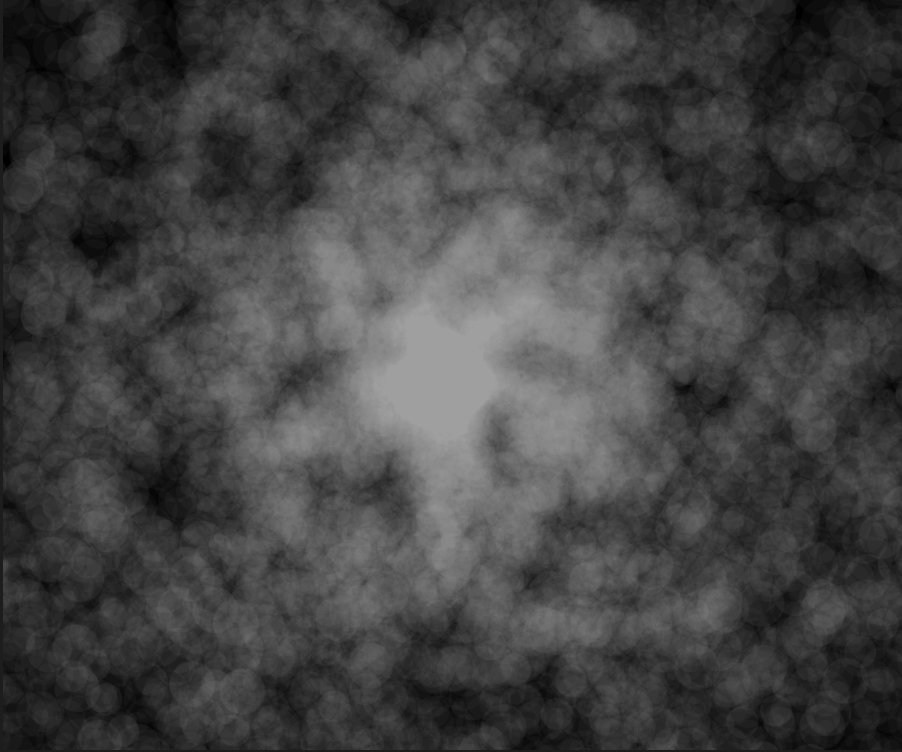
9. This one is the outcome of using sin() in x-position and cos() in y-position.


10. This one is the outcome of using sin() in both the x-position and the y-position.


• Reflection/ Lesson-learned

– A little change in sin() cos() makes various patterns.

– Try more, play more, and surprises come.

Project A. Explainable Algorithmic Animation – Motion in Water💧🩸

A. Project: Motion in Water💧🩸

B. Inspiration – Ink 

Inspo 1

Inspo 2

Inspo 3

C. Concept

How colorful particles in water spread shows the motion in water.

D. Interaction

• Mouse (keep pressing) – dripping ink

• Gui  – change the RGB color & density 

E. Motion

• Generating texture:
– background transparency
– blobby effects (removed in colorful version)
– blendMode!! (computational process)
– size transformation

• Random but orderly motion:
– noise() in angle – random
– sin() – orderly fluctuation

F. Process

 1. Start with my W03- Tornado code
2. Add Waterlevel 3. Start diffusing4. Play with transparency & blobby effect – Smoke/ Steam5. Add buoyancy 6. After Moon’s help, motion had noise() in angle7. Try white background and blendMode(MULTIPLY) – terrible frame rate8. Remove water level – waterfall 9. Add mouse interaction (if(mouseIsPressed === true))10. Play with GUI to adjust density11. Add change in RGB in GUI – still terrible frame rate12. Remove blobby effect – so-so frame rate

• Reflection/ Lesson-learned

– Experiment is very important.
– The structure of code matters a lot. After Prof. Moon helped me organize my code, my code become more logical and easier to be adjusted.
– Keep different version of sketches to save the possibilities.
– Unnatural things happening in a natural way seem to be fun.
– Never limit myself to one possibility.

• Further exploration

– More motion after particles bounce from the bottom
– Improve the shape while keeping the frame rate
– Different colors of ink
– Unrealistic motion , like tornado in water
– Add particles connection to make the particles not obvious
– Spread ink and change the color of water
– Try gradient color
– Lifespan use in transparency

Sketch Link

Presentation Slides

NOC#W06 – Pudding 🍮

• Project: Pudding 🍮• Process

  1. First, I played with several balls and springs and found out the structure with one ball in the middle was more stable.

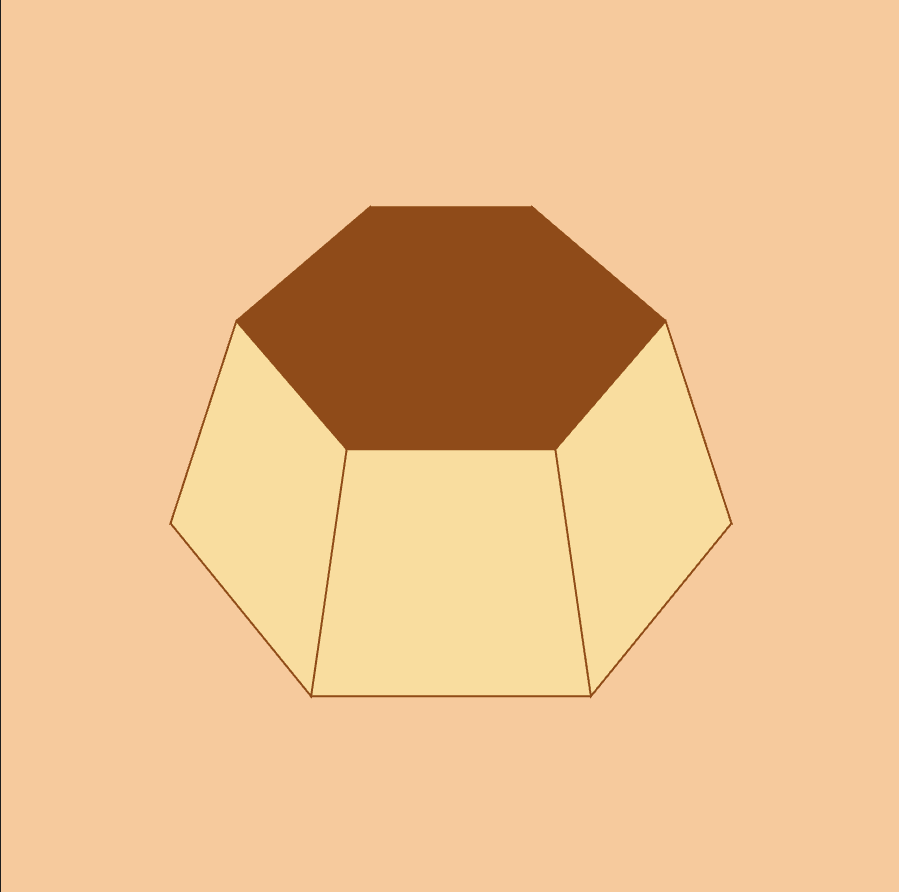
2. Next, I made two hexagons with one ball in the middle connecting the six balls at the corner. These two hexagons are the top and bottom of the pudding. 3. Then, I connected the top and the bottom balls one by one. I adjusted the stiffness of the spring in the middle to be smaller to make the surfaces stable. 4. I moved the balls to see the structure of the springs. 5. I use vertex to color every surface. I tried curveVertex but it didn’t have a good effect. 6. I removed the strokes of the springs but keep the strokes of the vertex shape. 7. Eventually, I adjusted the restlength and the stiffness to make it natural. It looked nice if I dragged it only a little bit. I like the movement when it appears. But I think it can be better.  

• Reflection/ Lesson-learned

In this assignment, I had a lot of fun constructing the structure of pudding. However, I am still confused about why the balls will stick together or change the relevant position if I drag them too far. 

• Sketch Link

https://editor.p5js.org/Tinggg/sketches/KyPlbh8Vj

NOC#W05 – Sea at Sunset🌅

• Project: Sea at Sunset🌅

• Process

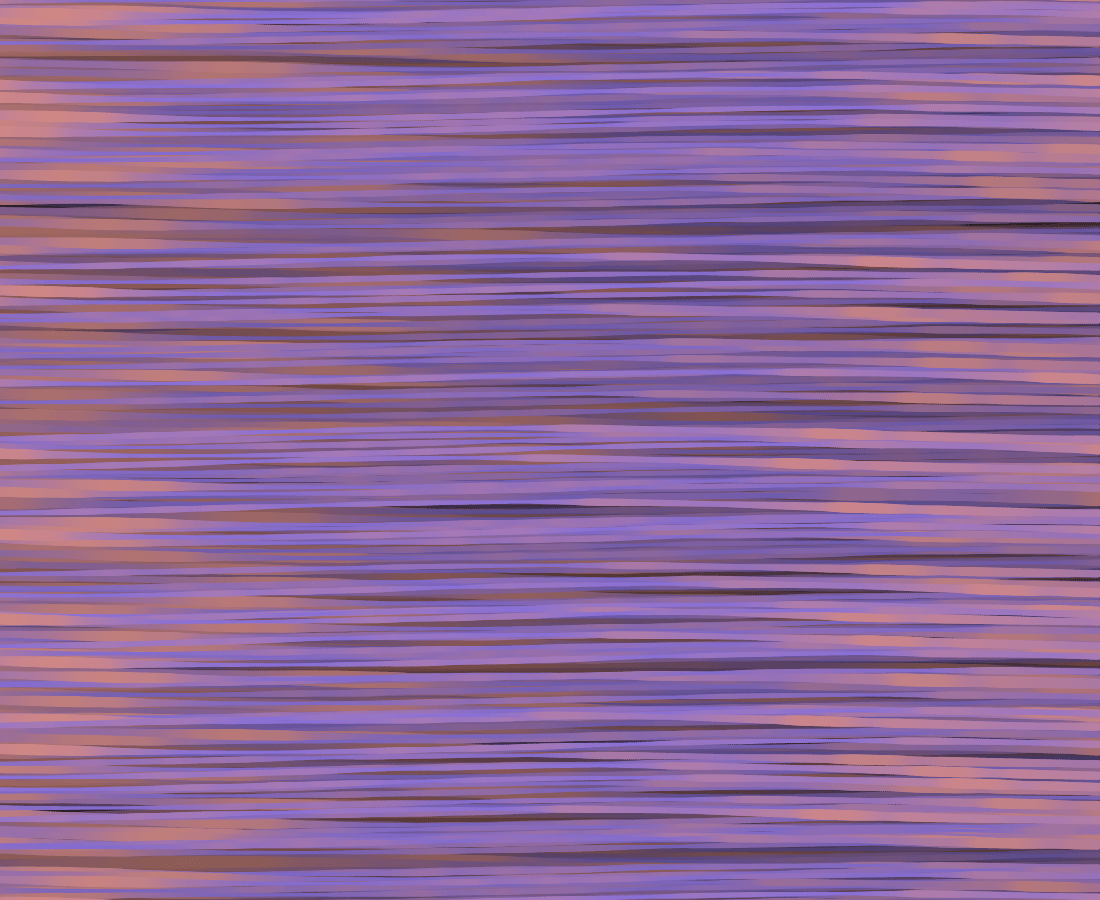
  1. I play with the example code and adjust the background transparency to see how it can show the wave track.
  2. I added a for loop to increase the number of waves and used noise to change the color.
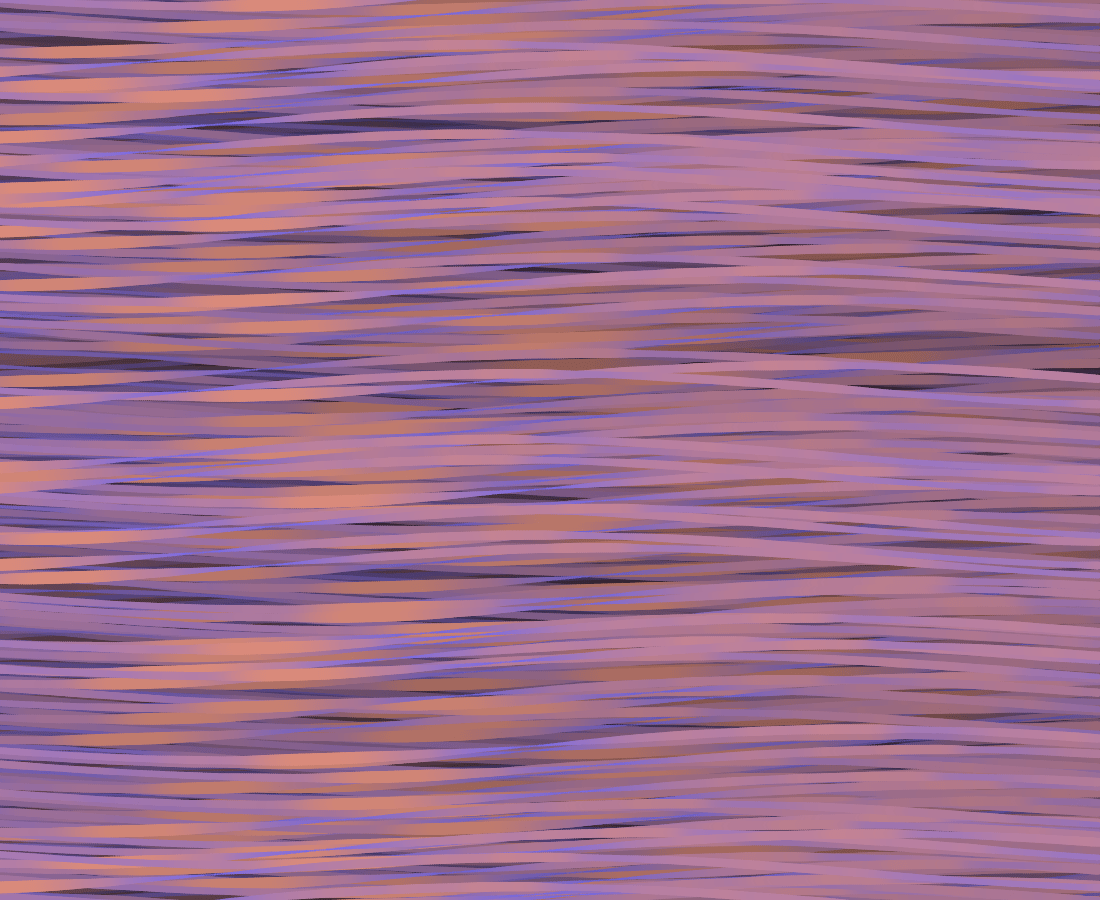
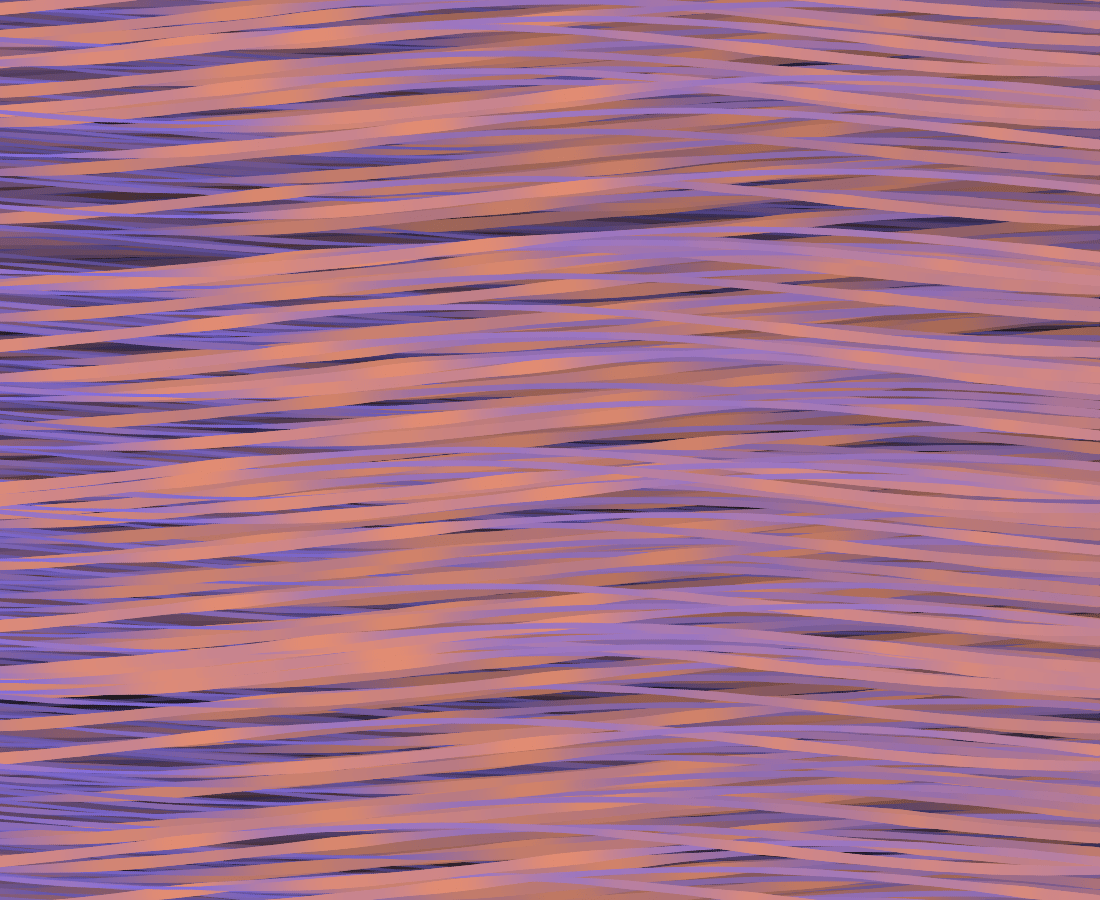
  3. I adjusted the thickness of waves to see different effects.4. I adjusted the color to make it more like the sea reflecting the sunset and the frequency to mimic the speed of sea waves. 5. I used lerp to make the amplitude change more smooth and flatter. Also, I want to see how thin the wave can be. Now it looked like hair. Very amazing texture 6. I also used noise in the thickness of the wave so that it can be more like a natural sea wave. • Reflection/ Lesson-learned

In this assignment, I enjoyed a lot with the noise function. I think it has great potential to help me make natural and irregular phenomenon. However, I need to explore more about the sin() cos(). In the future, they can help me make more transformation.

• Sketch Link

https://editor.p5js.org/Tinggg/sketches/ECvbGLT-L

NOC#W04– Heartbeat 💗

• Project: Heartbeat 💗 

• Concept

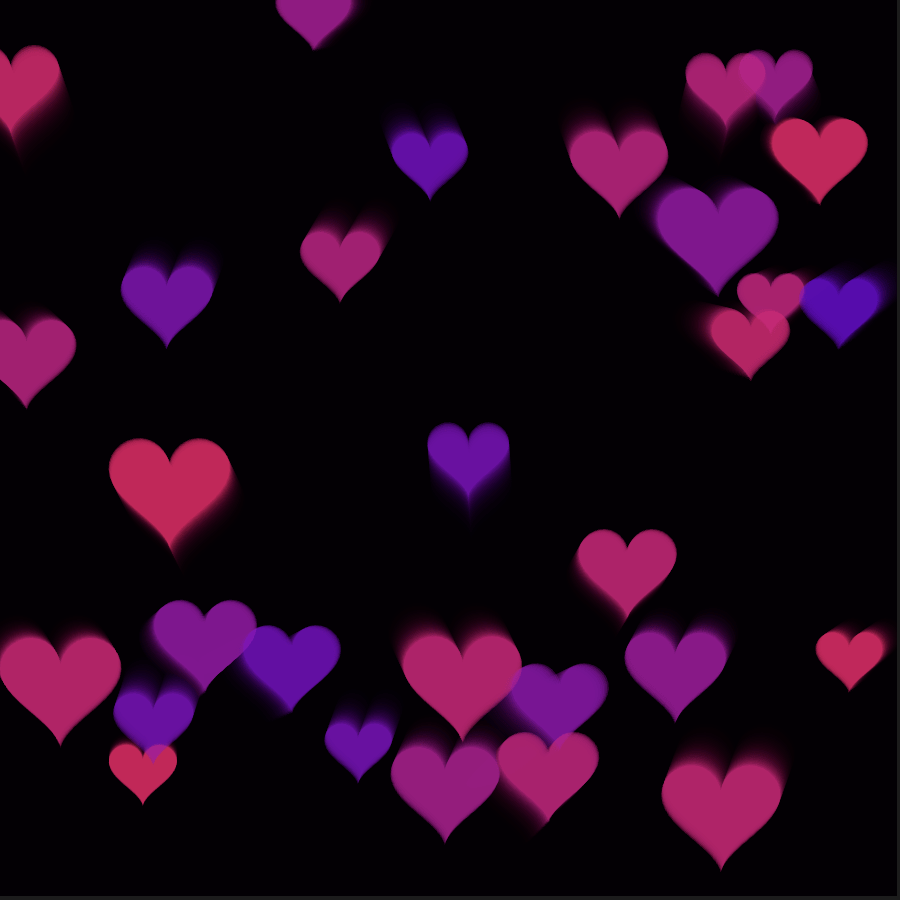
These hearts each represent a small thing that makes people’s heartbeat faster. When there is a force, these hearts will tangle together. This visualizes the emotions one have when he/she fall in love with somebody and has a tangled heart.

• Process

  1. The heart shape I found: https://editor.p5js.org/Supriyo/sketches/N2nRmPYL7

2. I apply this heart shape to  an example code.

3. add attraction to this, lookig weird. 4.  change the attraction to mousepressed interaction and add the number of hearts5. Change the color brightness and background transparency to make the track of it blurred, and making an effect showing the infatuated emotion.6. change the resistance to make the motion more slowly tangled

• Reflection/ Lesson-learned

In this assignment, I learned how to make interactions among objects themselves. This helped me create more interesting phenomenon, constructing an environment. 

• Sketch Link

https://editor.p5js.org/Tinggg/sketches/OFe7Q_fxL

NOC#W03– Tornado 🌪️

• Project: Tornado

• Inspiration 

Tornado - Wikipedia (photo of Tornado in Wikipedia)

• Process

1. The initial velocity of the dusts 2. add the force of float and change the color3. Change the scale of the dusts. When the dusts float higher, the distance from them to the center of the tornado will also be enlarged. 4. Limit the number of the objects so that there will not be too large objects. 5. Add some frame rate interaction, which is cool, like slow-motion video6. Add two wind forces from left and right to make it spin 7. Try enlarging the range of the spinning dusts. 8. Add mouse interaction to change the range of the tornado 9. Find out the problem of the redundant translate function in my code and adjust the mouse interaction to be like a repelling wind force 10. Final version: using mouse interaction to make amazing spinning motion.  • Reflection/ Lesson-learned

In this assignment, I tried a lot of way to add forces, which are also acceleration. It gave me a surprising effect that this 2D animation look like 3D so much. This practice helped me get more methods of how to make the movement smooth and full of change in a natural way. However, I still need to learn more about how to make the movement more natural.

• Sketch Link

https://editor.p5js.org/Tinggg/sketches/C682qBTWJ

NOC#W02 – Hot Rumor🔥🔥

•Project: Hot Rumor

• Concept

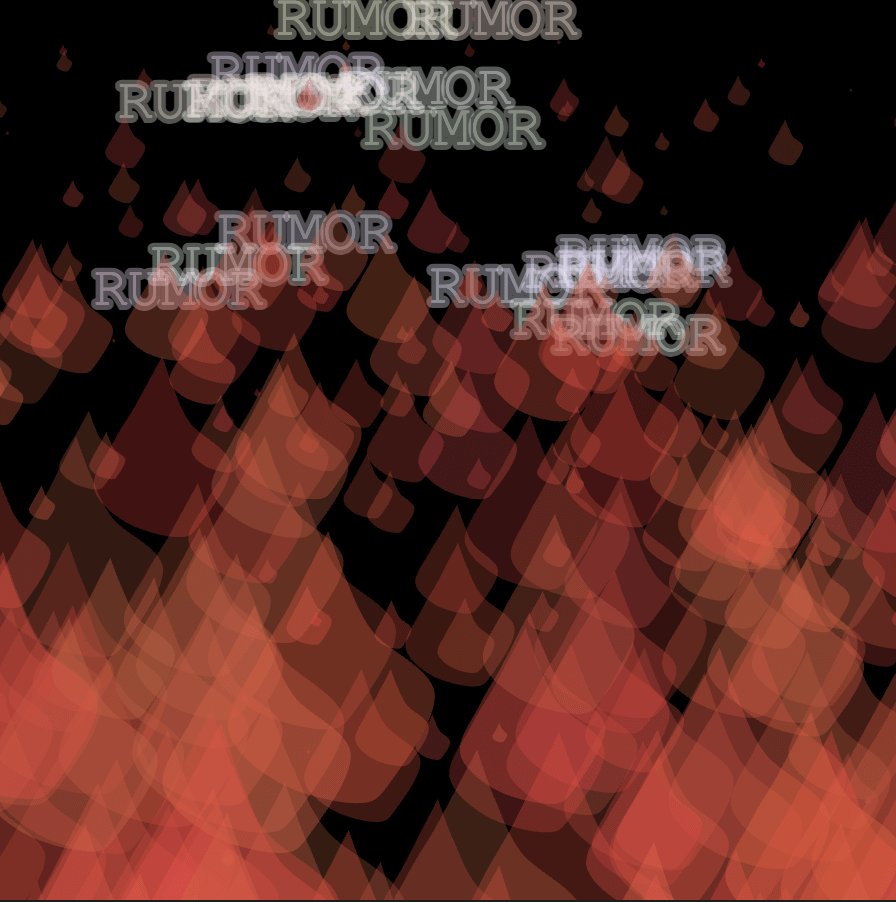
With the heat, the “RUMOR”s move faster.

• Process

  1. Try with the example code in class.(https://editor.p5js.org/MOQN/sketches/Pdbvj34Ng)

I made something like Japanese-style fire animation, which was my first idea.

2. With reappear and vector, the fire seemed to be endless and fierce.3. I used curveVertex to make the shape of the flame.

https://editor.p5js.org/Tinggg/sketches/-XcwZRBFj4. I limited the number of the object to see what happened.
5. Using the mouse to set the fire didn’t work well. 6. So I turned the mouse interaction to automatic animation. I limited the number of flames and used scale and lifespan concept (which is actually transparency) to show the growth, fading and end of the flames.
7. Only fire was too boring so I added “RUMOR” to roast.
8. This is the unsuccessful version of adding random moving object. 9. Finally, I used bouncing to the “RUMOR” to show a effect of roasting and added a mouse interaction to the fire. Considering the realistic physical situation, as the temperature increases, the molecular motion speeds up. Therefore, when the mouse goes upward, the fire will be bigger and “RUMOR” will move faster. On the contrary, it goes the opposite way. Additionally, I made some little shaking effect on “RUMOR” to show the twisted hot air.

10. In the later class, I got instructions from Moon. “blendMode(ADD);” helped a lot on making the color of the fire more realistic. 

• Reflection/ Lesson-learned

In this assignment, I learned how to use class to customize an object. It is beneficial and convenient. I can stuff all the functions of the object itself in it and classify them, which makes the code orderly. Vector is the first math function I have ever used. I still have more to learn about it but through this practice, I started to understand the charm of it, making the code concise. It became easier to use vector for motion. Besides, I tried to use the vertex that I didn’t use last week and I think I get some make-up practice now.

However, there is still much to improve in this assignment. It was not what I want that every flame looks so shaking. I need the shaking effect to show the flickering flames but this is too much. I hope I can figure out the reason in my later exploration and learn more methods to make various changes.

• Sketch Link

https://editor.p5js.org/Tinggg/sketches/37zxlE15W

NOC#W01 – Flower 🌸

• Project – Flower


• Process

1. Start from playing with the exercise example code

Example code link: https://editor.p5js.org/MOQN/sketches/FDL6XpJFv

2. Change the shape, color and angle to make it more like flower

3. Add Mouse Interaction to make various and unpredictable effects

4. Make an automatic animation separated from the mouse interaction

5. A rectangle try – it looked good but it didn’t meet my expectation.

6. Add Scale() 

7. Add more animations to make it look fancy  (the version I think which is the most like a flower animation)

 (A final draft)

• Reflection/ lesson-learned

It was out of my expectation that I have learnt how to make such delicate images by code in the first class. rotate(), lerp(), translate(), push() and pop(), which are essential in my assignment, are all what I first learnt and help me develop more possibilities of coding. Also, I found the reference on p5.js website was very useful. However, I still need to learn more about vertex() and some math function code. I didn’t know how to use them well so I gave up adding them to my code. I hope I can figure them out through more practice.

• Sketch Link

https://editor.p5js.org/Tinggg/sketches/vlBrk1j7S