A. Life of Tears – Ting Yang – Prof. Andy Garcia
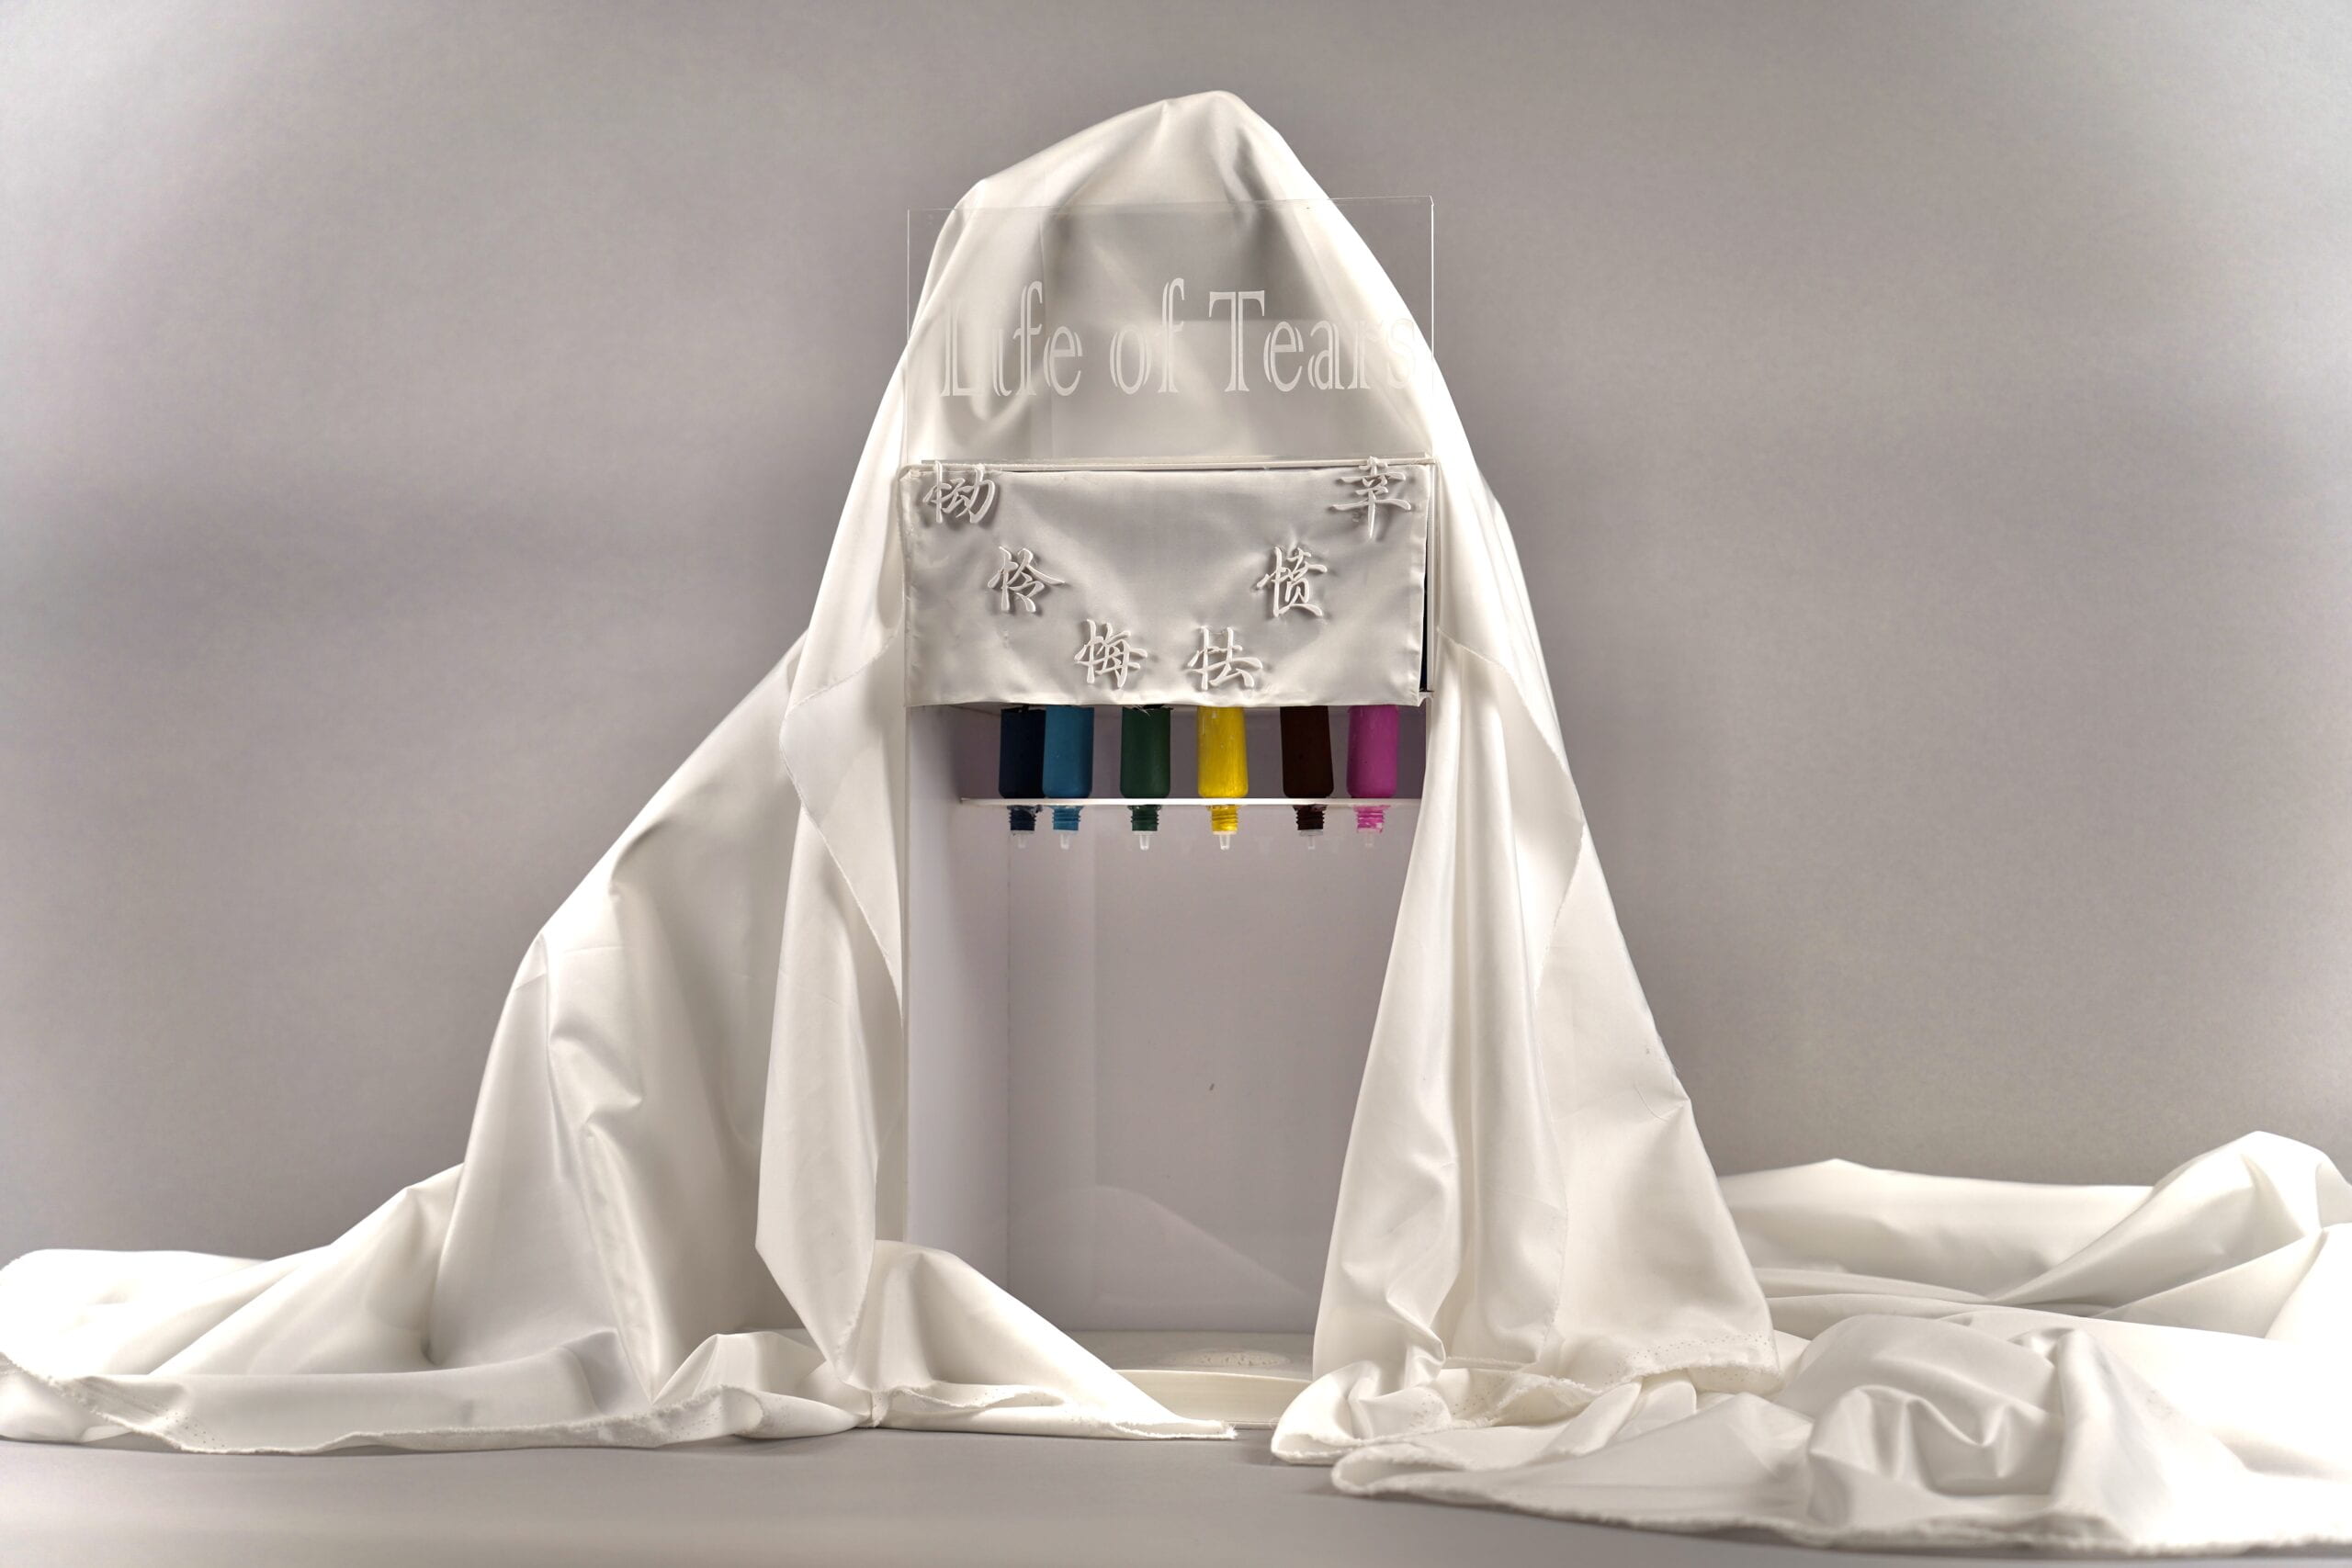
B. CONCEPTION AND DESIGN:
• Conception:
Inspiration: It came from eye drops that I use every day. Every time I use the eye drops, some of them will come out of my eyes, looking like tears.
Background: In traditional Chinese society, crying is not welcomed. crying presents your weakness. Even till now, a lot of my friends around me still take tears as a shame.
Purpose: The project aims to present the realistic process of having tears and show the meaning of tears. Tears are not only the liquid coming out of the eyes but also a container of emotions. Every tear with emotion recorded the valuable life experience that caused one to have mood swings. The article “ The Science of Crying” gave me the insight that crying can have a positive effect – RELIEF. In my project, I hope people can integrate their recent emotions with it. Relieve the negative emotions and share the happy emotions. Crying is a natural, normal, and healthy way to express our emotions.
Interaction: First, people squeeze the eye drop bottles. The teardrop with corresponding emotion will fall onto the eye and go out of the eye. Each drop will trigger a certain sound and a drop animation with a certain color.
-
- ANGER: Horn – Road Rage
- TIMIDITY: Heartbeat – Our heartbeat goes faster when we are afraid.
- REGRET: Rustling Leaves – Regret what we have done before so we want time to go back.
- COMPASSION: Whimpering Dog – Small animals can trigger our compassion easily.
- SORROW: Baby Cry – Adults can consciously control their crying sounds but babies cannot, which can arouse more empathy.
- HAPPINESS: Cat Meow – Magic of triggering happiness
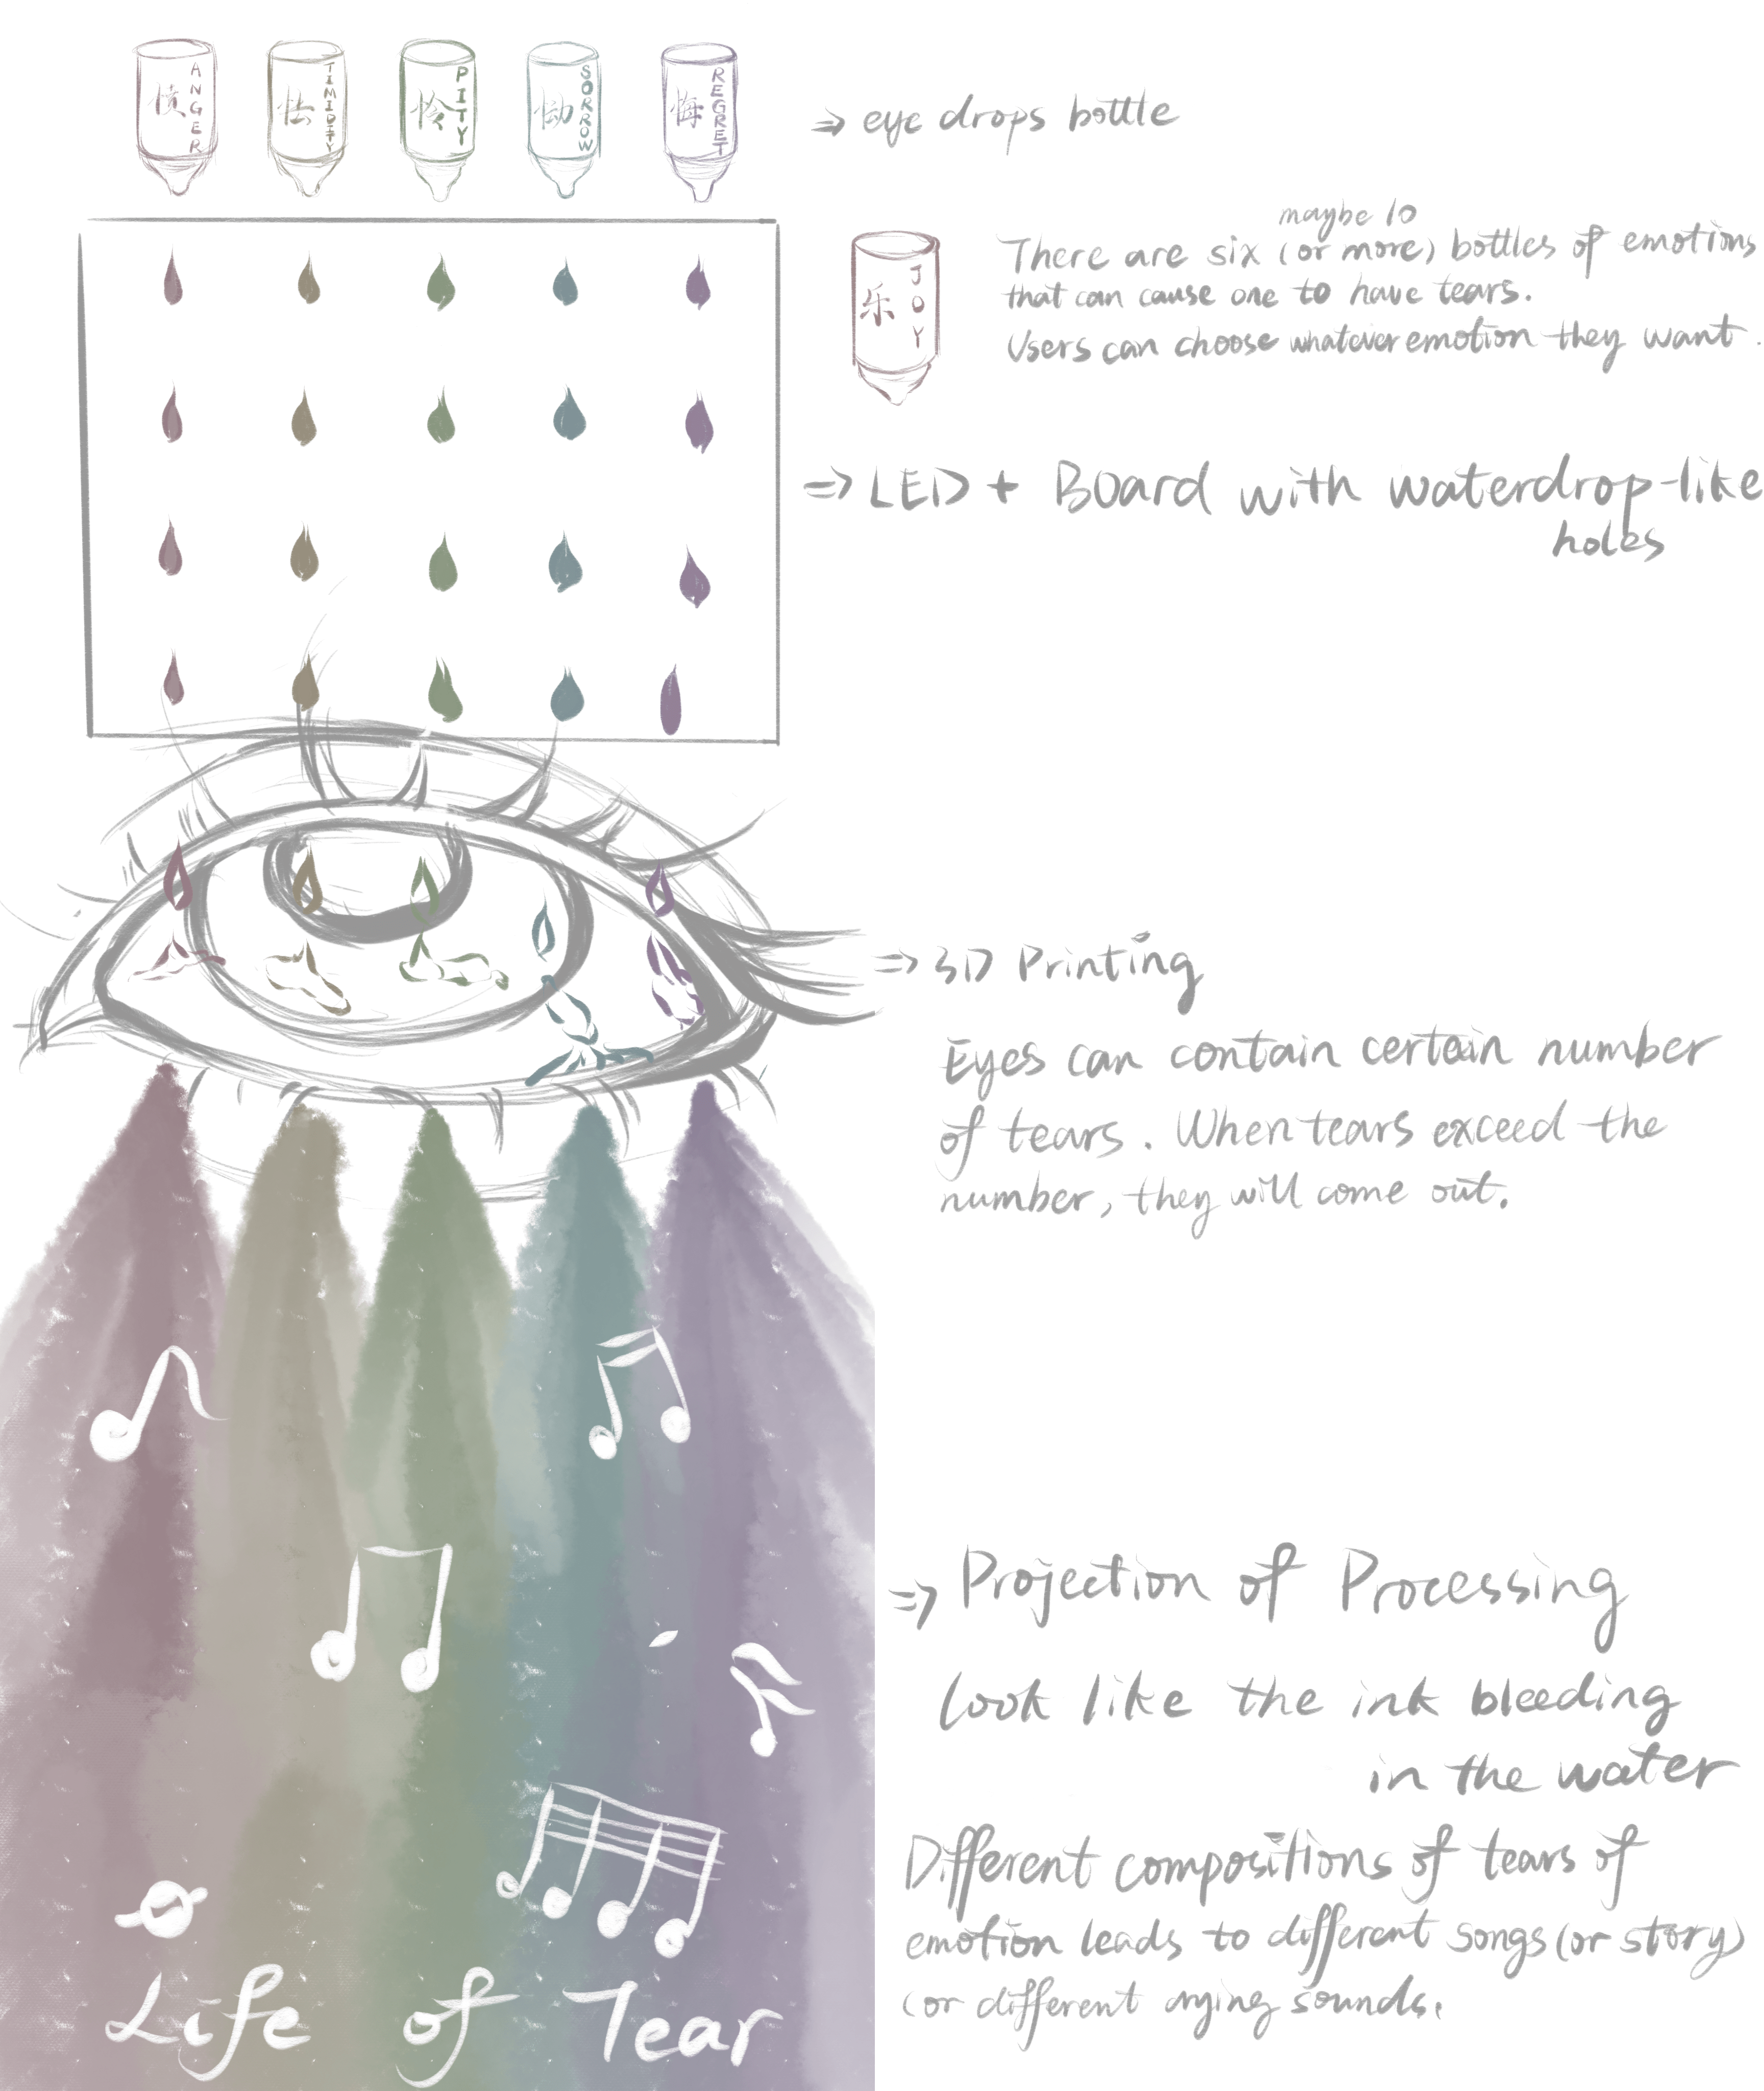
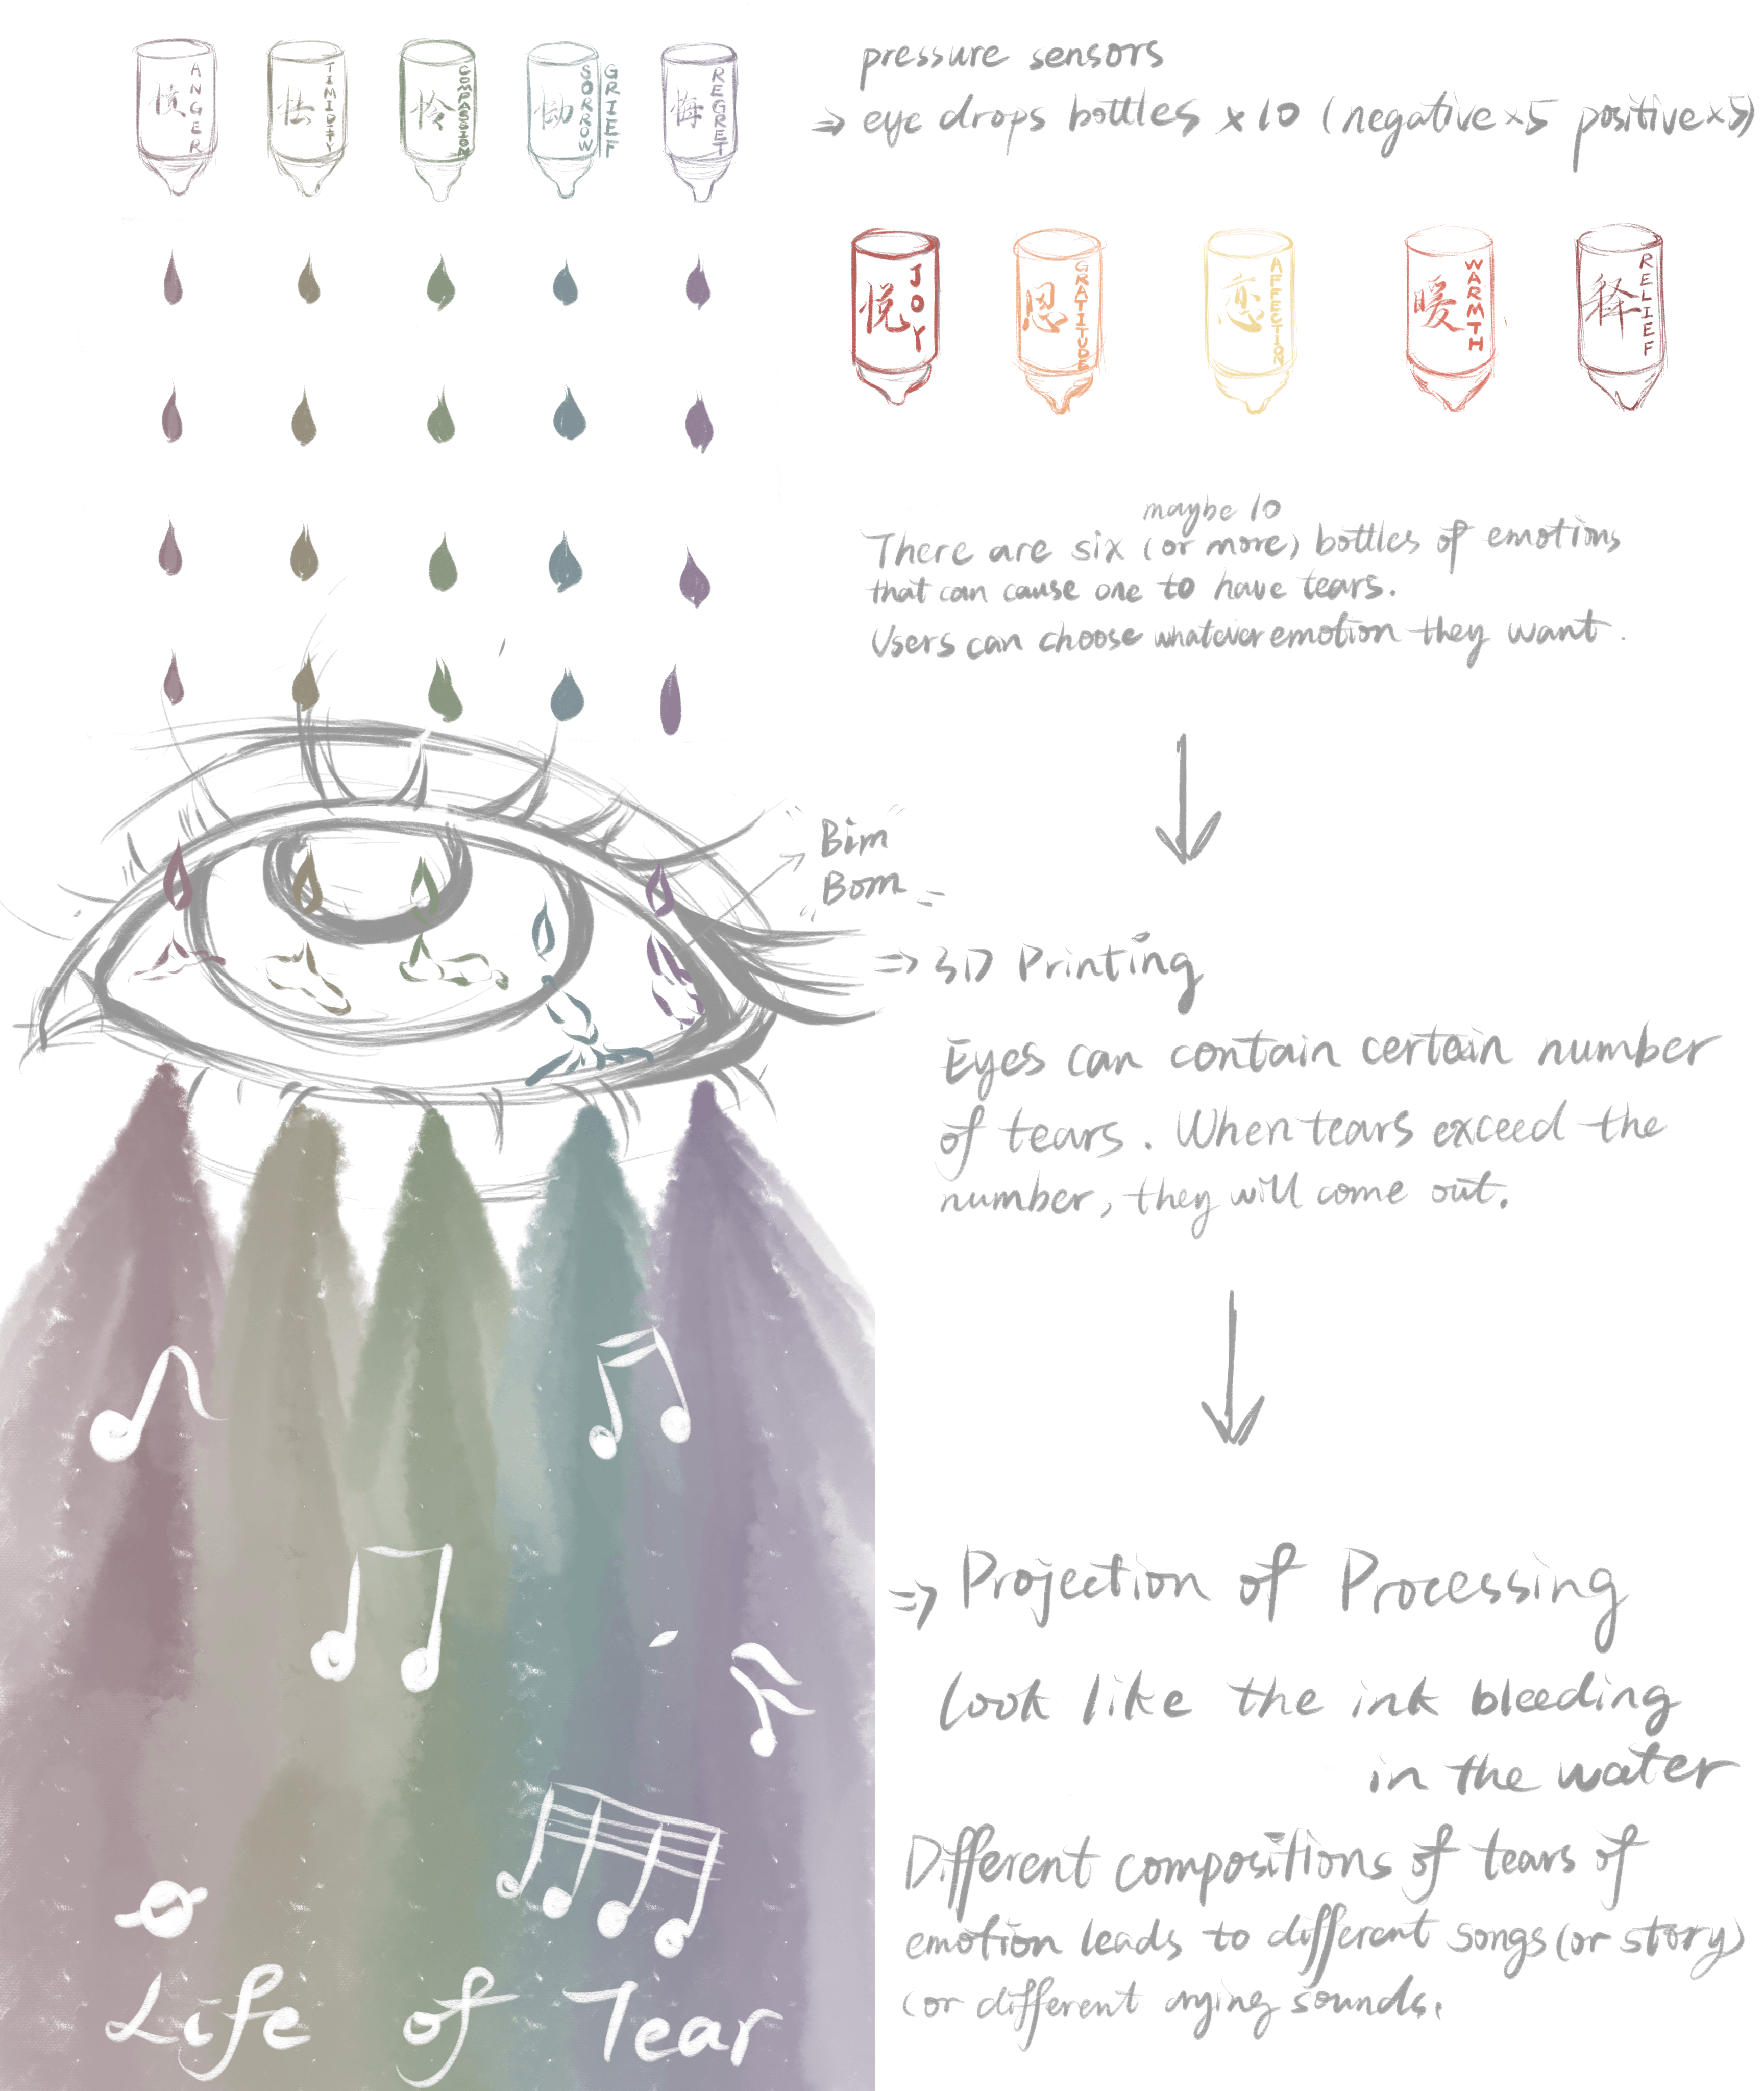
(These are the first two draft design scripts.)
• User Test:
In the user test, there are only eye drop bottles with sensors, a 3D eye model, and the code of sound triggering.
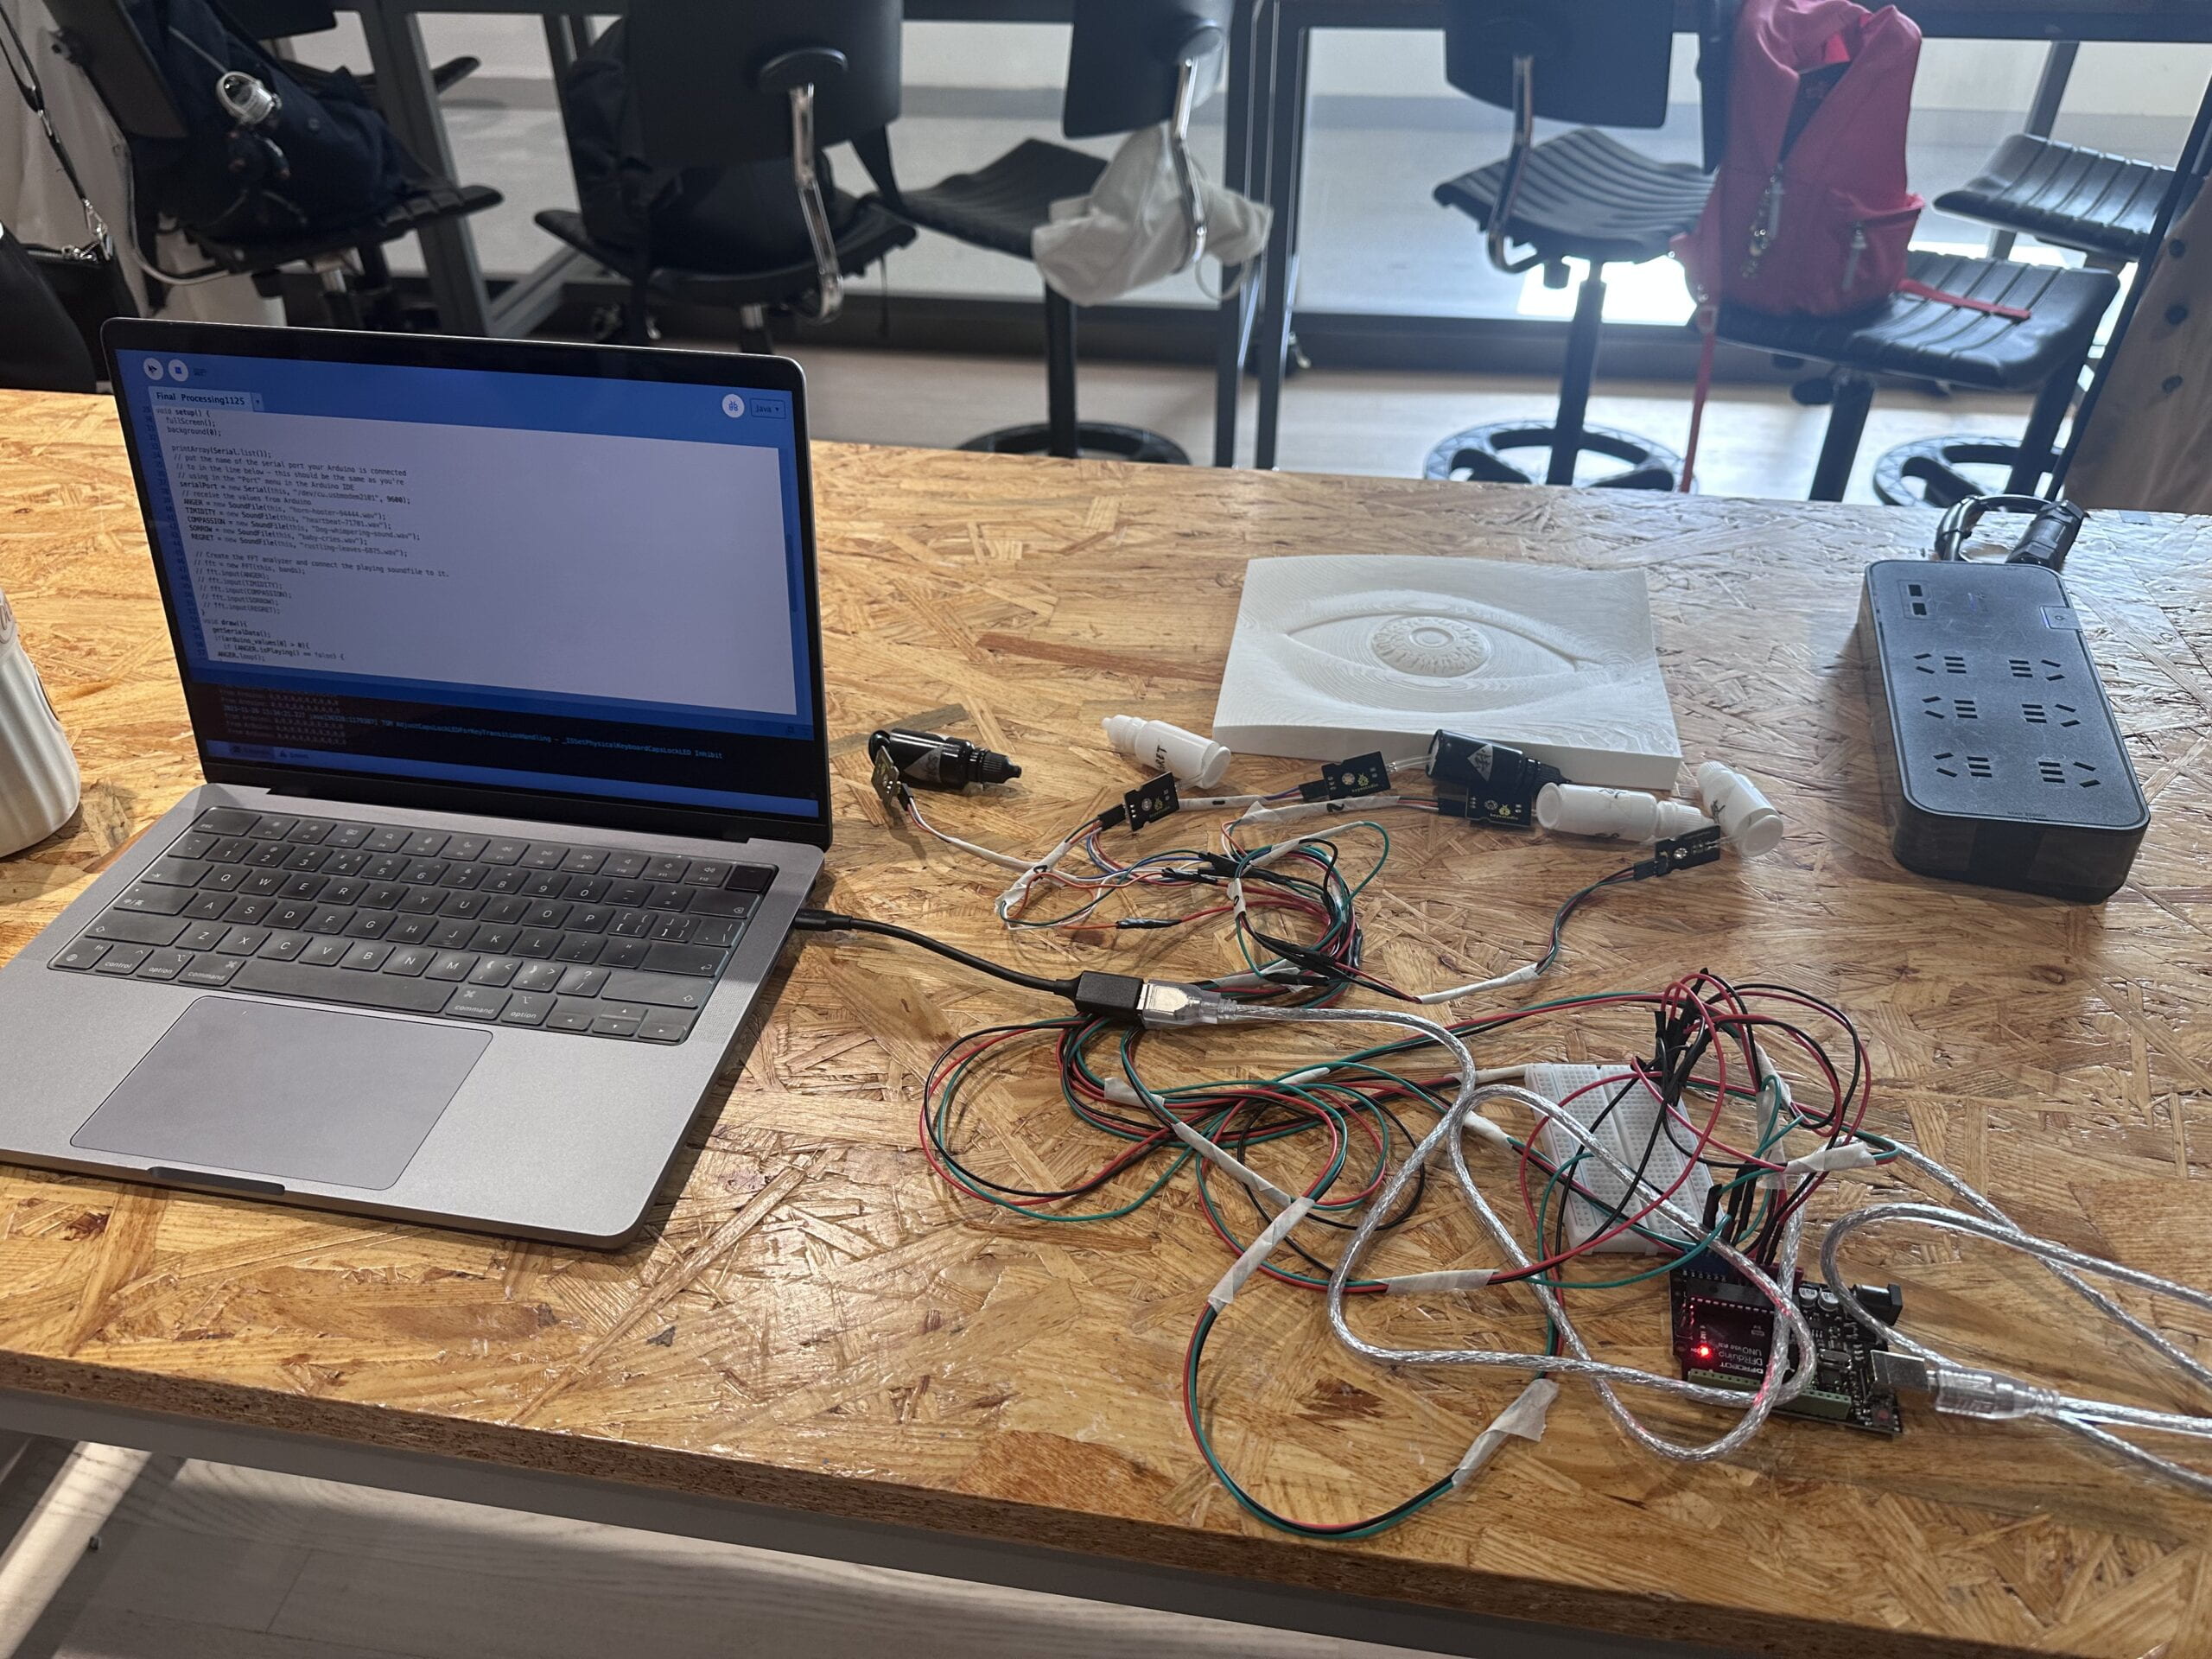
– Suggestions I got
-
- Use a stand to hang these bottles
- A projector
- Eye as the canva (don’t use LED)
- More animation
- Hide the wires
- Change Bottles’ colors
- Restart button
- A box to hide the wires
- more emotions
– Changes I made:
-
- I gave up the idea of hollowing the eye model and adding LEDs inside to show the drops. Instead, I planned to use the projector and project the drop animation directly on the eye.
- I added a positive emotion and made it like a restart button. When it is triggered, other sounds of negative emotions will stop. Therefore, I don’t have to upload the code in Arduino every time before playing.
• Mechanism:
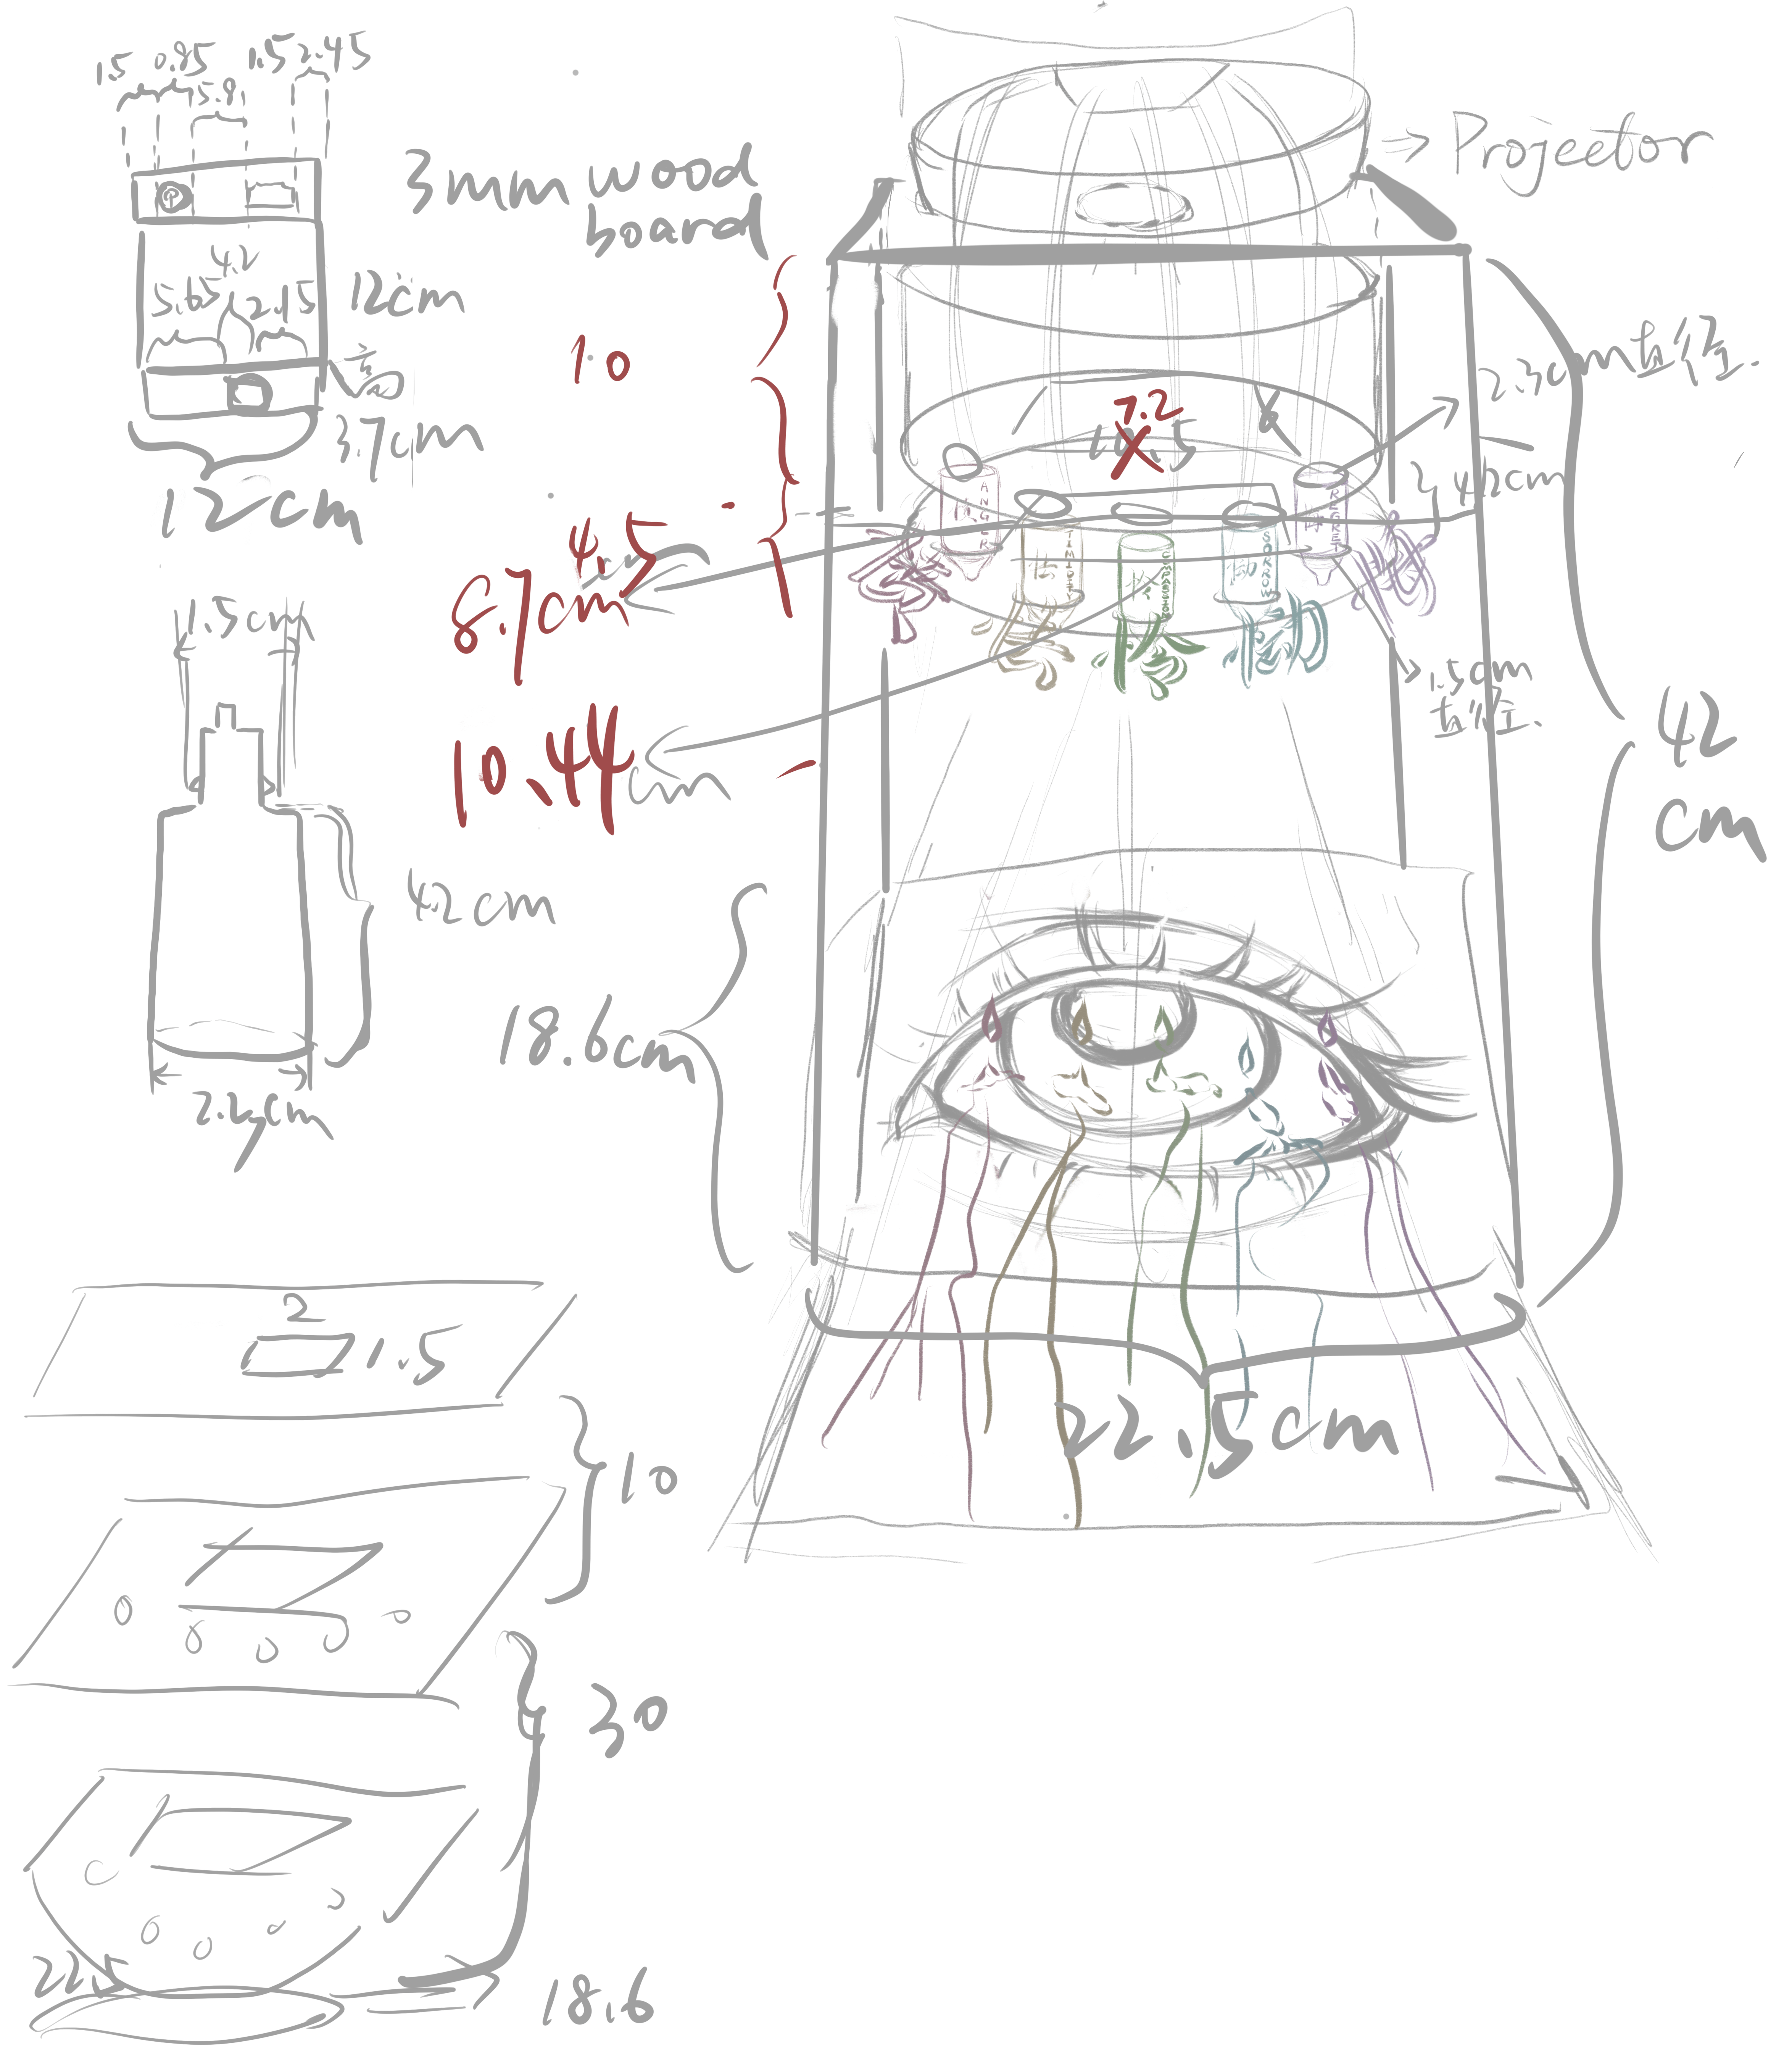
After the user test, I made this mechanism script with measurements to do laser cutting.
C. FABRICATION AND PRODUCTION:
• CODE
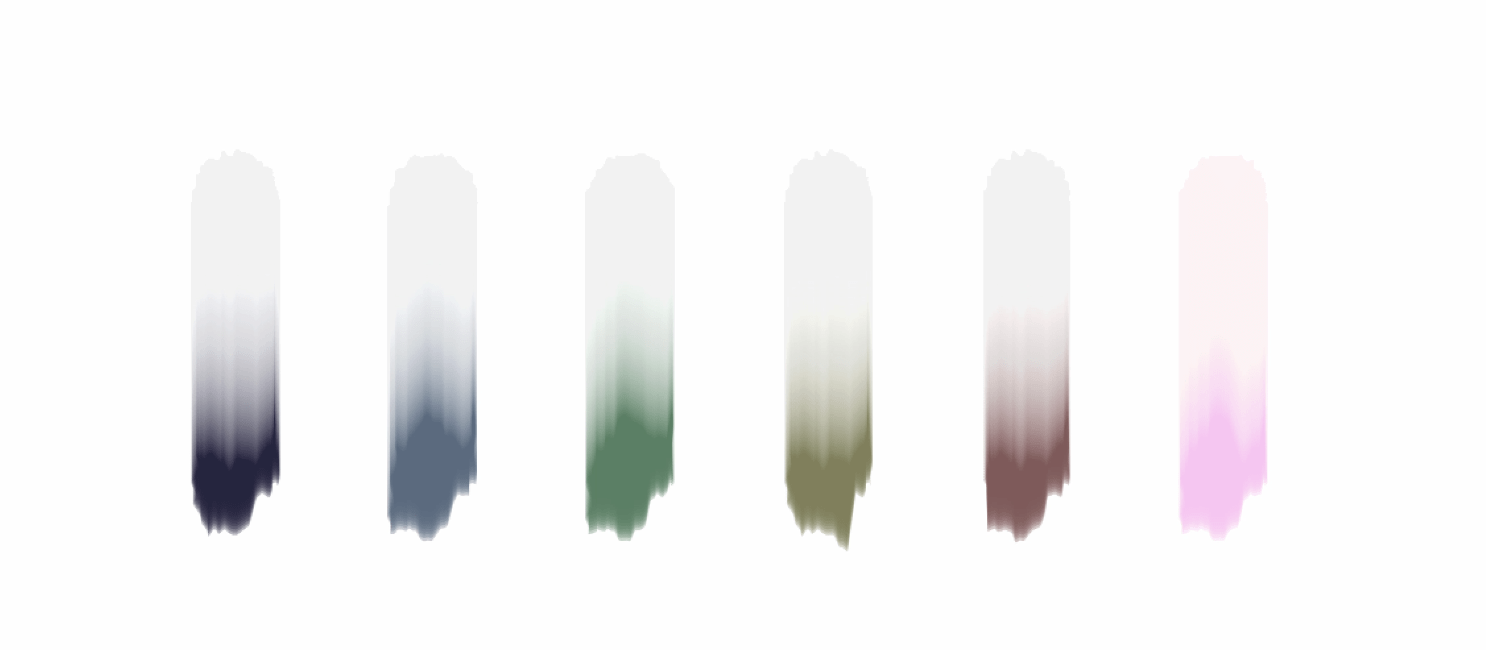
I struggled a lot with the code. I needed to translate and understand the code first because it was from someone else. Then, I converted the code of random and continuous drops to drops that I could trigger in certain positions with certain sounds and colors. However, I still encountered a lot of problems. For example, the drop was constantly triggered by one squeezing but I wanted each squeezing to trigger the drop once. And then, the drop cannot be triggered more than once. After that, the drop of happiness cannot be triggered. Different problems happened one after another. I fixed some of them and for others, I sought help from Gottfried and Steve. They helped me a lot in the code.
• SHELF
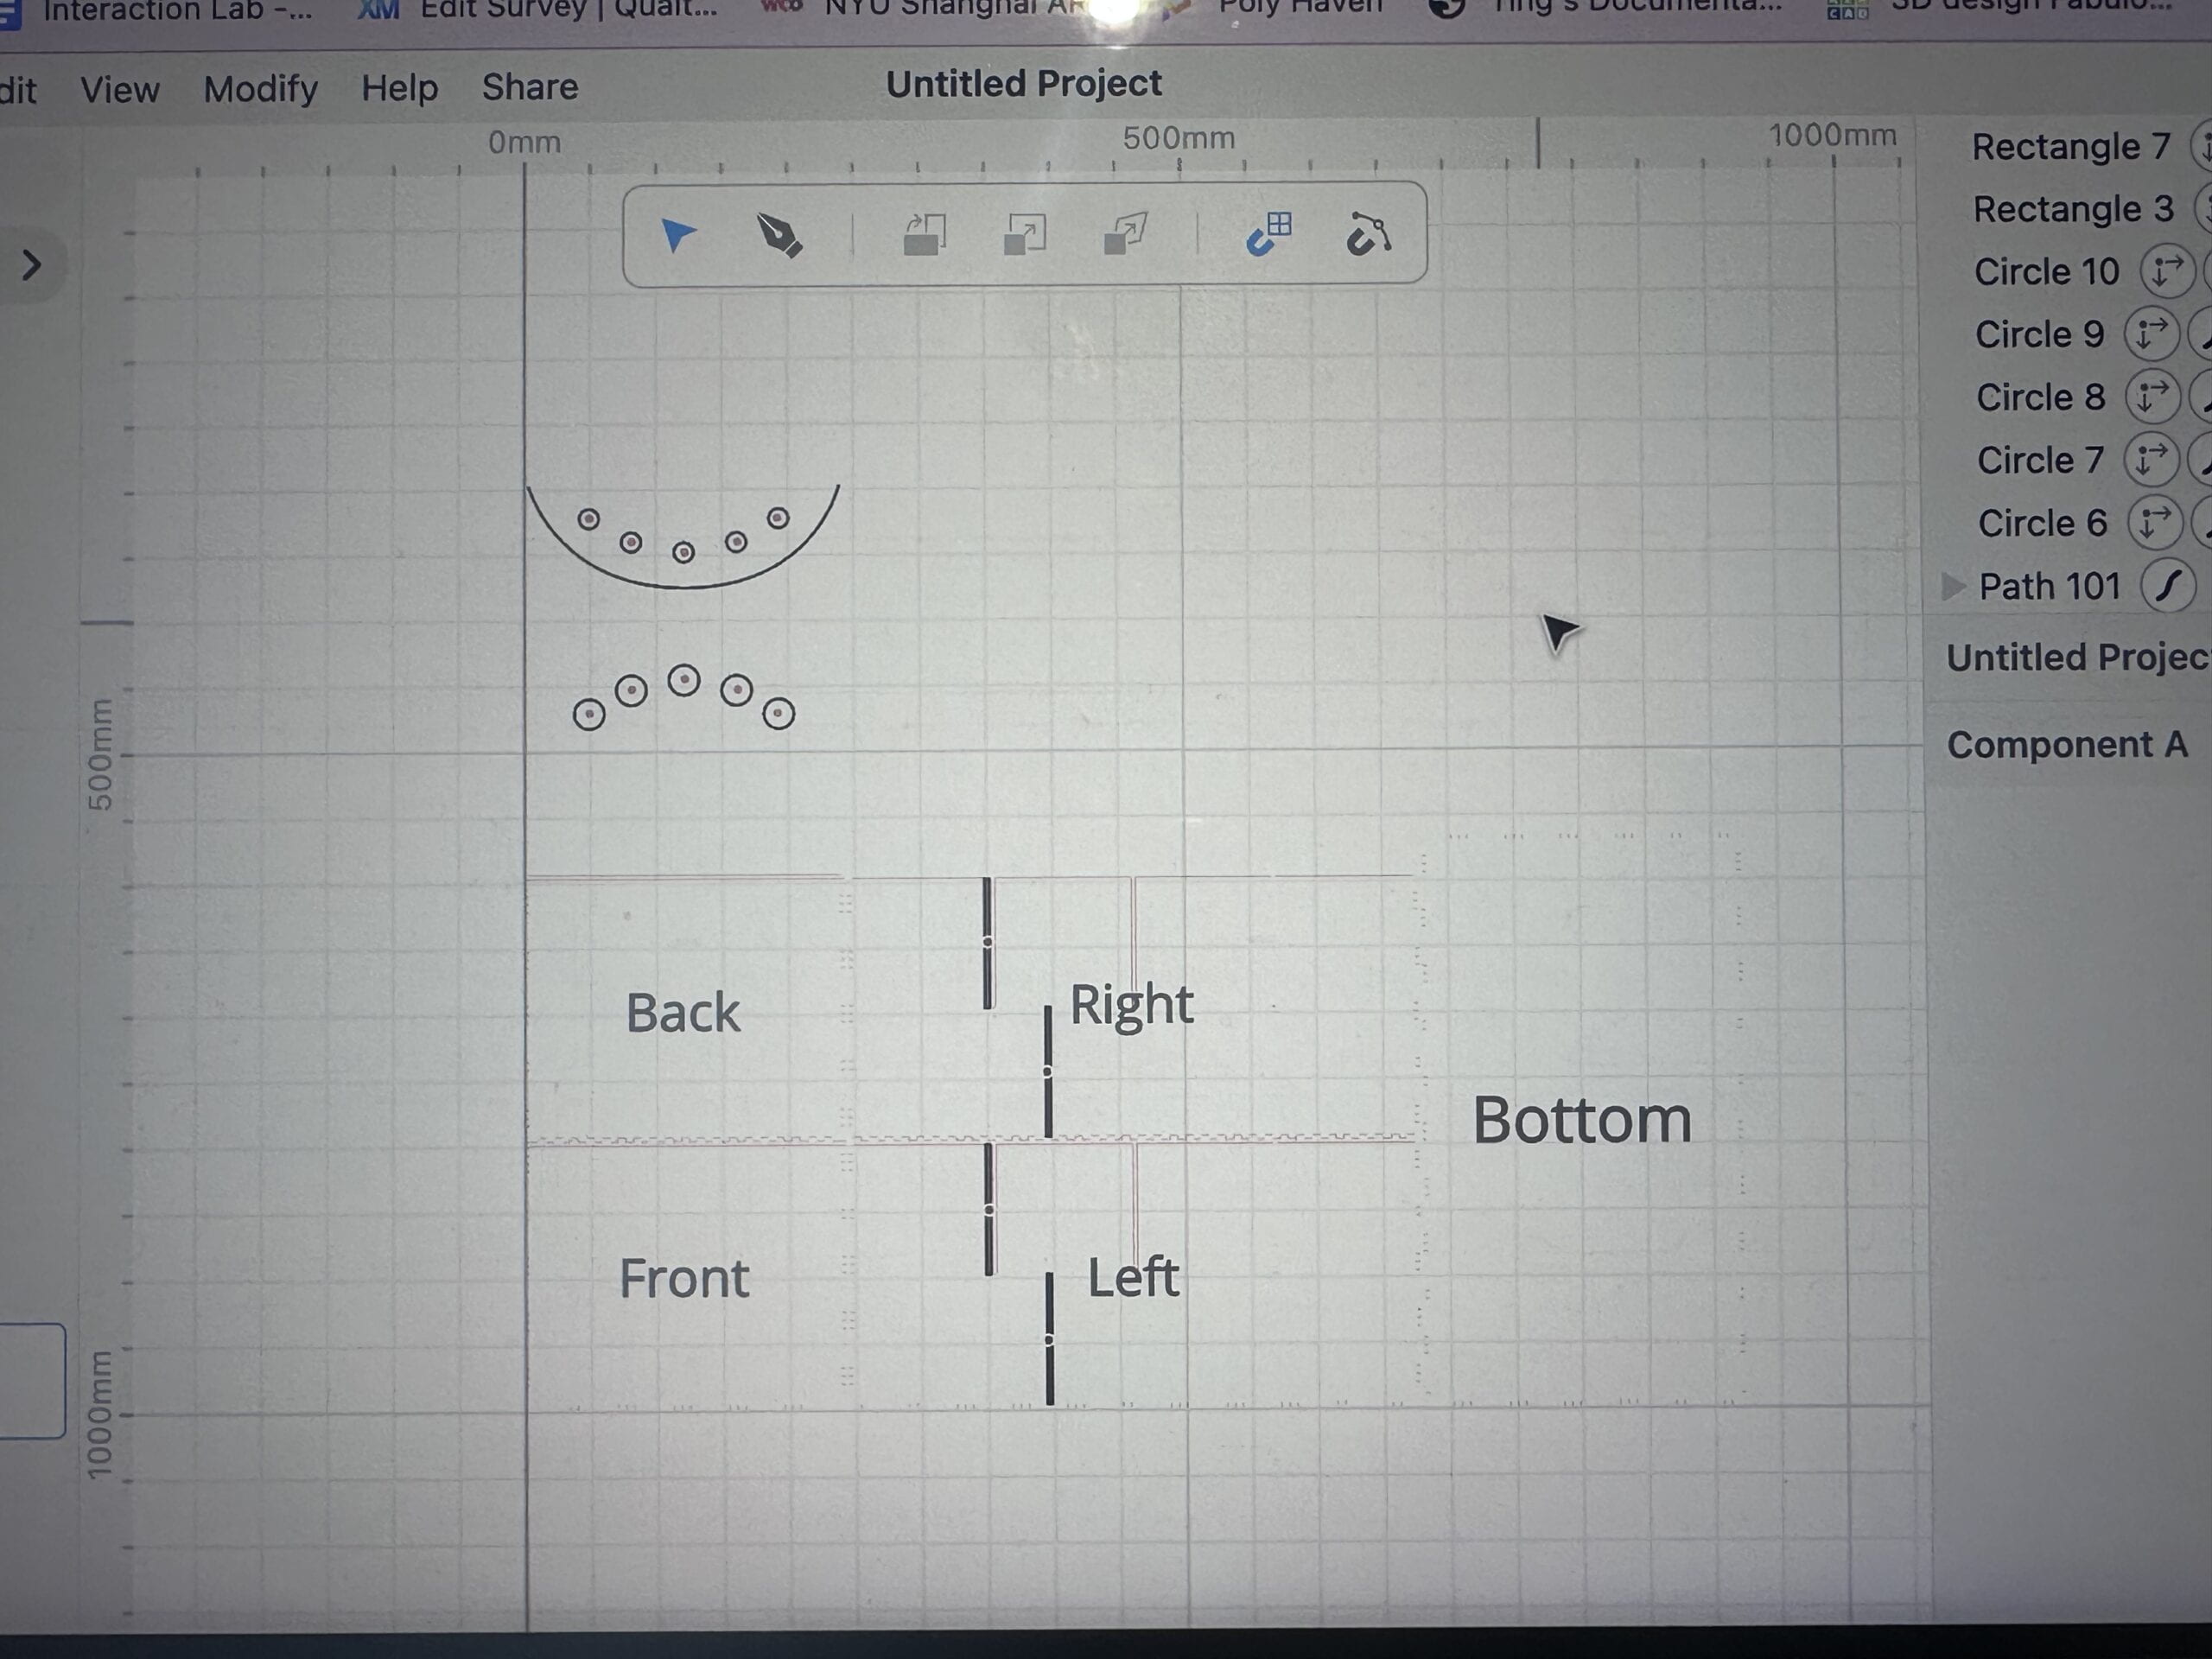
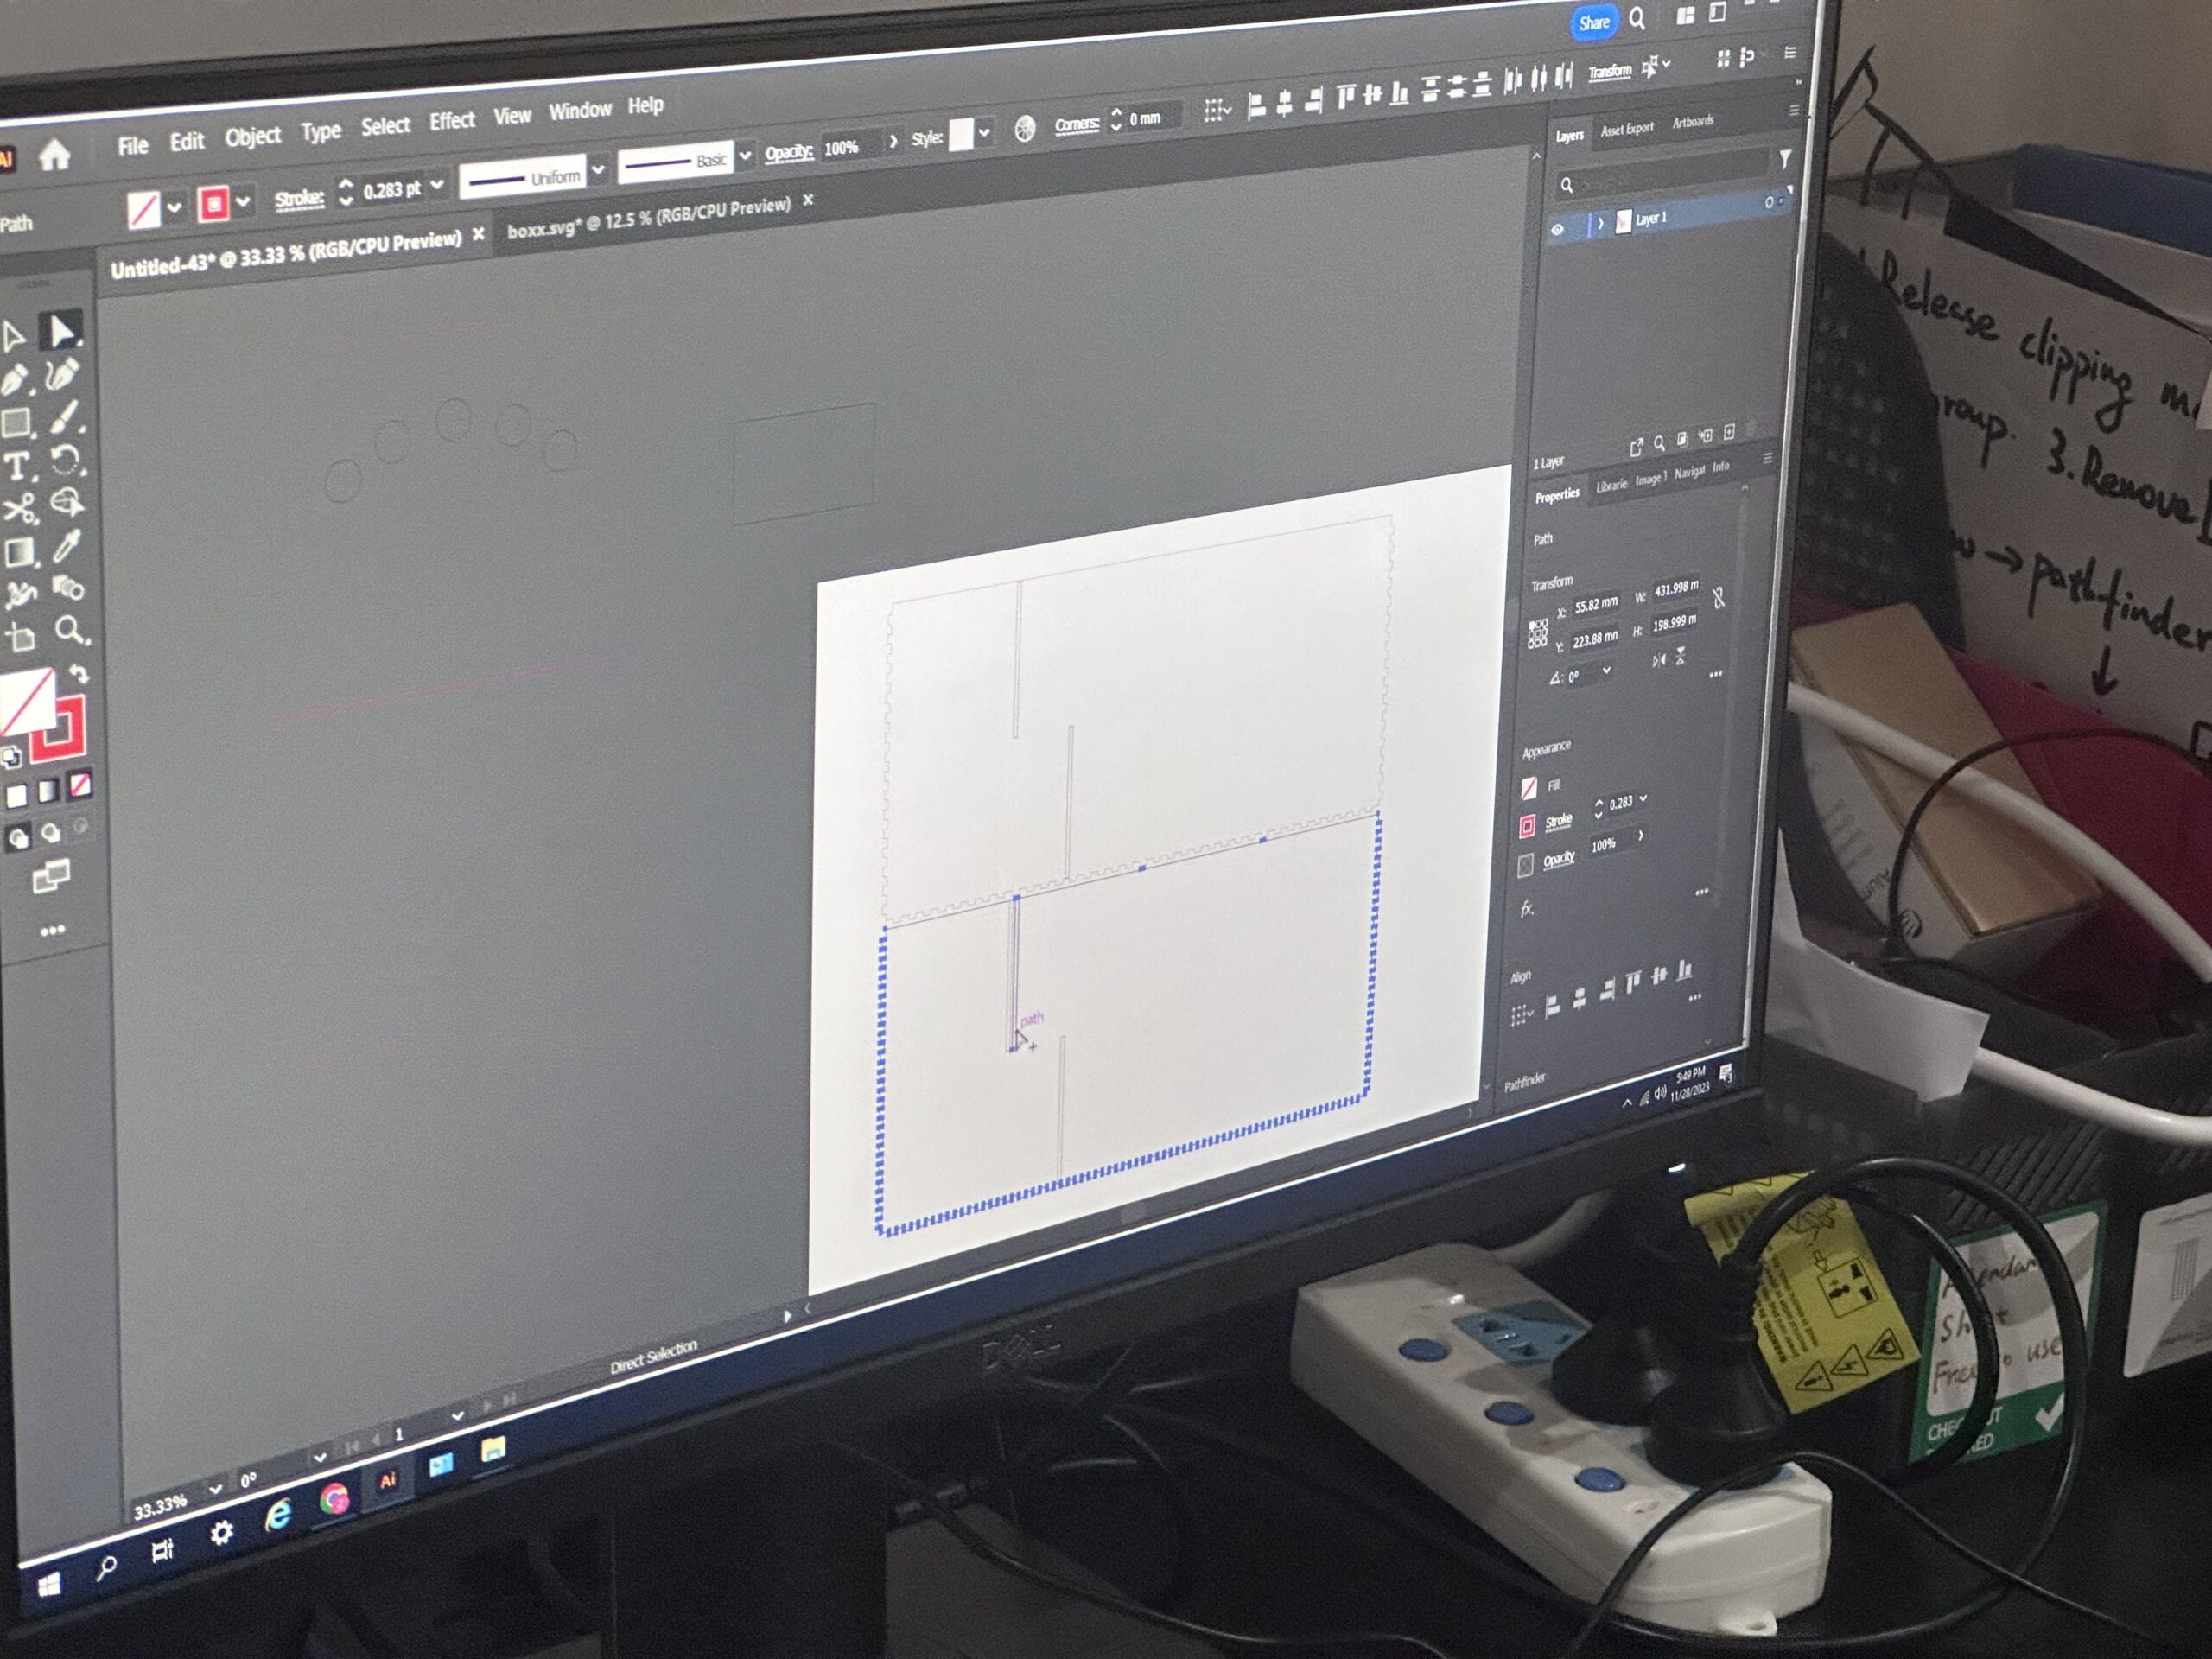
I used cuttle.xyz to make the shelf. And Dalin helped me revise it on the computer in Fablab. The material I chose for the shelf is the white acrylic board. The reason I chose white is that white can be influenced by any color easily and white can help show every color clearly. White material helped make my project look clean.
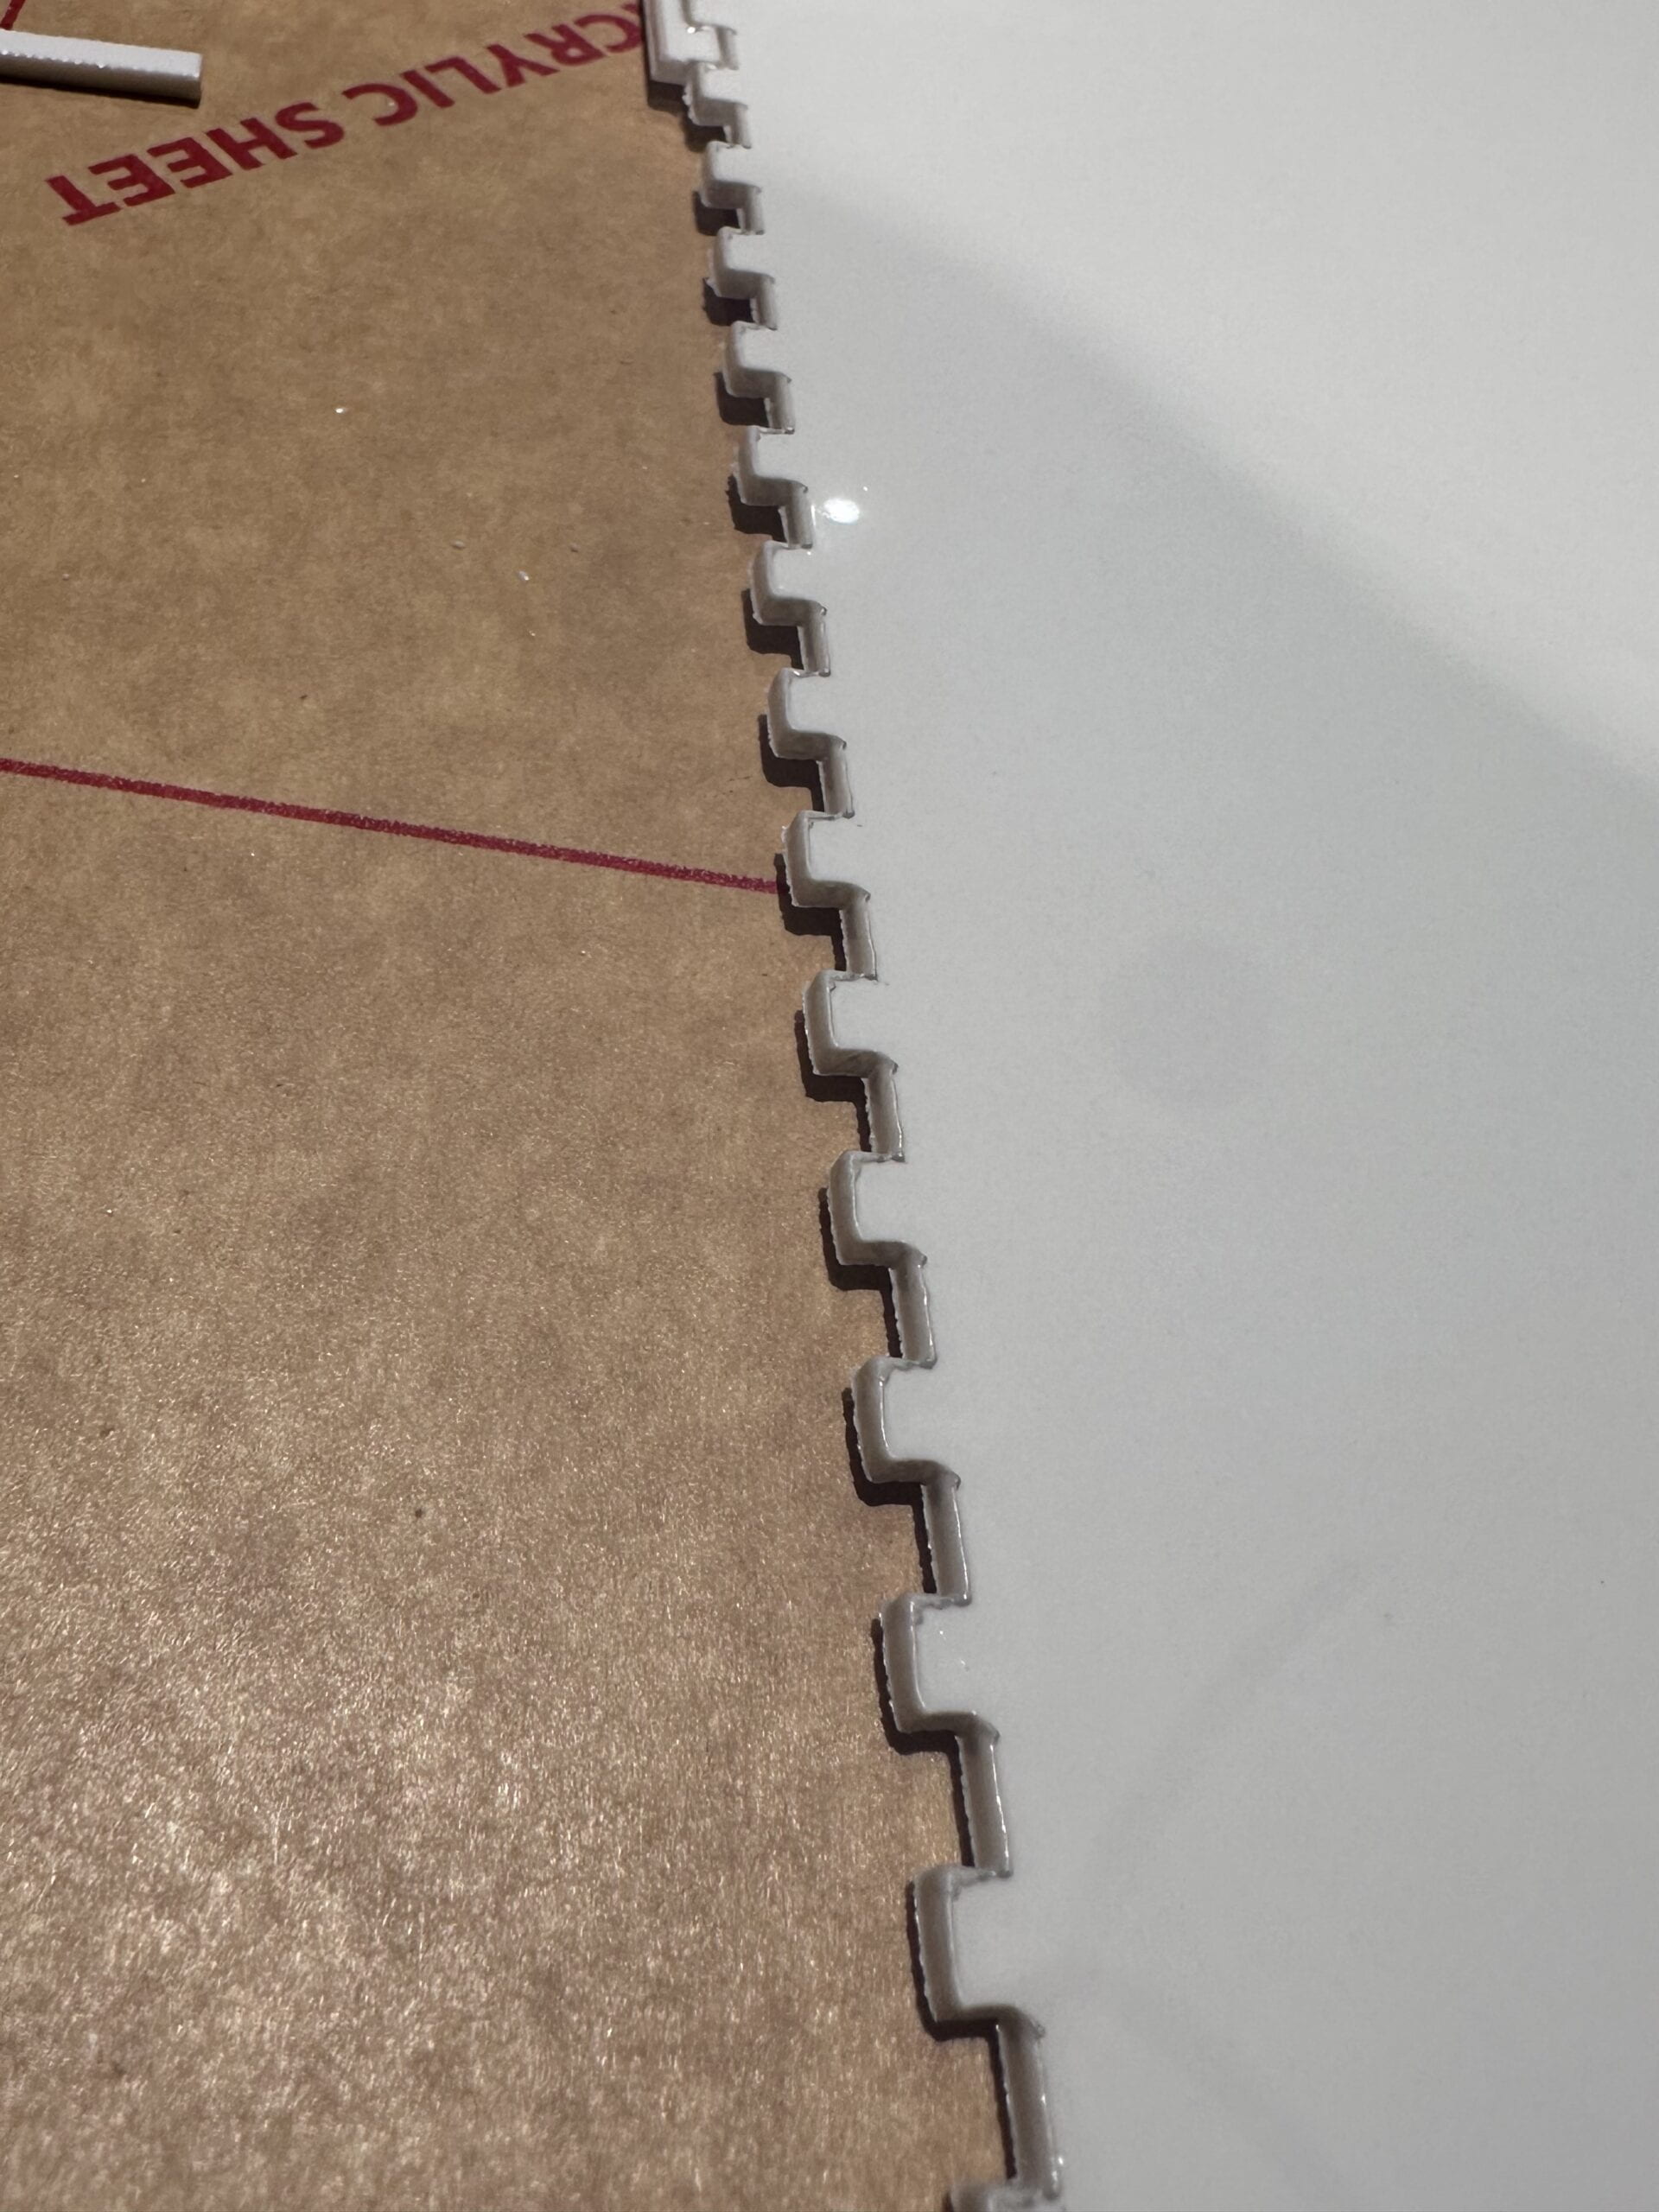 Dalin found the wrong material: plastics. And it melted🫠
I think it is his “black history” now. haha:)
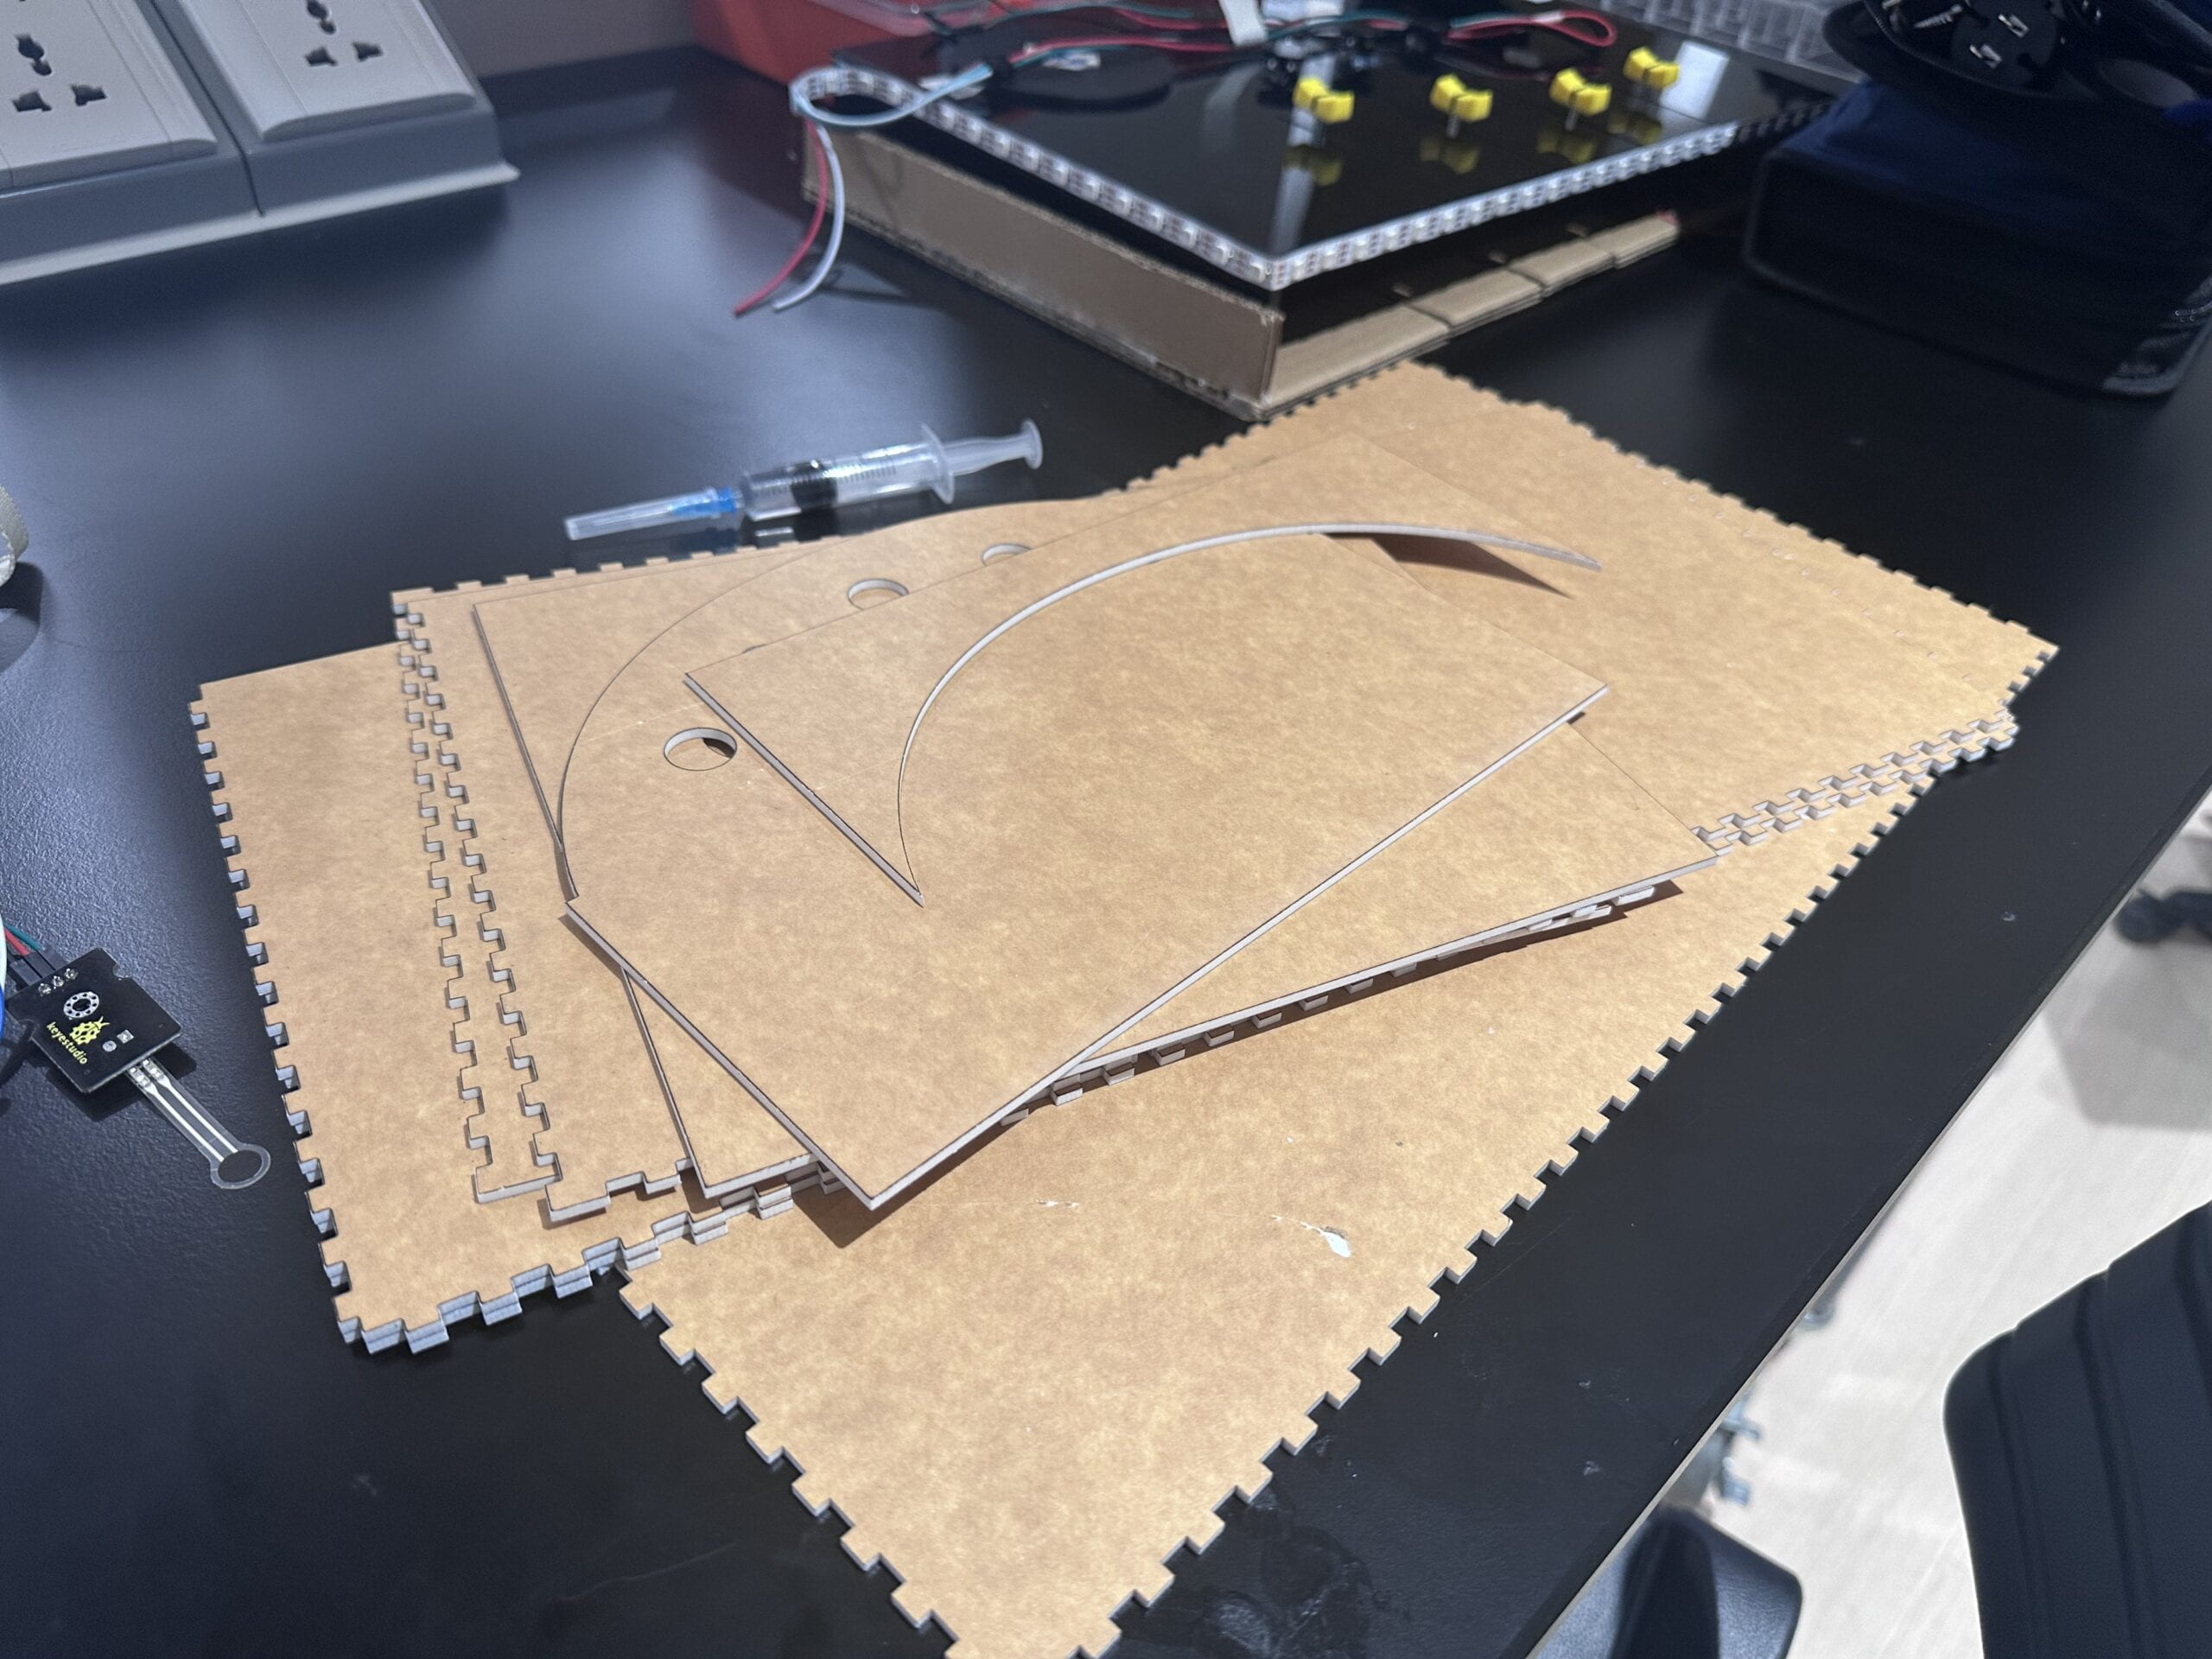
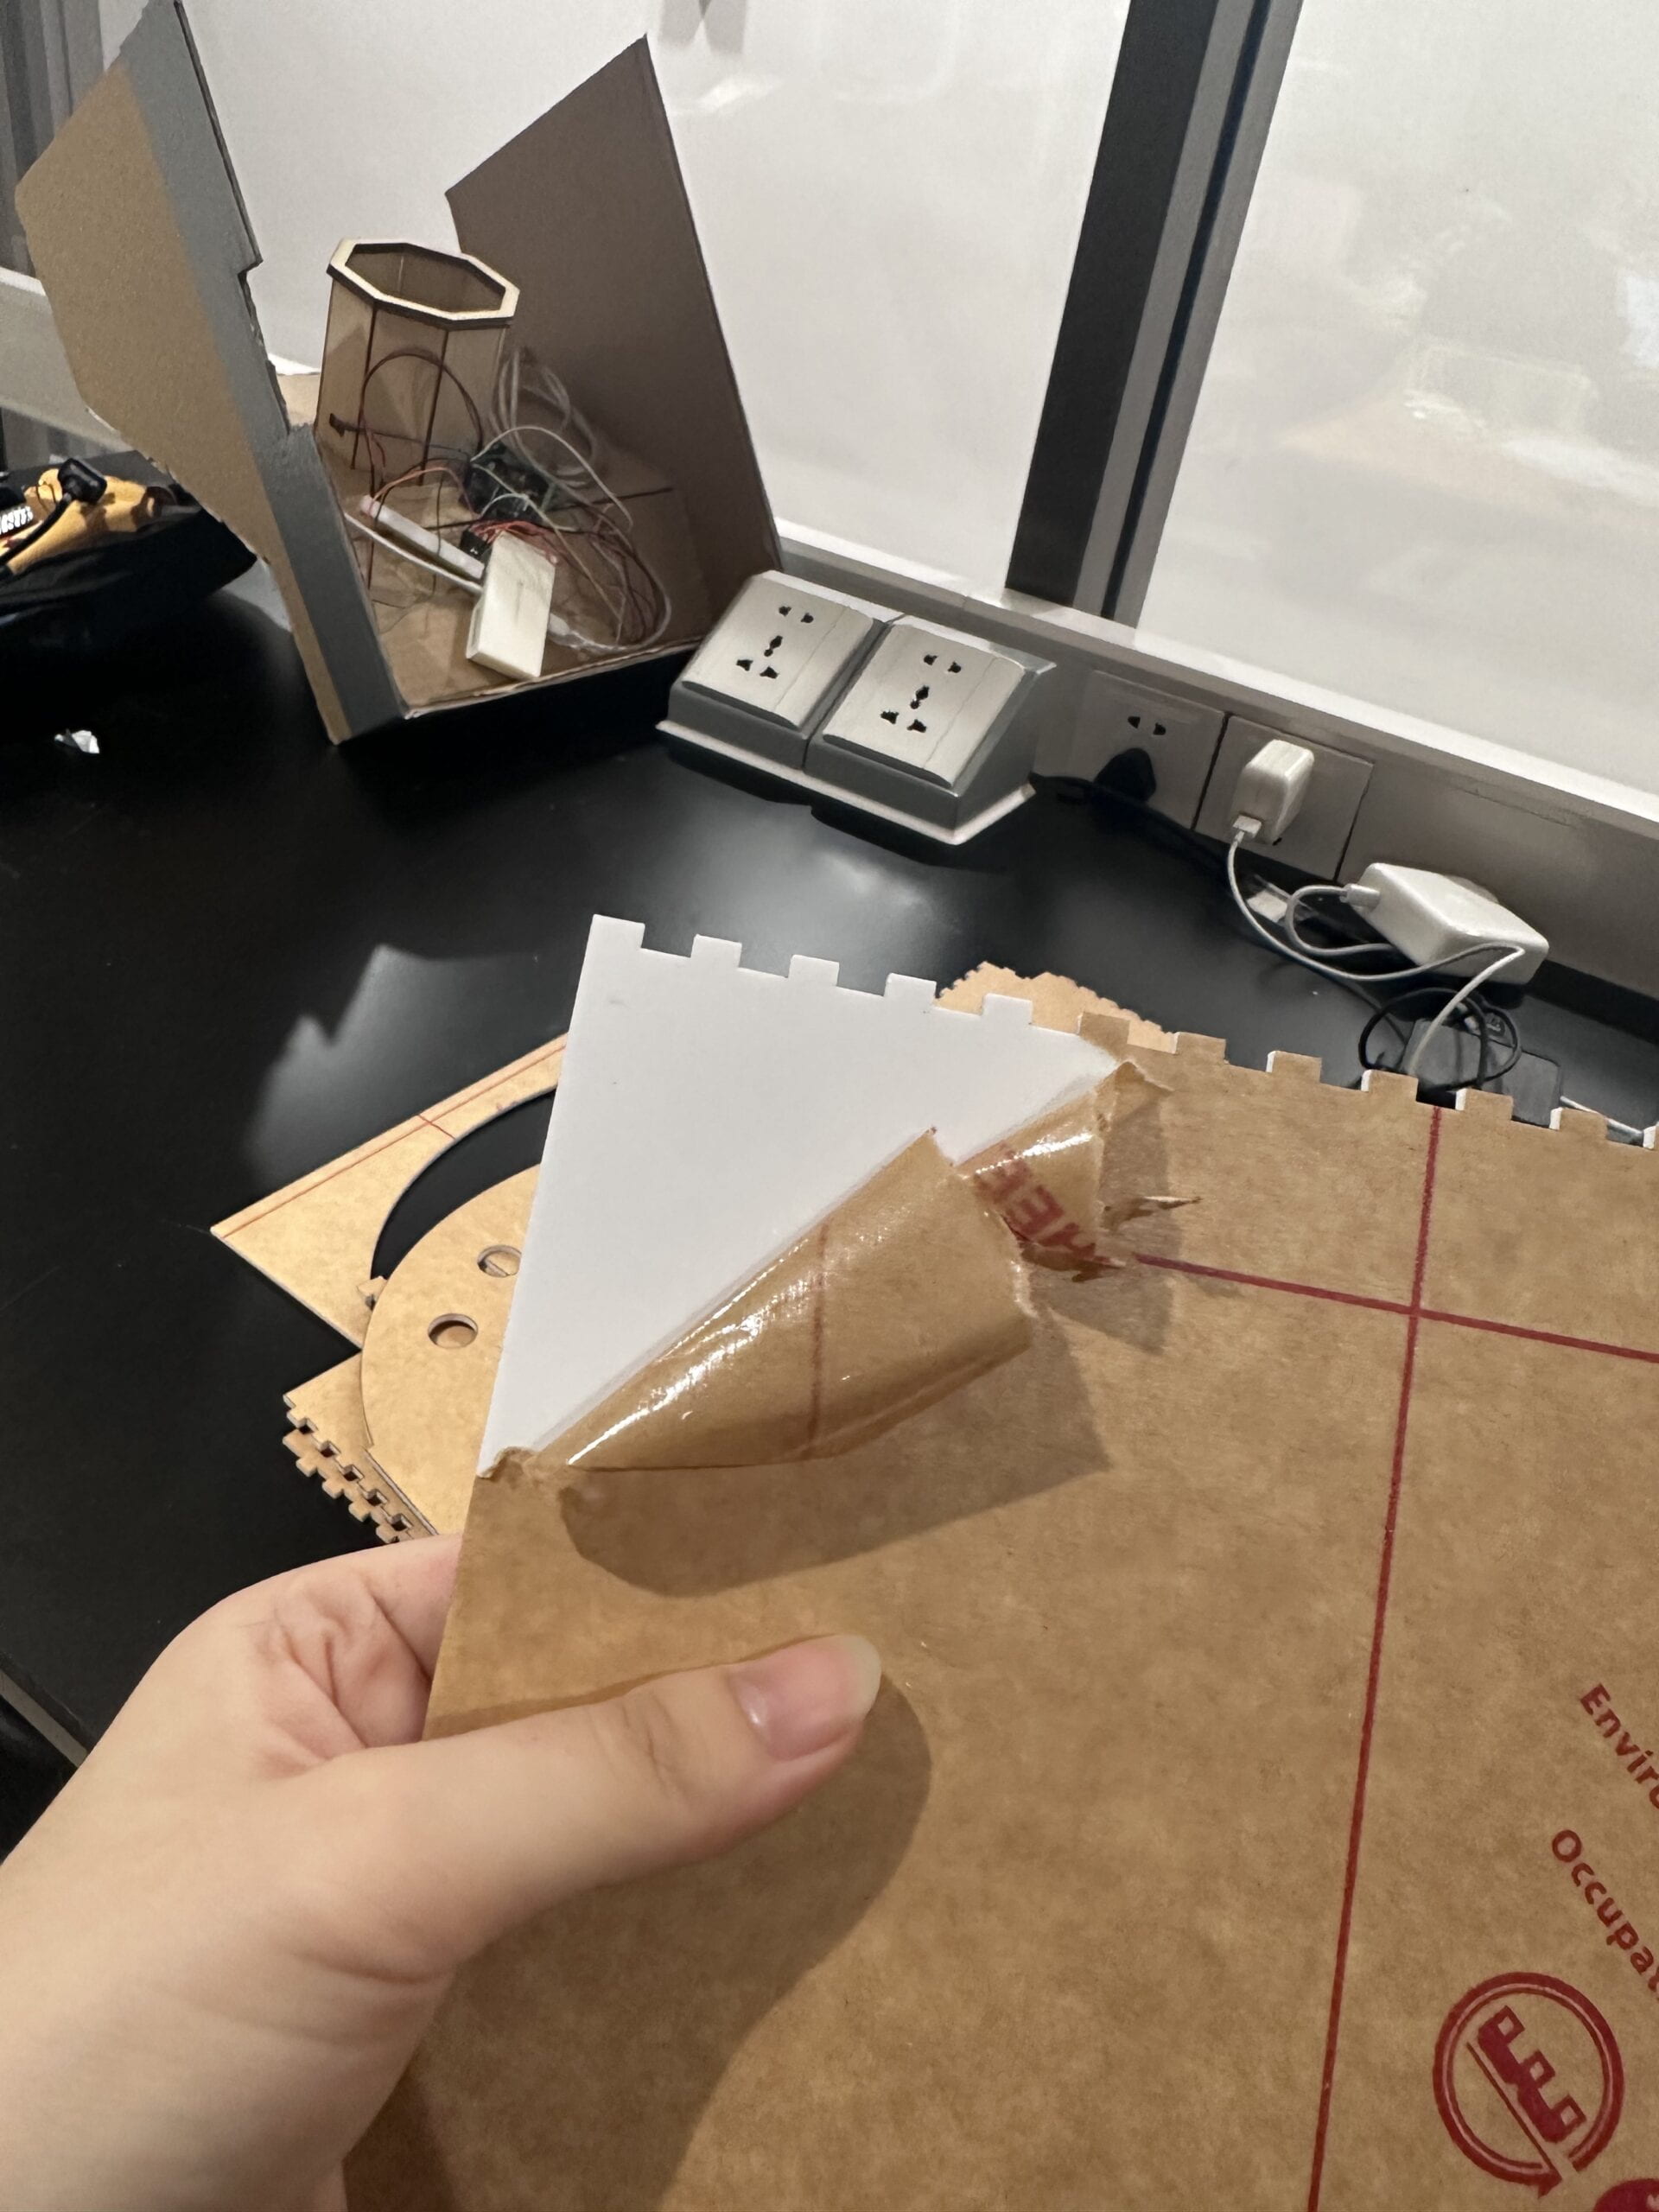
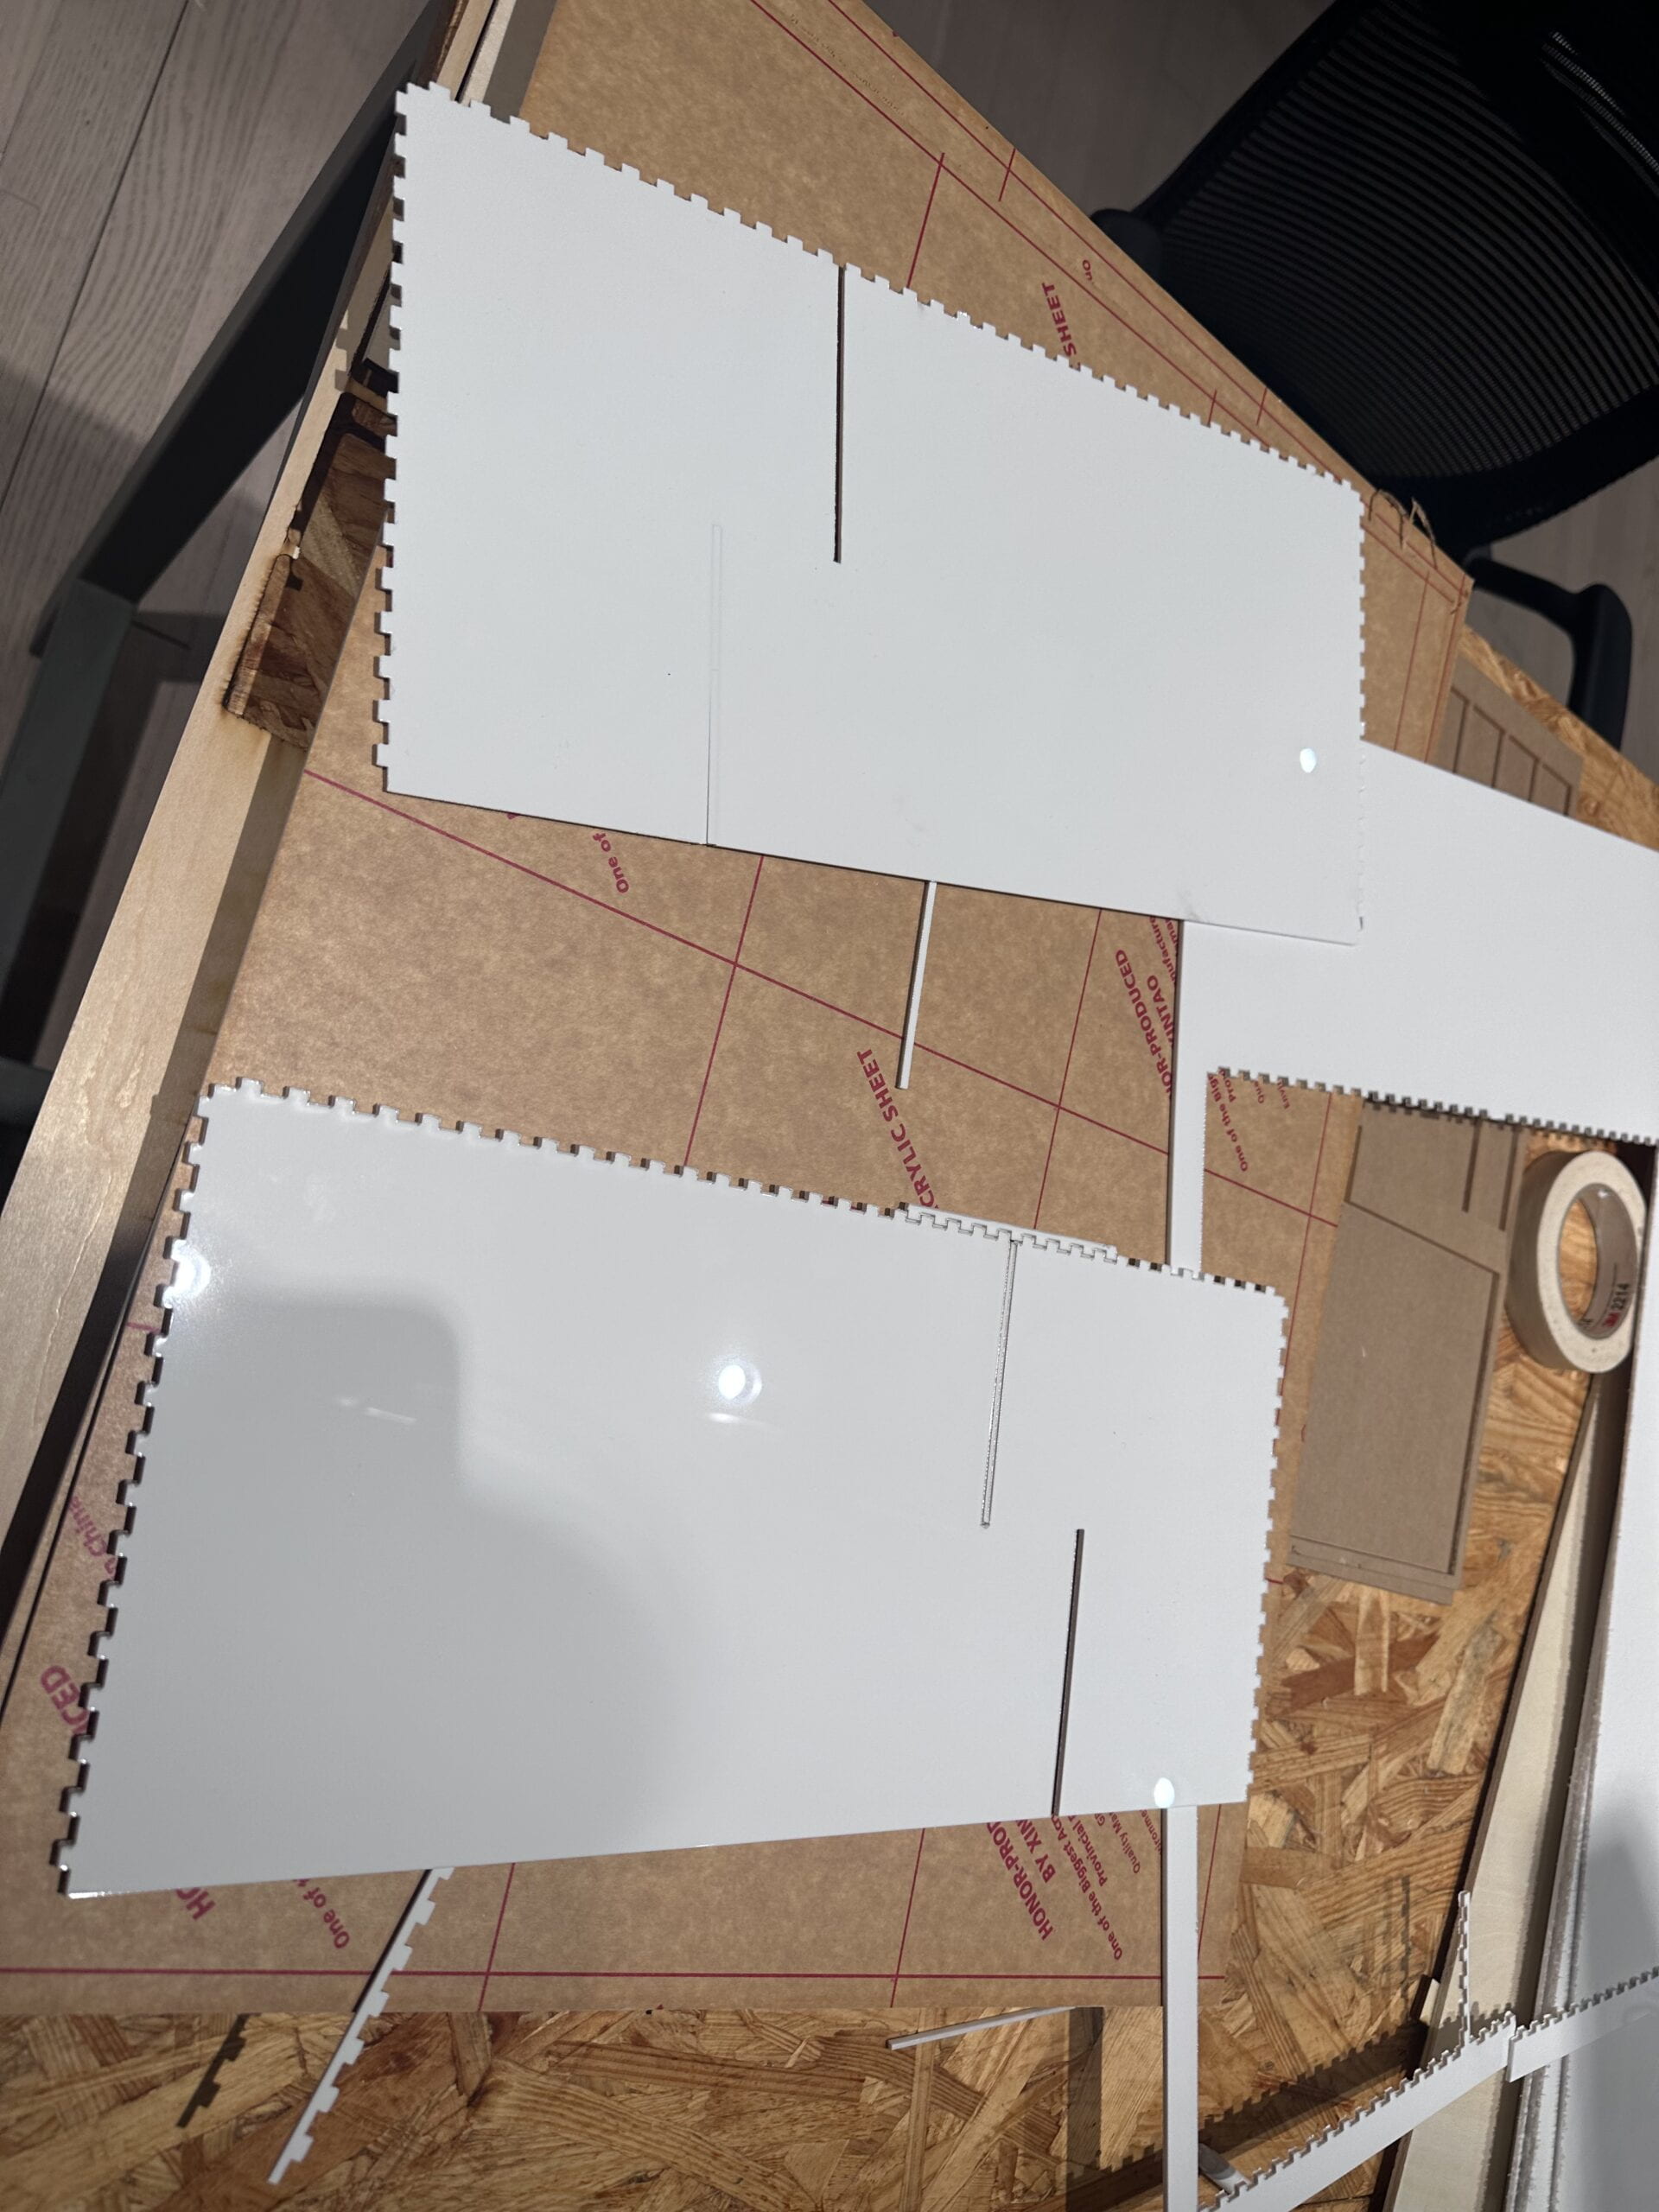
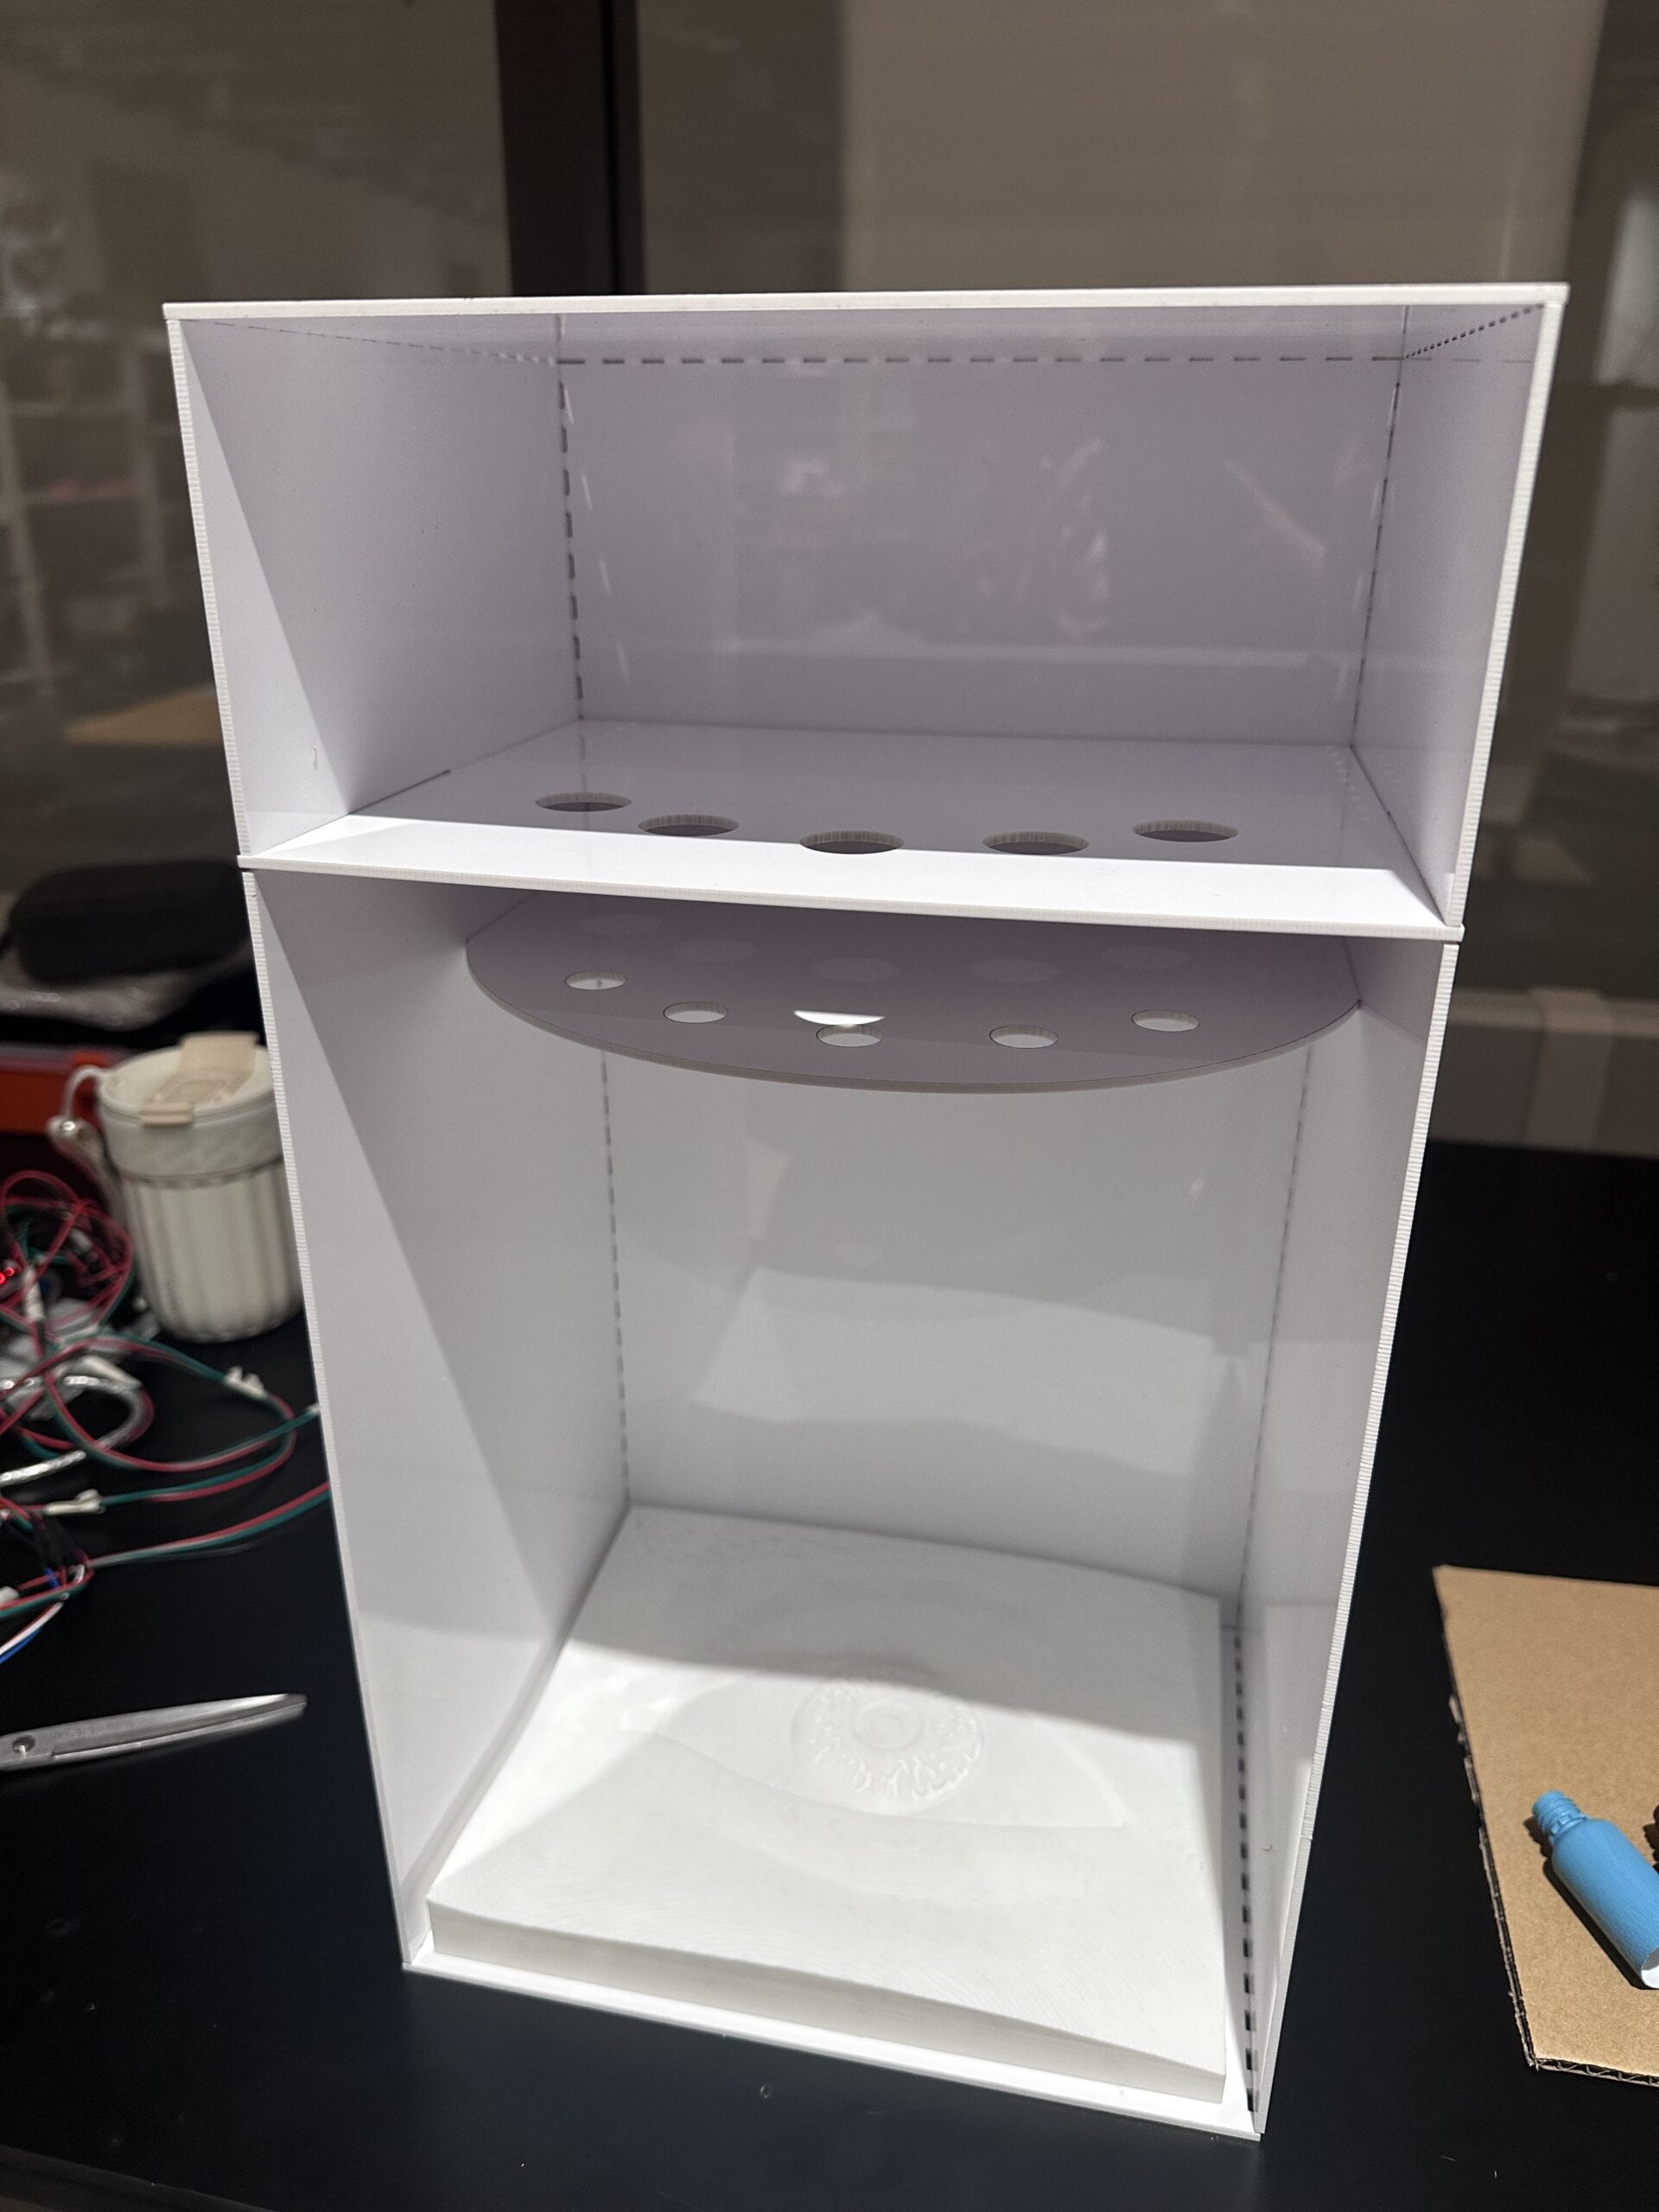
It was a longggg process of peeling the cover of the acrylic board. I was attacked by the stinky smell of the acrylic board and my fingernails were sacrificed for this shelf. But fortunately, everything fits well. The shelf looked delicate and neat.
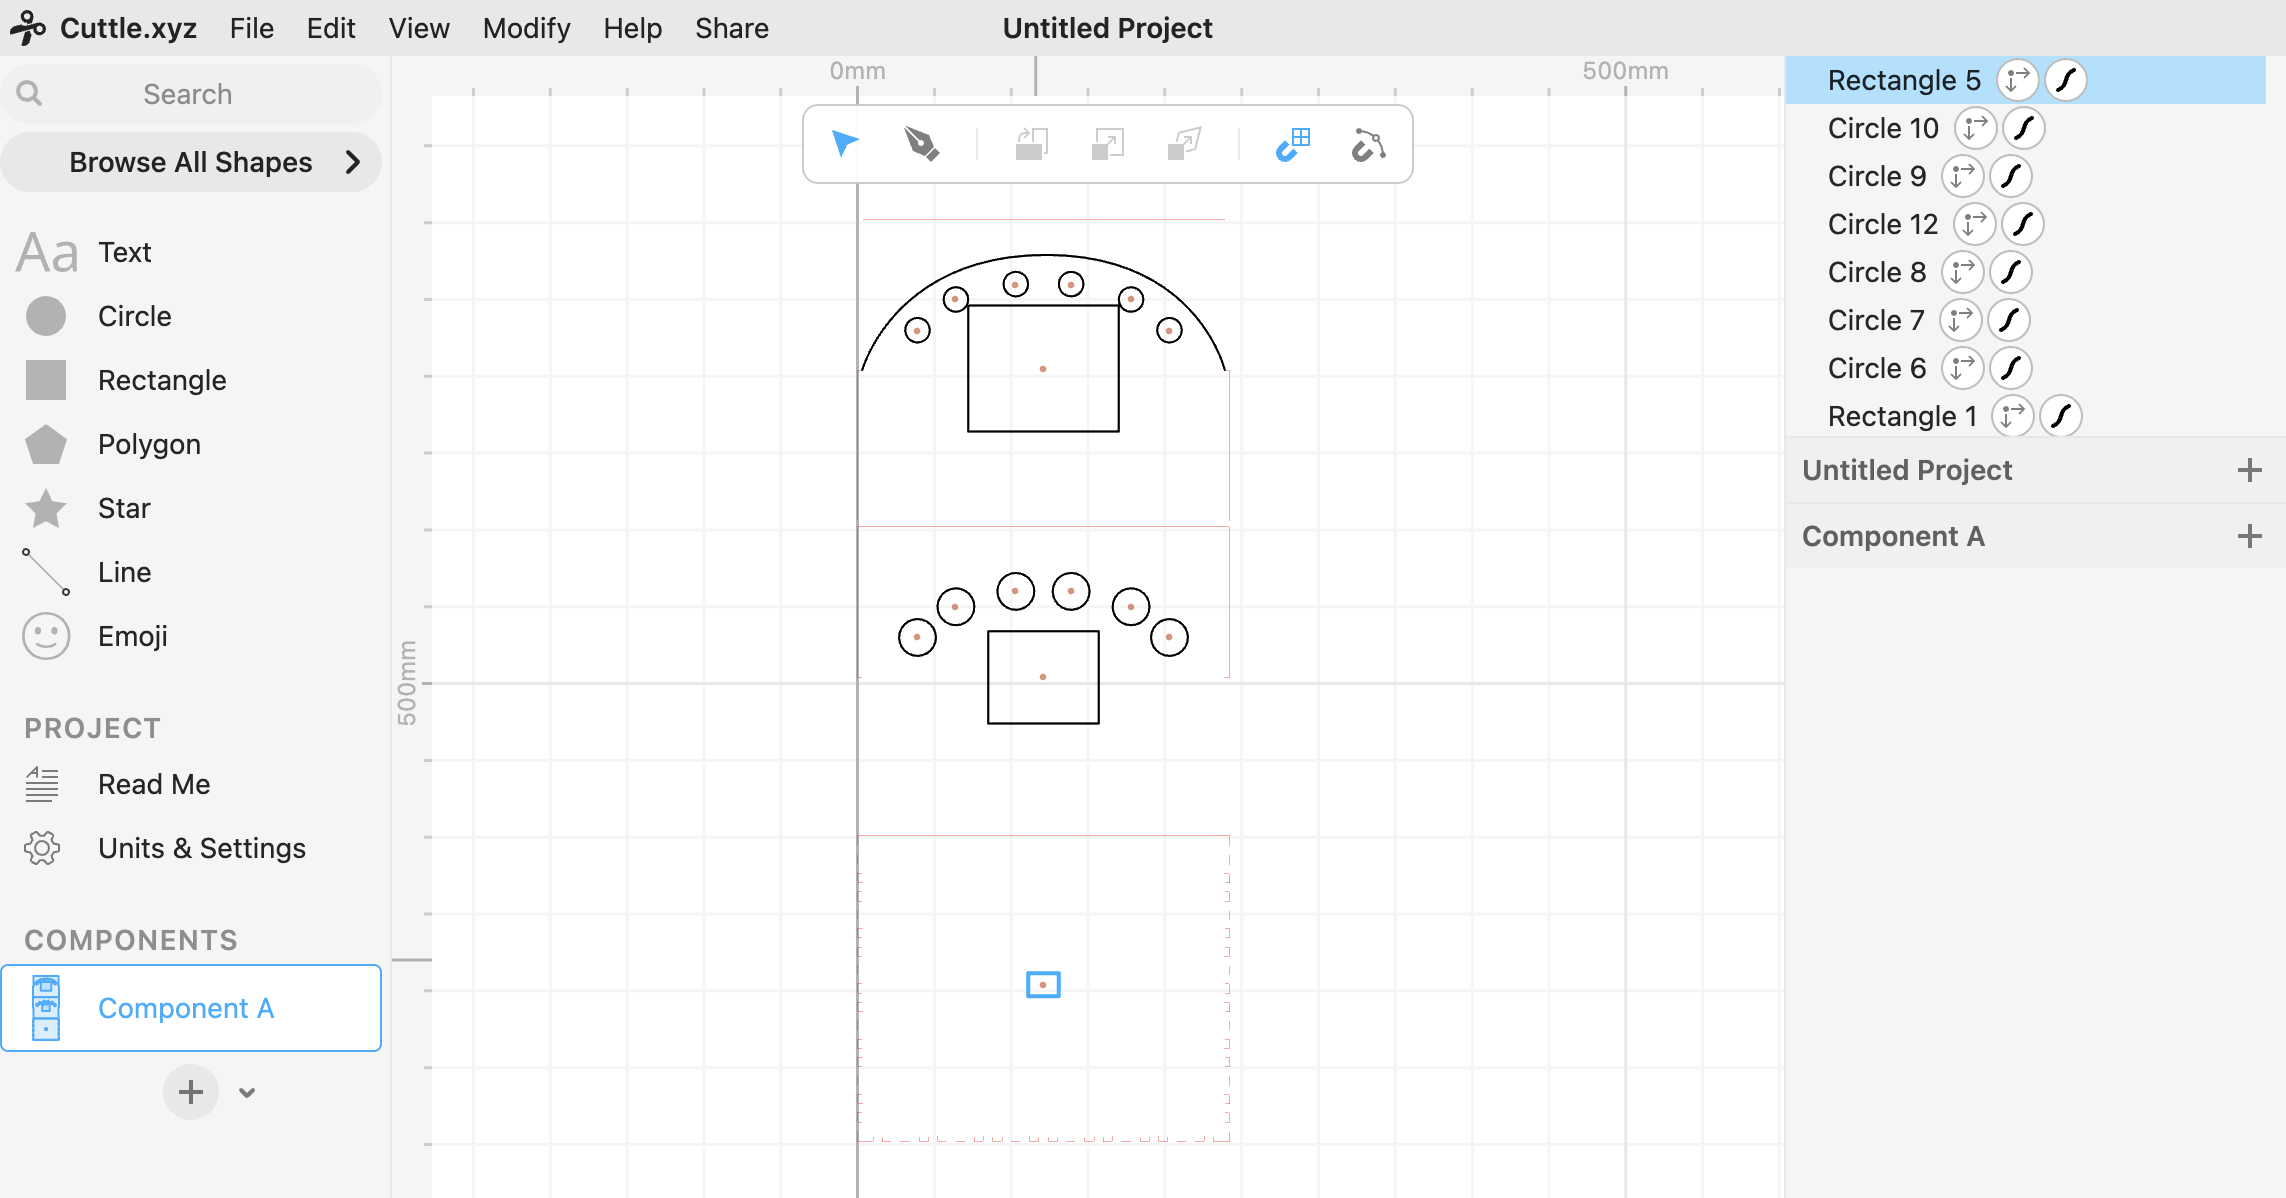
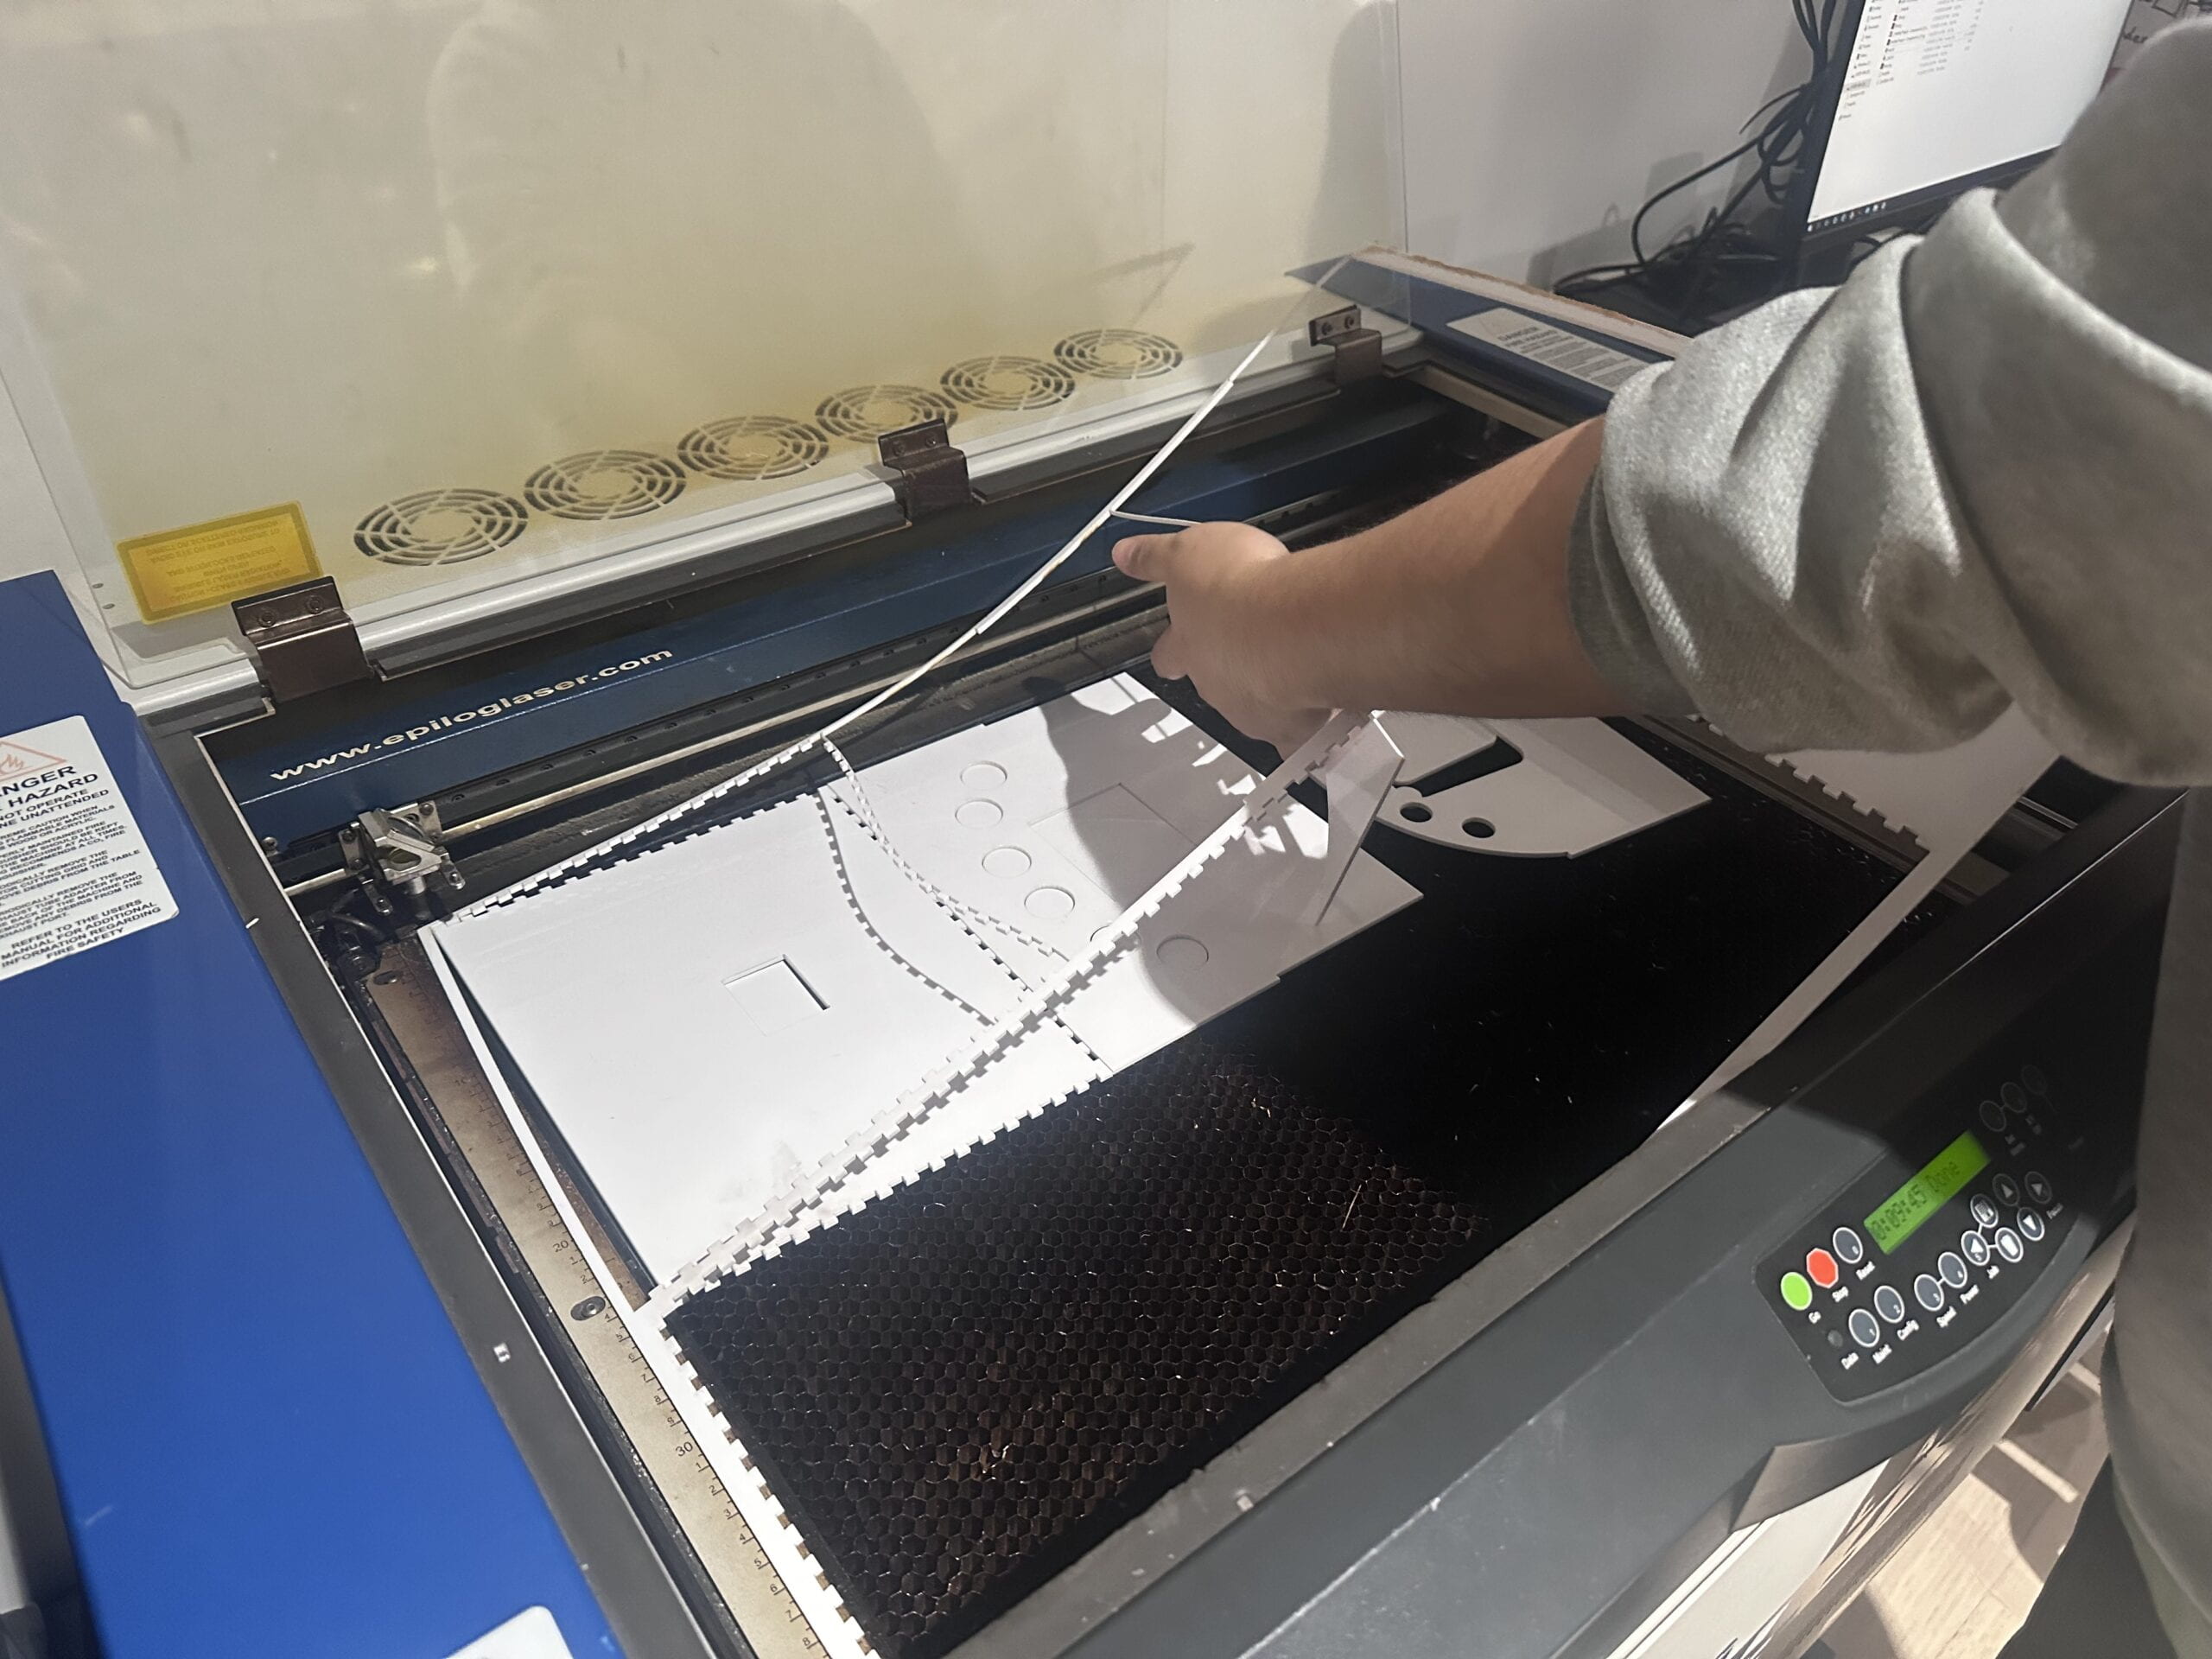
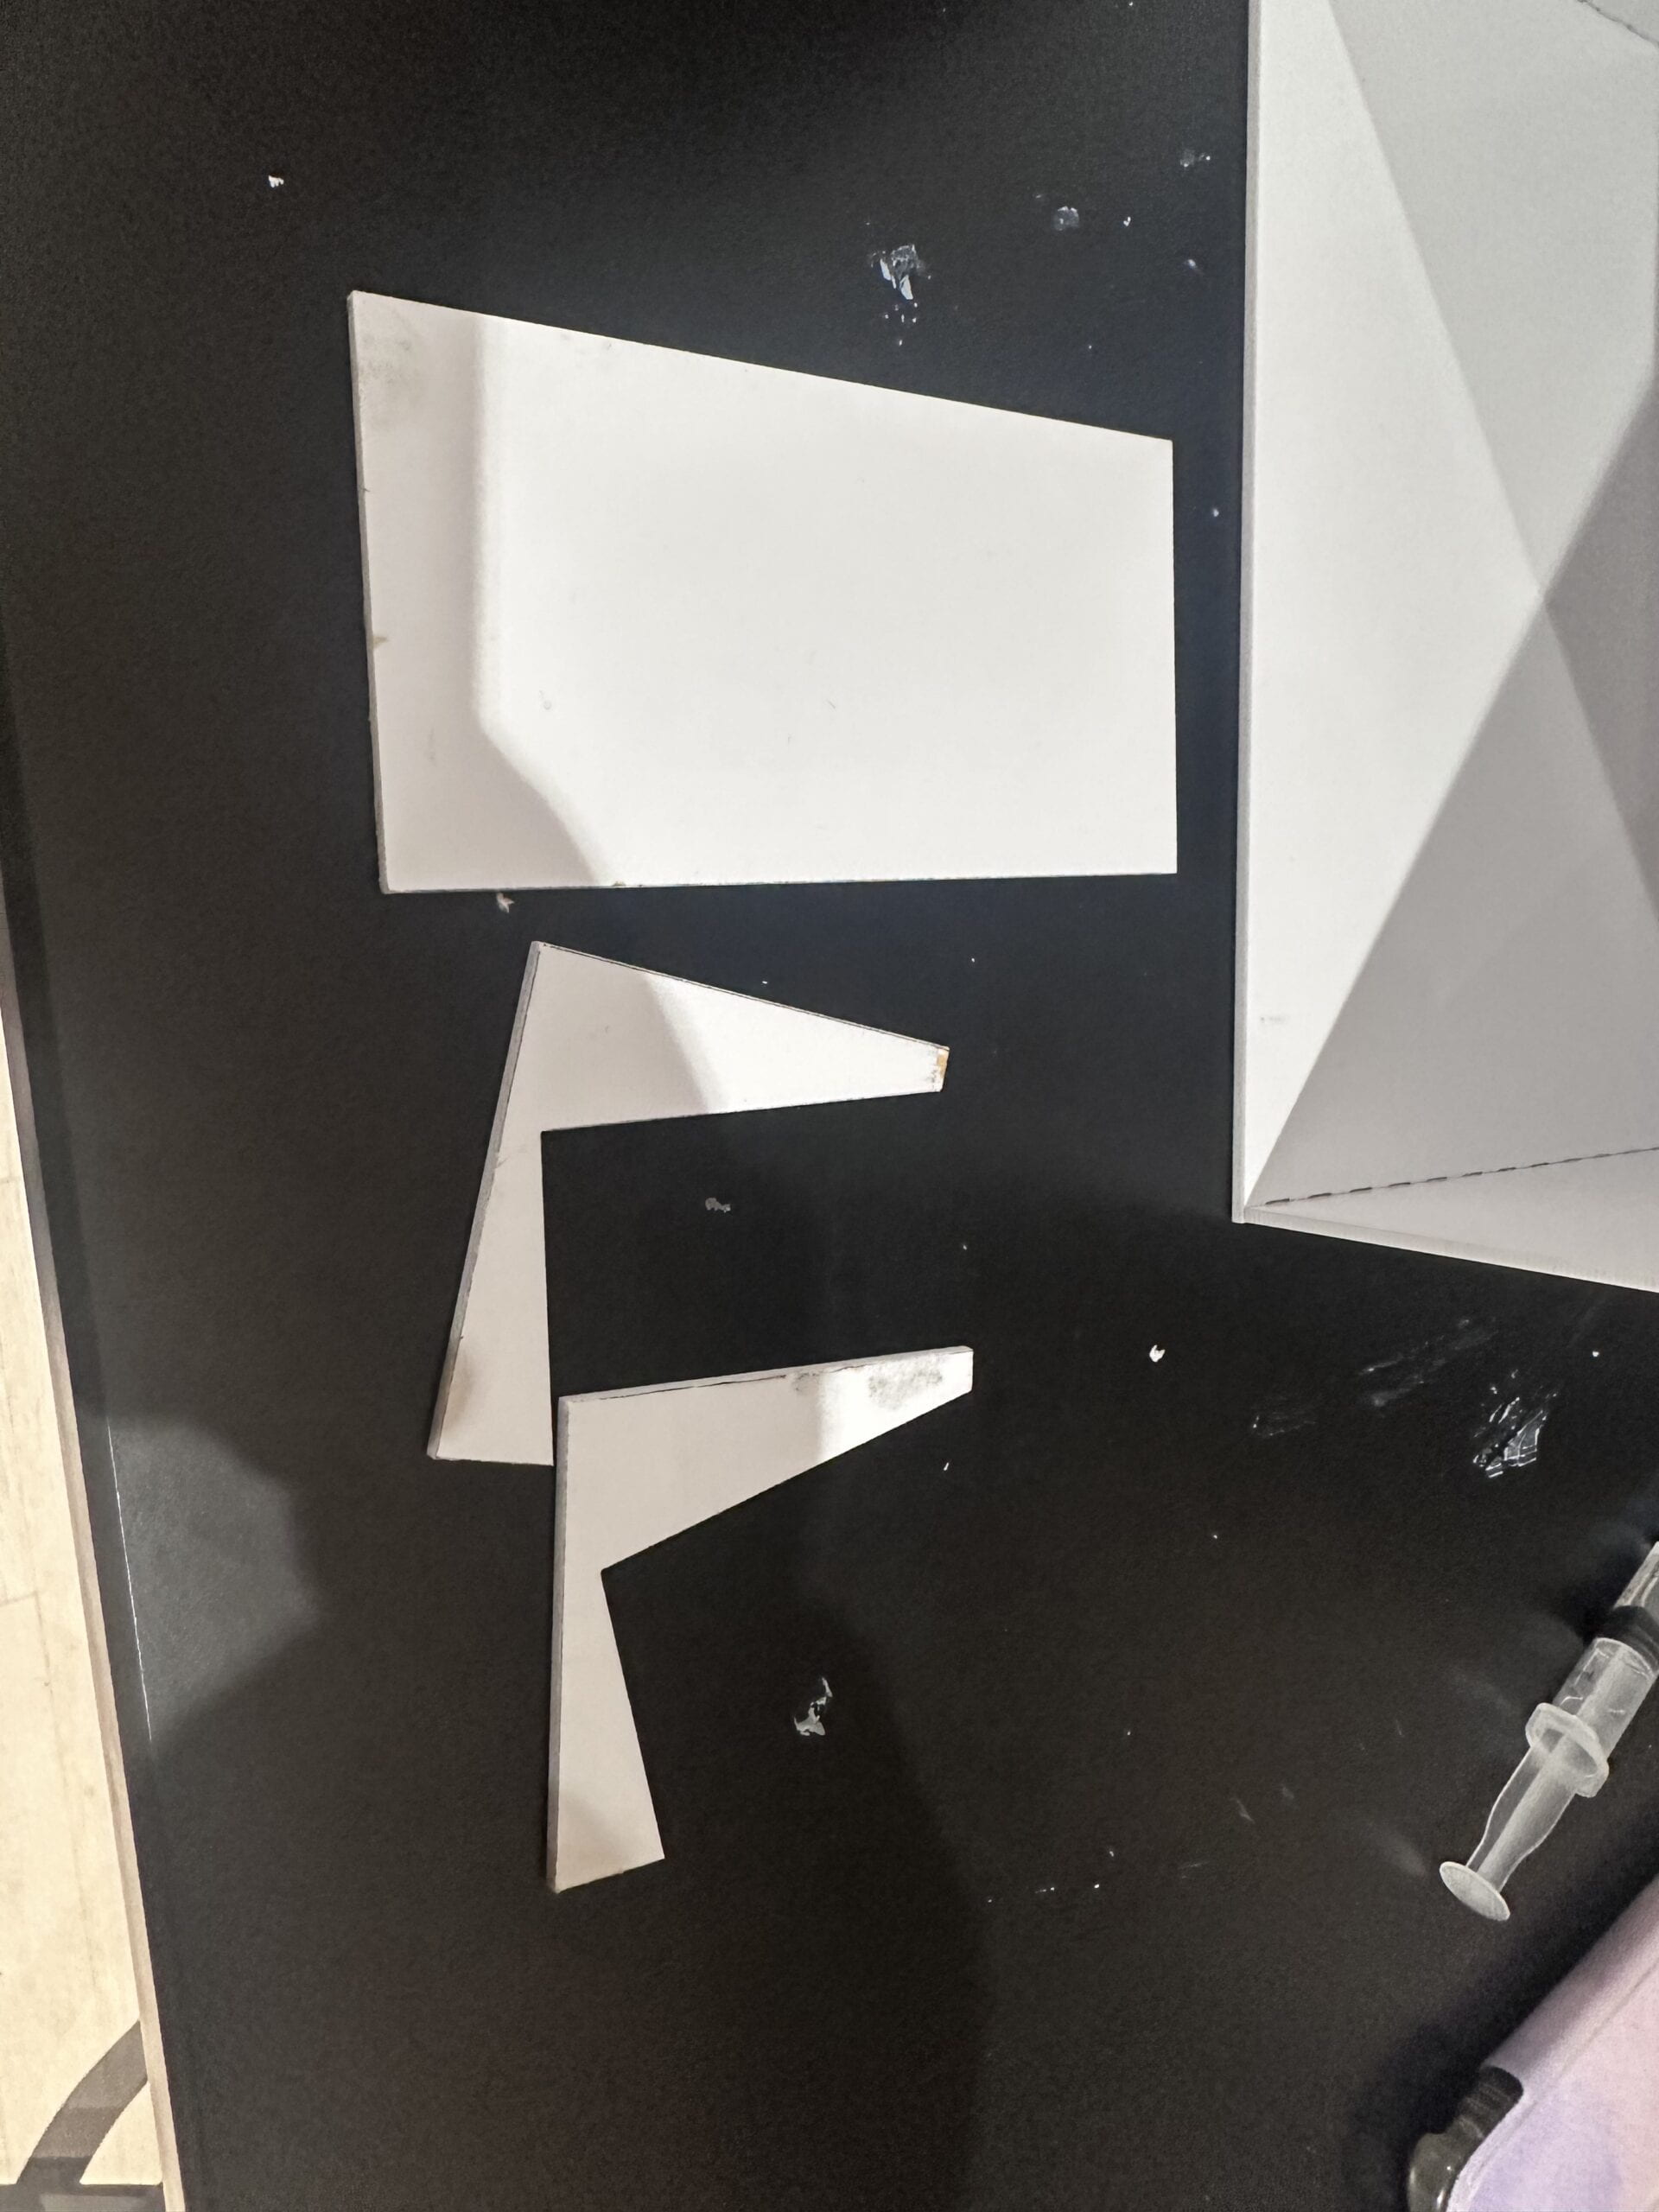
However, when I was measuring the hole for the projector. I found out that I needed to make two new interlayer boards because there wasn’t enough room for the projection in the first version of the shelf.
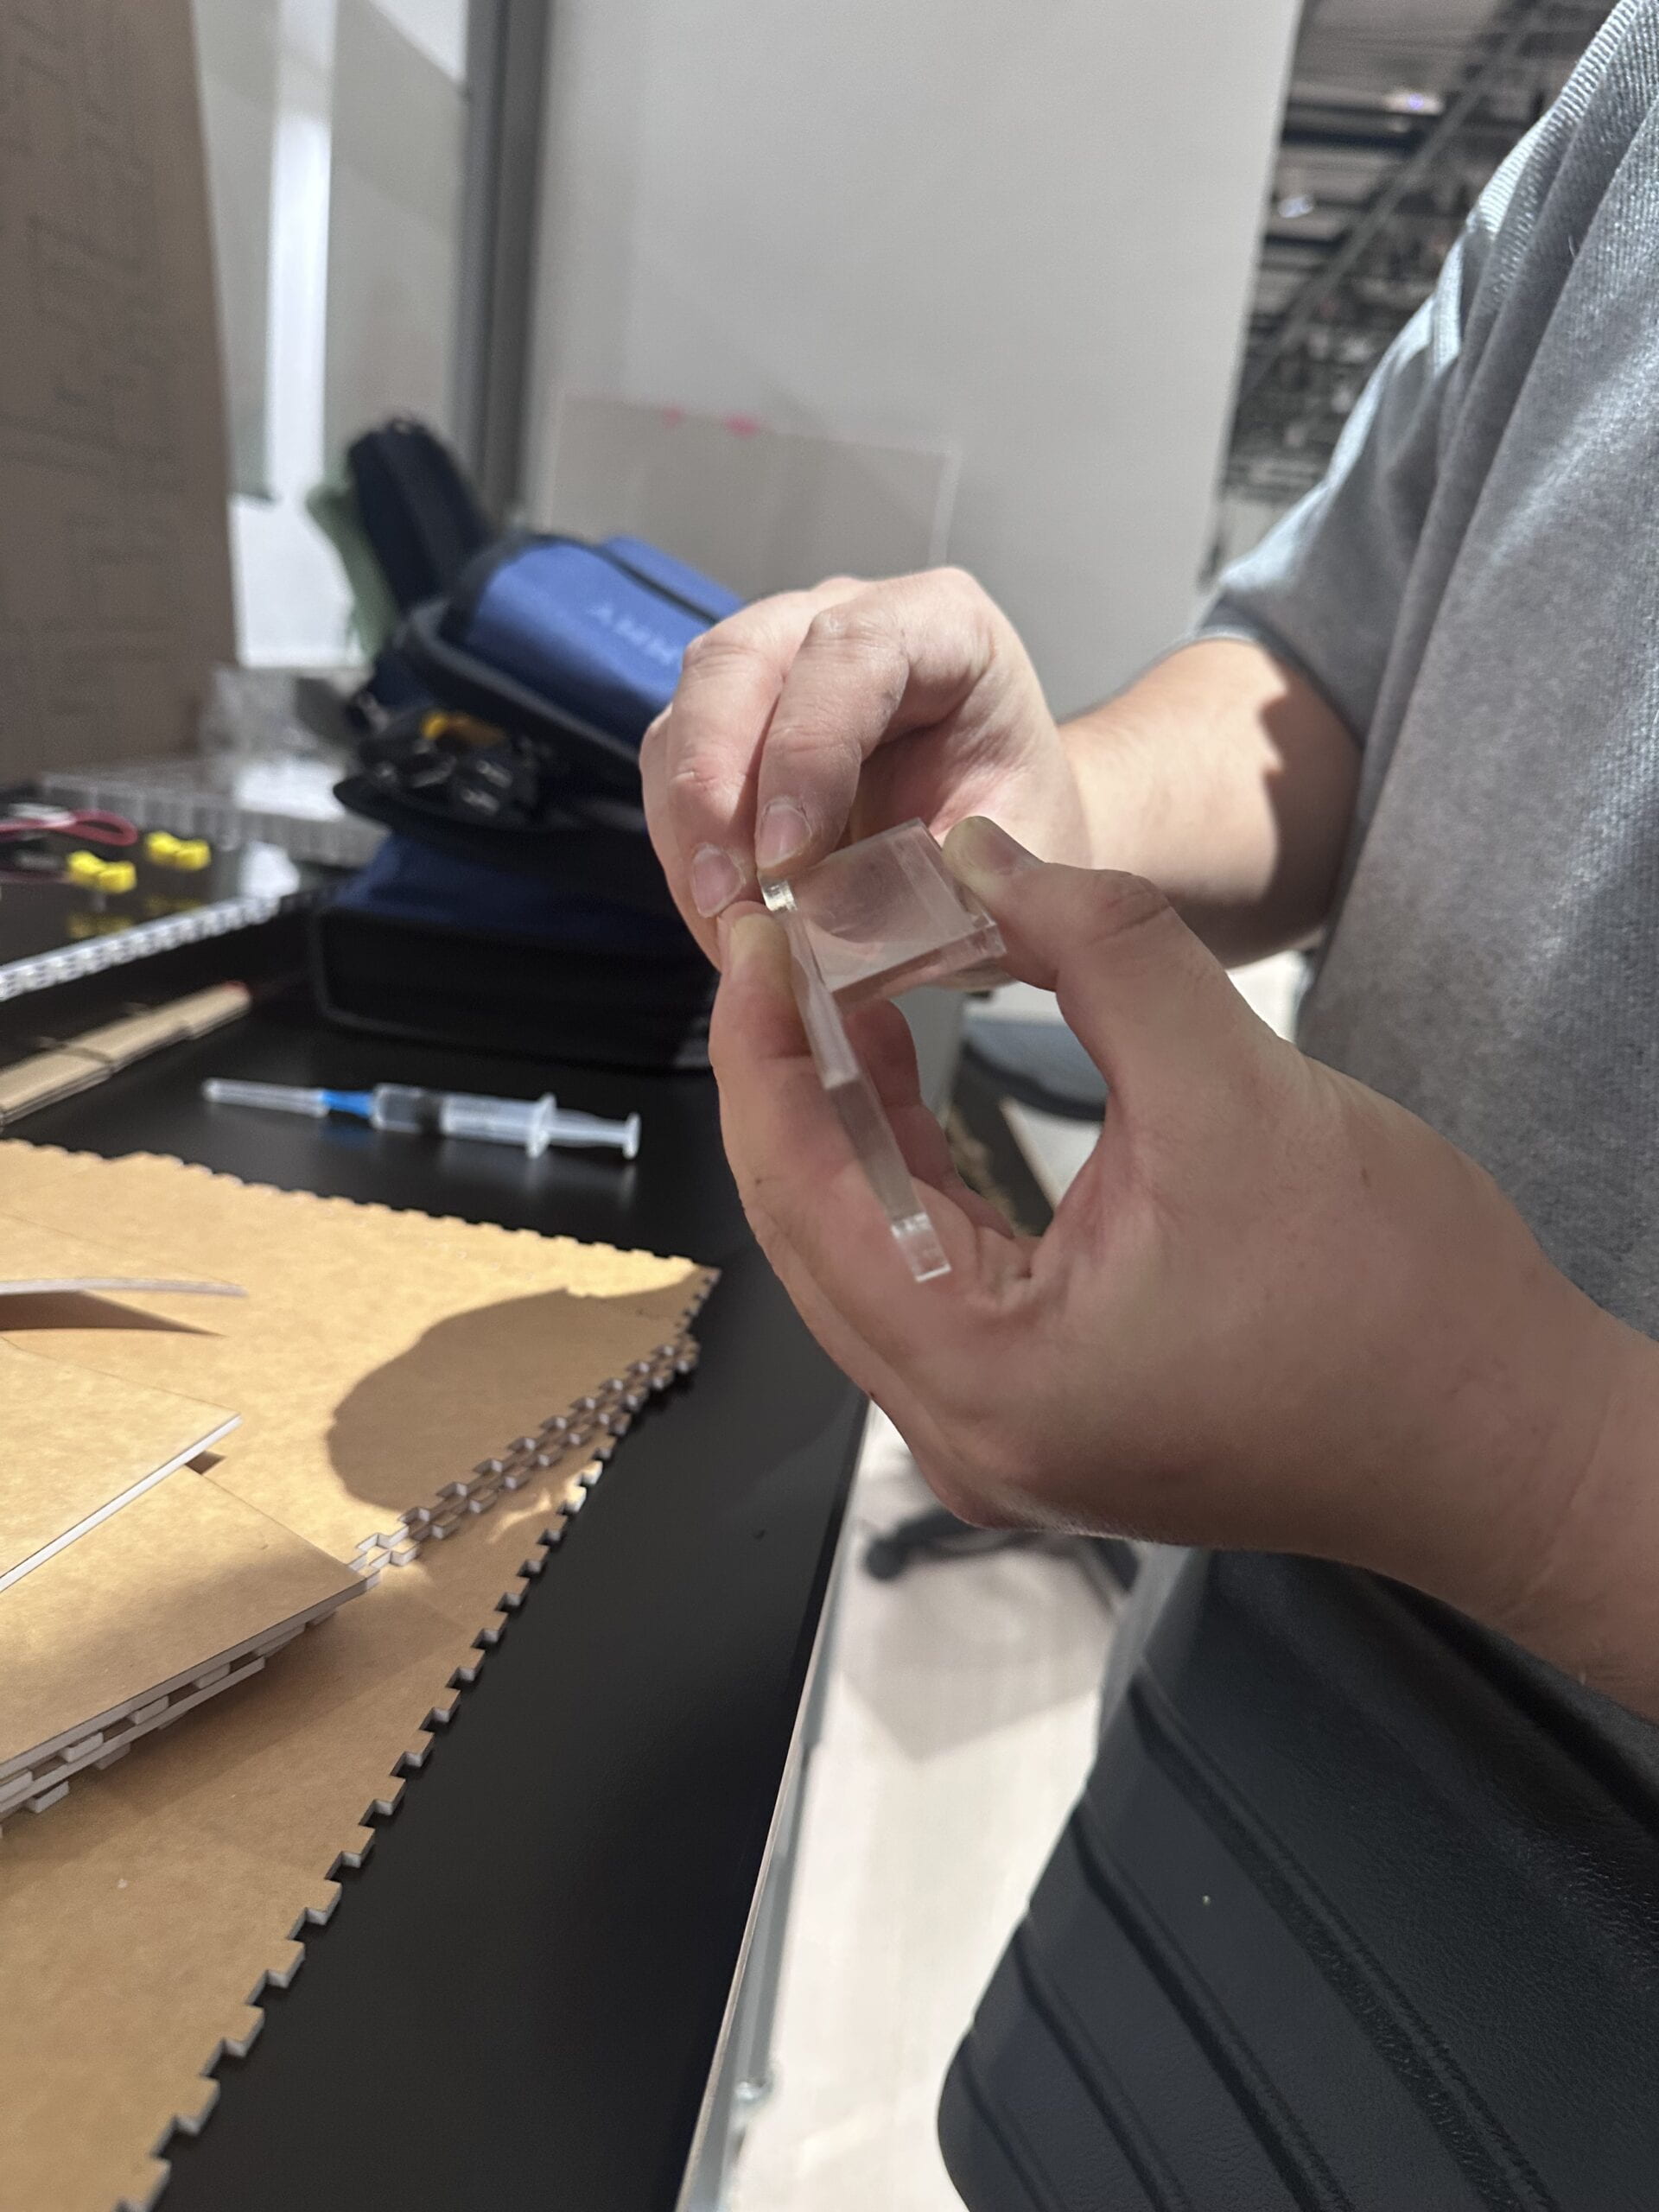
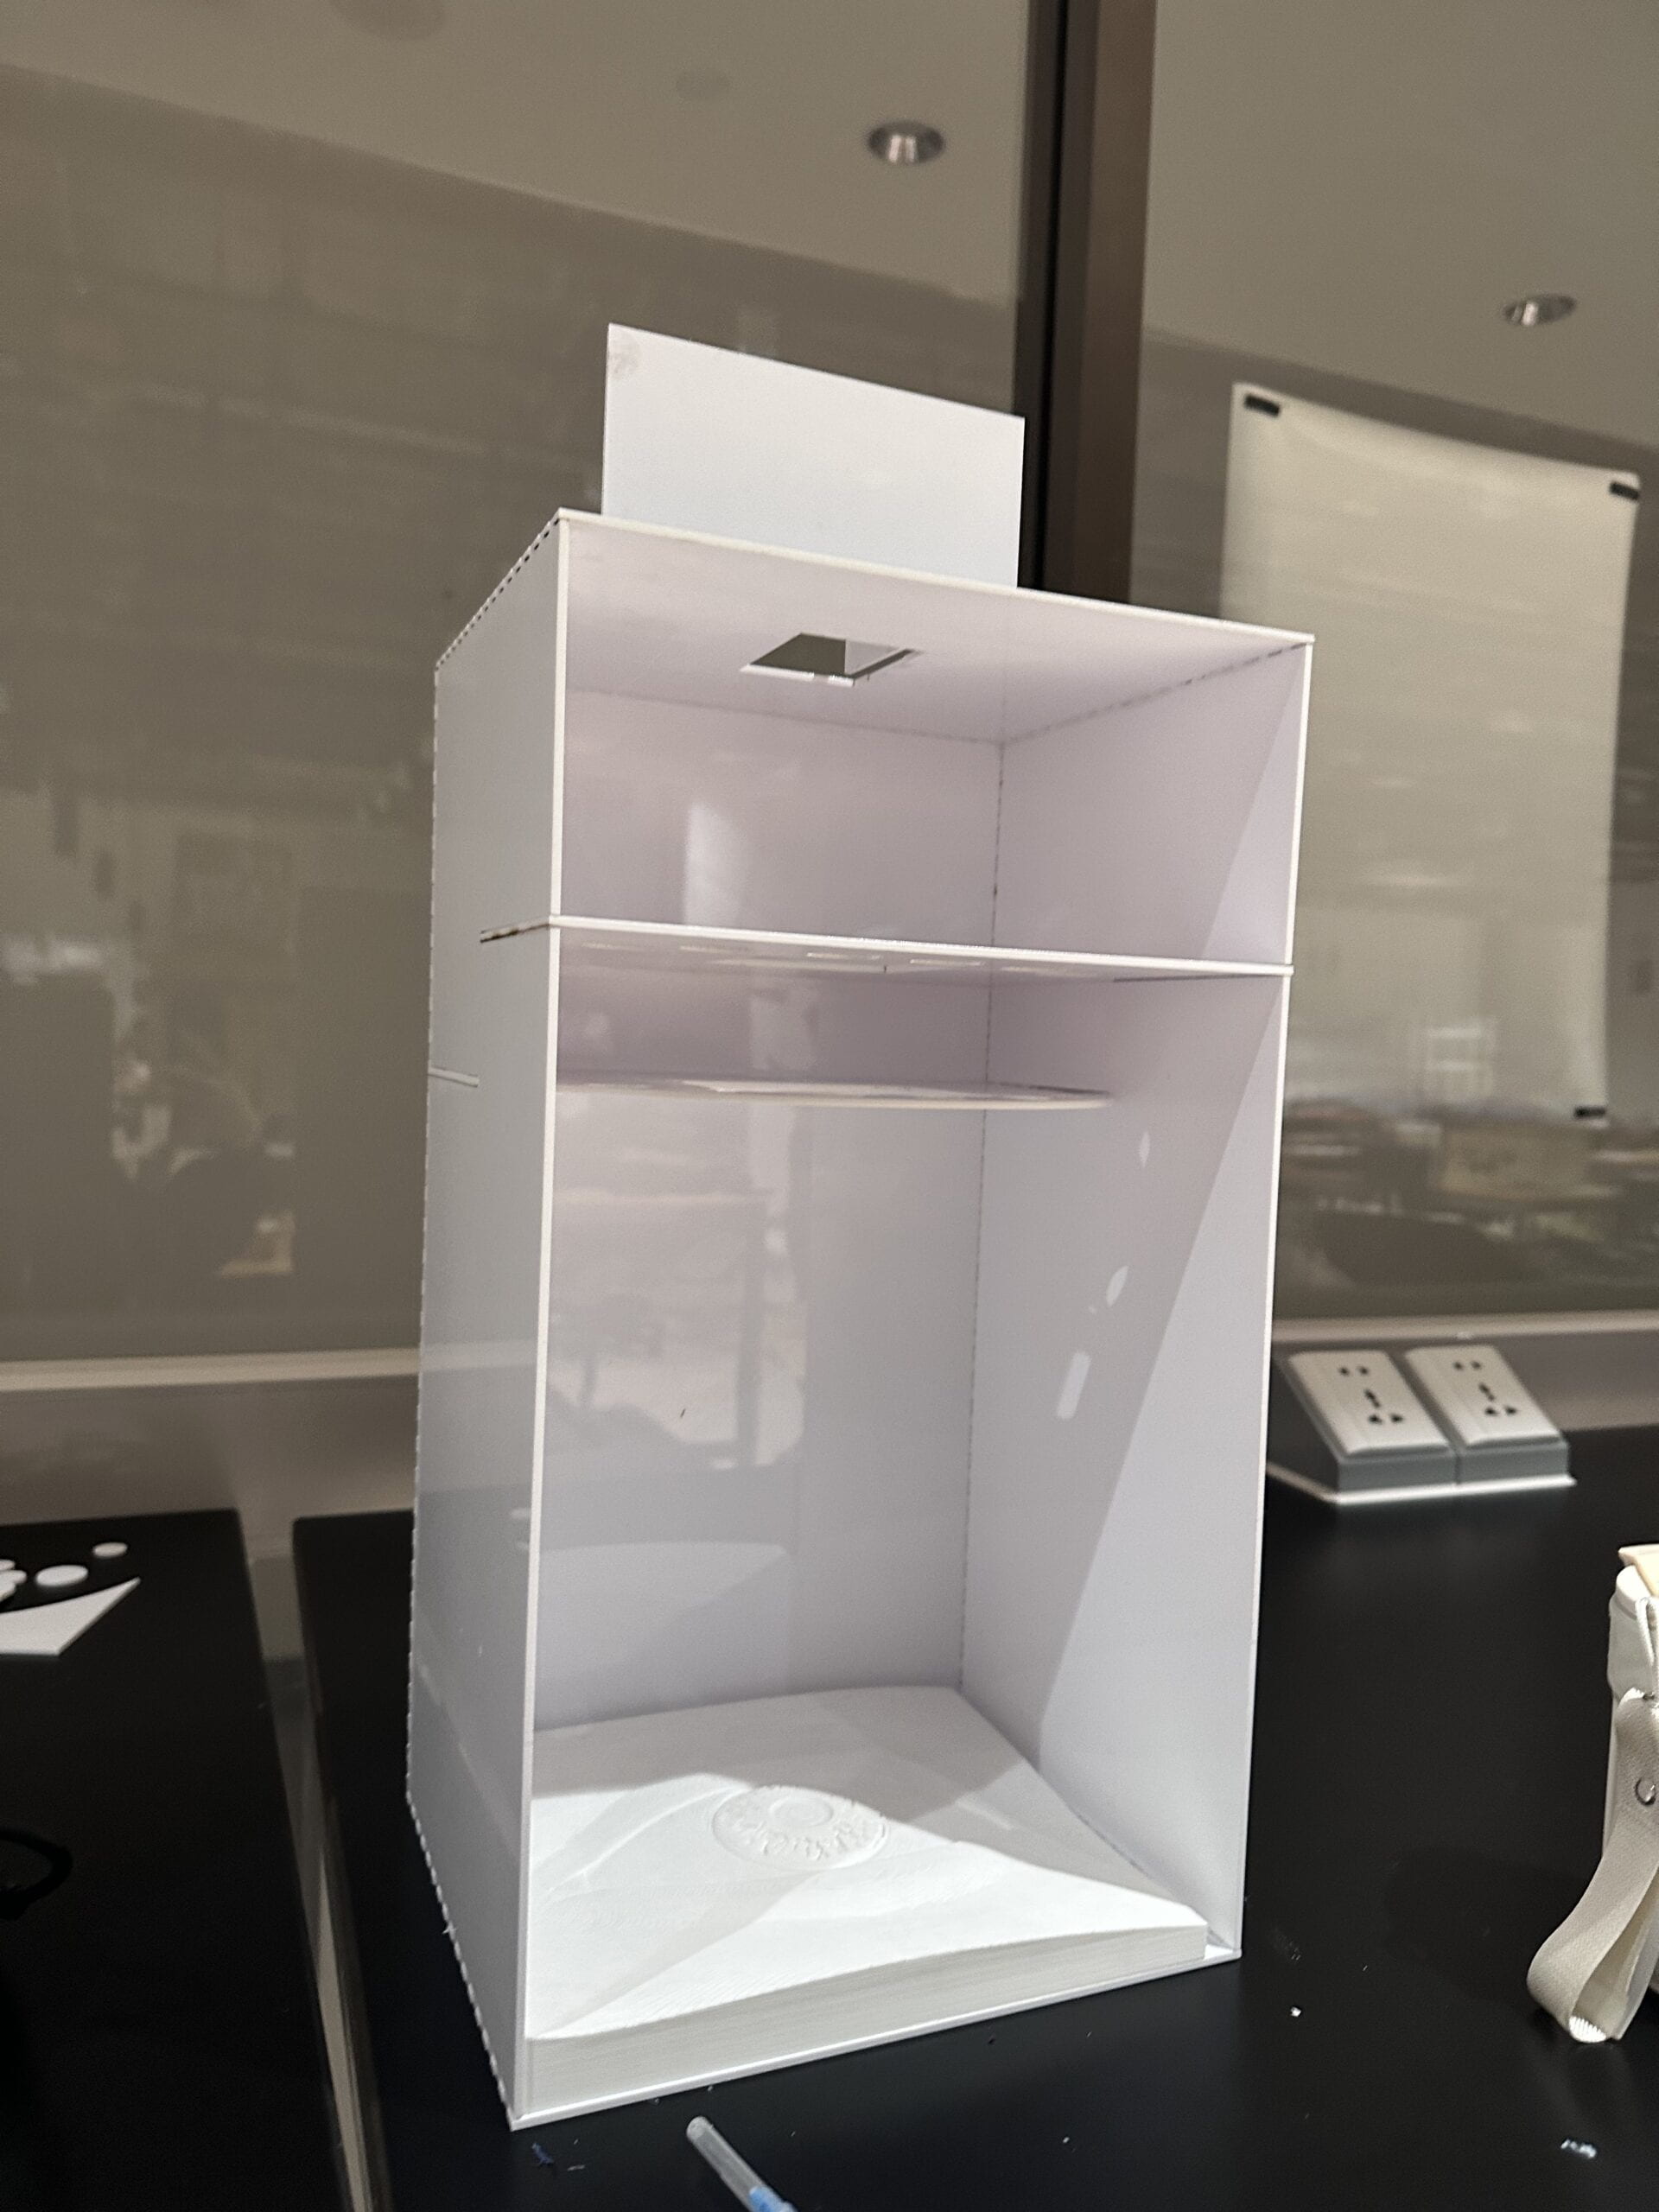 Dalin showed me how to use the acrylic glue and explained the principle of the glue: melting the acrylic material.
This is the final version of the shelf.
• Circuit & Cover
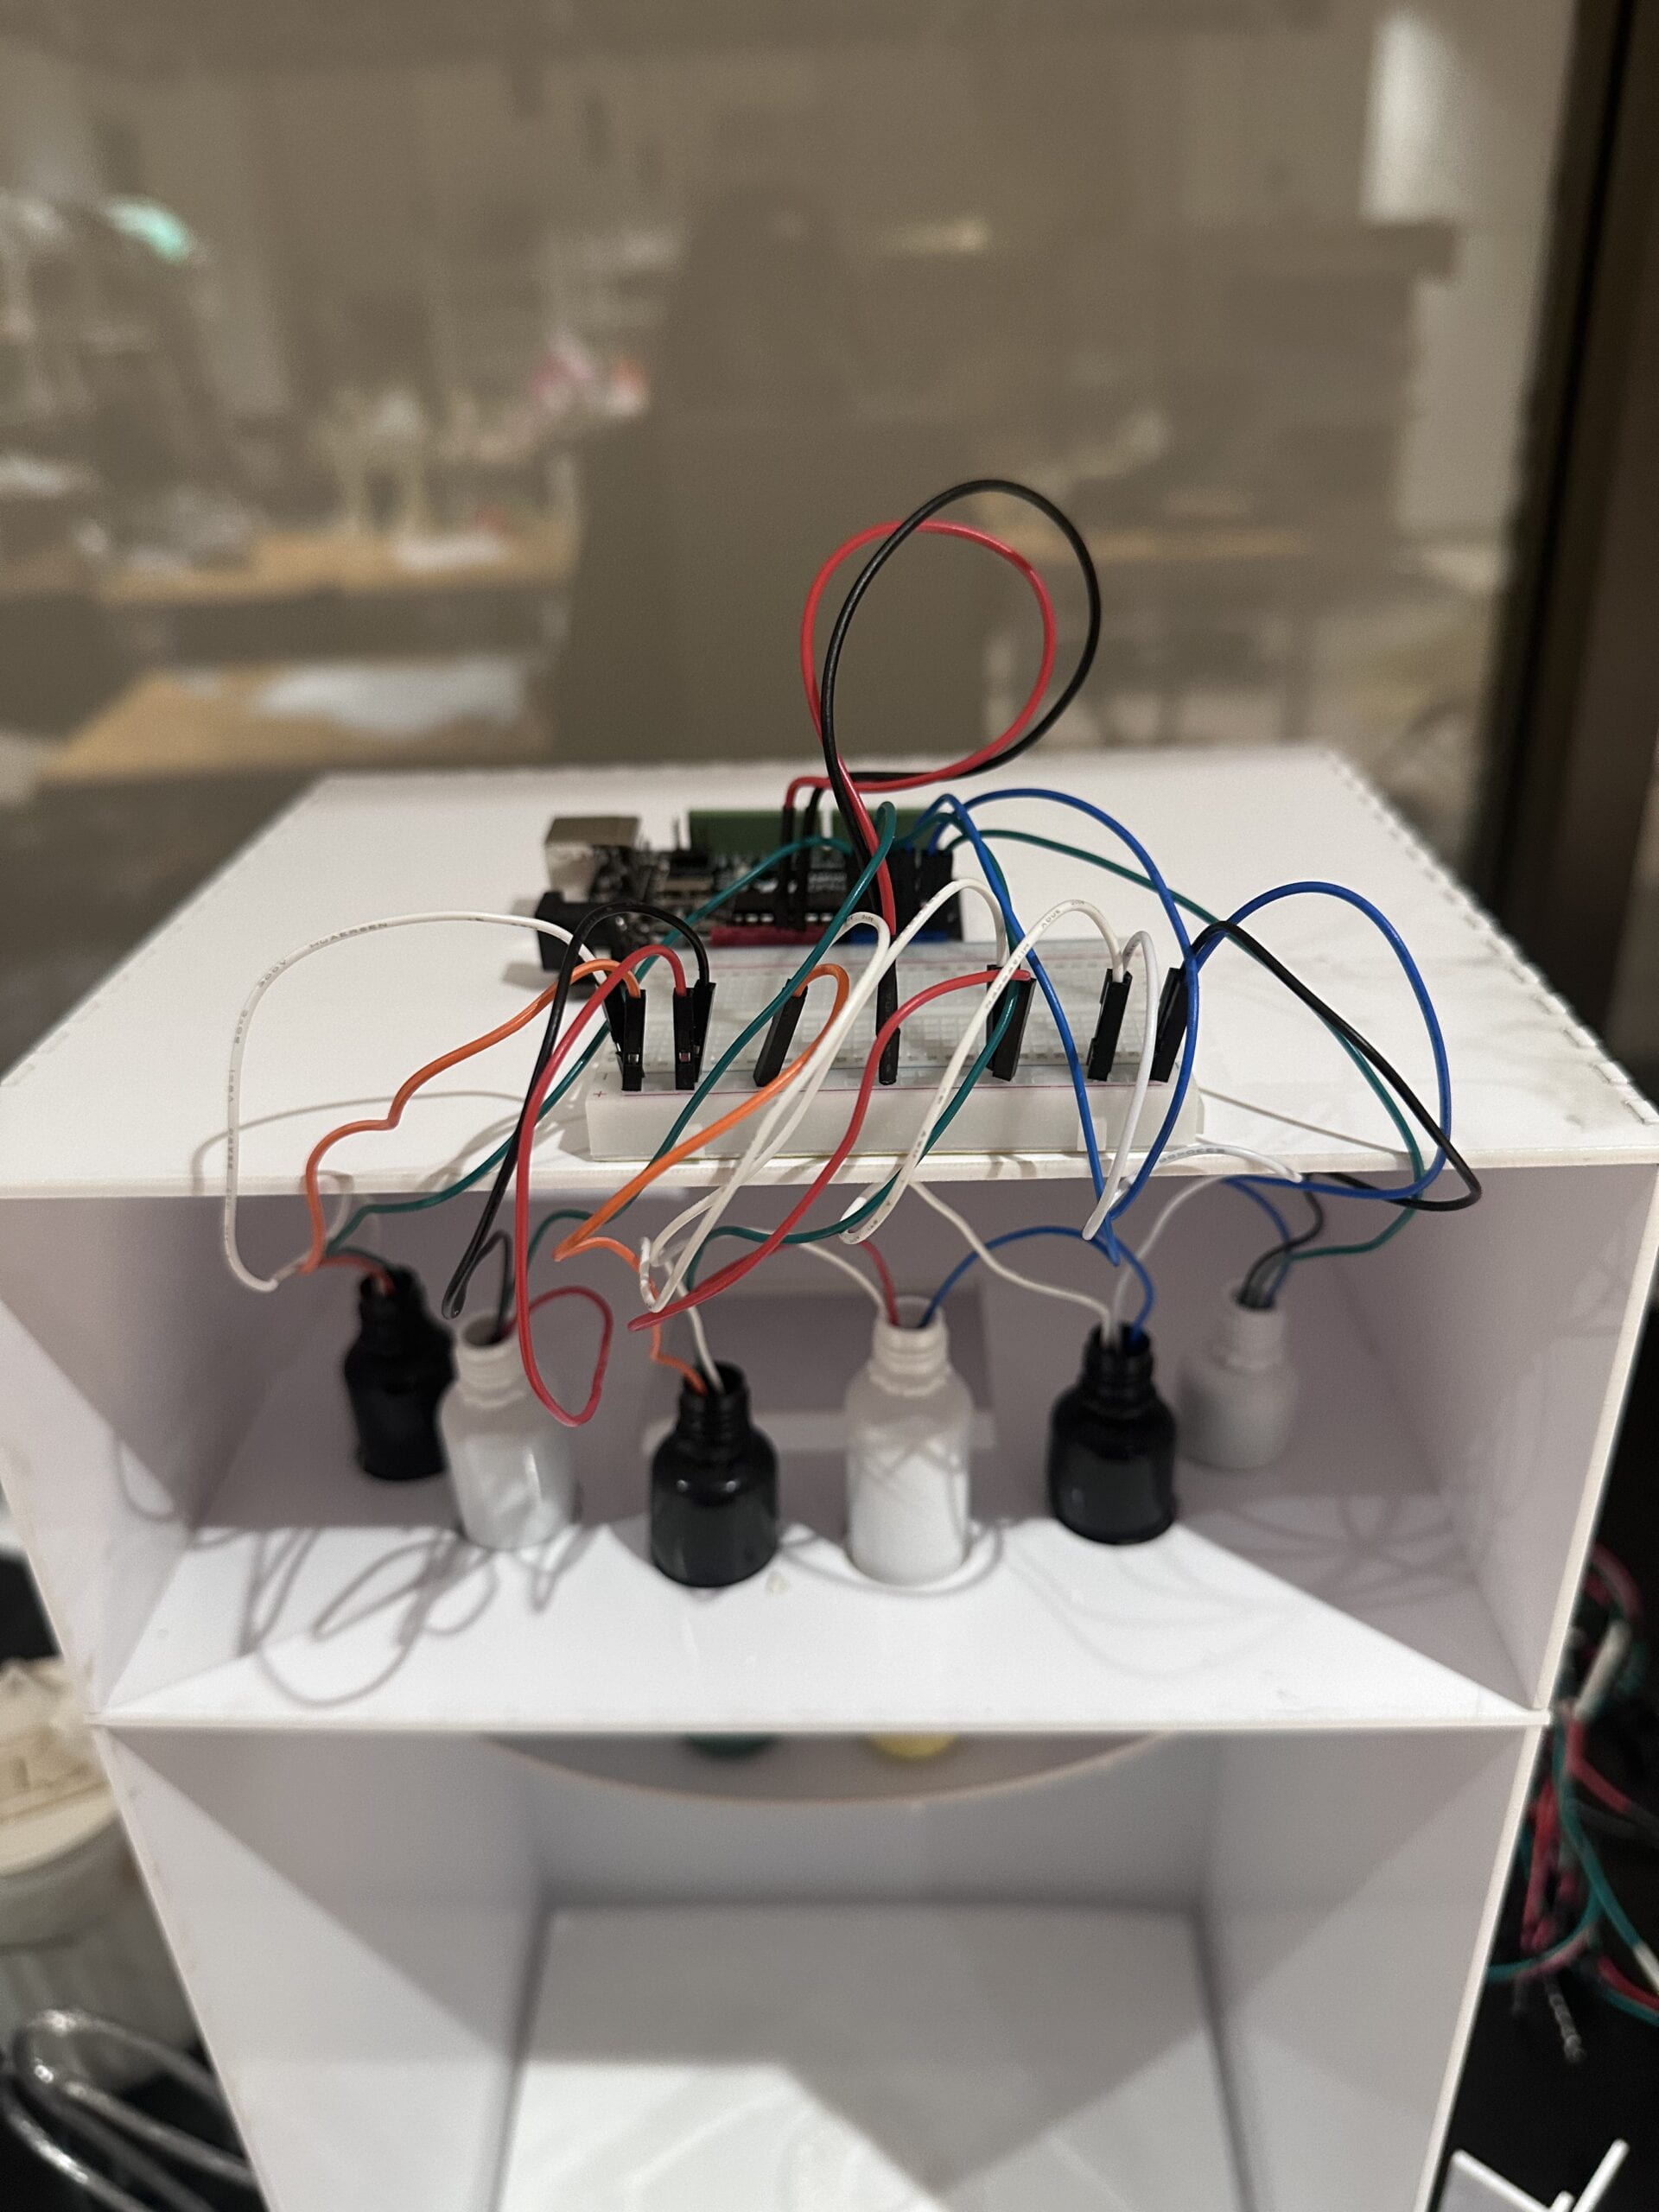
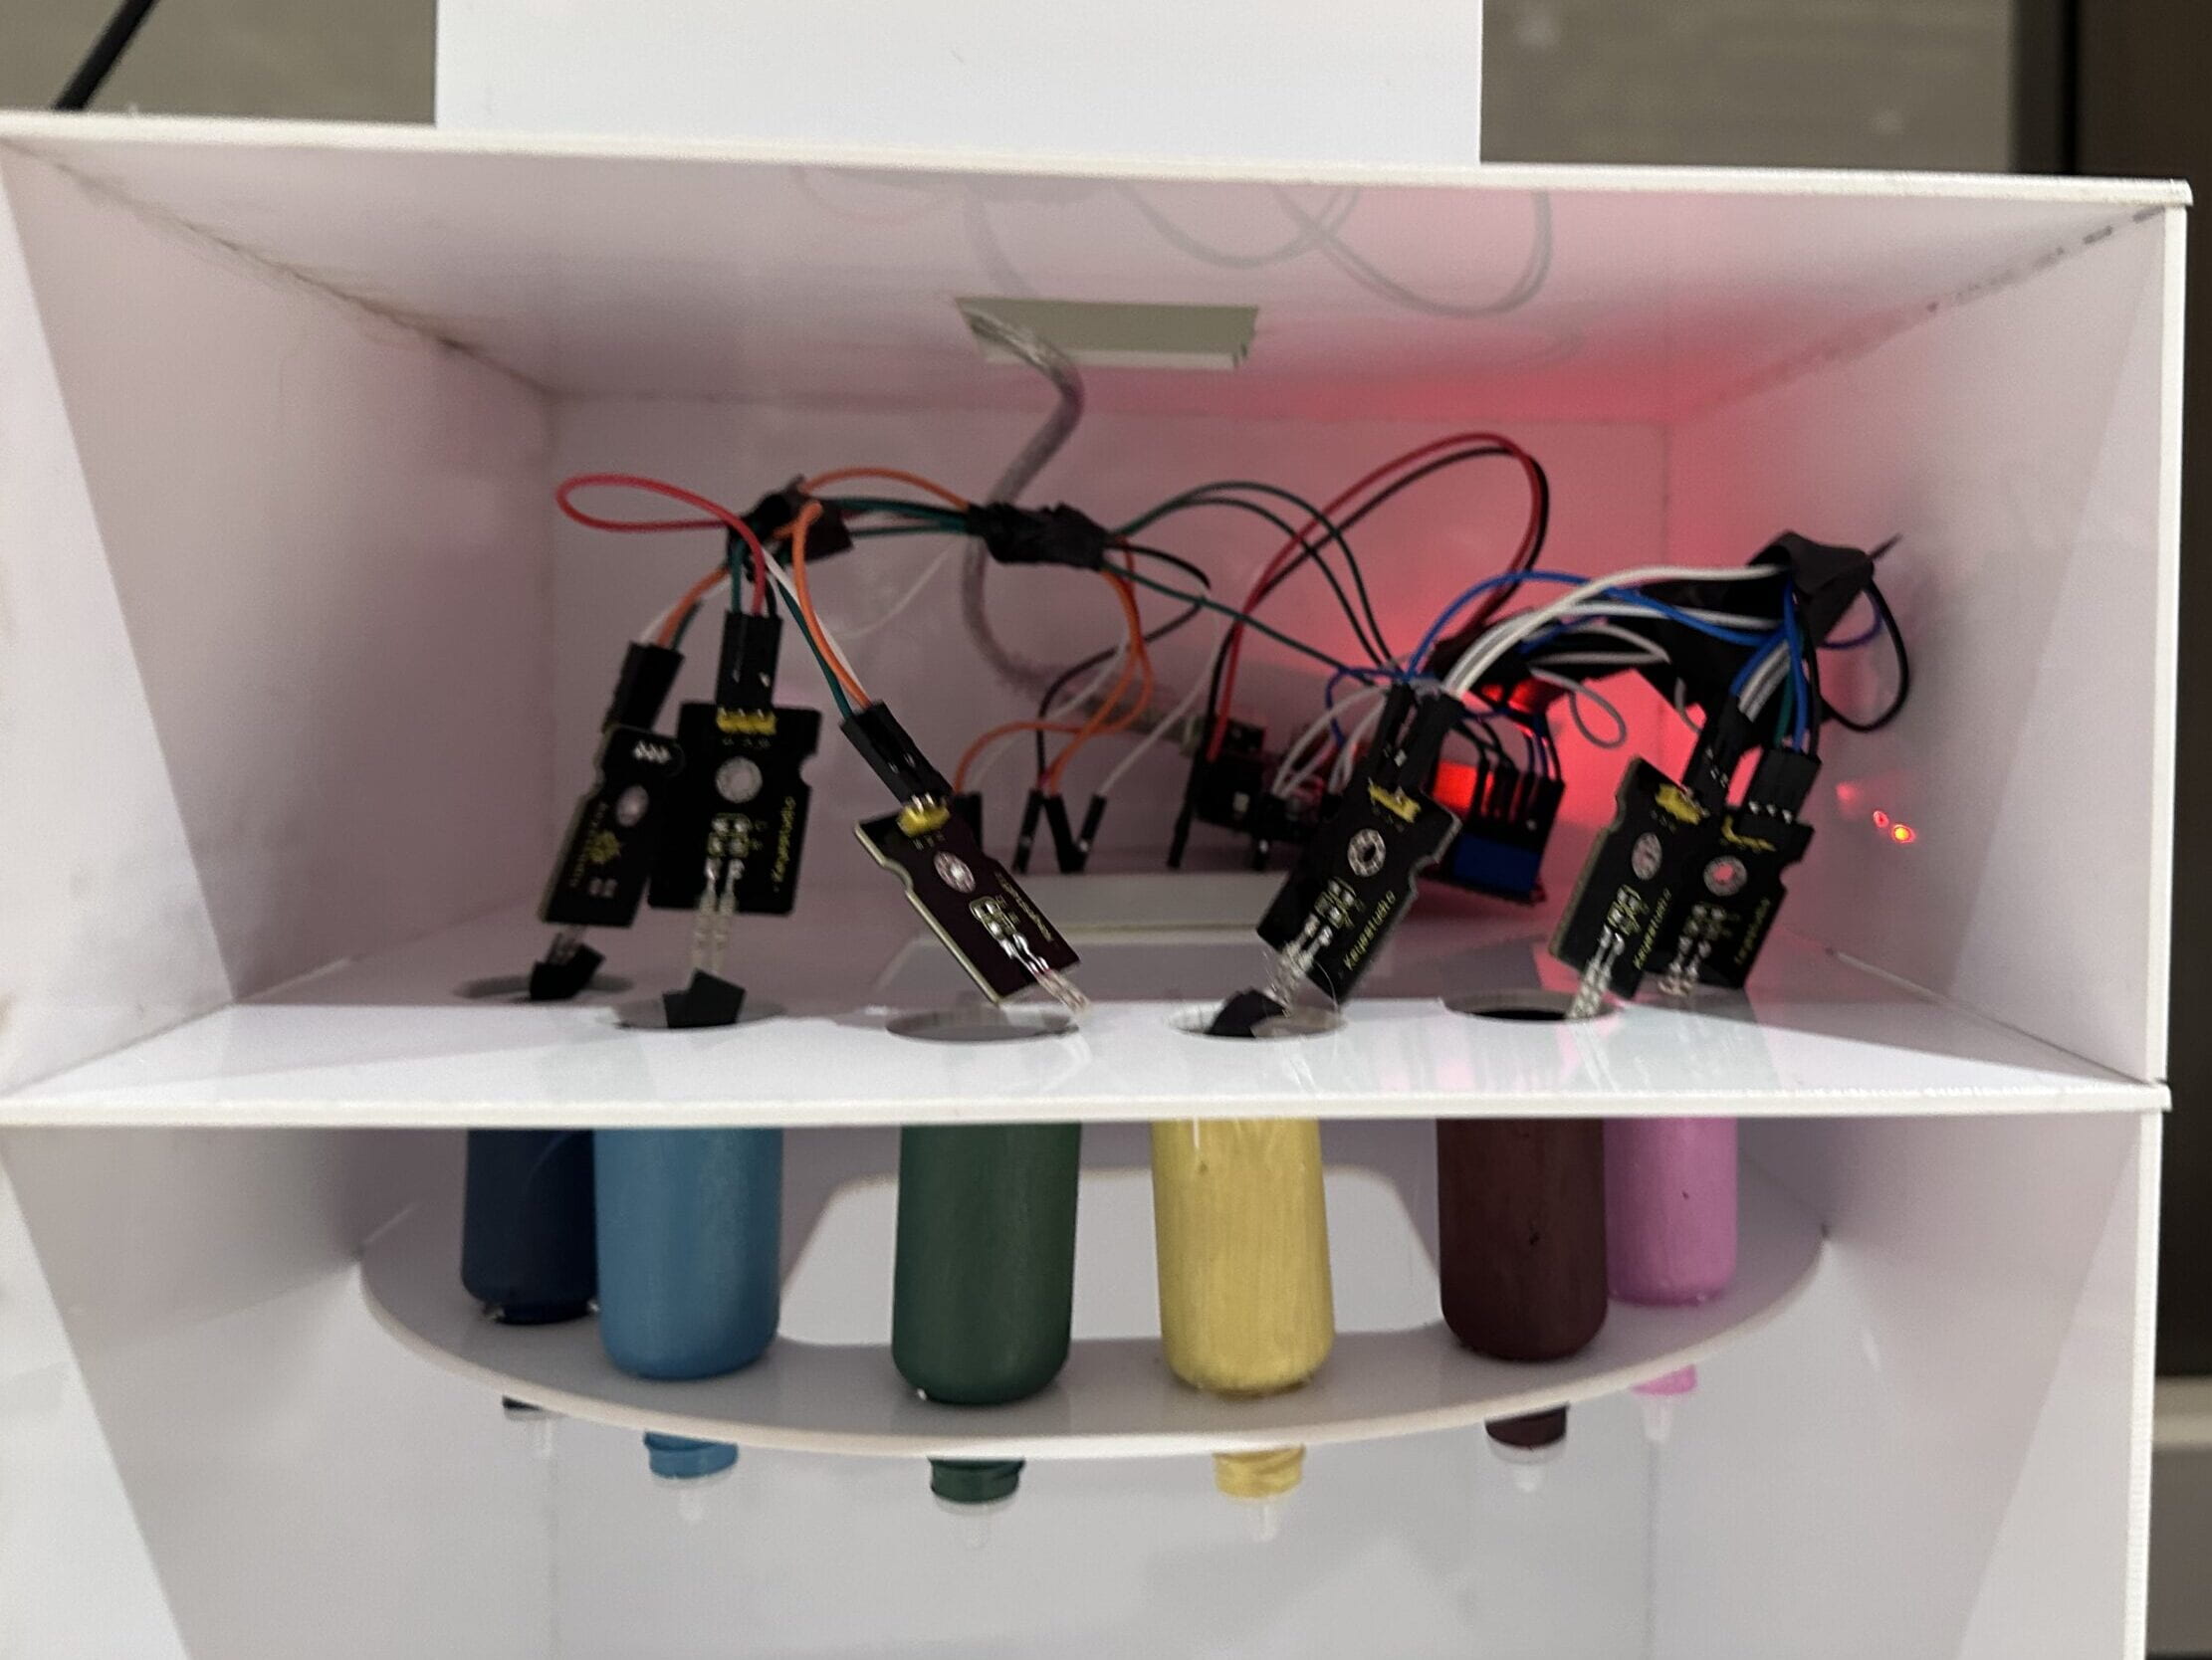
The circuit was quite simple that connected six sensors.
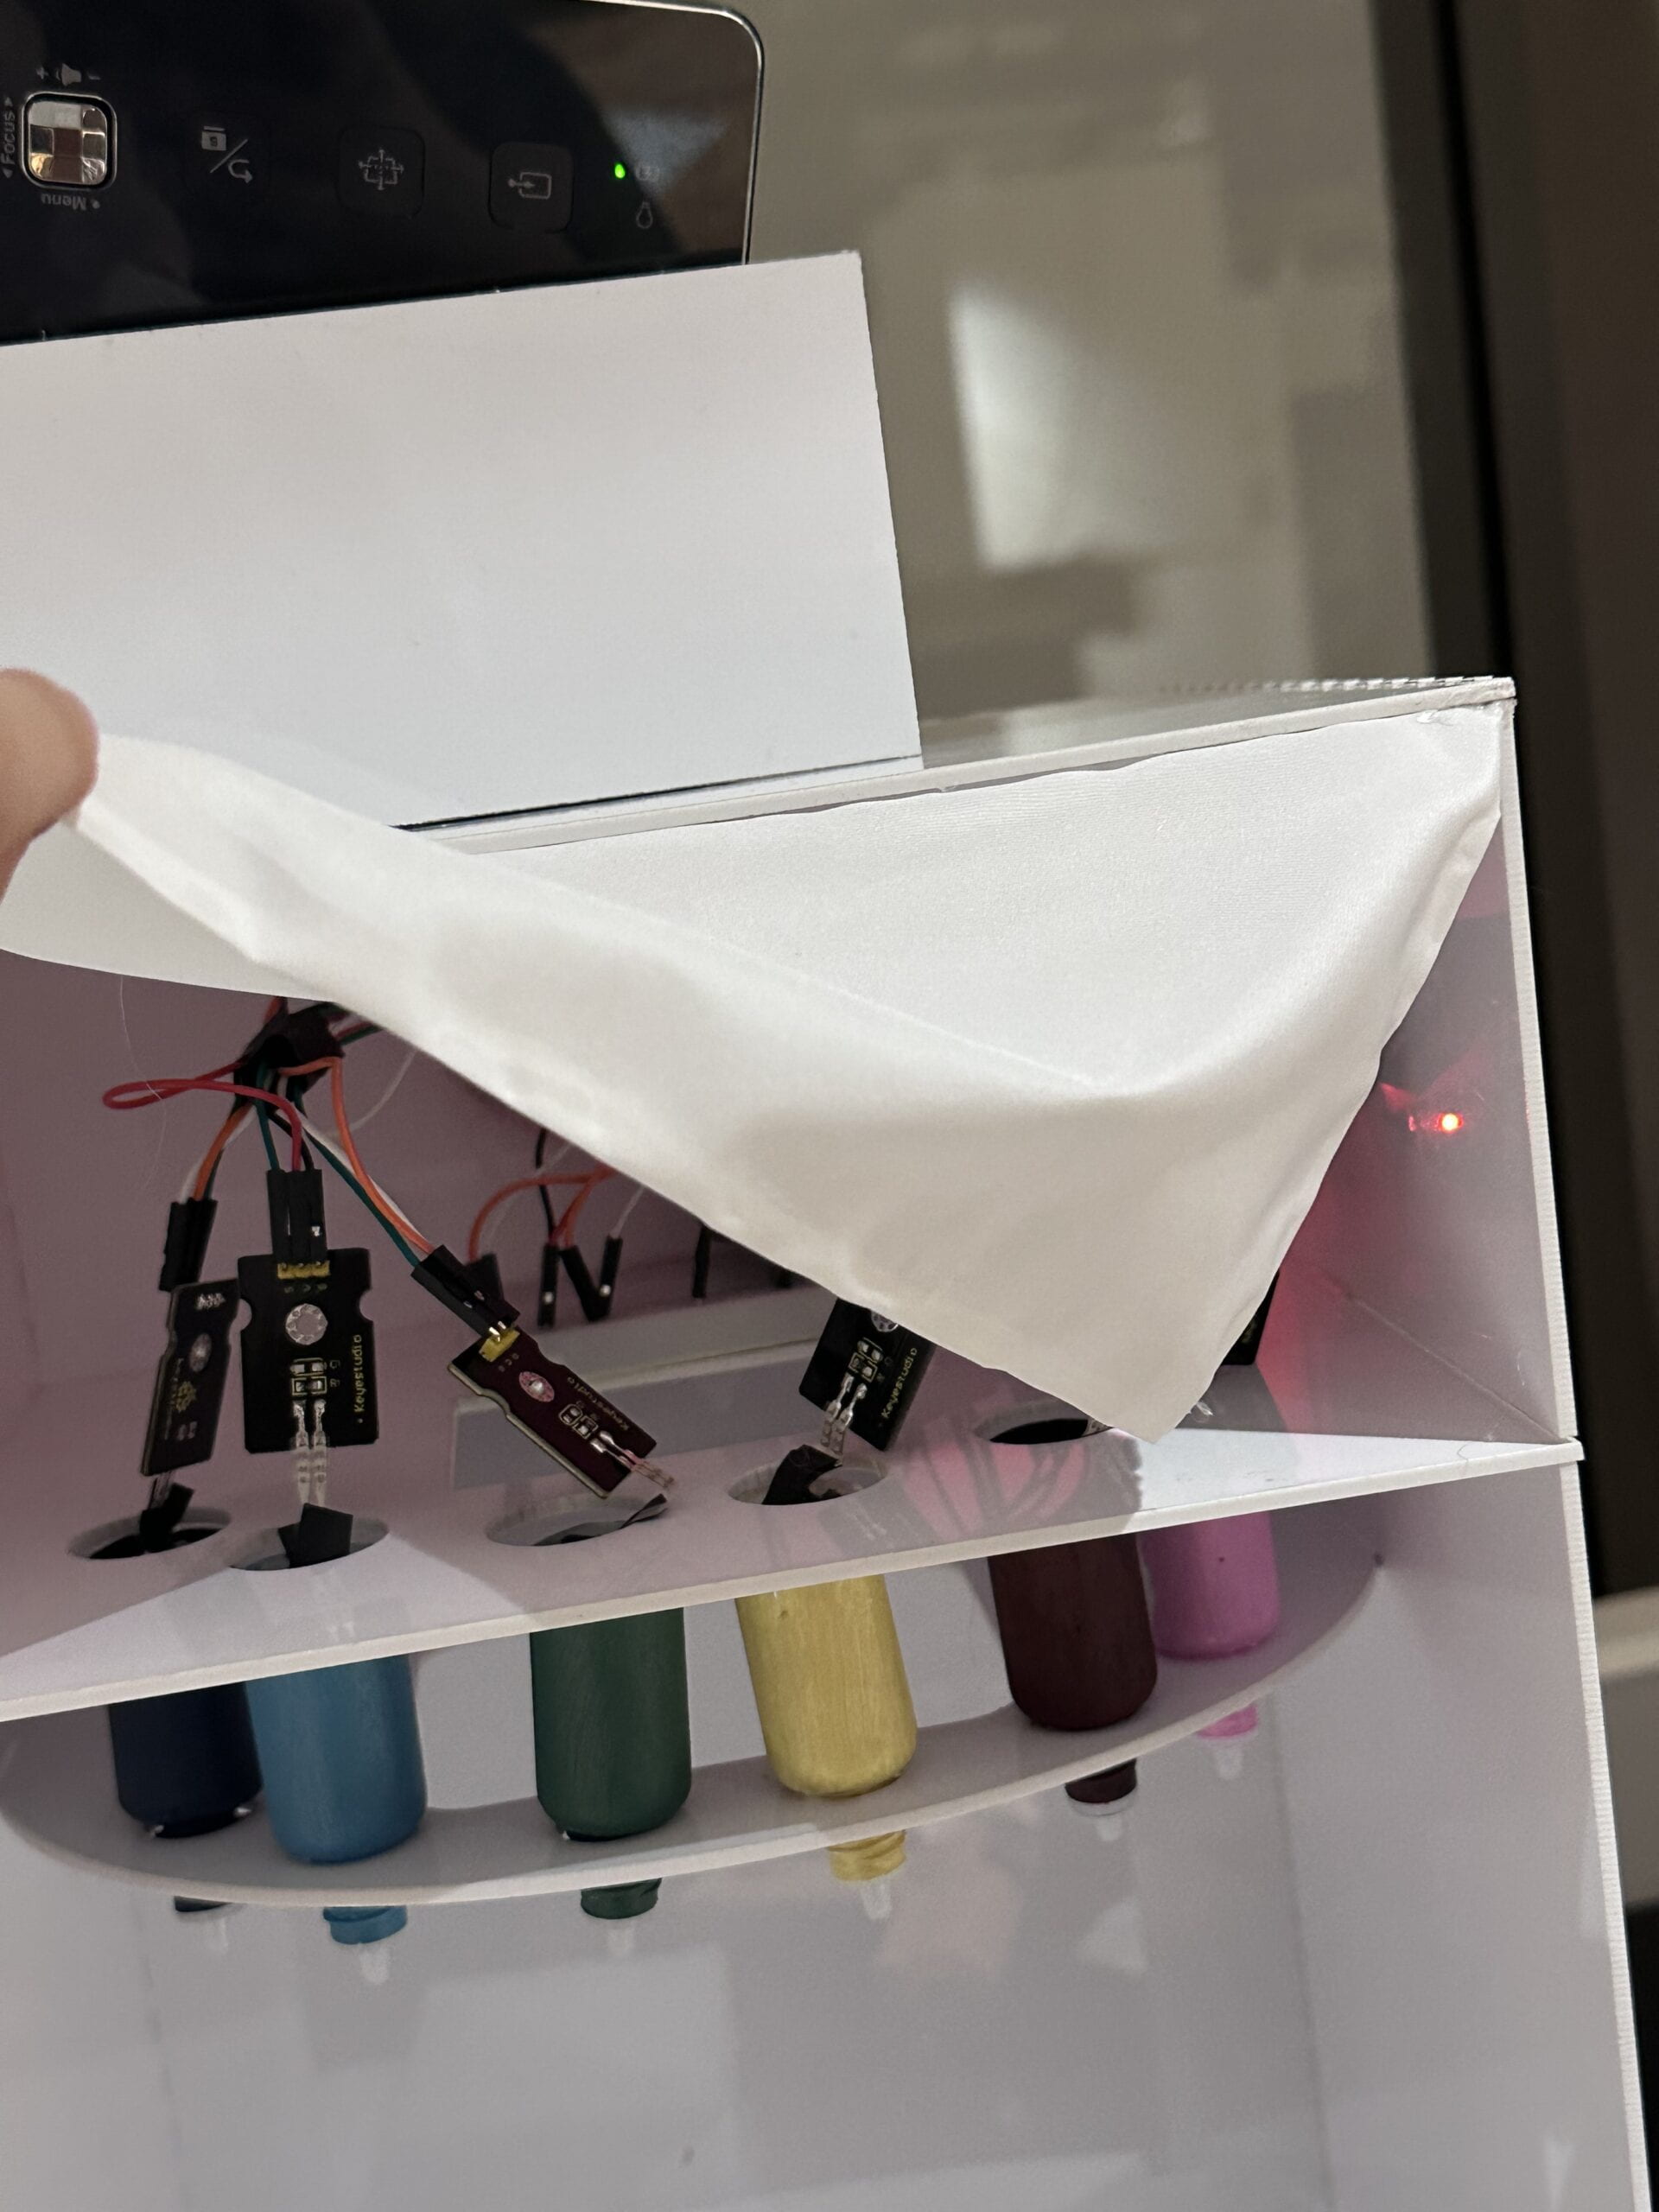
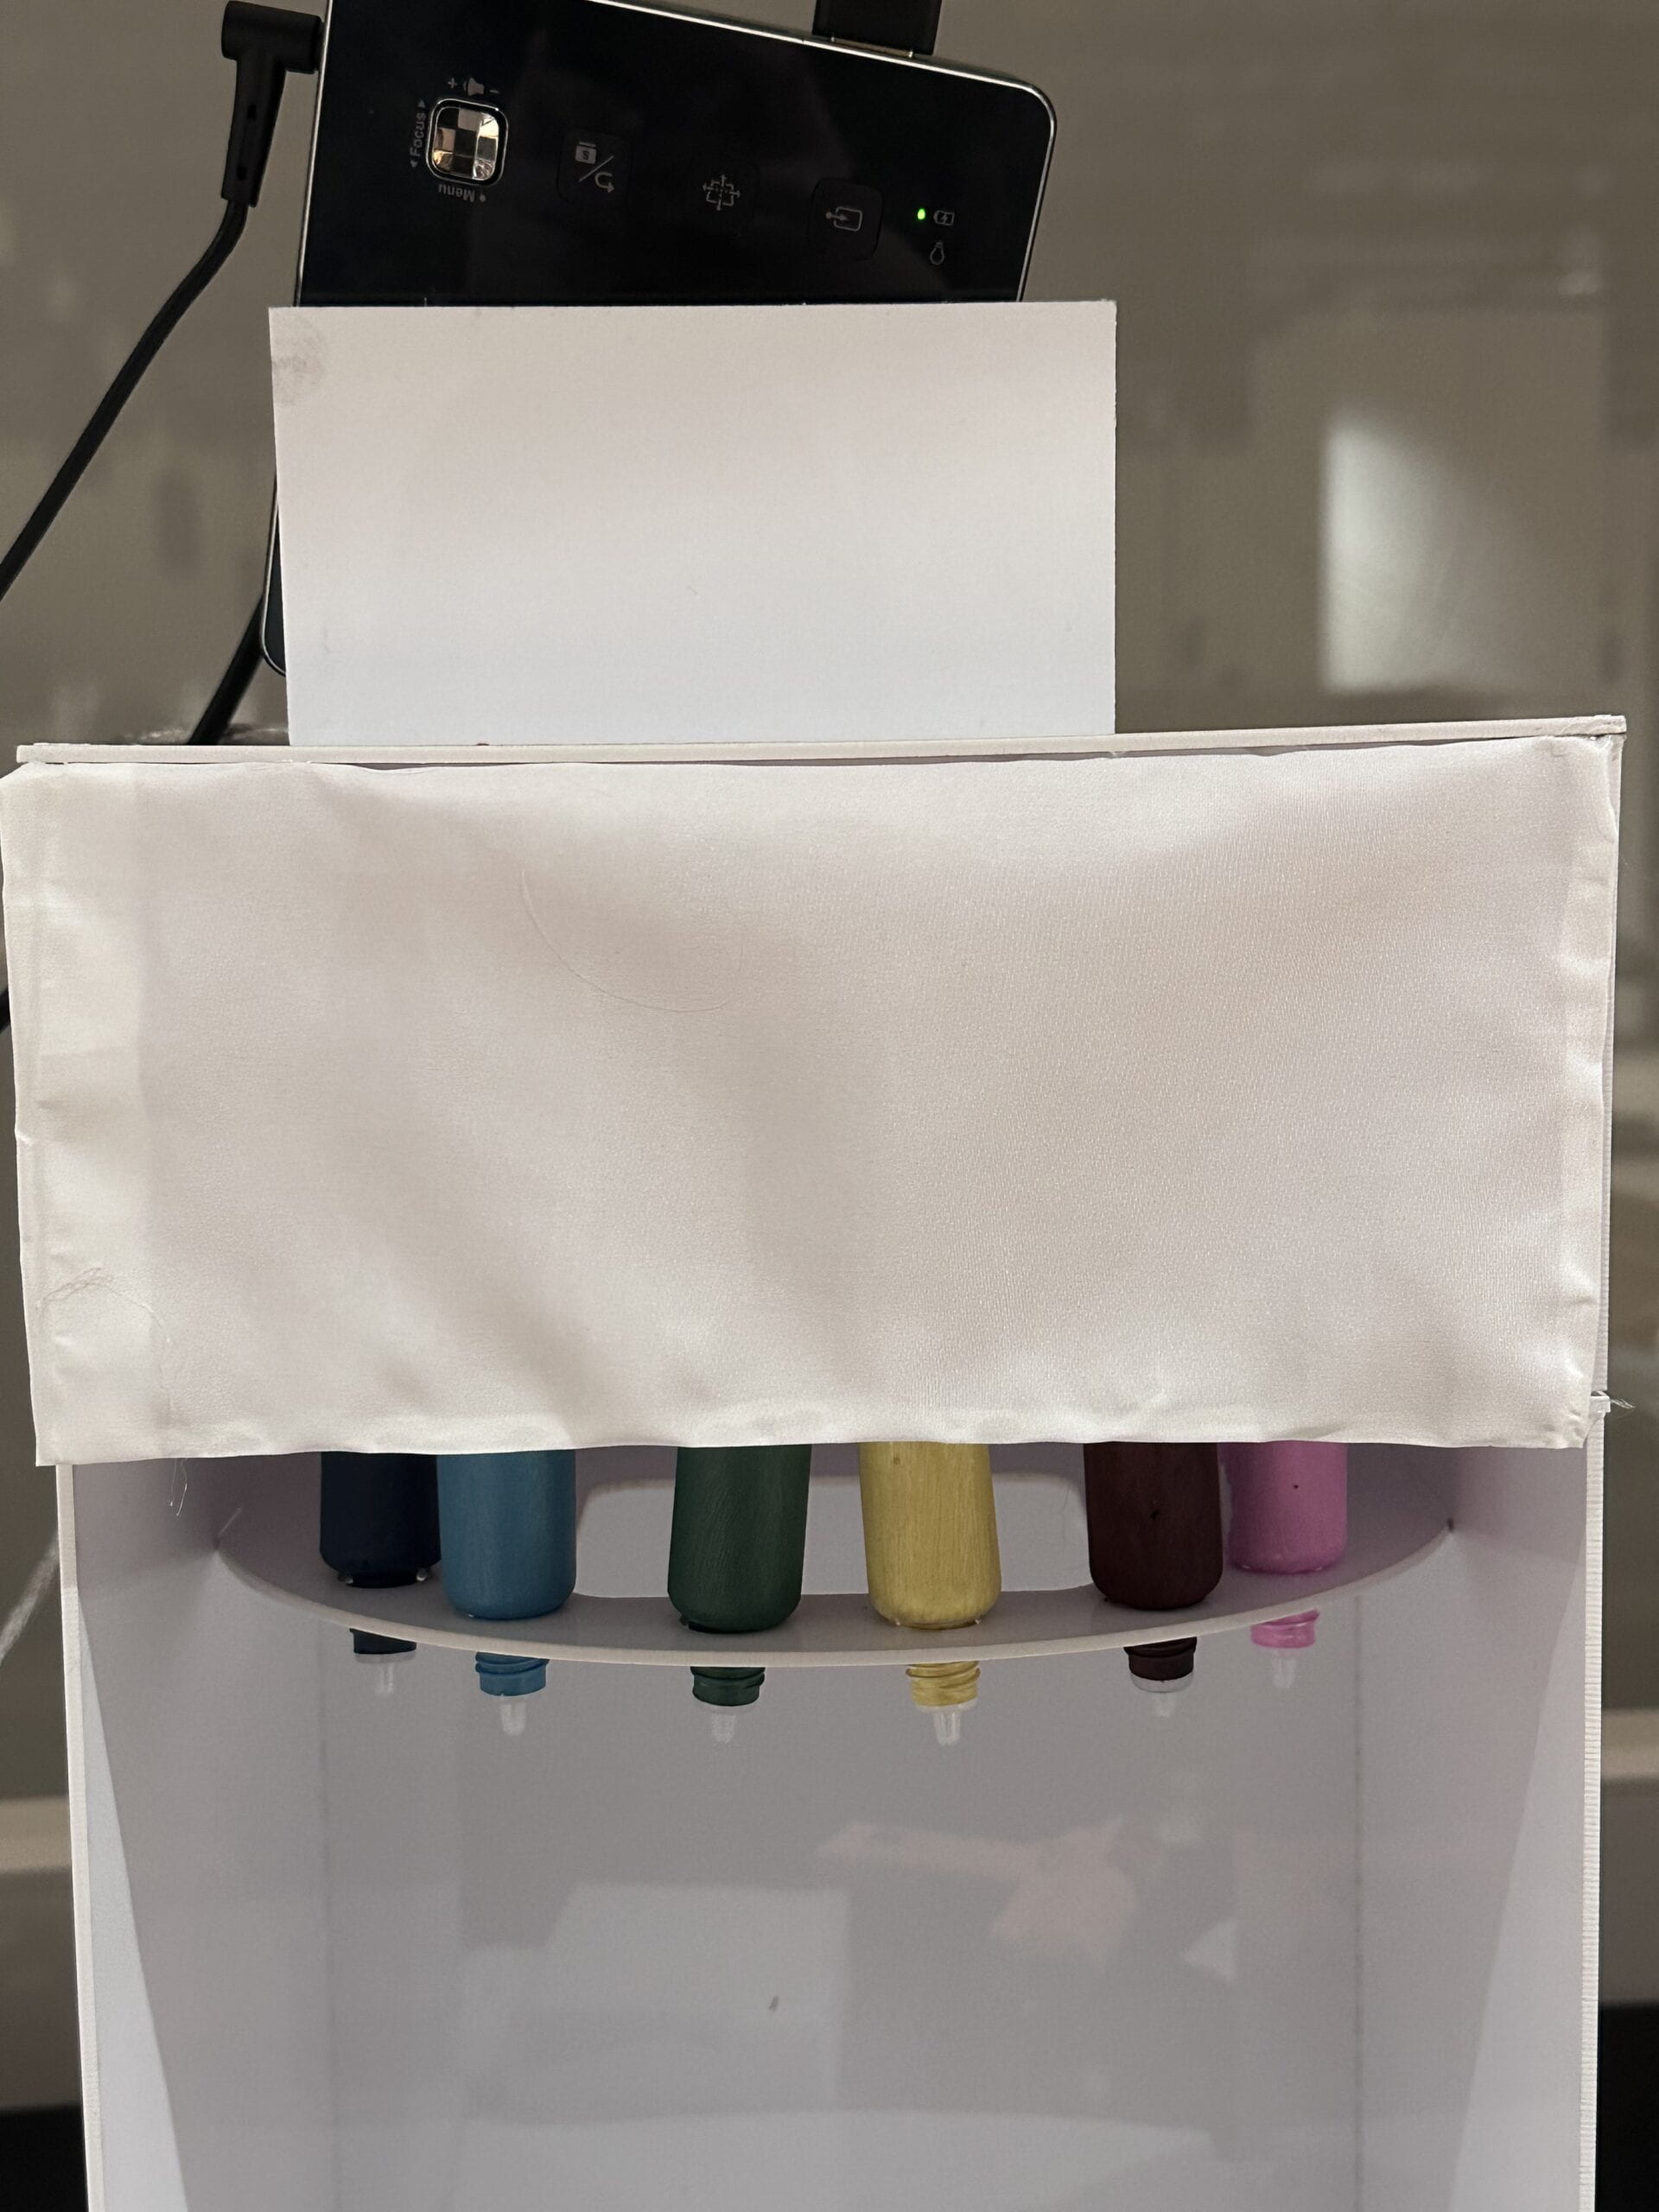
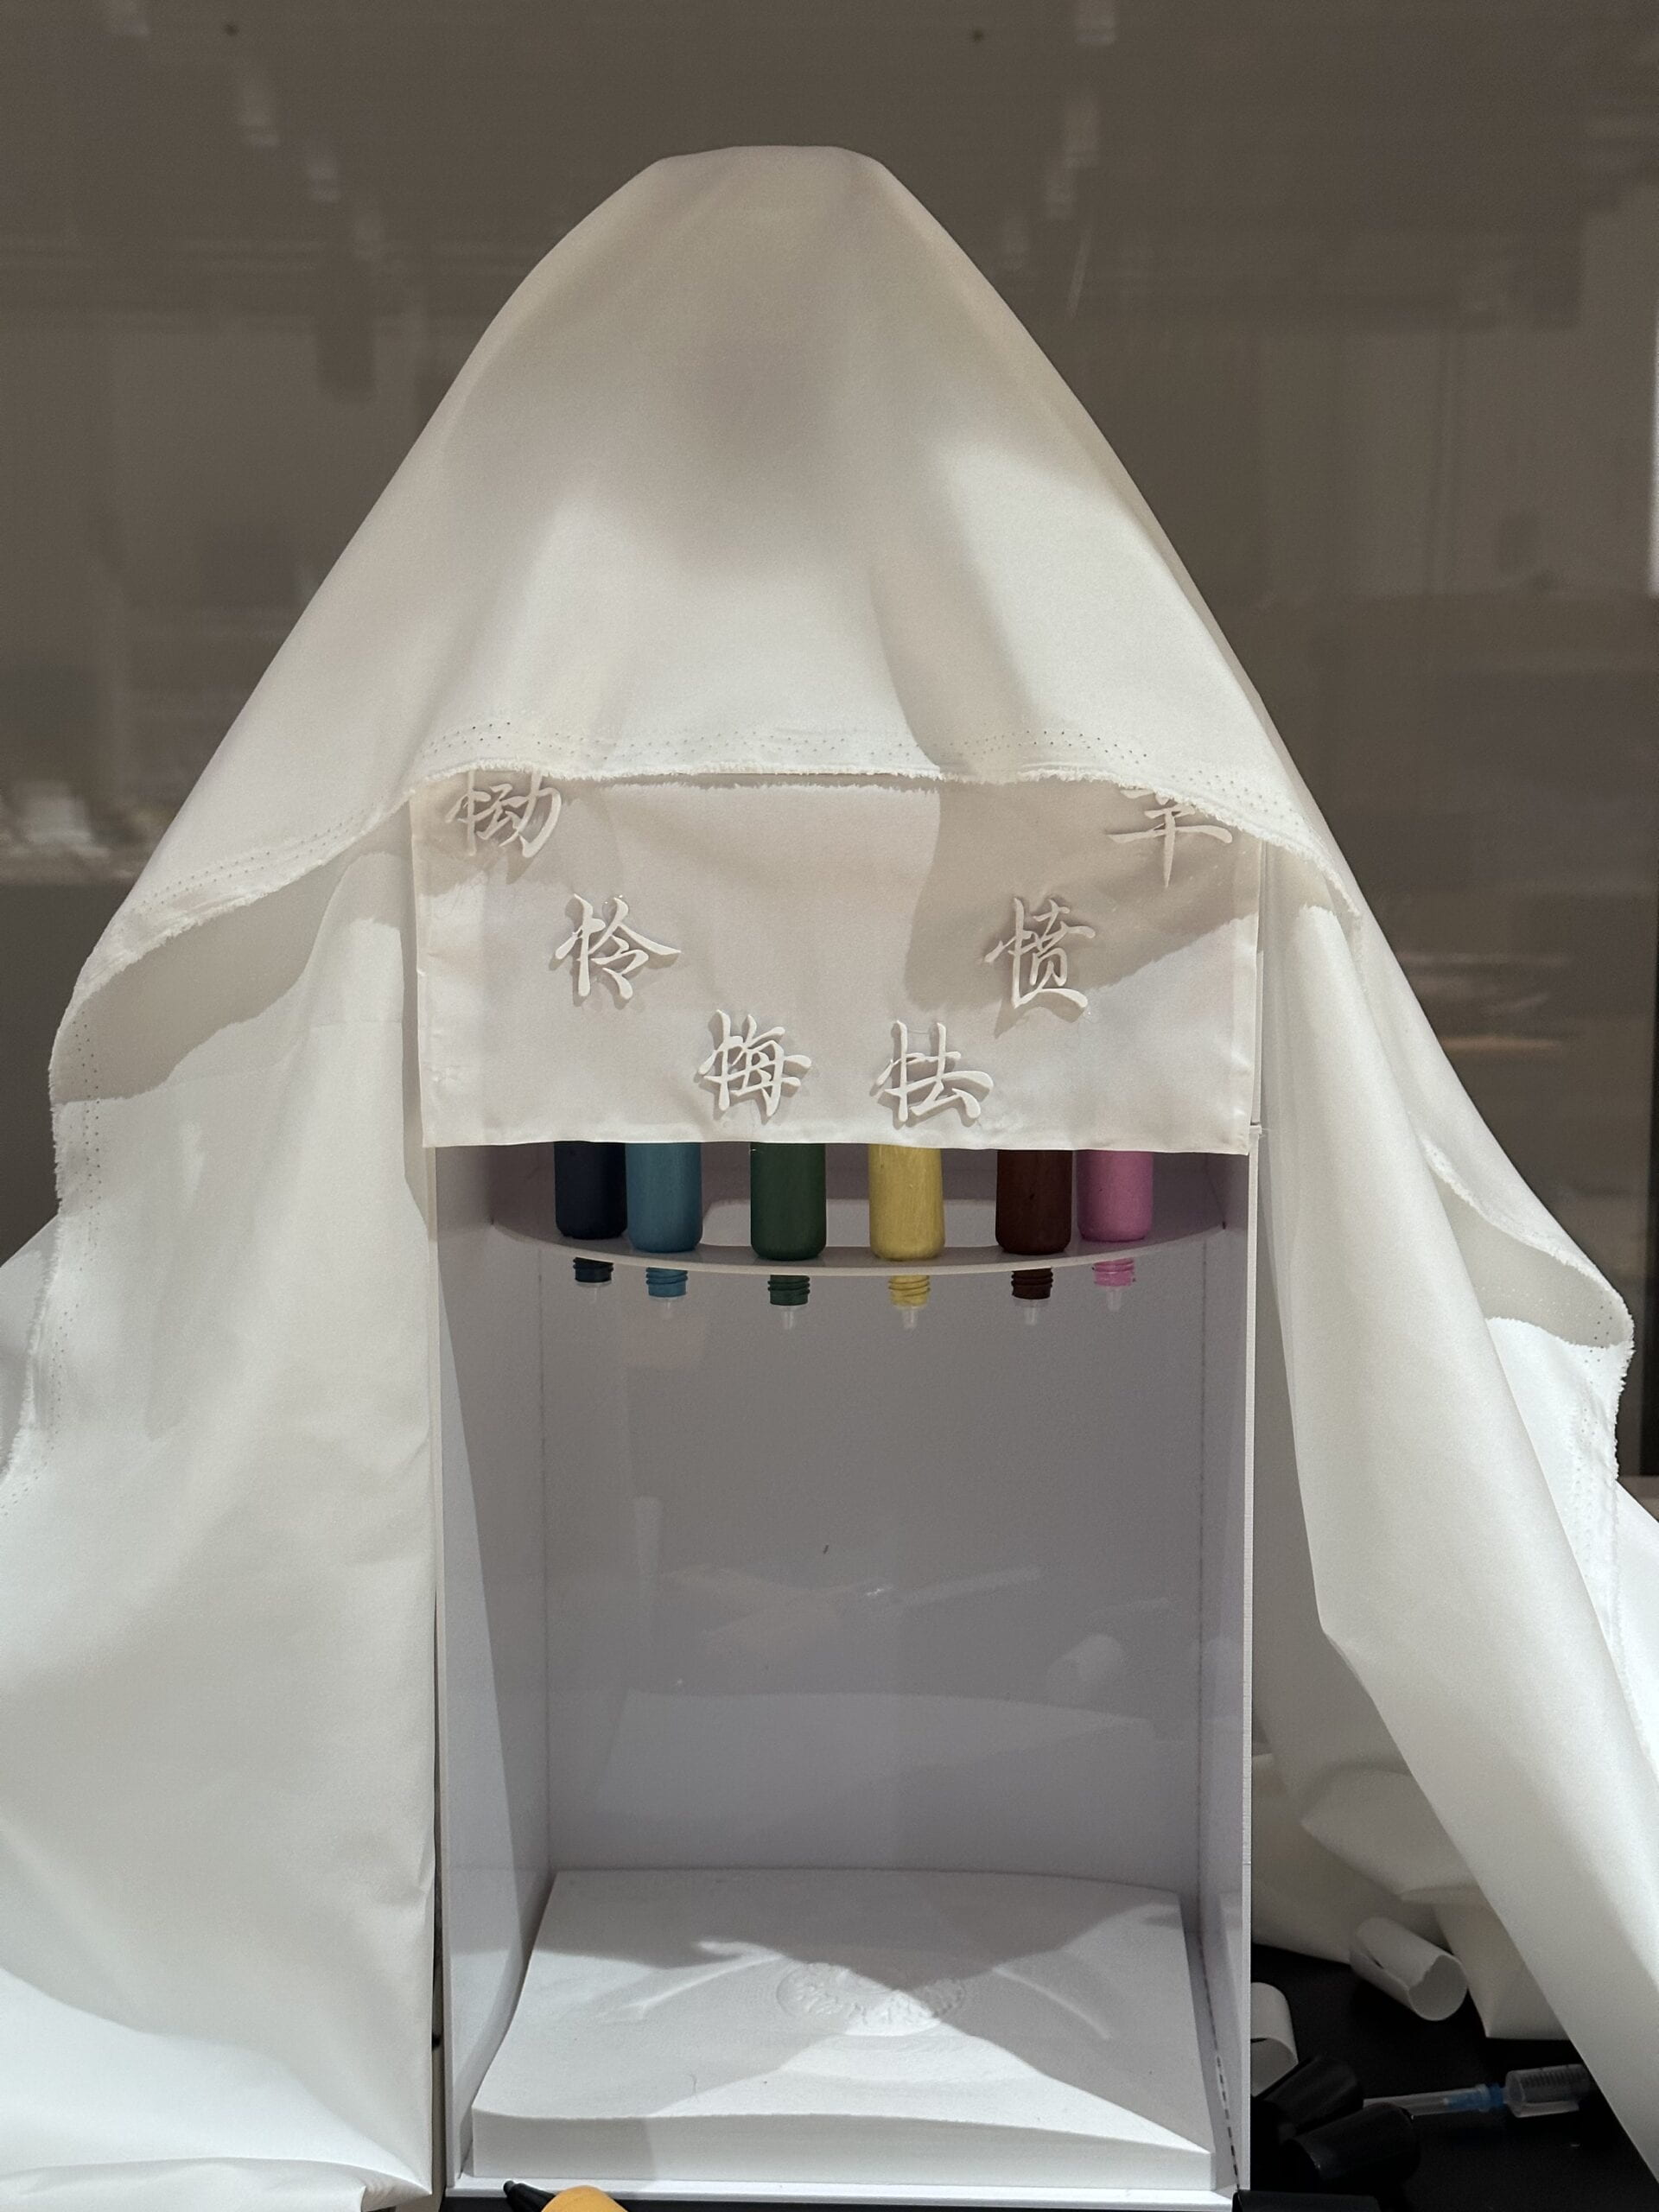
I bought a cloth as the canva of the projector before. After I decided to use the eye model directly as the canva, the cloth was useless. Therefore, I planned to use it as the cover of the circuit. This design also benefited me to check the circuit conveniently. To make good use of this cloth, I covered it on the whole project so that the projector could be covered and the appearance of the project became better. It added the dynamic sense and made it look like a temple of emotions (description from Andy).
• Projector
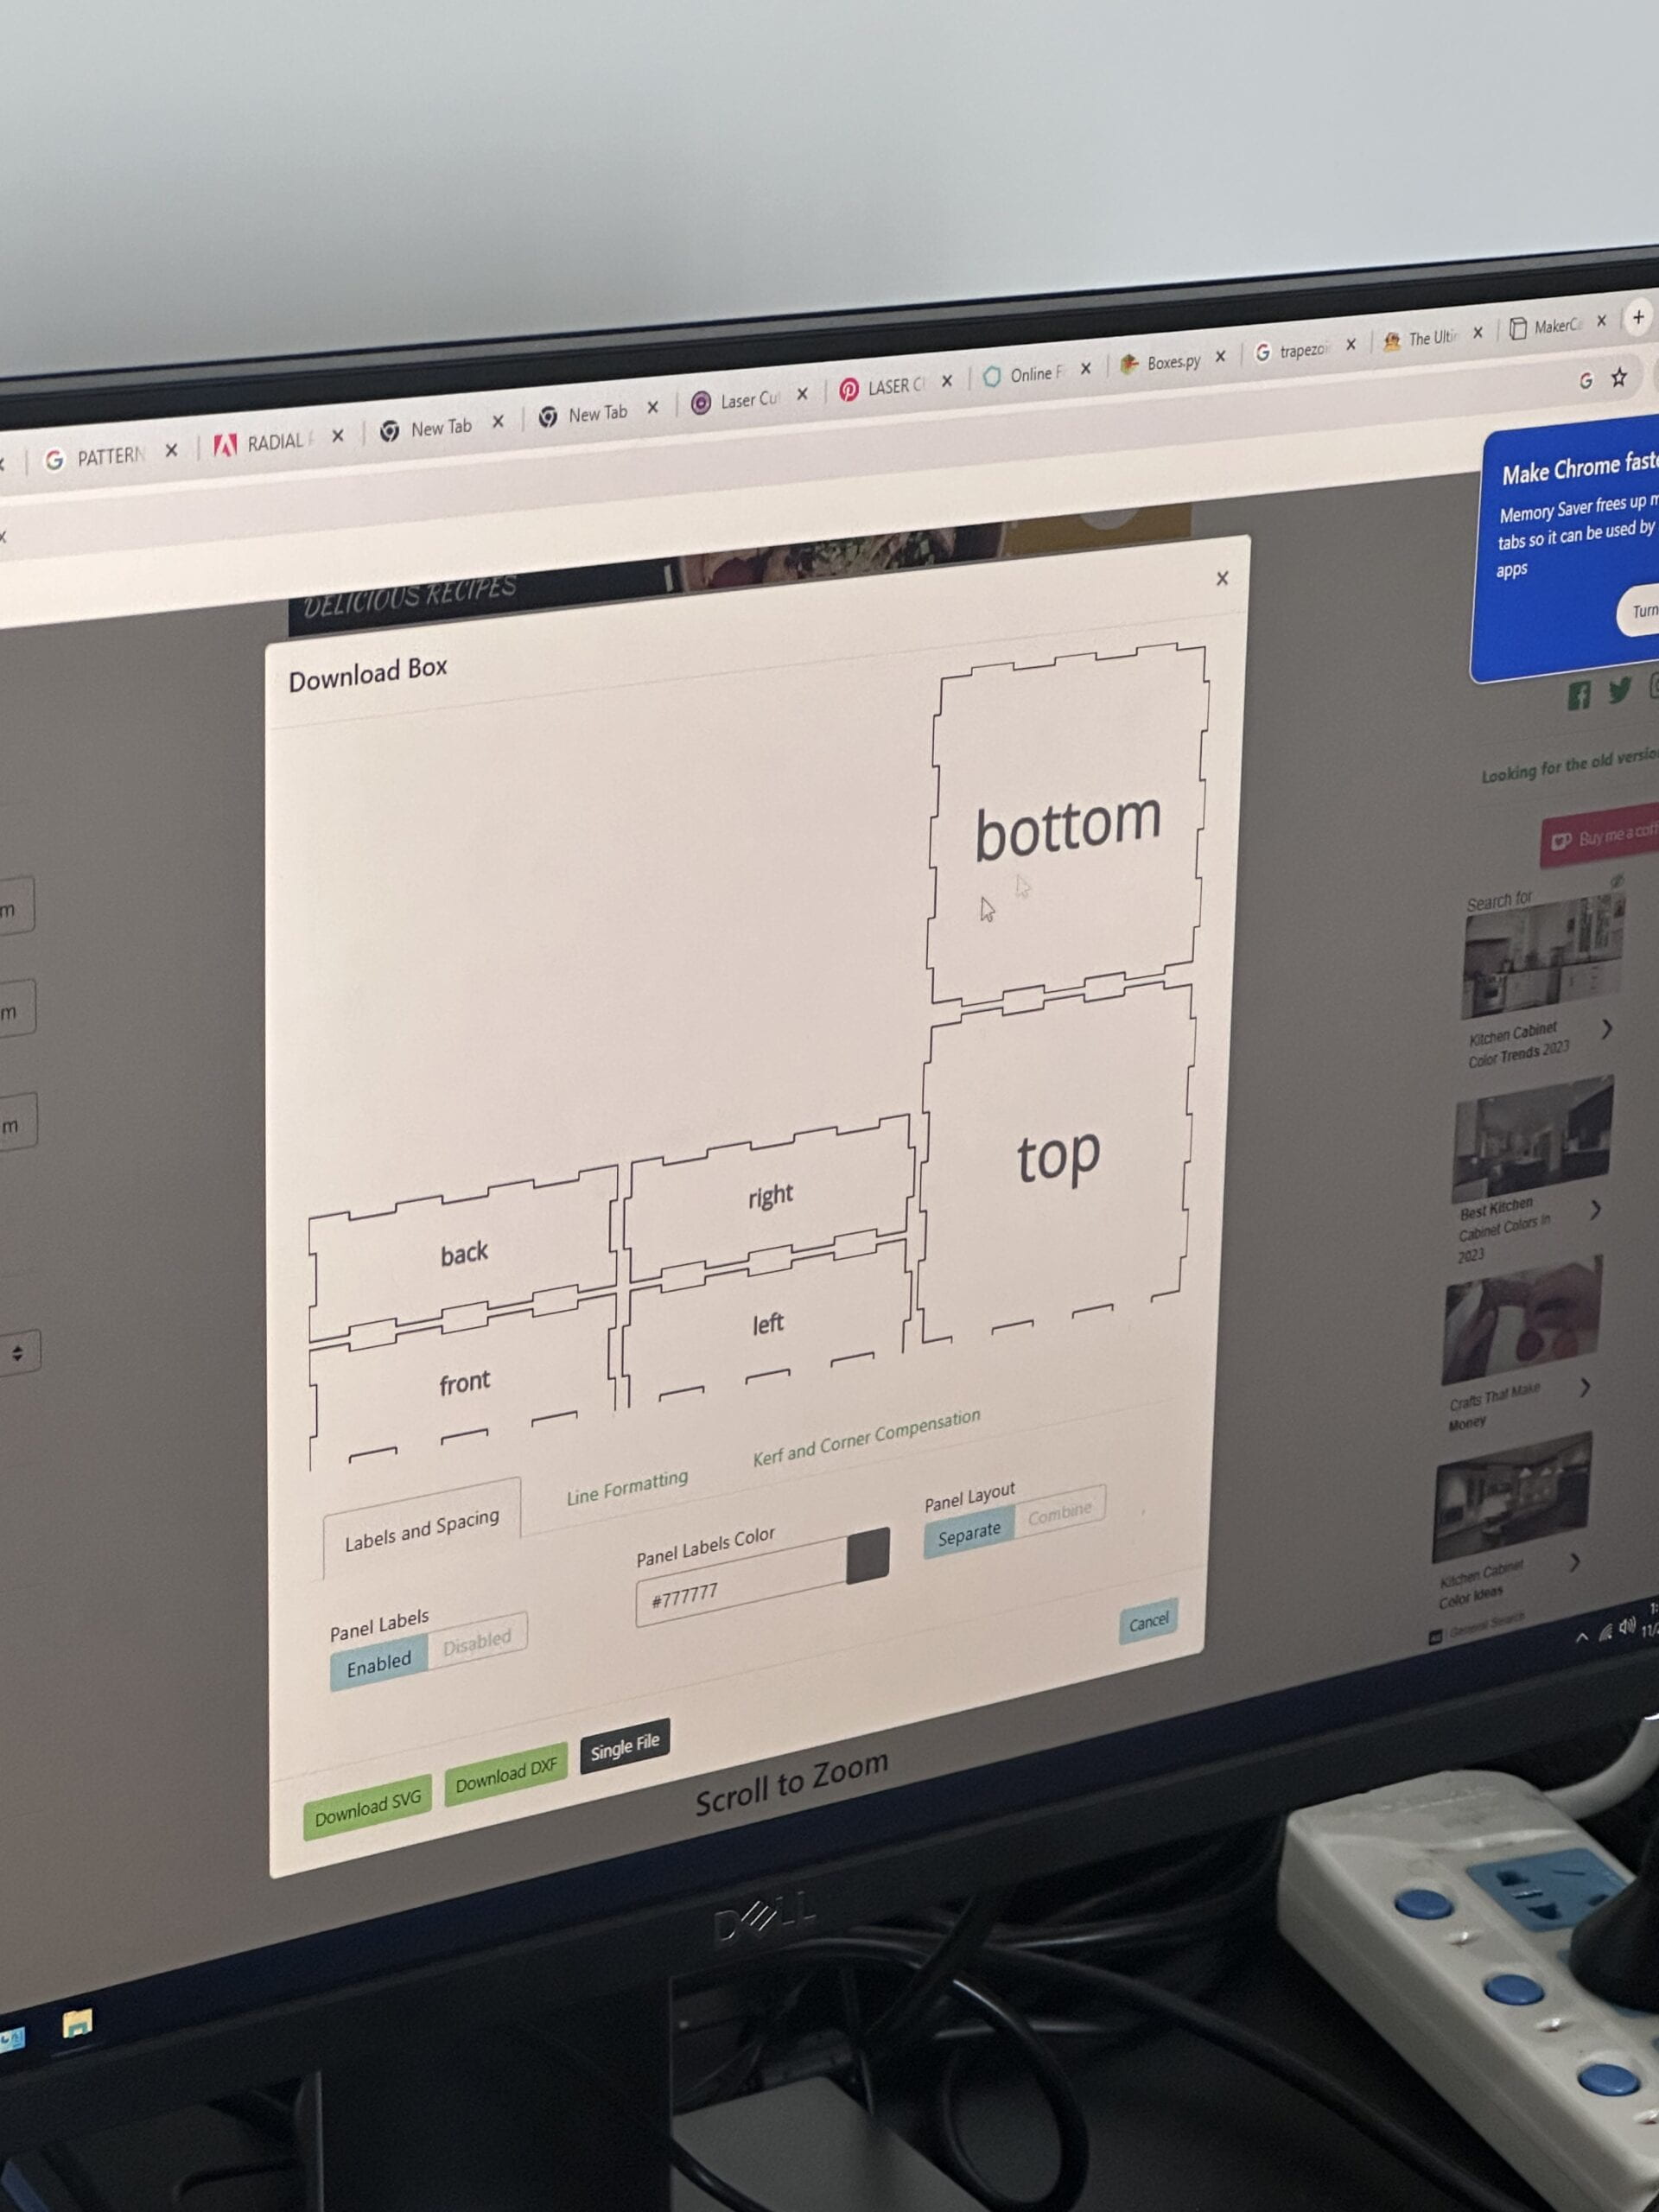
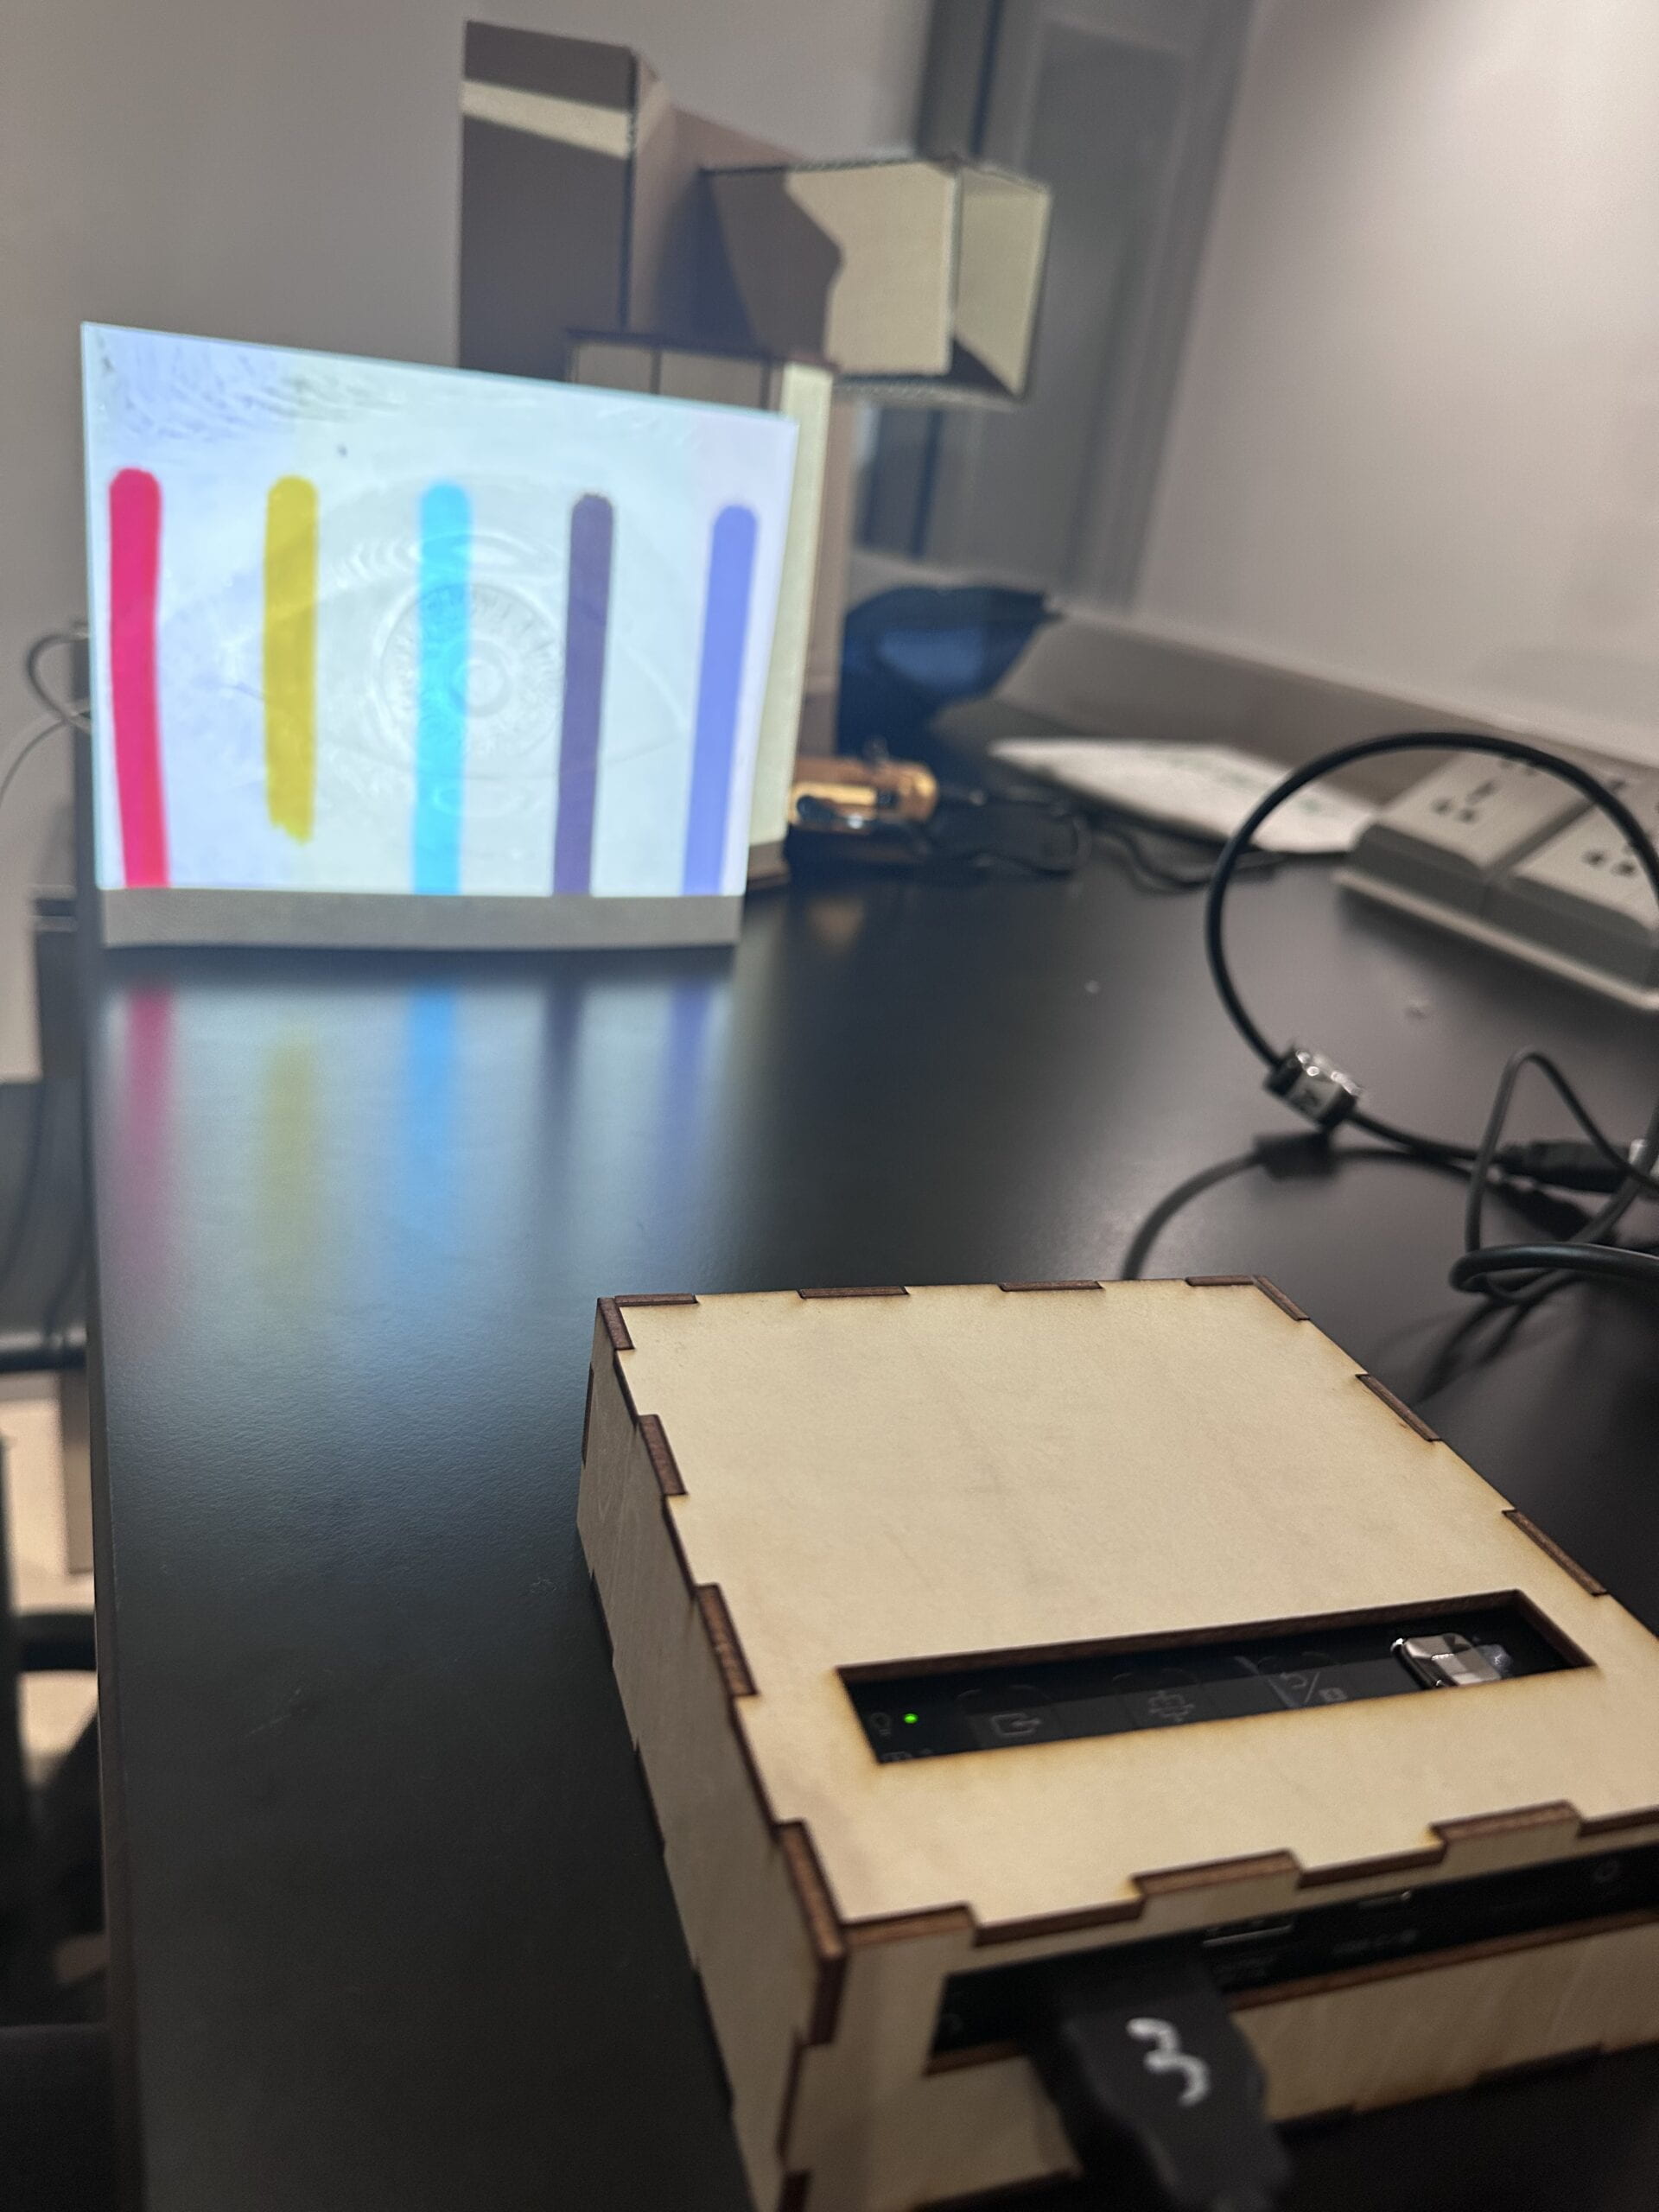
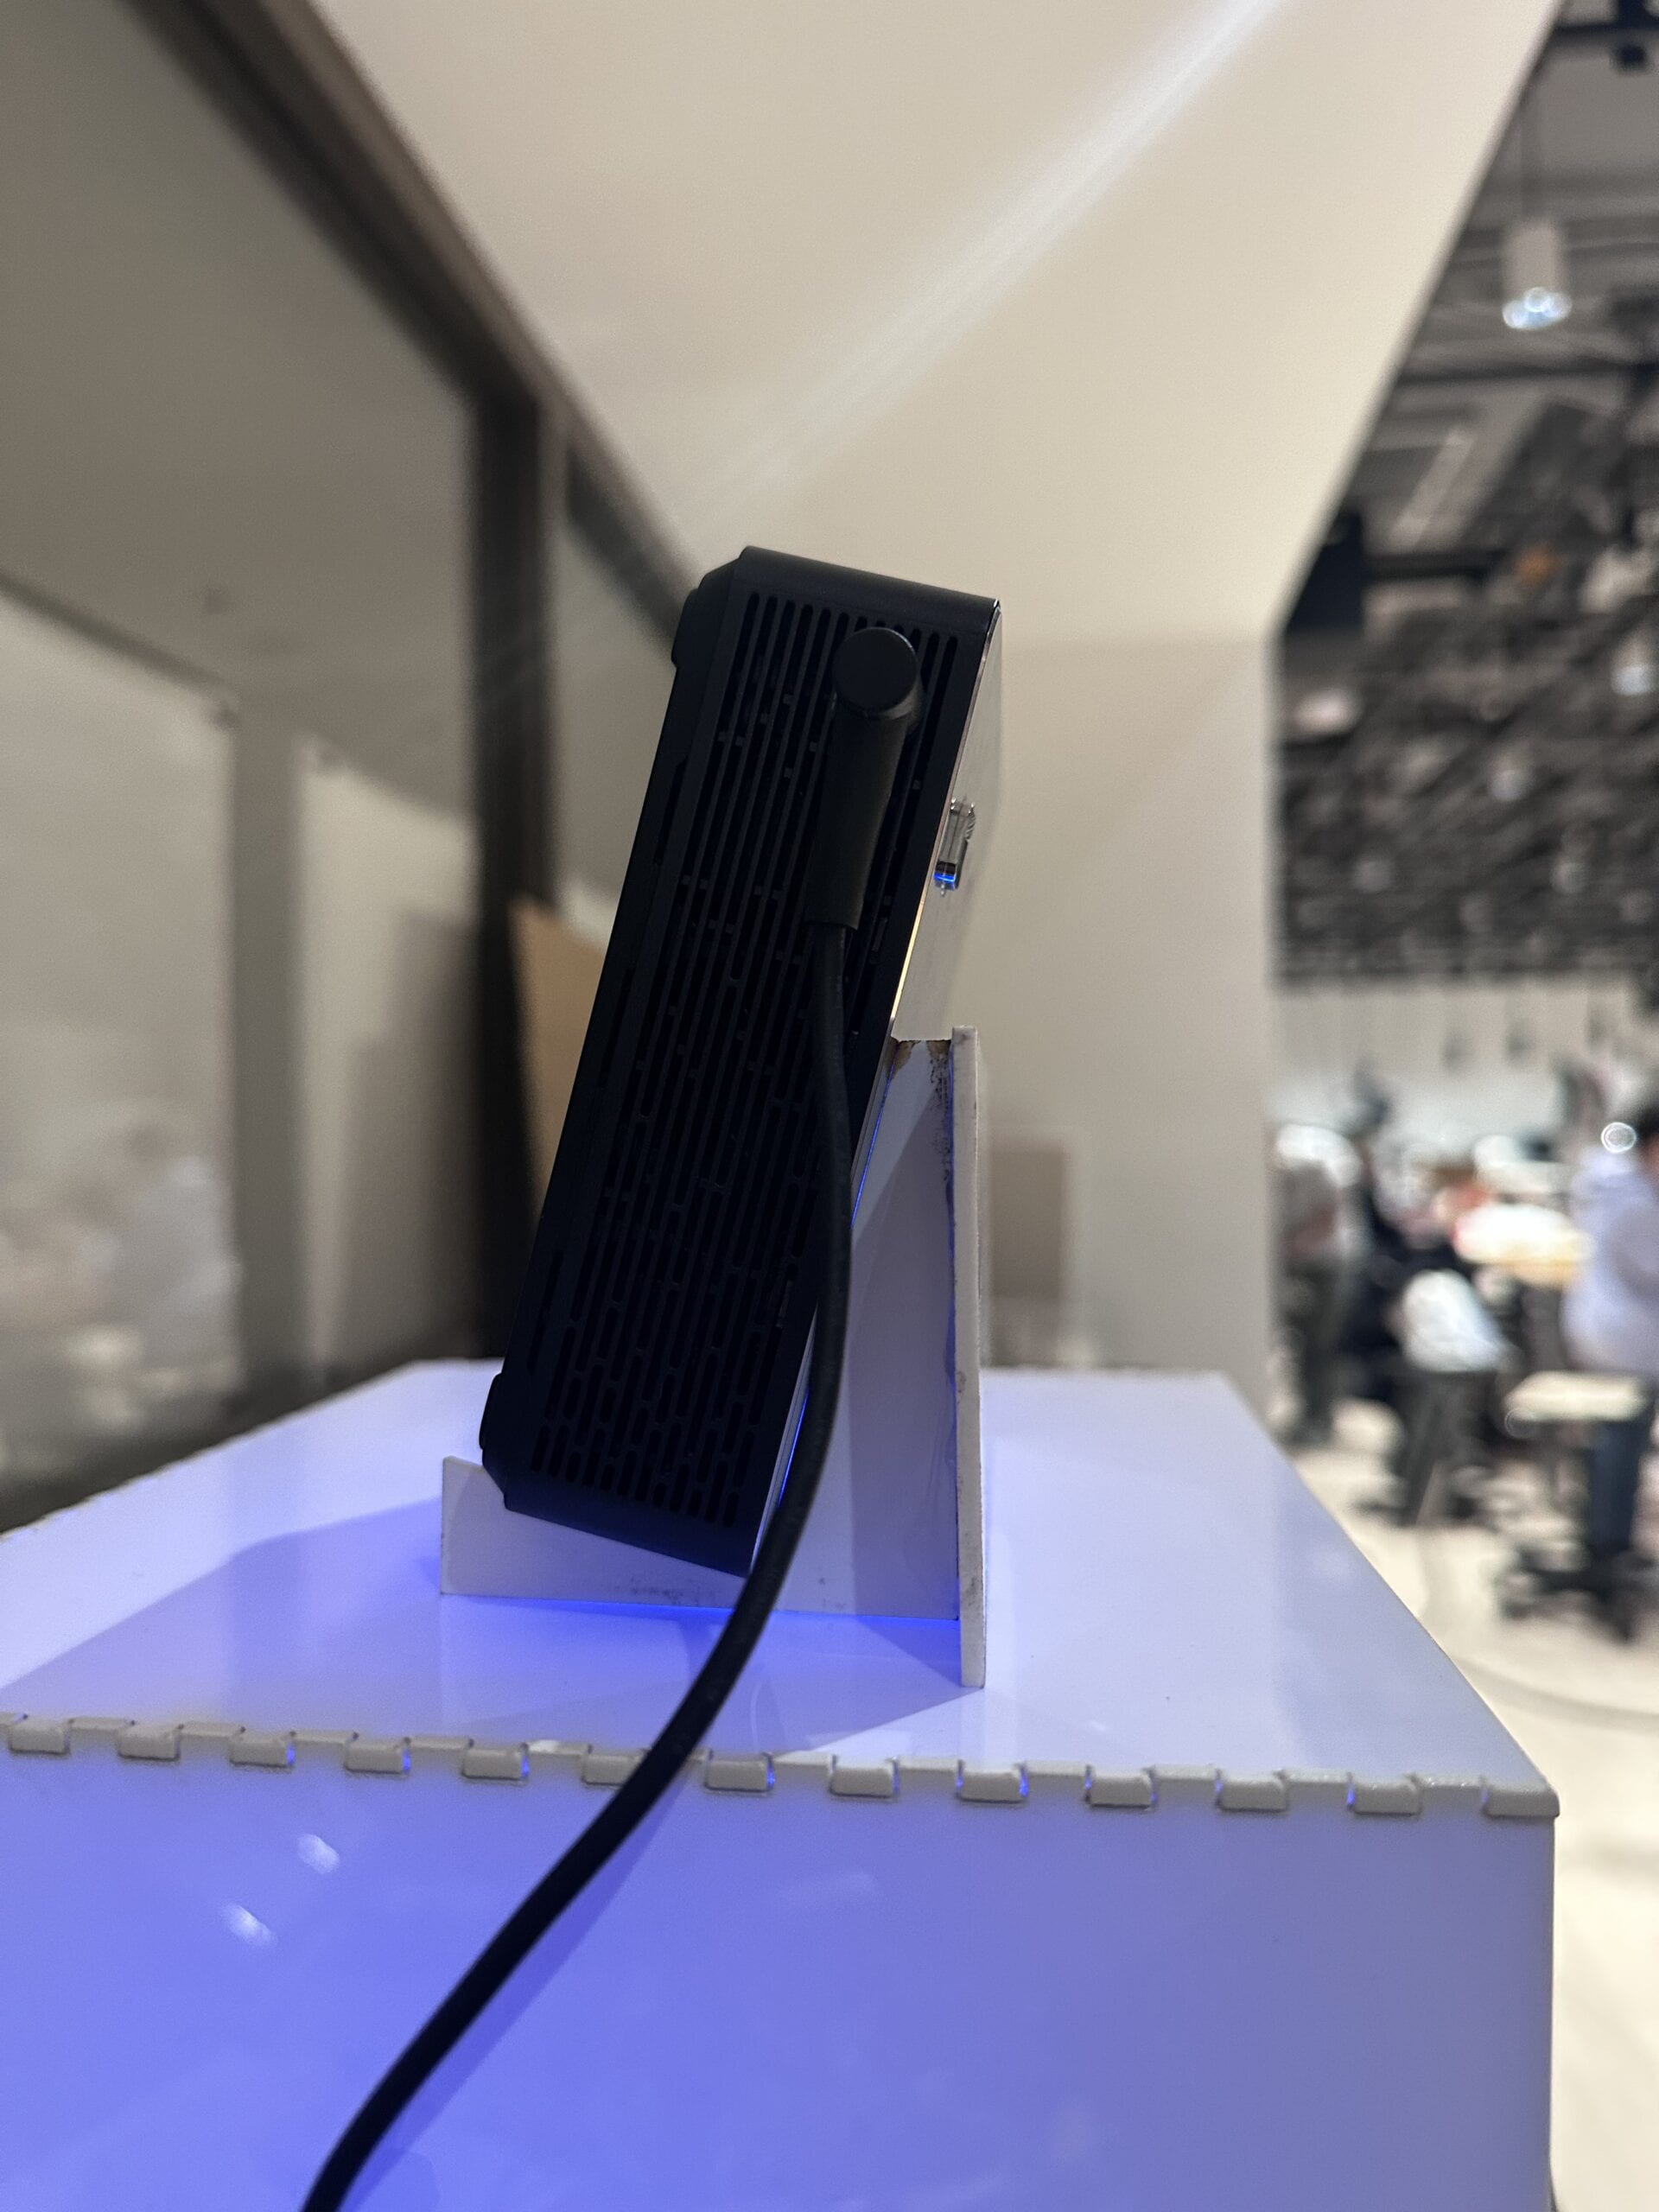
I spent a lot of time on how to use this projector. With Anya’s help, I finally made it and measured the distance from the projector to the eye model well.
At first, for a good look, I made a box for the projector. However, it was not good for the projector to exhaust heat and the sound of the fan became loud. So I gave up this box.
In the test of the projector on the shelf, I found out the direction of the projecting light wasn’t as vertical as I thought. Therefore, I sought help from Dalin to make this little stand on the projector.
• EYE
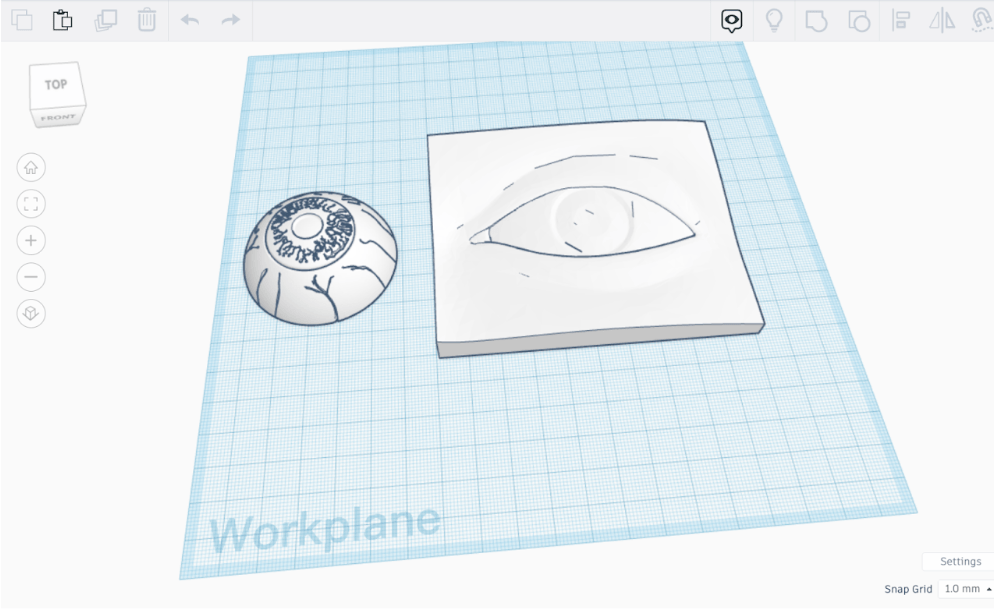
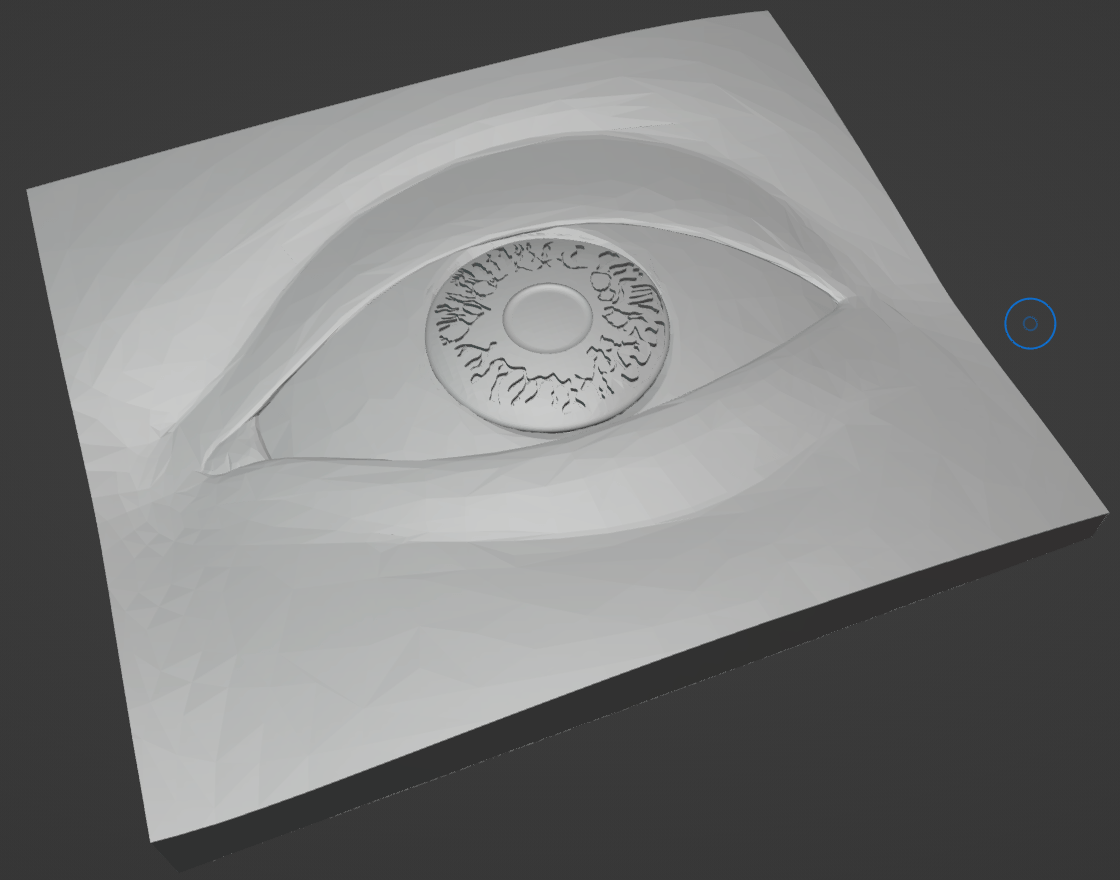
I found the eye model and eyeball model on Thingverse.
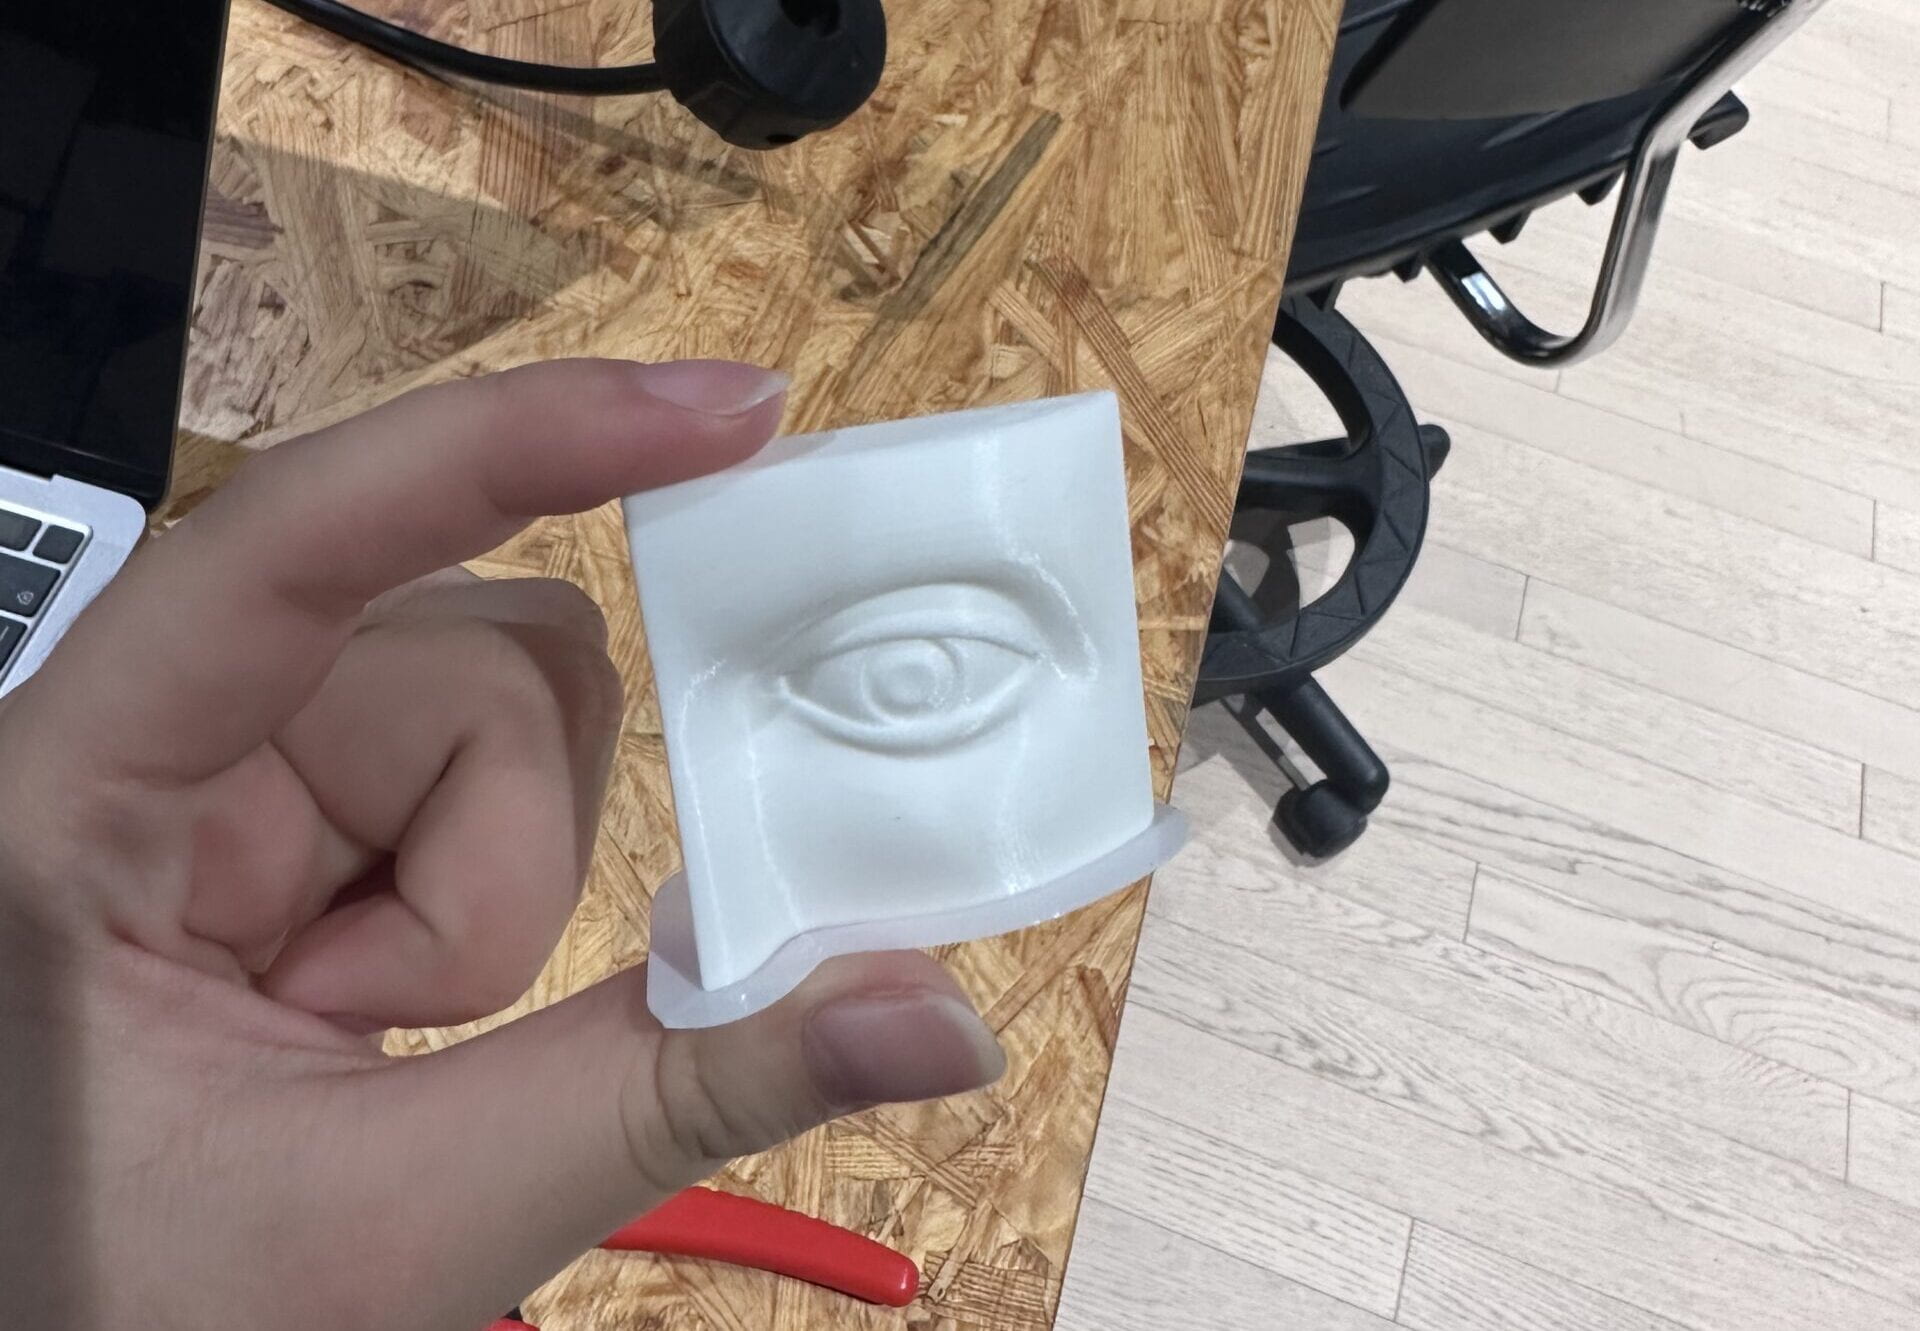
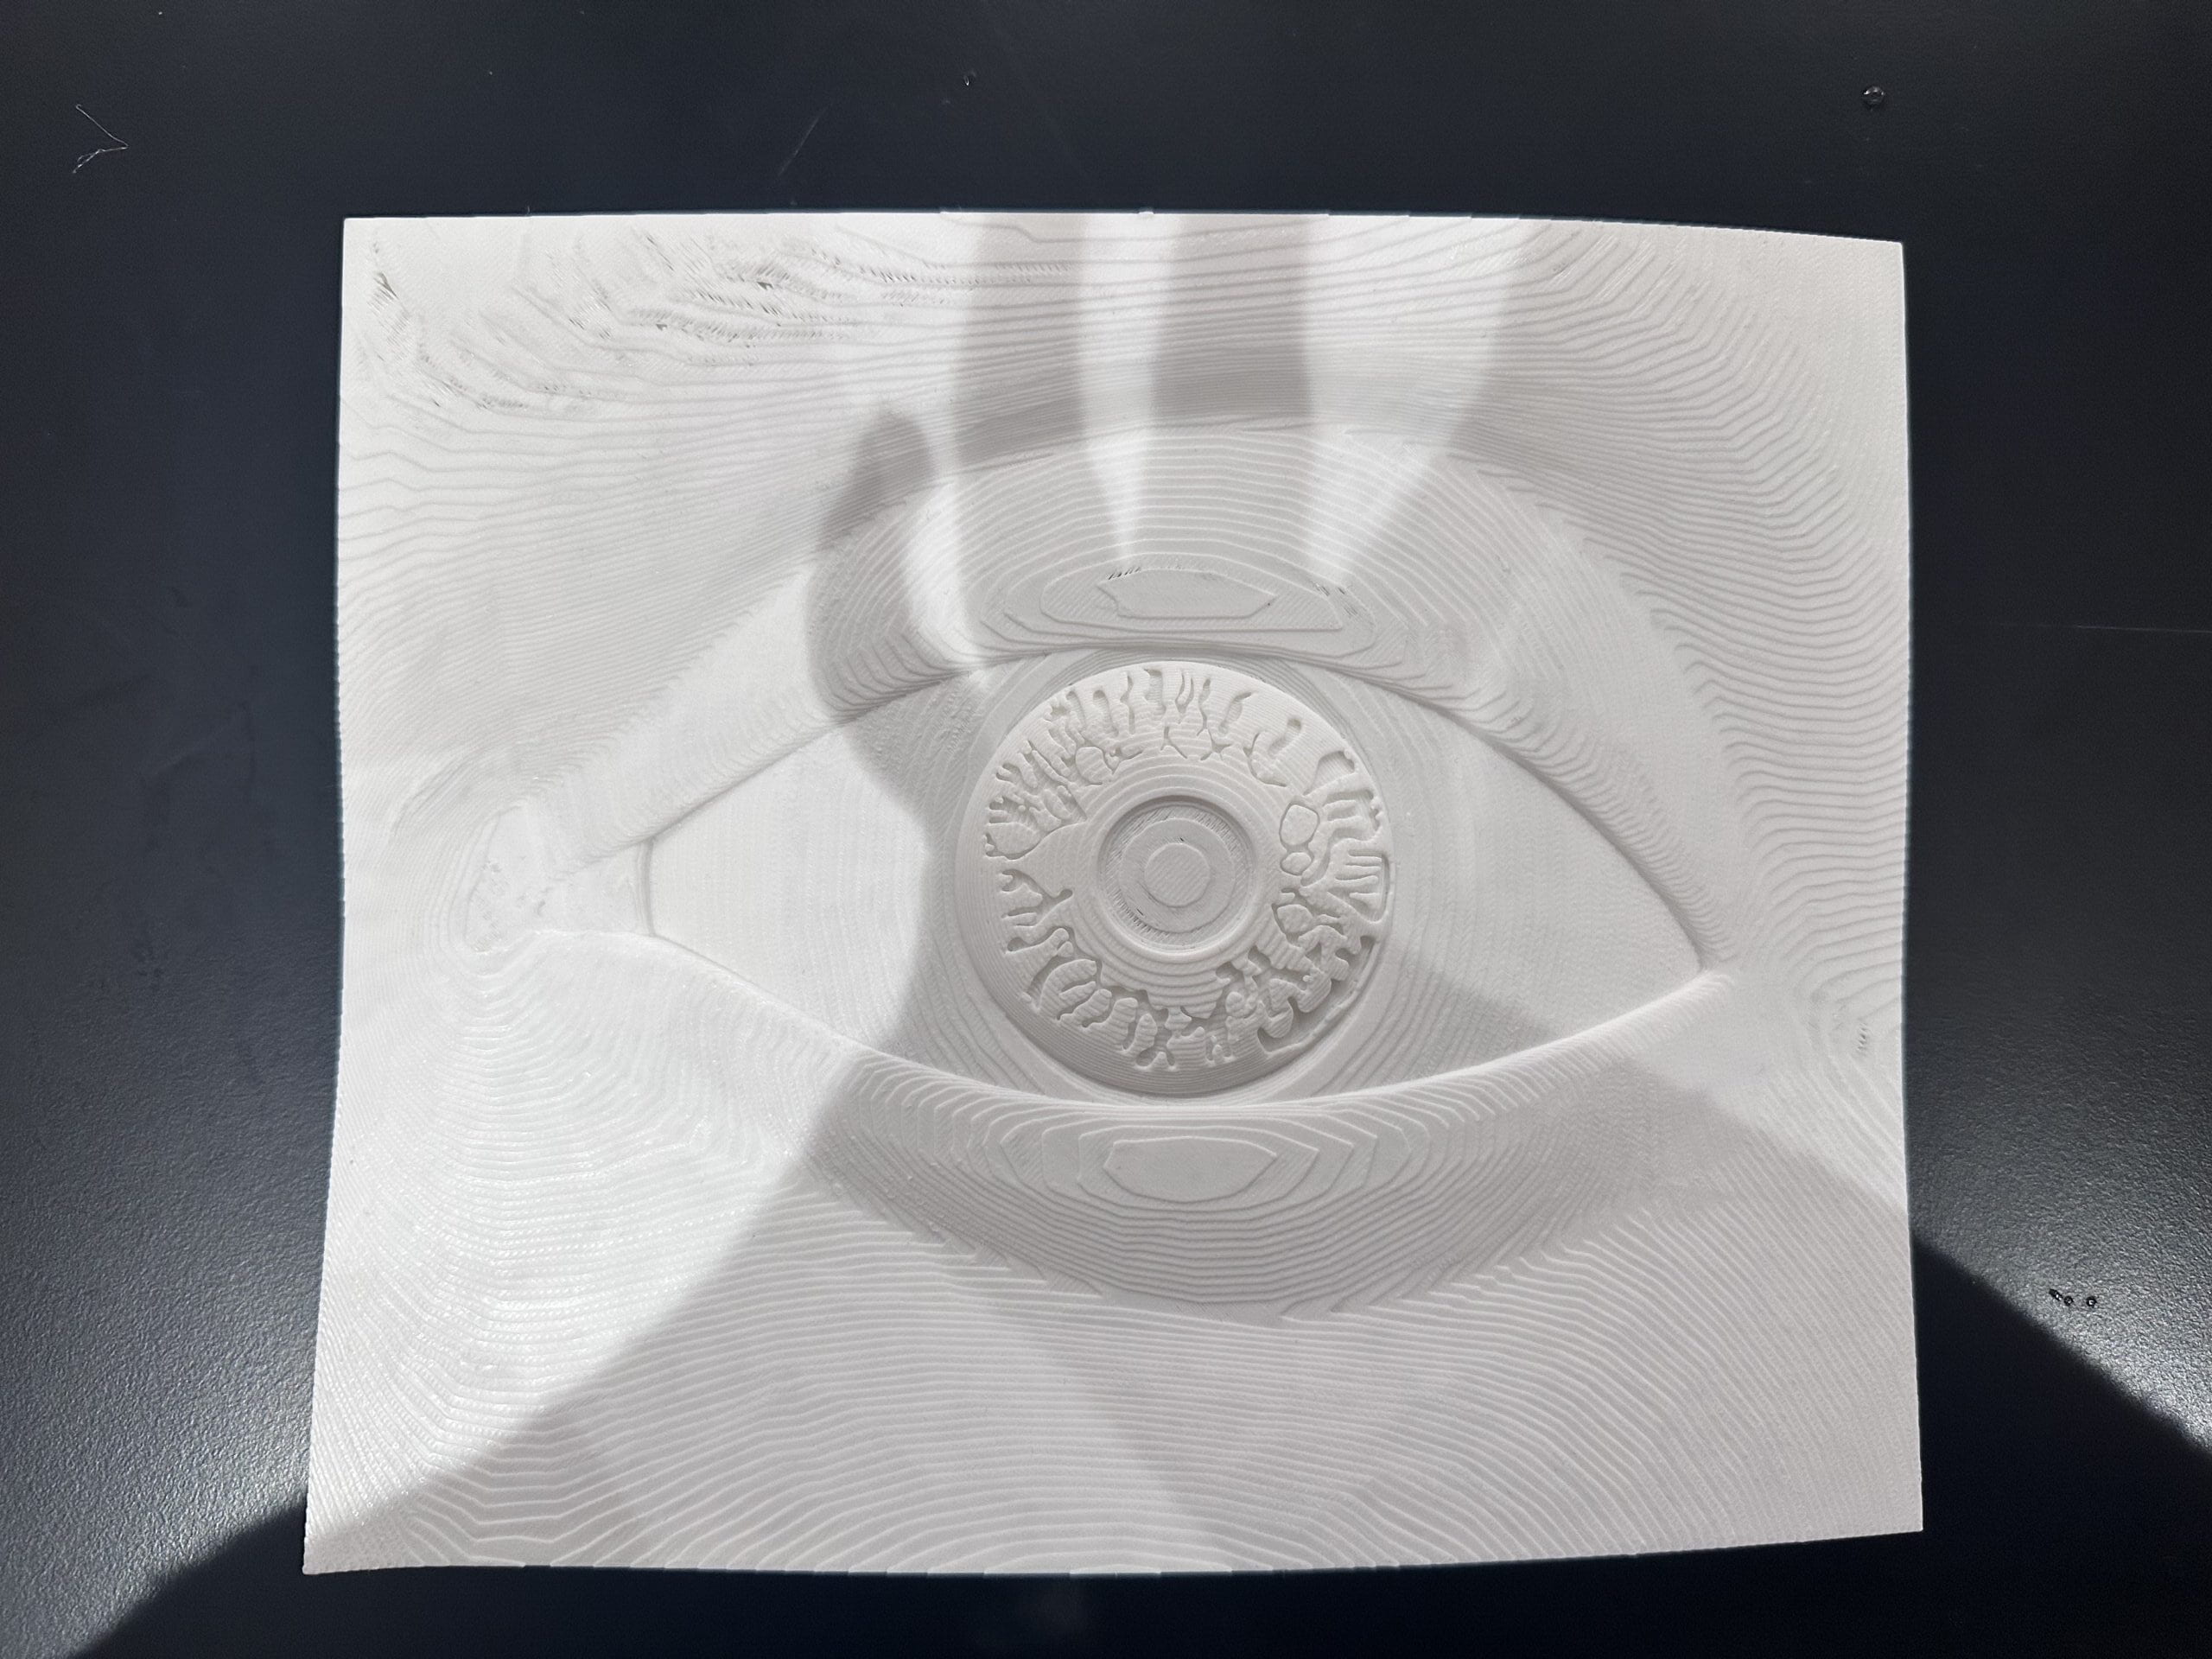
I 3D printed a small sample of eye model to see the shape in reality. Then I felt it was too simple. So I found the eyeball model and added it to the eye model. The effect was beyond expectation. However, the nice pattern wasn’t that clear in the strong light of the projector, which was one of my pities.
• EYE DROP BOTTLES
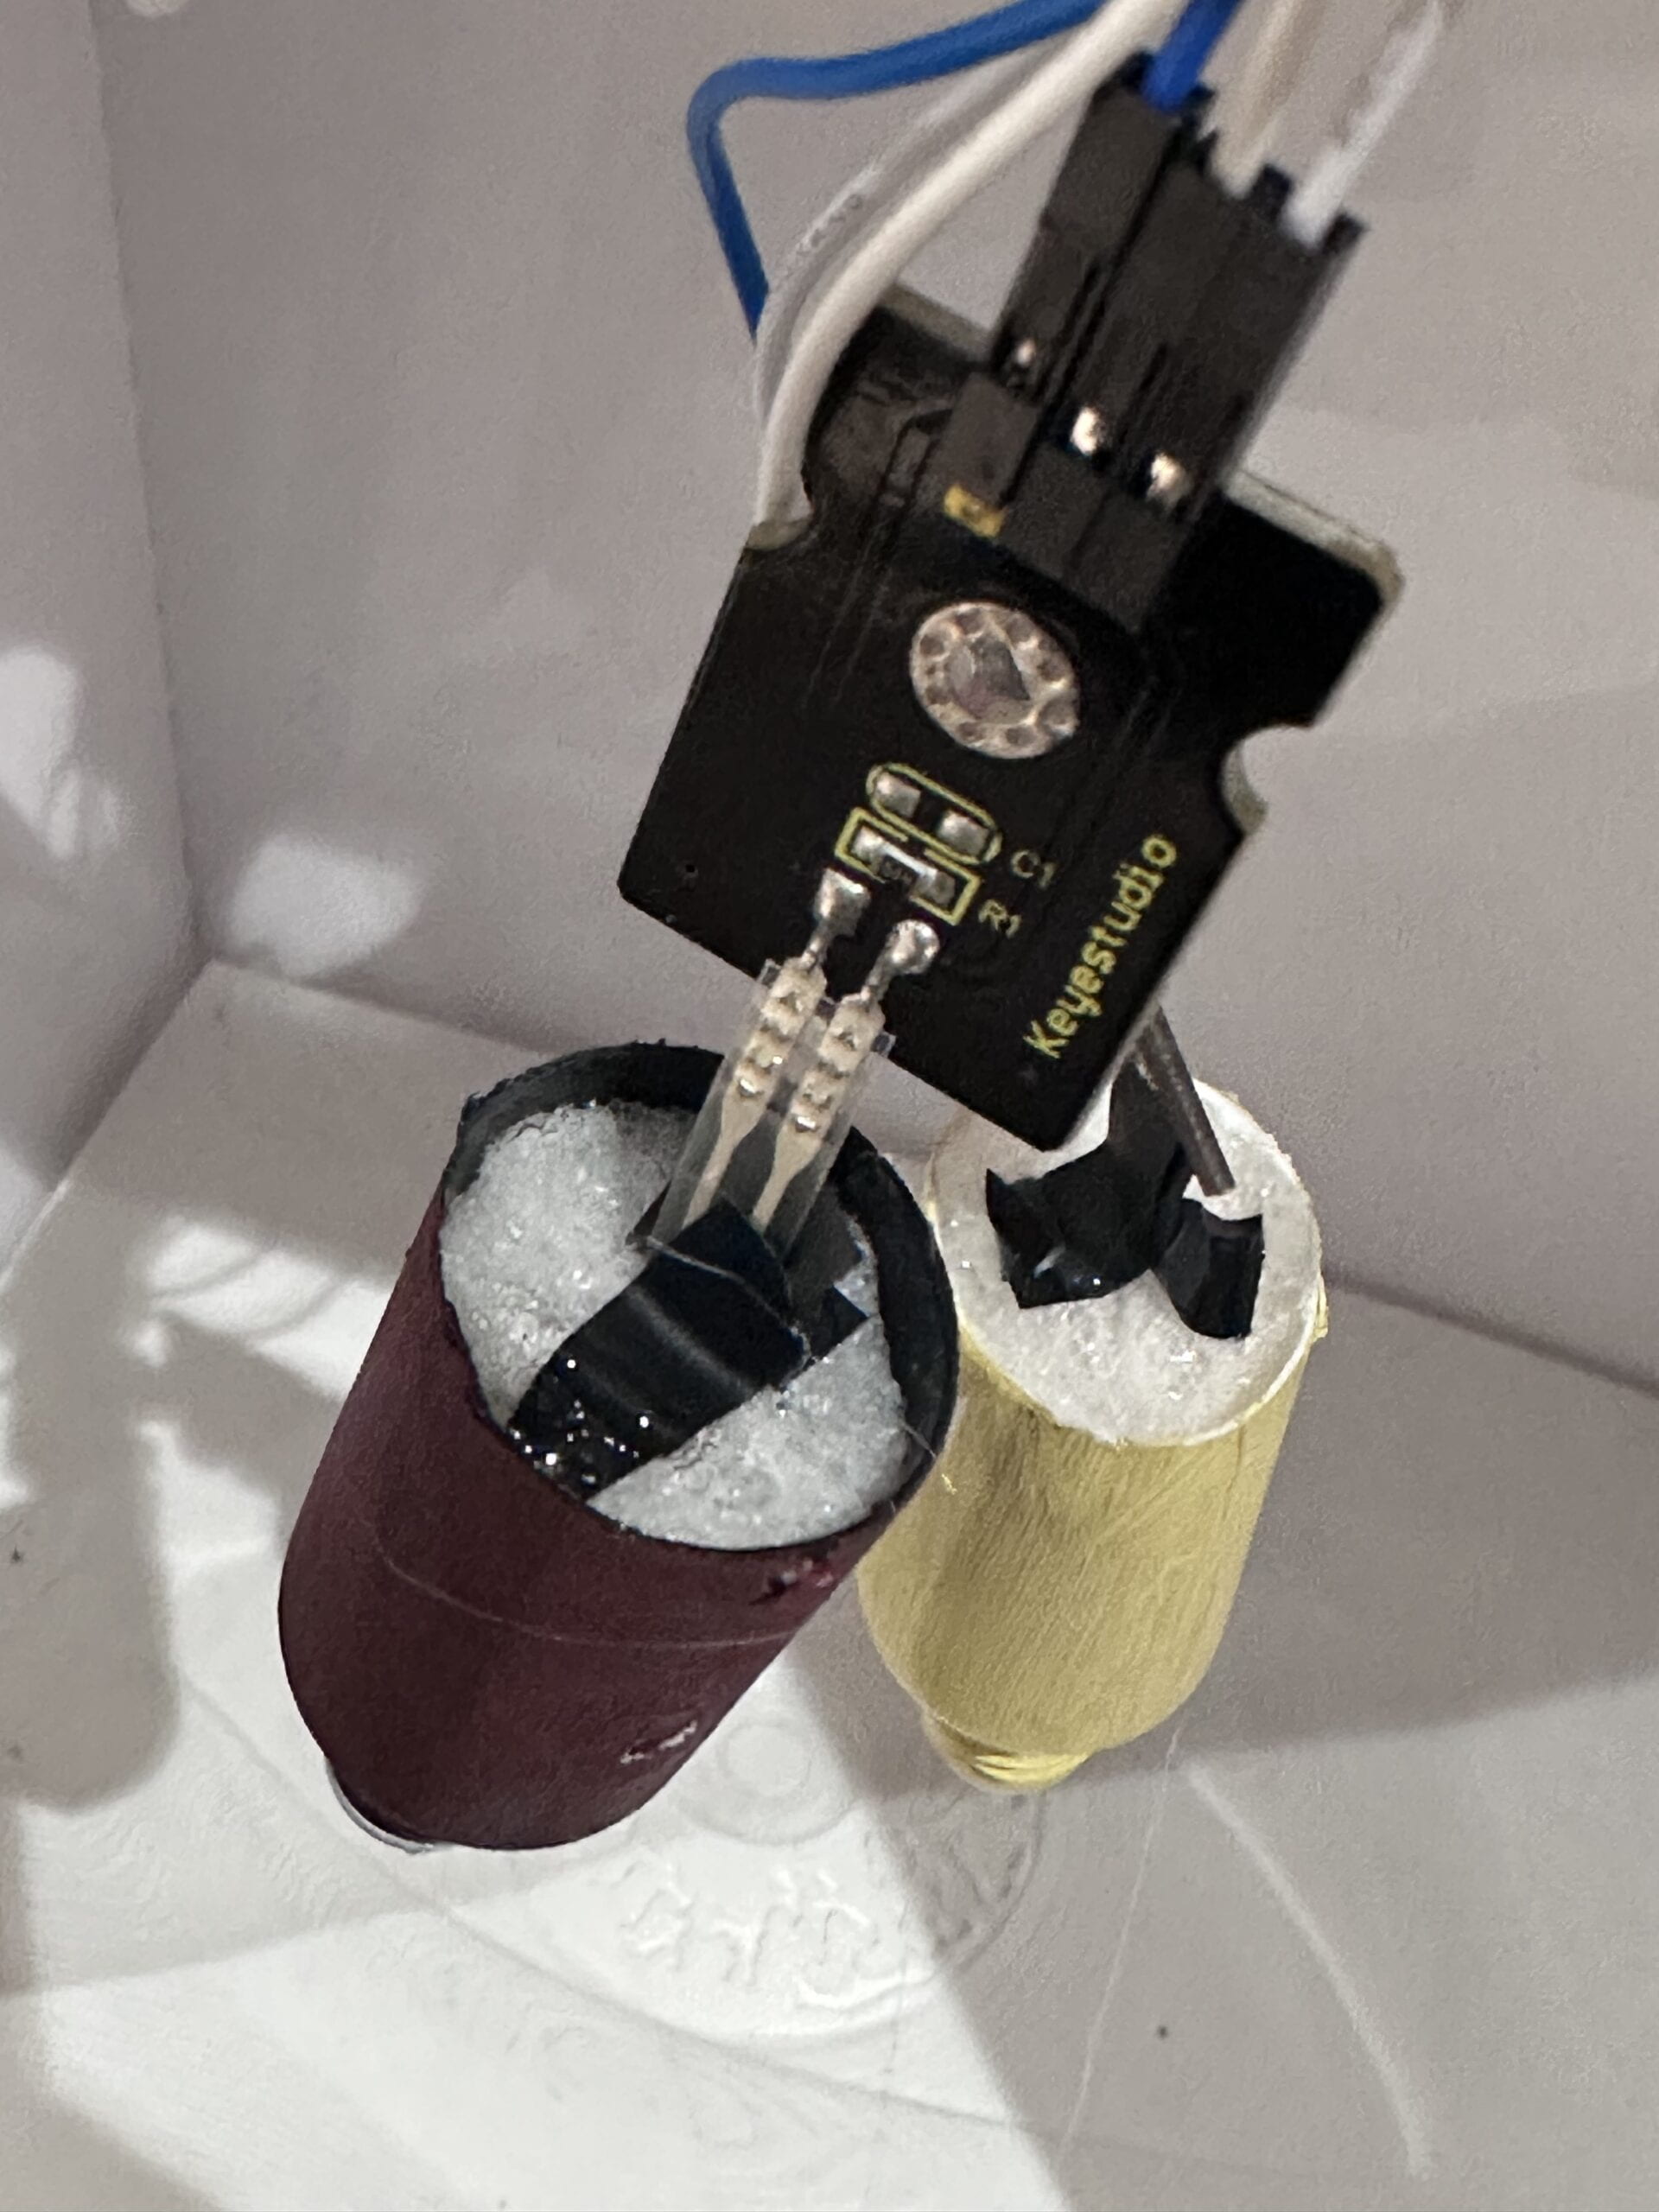
I used foam inside the bottle to help squeeze on the pressure sensors. It turned out that the flexibility of the foam was appropriate and nice. The interaction can be triggered quite well.
In the user test, the foam and pressure sensors always came out. Therefore, I used black tape and hot glue to fix them.
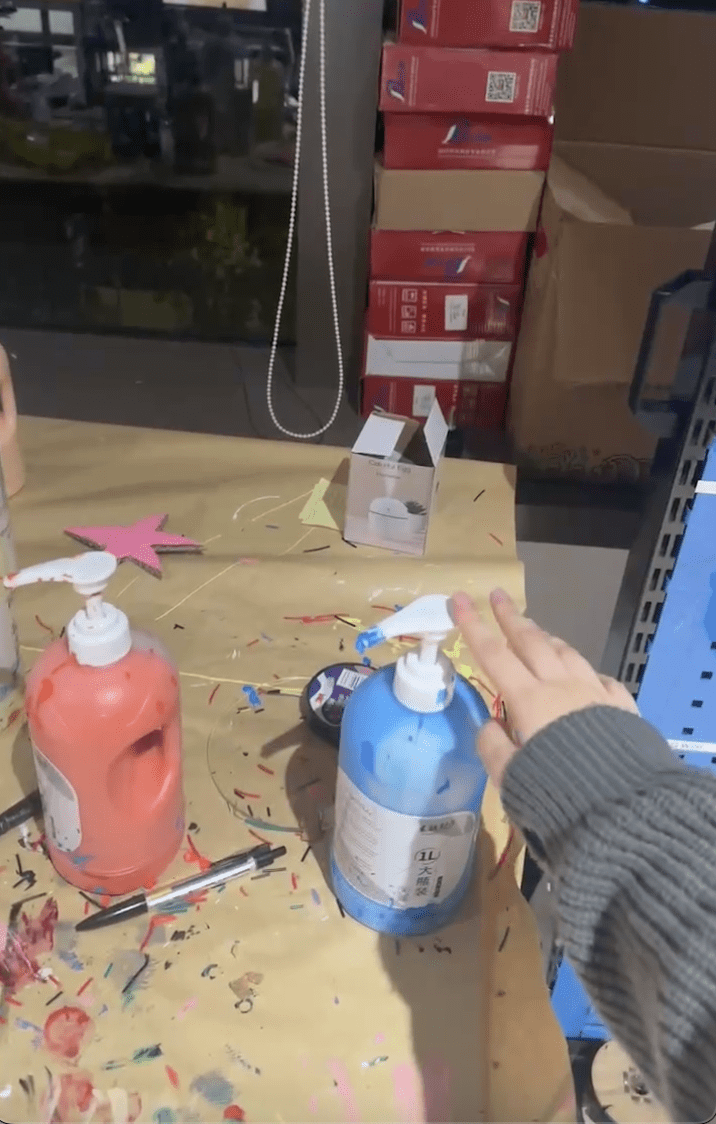
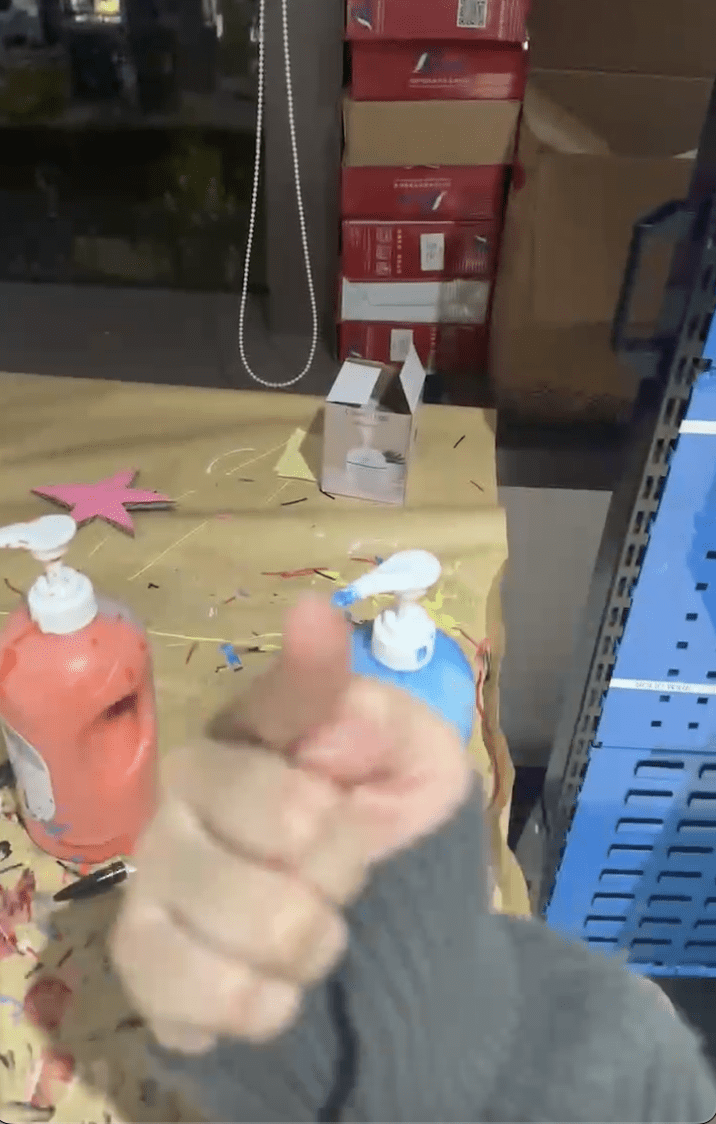
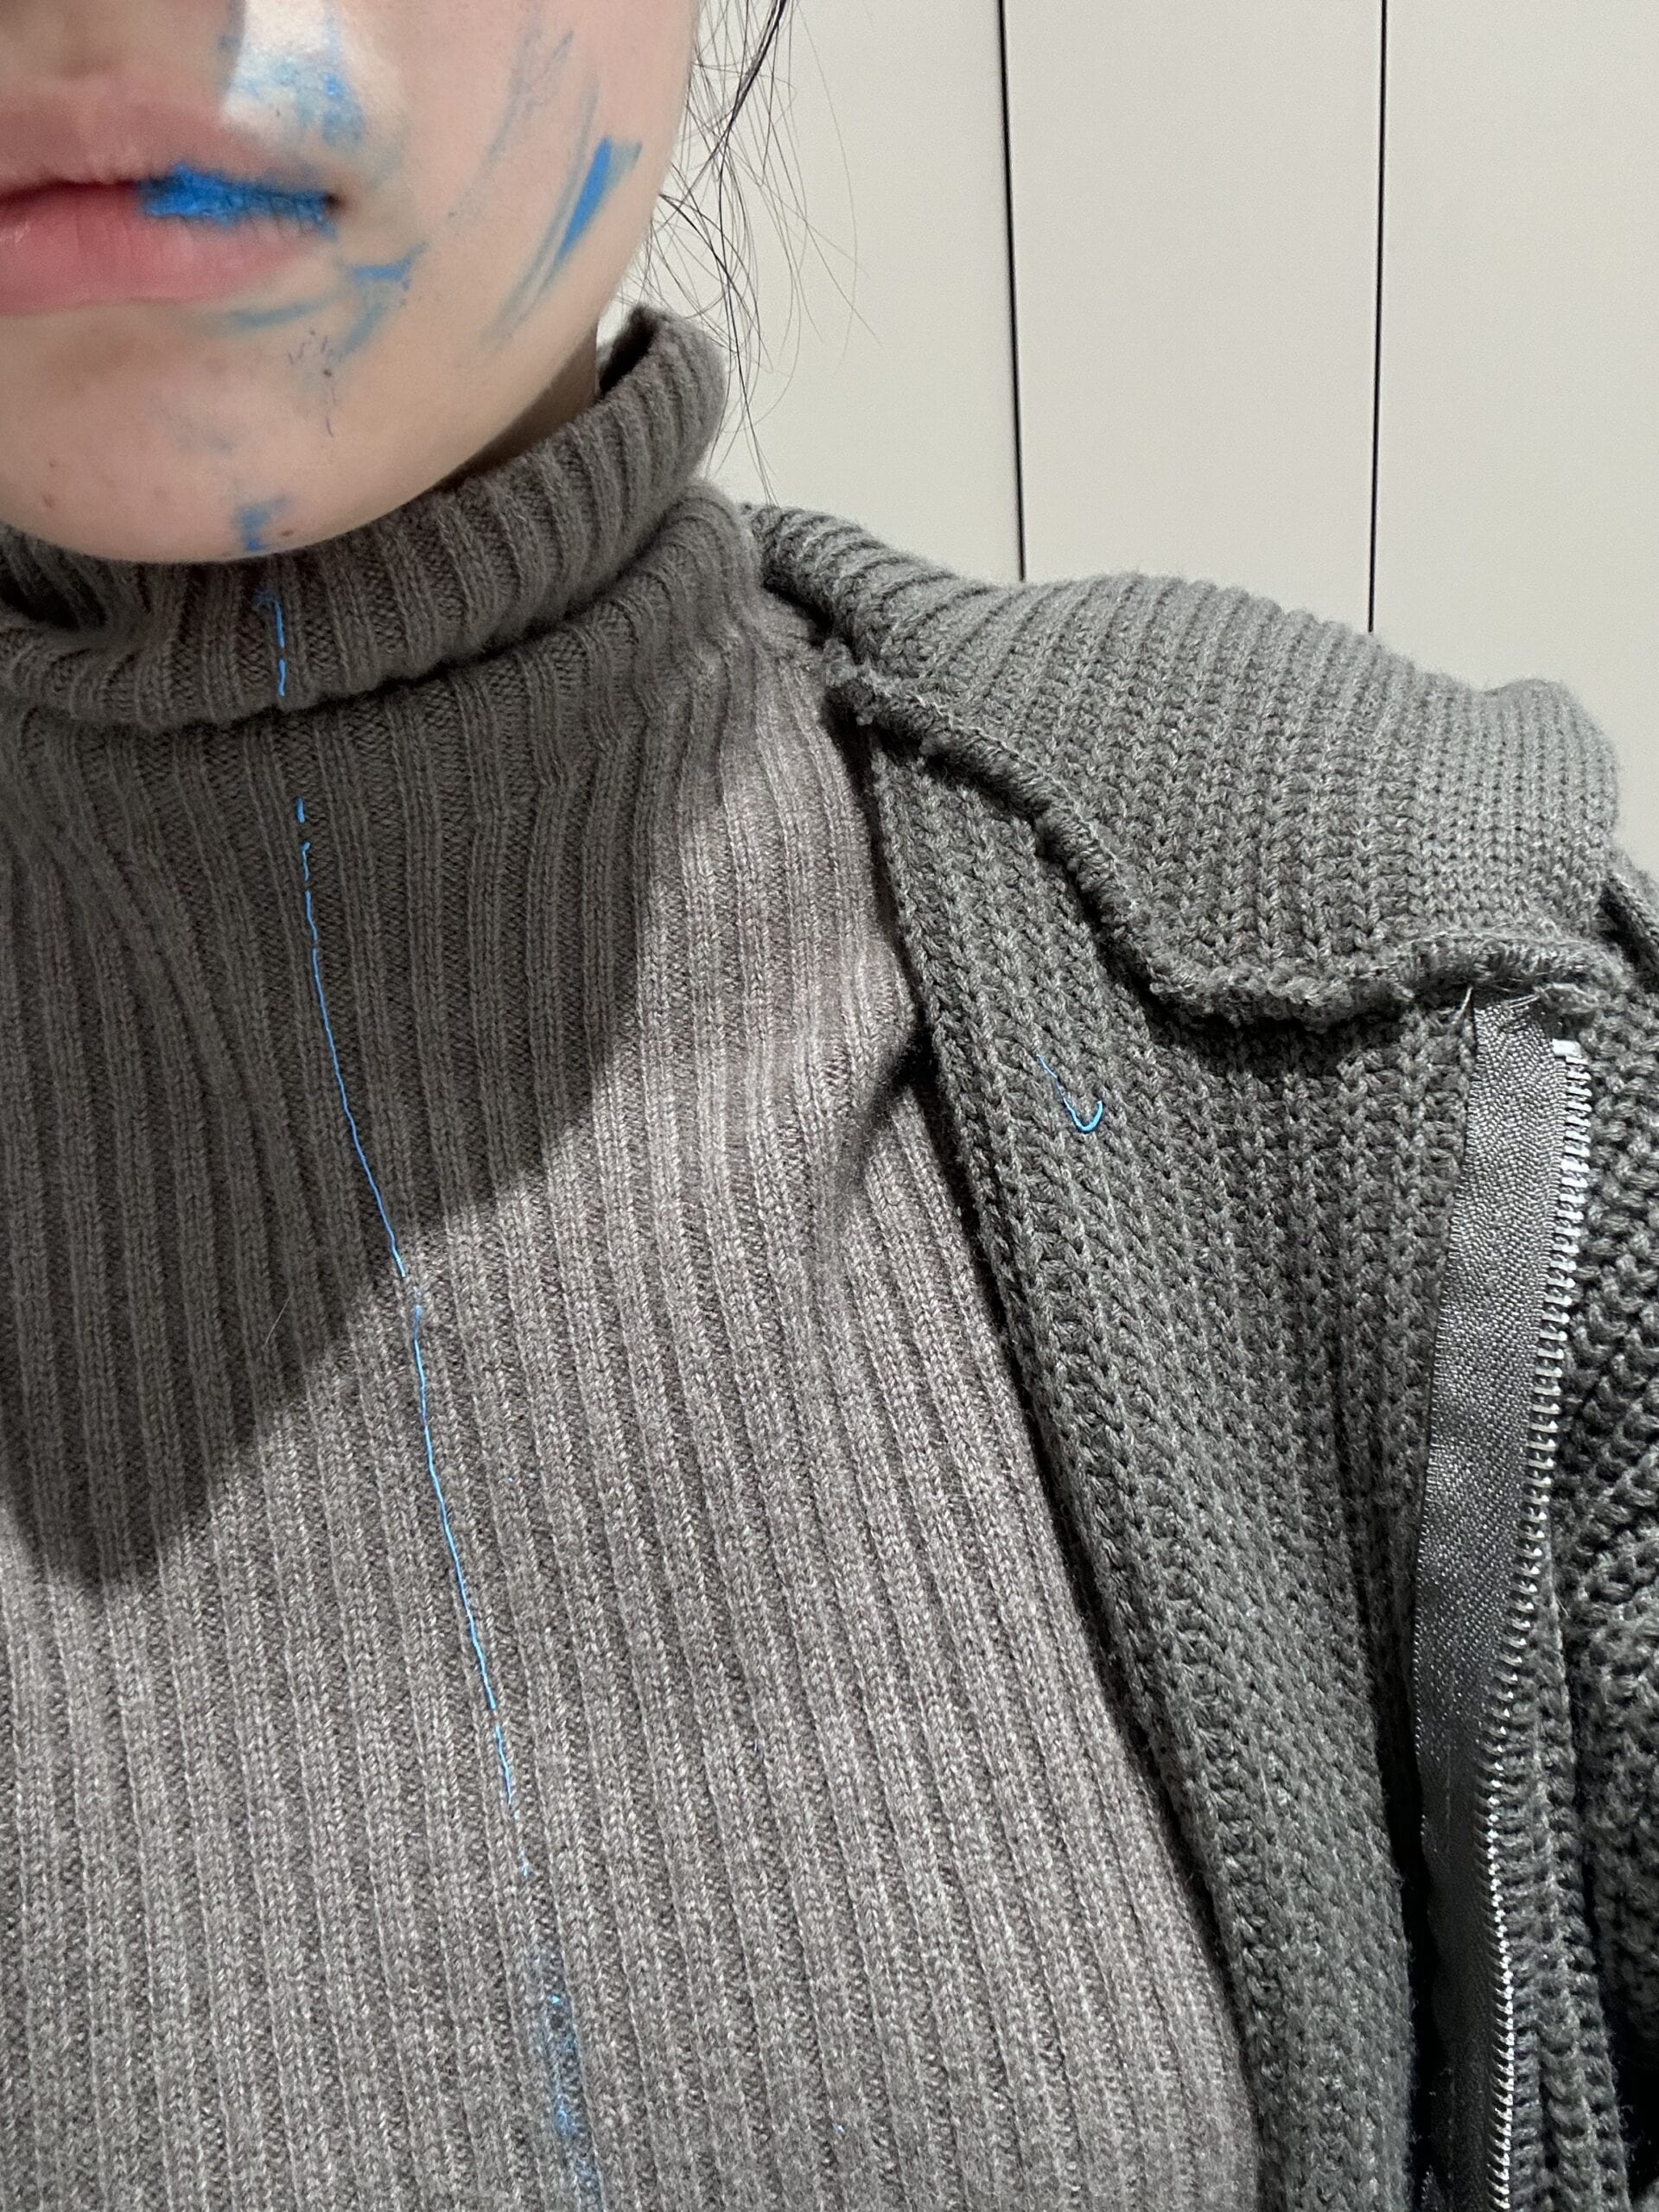
(I got attacked by the acrylic color.)
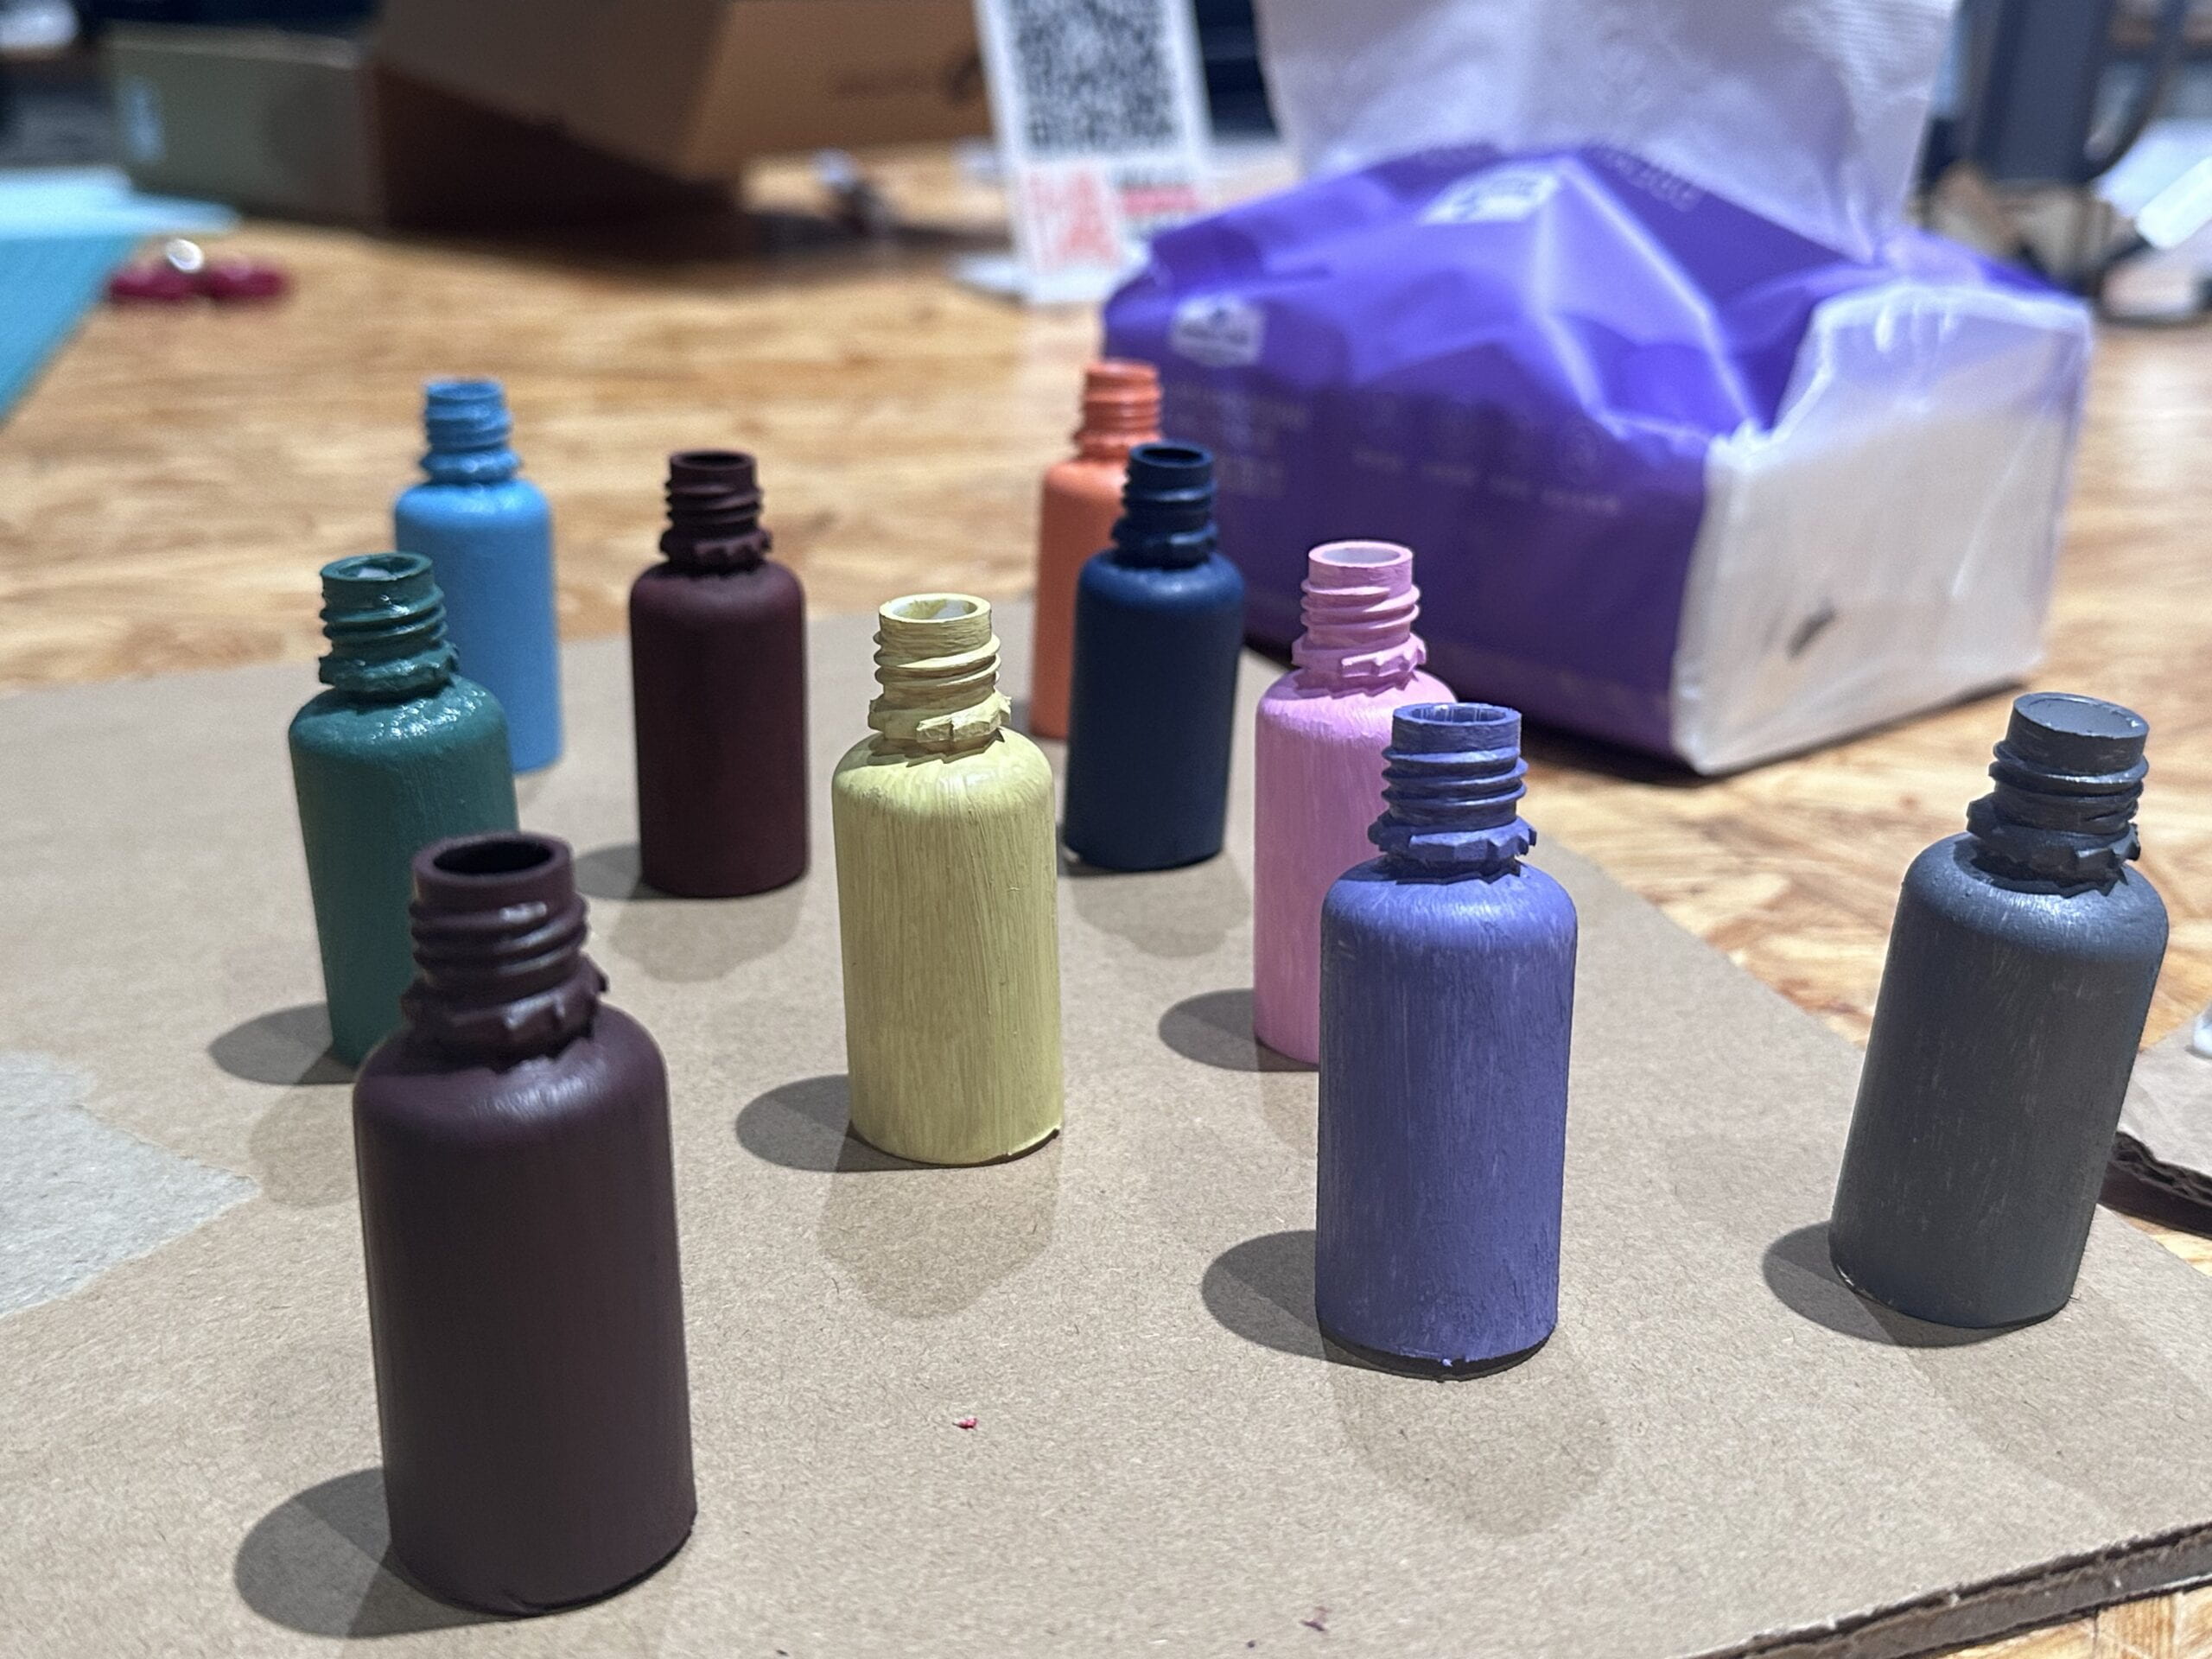
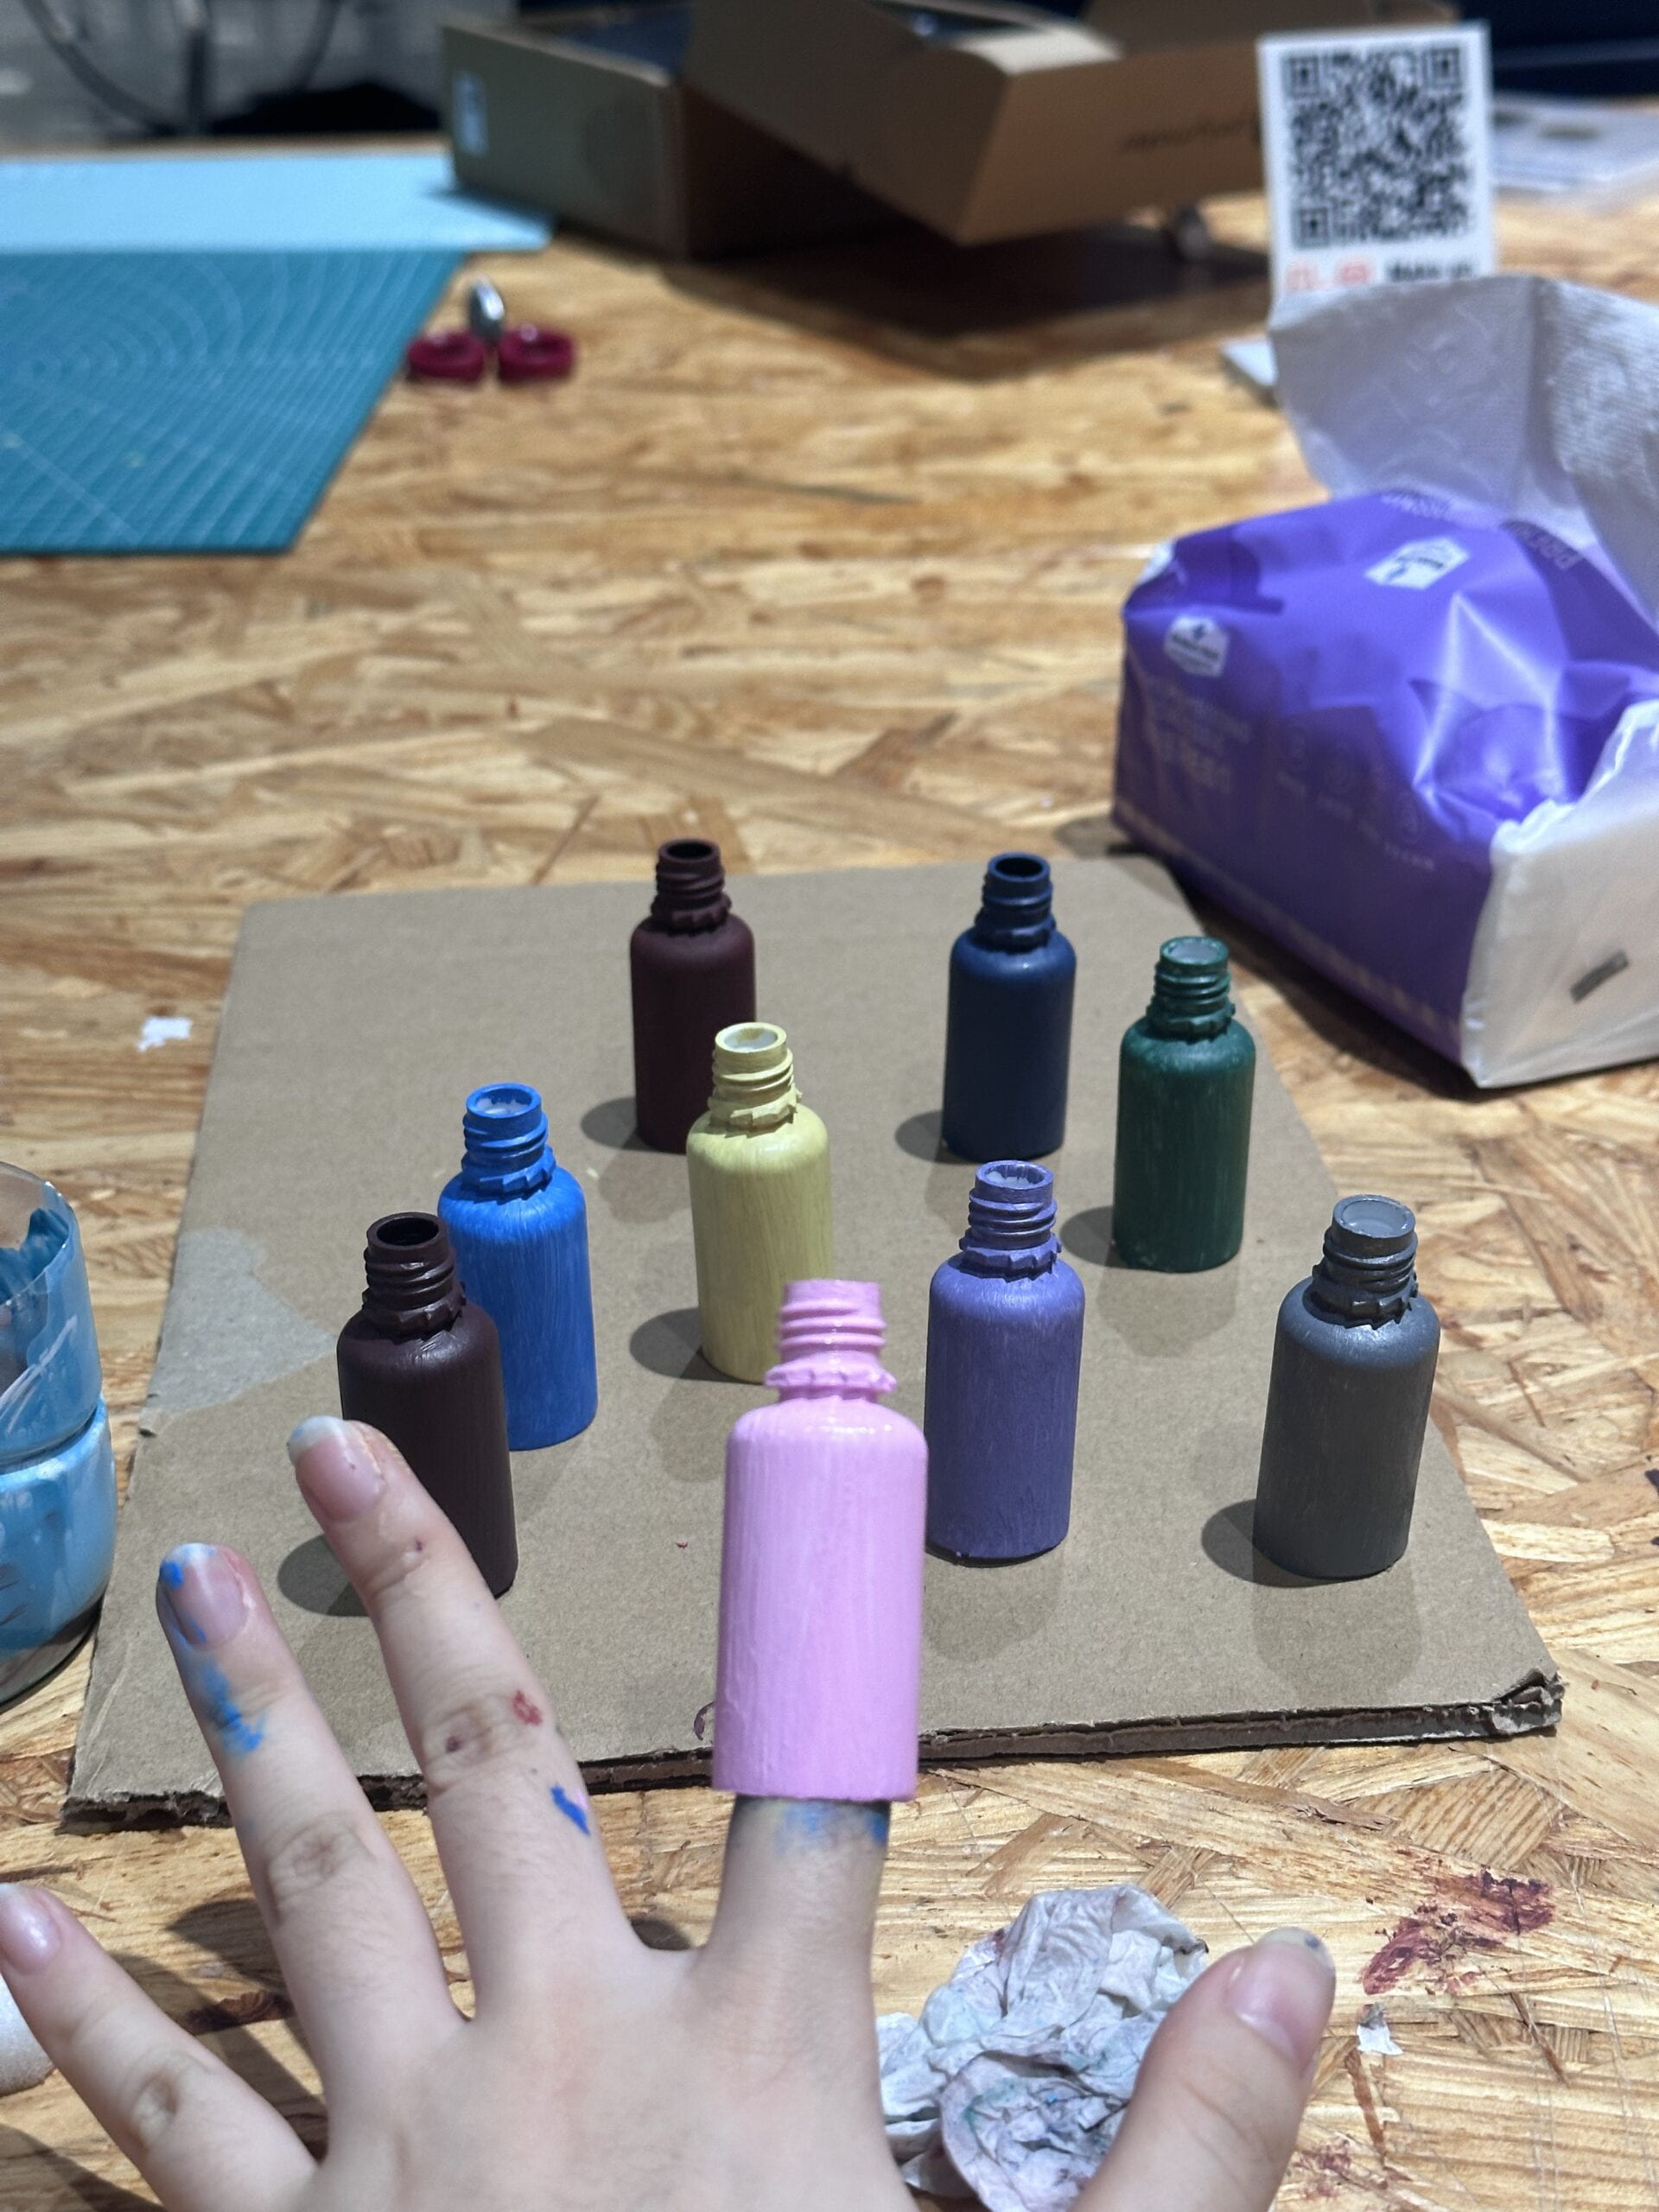
But the coloring was successful!!!
• EMOTIONS


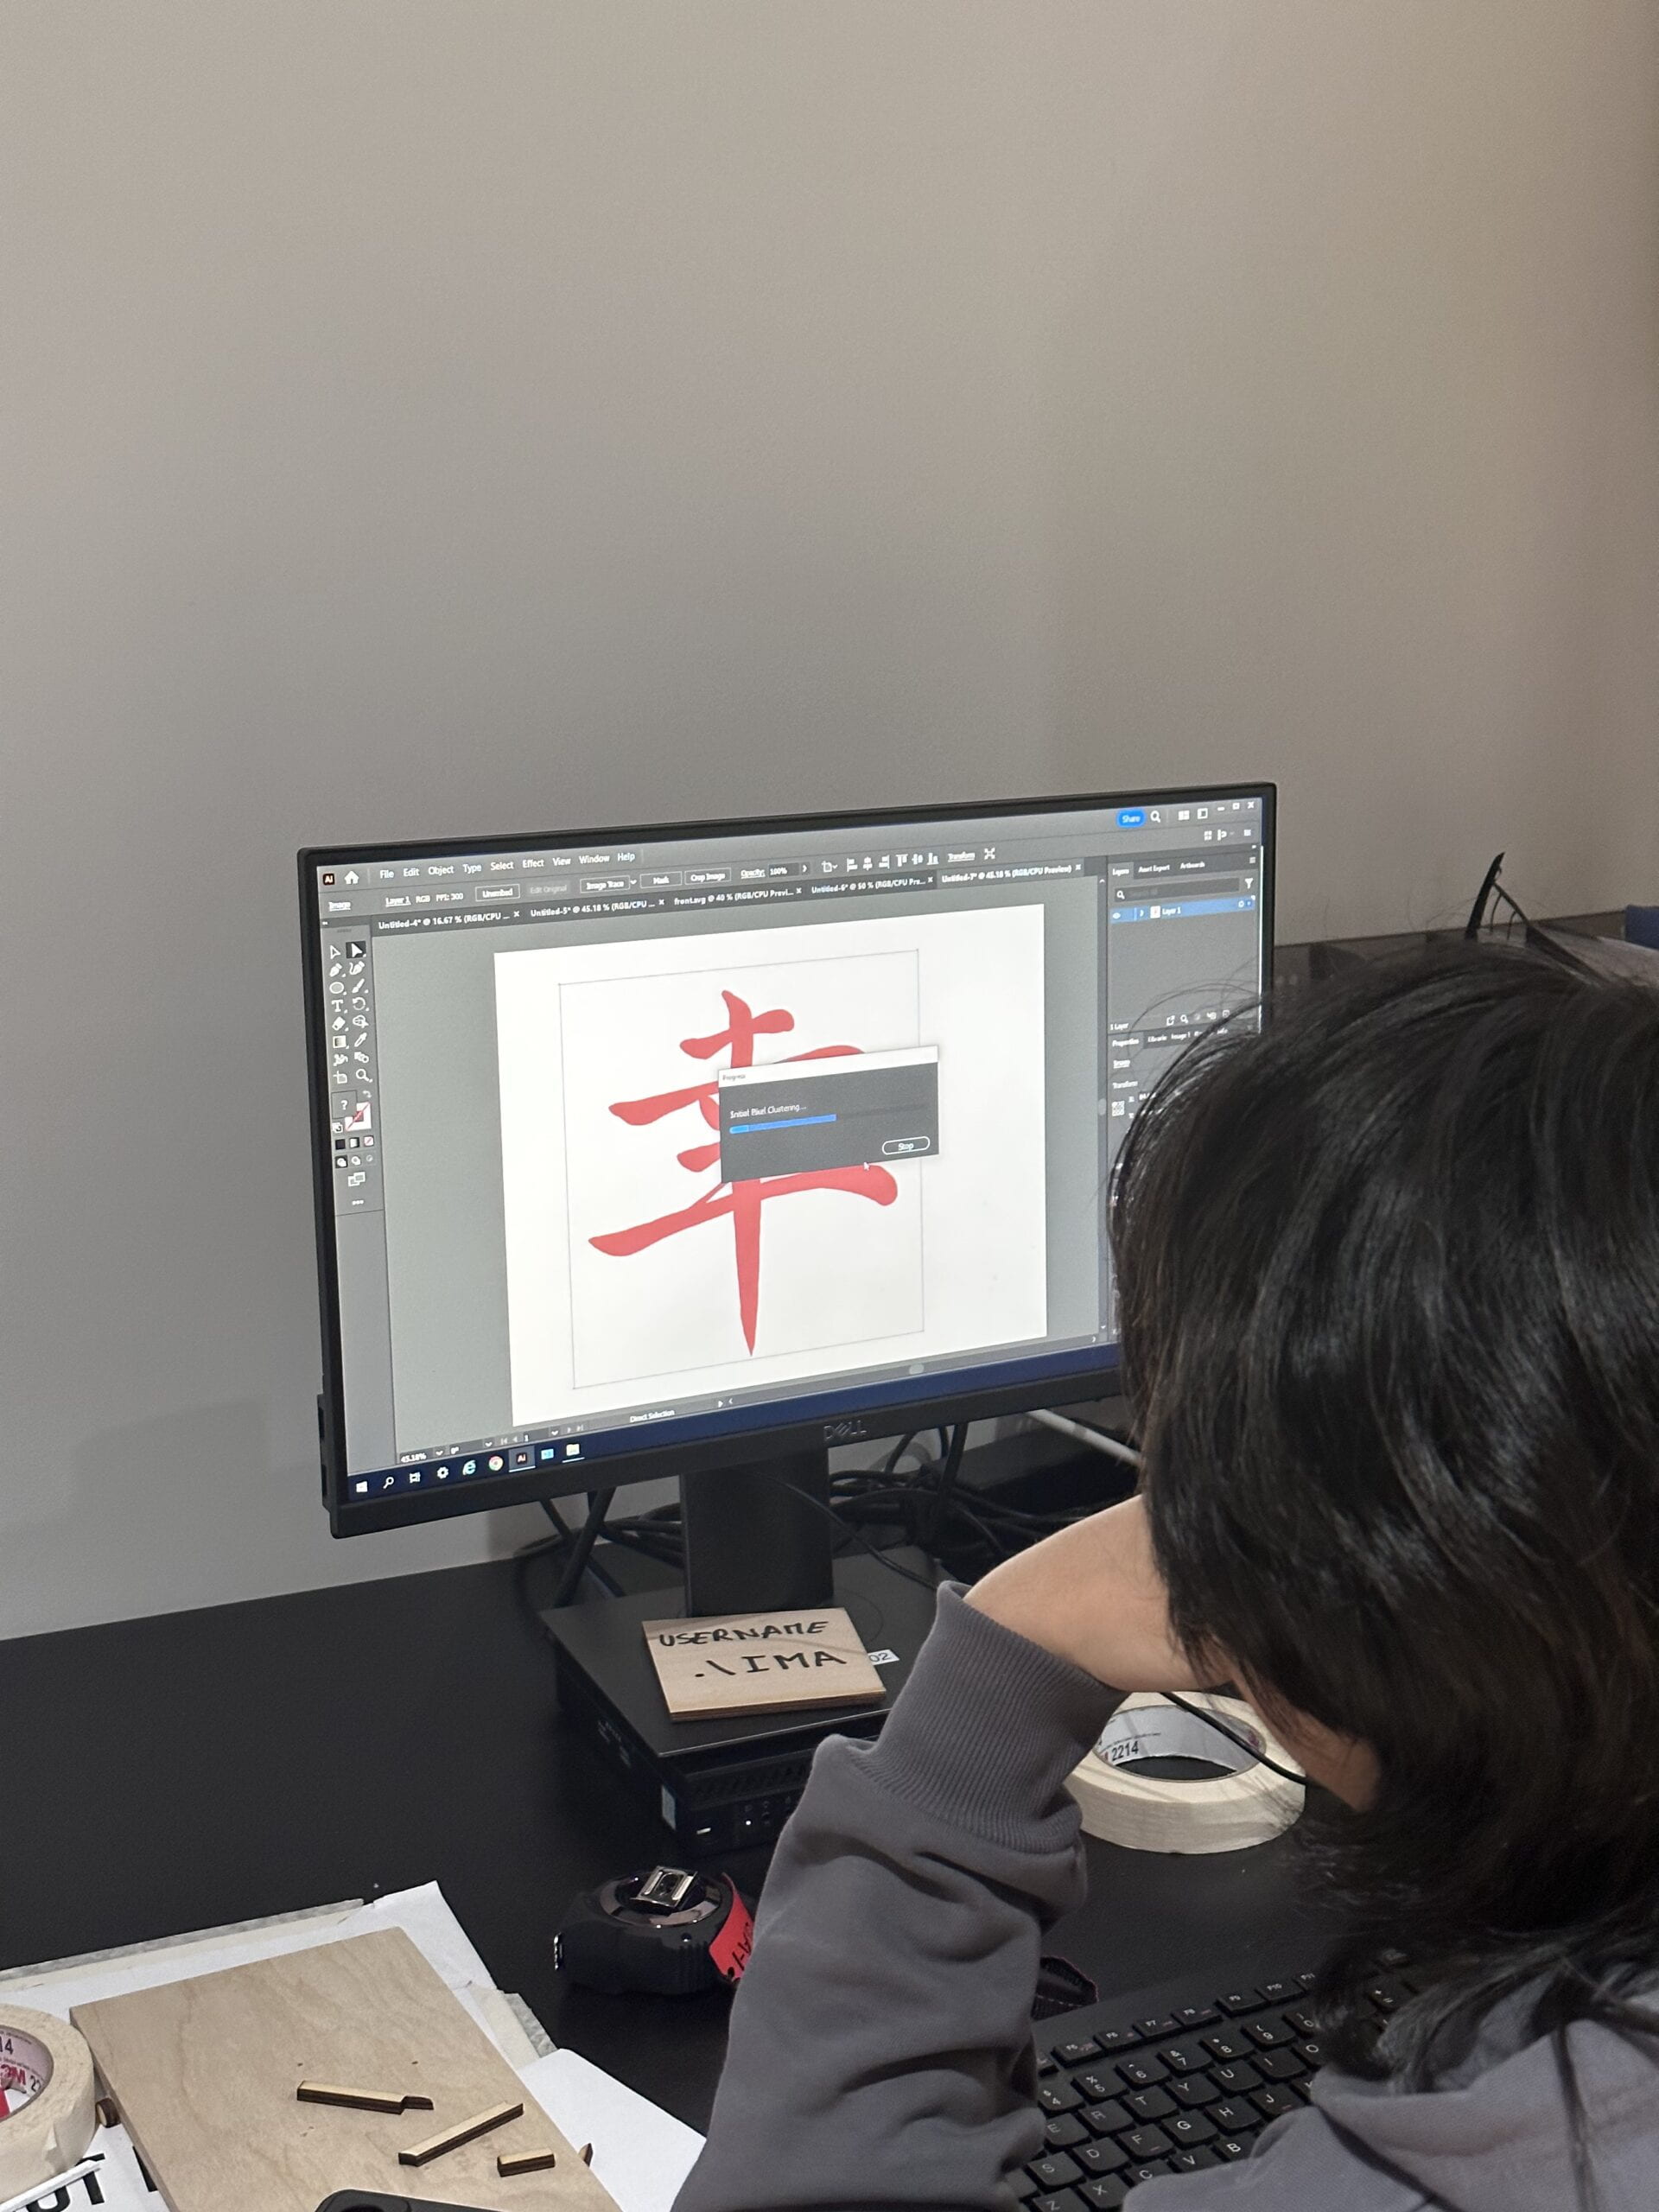
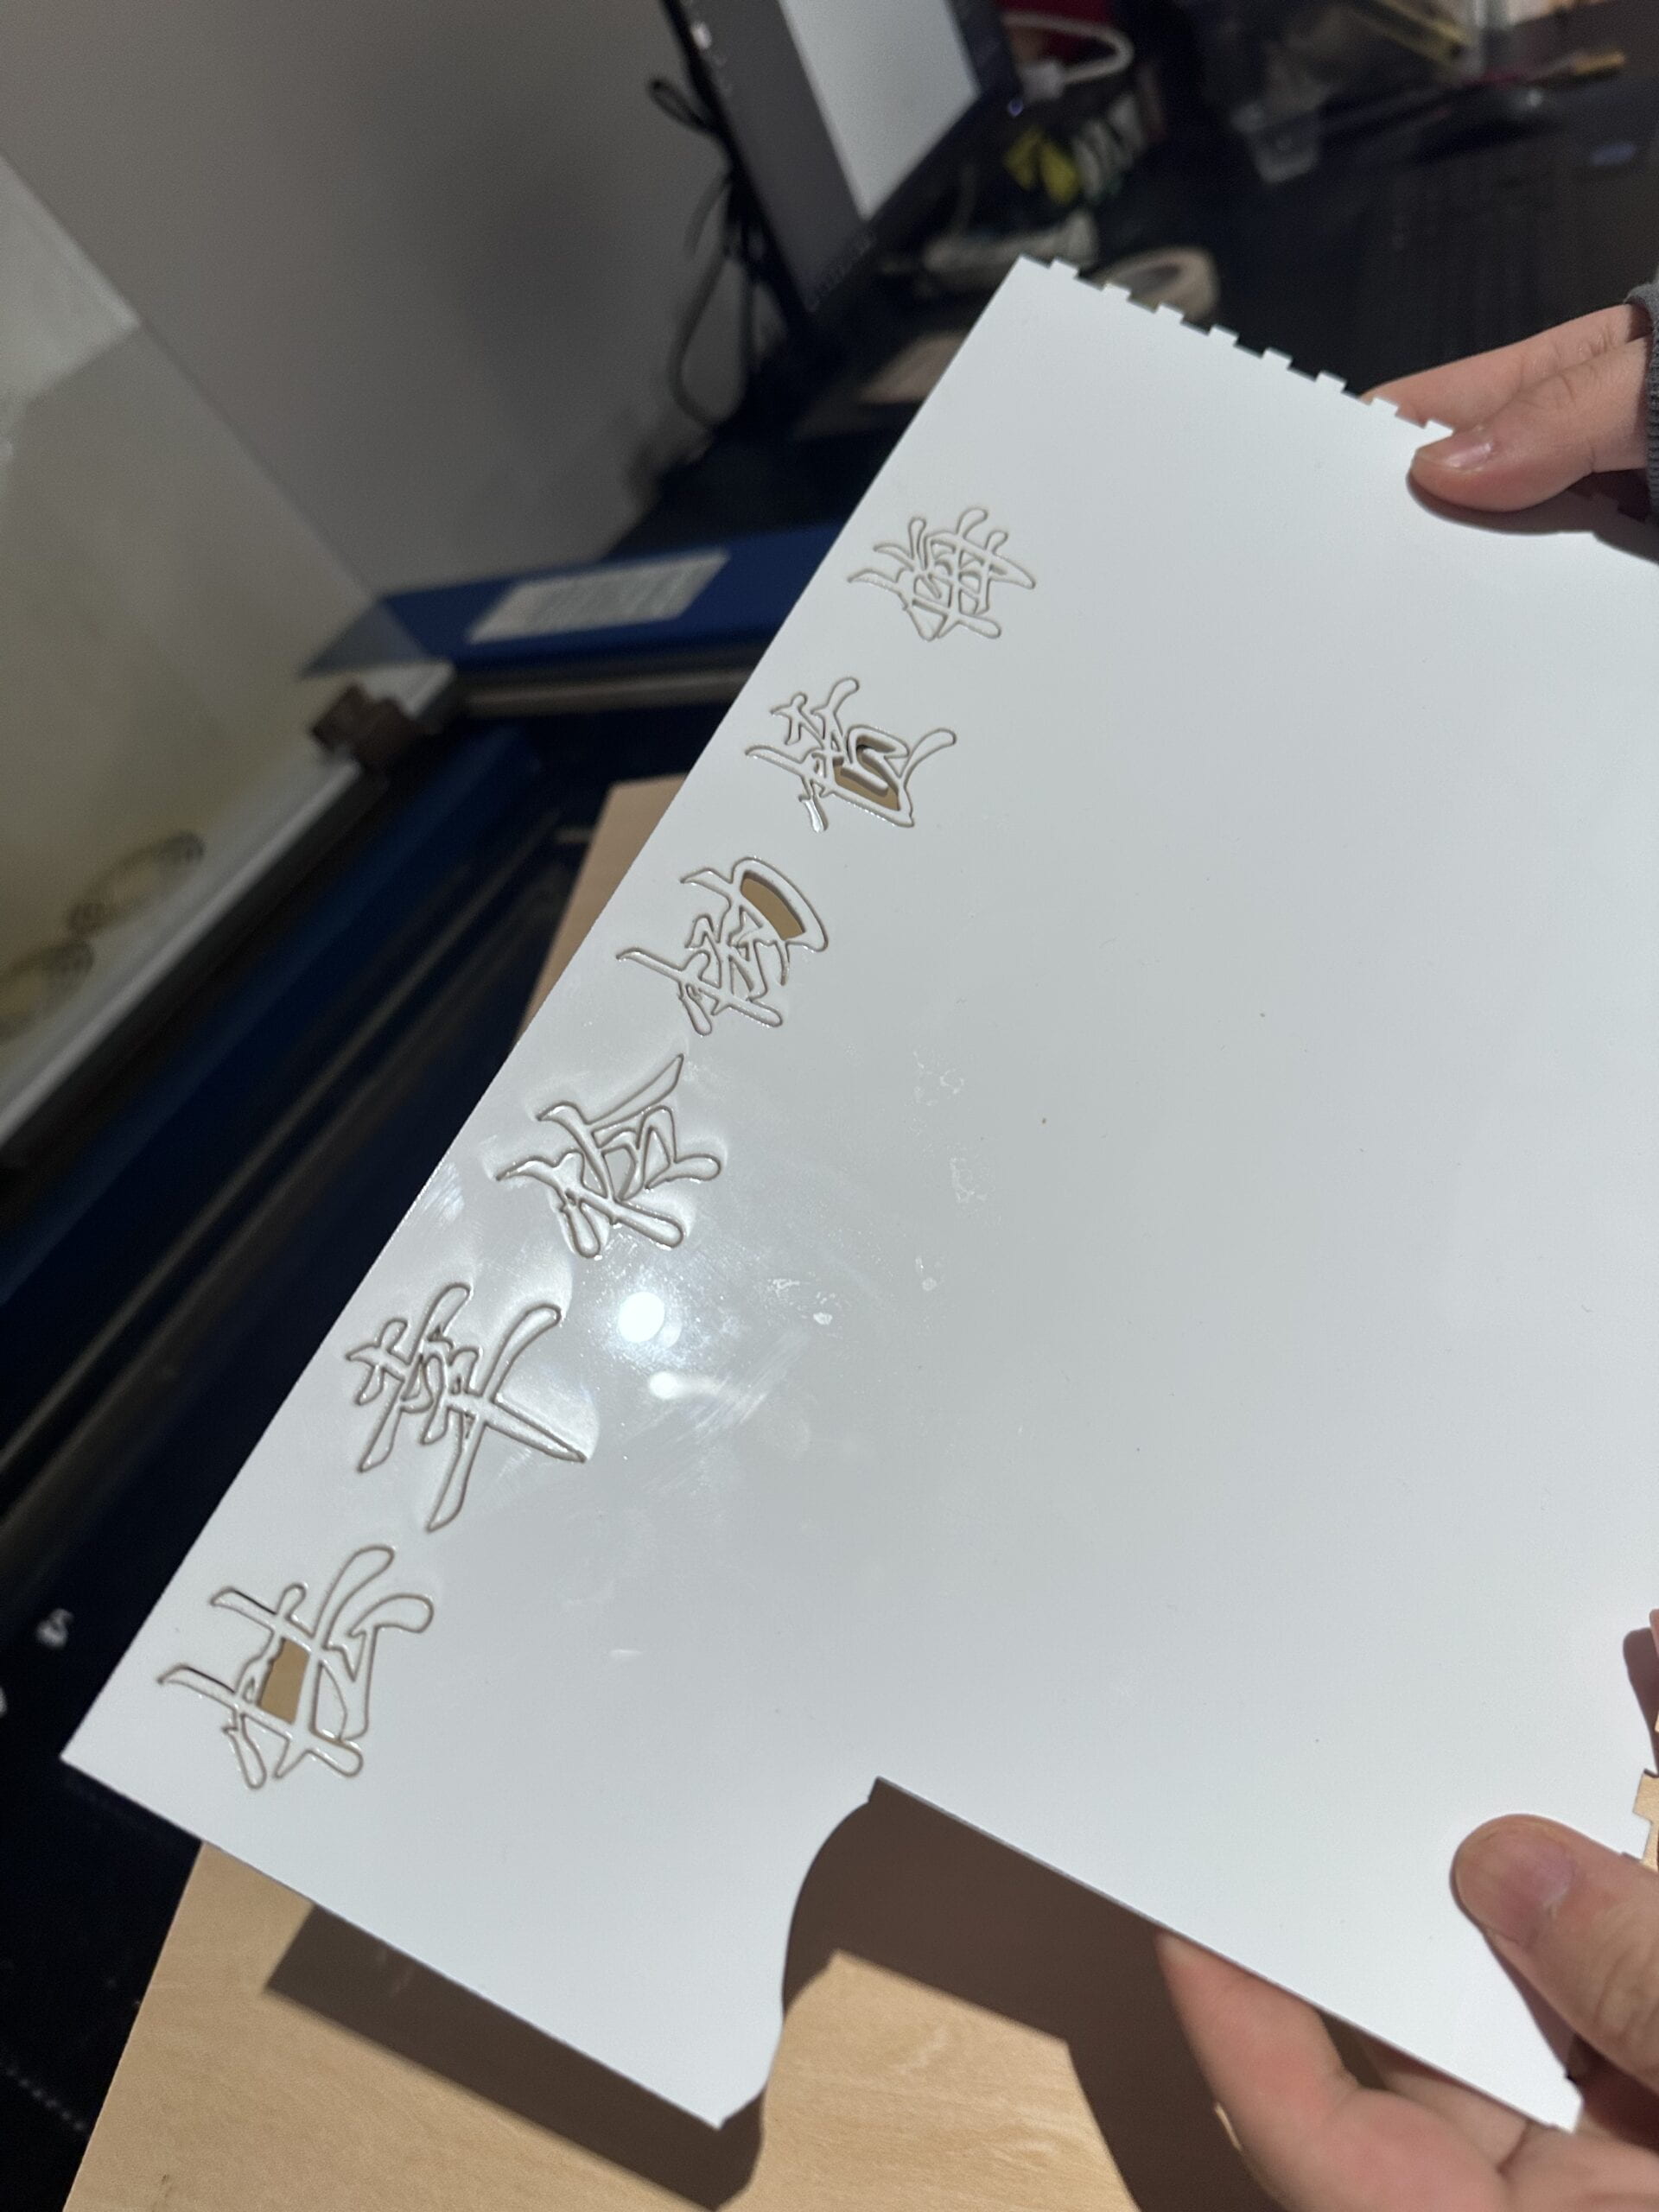
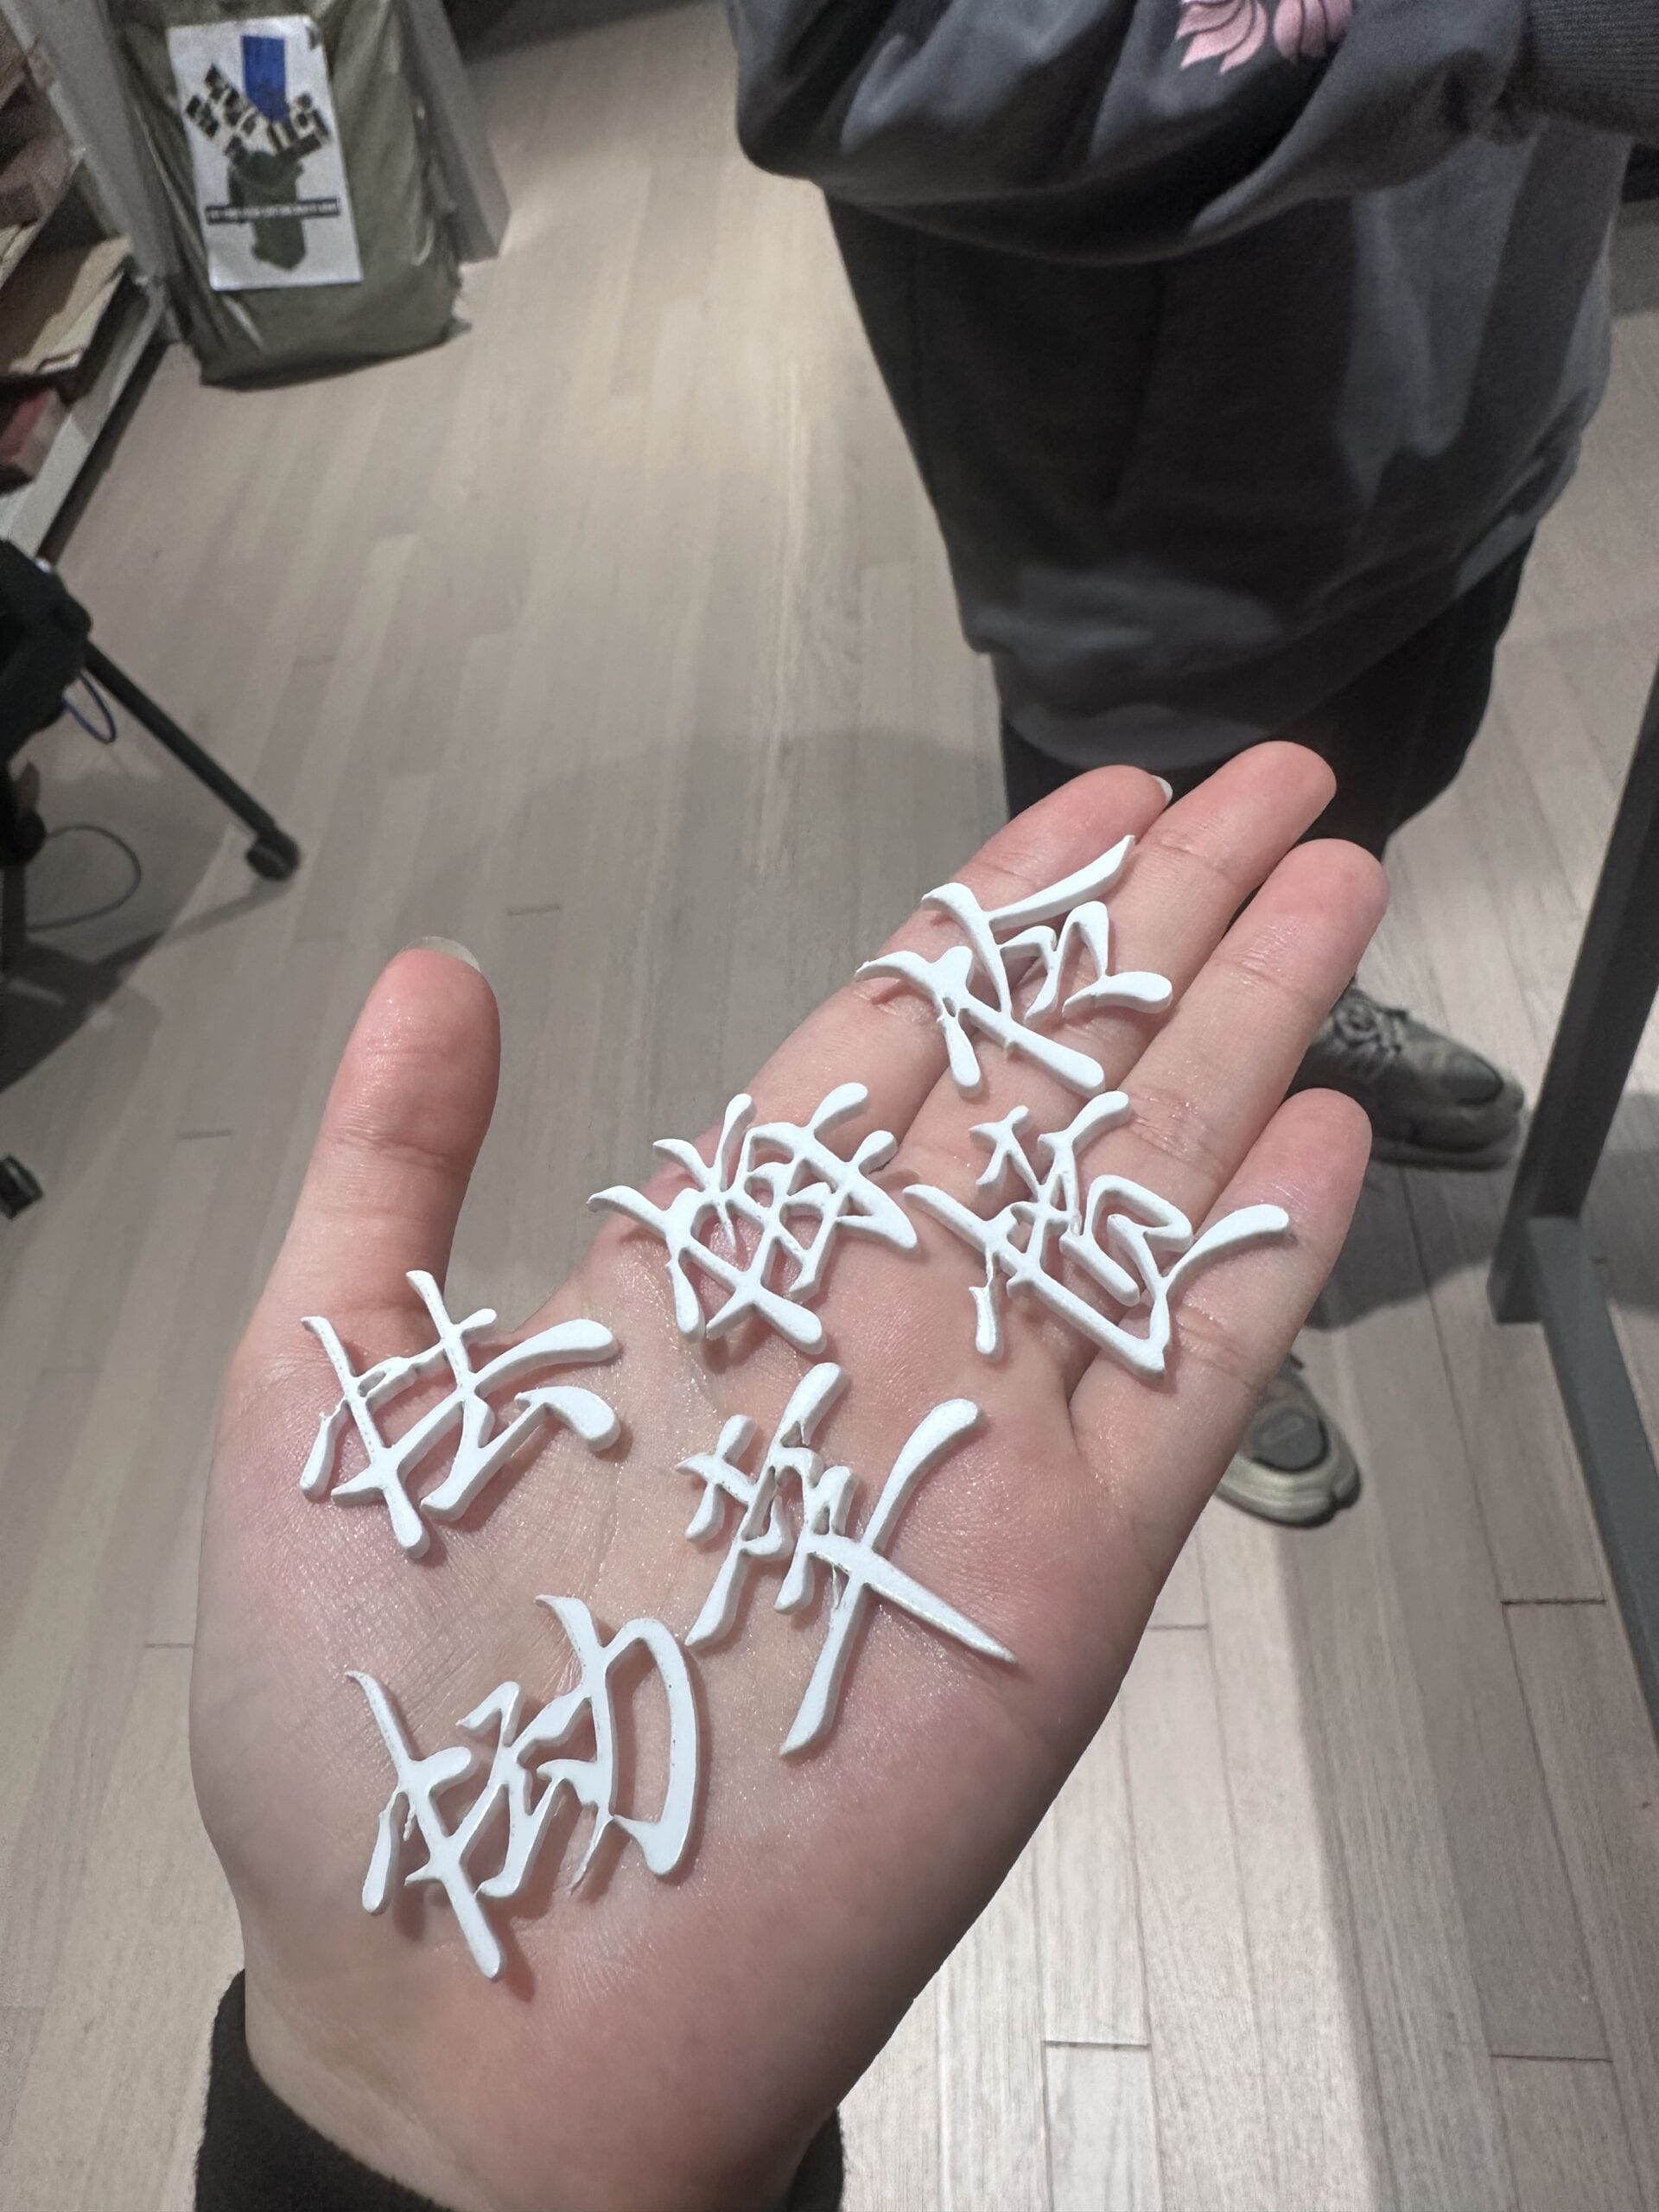
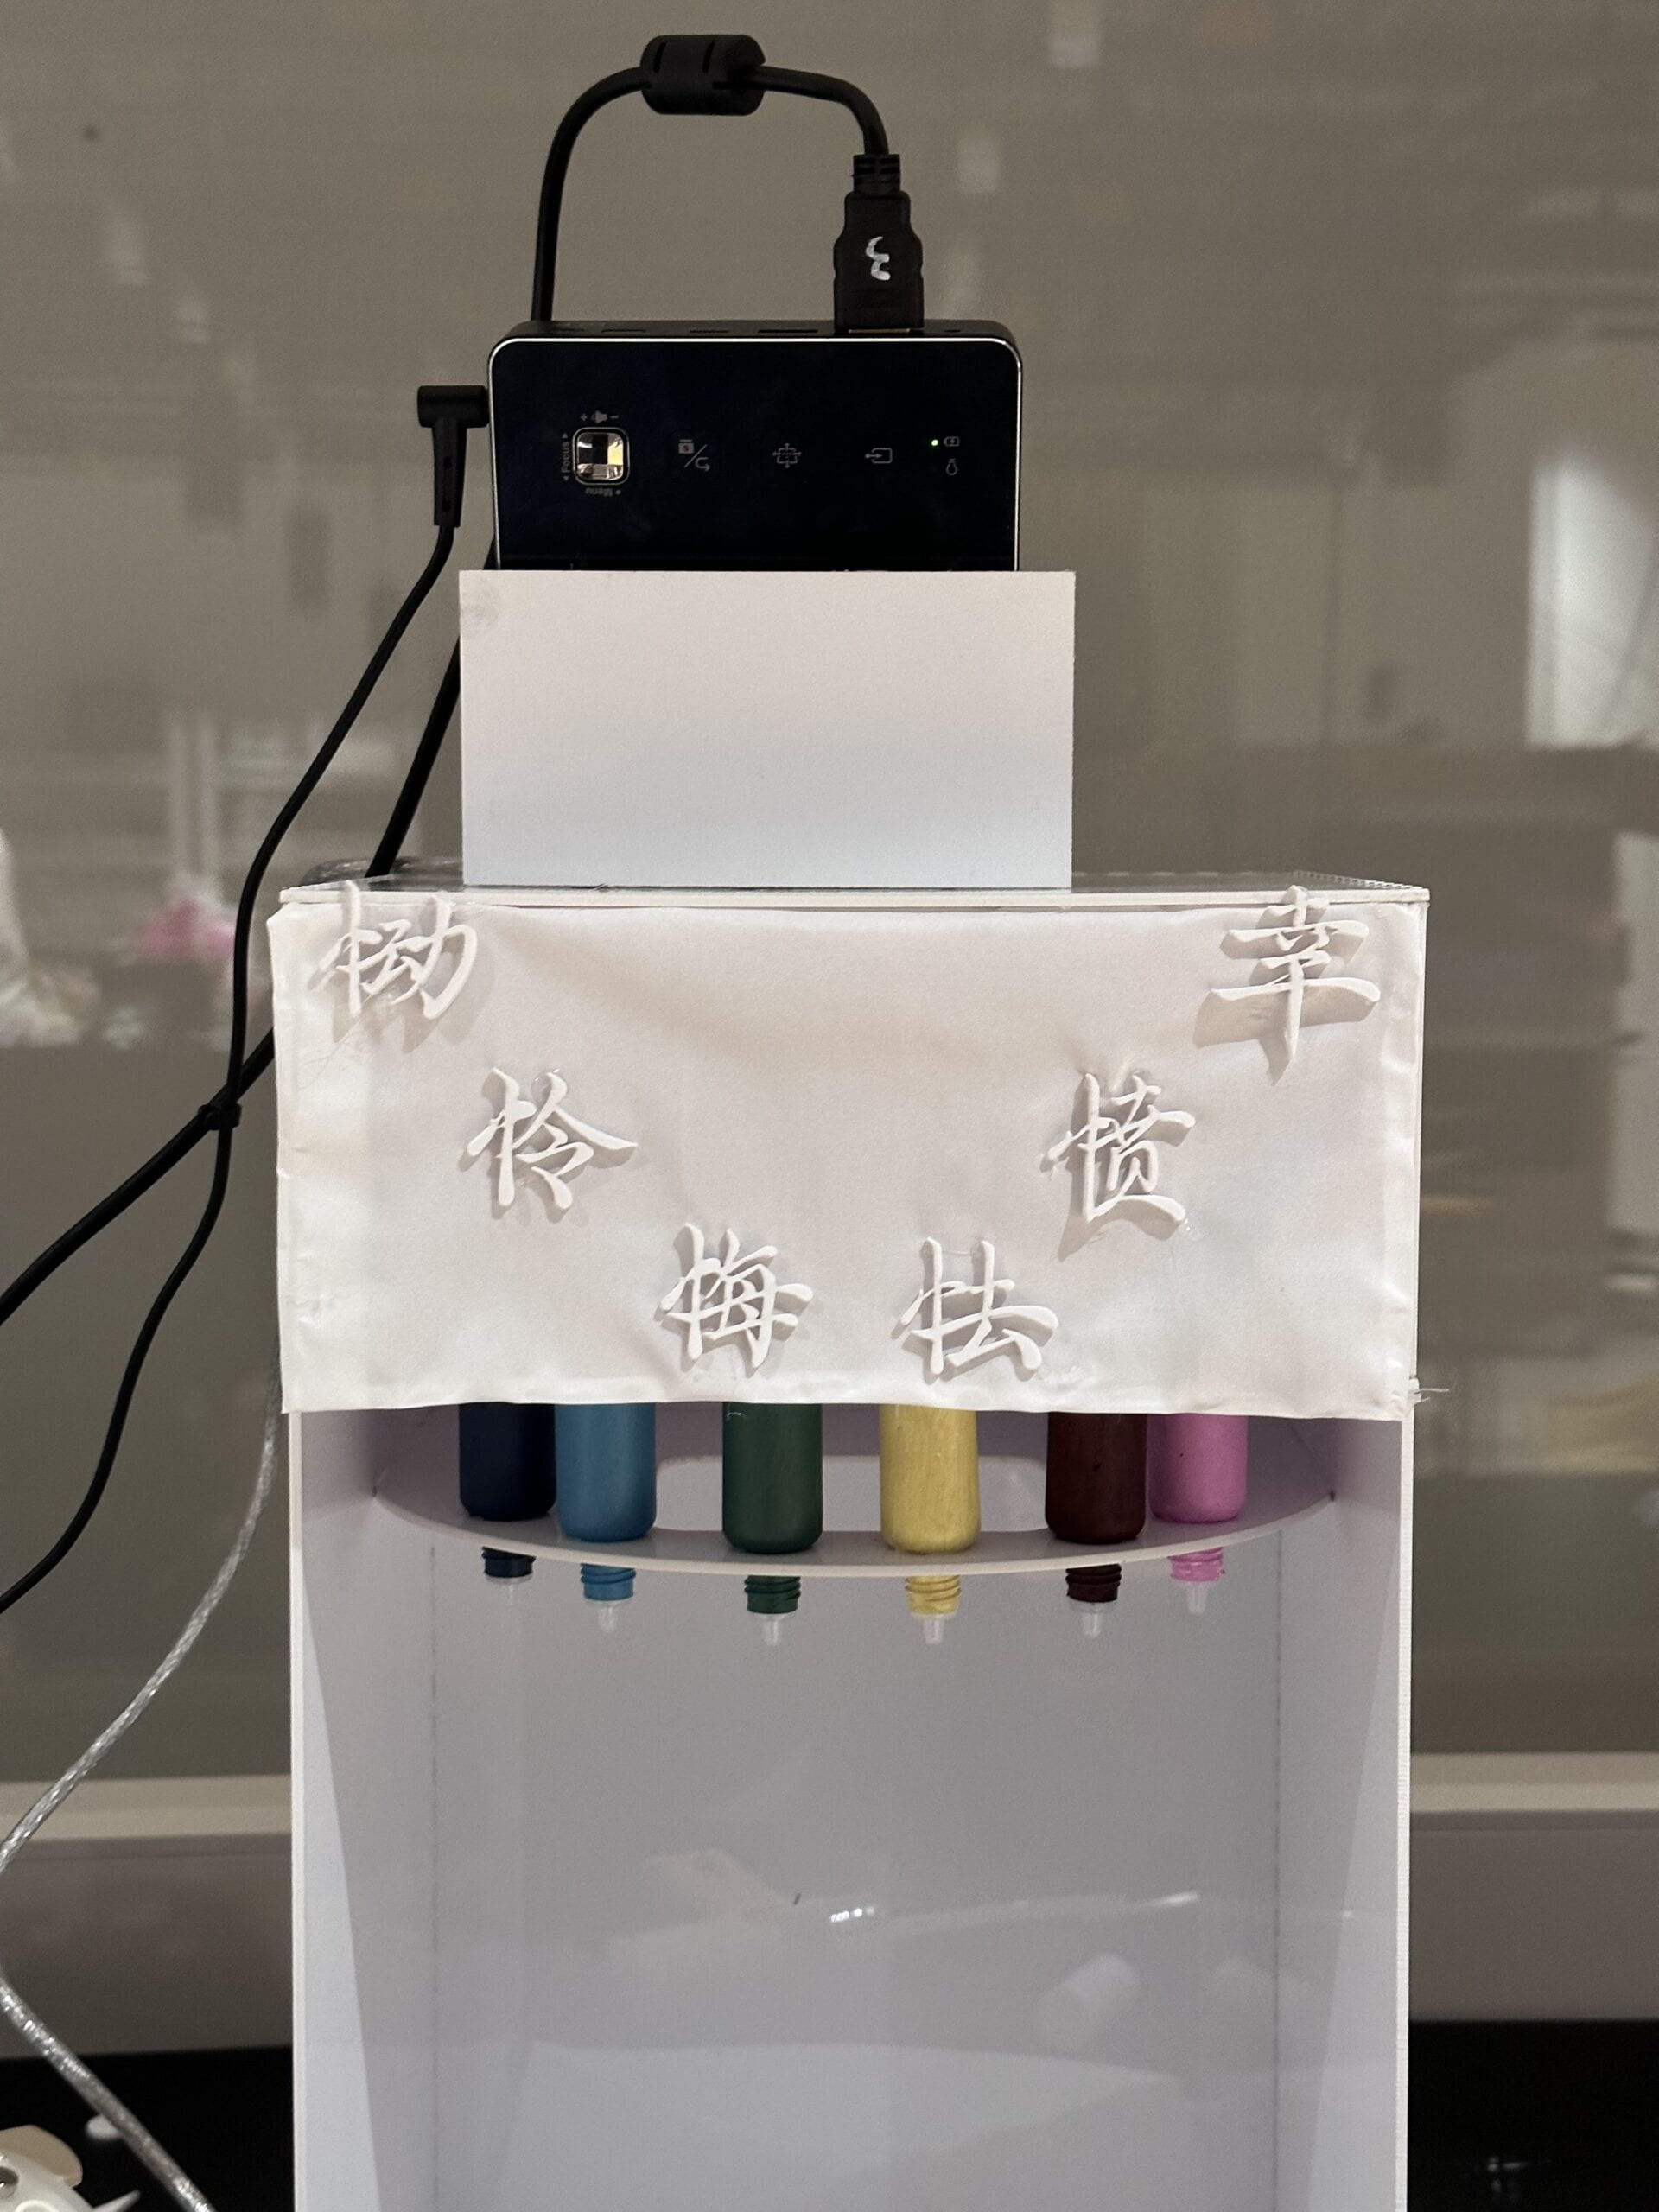
I wrote these Chinese characters in Procreate. With Sophia and Freddie’s help, I succeeded in laser cut them out very well. We were all surprised by the accuracy and delicacy of laser cut on acrylic boards. They looked good on the cloth and played the role of instructions.
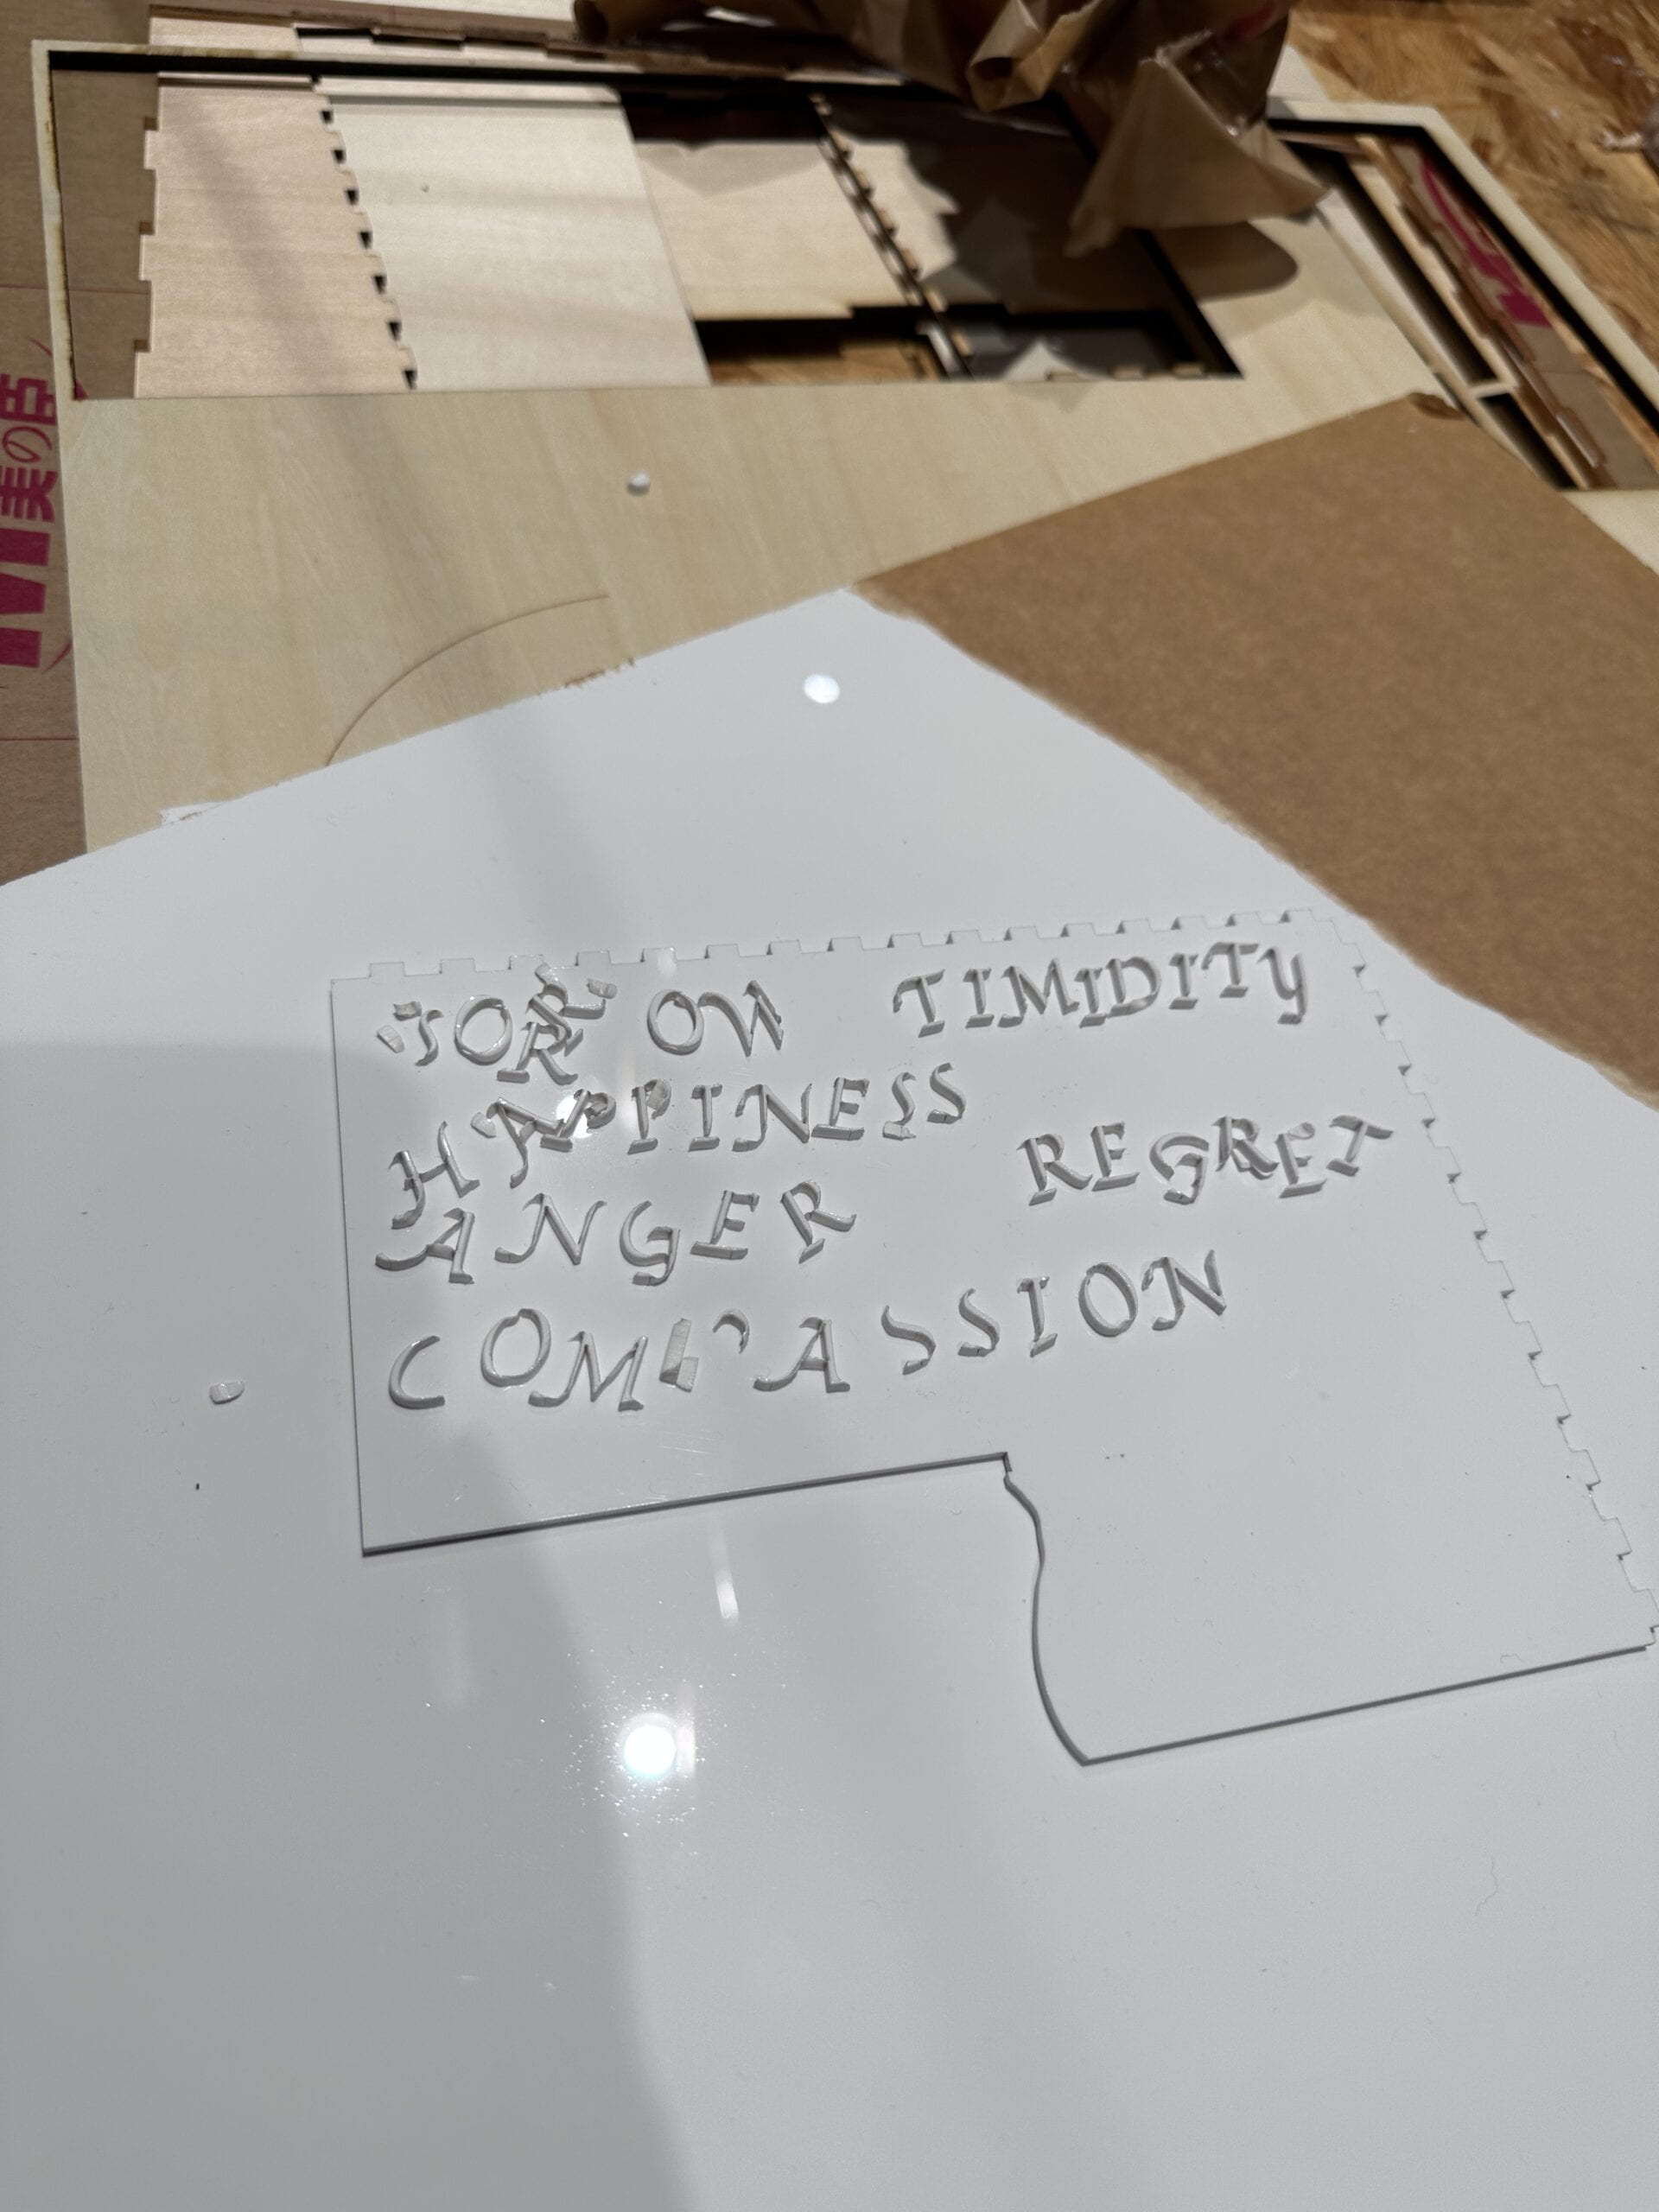
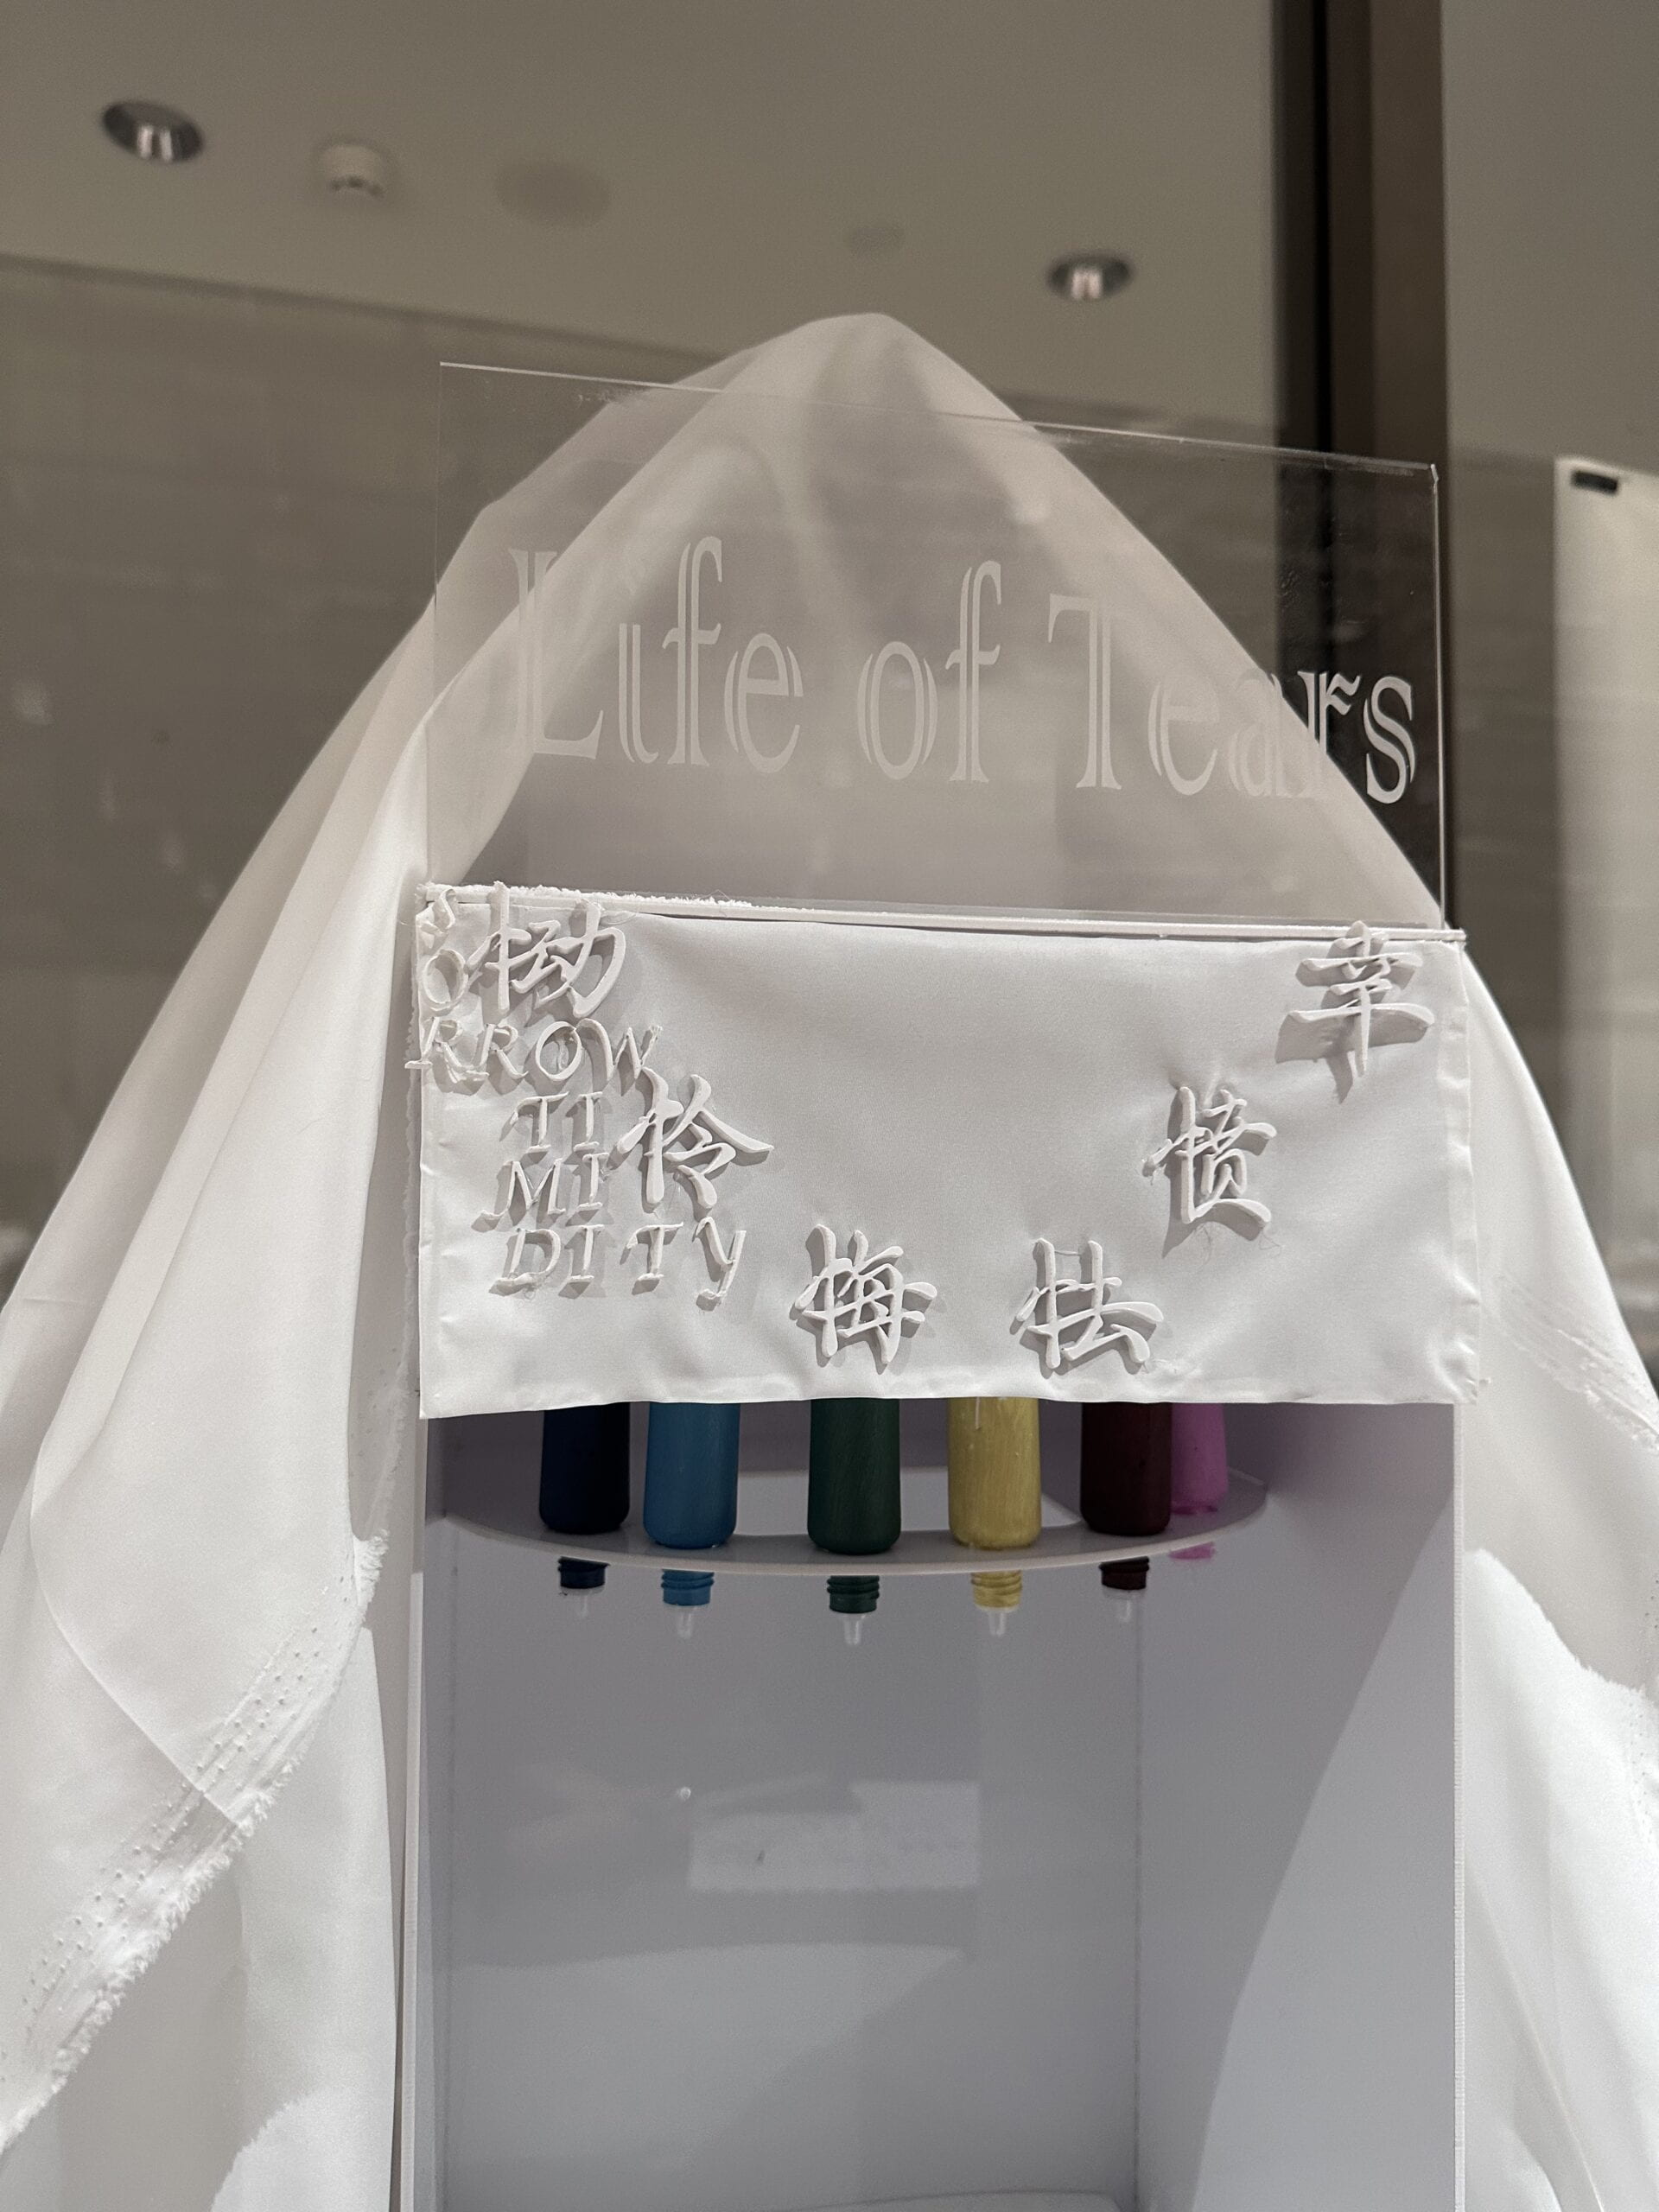
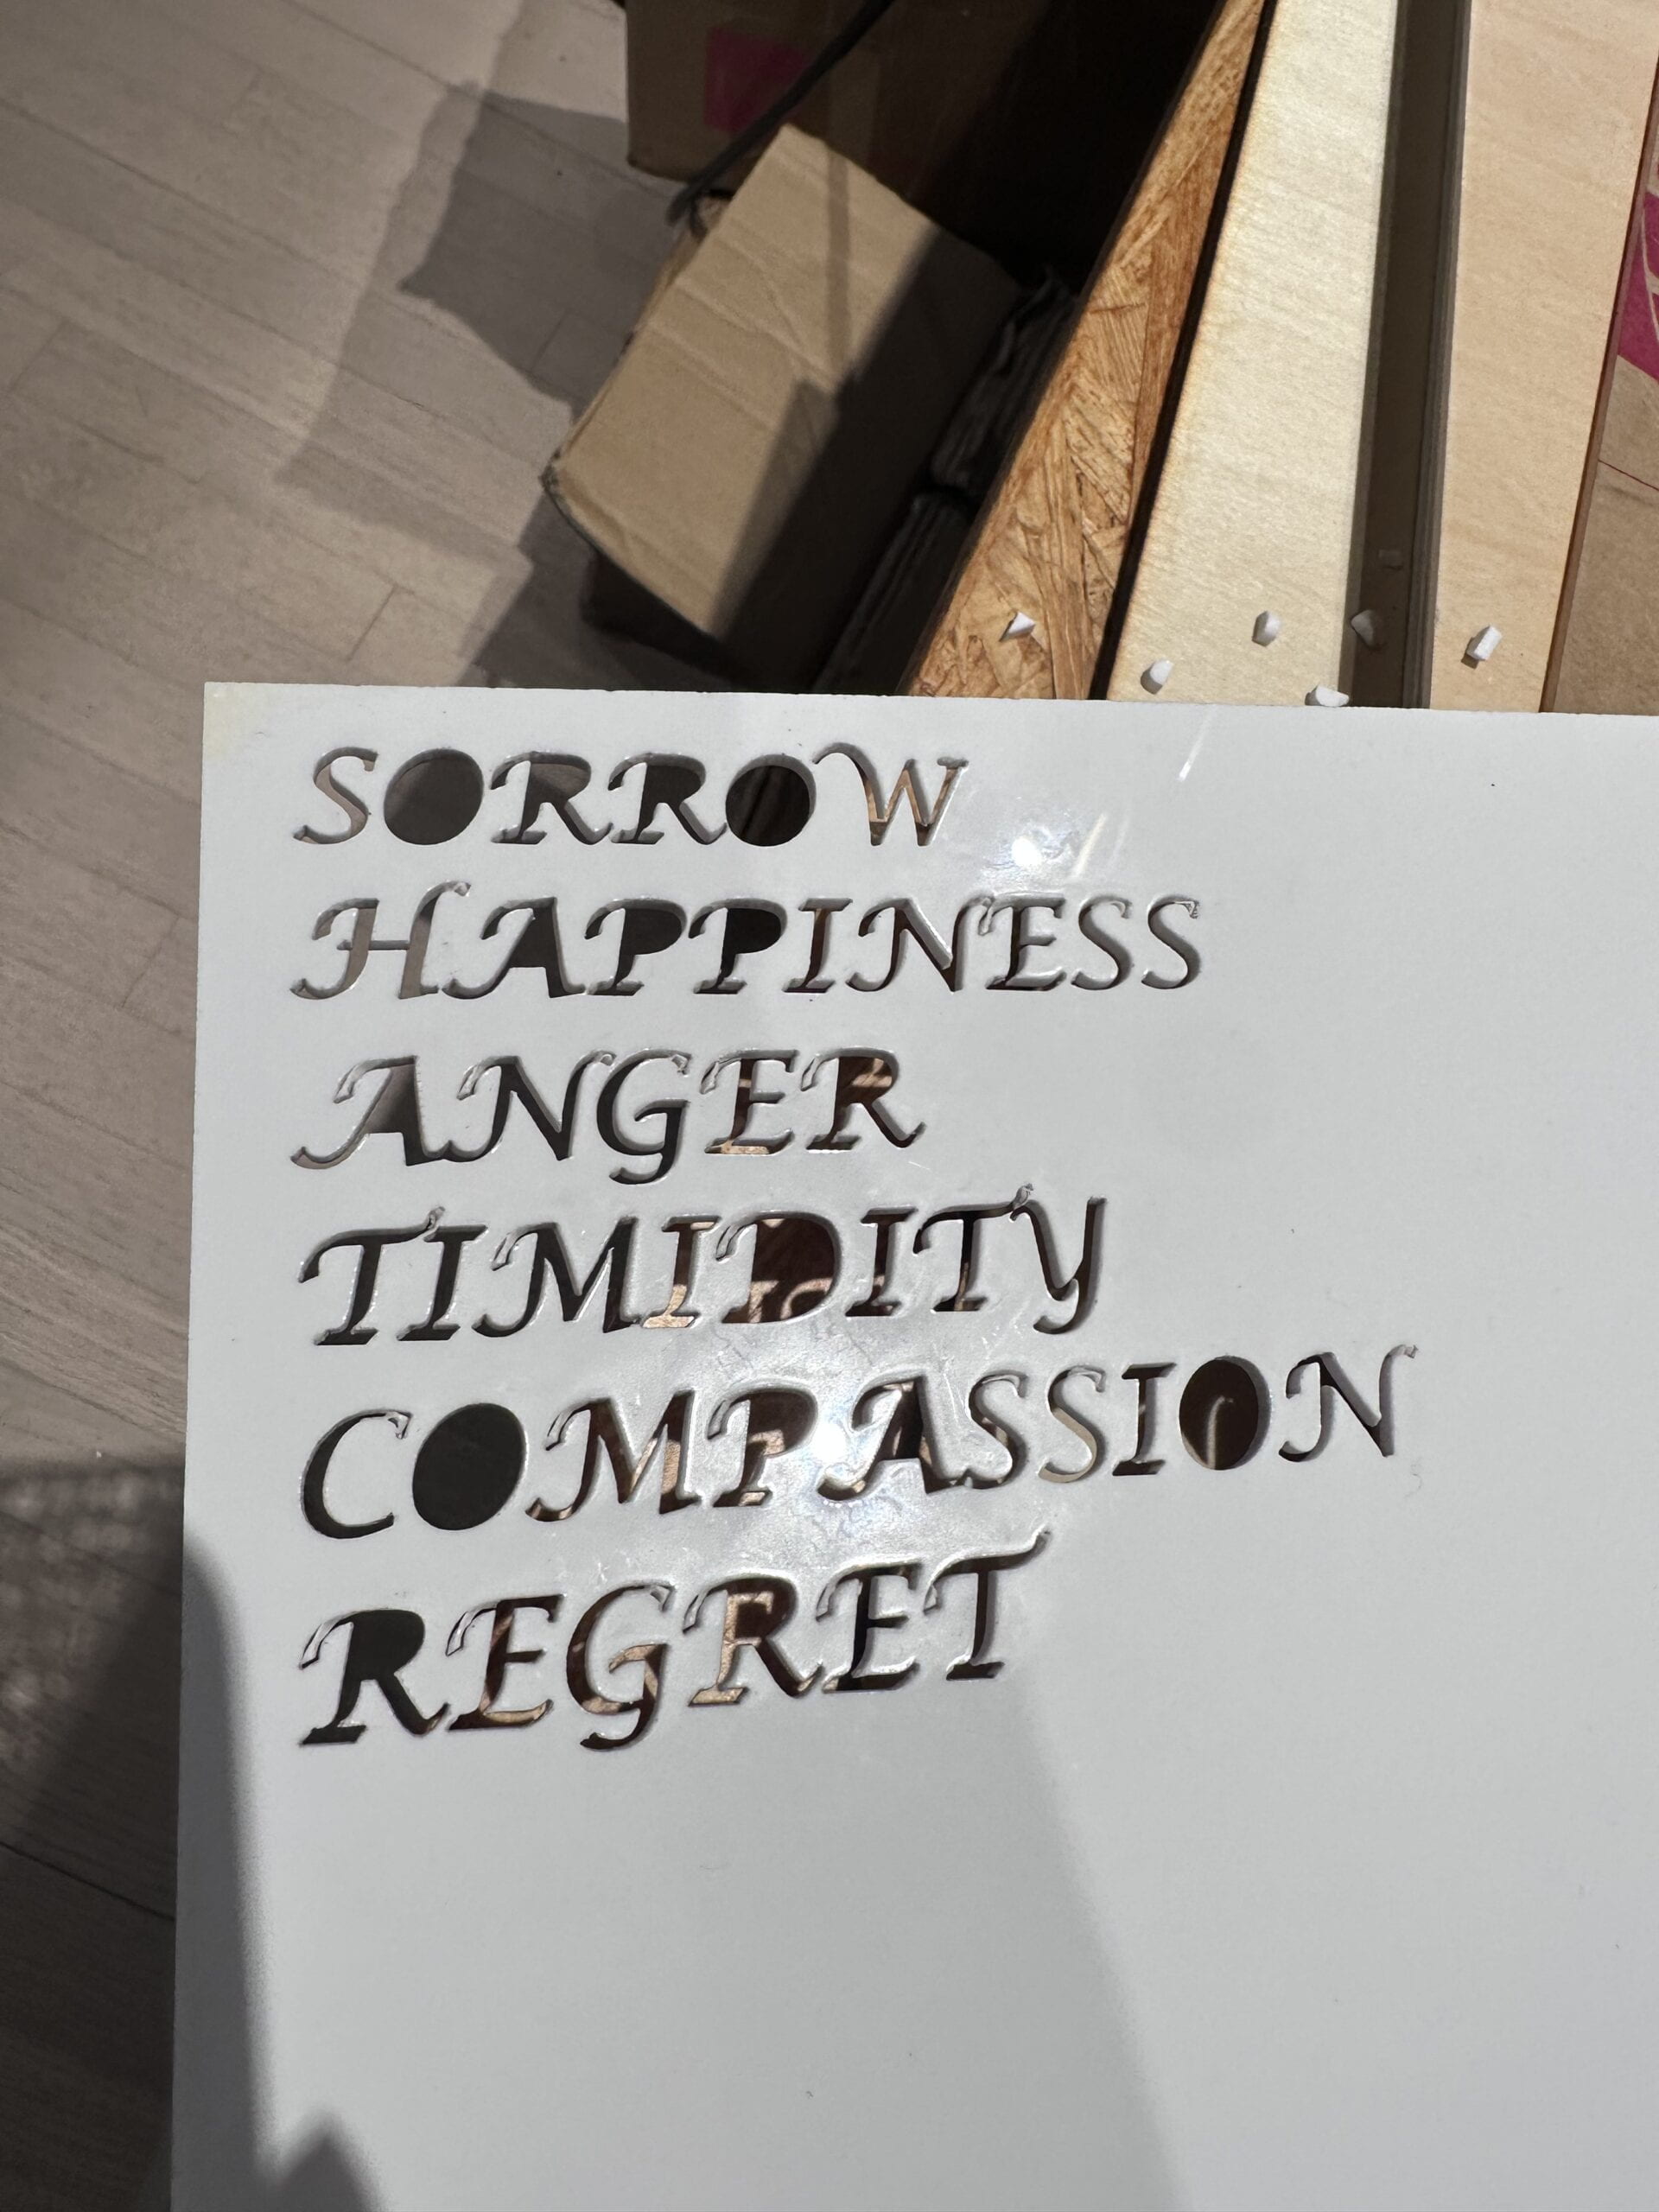
I also laser cut some English words. However, it looked very messy and was even hard to understand for my English native speaker friend. So I removed them.
• TITLE
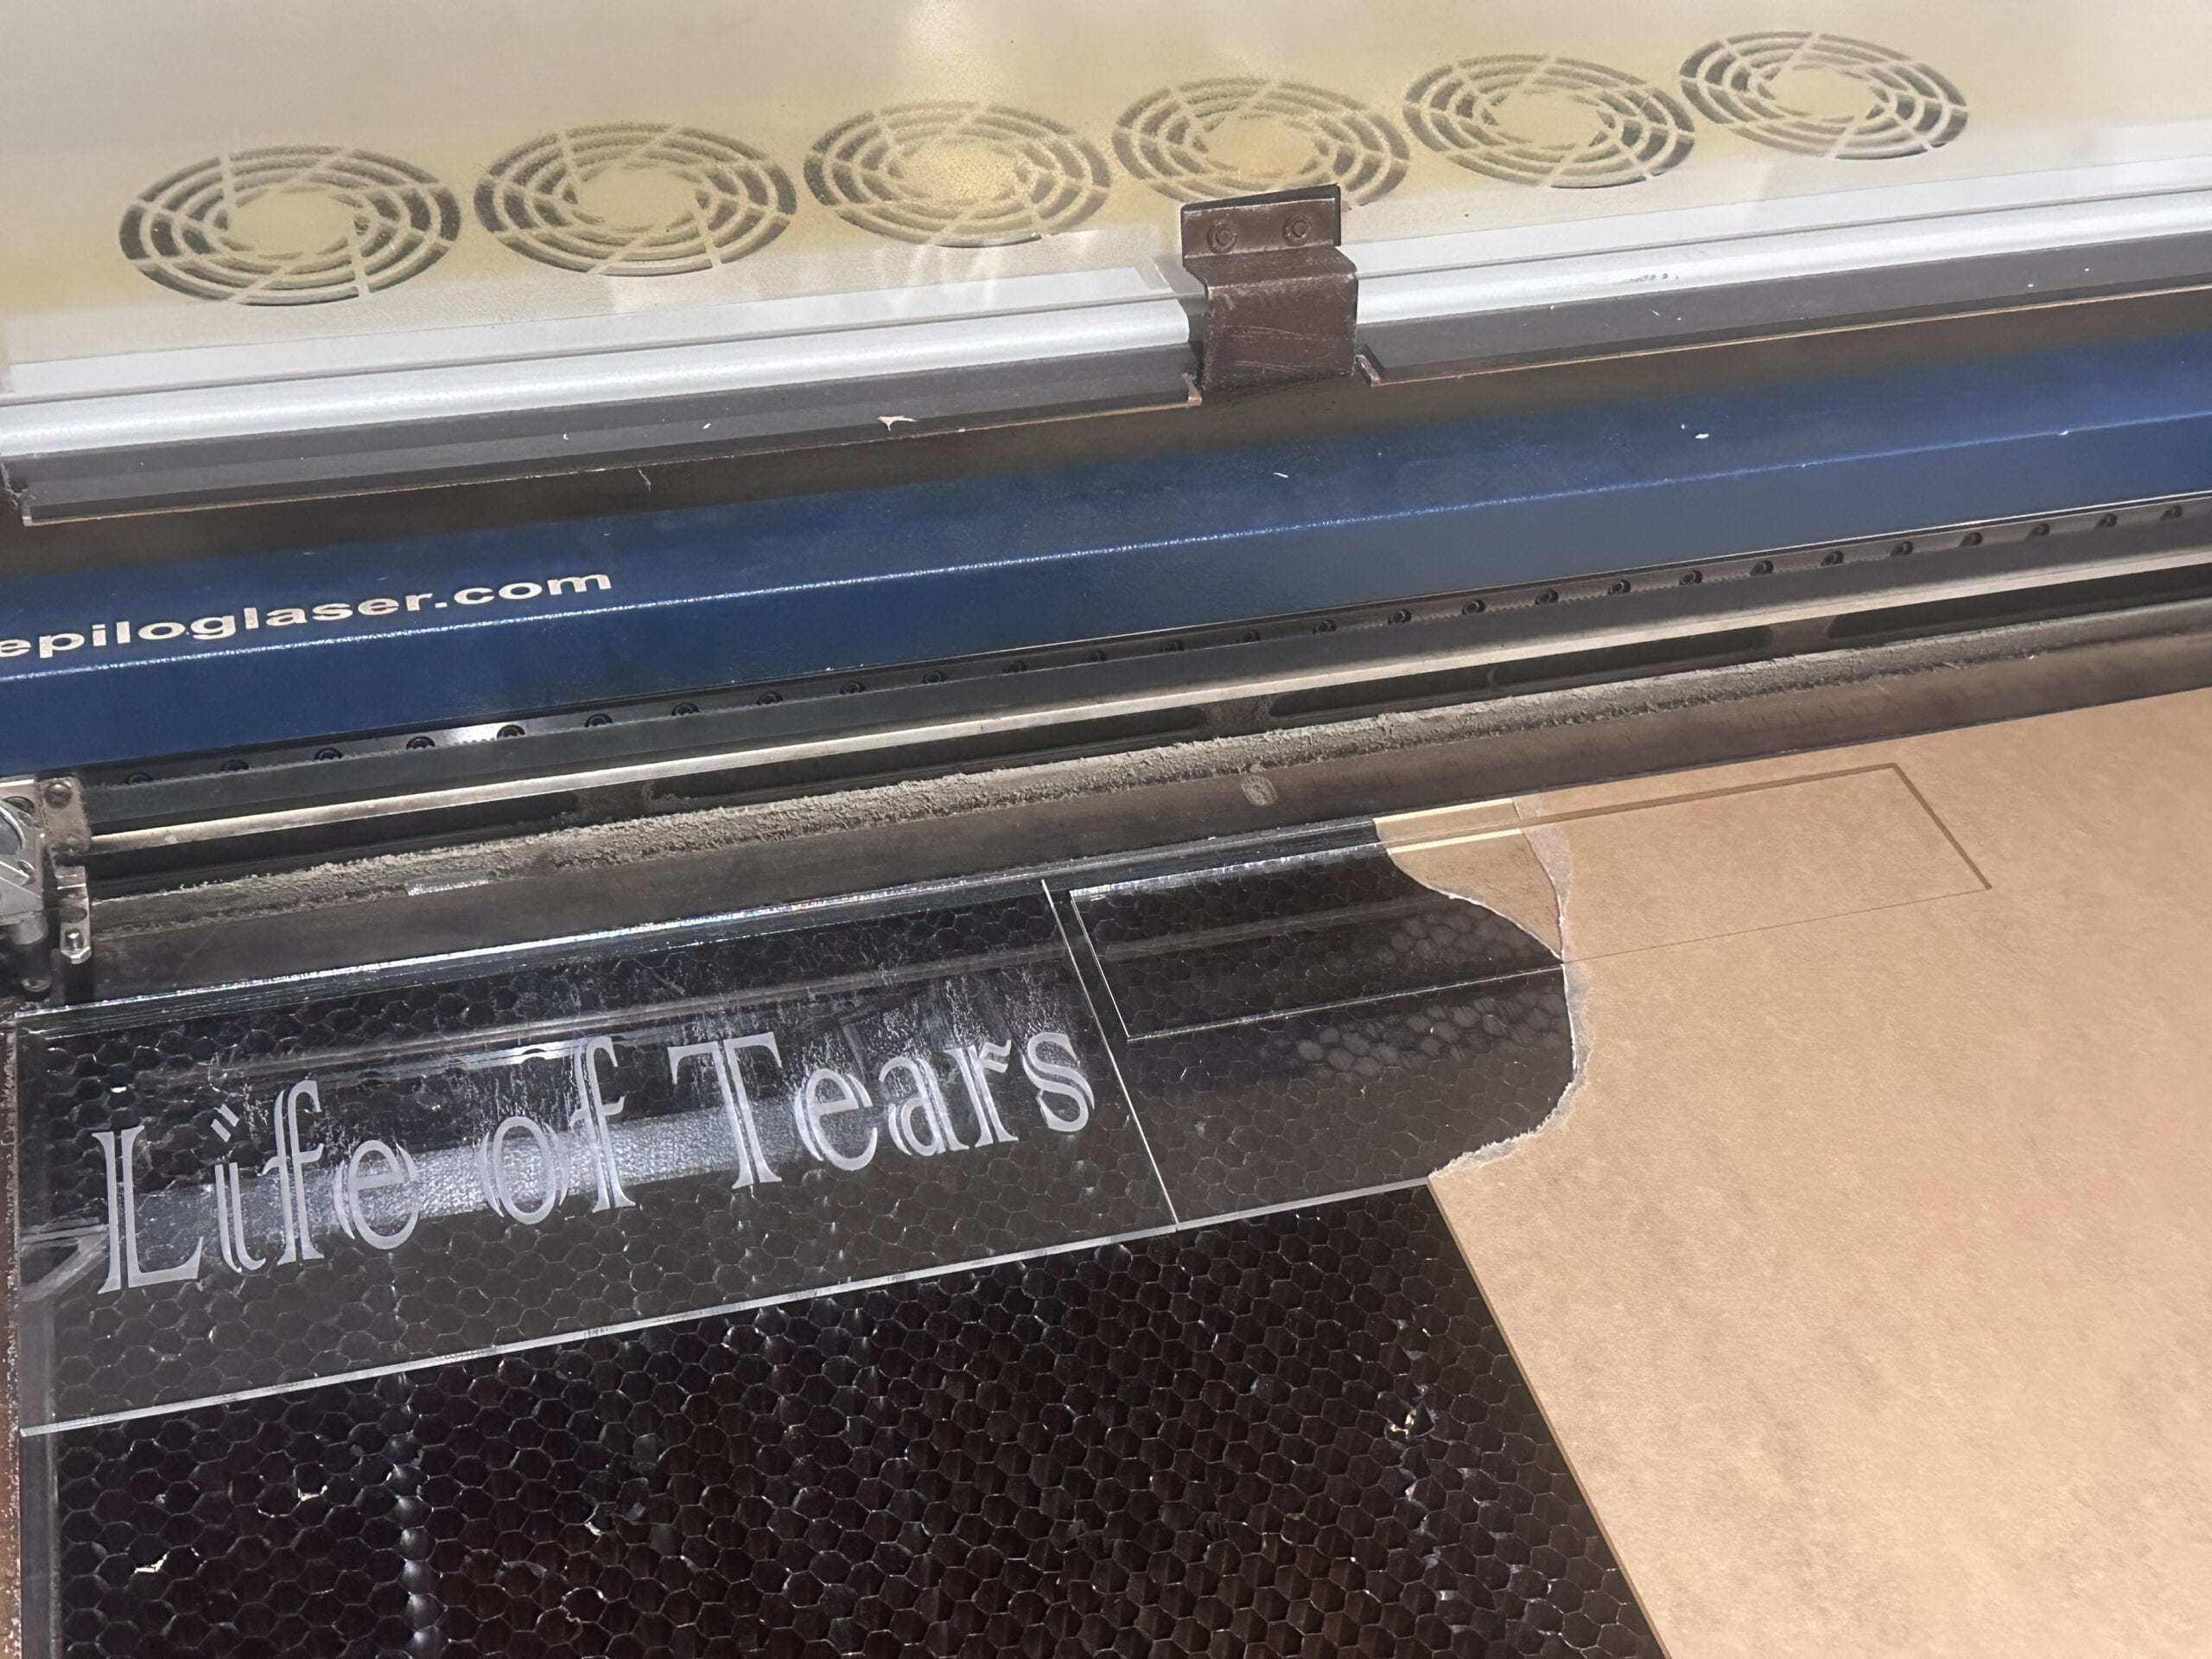

I engraved the title on the transparent acrylic board.
D. CONCLUSIONS:
• Expectation and Reality
“Everyone has their own opinions.” – Andy
This is the biggest takeaway I got in this project
I expect my audience can relieve their sad emotions and get cured by happy emotion through my project.
In the final presentation, I noticed some people think my project can arouse their emotions and help them relieve them after they play with it. But others thought it was not that immersive and hard to understand. I cannot satisfy all the users but accept their suggestions and ideas. I think this is what I have learnt in the process of final presentation and critique. Therefore, I accepted Gottfried’s suggestion and made an instruction and a background introduction in the final show, trying my best to show the project by conveying appropriate ideas.

In the final show, it was a pity that it was too noisy in the studio, so people couldn’t hear the sounds clearly. Based on the final presentation experience, I assumed the laptop volume was big enough falsely. But everyone still tried to get the sounds with my introduction. Moreover, my project was too fragile. Pressure sensors needed users to use some strength, but if they used too much strength, my project would easily break down. In the final show, some users were too energetic and I felt my project was on the verge of collapse… There was even a little error happening because one of the wire was pulled off by the powerful users. Fortunately, I found this problem and fixed it but some users were confused by the error and I had to explain it for many times, which caused a little unpleasant experience.
However, I was surprised that a lot of people liked my project and praised my creativity. Due to my introverted characteristics, I was planning to sit behind my project and see them play my project. However, when I saw many people were curious about my project, I couldn’t help standing up and introduced my project. Instead of telling them all of my ideas directly, I waited and saw how they explored and interacted with my project by themselves. Some of them told me their thoughts and I benefitted a lot from these ideas. Also, I had a lot of conversation with them during and after they interacted with my project. Sometimes, I gave a few instructions to lead them to explore more but I tried to control myself not to interfere too much. This was what I have learnt in the learning process – a good interactive project should speak by itself.
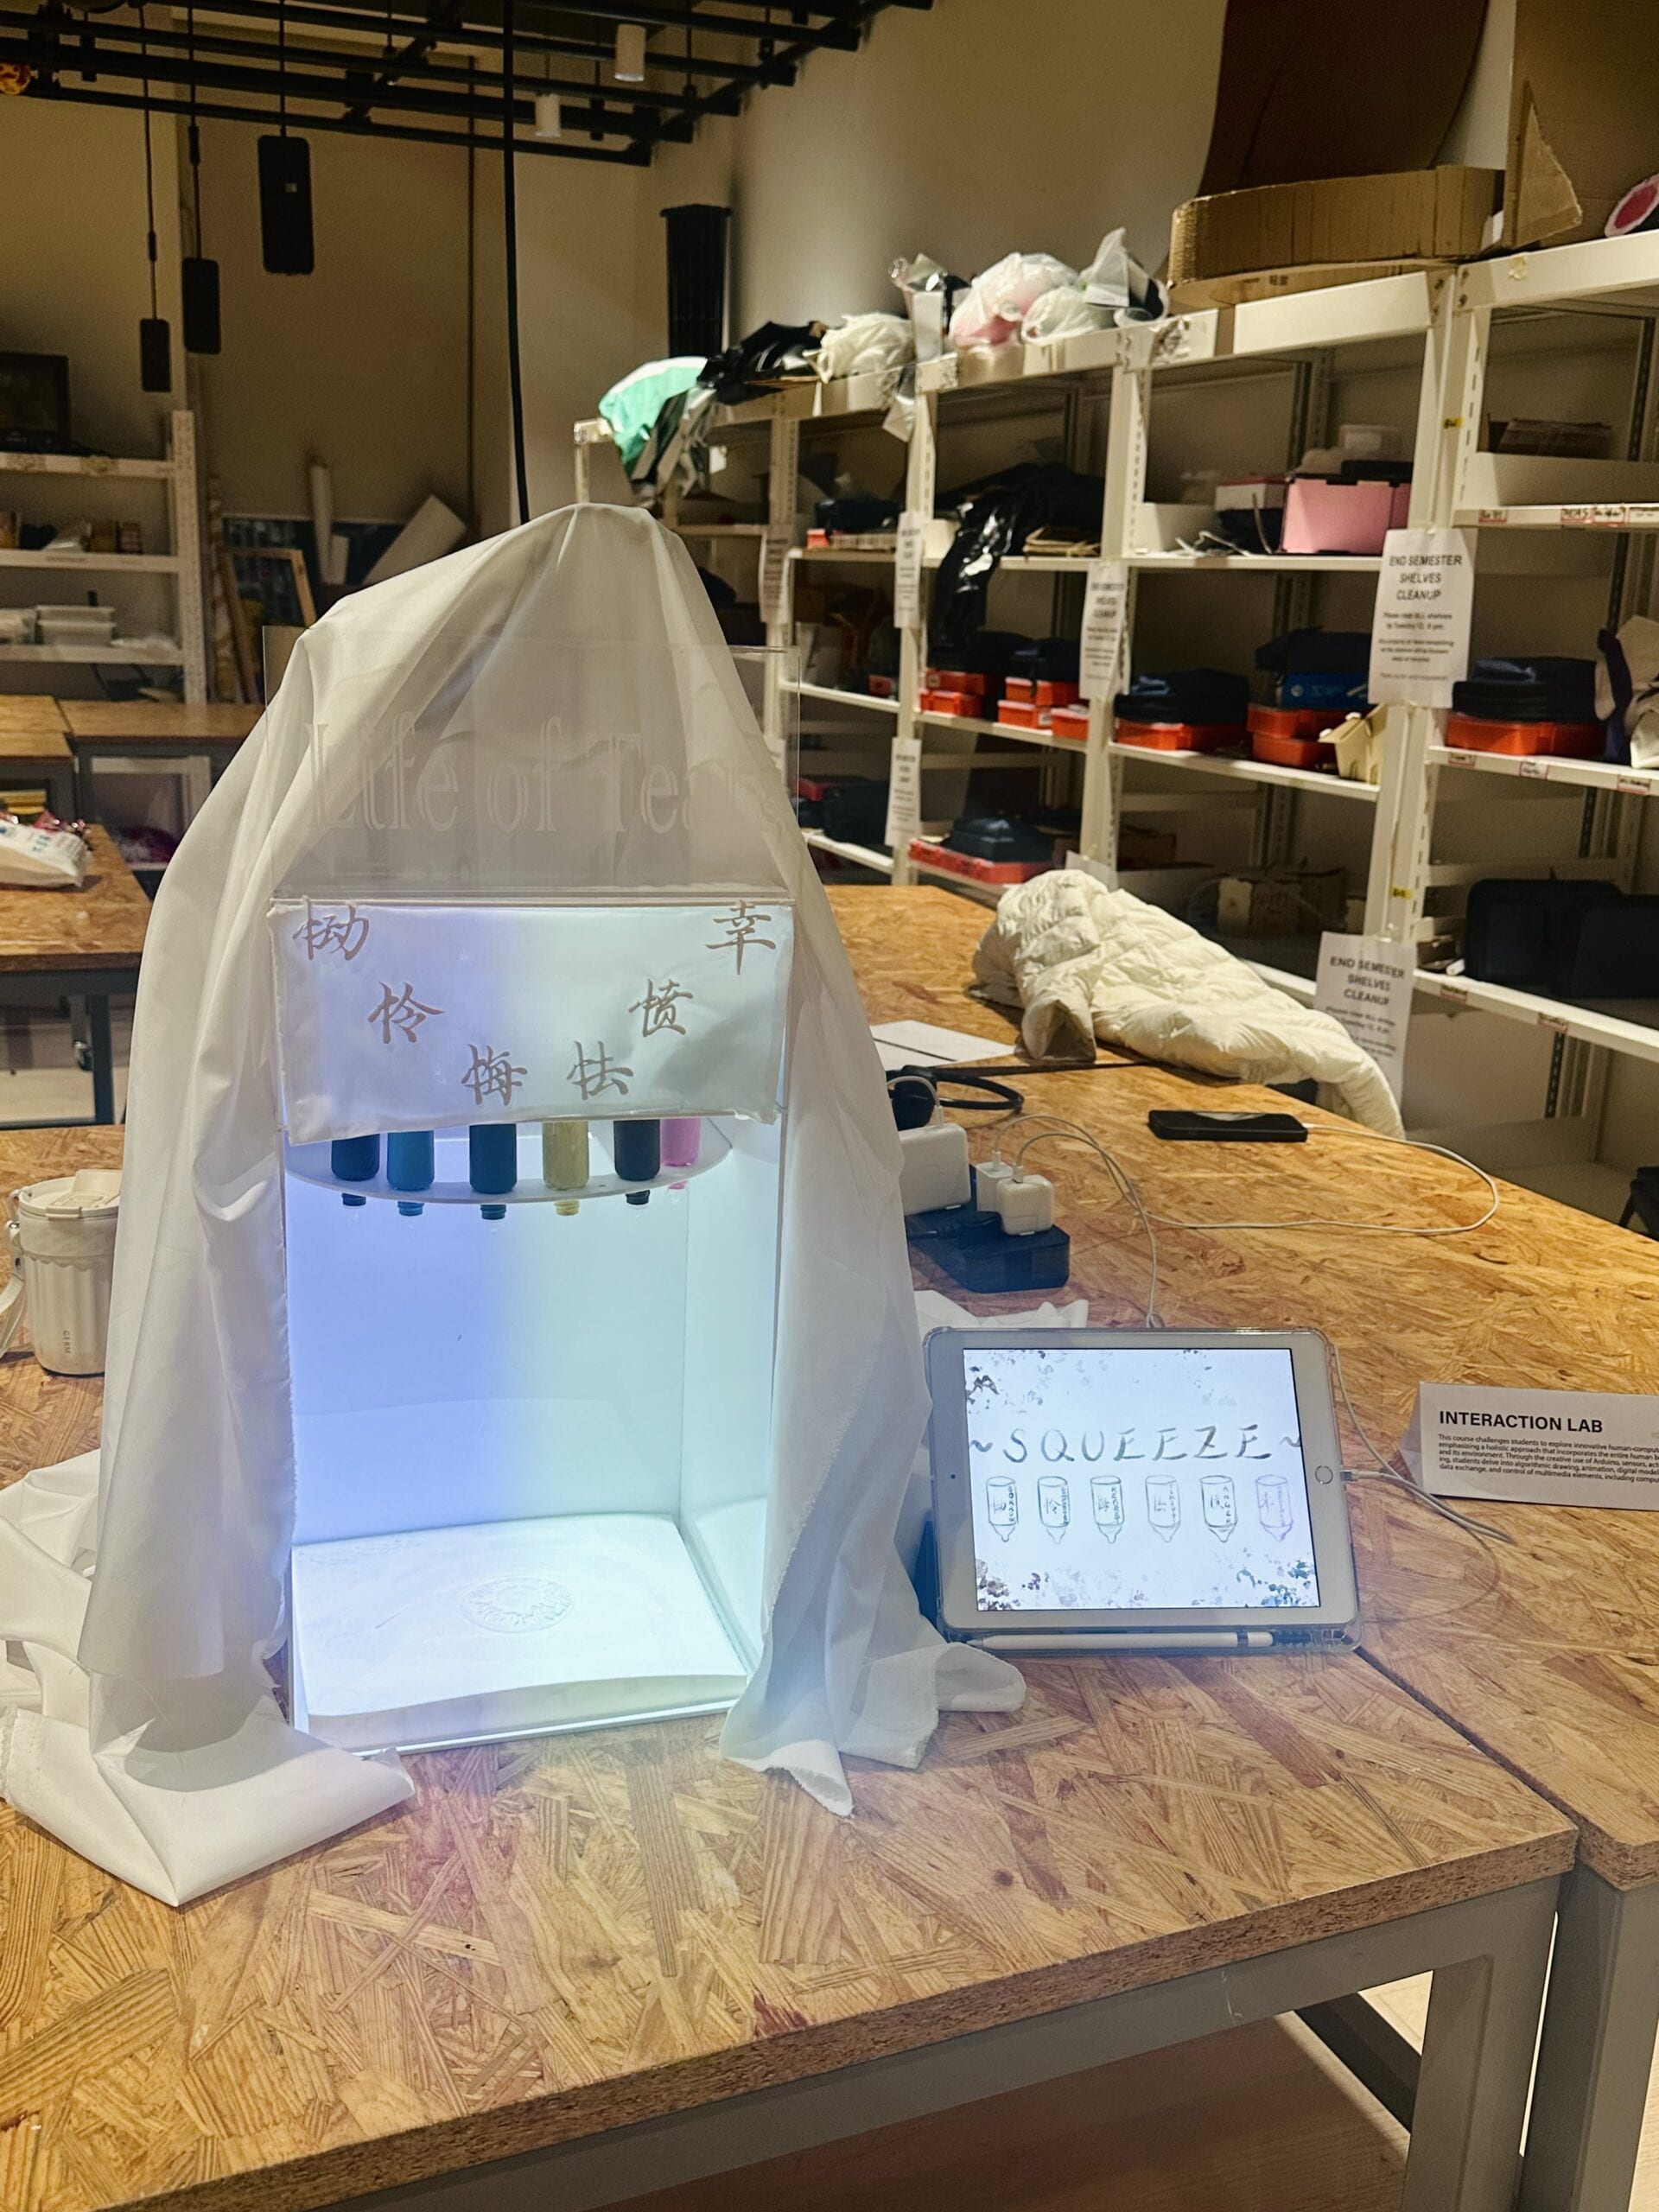
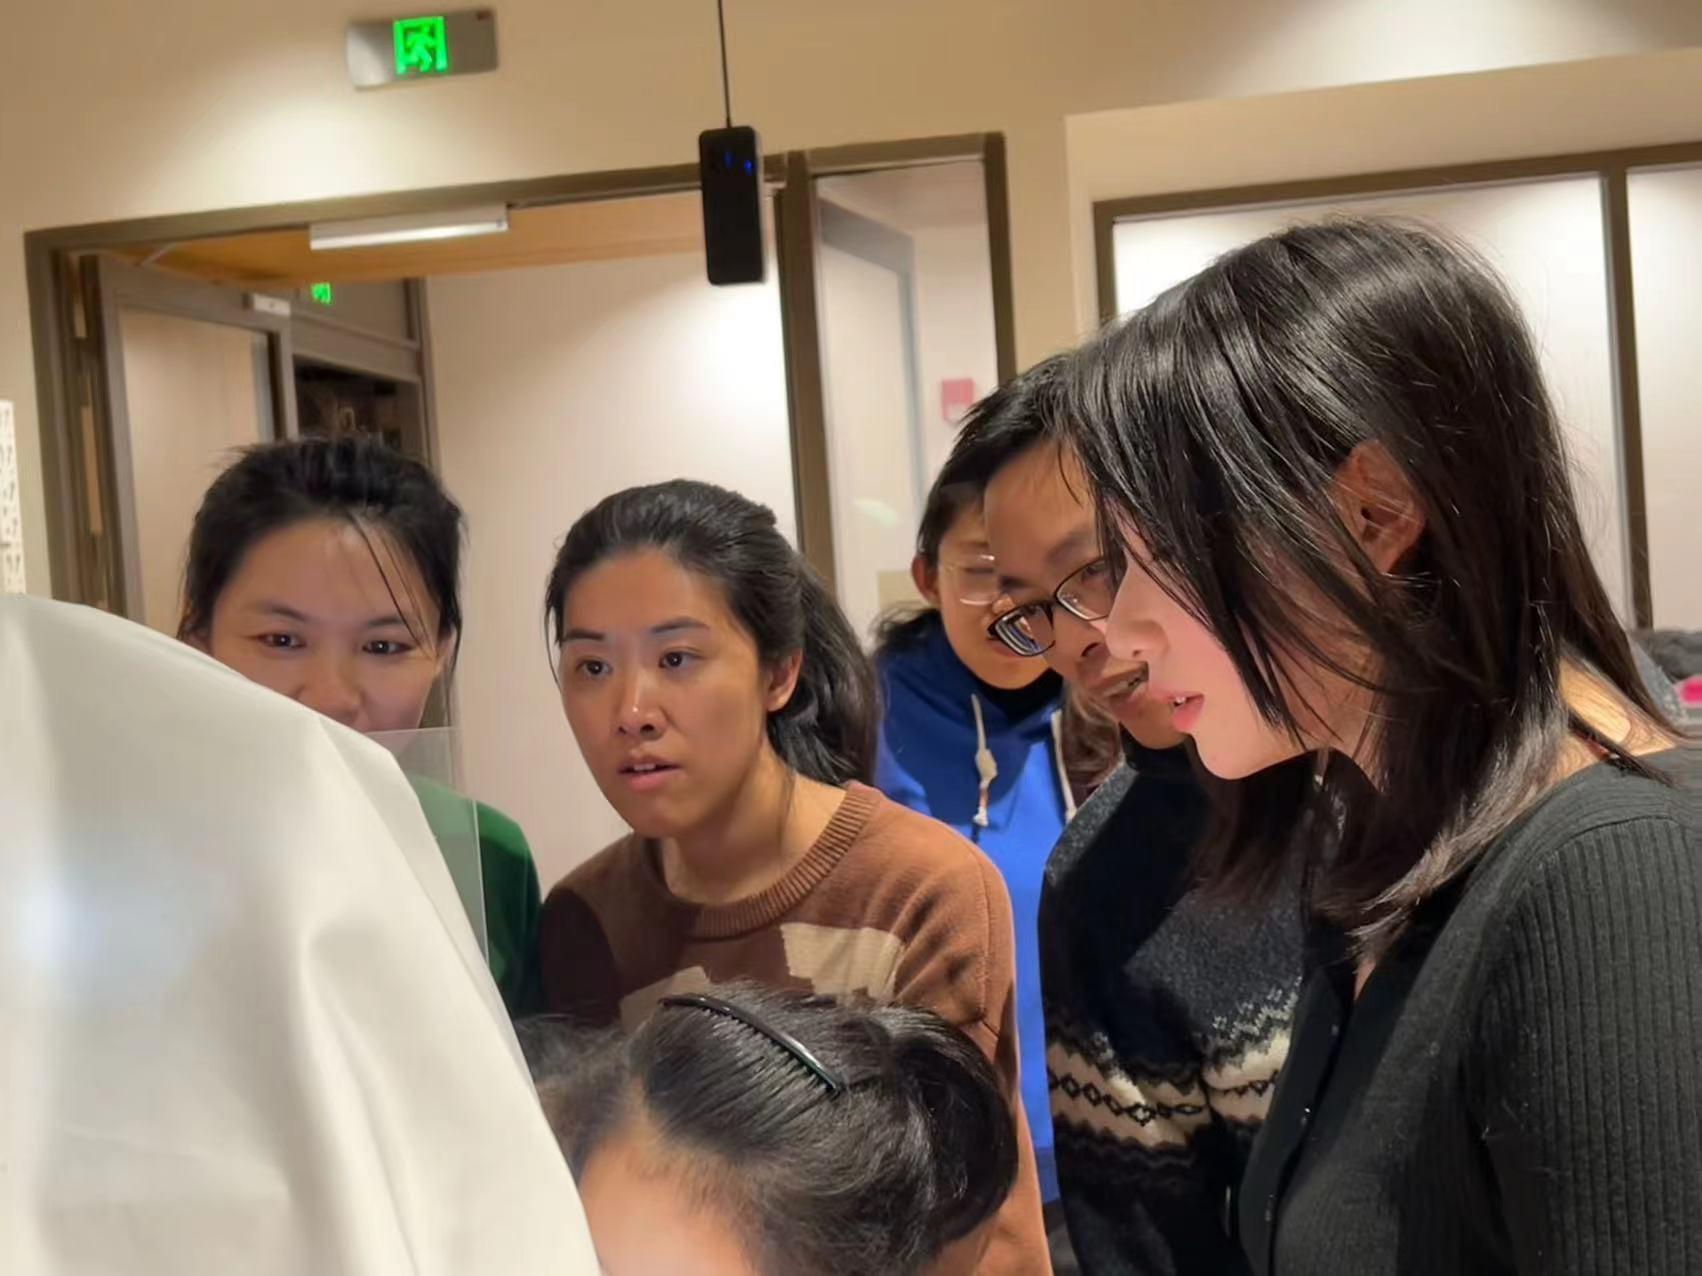
Overall, I’m glad that the project has almost achieved my expectations and gained many complements and likes. Especially in the finals, everyone became emotionally unstable. Their interaction with my project can effectively help them relieve their negative emotions and get “cured”. I was moved to tears when the final presentation ended because I saw many classmates loved my project. This feeling became stronger when the final show ended because I saw many people ranging from kids and the elderly got my ideas and understood me.
My tears were the best full stop of this project.
• Improvements (If I had more time…)
-
- Bigger structure and More emotions (positive)
- More animation, like changing the path of the tears going down and making it more 3D-like or mixing the tears at the bottom of the eye
- Add bim-bom sounds when the drops fall on the eyeball
- Adjust the luminance of the projector
- Use a stereo instead of the laptop itself to make sounds.
- Sounds —> Songs
E. DISASSEMBLY:
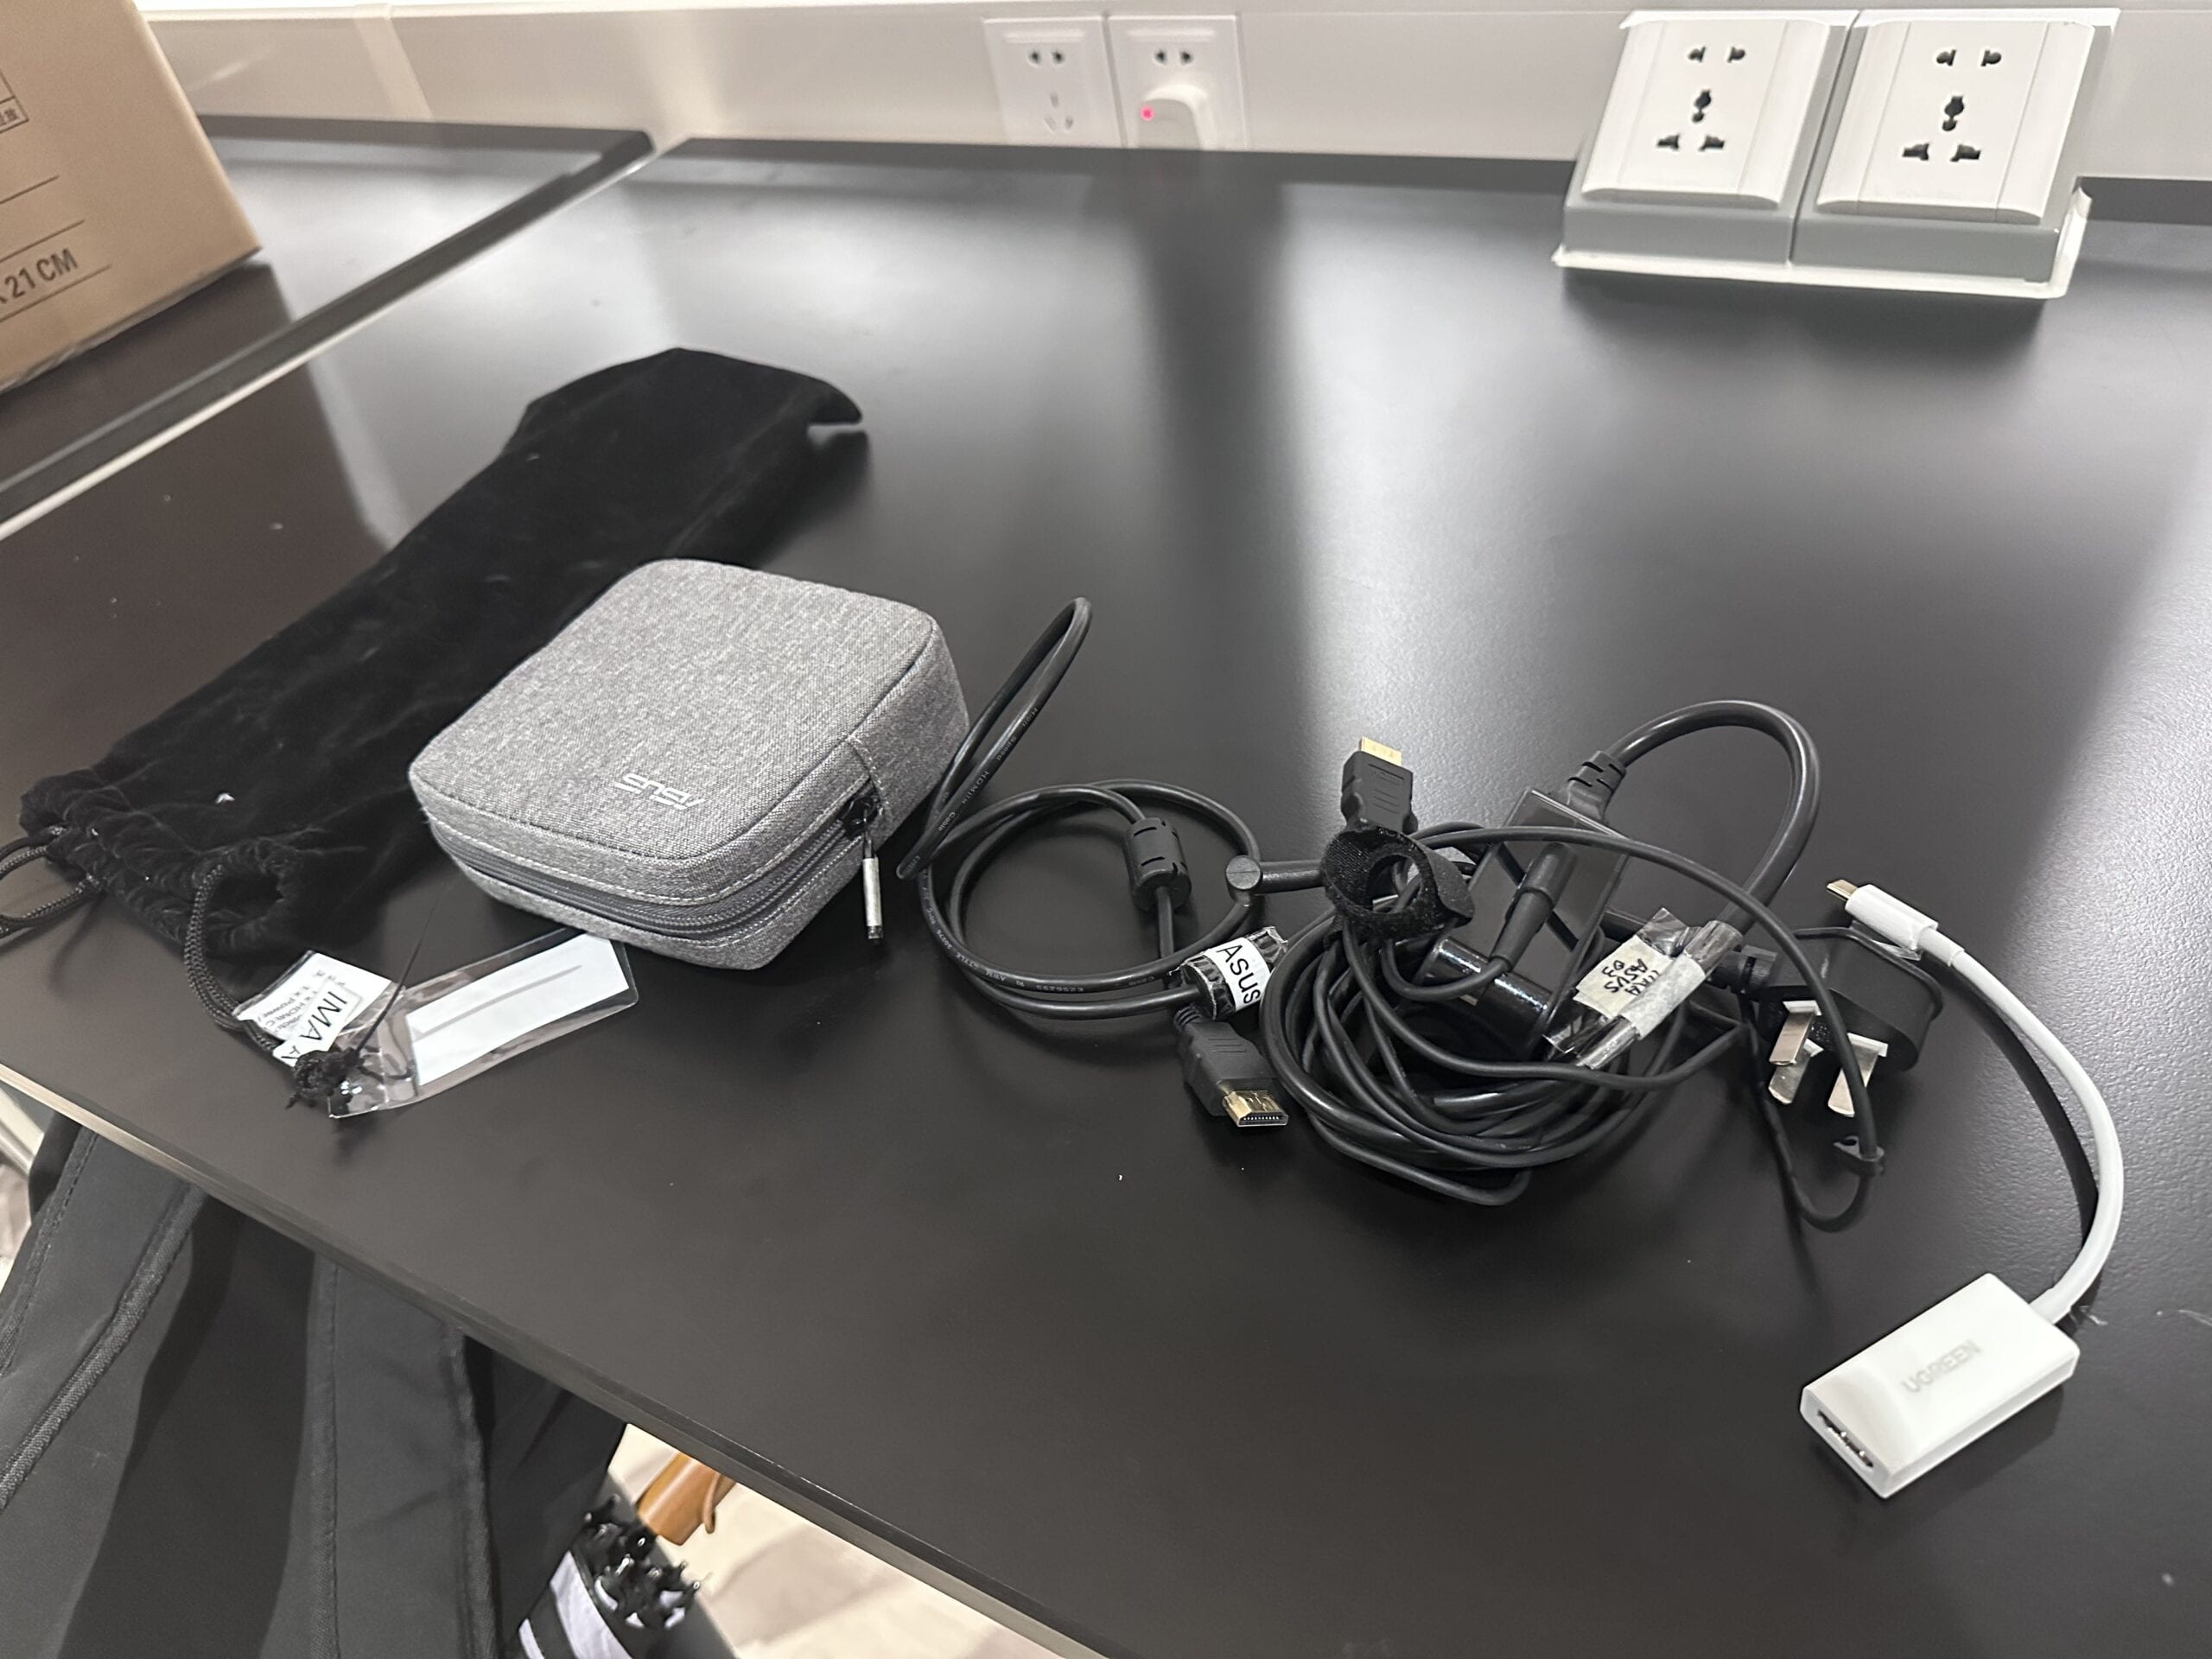
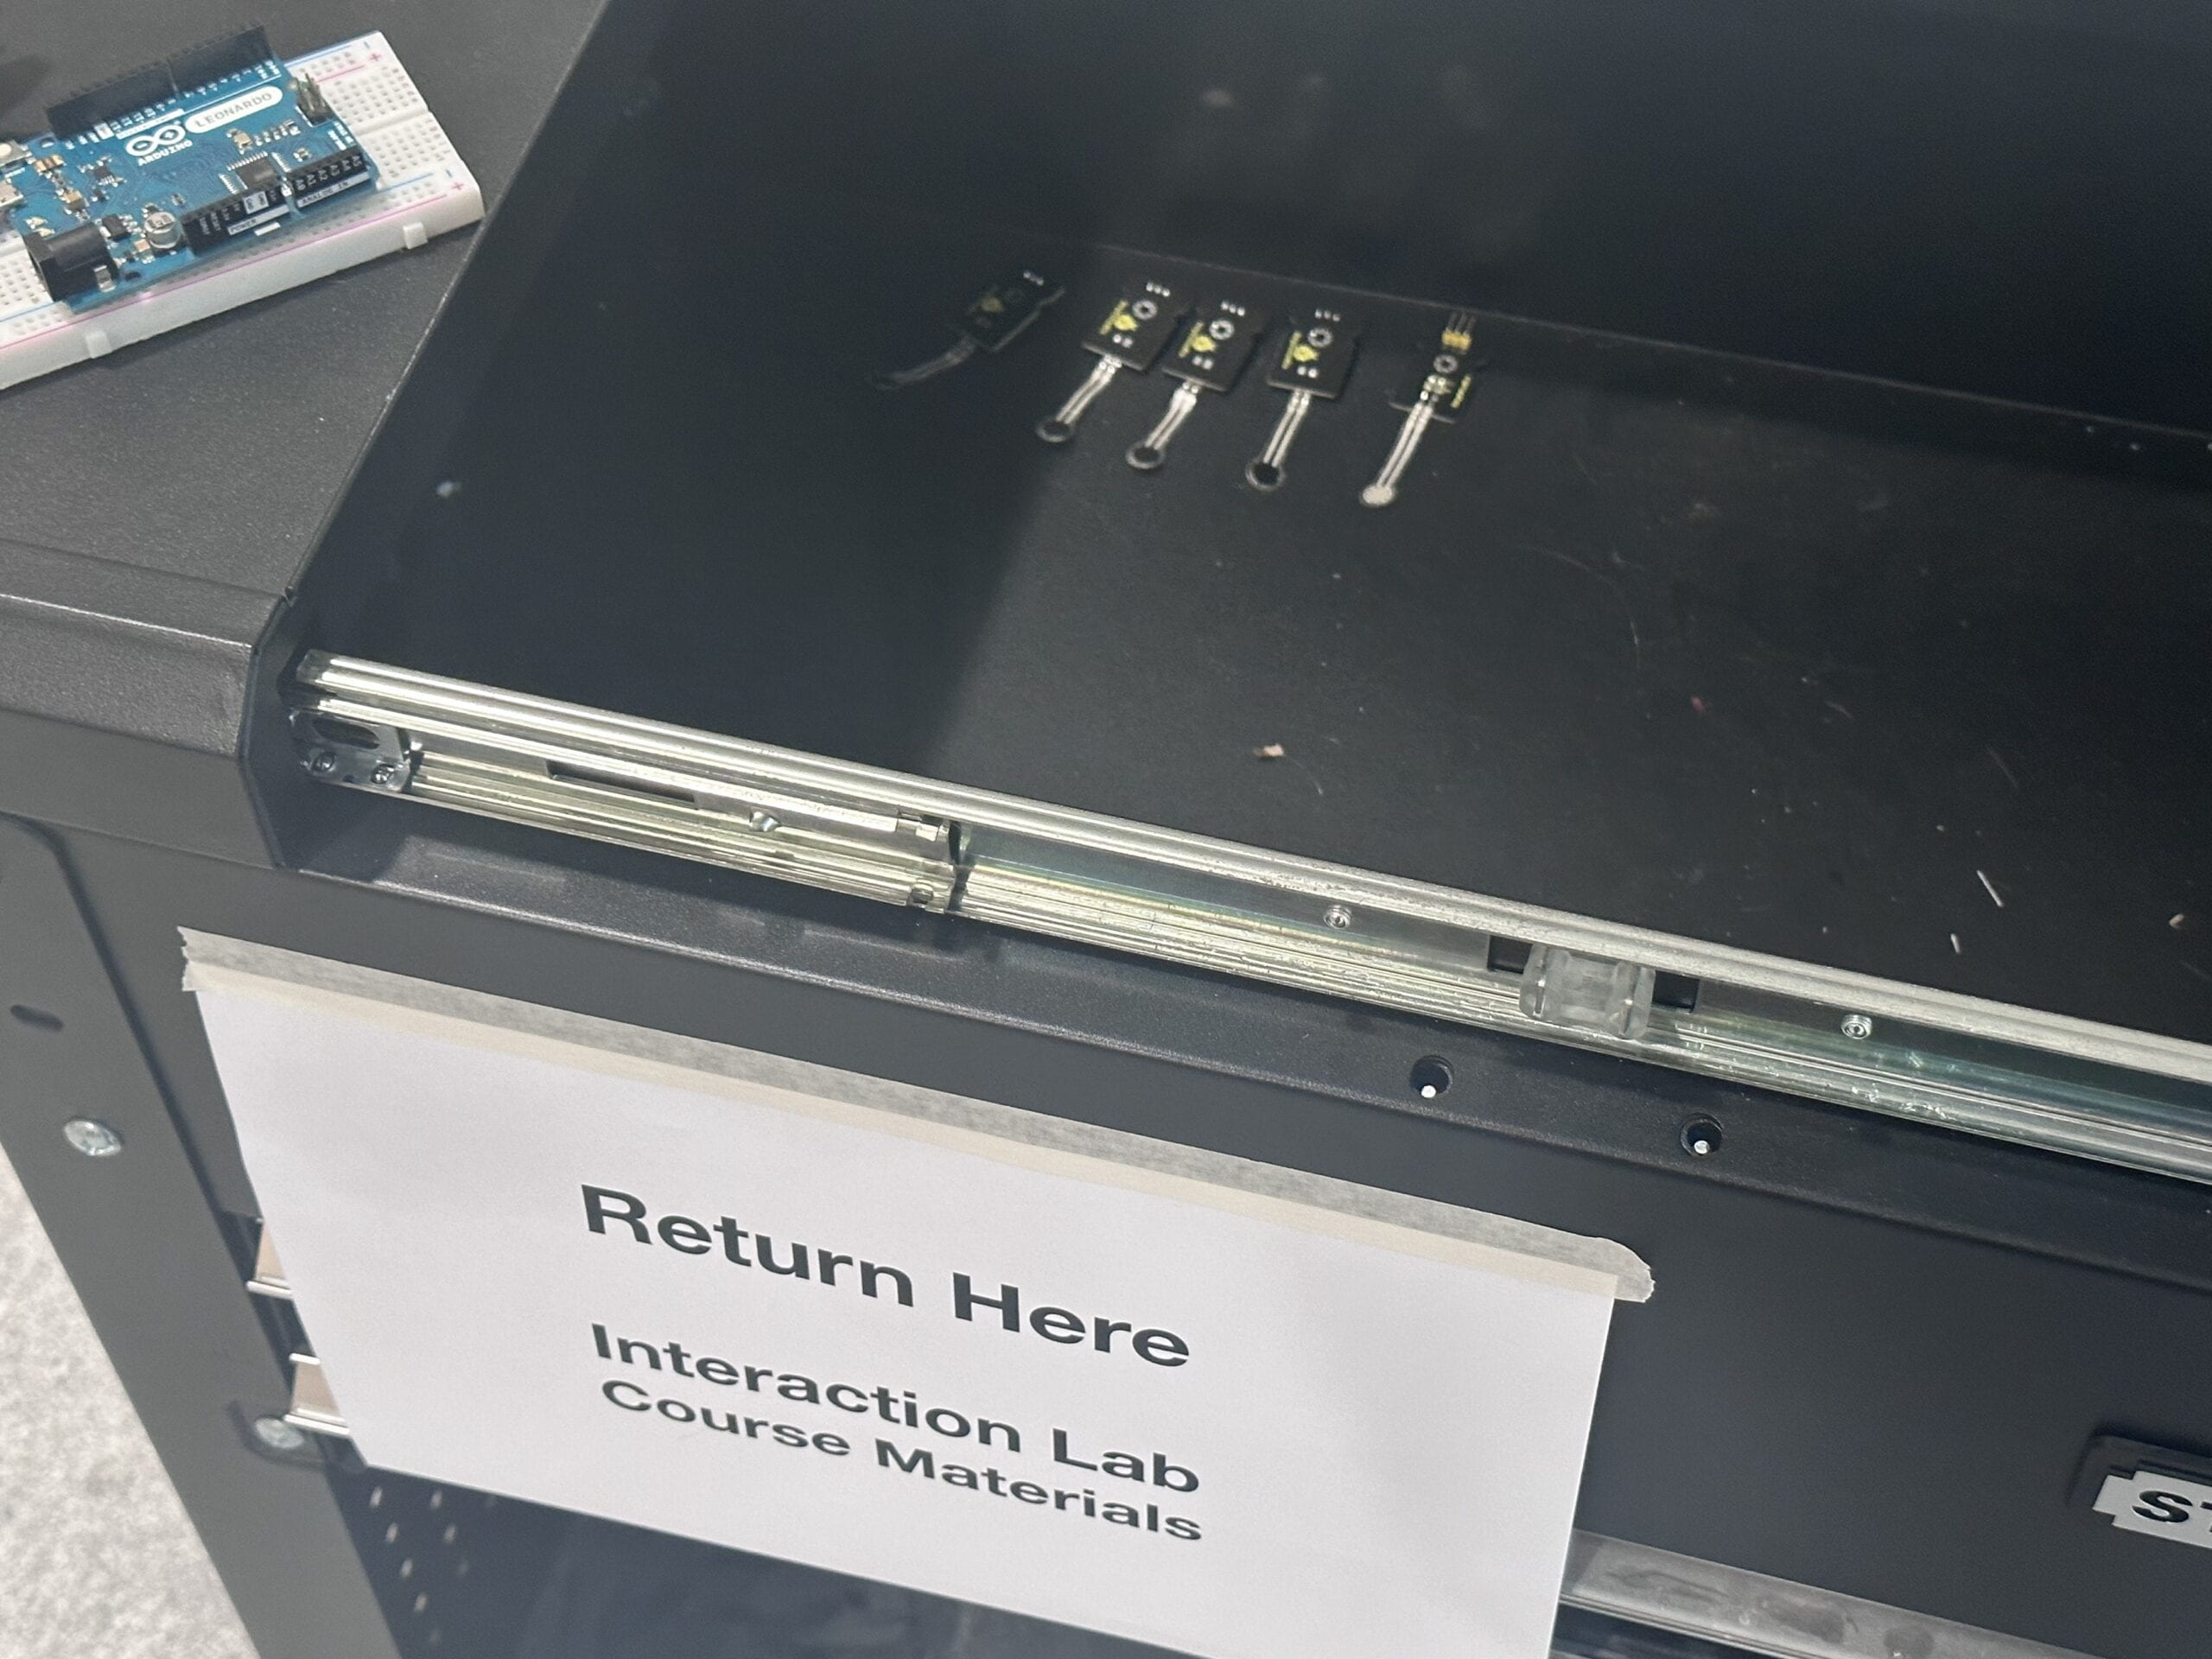
I returned the projector and adapter to the Equipment Room and the five pressure sensors to the black cart outside the IMA studio.
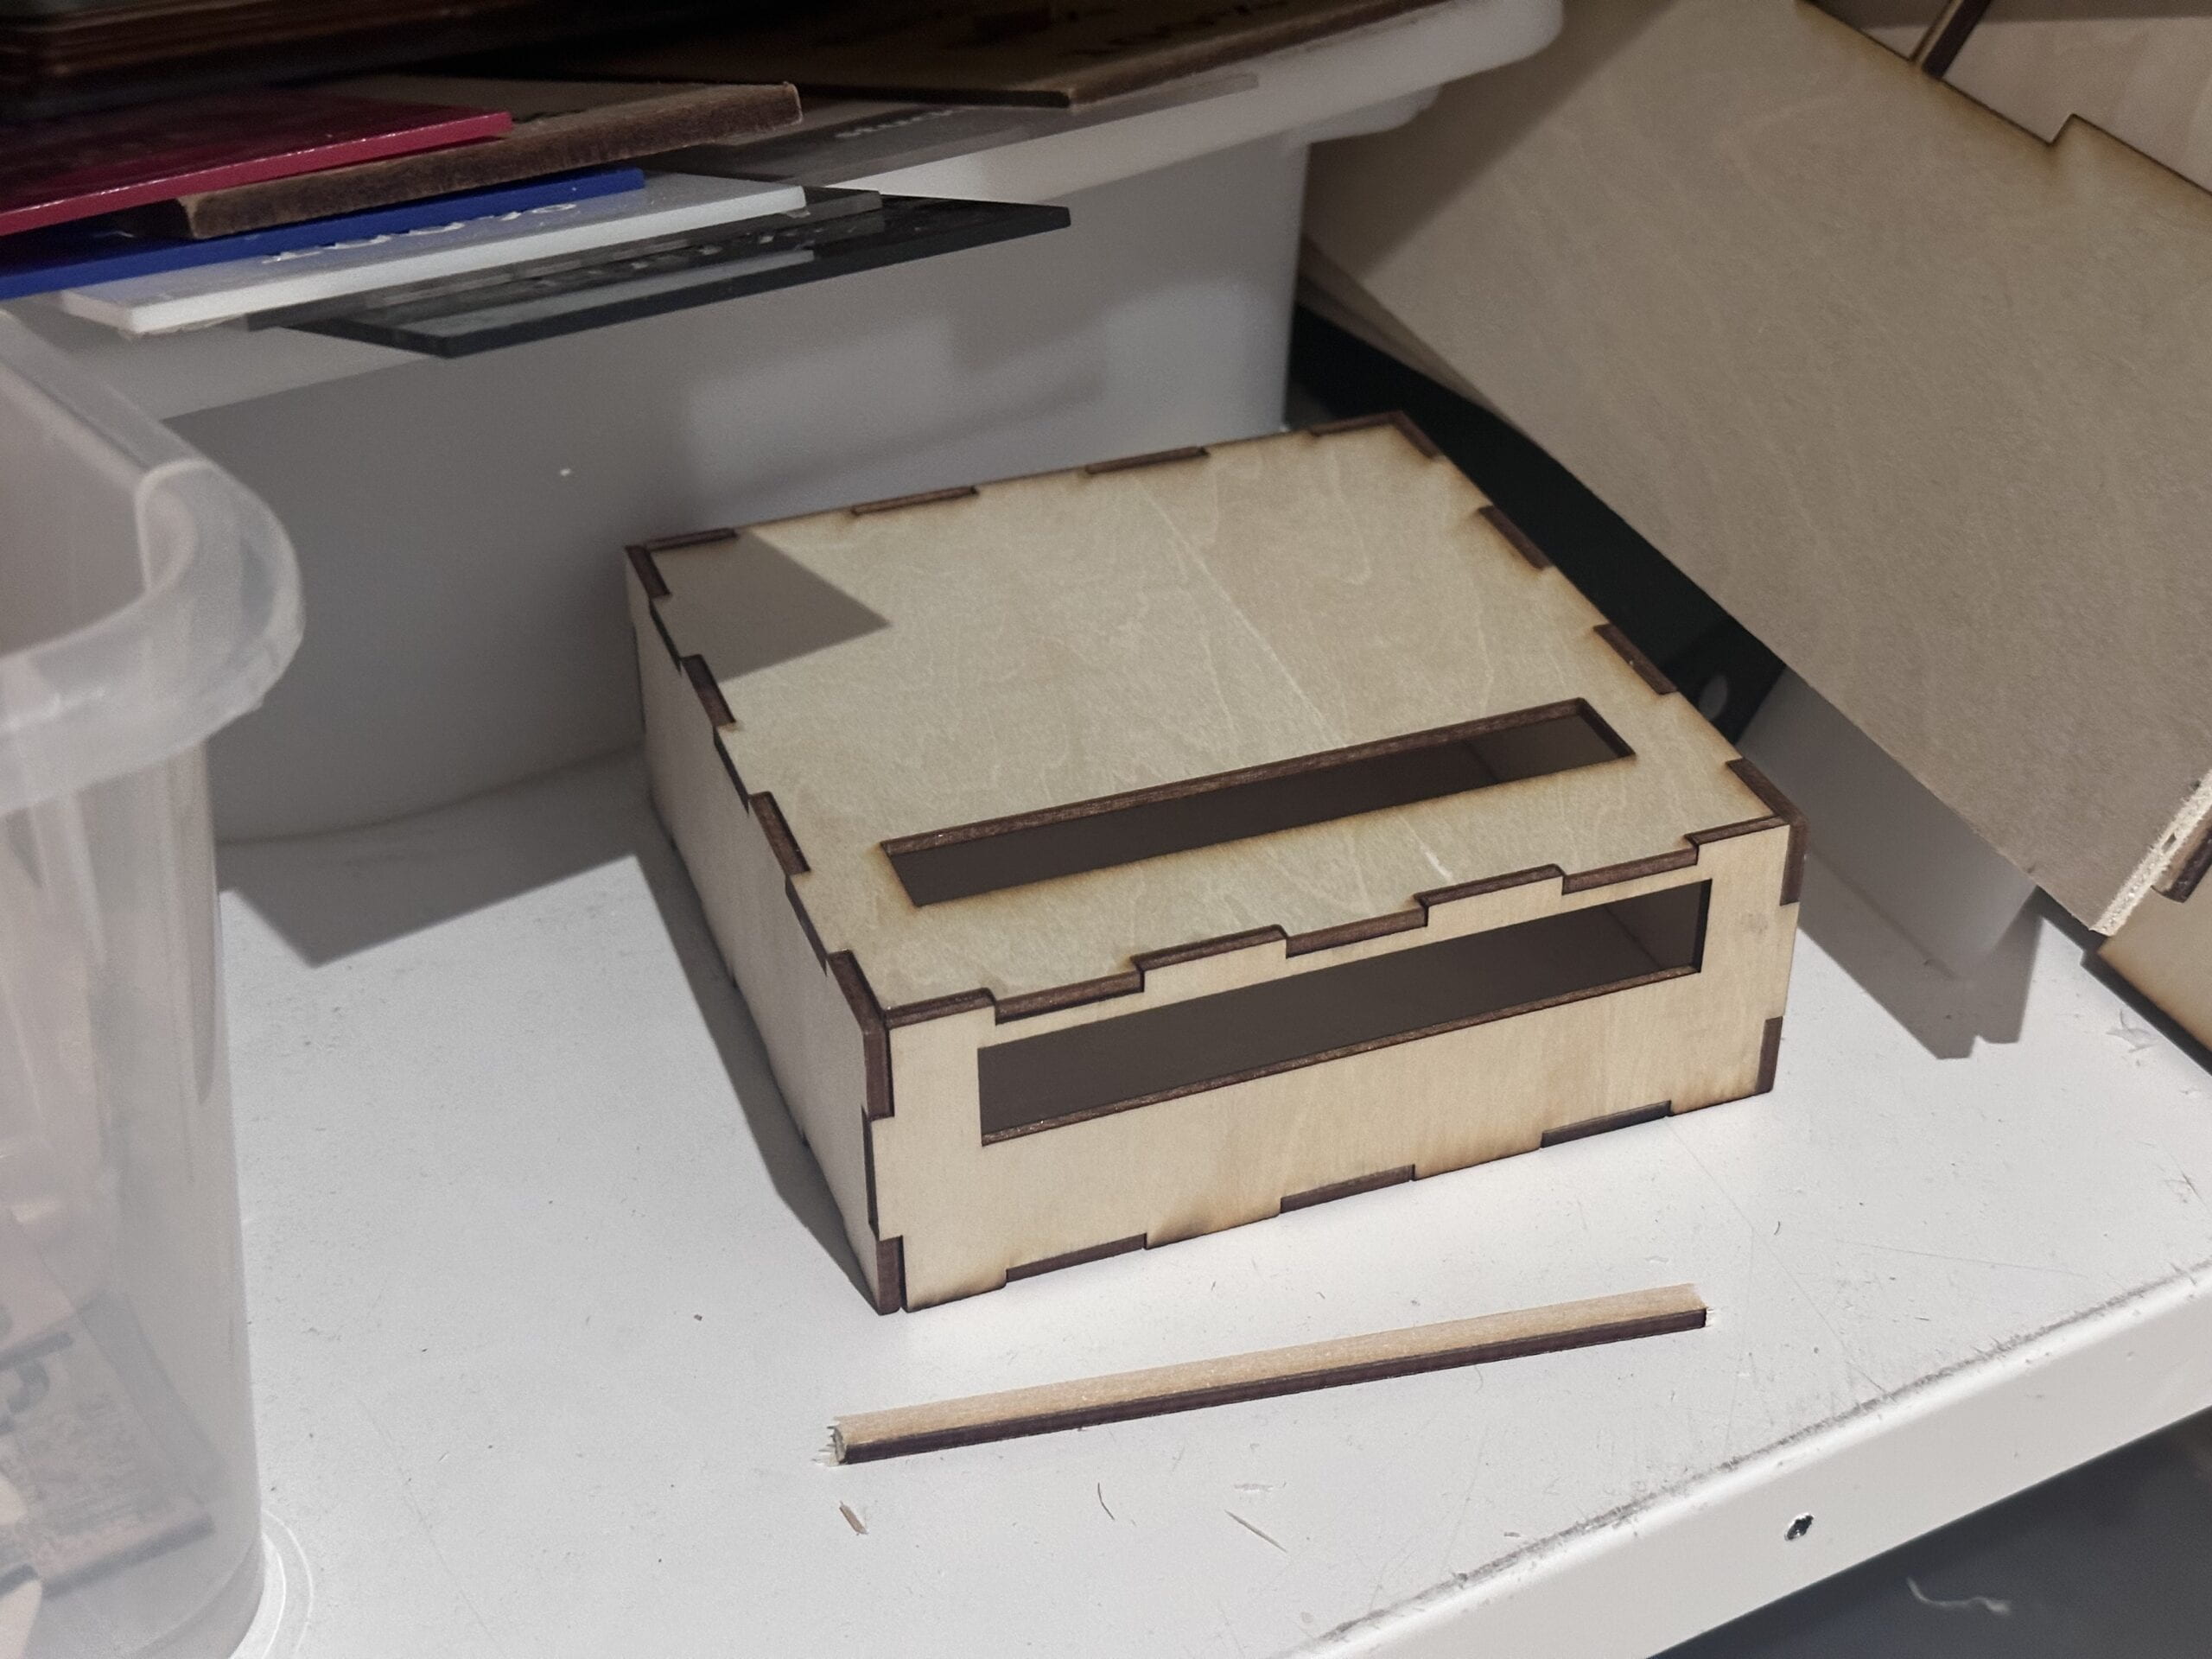
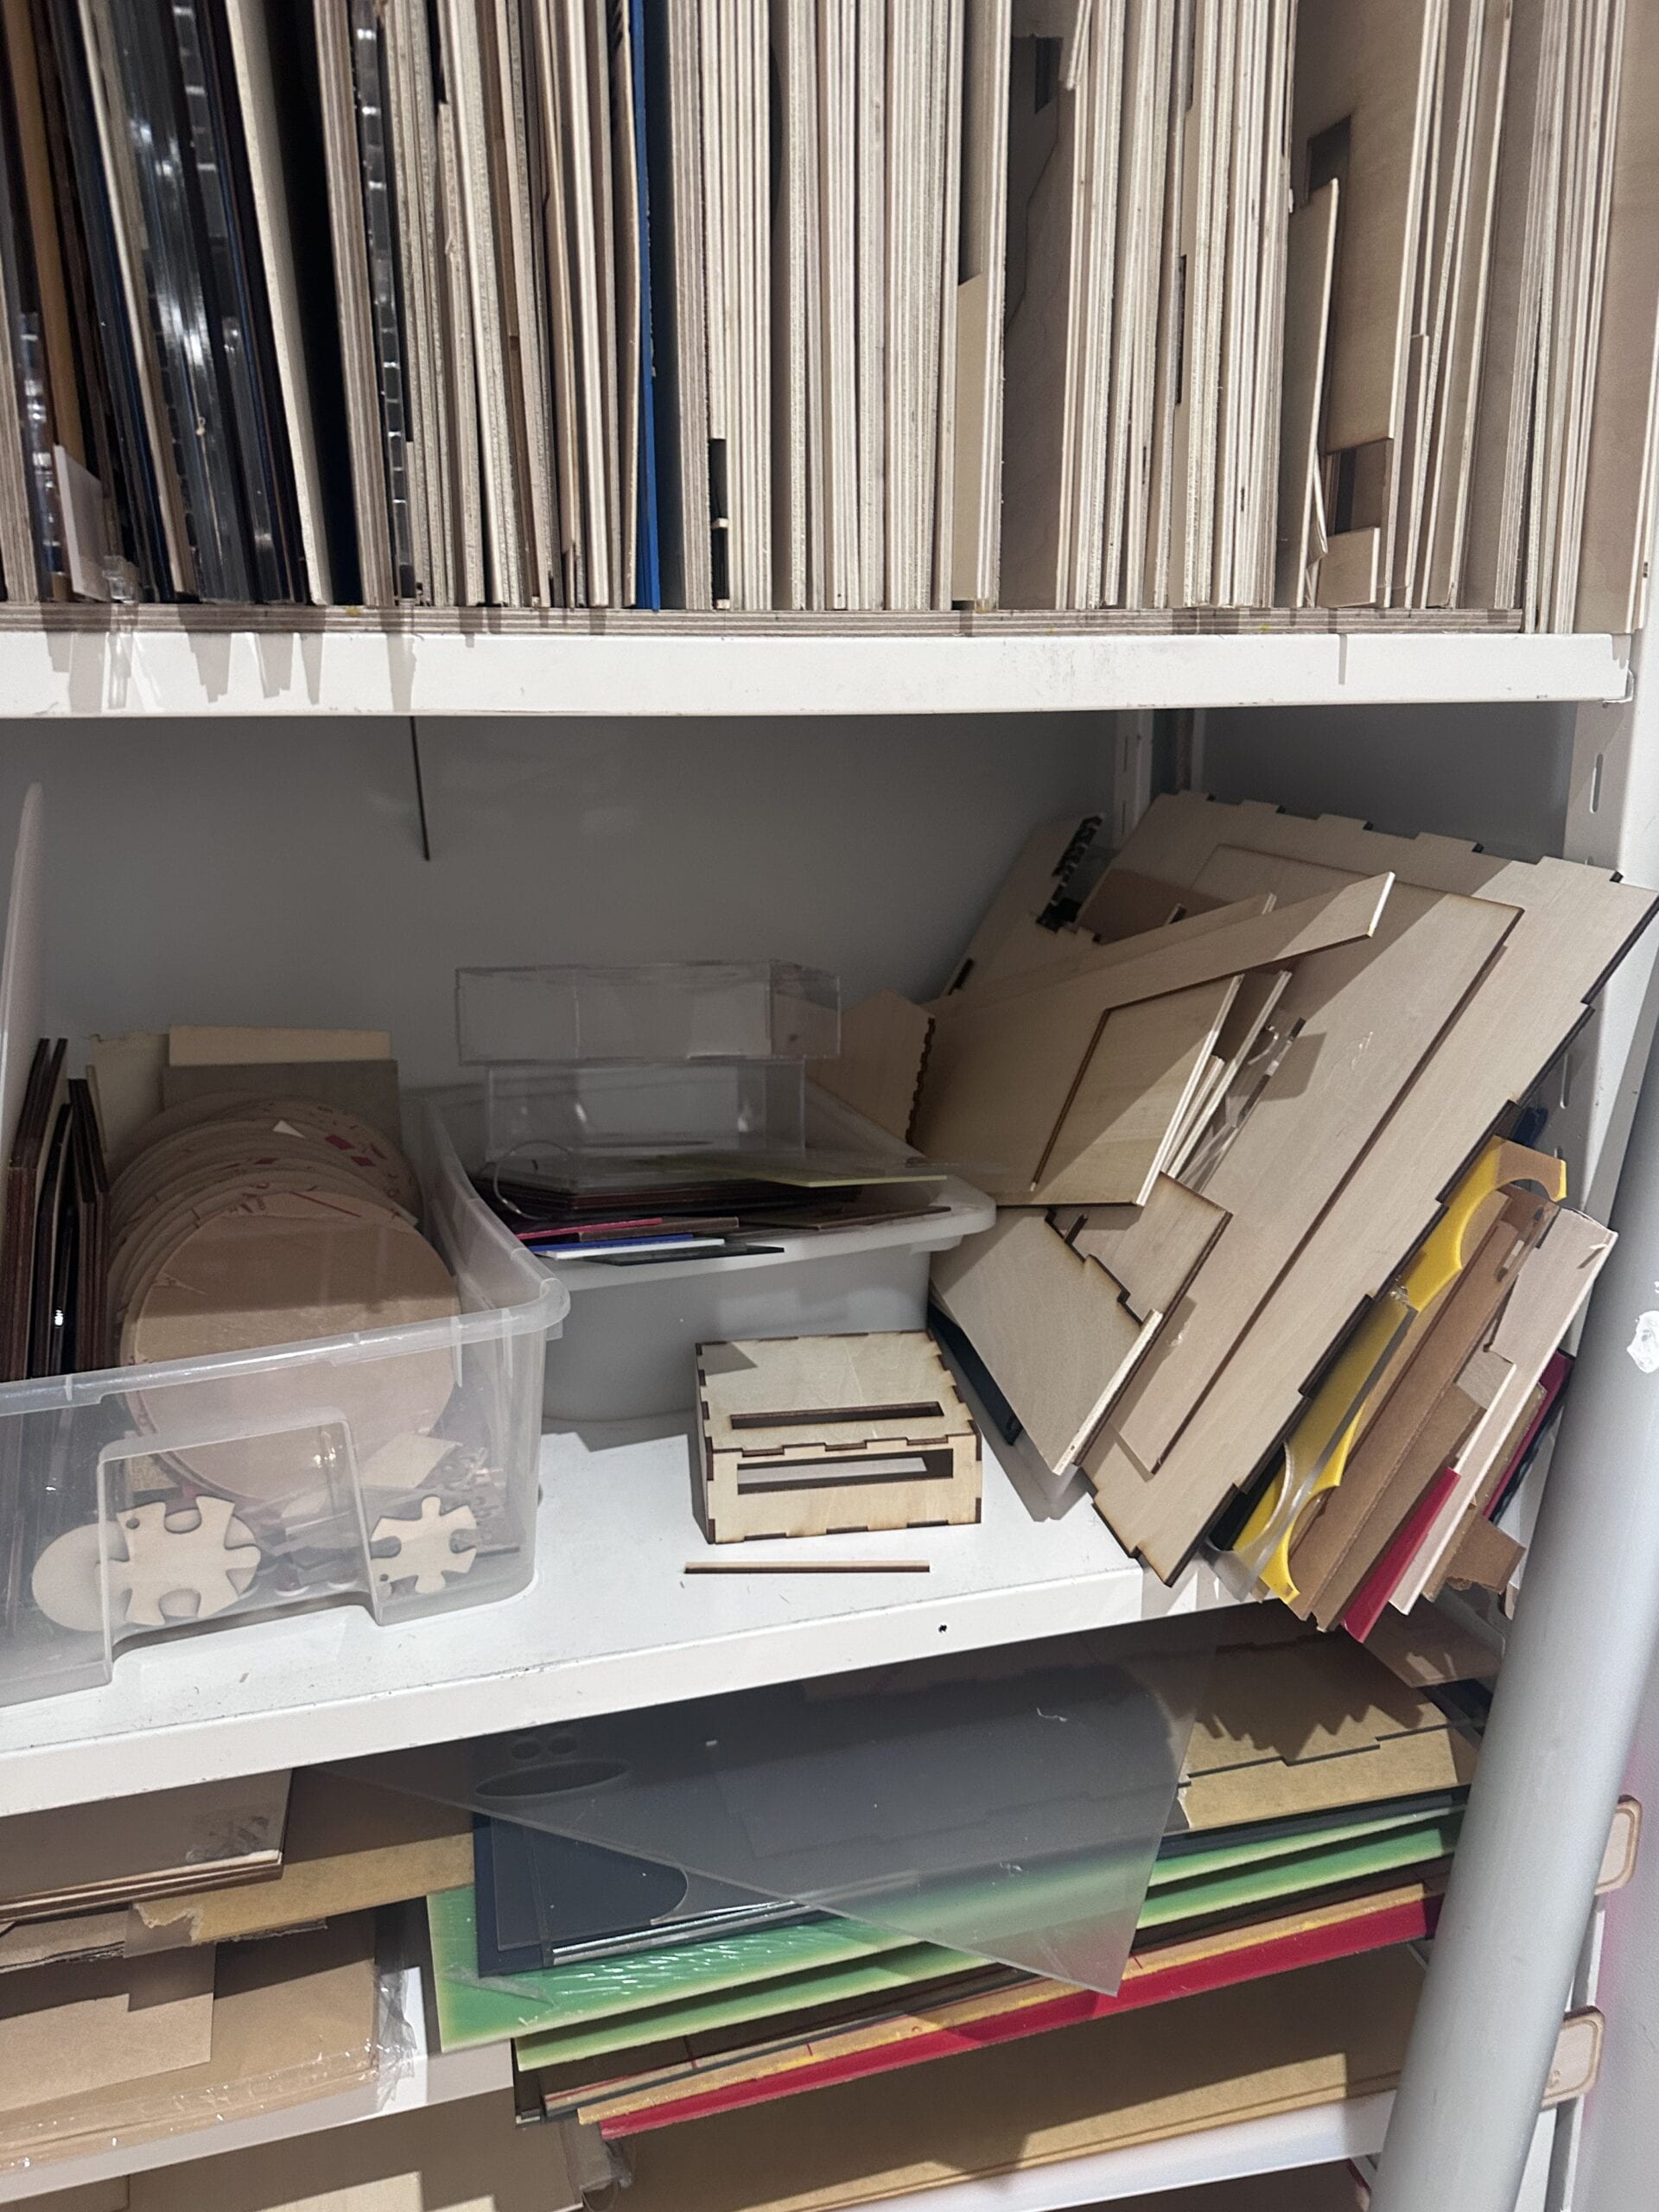
I put this little box customized for the little projector on the shelf in the fabrication lab. Hope it can be made use of by future Ixlab students and save their time!!
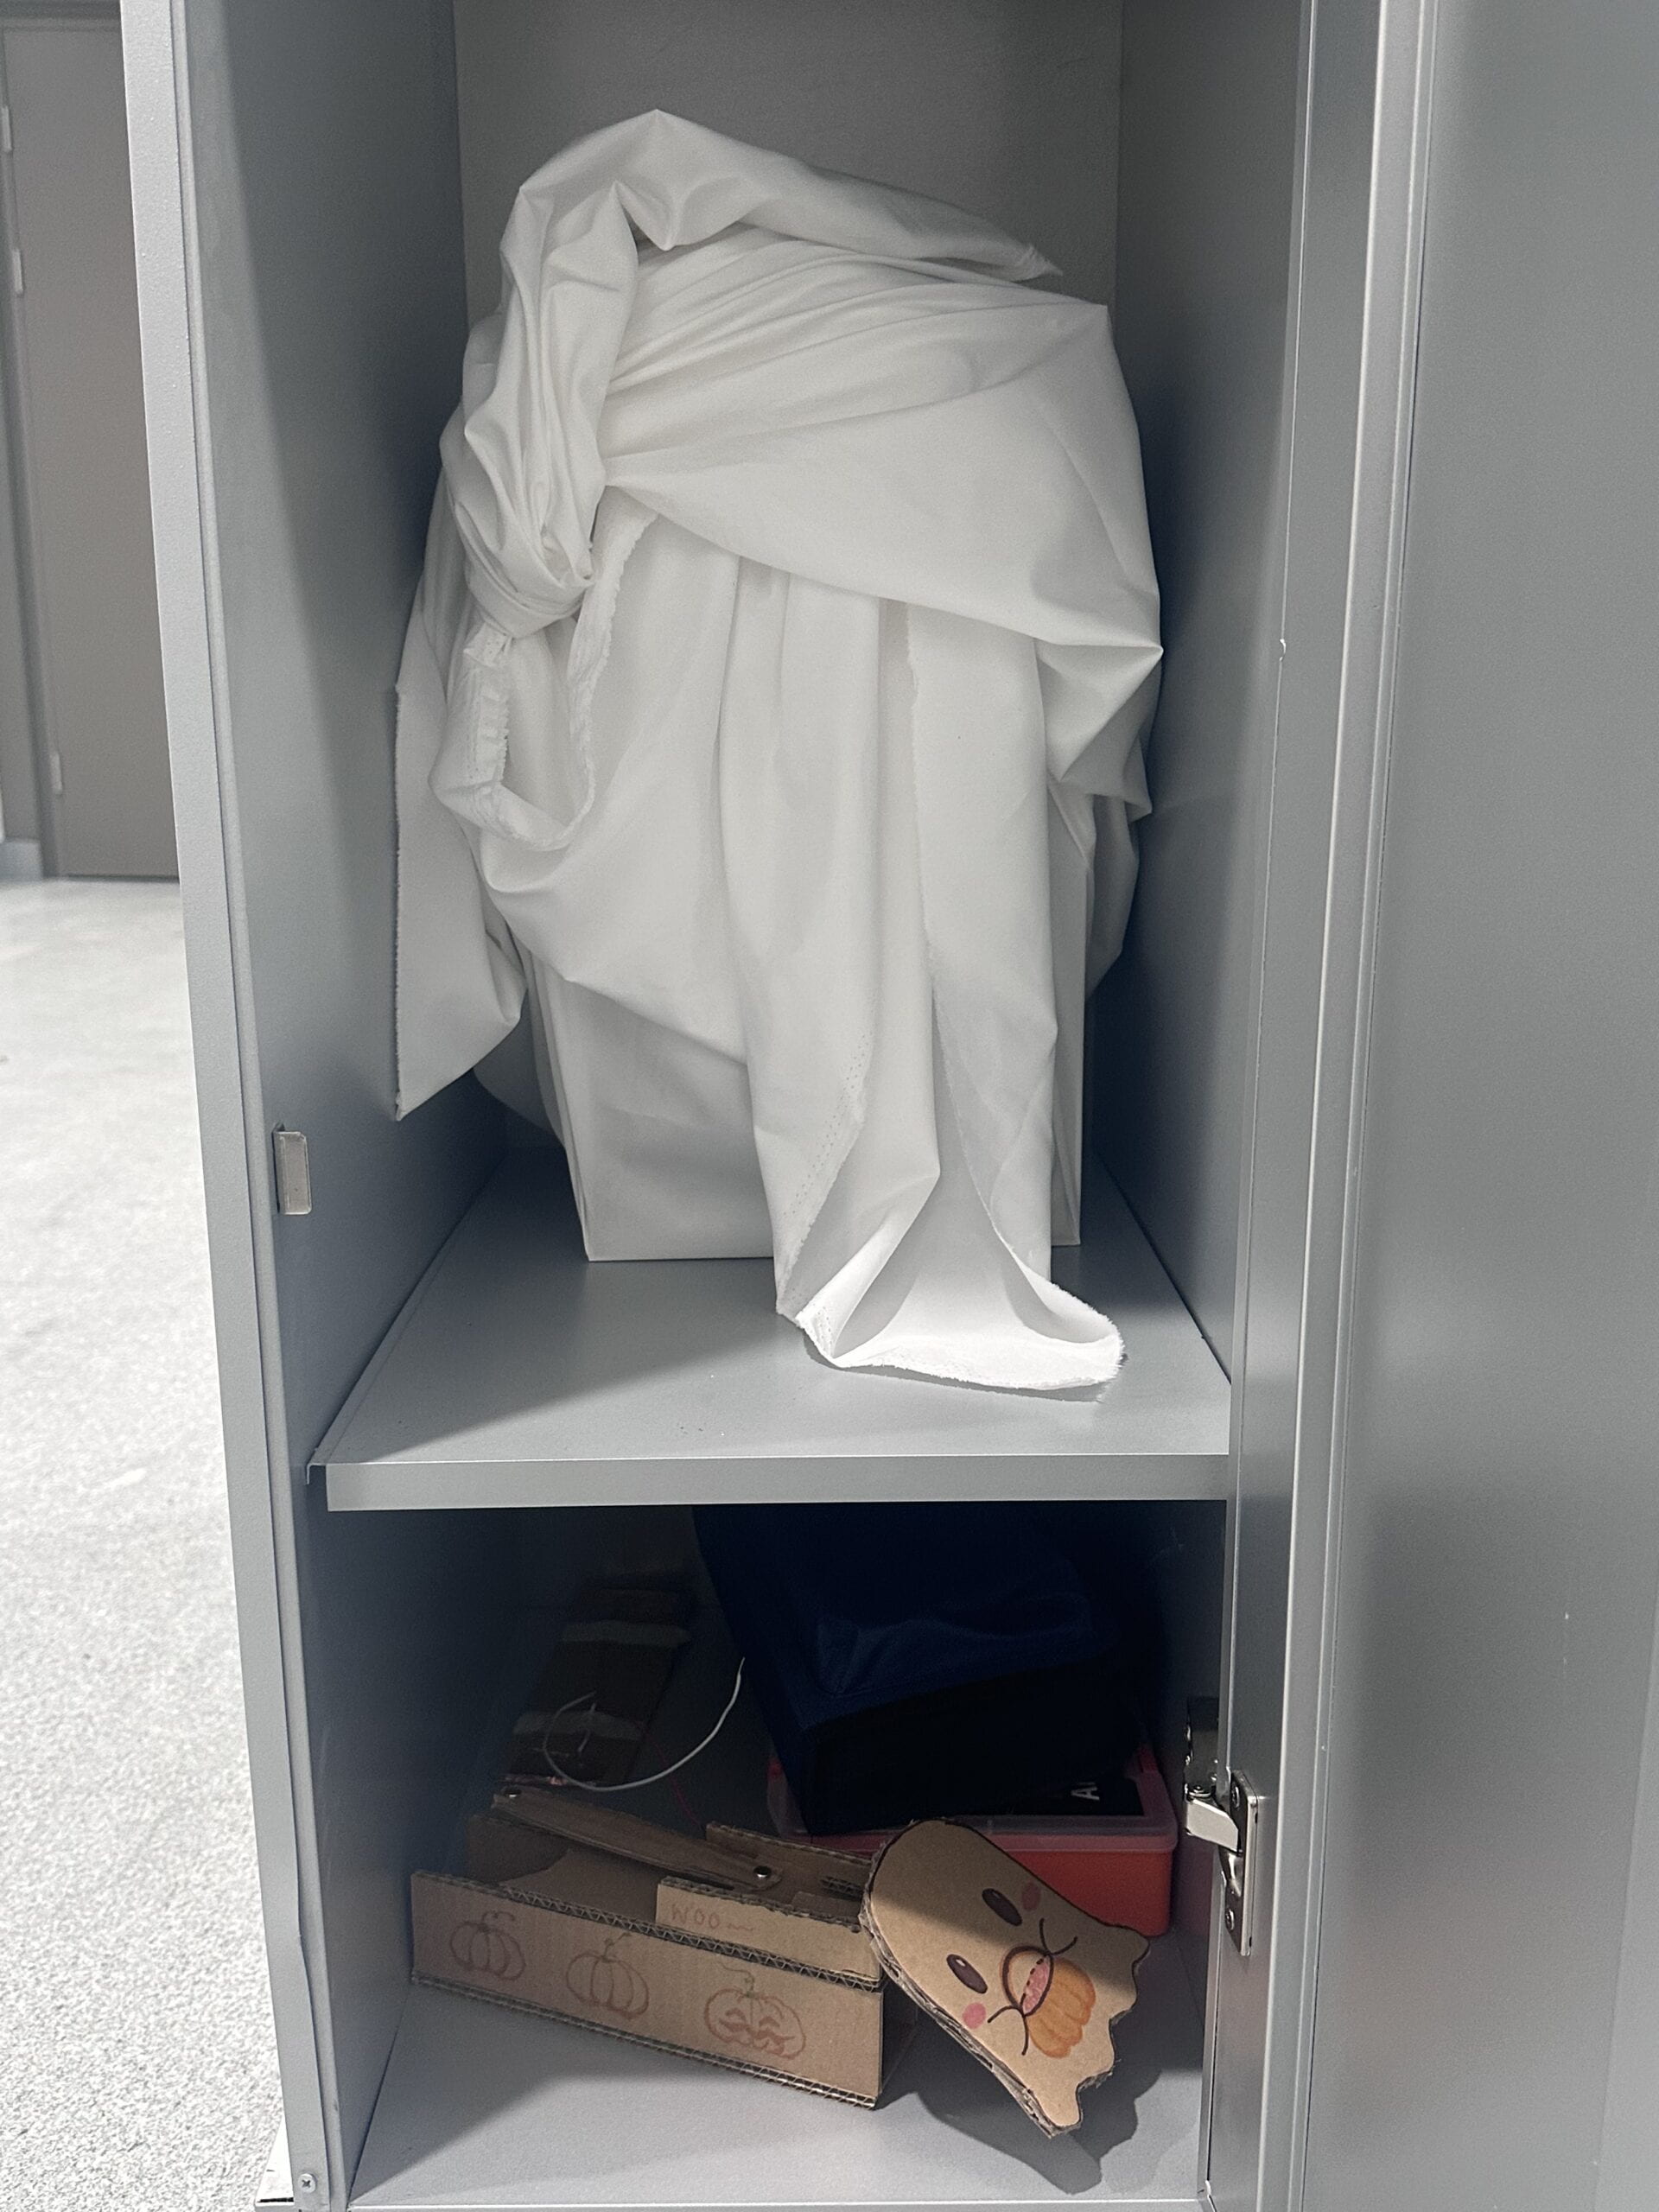
Finally, I didn’t disassembly my project but kept it in my locker. (My heart will be broken if I tear down my project…)
F. APPENDIX
• Videos
– Documentation video with emotion subtitles
– Drop animation
– User video (Maelyn Lu)
– User video (Freddie Yang)
– Screen Recording in the final show
• Code of Final Project: https://docs.google.com/document/d/1lKTQiCWPpMu6AKFkMO_9VYmySrtK5w8Cuy7v9TDv6YM/edit?usp=sharing
• Sounds Source:
https://drive.google.com/drive/folders/1U2J8LASSnjf3p0g3eiV3Yanioz6TQfkr?usp=sharing
From https://pixabay.com/sound-effects/search/klaxon/
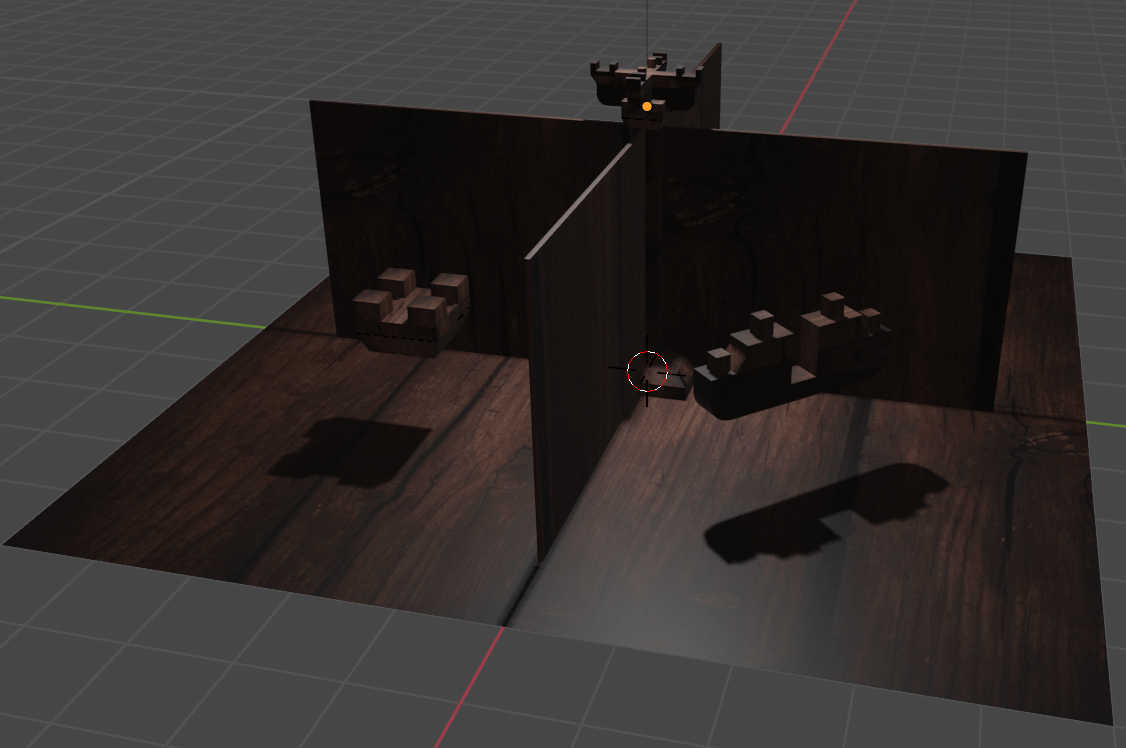



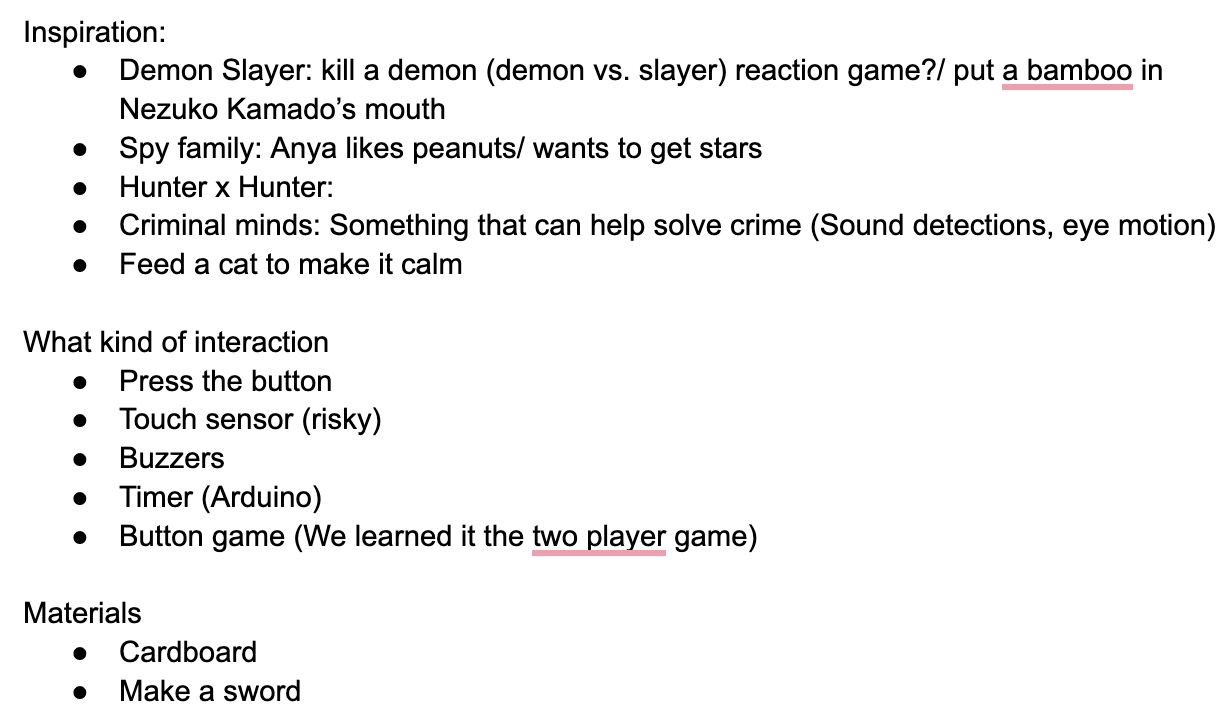
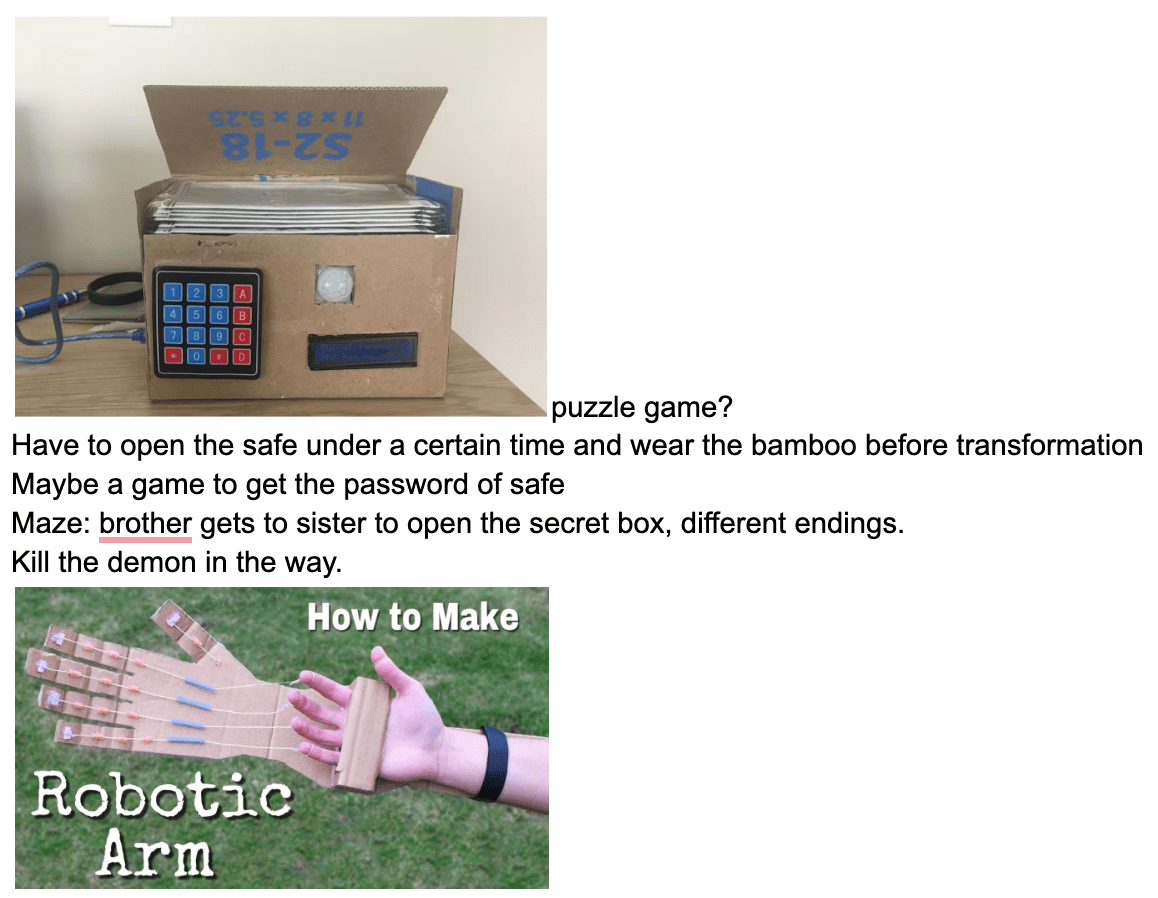
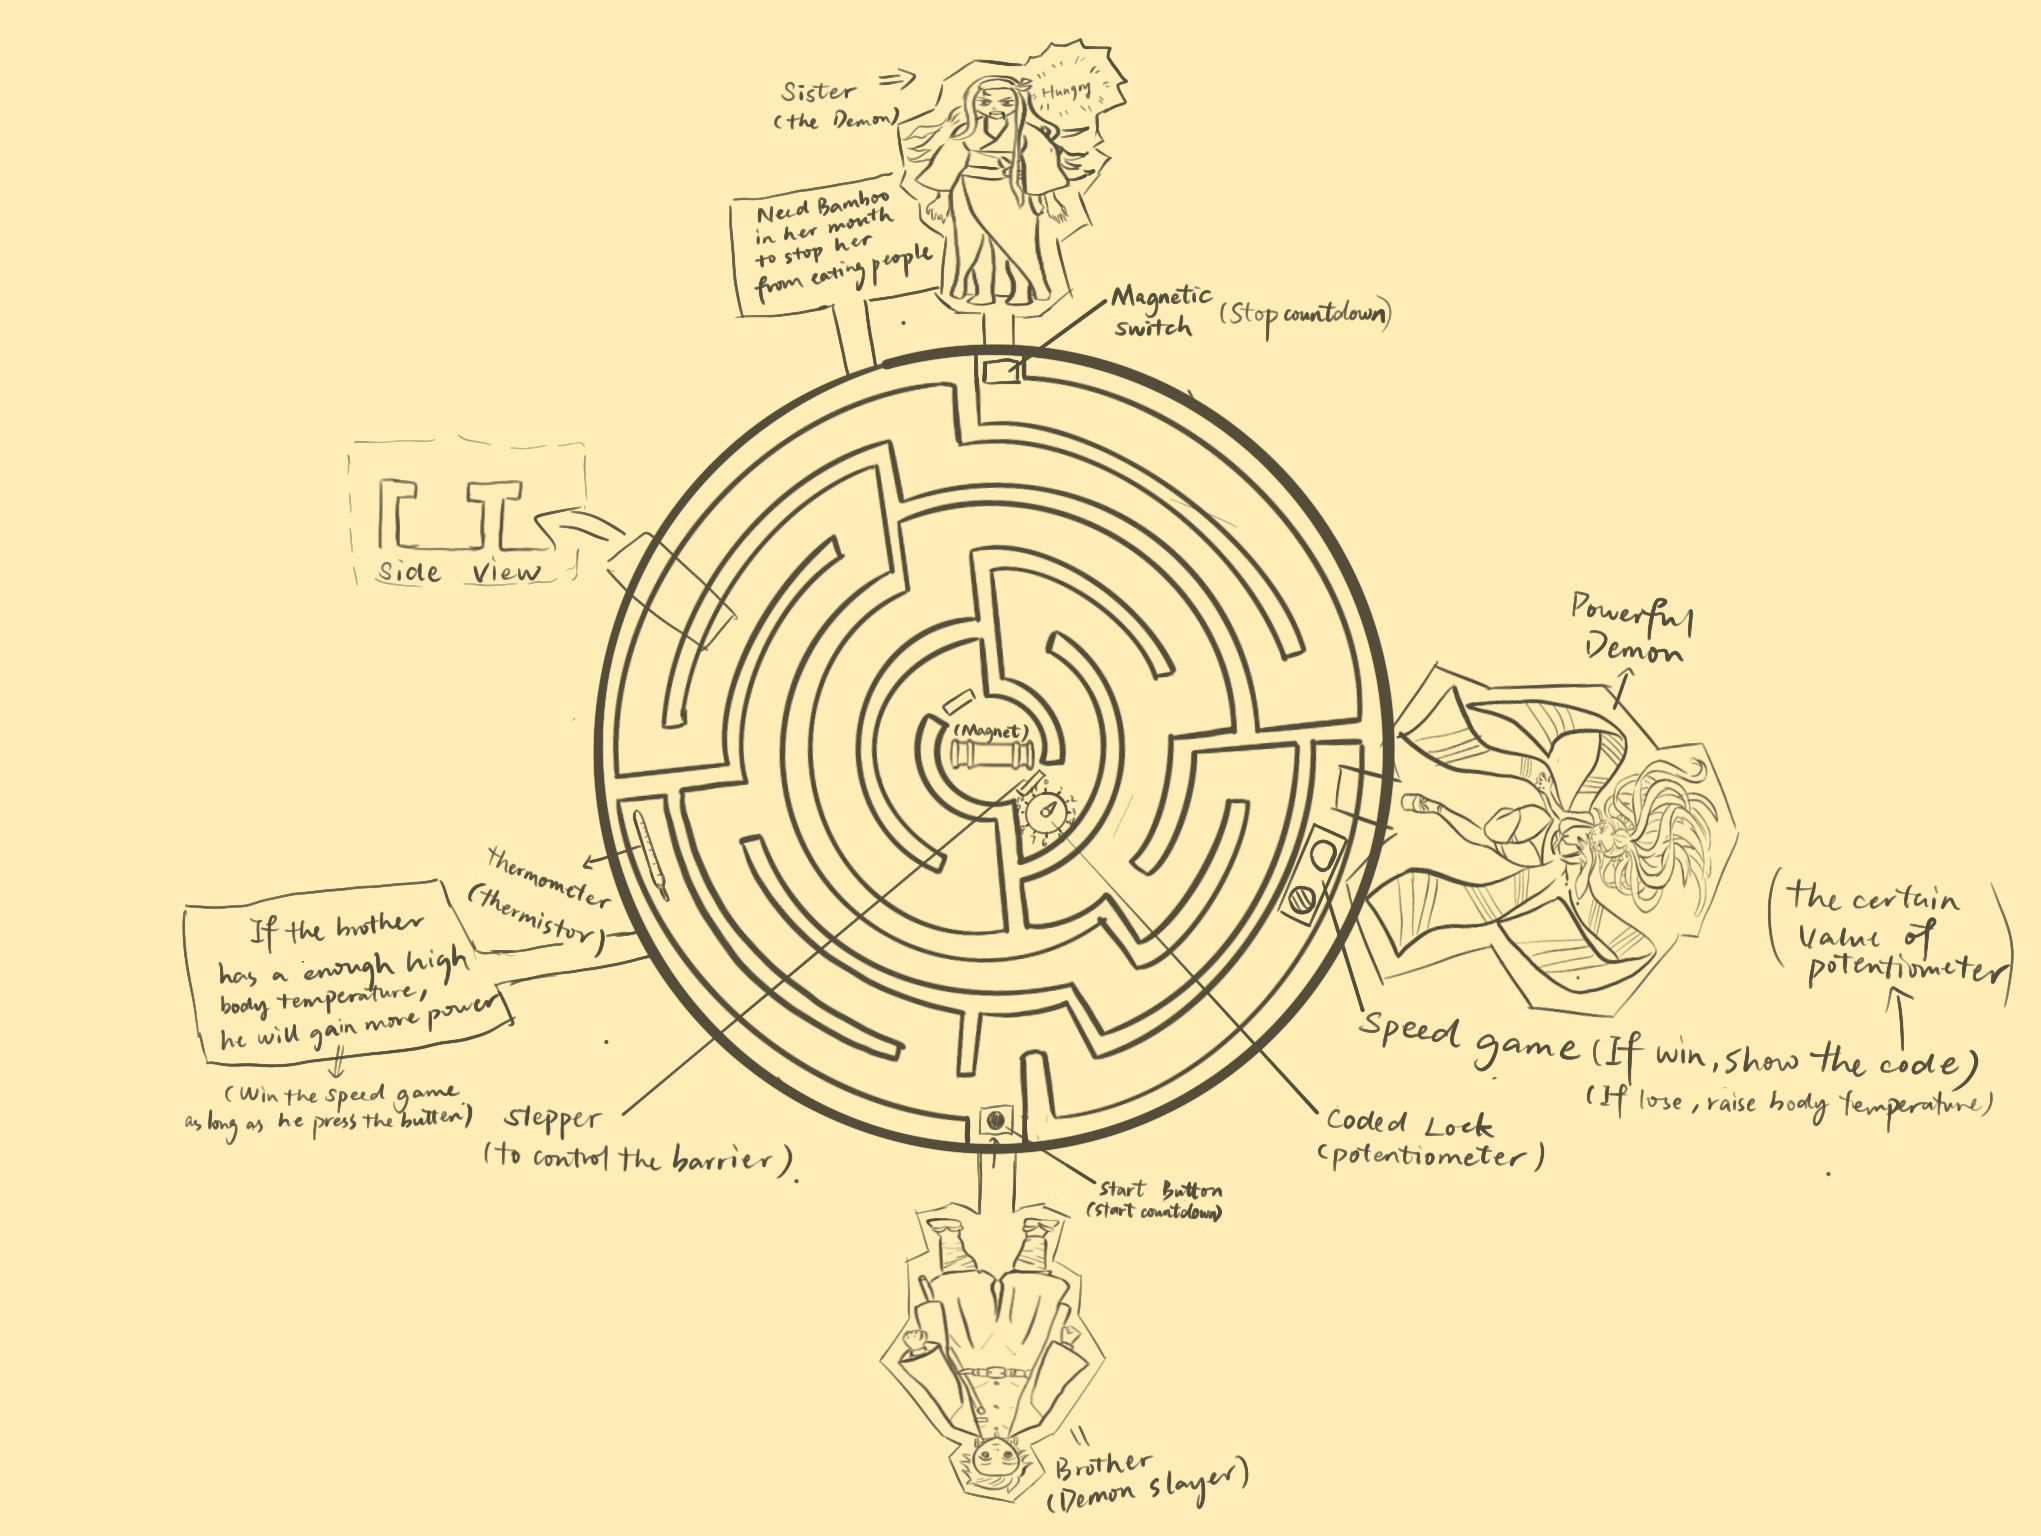
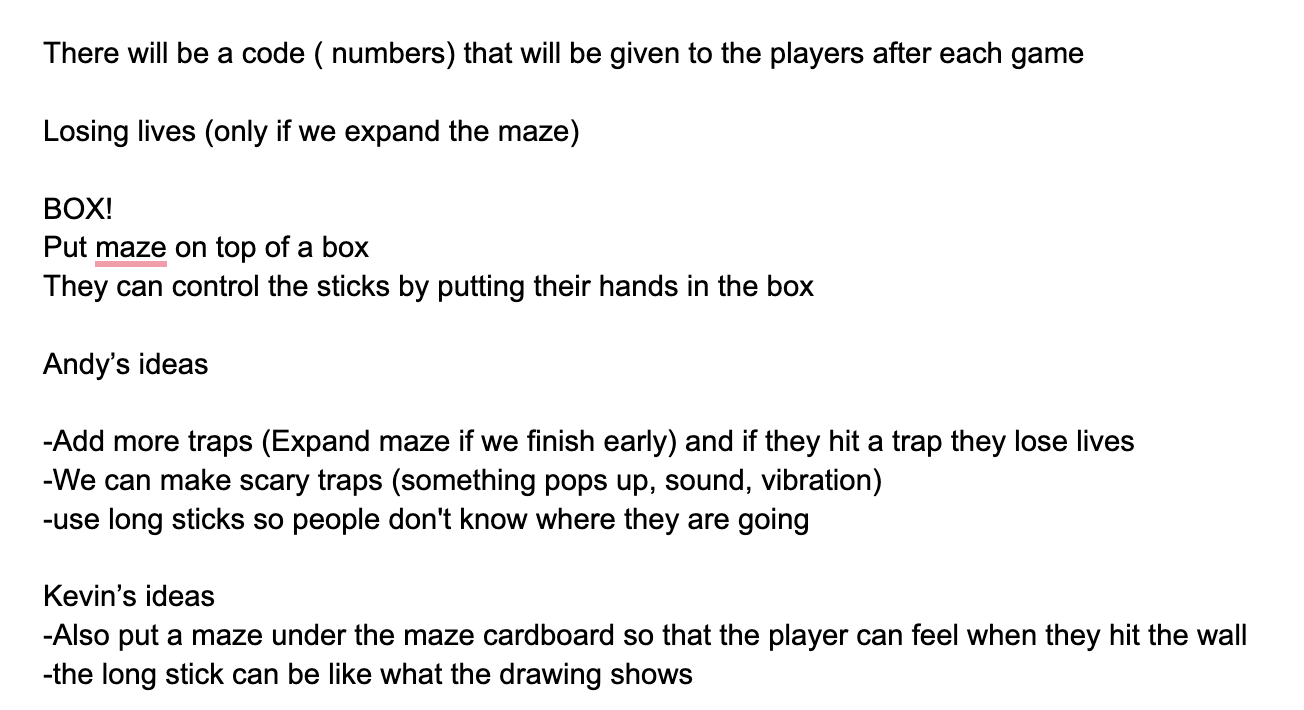
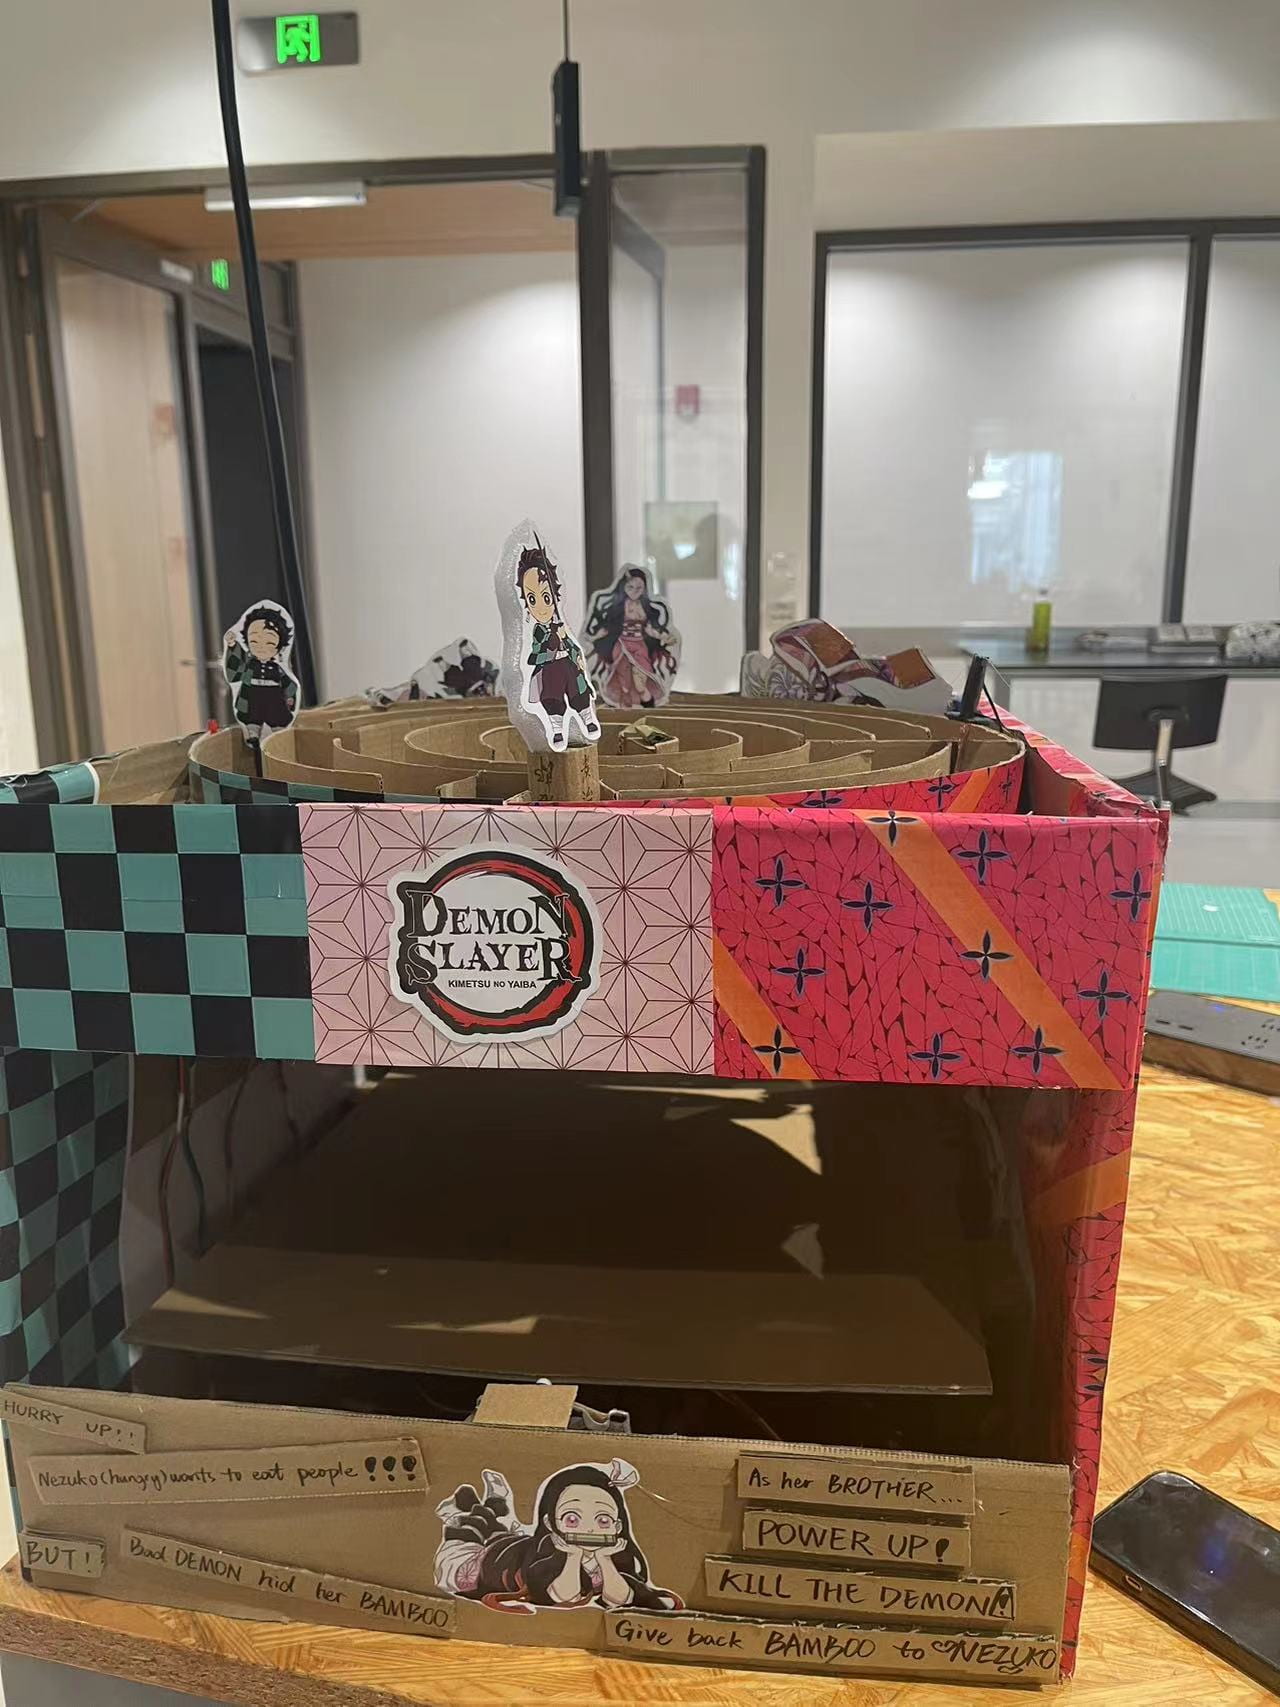
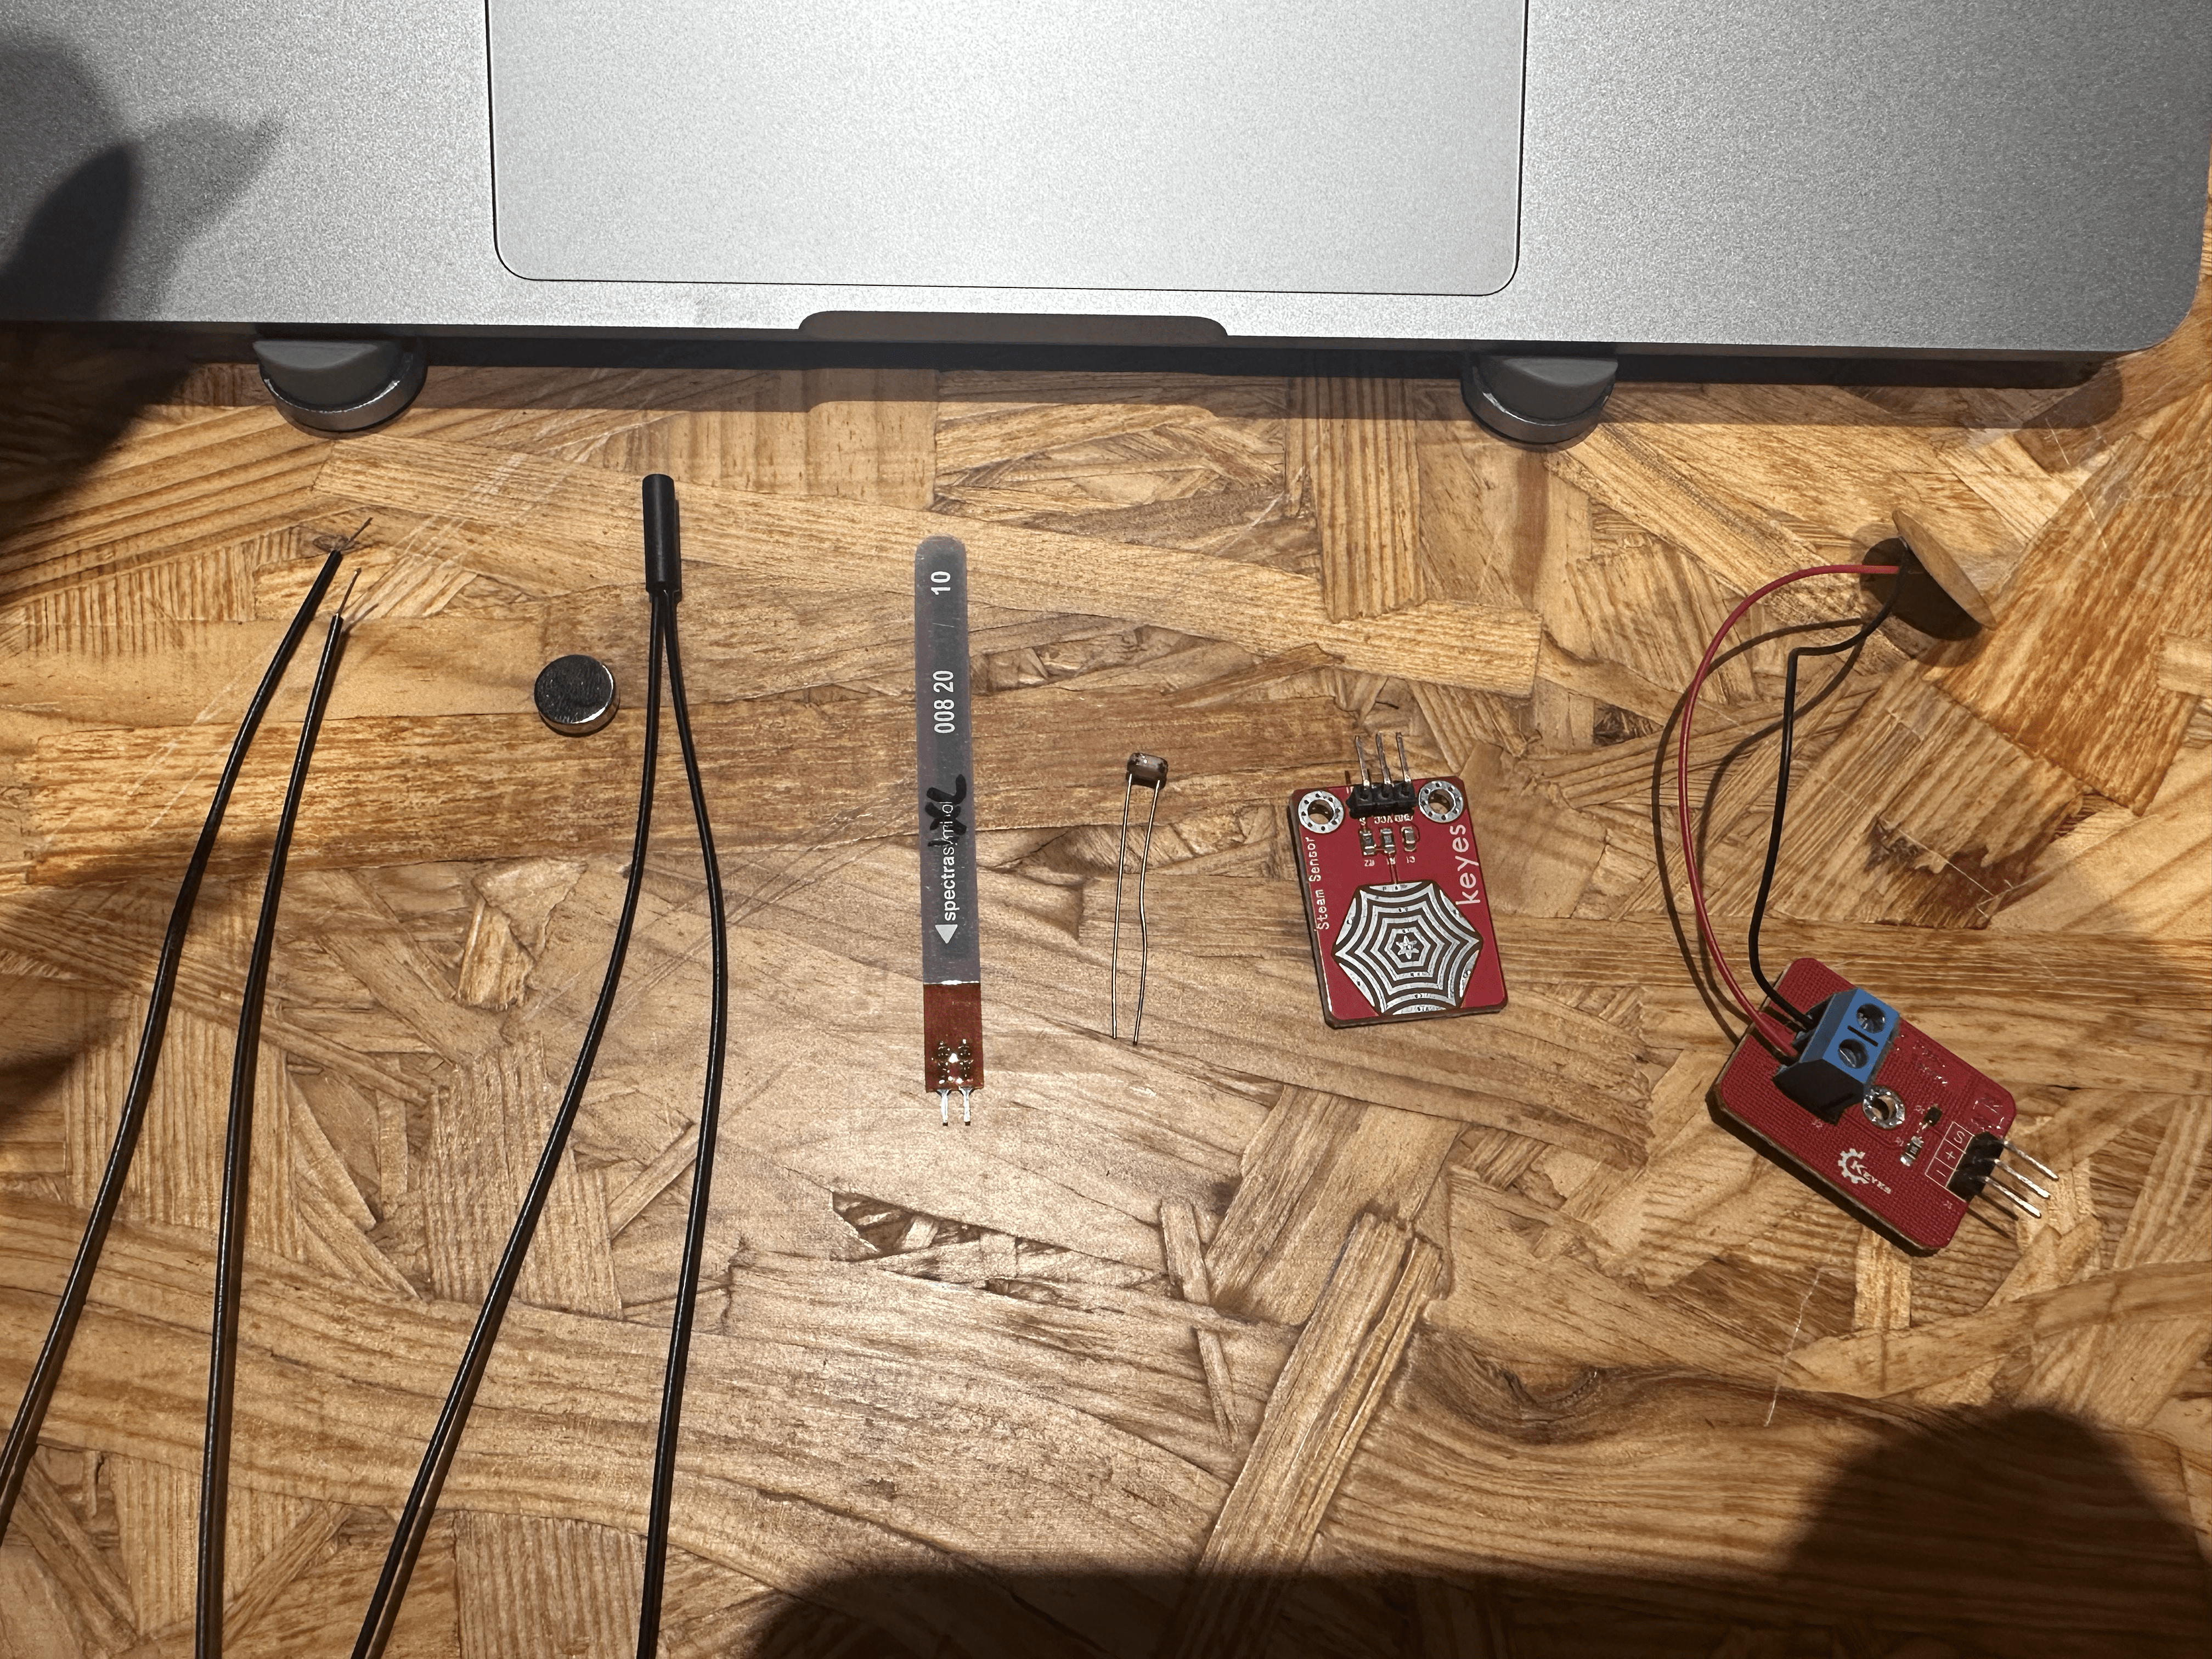
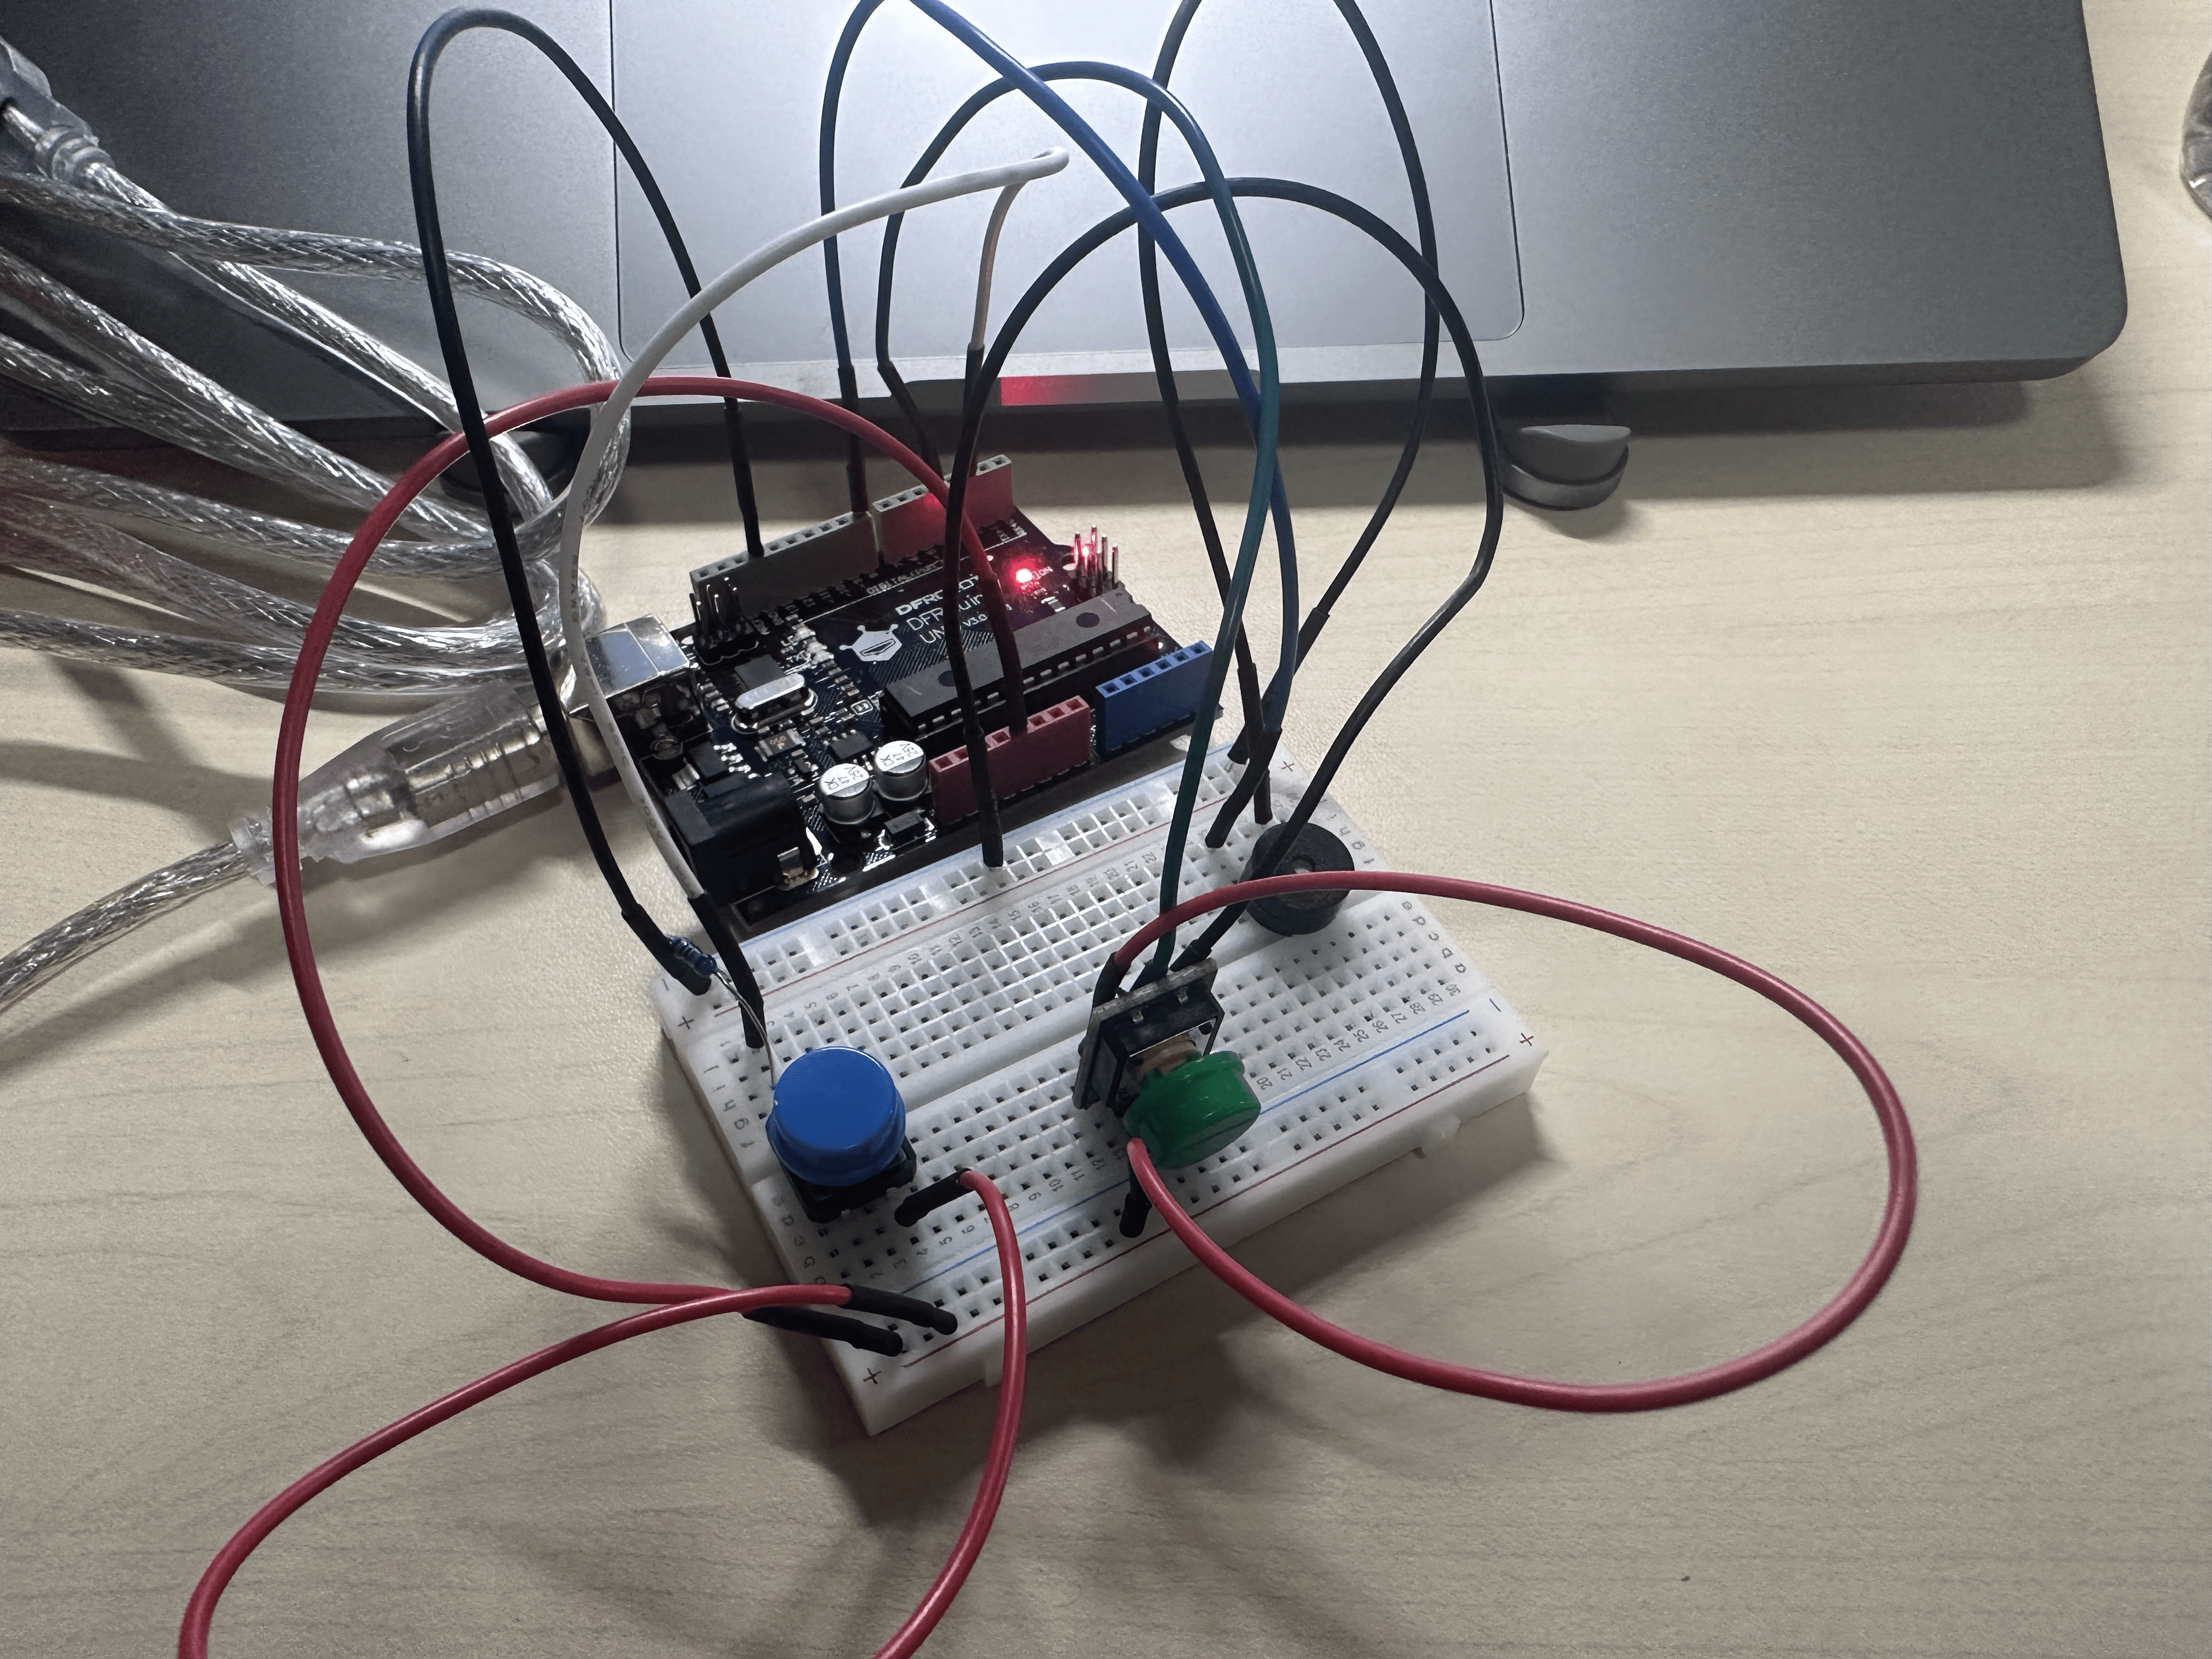
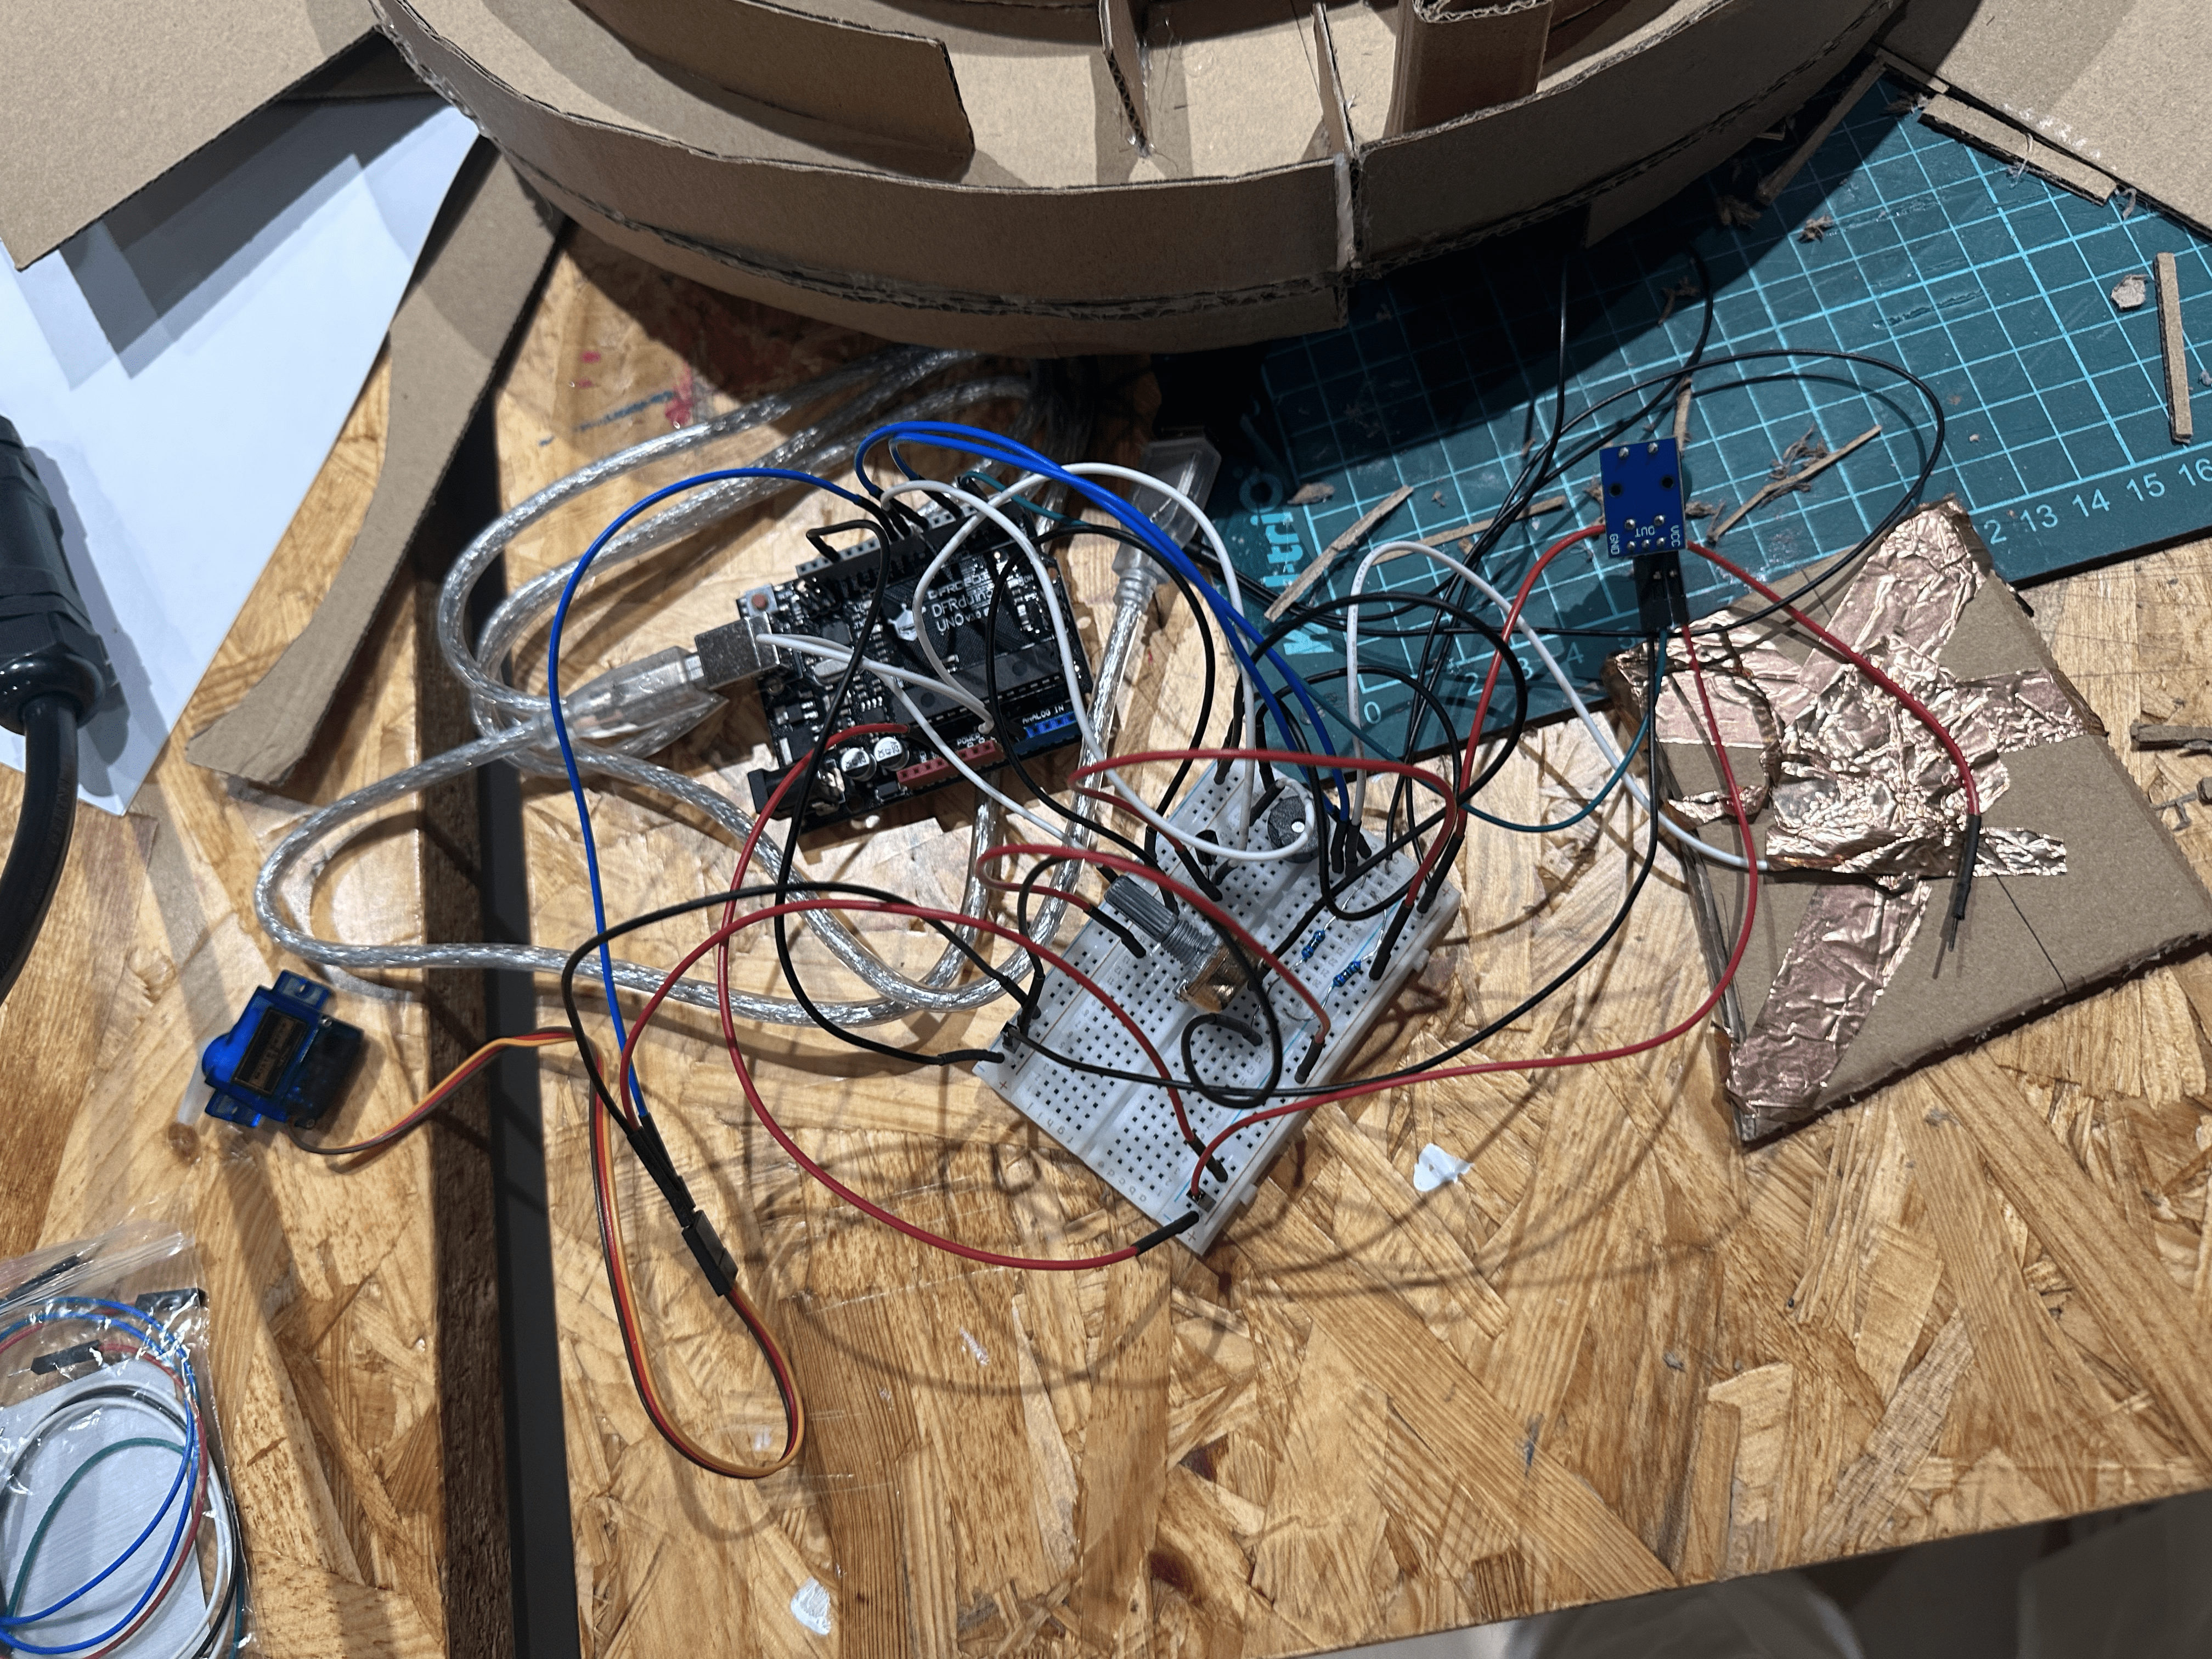 (~MESSY~)
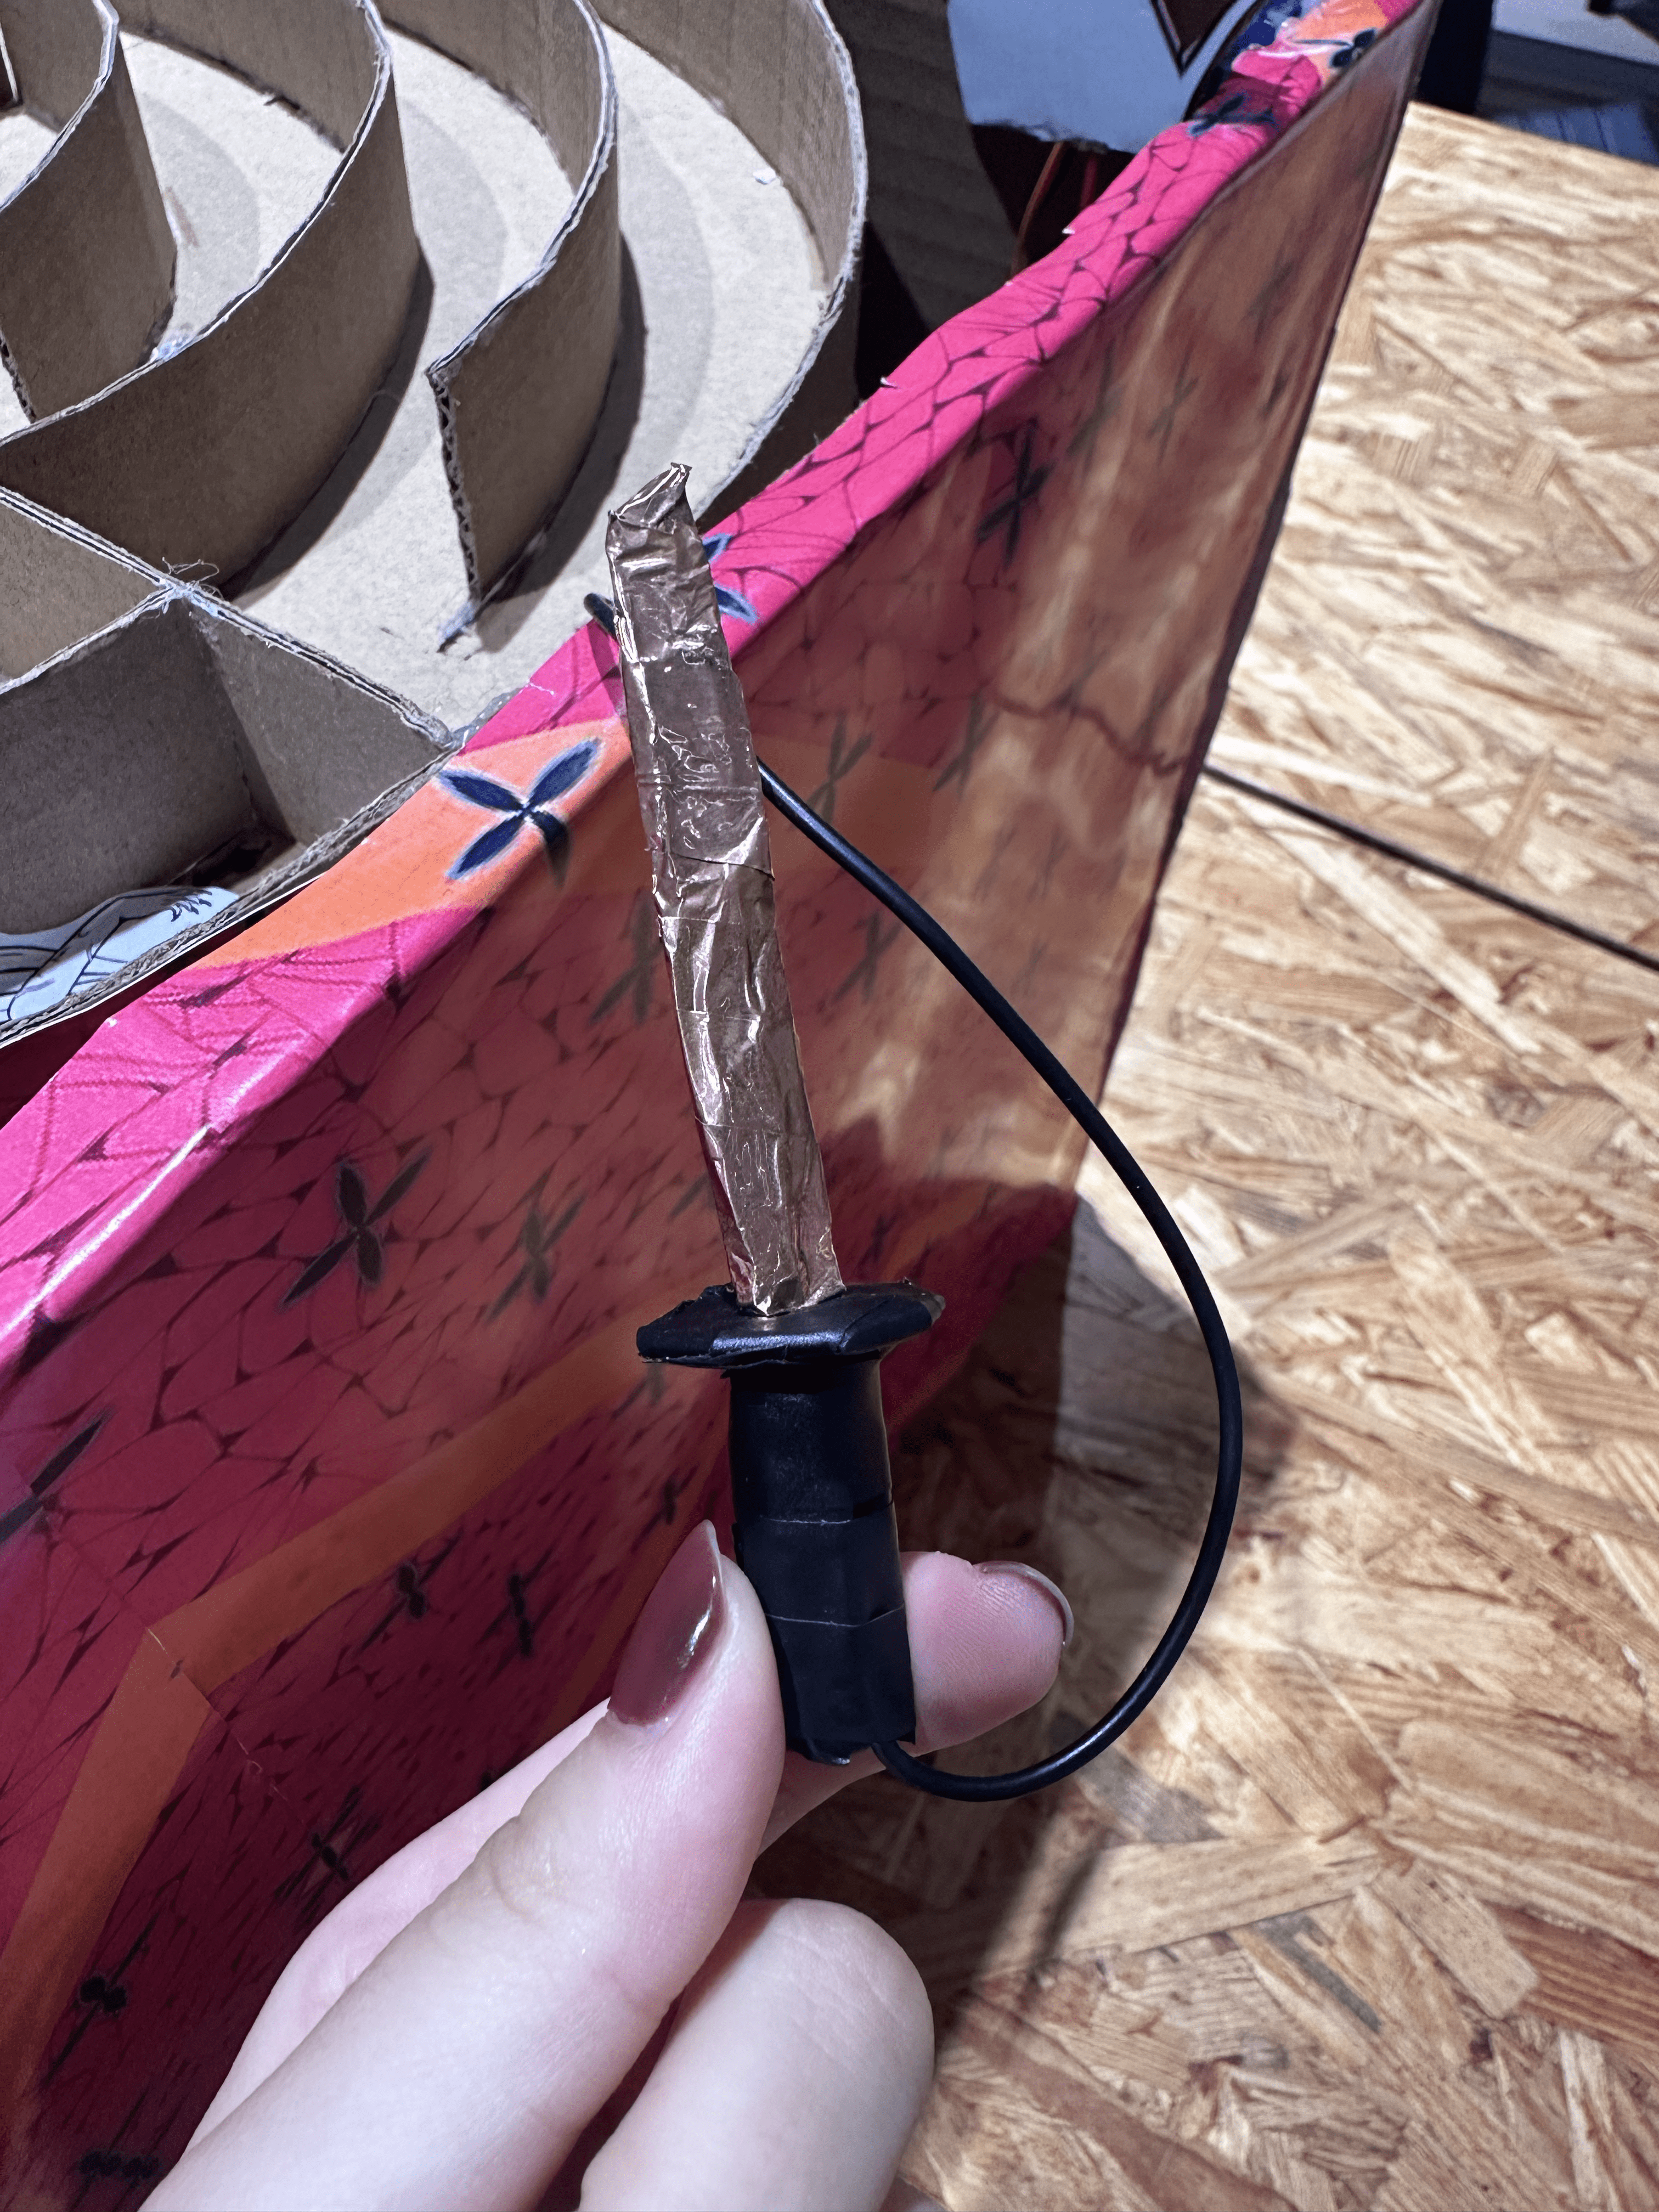
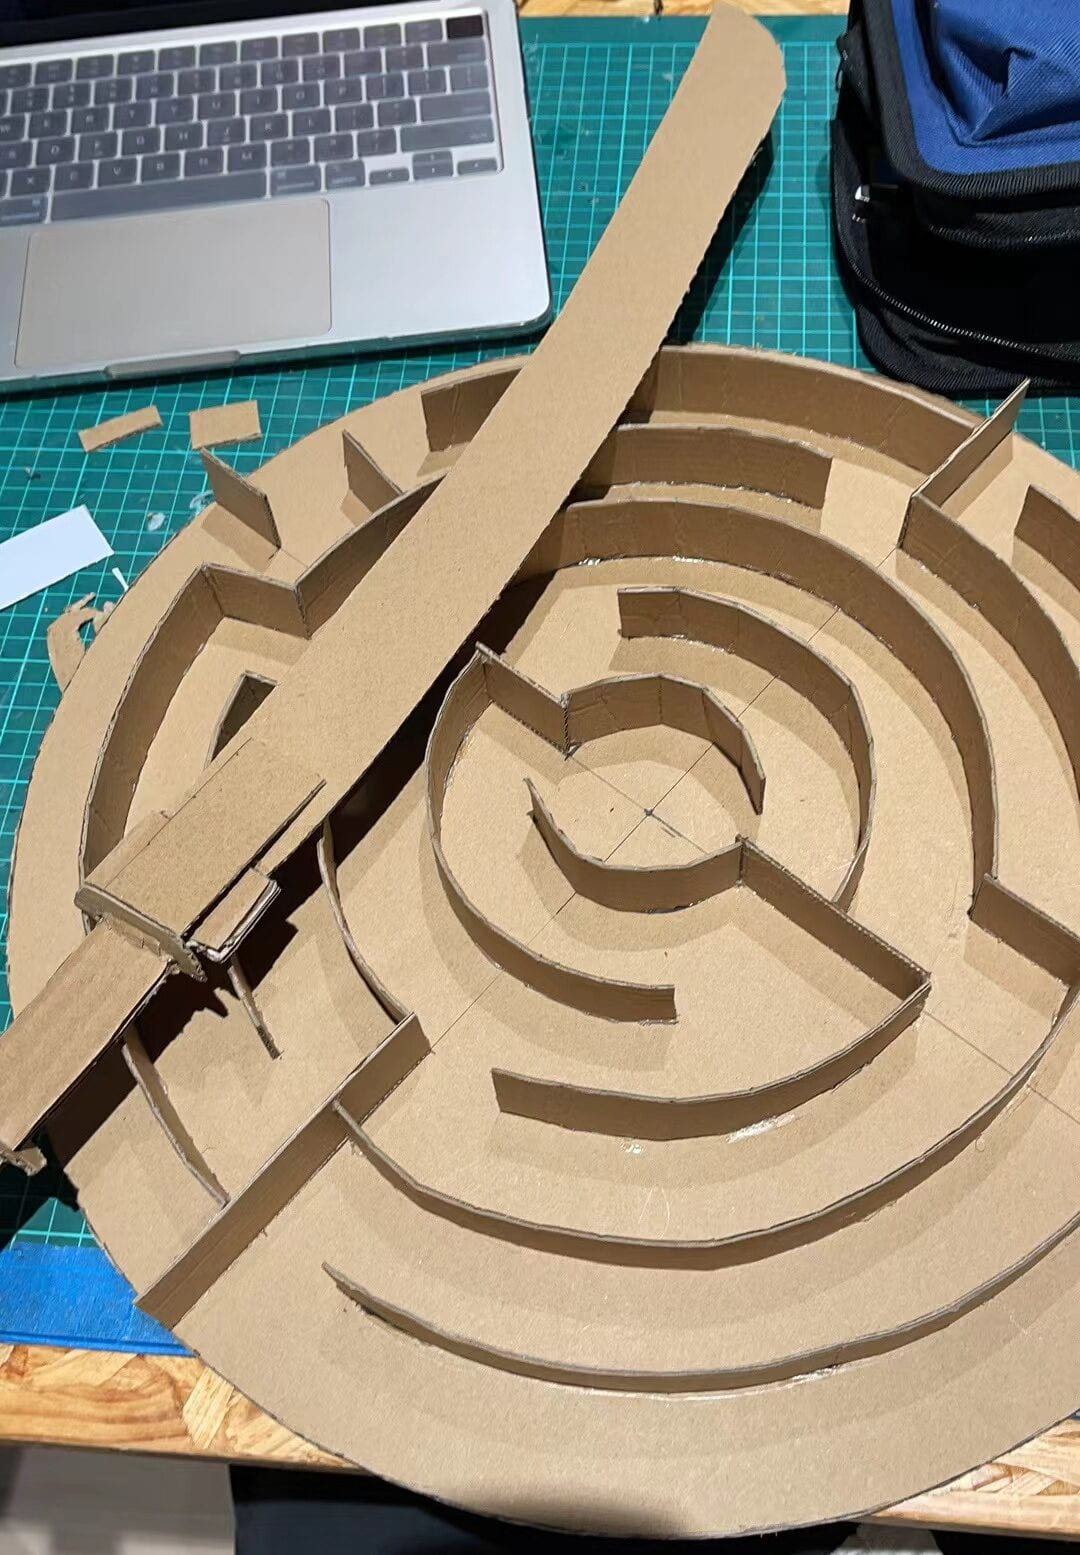 Cassandra made the sword. However, we forgot about it. If we make it thicker and more stable, it can be a very good handle.