Project 3: Kinetic Light – 🪷 Lotus Breath 🪷

A. Title
Lotus Breath – Ting
 

B. Project Description
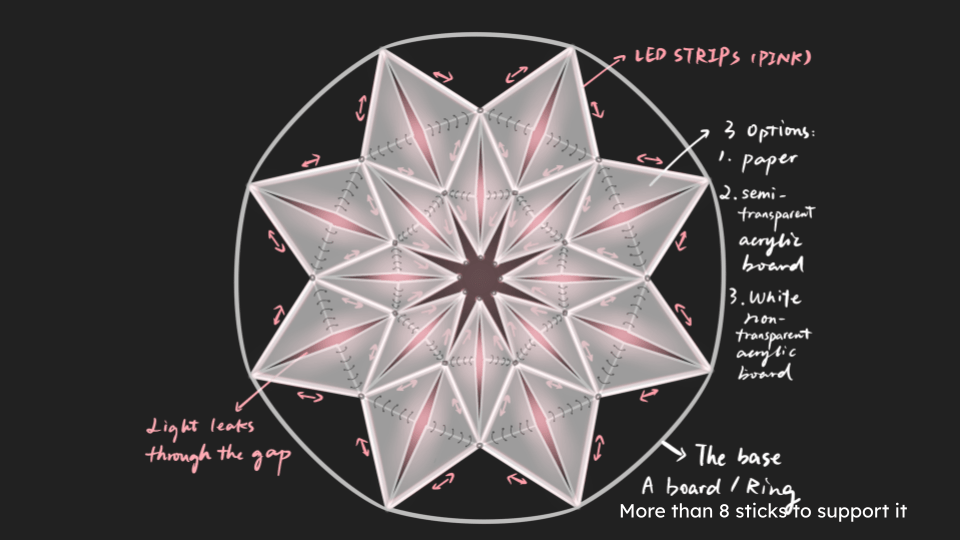
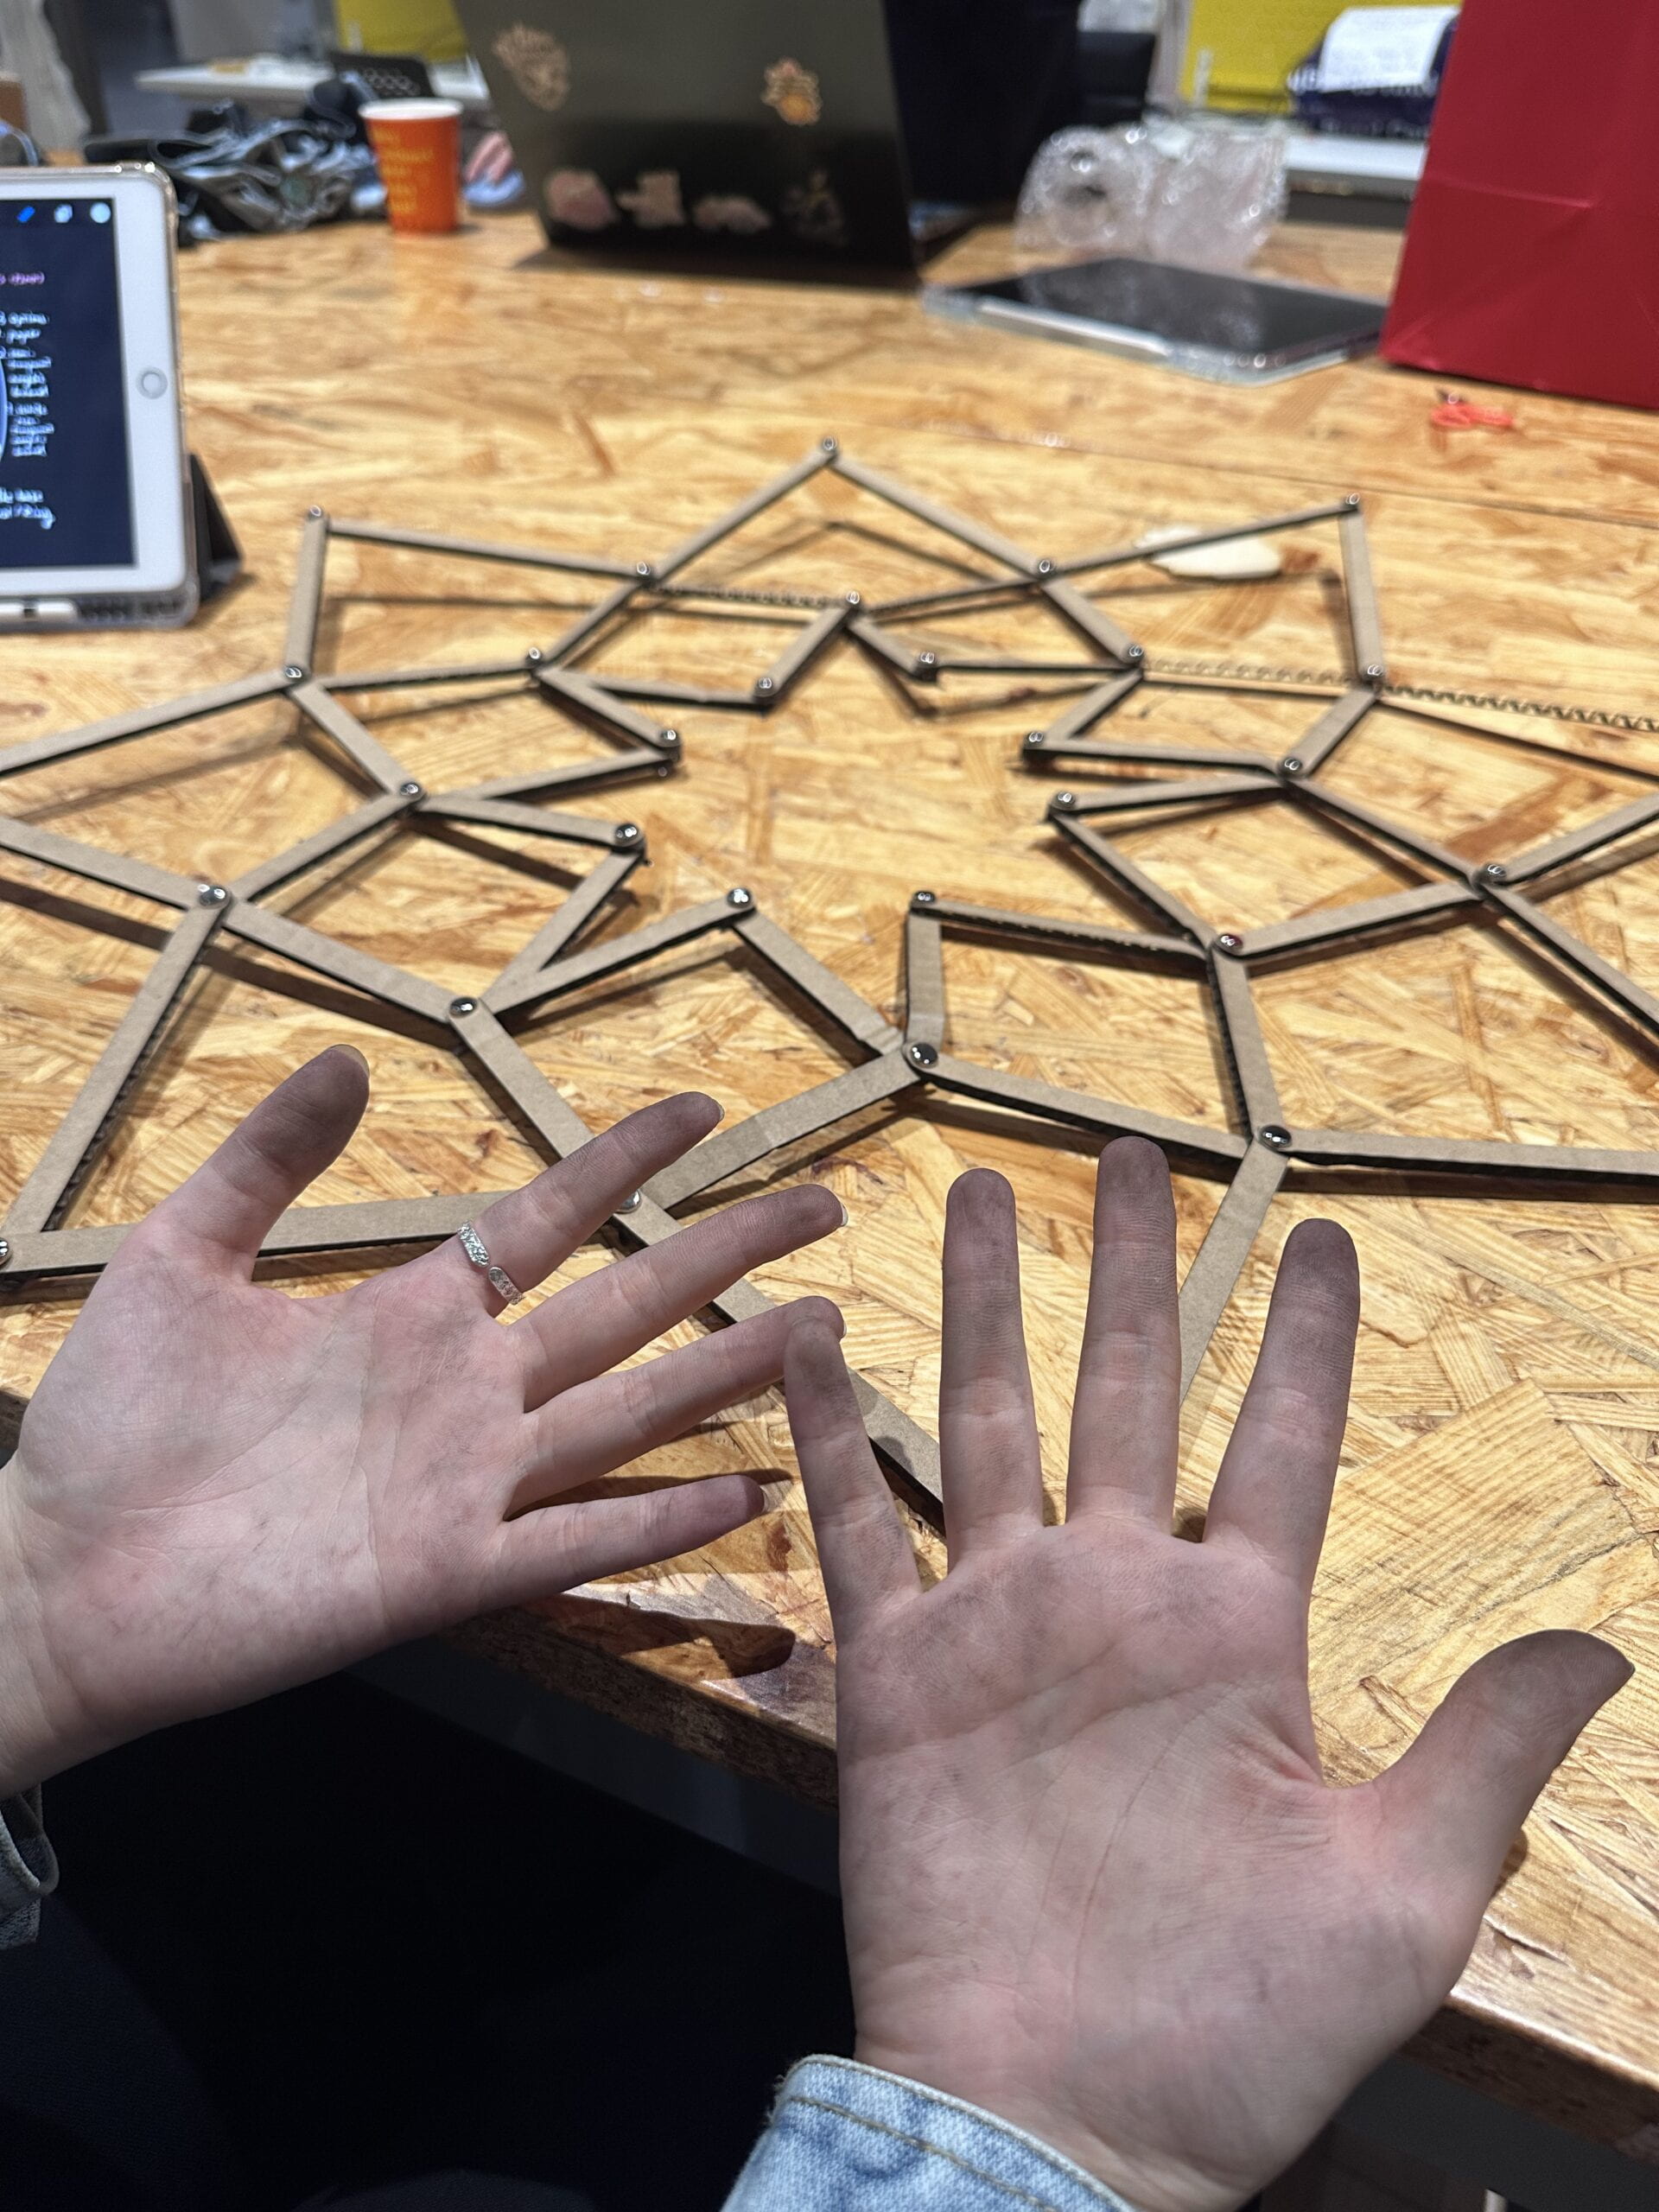
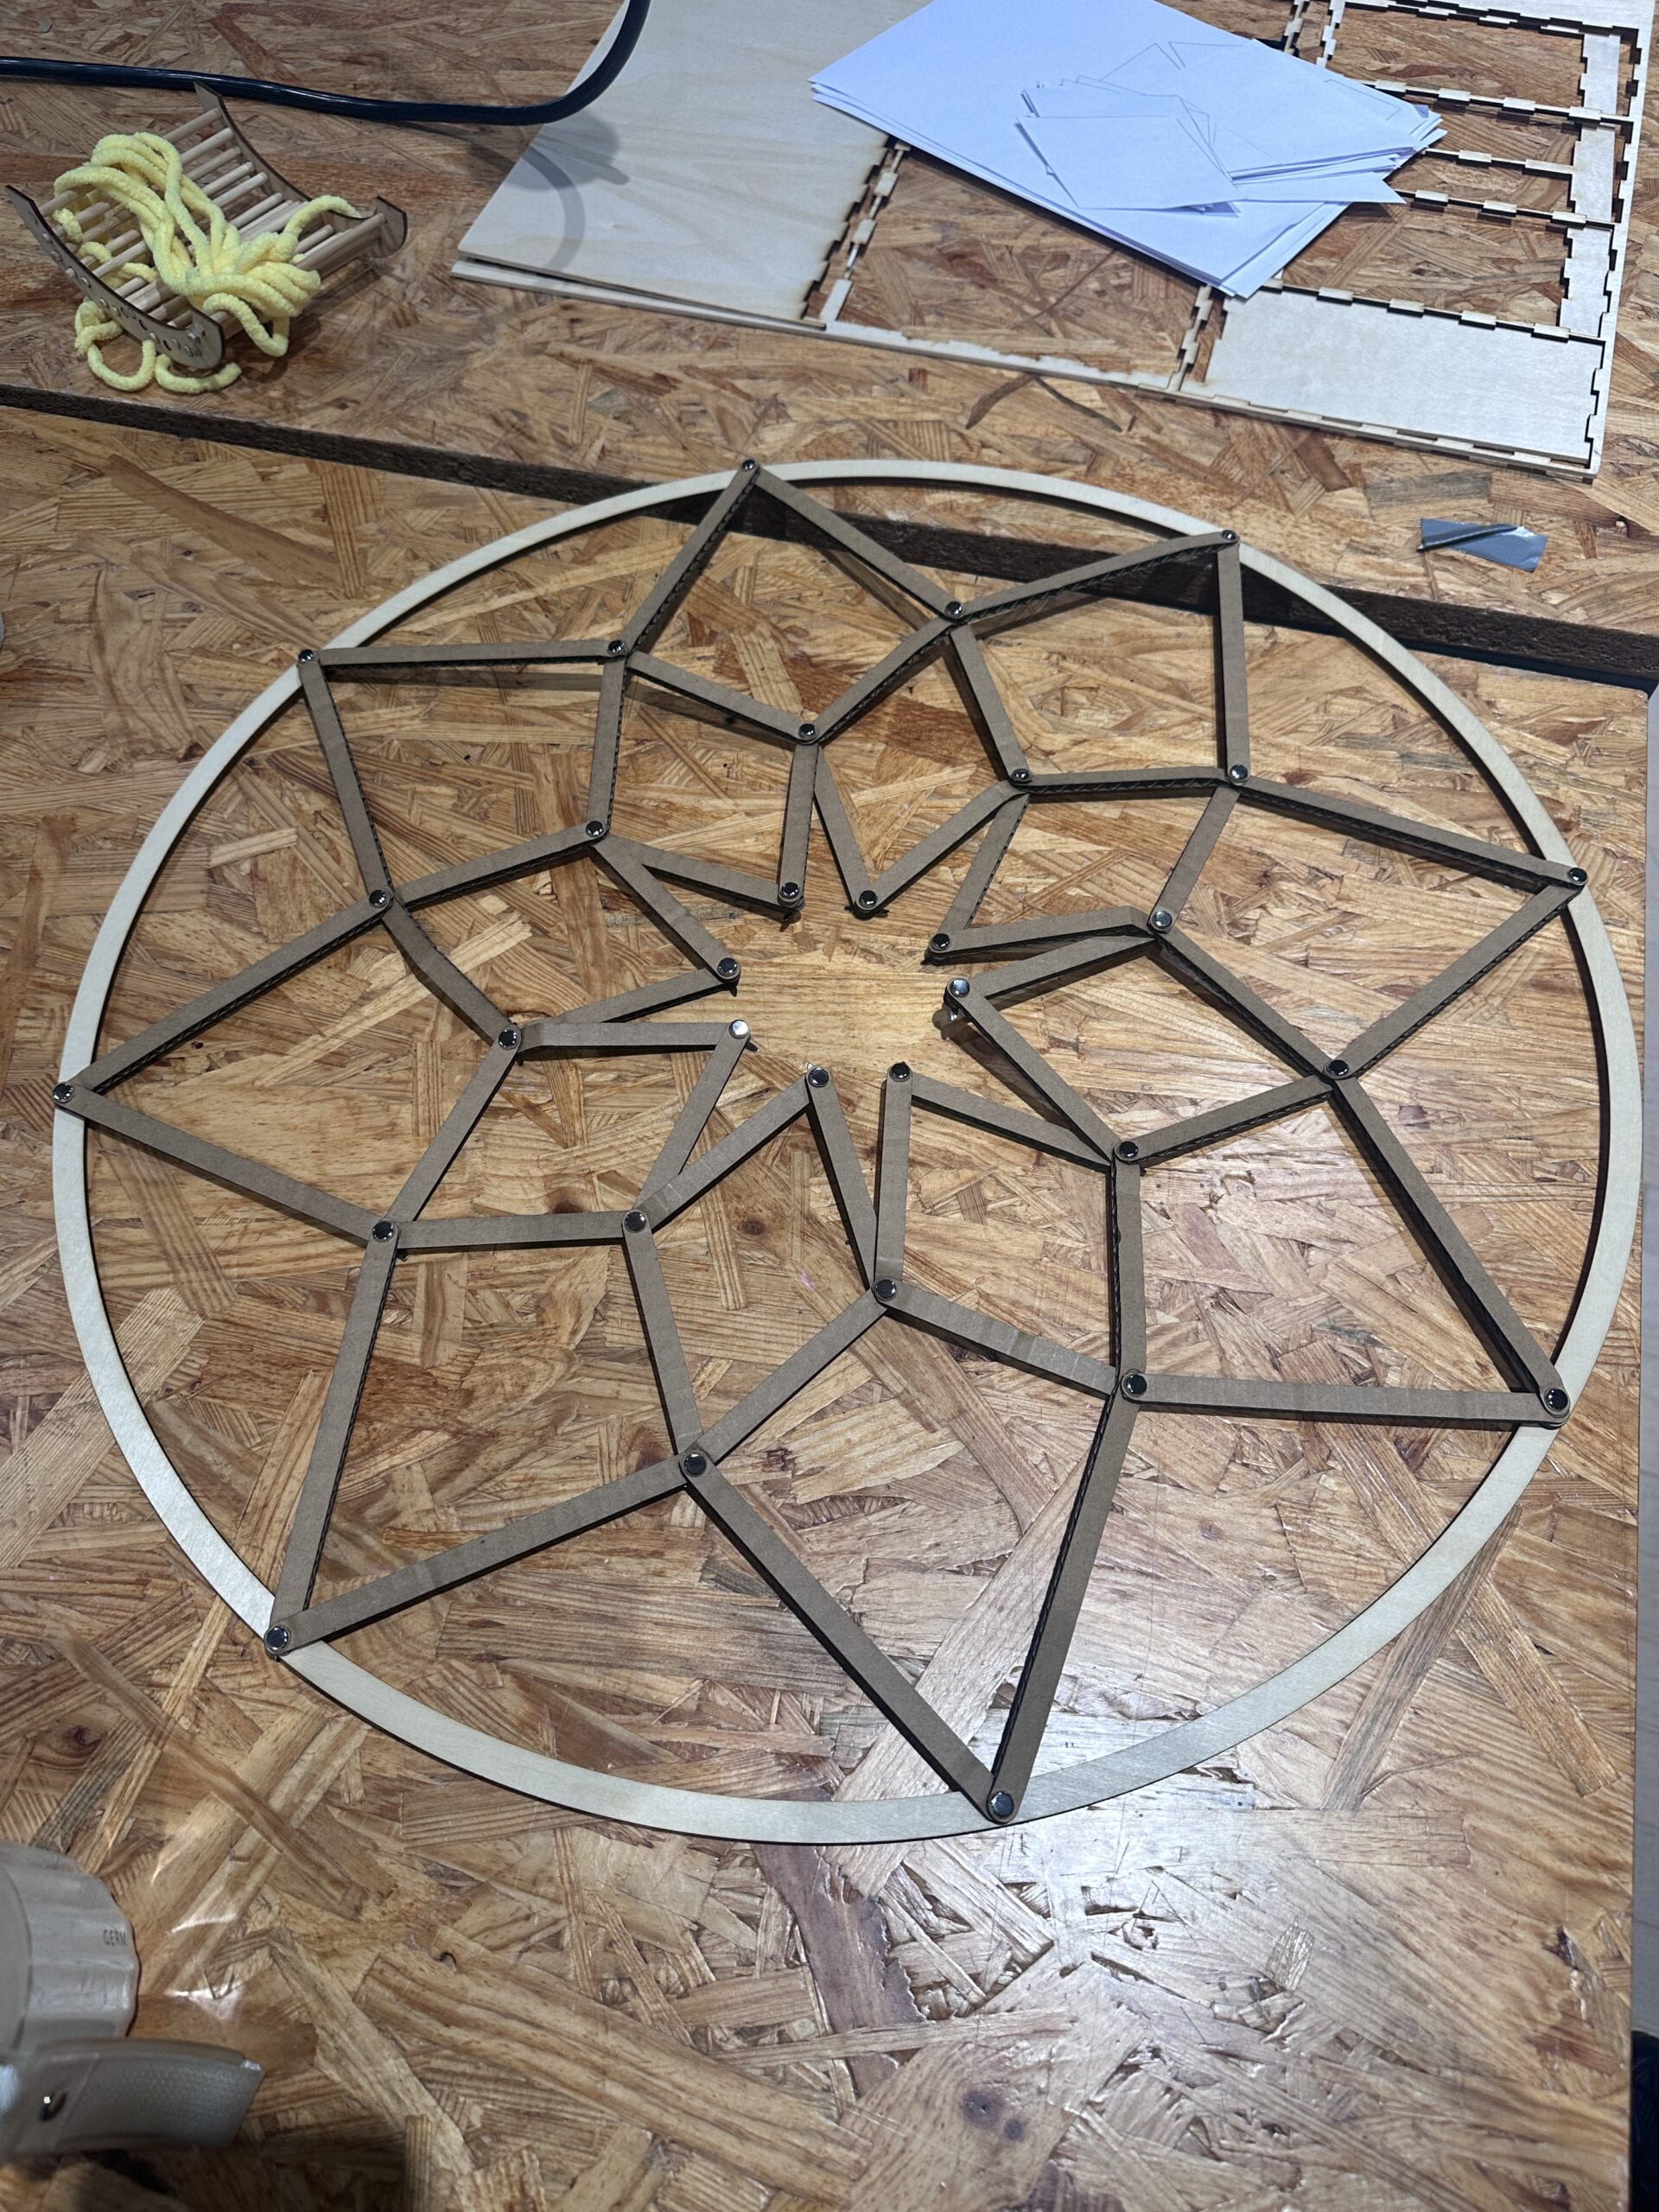
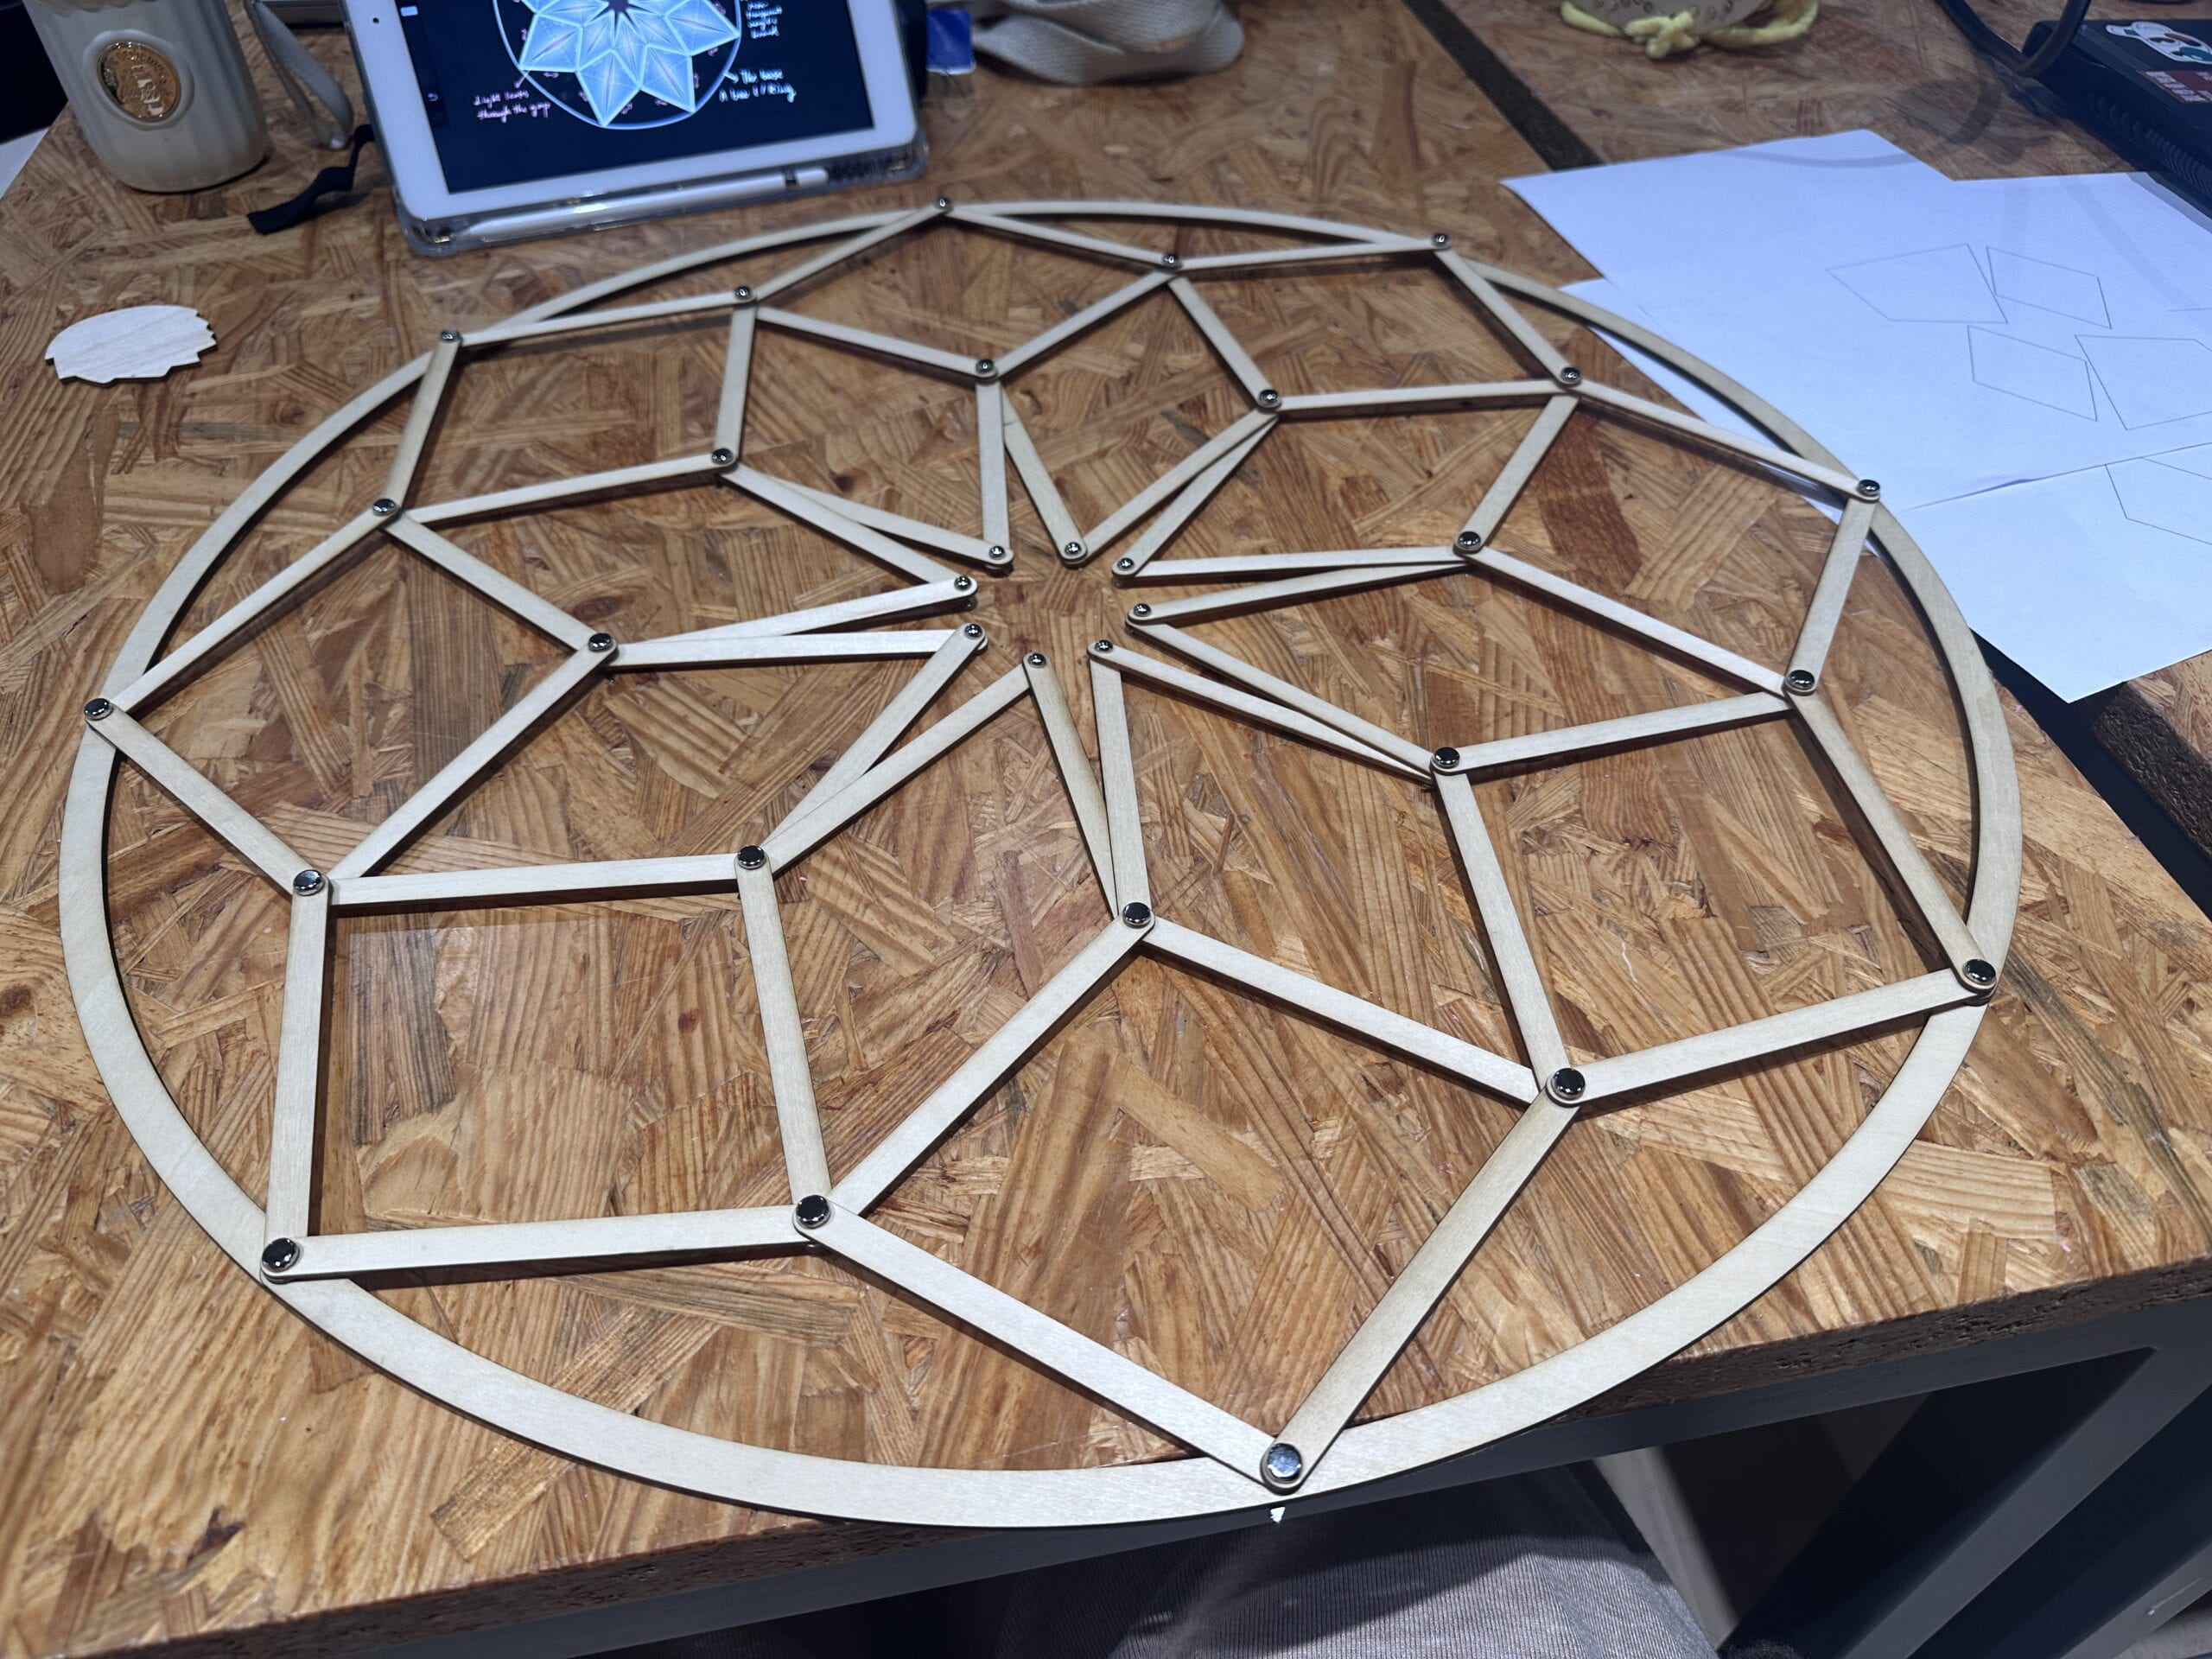
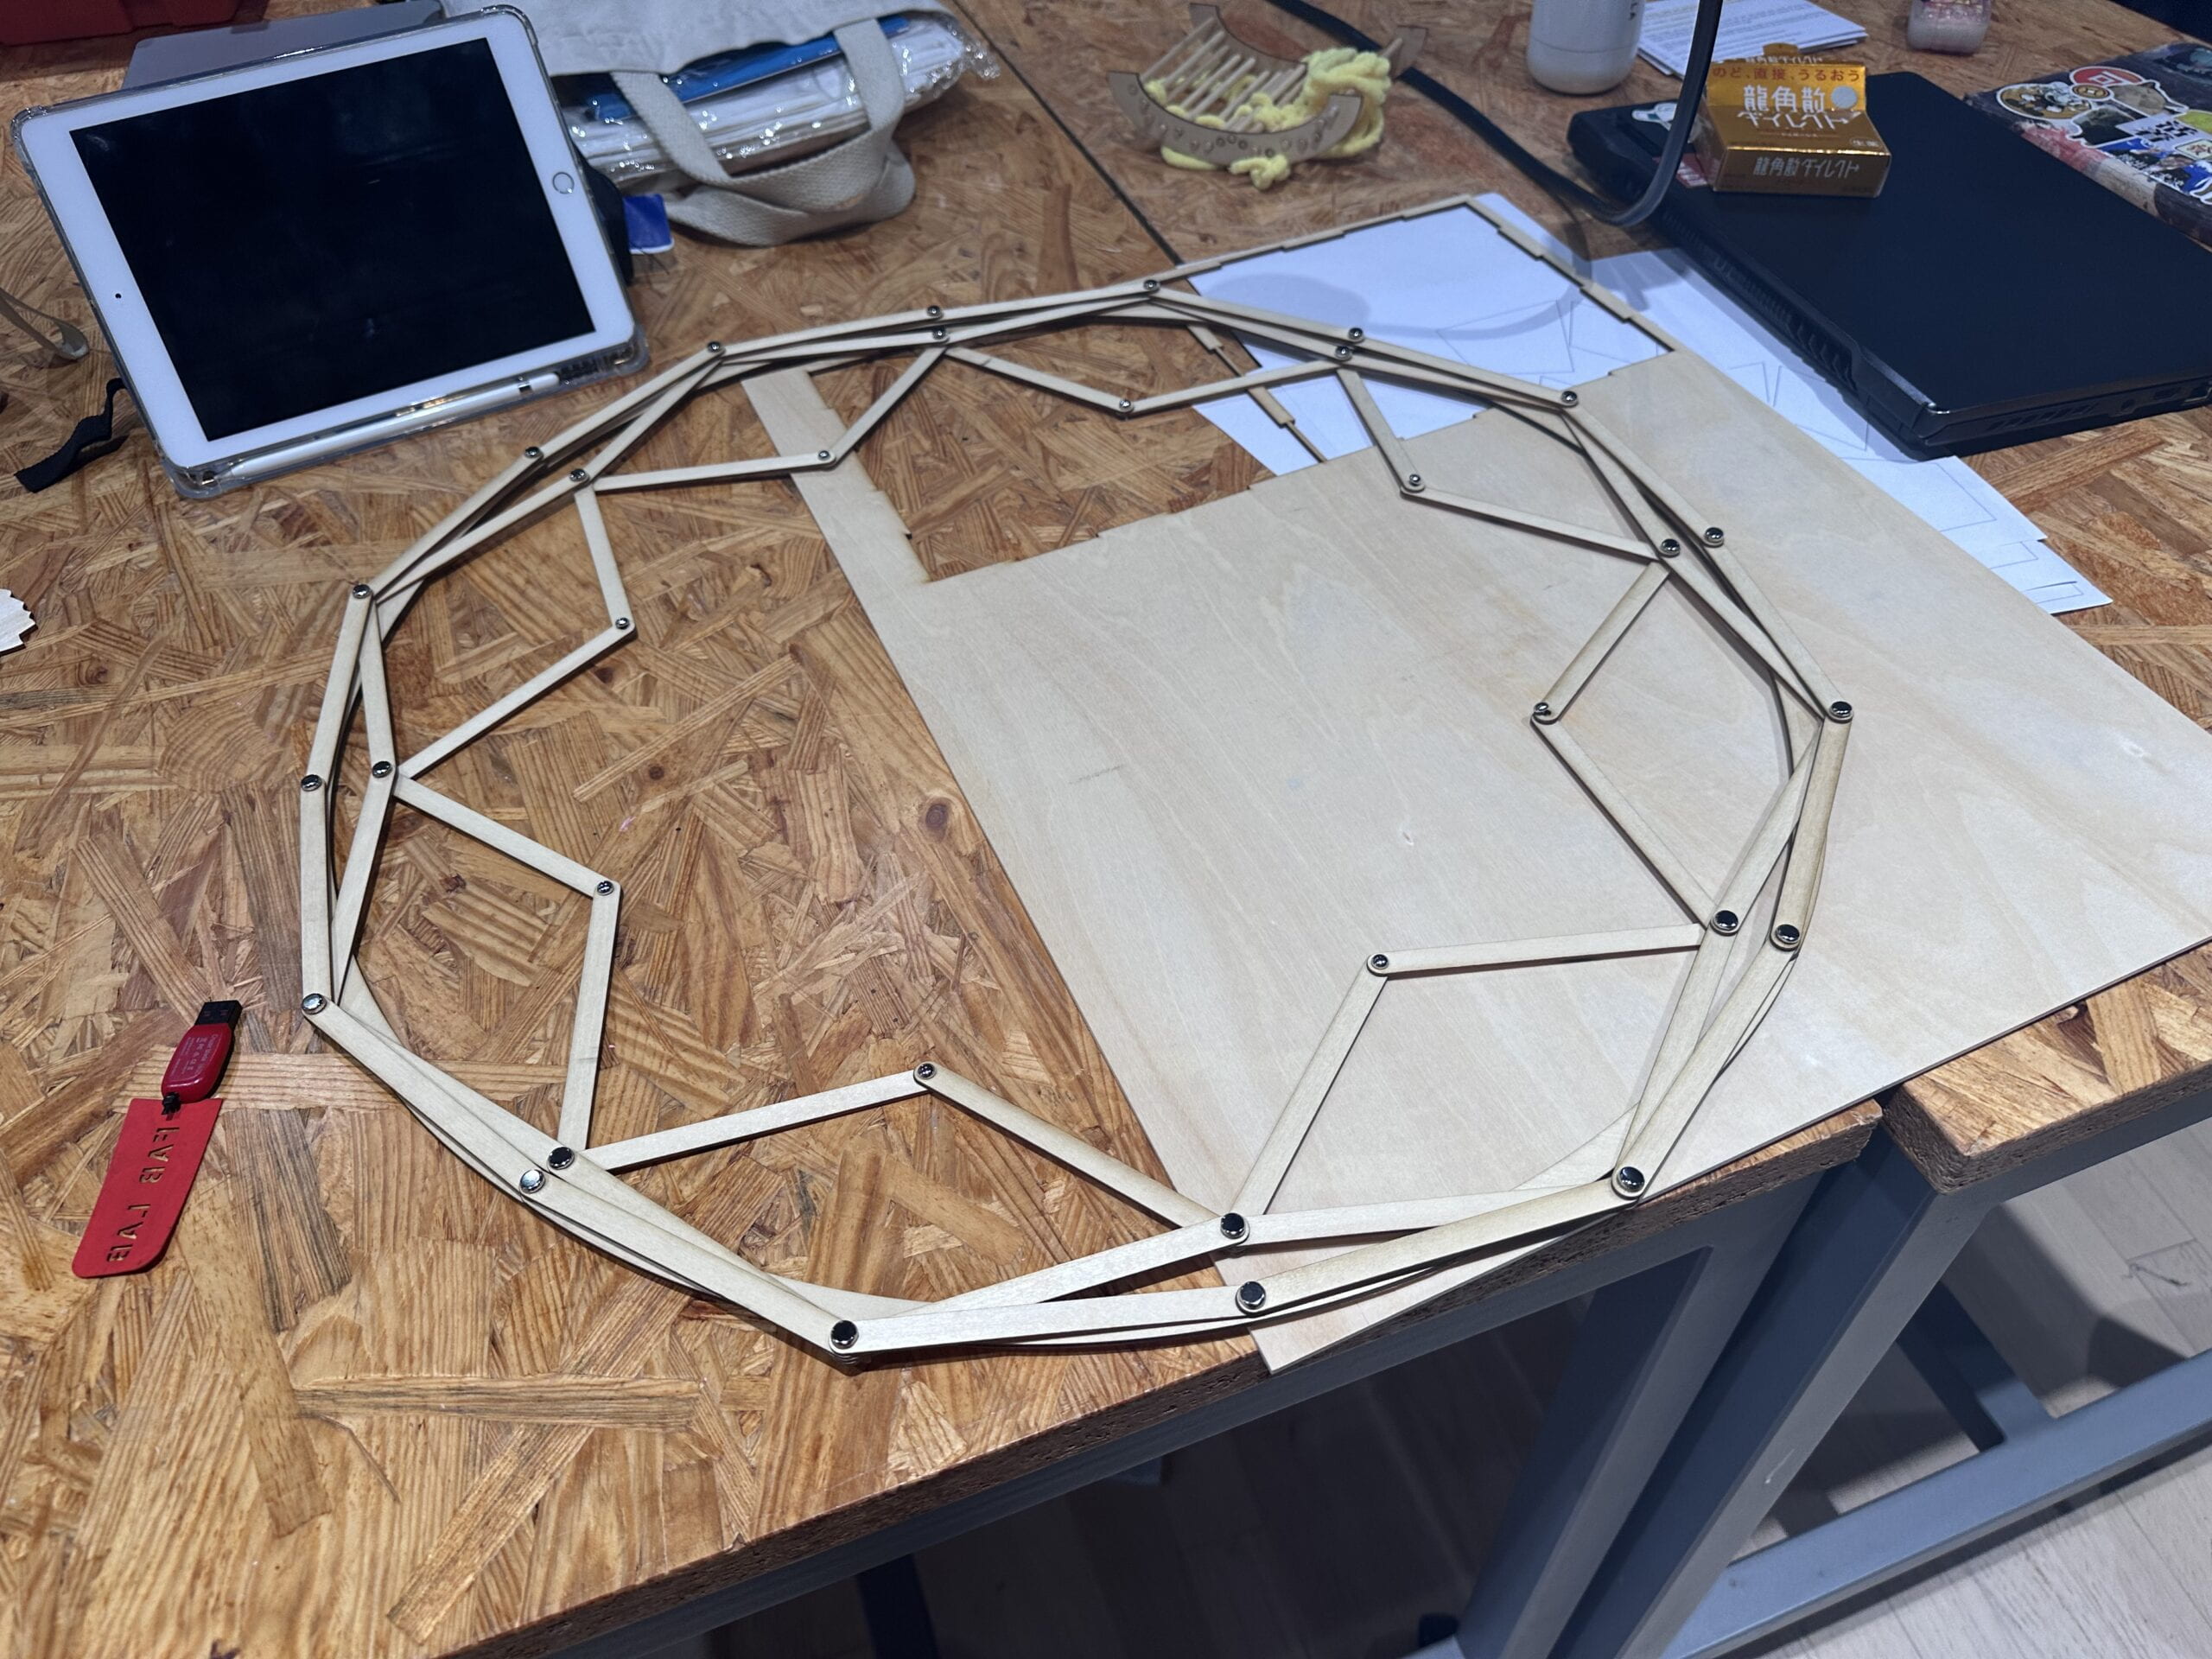
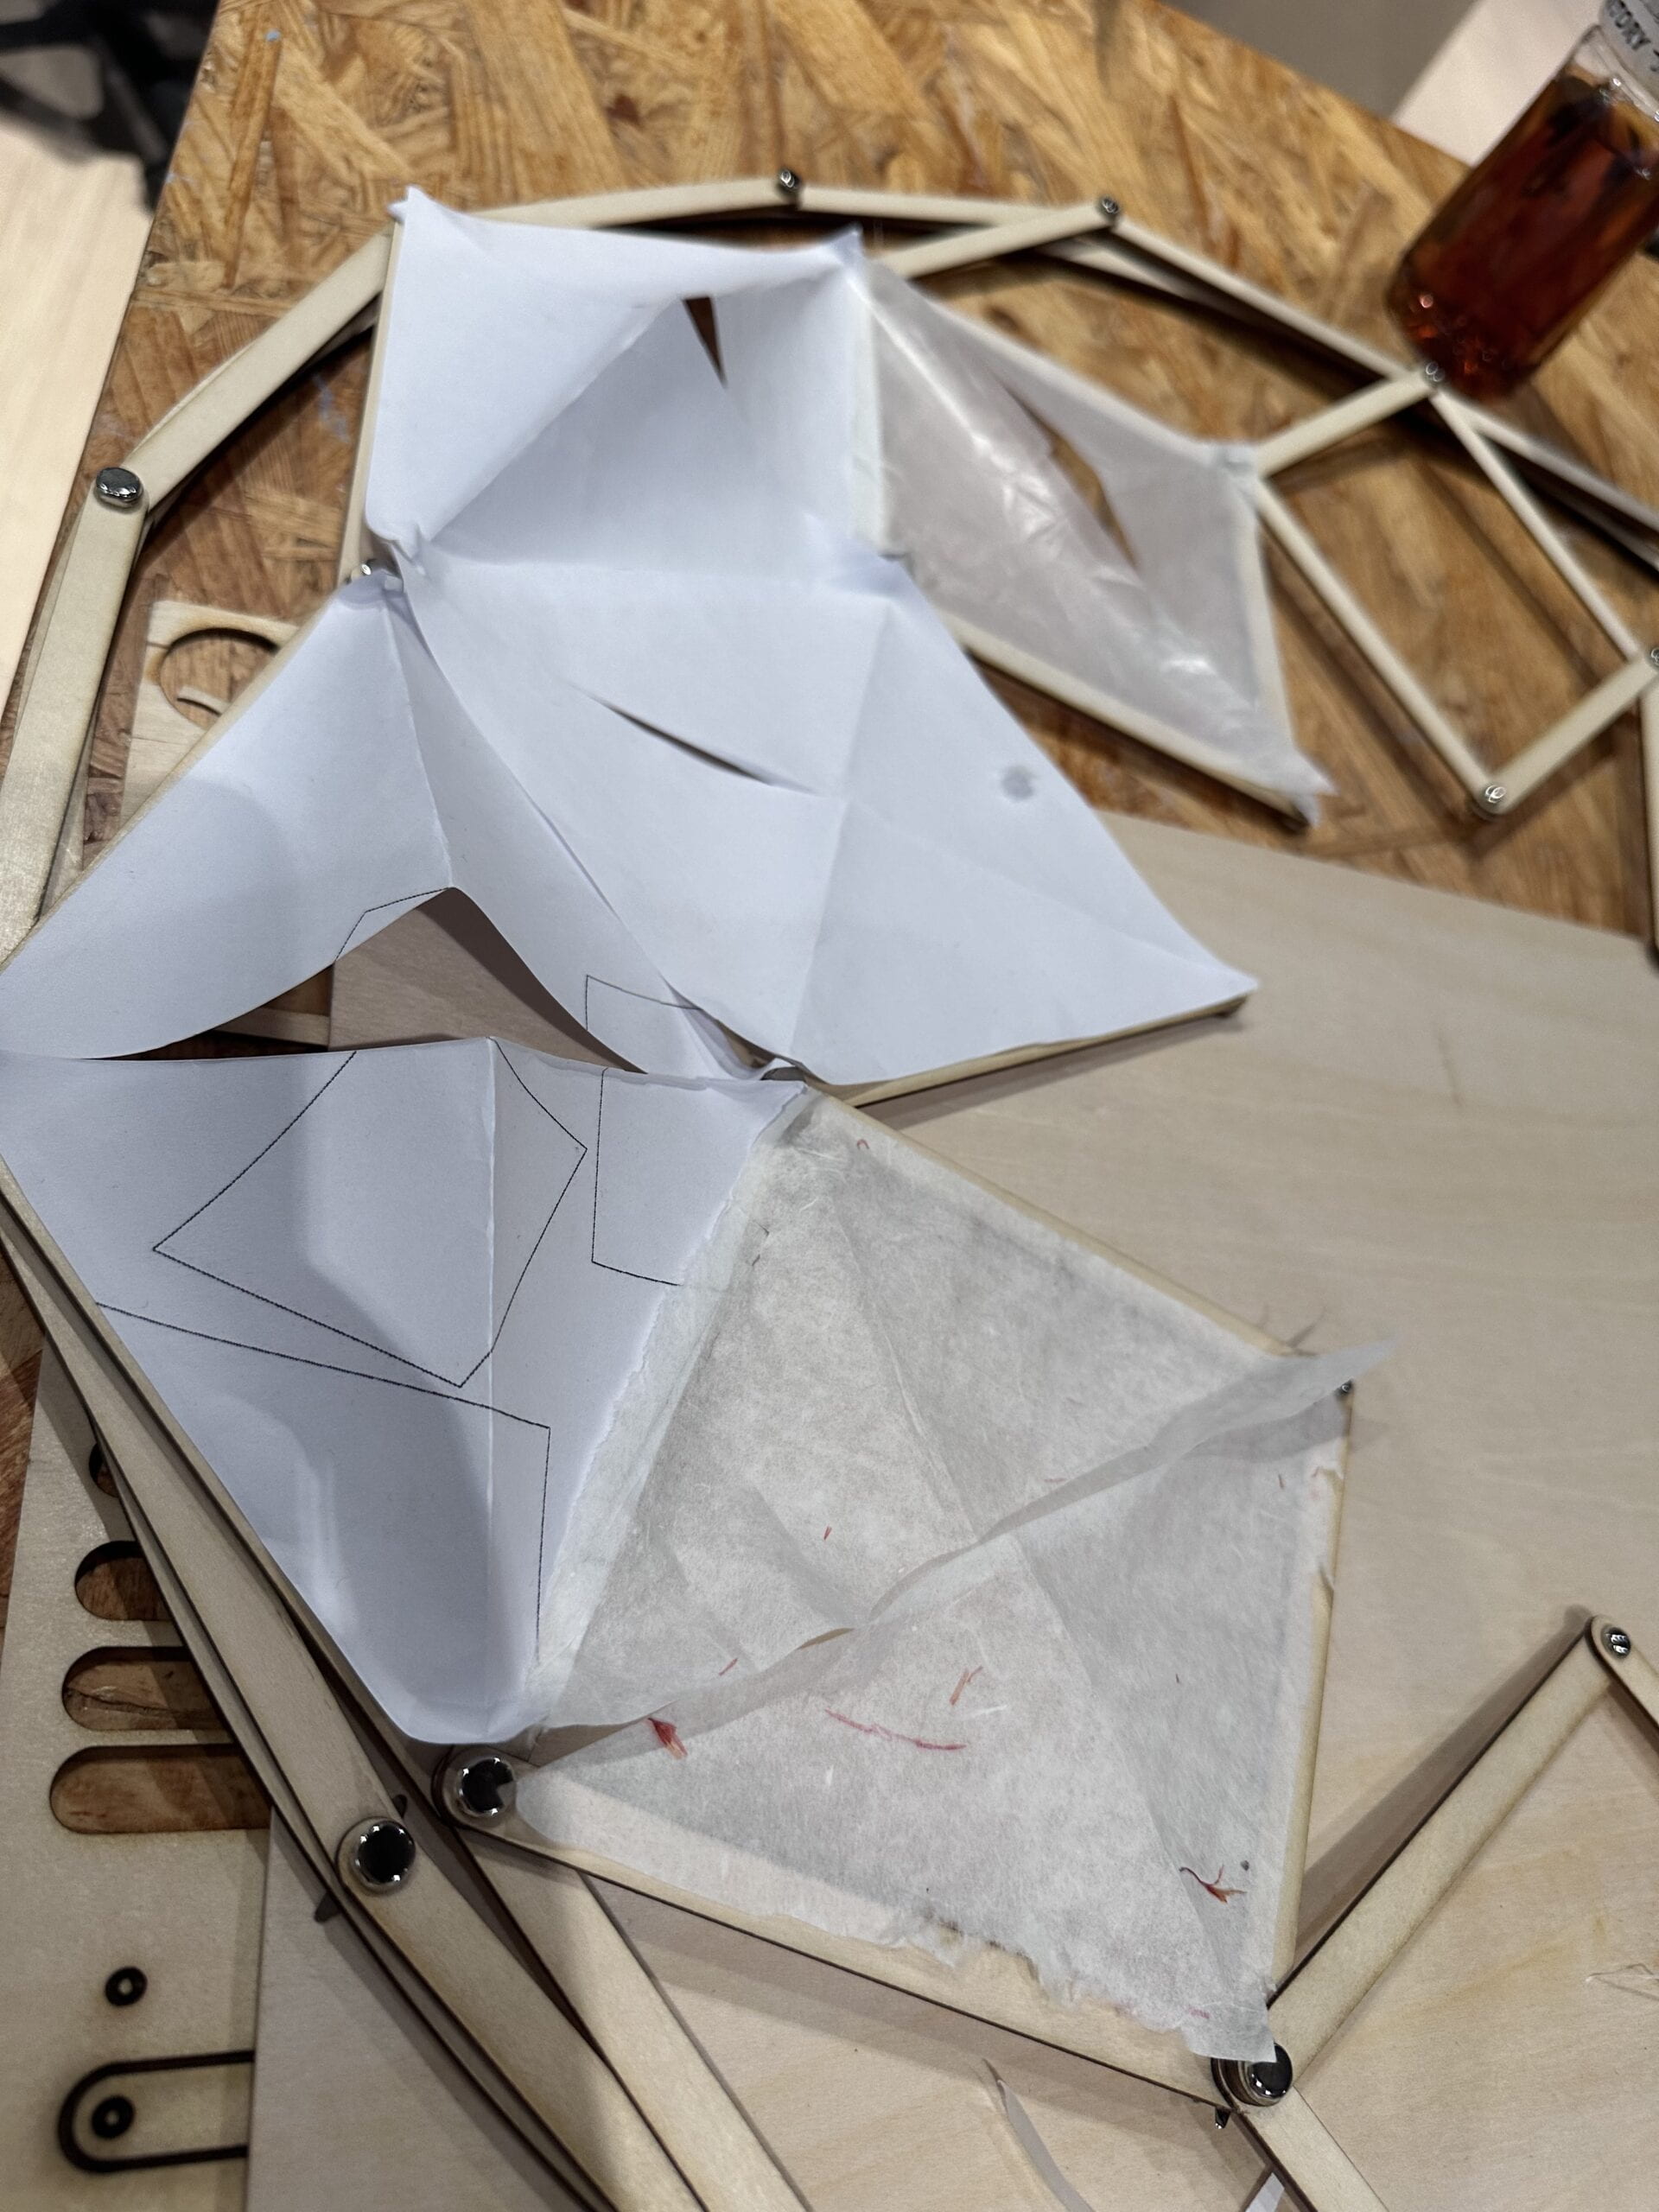
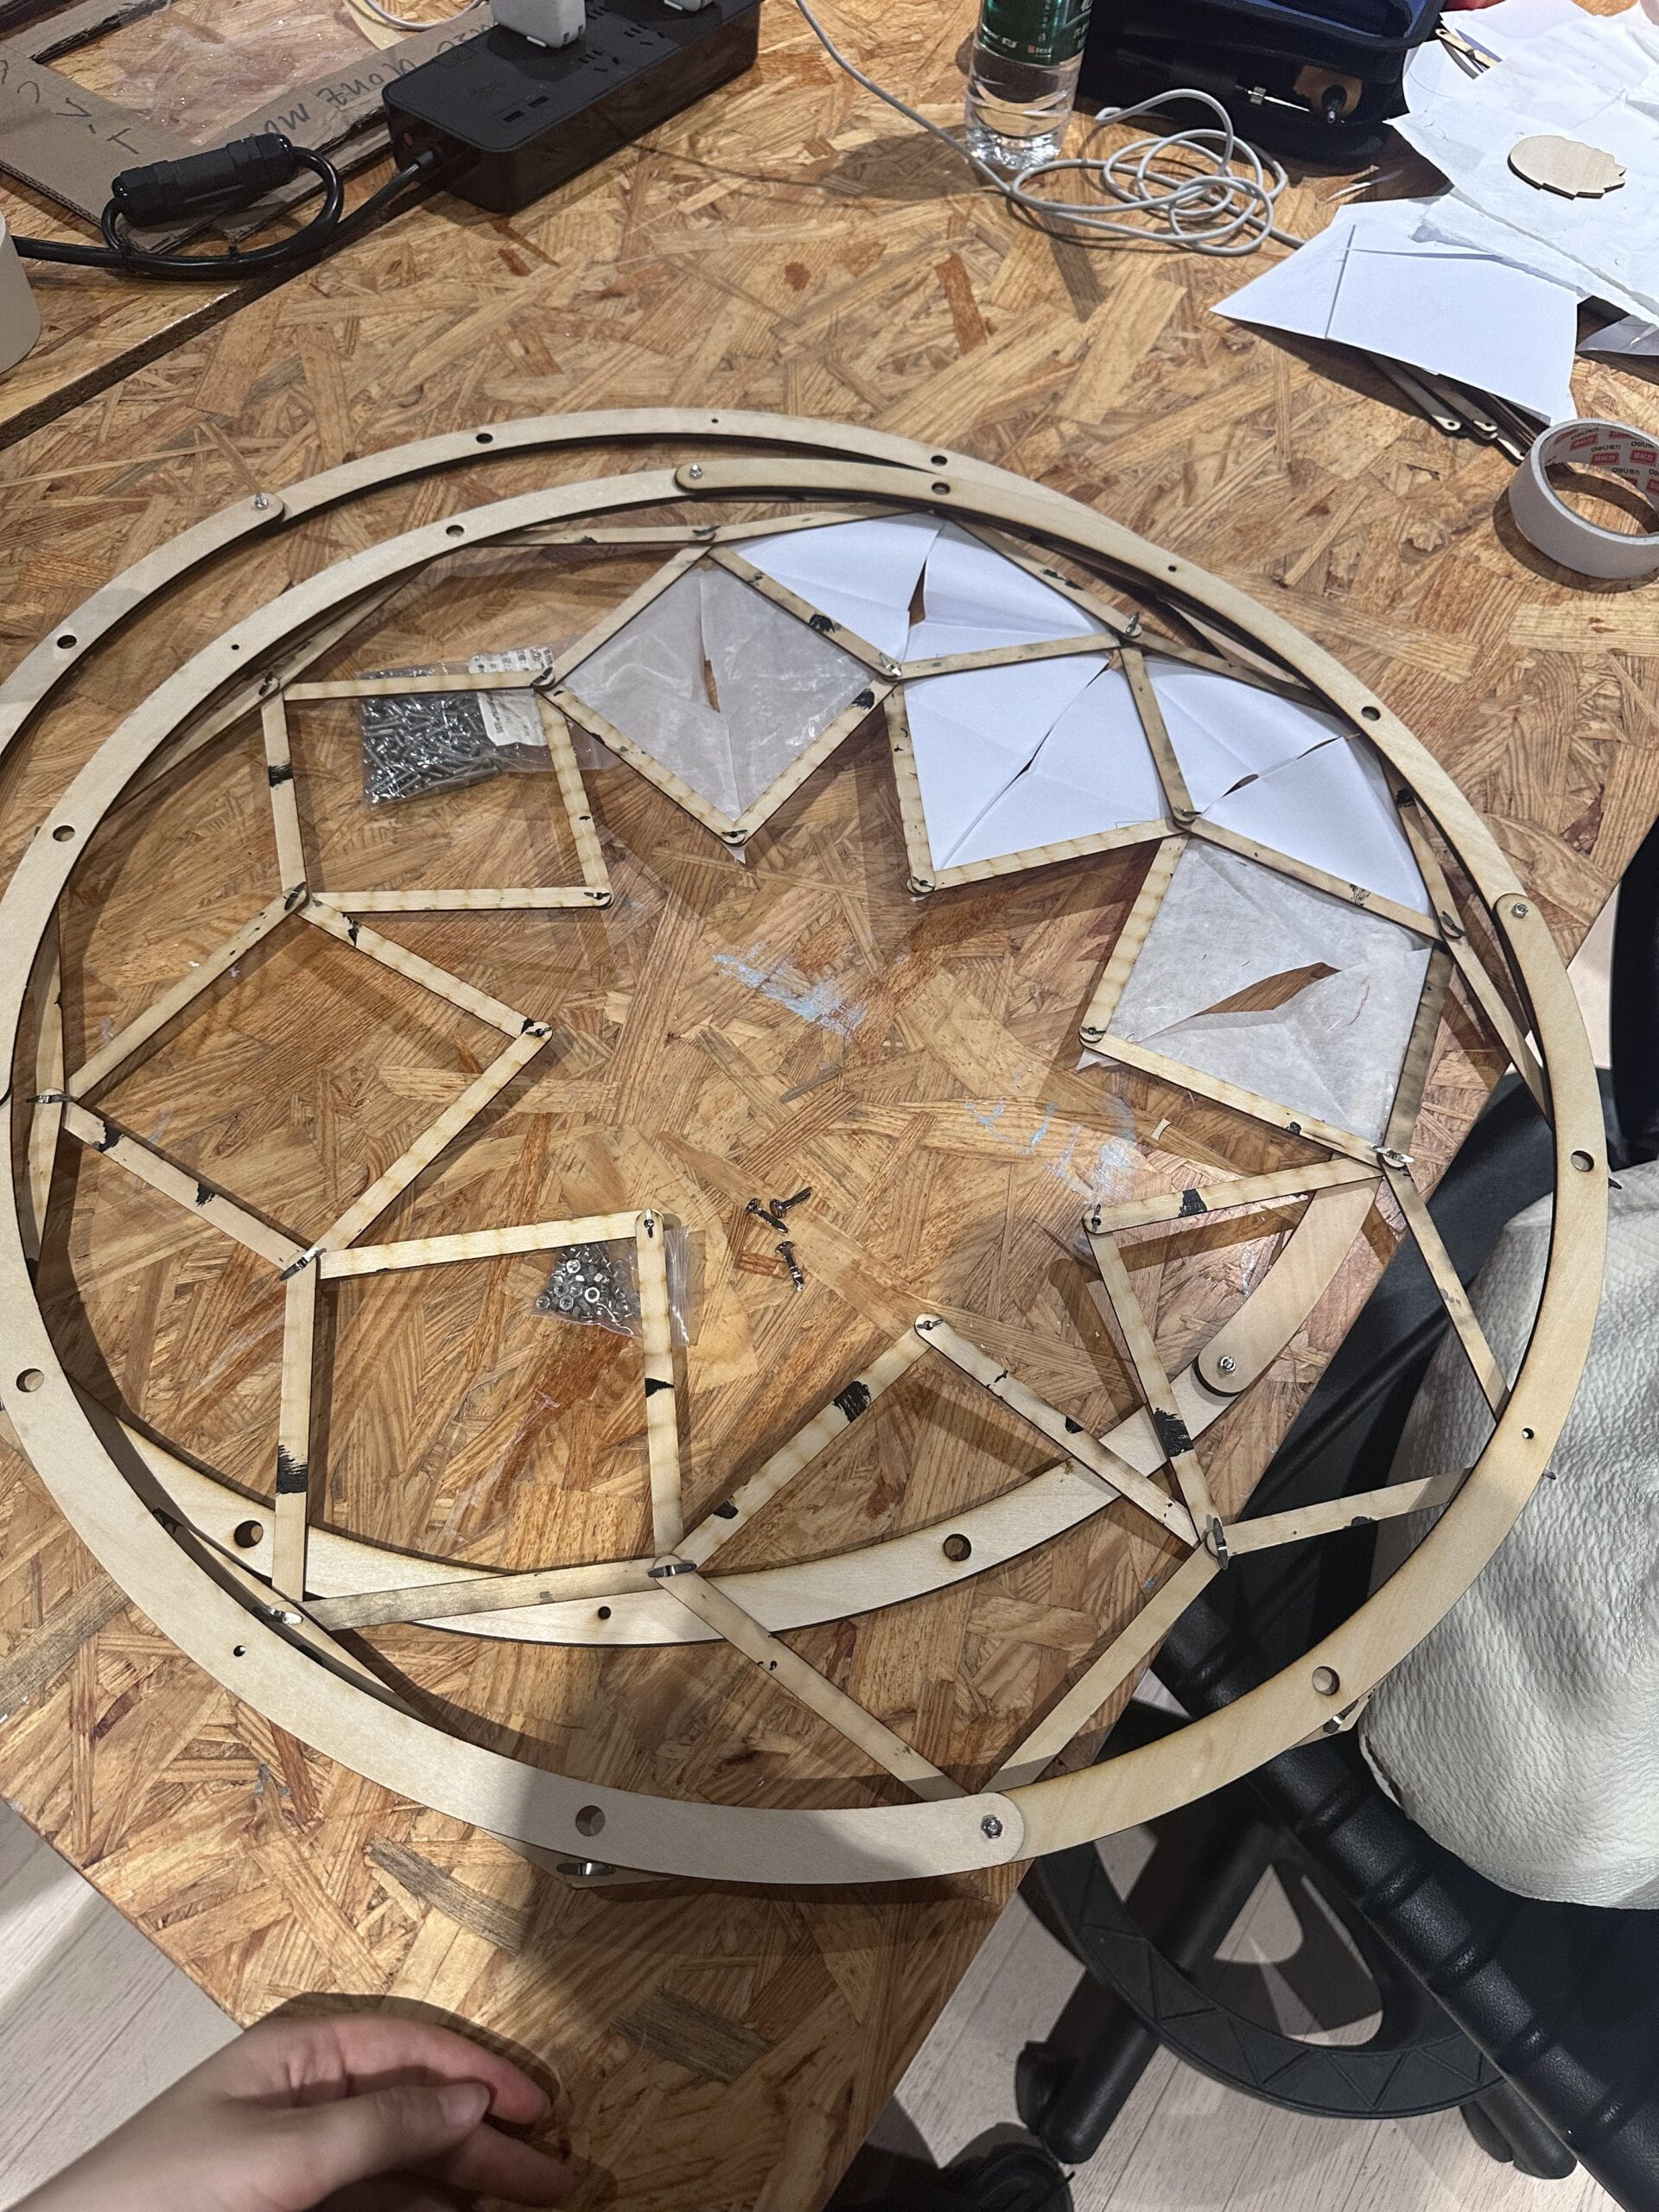
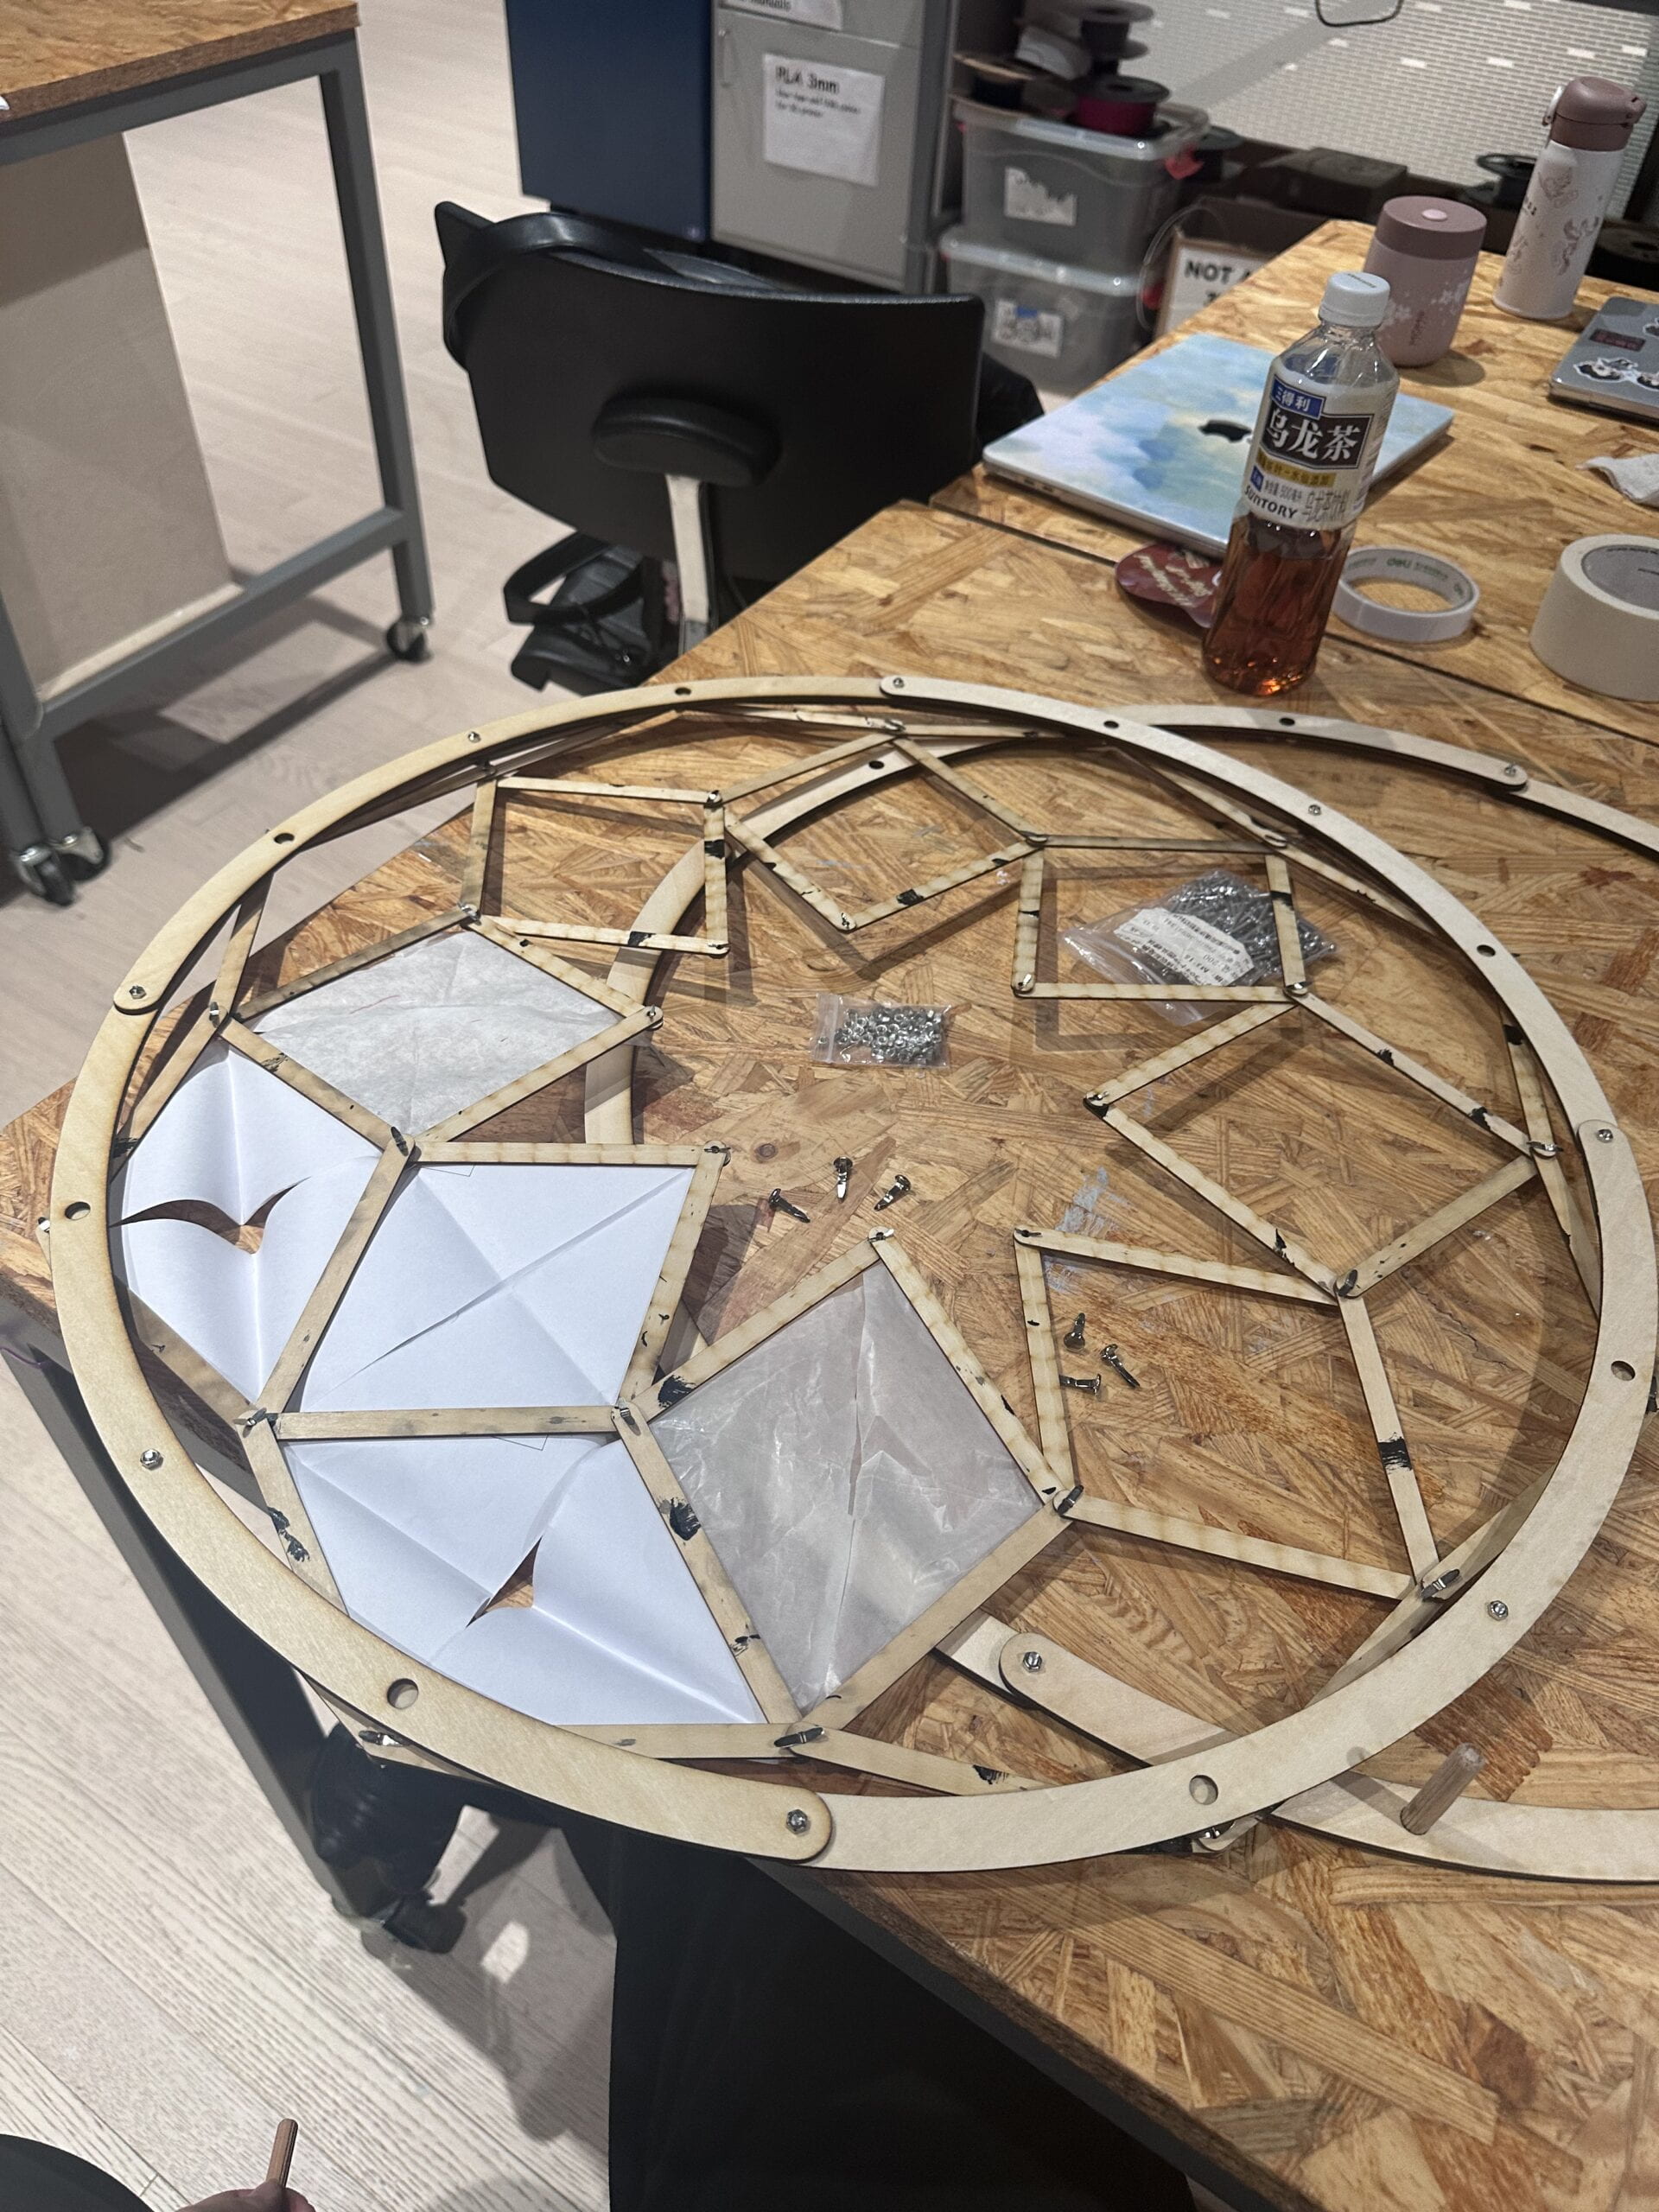
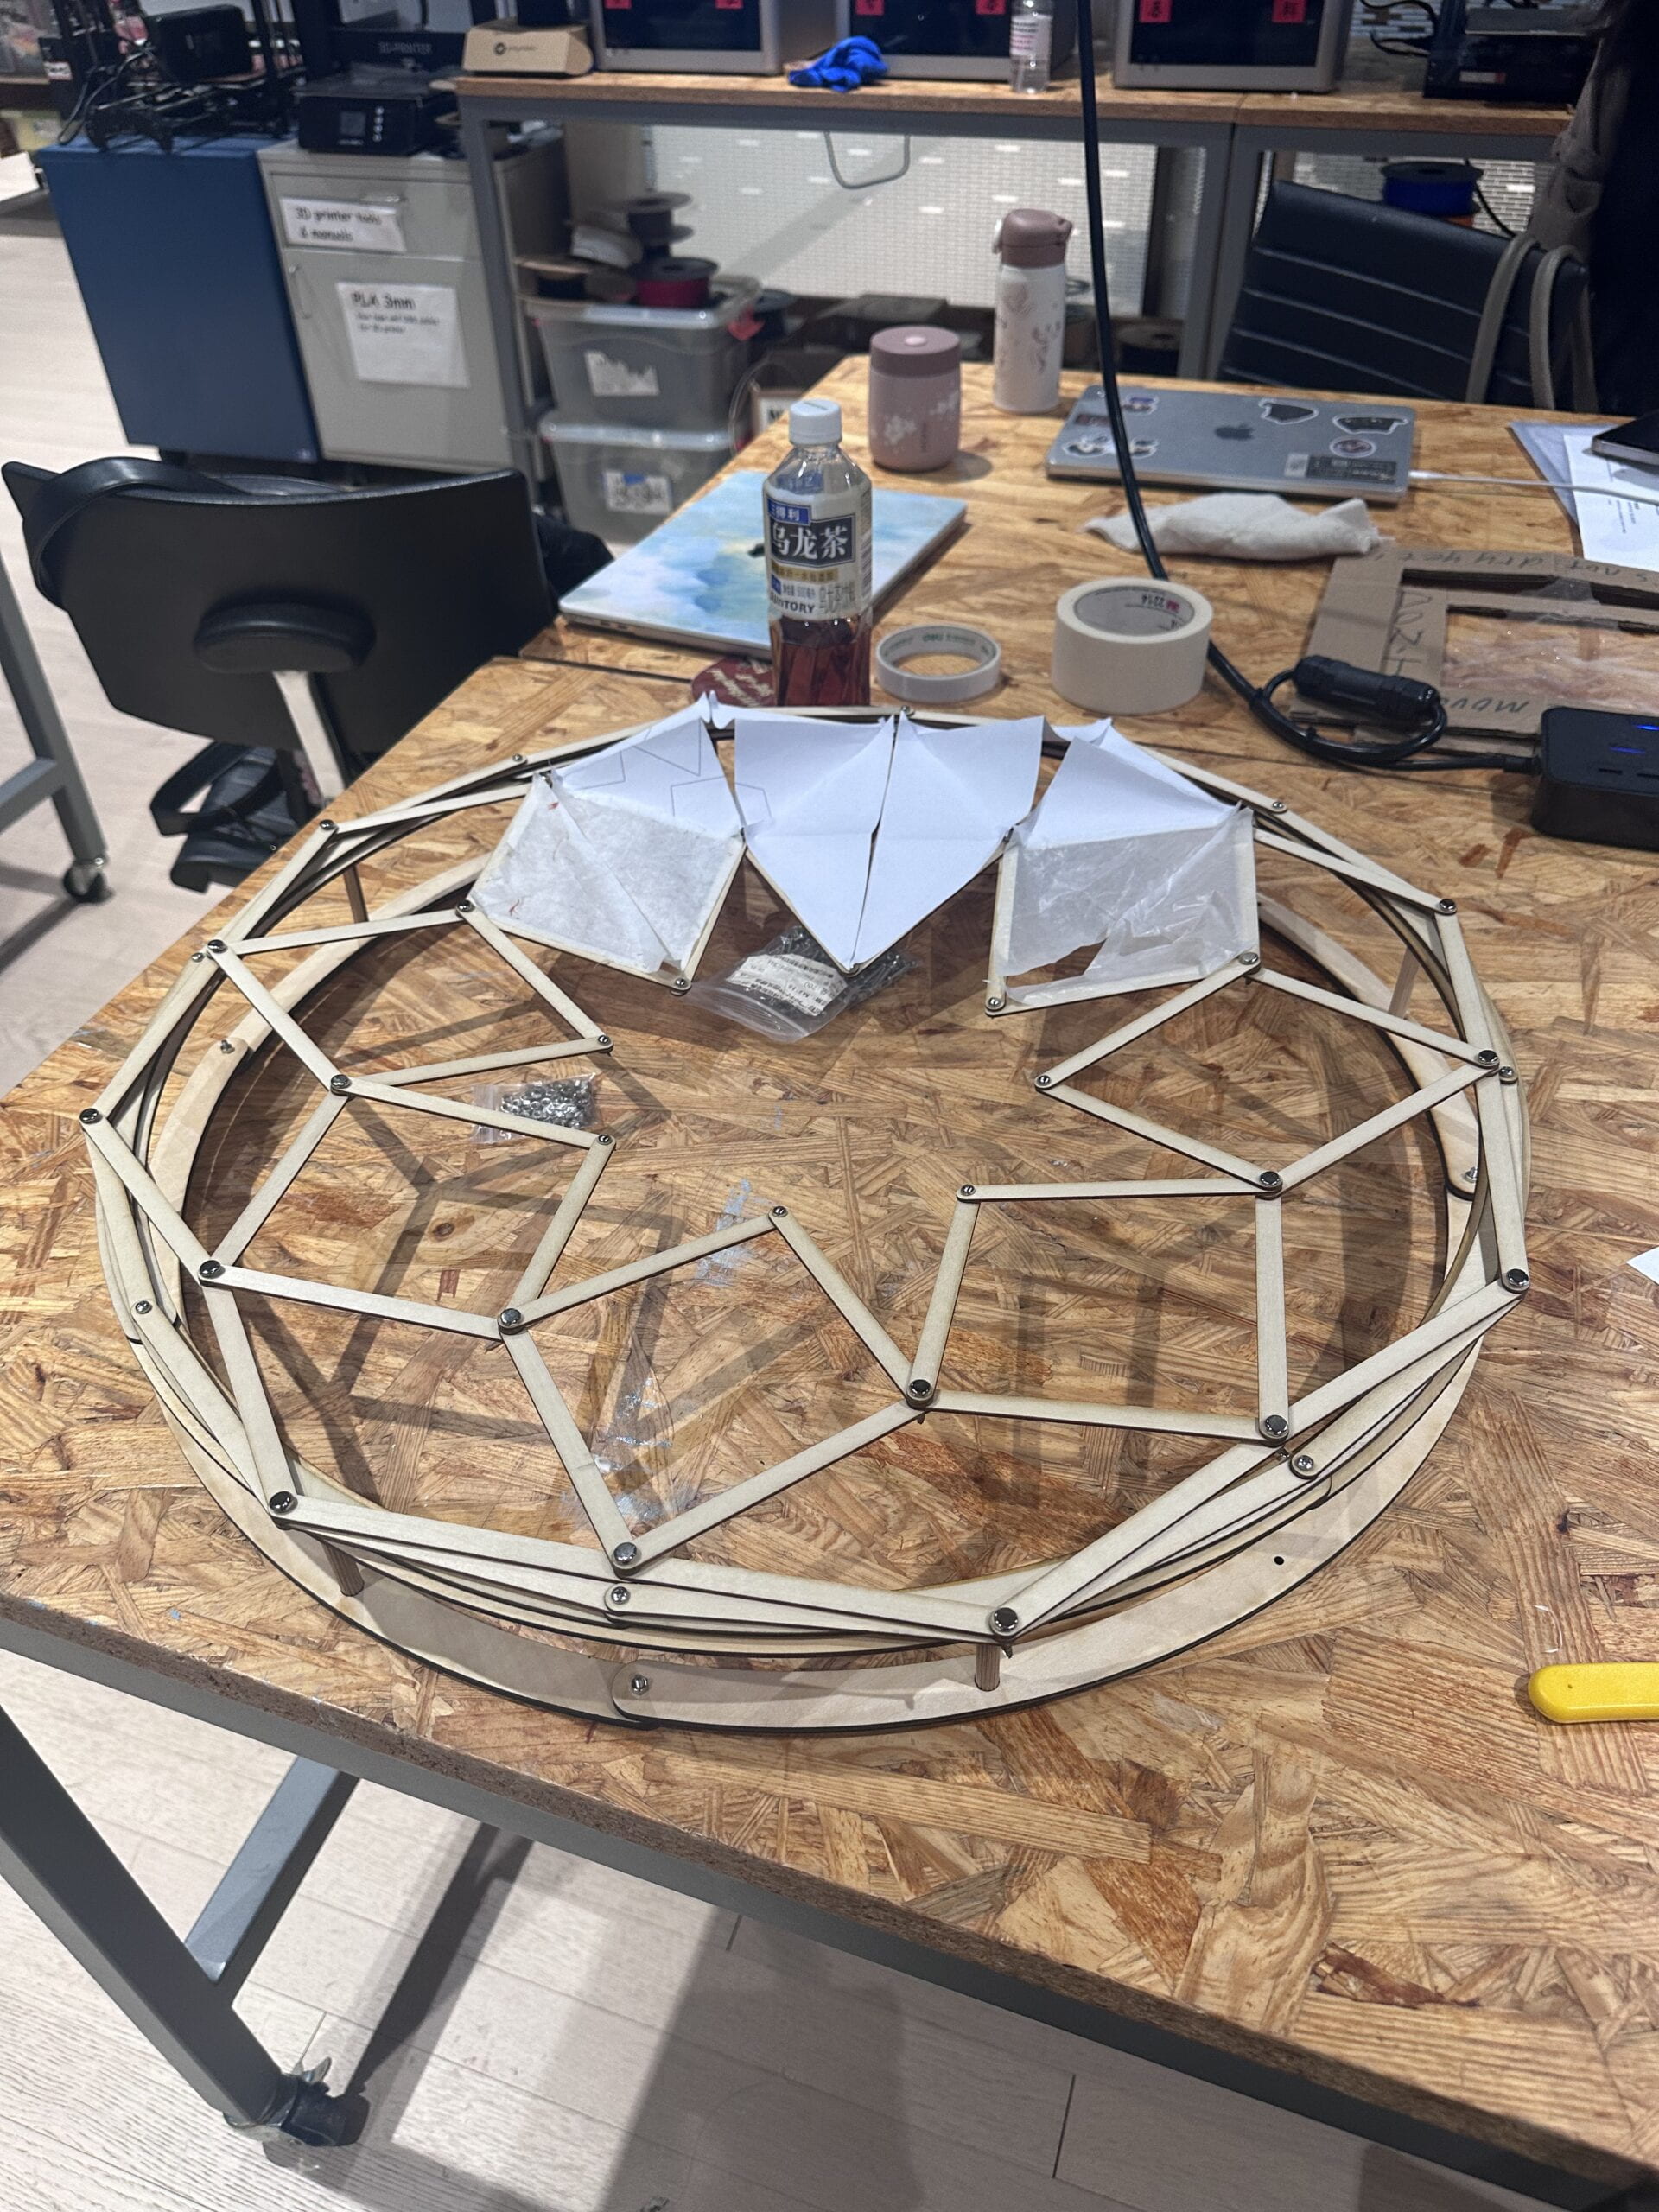
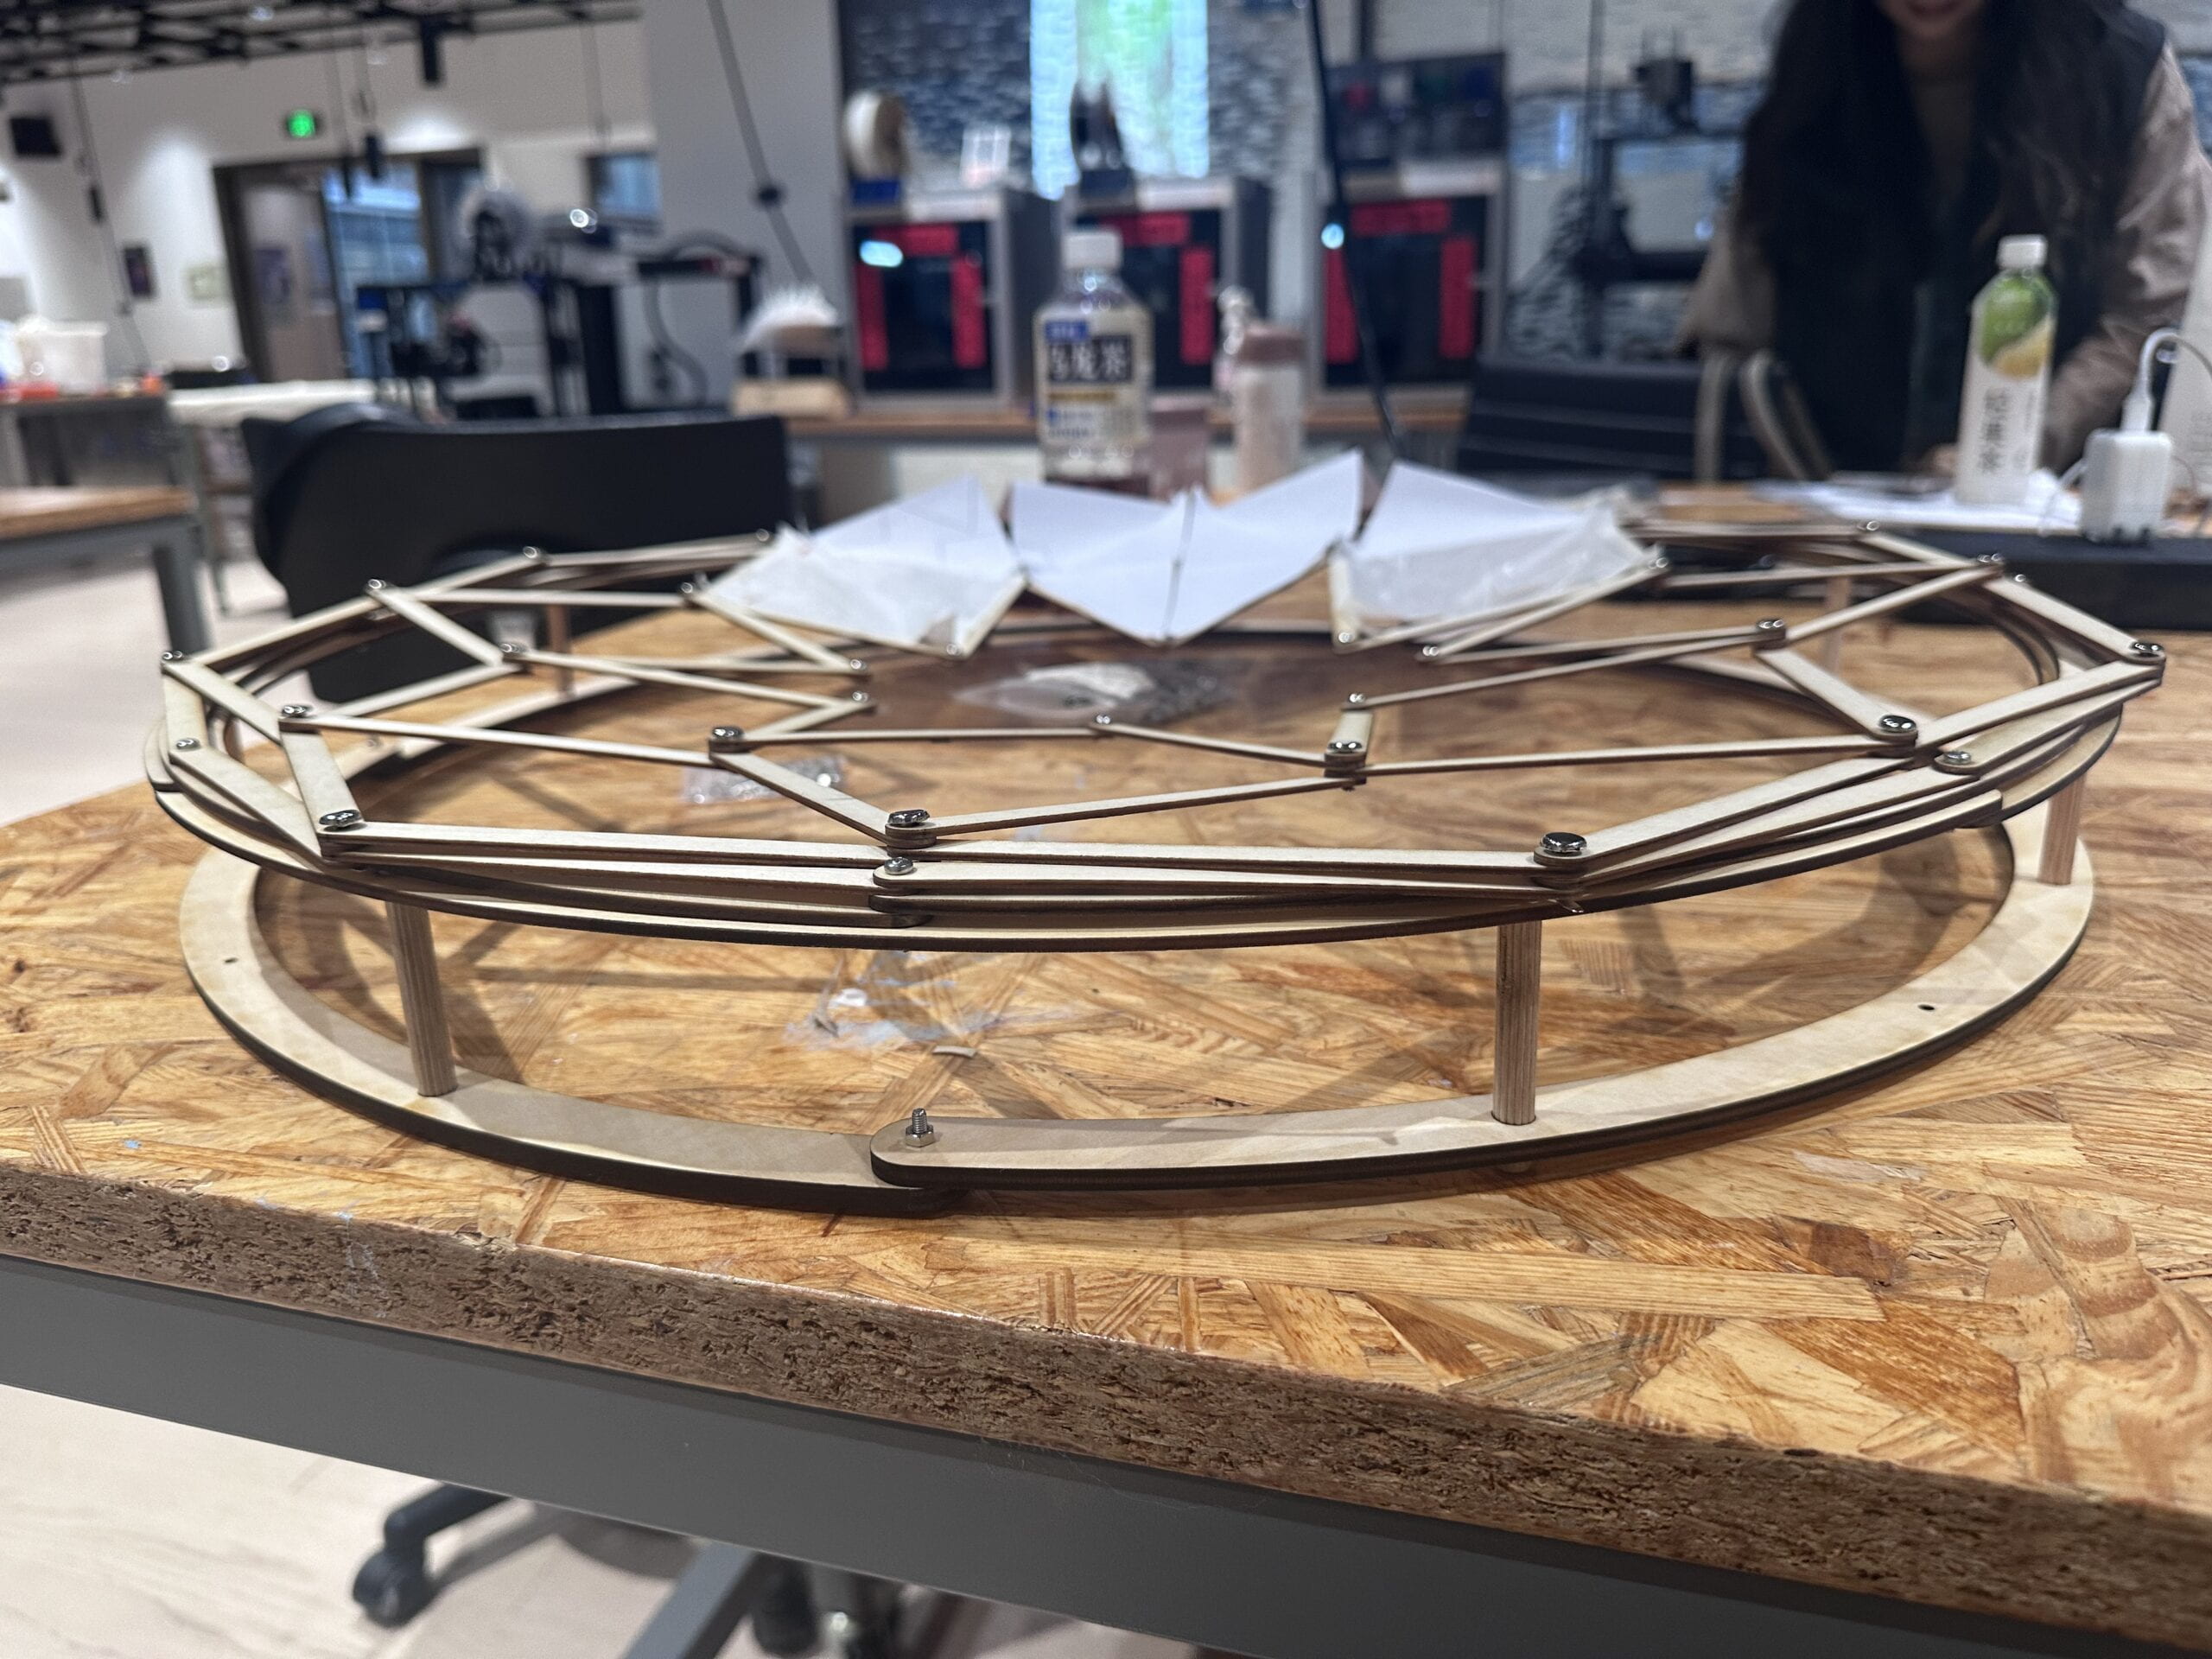
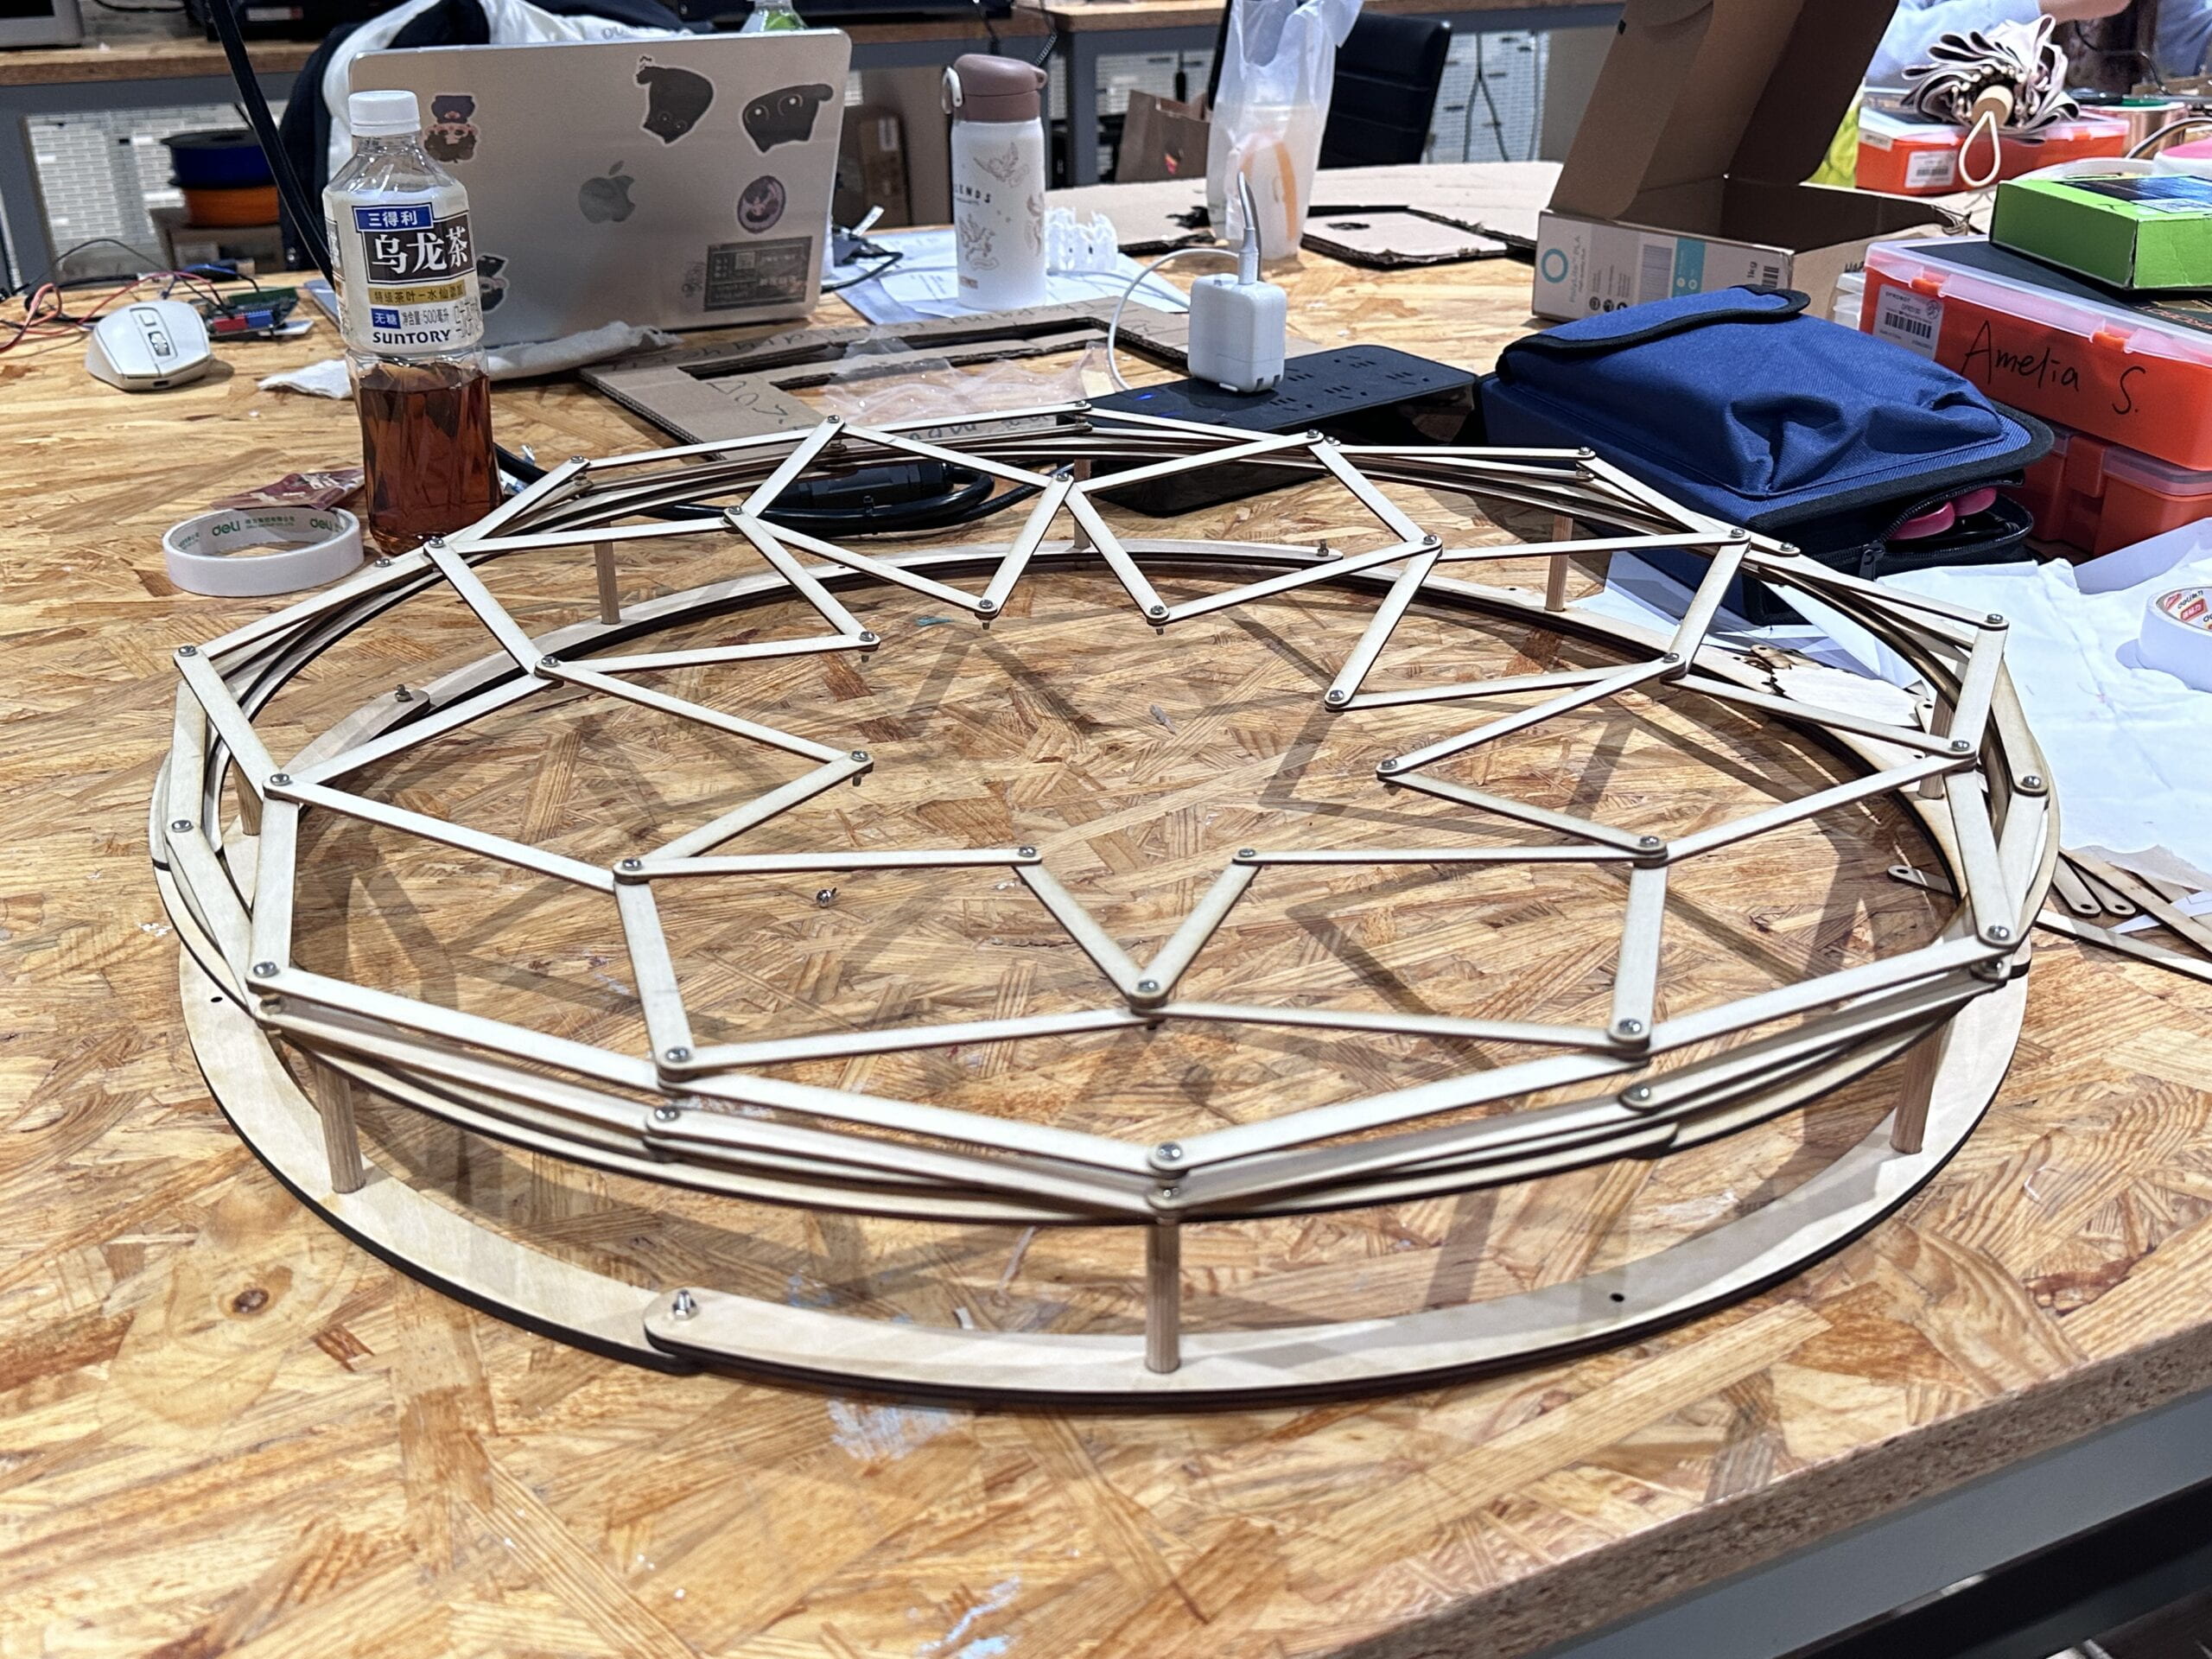
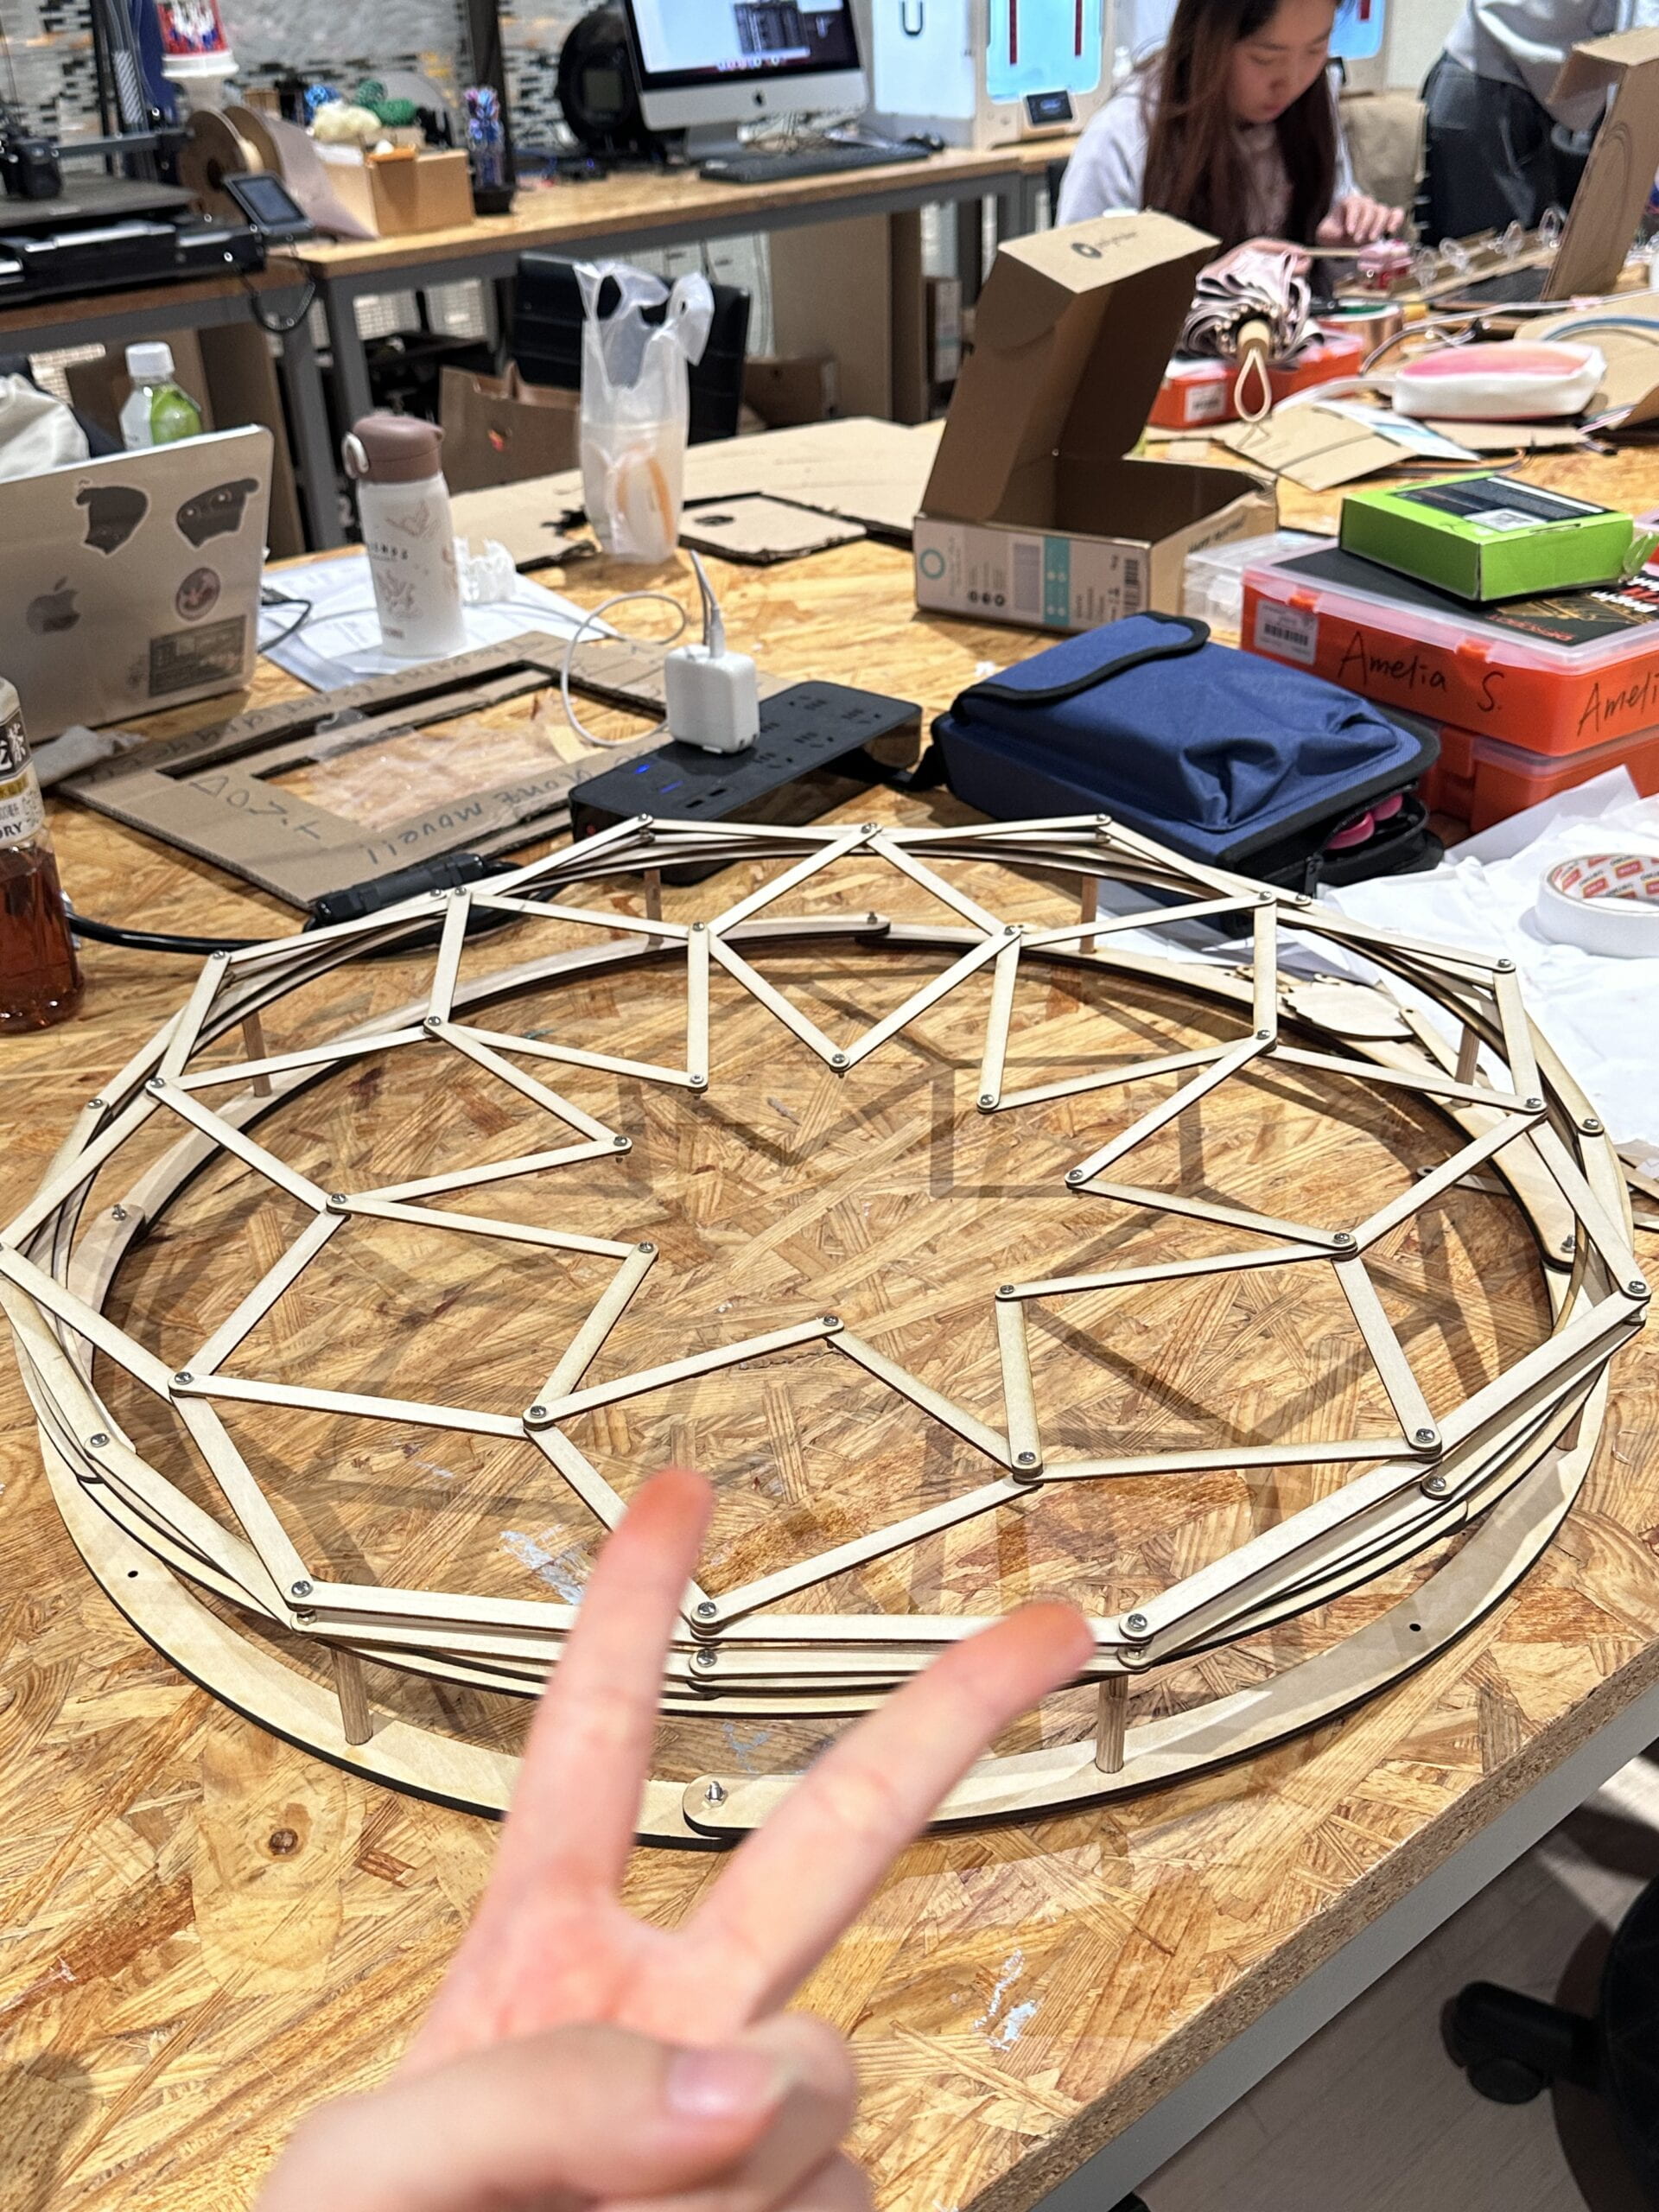
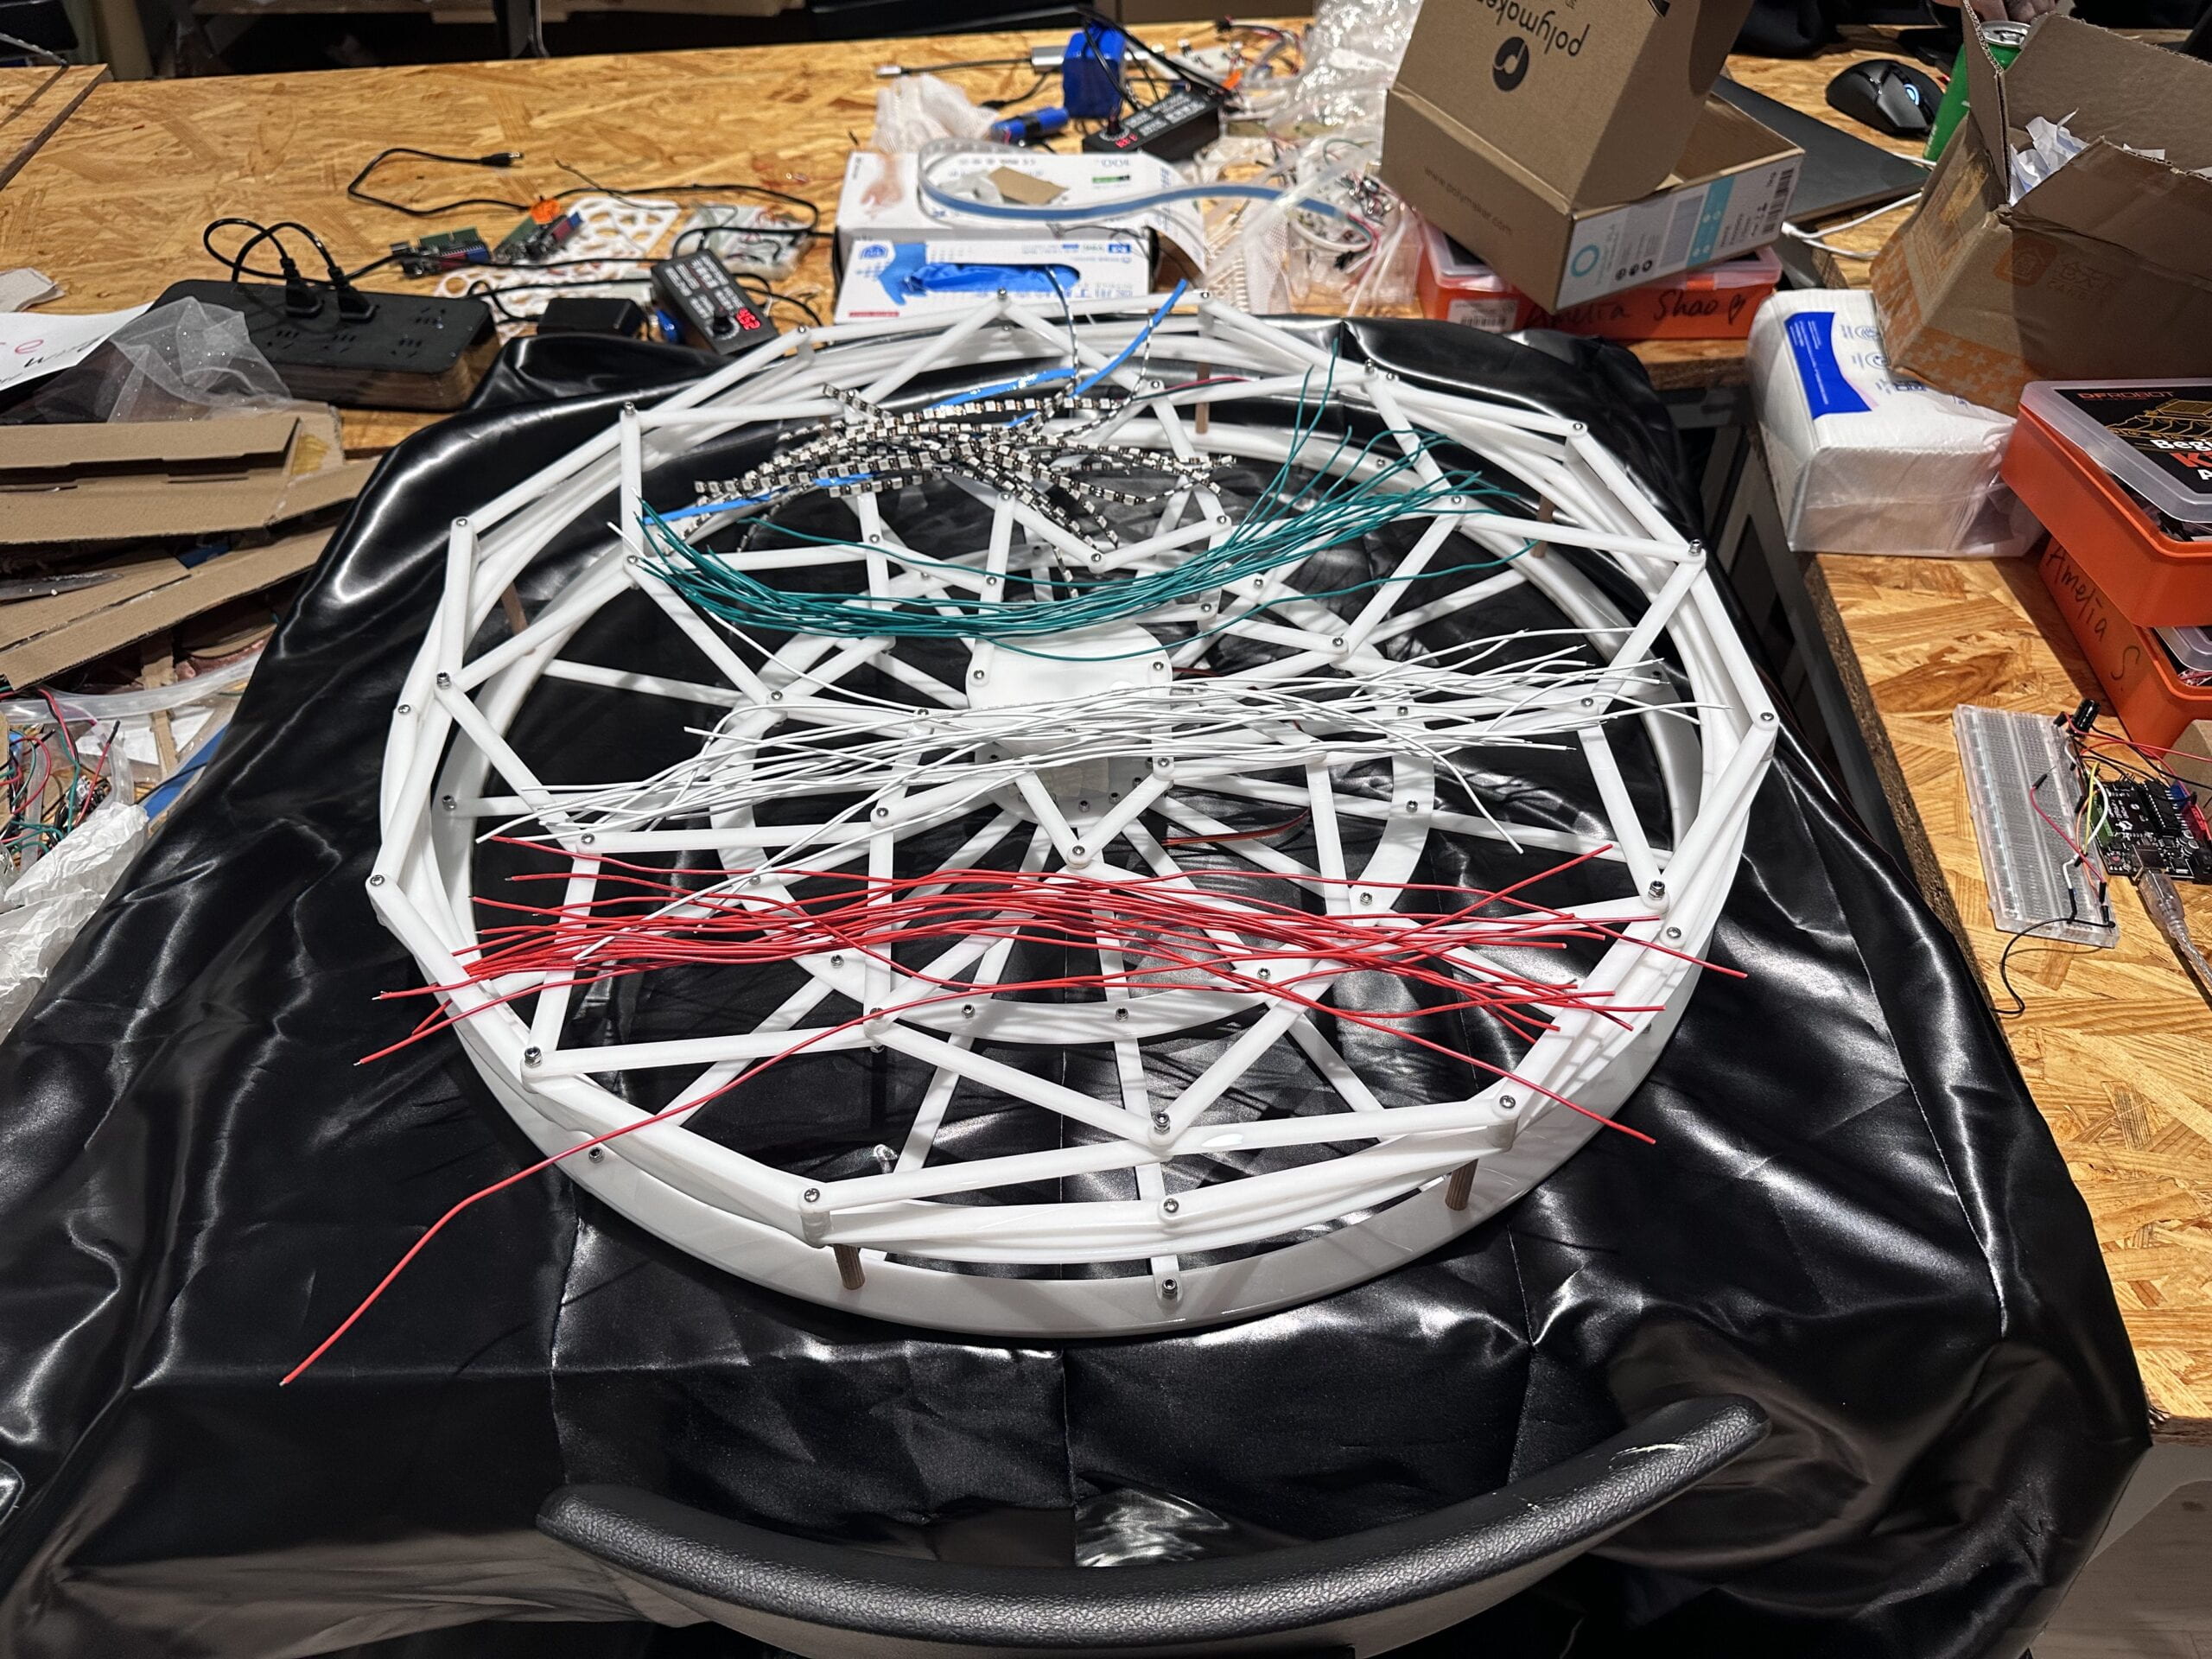
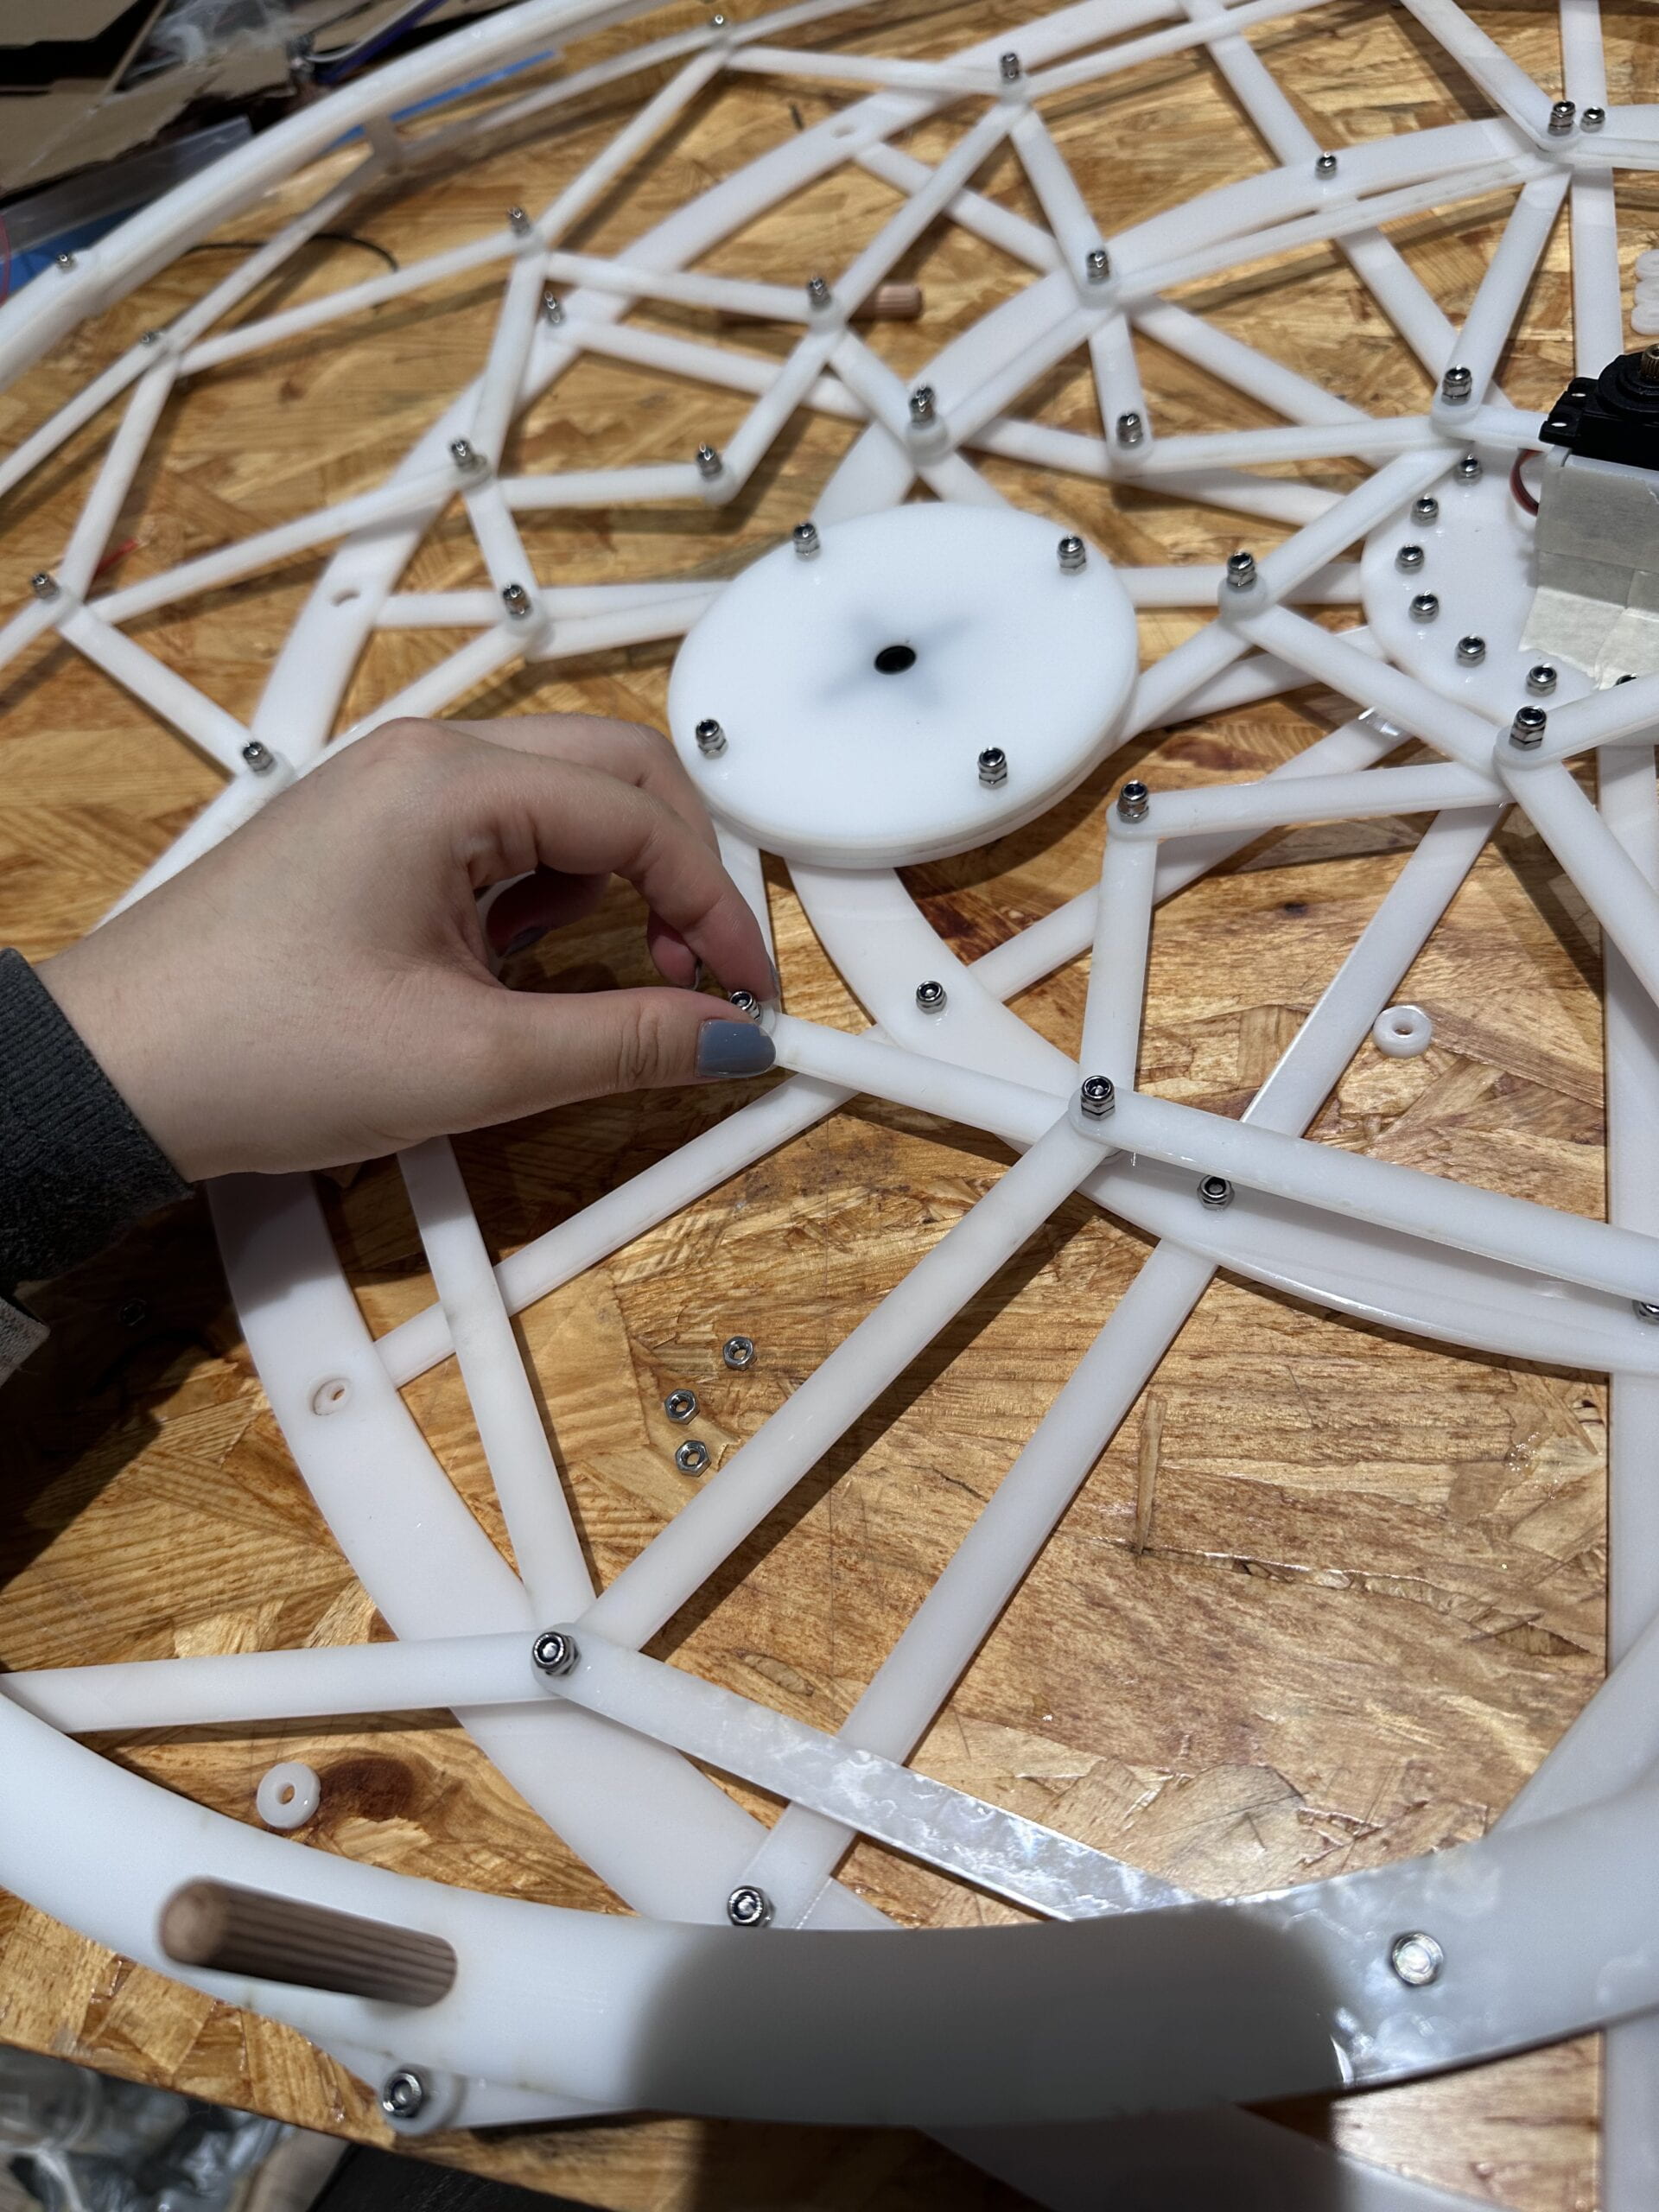
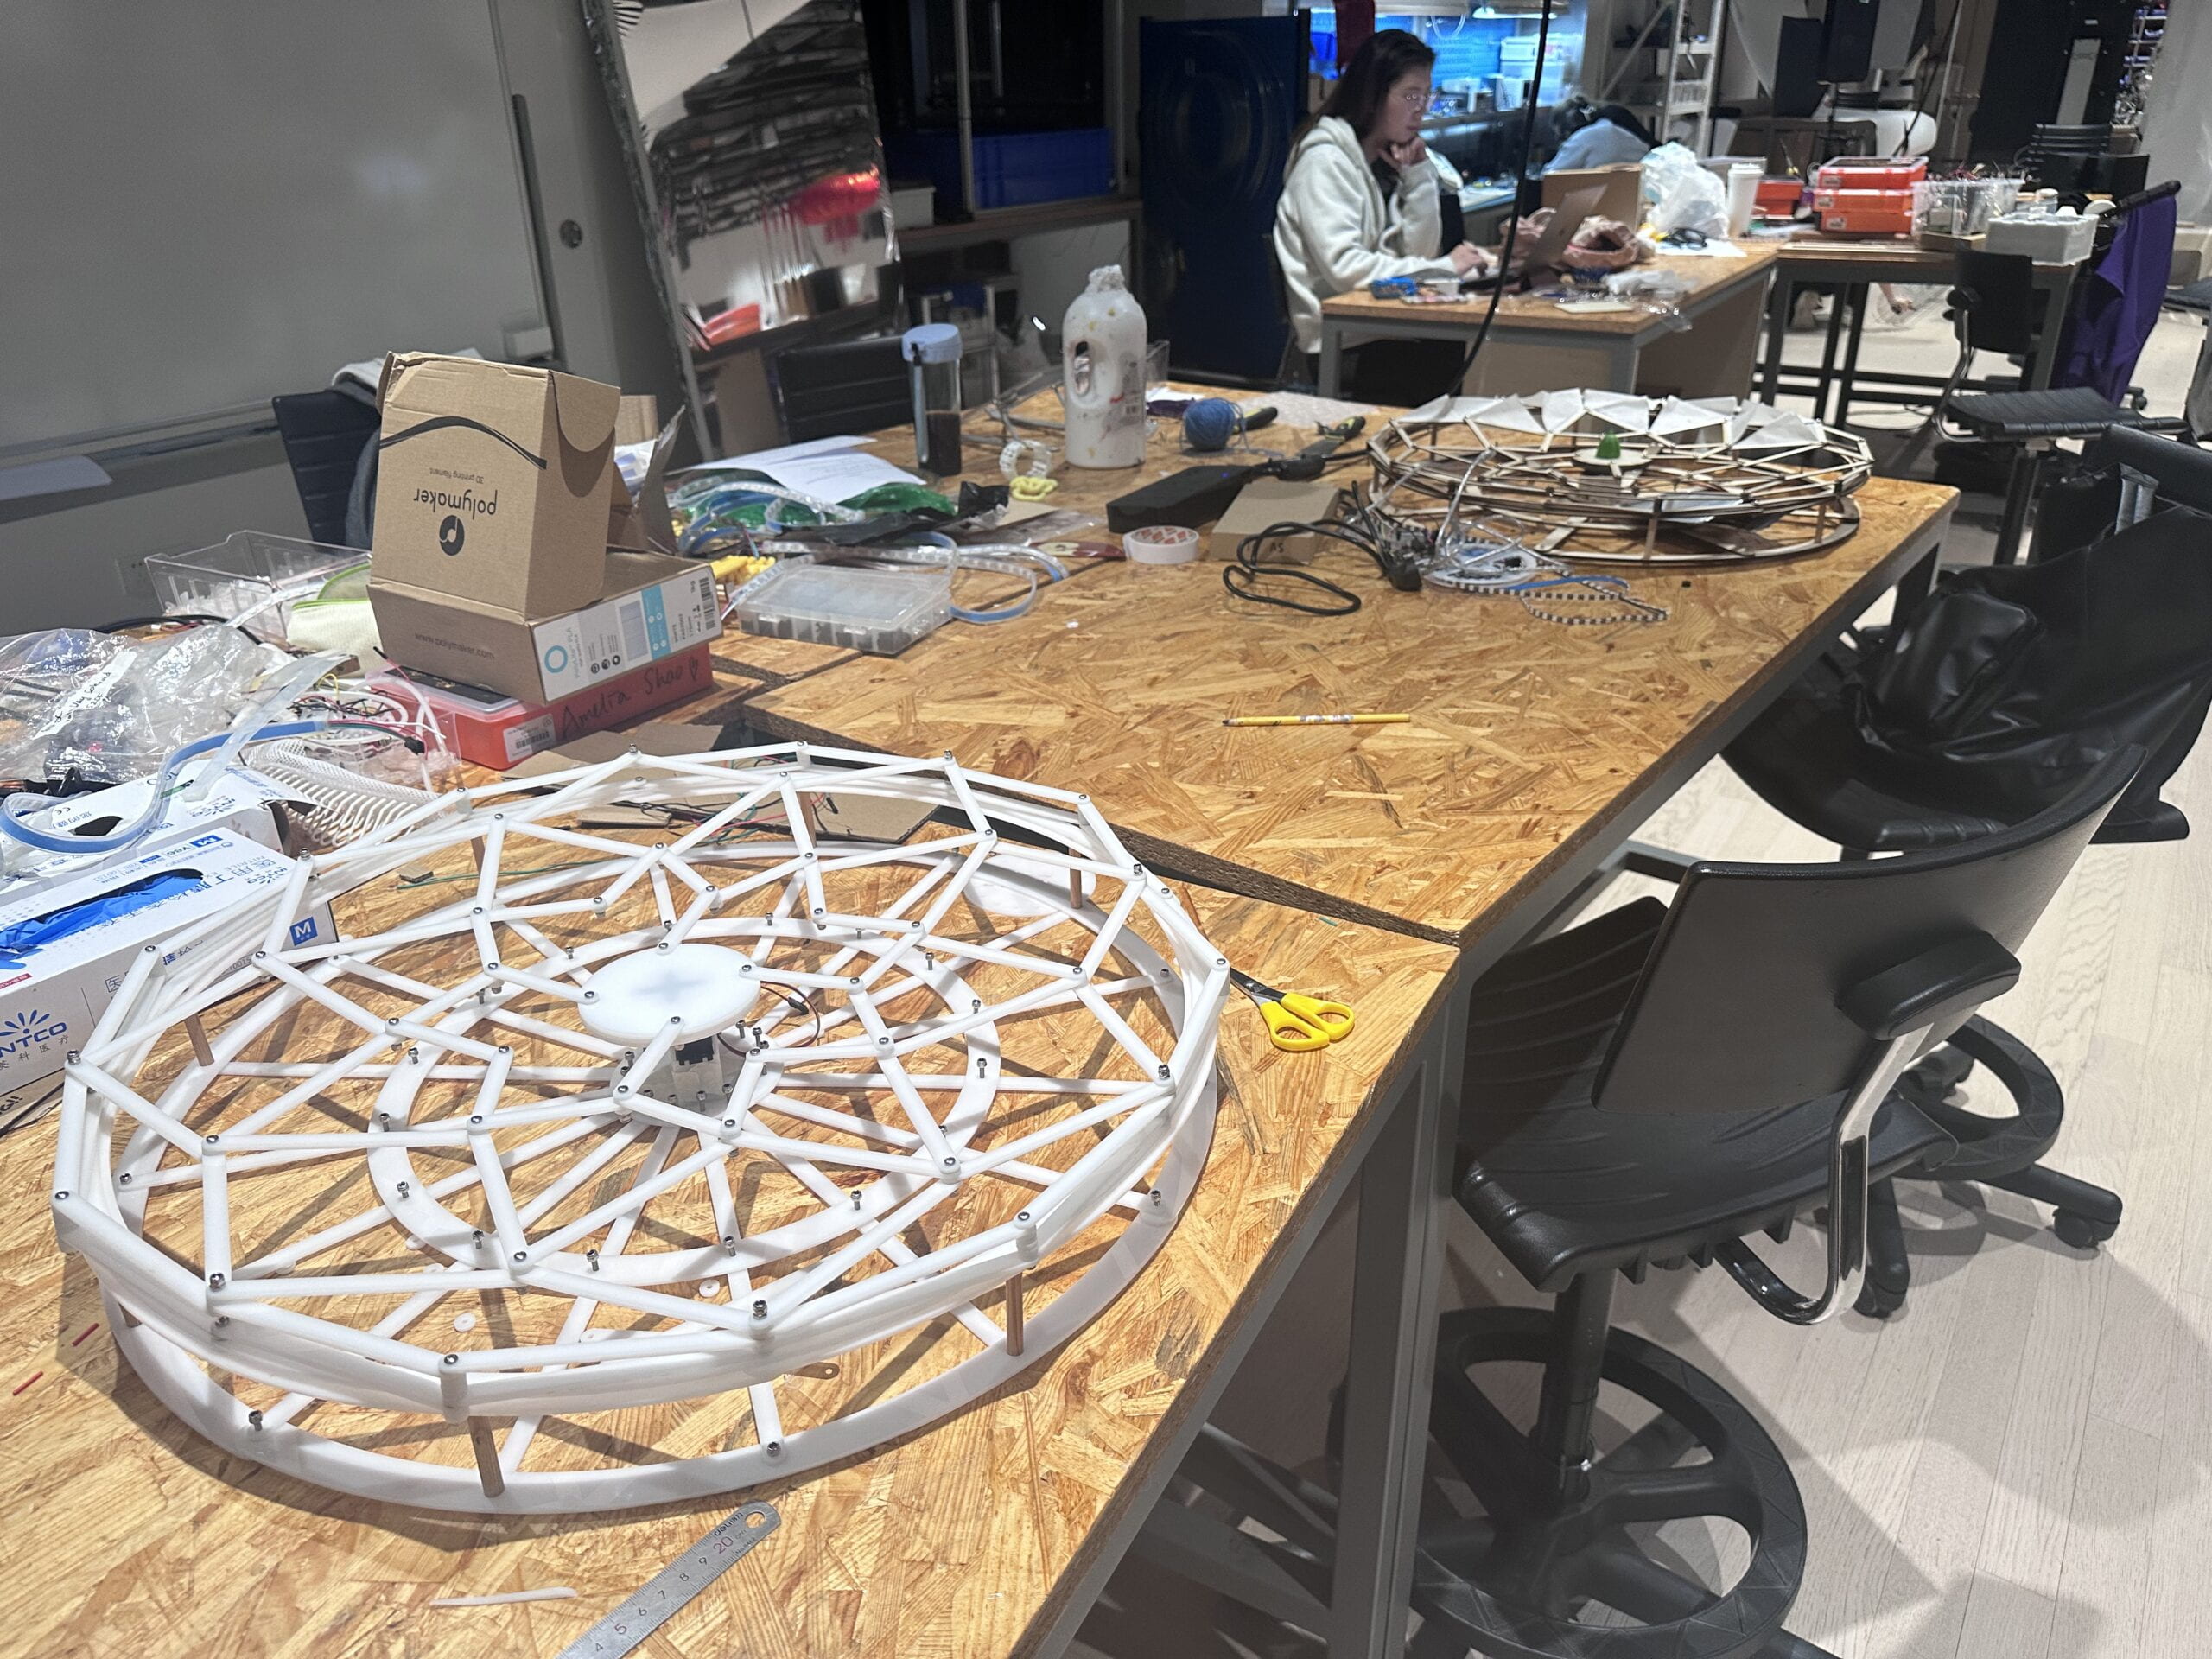
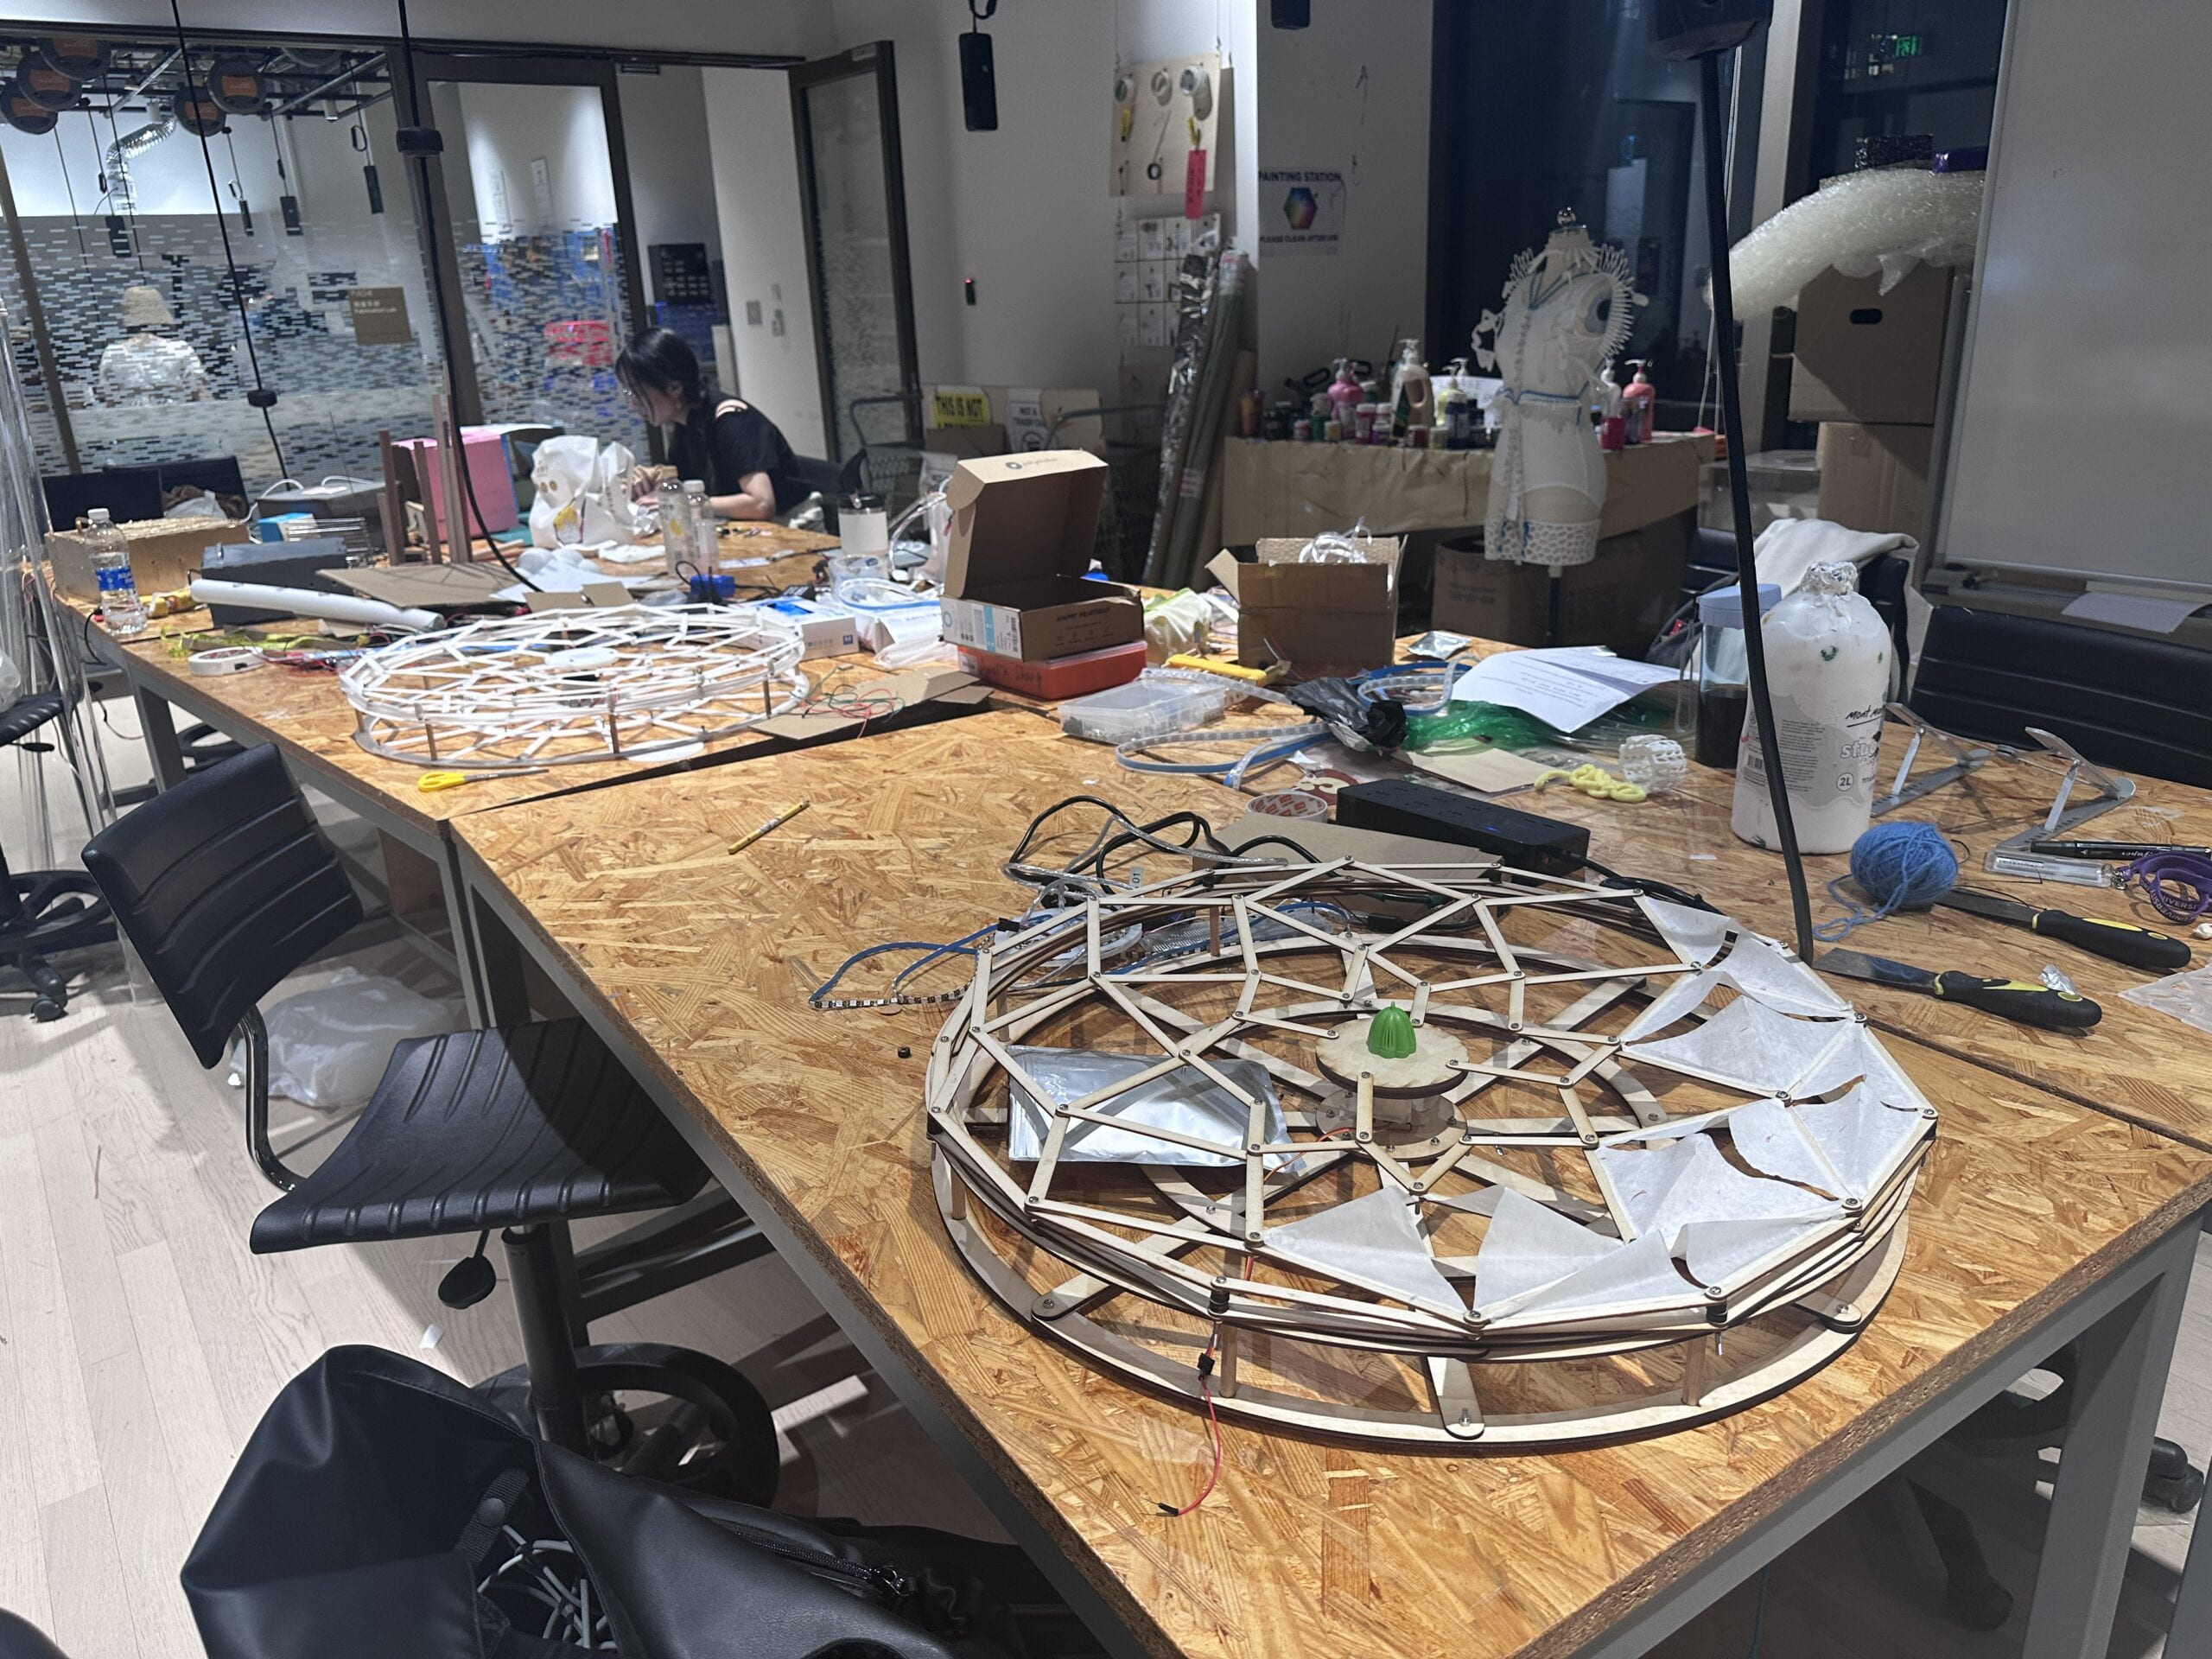
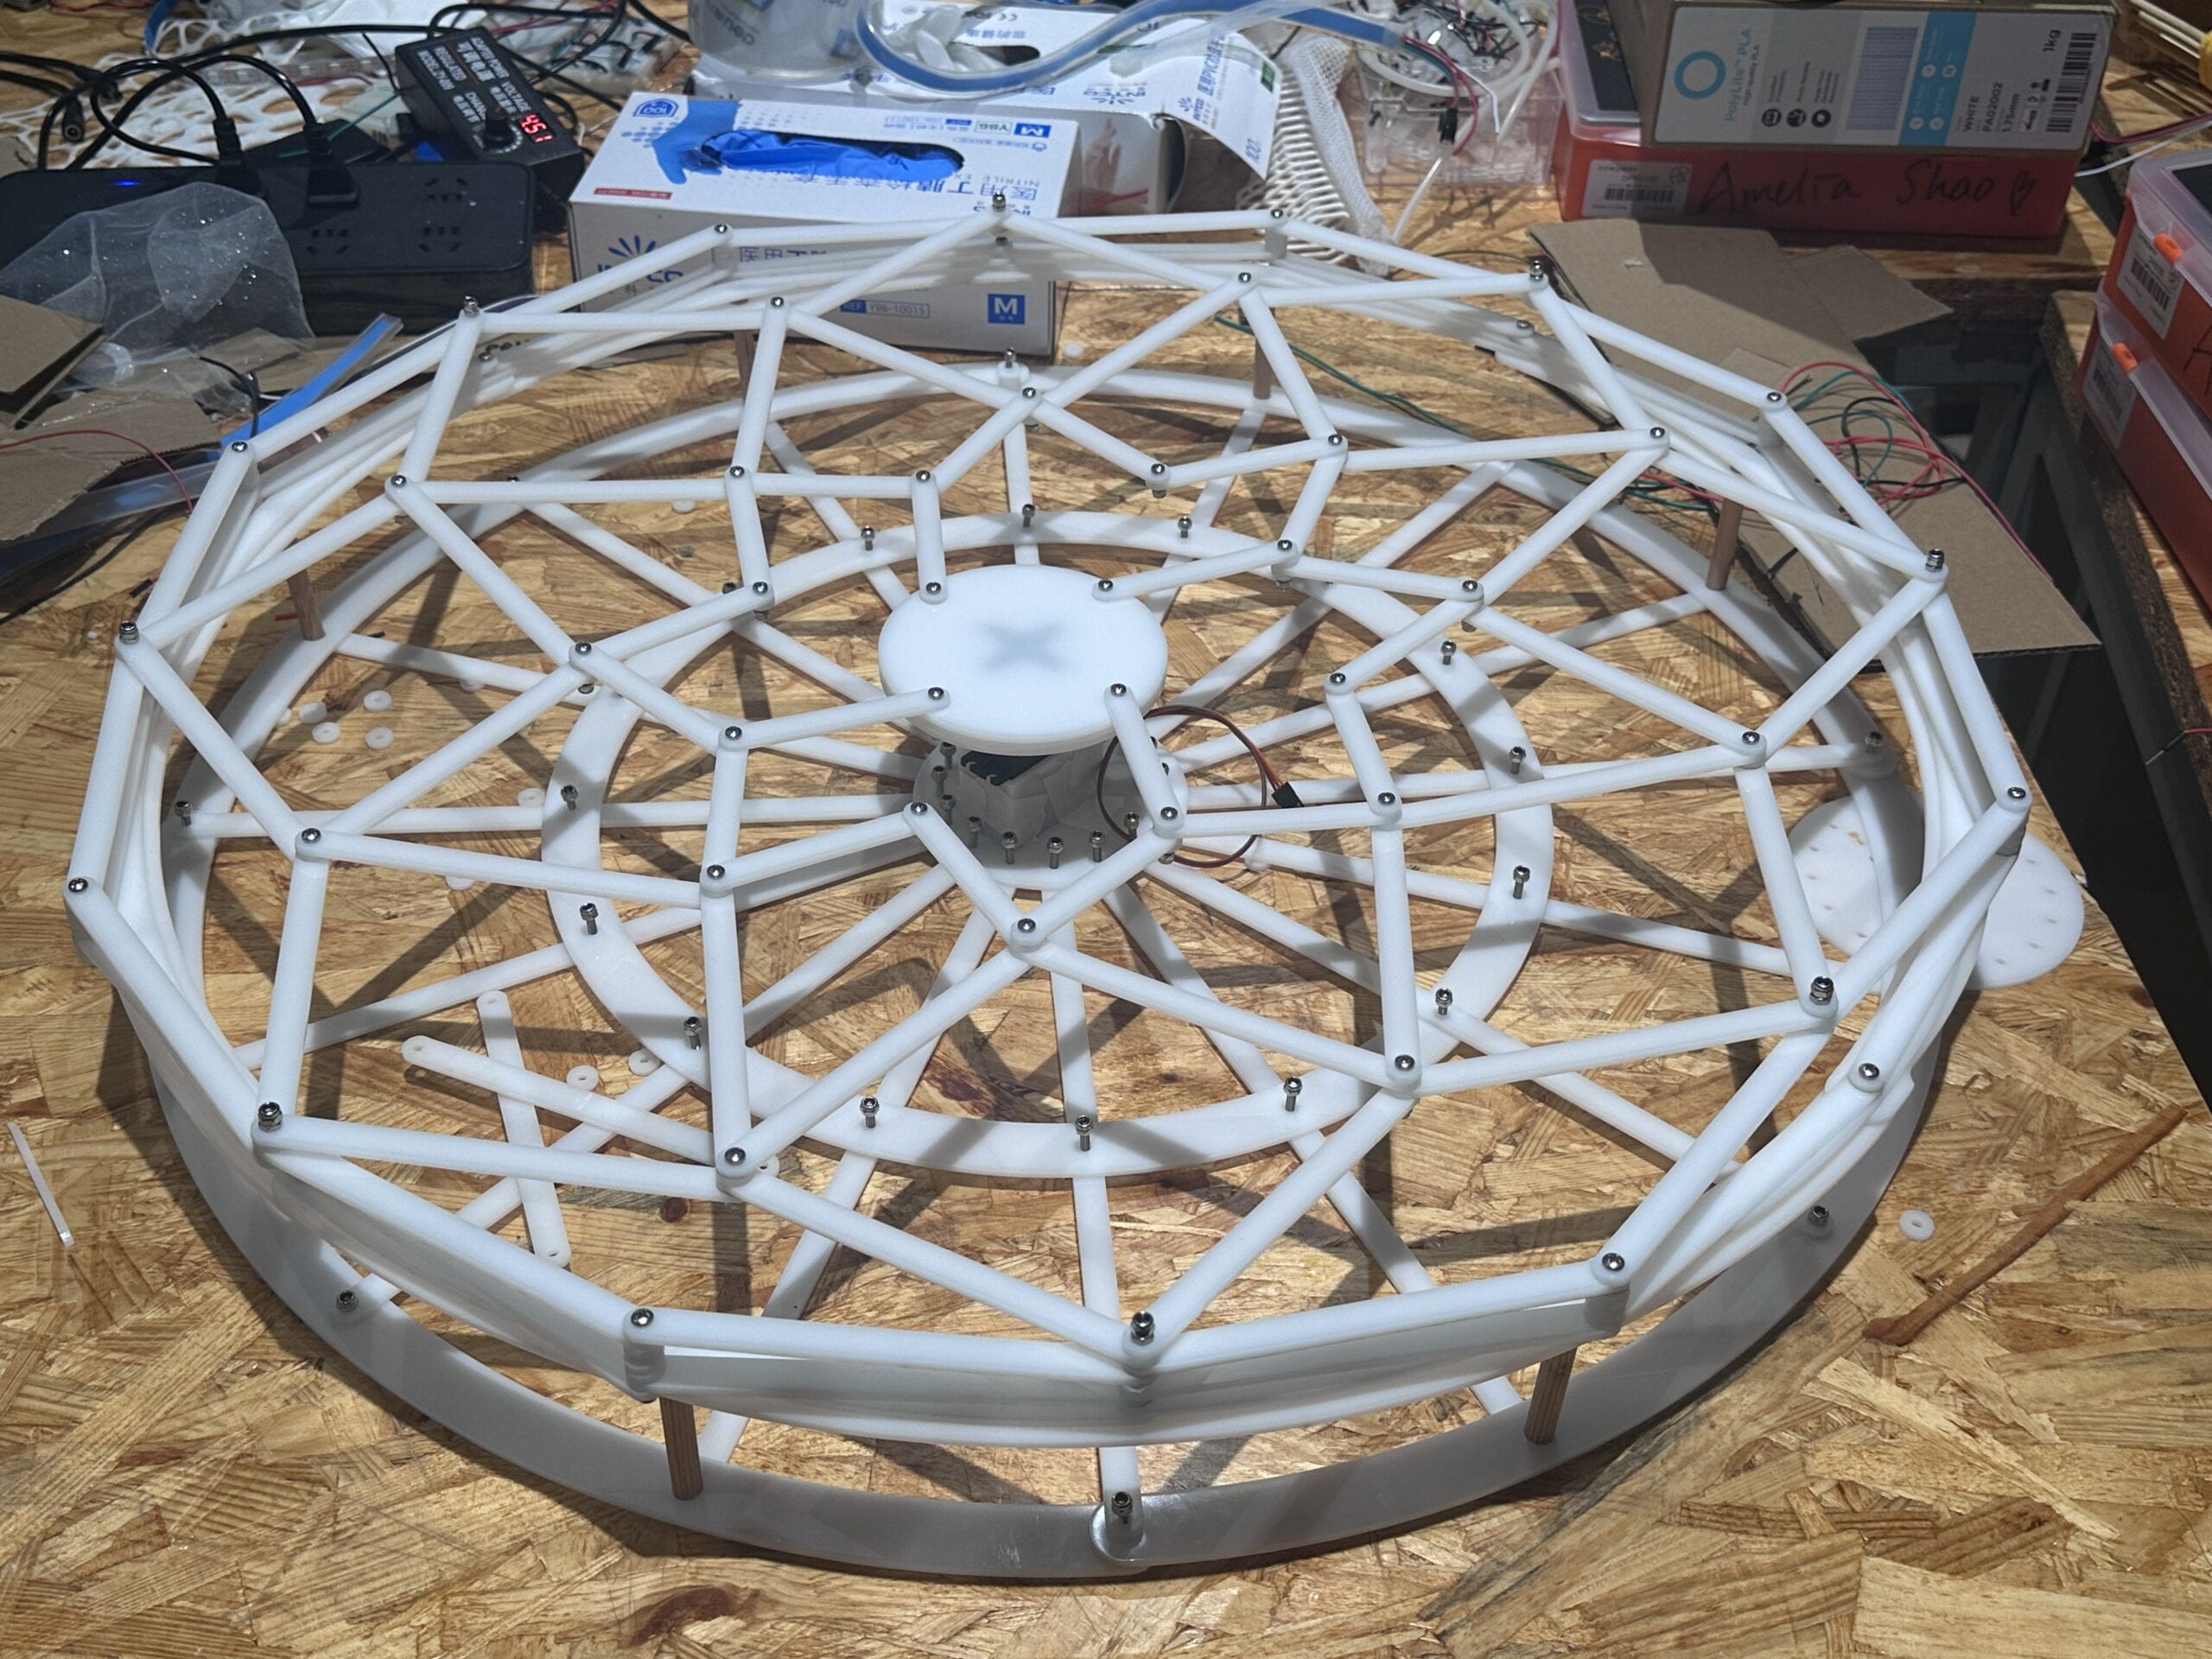
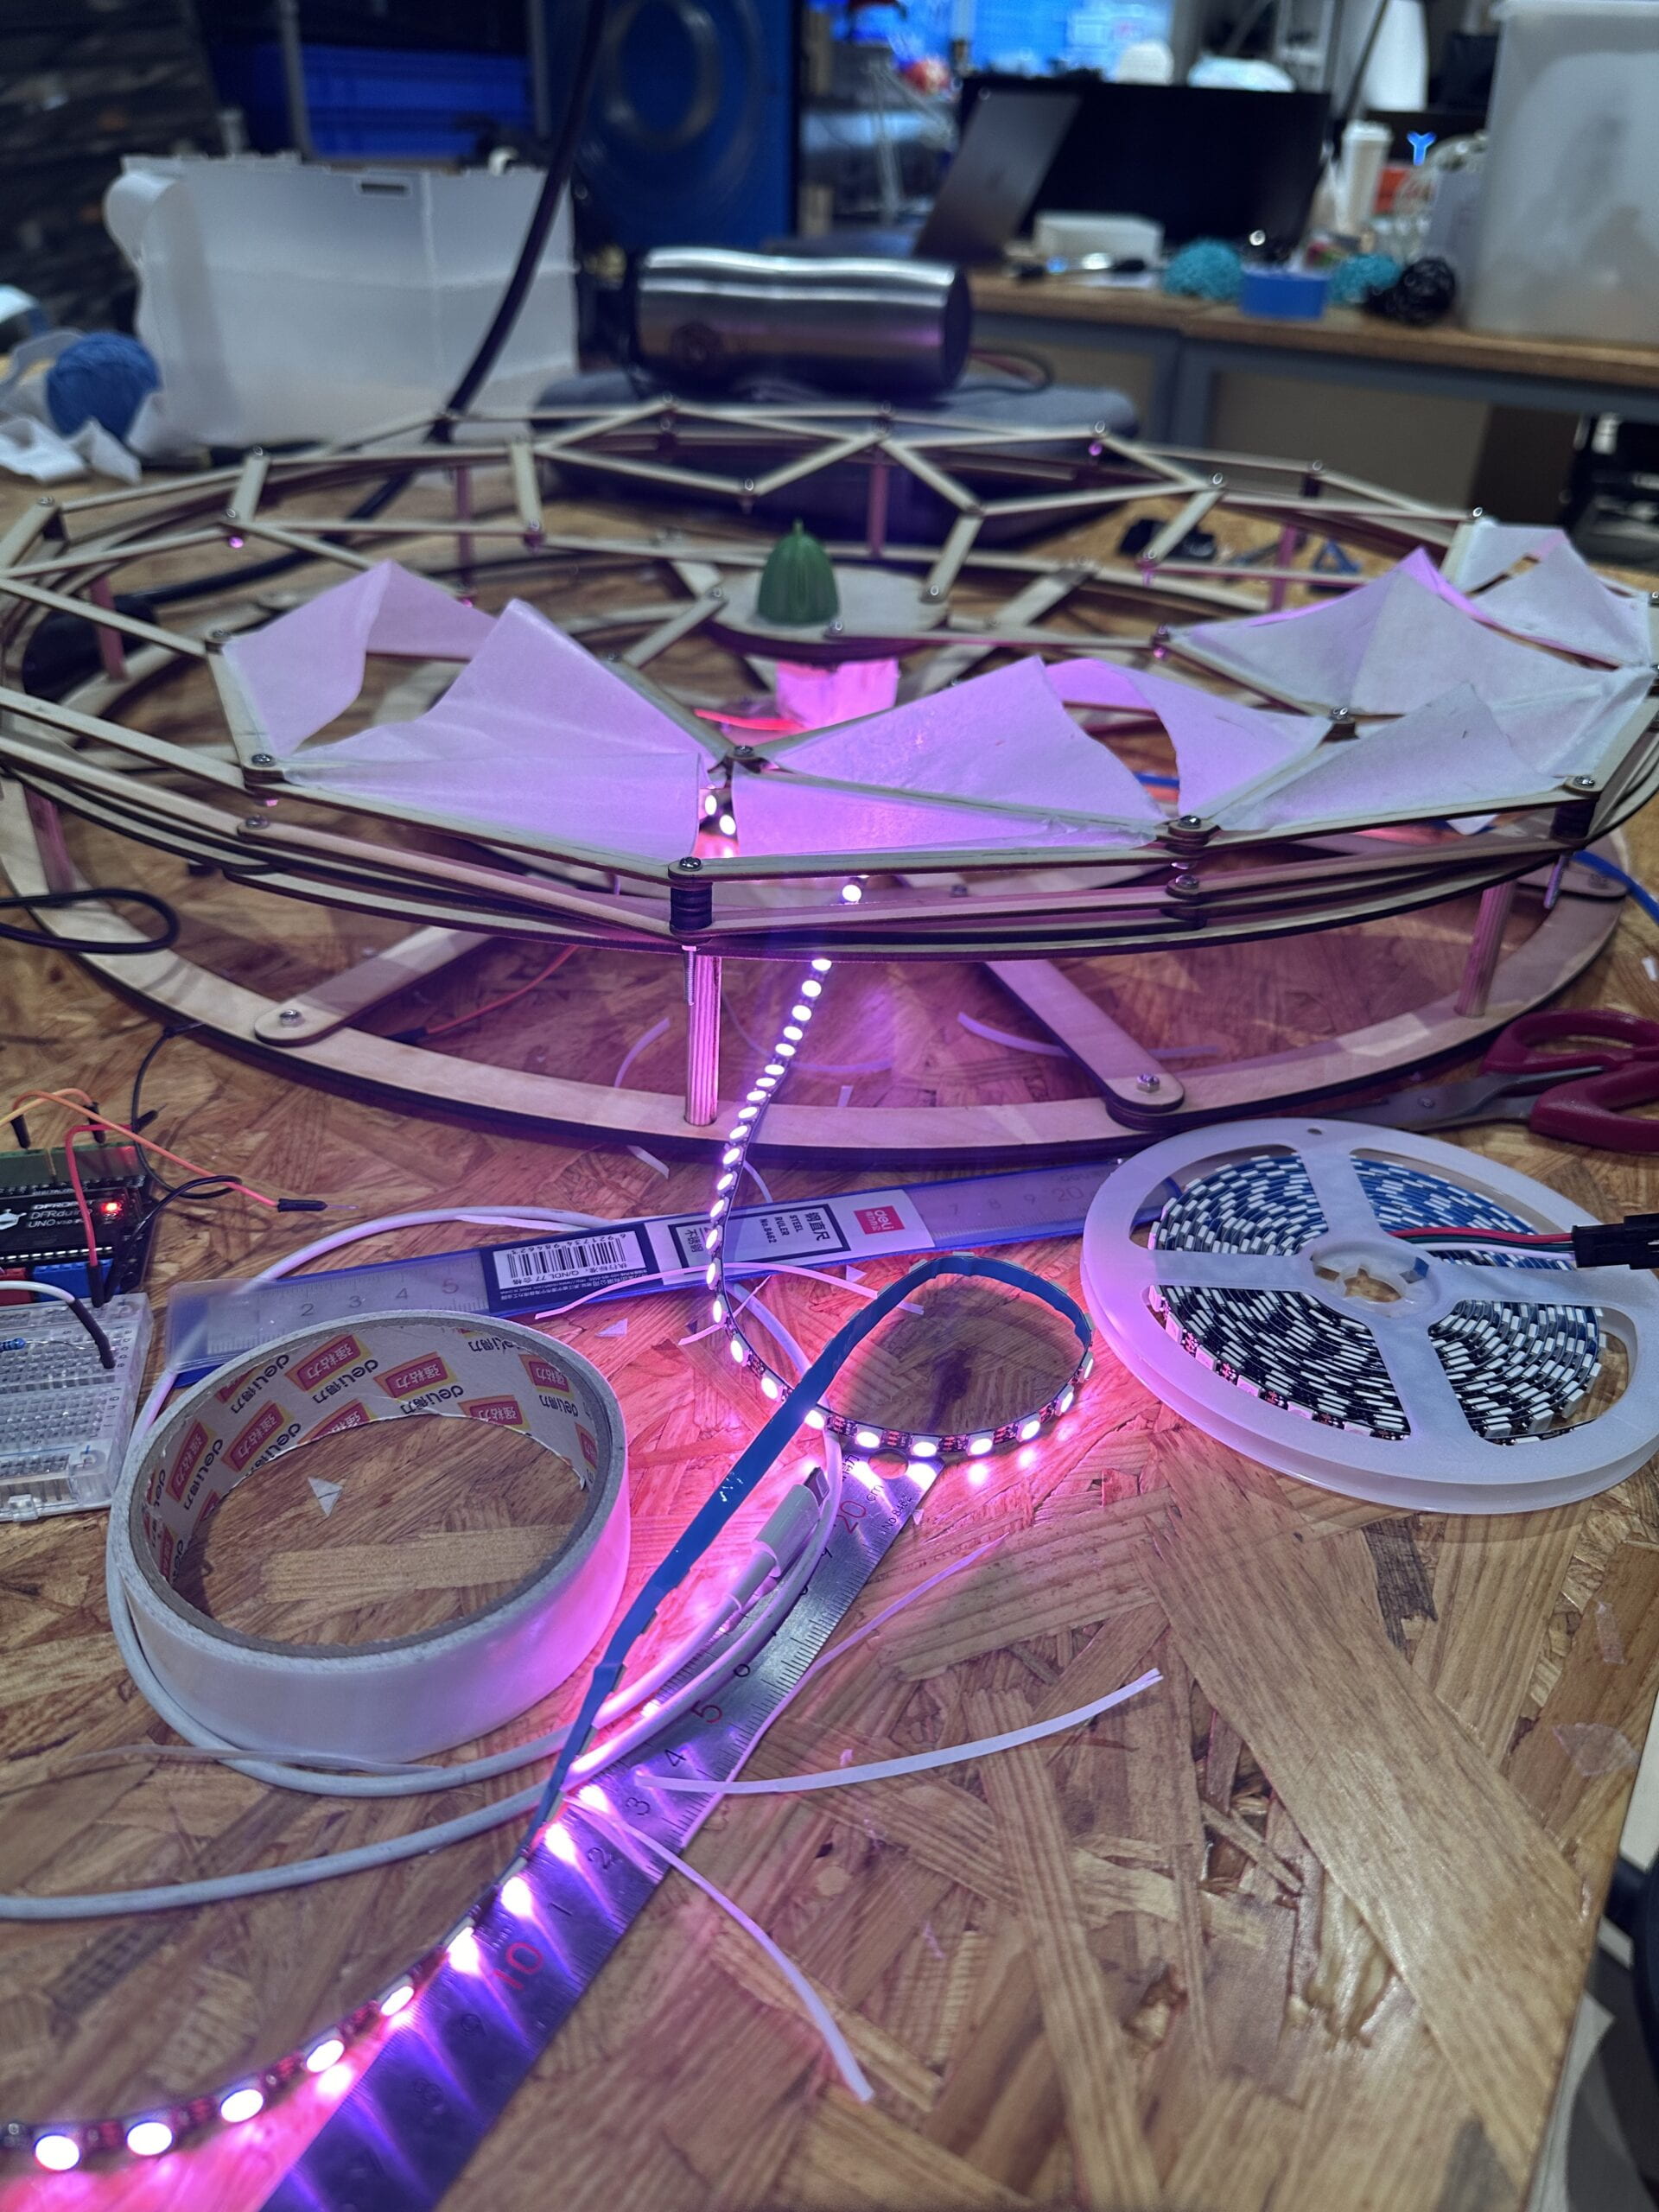
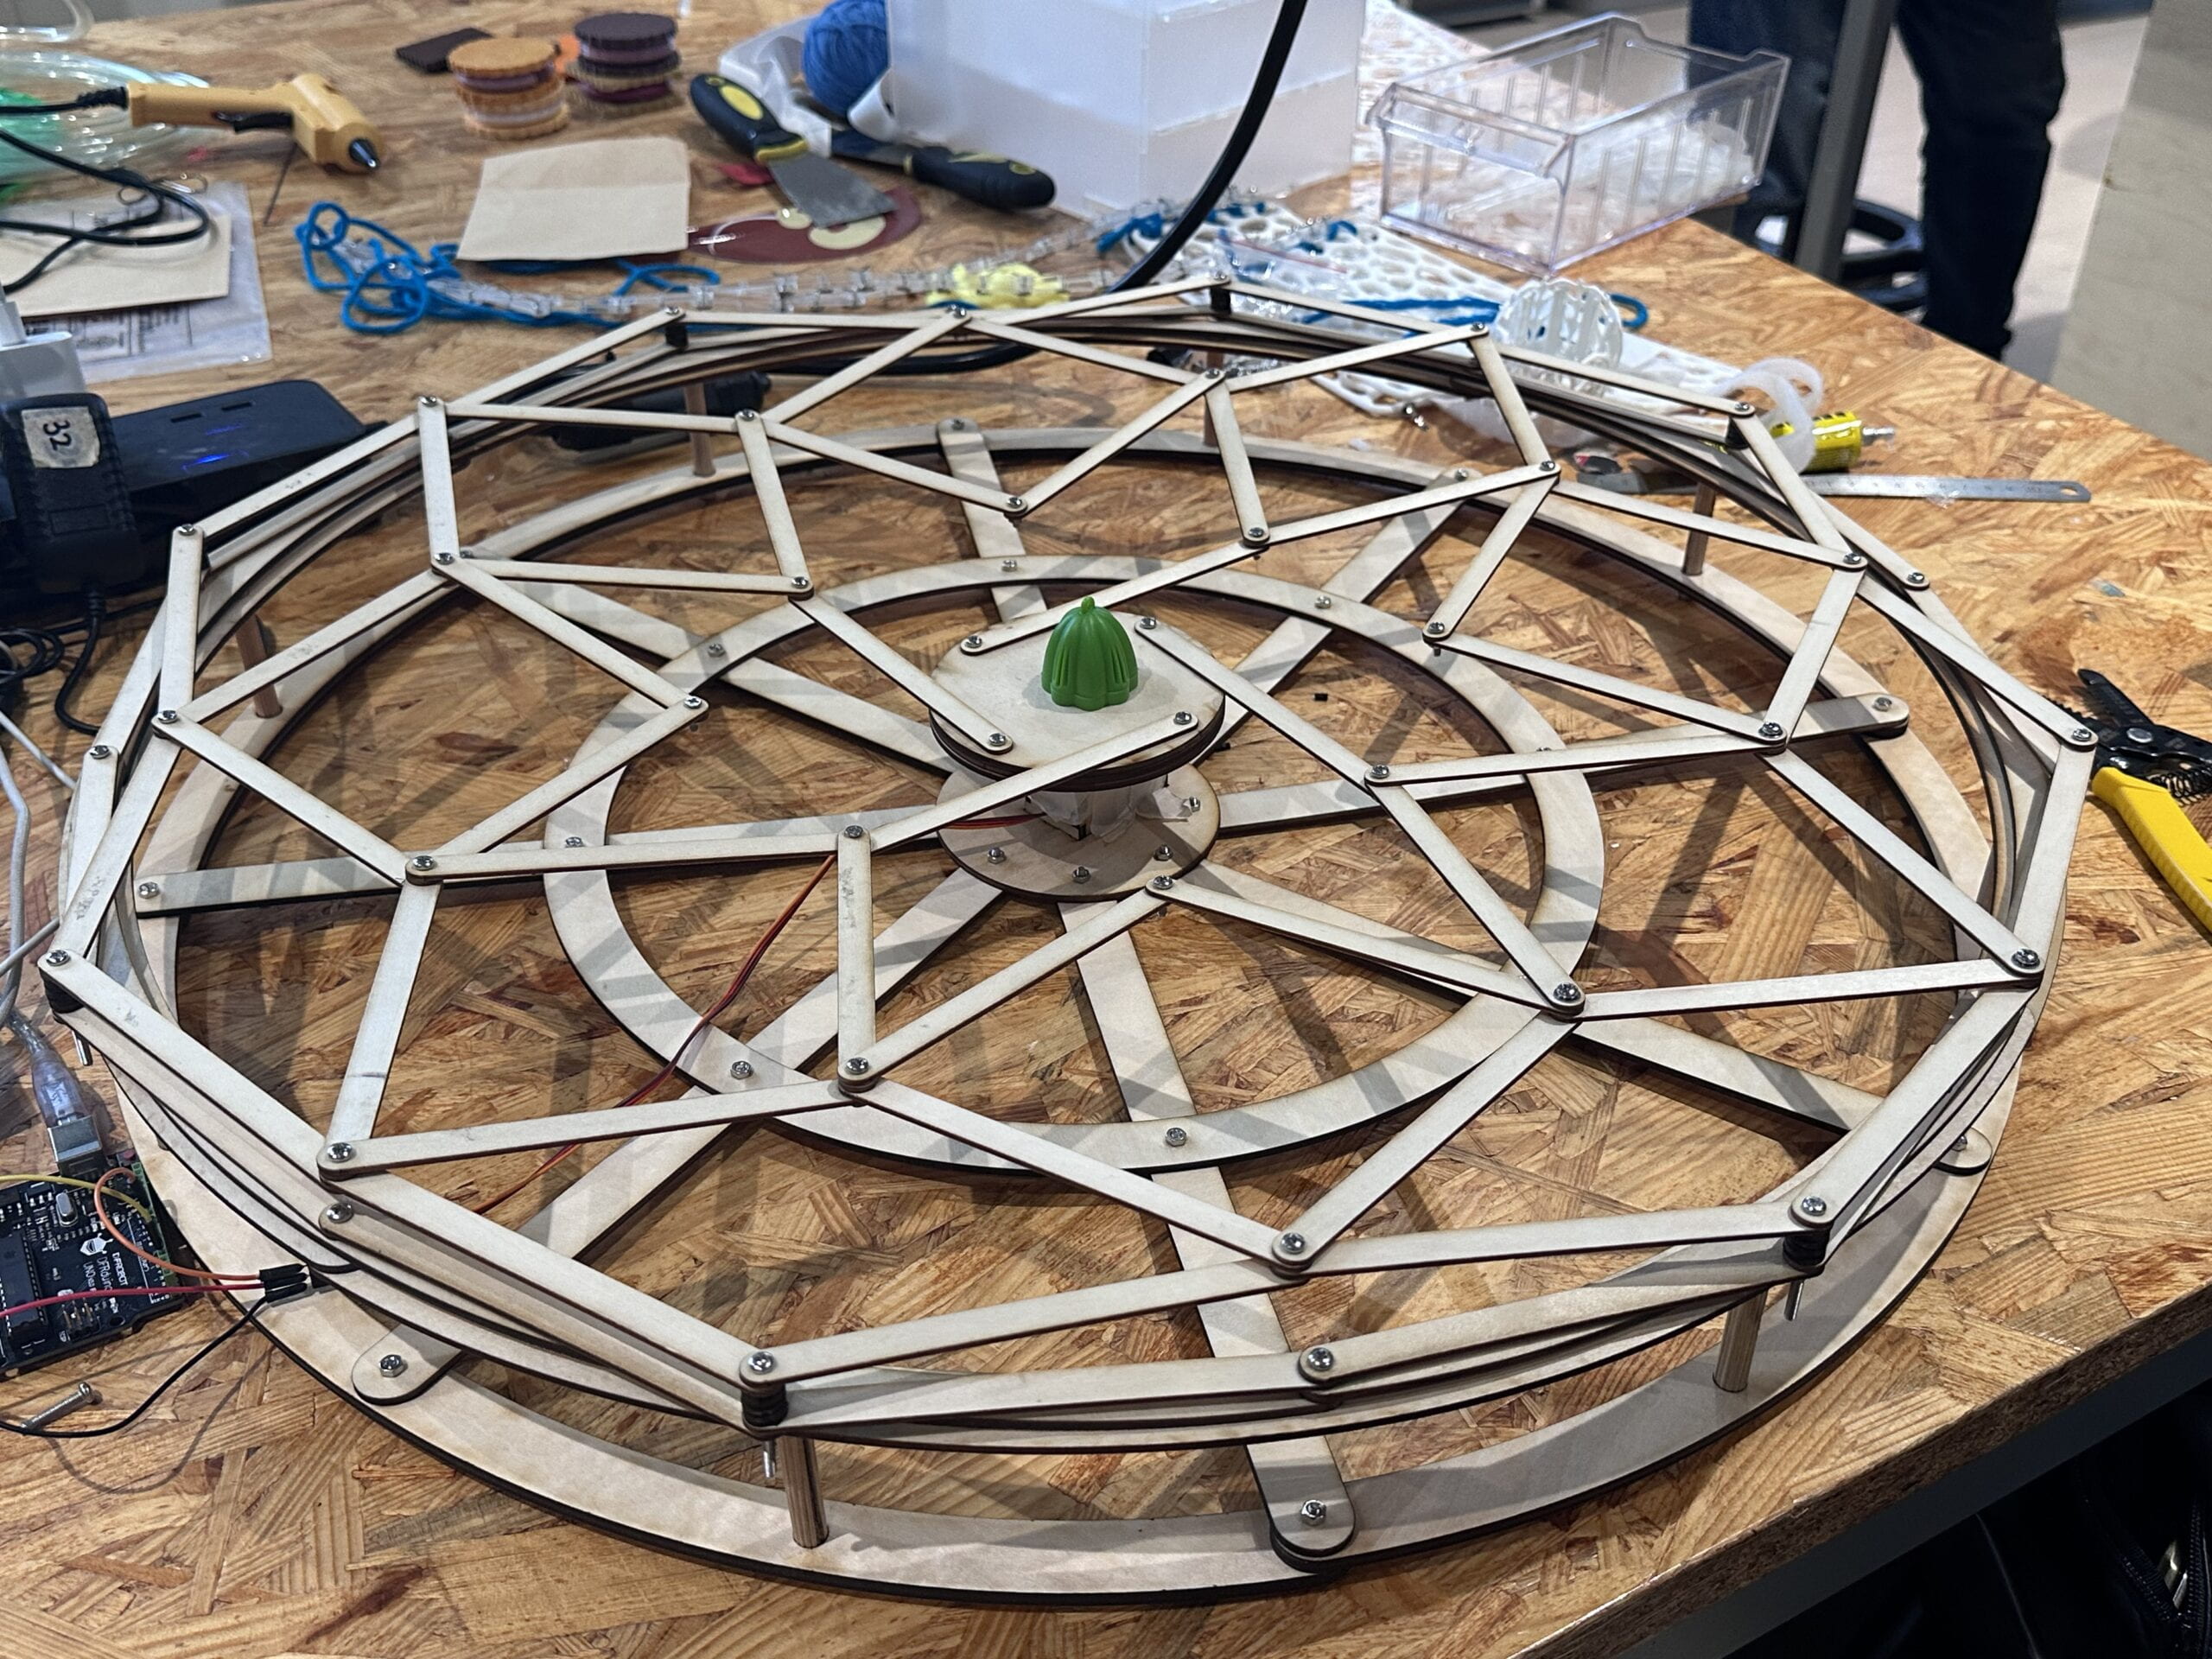
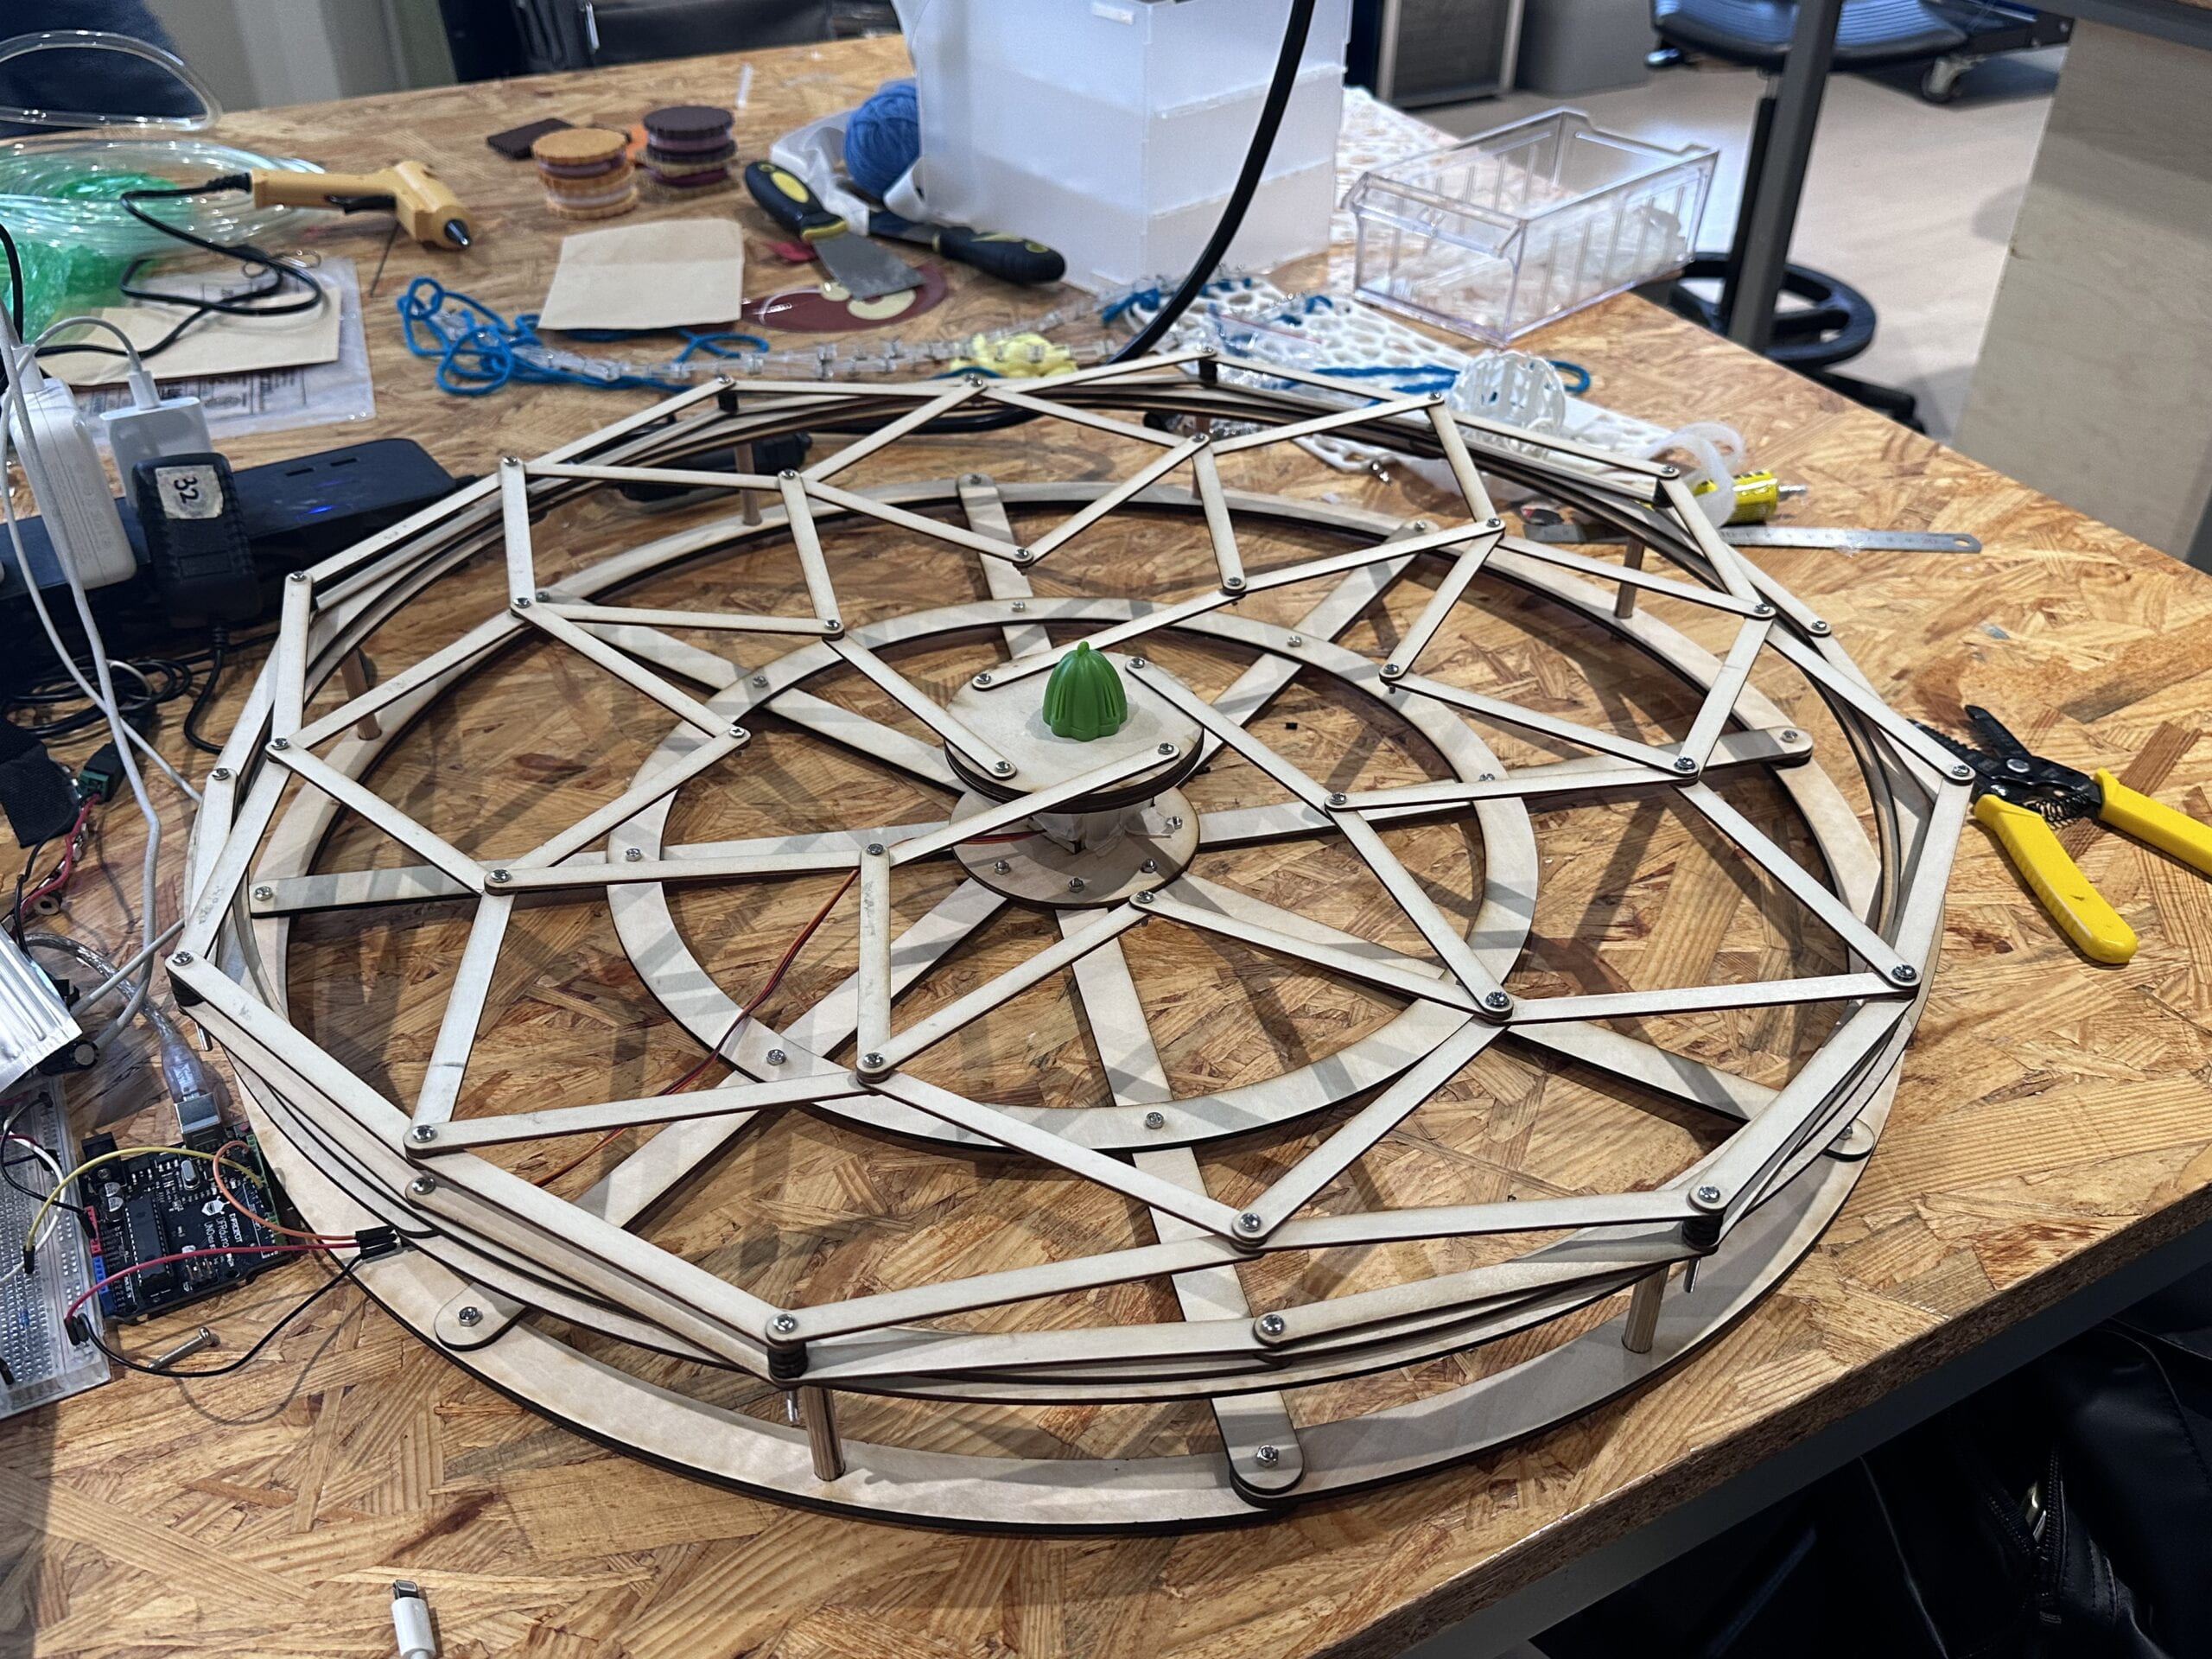
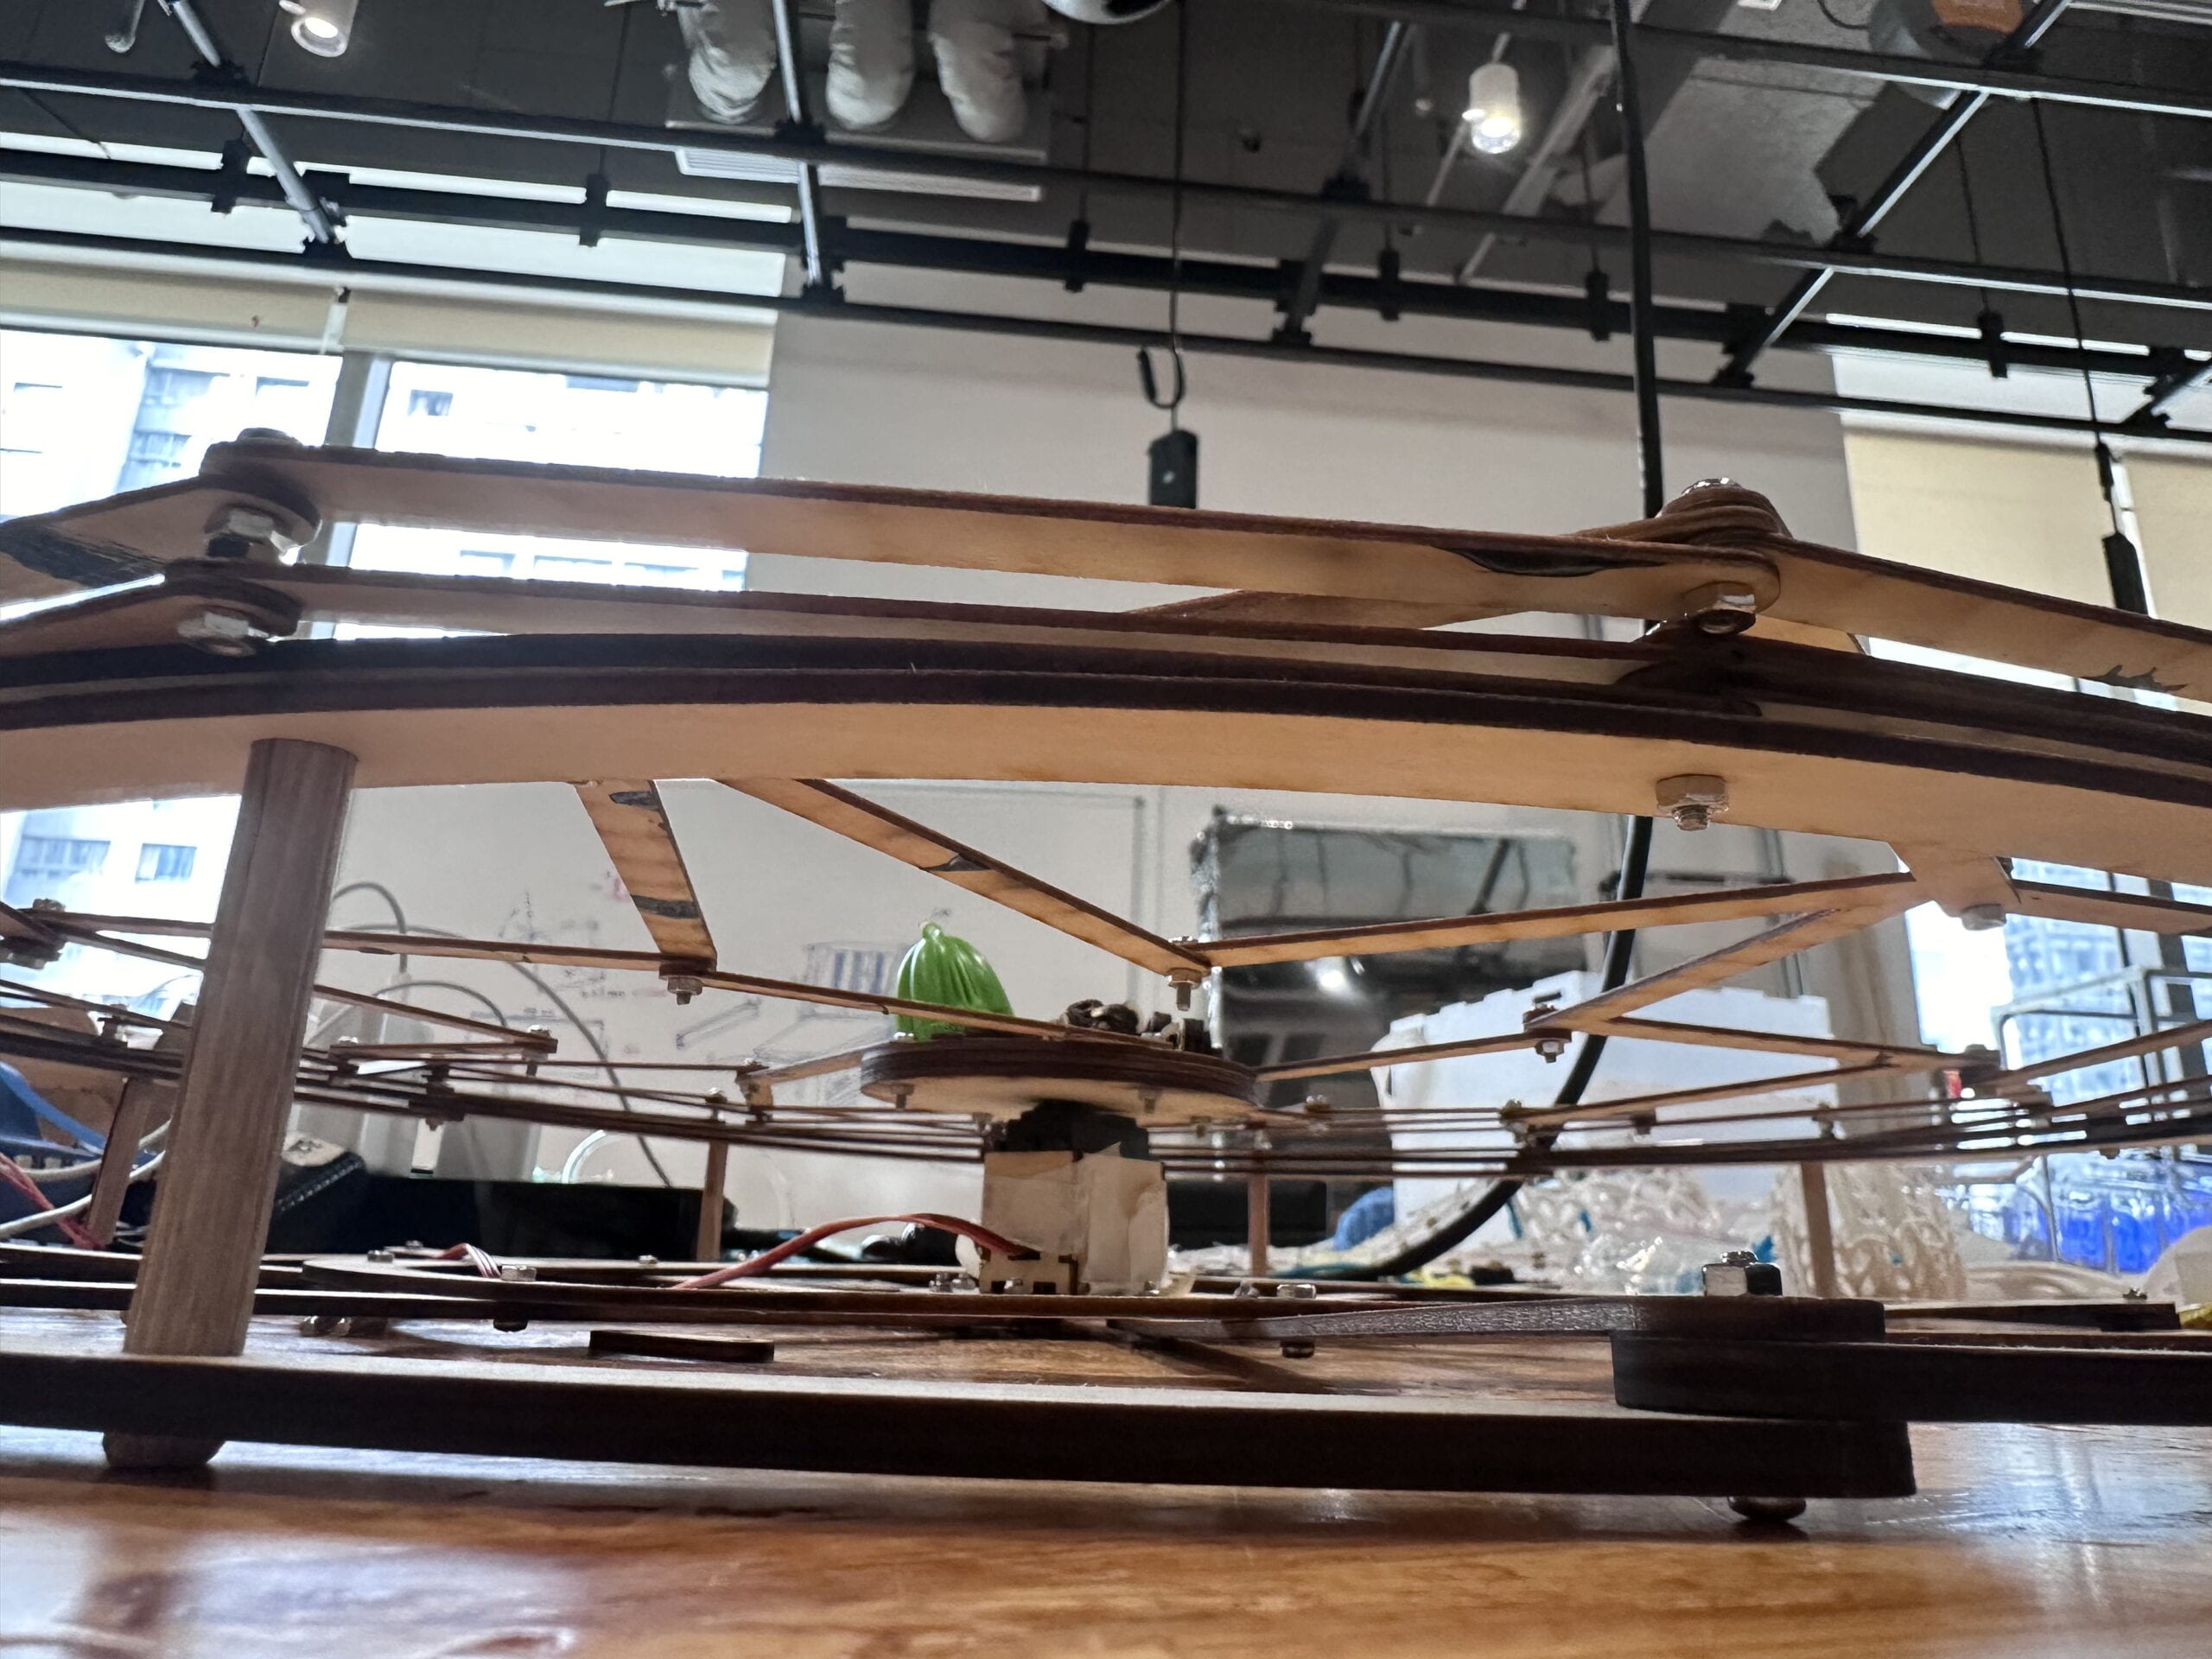
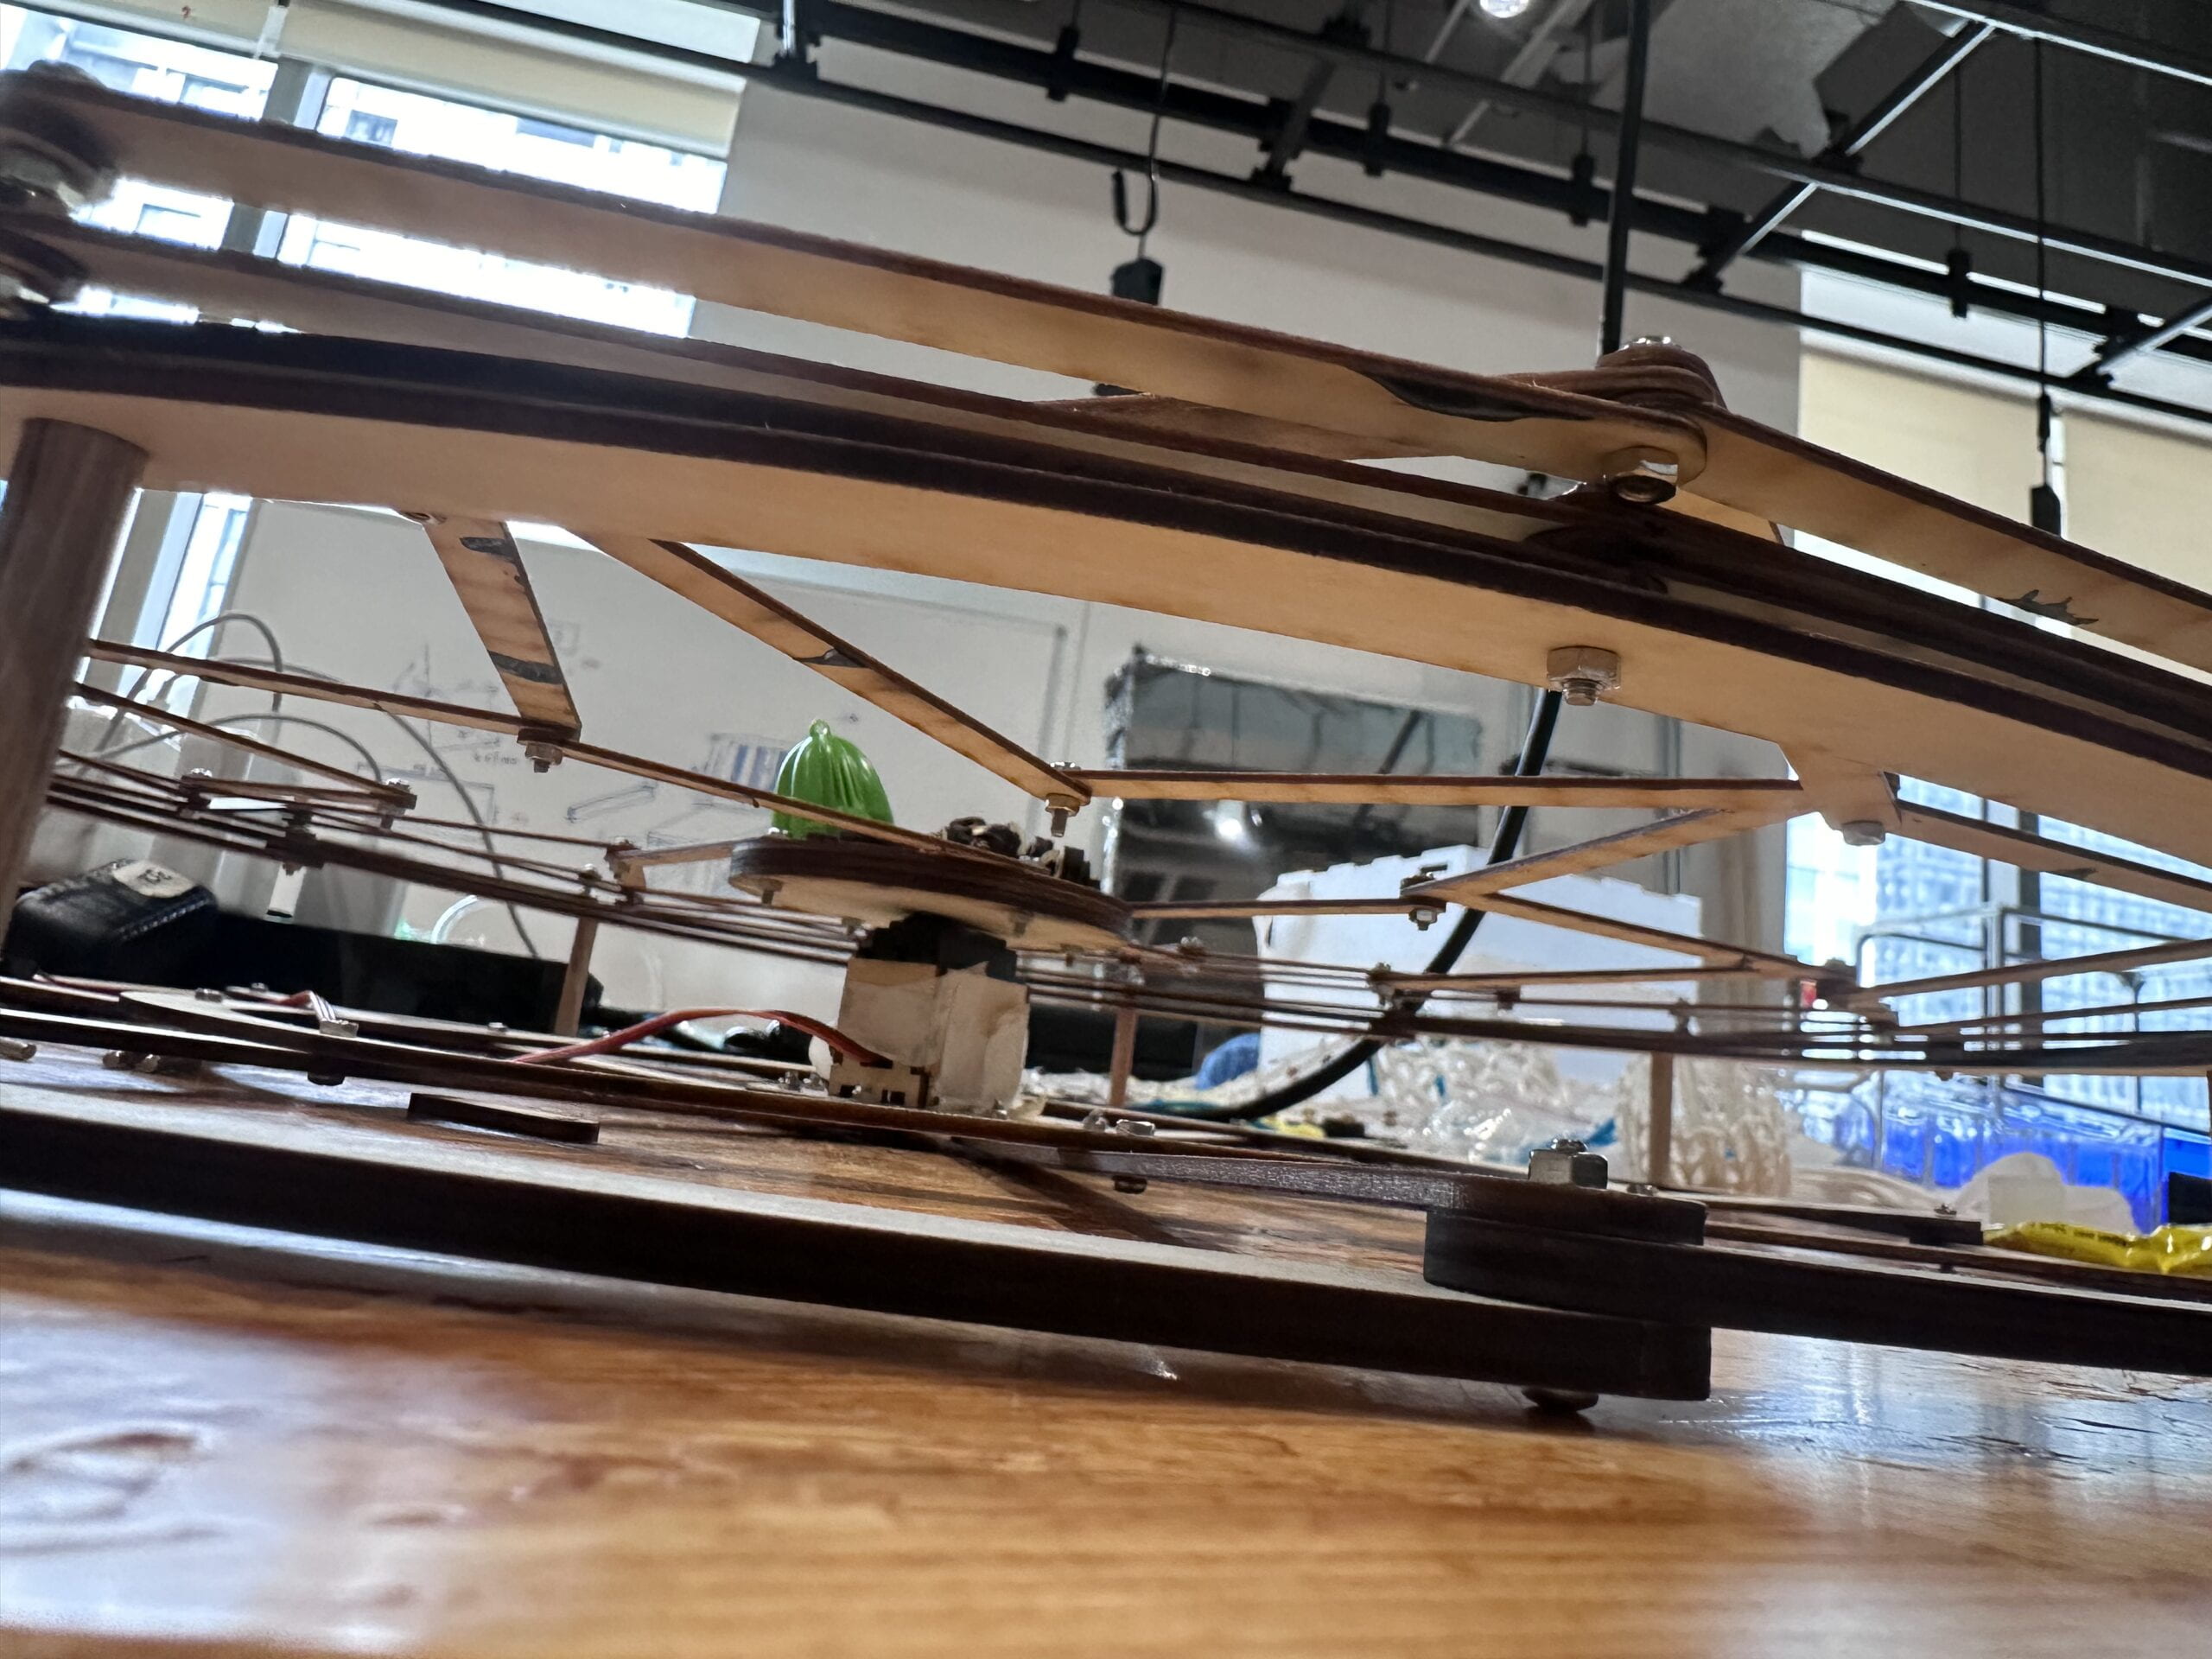
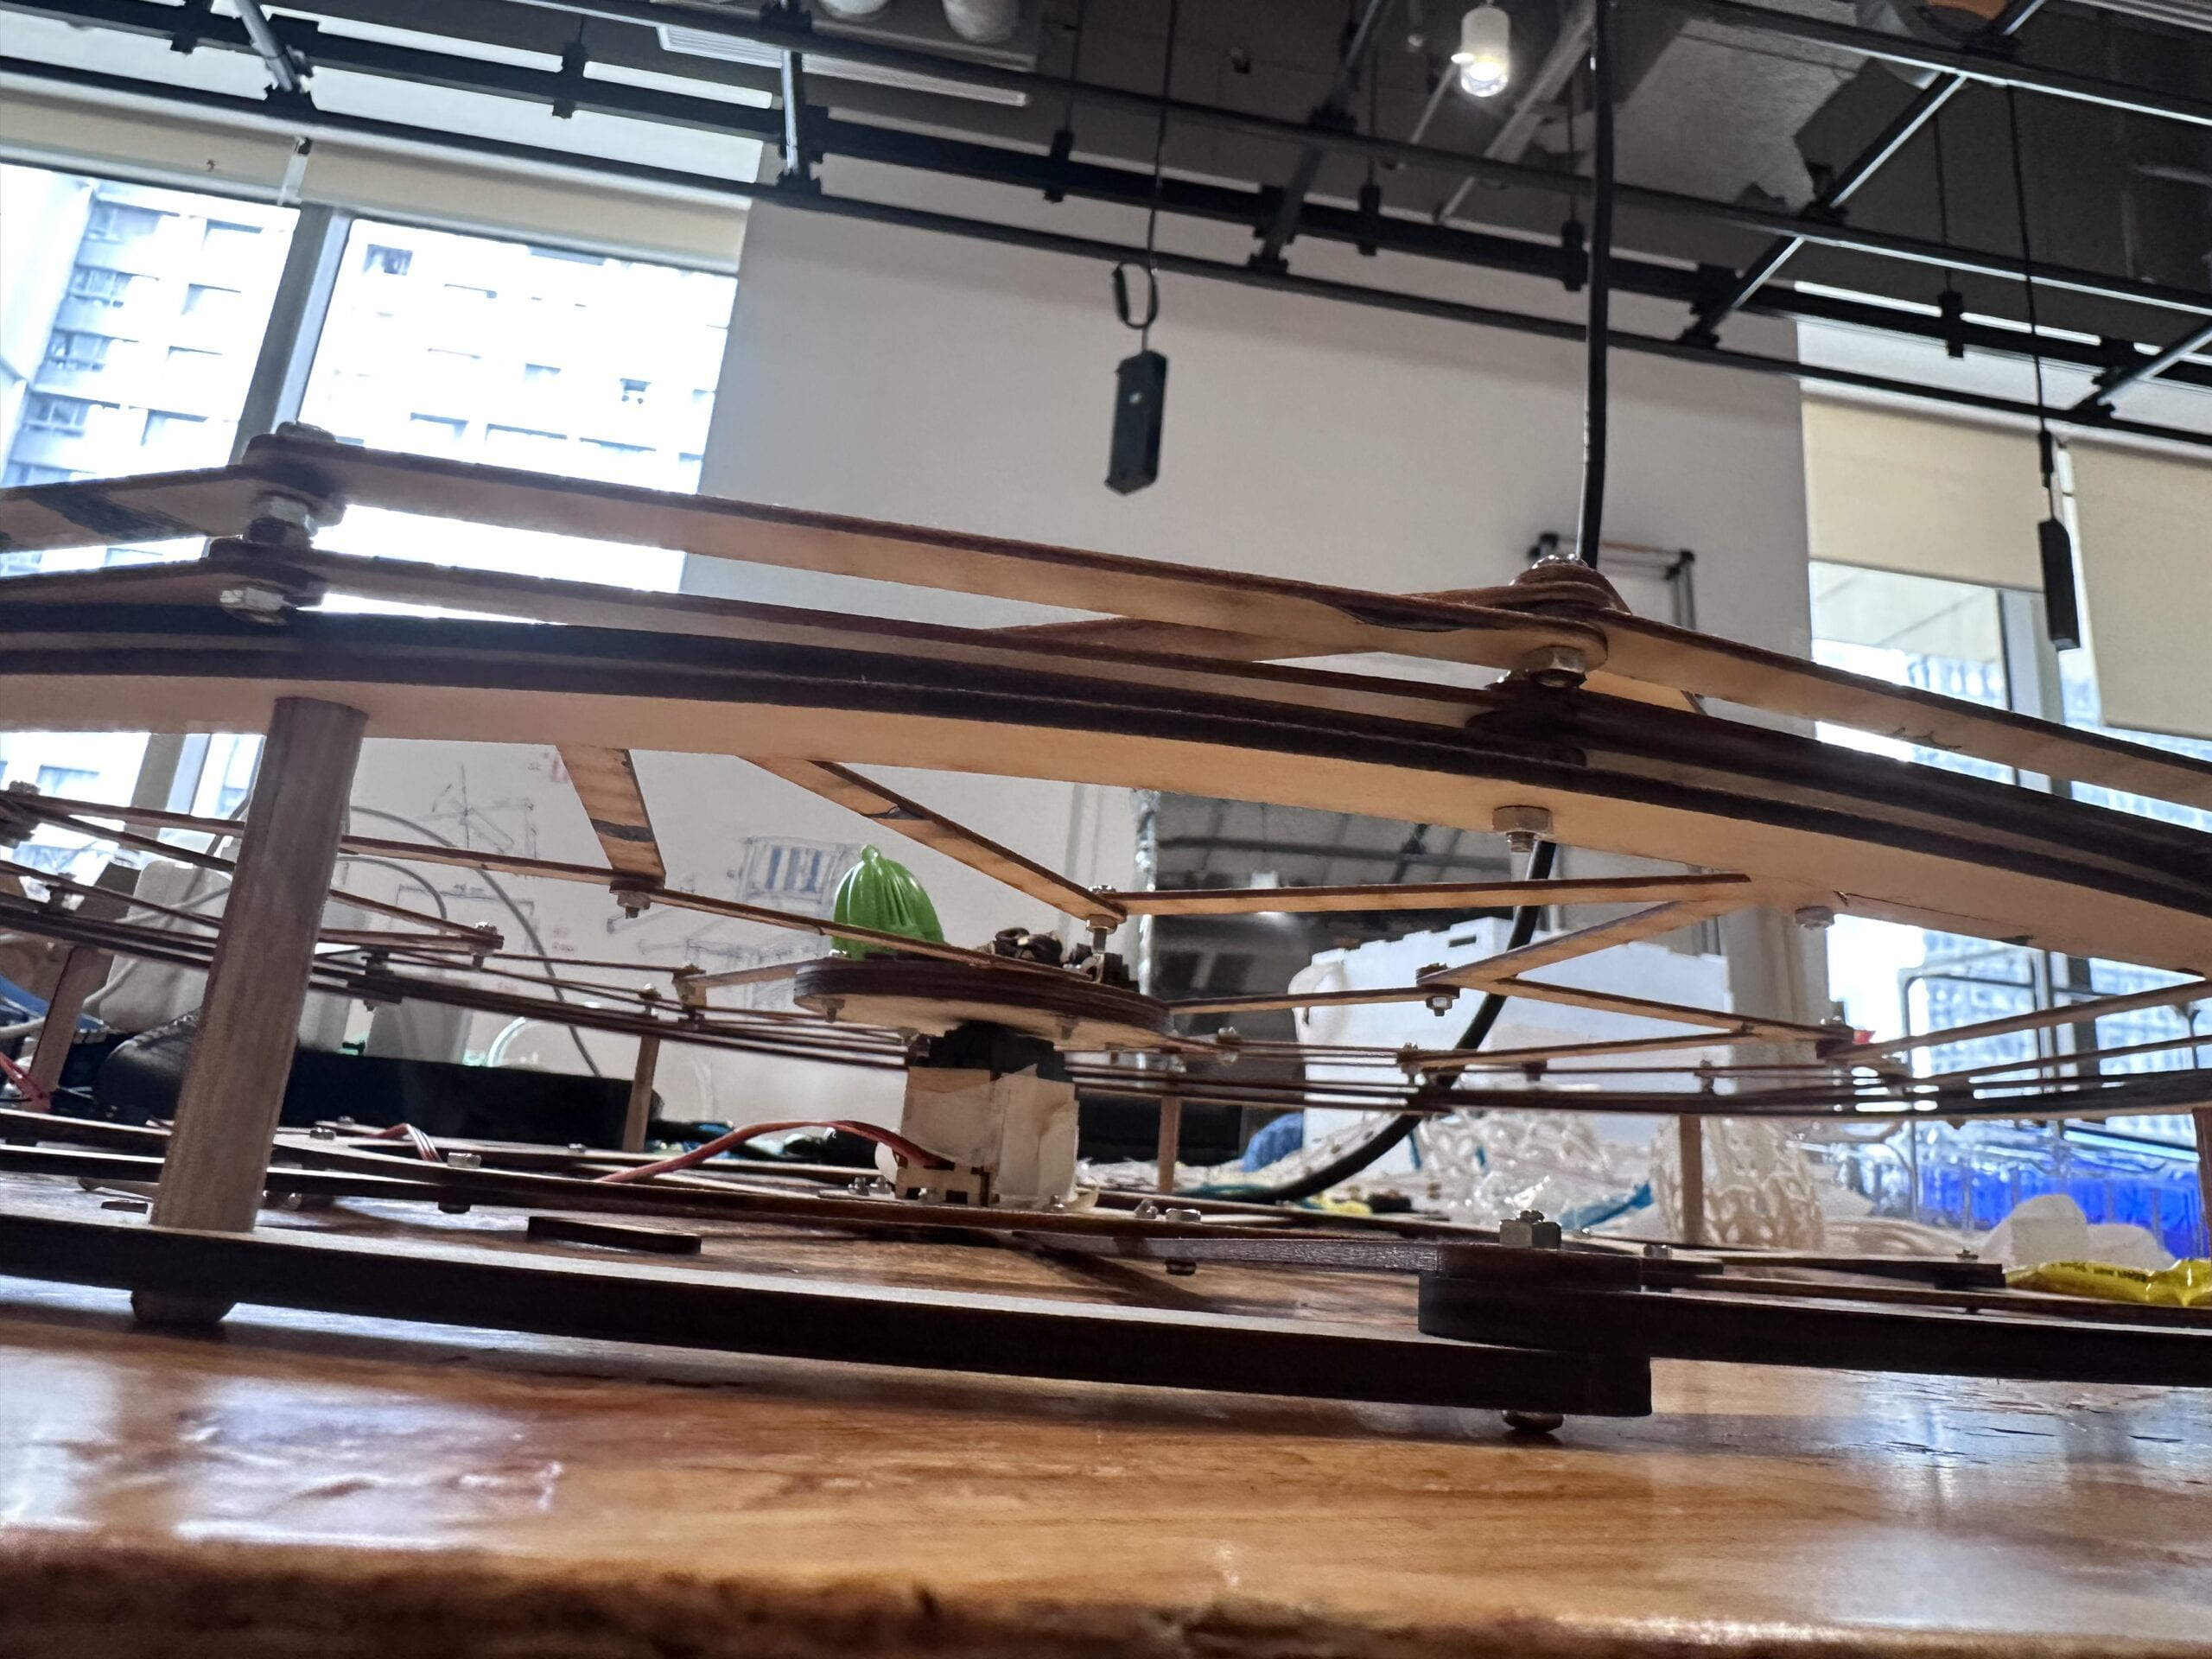
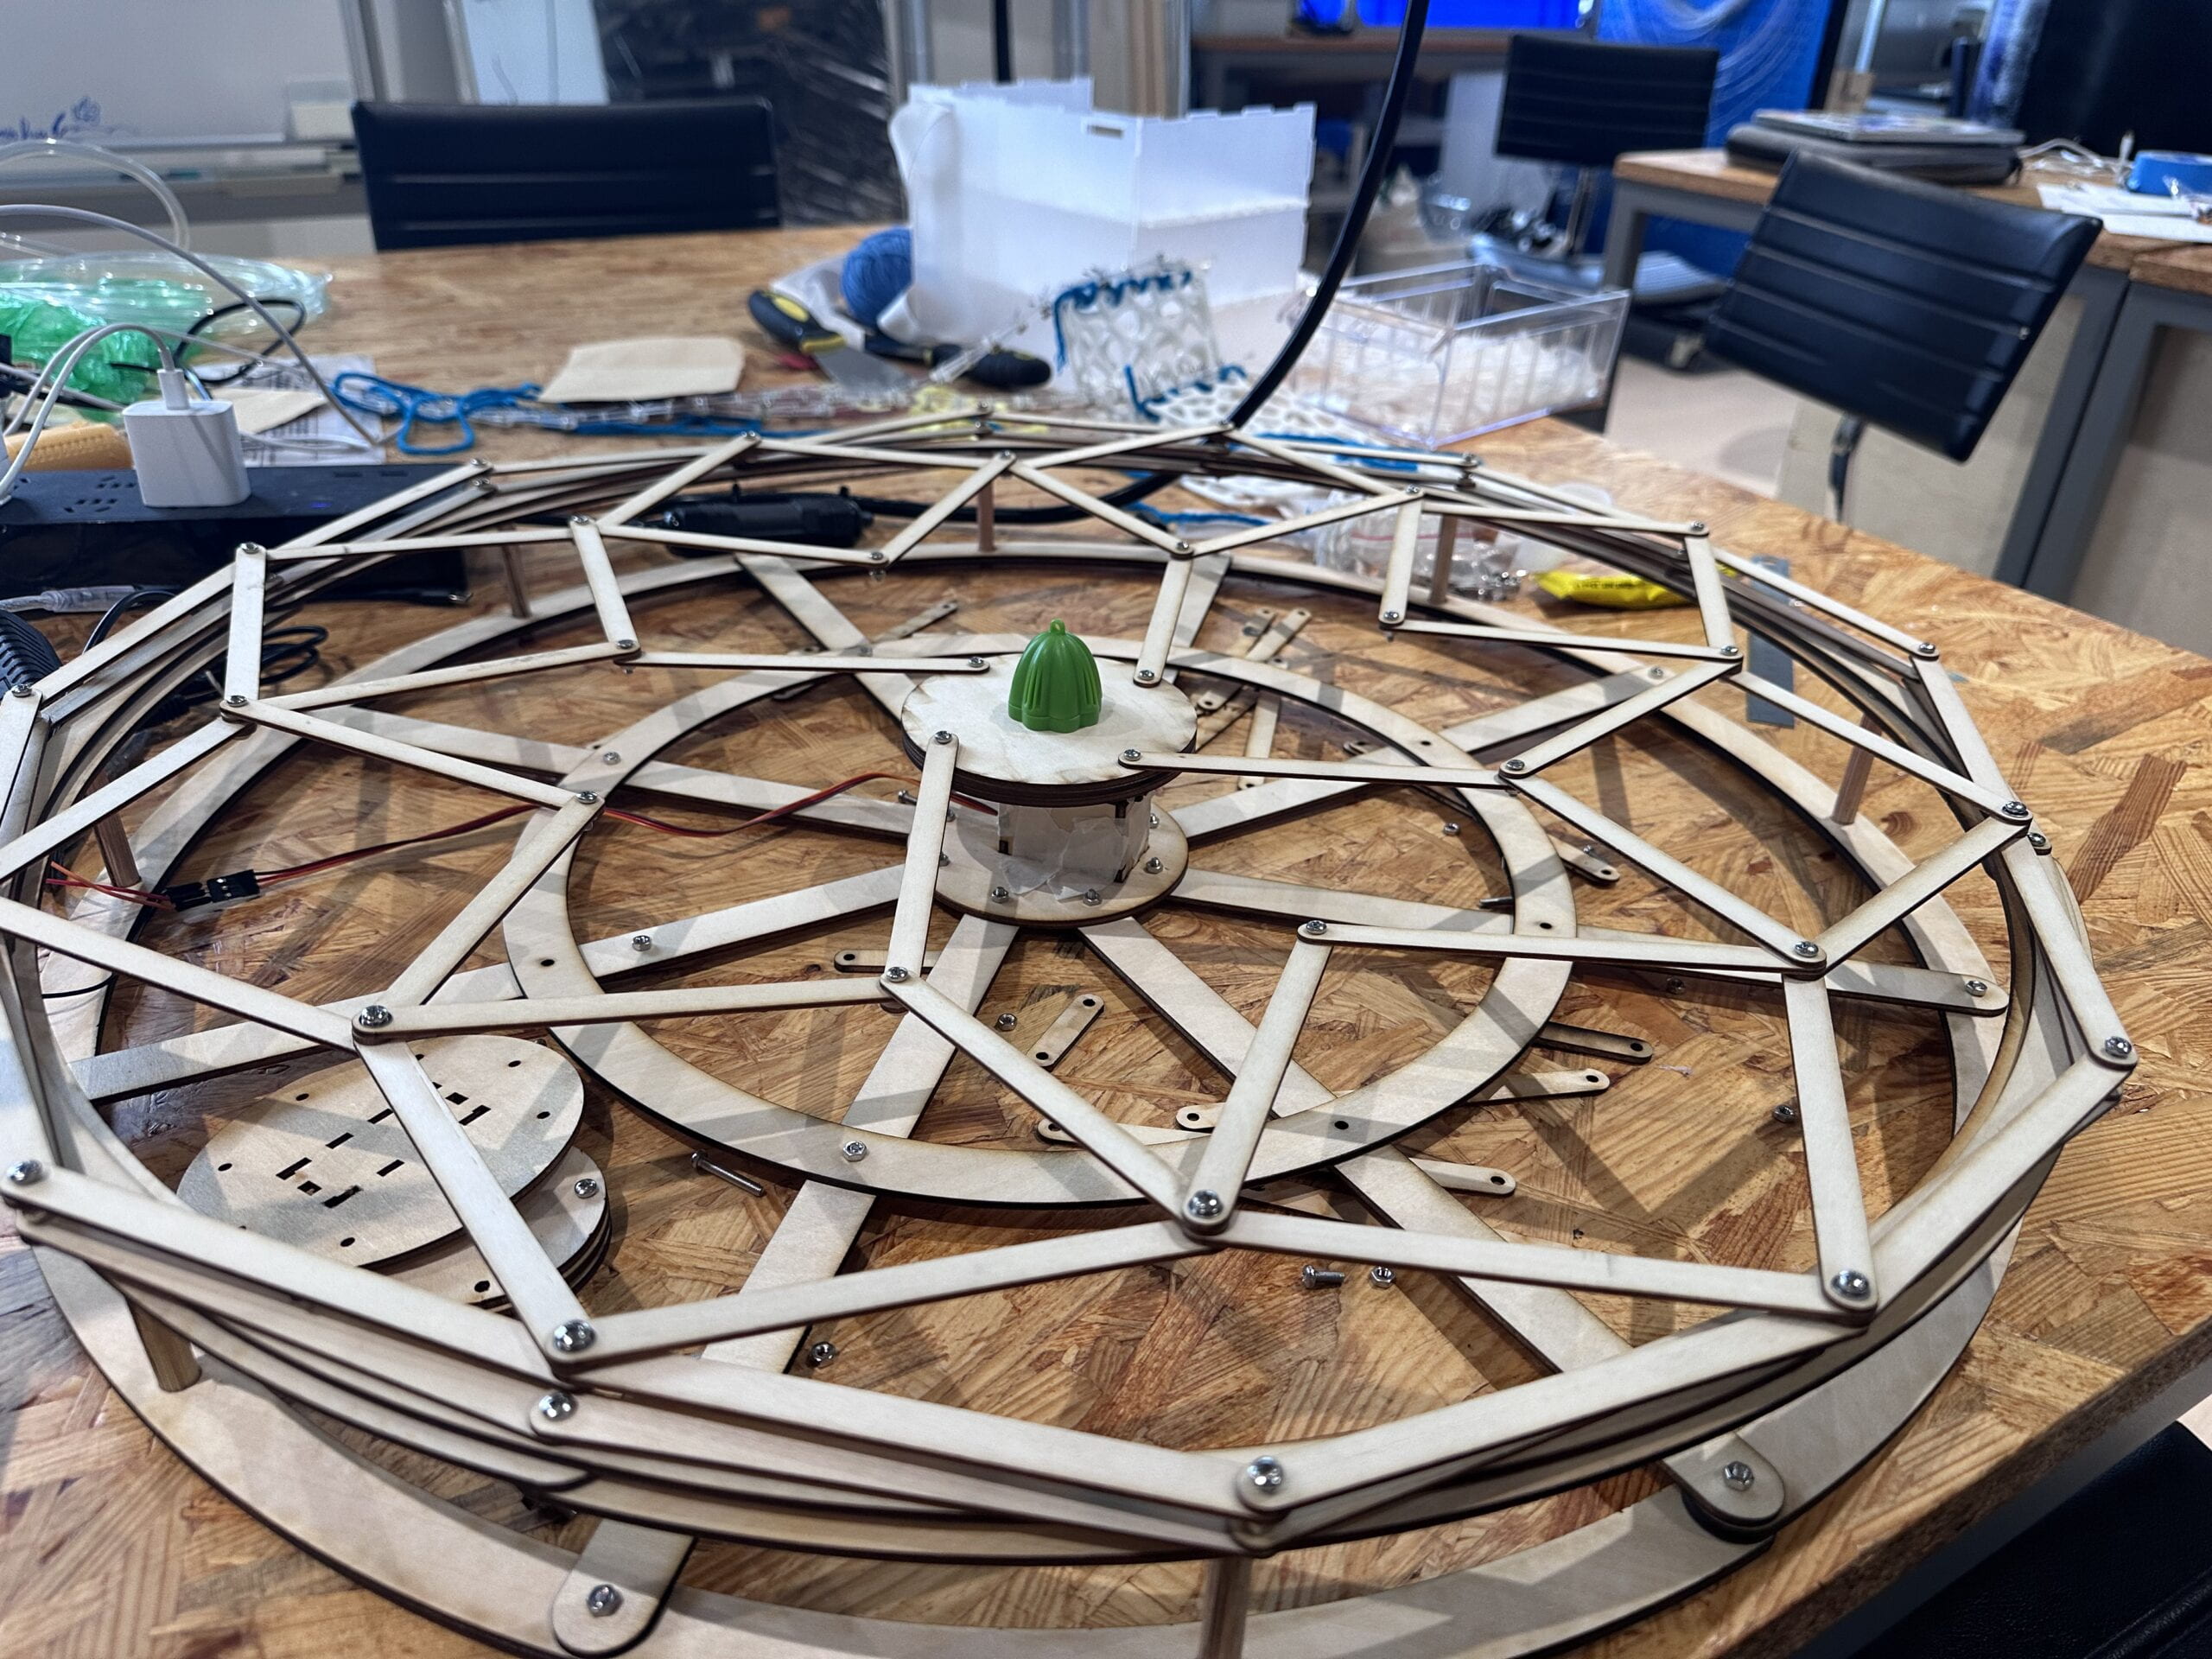
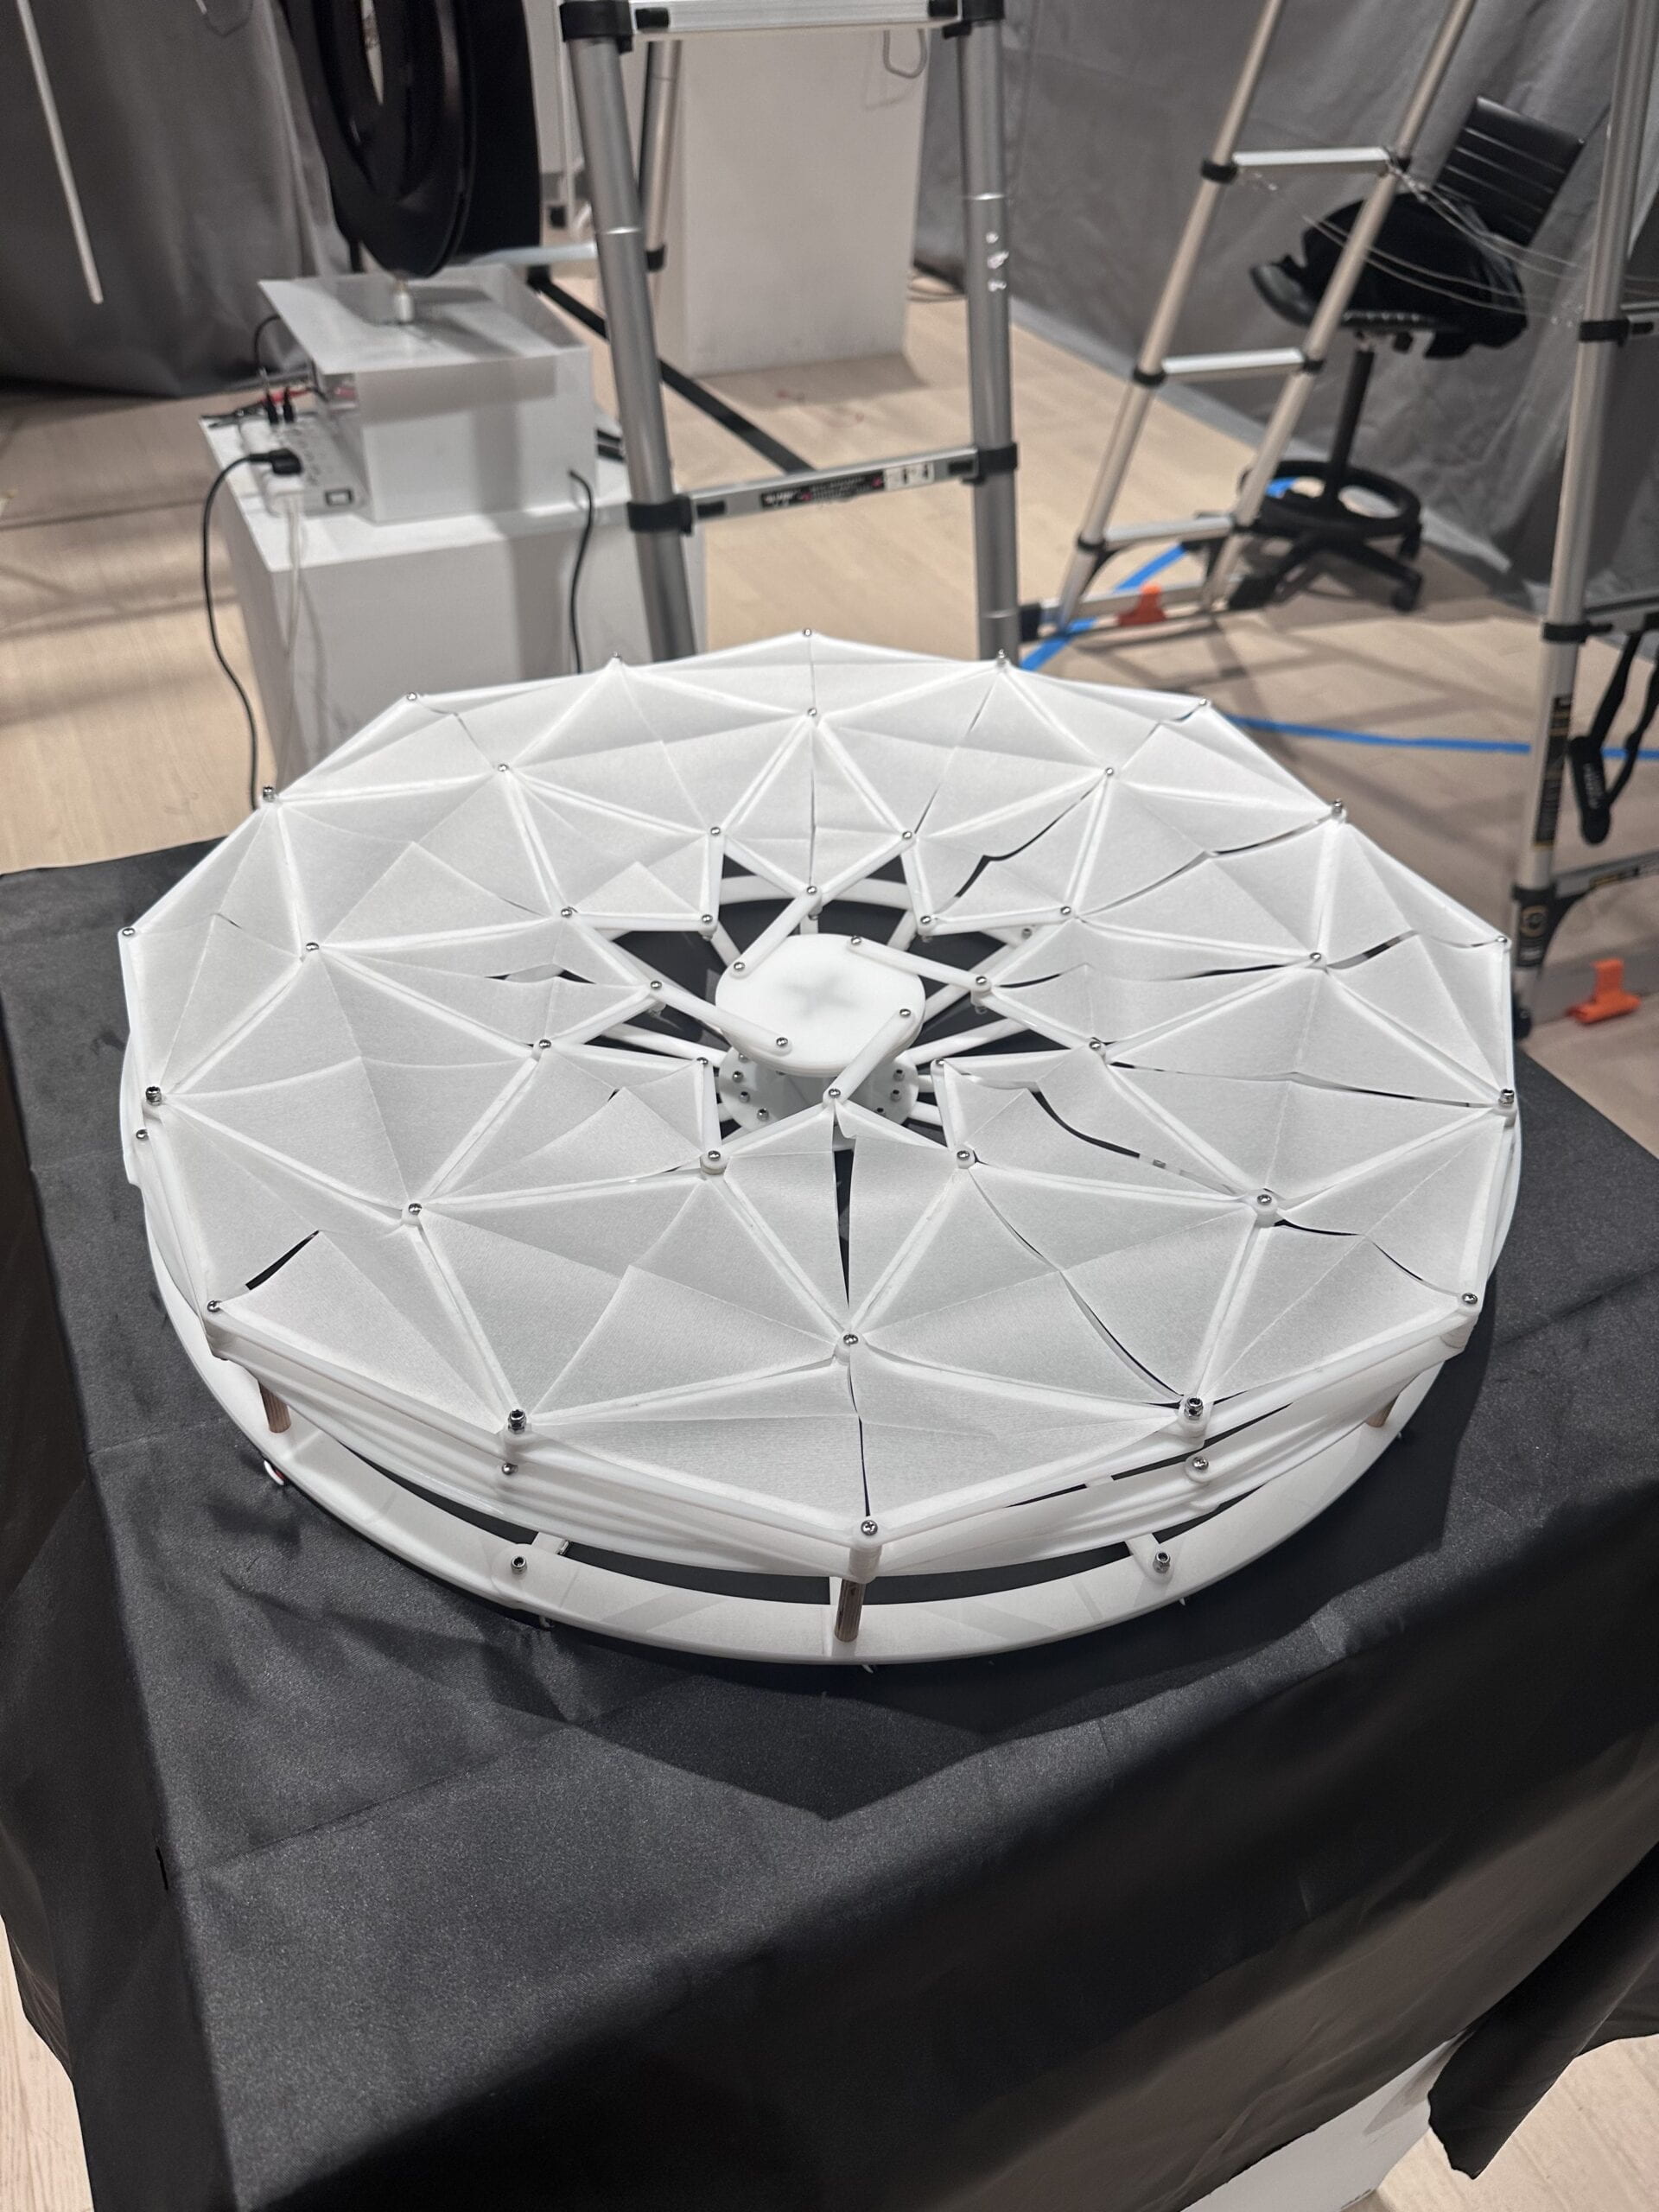
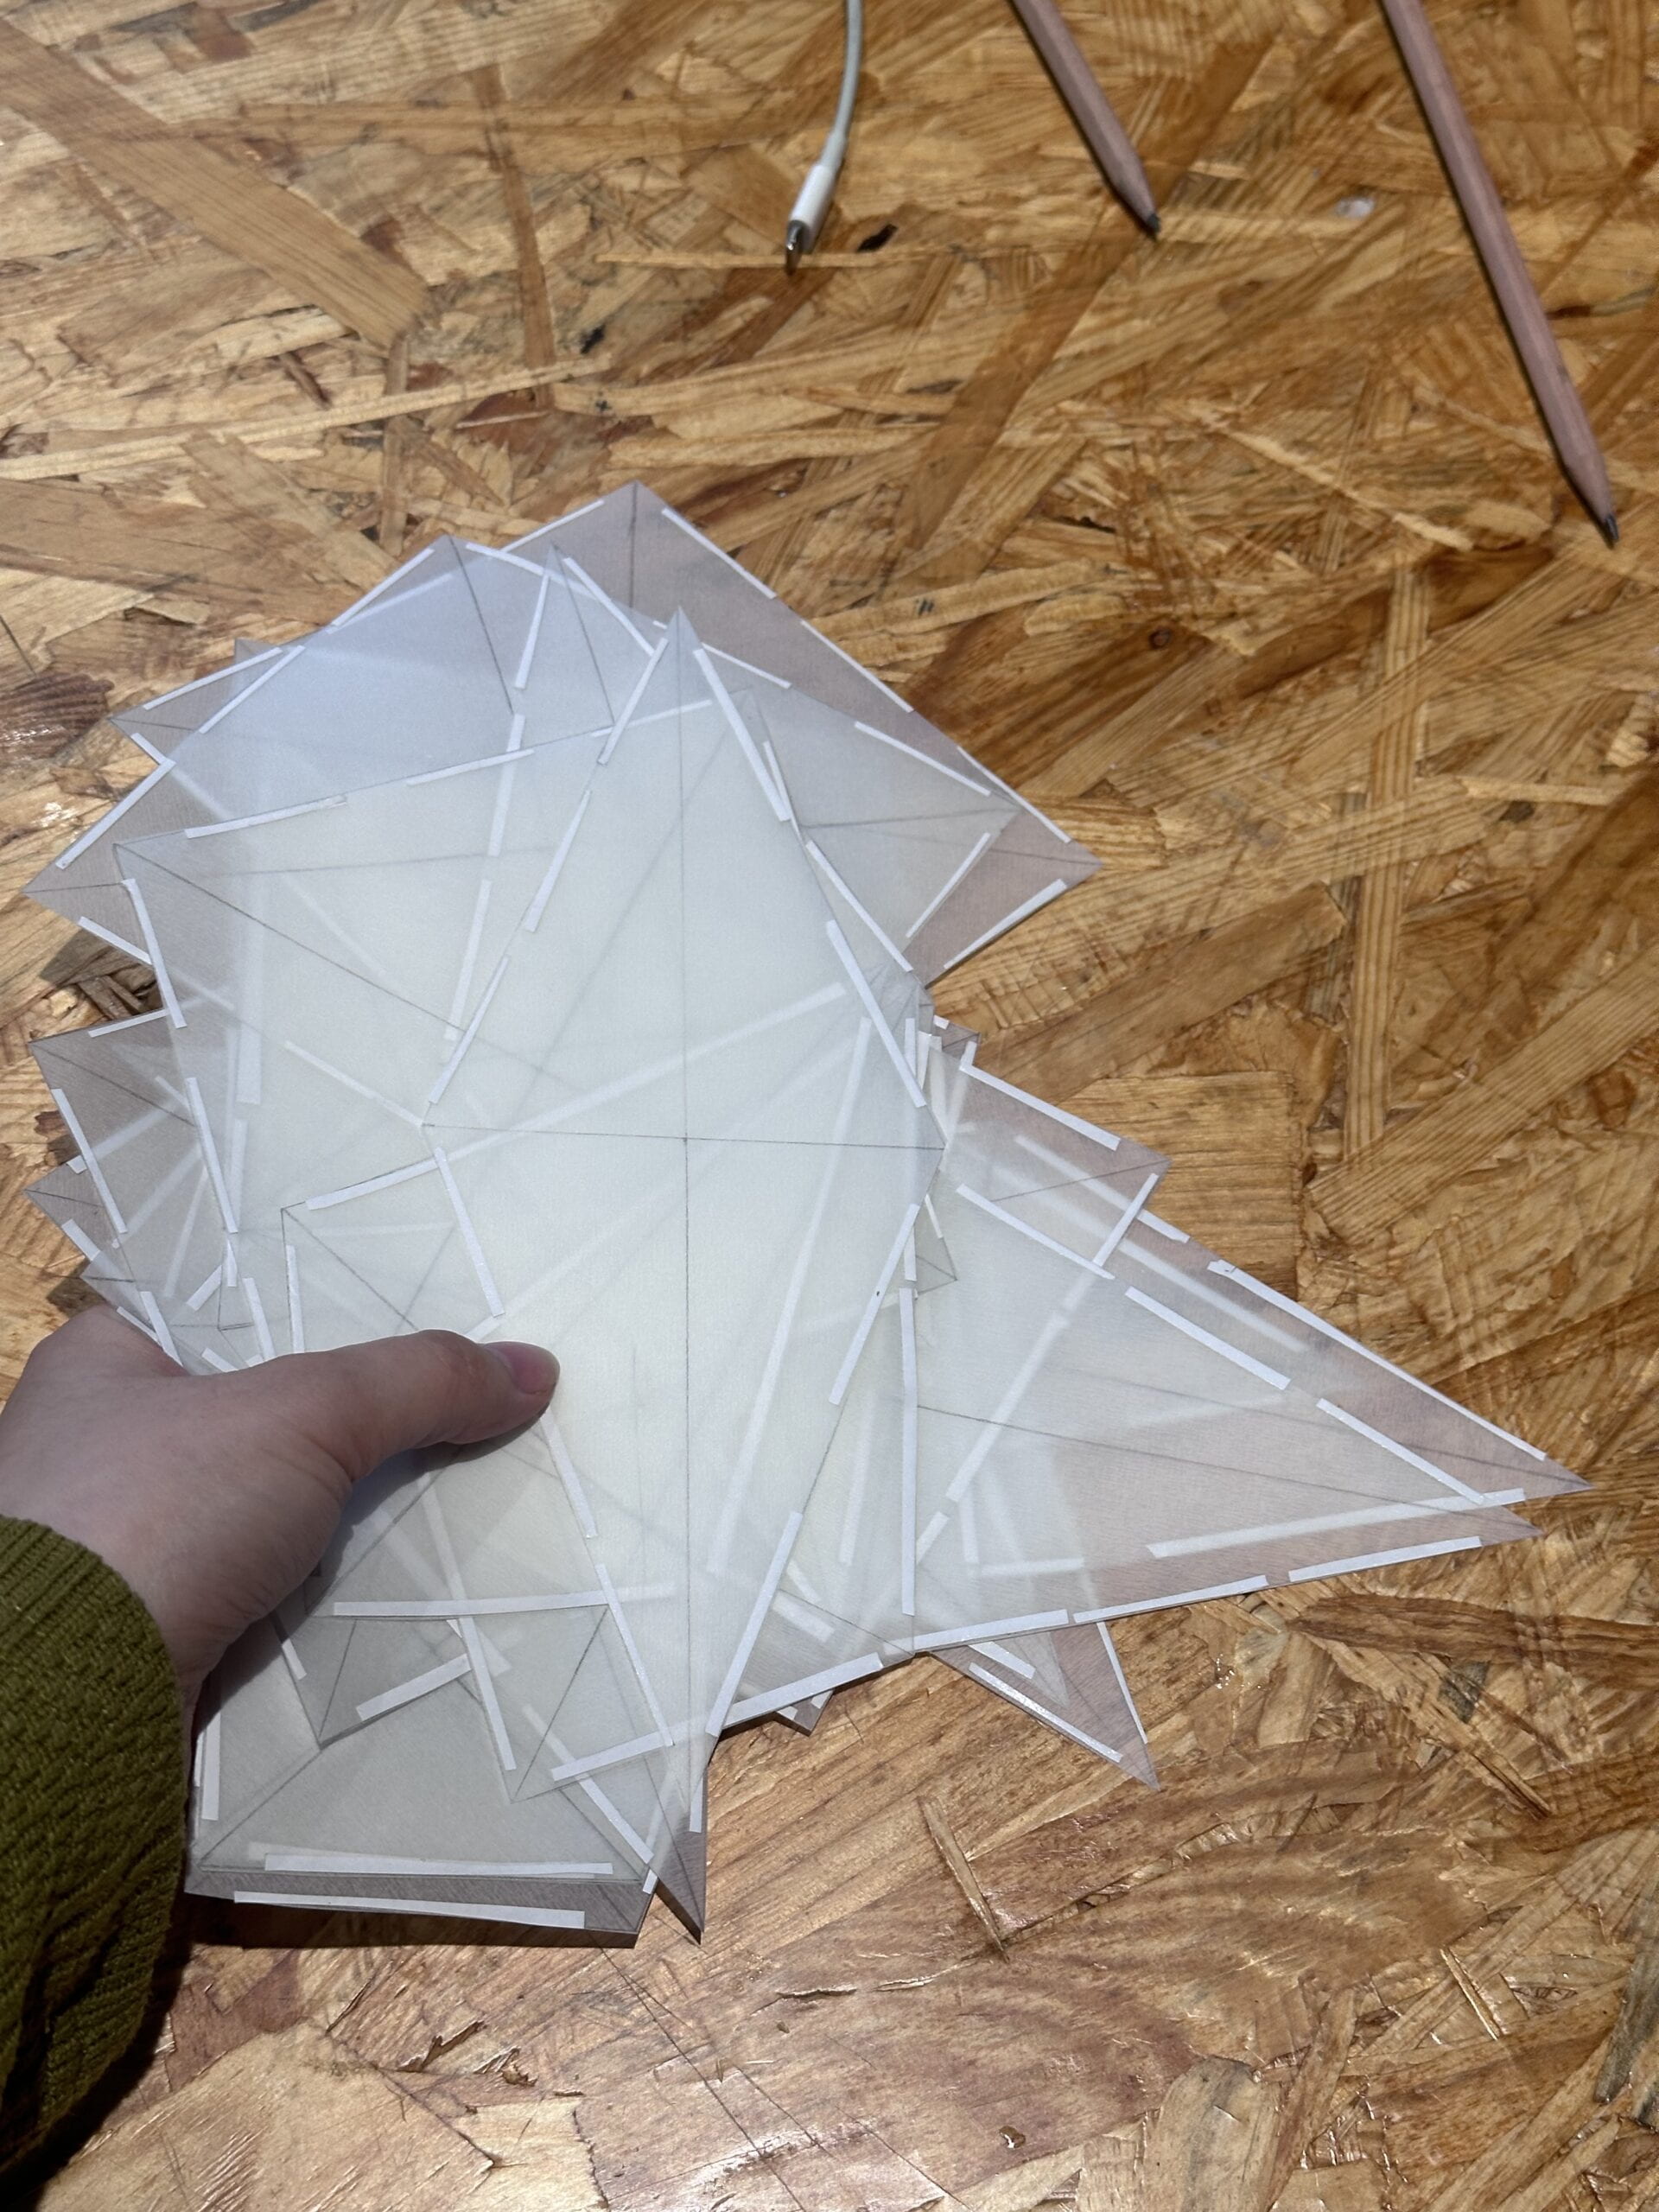
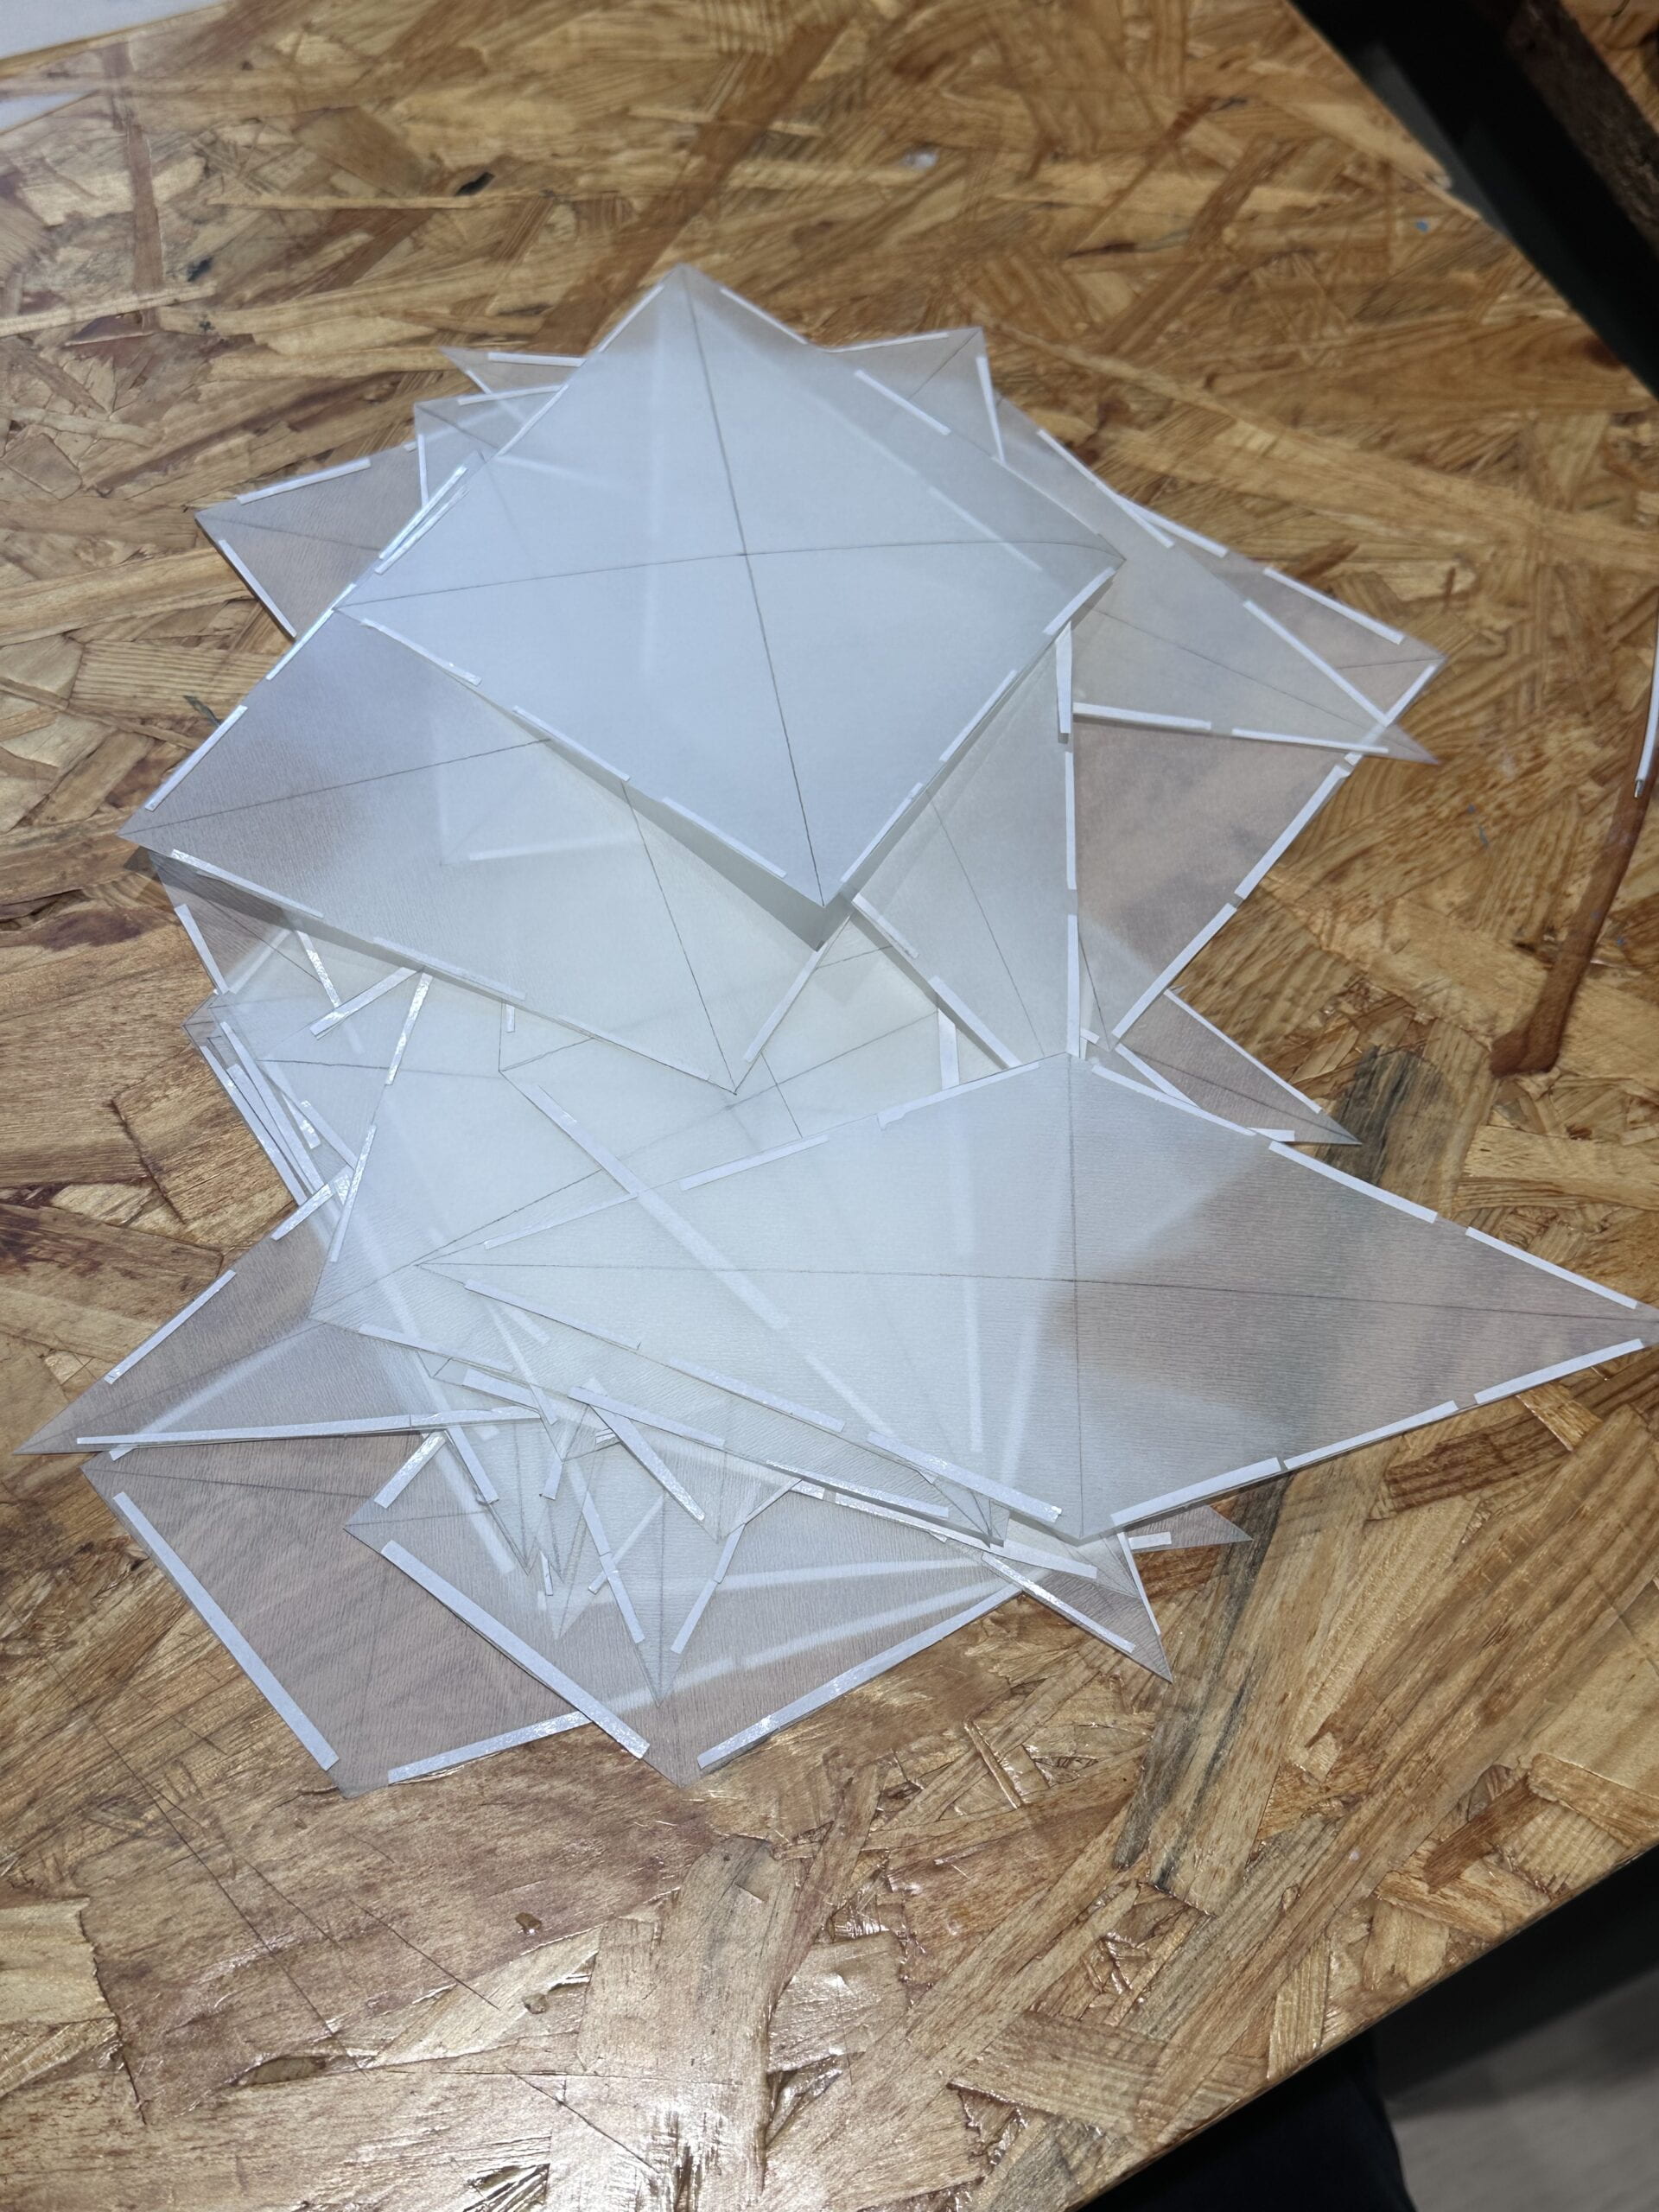
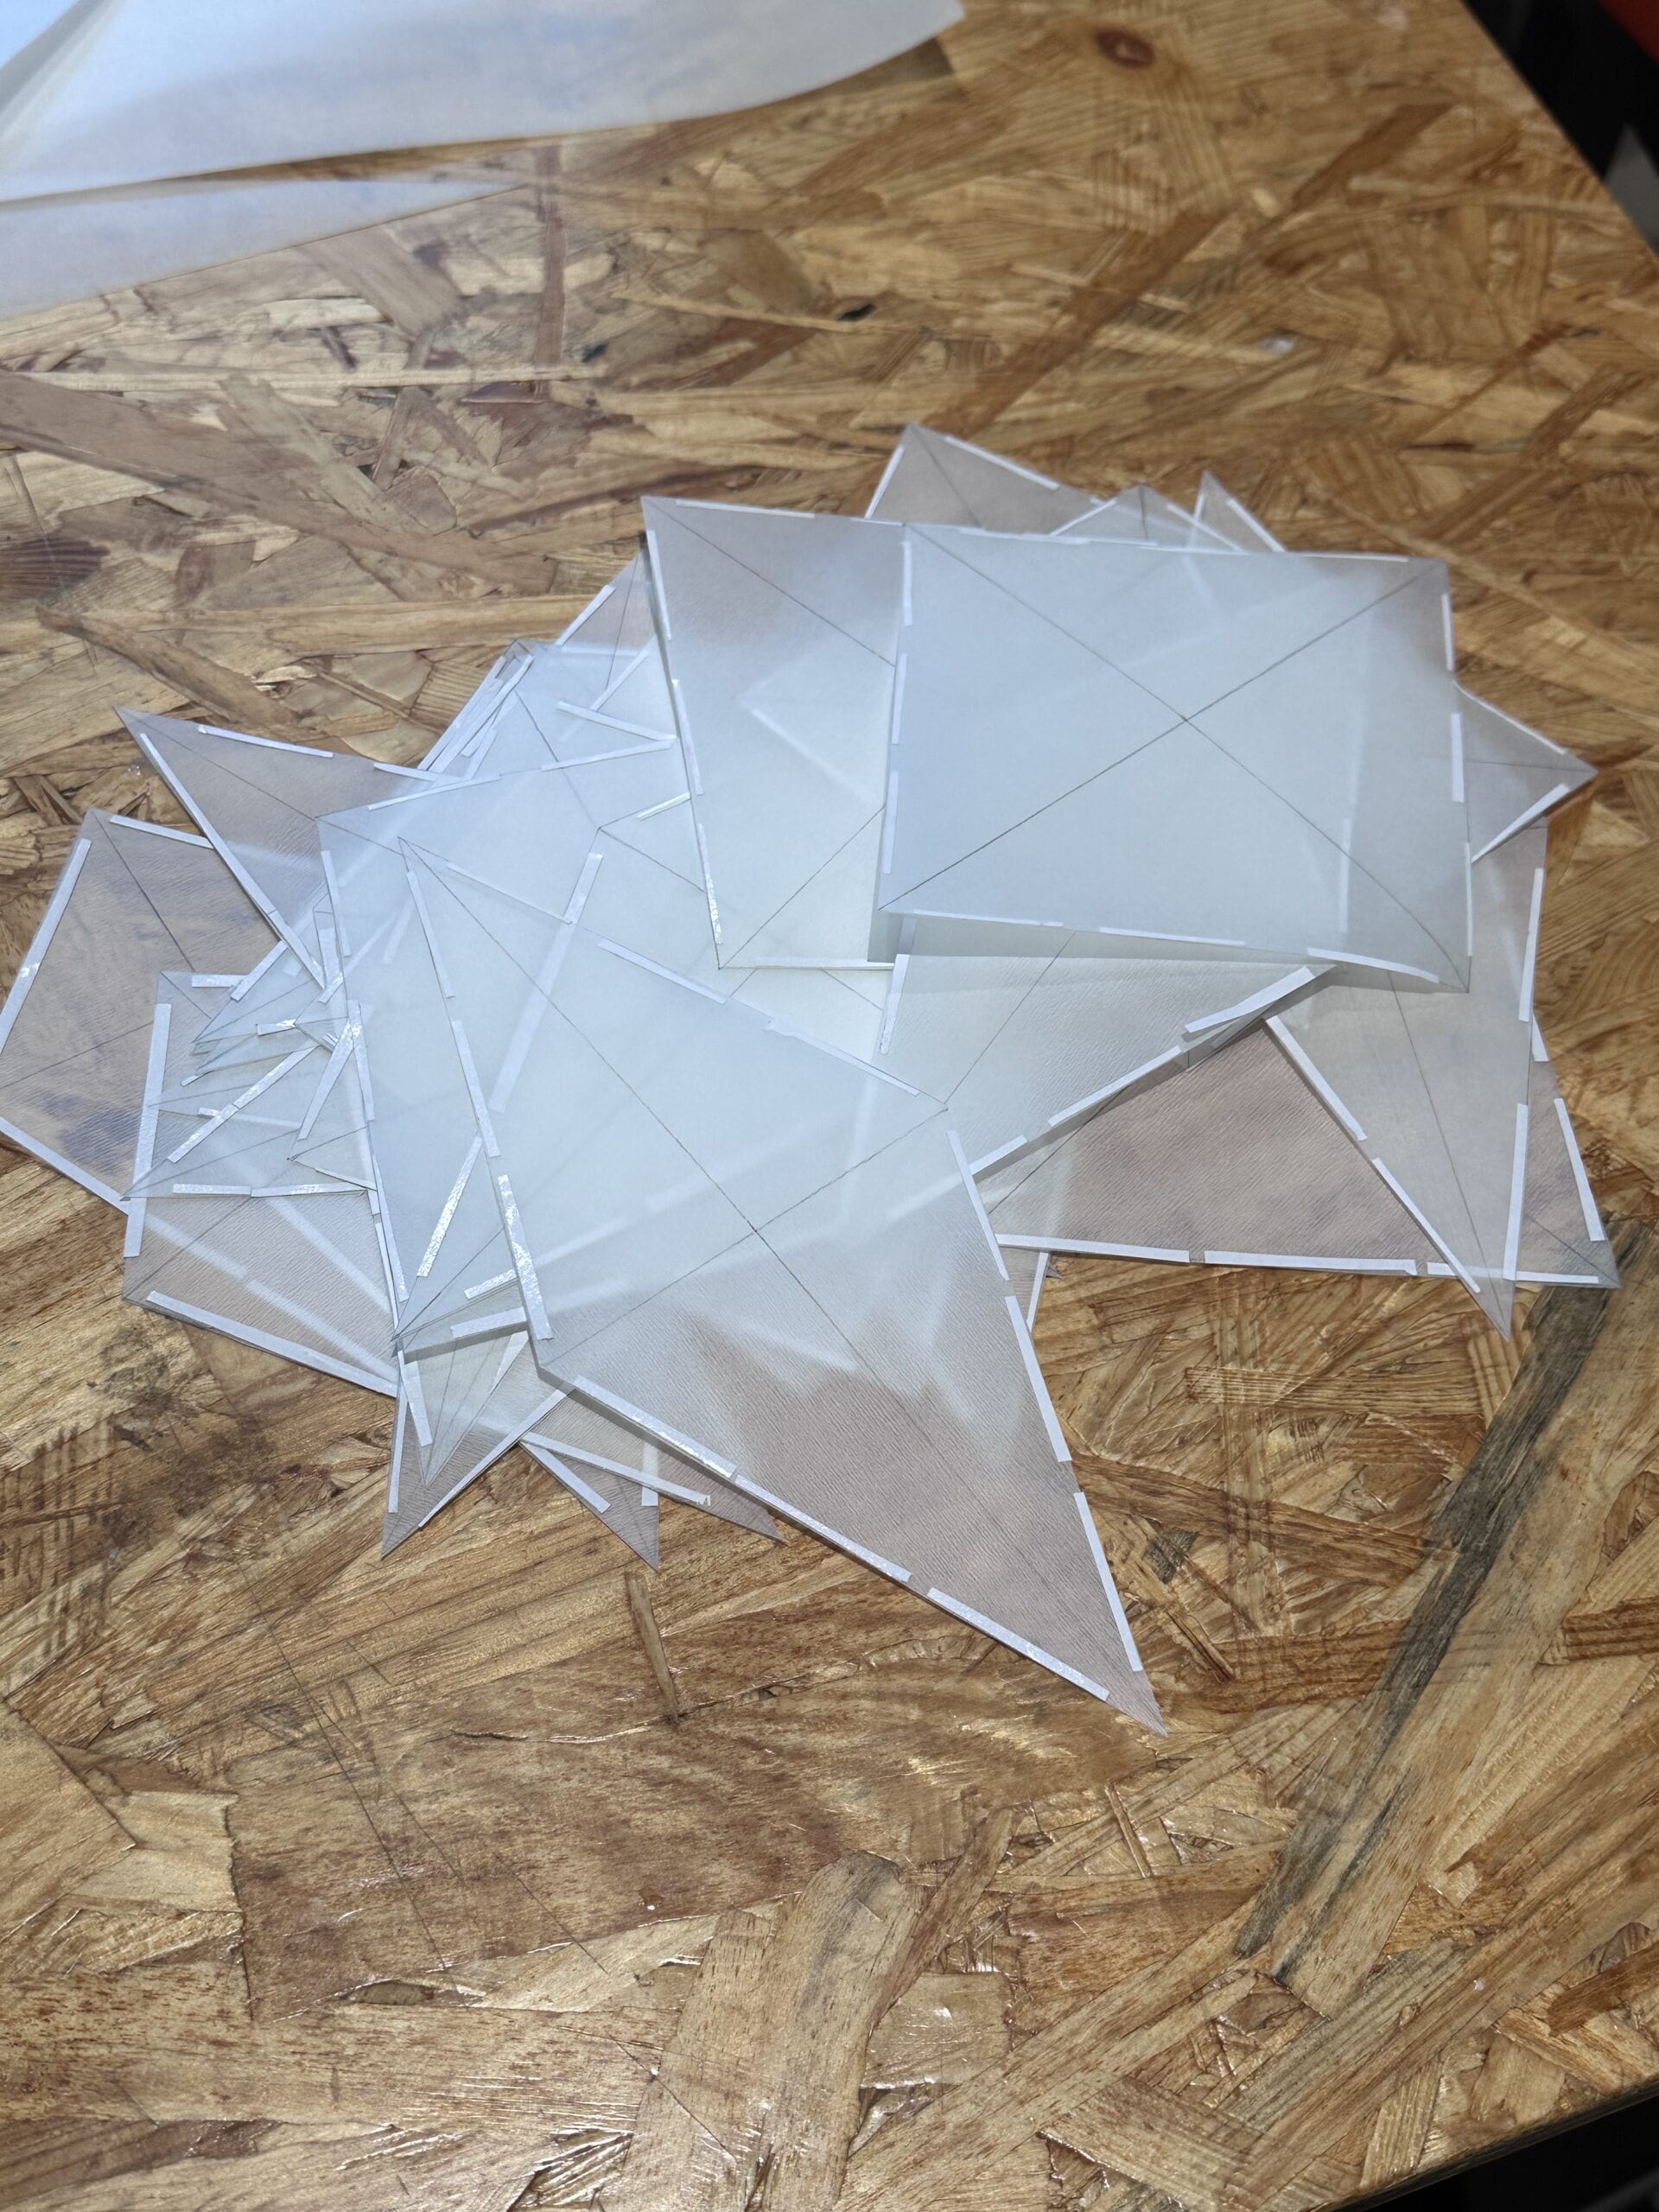
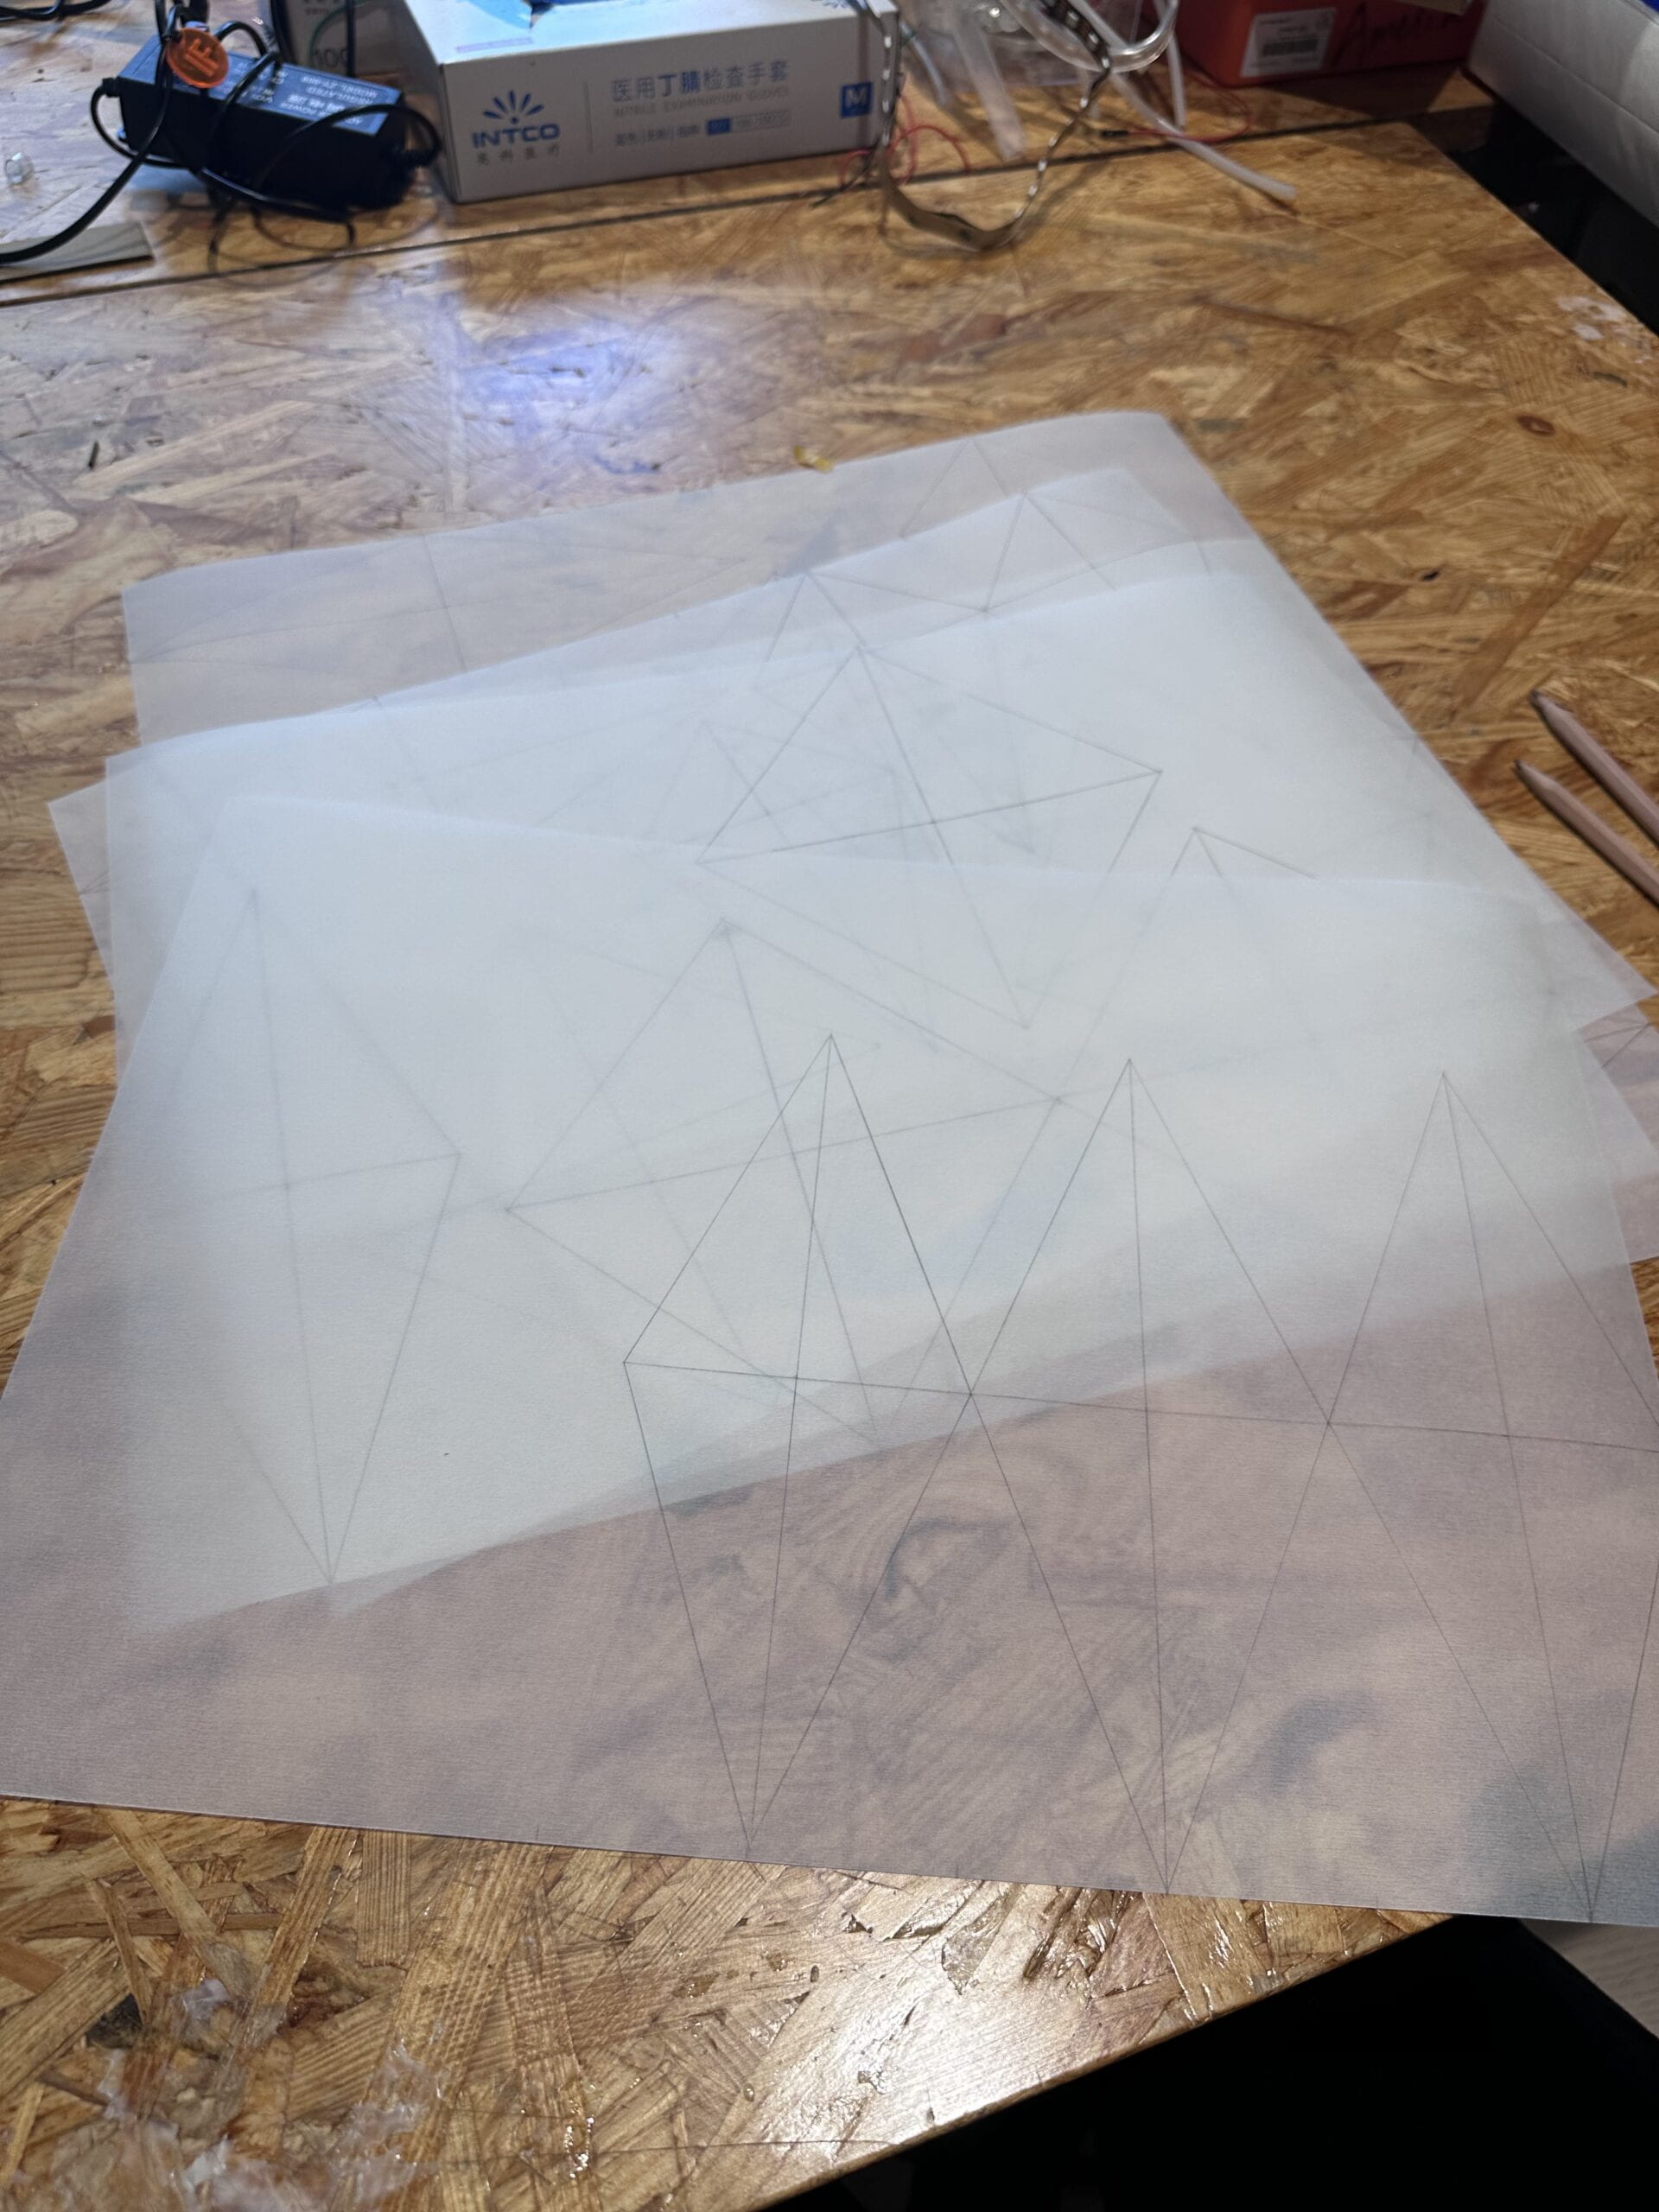
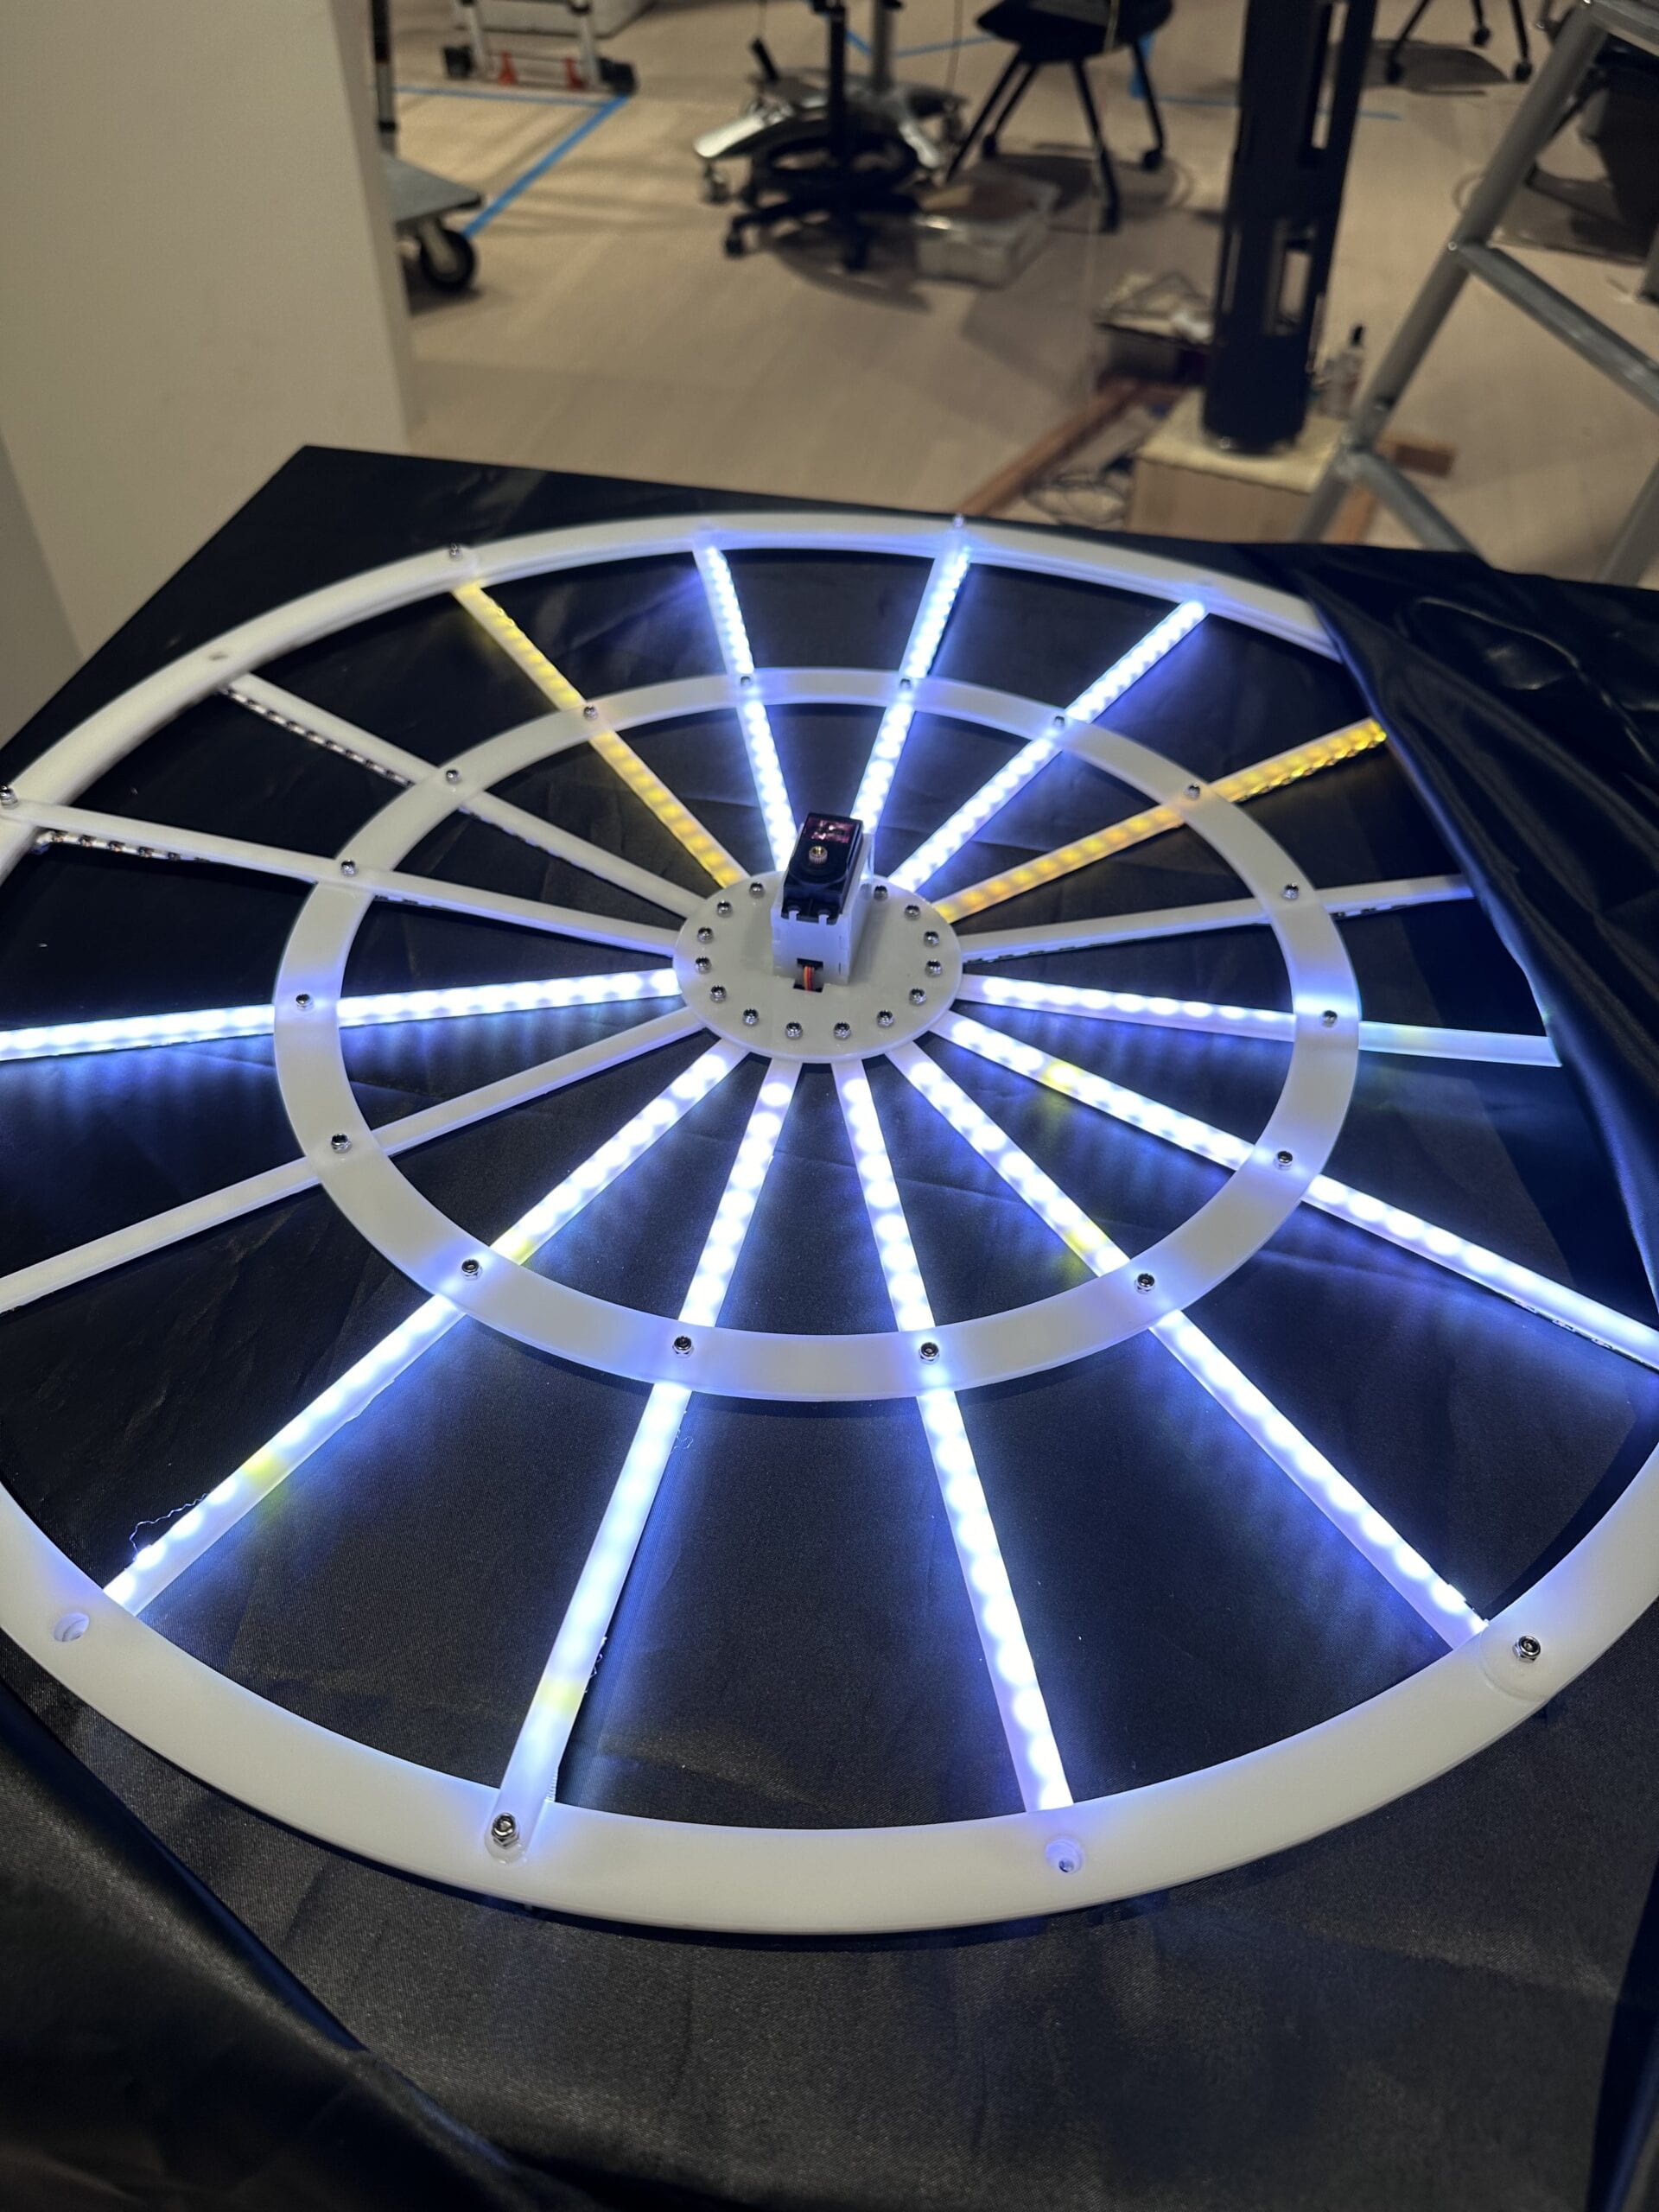
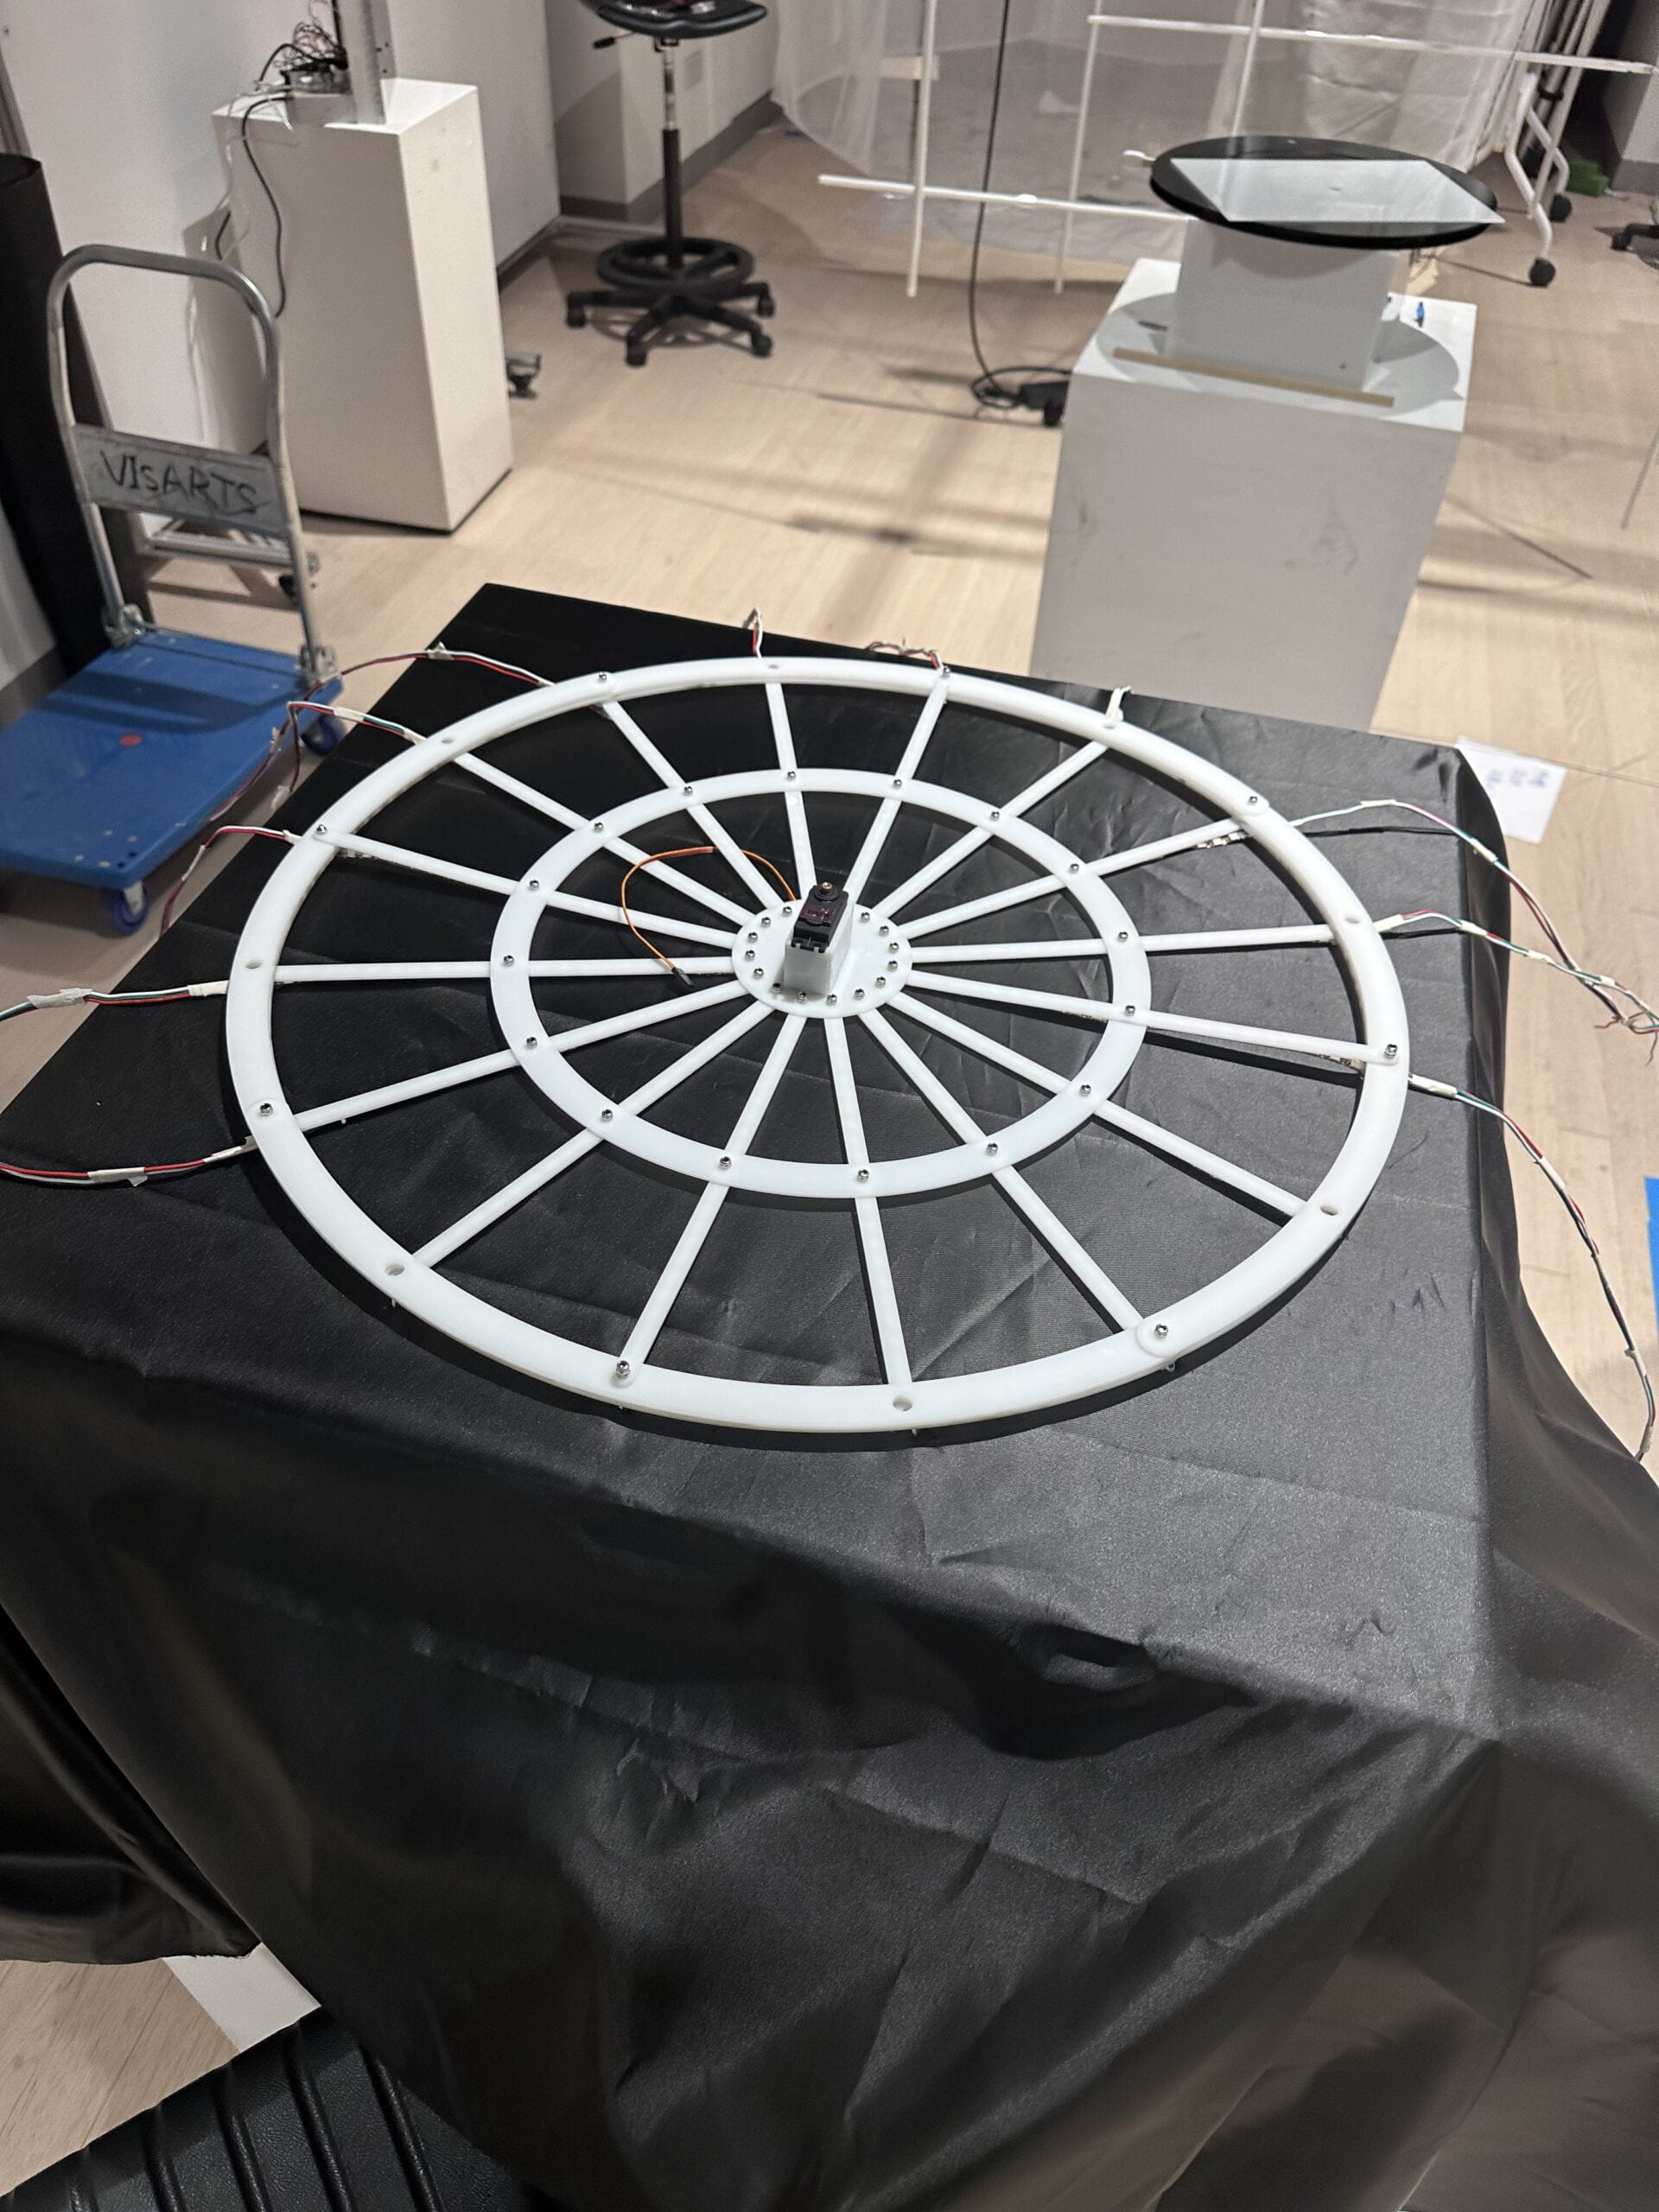
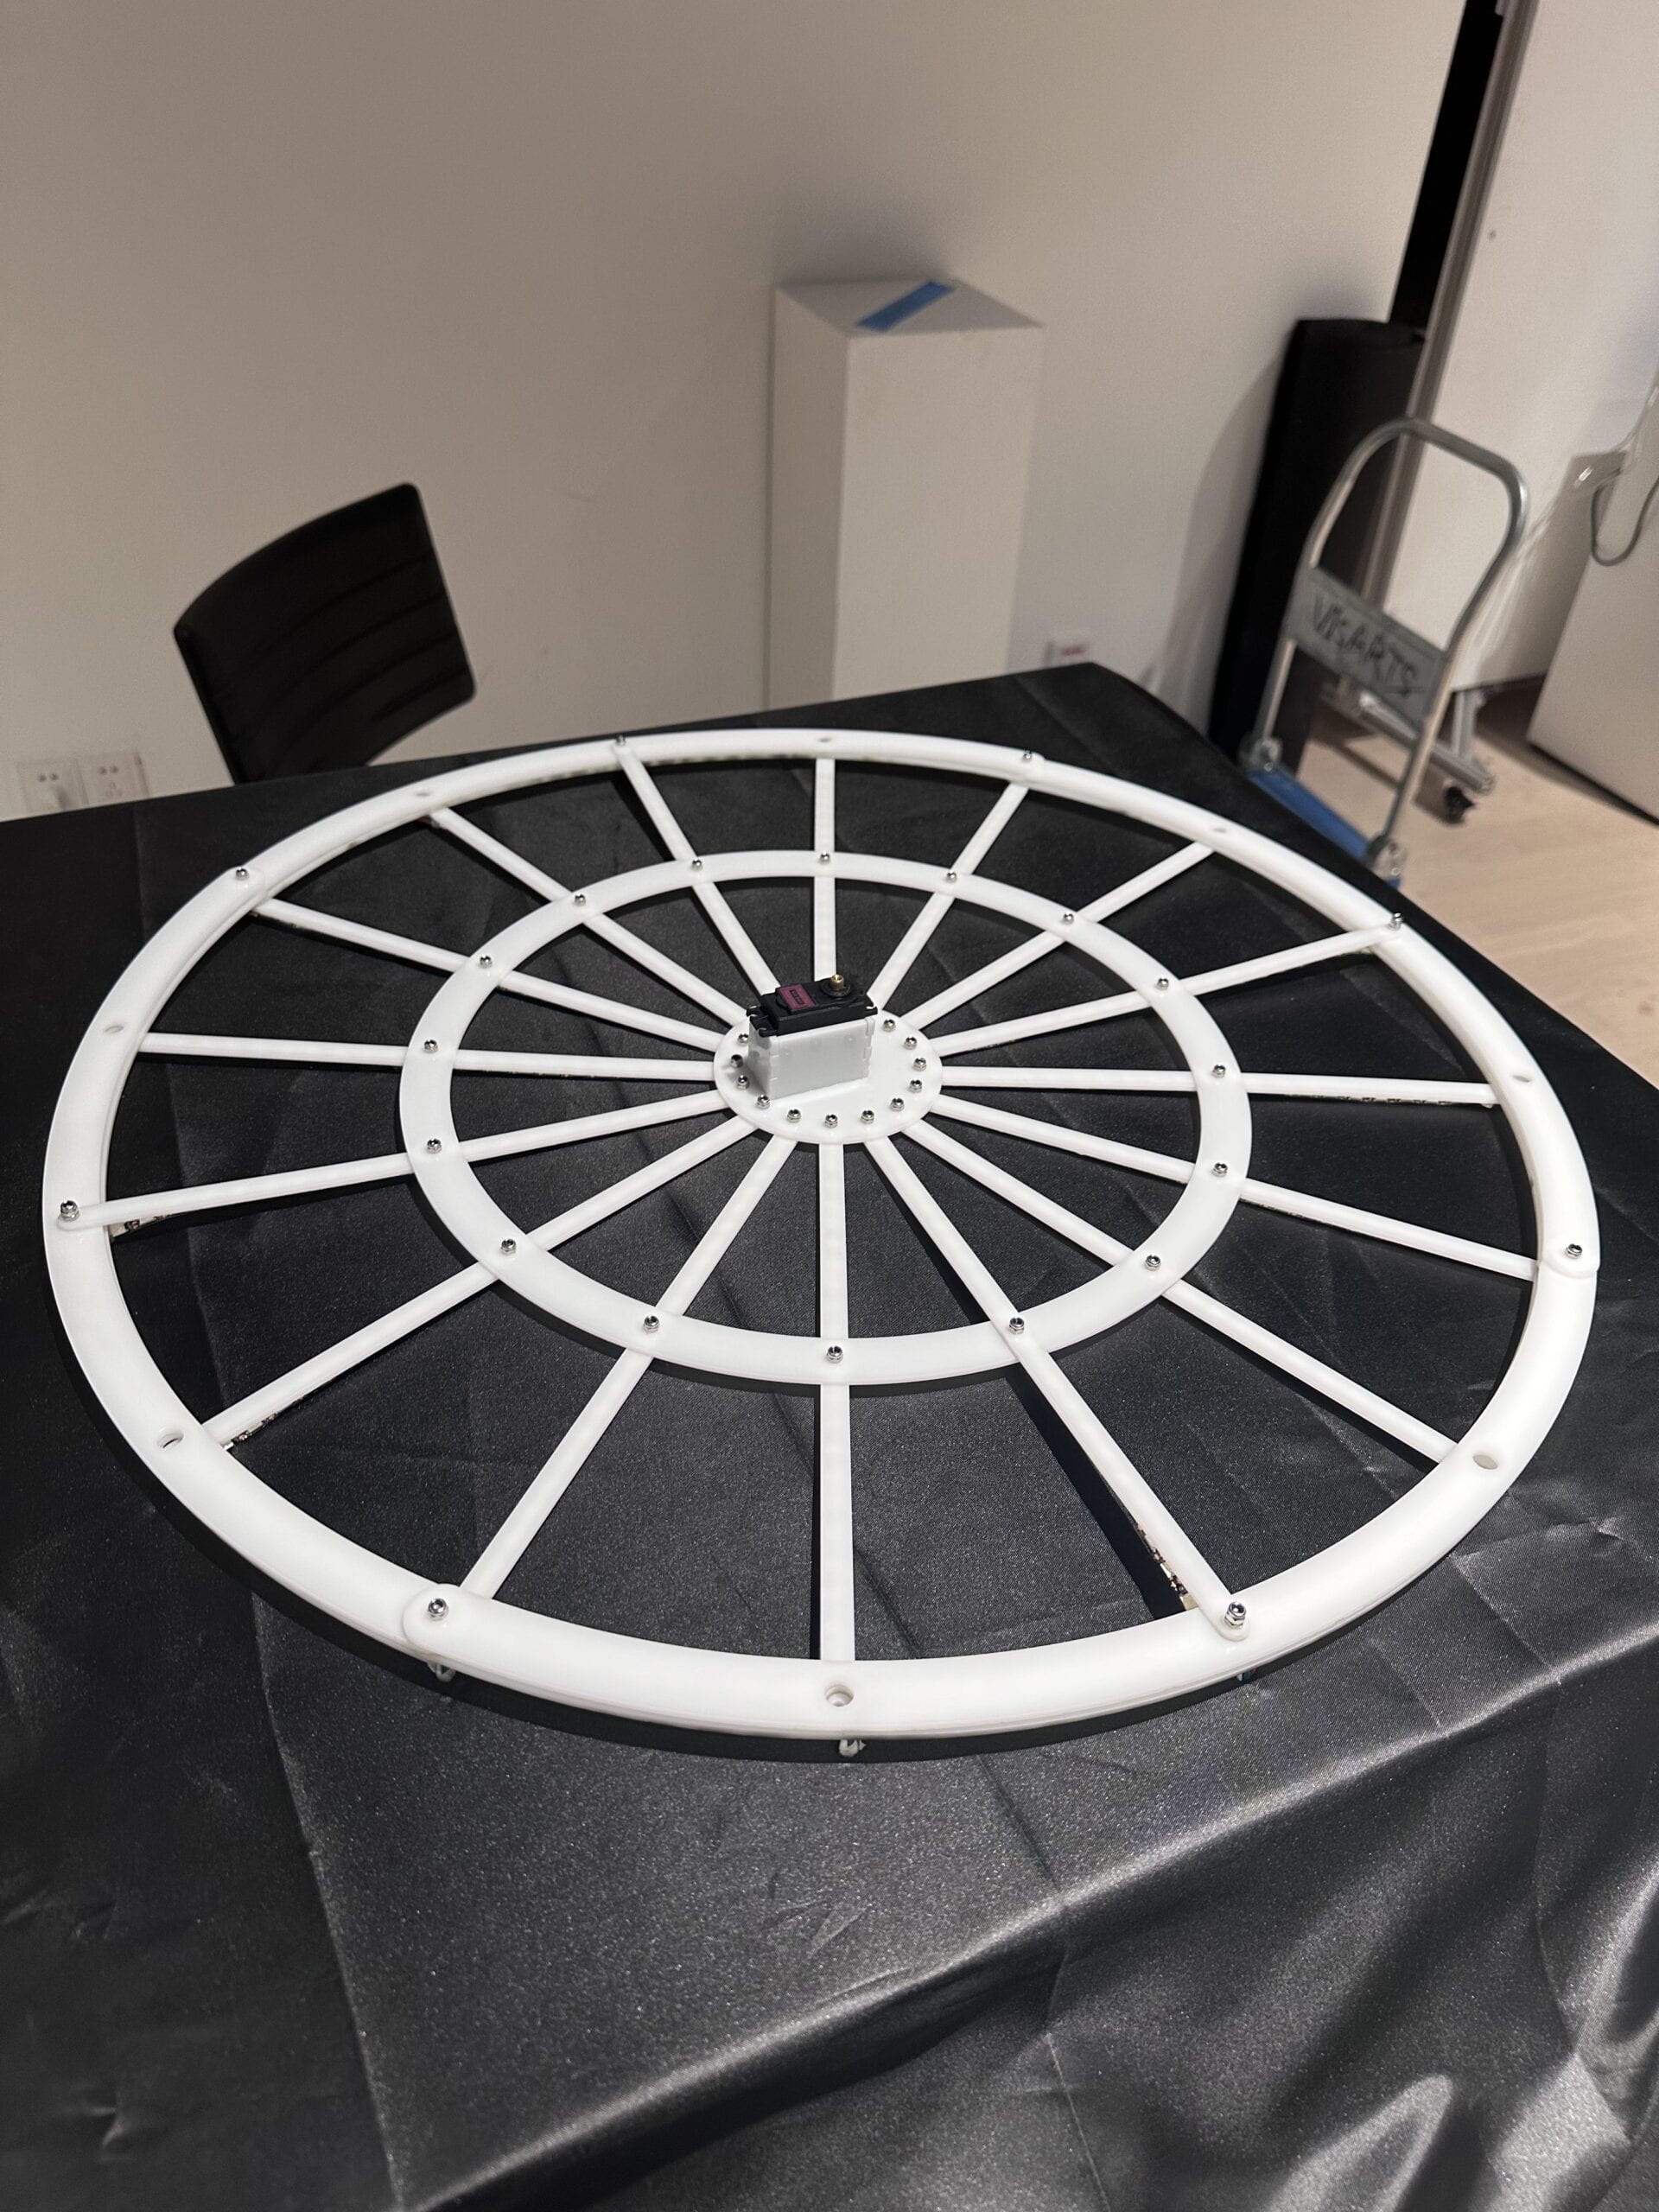
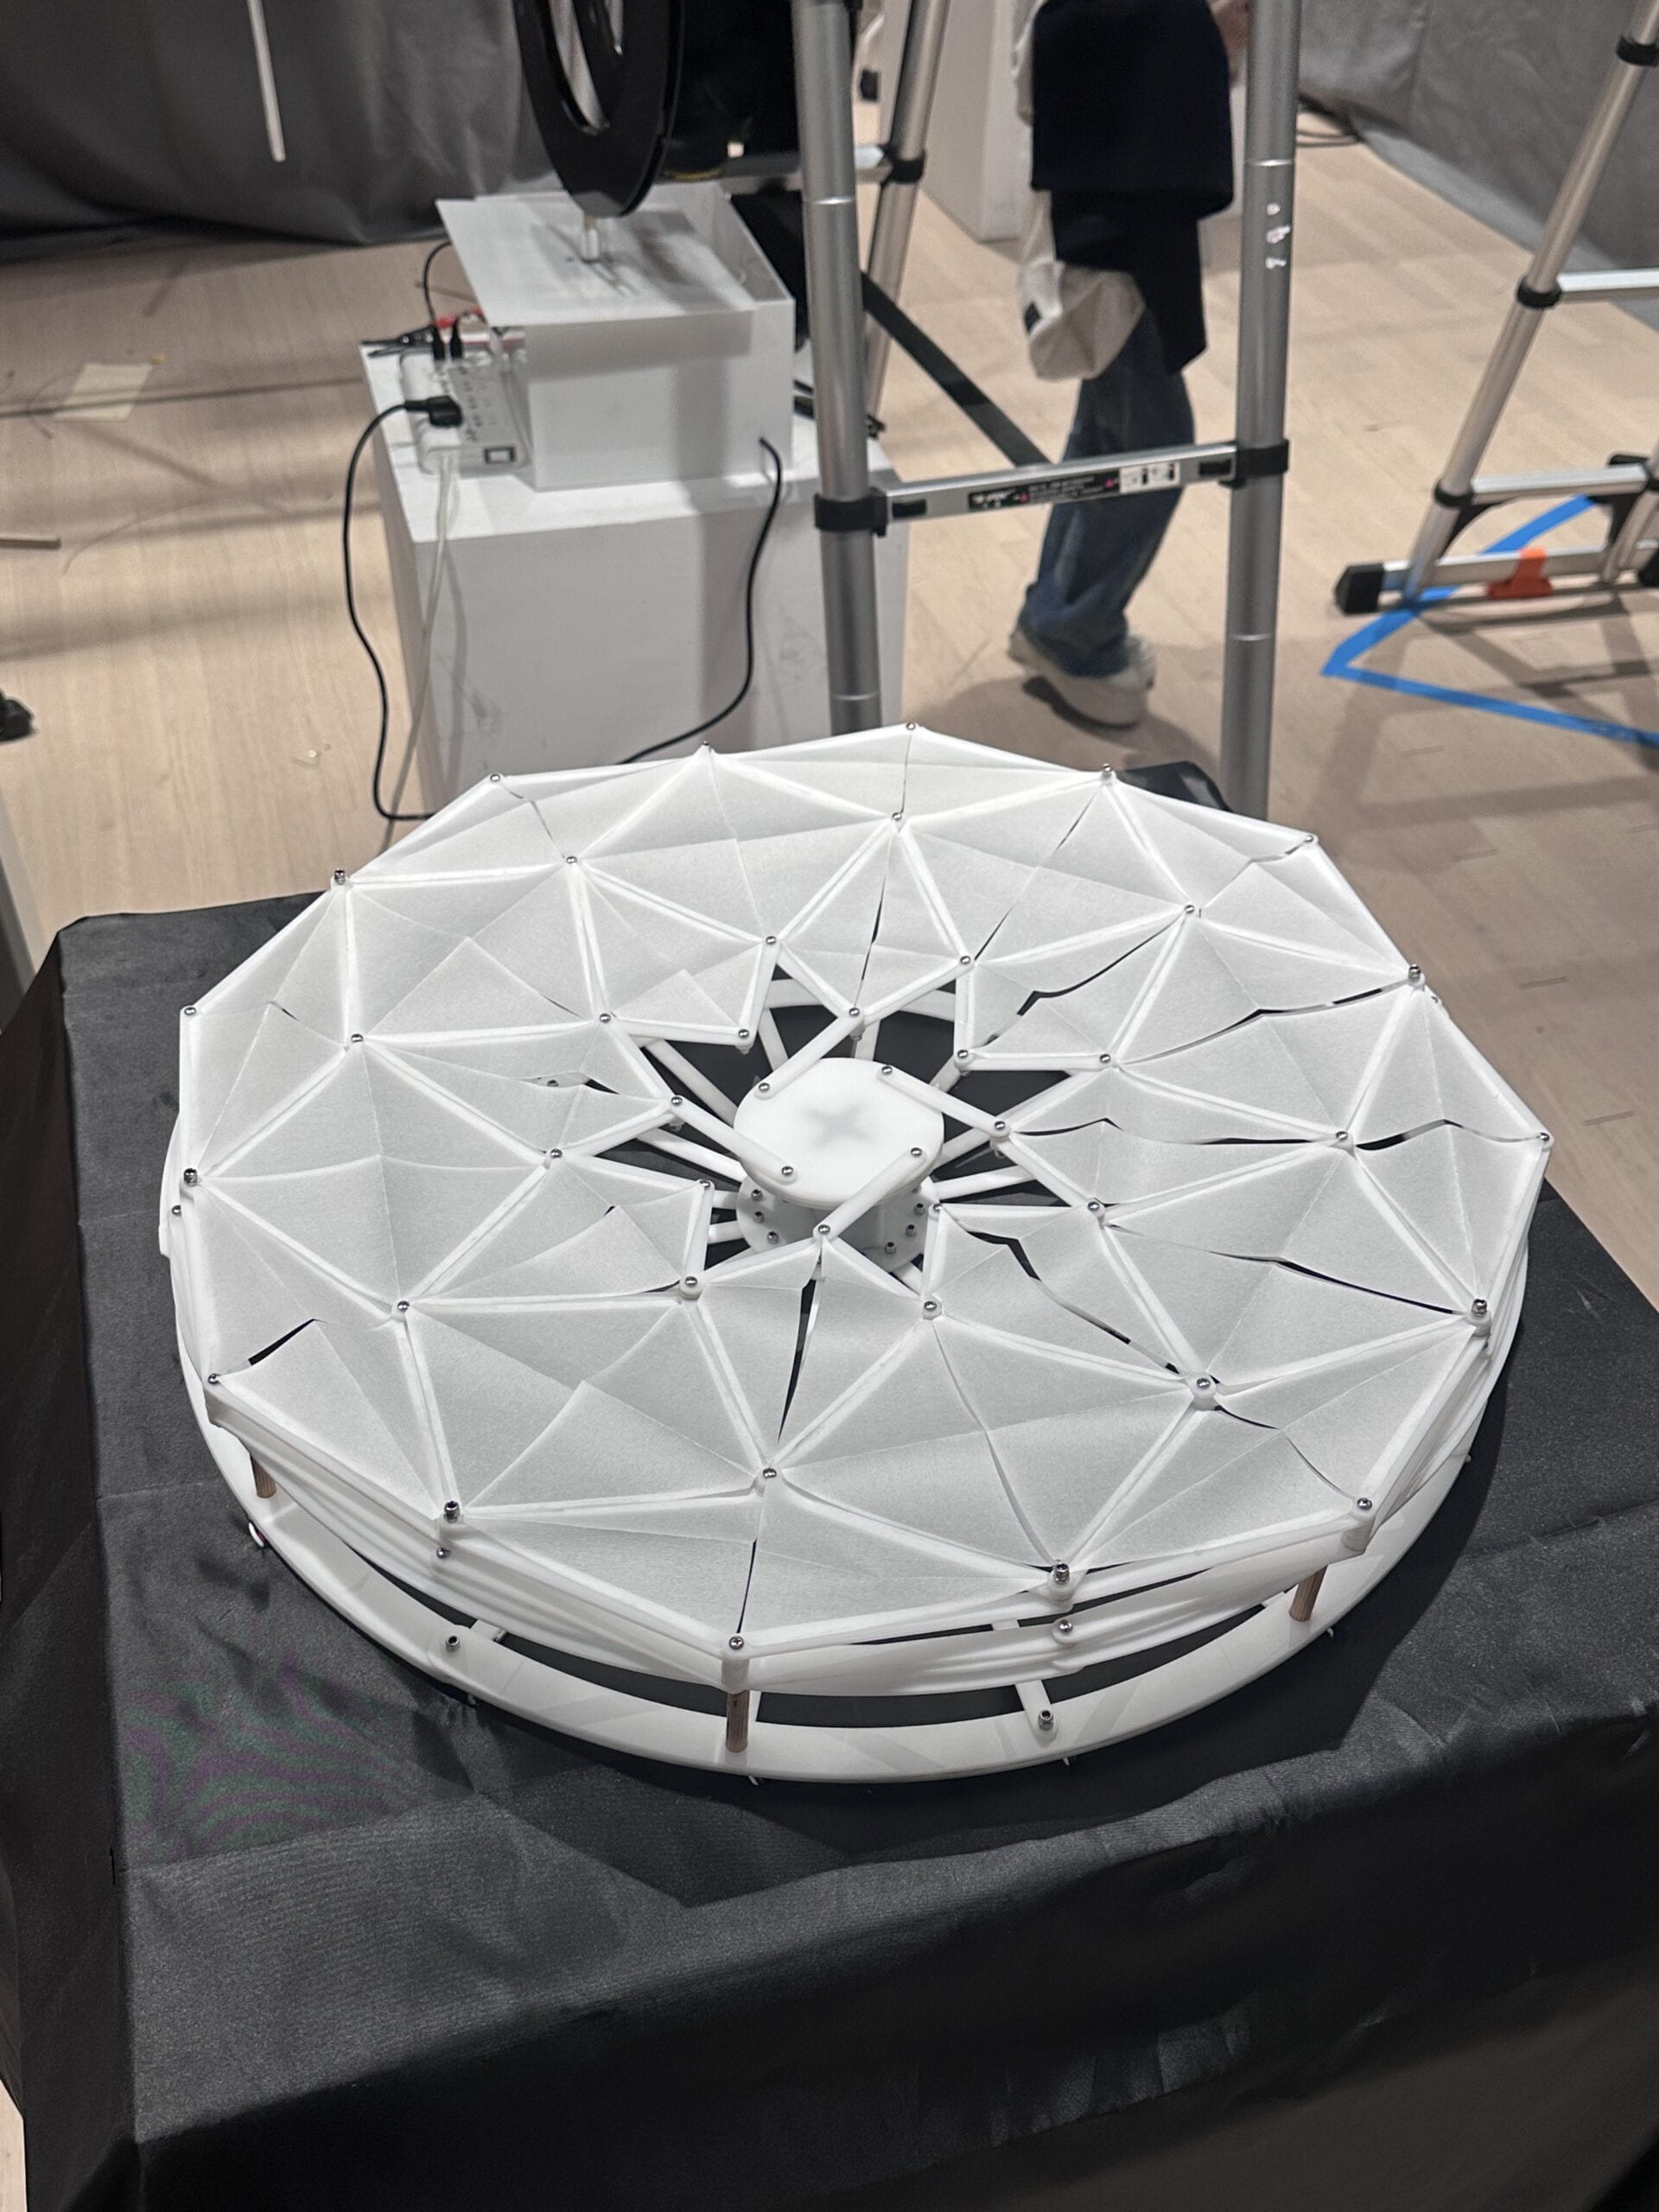
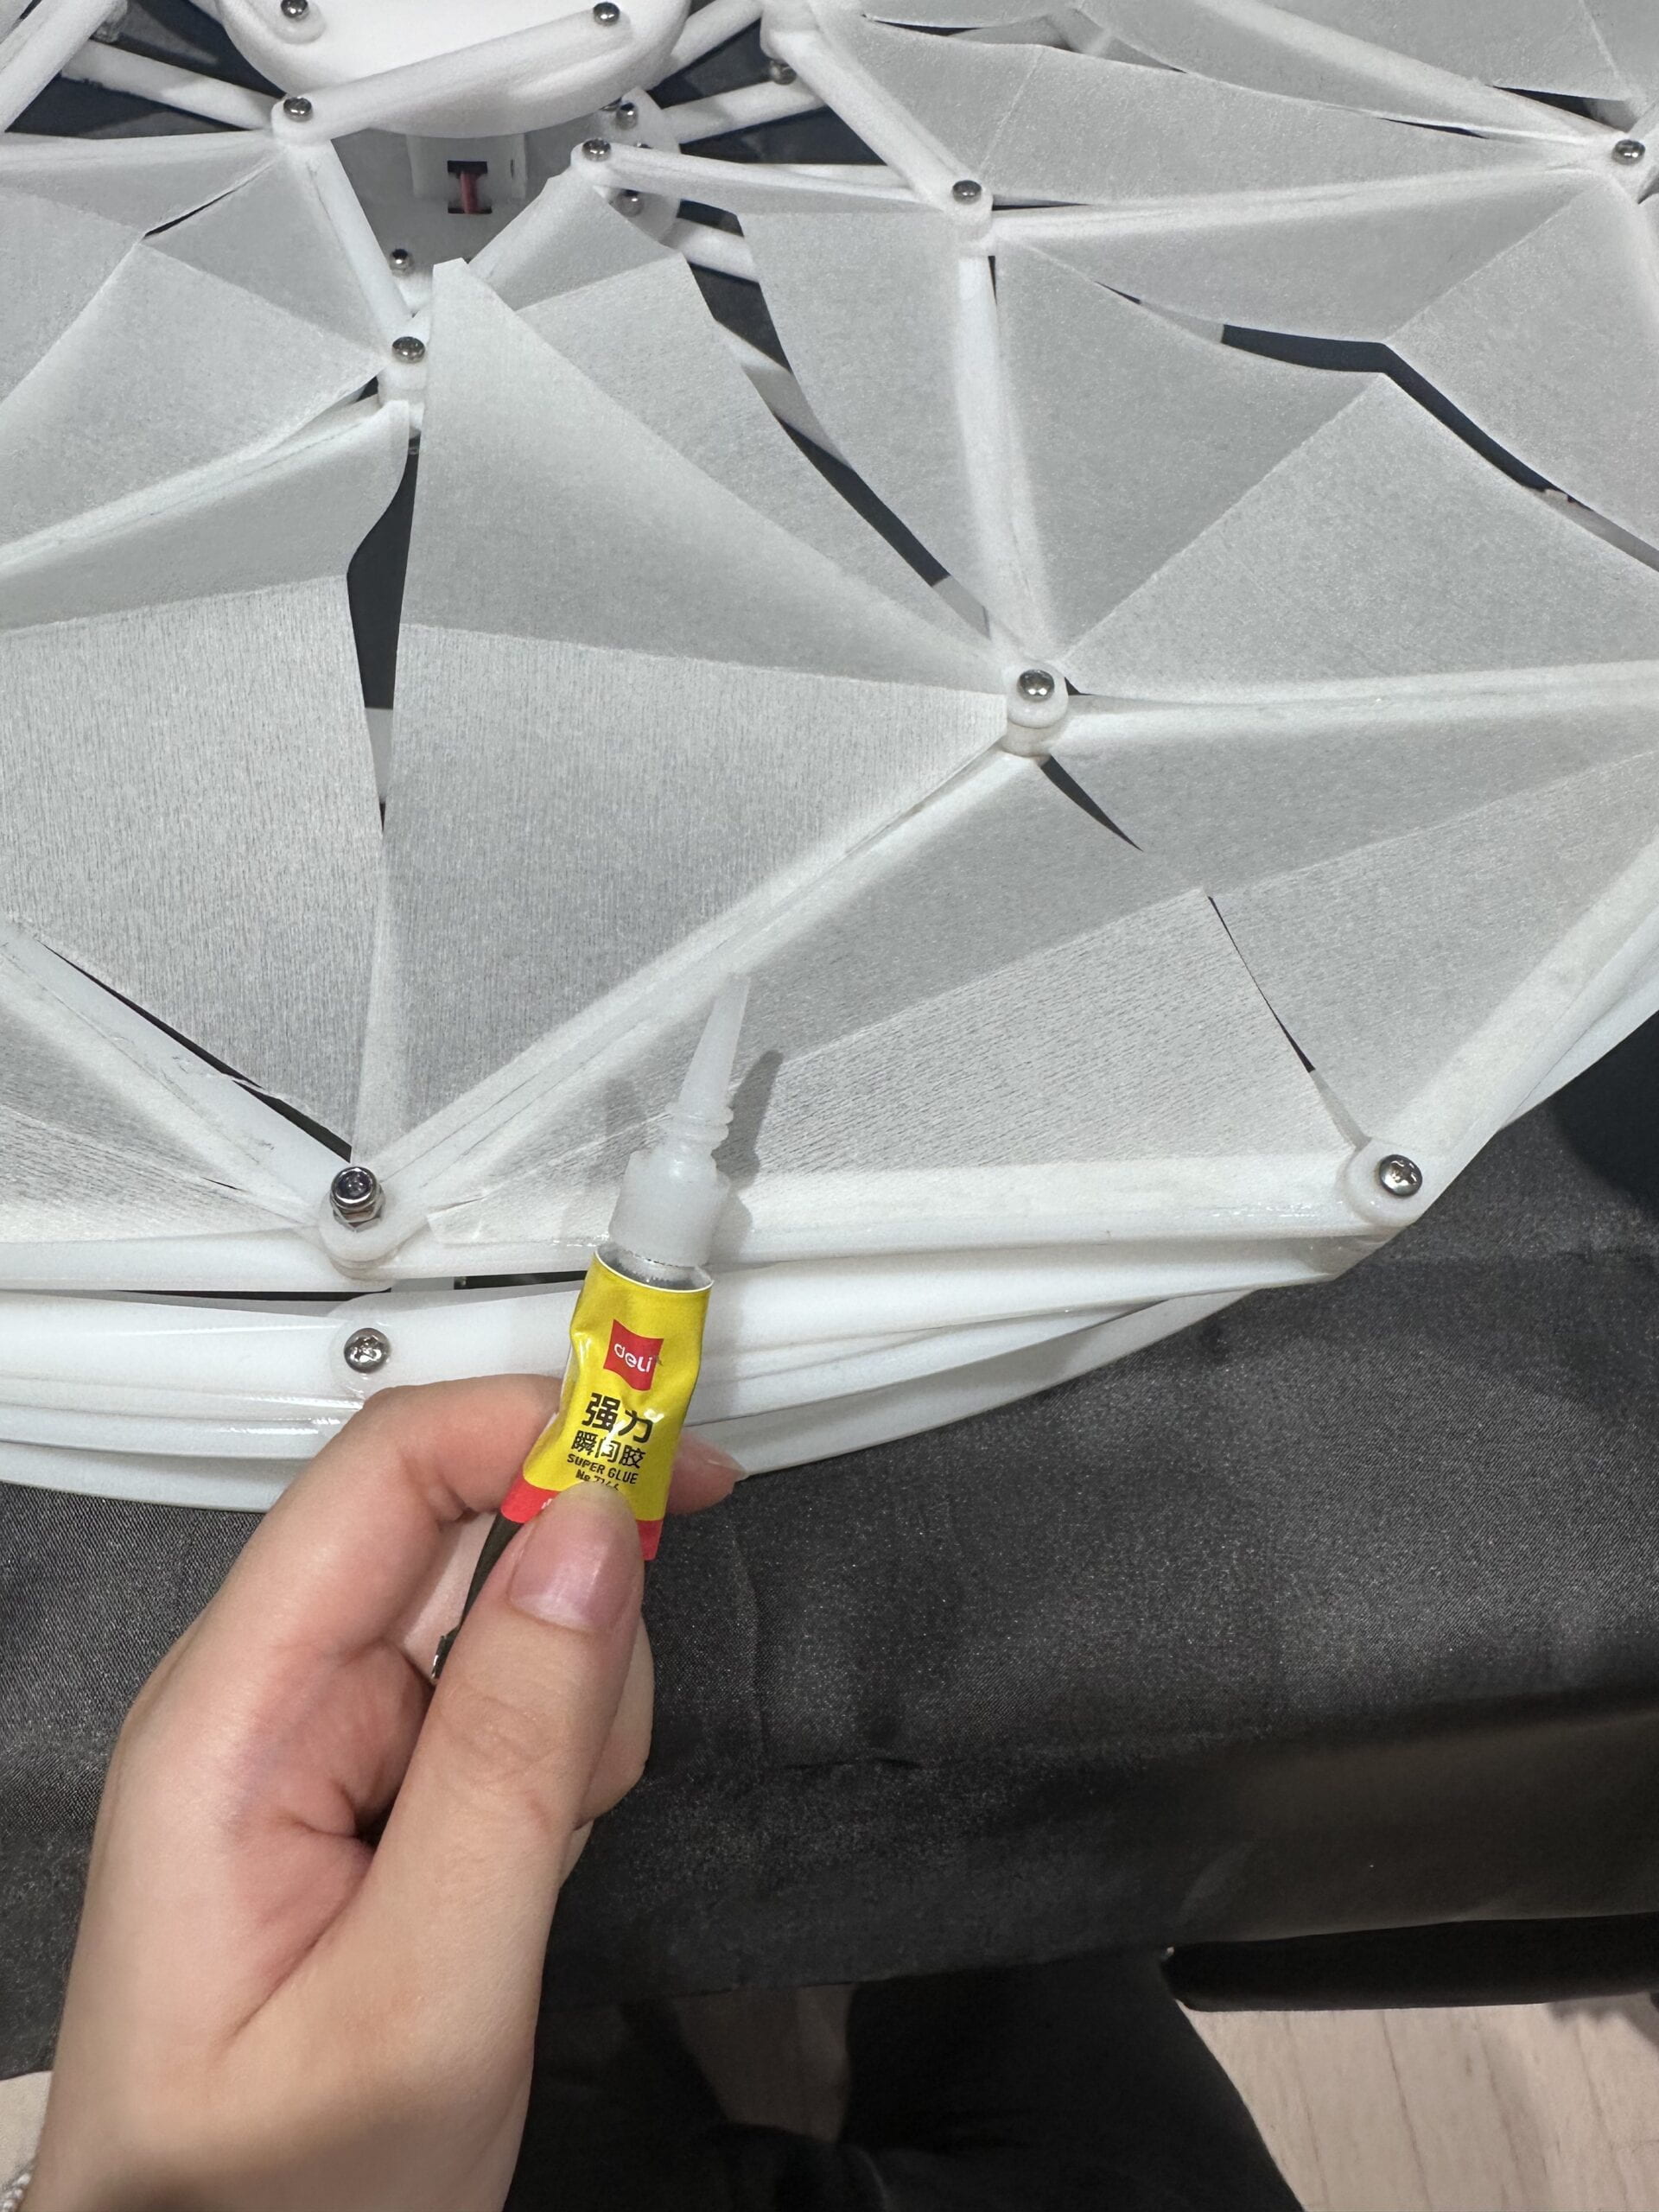
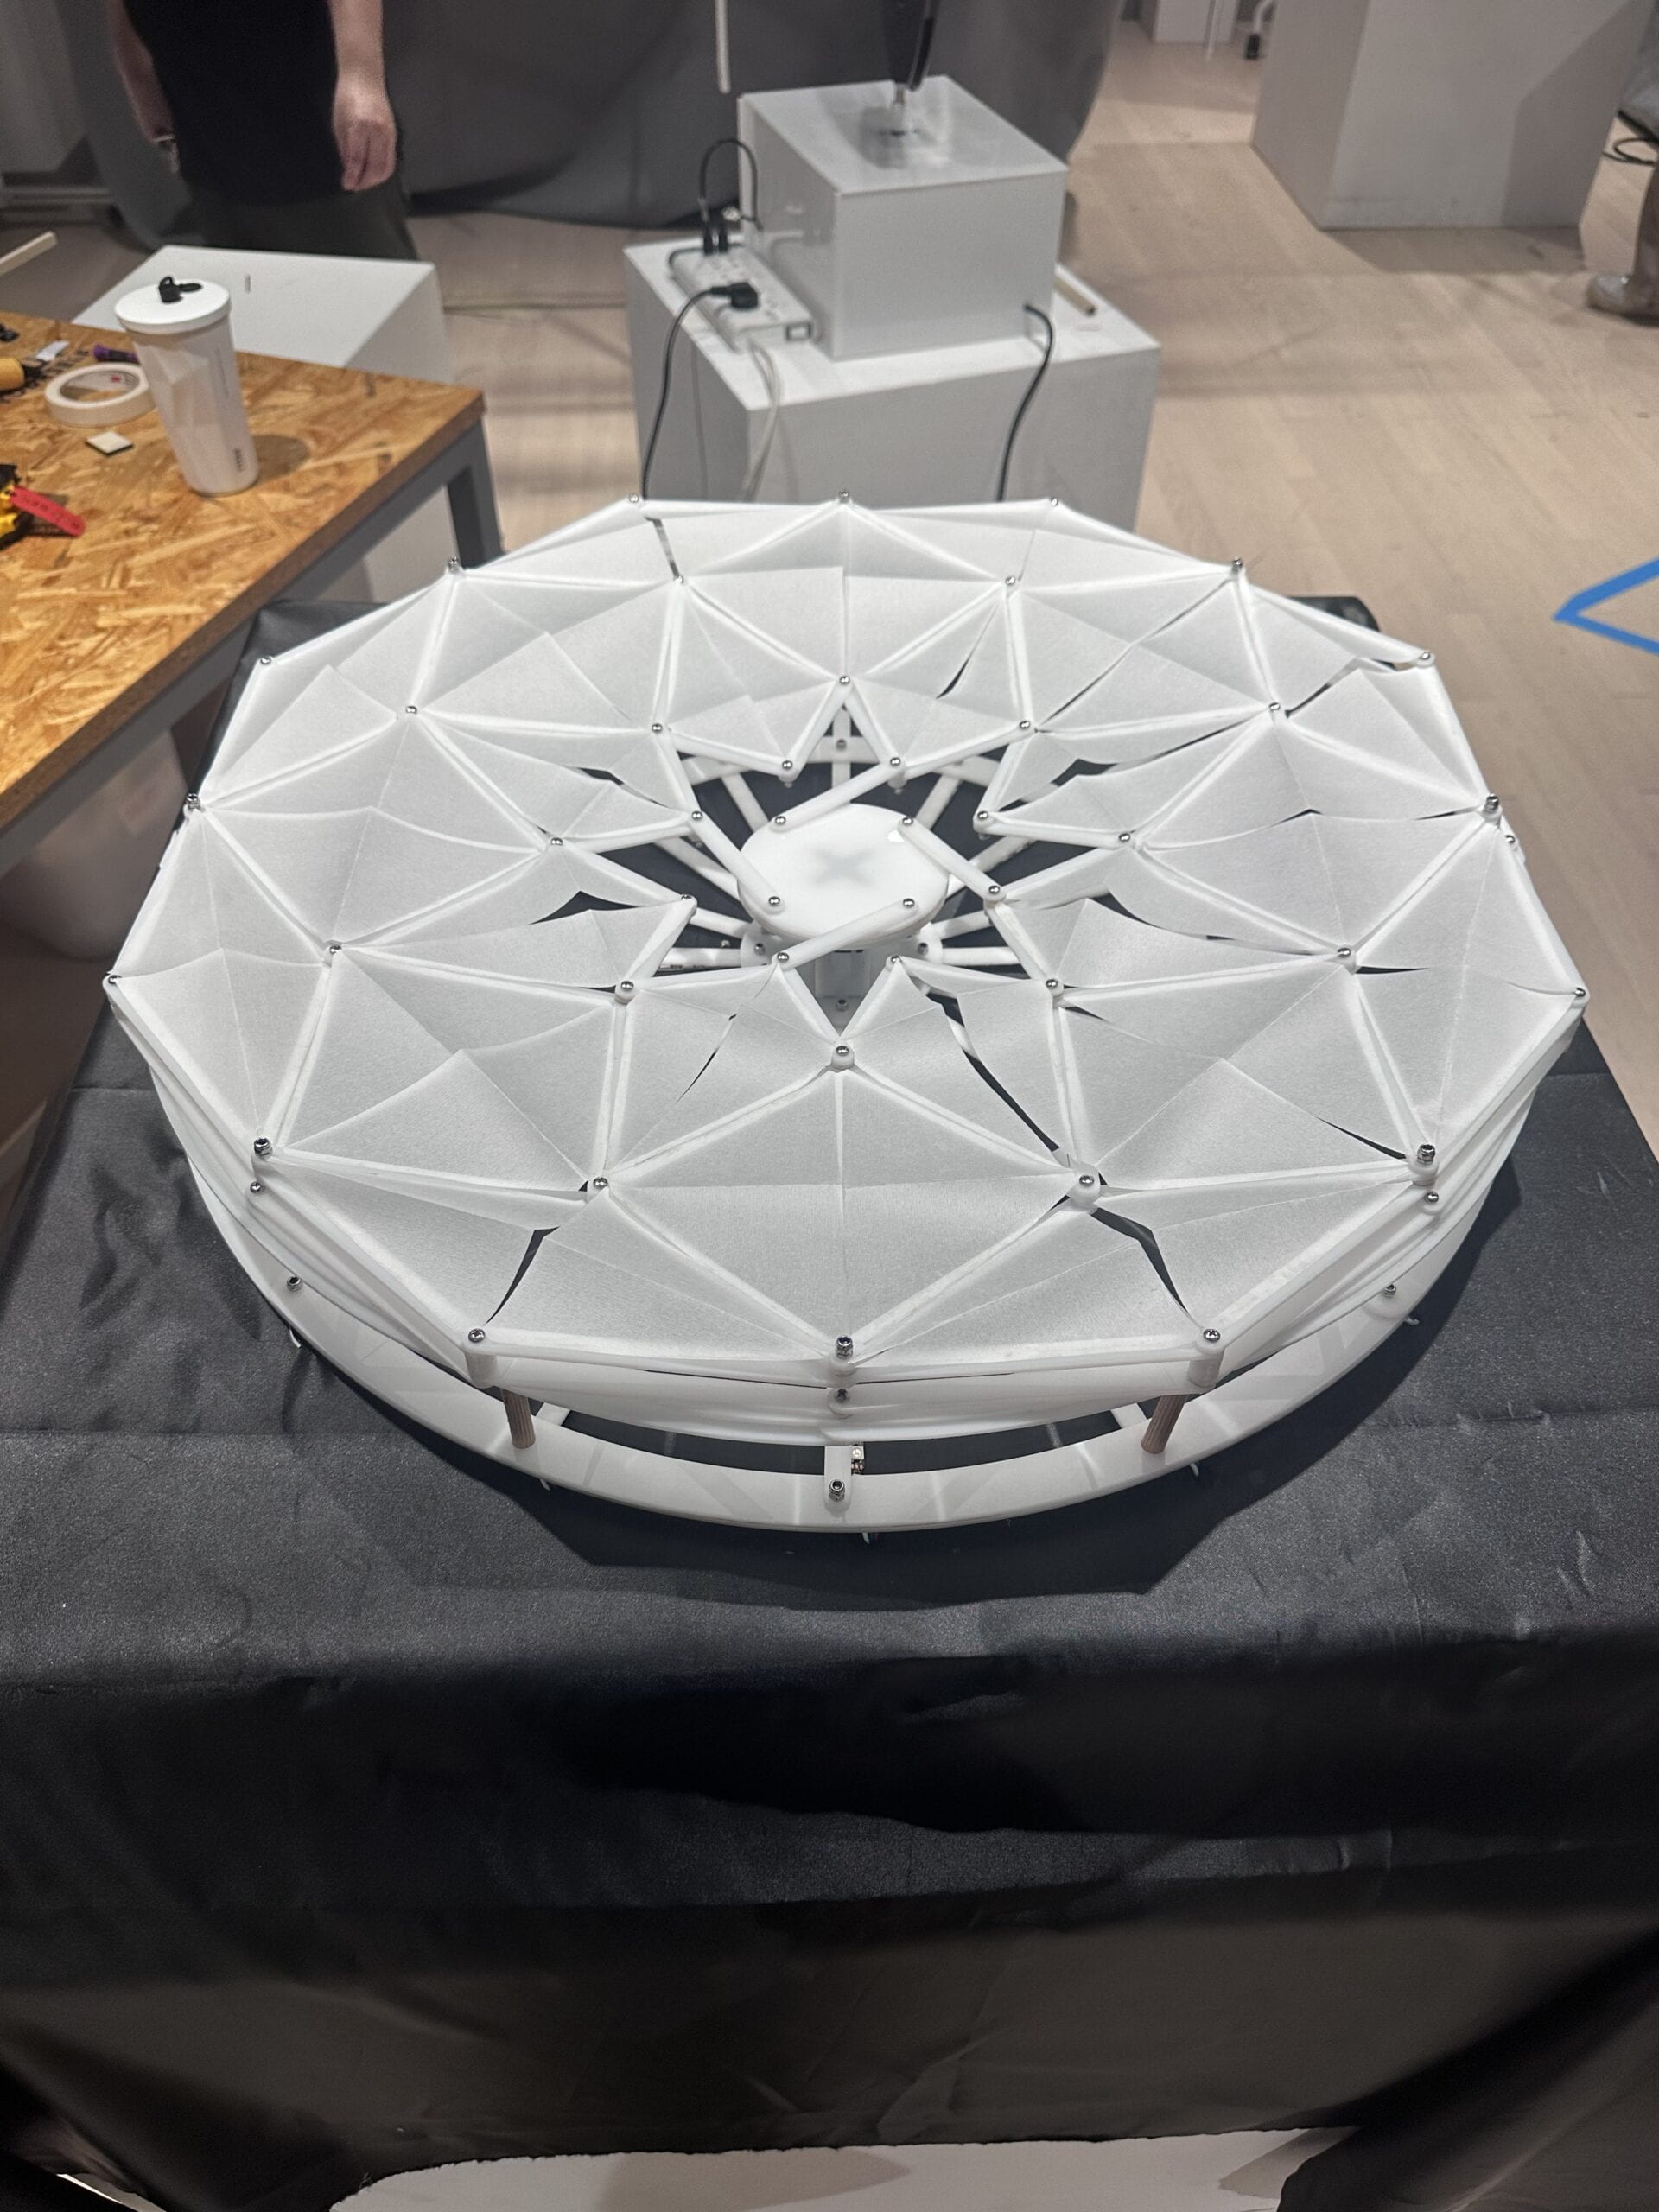
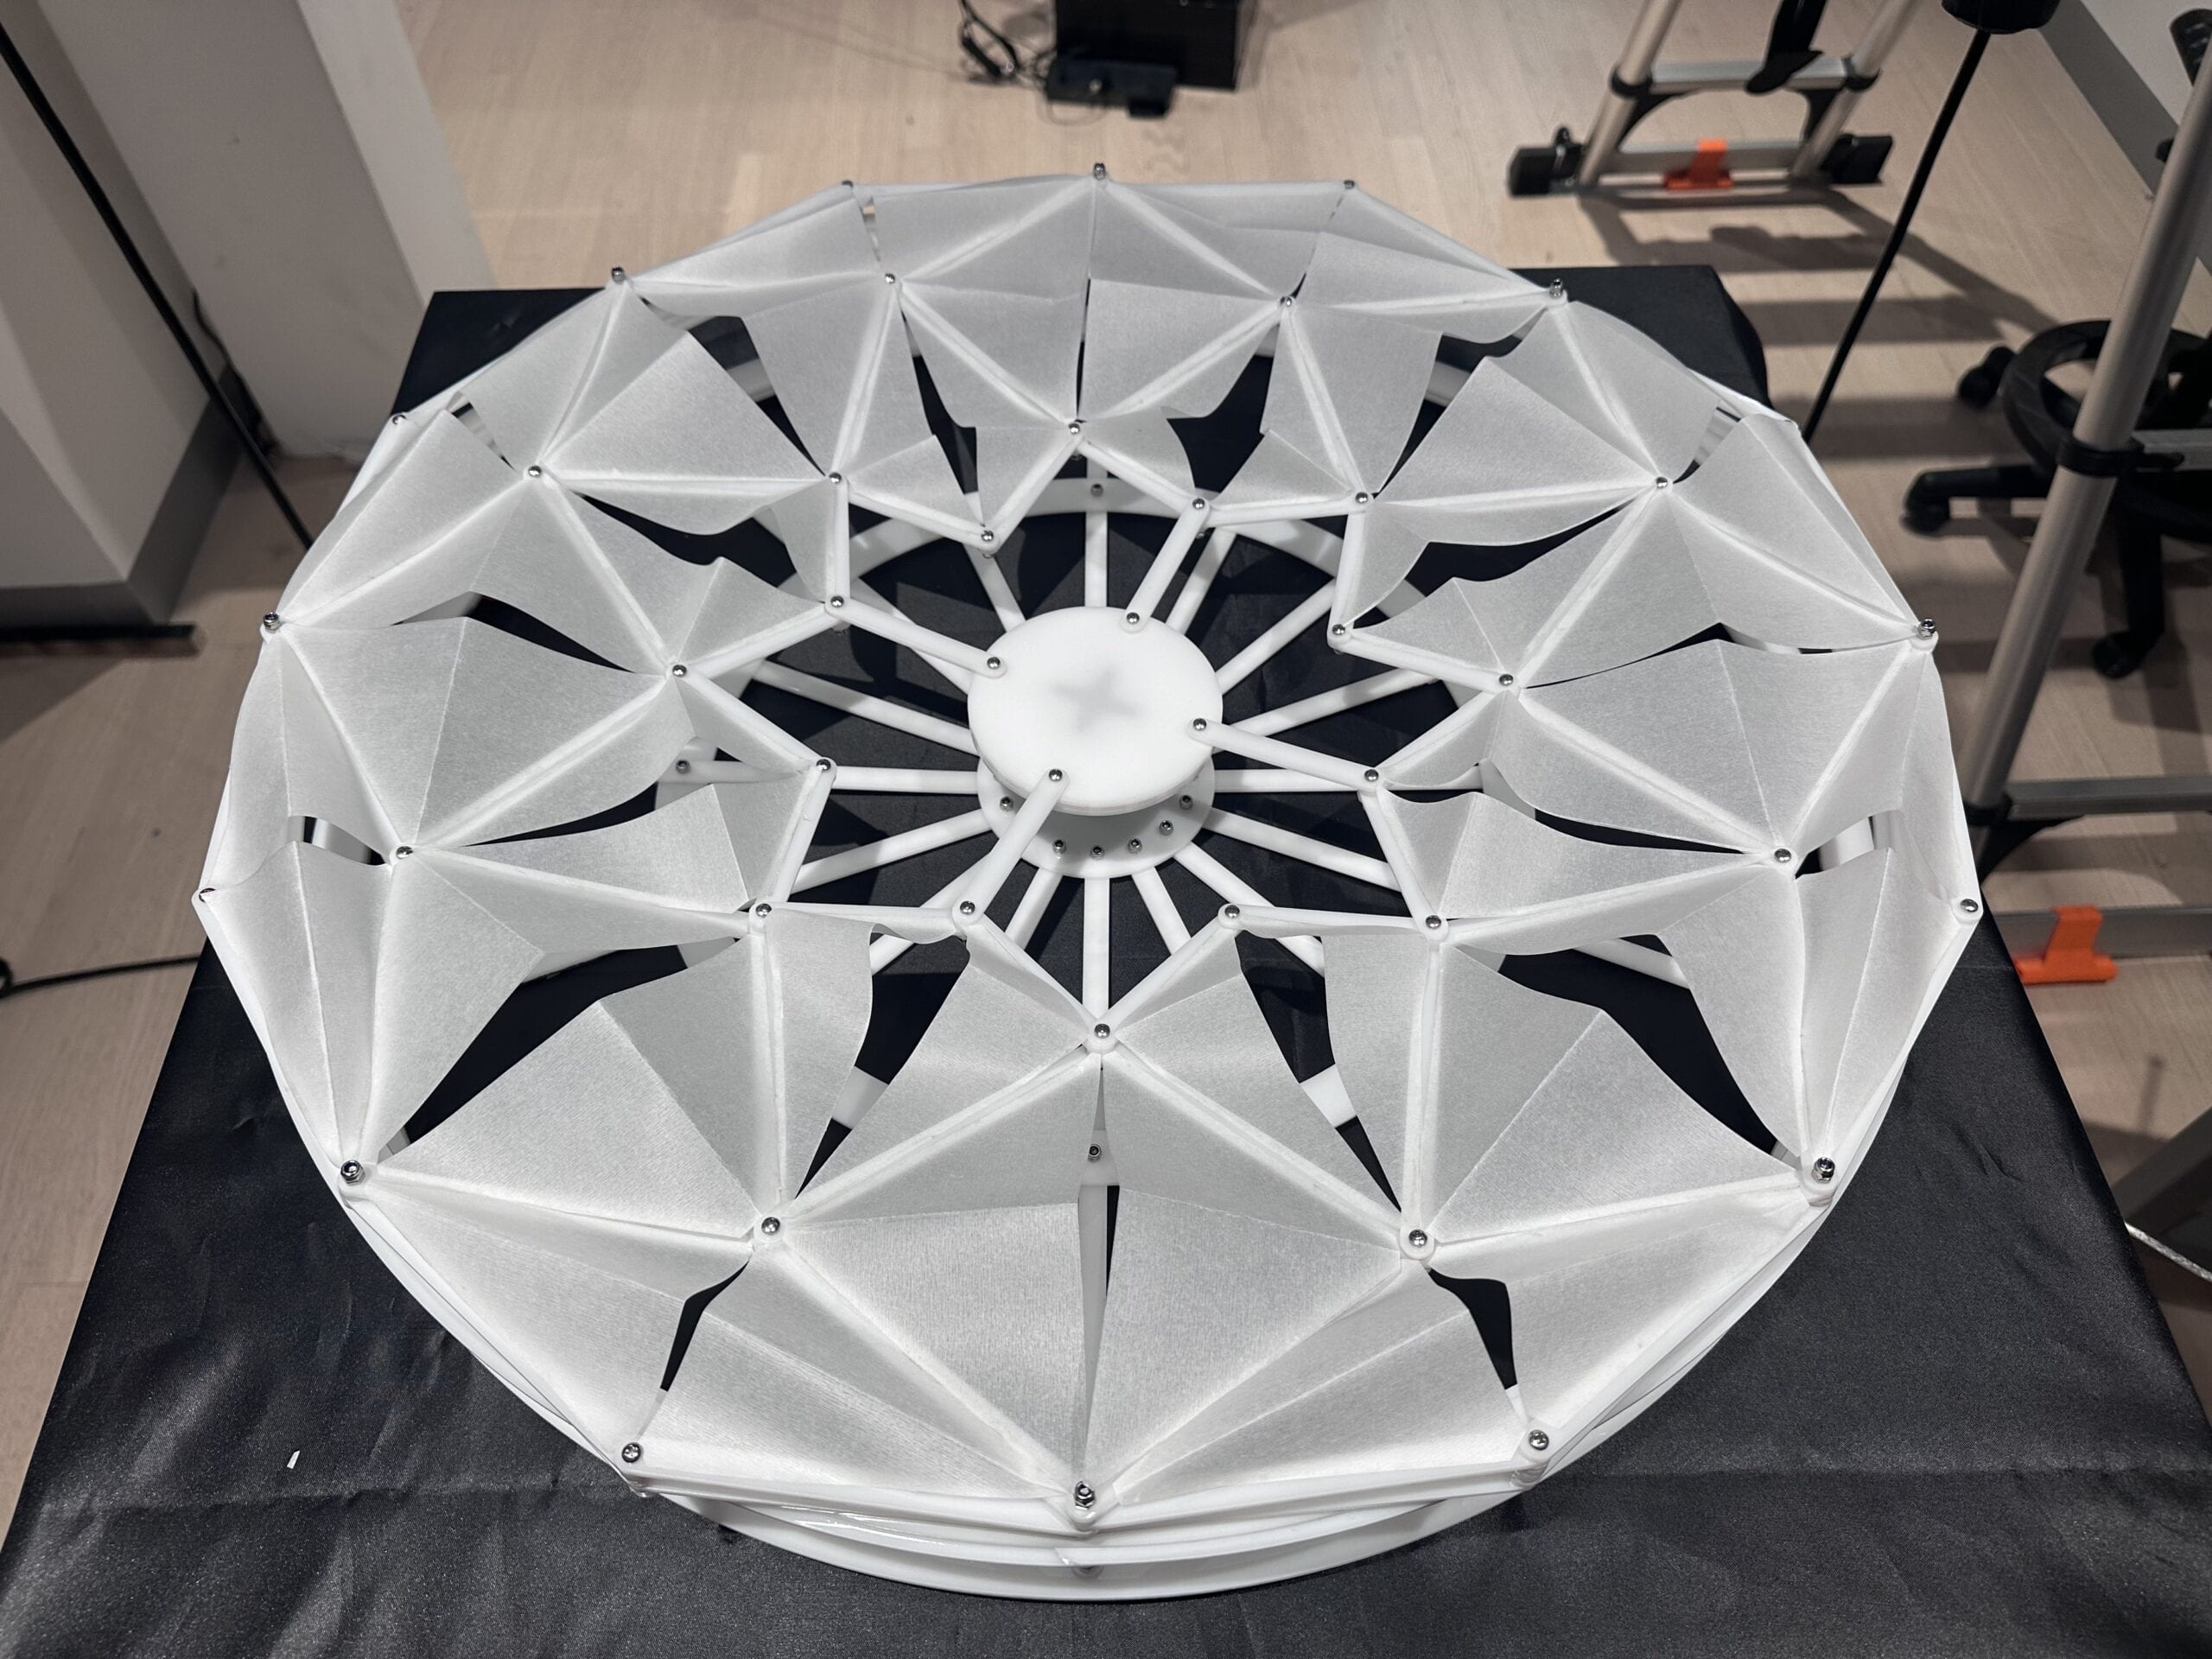
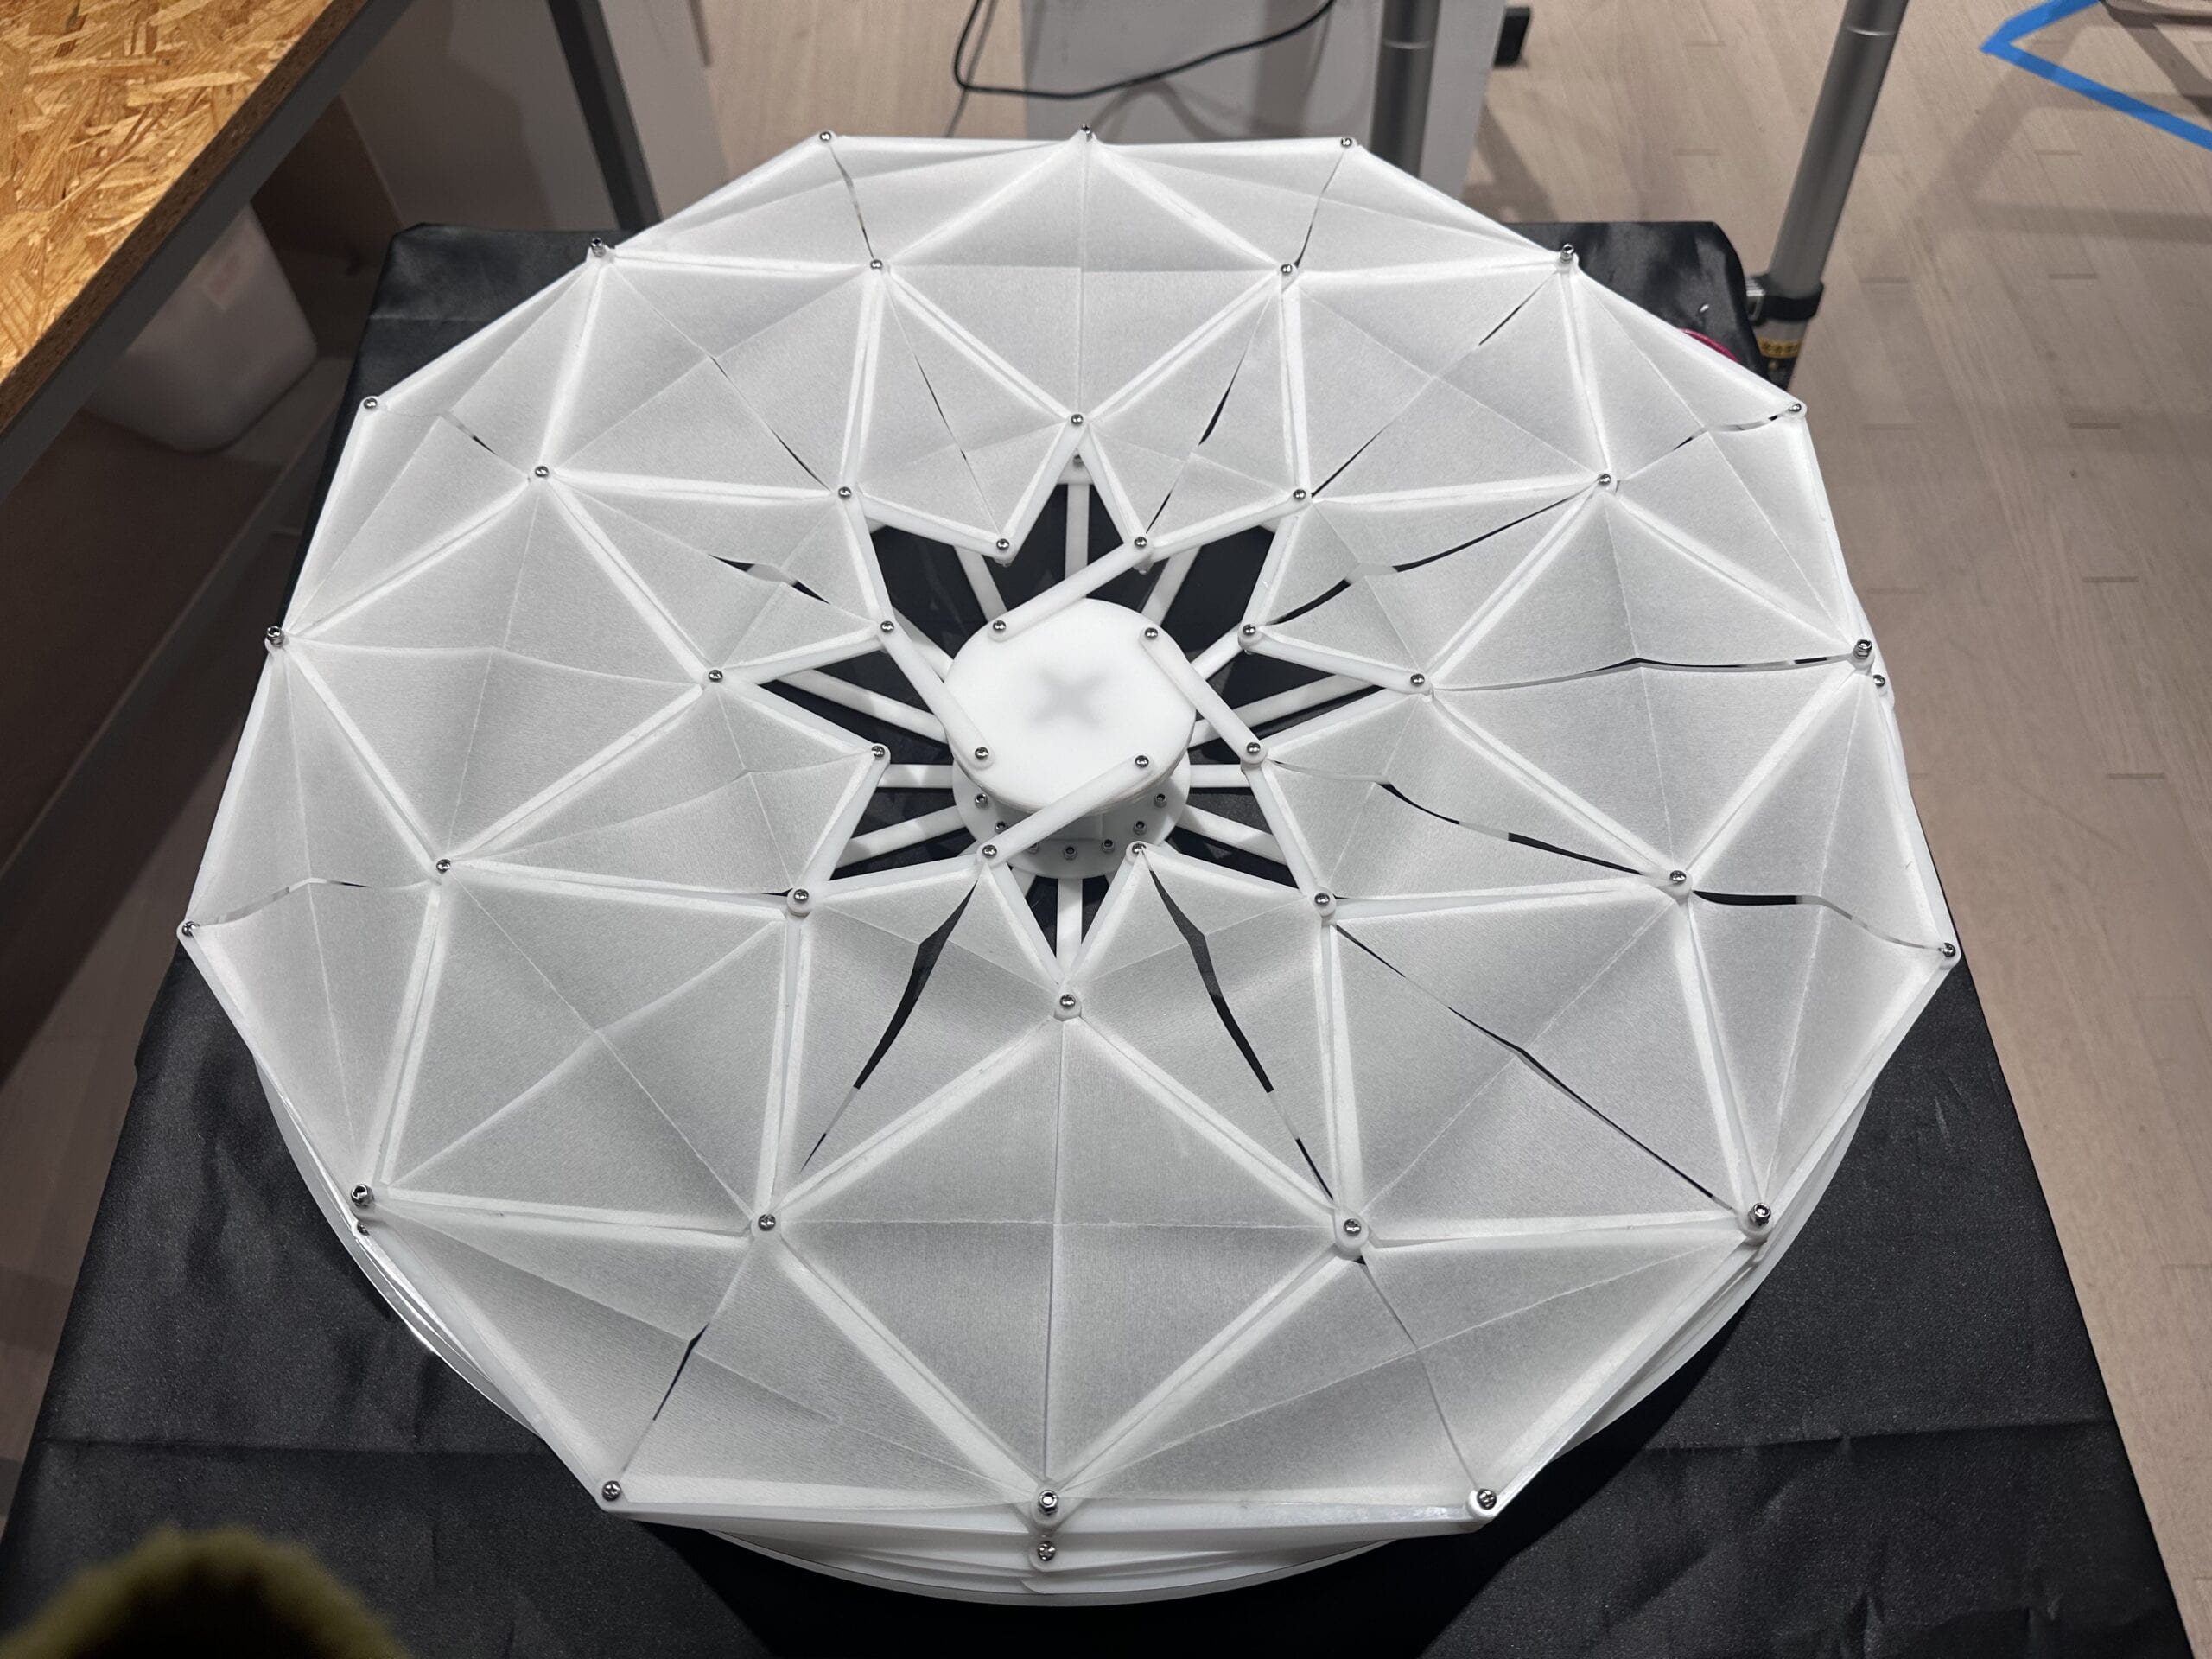
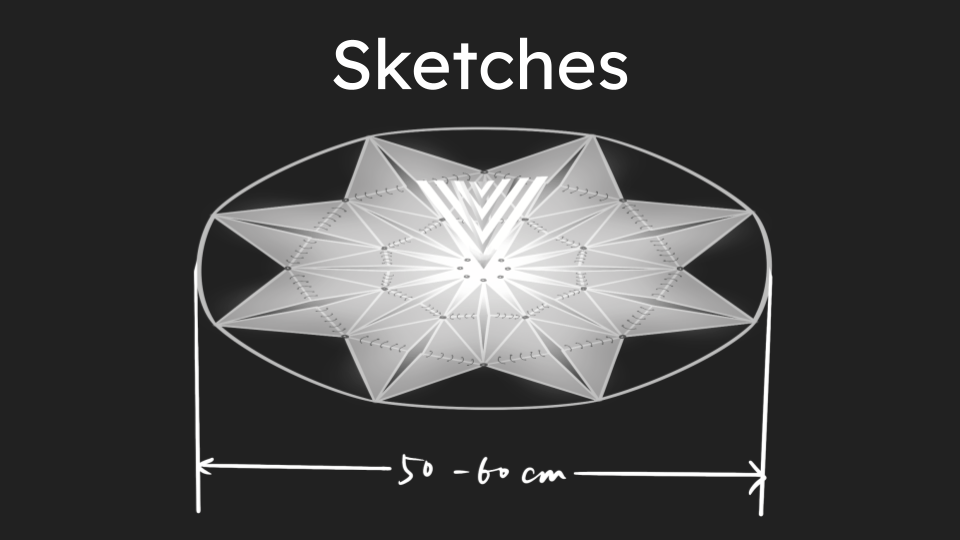
<Lotus breath> represents the breathing process of an artificial lotus through the combination of kinetic art and light art. 


We know that plants breathe but we cannot see it. This project mimics the lotus’s  breathing process in a way that animals breathe with the fluctuation of the breast through kinetic motion. The light change can also represent the air the plants take in.

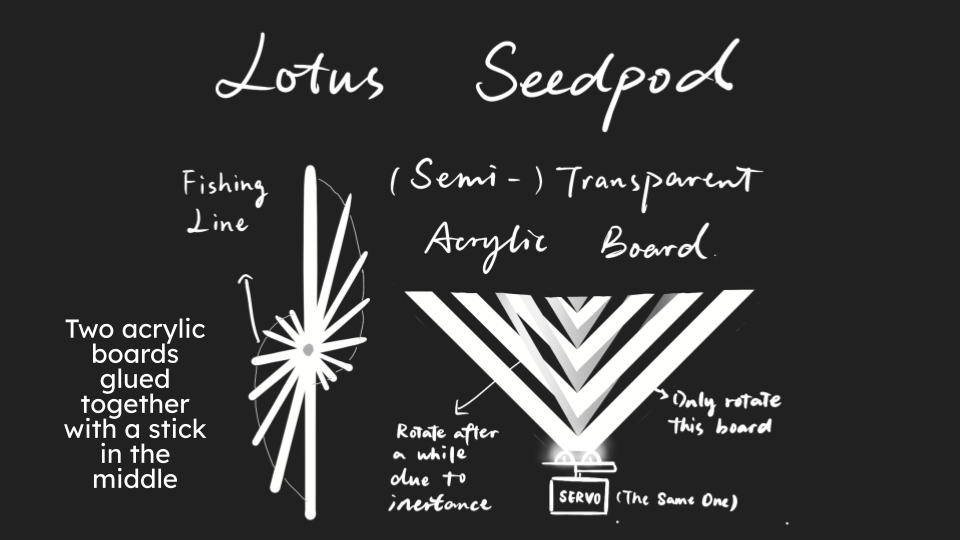
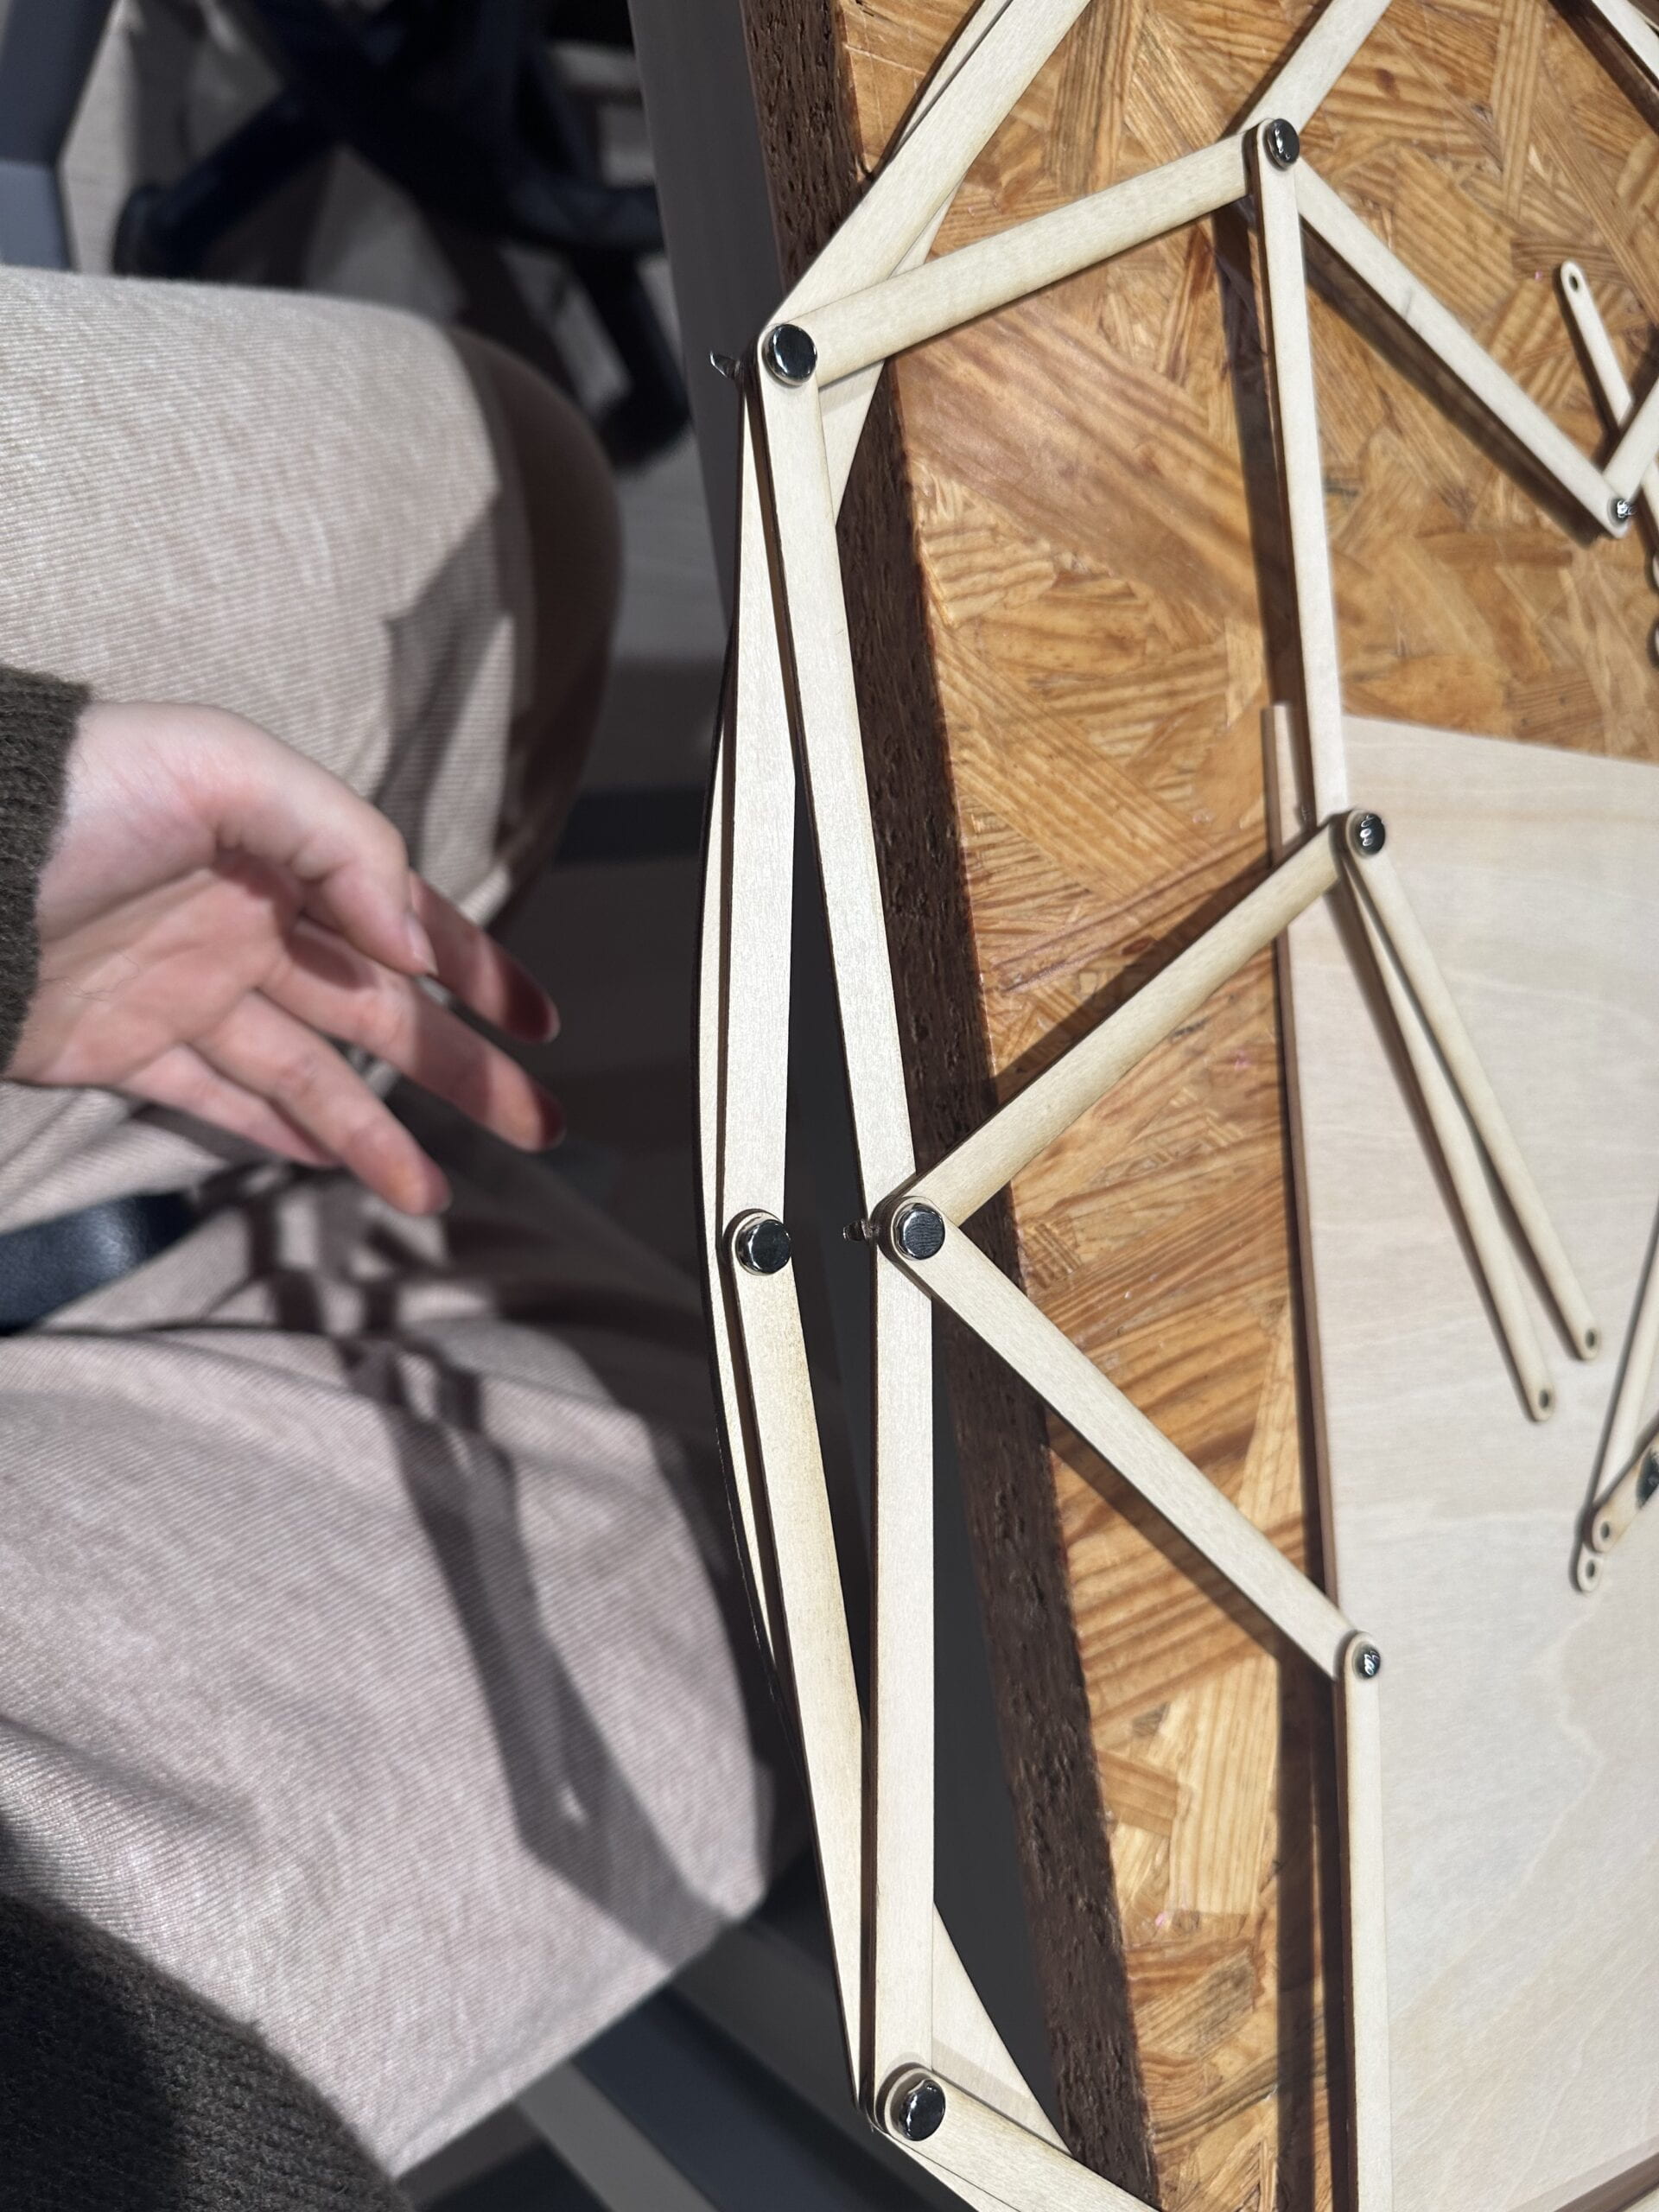
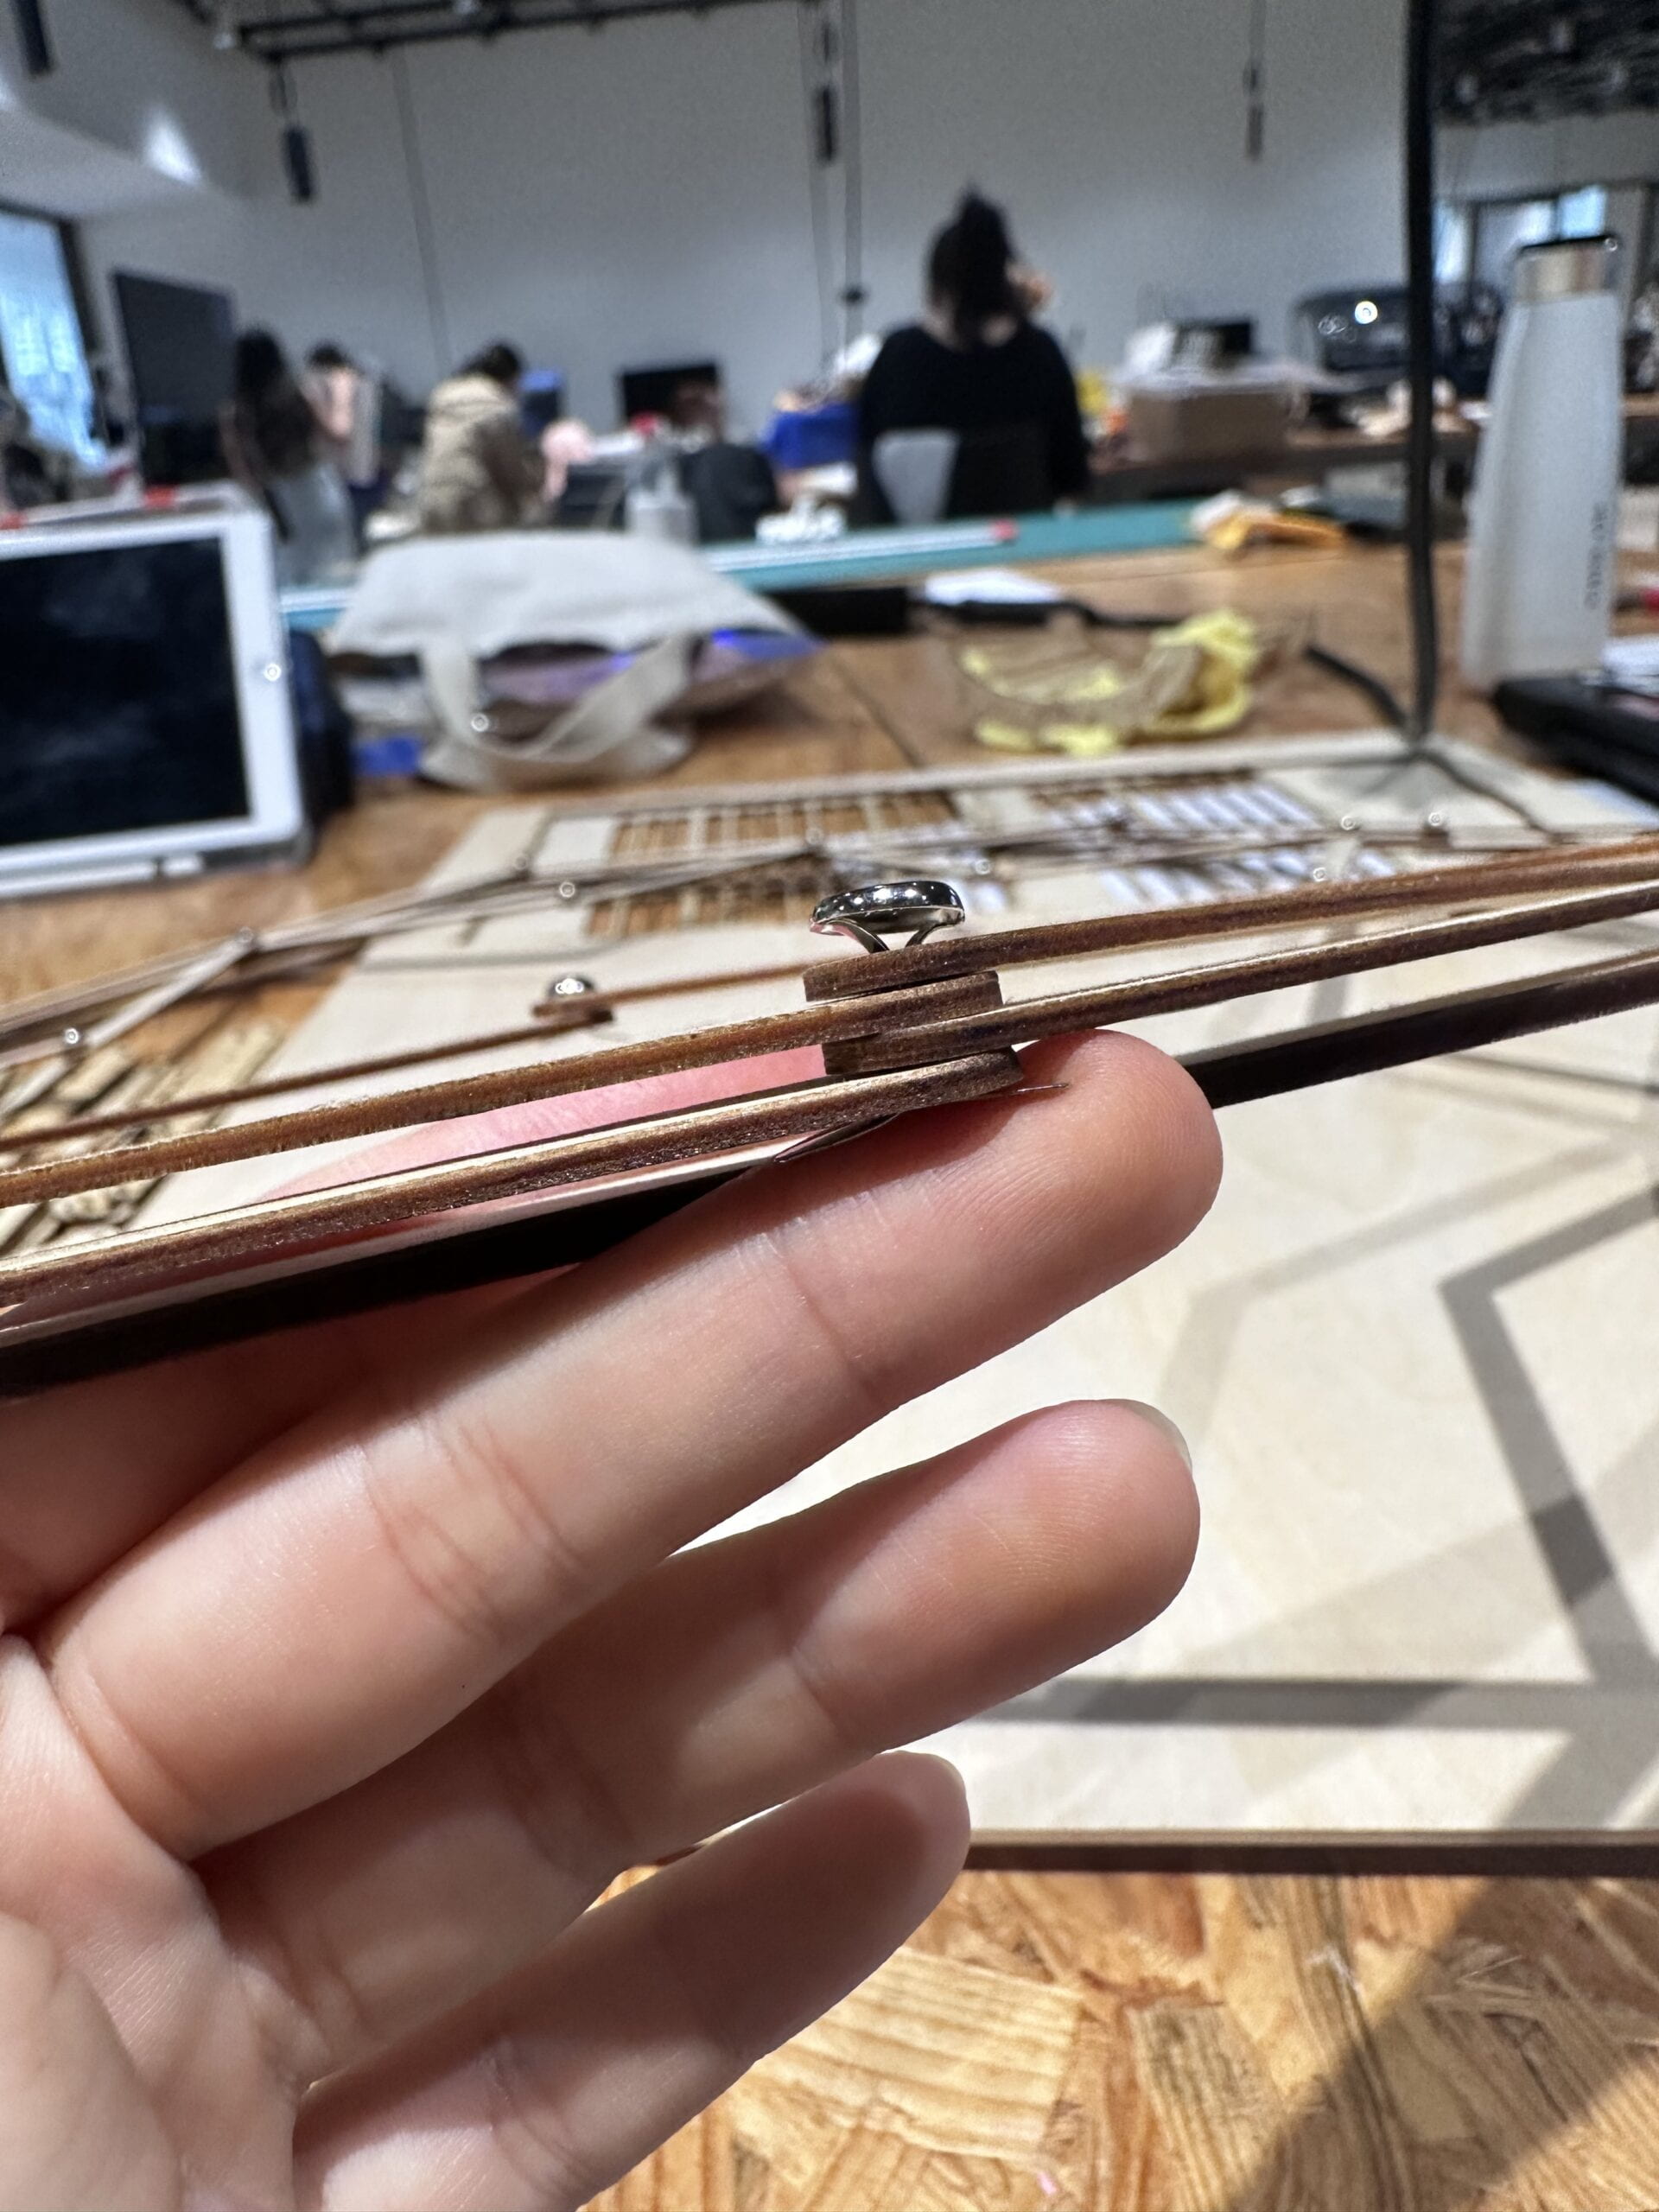
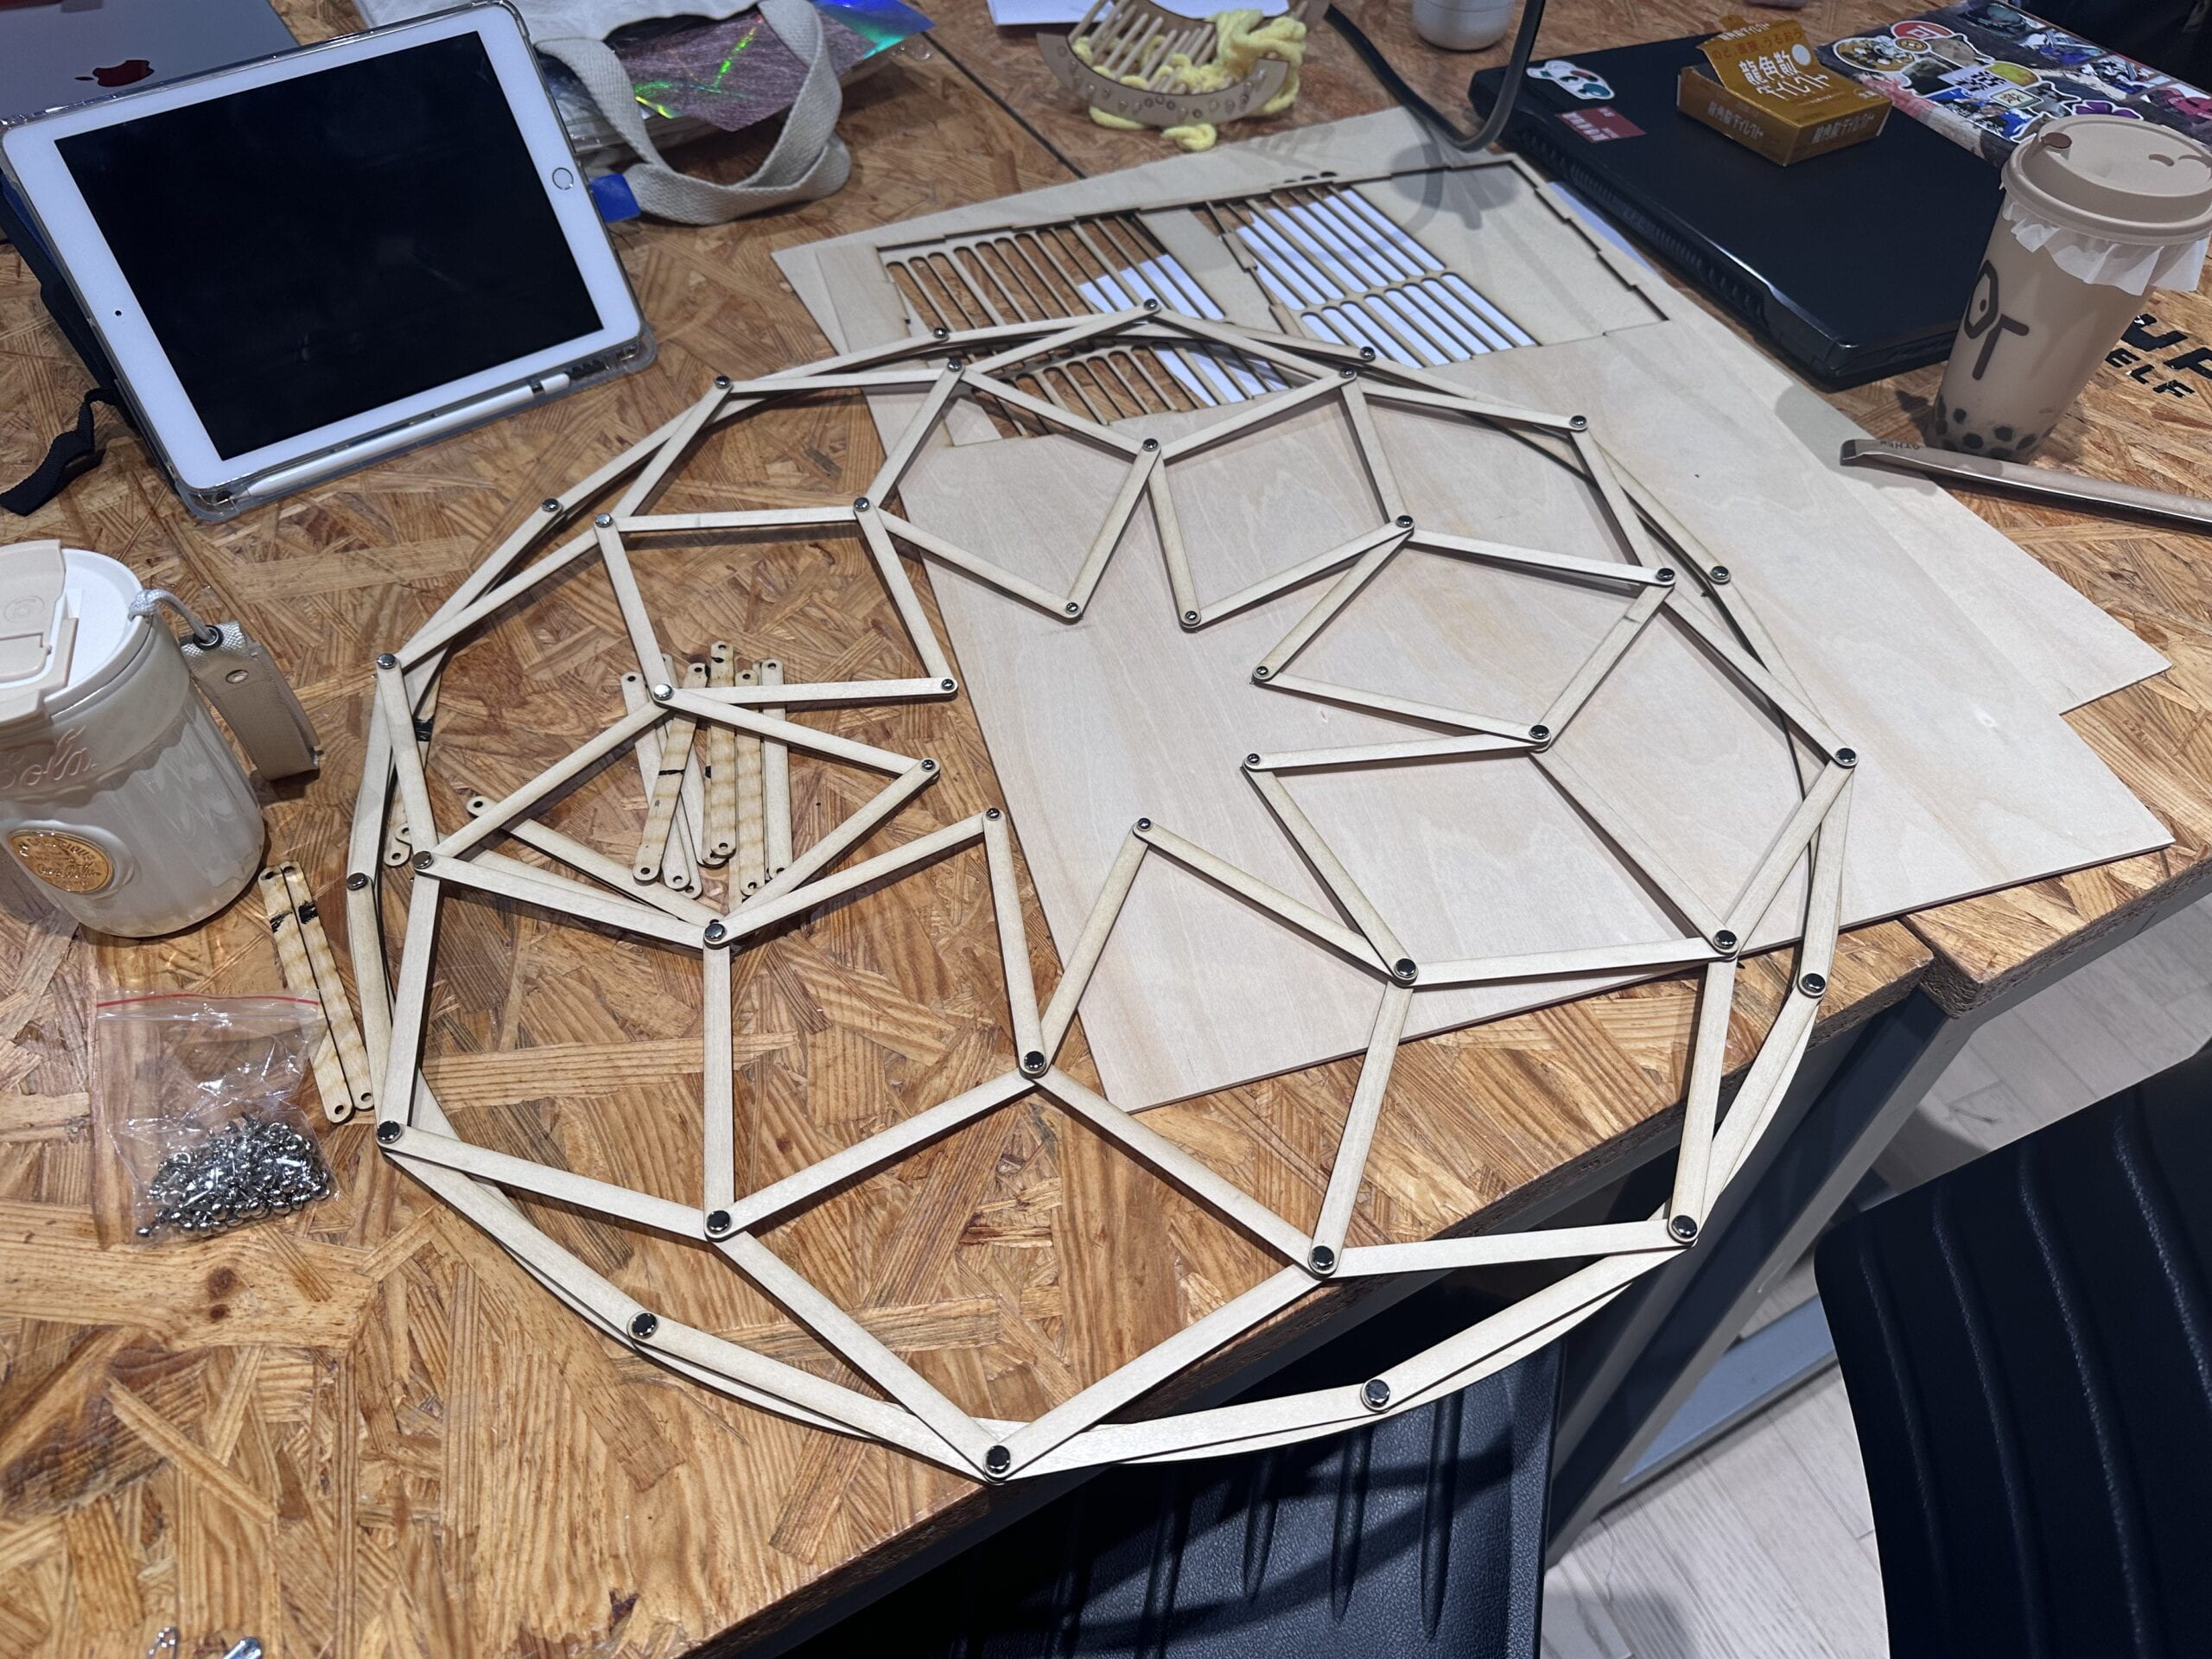
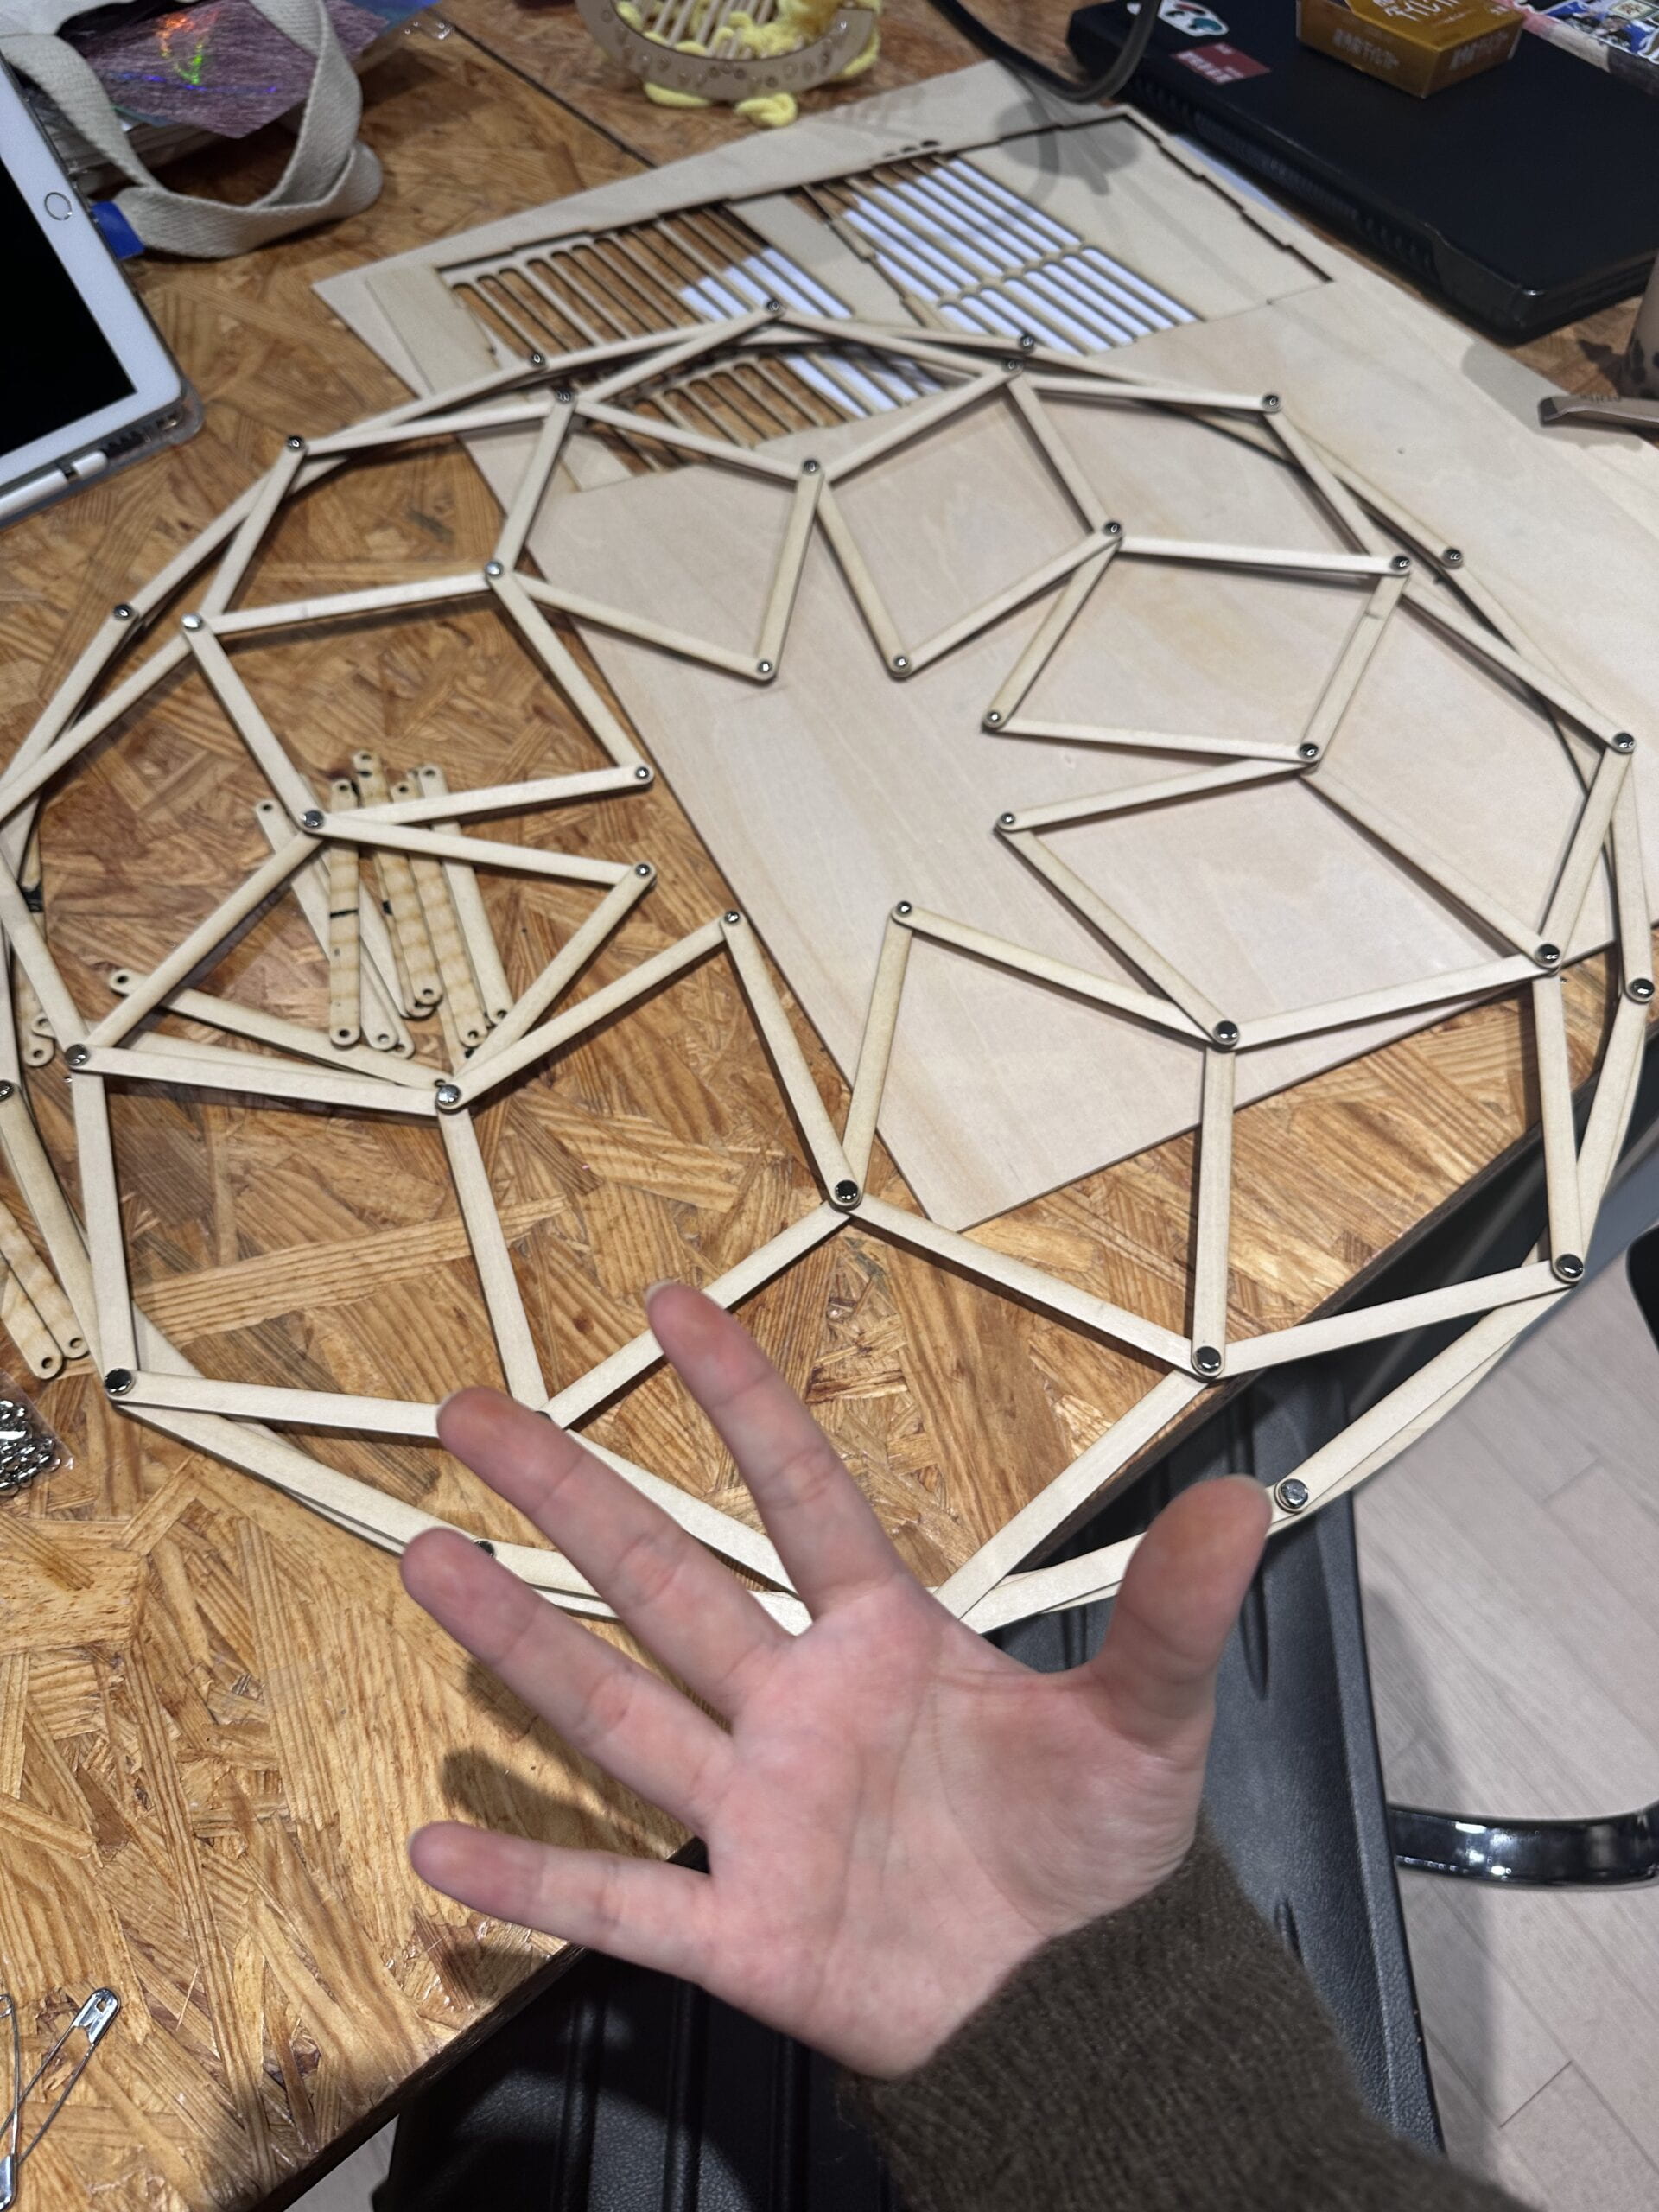
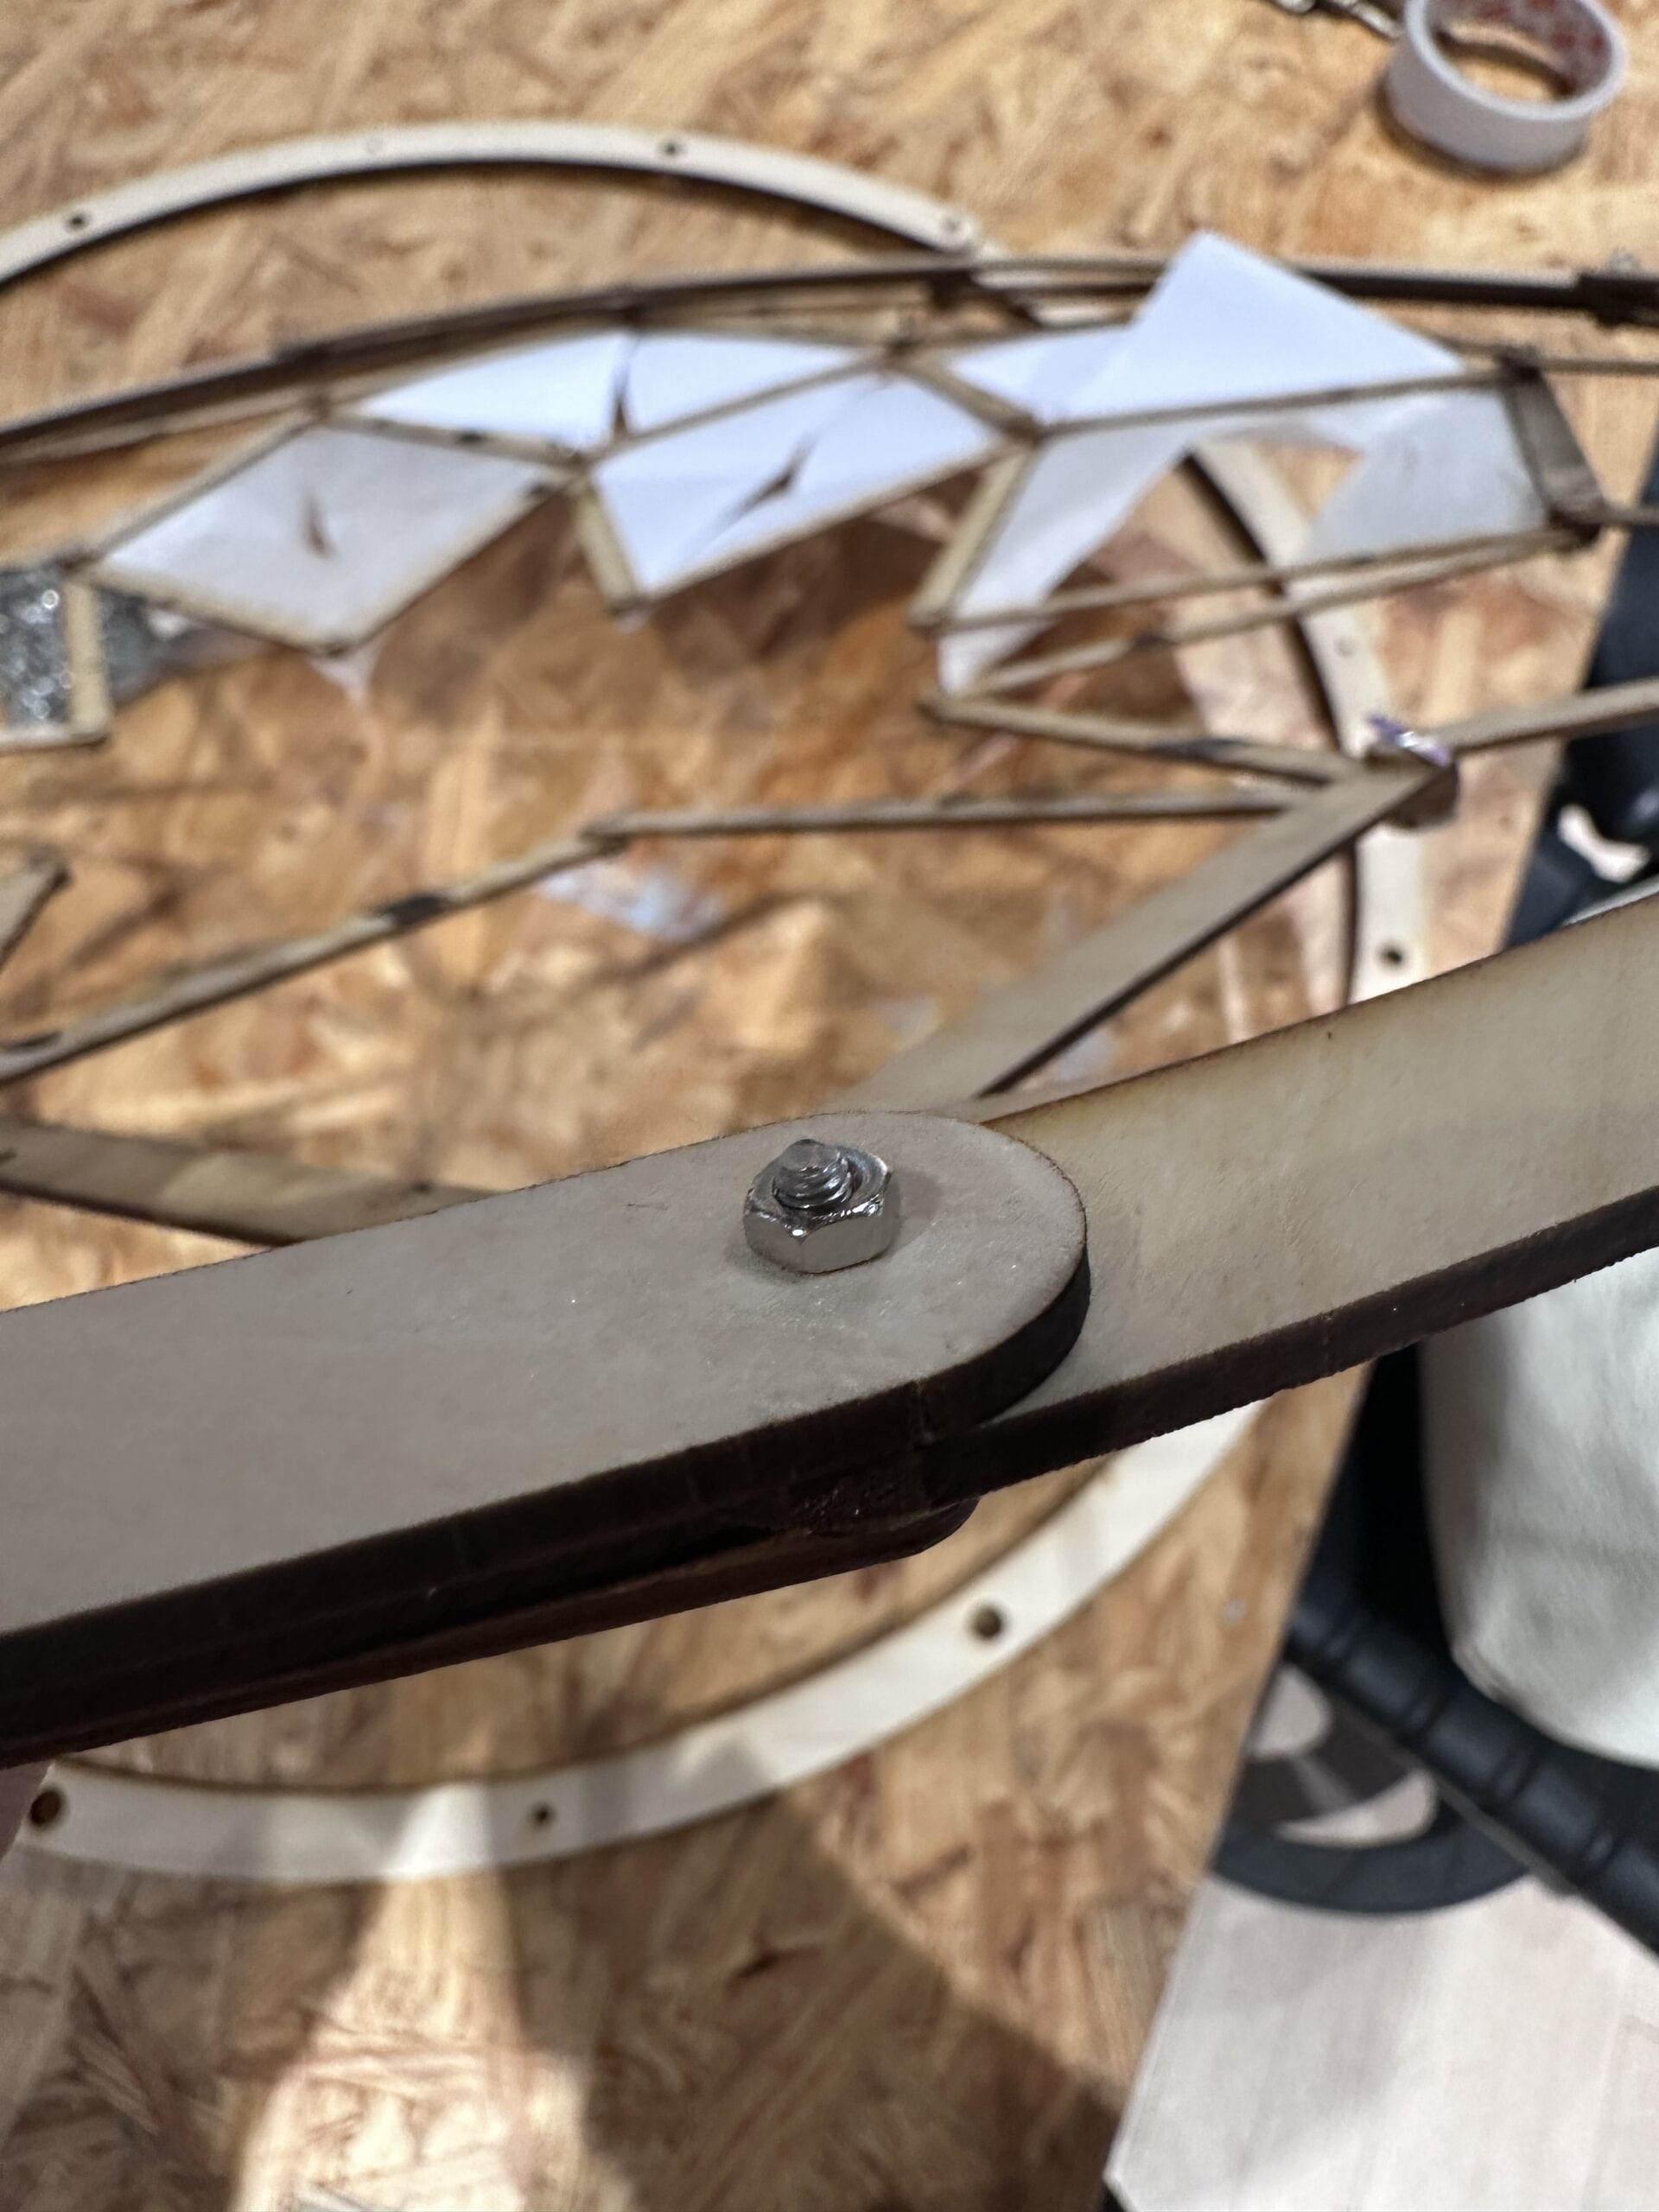
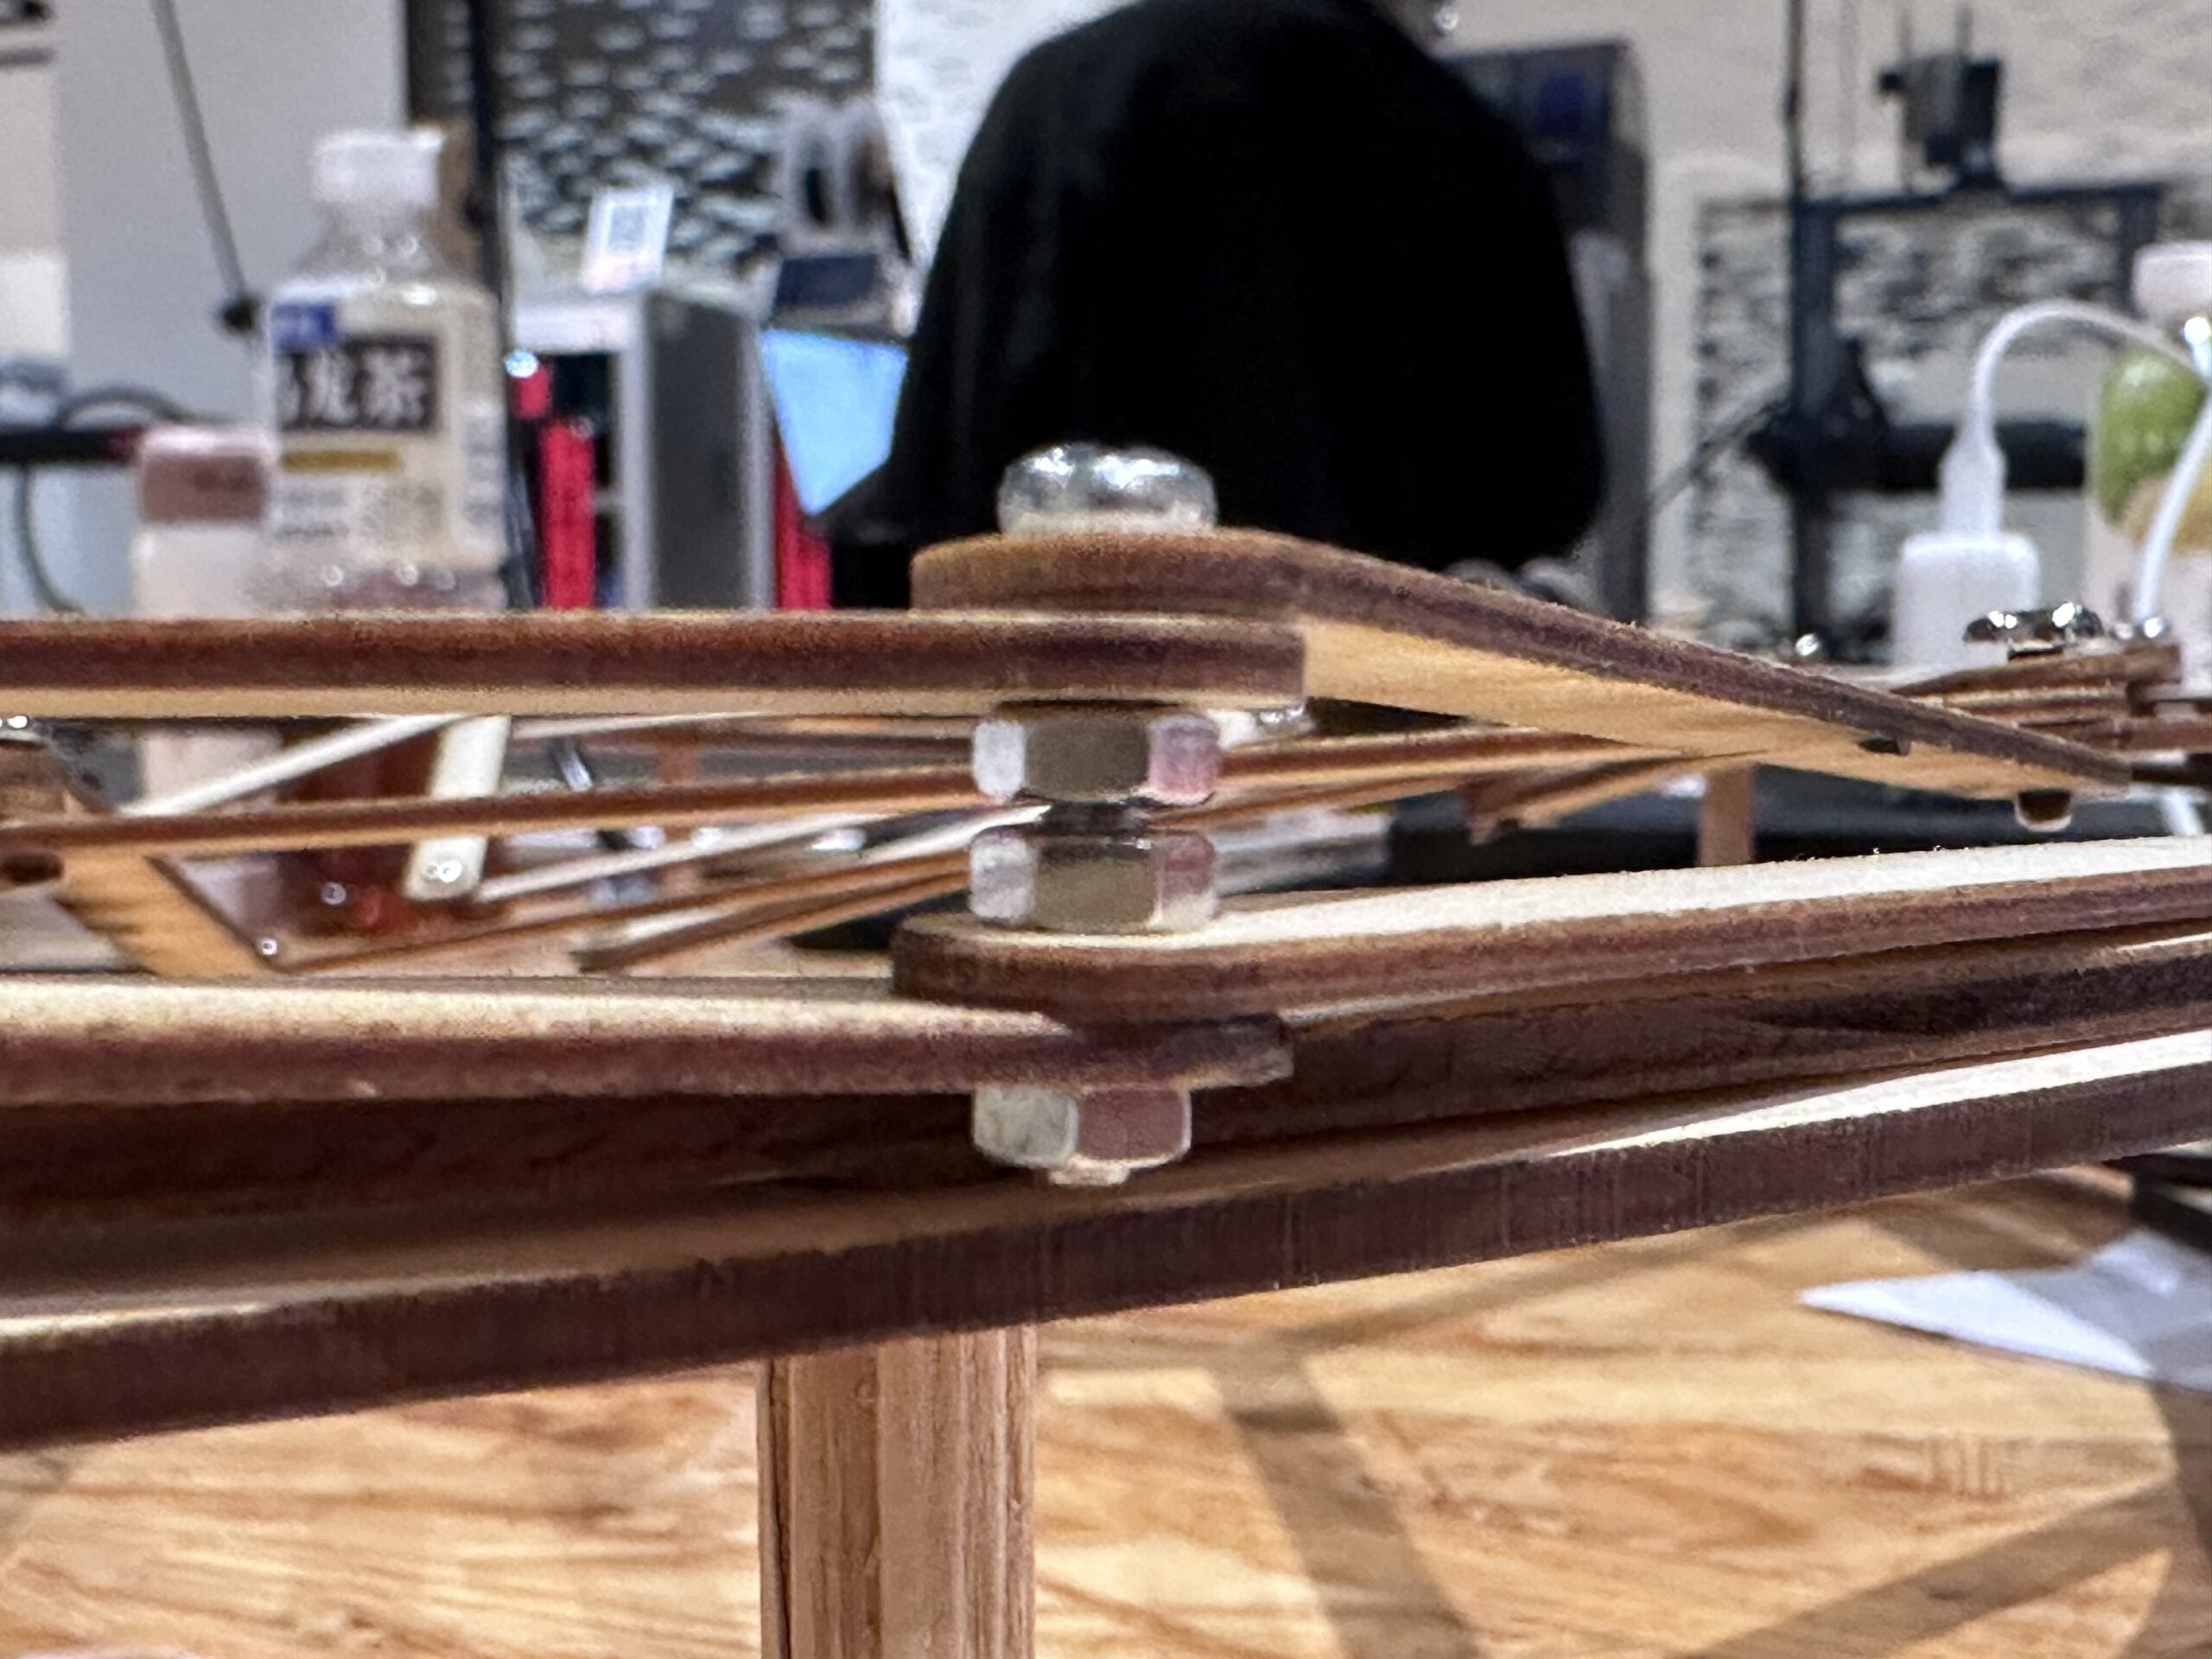
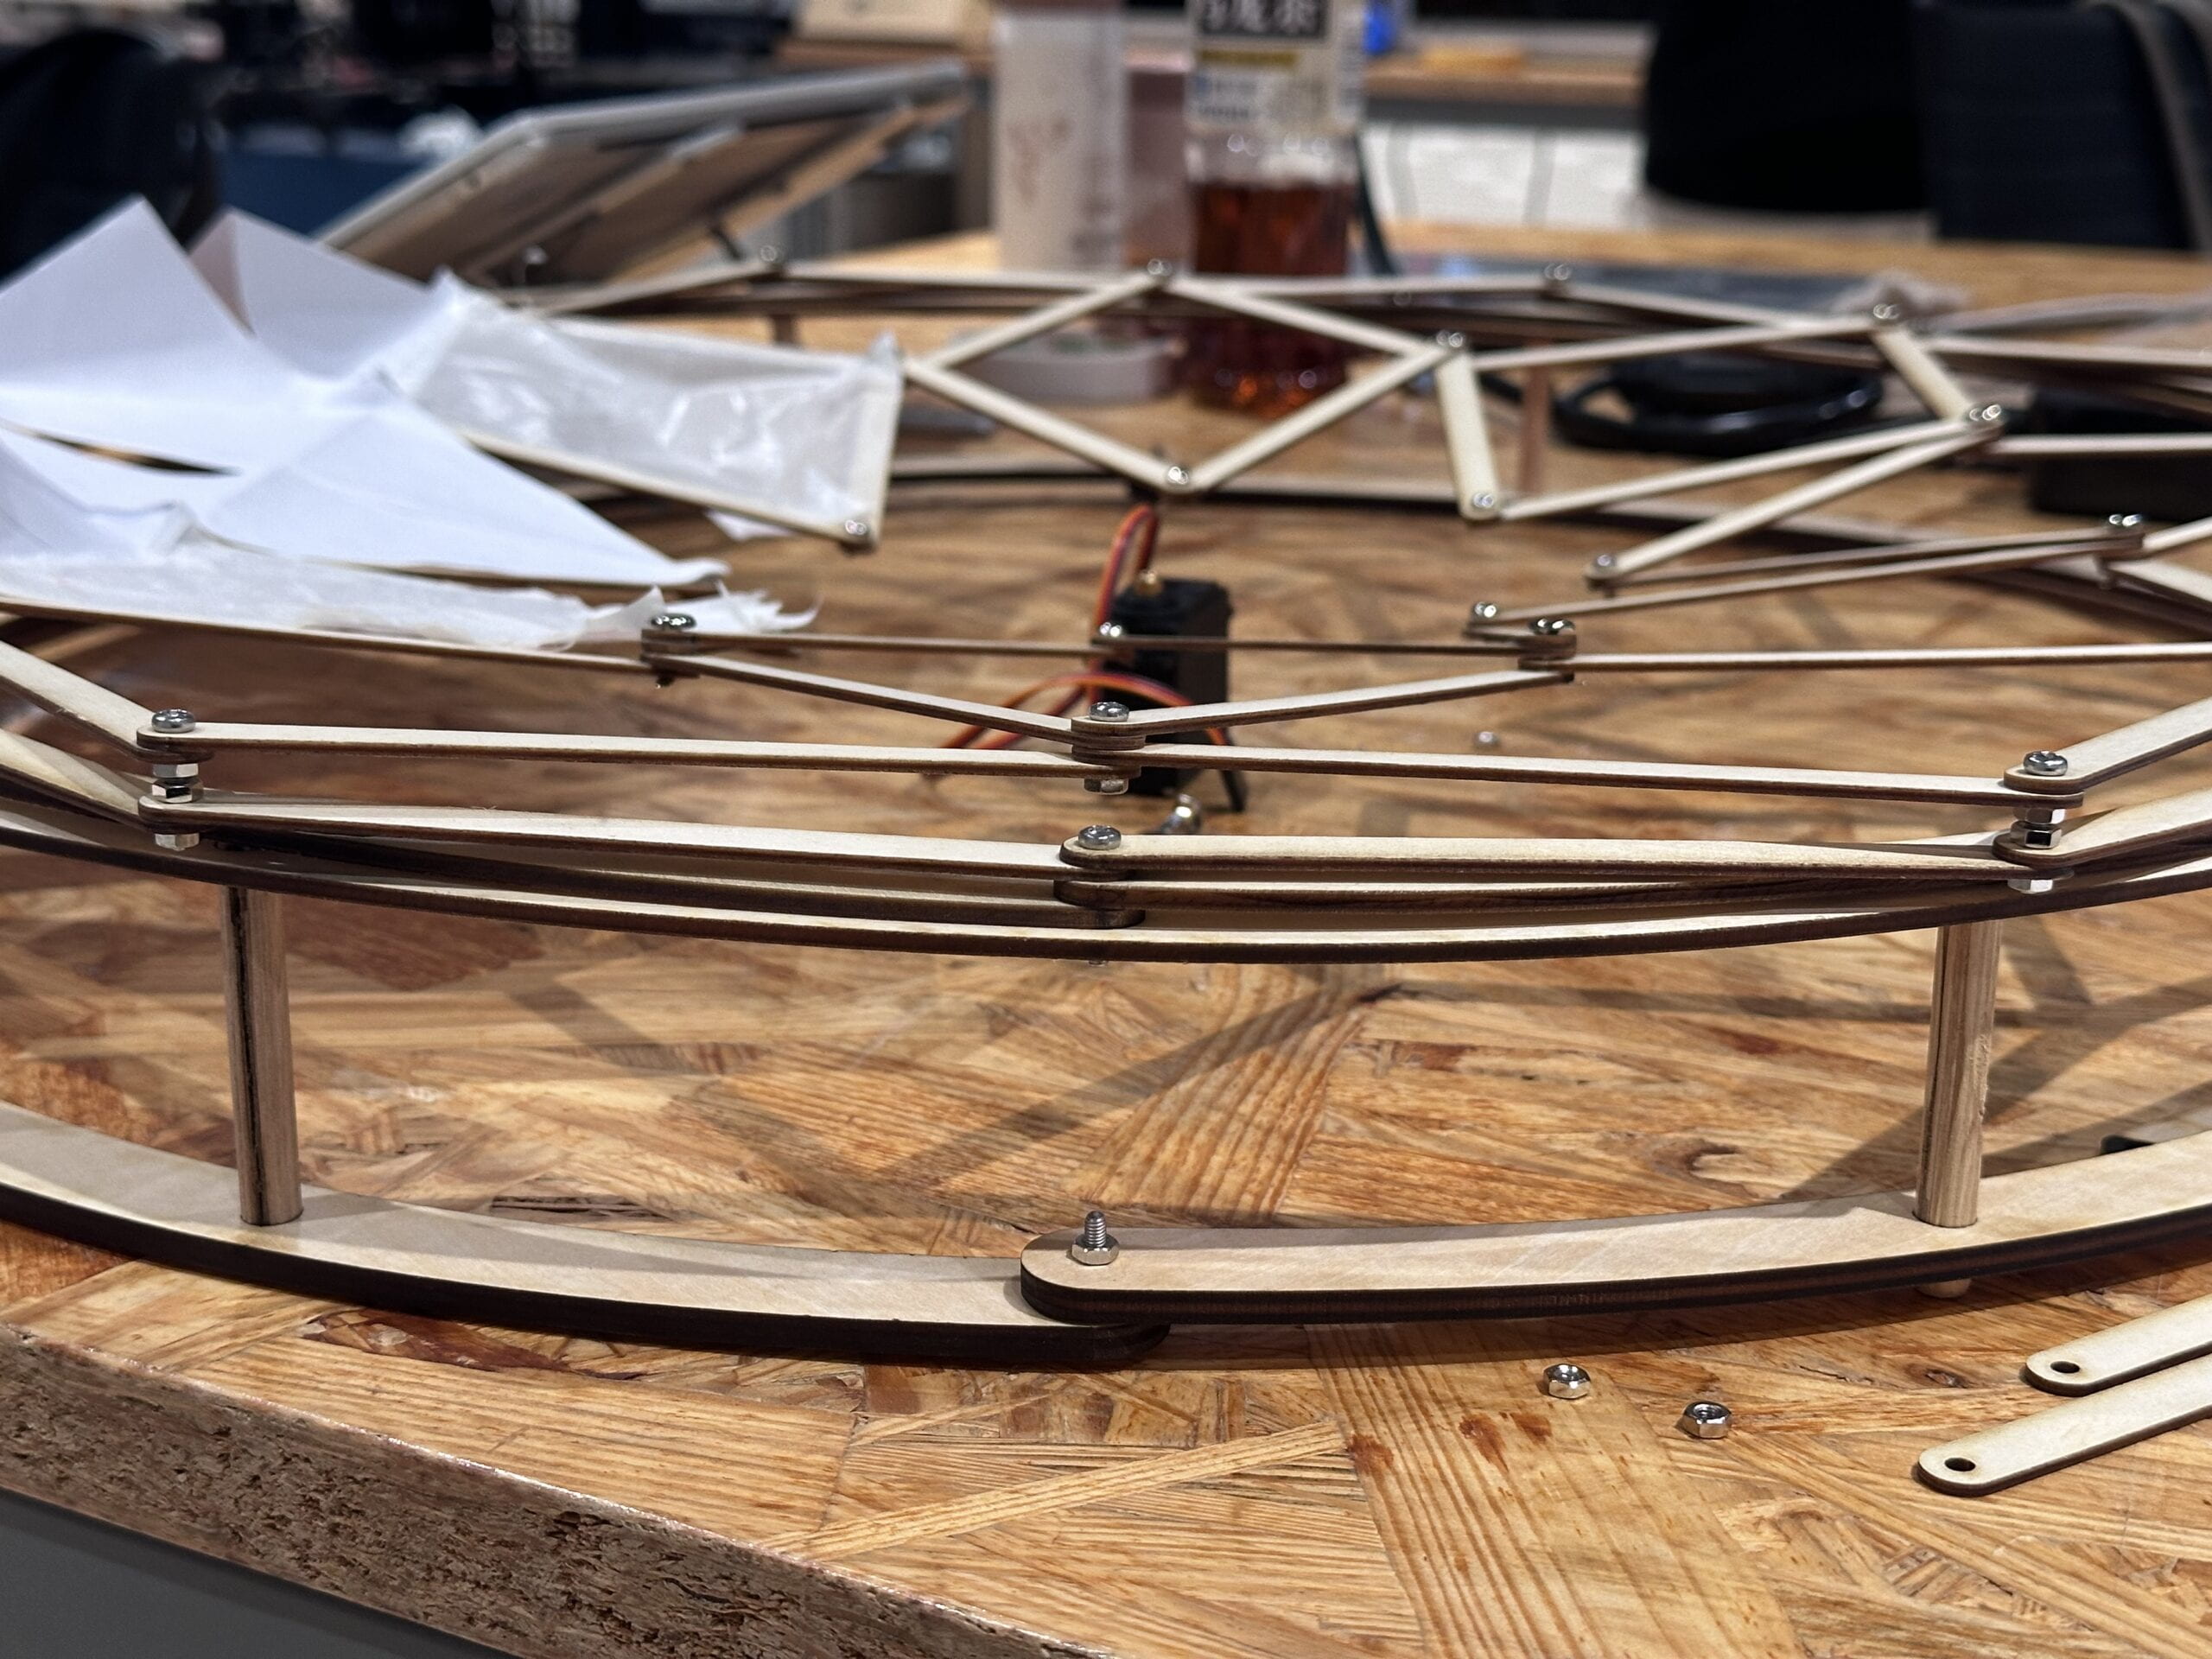
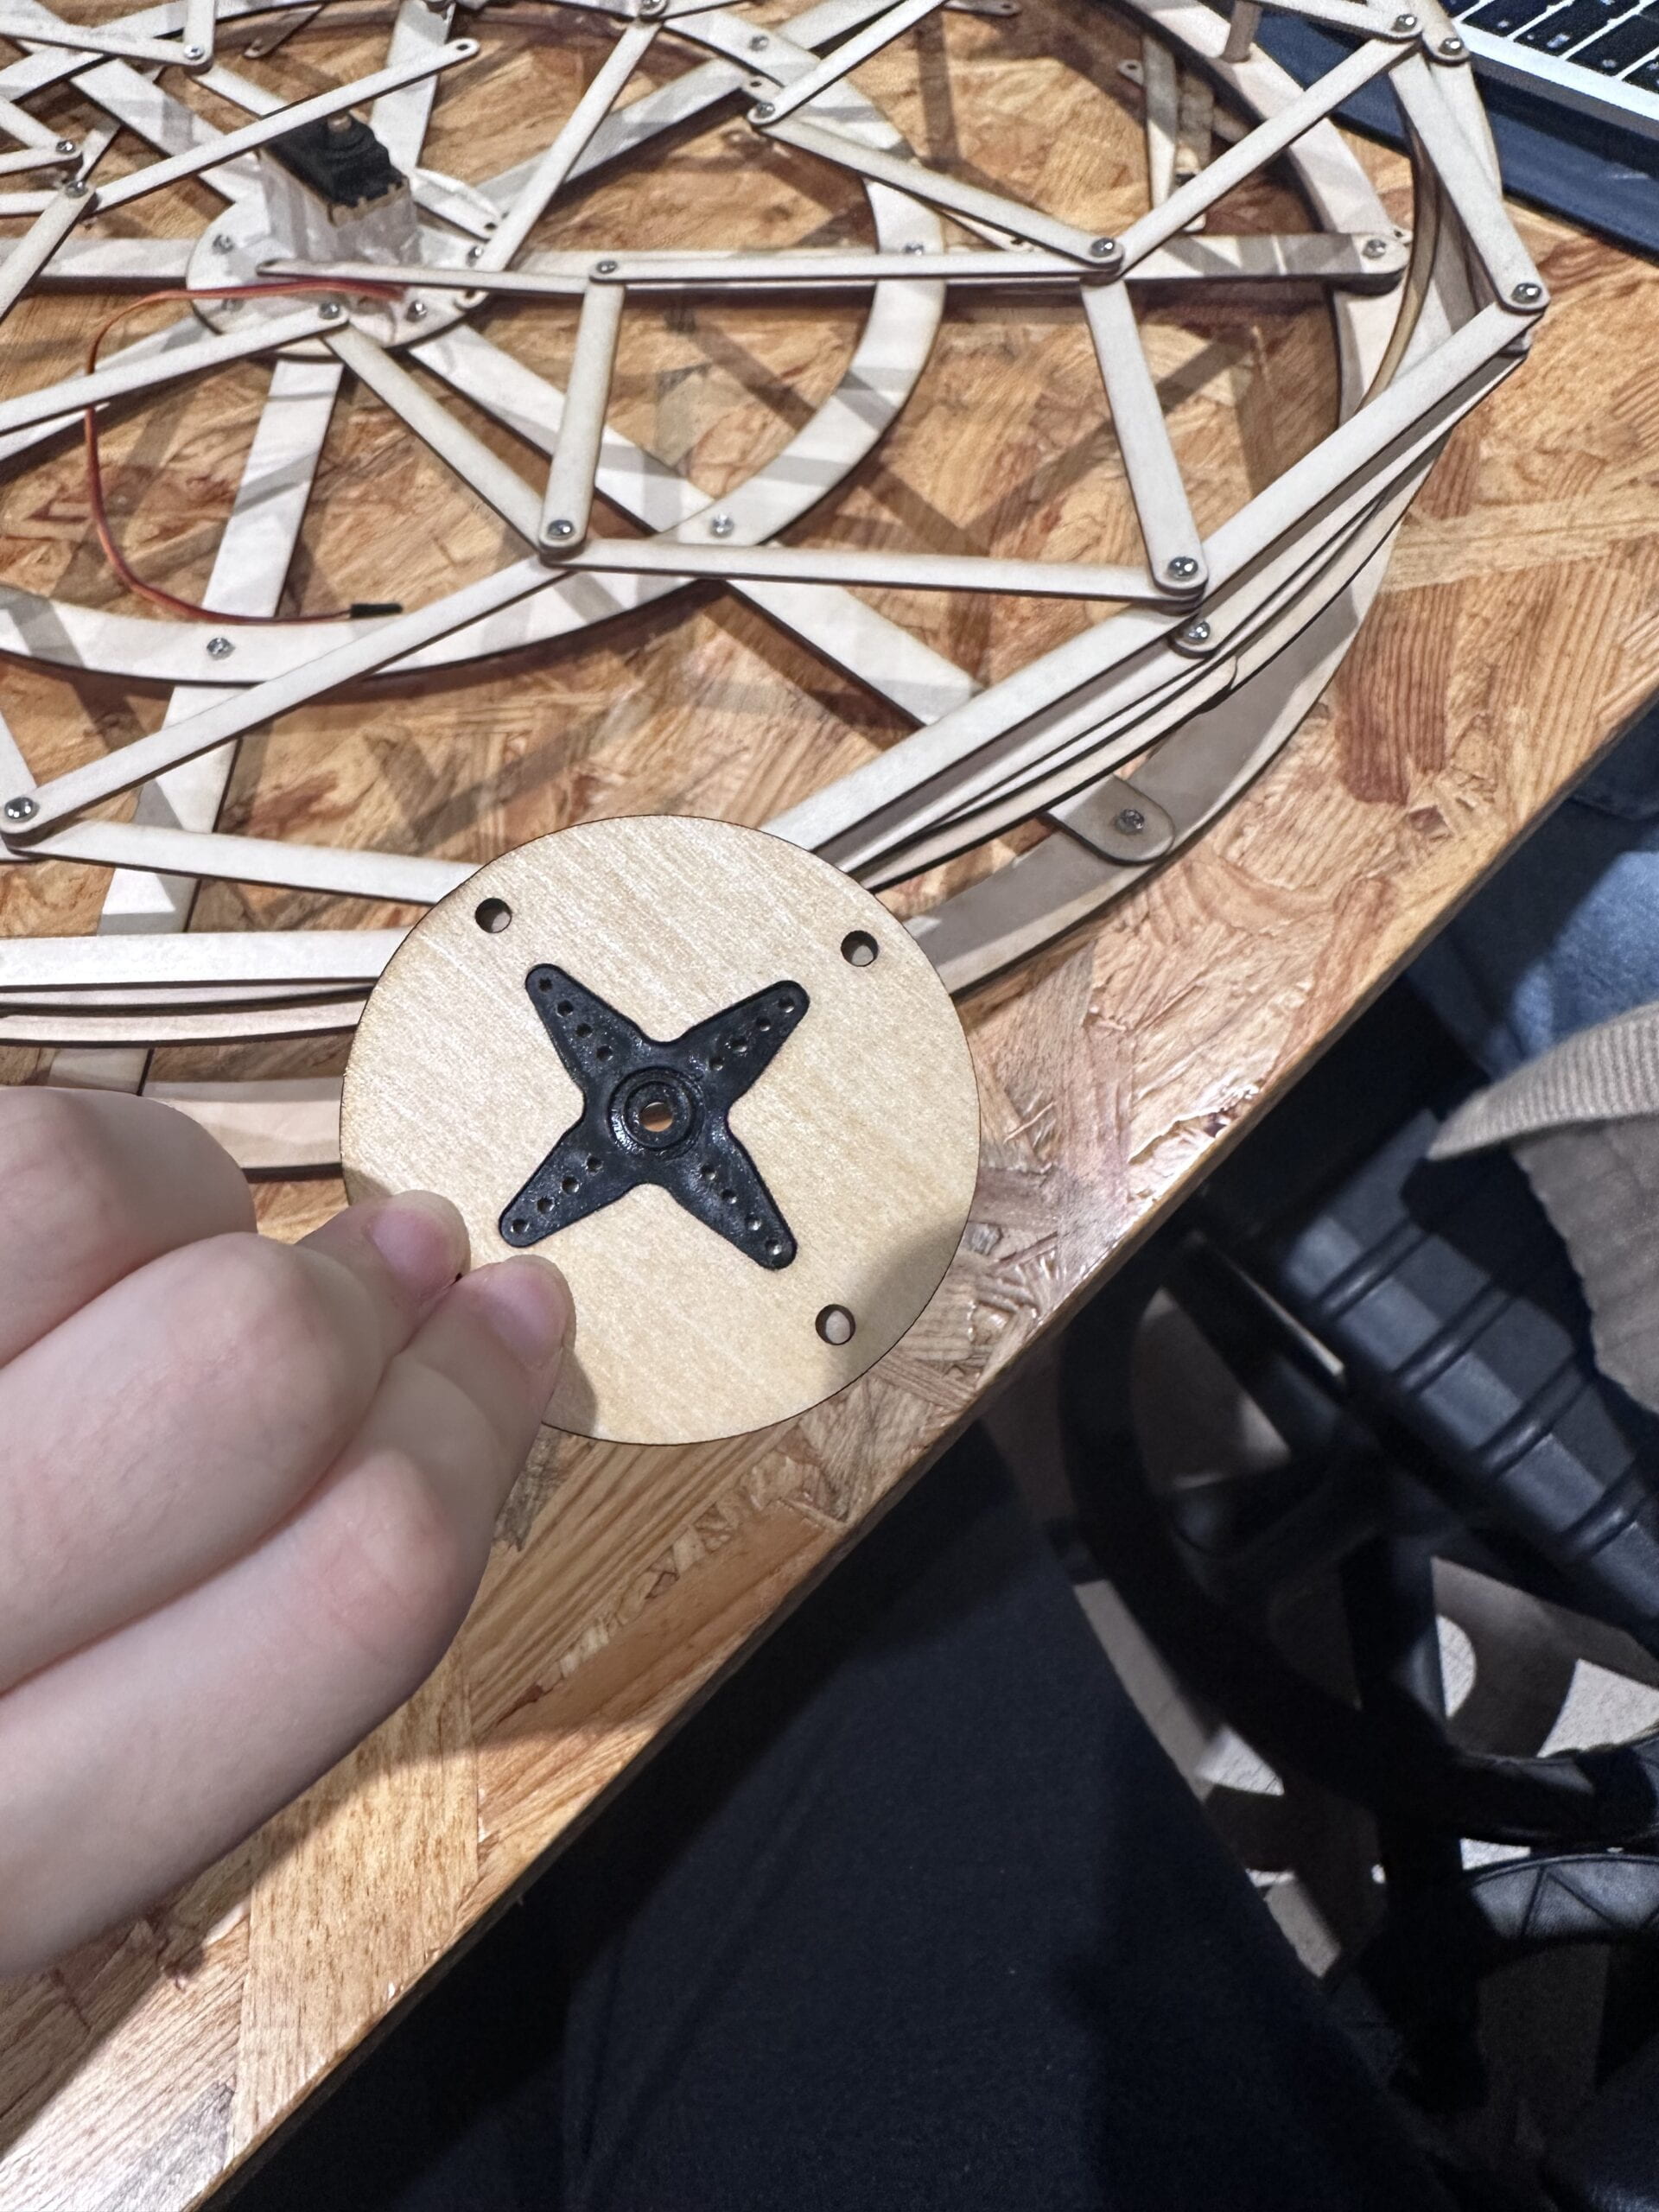
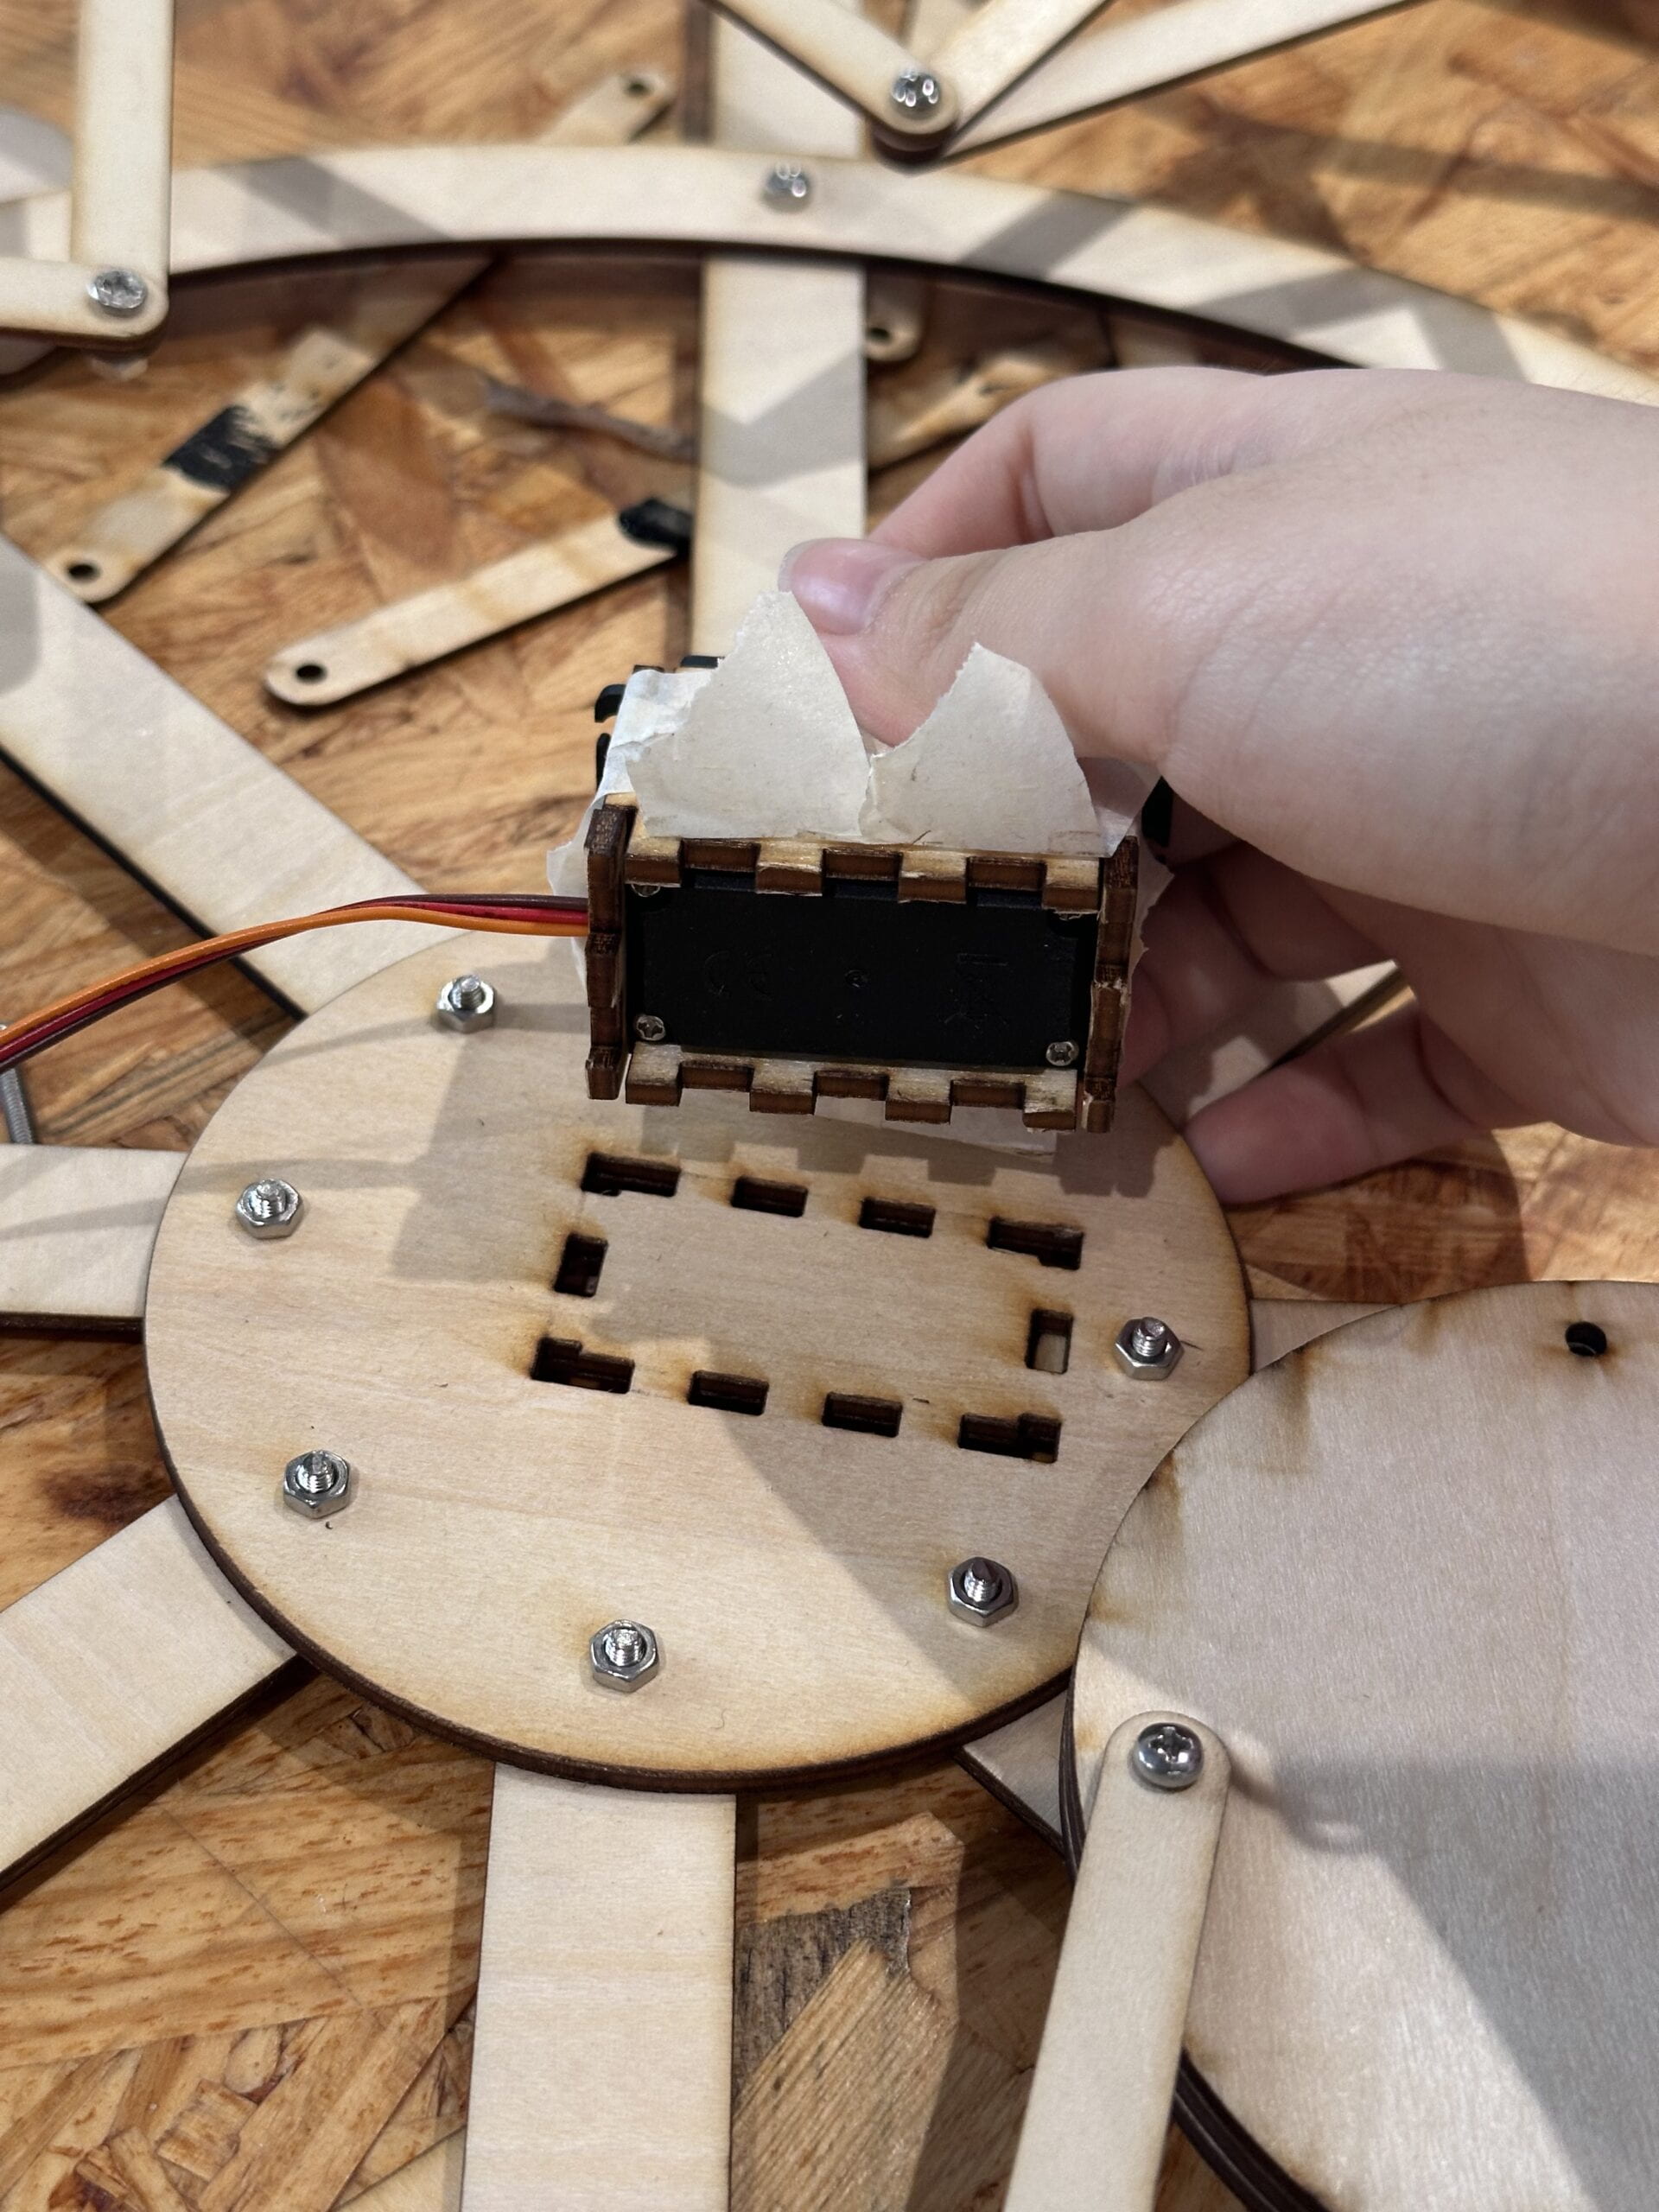
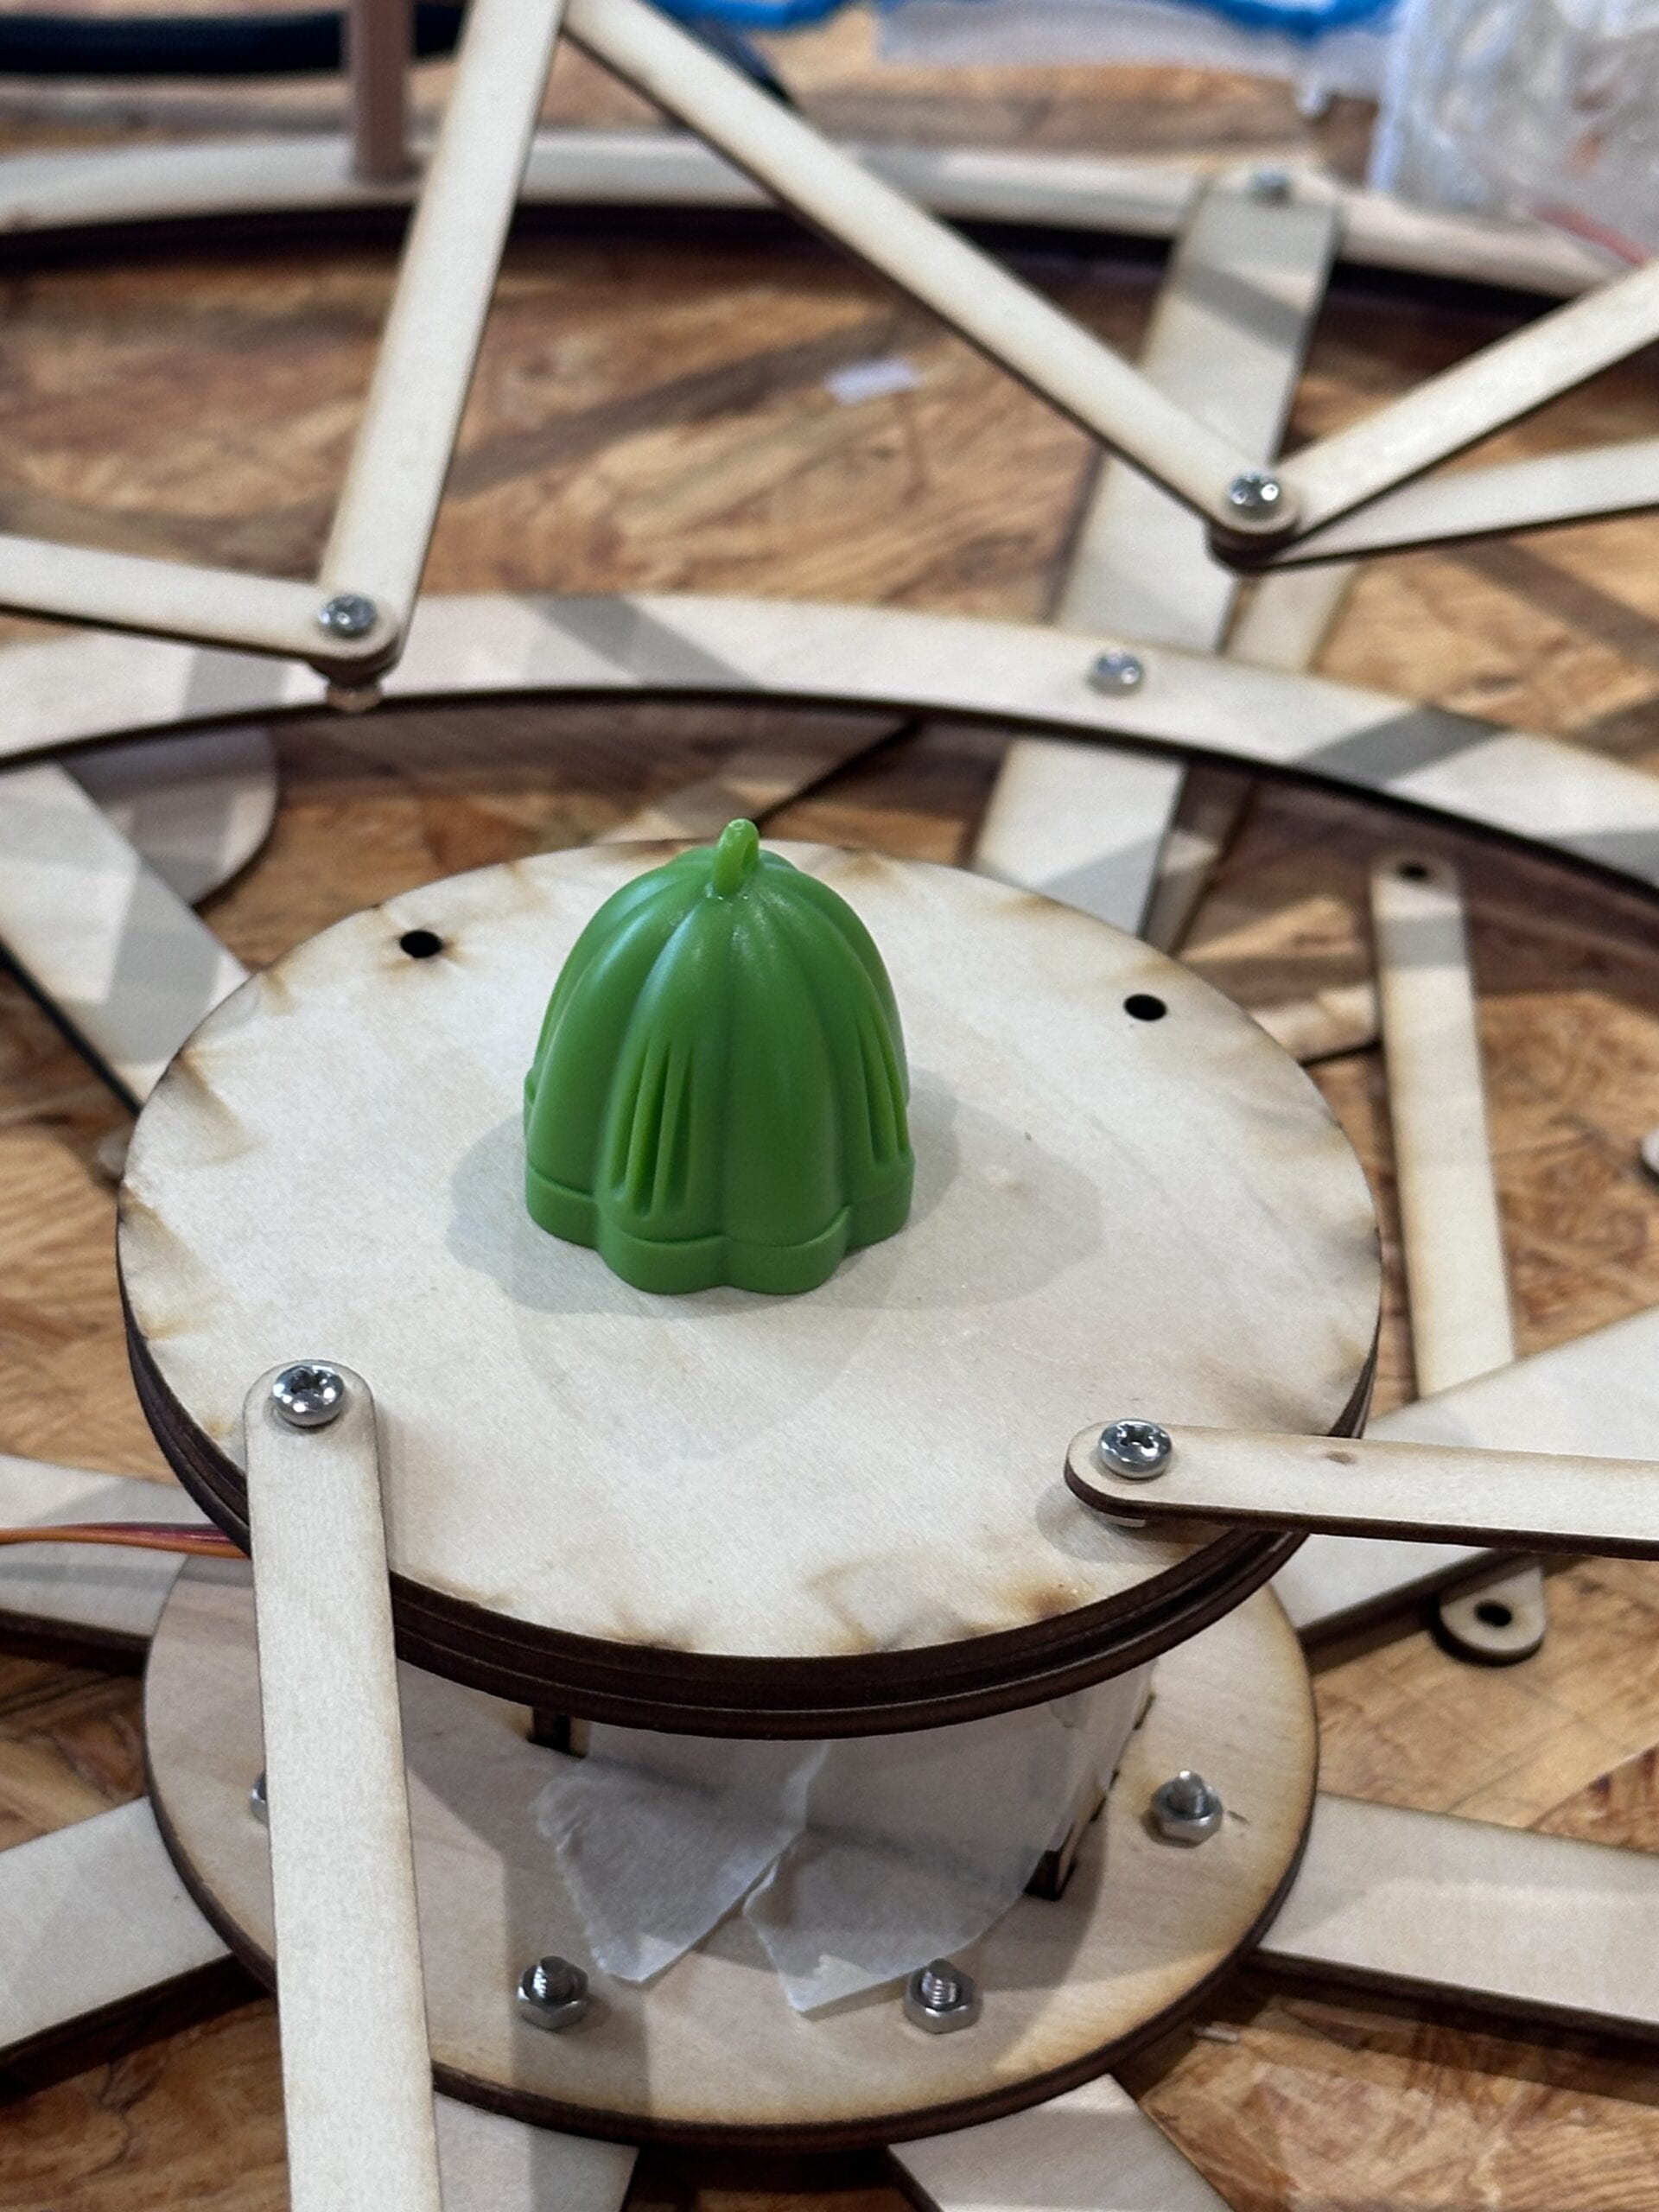
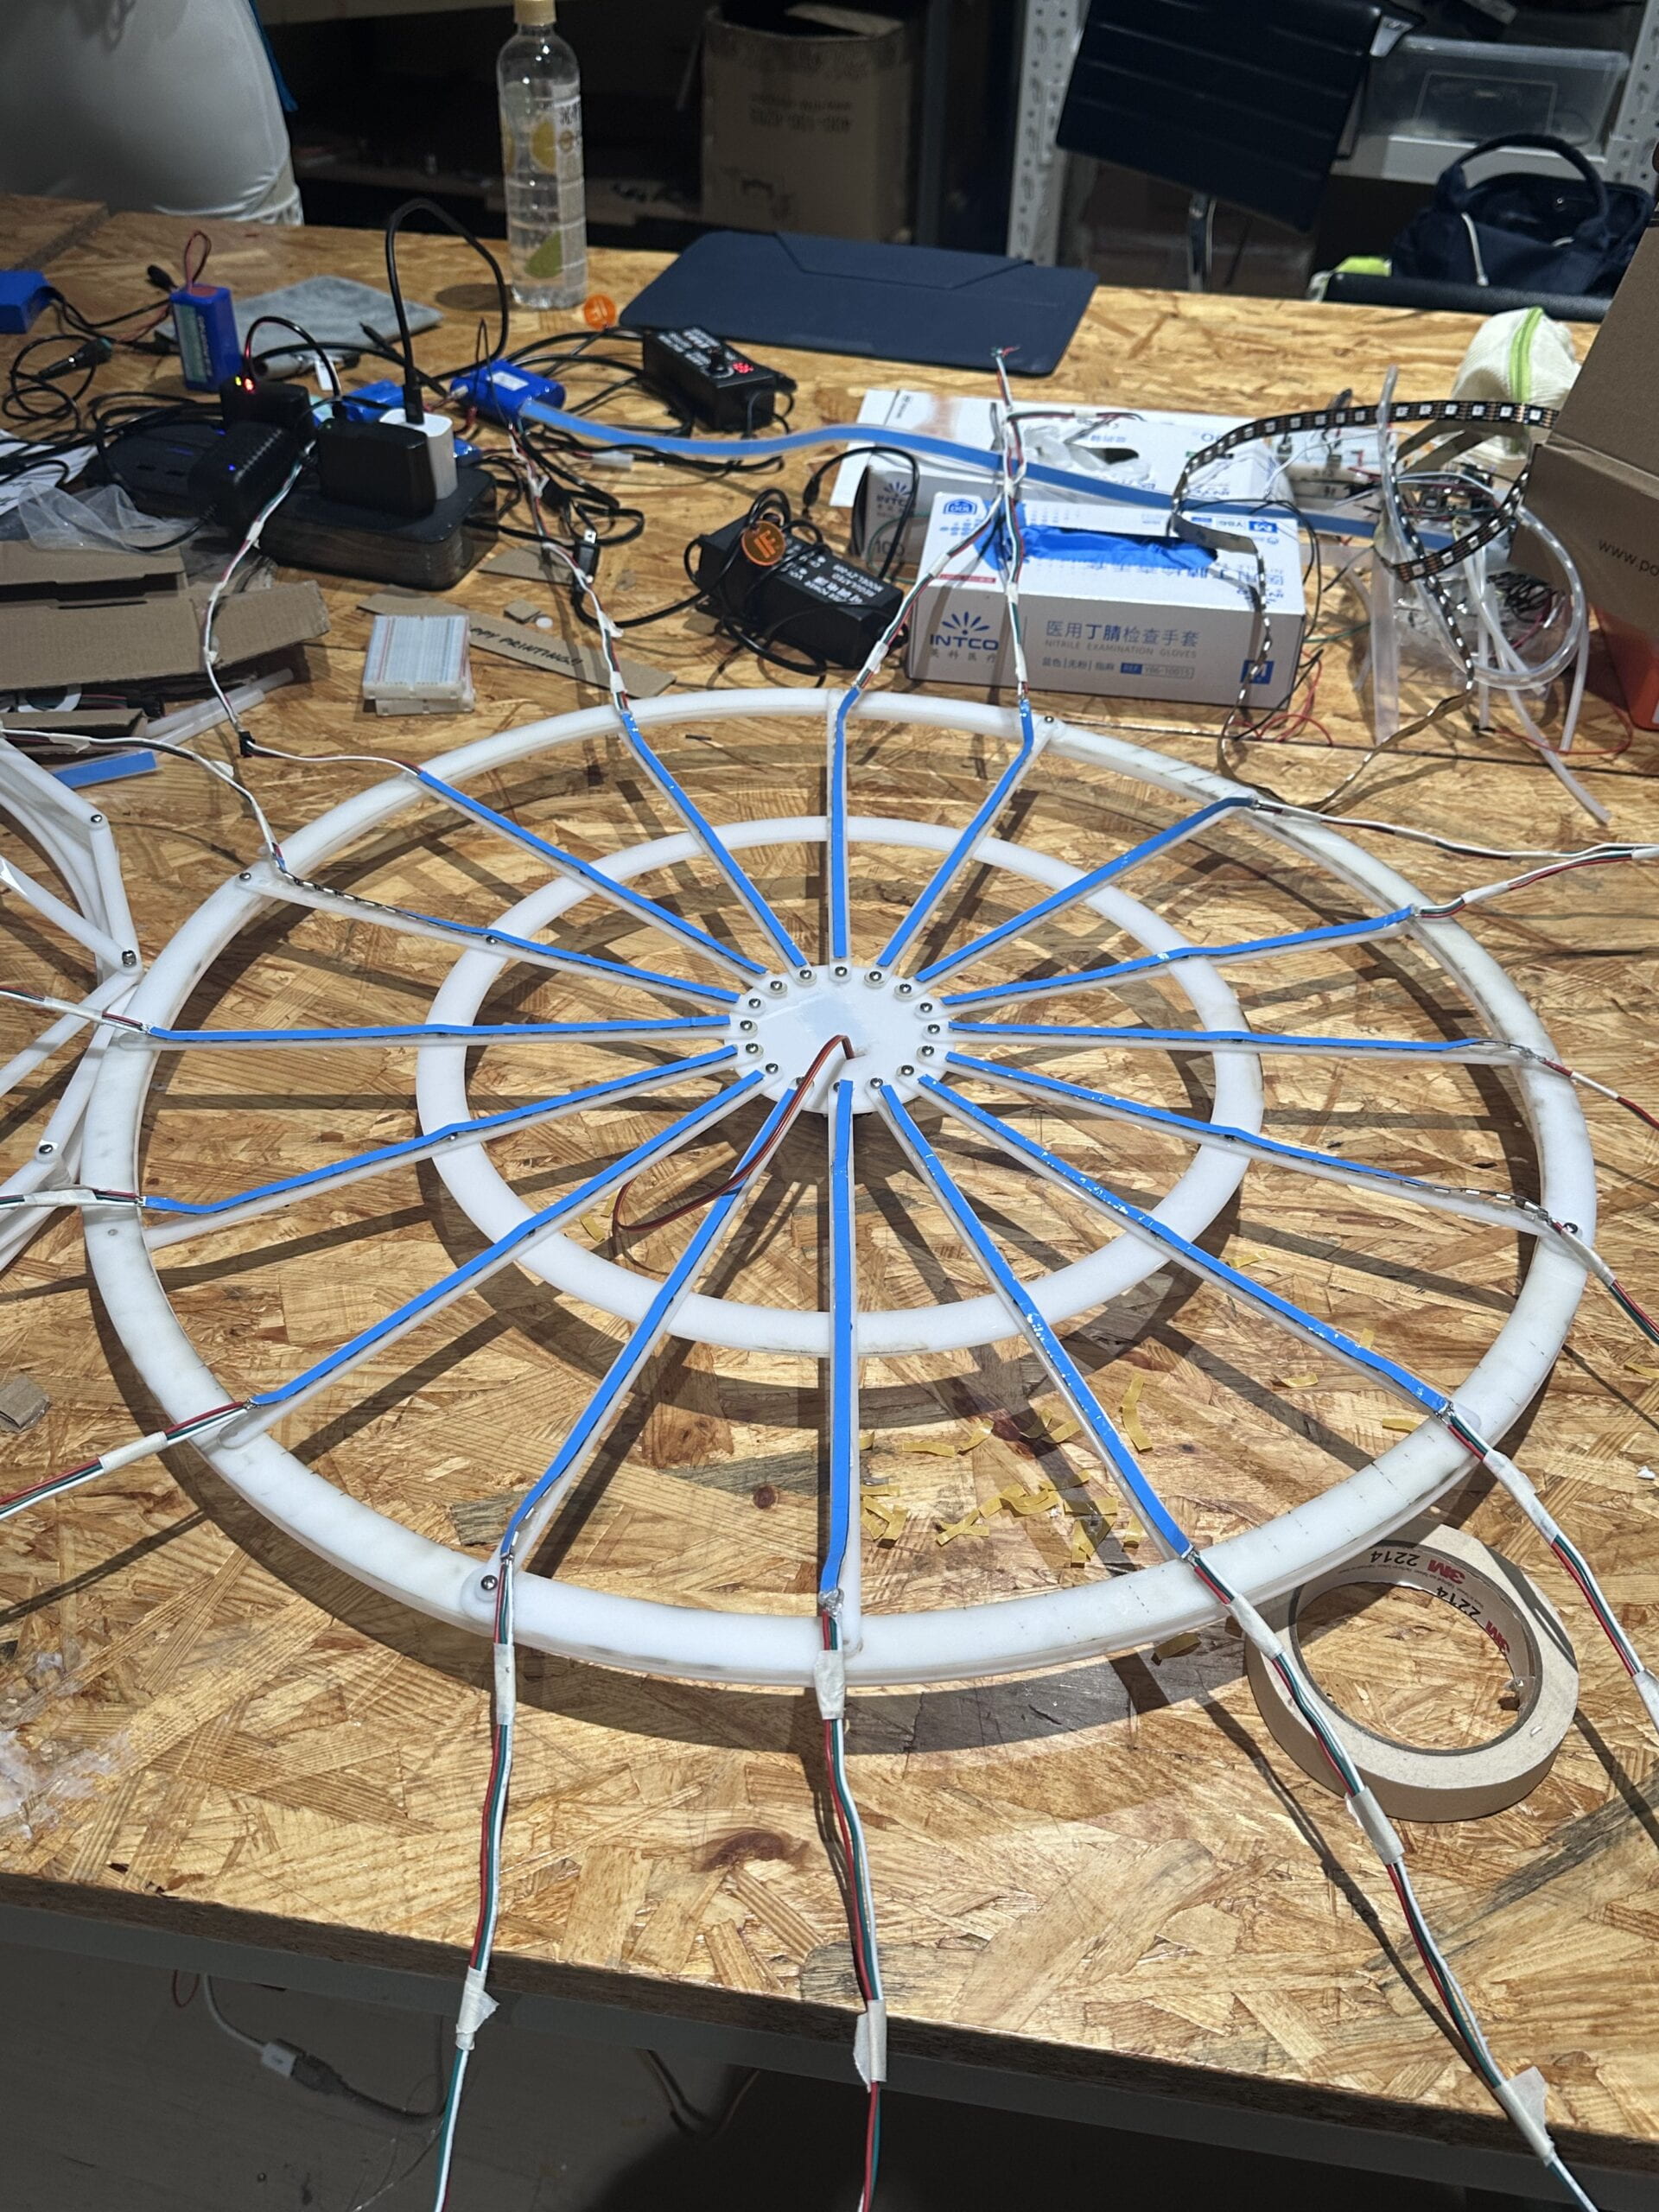
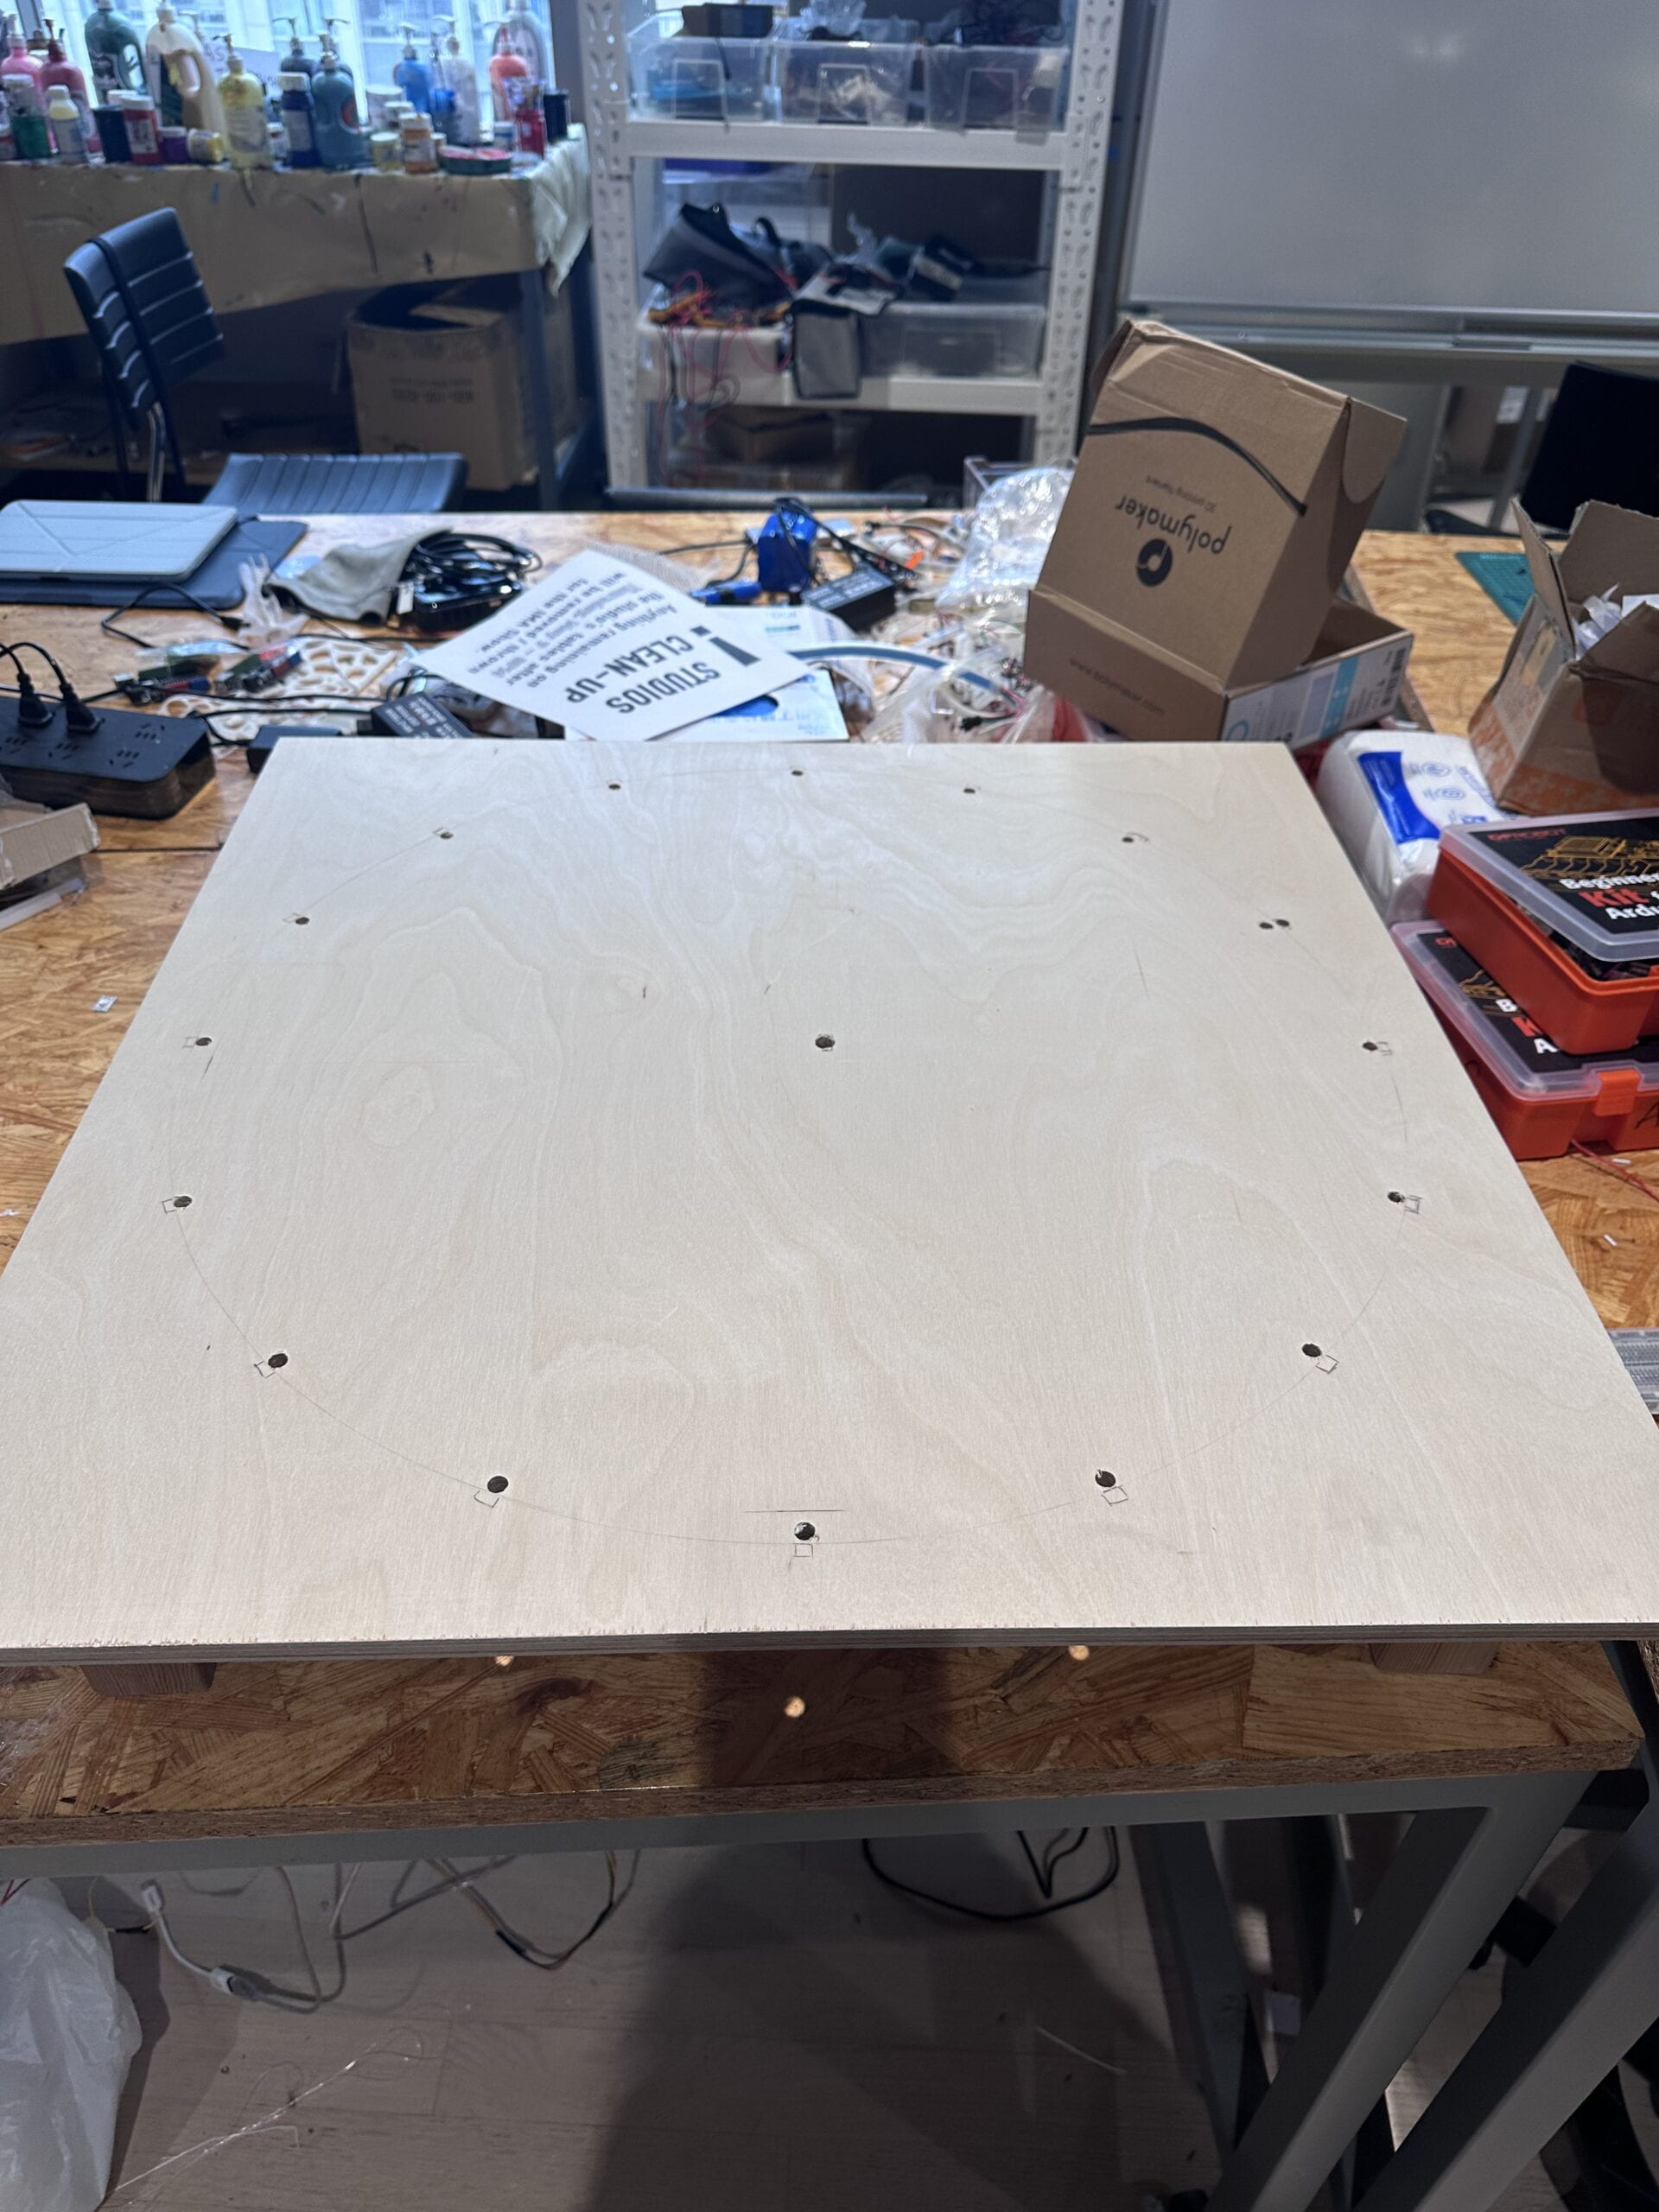
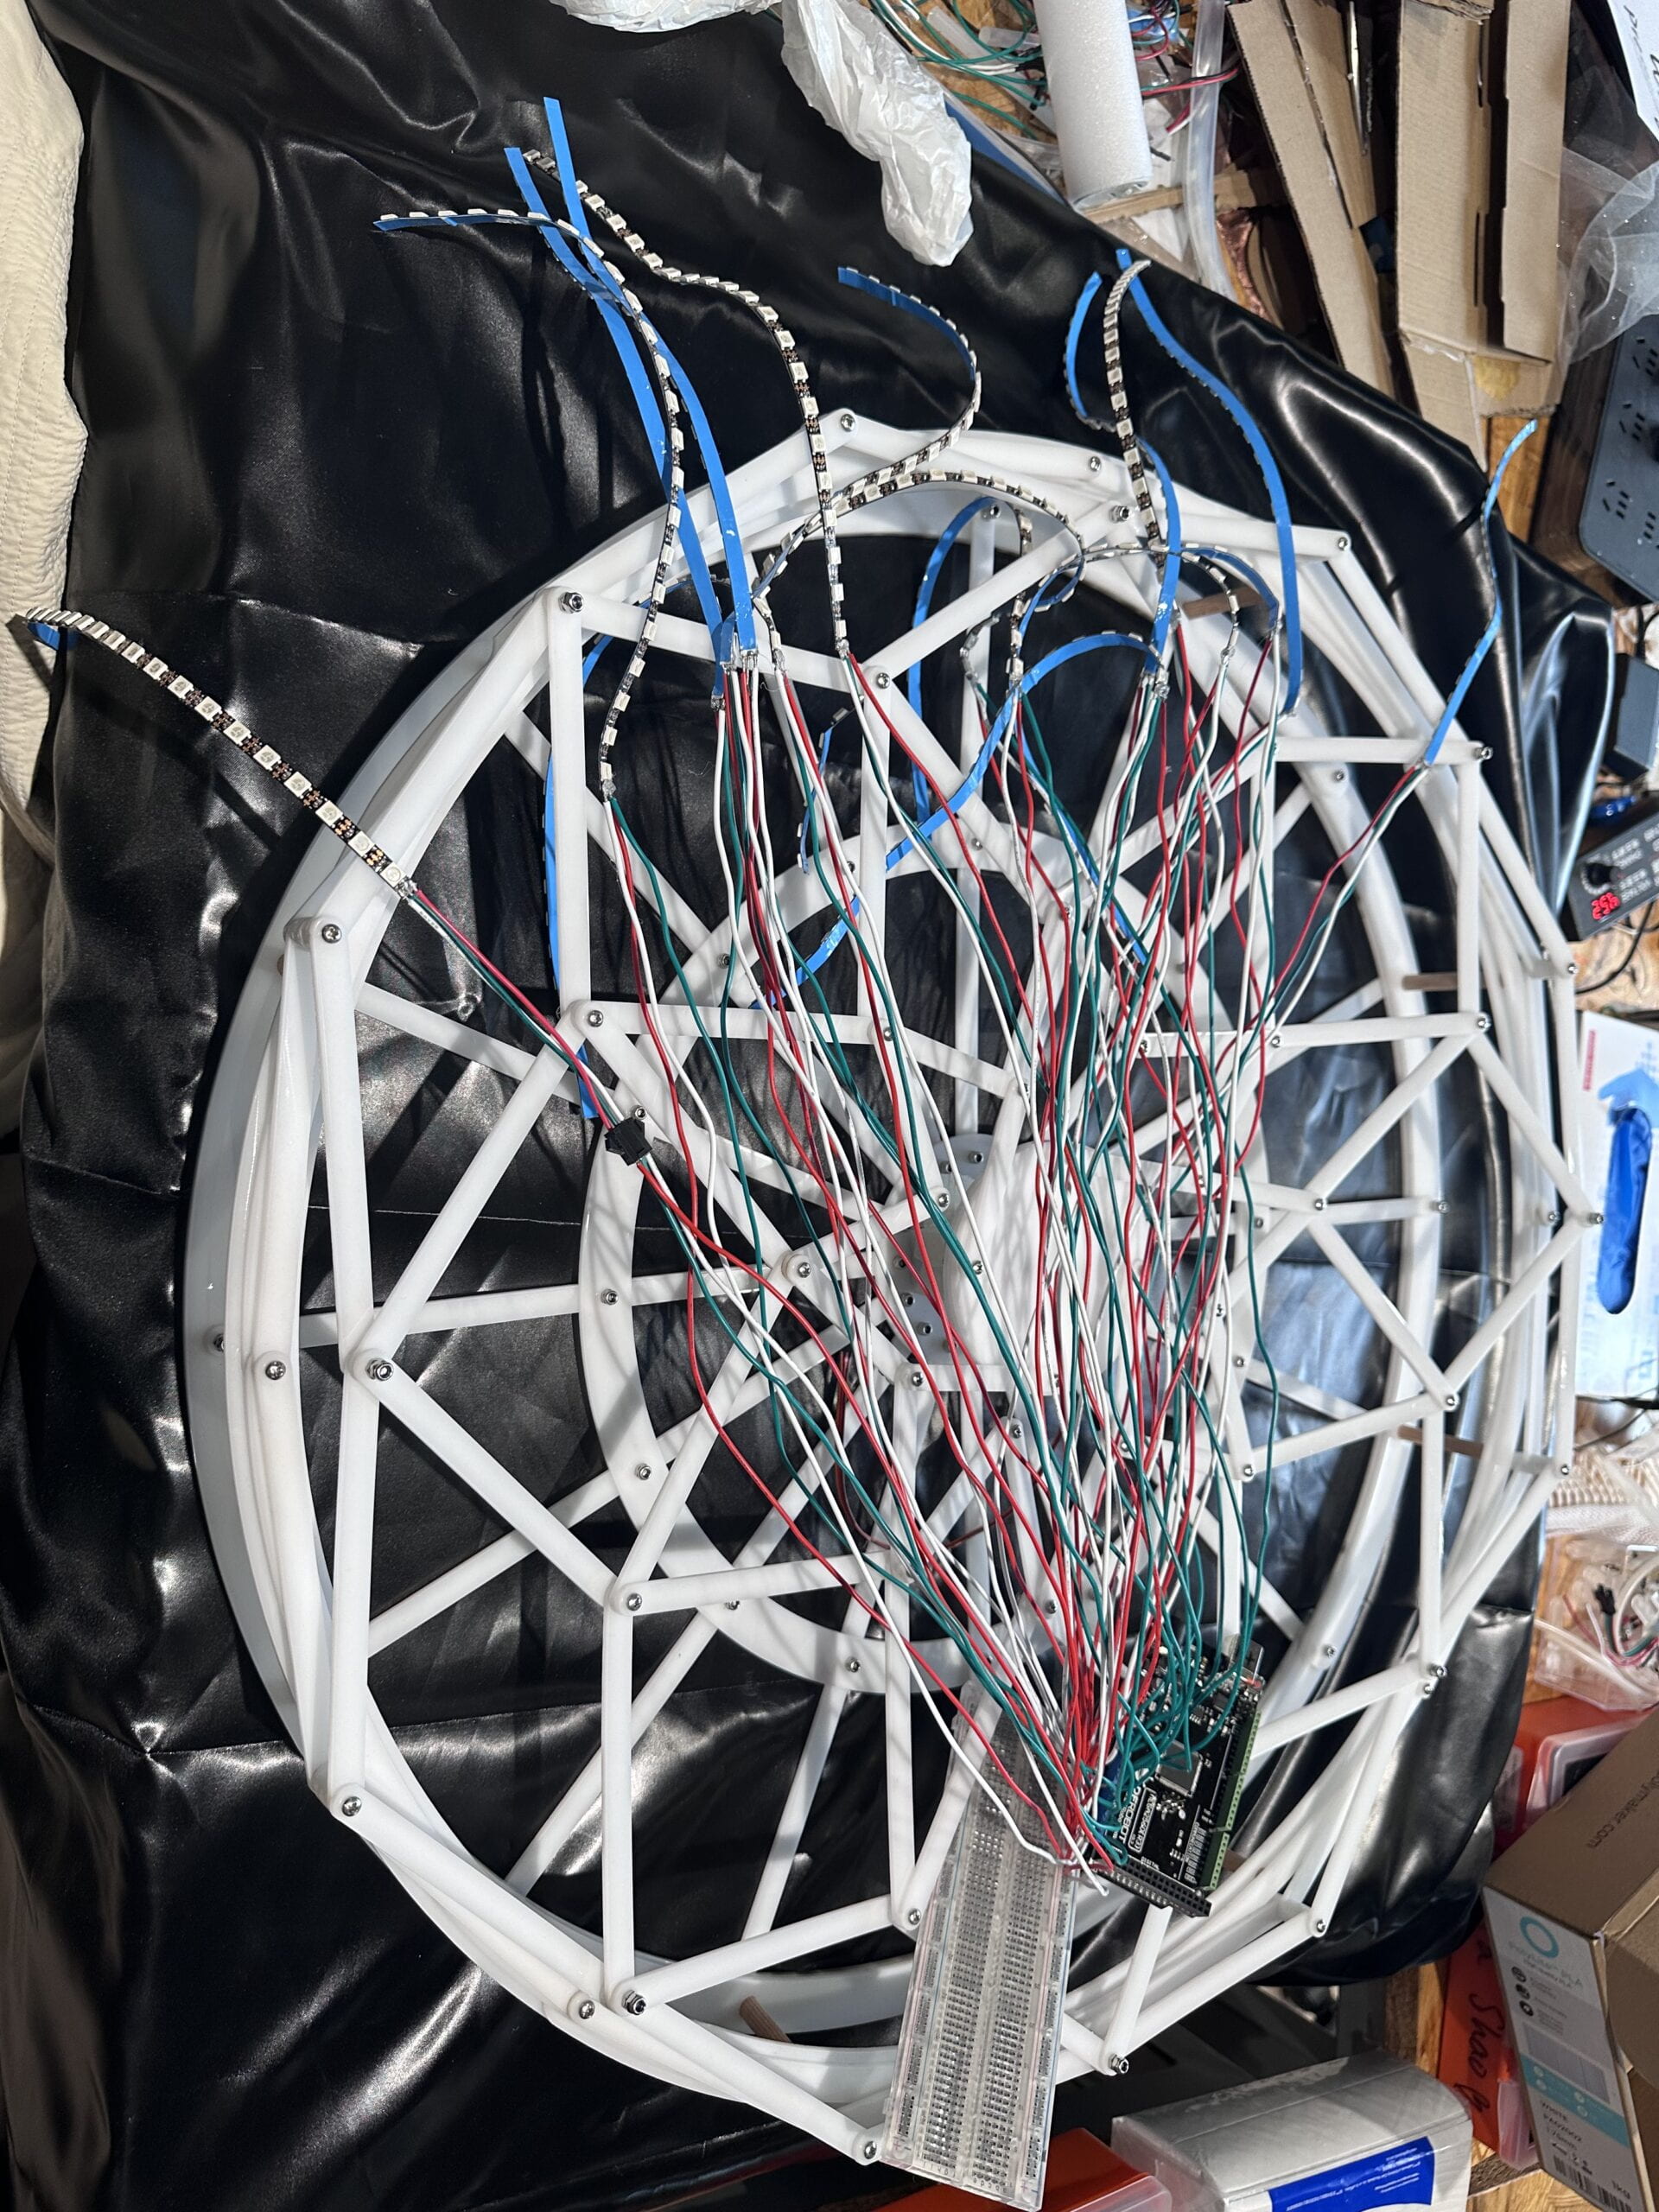
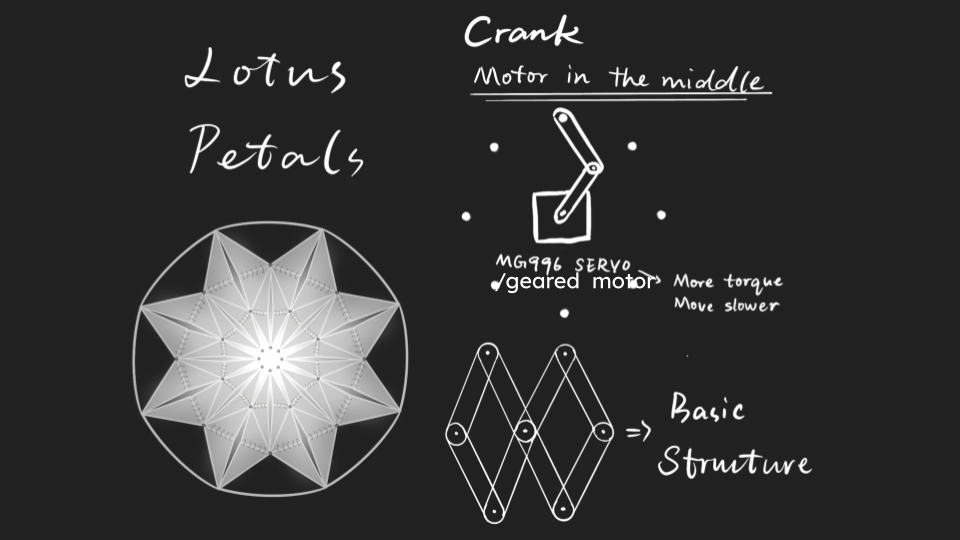
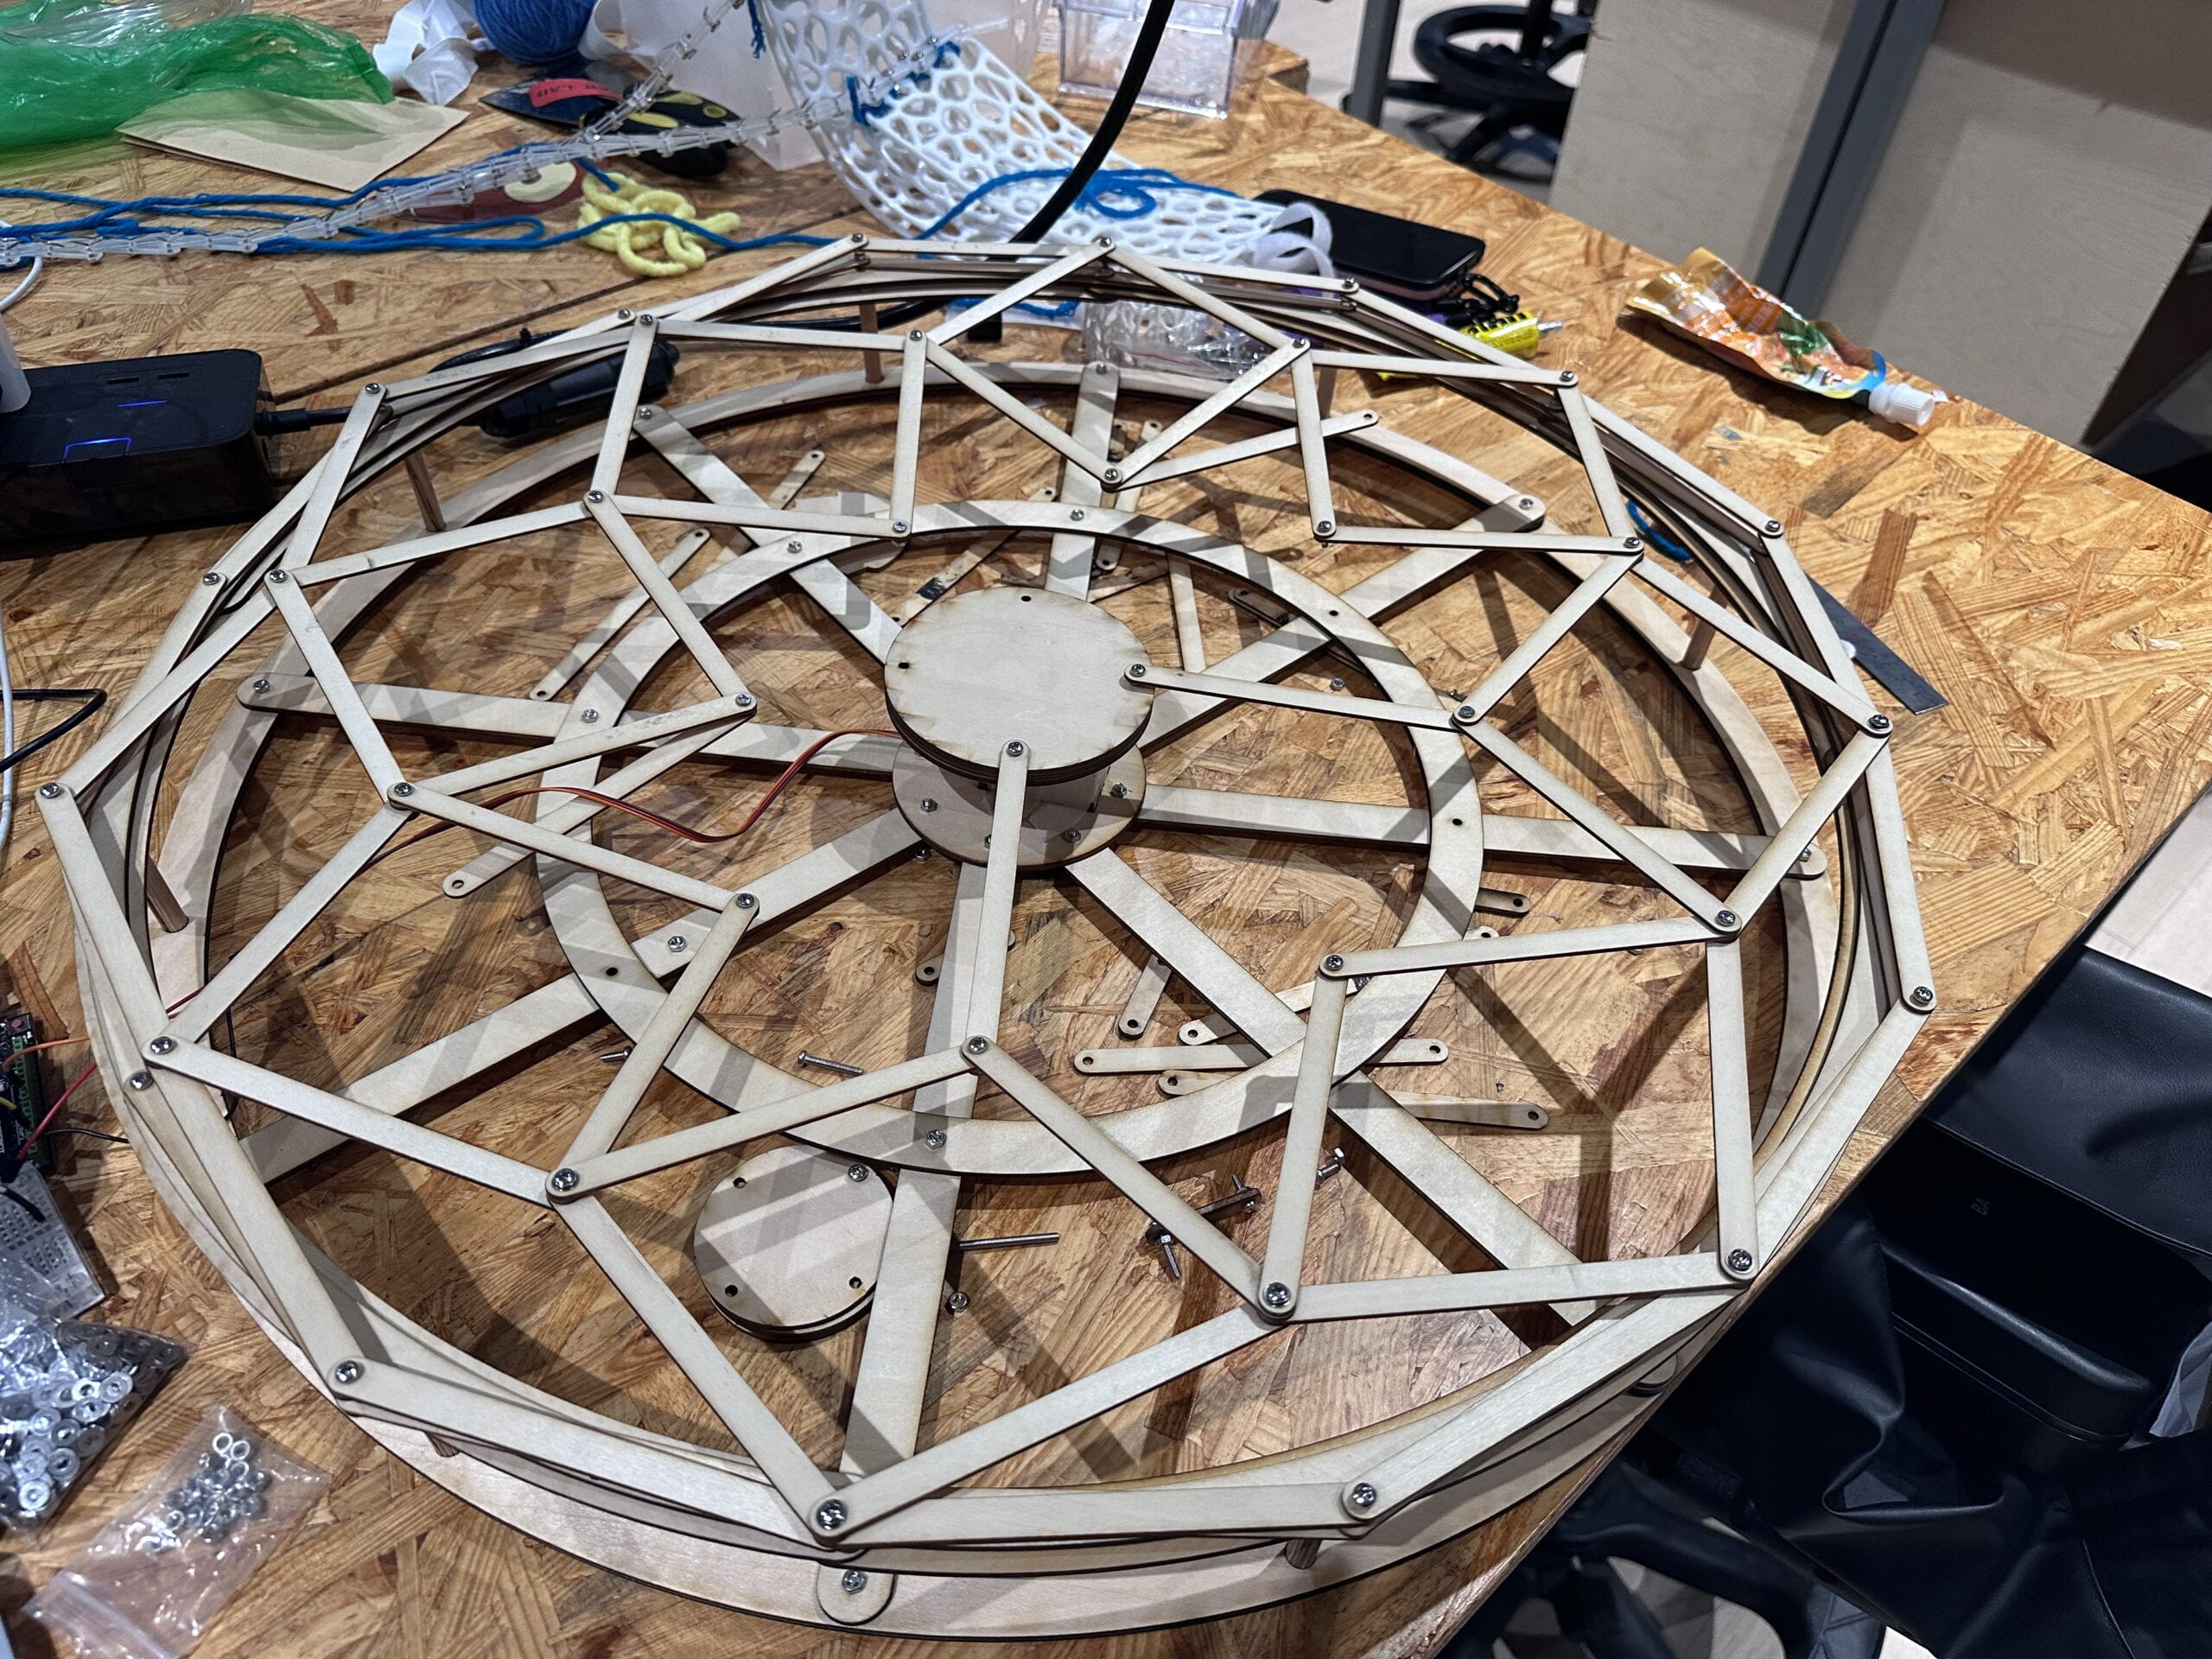
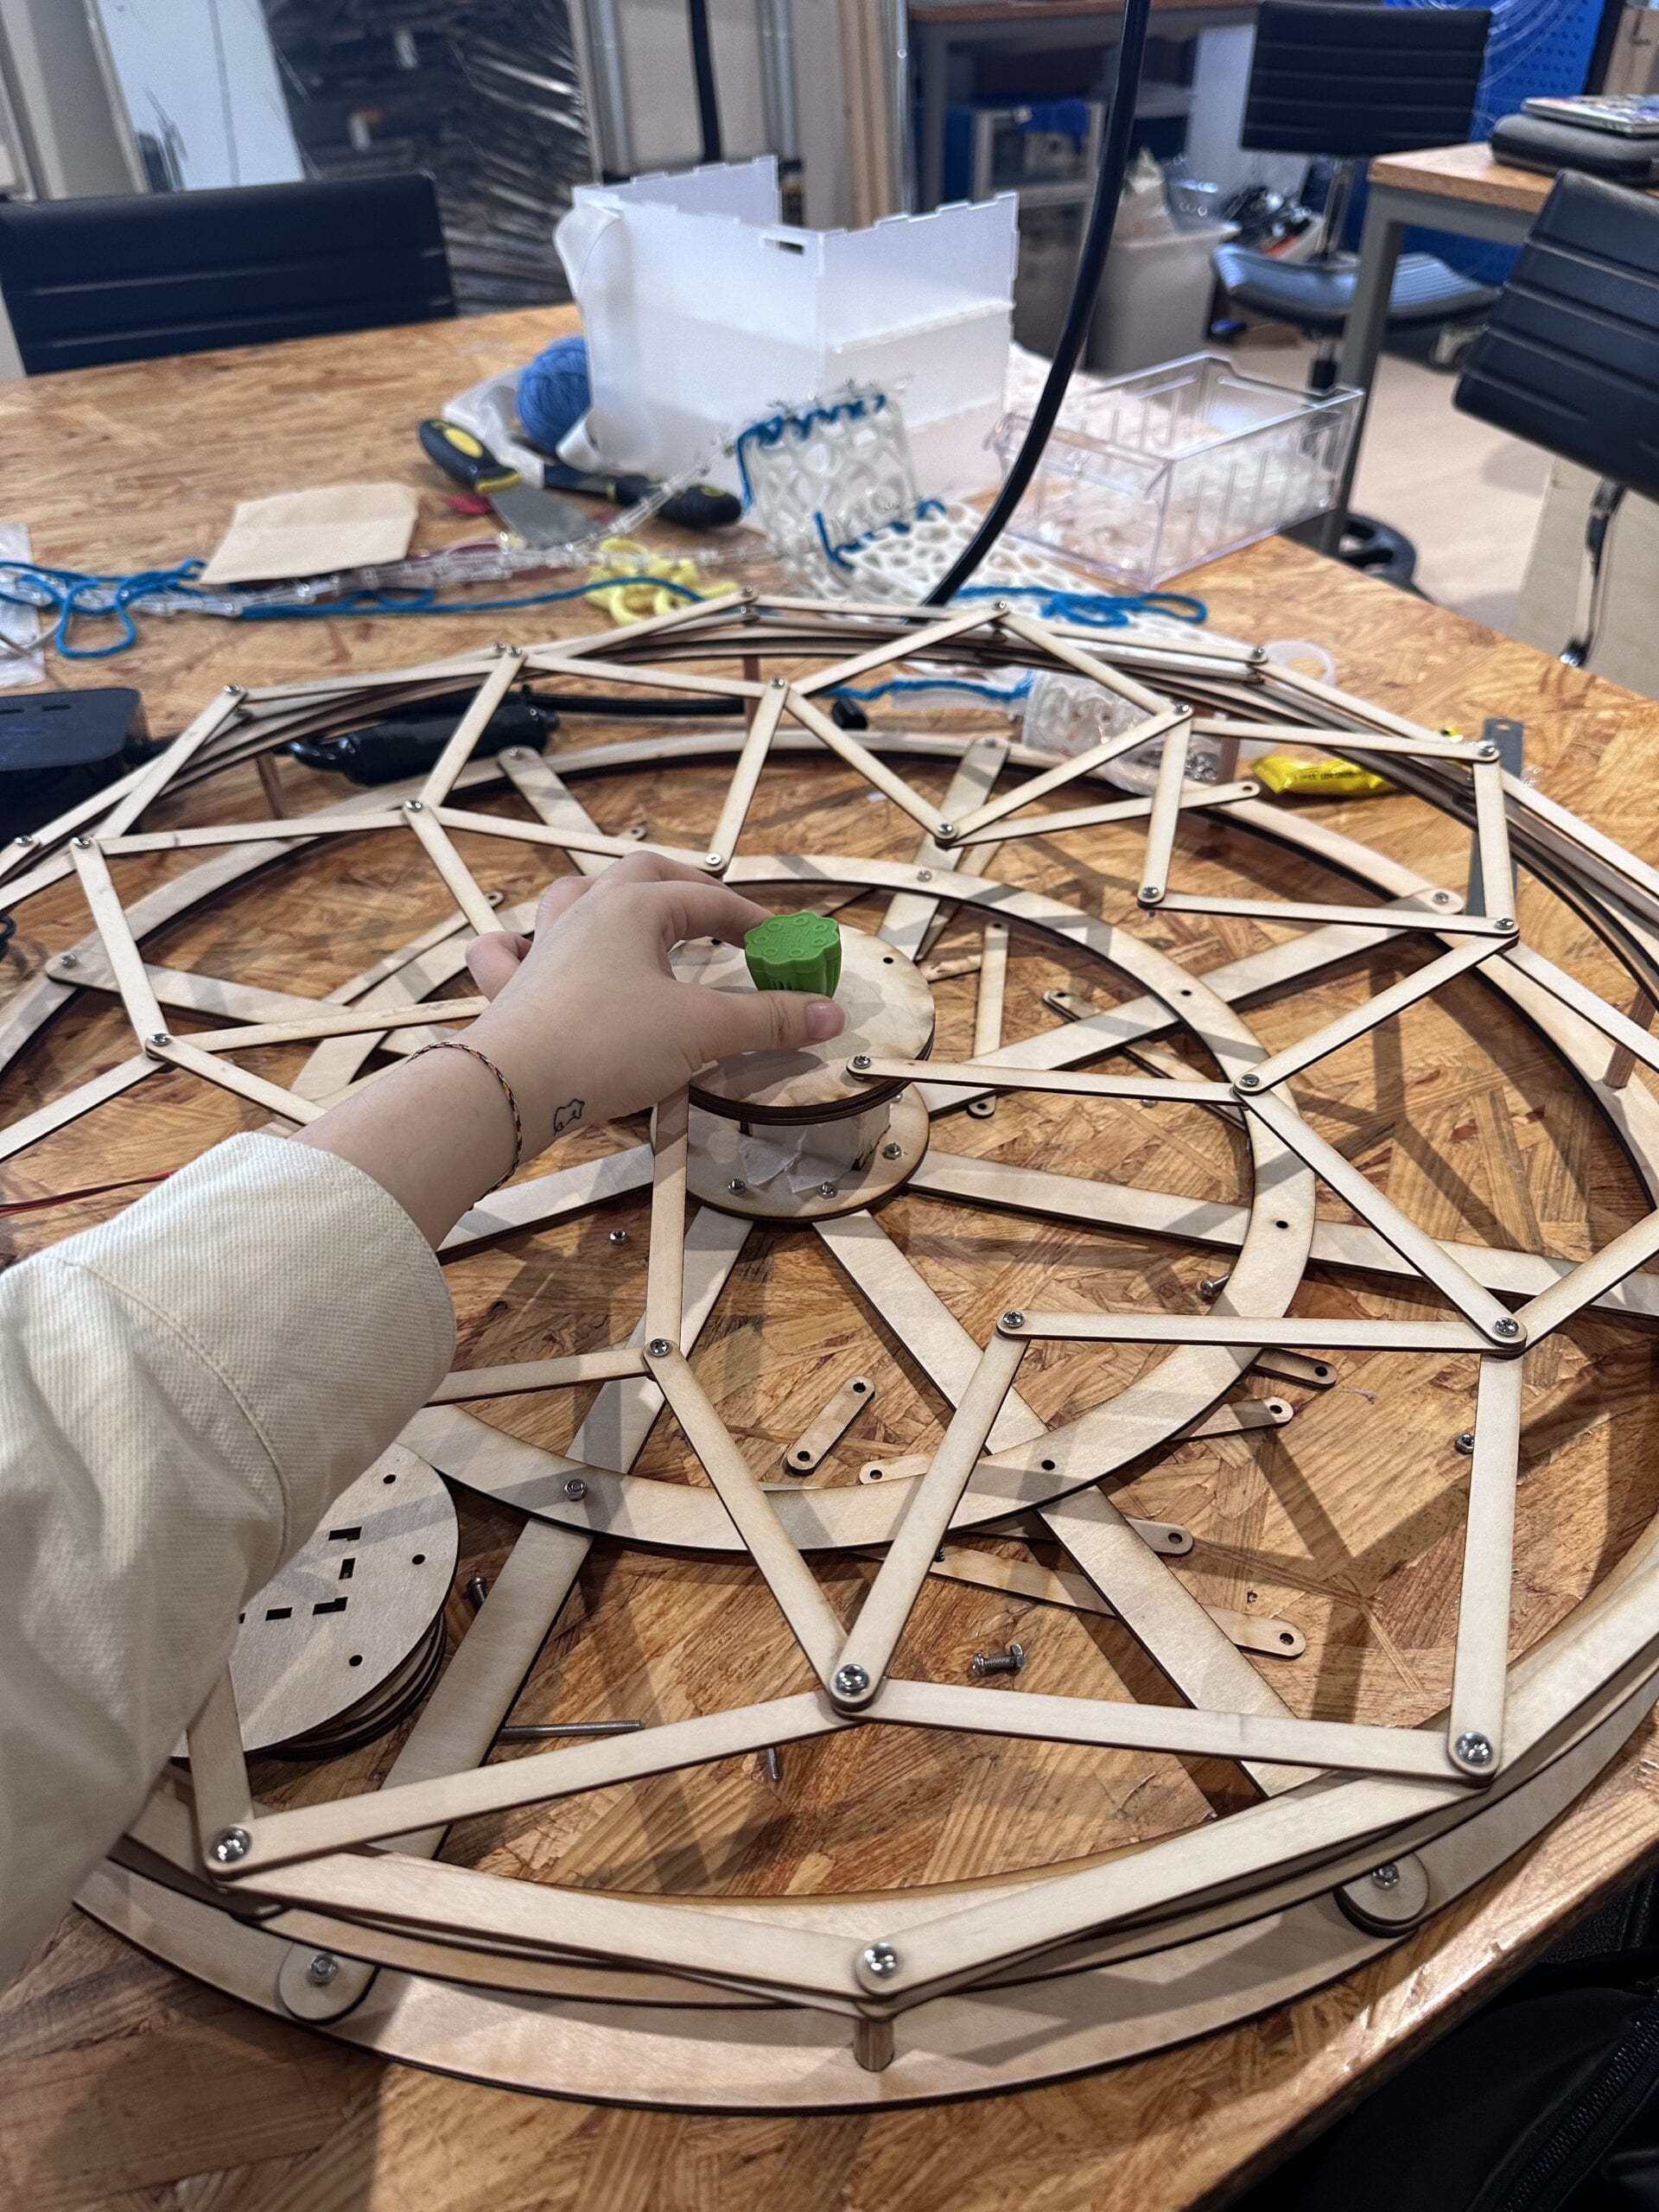
For this project, I focus more on the mechanism, which looks complex but is only triggered by one servo motor with simple rotating motion and little 5v power.

Lotus symbolizes the journey towards inner peace and balance. I hope the audience can gain a moment of peace when looking at this project.


C. Perspective and Context
I was inspired by the artist that I have researched for, who is Casey Curran. He usually just uses a simple hand crank but he has made a lot of projects with delicate and grand kinetic environments. He gave me a lot of inspirations on the kinetic mechanisms.


Also, I think my idea of artificial life is also influenced by him because he is very interested in nature and focuses on the relationship between natural and virtual worlds. He usually makes a tableau of flora and fauna that bloom or flutter to life when activated.

D. Development & Technical Implementation
Proposal


Link to Arduino Code

E. Presentation
I am not surprised that the audience like my project at the first sight because I know it is attractive visually through the making process when someone passing by and commenting on it.  But I was surprised that I still got moved very much when getting compliments on the final presentation and the IMA show. The audience can easily understand my project after my explanation, which might be the big success of the project realizing the concept.


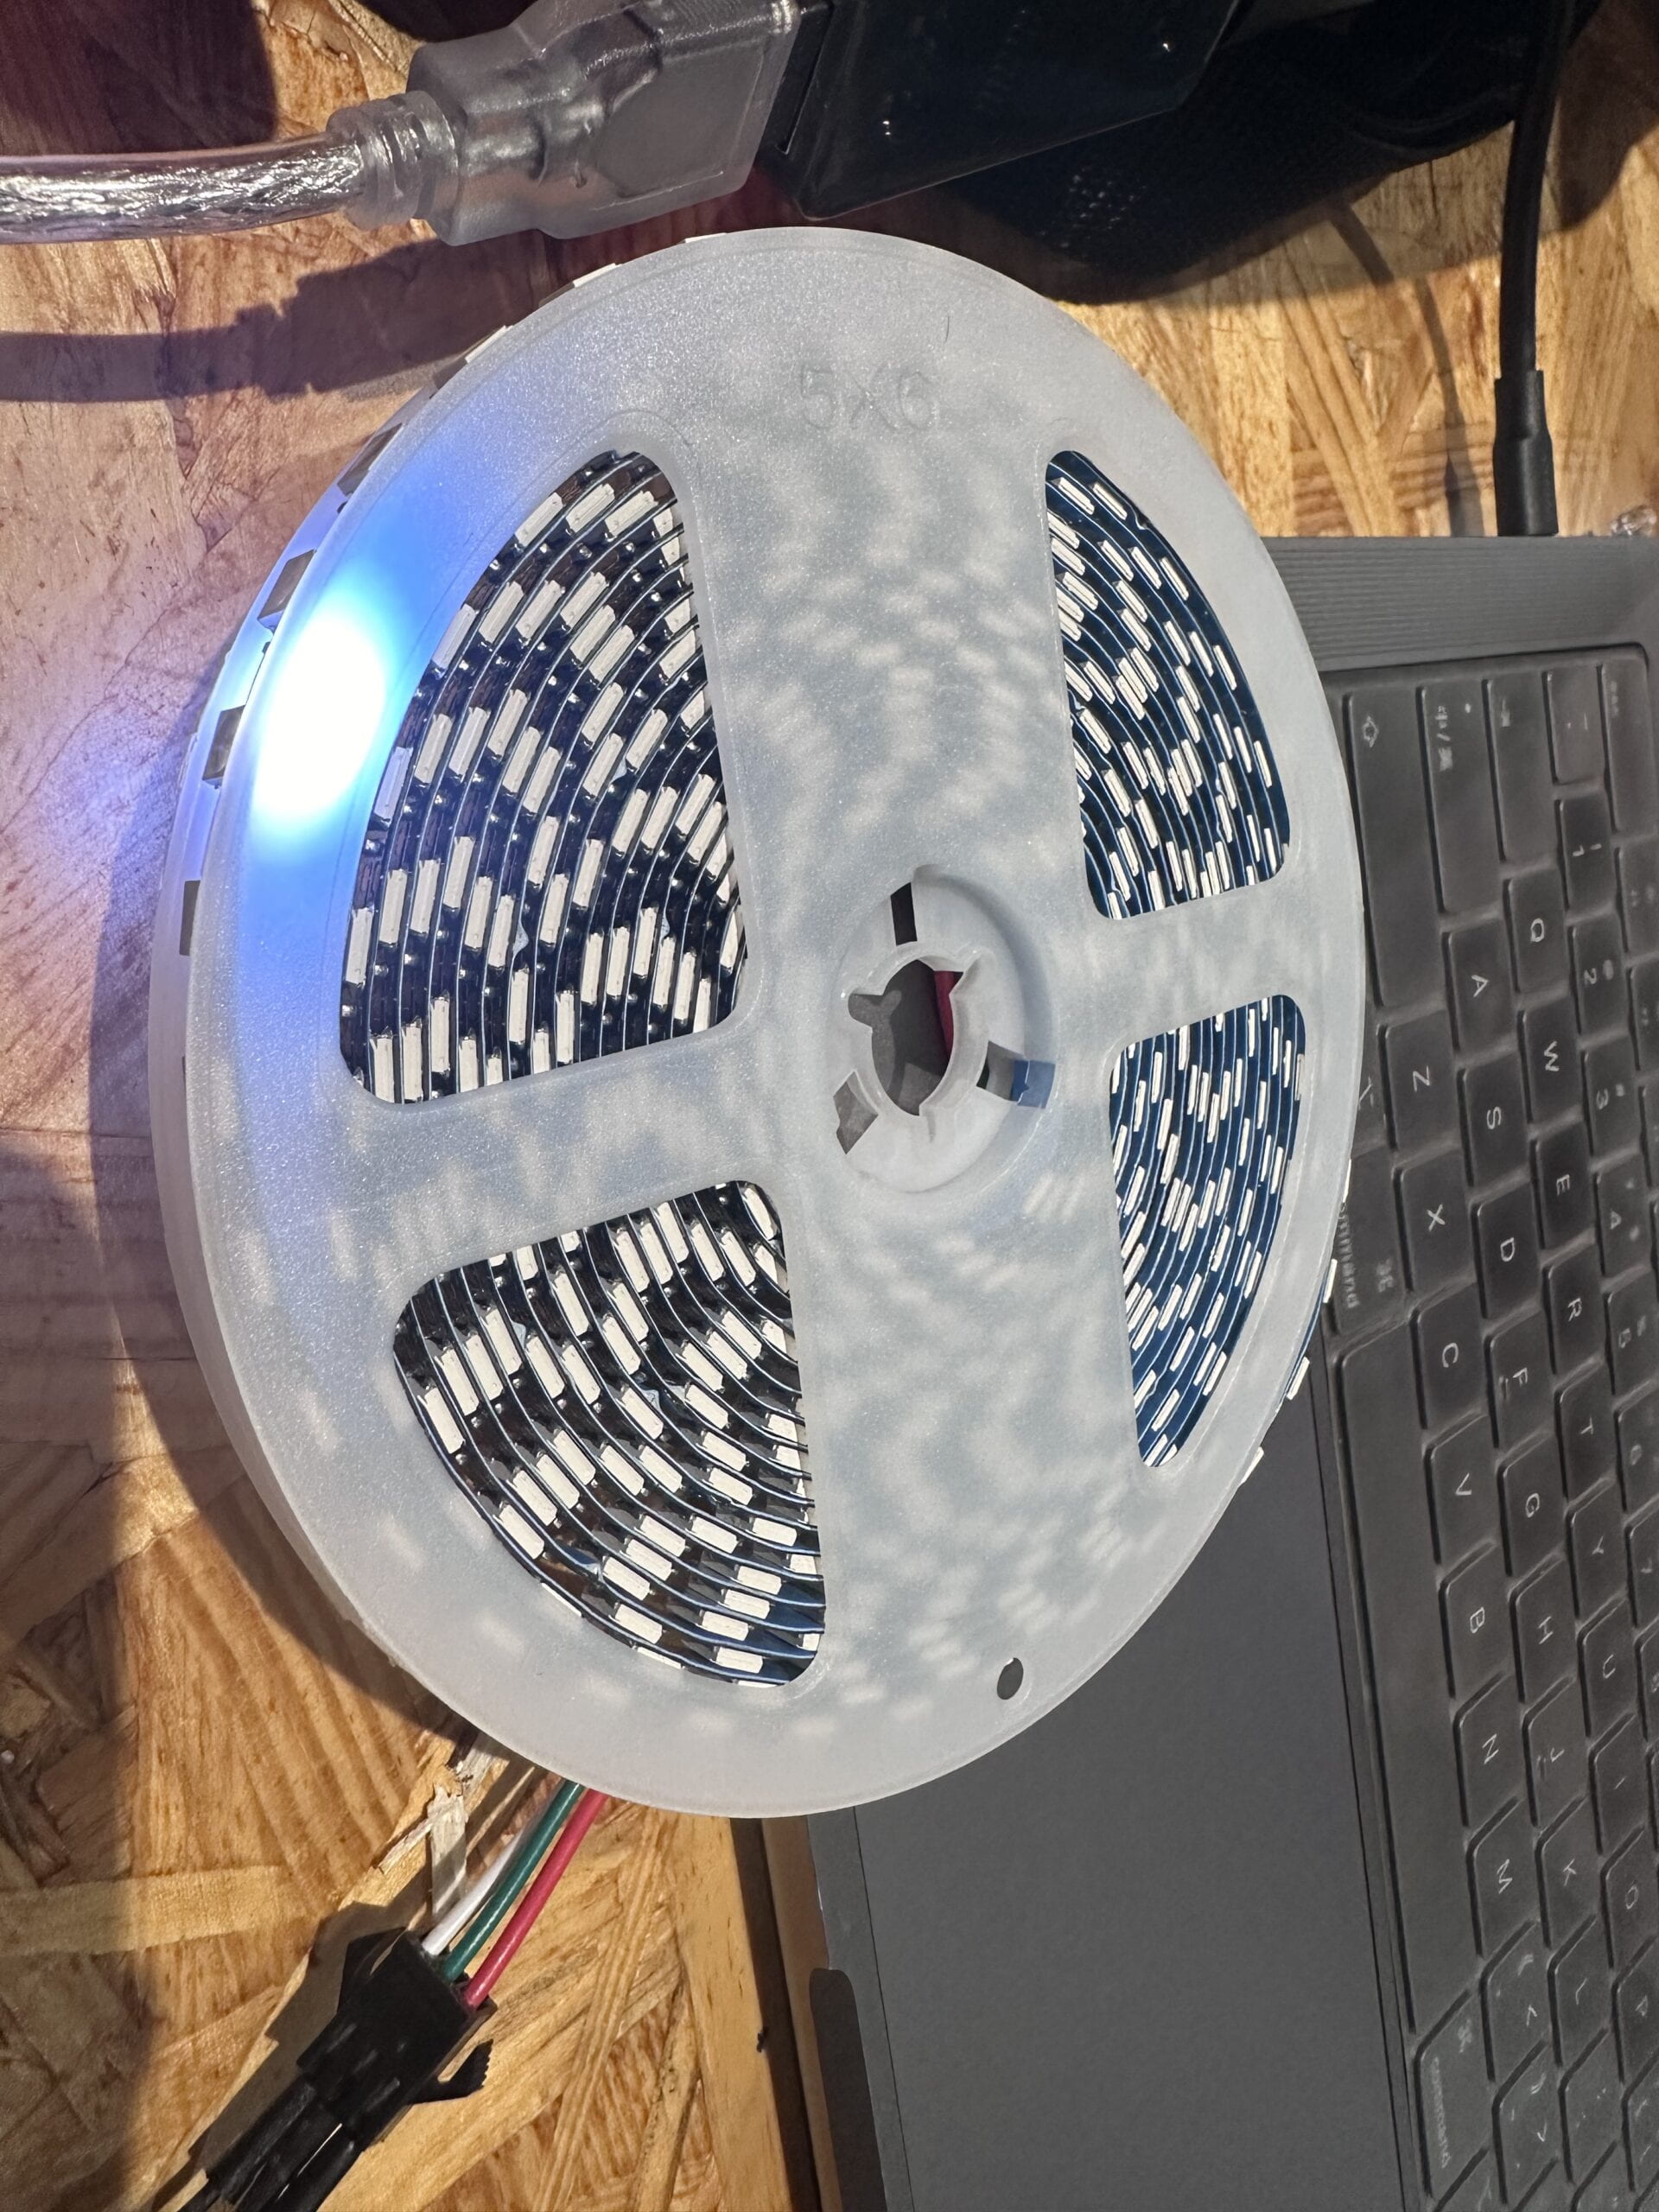
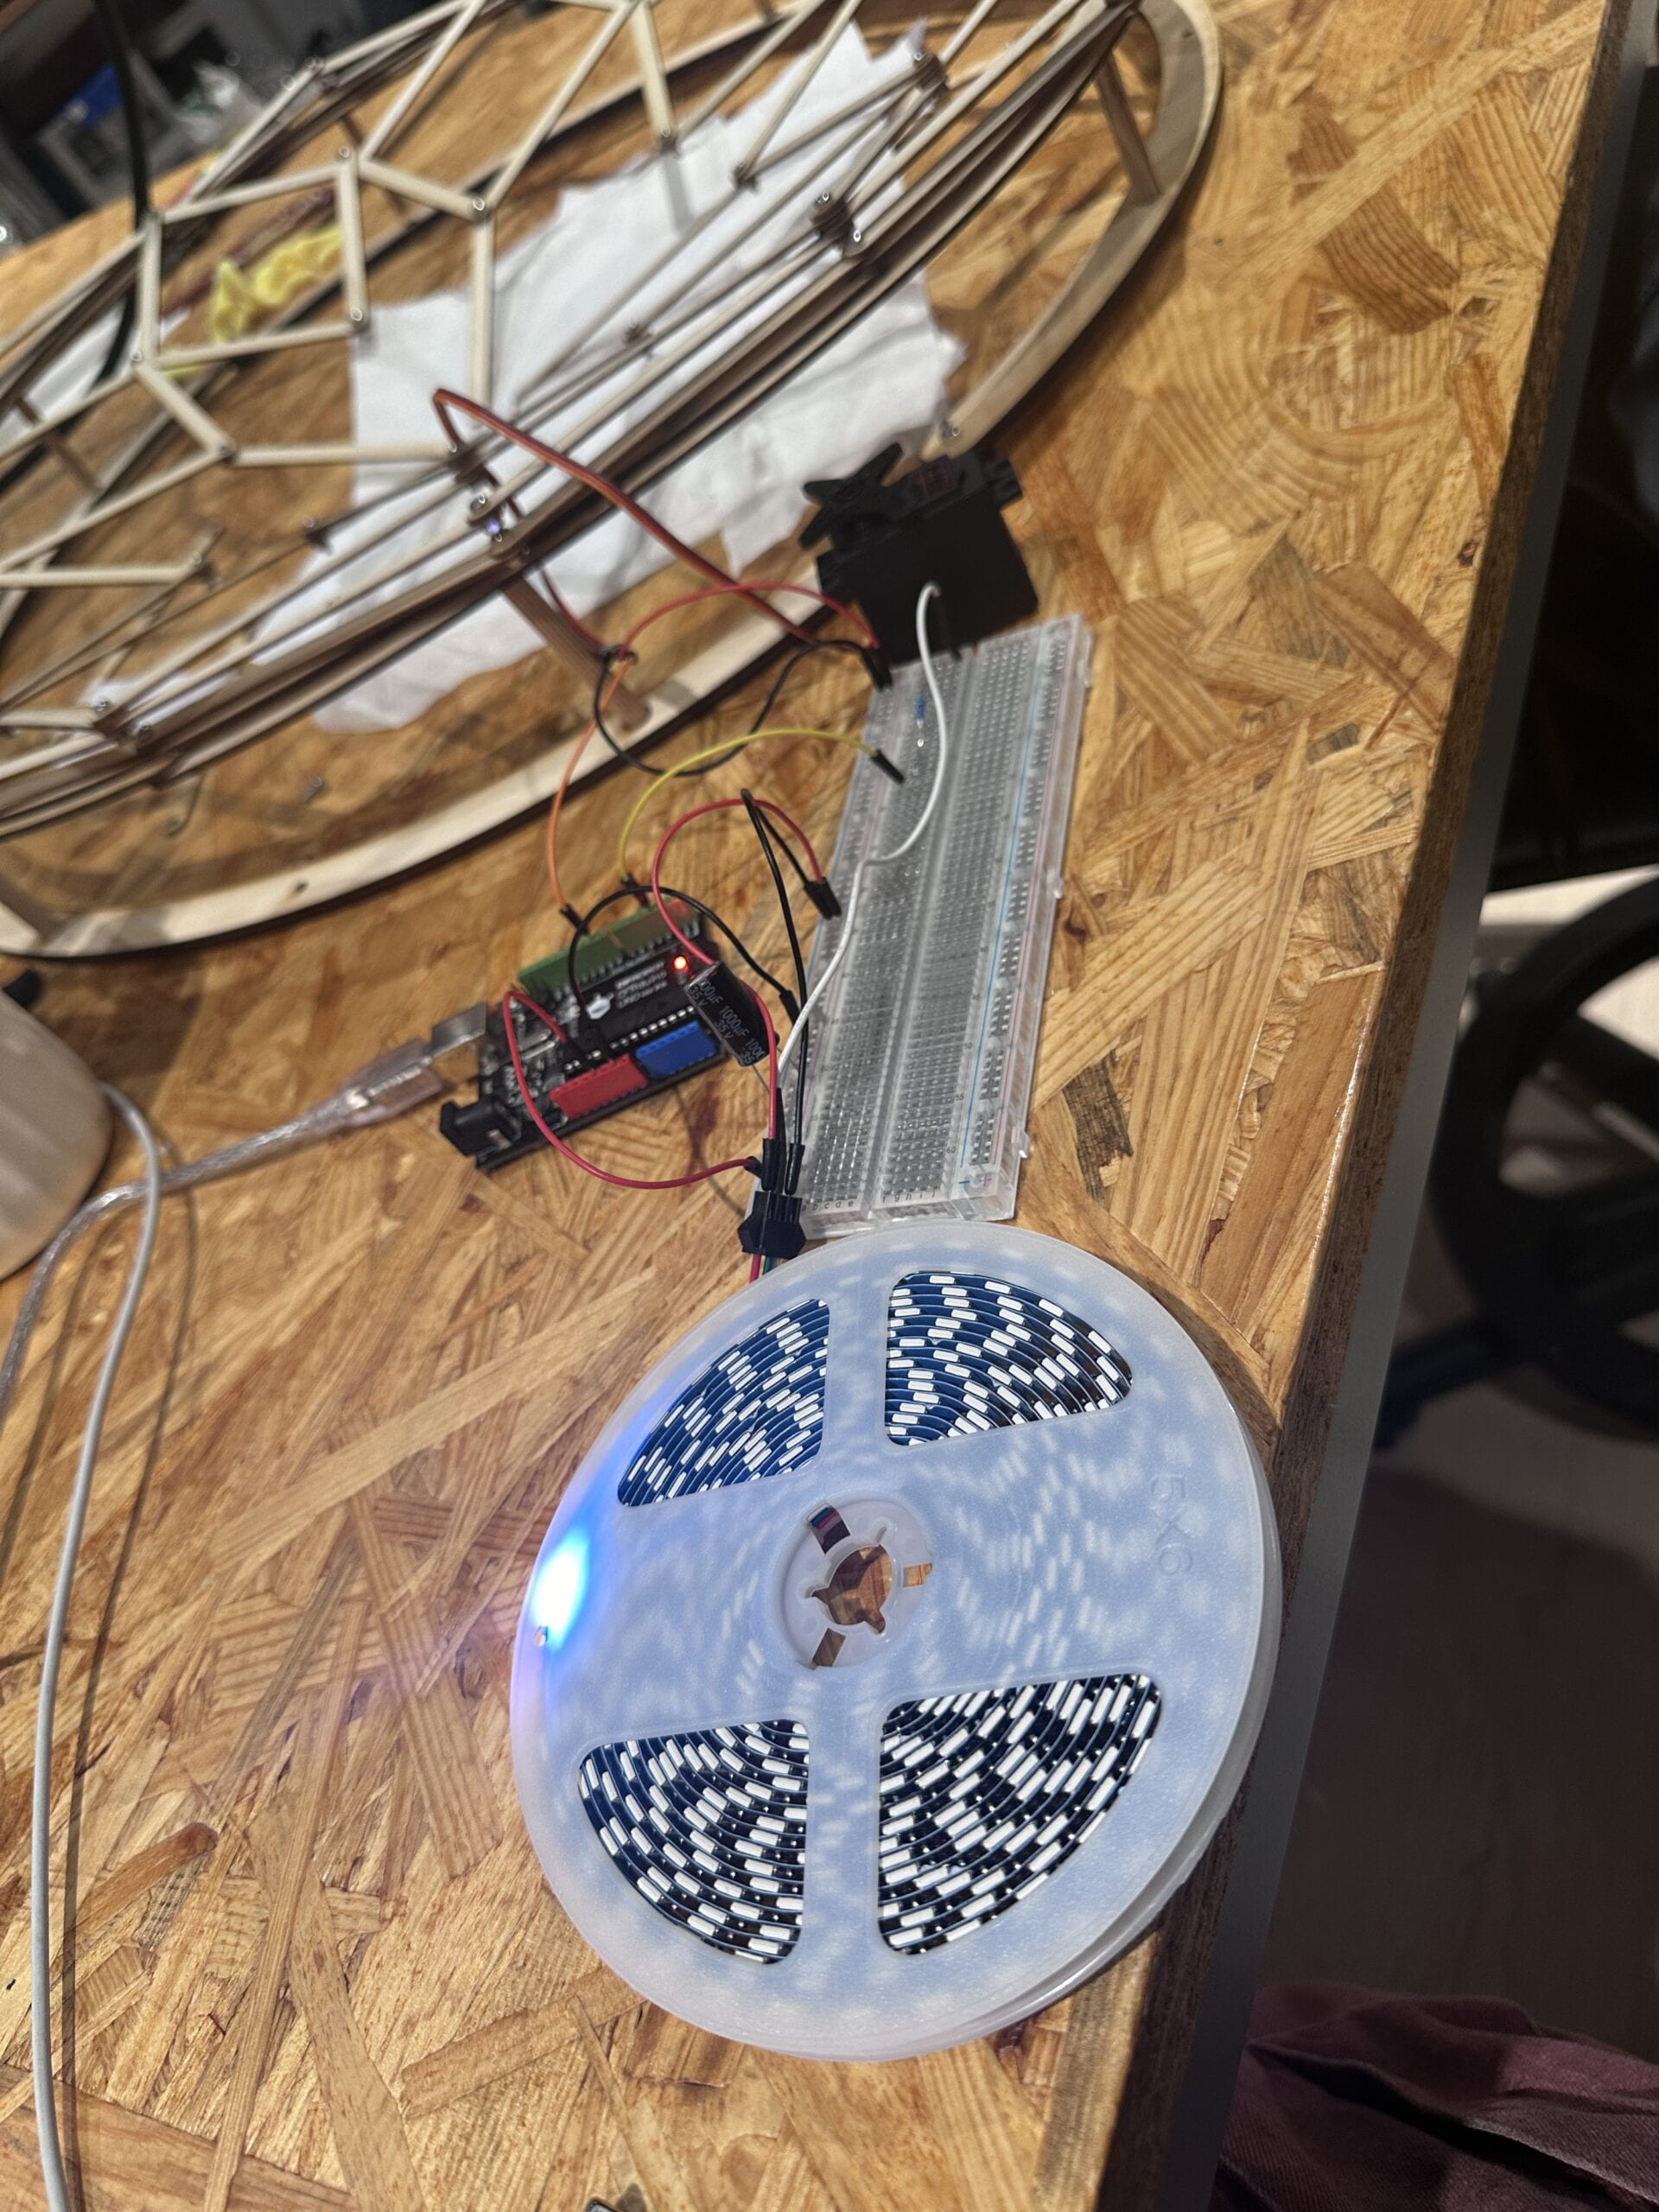
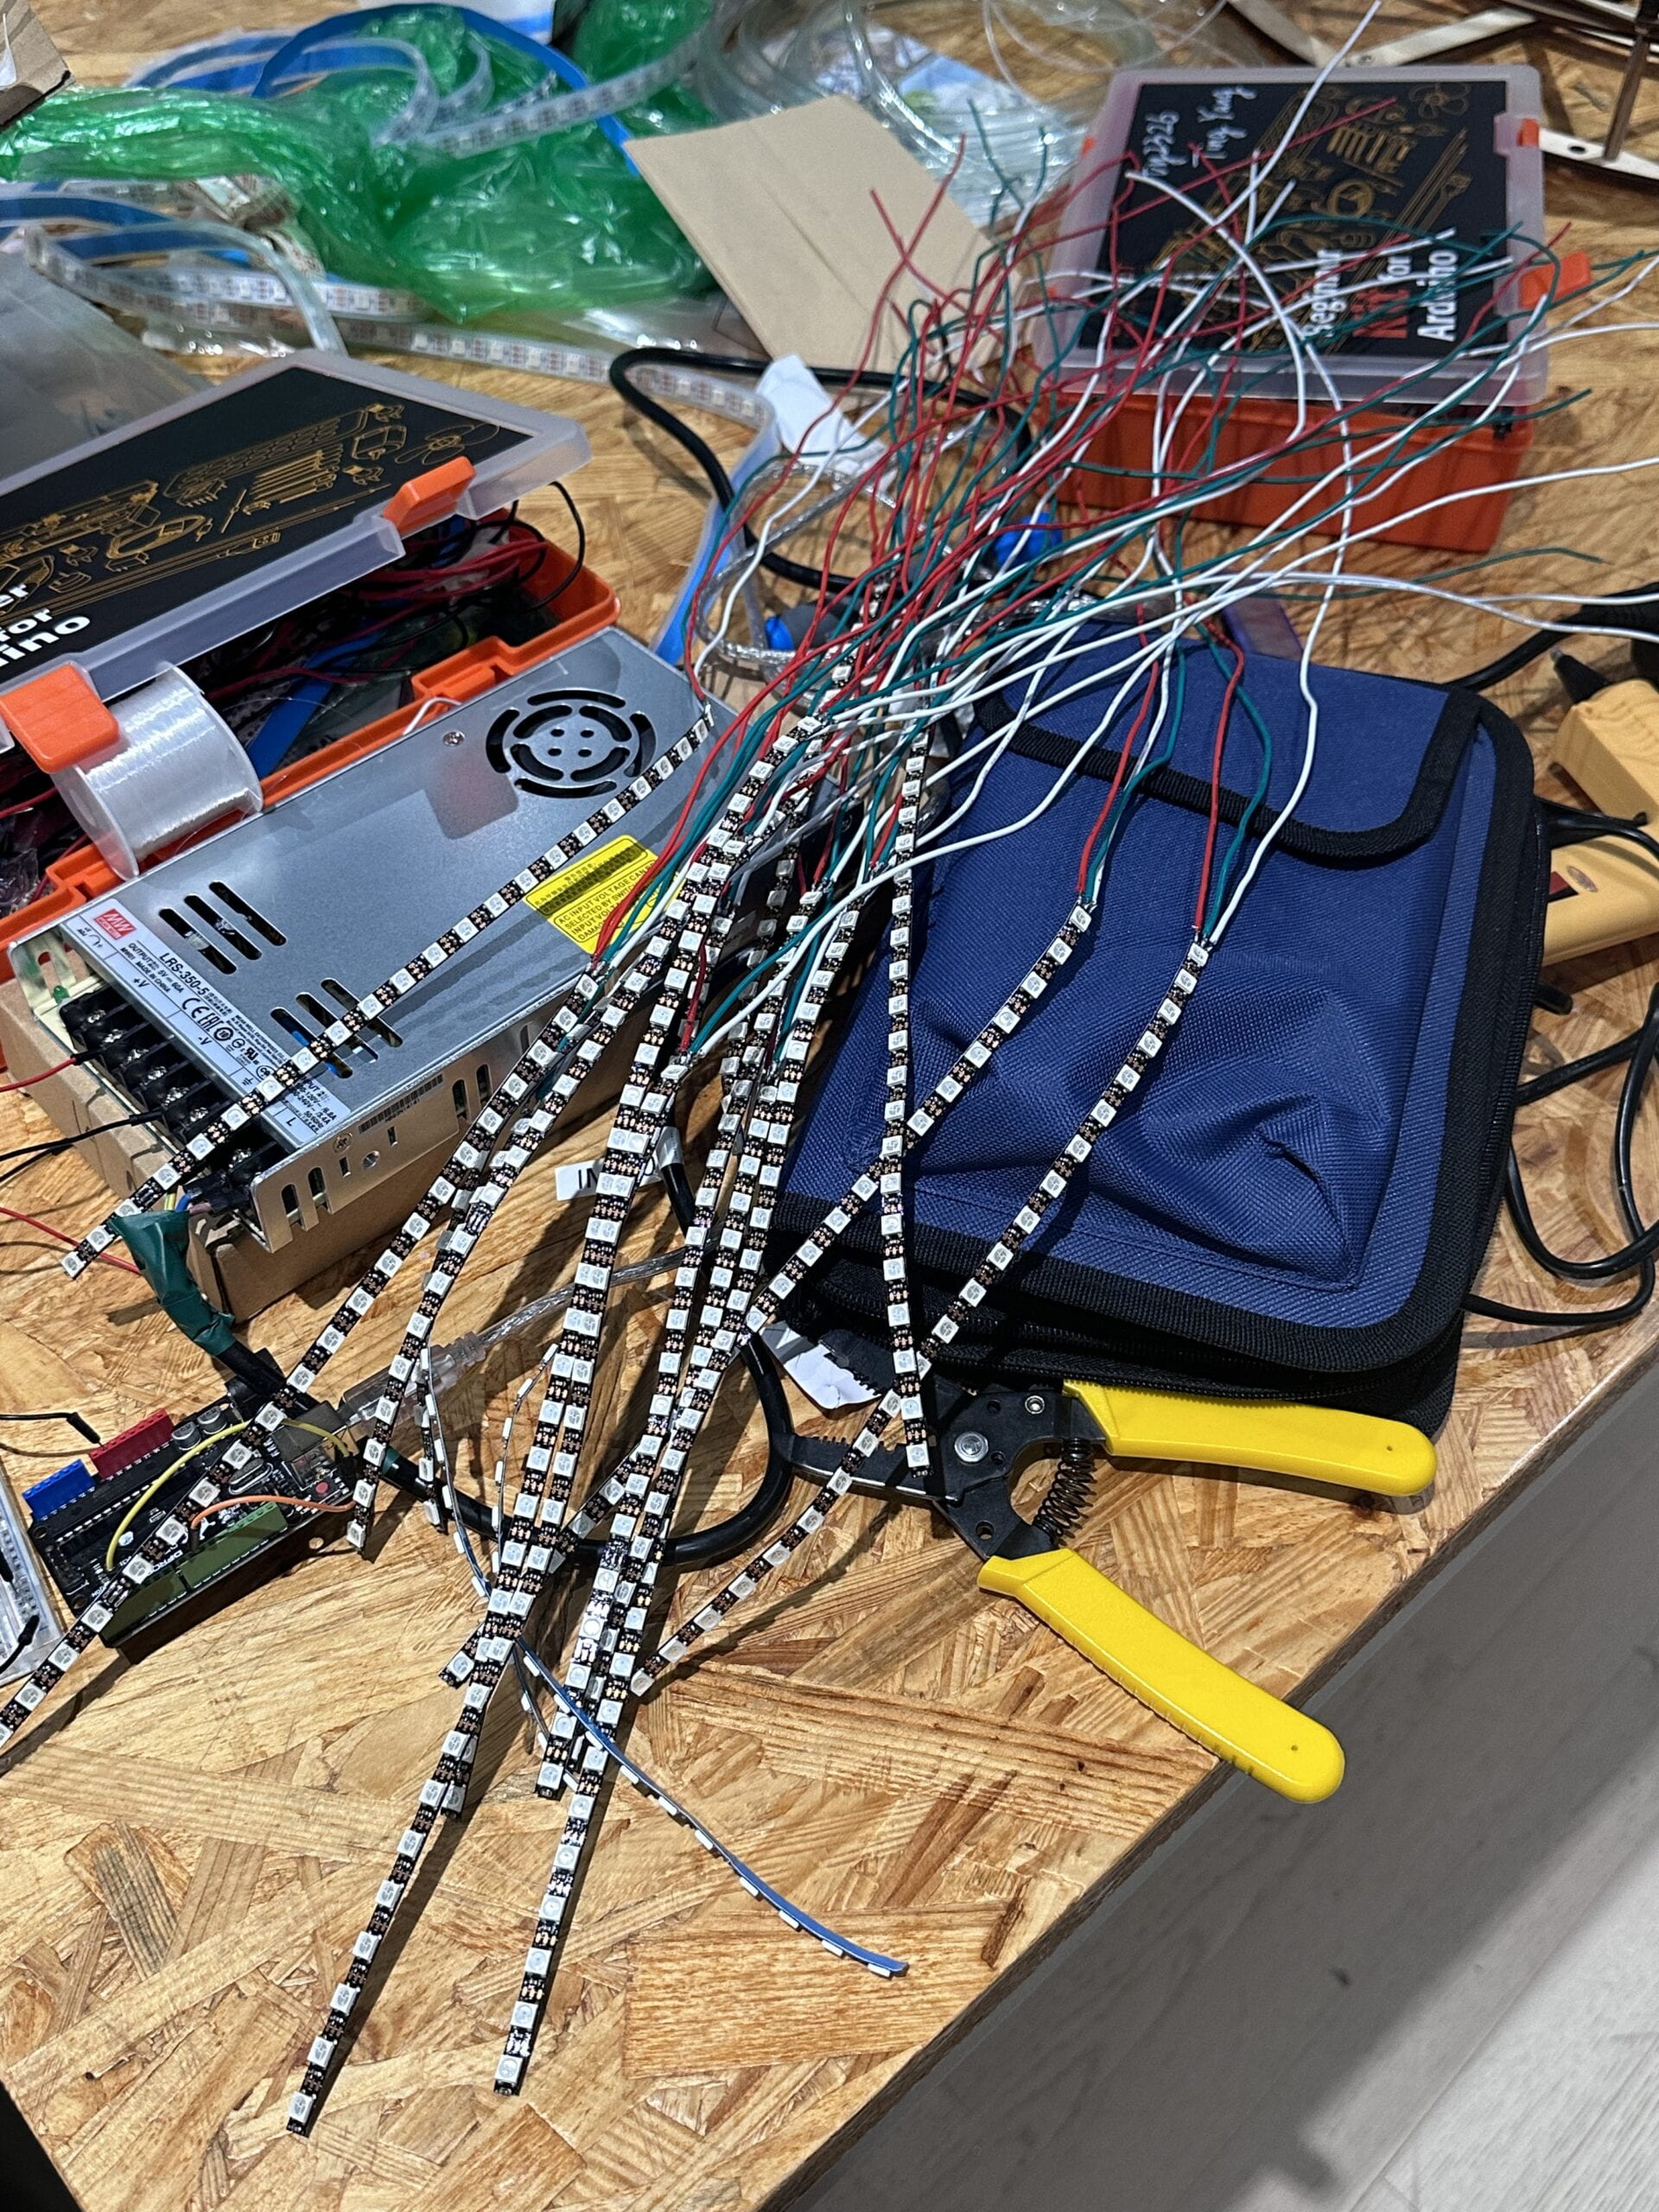
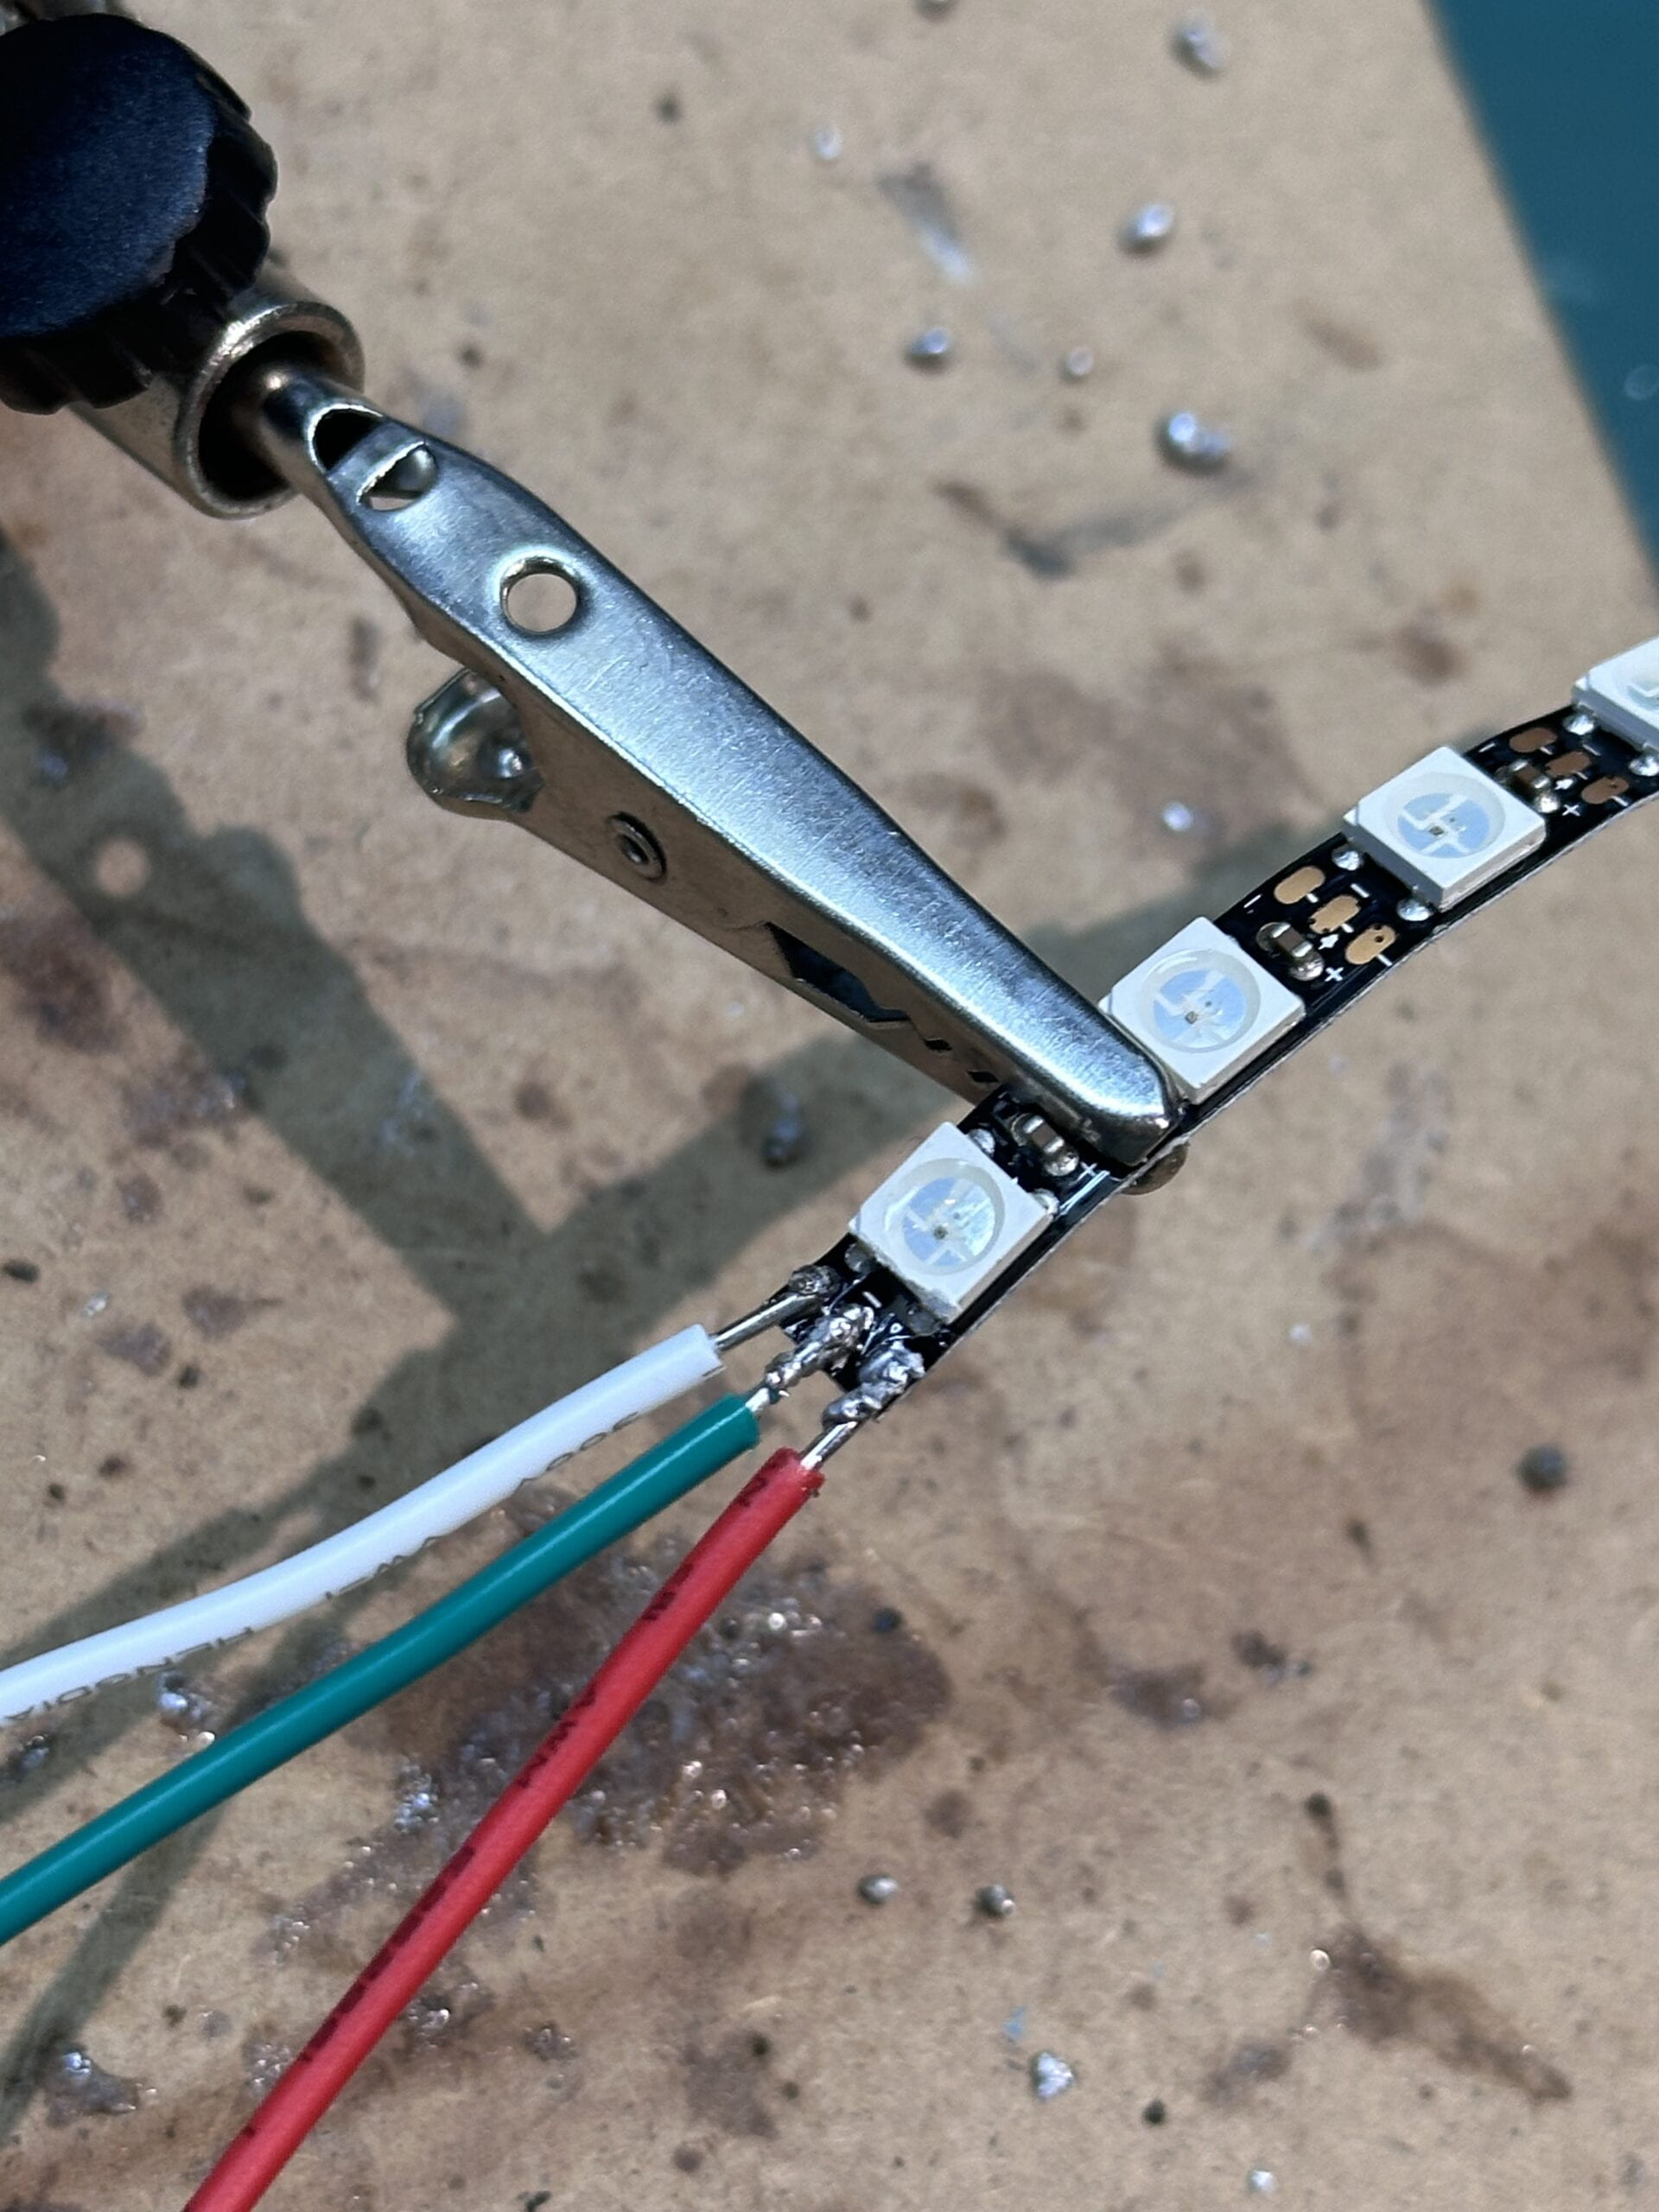
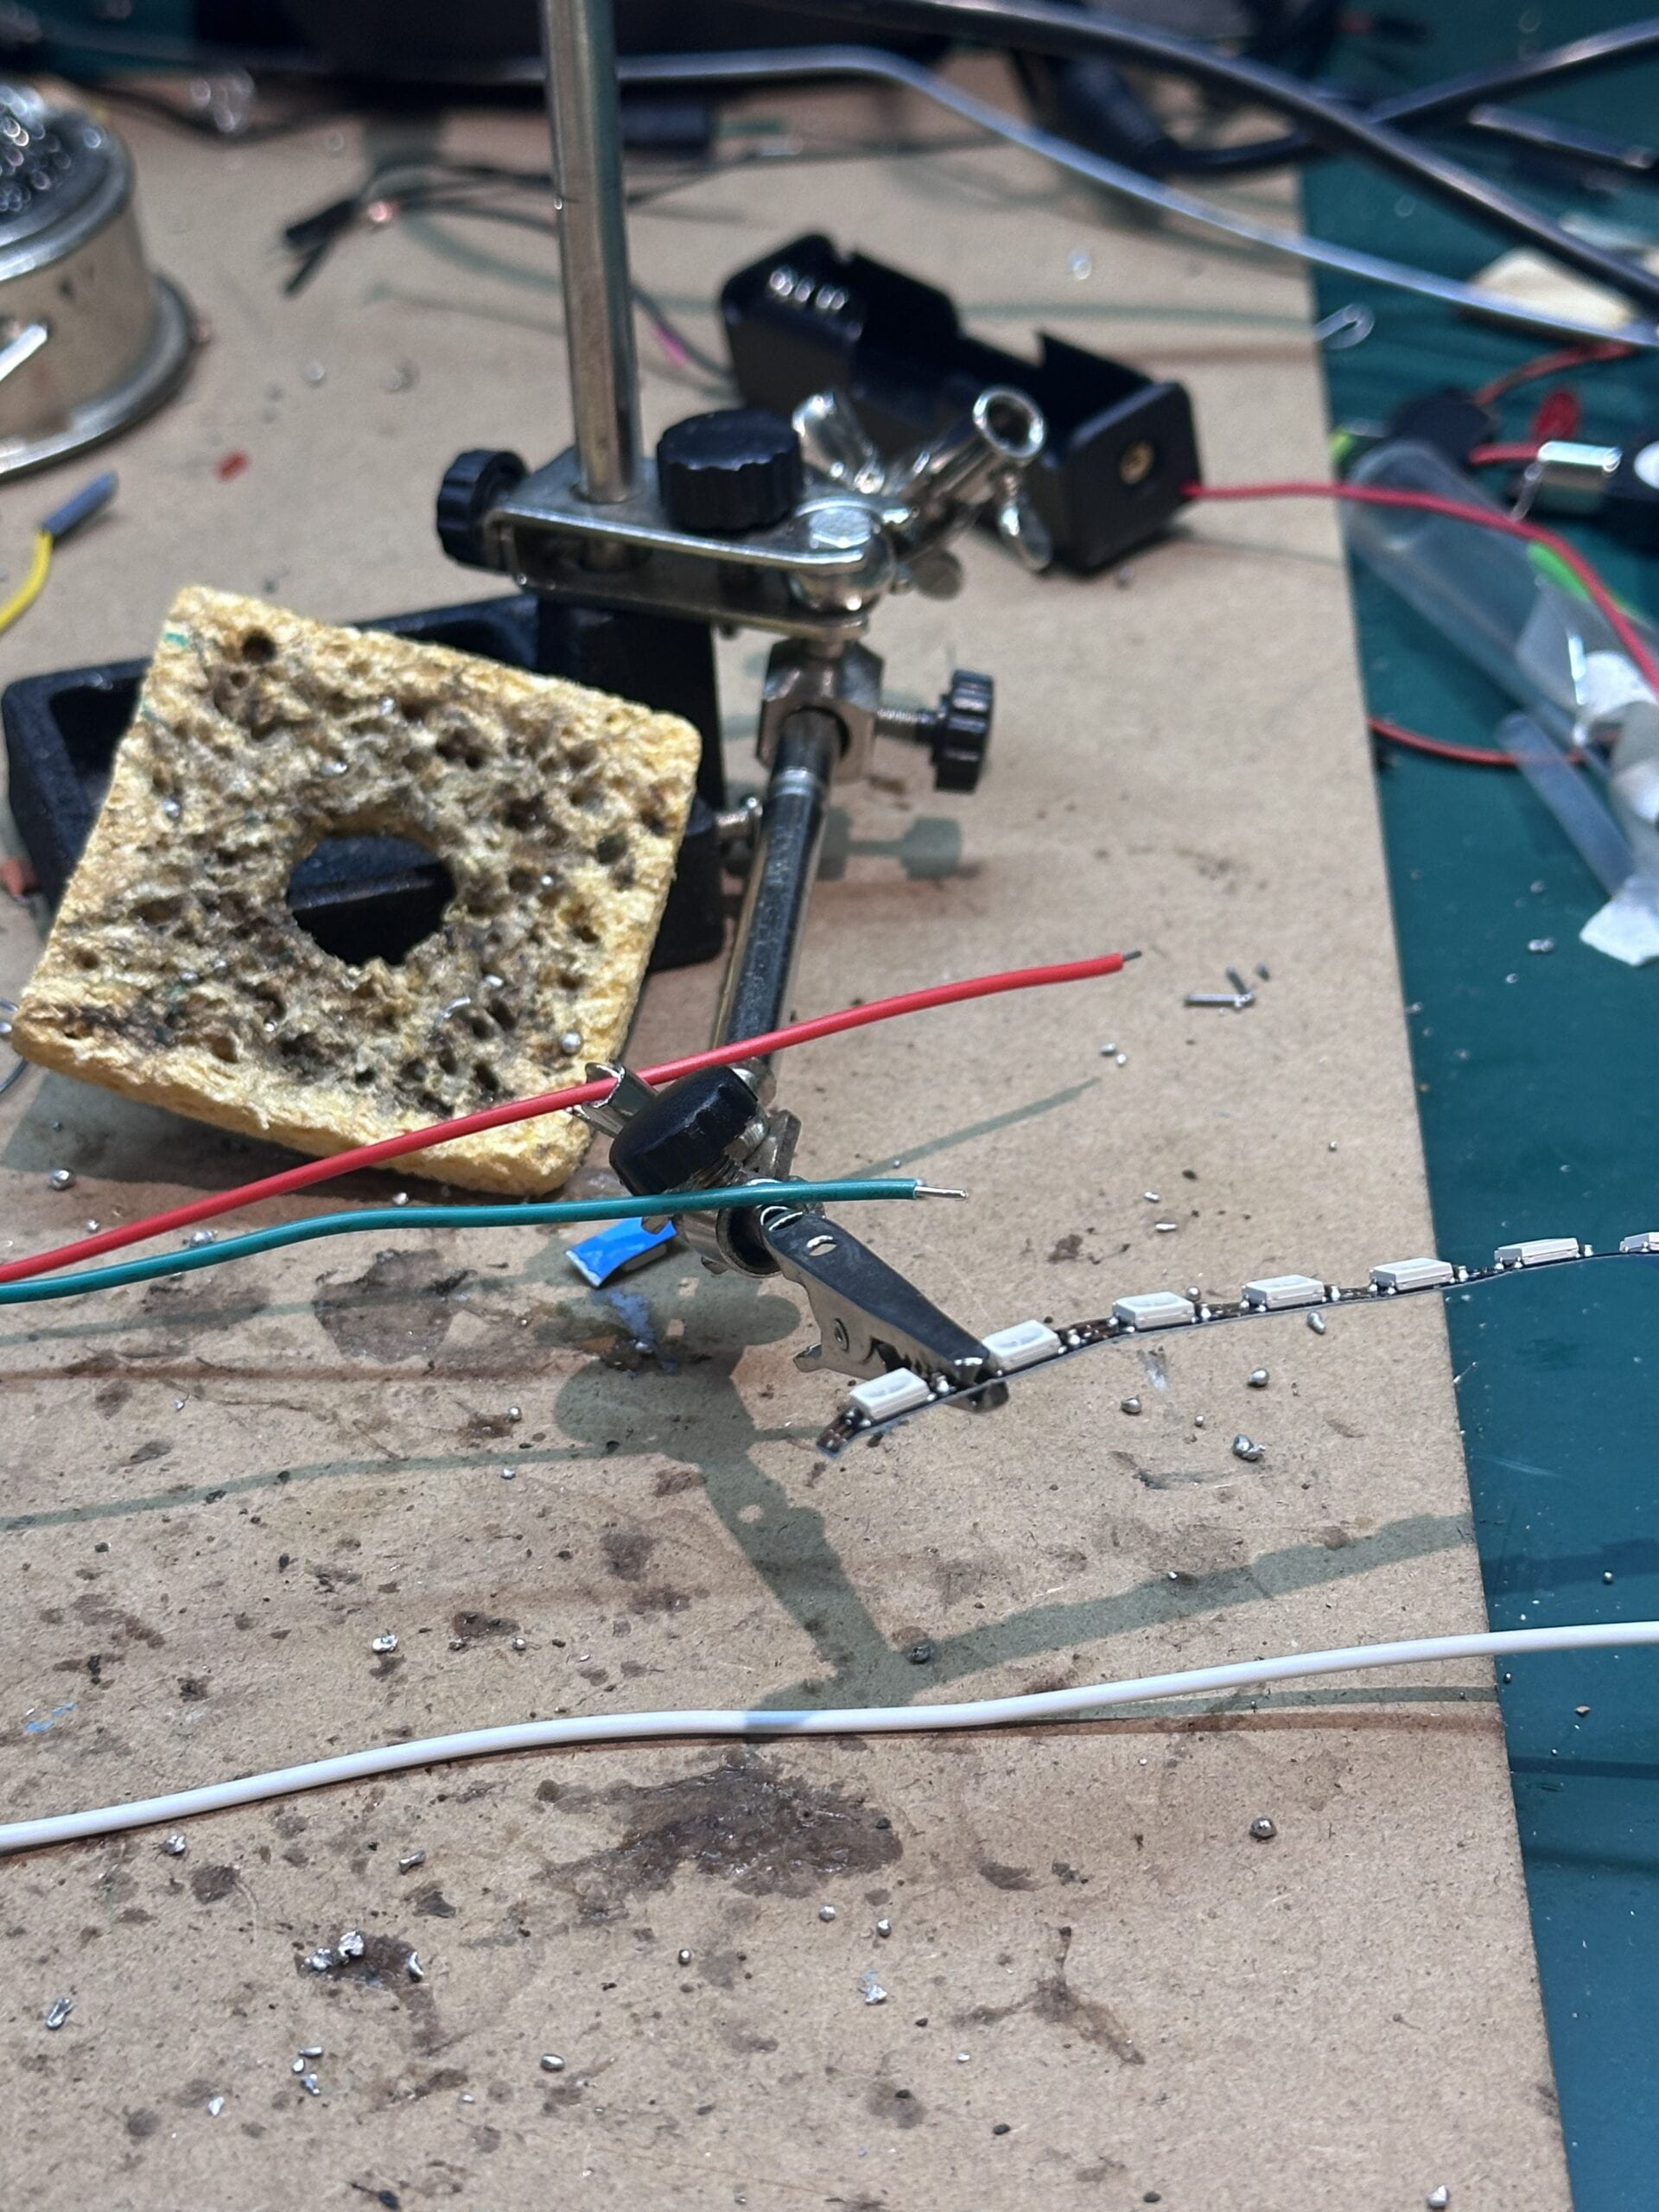
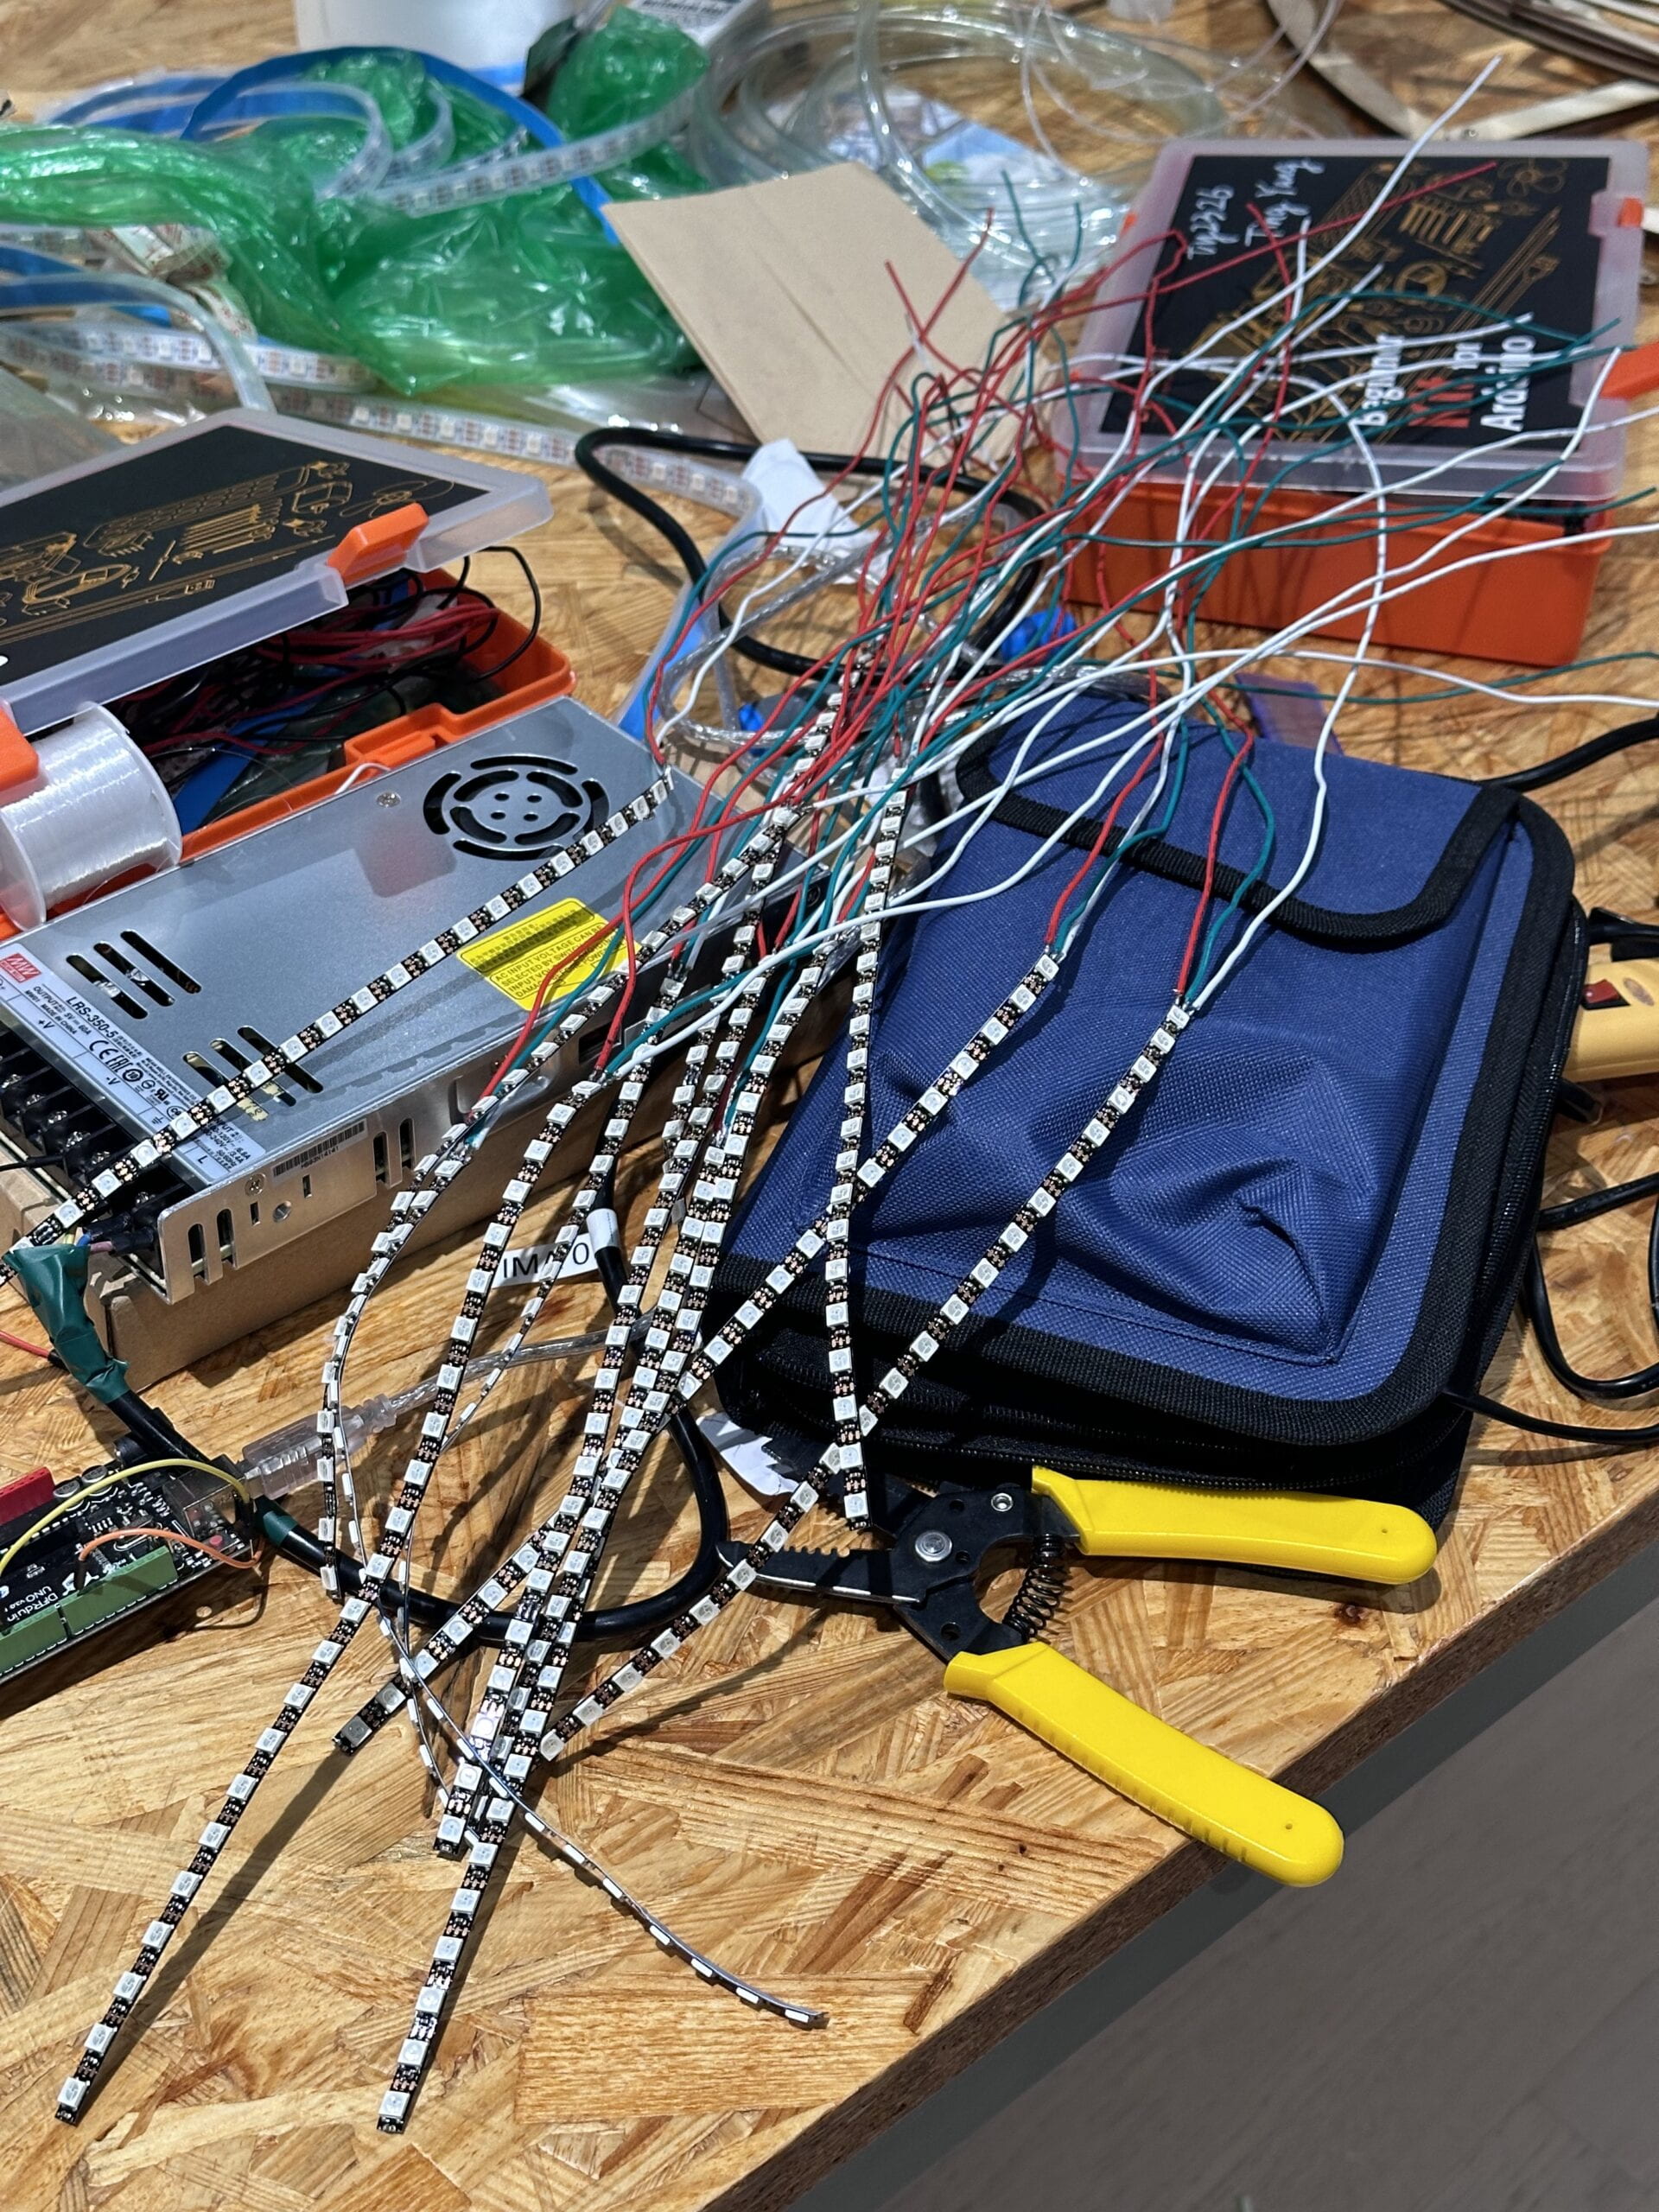
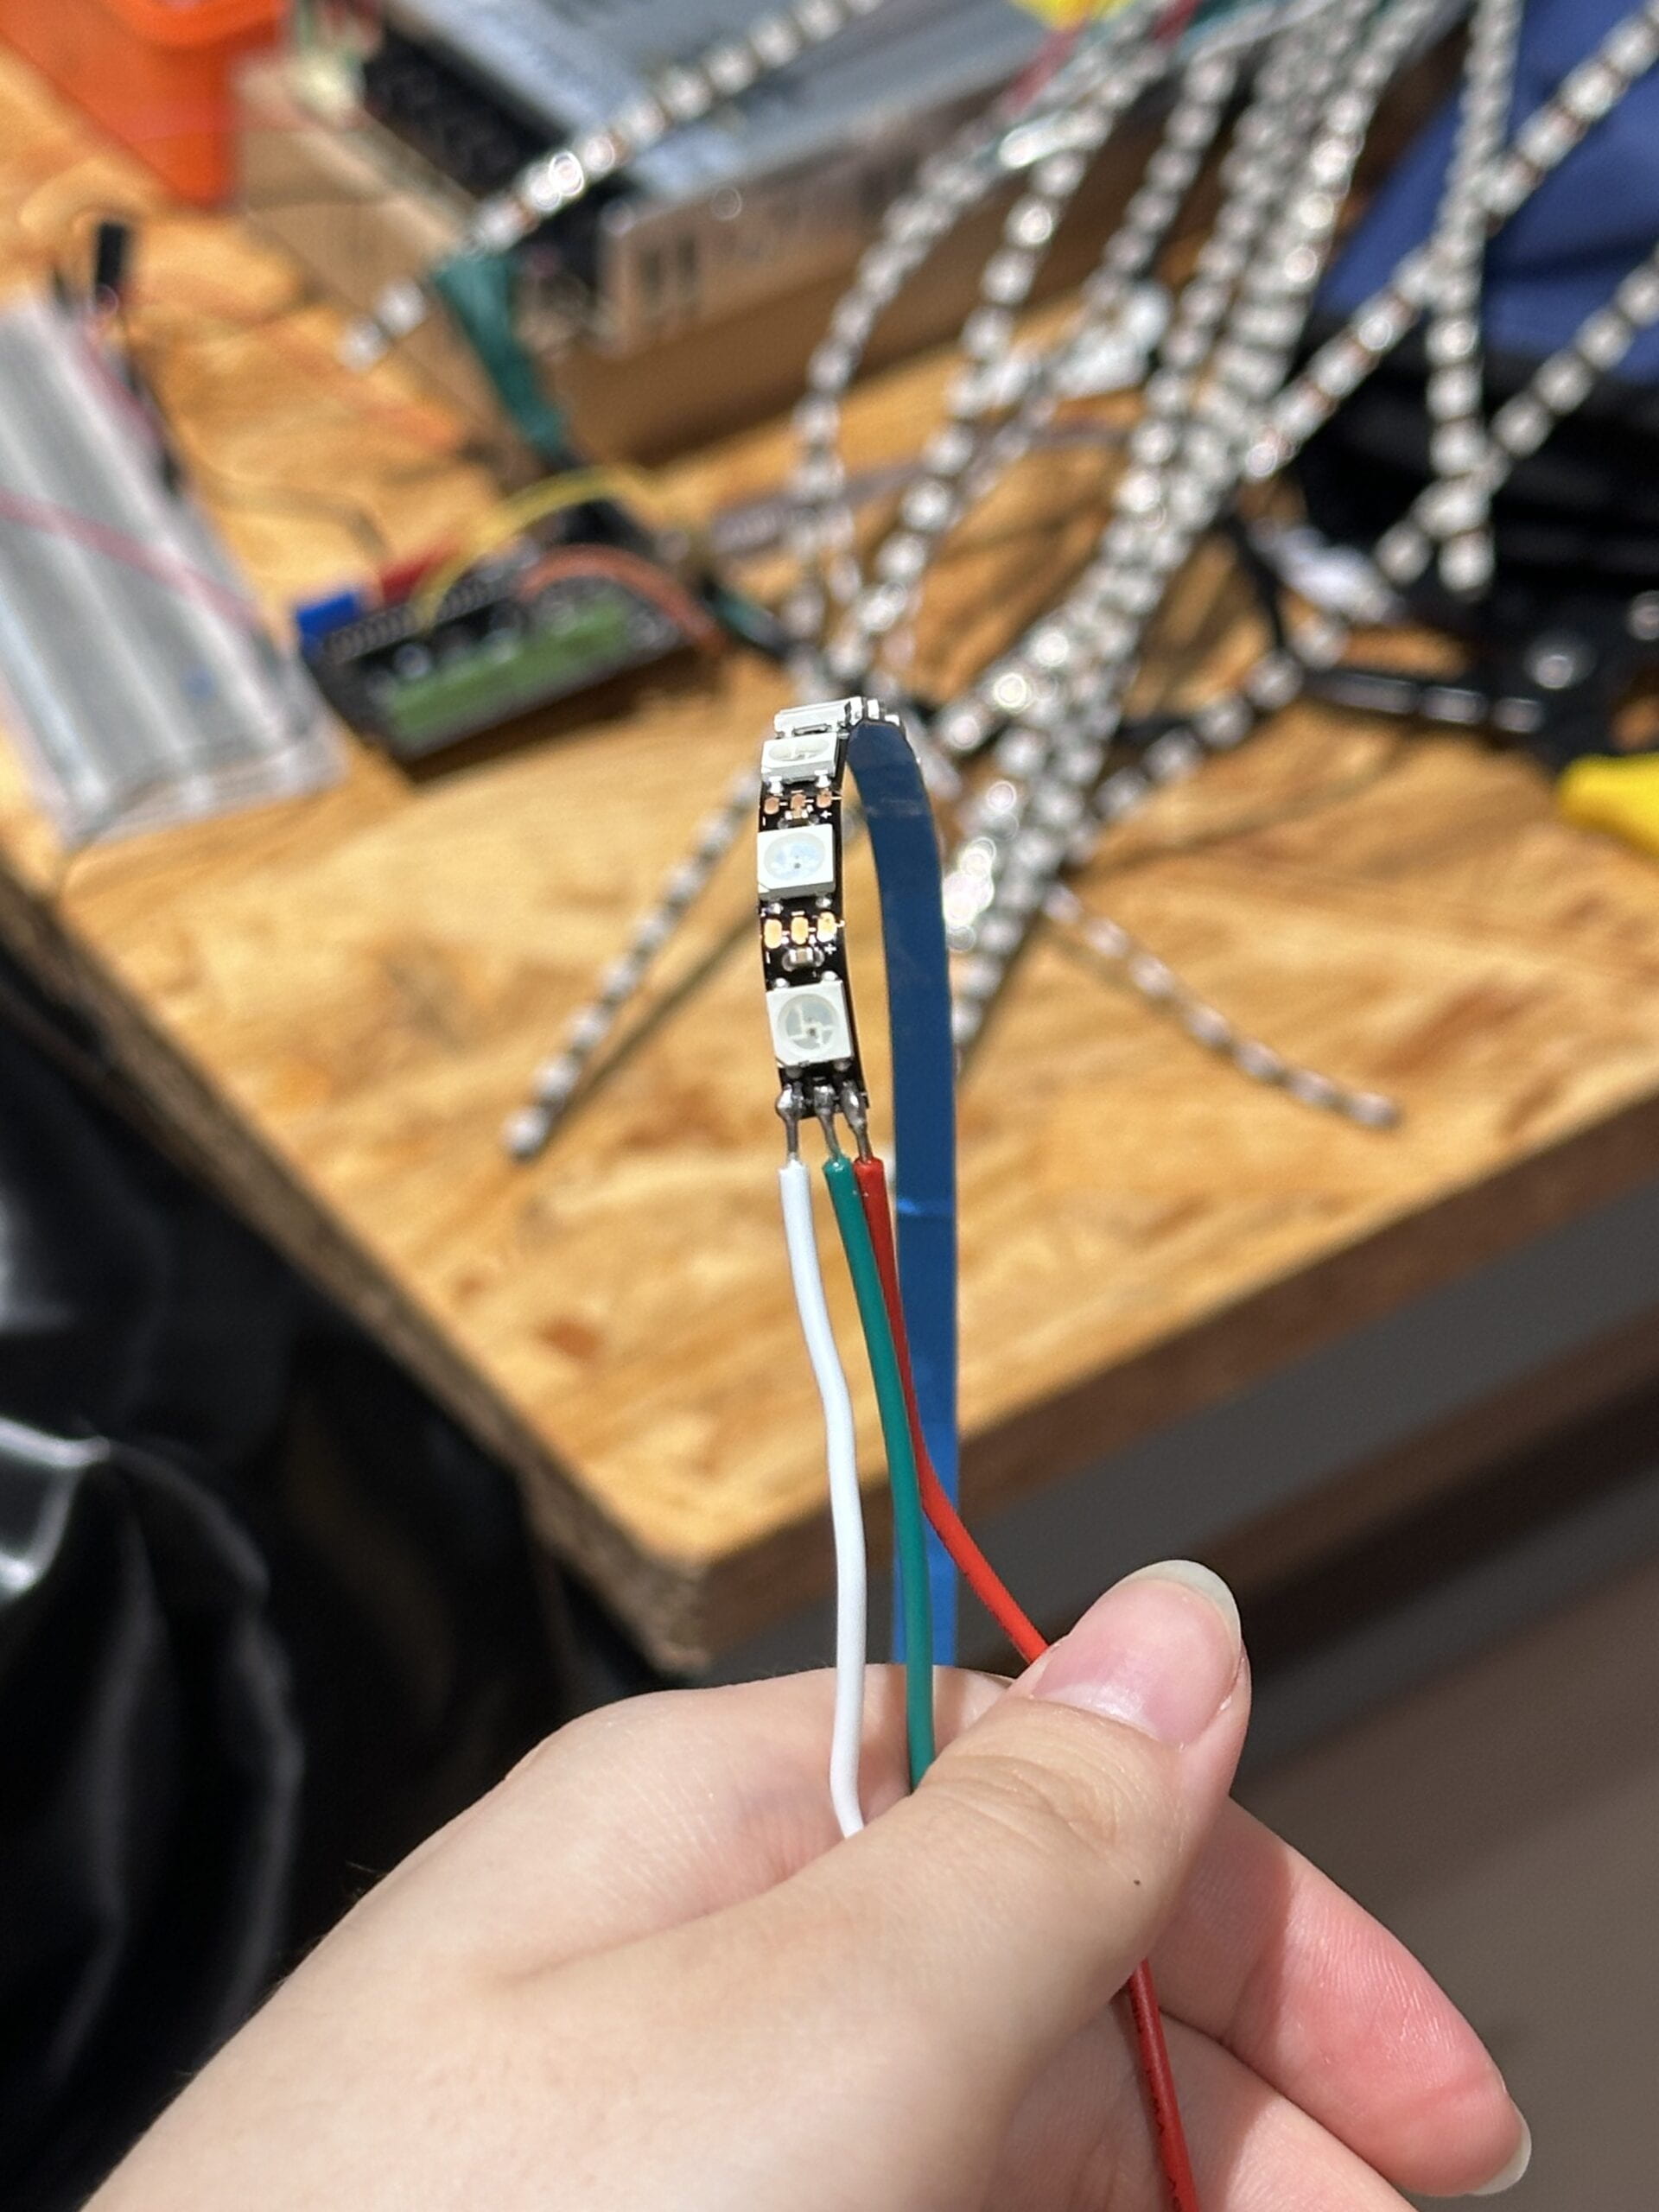
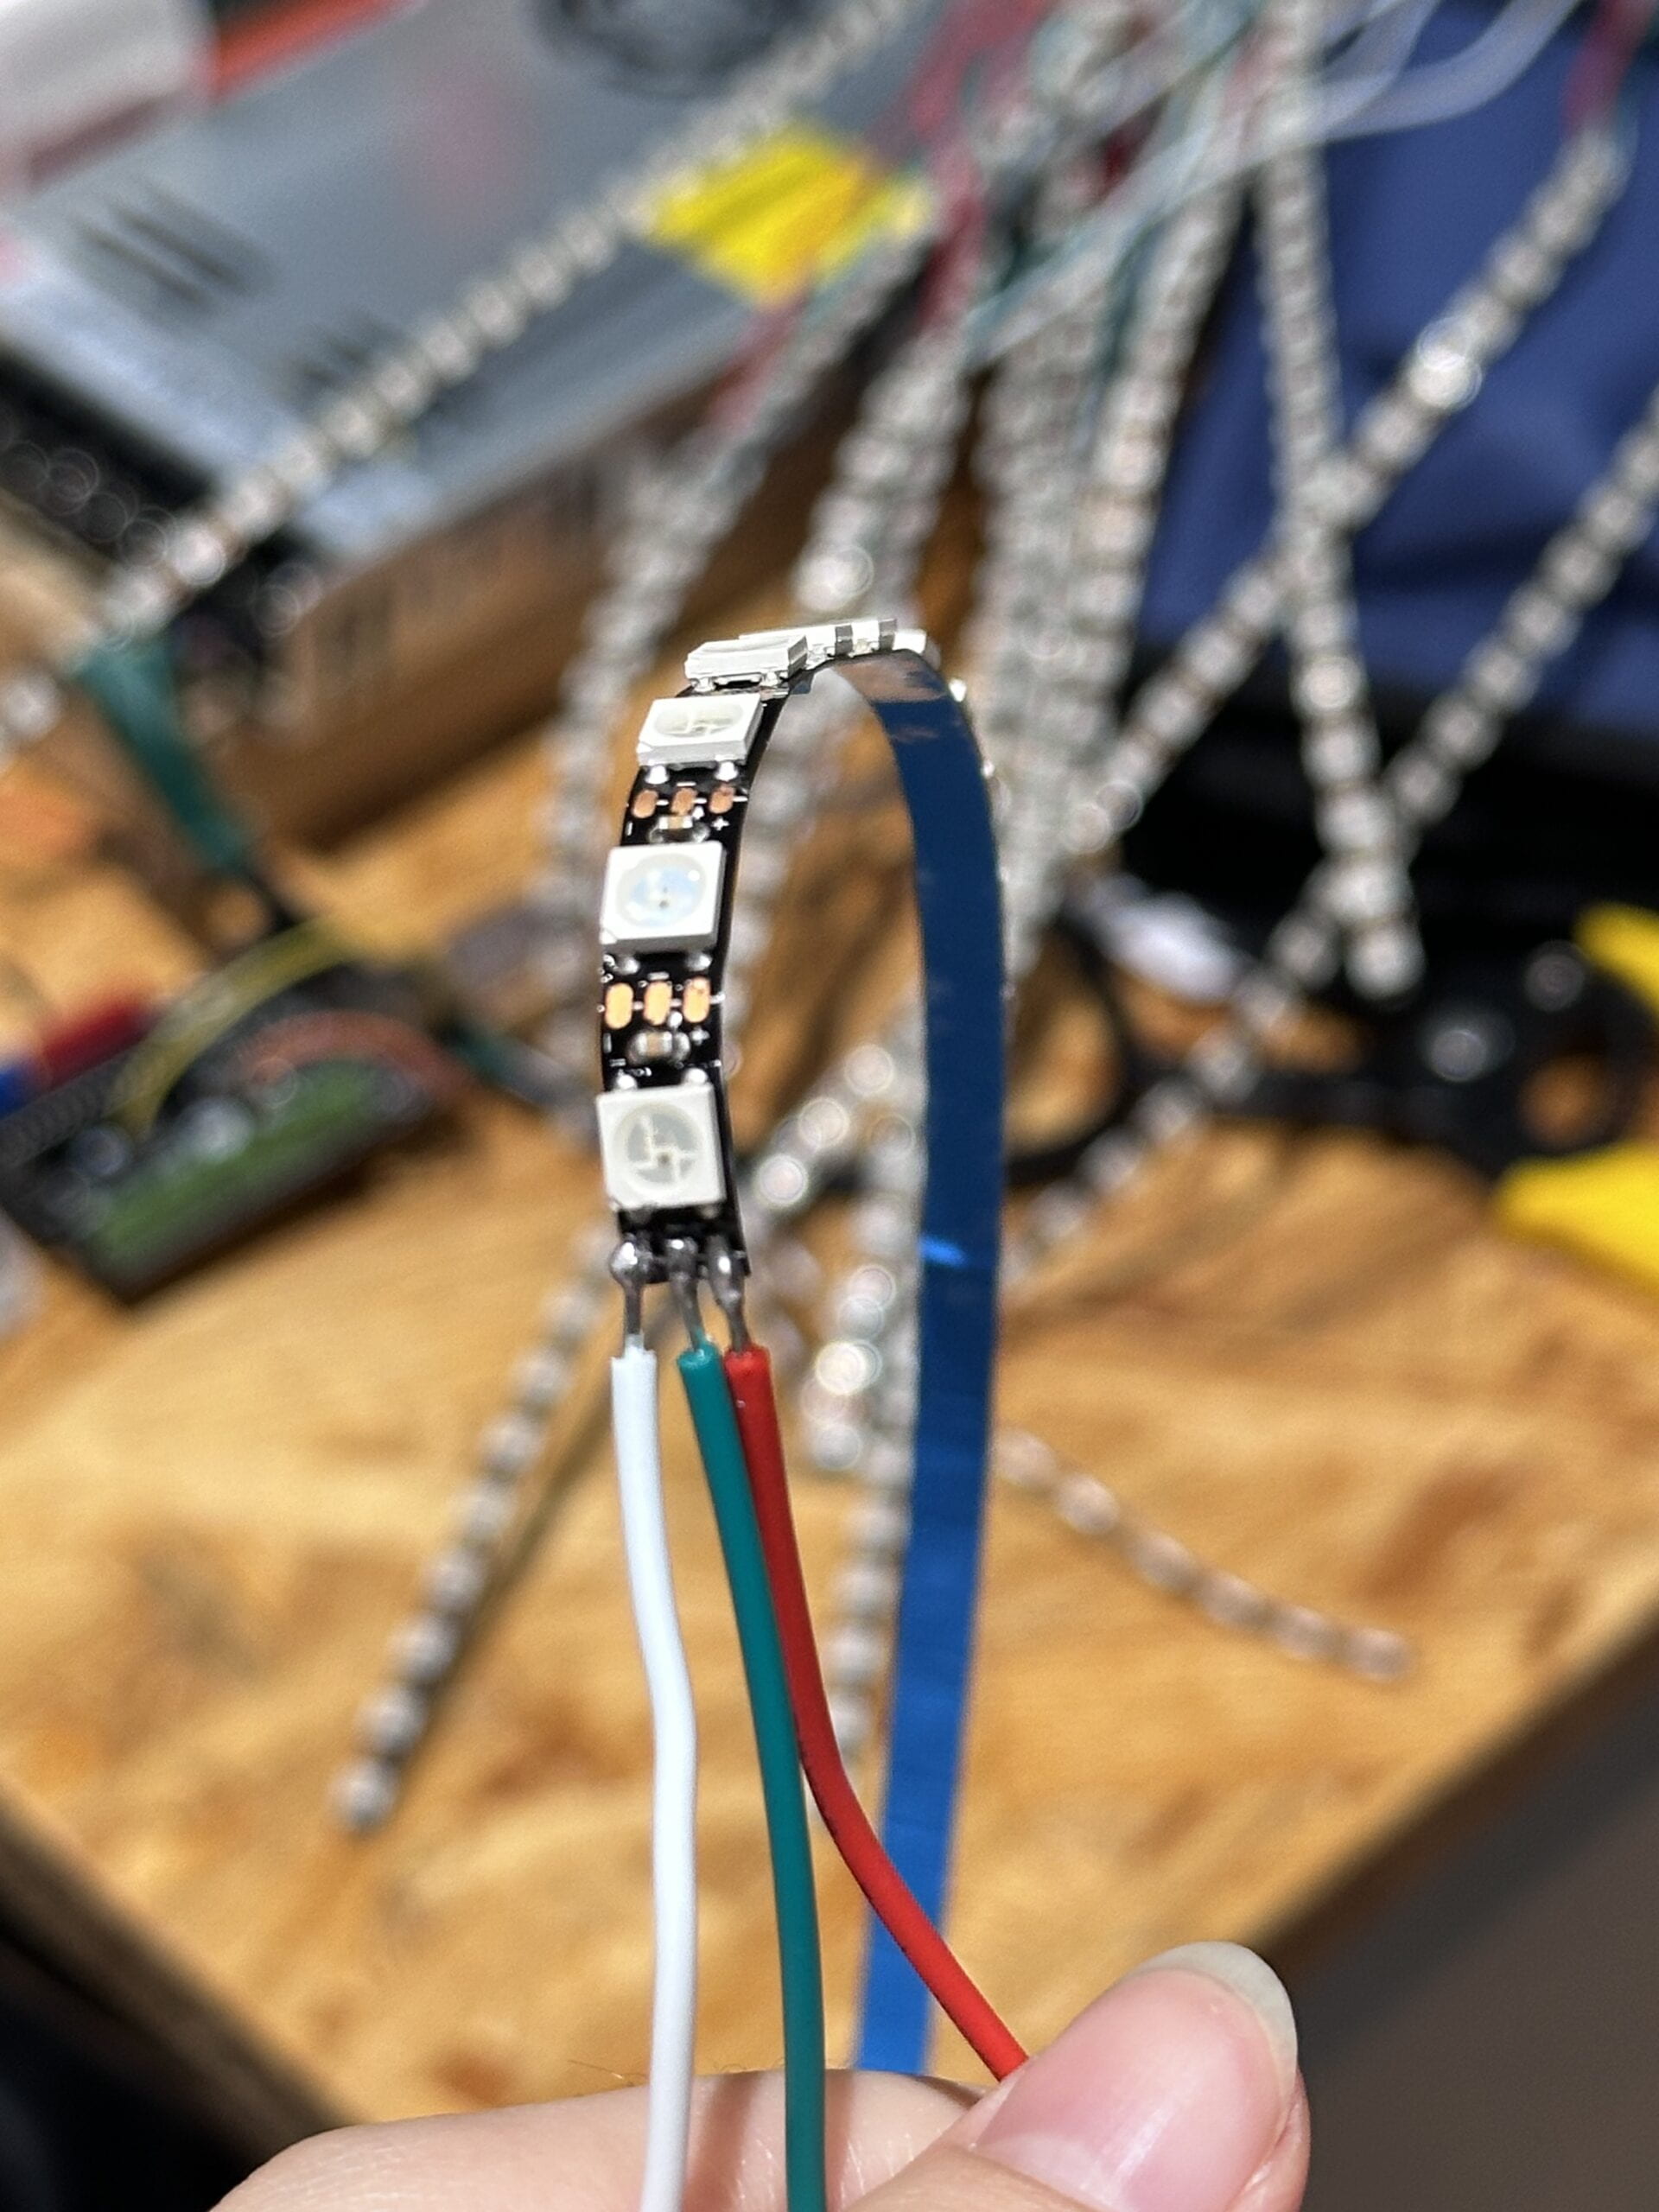
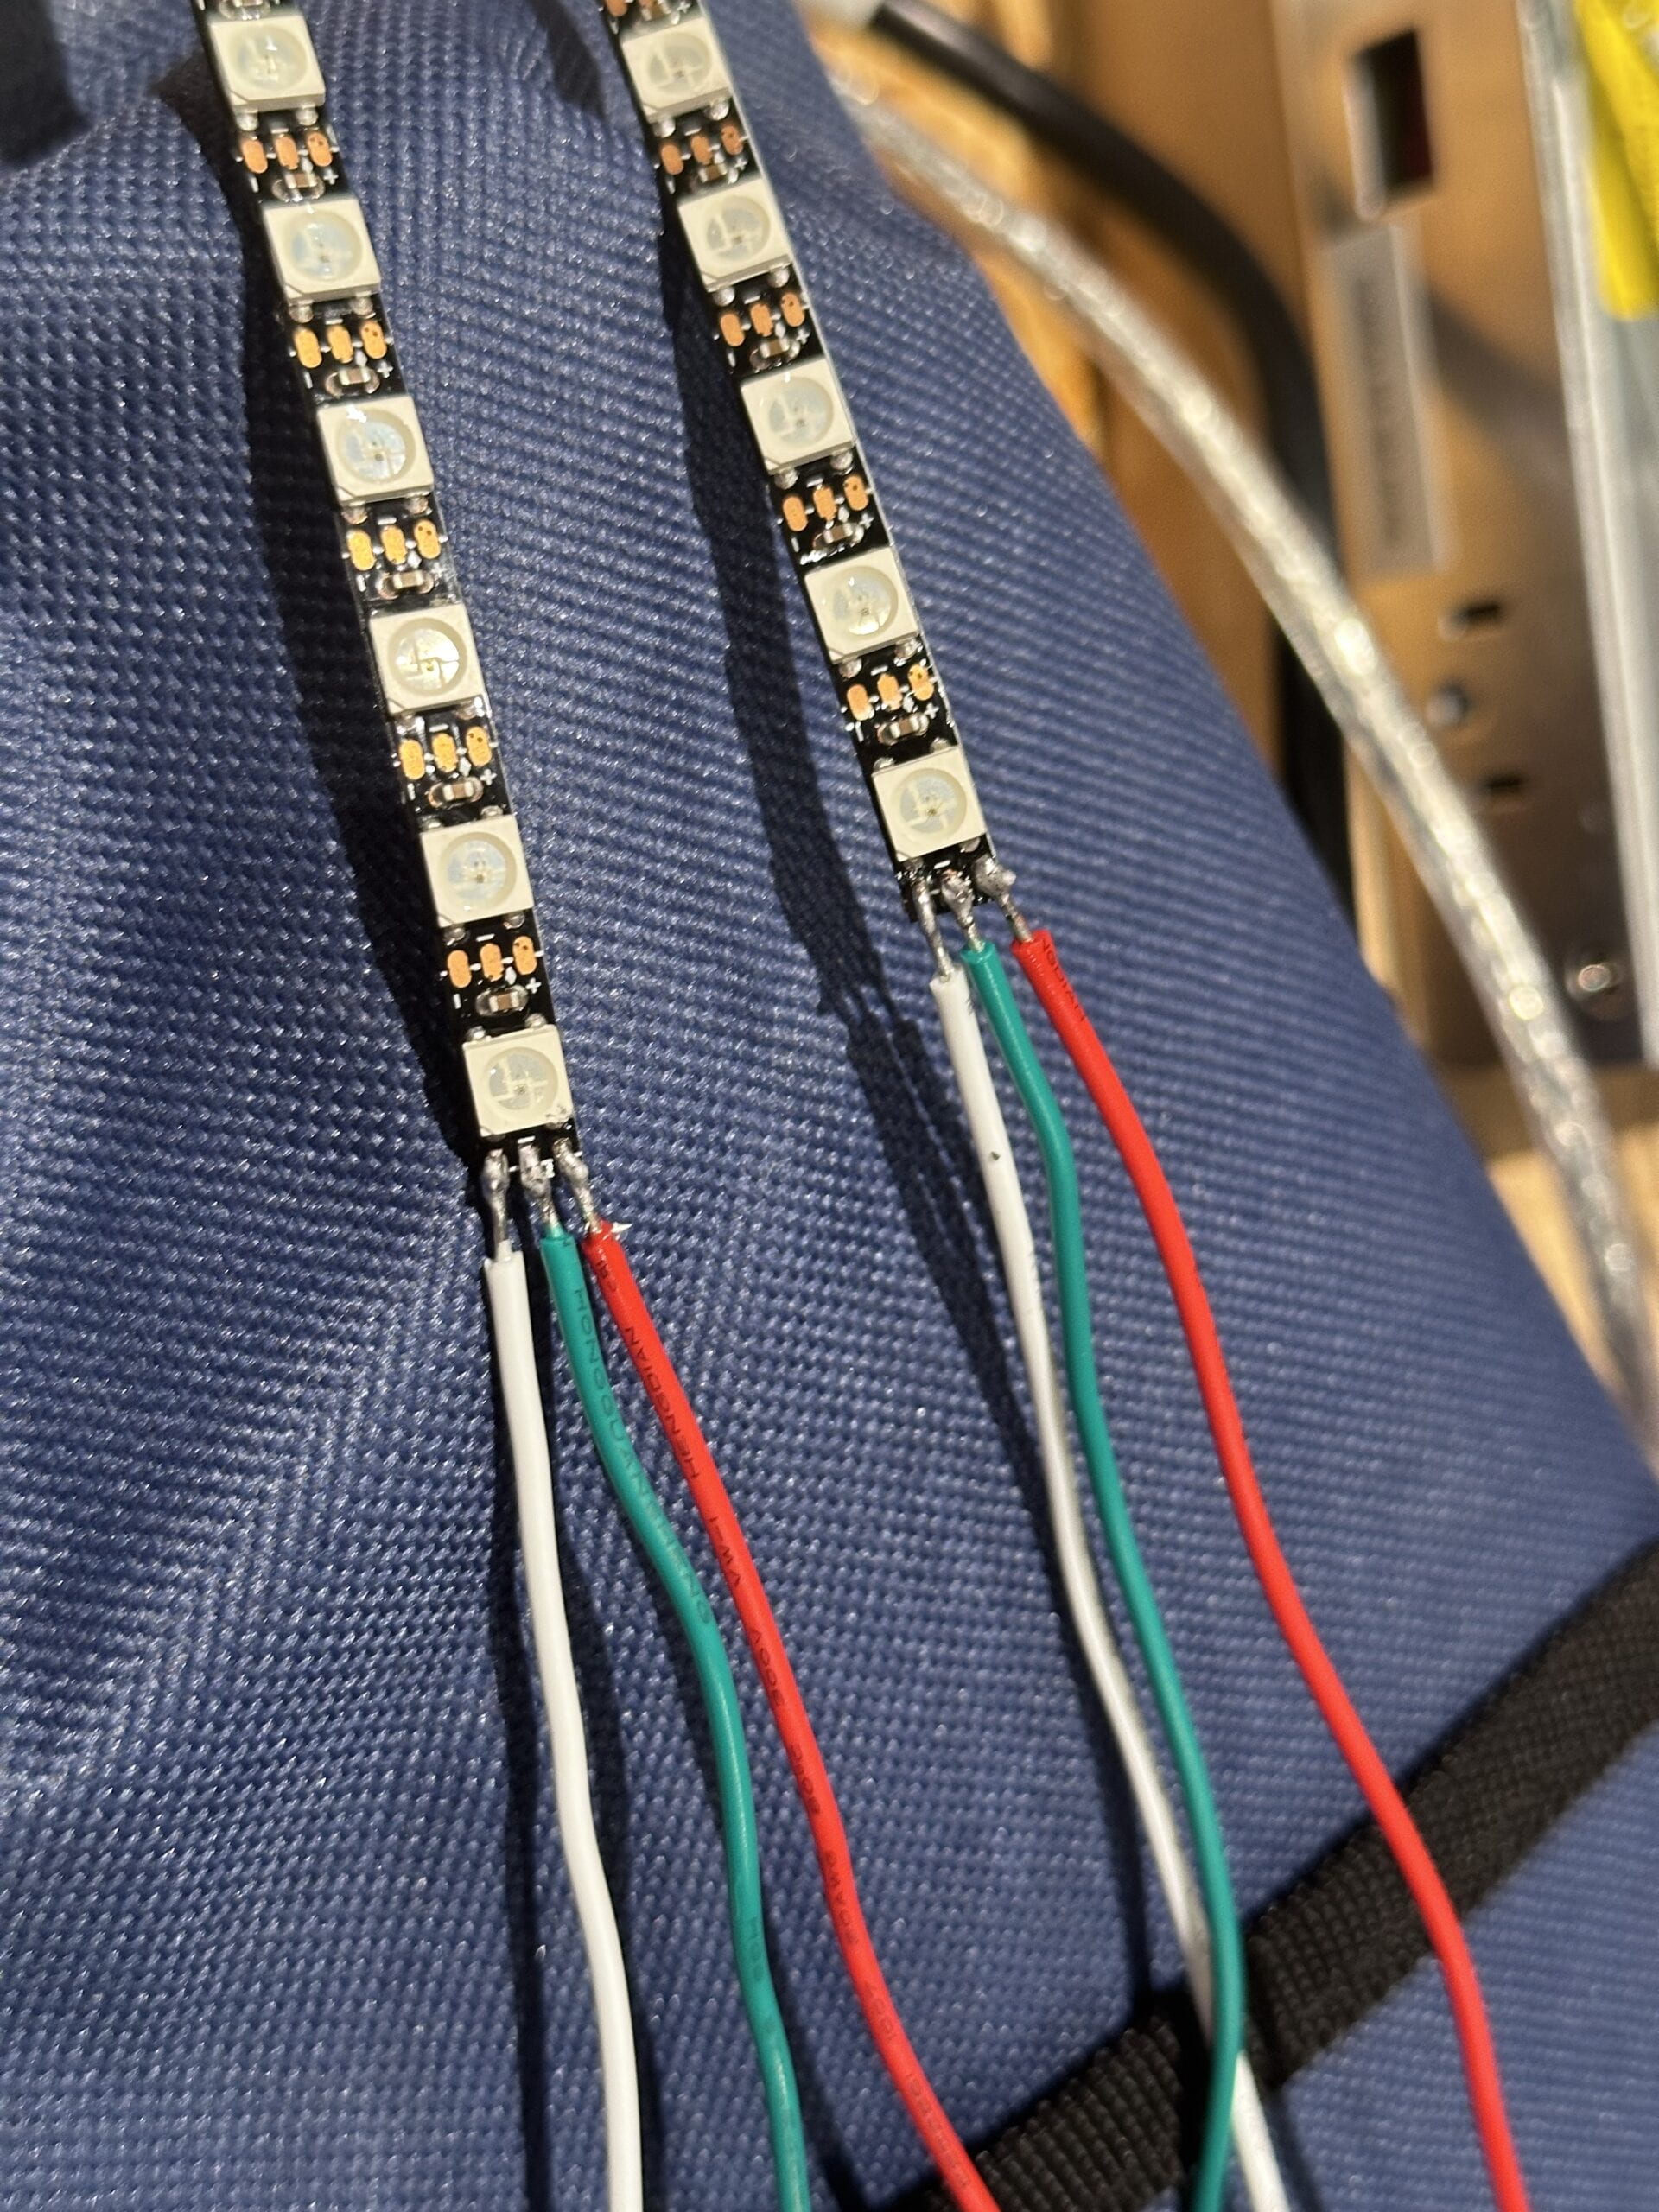
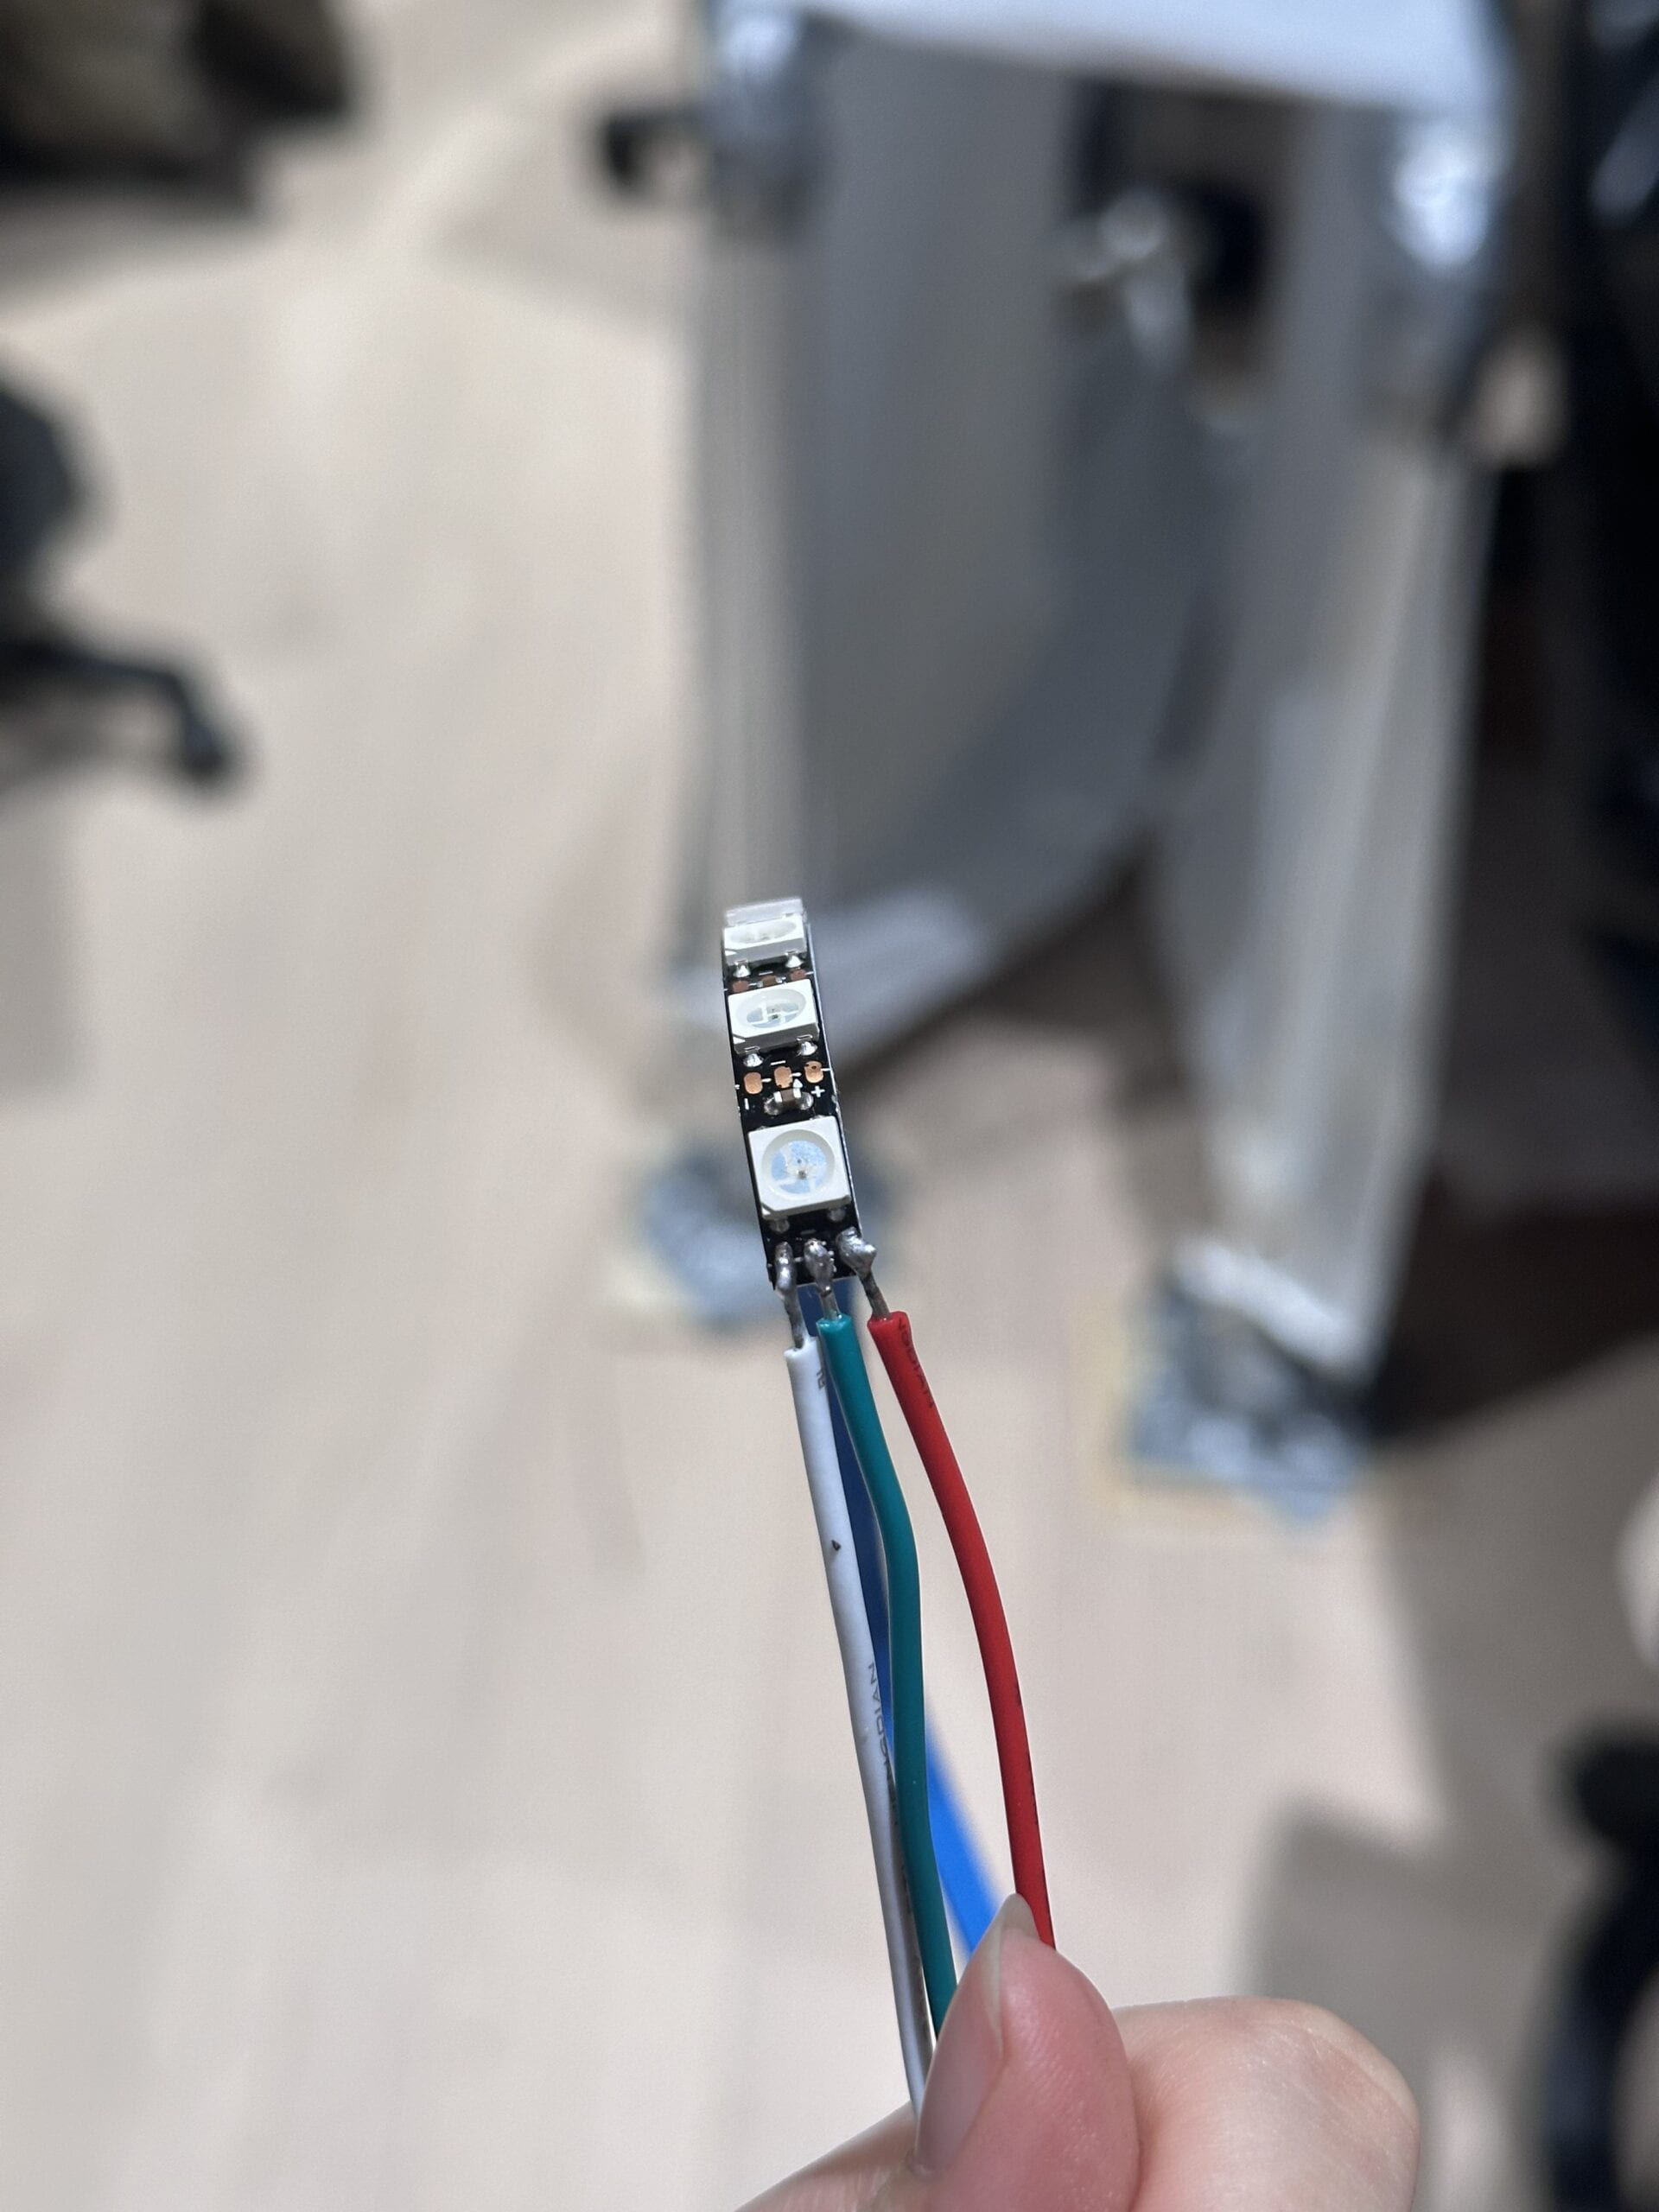
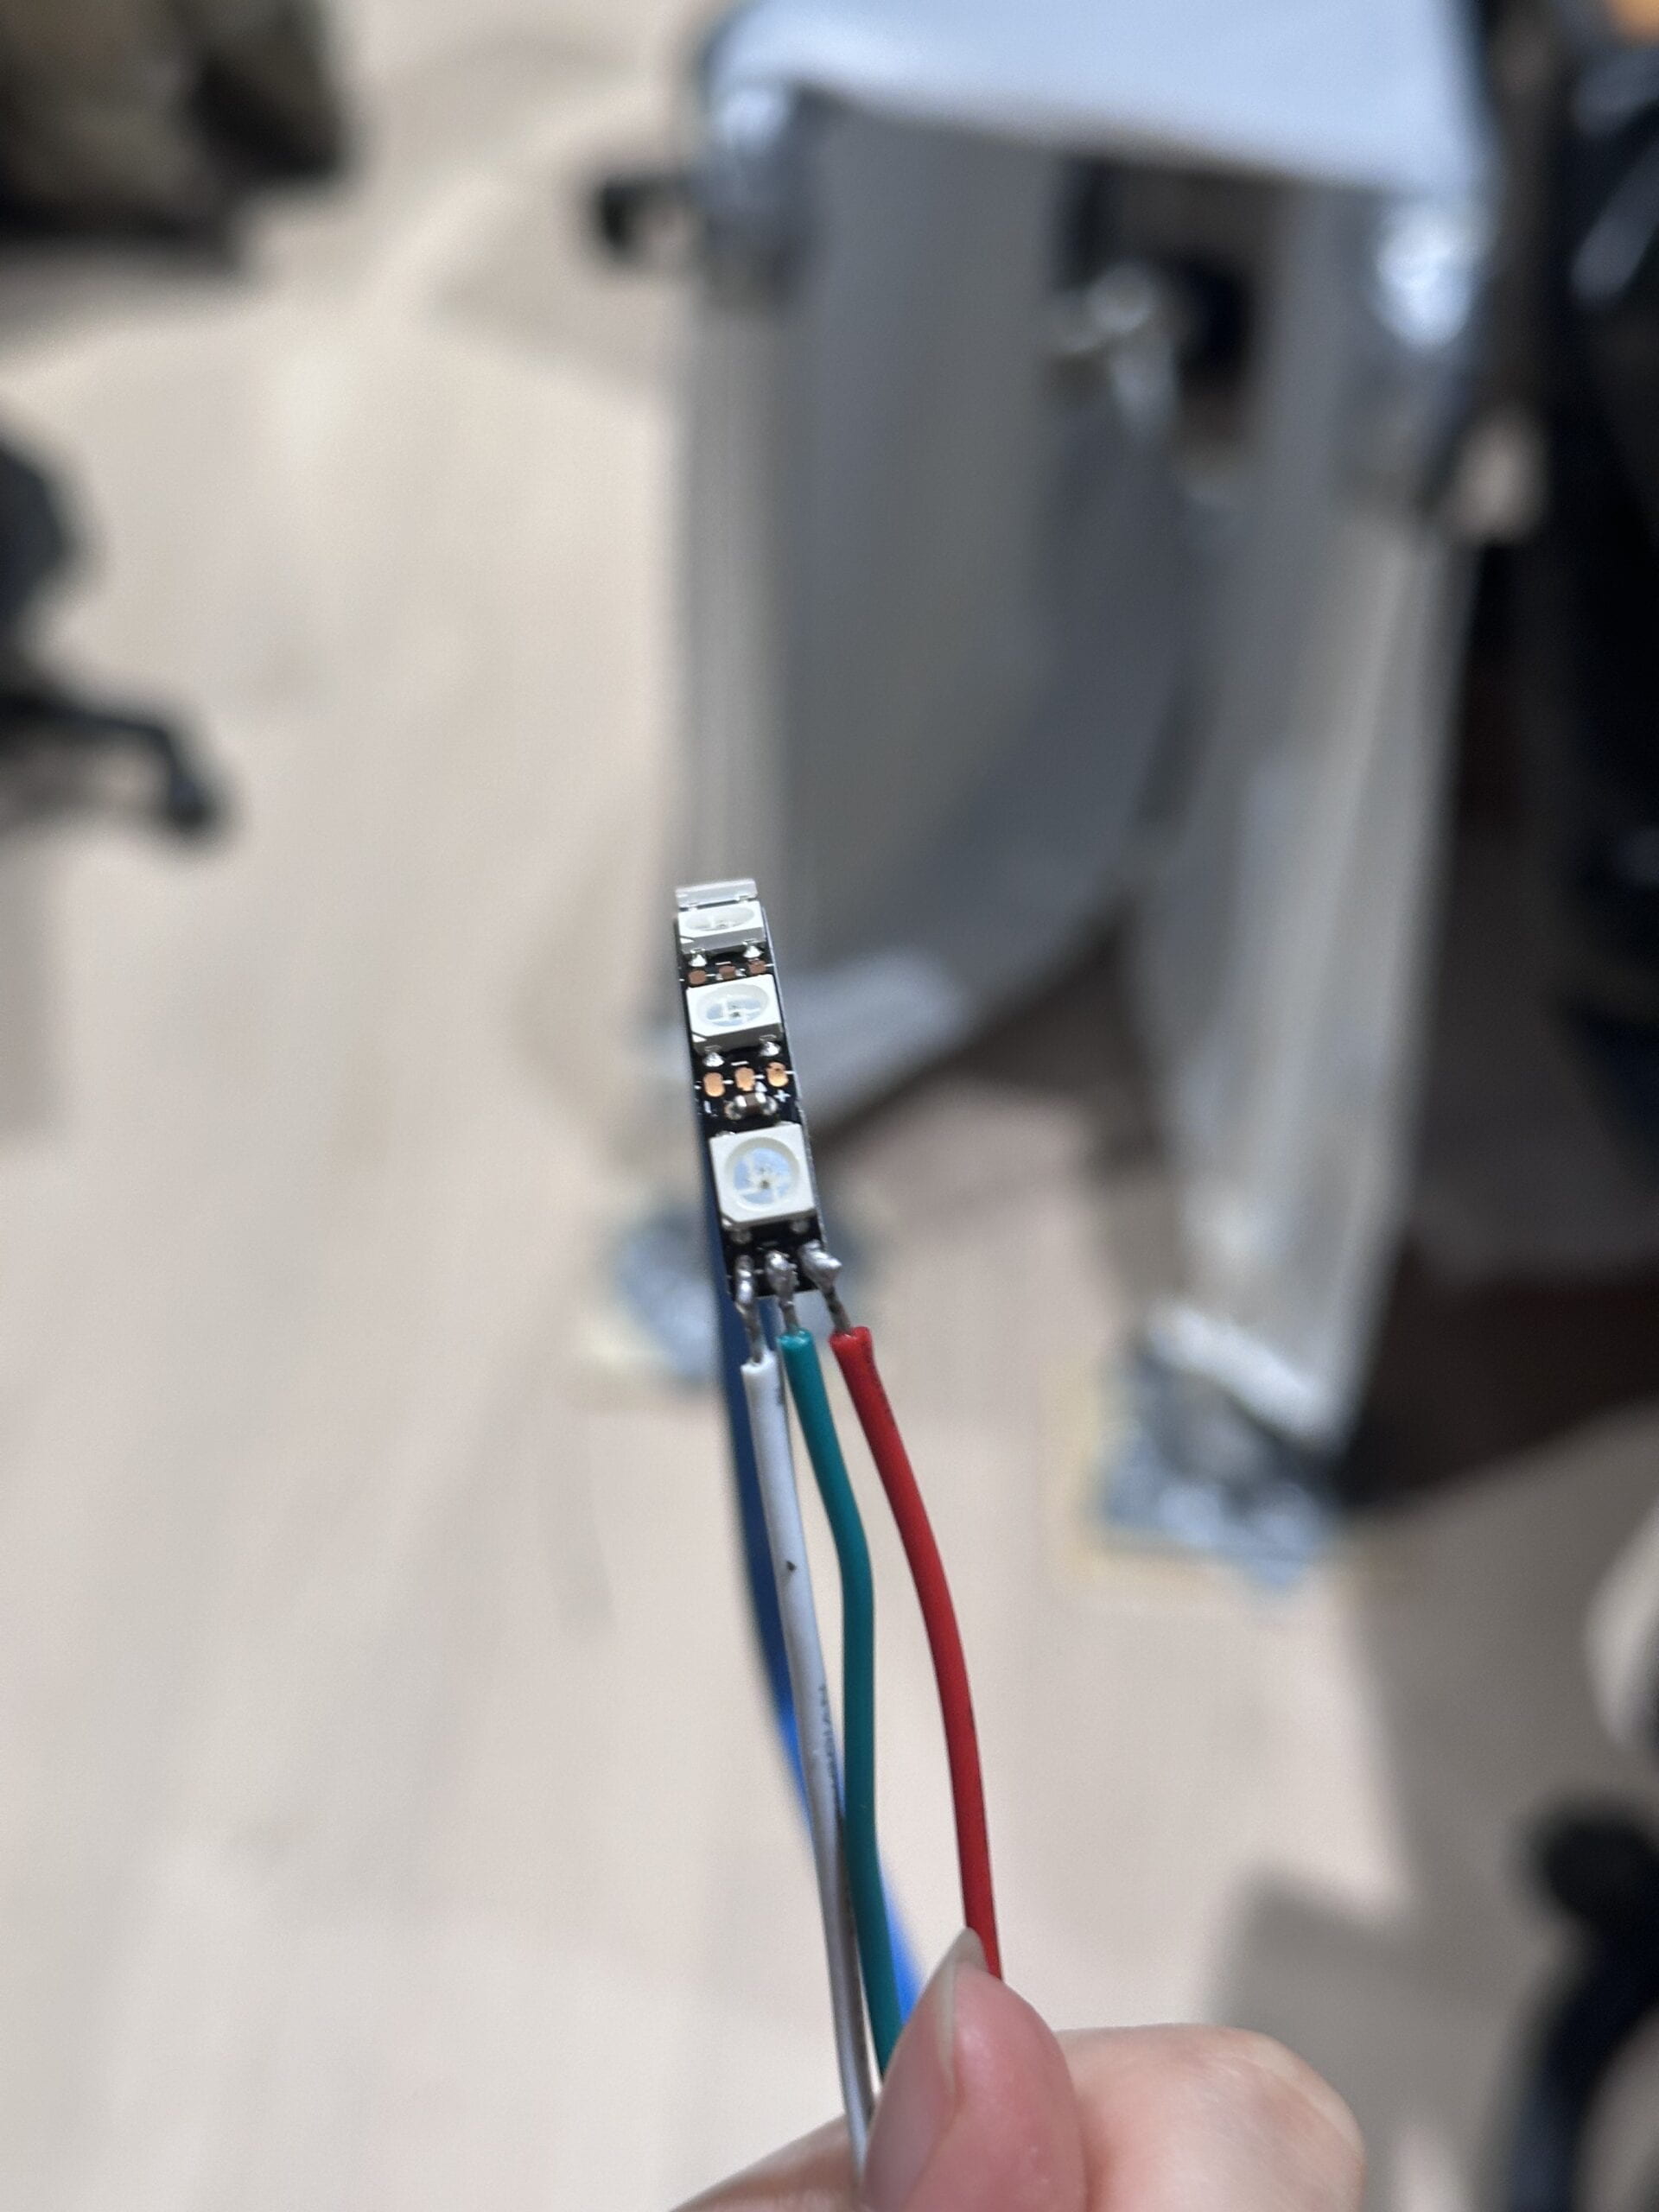
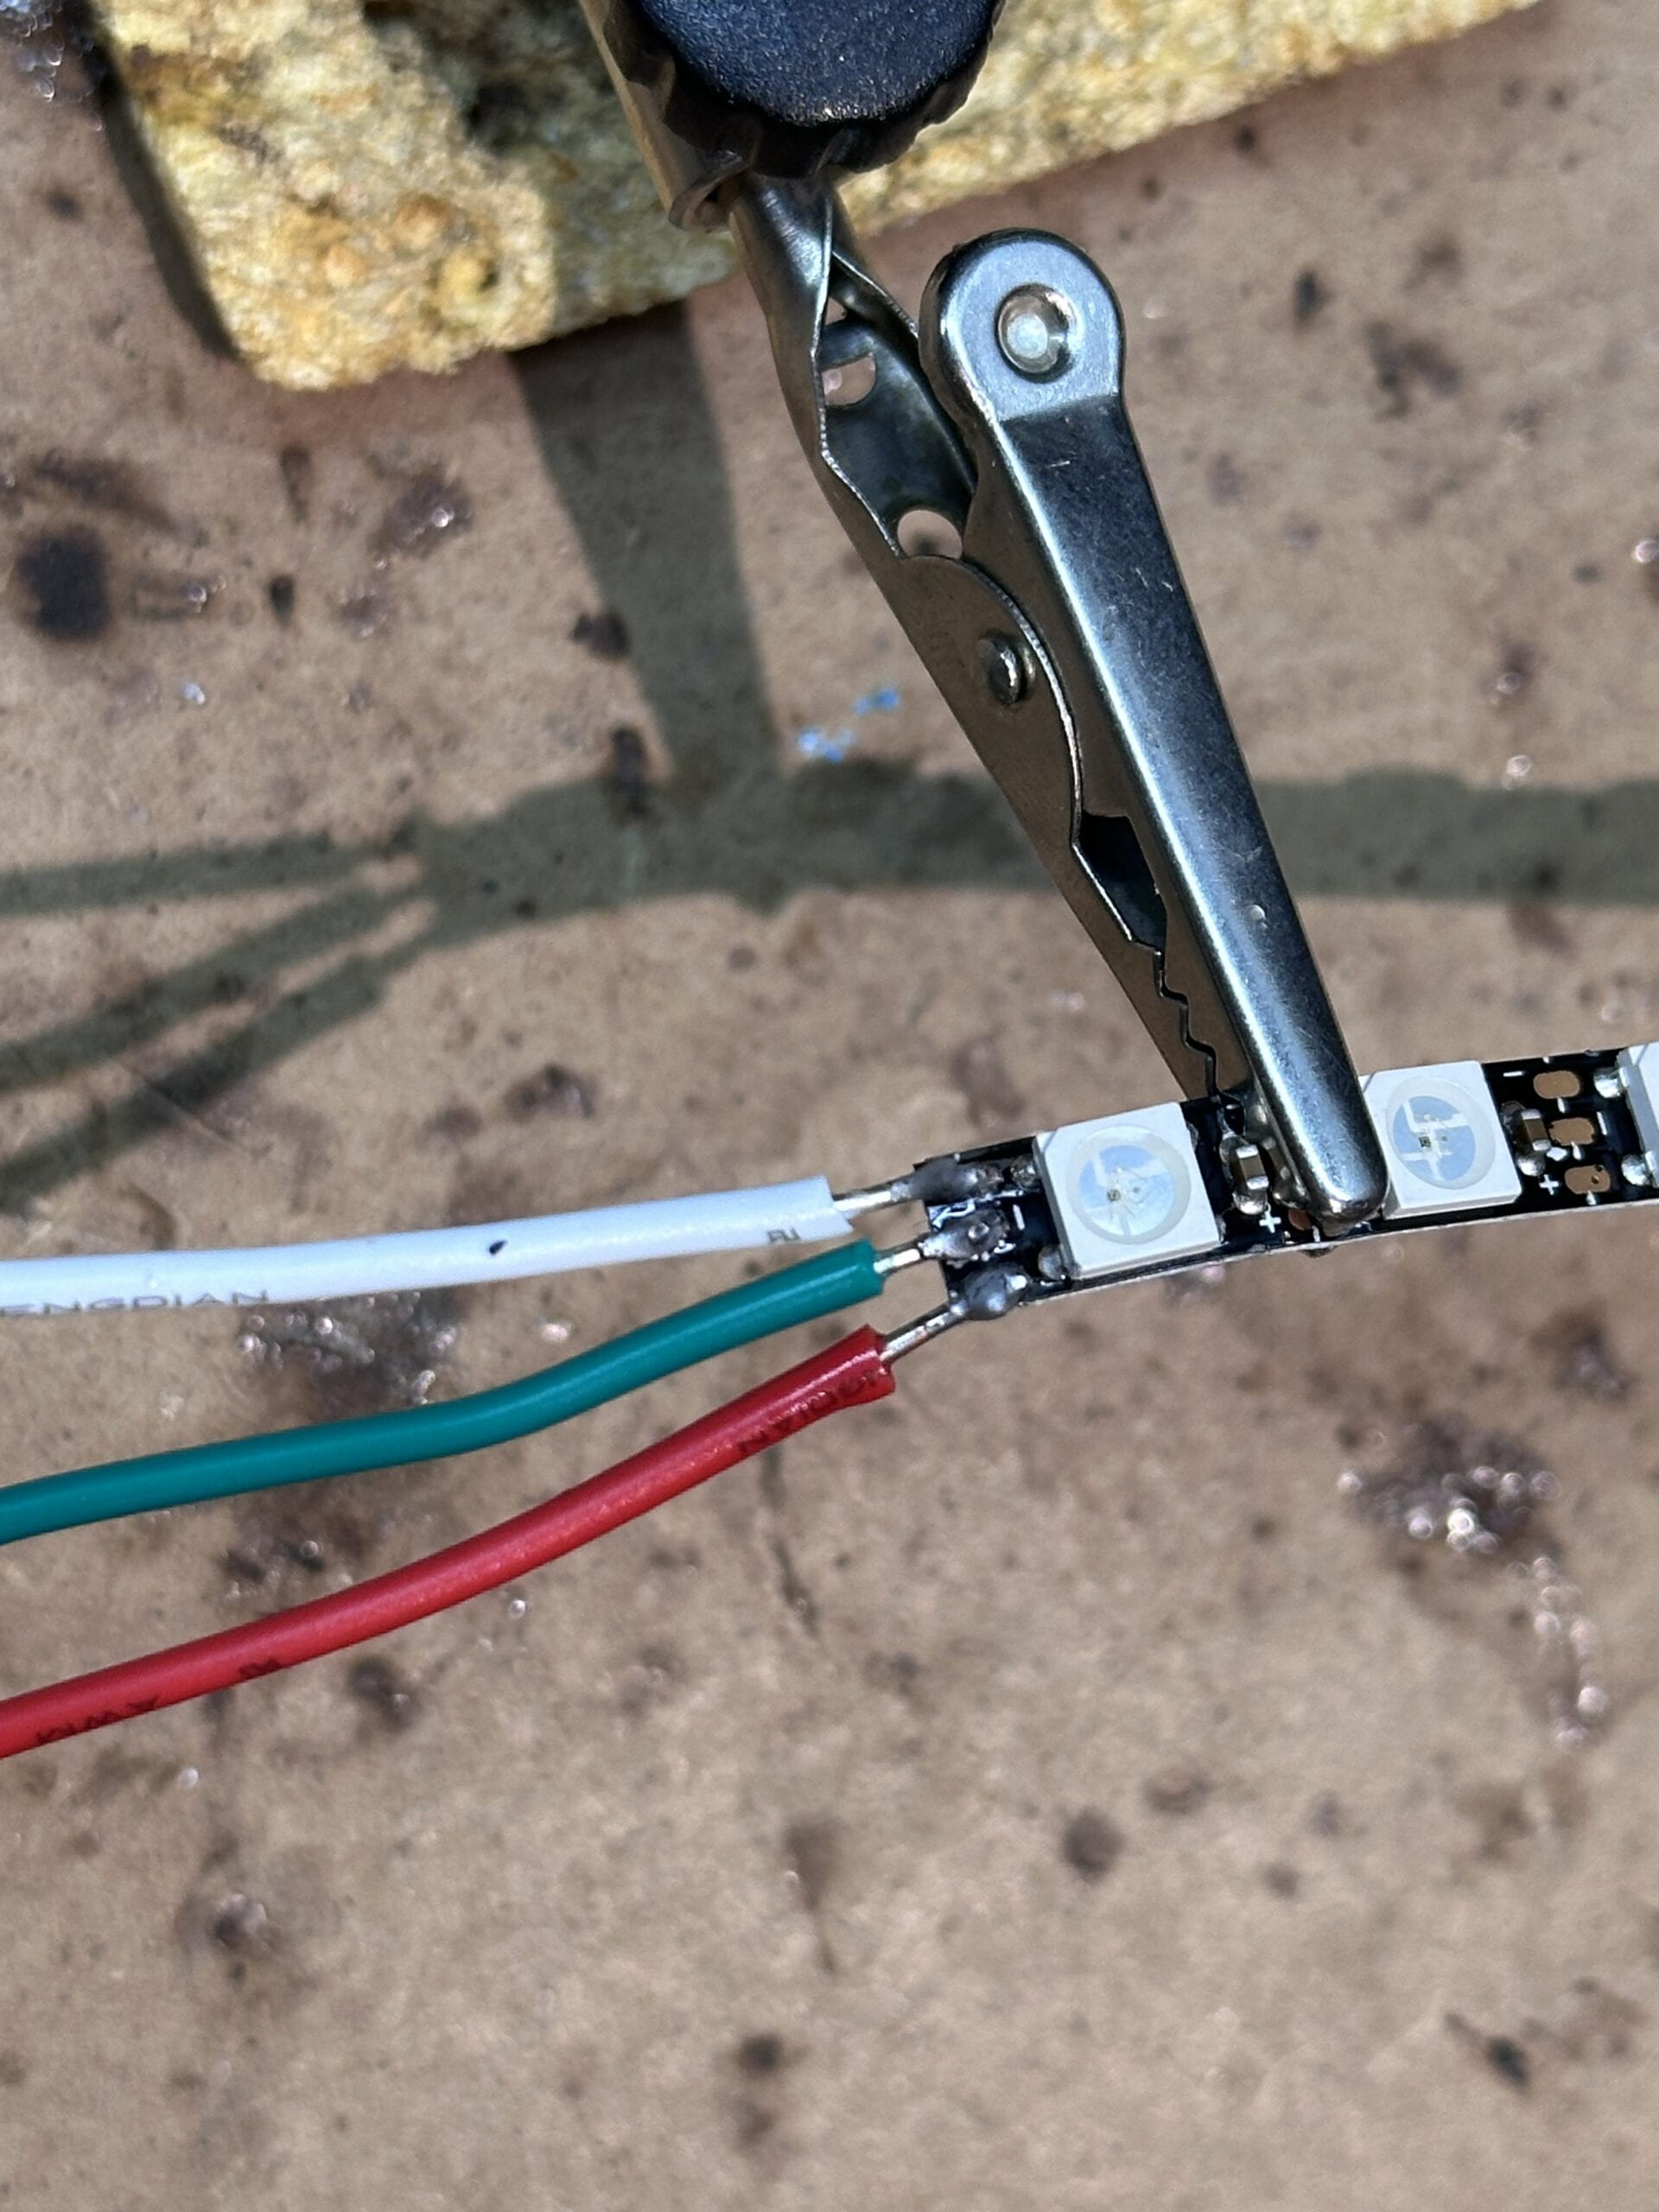
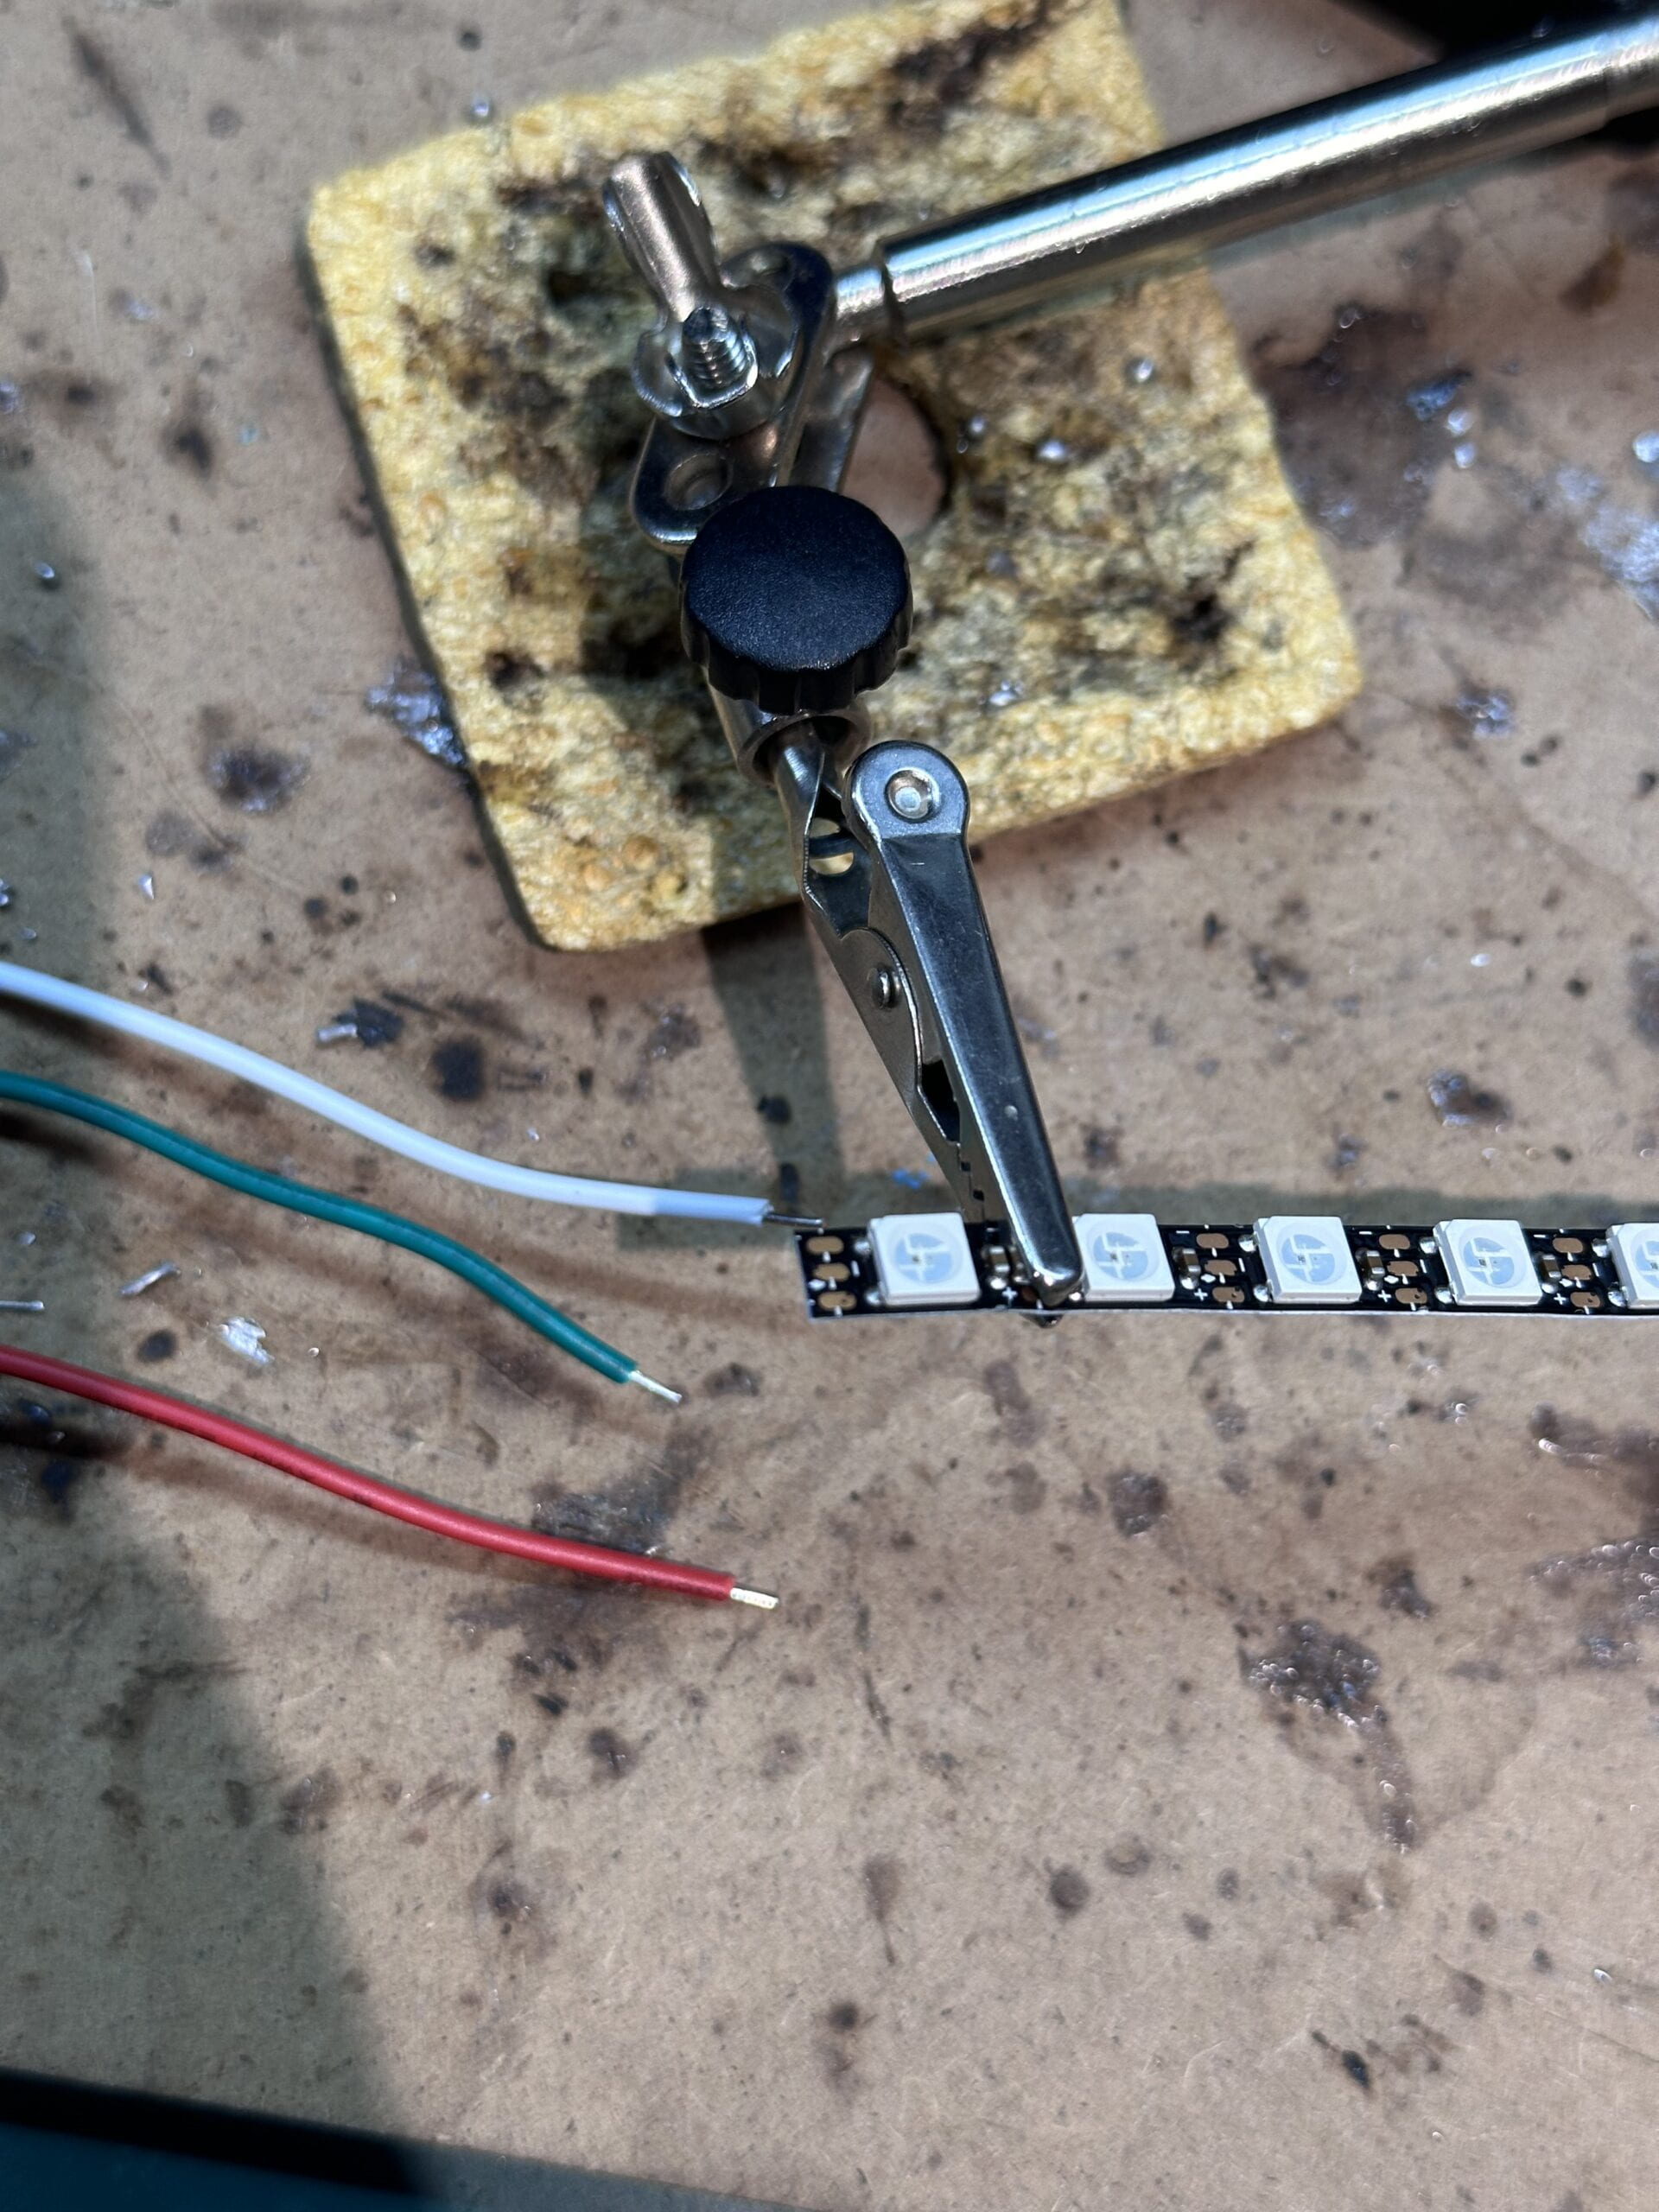
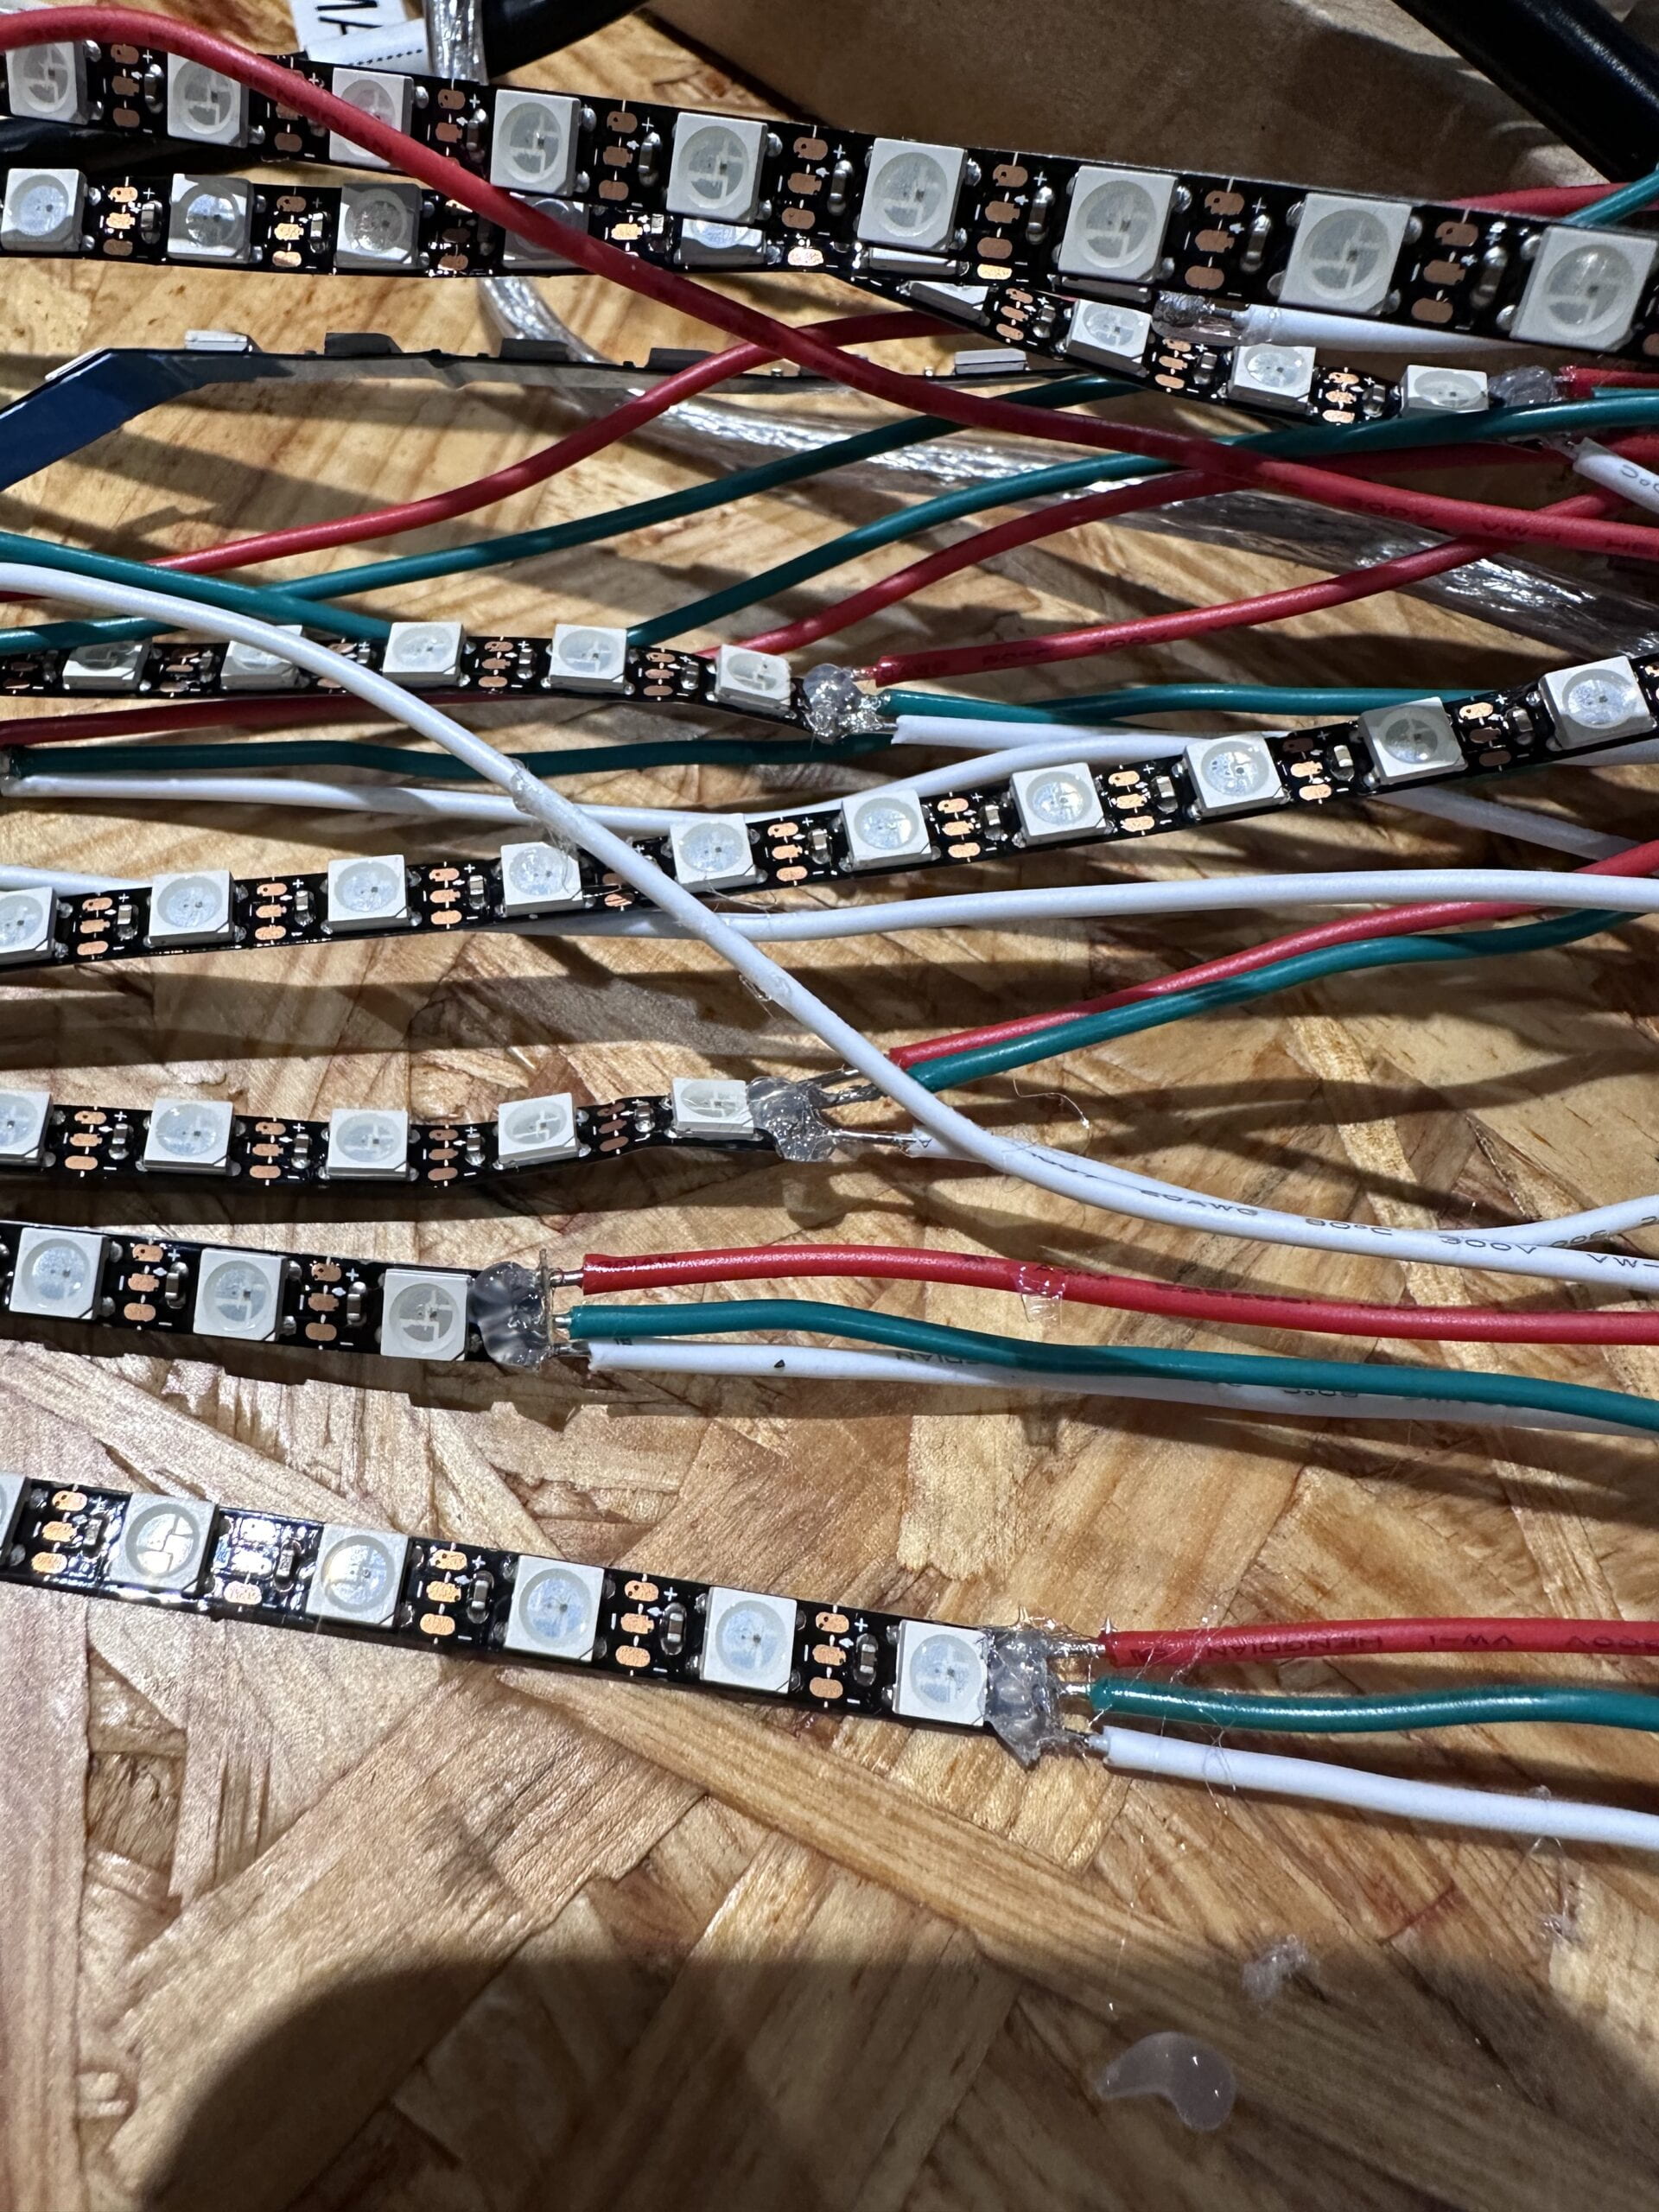
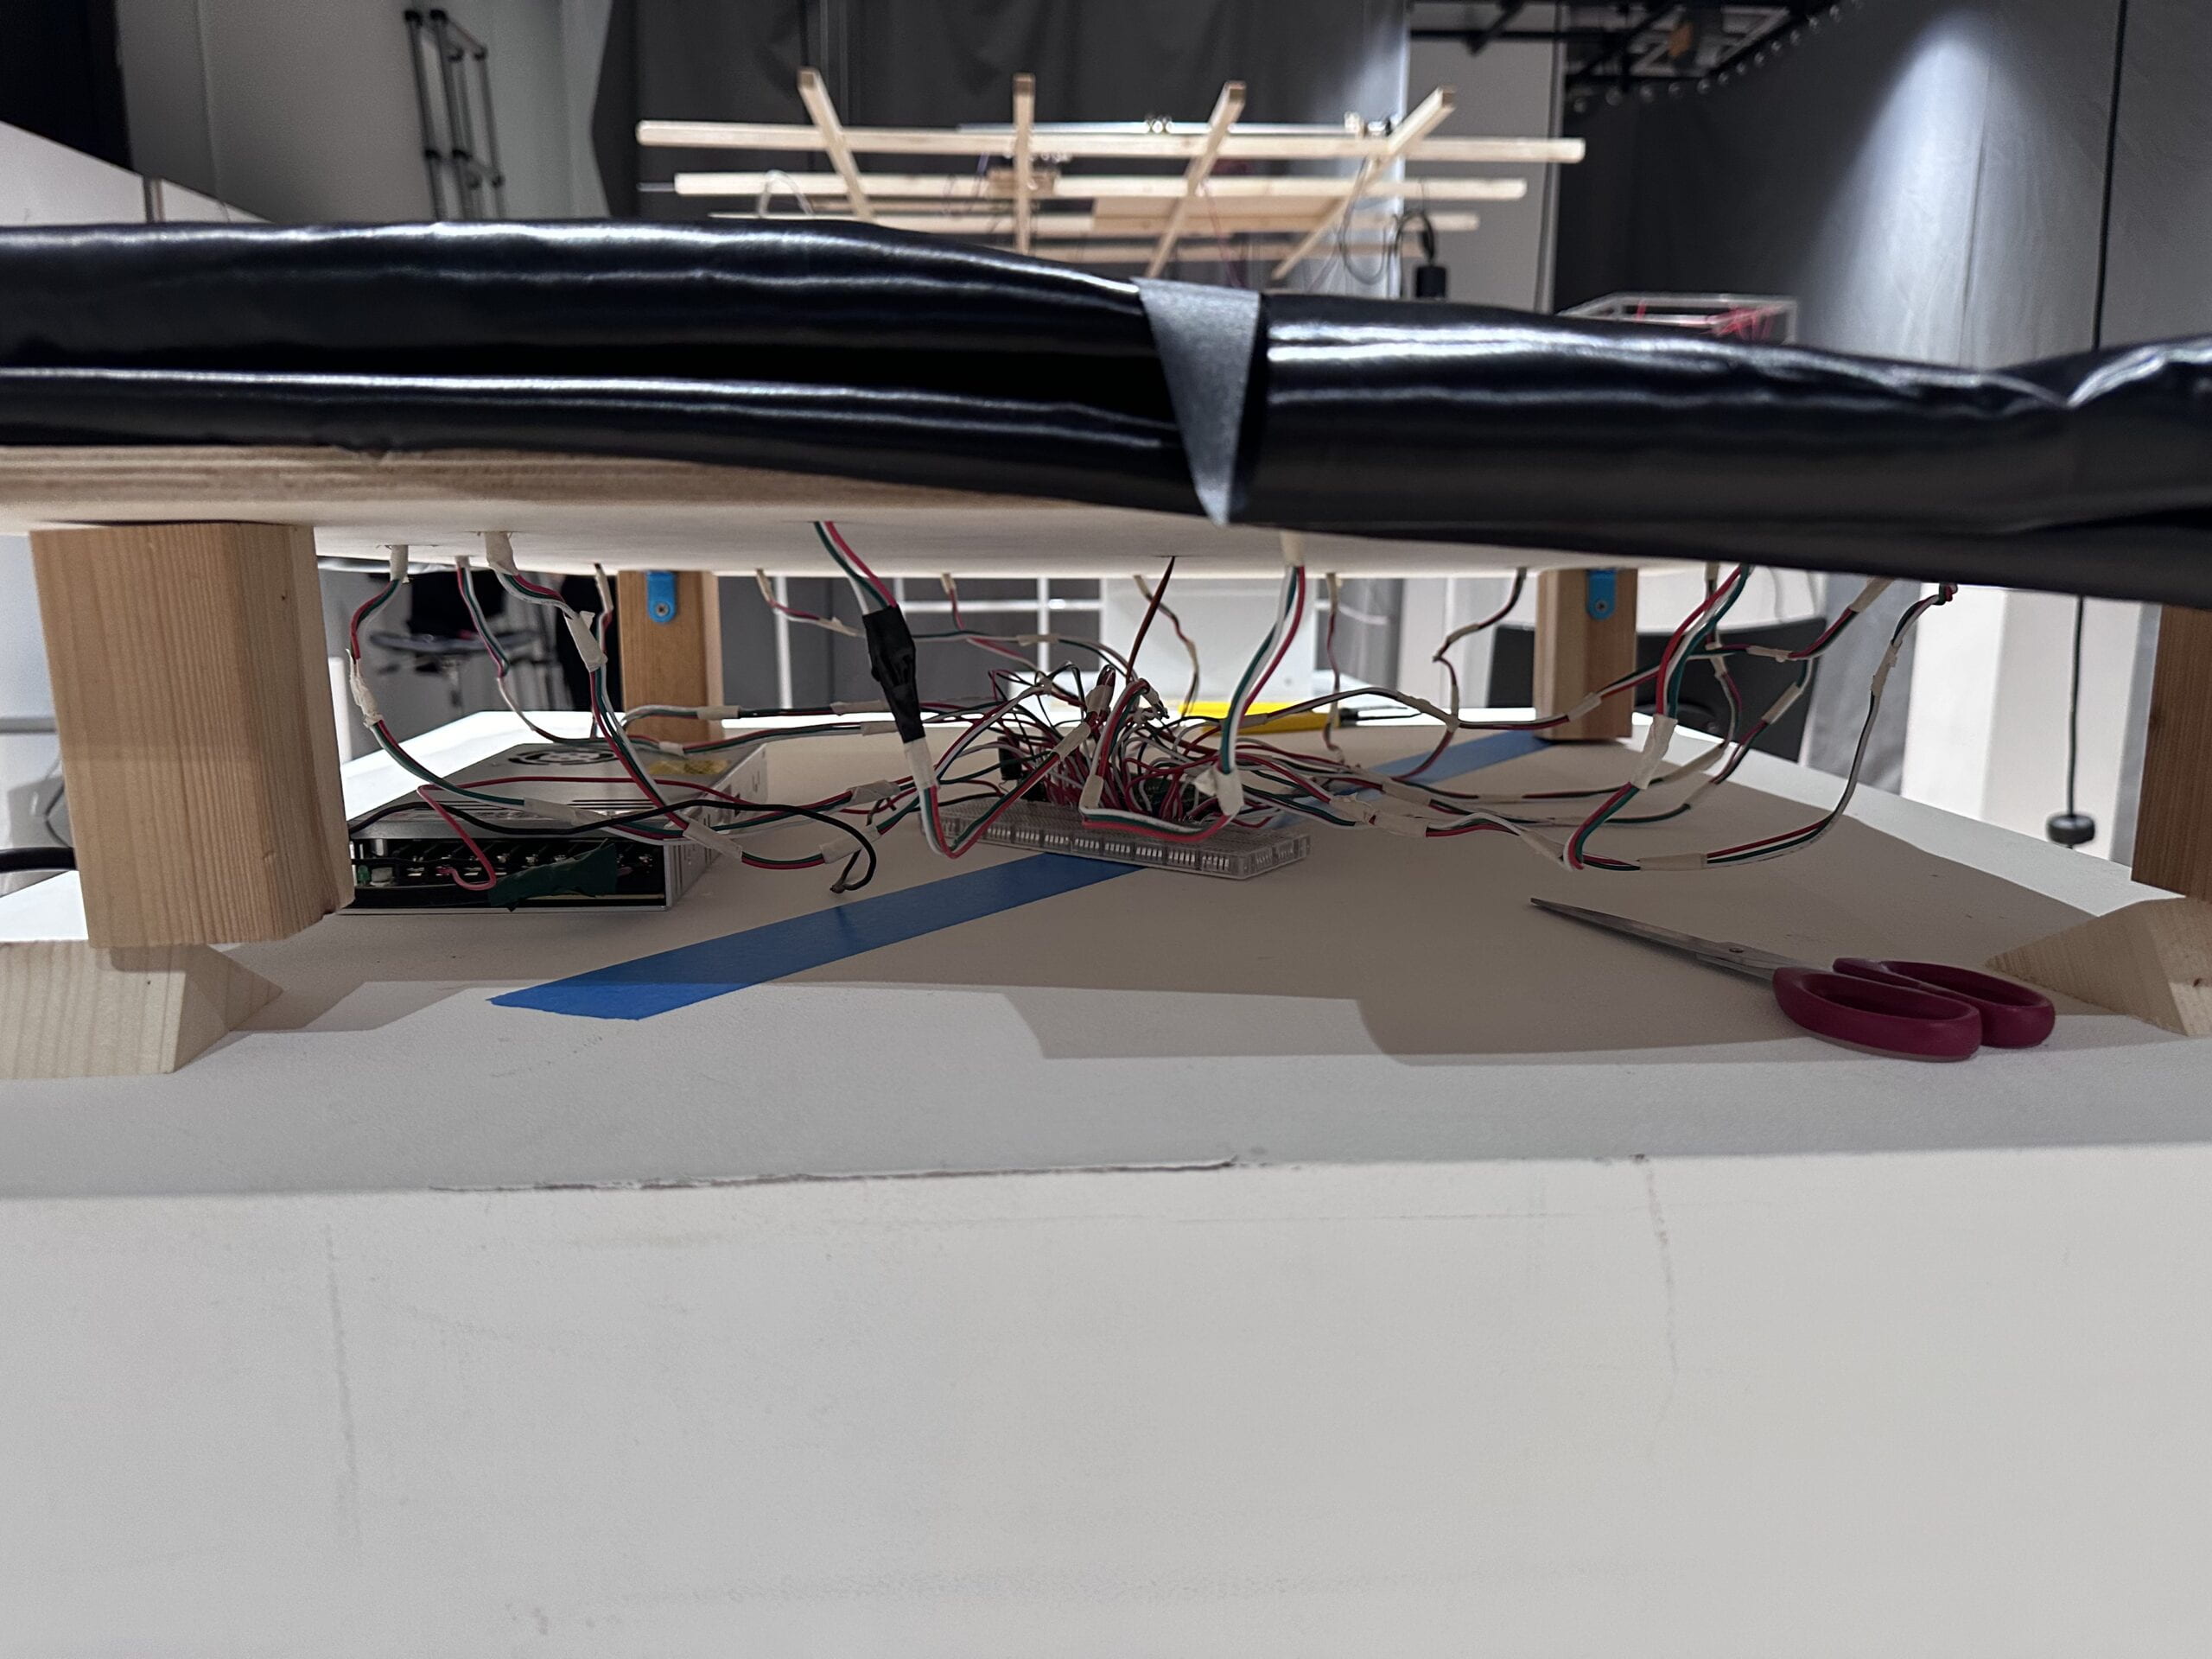
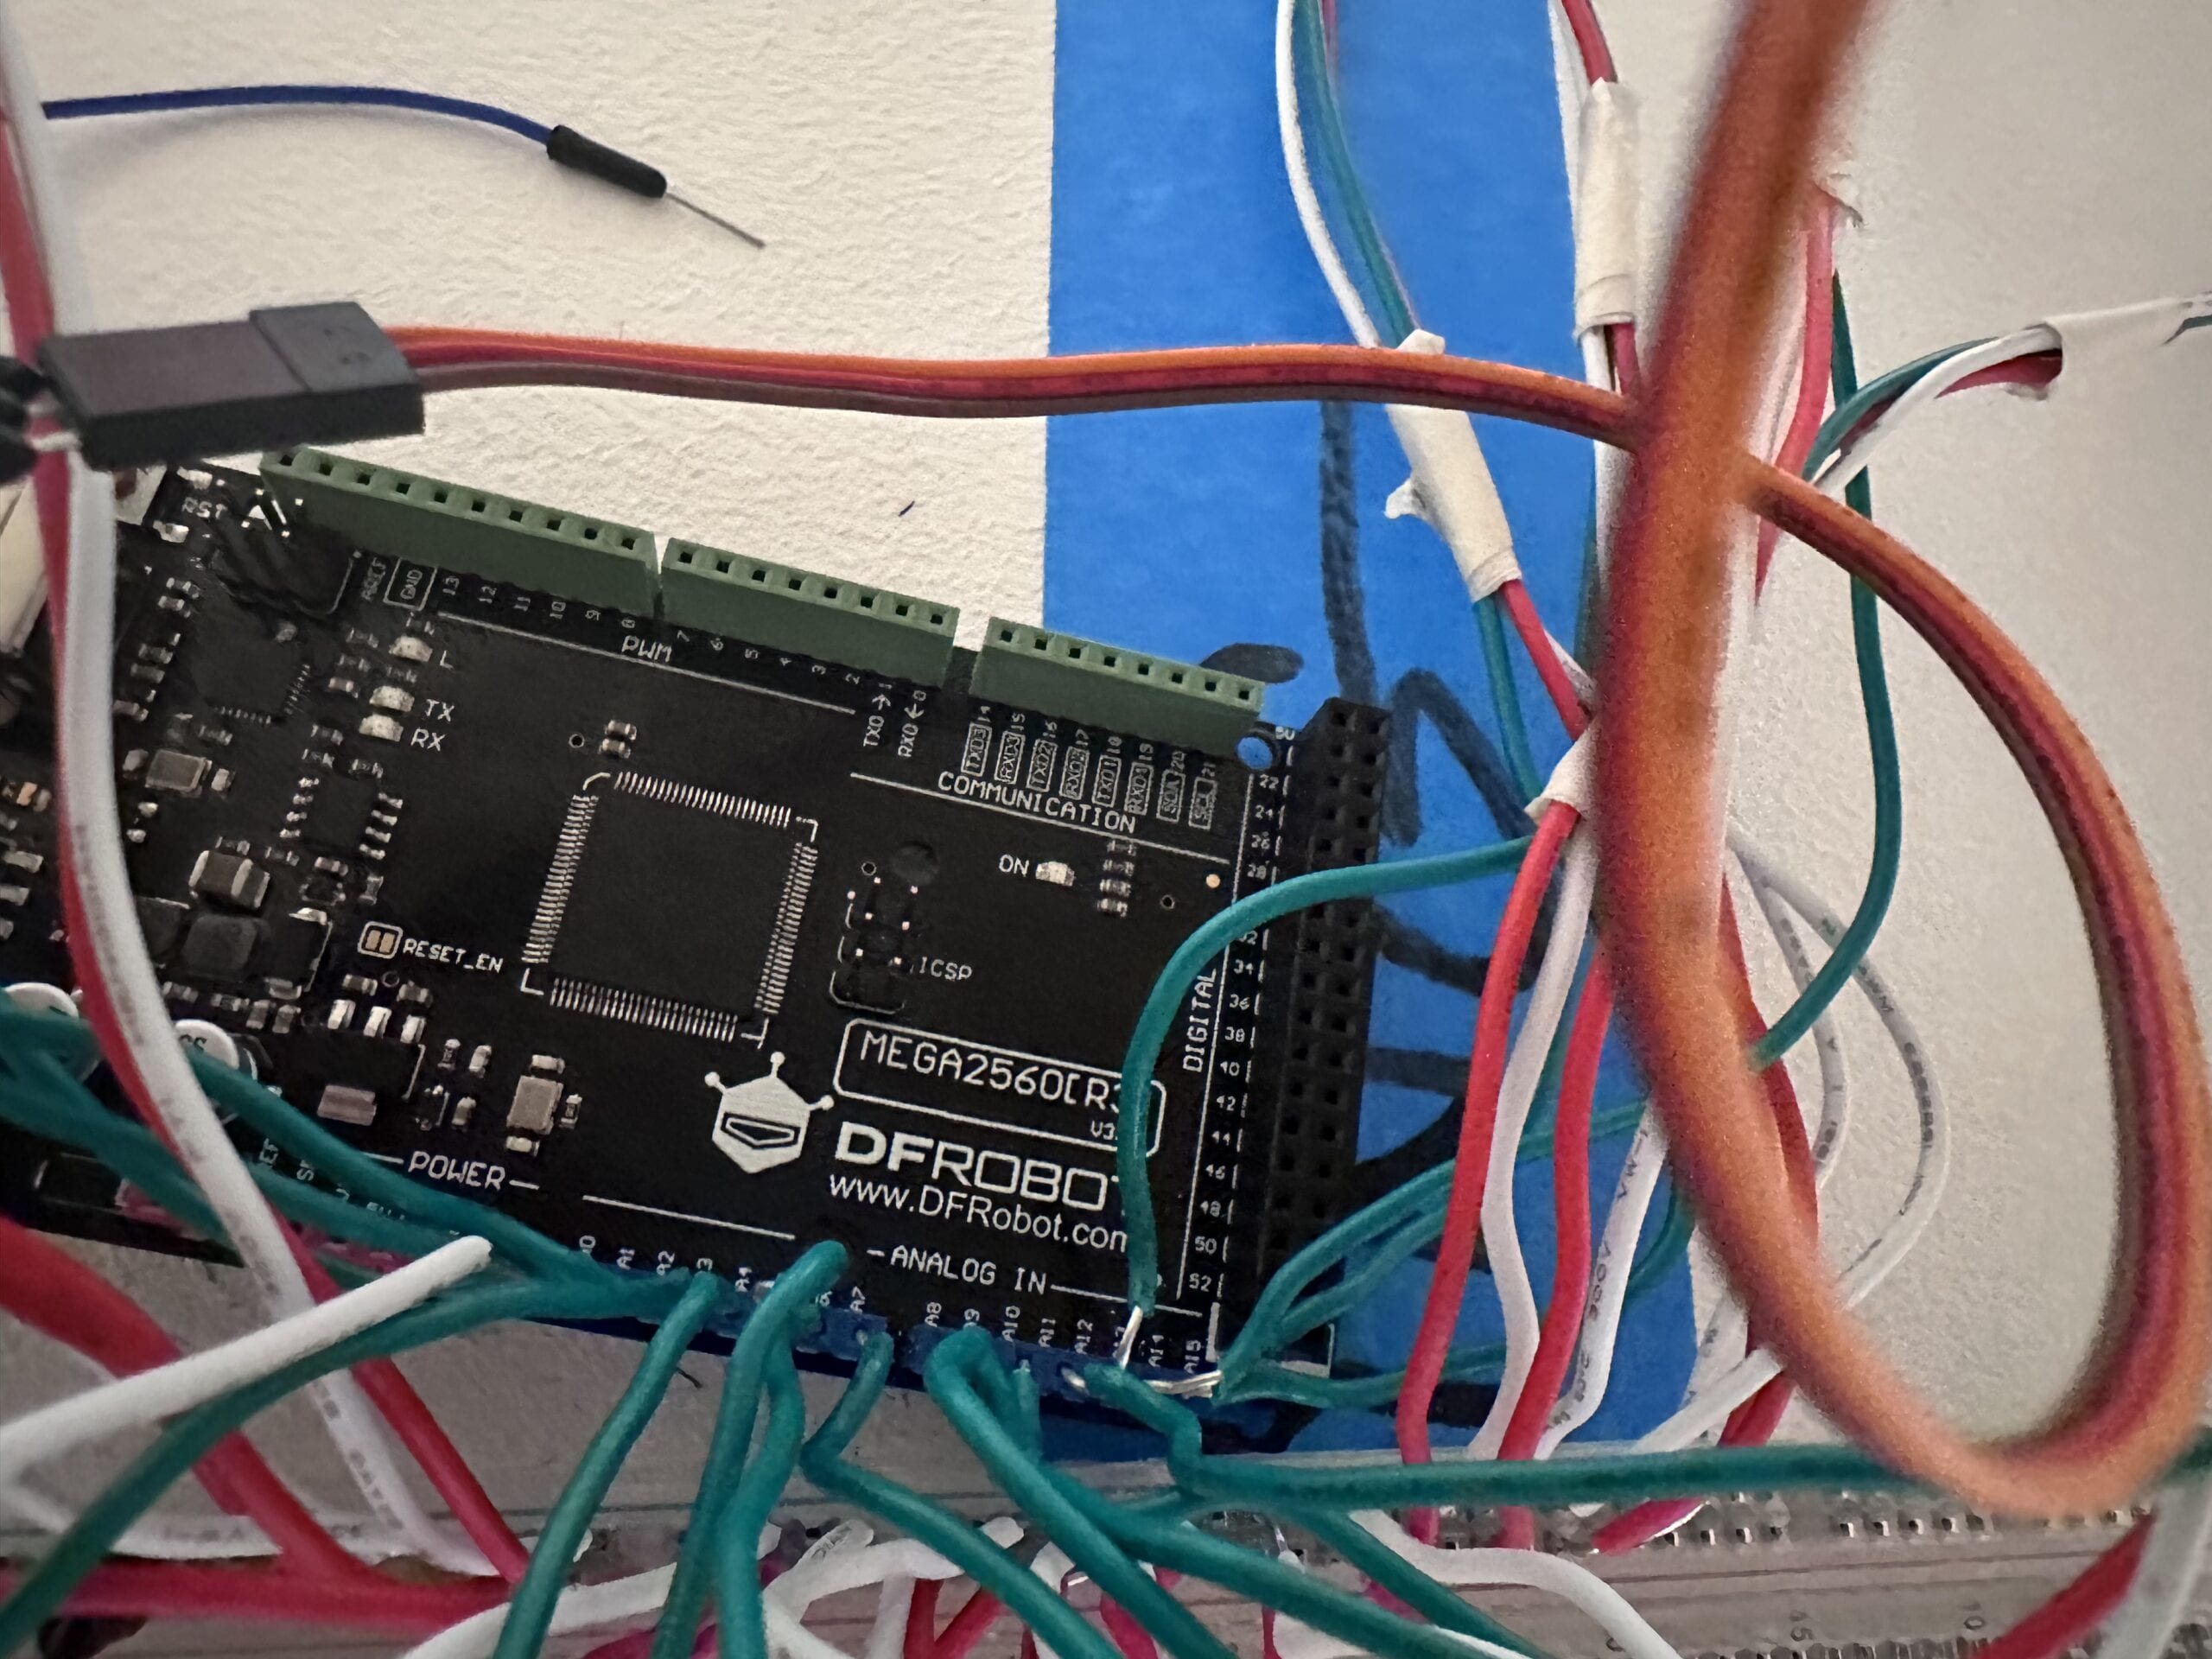
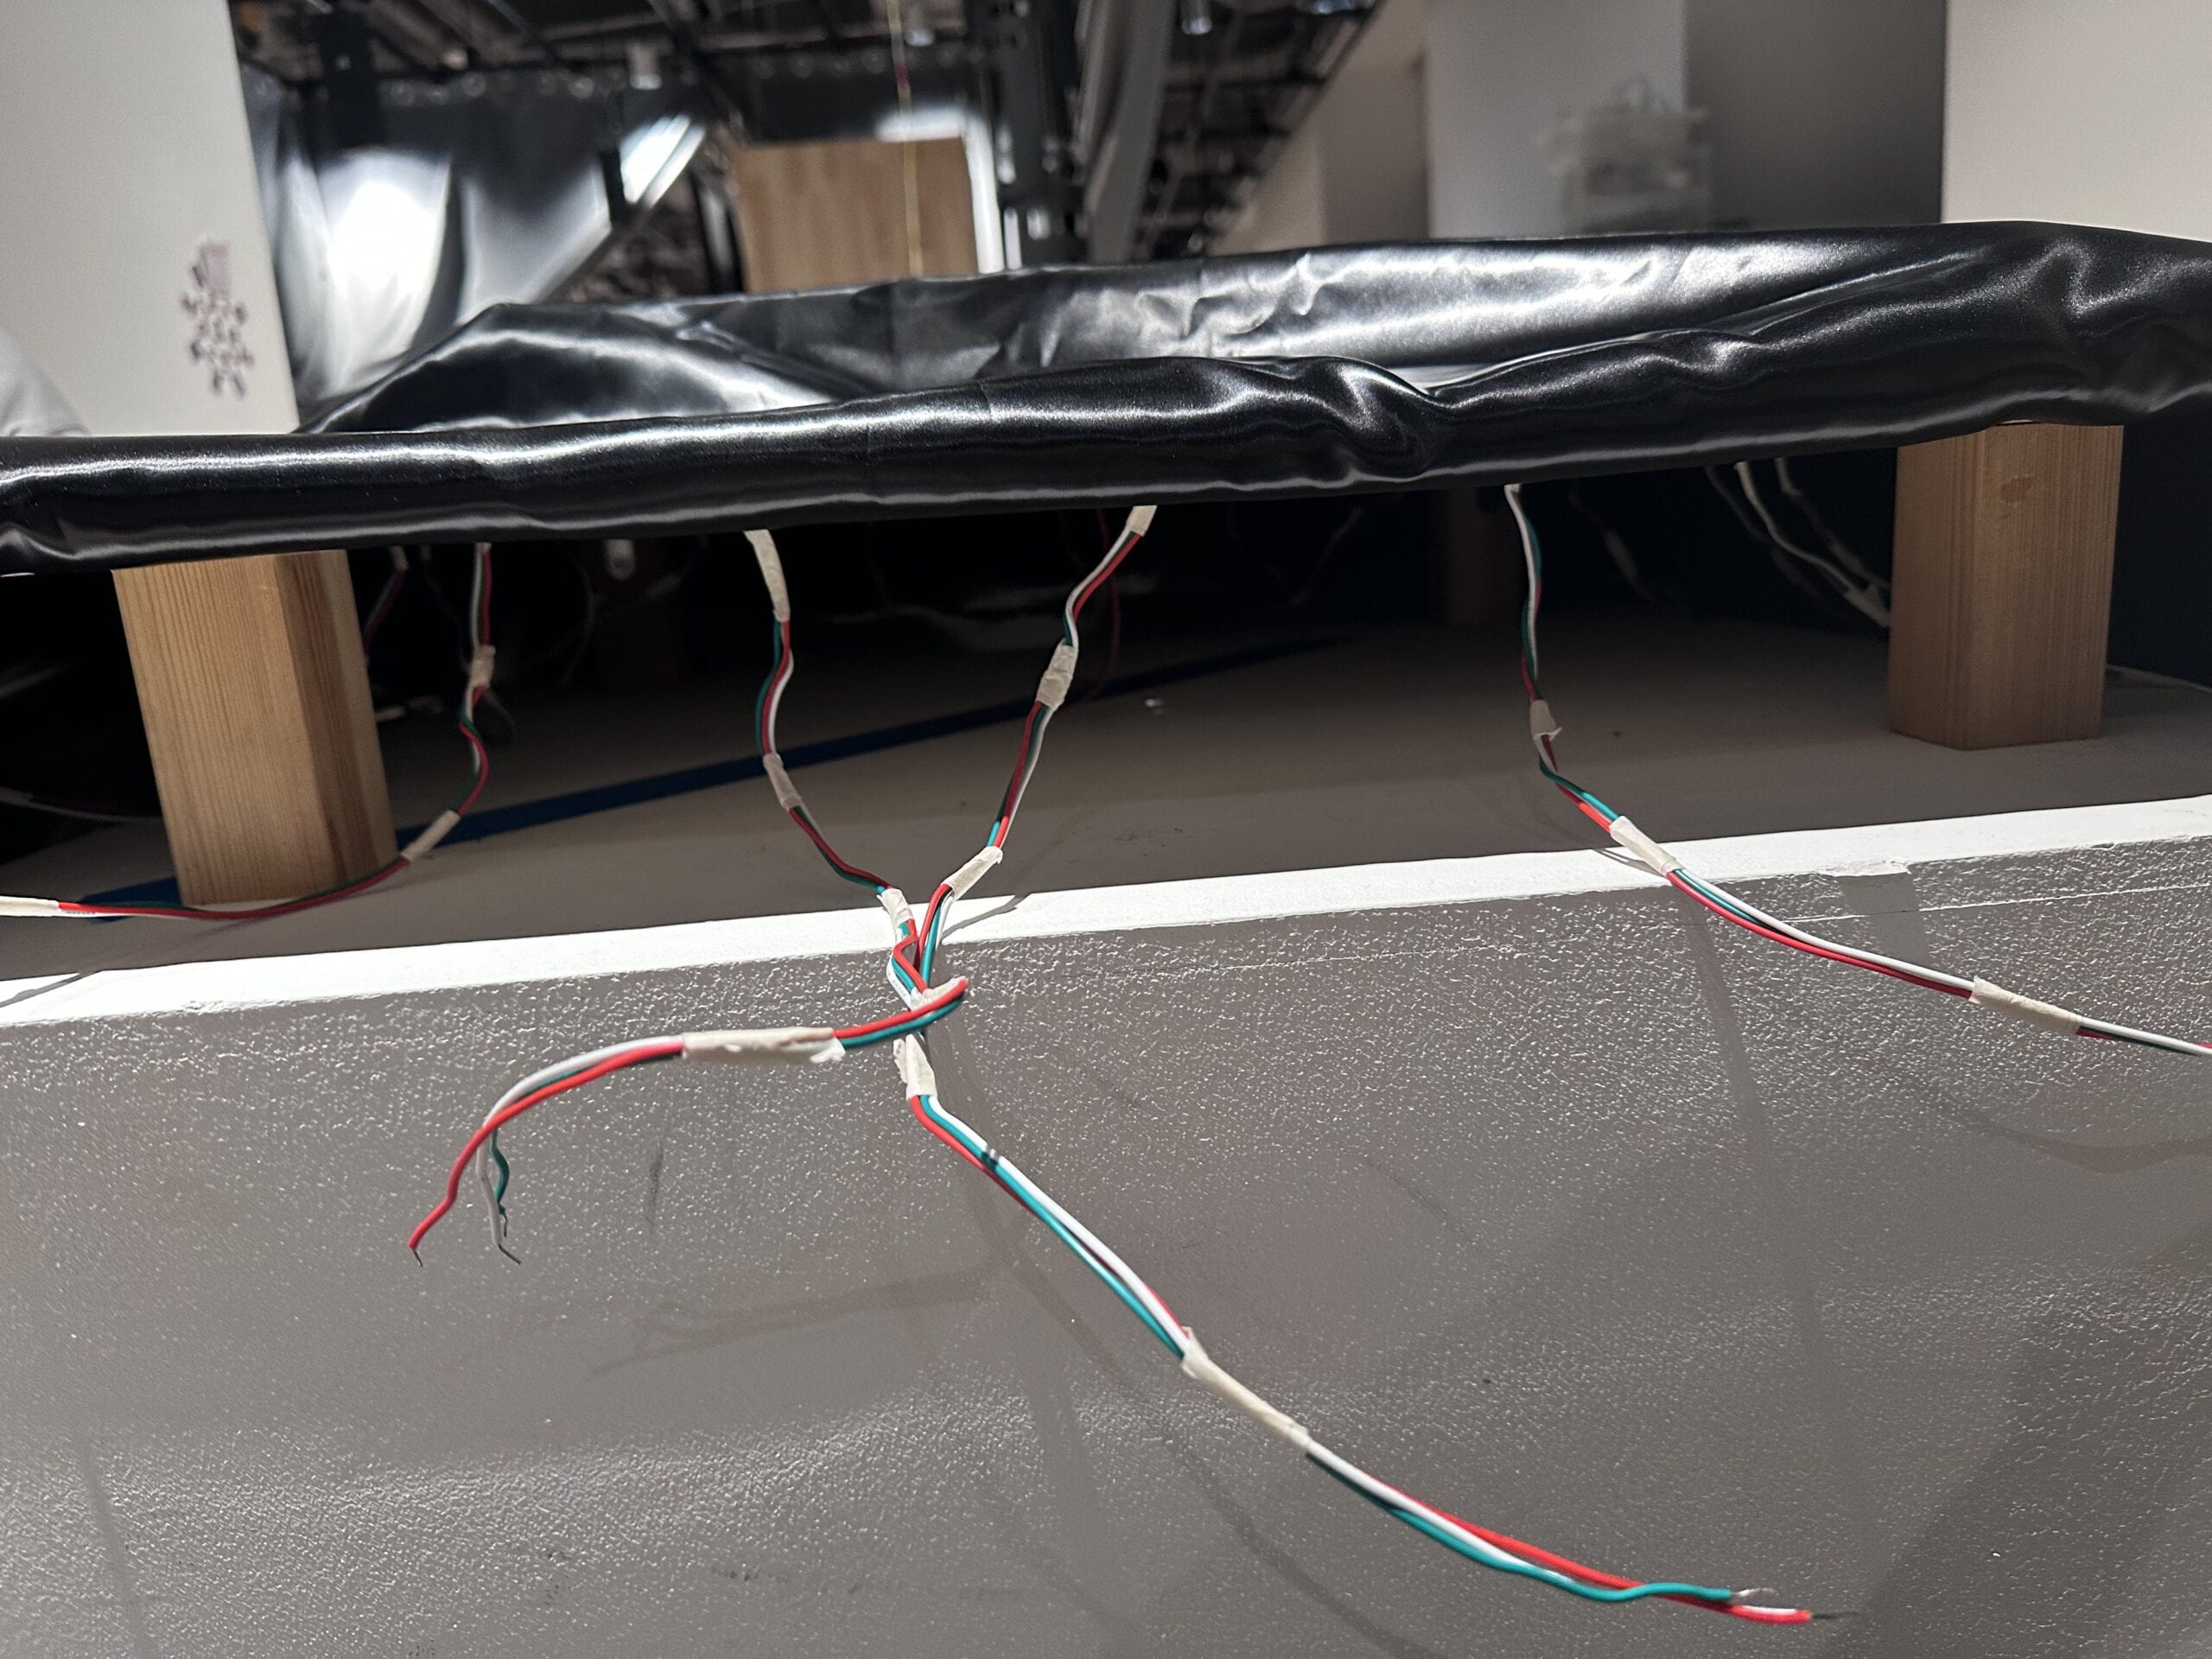
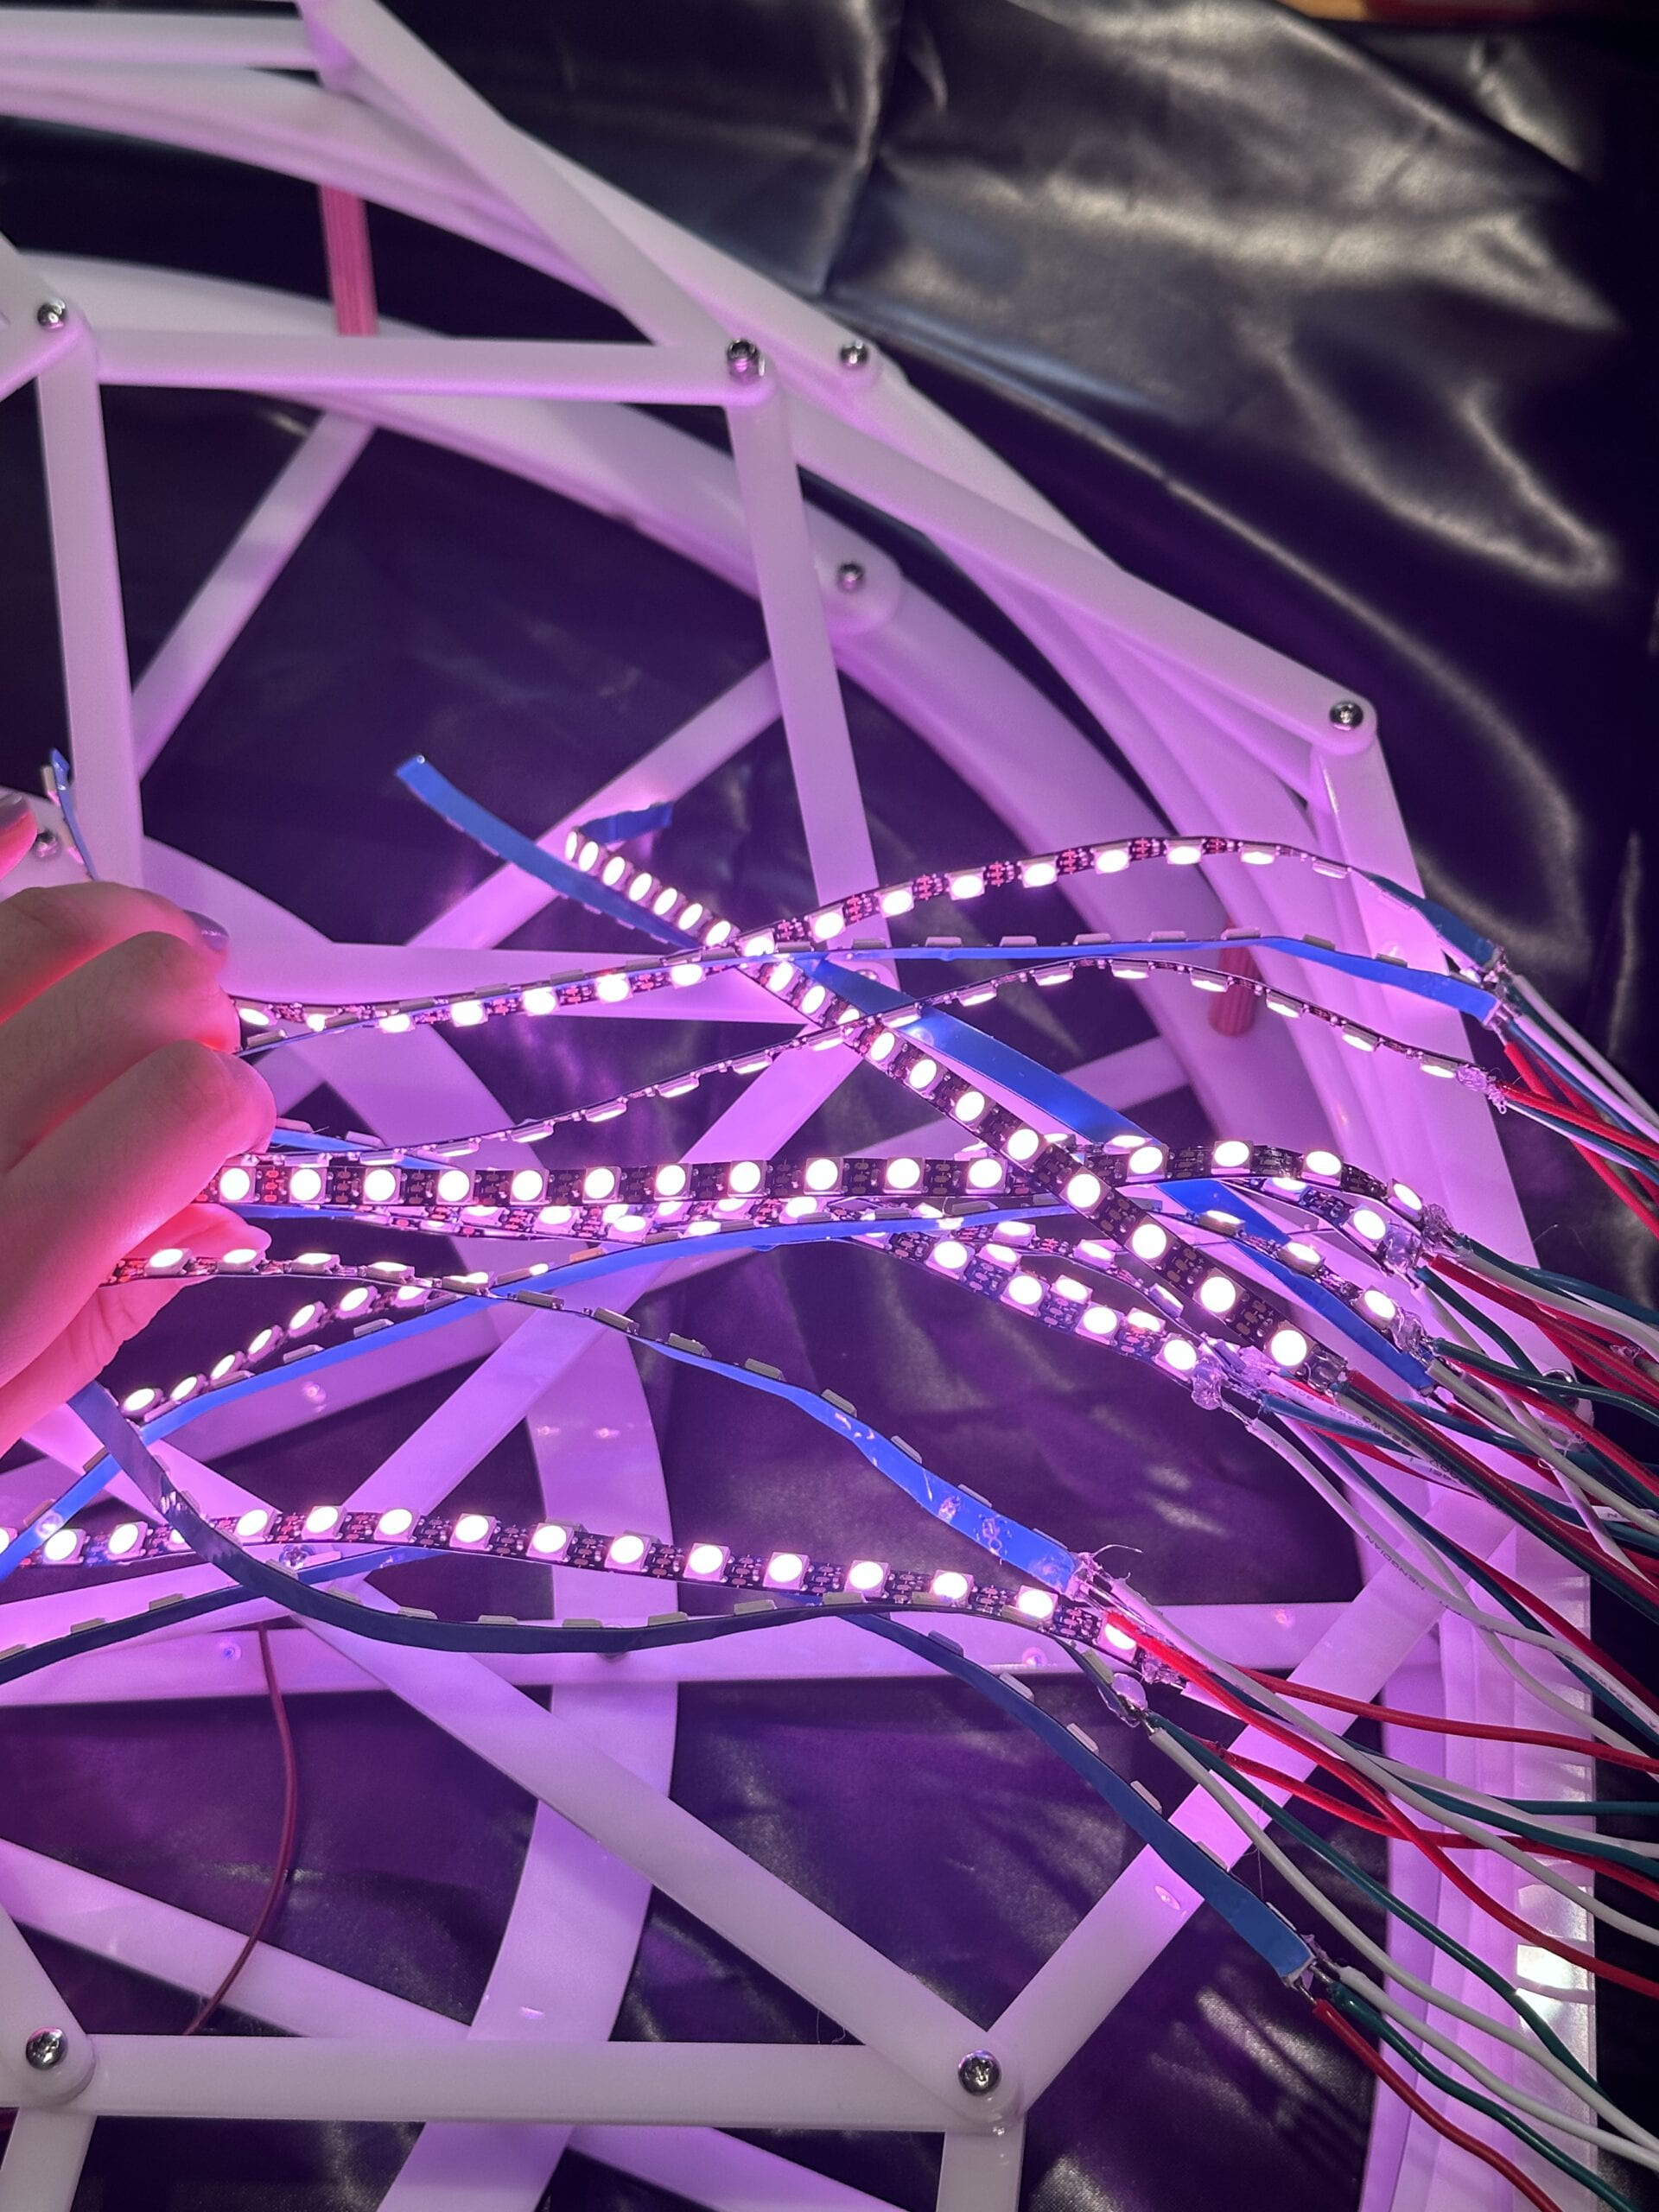
The bad connection is the biggest pity of this project. Later, Angy and Xiao told me that I need to connect the hard cables with the strand cables and then with the hard cables so that the connection will be good. The wires in the hard cables can be easily broken and unconnected. However, I didn’t have the time to redo all the cables.


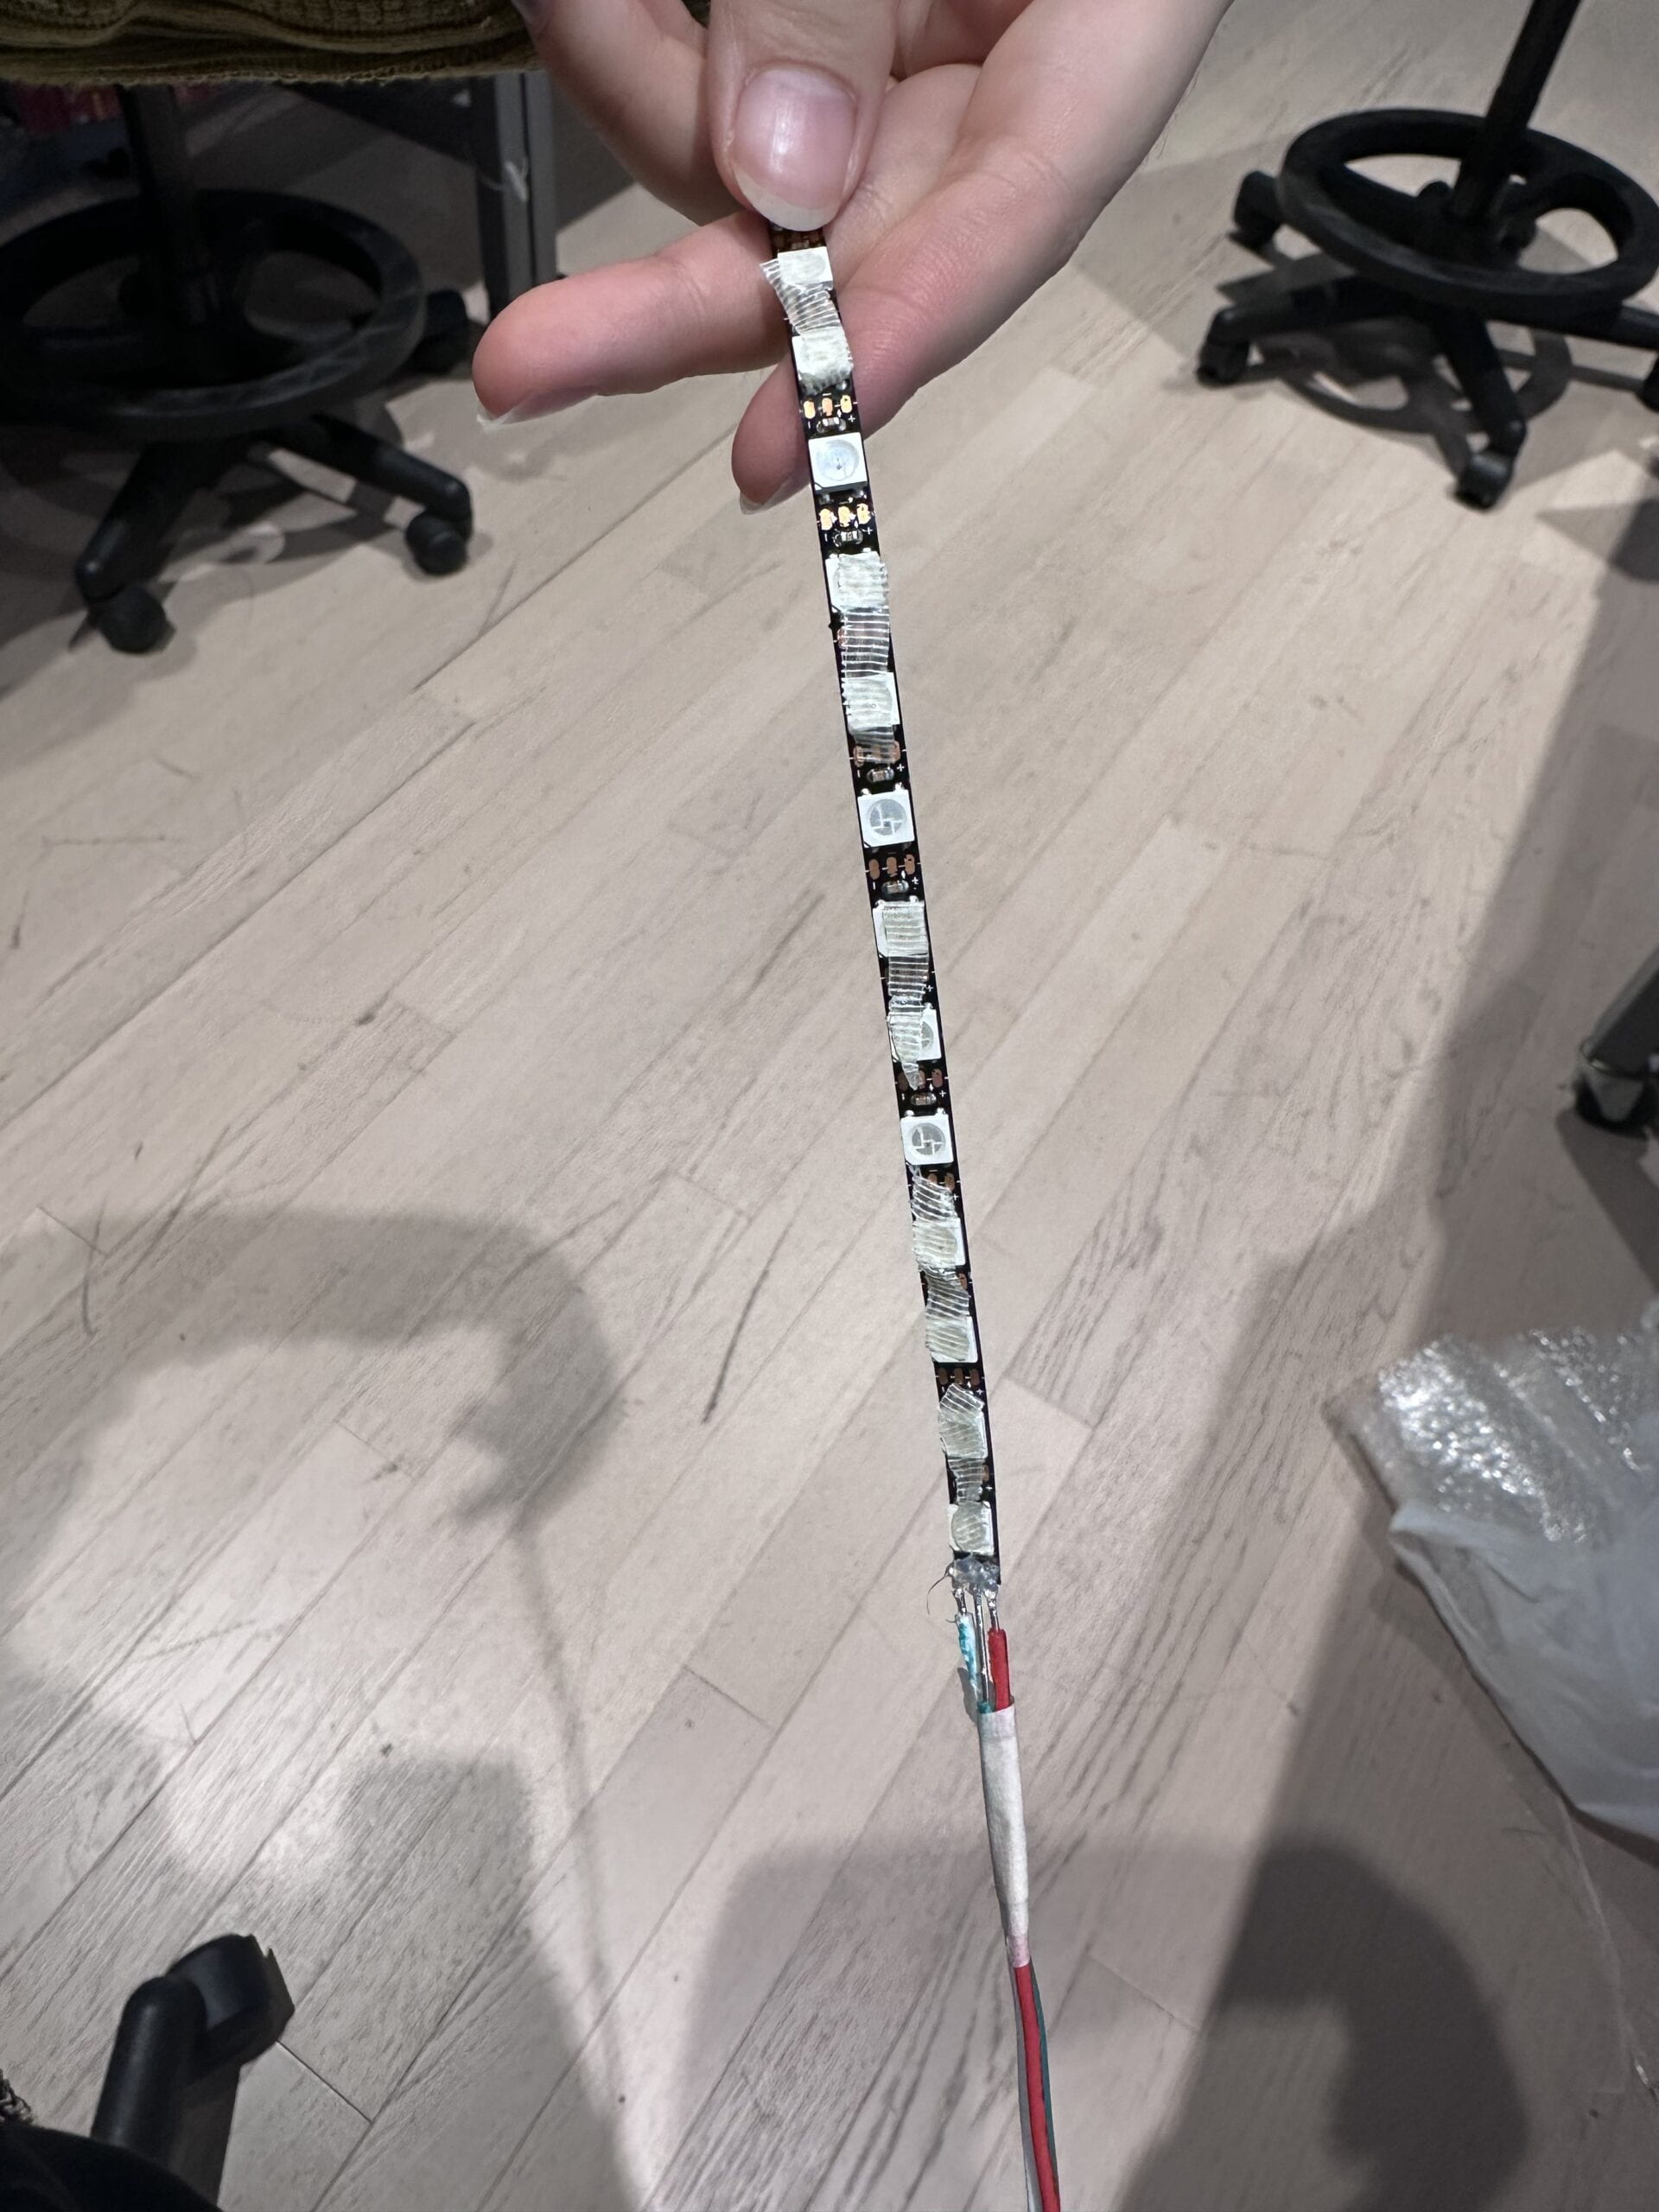
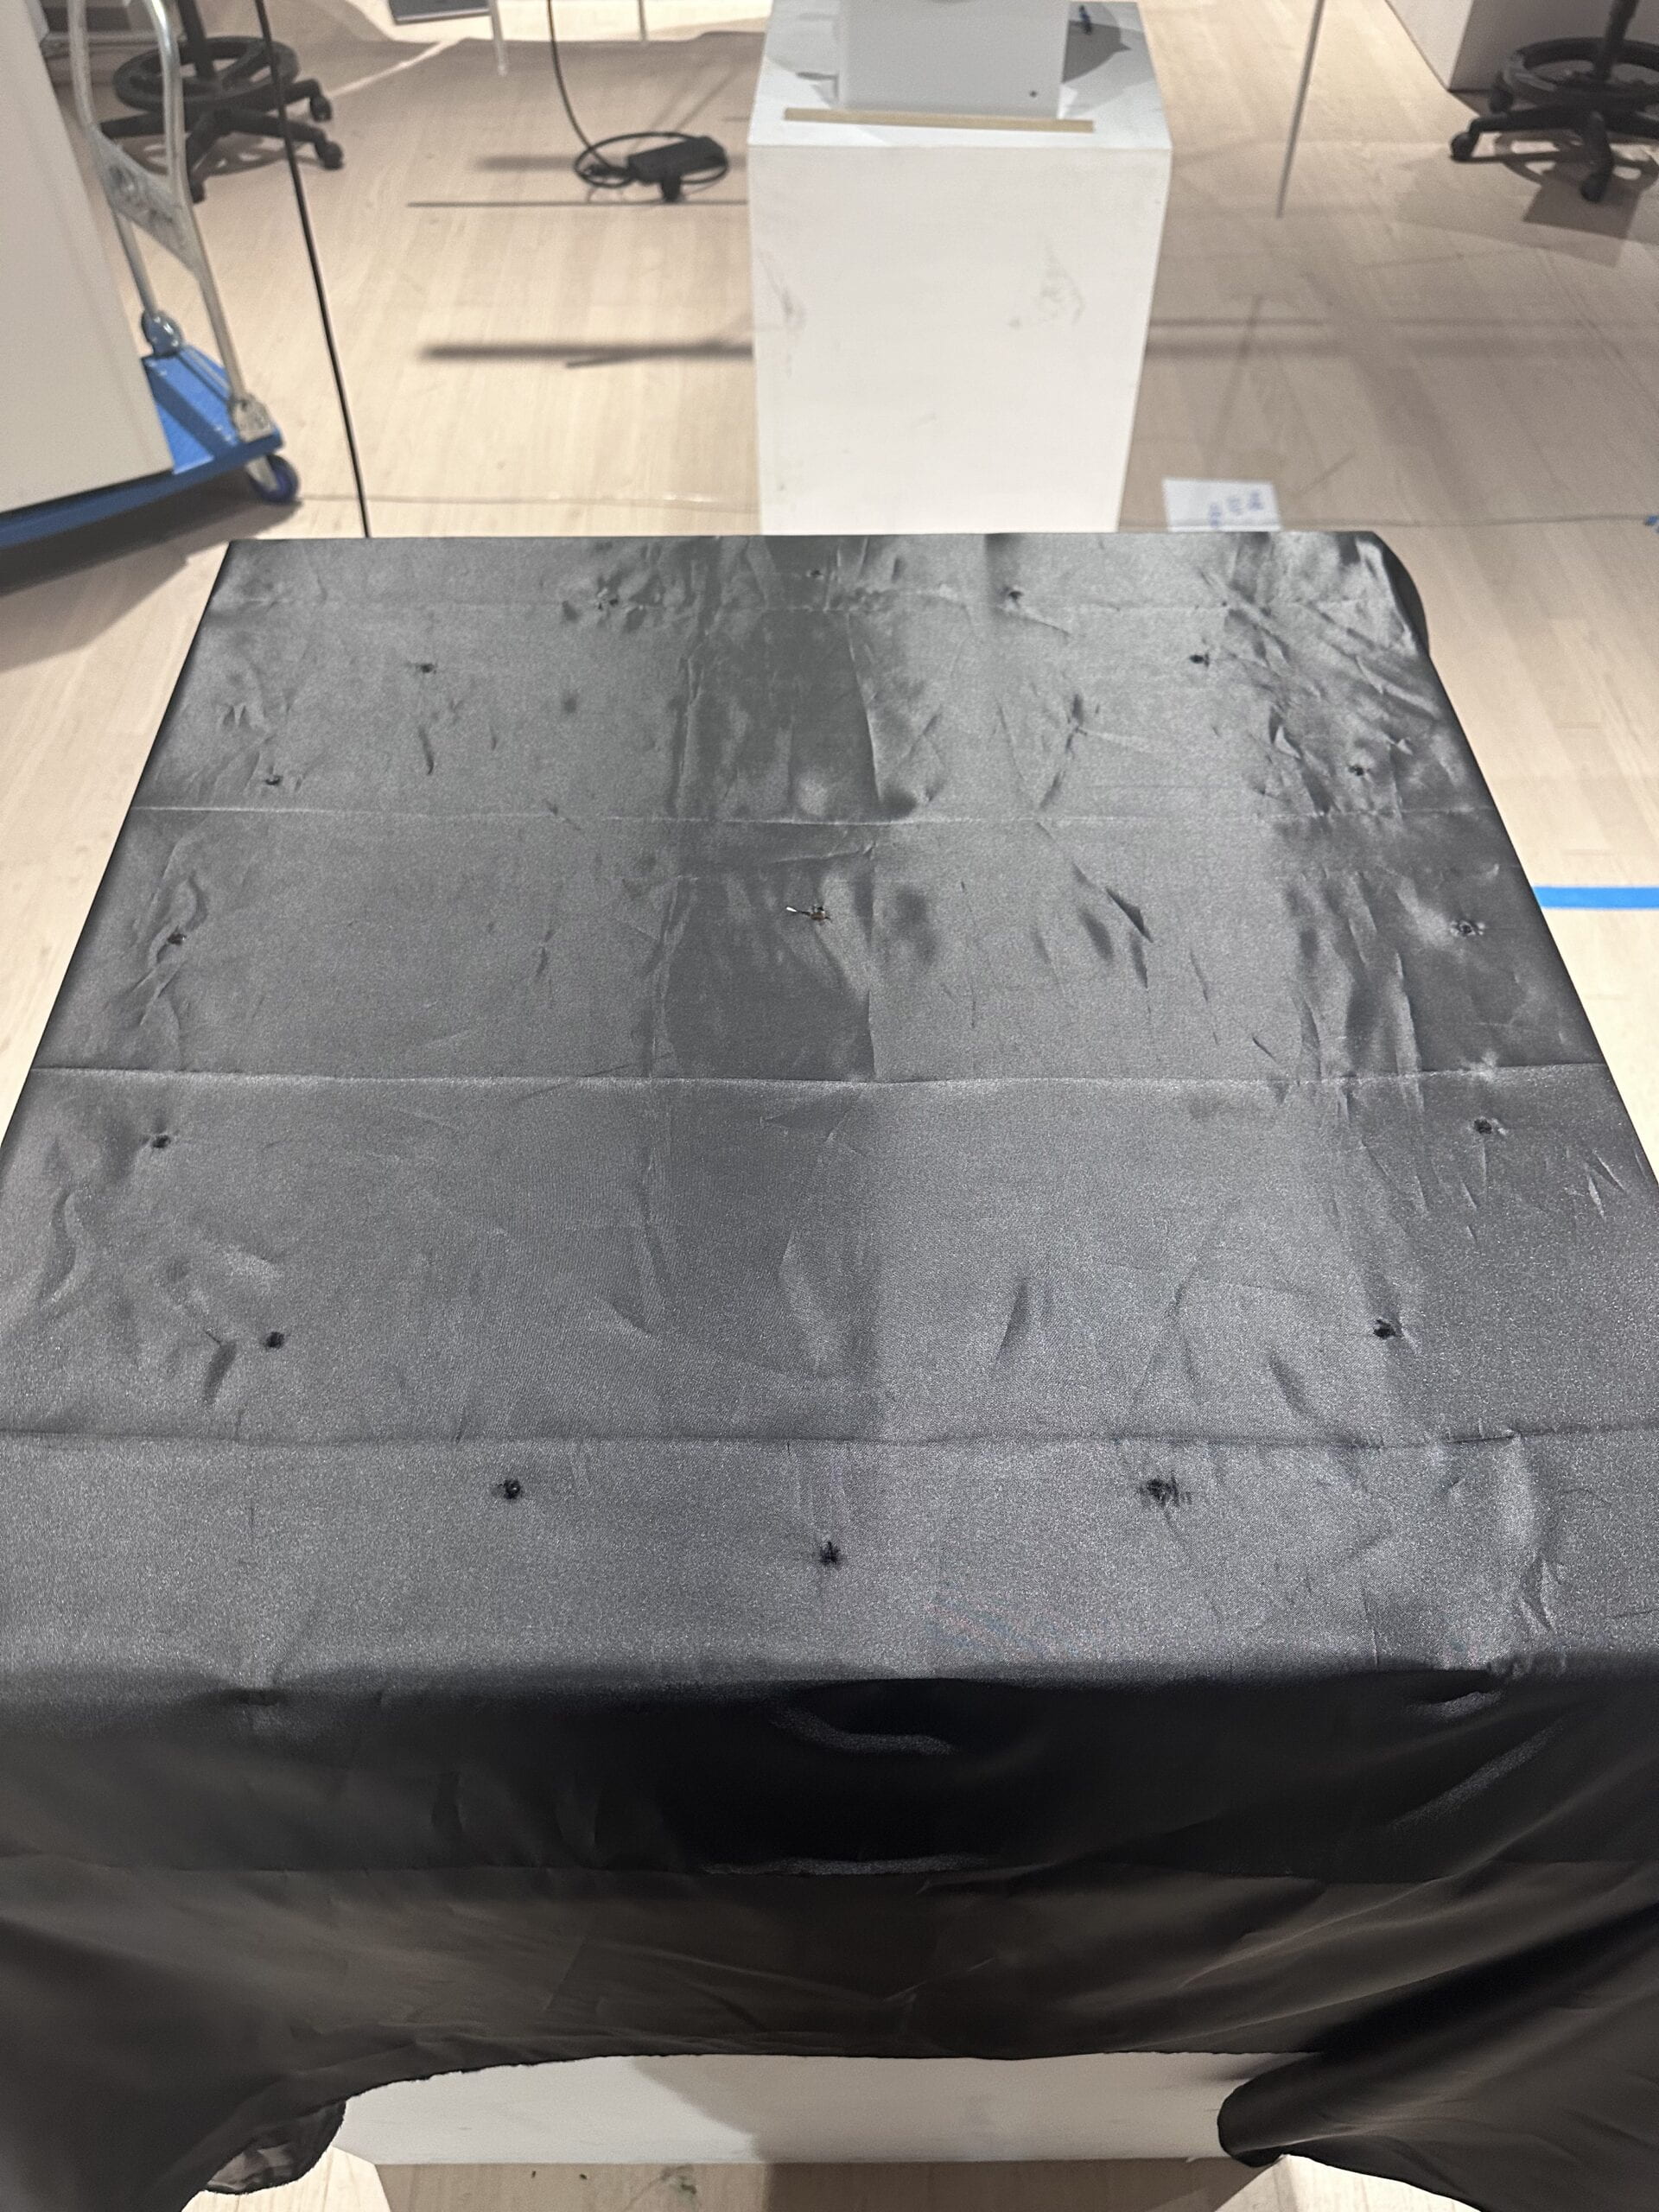
For the final presentation, there were about three led strips that didn’t light up. However, in the final show, six LED strips didn’t light up. Besides, there was a little yellow LED destroyed the light. I tried to fix them before the final show but I made it worse and fixed them to what they were like before I fixed them.


F. Conclusion

I really love my project. I have never put so much effort and time into a project before. I was so glad when I heard Eric saying “Dedication! Like it!”. Everyone in the studio saw how I built it up and was amazed by its final presentation. Positive feedback is the best motivation. It makes me feel my hard work is worth it. 

However, if time could go back, I would tell myself don’t put that much effort into the connection if I didn’t have the resolution to restart it so that it saved a lot of time for me to get a quality rest. Checking them one by one is so hopeless. Instead, think twice, ask more people for advice, and find the best way to connect at first.

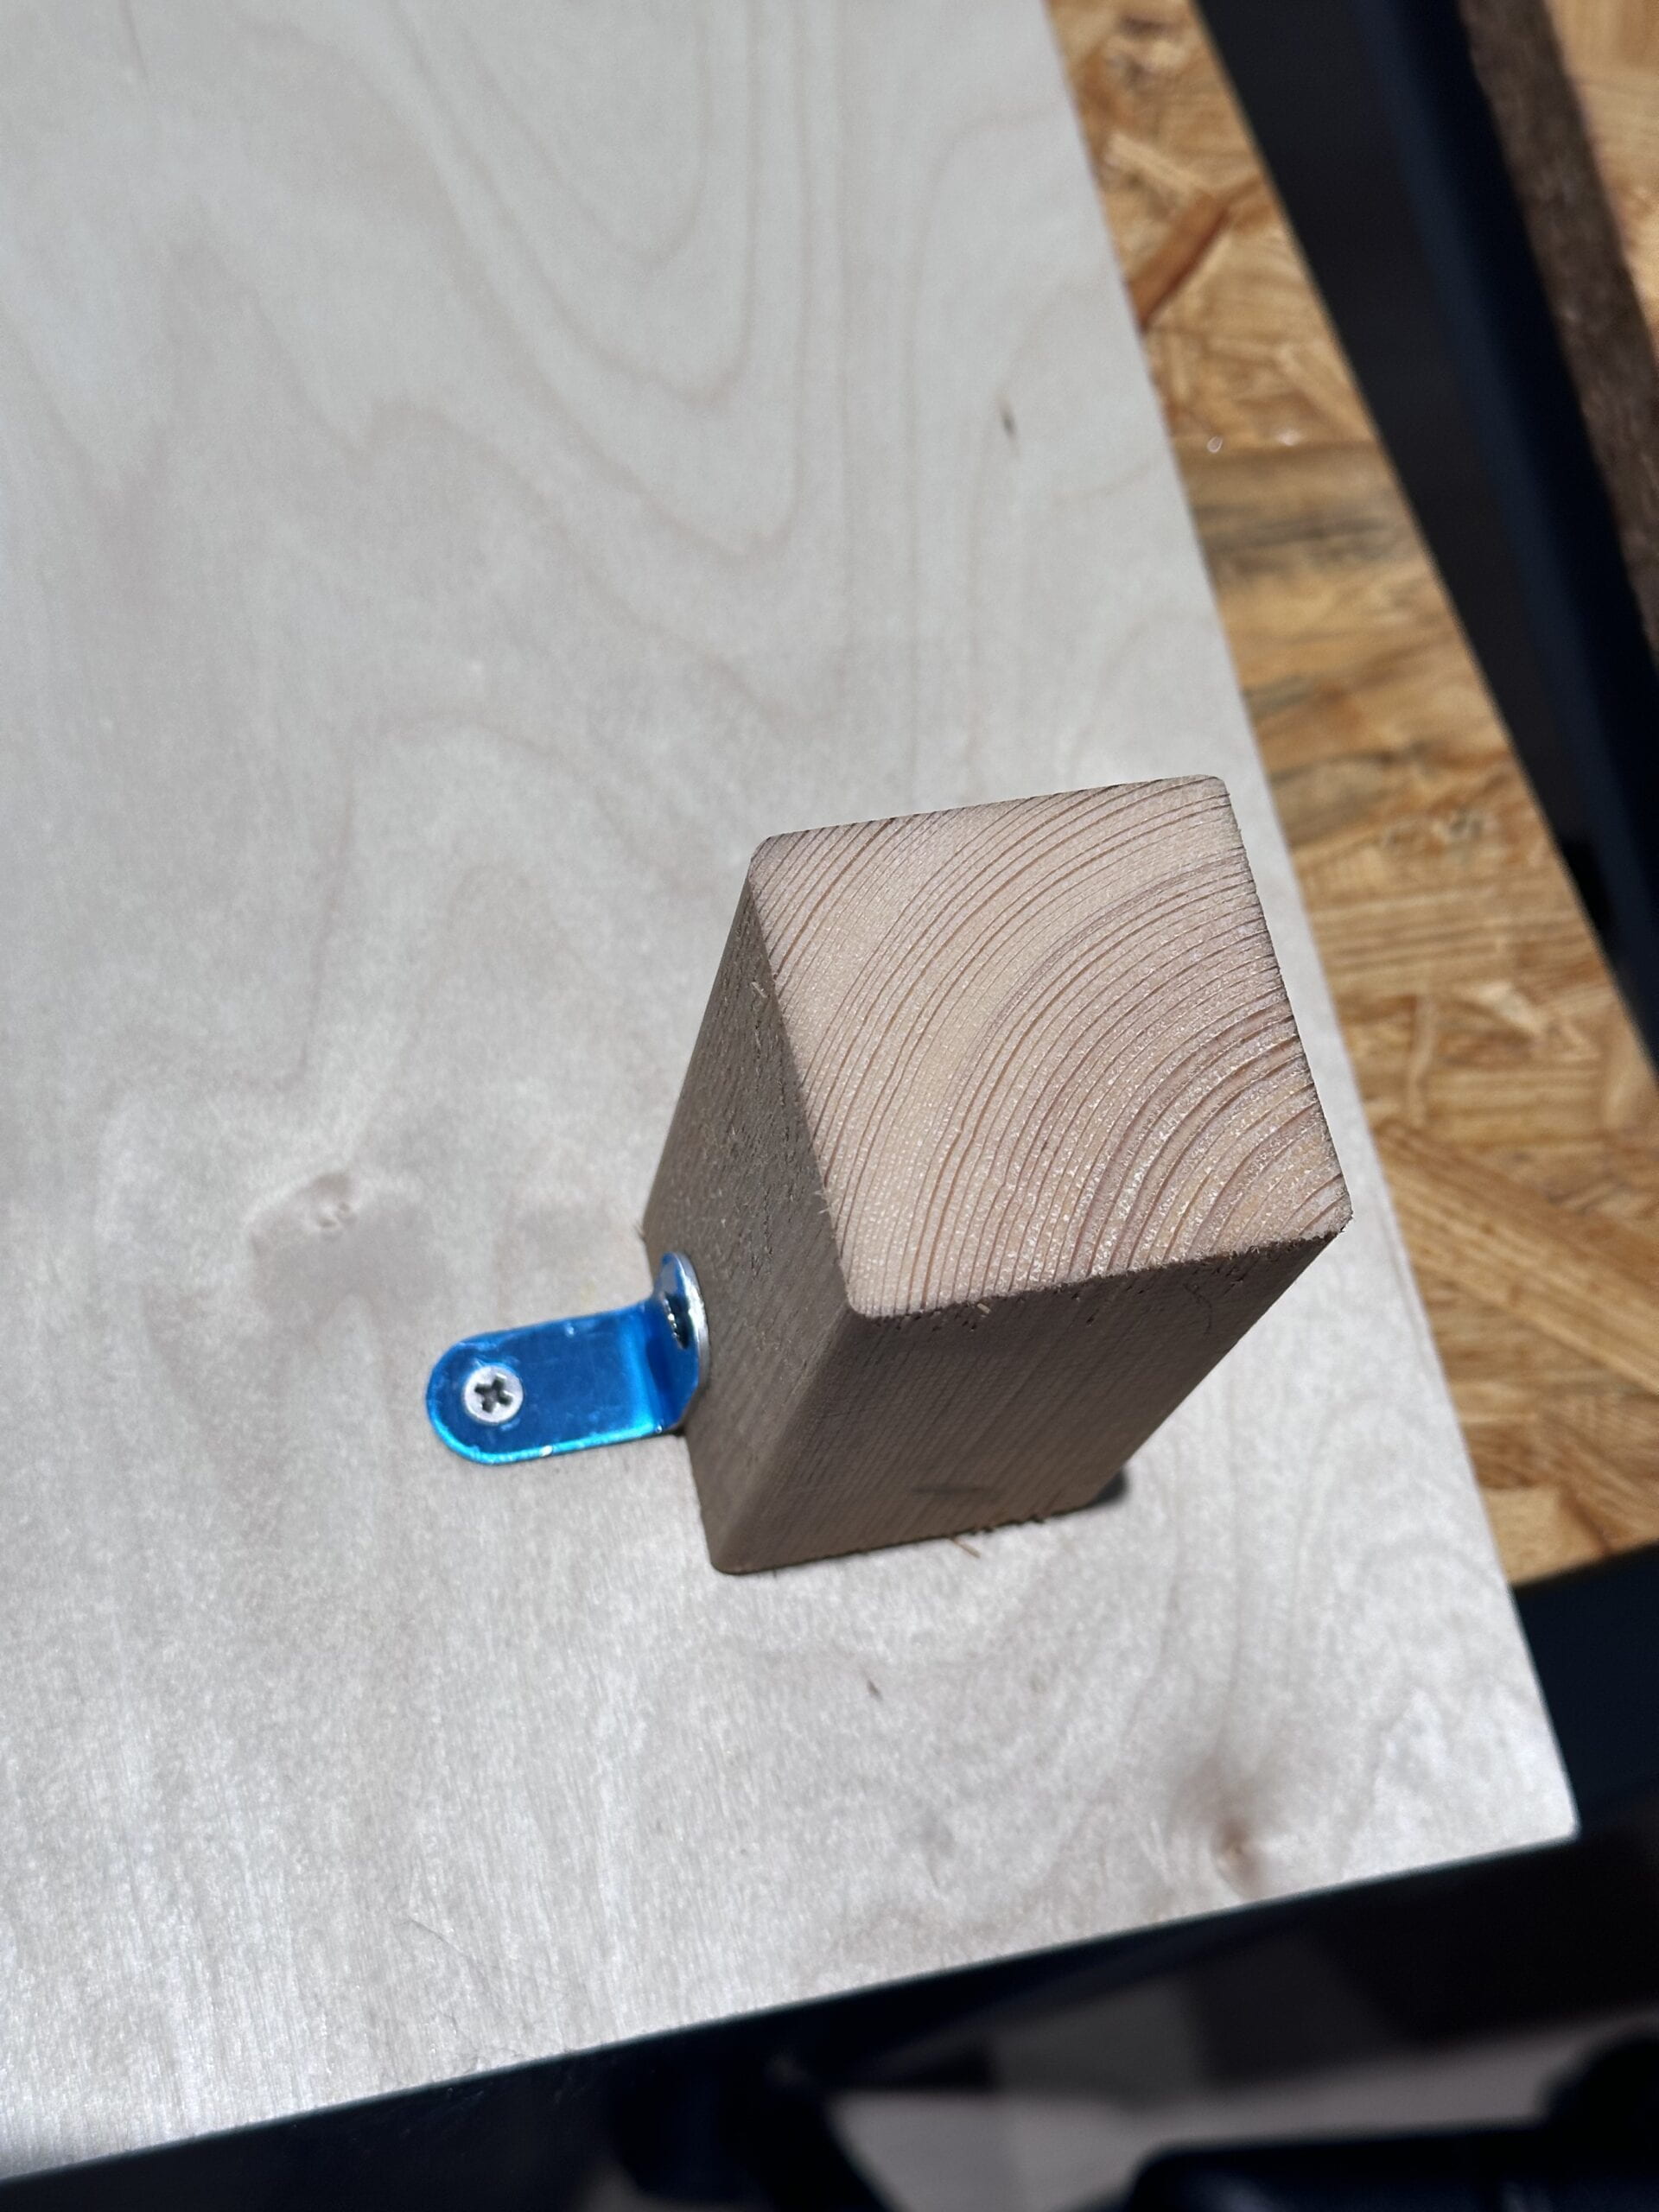
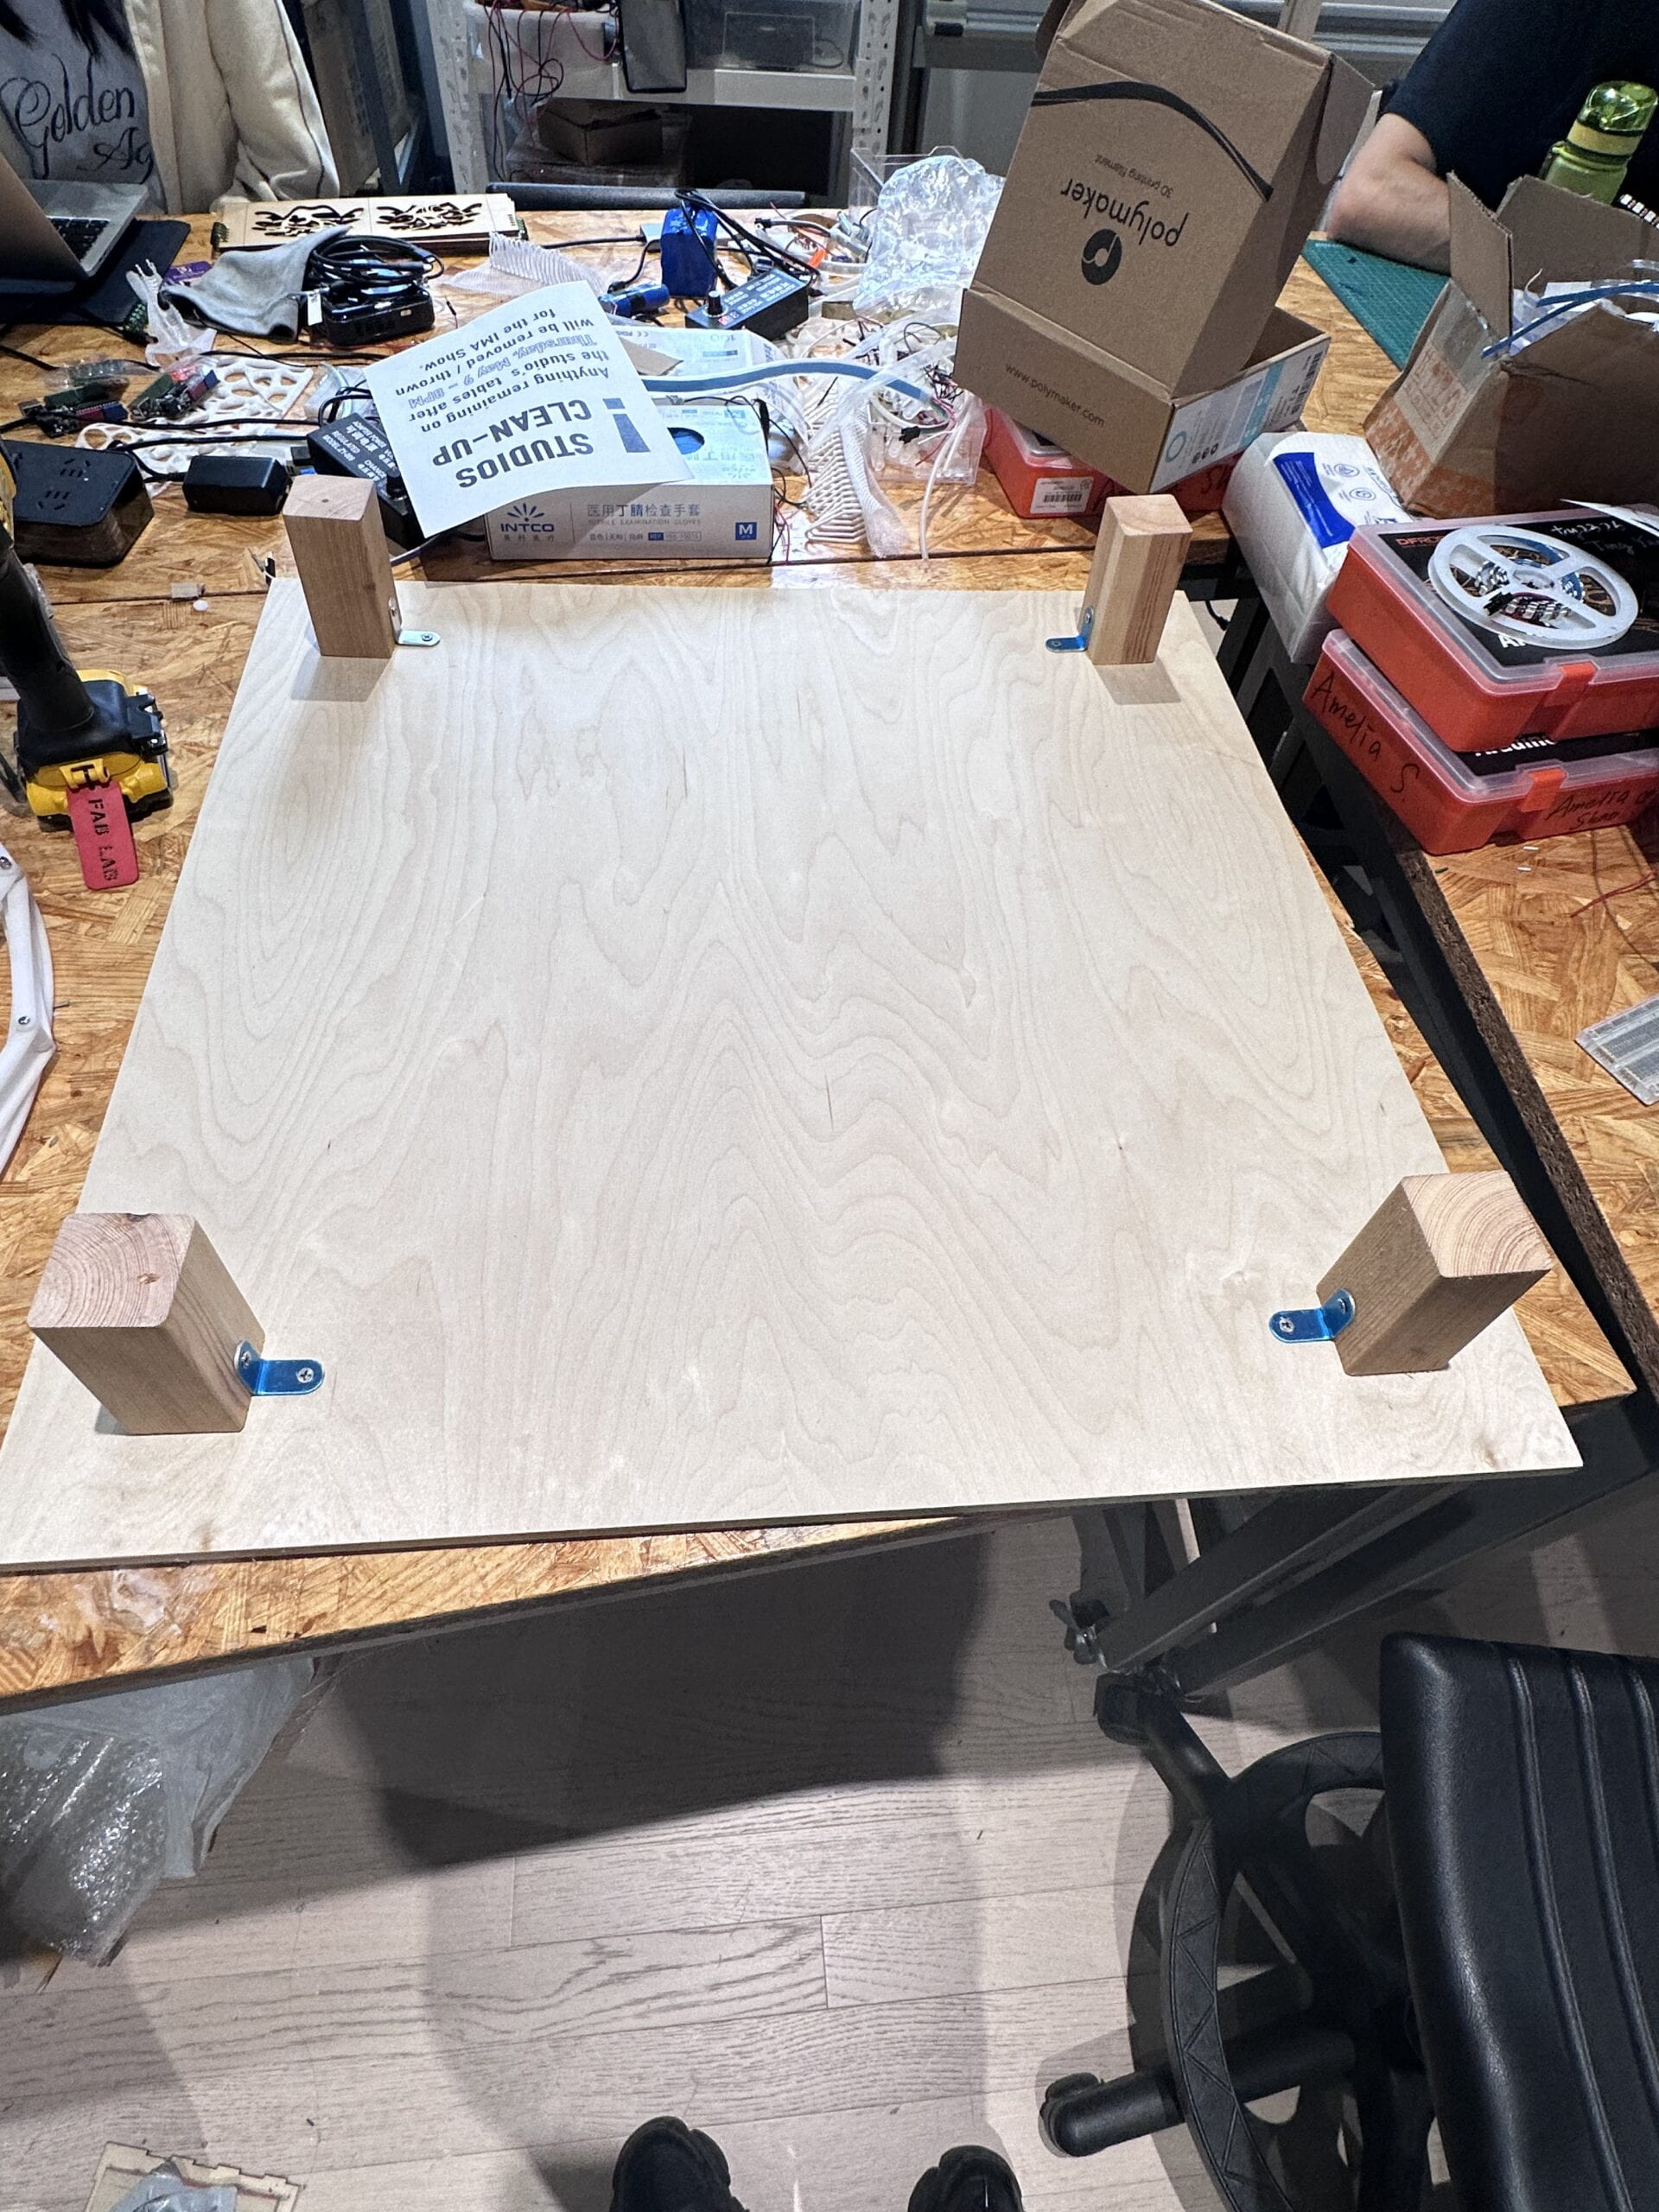
In the future, I may fix the bad connection and use the paper to cover the side of this project so that the LED will not be too bright. Then, Fix the stand. Also, I may put it on a lower pedestral so that people can see it from the top easily. Moreover, I will try to finish the lotus seedpod part to complete the whole project. For now, the center looks empty.

Project B. Beyond the Screen – Lotus Pulse 𑁍💗

• Project: Lotus Pulse 𑁍💗 


• Brief Introduction

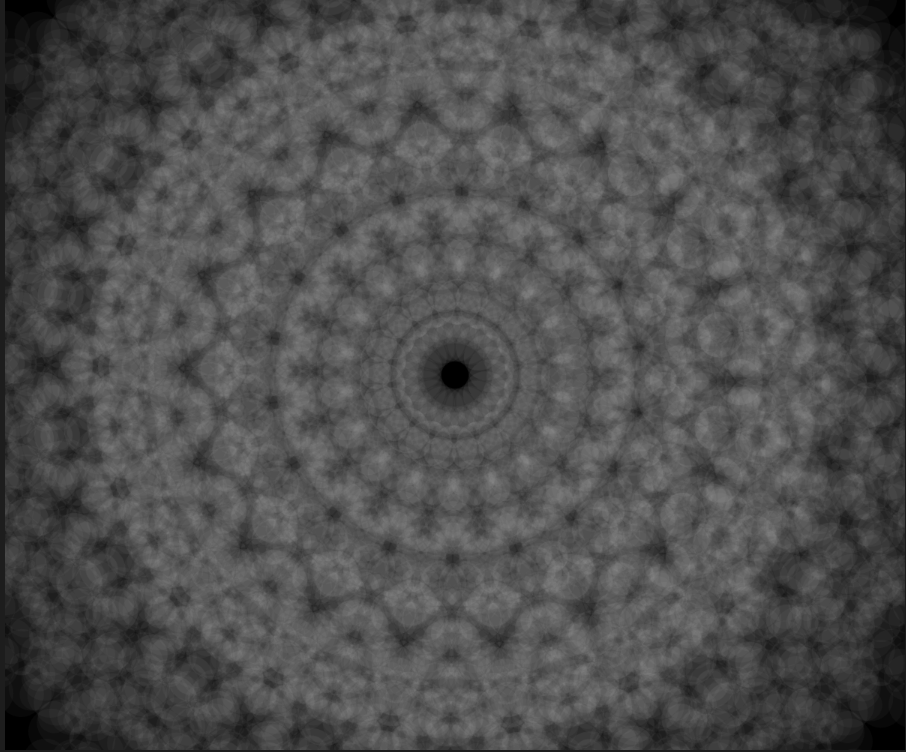
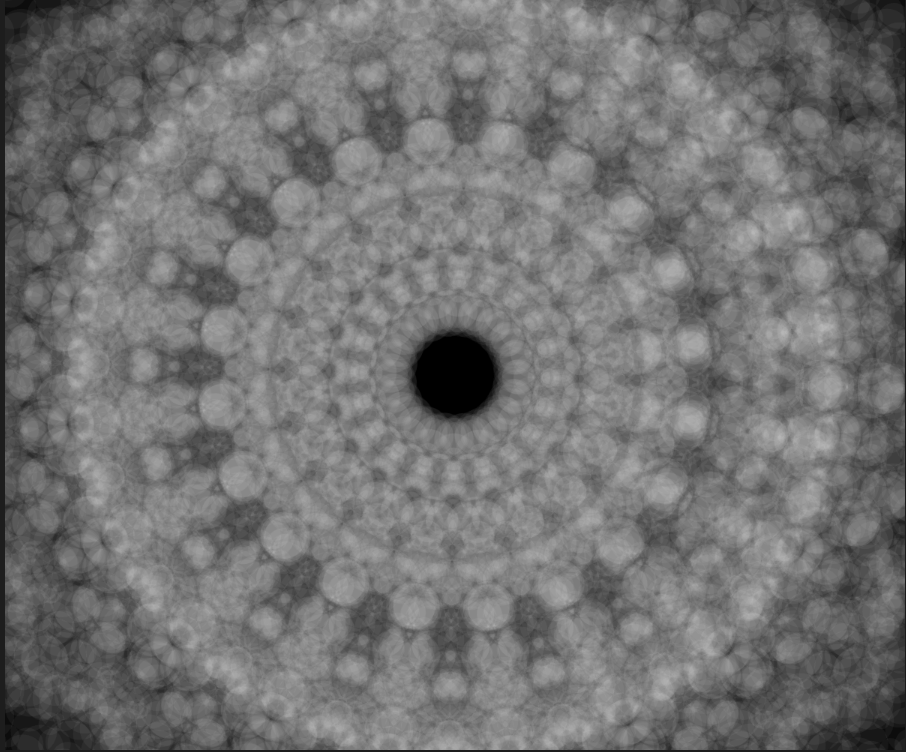
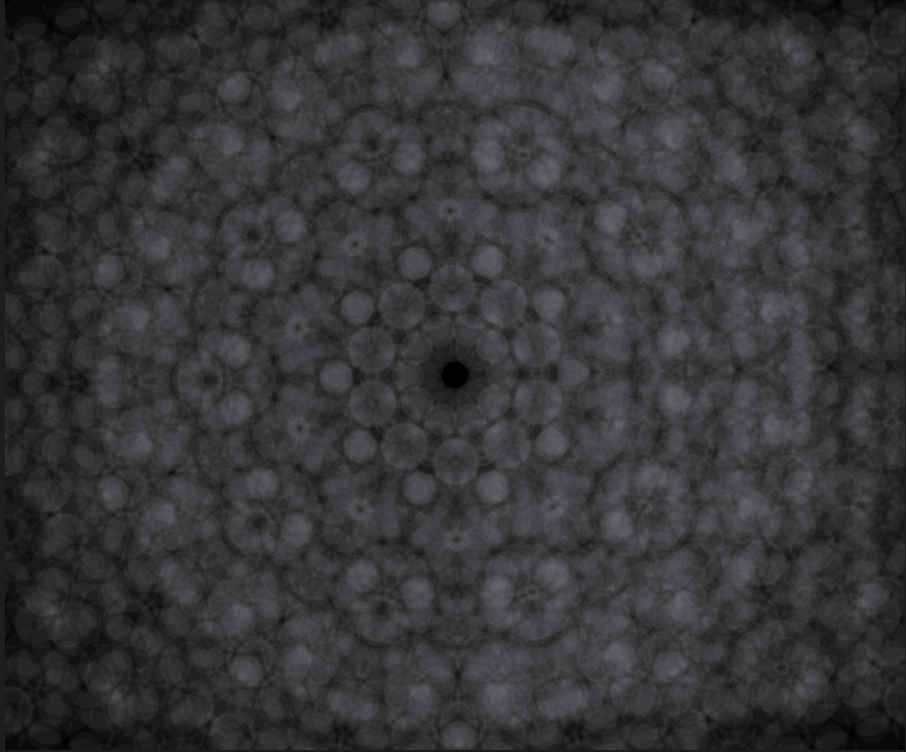
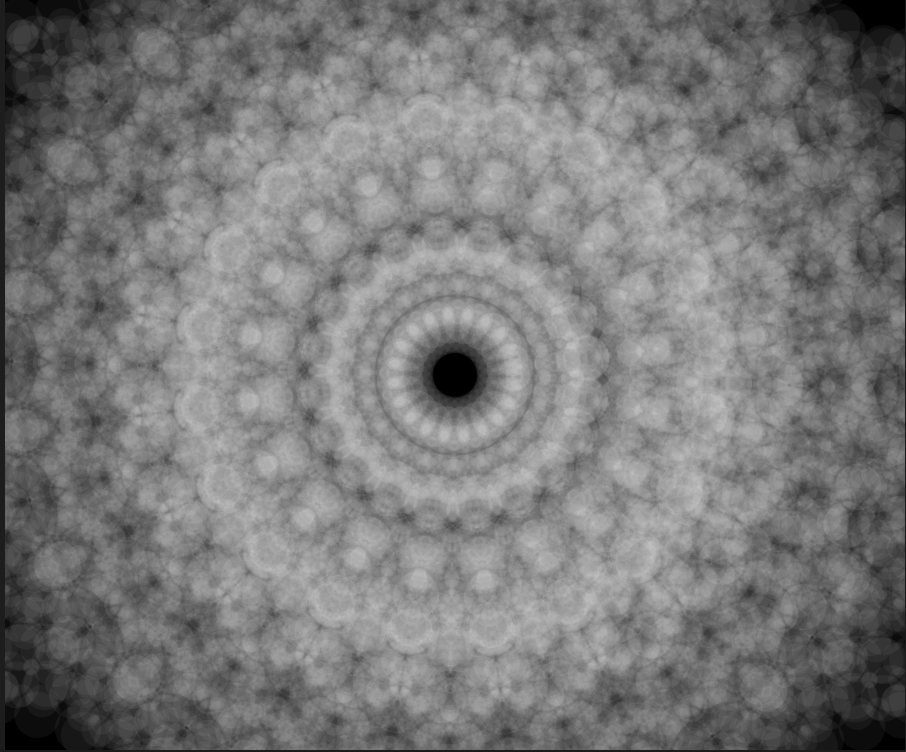
Lotus Pulse is a real-time visualization of your heartbeat in the infinite pattern of lotus flowers, turning an internal rhythm into an external display of animation. Wear the ear clip, and feel the connection between your heartbeat and the lotus flowers. (If you don’t get the ear clip, also lucky for you, then you have the chance to resonate and even synchronize with someone else’s heartbeat.)


• Process

  1. First, I played with the flowfield as the basic of the whole project.

2. I changed my infinite pattern assignment code to animation.

3. After Moon’s help, I combined the pattern and the flowfield successfully.

3.

4. Connect the serial port

5. Duplicate the pattern.

6. Transform the patterns based on the data (using the counter in Arduino).


• Reflection/ Lesson-learned

I am really excited to learn how to apply generative art to real-time visualization by connecting p5.js with Arduino. It makes me feel that my code has become lively. I always want to make the connection between reality and the virtual world through interaction. This time, I finally felt that I was connected with my code. I boldly believe that every audience who has experienced my project can feel the same connection.

However, I think this amazing effect must be due to the nice choice of the heart rate sensor and the good floor projector (It really helped a lot with the final effects). I still need to practice more with my visualization, making it more natural and smooth. For now, the lifespan is still a little abrupt and the change of pattern still follows a certain way. But I am glad that I have learned the flowfield skill. I think this is very useful and inspiring for my future coding because I’m fond of fluctuating motion, and this definitely showed how calculation matters in coding. It showed me the power and charm of mathematics and physics applied to art.

In the future, I still want to explore more on this project. I don’t want it to stop here. First I want to try how to realize my goal of multiuser. It is such a pity that one Arduino can only run one heart rate sensor. But it was also surprising that people who didn’t wear the ear clip could also feel the synchronization.

• Final Show

I was so flattered that so many people came to this little space and felt their heartbeat.


I adjusted the position and the scale of the floor projection so that it filled the blank space on the floor. The final effect was out of my expectations. 

However, the cables were not long enough so people might not choose to stand on the patterns but stand by and look at them. That was the hardware problem I needed to solve. 

Some experts told me that maybe I can think about more applications of visualization, like meditation and yoga. Some old grandmas told me that they hoped this could be applied to the hospitals. When the doctors detect the patient’s heartbeat, the patient can also see it and maybe the doctors can see it more clearly. It was such a pleasure to see my project have so much potential.

I was moved by this moment so I chose to film this. A mother kneeled to wear the ear clip for a few minutes and several children were playing on her heartbeat visualization. This brought much more meaning to my project than I expected. 

• Link to p5.js / Arduino

NOC#W10 – Penguin Hunt🐧

• Project: Penguin Hunt🐧

• Process

1. I used GUI to control the number of penguins.  However, the previous penguins will be totally cleared. But if I deleted “penguins = [];” in Line 19 , the penguins would be only increased. How can I change the number based on existing penguins?


2. I inserted the image of penguins and changed the size to an appropriate scale.

3. I added a wandering system as fish. But the number seemed to be too large.  


4. I added mouse interaction.

5. I limited the number of fish. (Final Version)

6. I found a certain position where the penguins can move in a circular pattern.


• Reflection/ Lesson-learned

I learned how to let objects rotate according to its direction through “heading”. It helped a lot. I want to explore more about how lifespan can be employed in this project in the future. Also, I think it can be improved that the fish can be eaten by the penguins when they touched the boundaries but I haven’t figured out a way to realize it currently.

Assignment 5: Linear Lights

• Project: 🌤️ or 🌧️

For this assignment, we integrated linear motion with weather, mainly using the LED strip as the light source. 

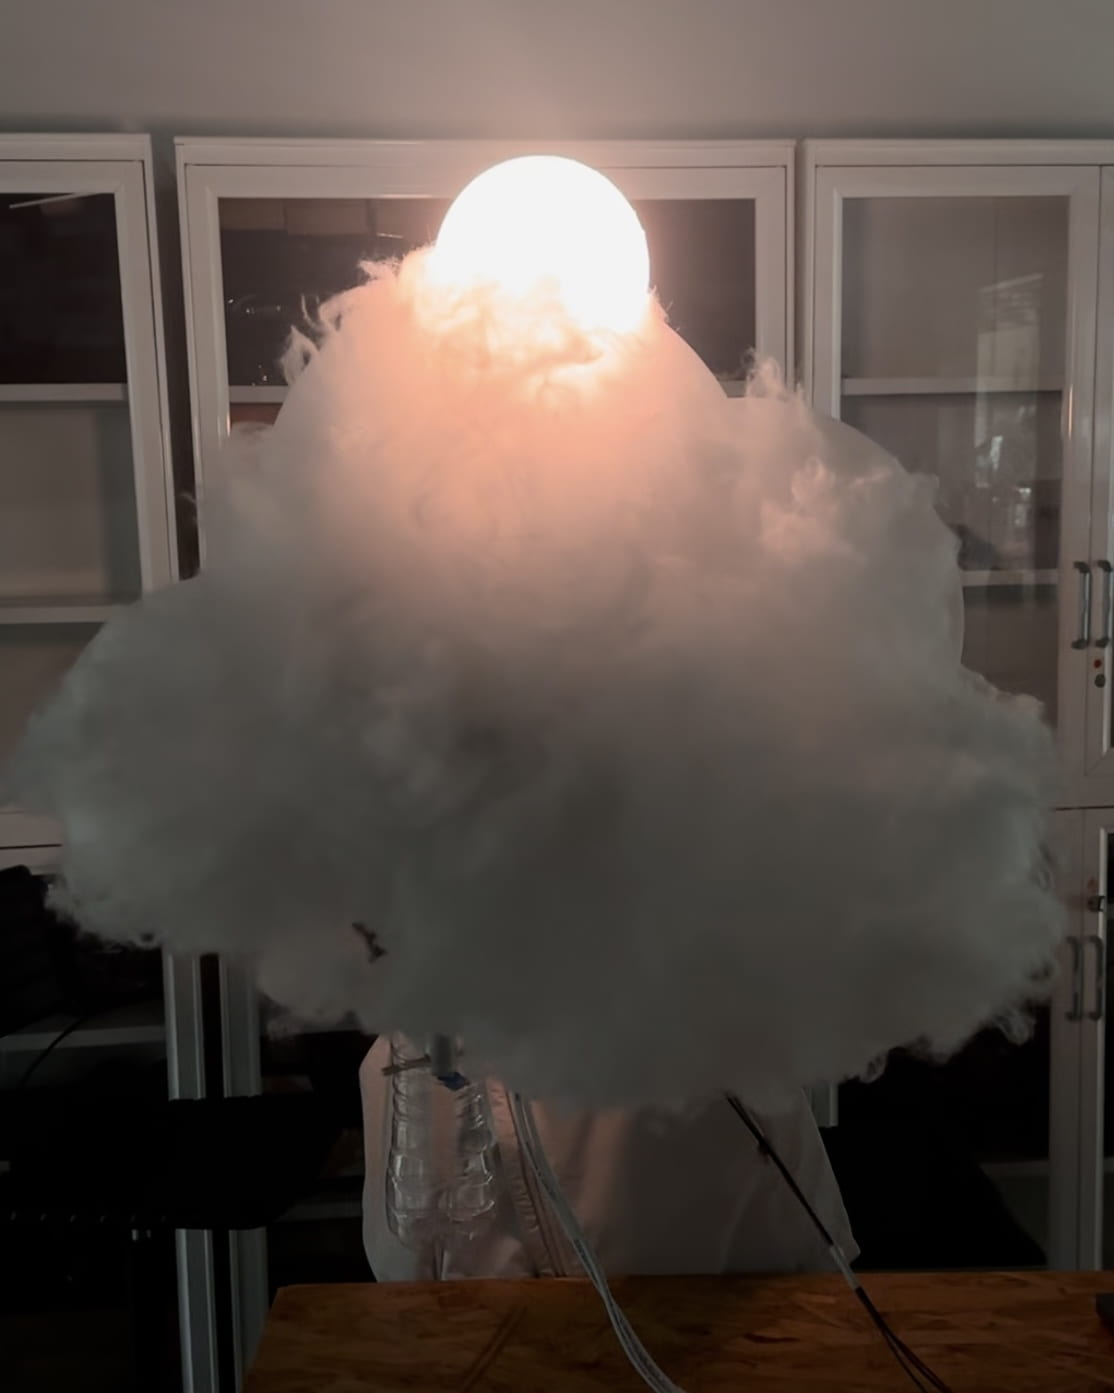
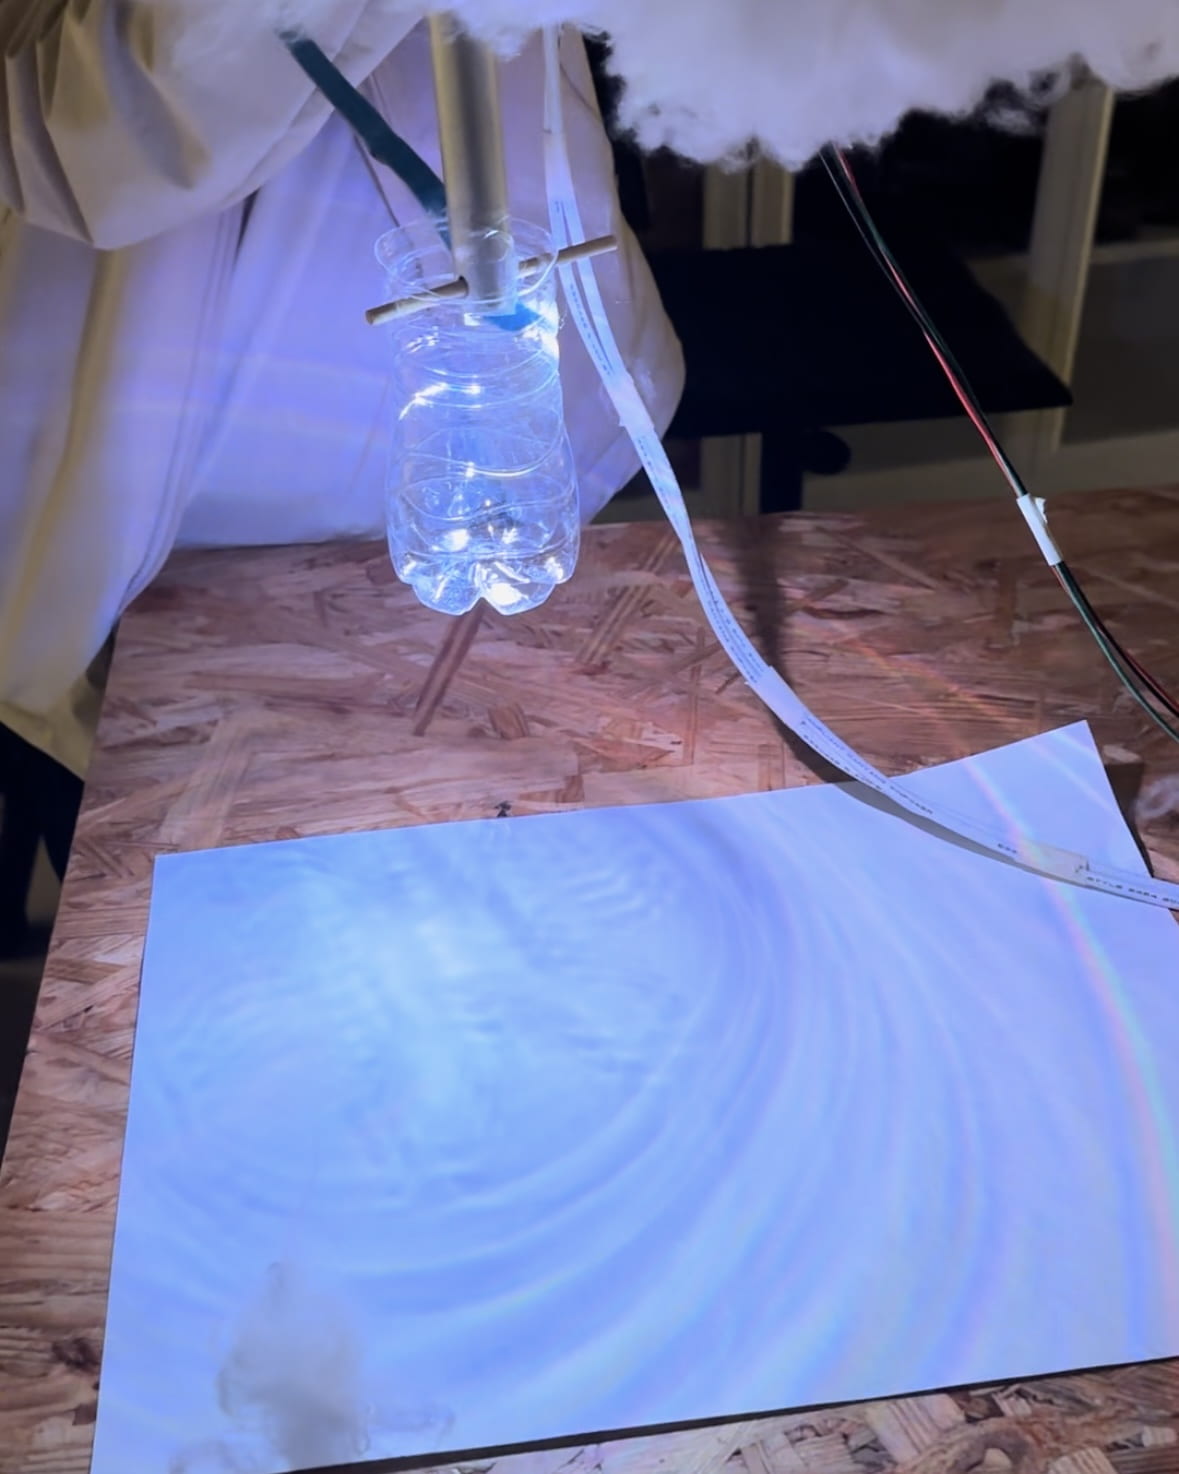
We attached the strip to the edges of the rounded semi-transparent acrylic boards as the sun and used the reflection of a bottle with light shining towards its bottom as the rain. For a better visual effect and also to hide the actuators by the way, we laser cut a semi-transparent cloud-shape acrylic board and glued the cotton on it for soft and large-scale light. When the sun rises, the light shines through the cloud.

We taped the two actuators in opposite directions behind the big acrylic board. The linear actuators started to move from the position where it was, so we needed to shorten both at the beginning to set its initial position. The sun and rain do the same up-and-down motion with the corresponding LEDs lit up asynchronously. 

– When the sun rises, there is no rain. When the sun sets, it rains.

After the presentation, we got the advice that the motion could be accomplished by only one actuator and we didn’t need two. To make full use of two actuators, we can add only the cloud or sunny rain to the weather representation for future improvement.

  • Documentation Video


(Closer View) 

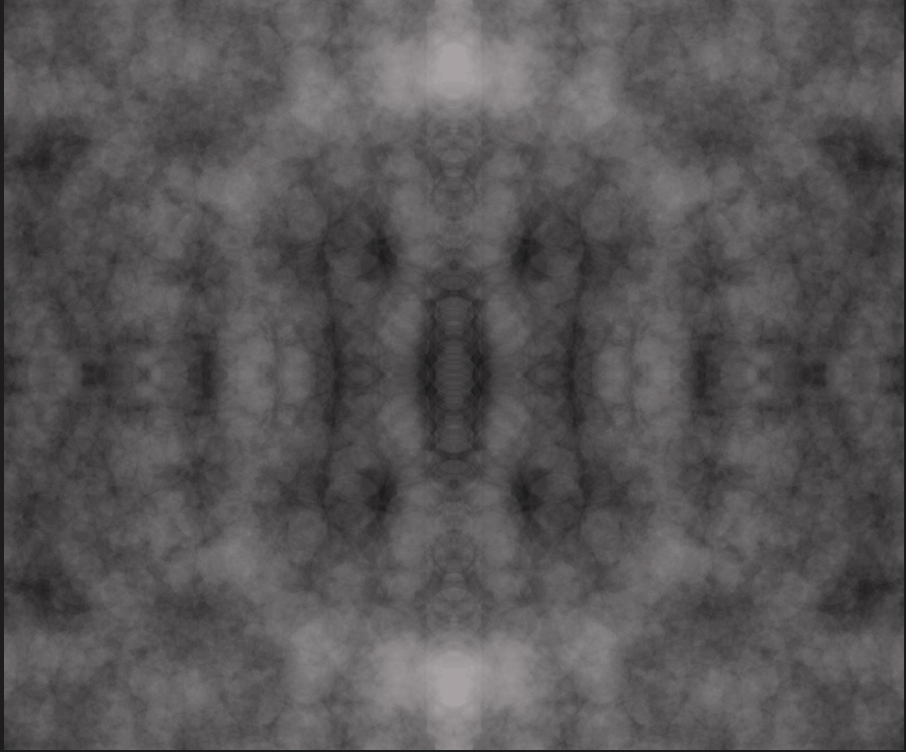
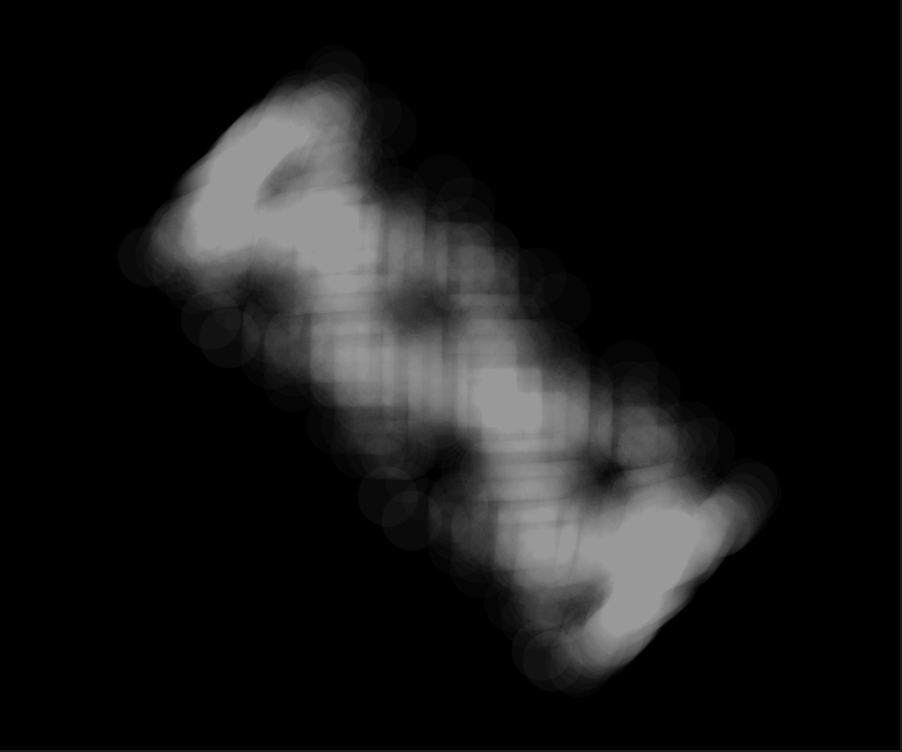
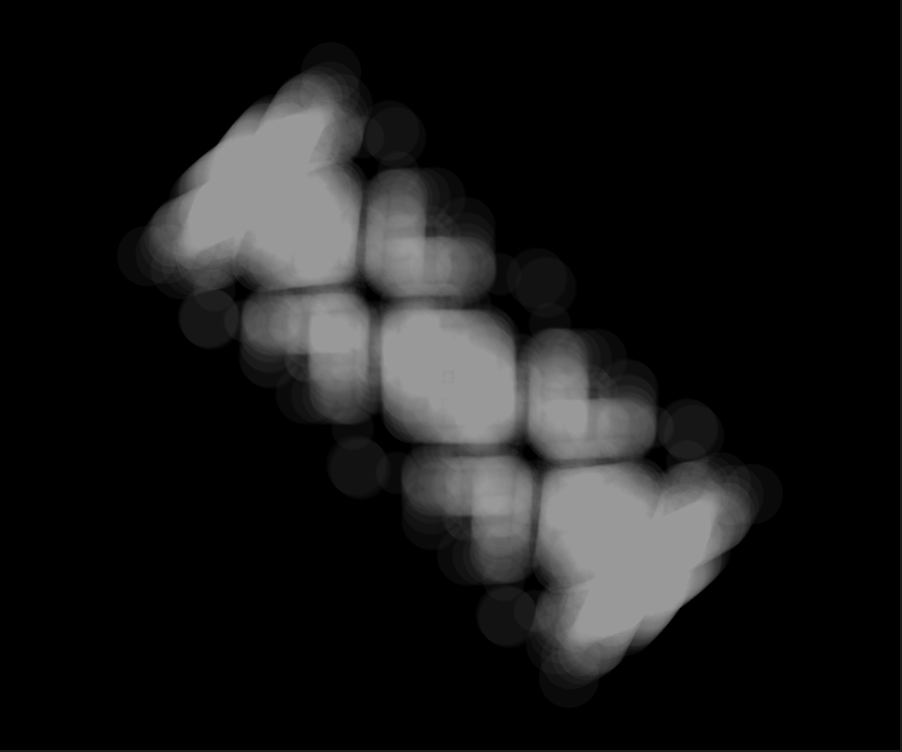
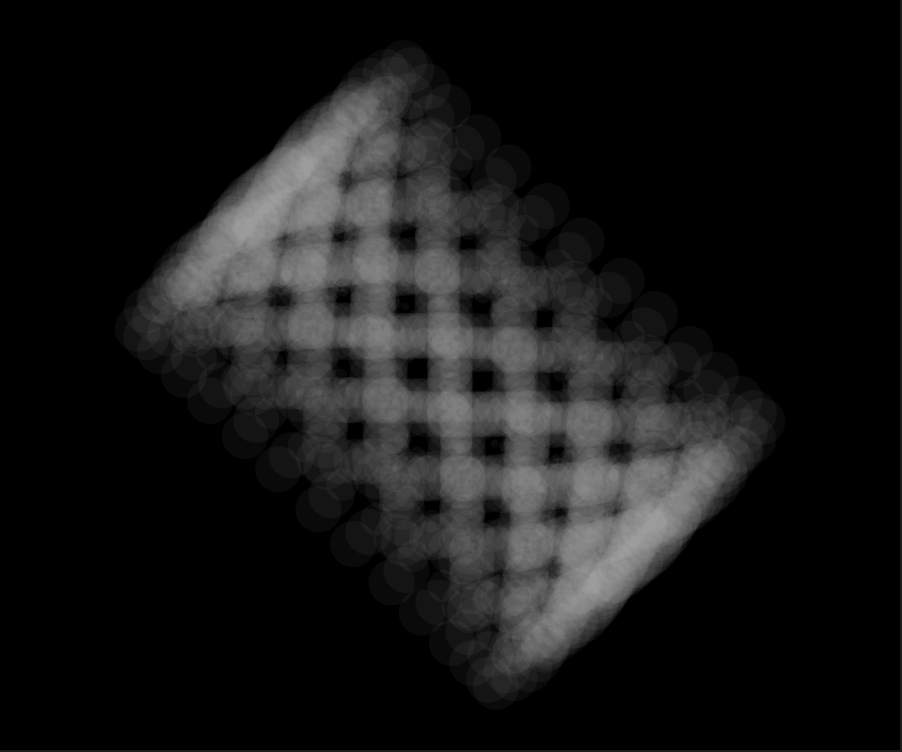
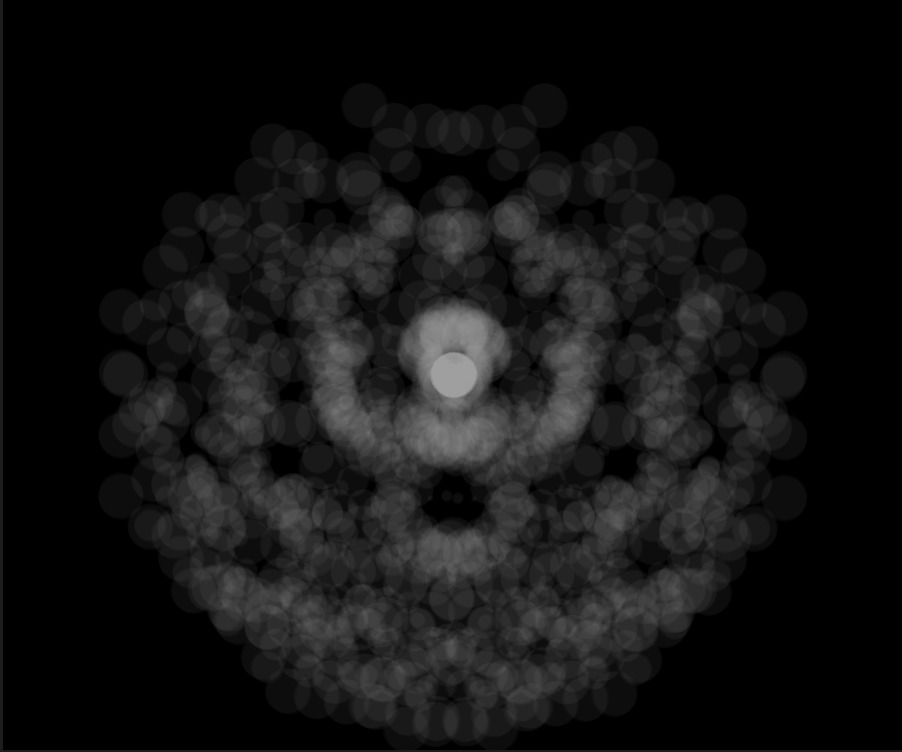
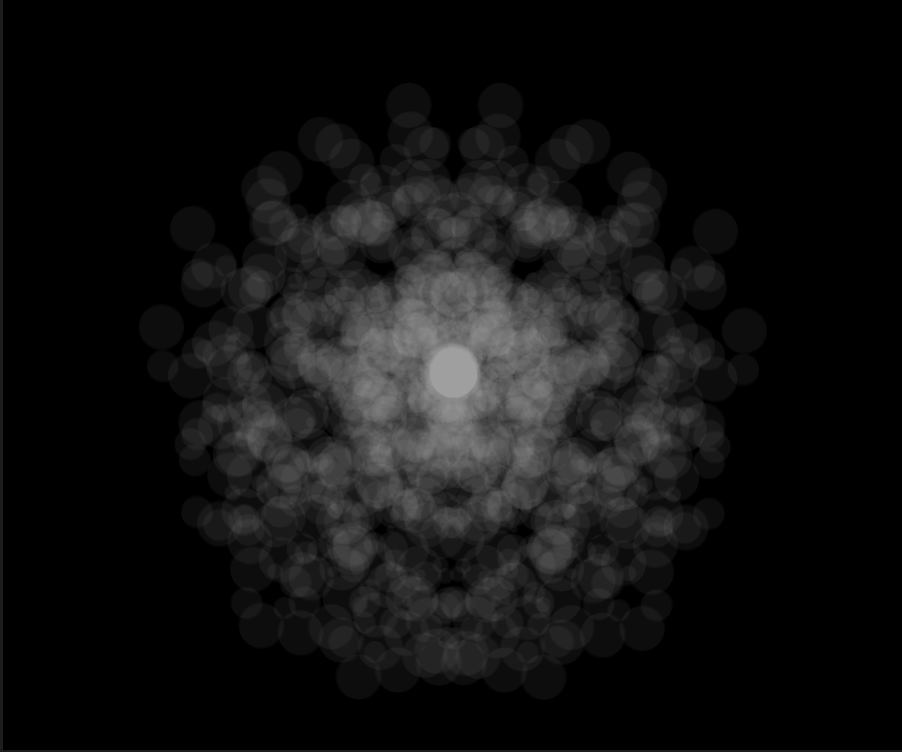
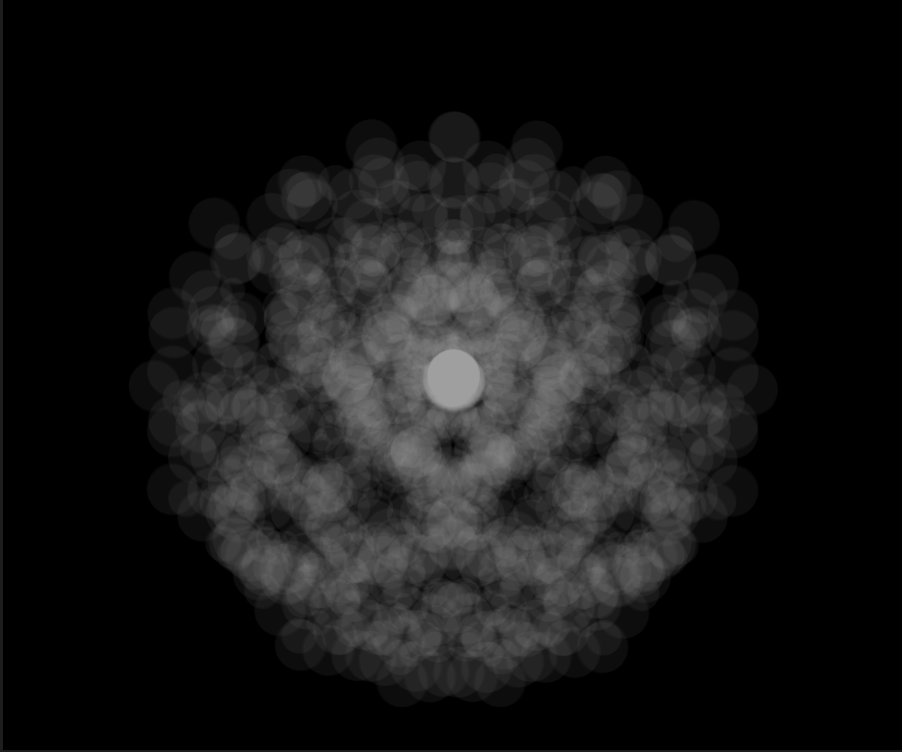
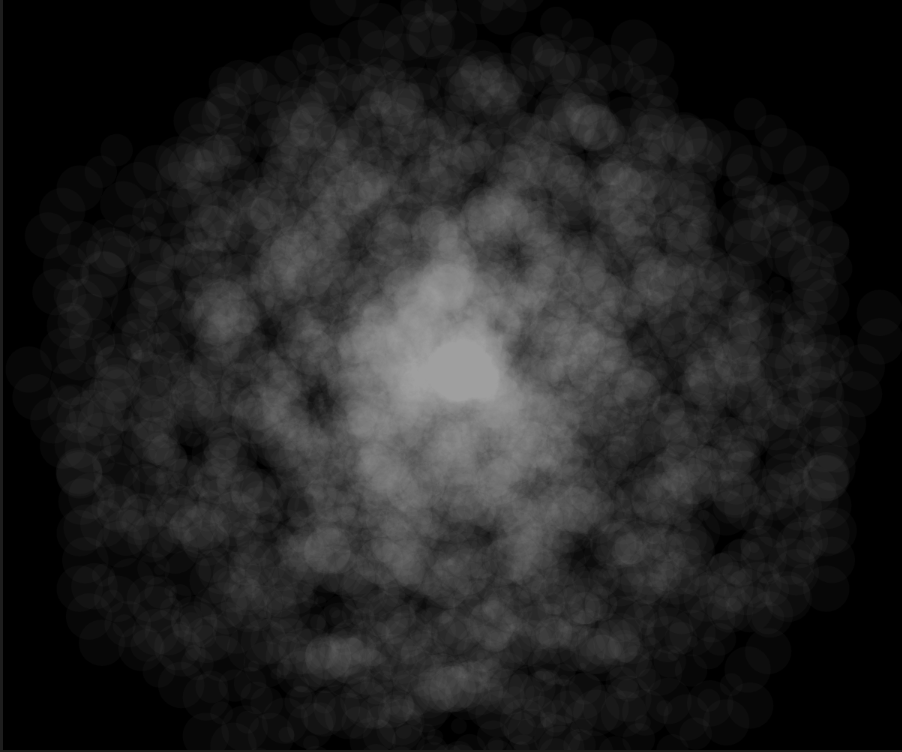
NOC#W09 – Infinity ♾️

• Project: Infinity

  • Version 1 – Link

  • Version 2 – Link


  • Version 3 – Link

  • Version 4 – Link


  • Process

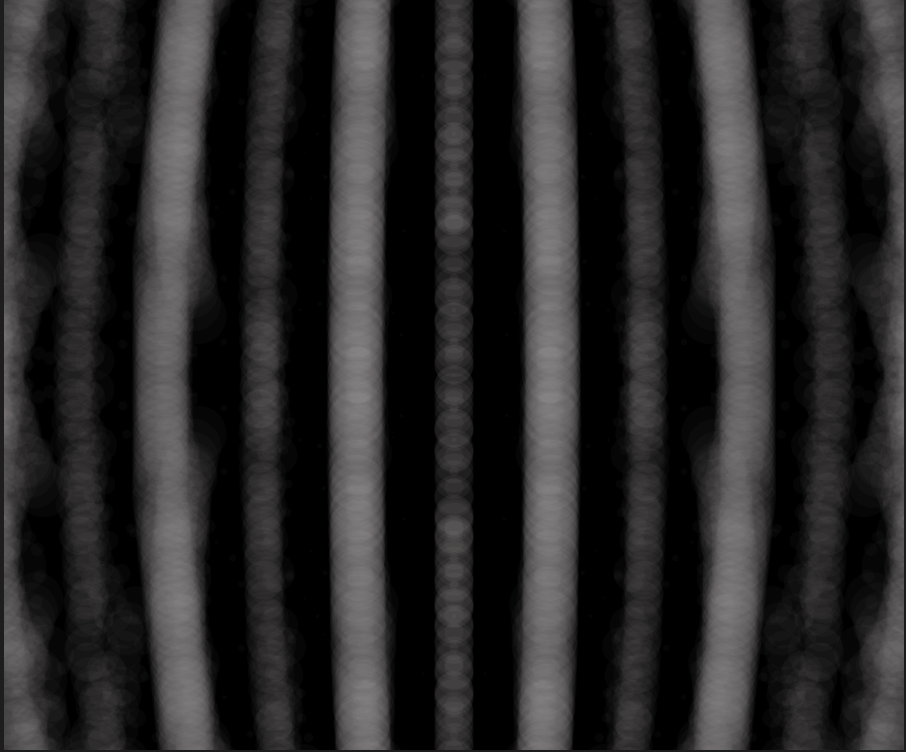
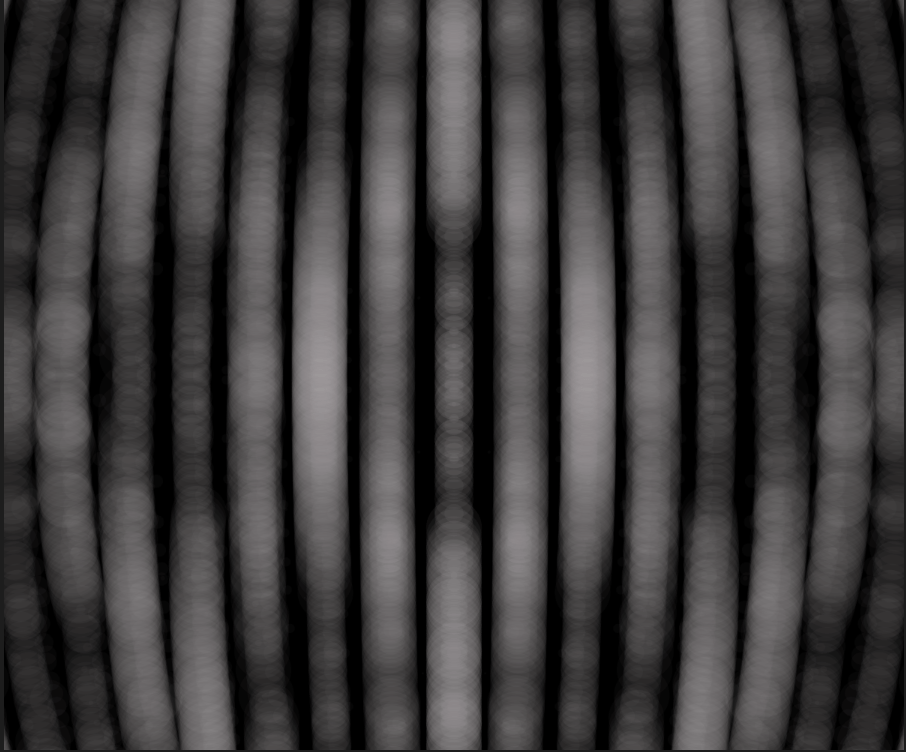
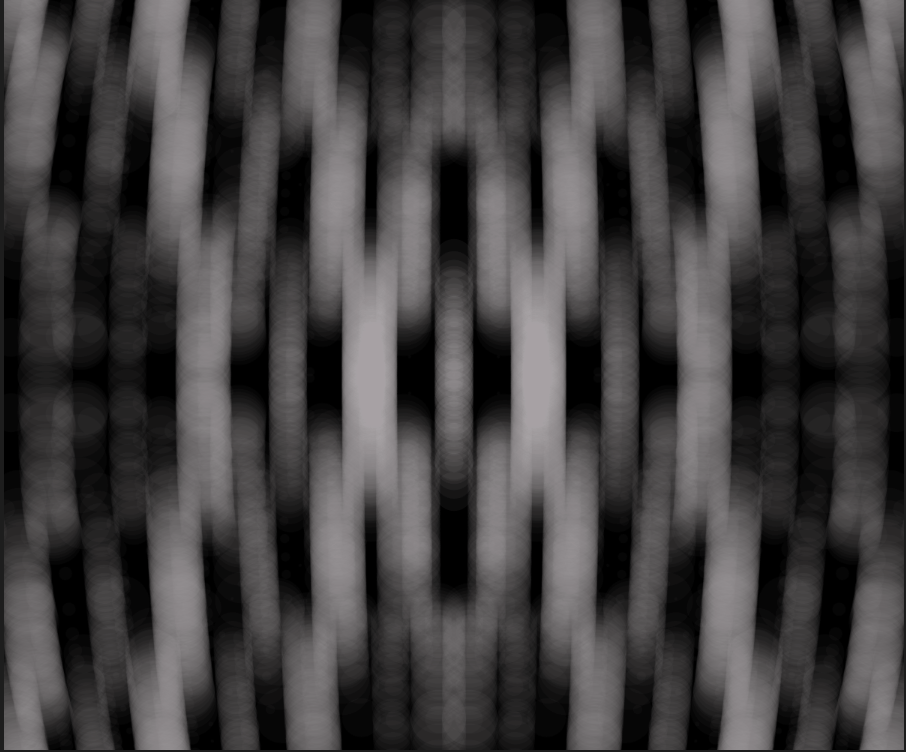
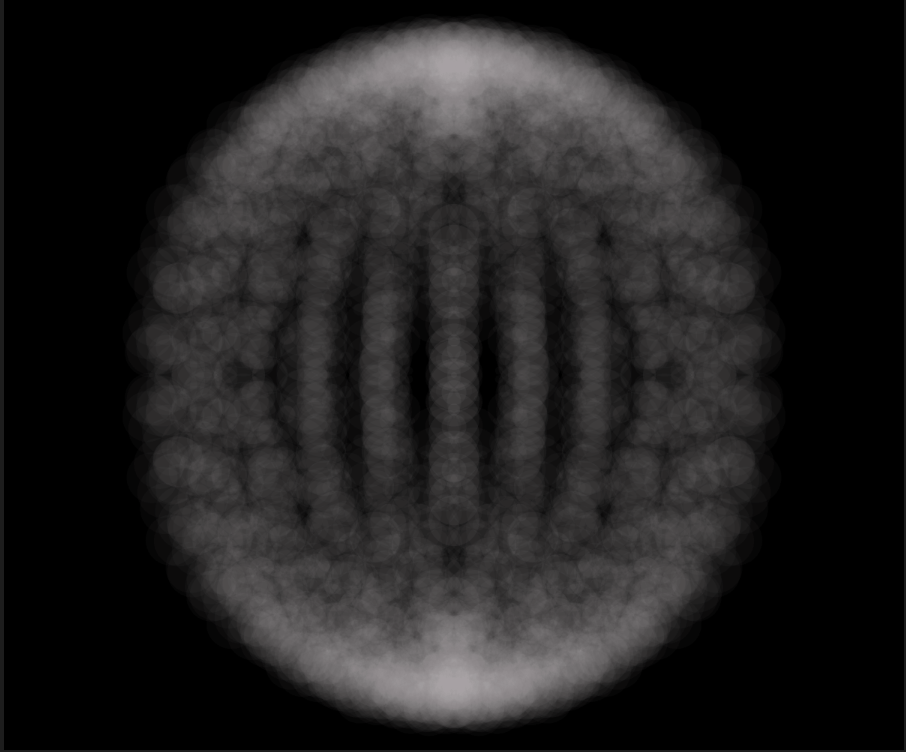
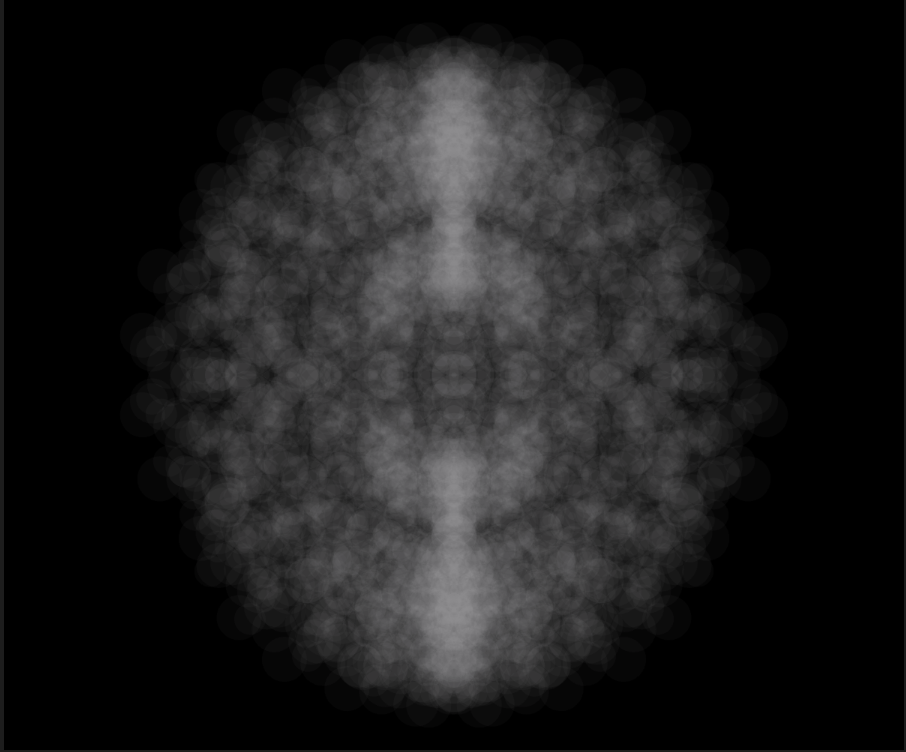
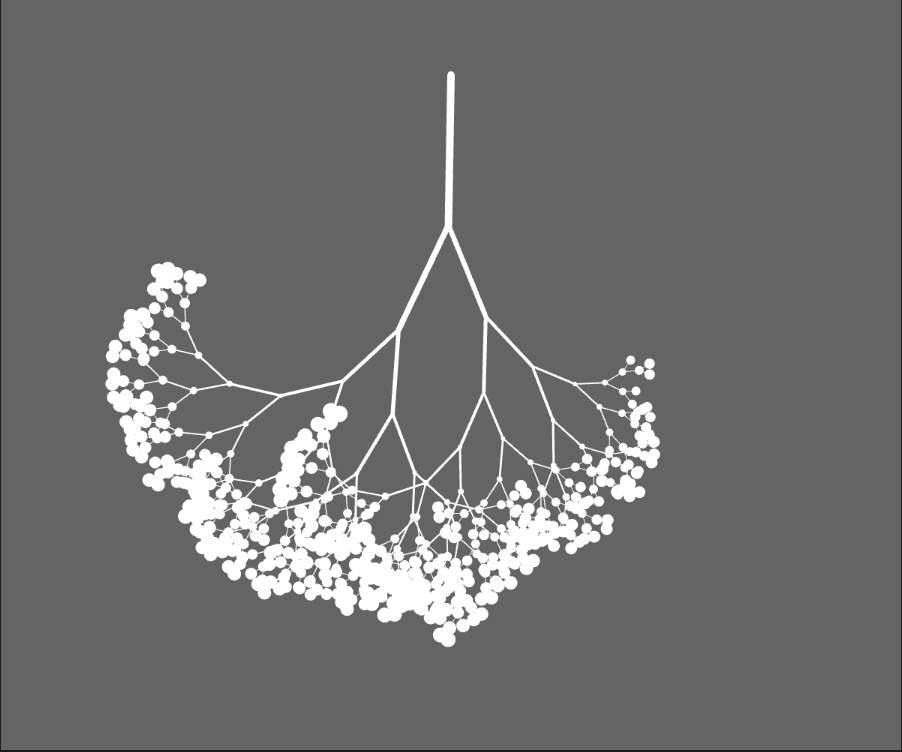
1. Play with the example code of the L-system and add some circles at the end of the branches.

2. I focused on the basic L-system and added GUI to it.

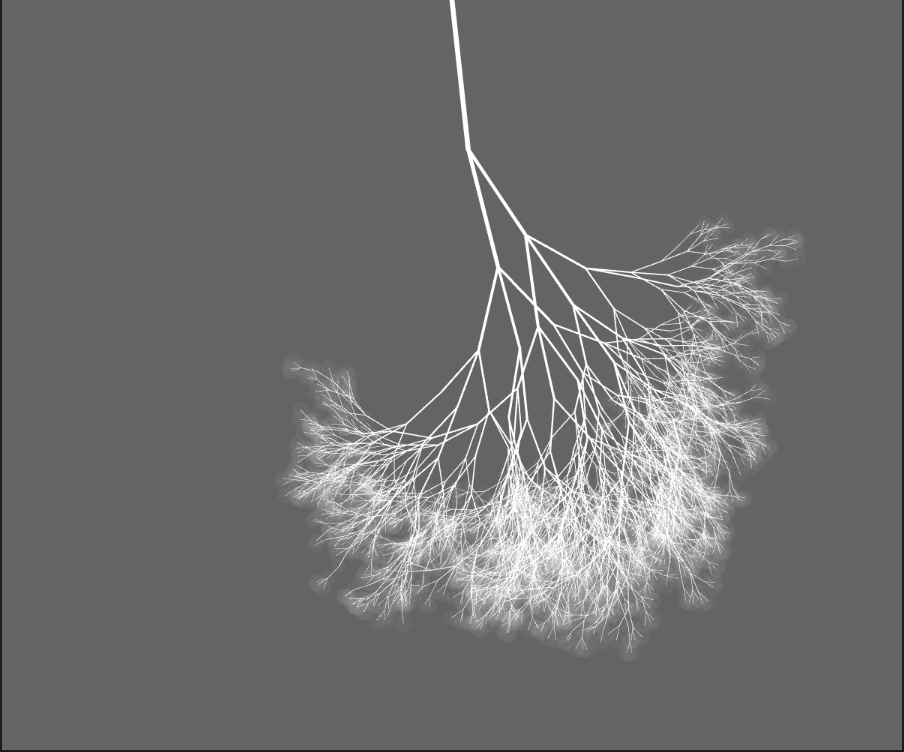
3. I changed the scale and found it more dense when the length increased. 


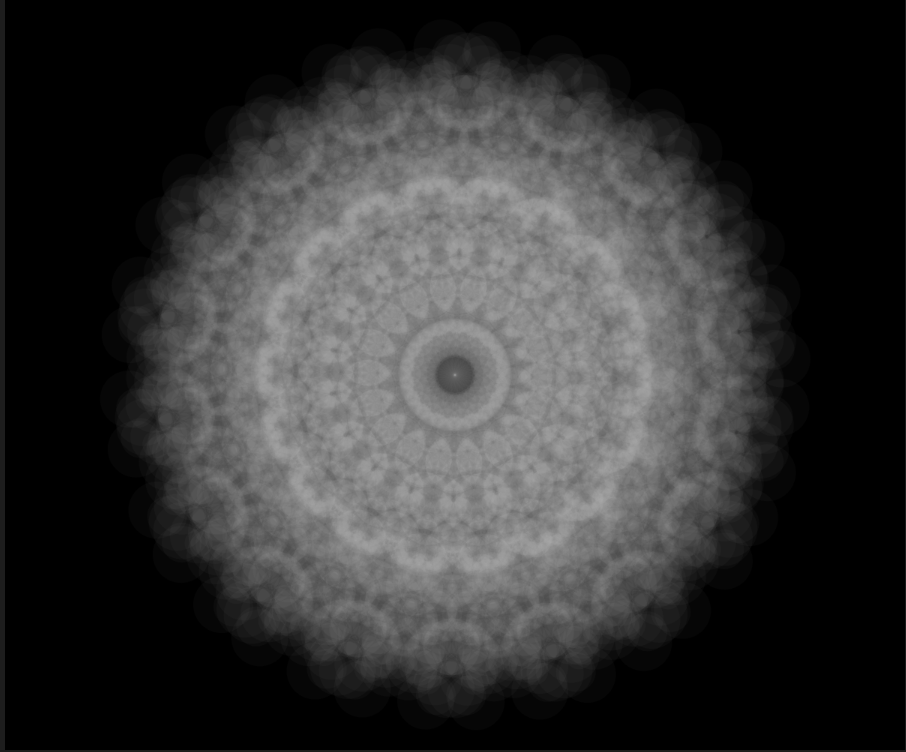
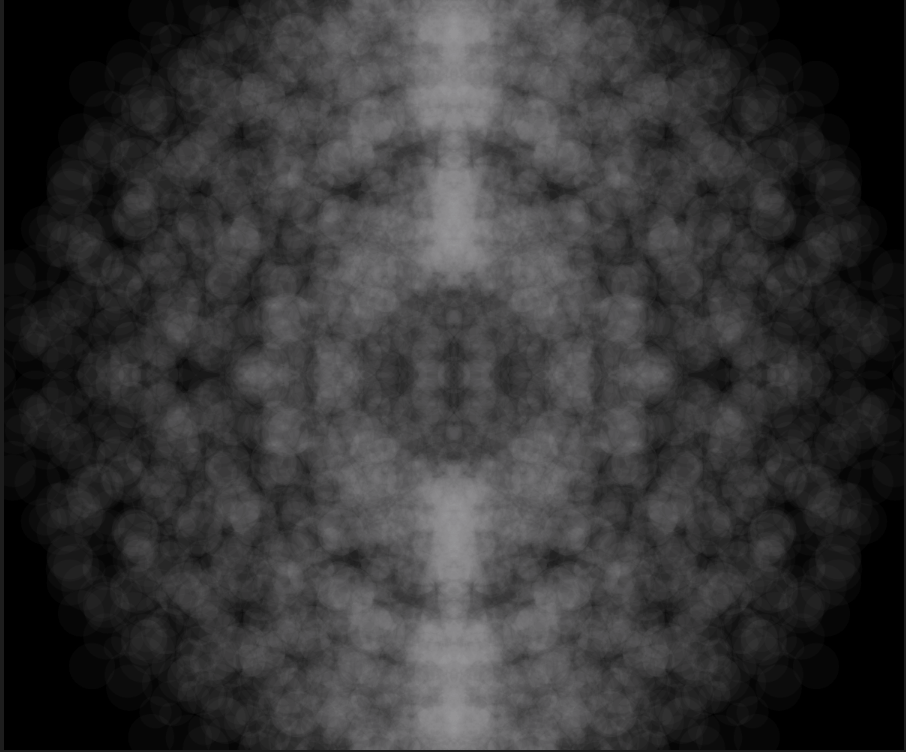
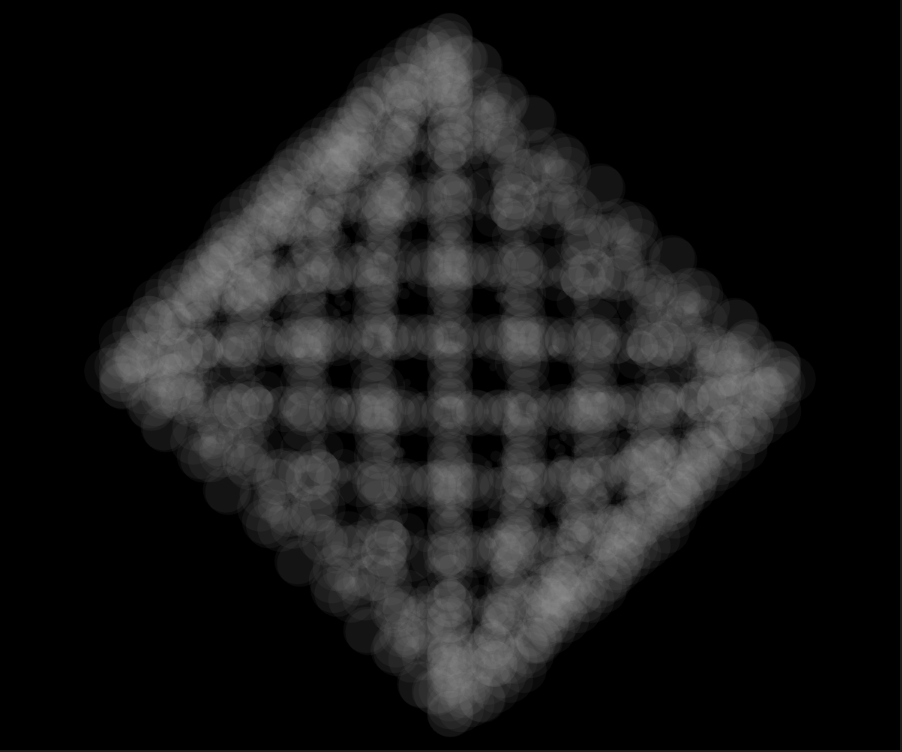
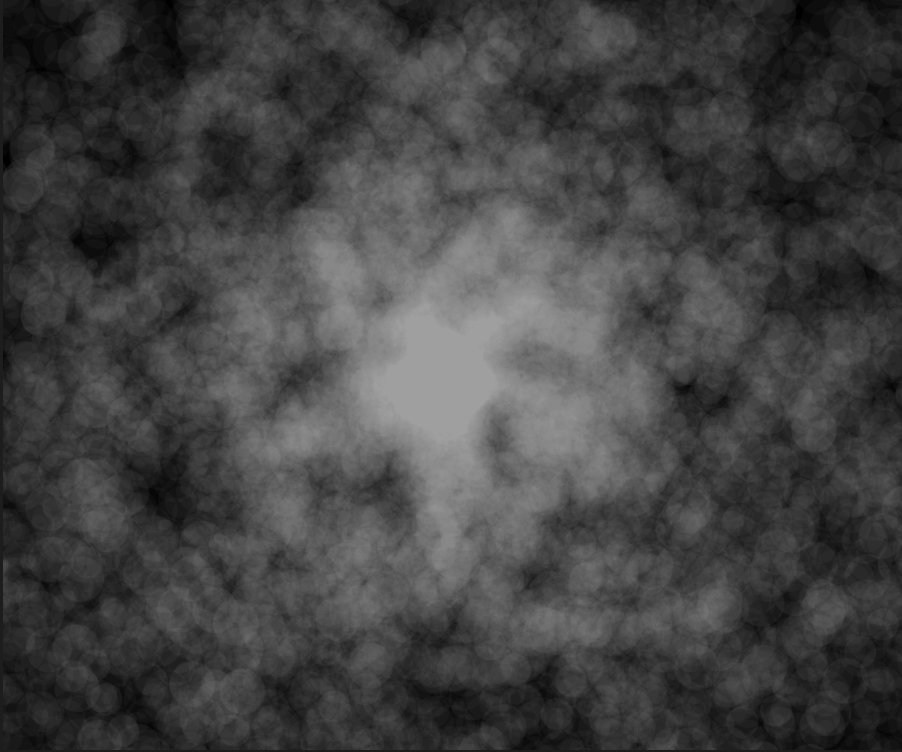
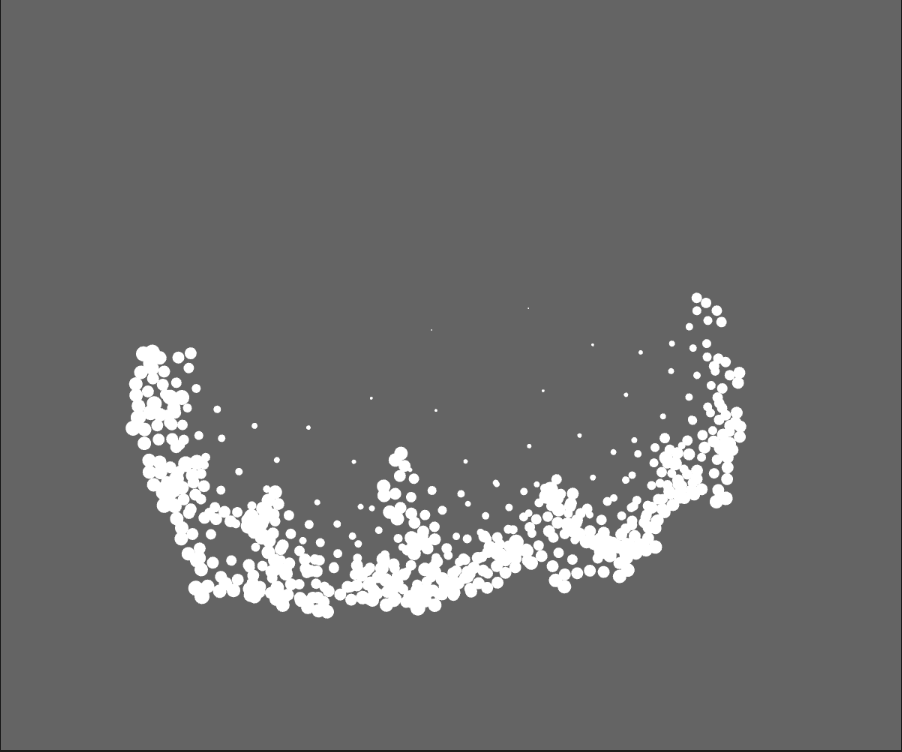
4. I removed the branches and only kept the circles. To see the overlap pattern clearly, I adjusted the transparency.


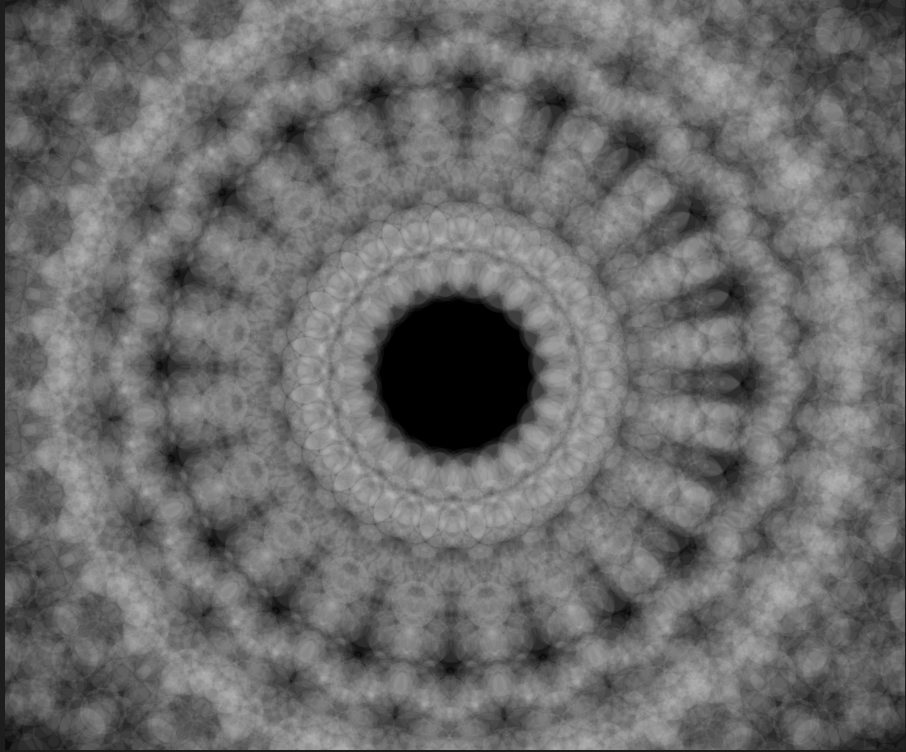
5. I added more fractal trees and found the pattern looked like a mandala.


6. By playing with the values on GUI, I got a more complicated change of patterns and a strobing effect. It started to look nice and cool now.


7. I added RGB color change and transparency to GUI so that I can adjust the pattern to a better effect directly through GUI. 


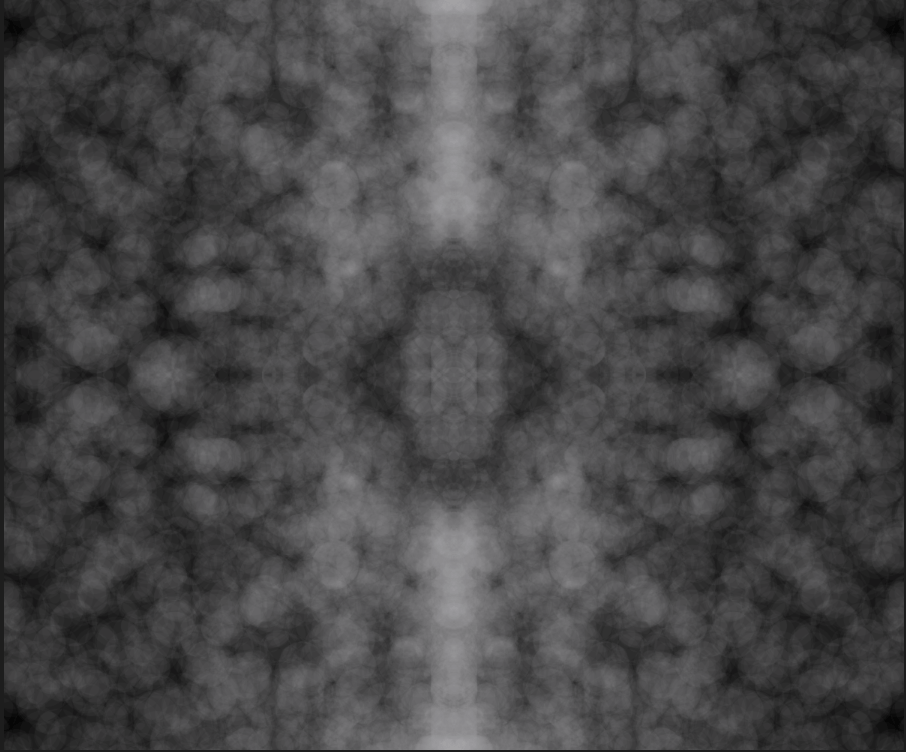
8. I added the change of the number of the fractal trees to GUI and used sin() in the x-position of circles to transform.  

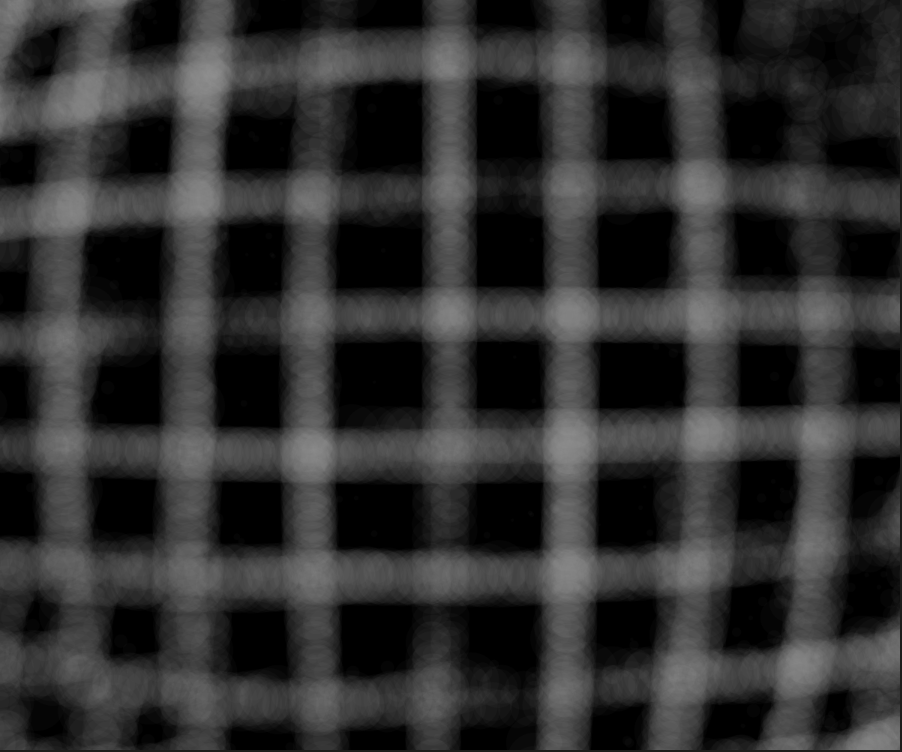
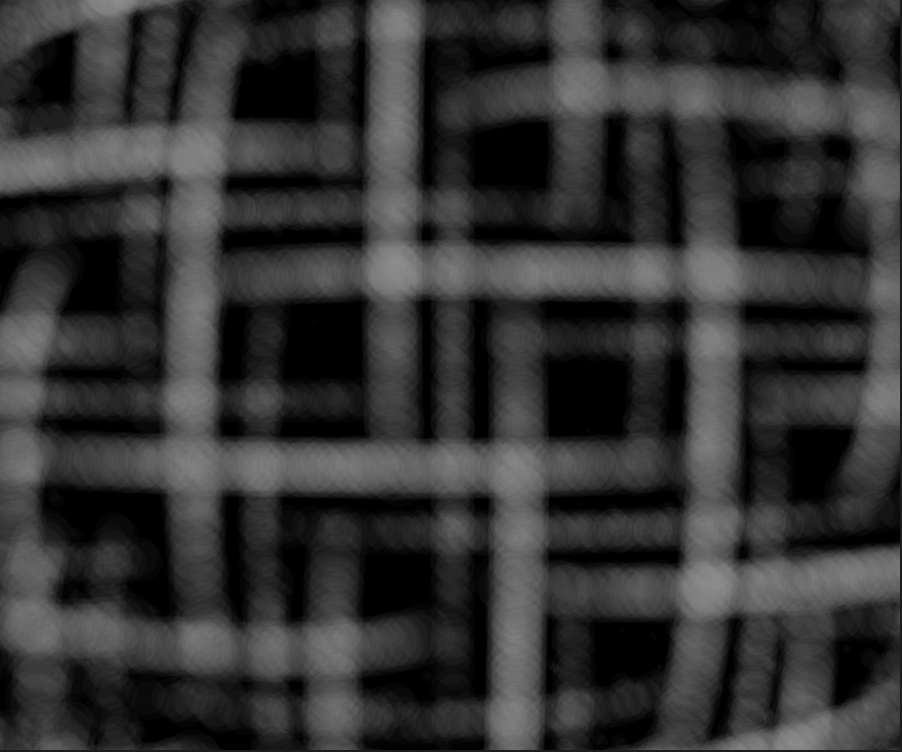
9. This one is the outcome of using sin() in x-position and cos() in y-position.


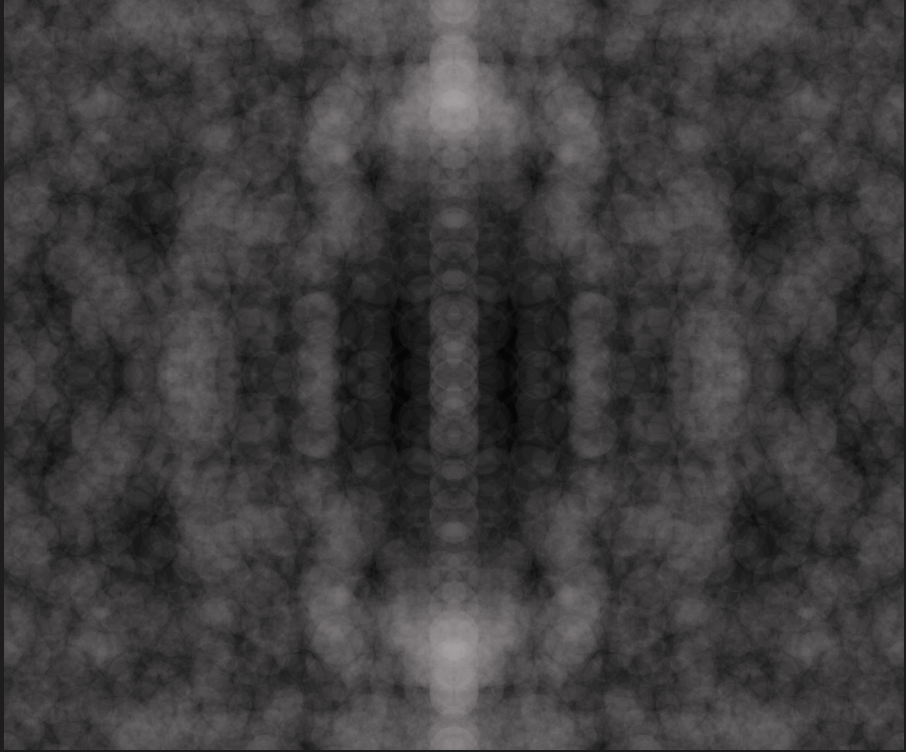
10. This one is the outcome of using sin() in both the x-position and the y-position.


• Reflection/ Lesson-learned

– A little change in sin() cos() makes various patterns.

– Try more, play more, and surprises come.

Reading Reflection 2: Machine Art and Kinetic Art

The terms “machine art” and “kinetic art” have changed meanings over time as people’s ideas about technology and art have shifted.

In the first chapter of Broeckmann’s book, he looked back at the history of defining “machine art”. At first, Tatlin believed that art was dead. To make art long live, the art of the machine was a necessity. He wanted to detach technical materials from the industrial context to turn them into artistic media with subjective intention and control over artwork but “it preserved art as a practice outside of the overall processes of social production.” Later, Futurists focused on machines’ symbolic meanings to explore in artistic practice. Barr believed beauty could come from functionality in industrial production beyond the artist’s creation. Then, Munari was aware of the danger of the utilitarian spirit of machines and argued for the aesthetics of “dysfunctionality and uselessness”. At the end of the twentieth century, Schneckenburger described these aesthetic approaches to machines as “the dream of the beauty of technics”. These different views show how the concept of “machine art” has been vague throughout the twentieth century, reflecting ongoing discussions about artistic engagement with technology. Therefore, Broeckmann proposed a conception of the machine as “a particular type of relation between individuals and the structures, or apparatuses, that bring about human subjectivities.”

In Burnham’s book, he focused on the term “kinetic art”. He defined it as a form of non-representational art driven by real-time parameters and motion. Kinetic sculpture has most often been mere motorized sculpture, concerned with motions resulting from forces directly connected to physical systems. However, successful Kinetic Art until now has been considered as defying the principles of mechanical invention. The early stages of Kineticism showed a dichotomy between inert object sculpture and moving sculpture, both striving to transcend their traditional status as sculpture. The New Tendency emphasized “visual phenomenon”, aiming to realize motion in new visually complex forms. Being labeled “The Unrequited Art” due to its ties to outdated methods, Kinetic Art has always been struggling with technical, aesthetic, and commercial challenges. But this kind of immaturity leads to much unexplored potential for future innovation.

  • Len Lye

Rotating Harmonic, 1959, steel rod, motor, copper and wooden base, 140 x 40 x 40 cm. 

“So you’ve got a kind of drama going on whether this metal could accept this energy and you felt it as such– there seemed to be some kind of living business and in a way it was.  So far as metal and resonance and stuff goes it was natural to the order of energy in nature.  Feedback, harmonics, reciprocation, and so on.” – Len Lye

Len Lye’s work focused on technical representation of natural energy. He tried to find beauty in basic motion principles by translating the concepts like harmonics and reciprocation to visual forms through kinetic machines. He shuttled a spring steel wire from side to side and induced the wire to whirl. A three-dimensional ‘virtual’ shape in space can be generated automatically and self-controlled by changing the motor speed.

  • Takis (Panayiotis Vassilakis)

Pendule Musicale, 1966, wood, magnet, wire, and metal sewing needle, 200 x 80 x 20 cm

Artwork by Vassiliakis Takis, Pendule Musicale, Made of wood

Takis associated technology and artistic vision and showed the expressive potential of industrial materials in this work. Takis took magnetic force as technology to represent nontech phenomena like the construction of musical sounds and the relationship between space and invisible forces. He pursued beauty by using magnetic waves caused by electricity as a means to activate repeated musical sounds, showing the beauty of functional technical form. He installed an electromagnet behind a white monochrome surface that attracted and repelled dangling needles as they moved over stretched musical wires connected to sound amplifiers, forming a kinetic sculpture. Finally, the music produced by the sculpture is mechanical, which is a sliding sound produced by the metal materials interacting with each other, influenced by magnetic forces. The machine operations can be self-controlled and generated automatically.

Both artworks are very inspiring in their representation of natural power. The beauty of functional machines themselves is attractive. Instead of hiding the machines, I would like to show their motion in my future art projects to present kinetic geometric aesthetics.  Also, it is worth a try to turn 2D images into 3D objects by using the machines.

Reference

Broeckmann, A. (2017). “Introduction: The Phantom of ‘Machine Art.’” In Machine Art in the Twentieth Century

Broeckmann, A. (2017). “Toward the Art and Aesthetics of the Machine.” In Machine Art in the Twentieth Century

Burnham, J. (1969). Kineticism: The Unrequited Art, from Beyond Modern Sculpture 

Bonhams : Takis (panayiotis vassilakis) (Greek, born 1925) pendule musicale


Assignment 4: Karakuri

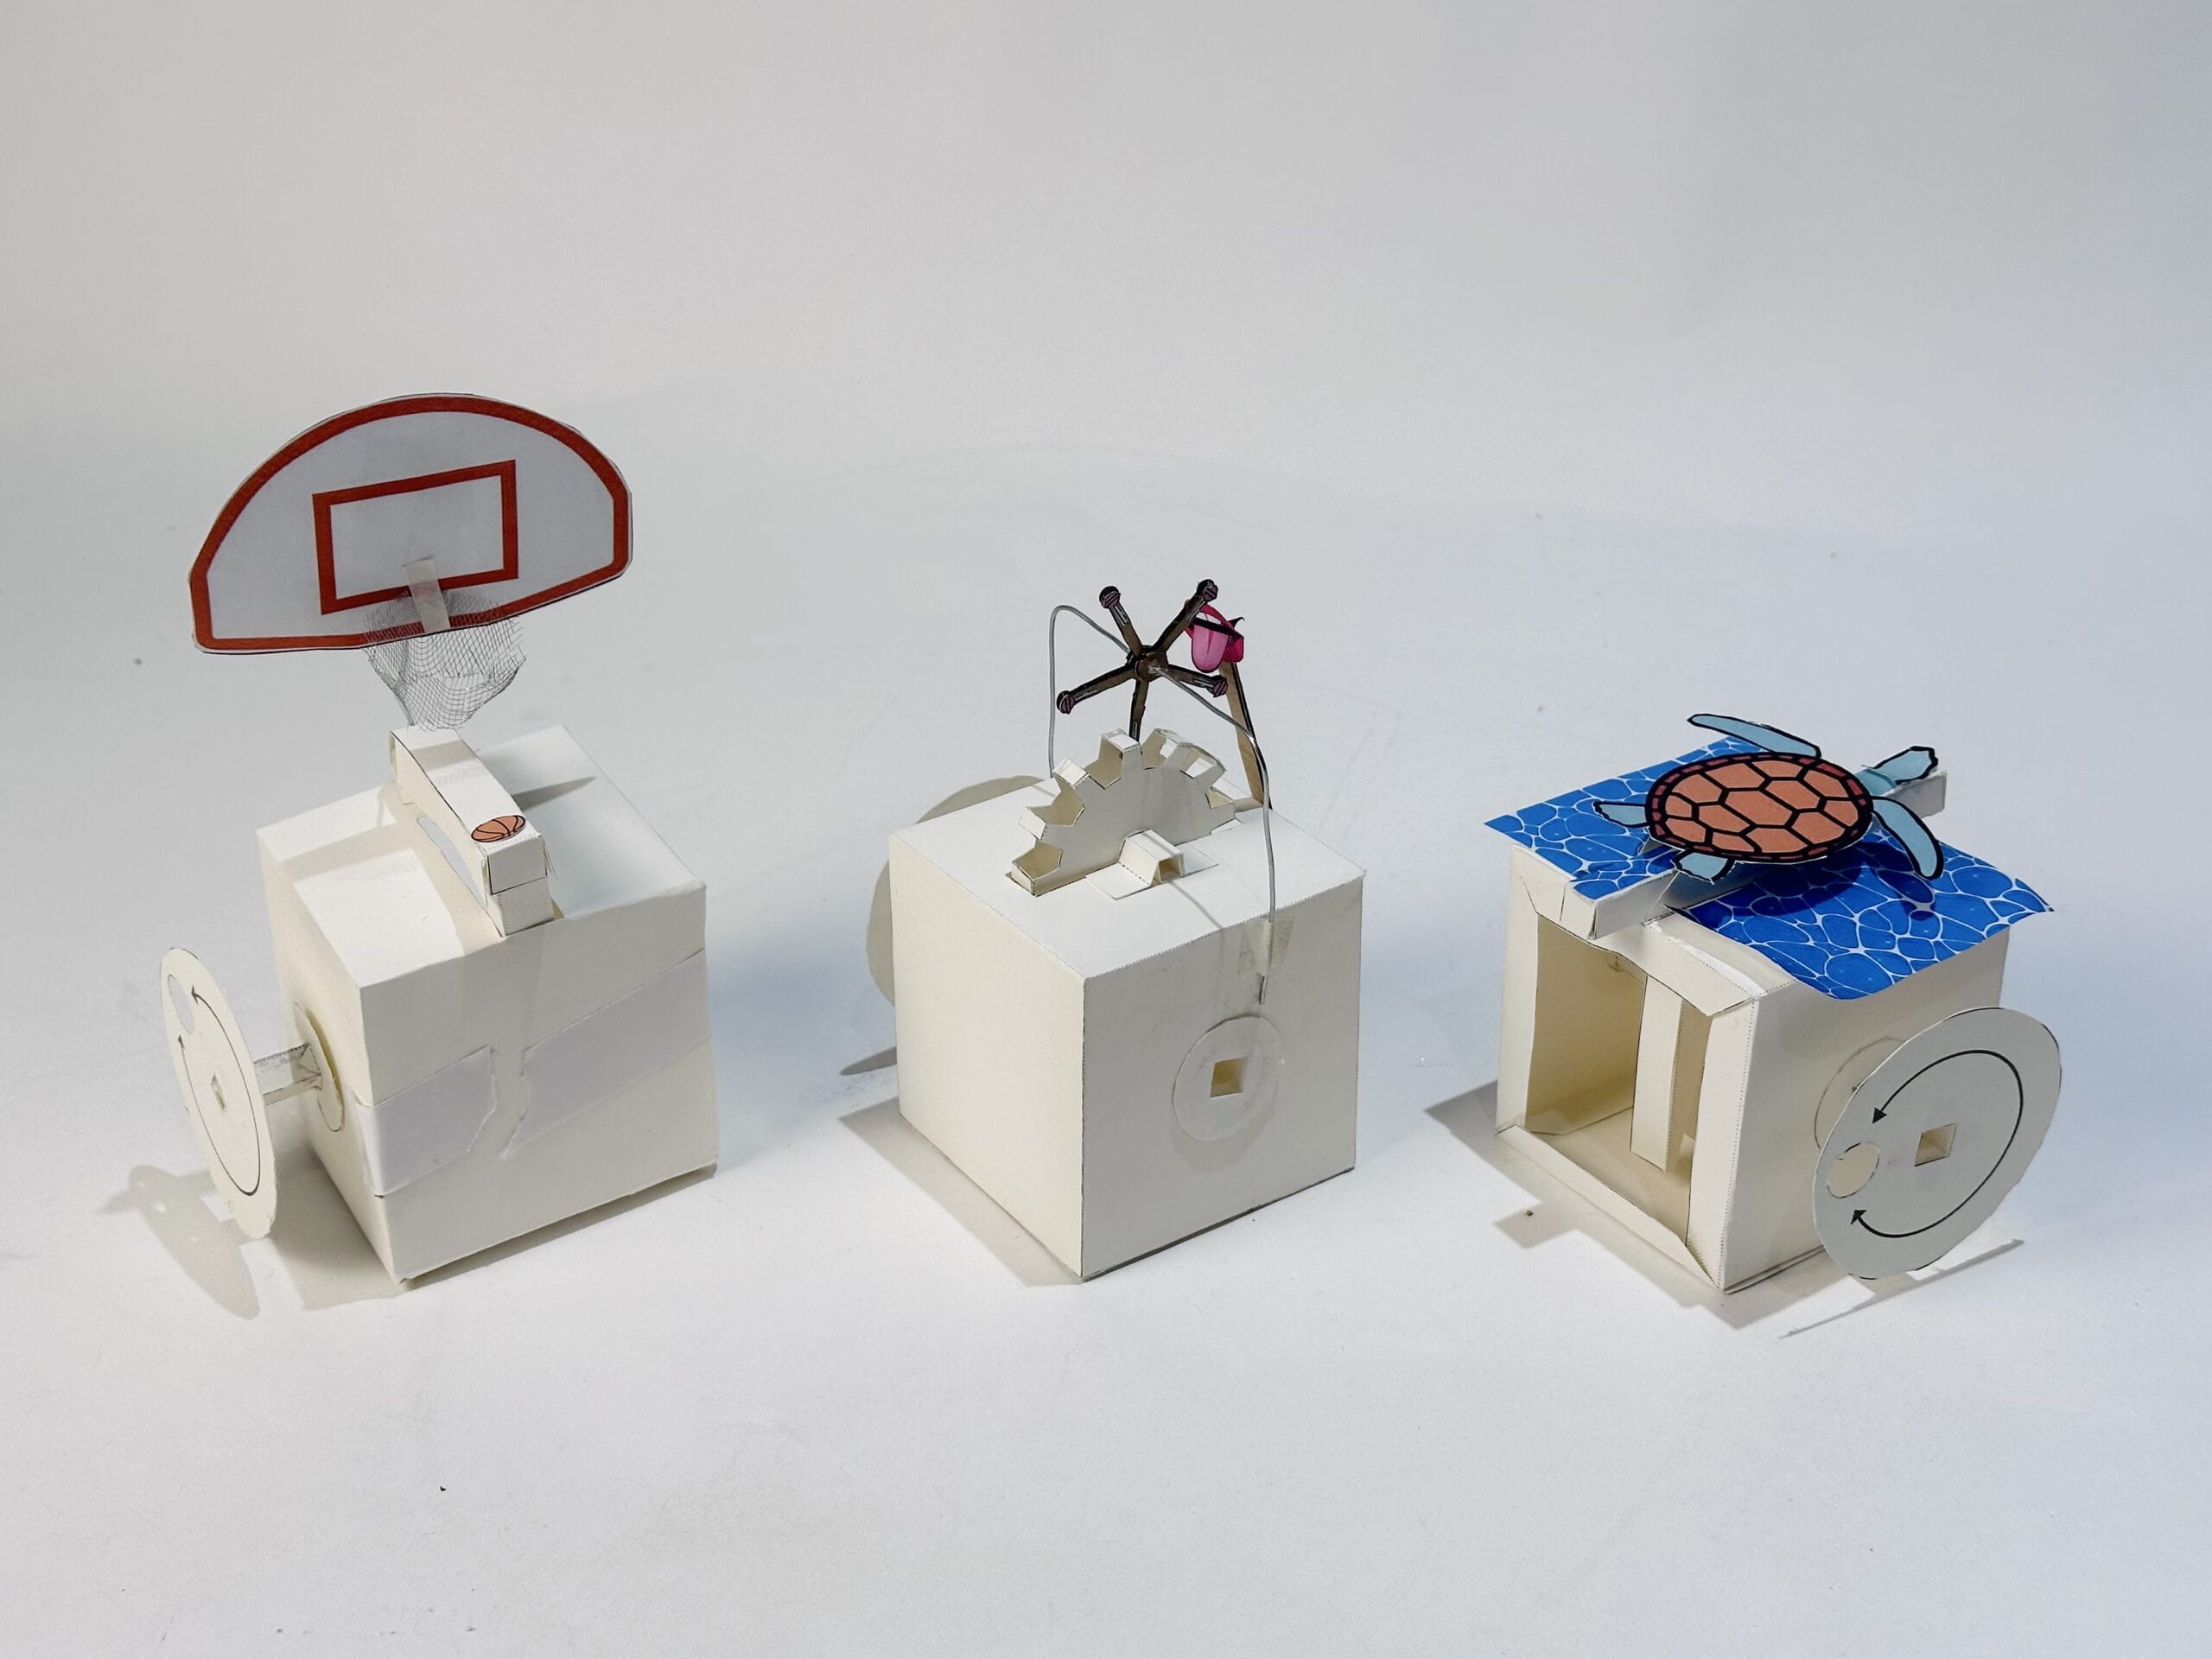
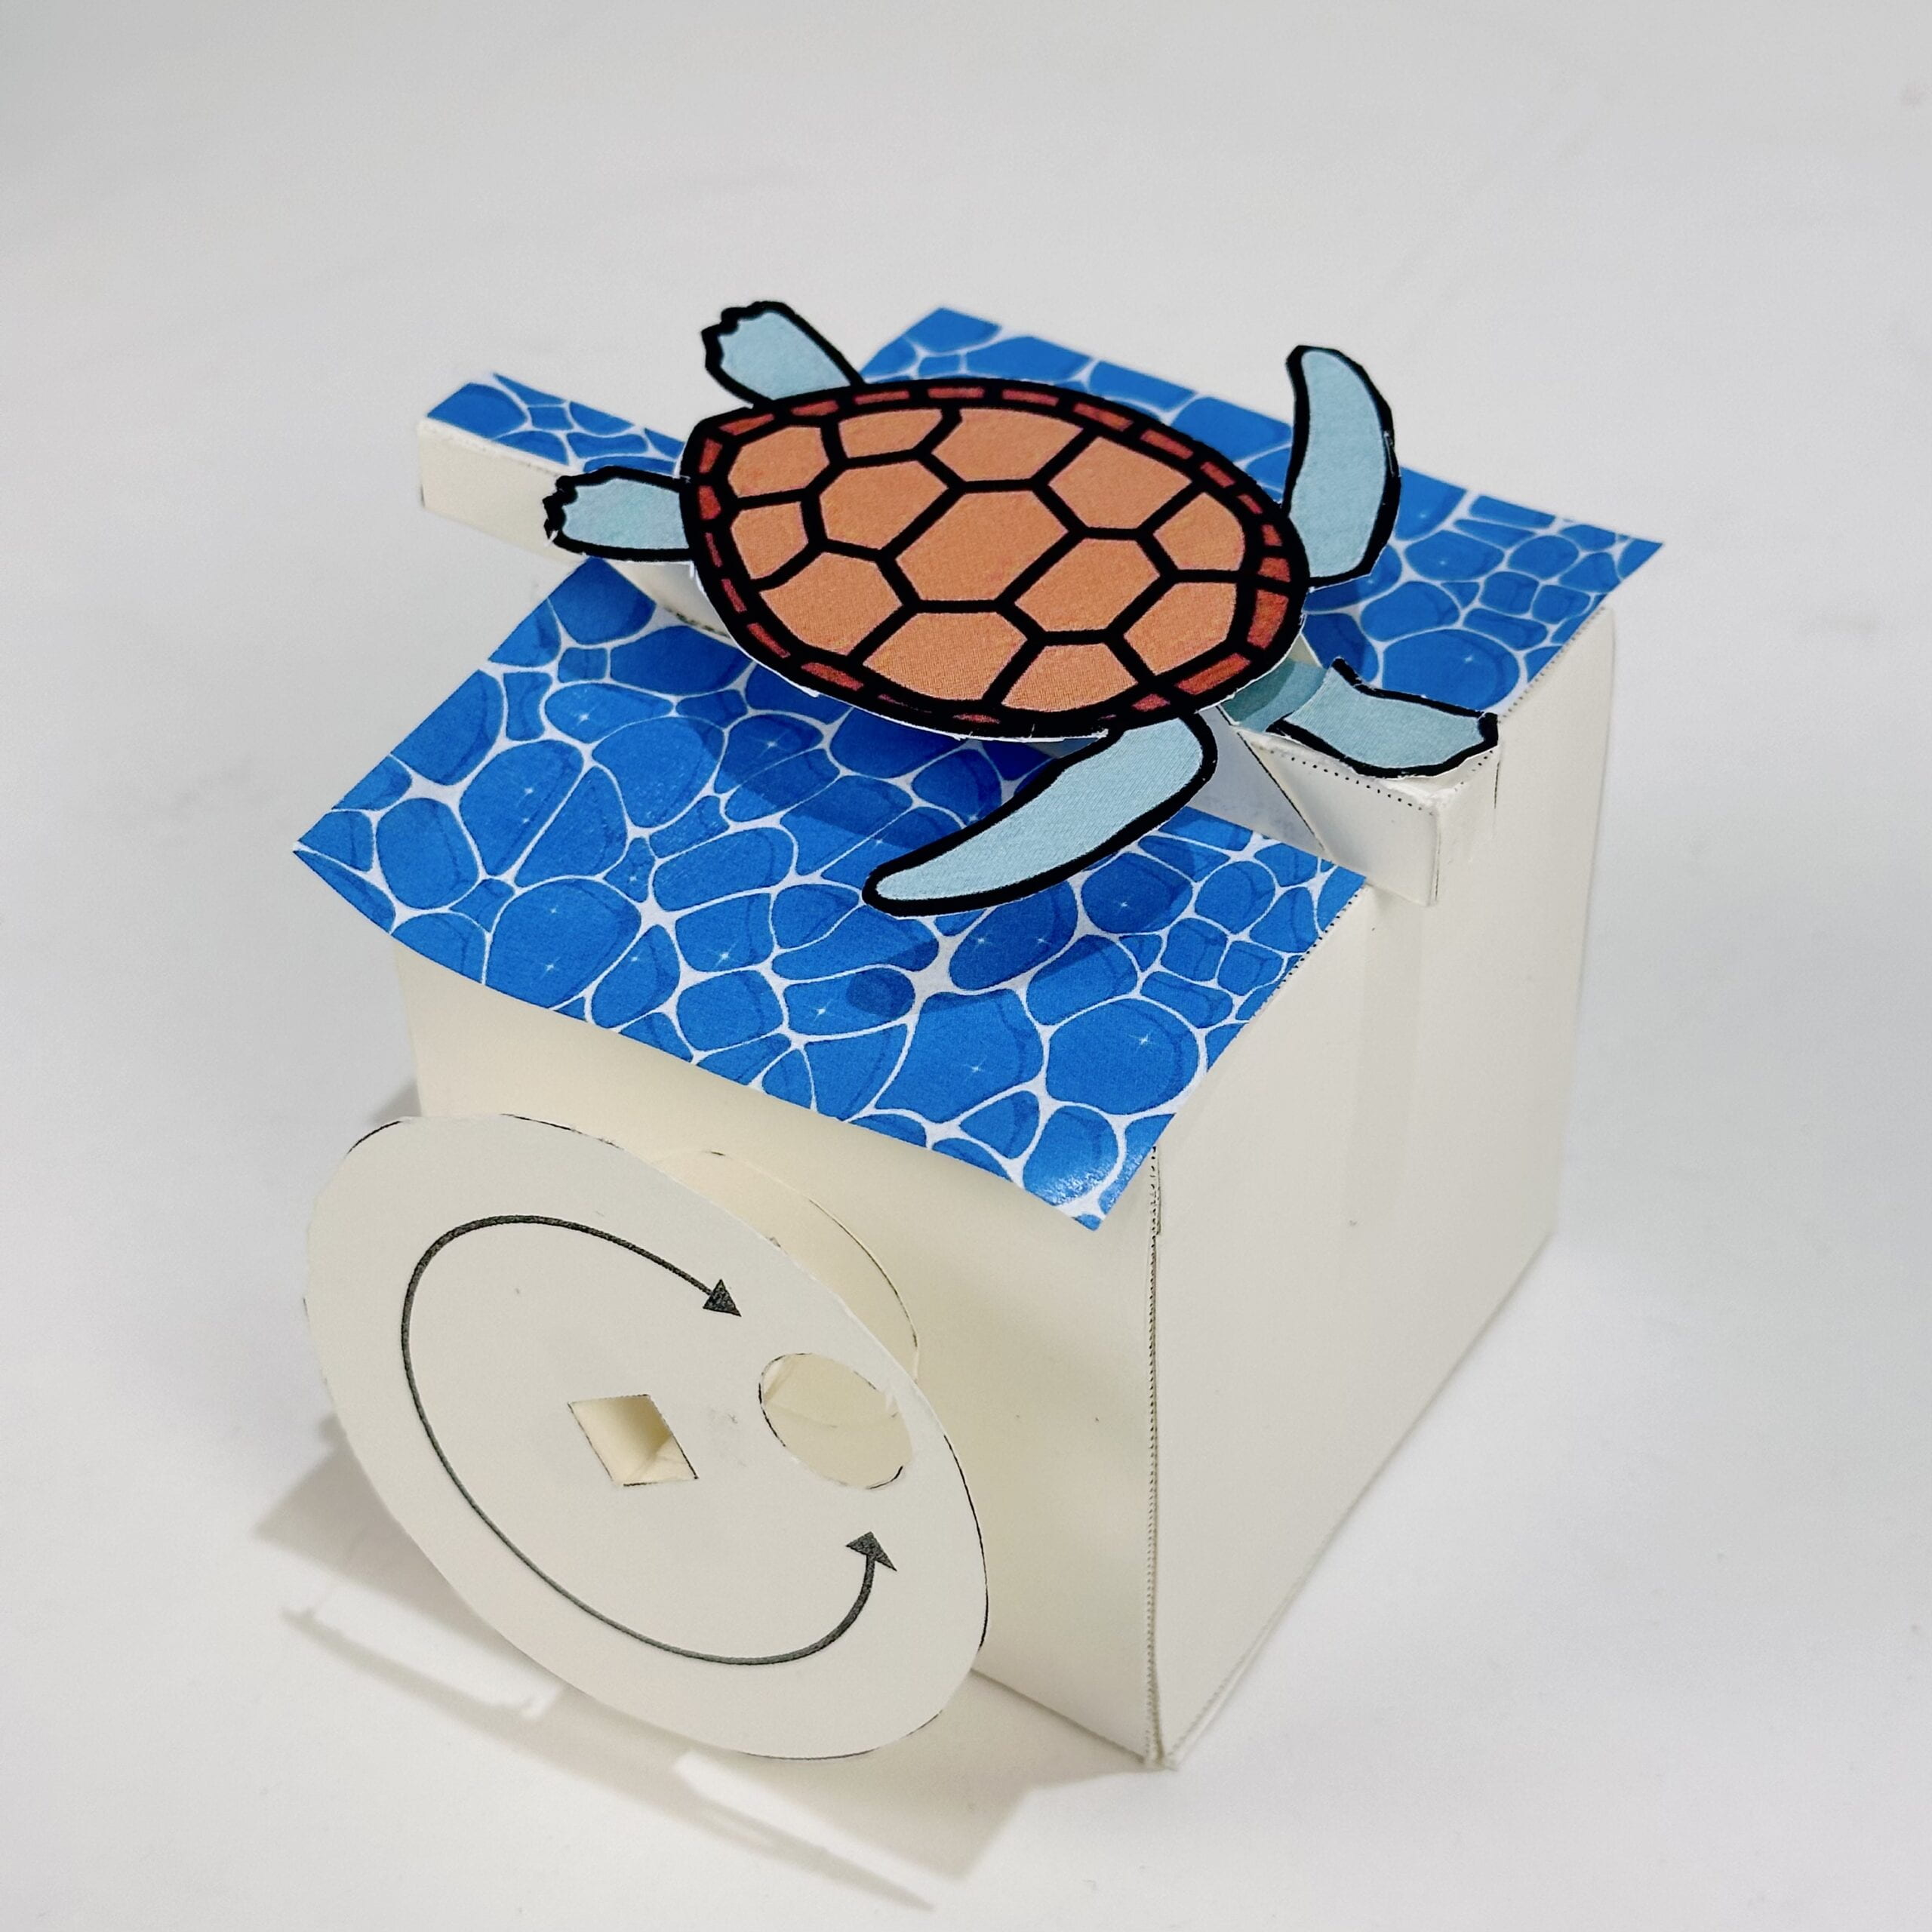
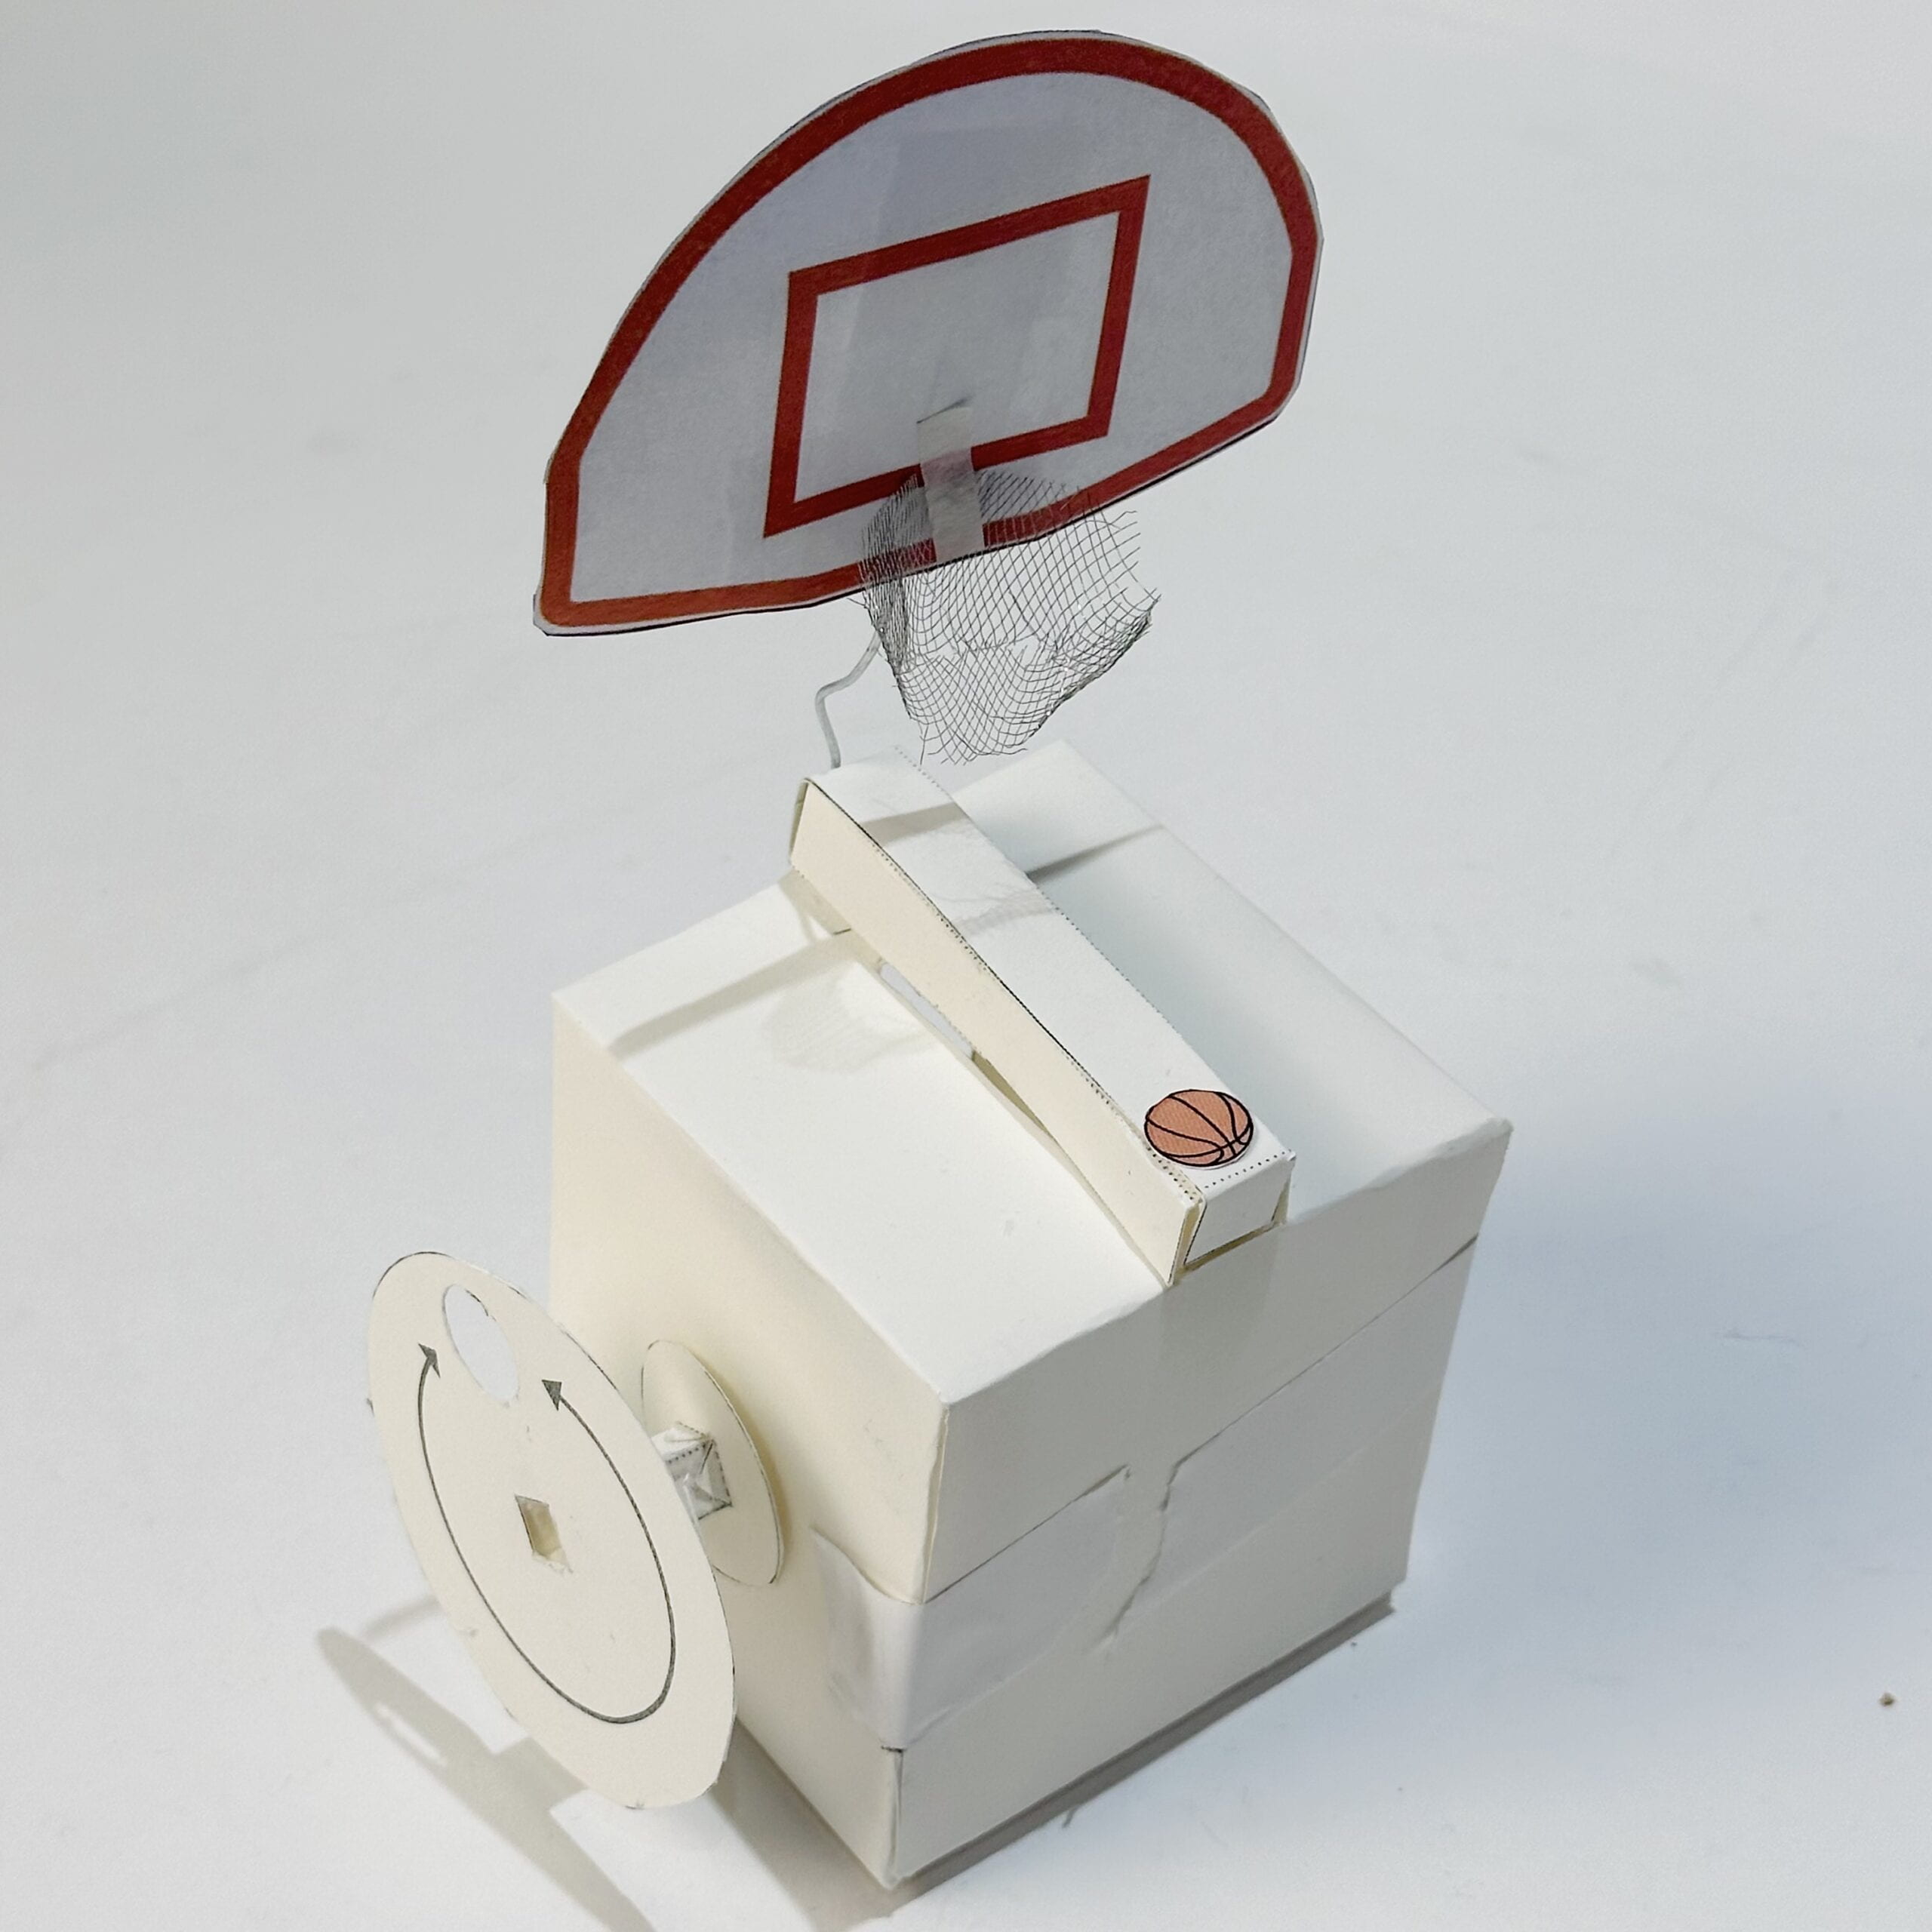
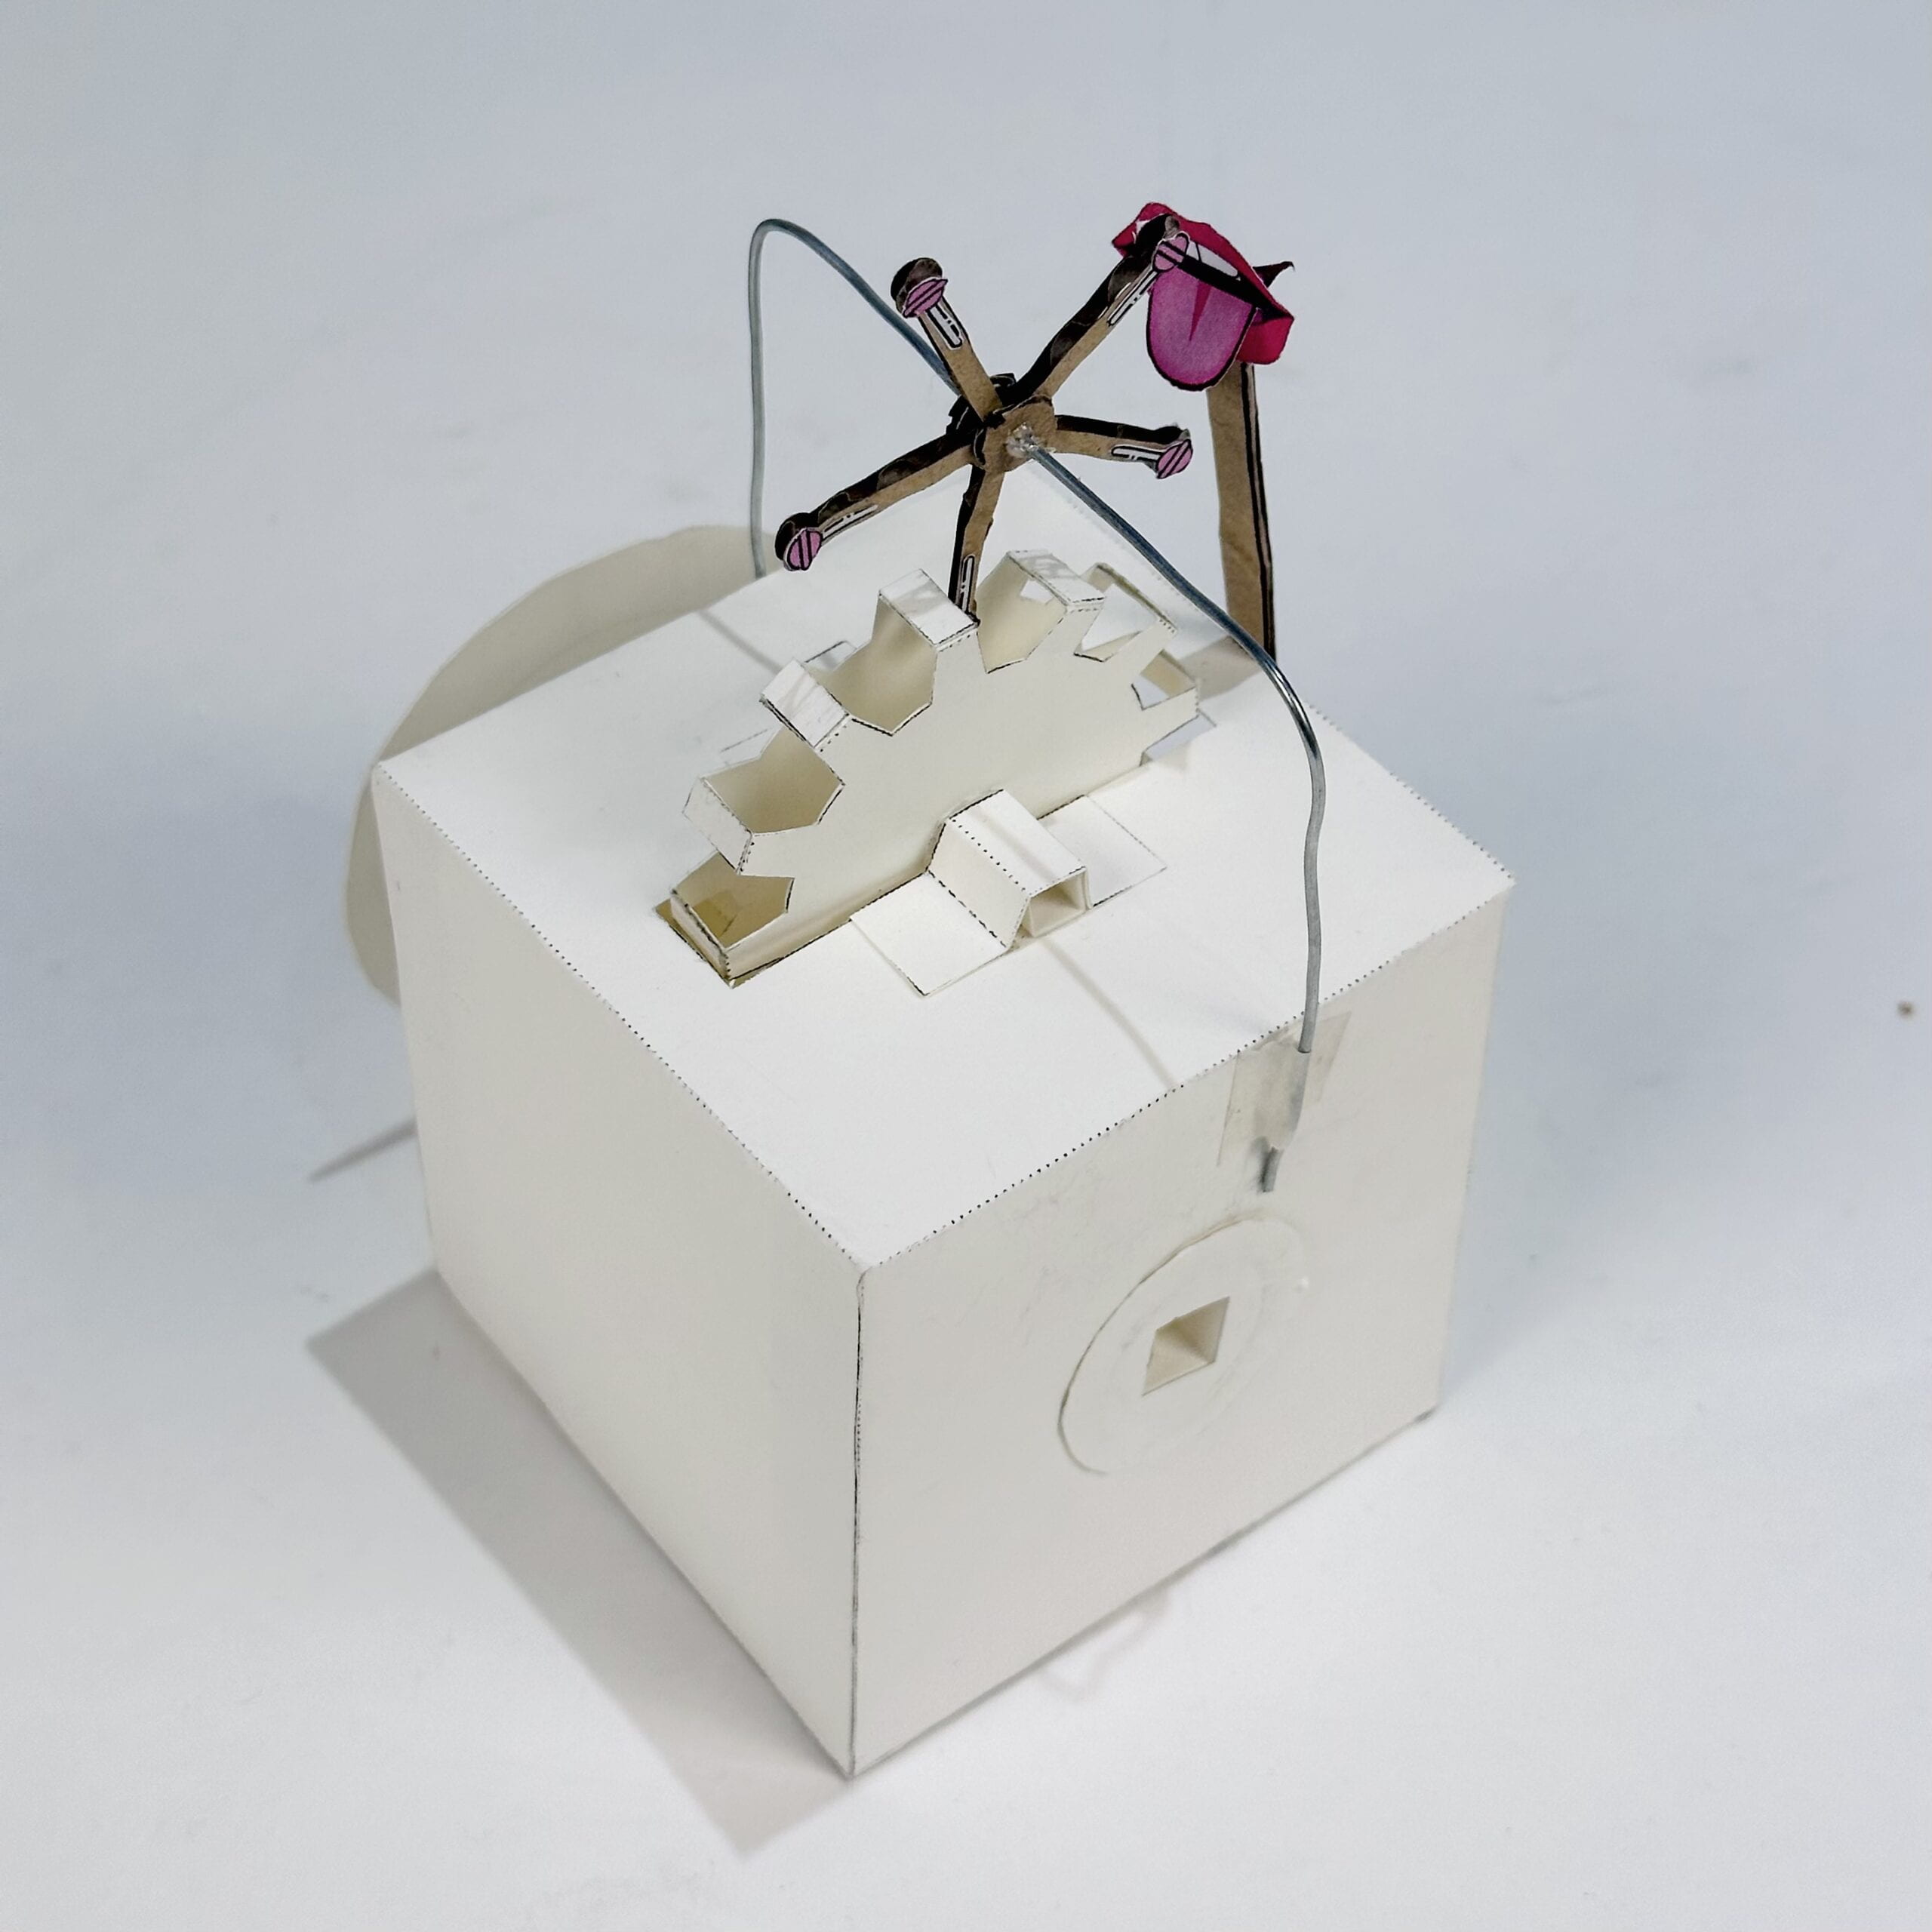
For this assignment, we built three mechanisms out of card stock paper, based on those used in traditional Japanese Karakuri puppets and automata. 

• Cam DIn Cam D, the rod slides repeatedly in a linear motion horizontally. The motion was created by turning the shaped disk inside to change the rhythm of how parts move along the contour of the disk. Any roughness of the contour will make the mechanism stuck. Based on the back-and-forth movement, we chose a turtle sticking its head out of the shell and back as our decoration.

• Crank B In Crank B, the rod sways back and forth by a linkage mechanism. It uses a hook-shaped axle to convert a rotation to a linear motion and vice versa. Room is essential between parts and axles, which makes the motion smooth. Based on the arc trajectory of the linkage point on the rod, we chose the movement of shooting a basket as representation.

• Gear A In Gear A, the gear turns horizontally to the handle. This reminds us of ferris wheel and we got the idea of making it a lollipop ferris wheel. To realize this, we created another small gear (lollipop ferris wheel) supported by an iron wire as the bearing. Measurement is important to make two gears fit each other. The rotation keeps the lollipops being fed to the fixed tongue and being licked.    

Project A. Explainable Algorithmic Animation – Motion in Water💧🩸

A. Project: Motion in Water💧🩸

B. Inspiration – Ink 

Inspo 1

Inspo 2

Inspo 3

C. Concept

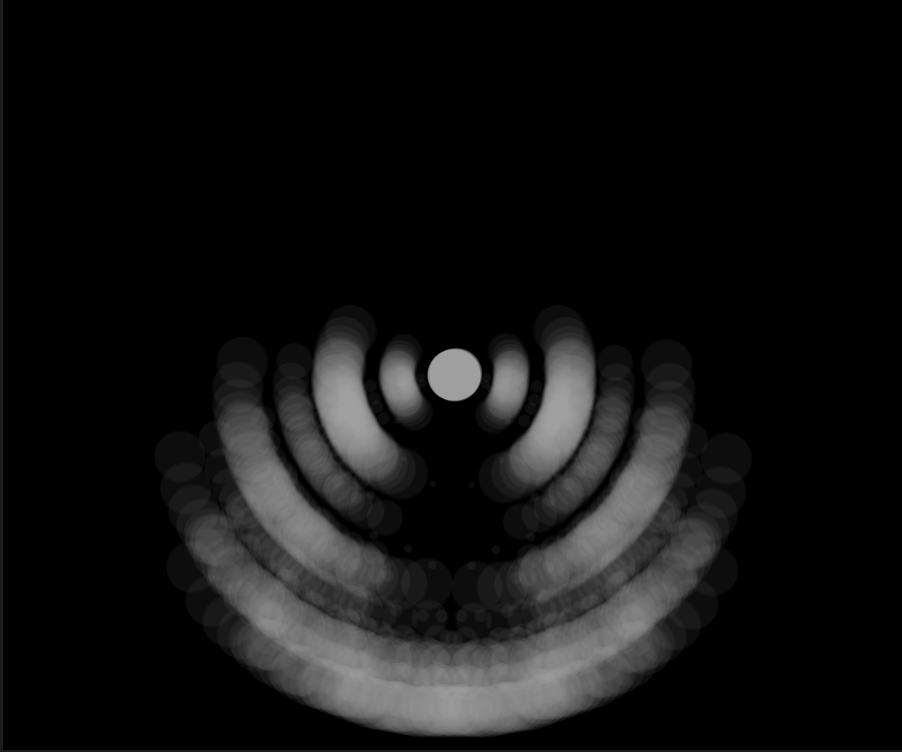
How colorful particles in water spread shows the motion in water.

D. Interaction

• Mouse (keep pressing) – dripping ink

• Gui  – change the RGB color & density 

E. Motion

• Generating texture:
– background transparency
– blobby effects (removed in colorful version)
– blendMode!! (computational process)
– size transformation

• Random but orderly motion:
– noise() in angle – random
– sin() – orderly fluctuation

F. Process

 1. Start with my W03- Tornado code
2. Add Waterlevel 3. Start diffusing4. Play with transparency & blobby effect – Smoke/ Steam5. Add buoyancy 6. After Moon’s help, motion had noise() in angle7. Try white background and blendMode(MULTIPLY) – terrible frame rate8. Remove water level – waterfall 9. Add mouse interaction (if(mouseIsPressed === true))10. Play with GUI to adjust density11. Add change in RGB in GUI – still terrible frame rate12. Remove blobby effect – so-so frame rate

• Reflection/ Lesson-learned

– Experiment is very important.
– The structure of code matters a lot. After Prof. Moon helped me organize my code, my code become more logical and easier to be adjusted.
– Keep different version of sketches to save the possibilities.
– Unnatural things happening in a natural way seem to be fun.
– Never limit myself to one possibility.

• Further exploration

– More motion after particles bounce from the bottom
– Improve the shape while keeping the frame rate
– Different colors of ink
– Unrealistic motion , like tornado in water
– Add particles connection to make the particles not obvious
– Spread ink and change the color of water
– Try gradient color
– Lifespan use in transparency

Sketch Link

Presentation Slides

Project 2: Let There Be Light – Transcending Space: Wing Reflection🦋

A. Title
Transcending Space: Wing Reflection🦋 – Ting – Prof. Eric Parren

B. Project Description

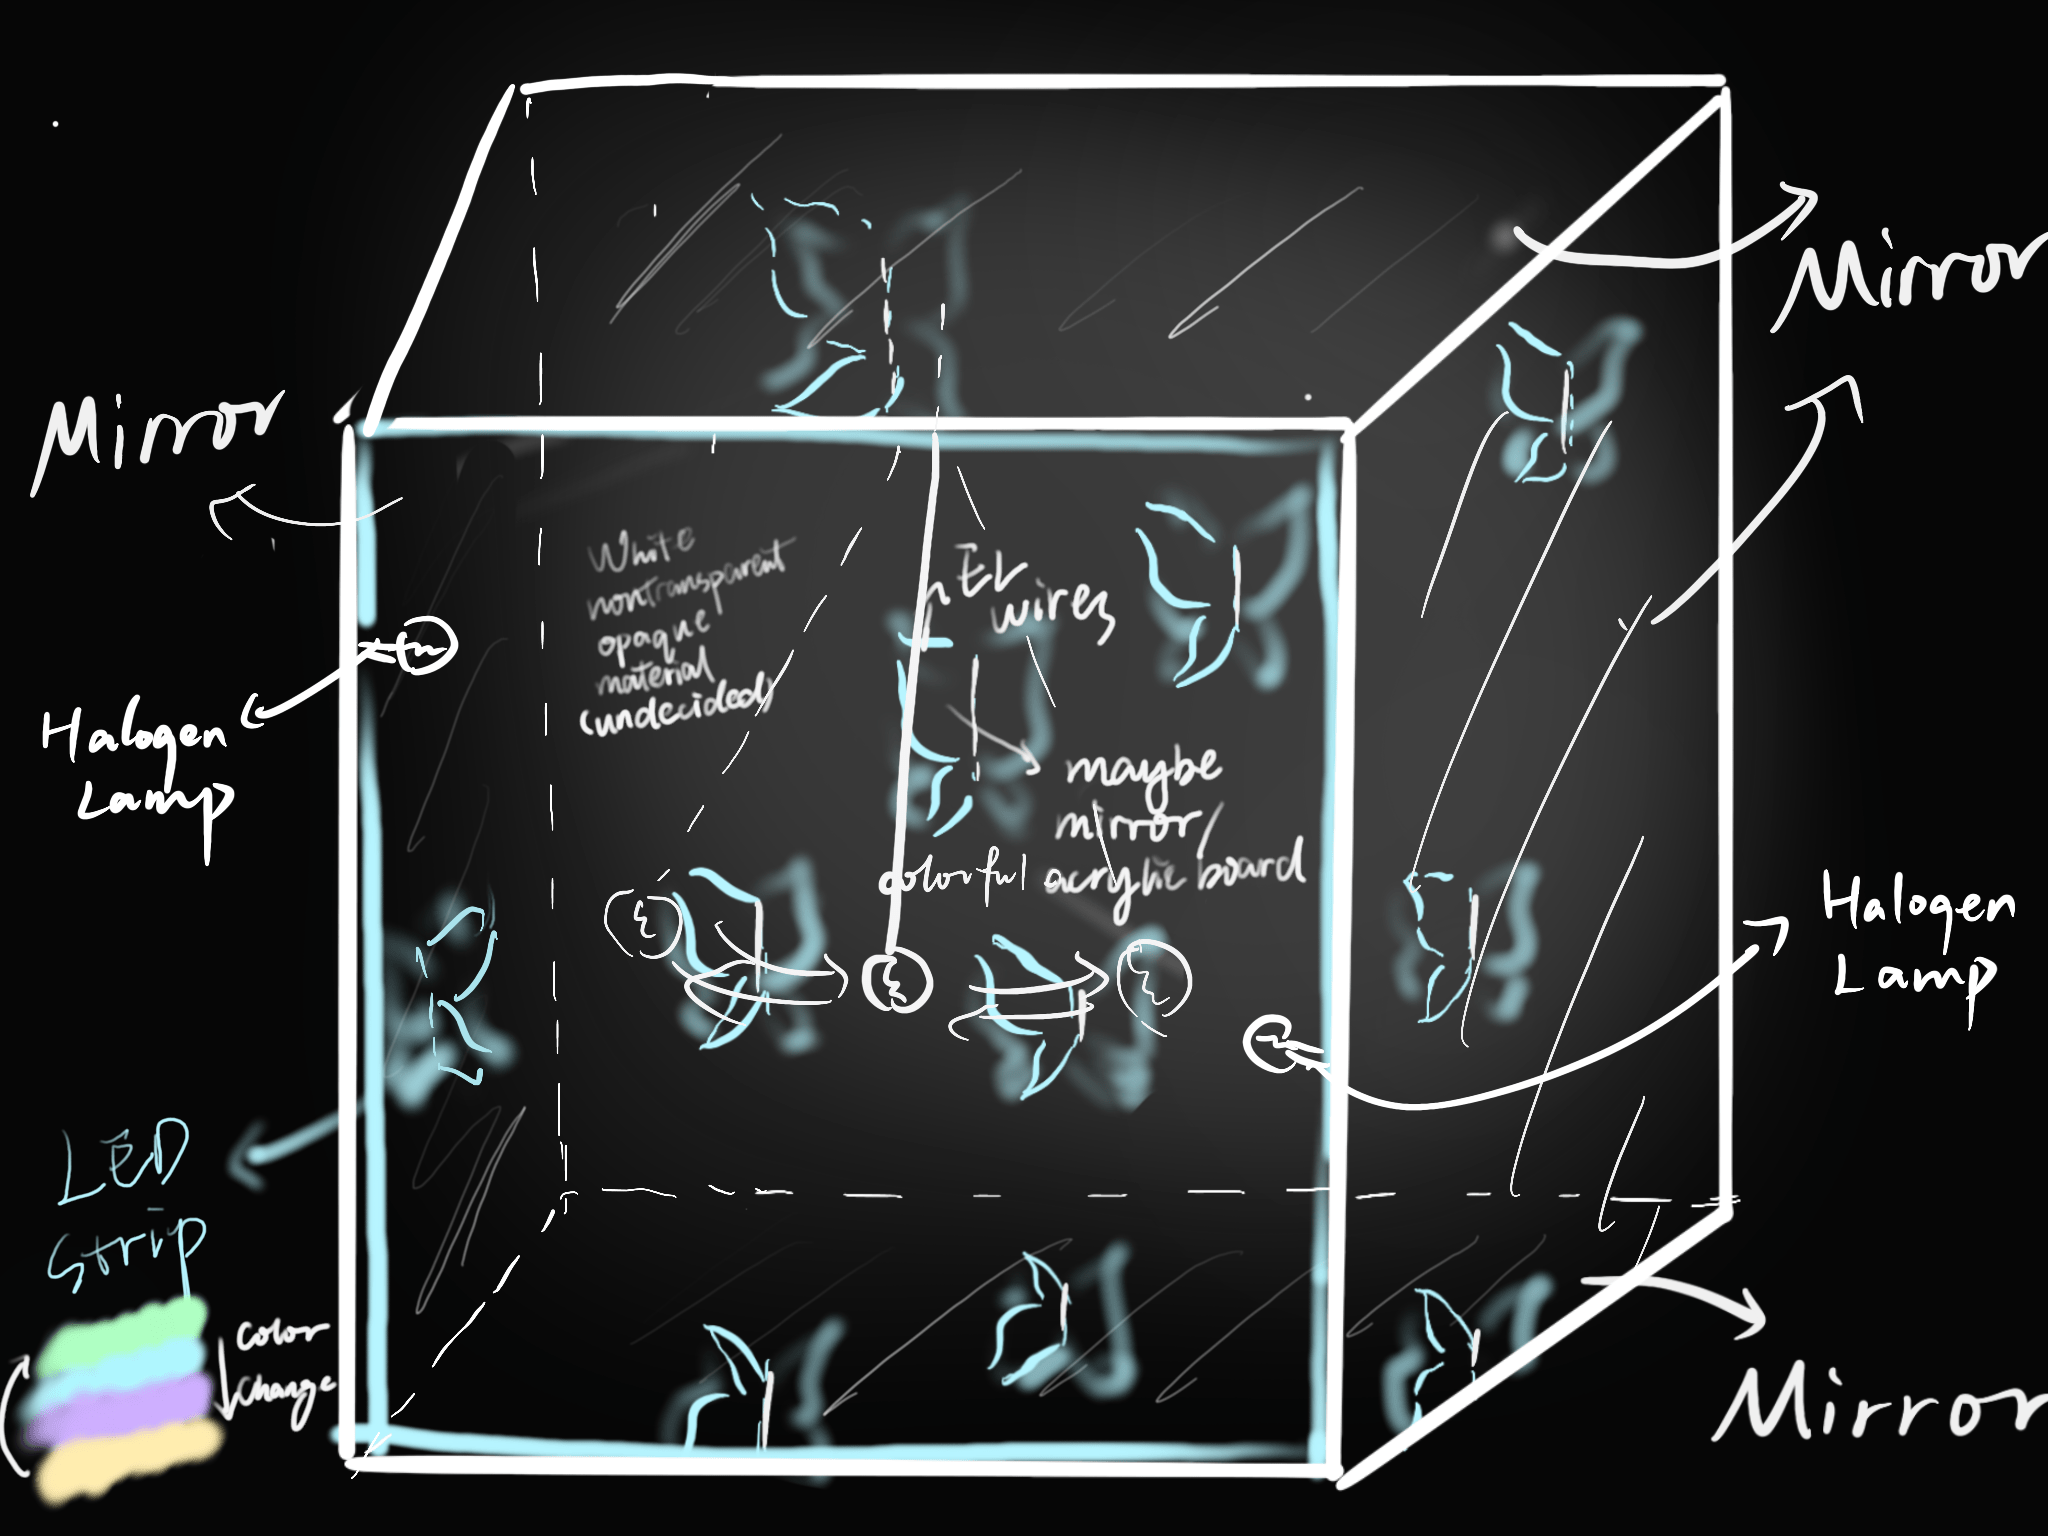
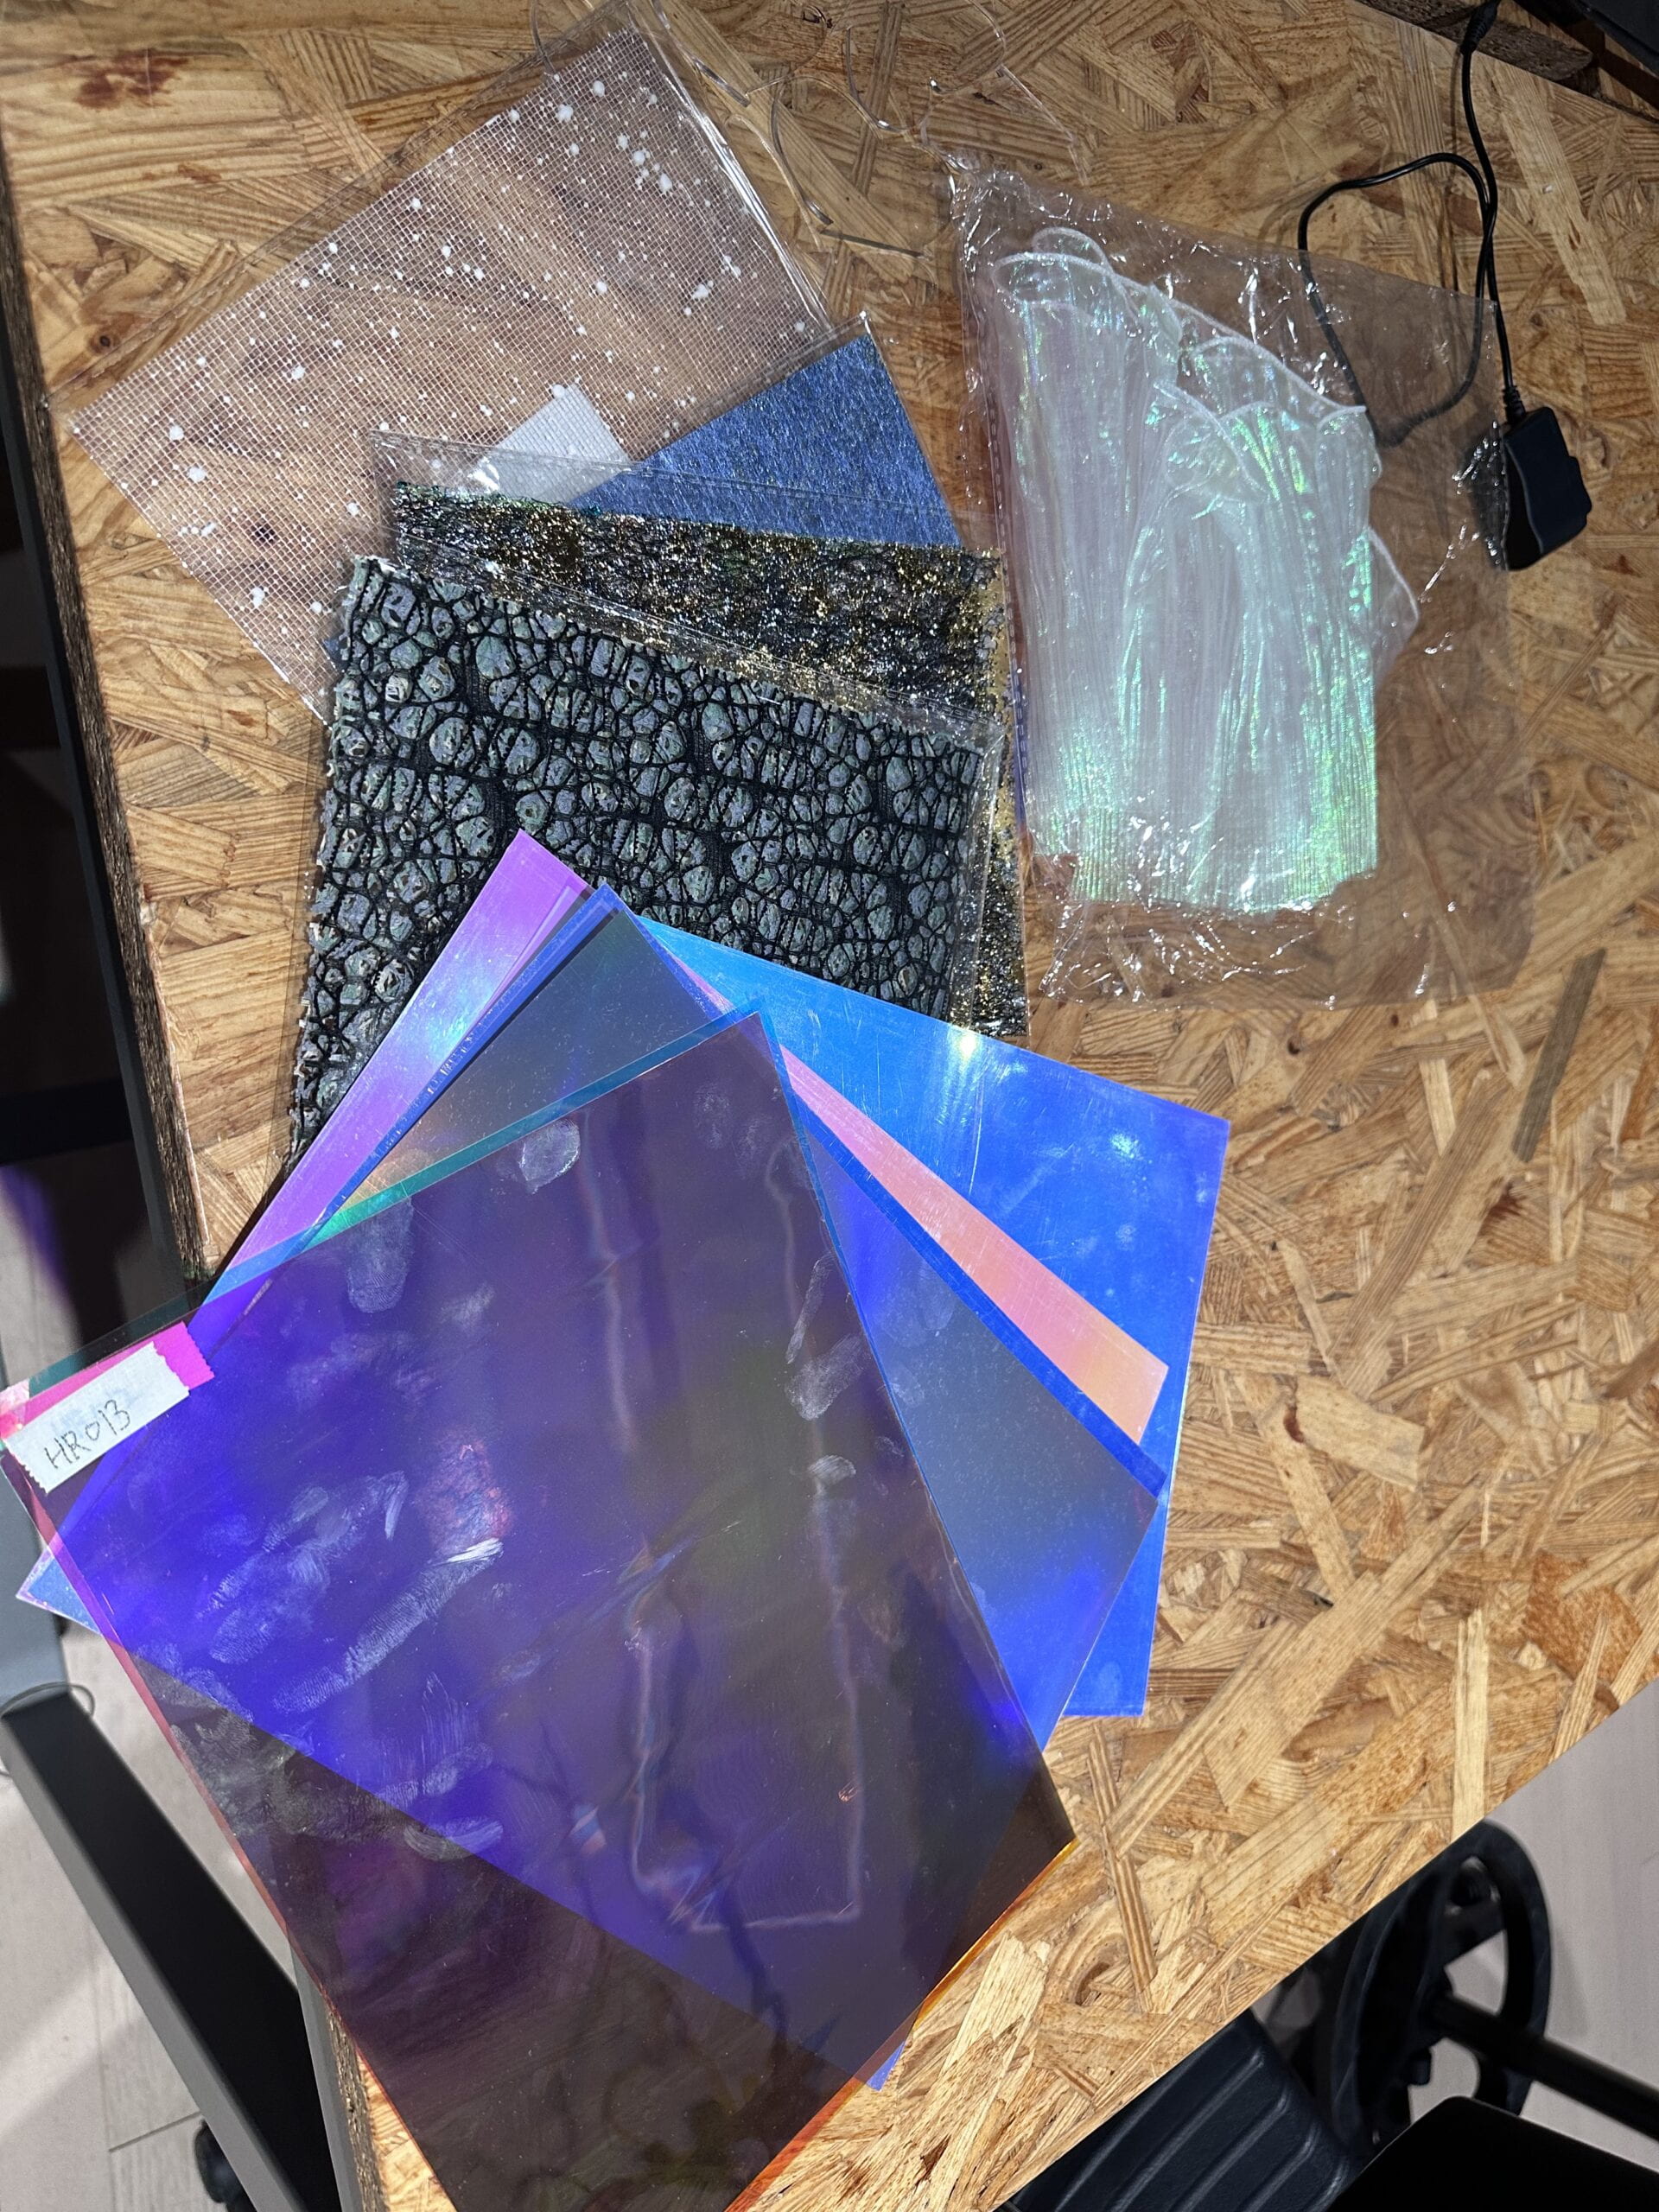
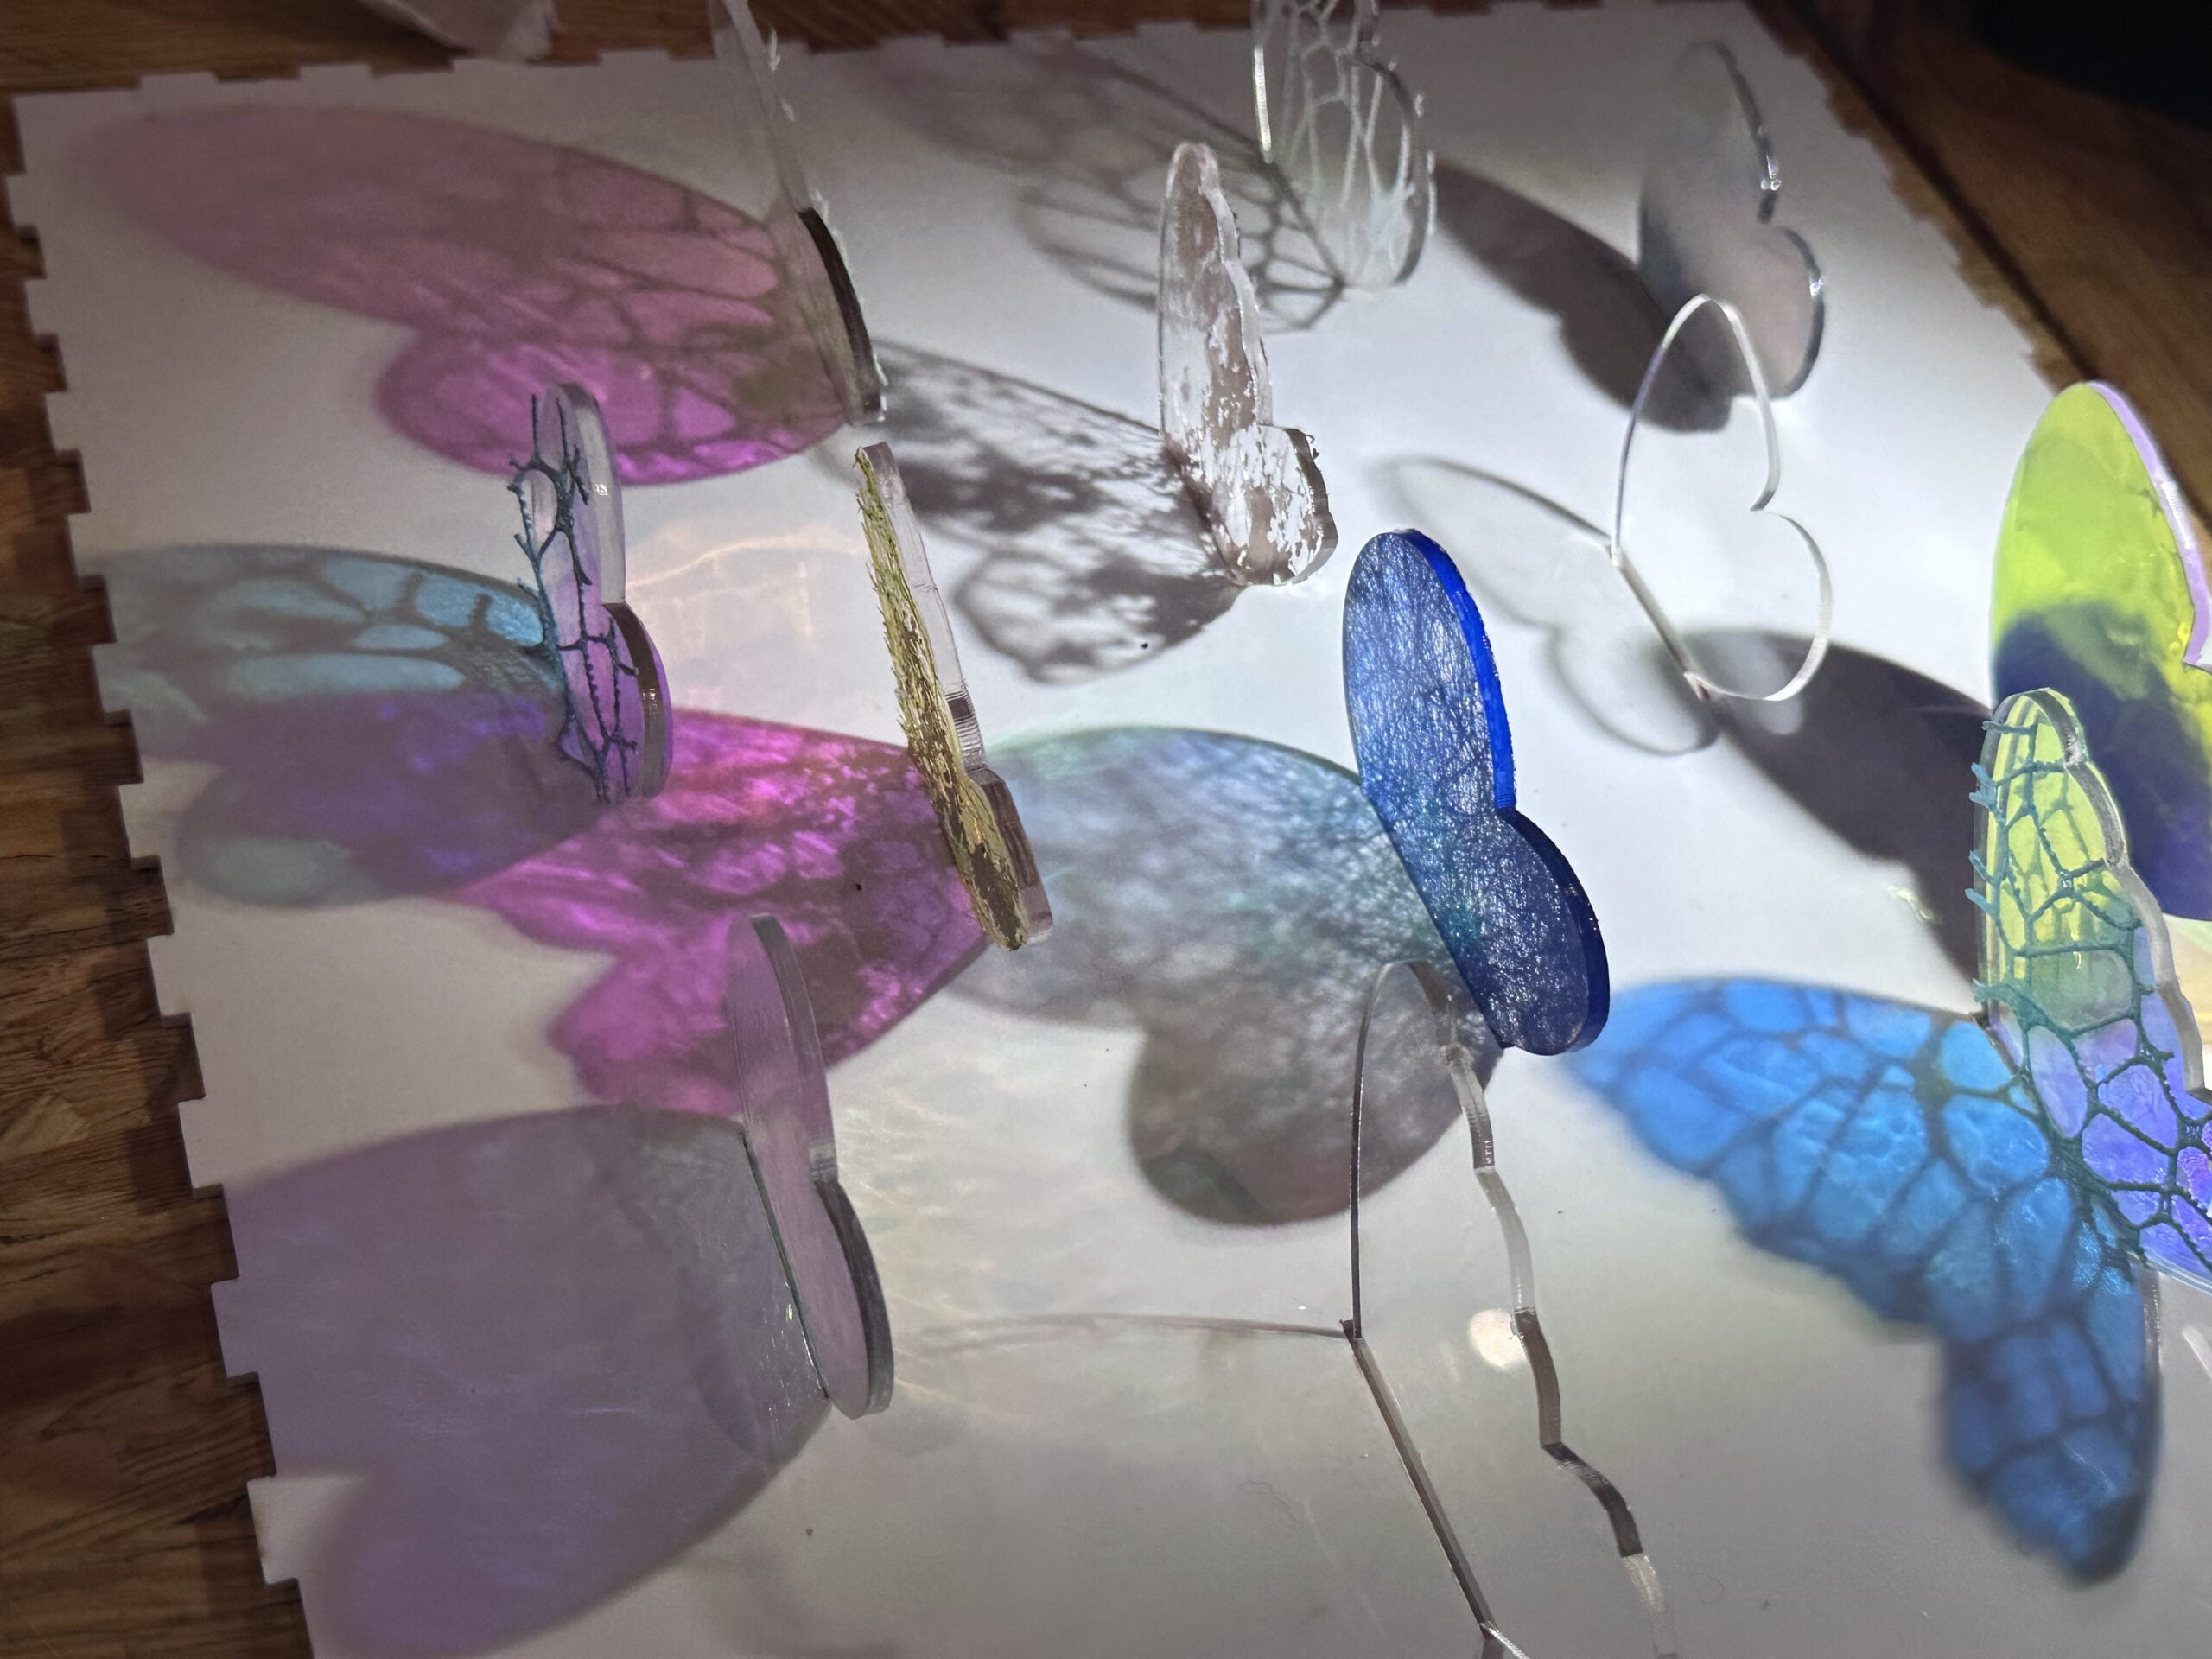
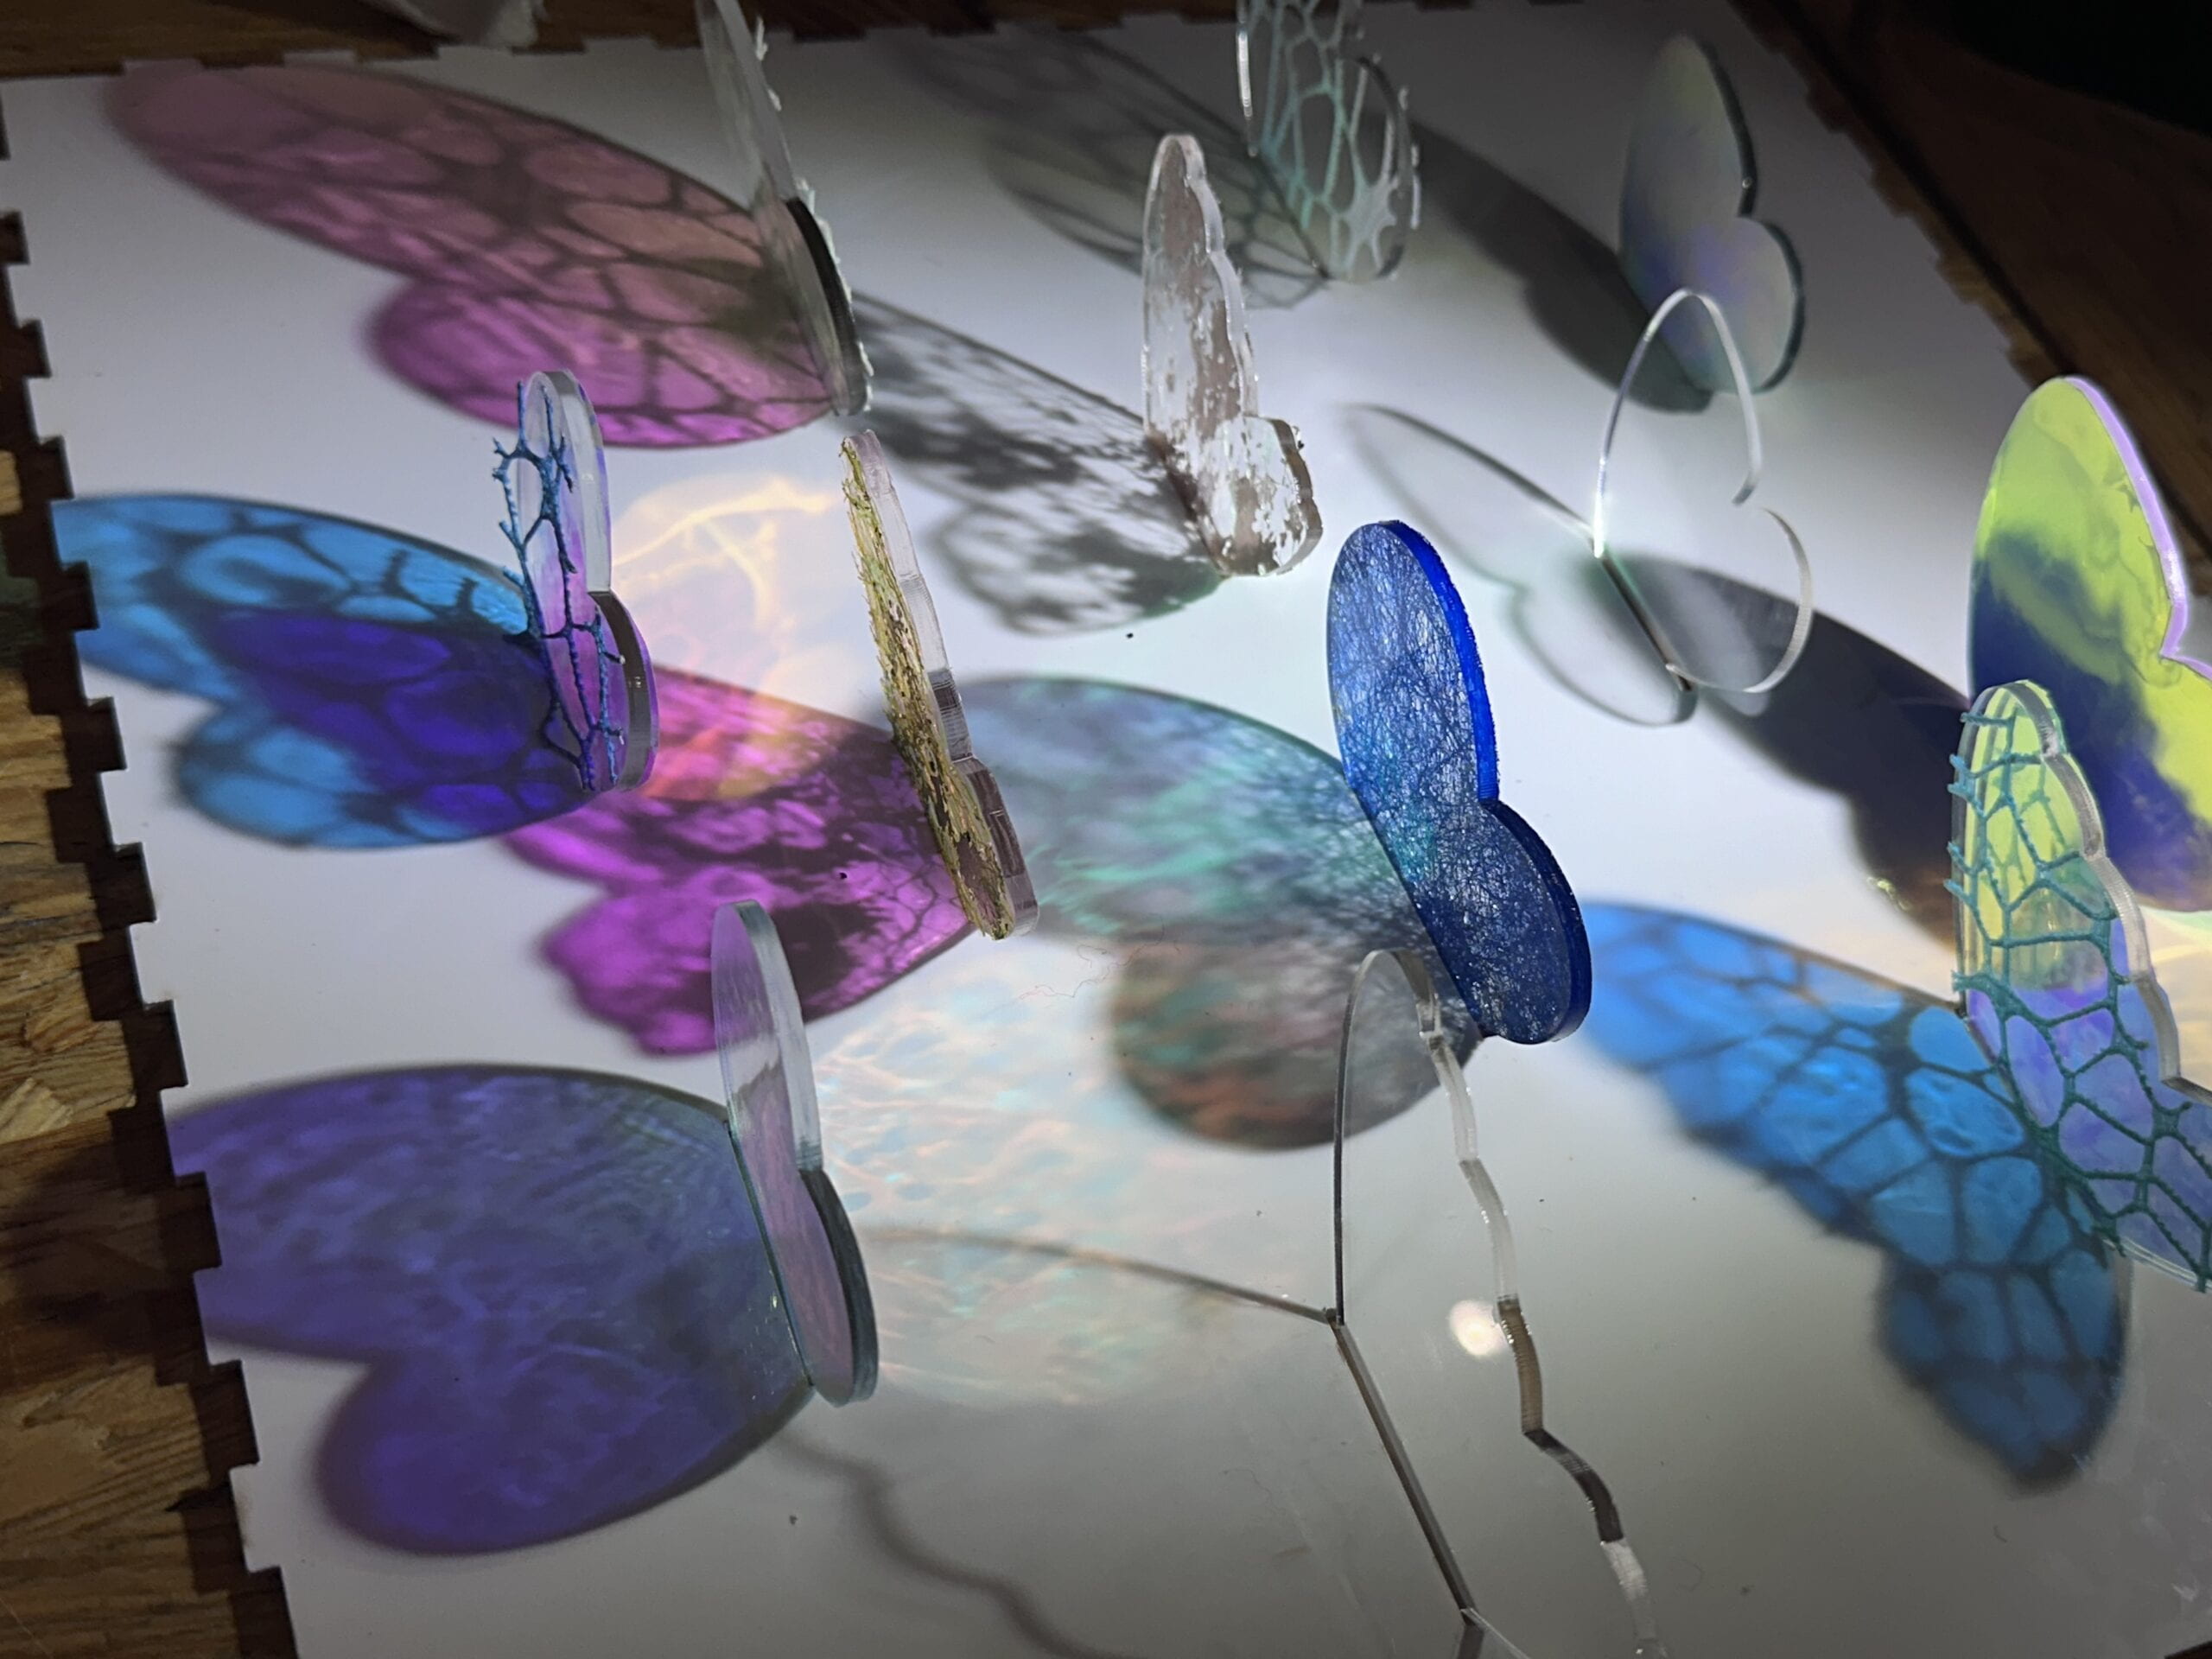
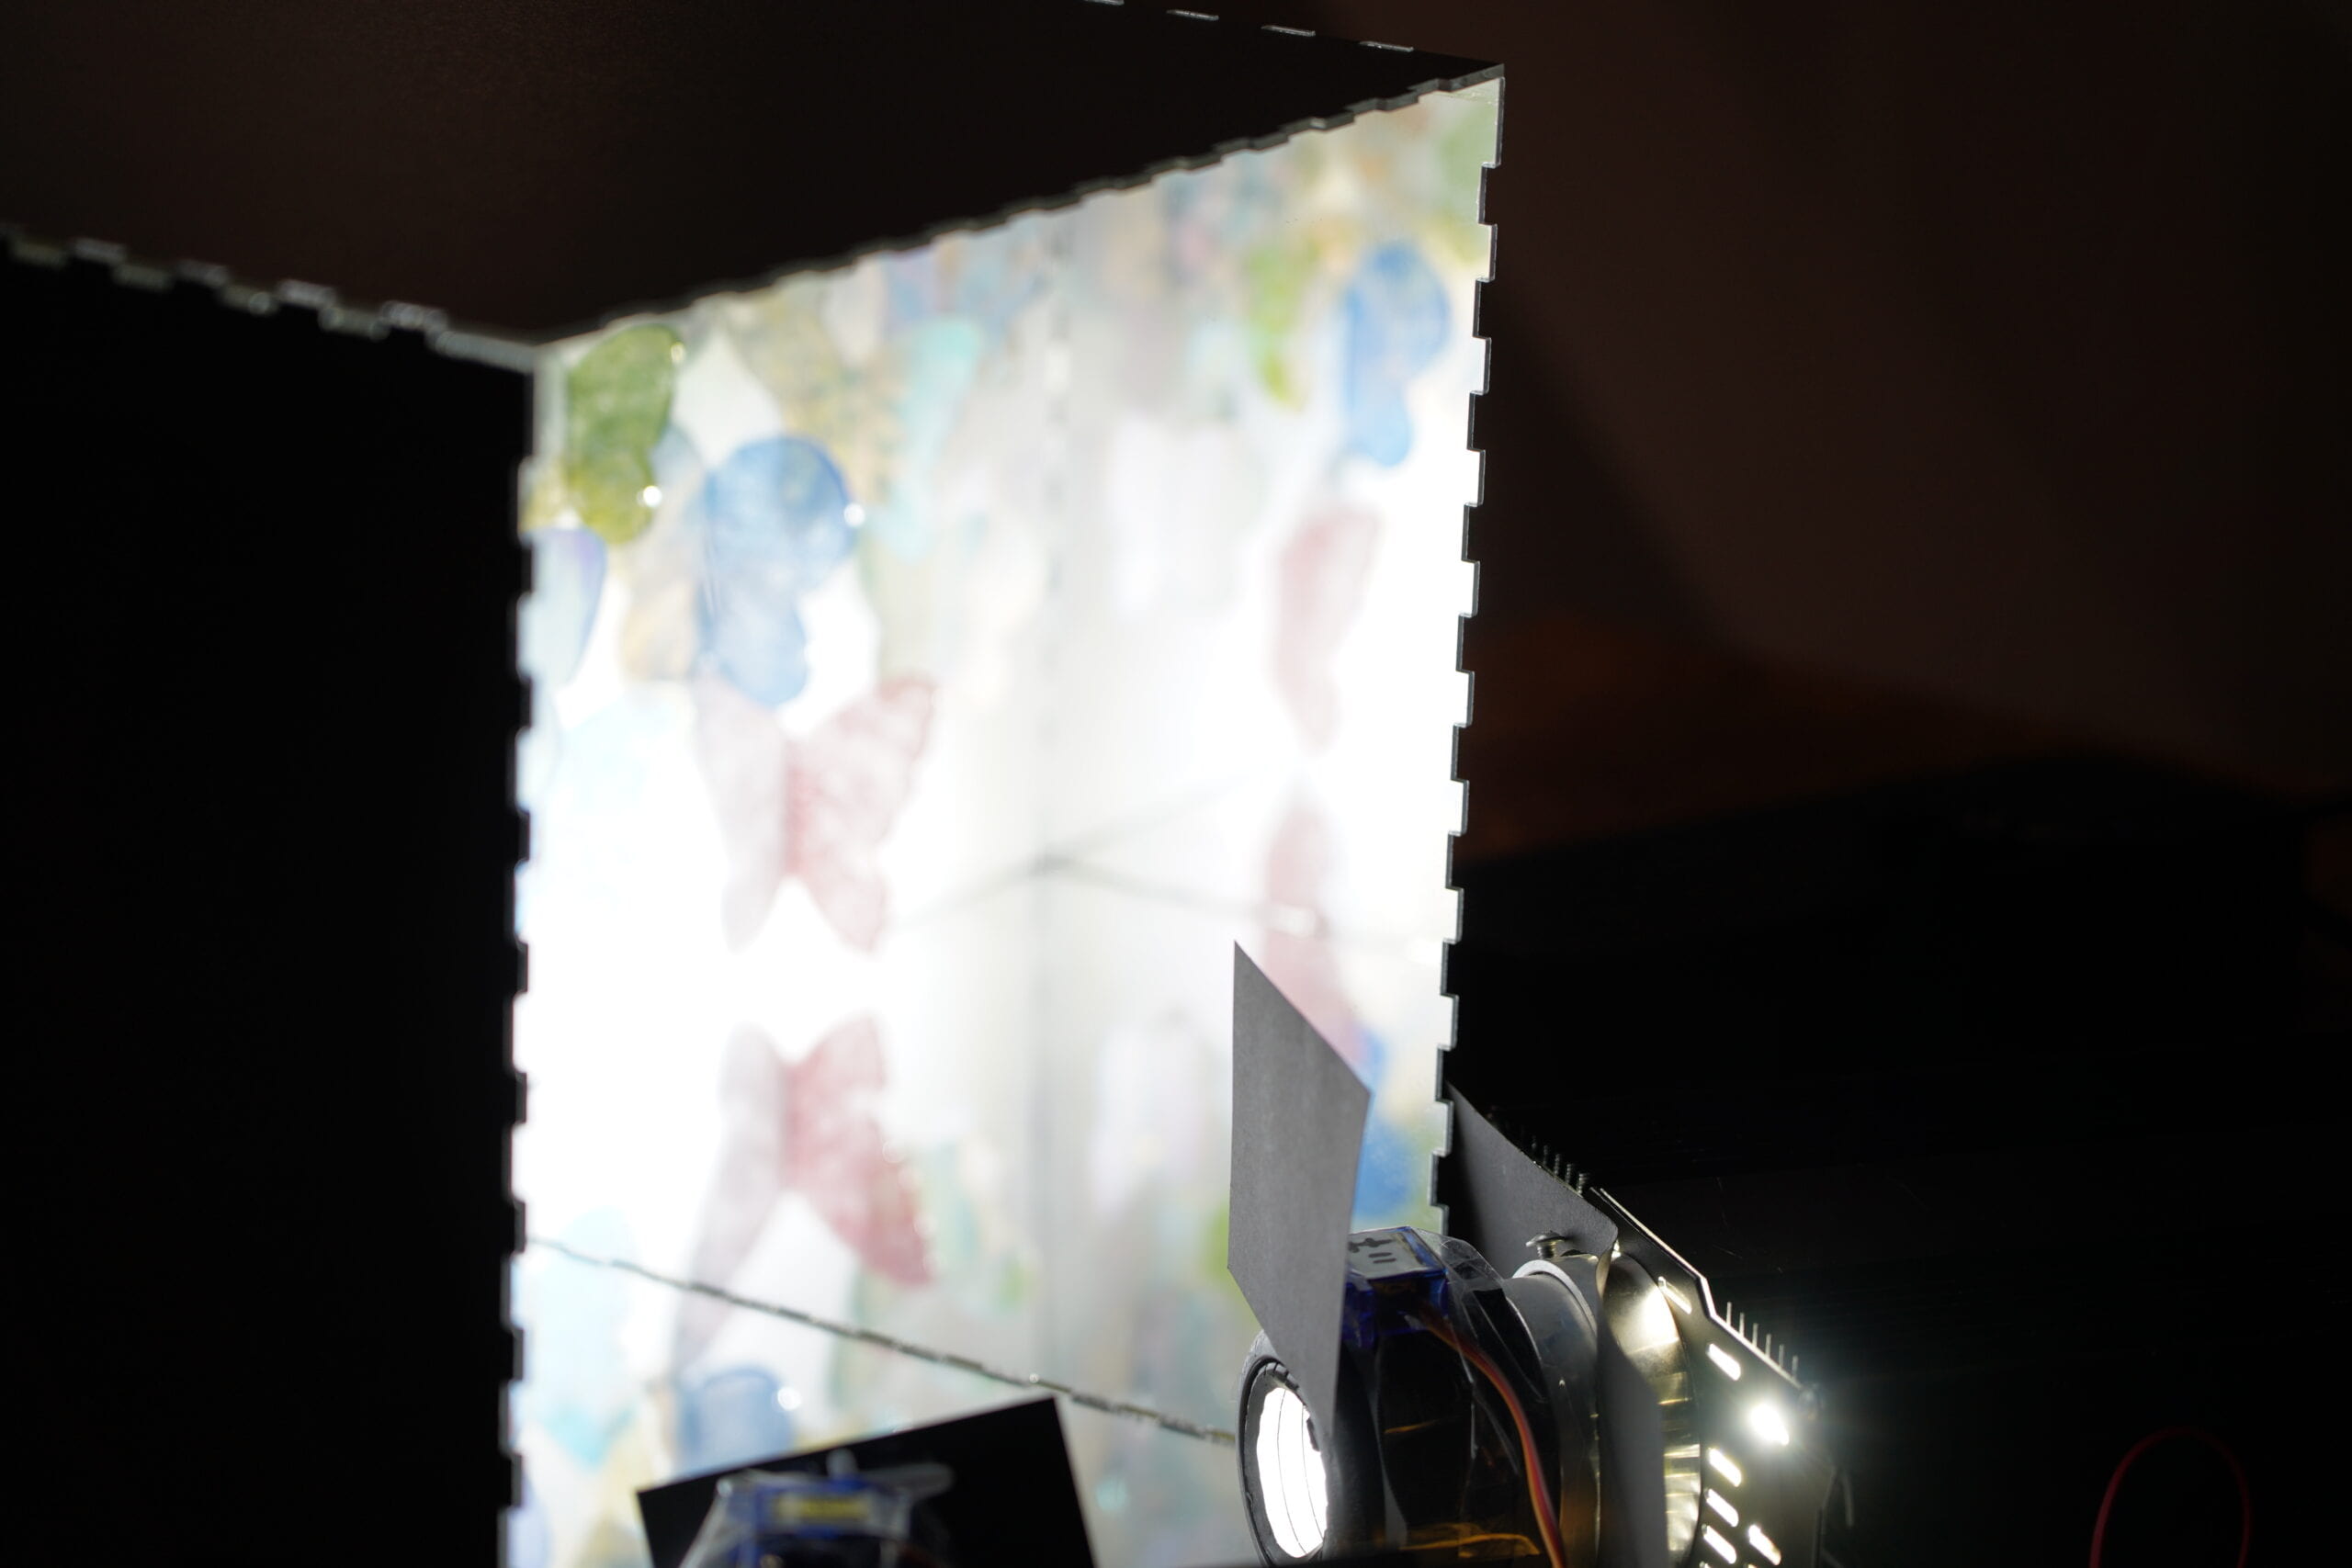
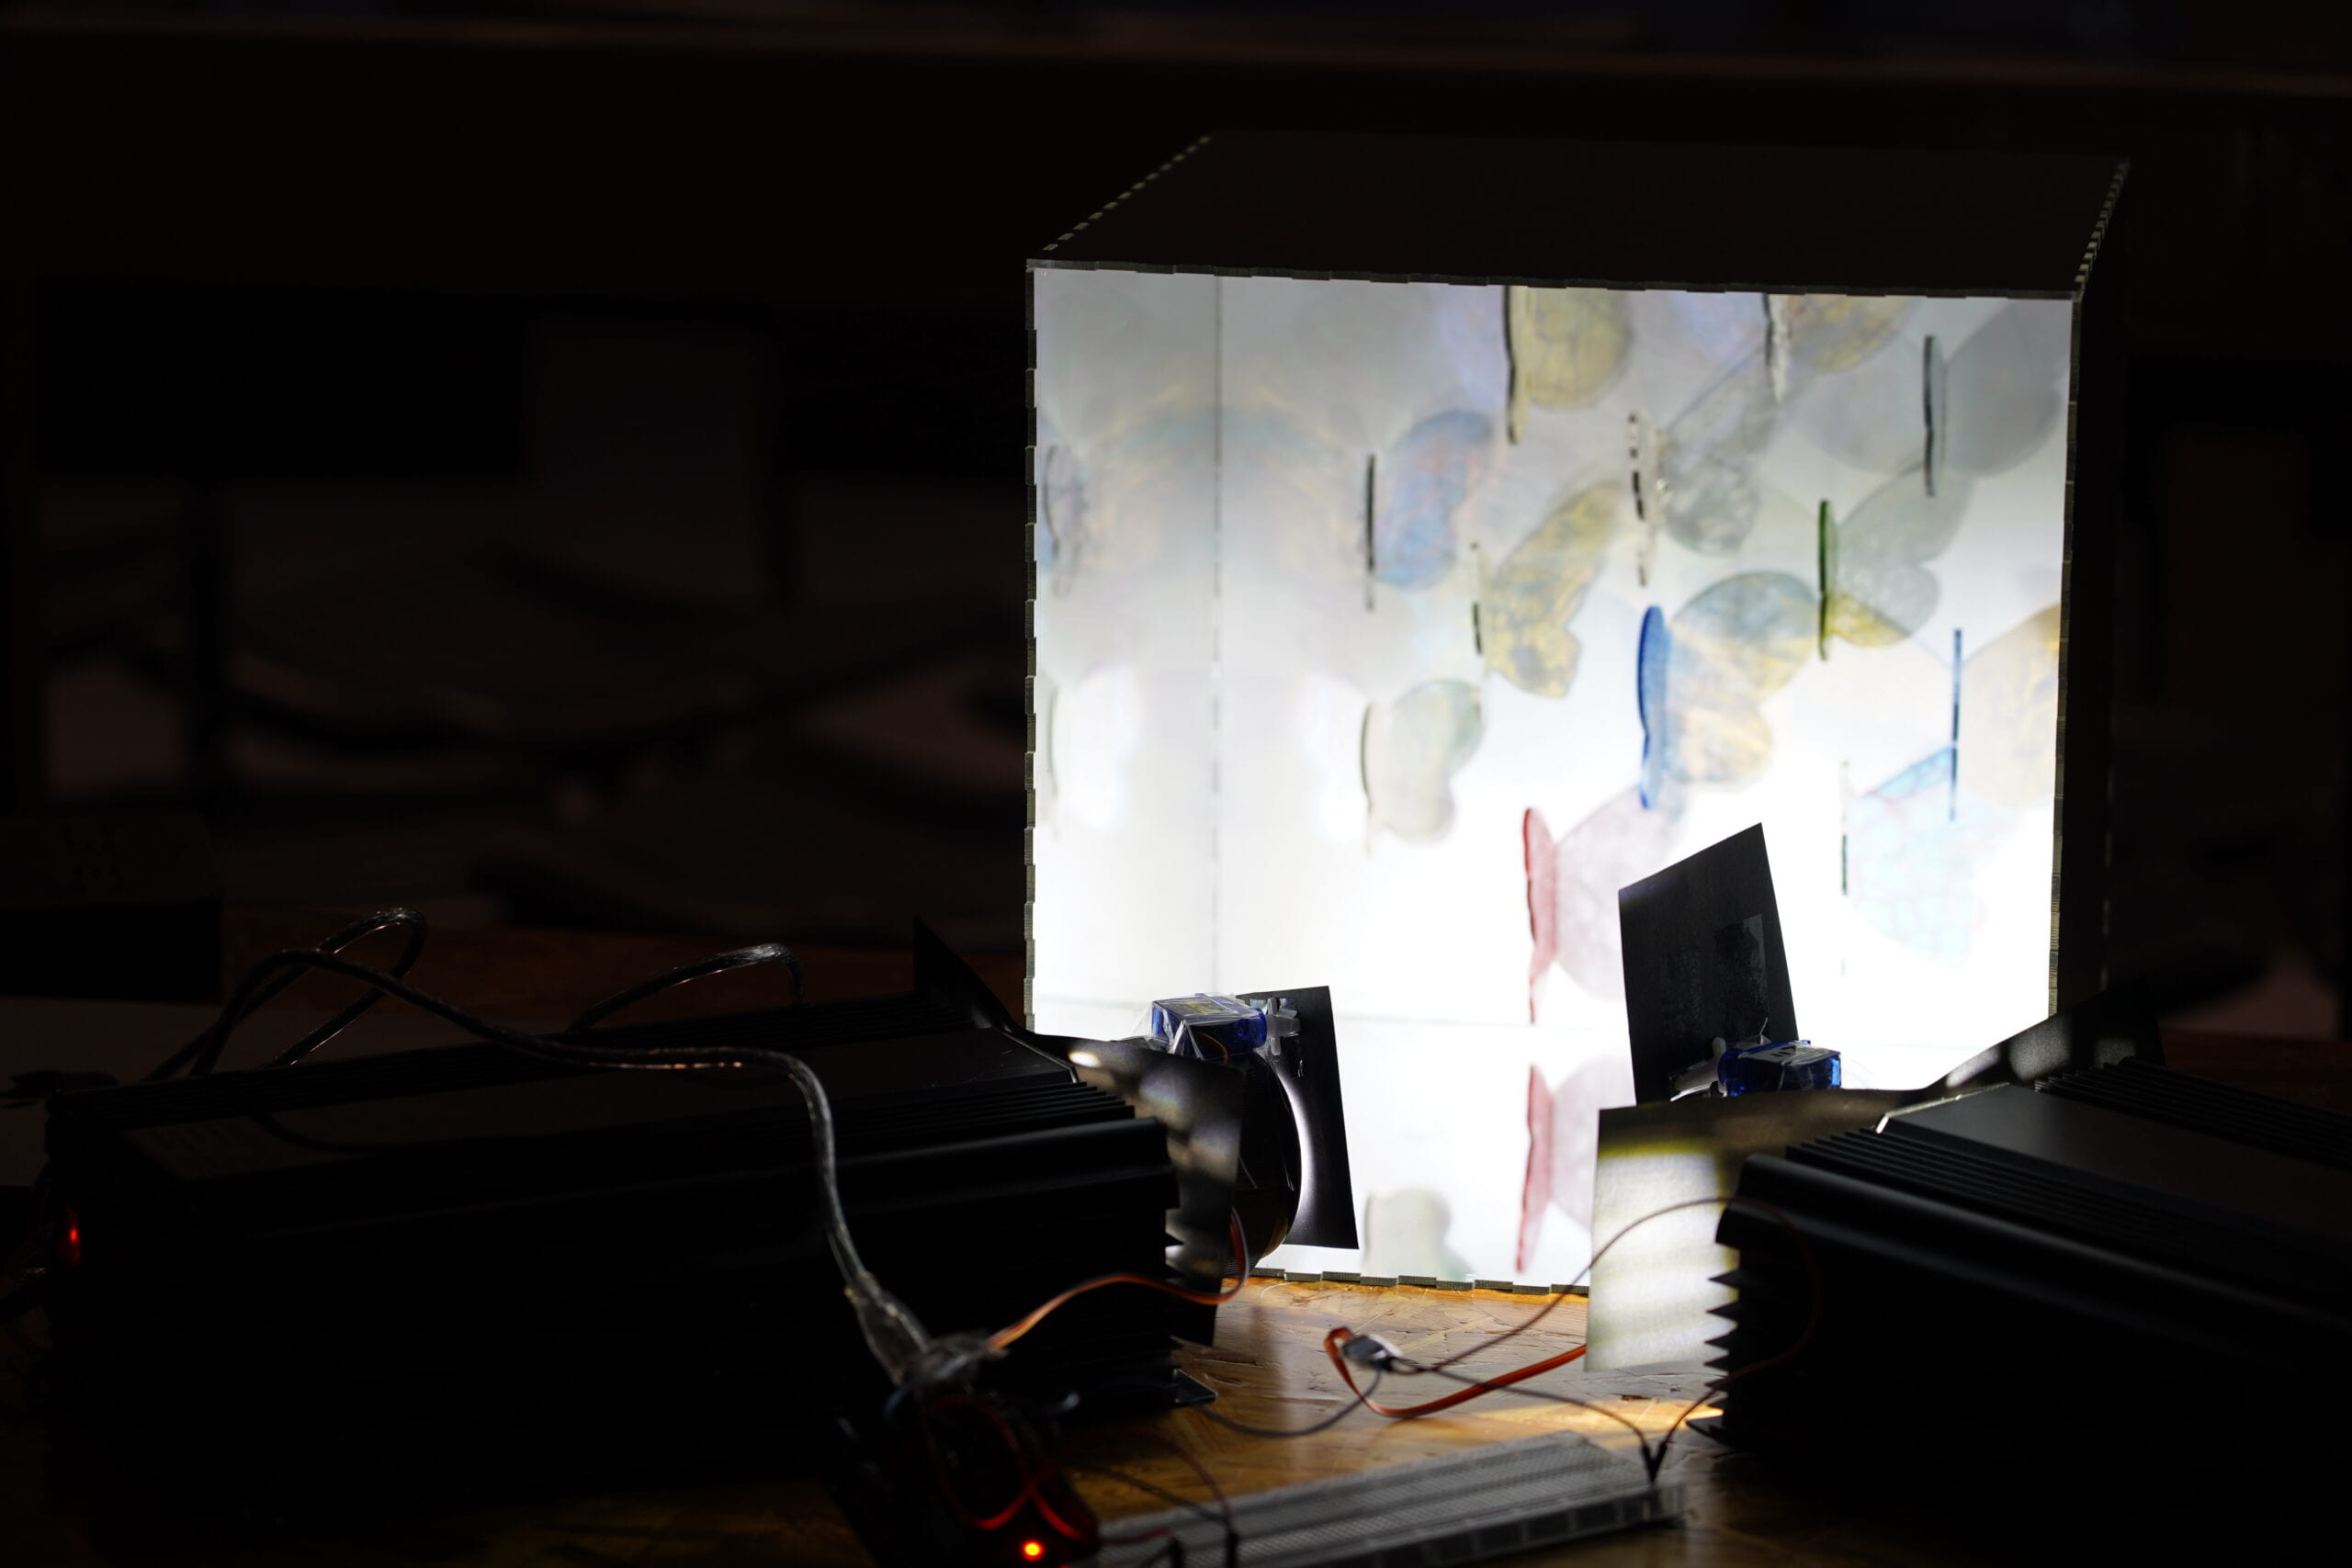
Inspired by Kosei Komatsu’s Light and Shadow butterflies and “Transcending Space” in TeamLab, I want to create a transcending space of fluttering butterflies. The principle is making use of light and shadow and light effects on different materials. Using the alternative twinkle of two spotlights from two opposite directions, the butterflies’ wings will be reflected on both sides of the butterflies to mimic the dynamic effects of fluttering. Also, by using transparent acrylic sheets covered by paper with different colors and textures, I can explore more possibilities of light reflection on different materials.

(Kosei Komatsu’s butterflies)

(Transcending Space in teamLab)

C. Perspective and Context

In this project, I want explore more about the composition of light and space. I focus on how the light can be seen in reflective space and what effect can be produced by light directing on different materials for more possibilities of light reflection and refraction. “Instead of the work’s being developed from and contingent upon existing material conditions, it was based on and developed by the use of preselected materials and principles.” (Clark, 48) I bought the materials and predicted the effects in my mind and experimented on the limited unpredictability. Also, I believe the transcending space constructed by mirror reflection create interference in people’s mind through disrupting the sight. “Light and Space art does not deal with light and space as media as much as it deals with the participating subject’s perceptual adjustment” (Schuld, 118) I hope my project create the peaceful atmosphere and calm feelings for the participants.

D. Development & Technical Implementation
This is the draft sketch of my project.  

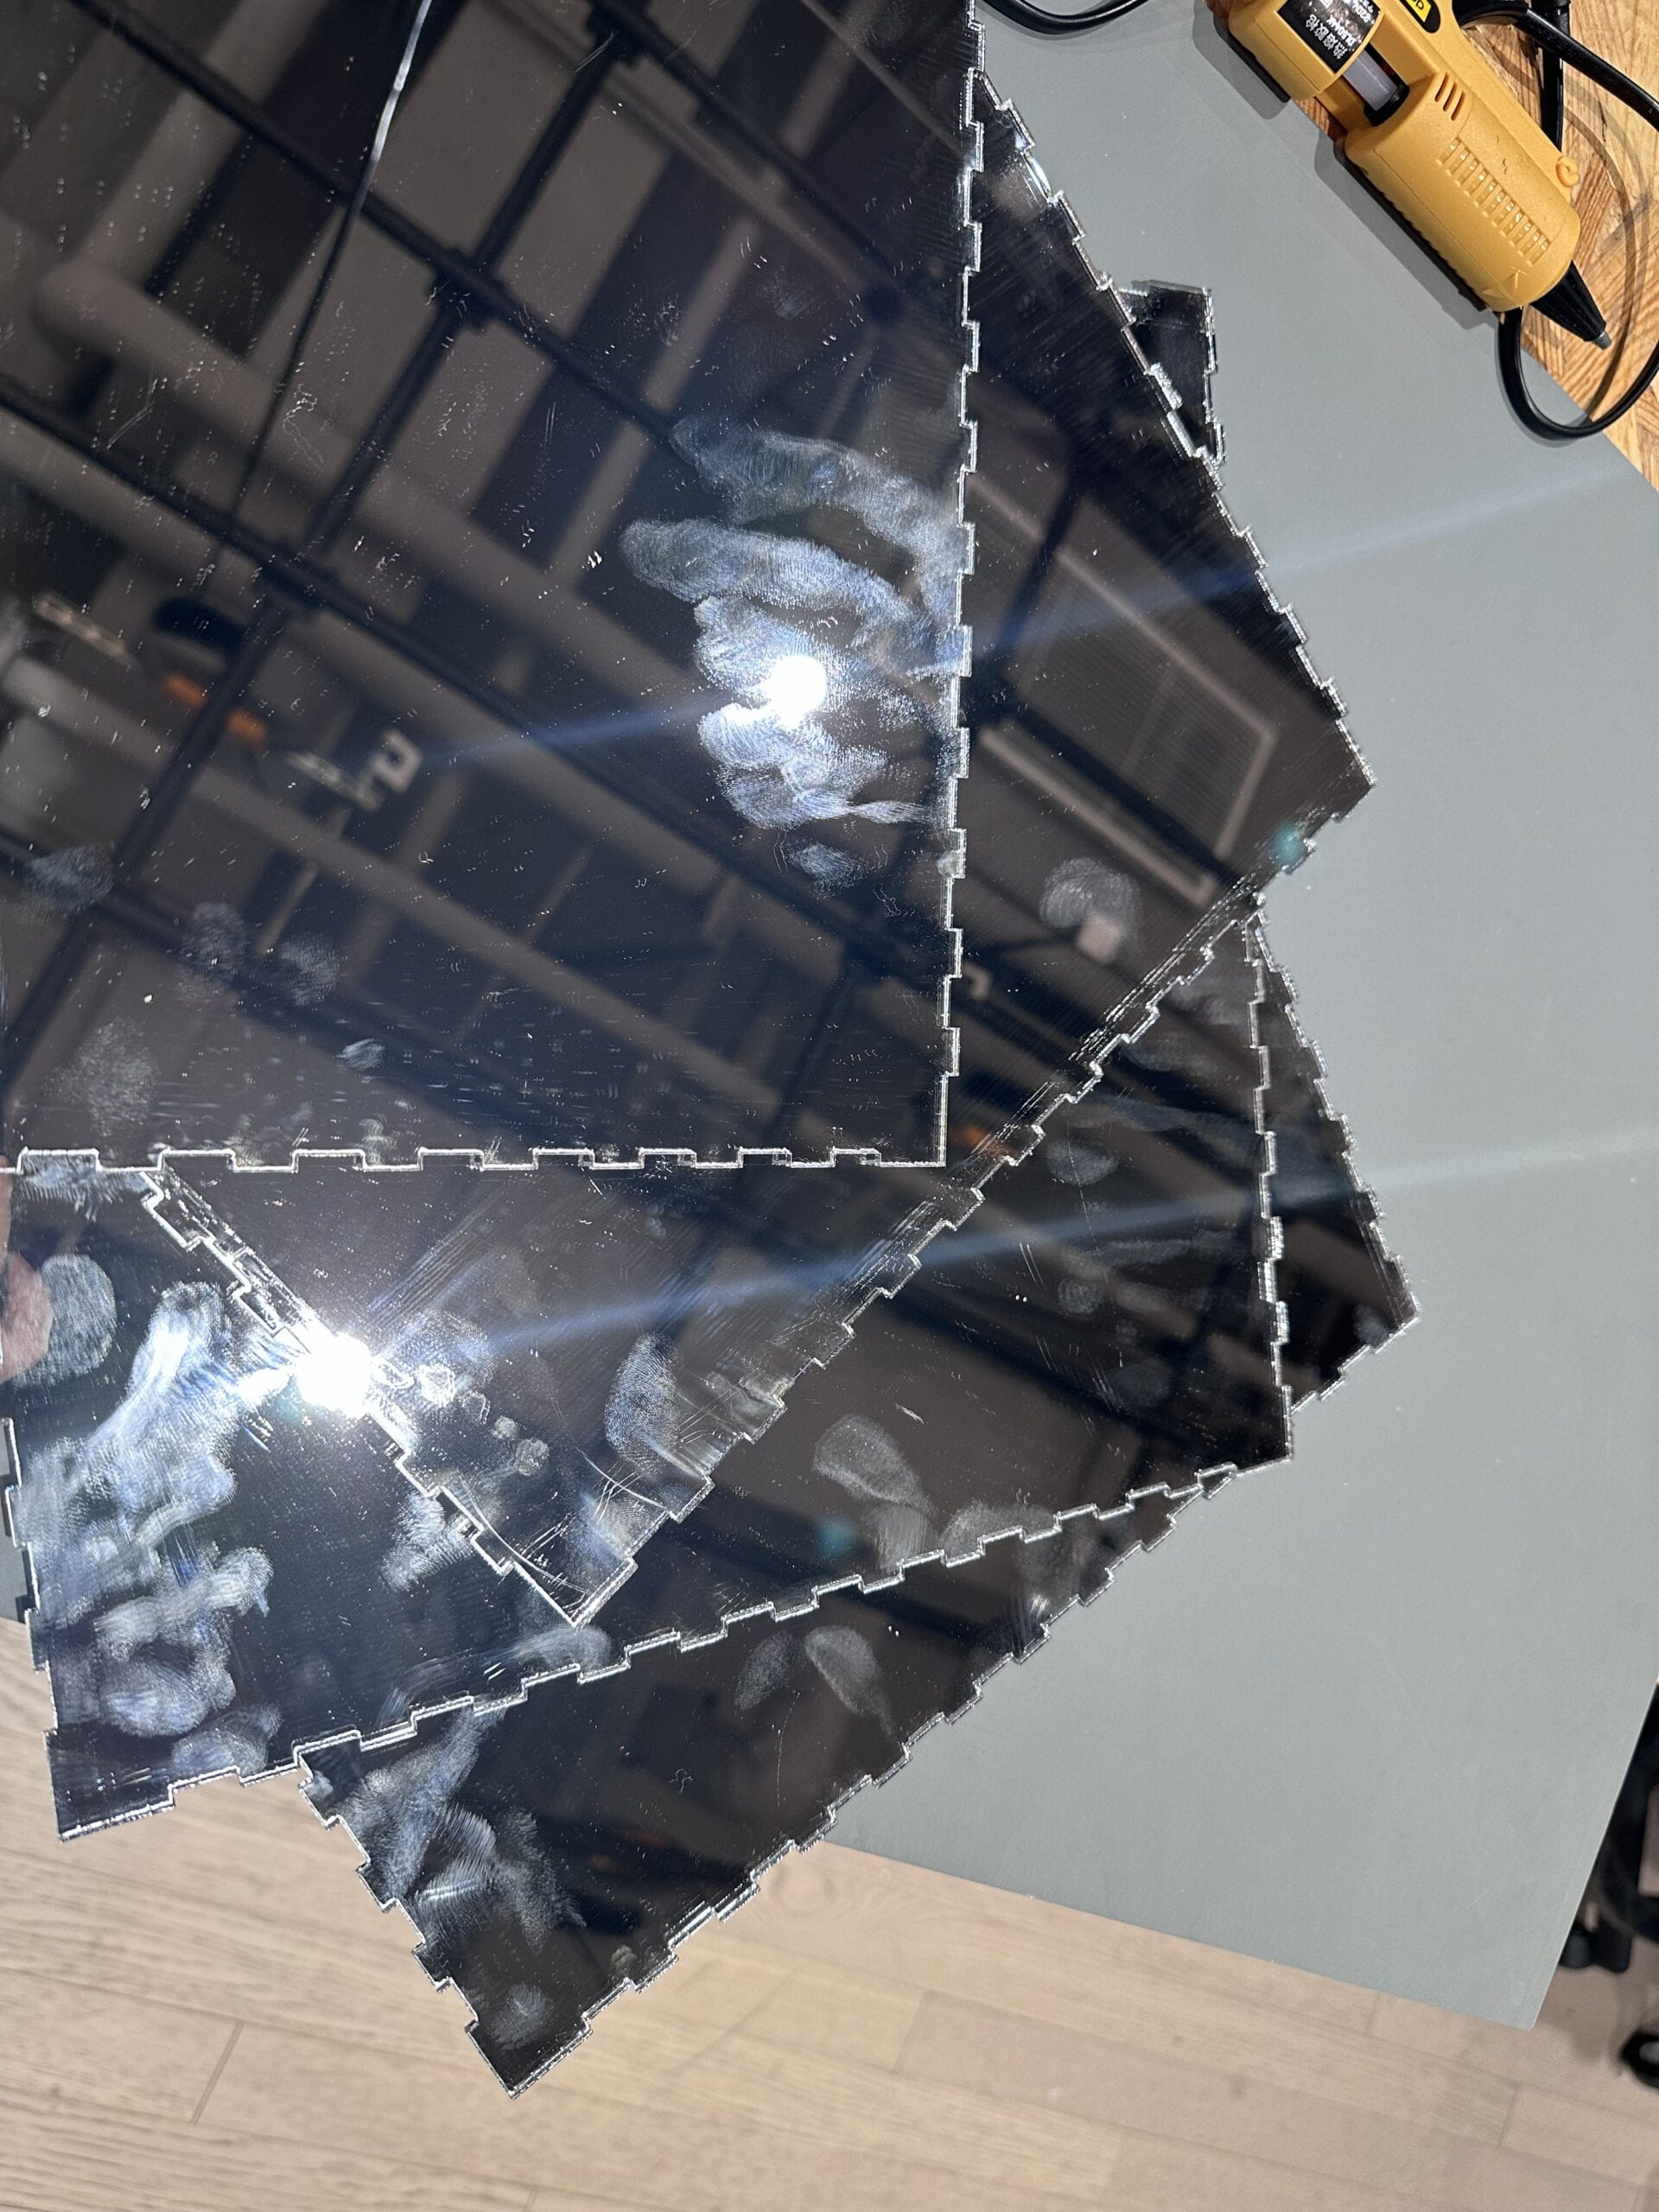
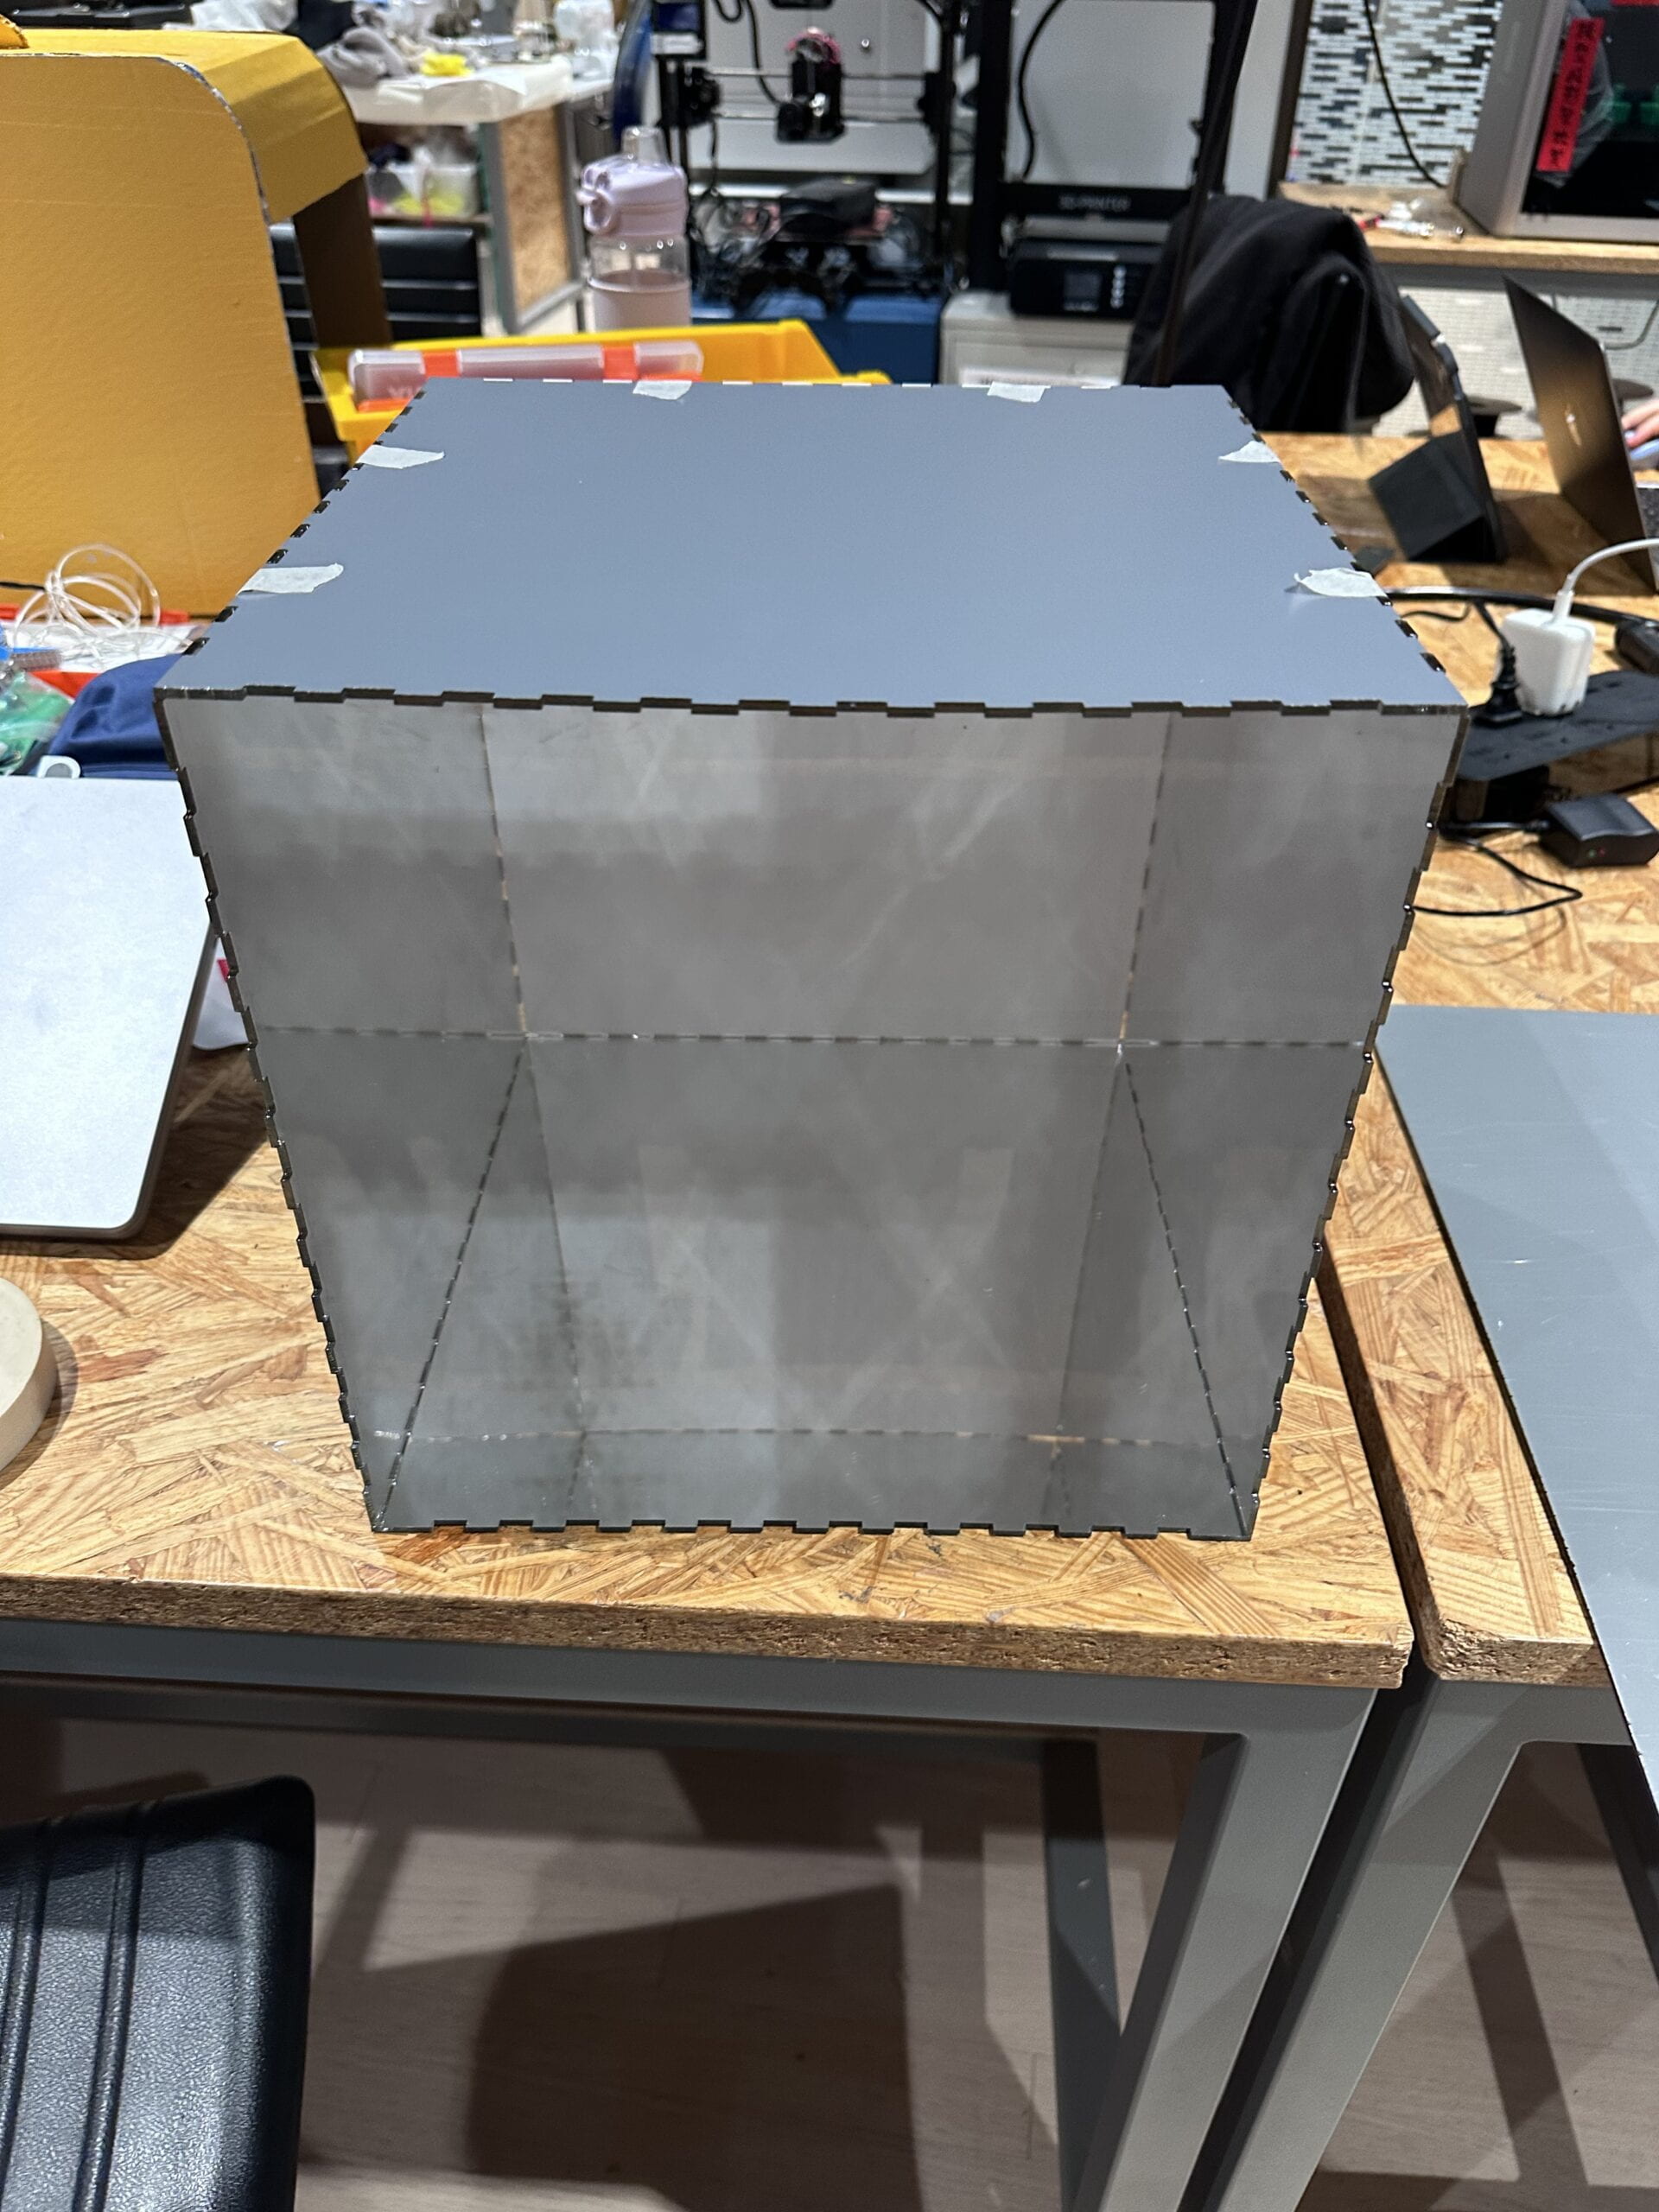
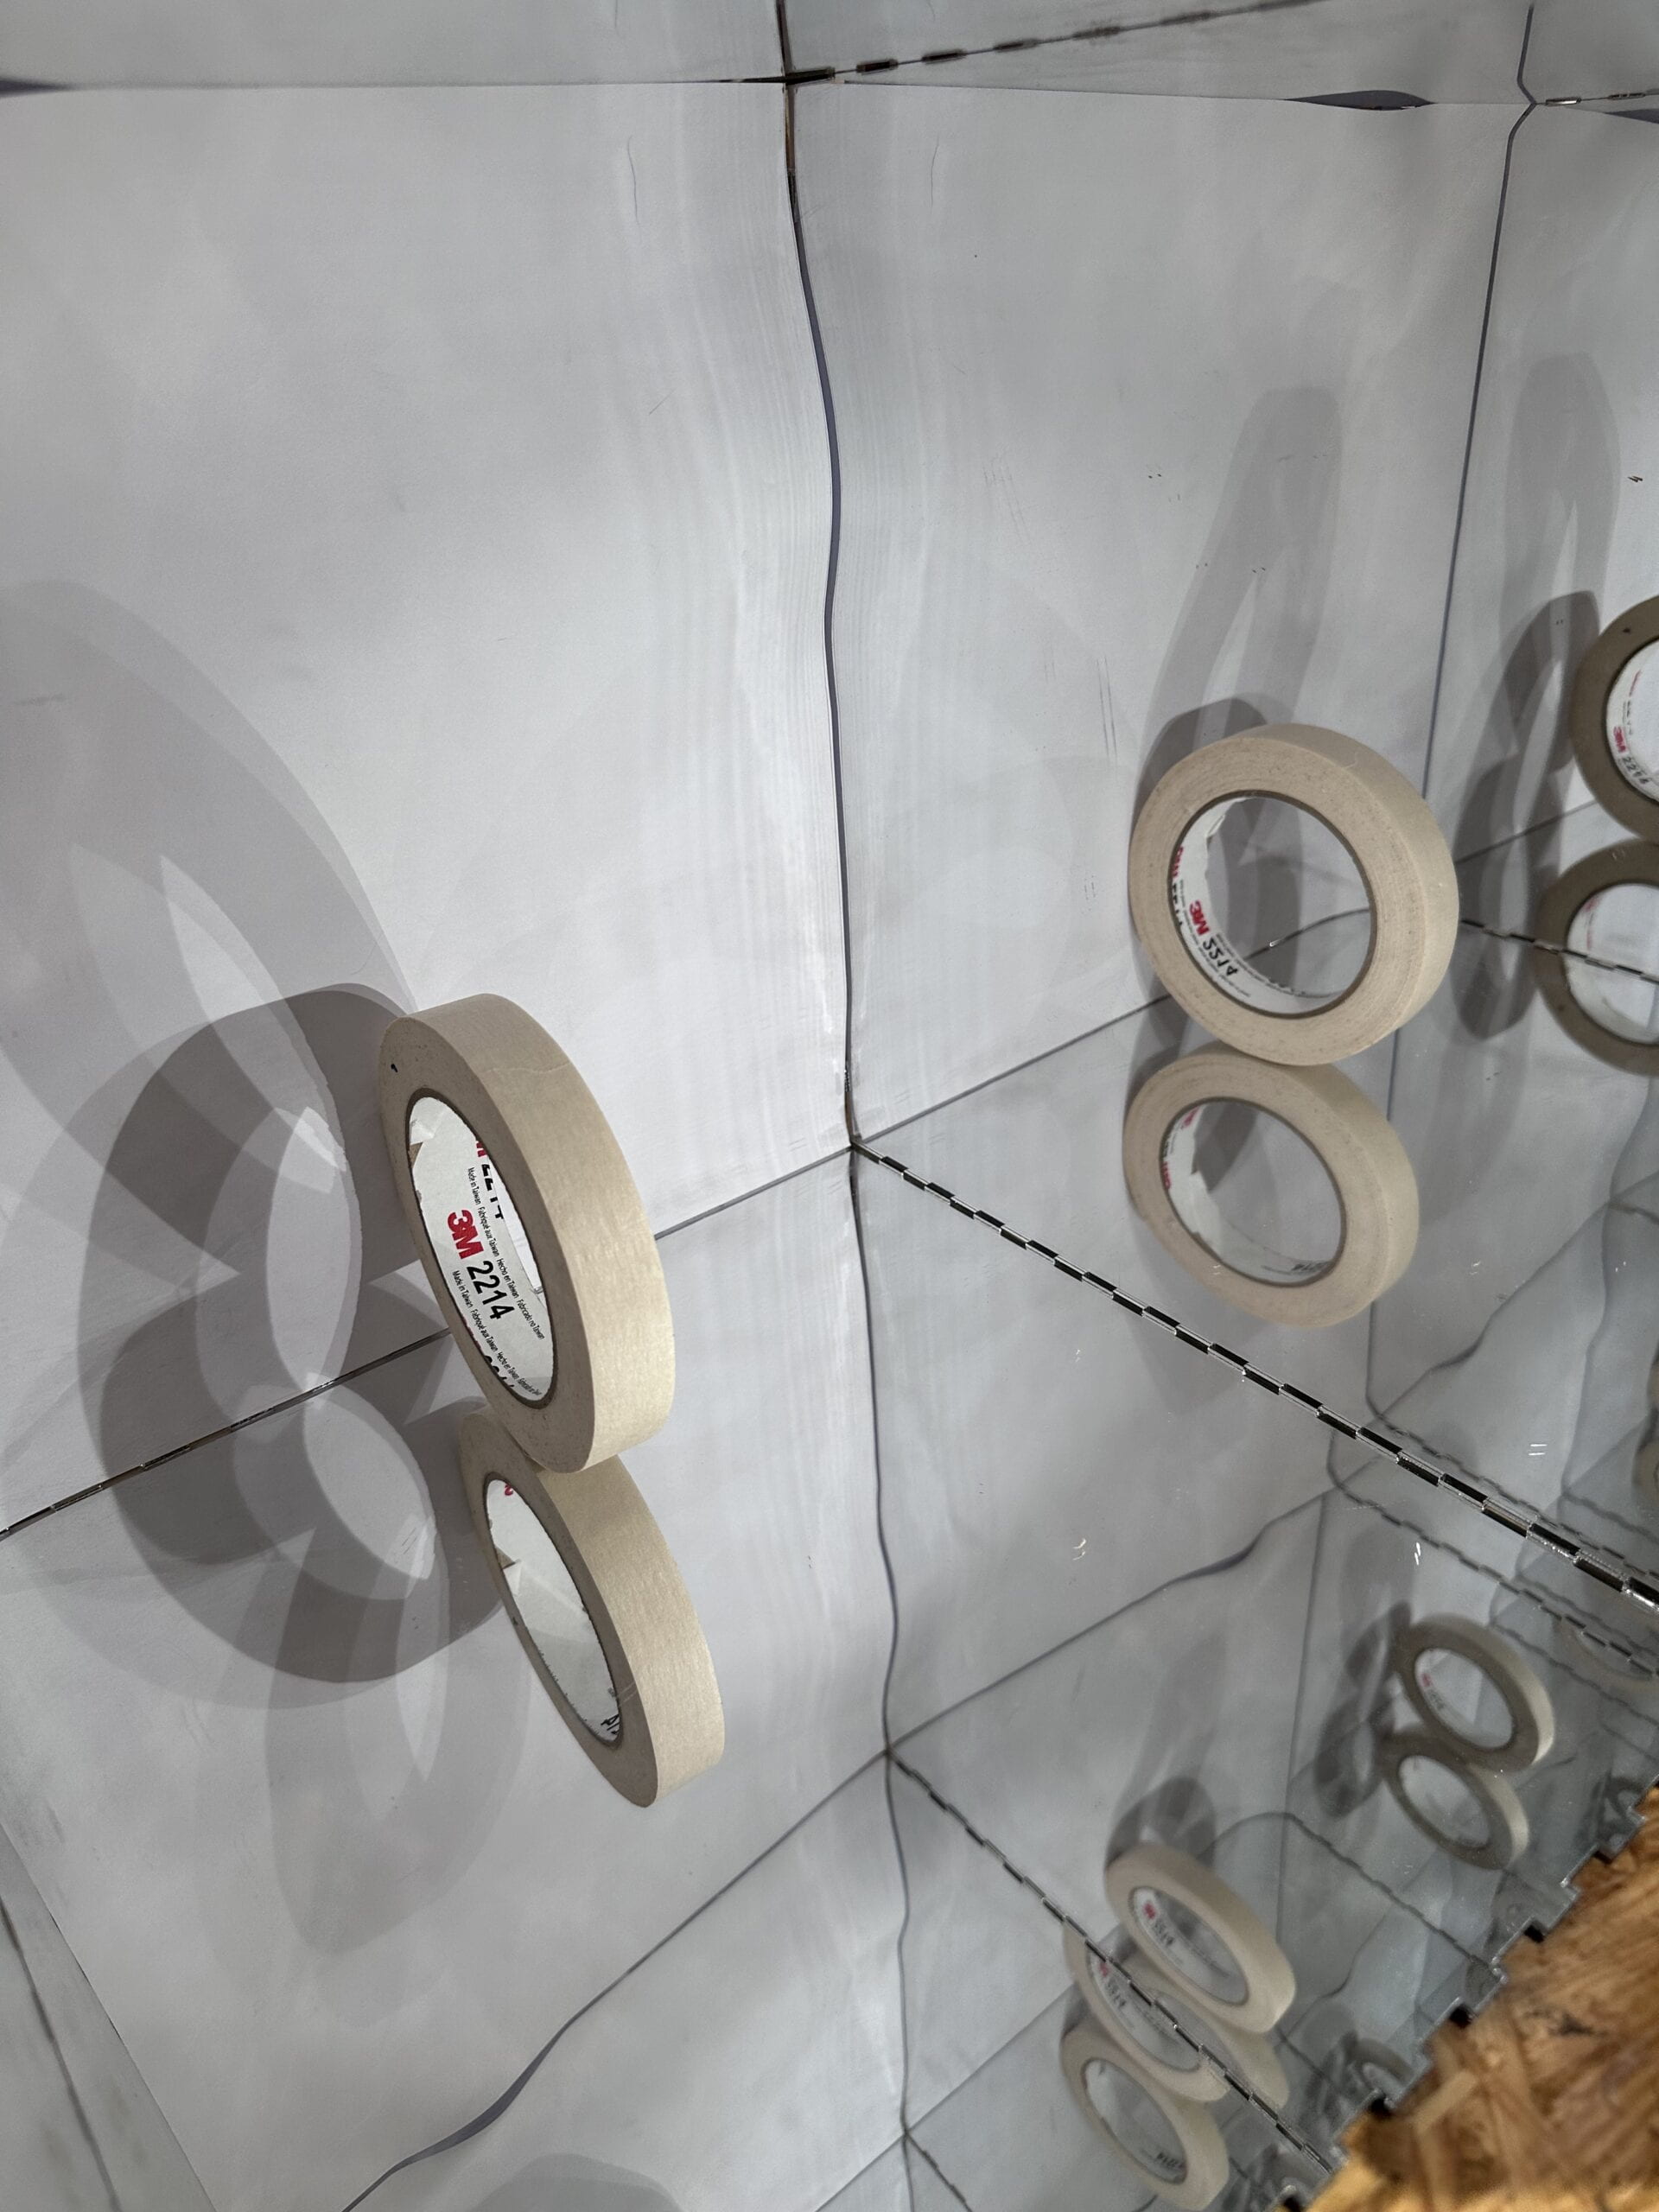
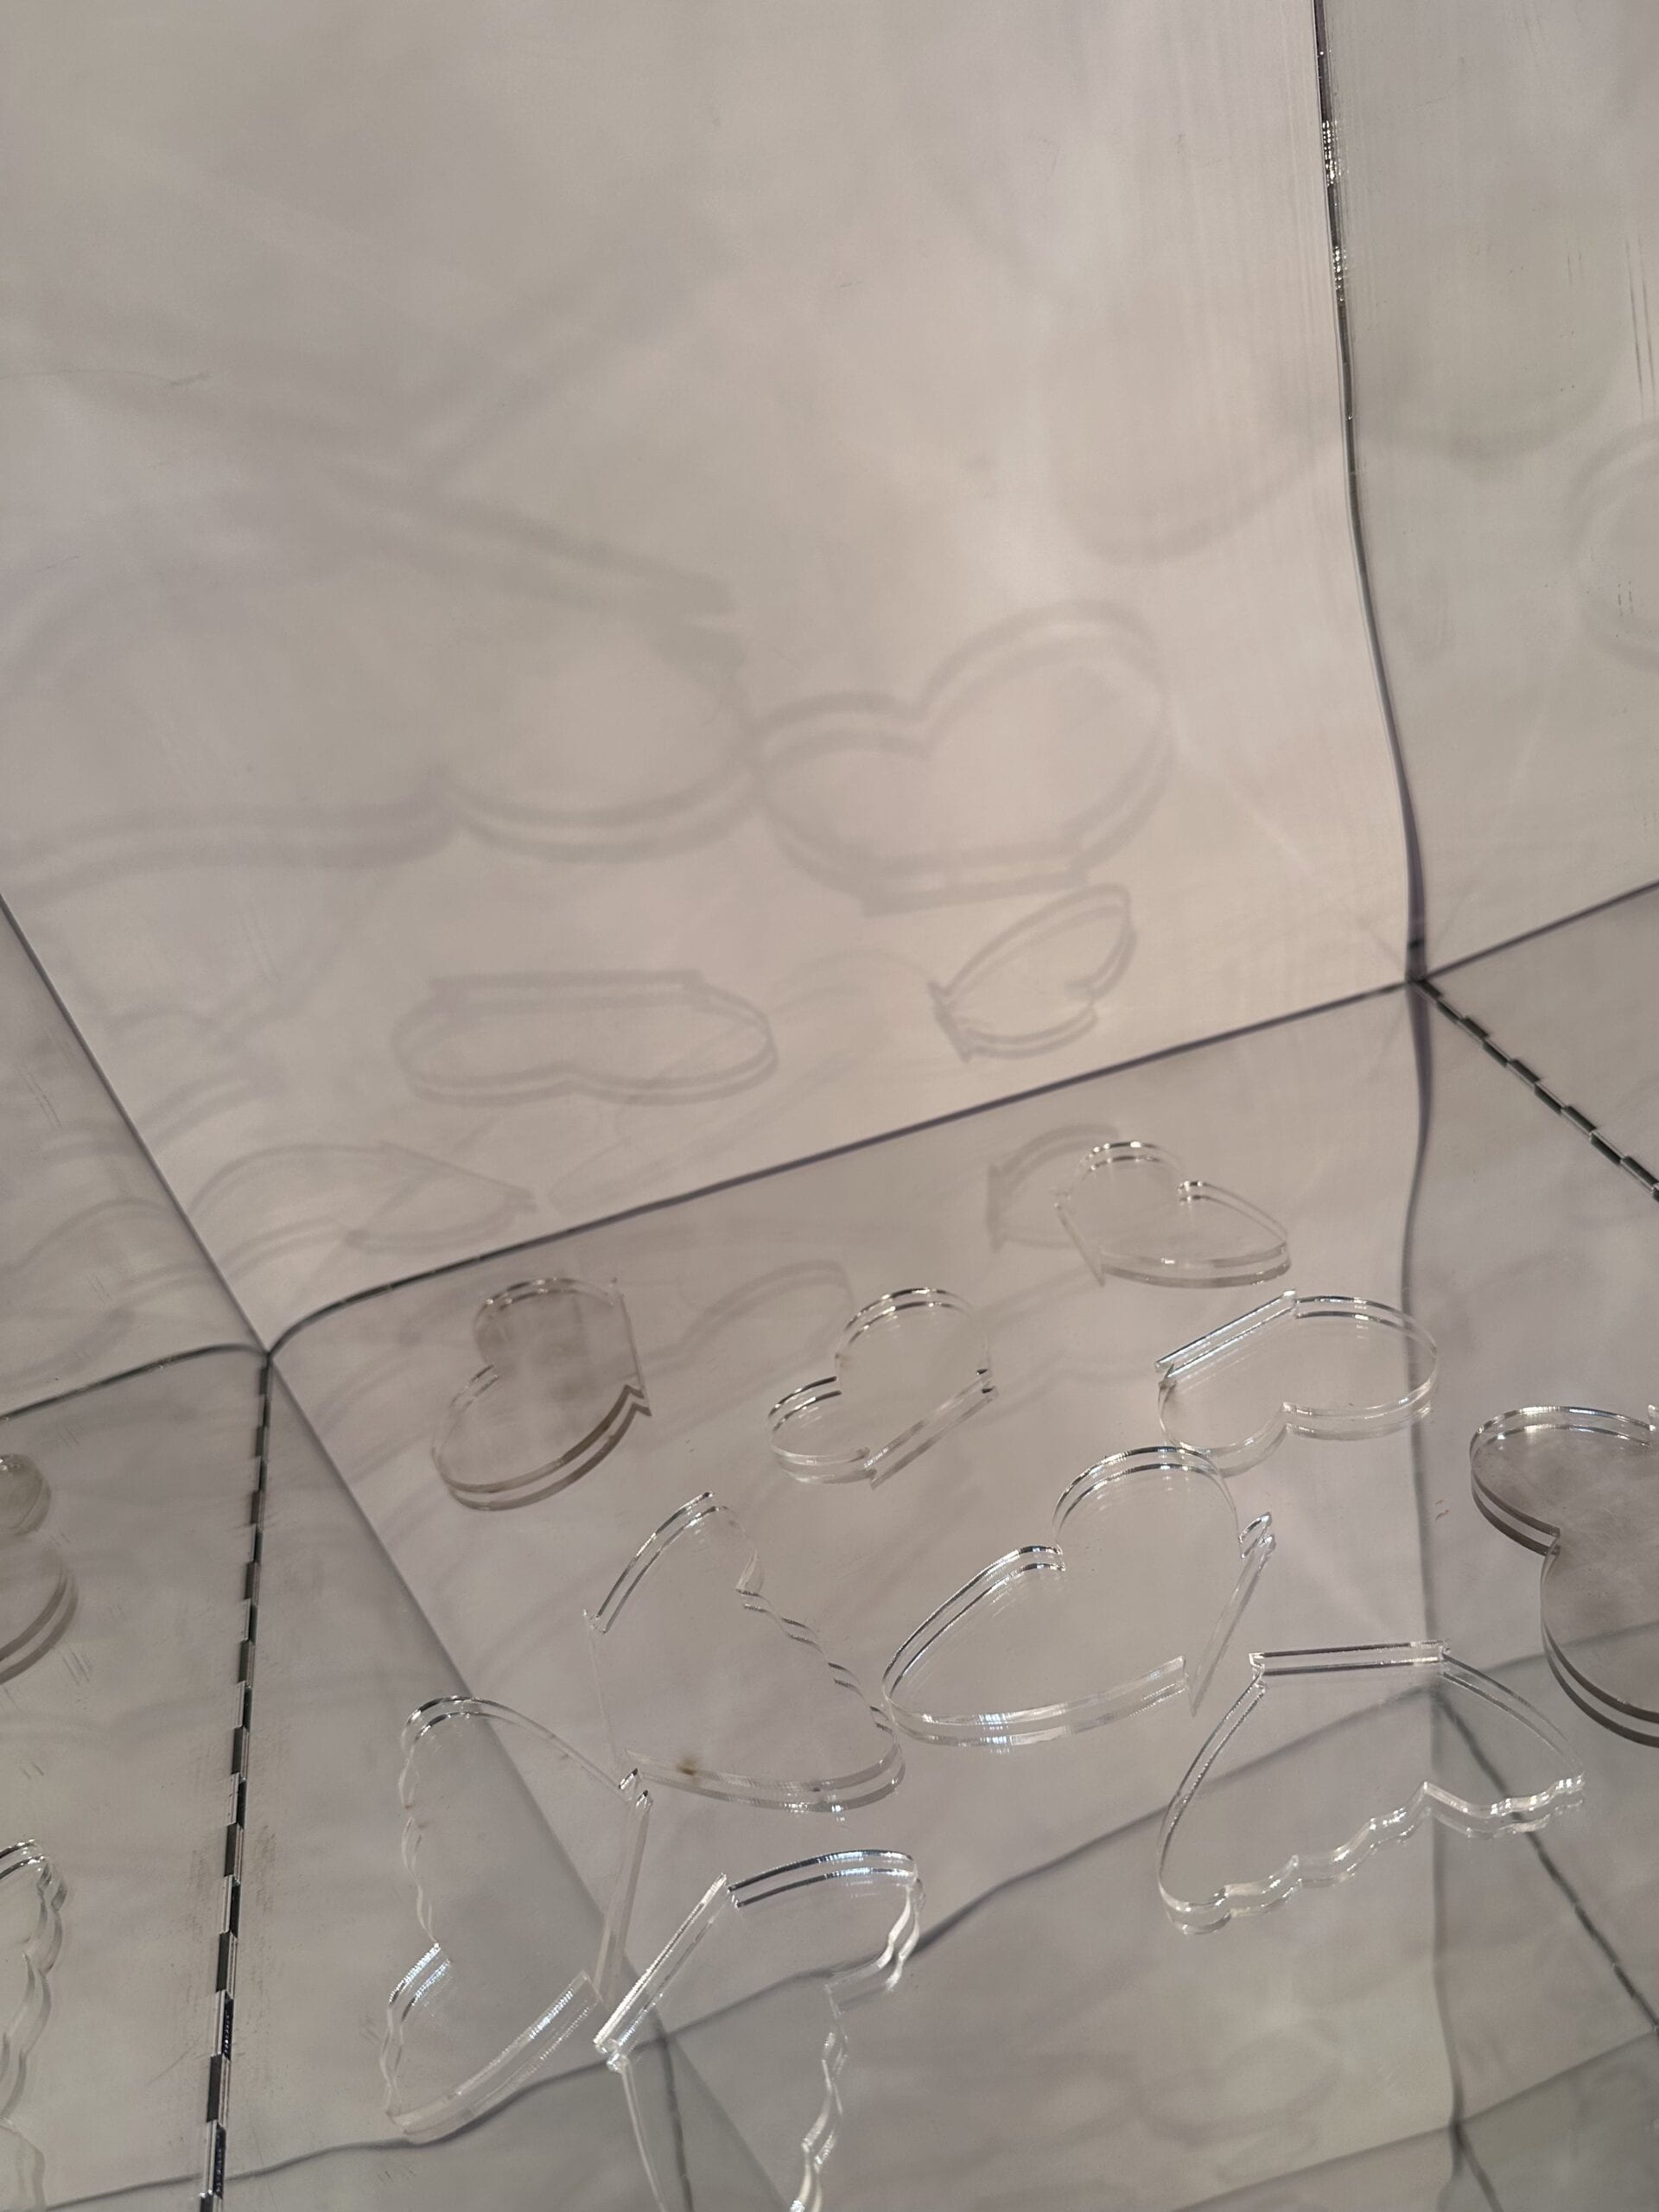
First, I made the mirror box. I put the tape in it to see if it worked as an infinite space and it succeeded.

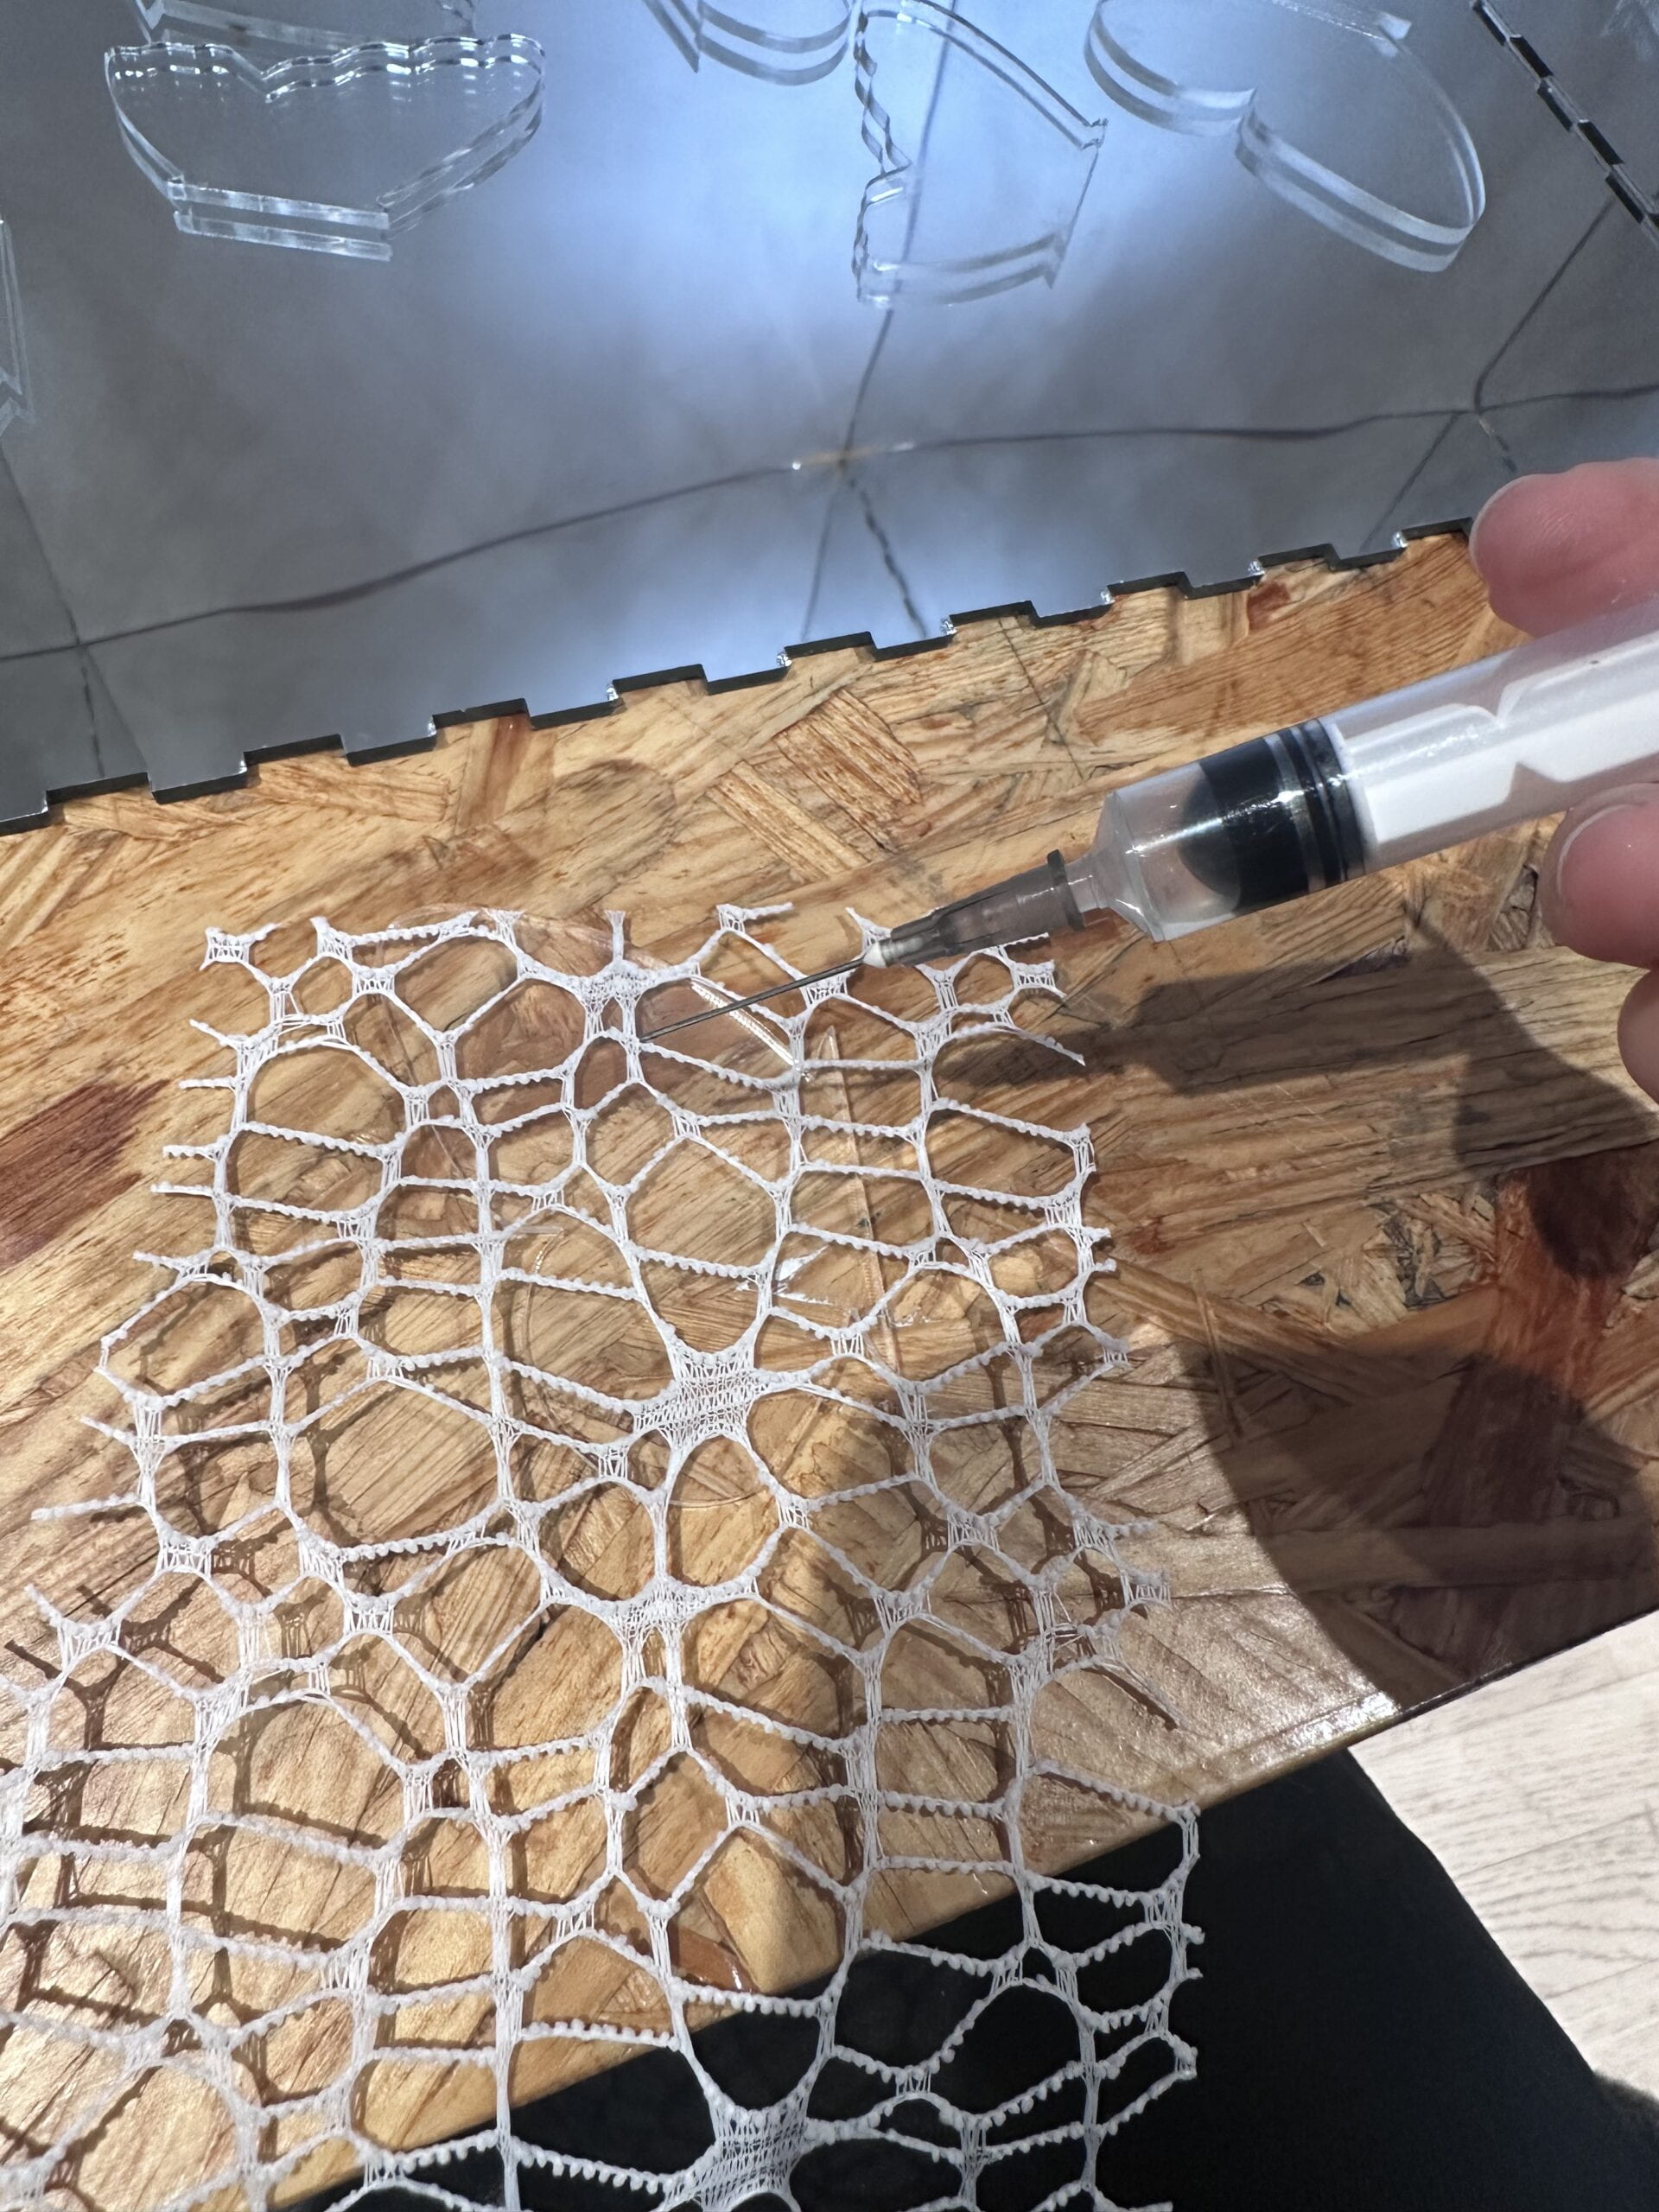
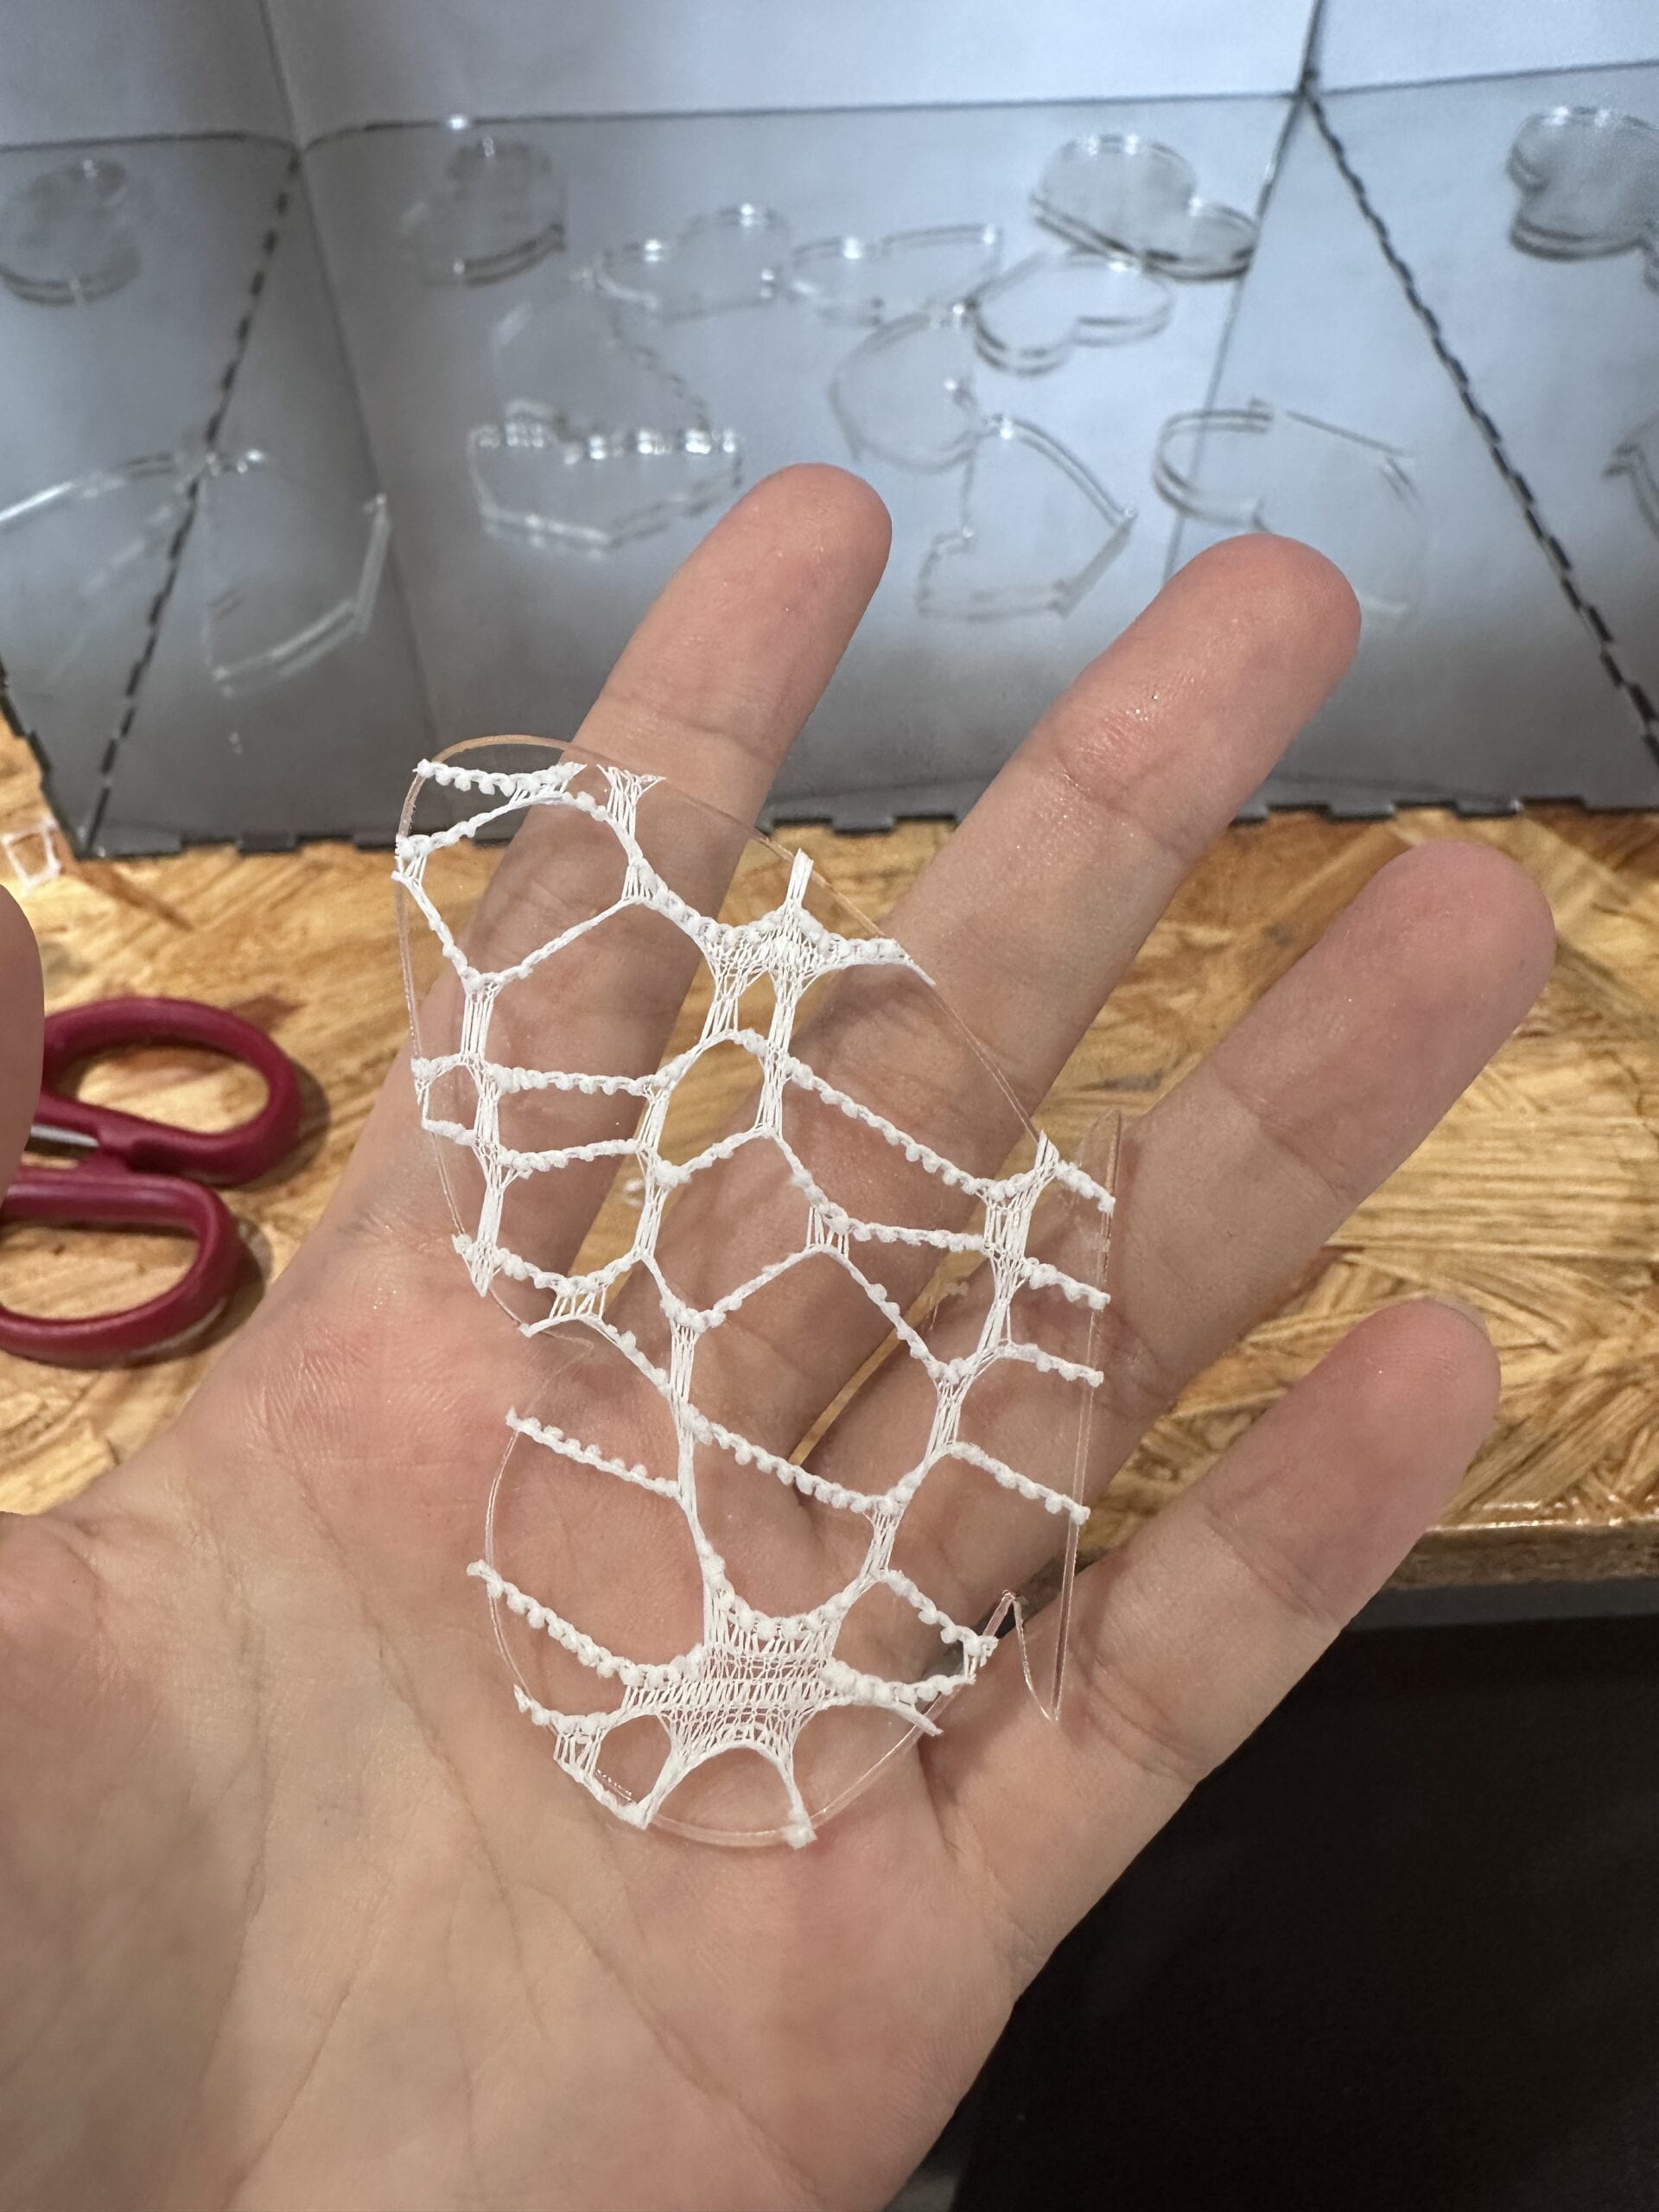
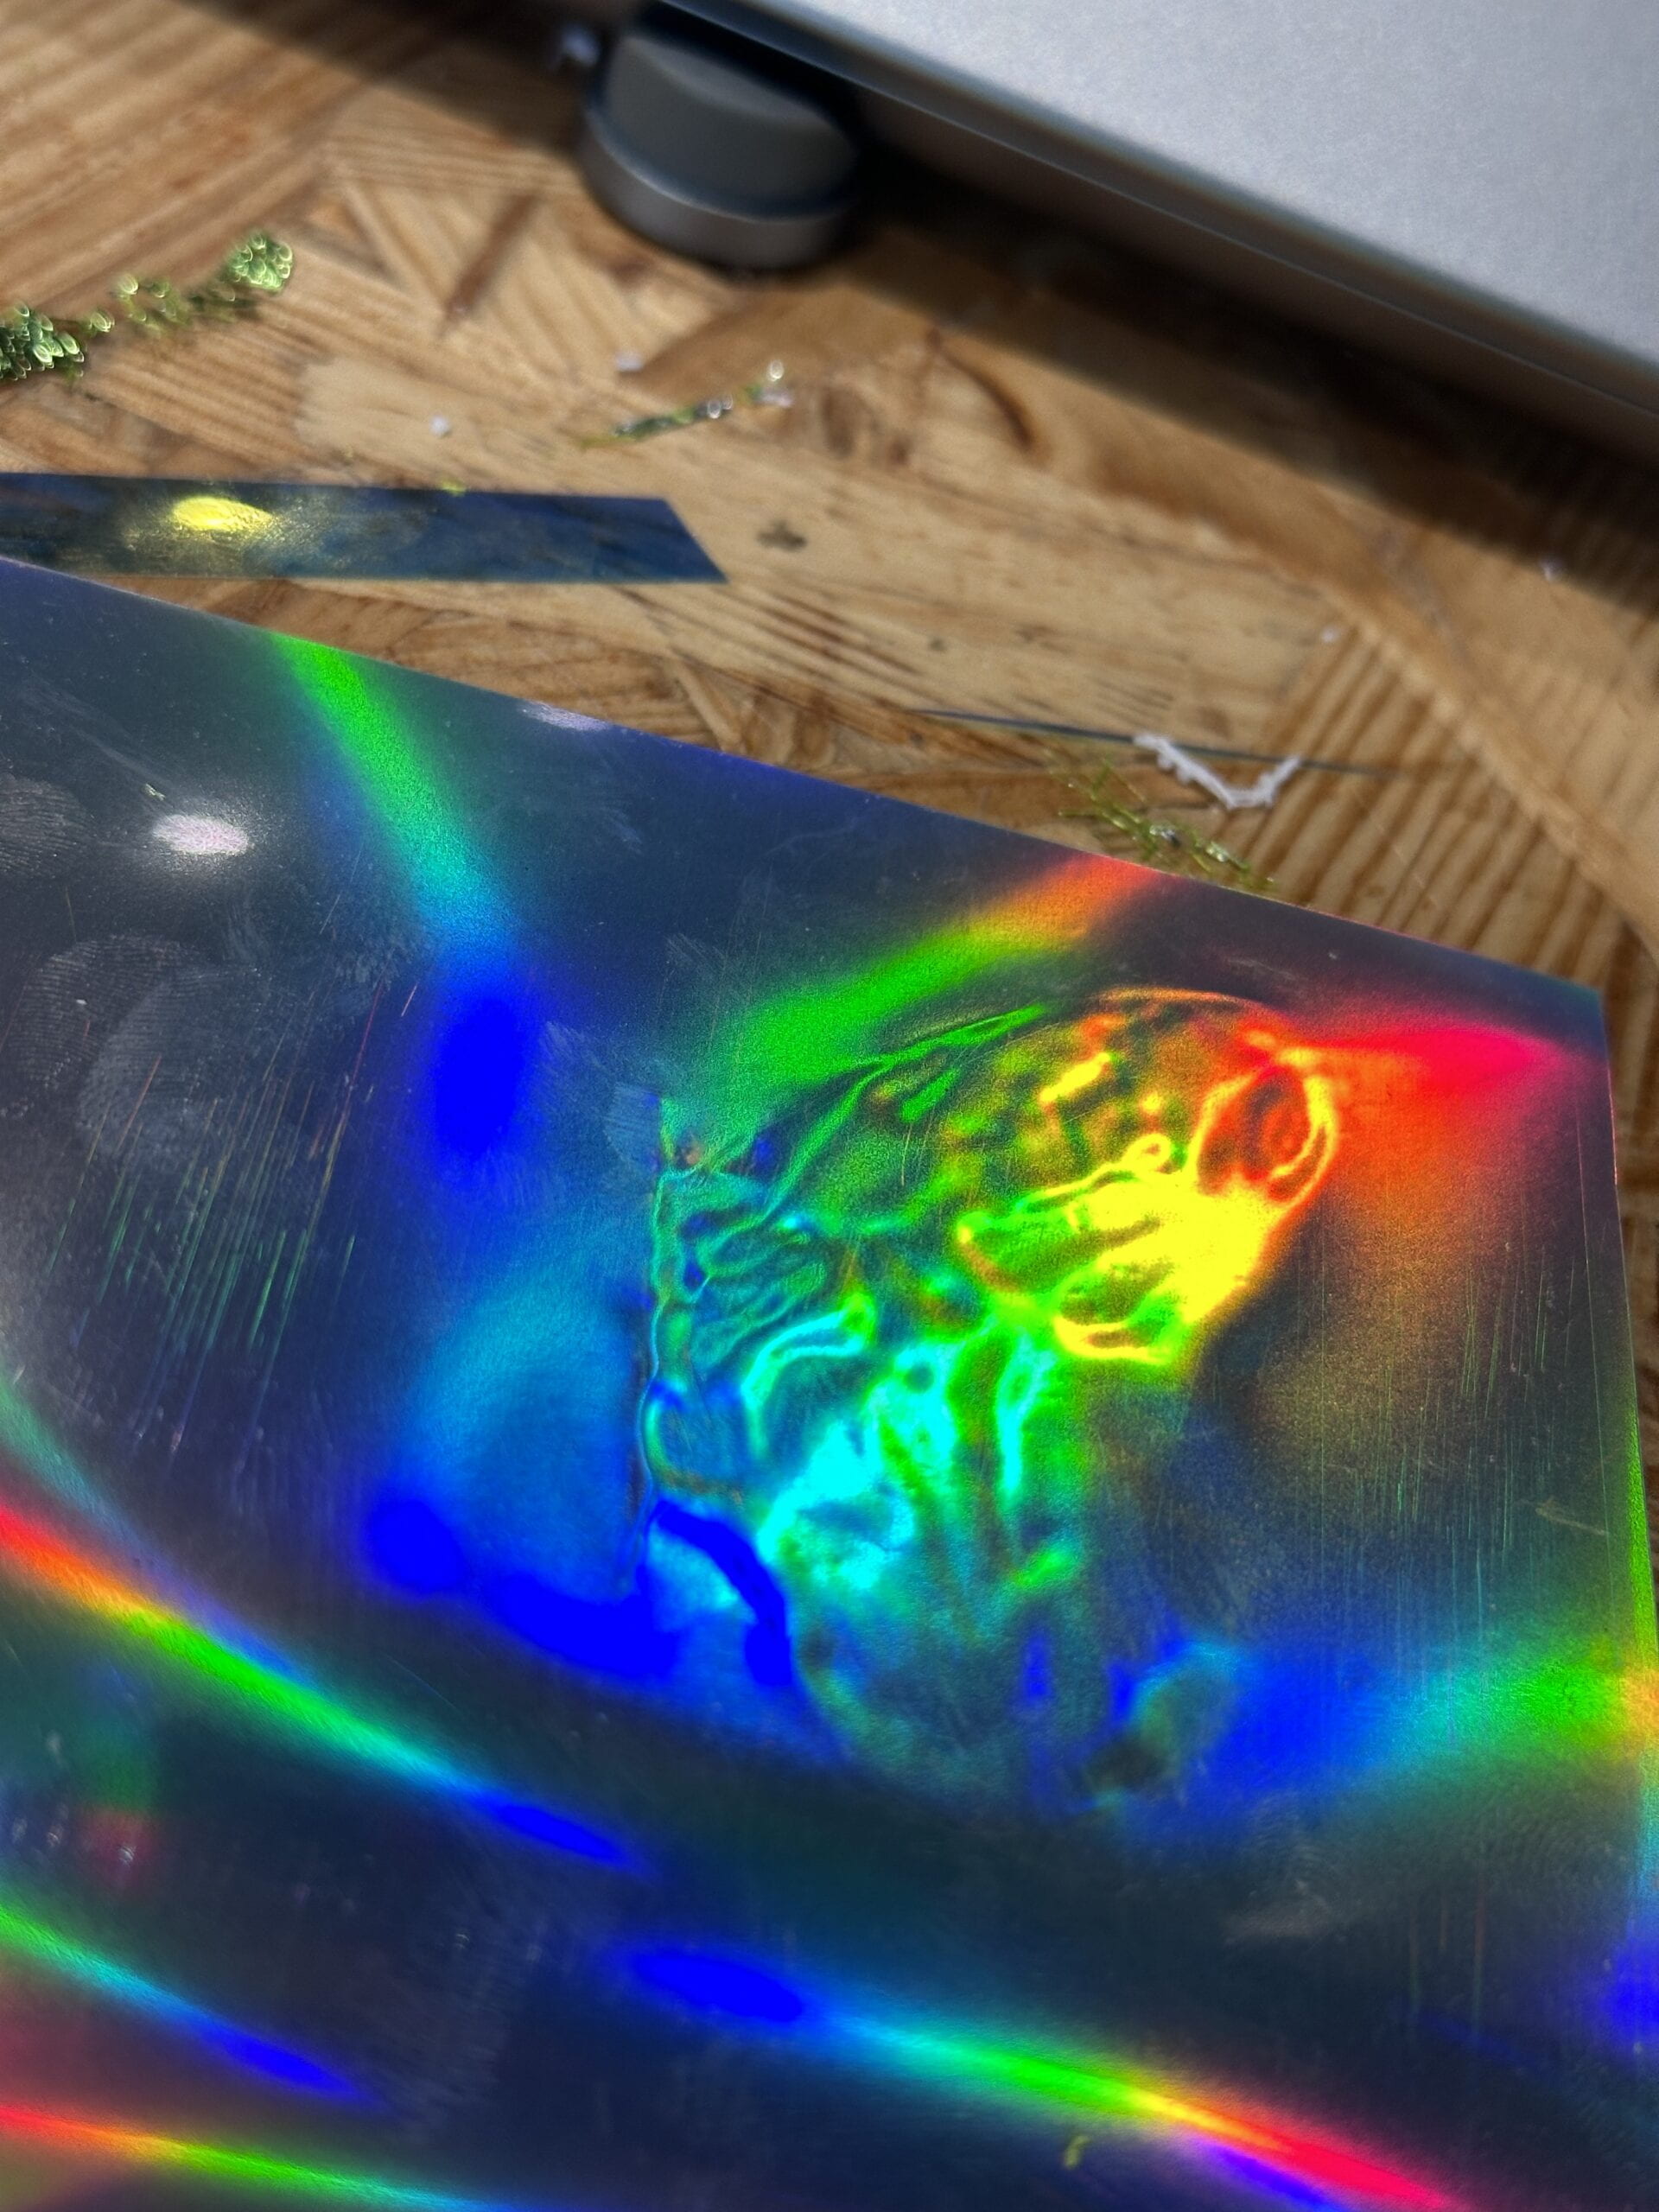
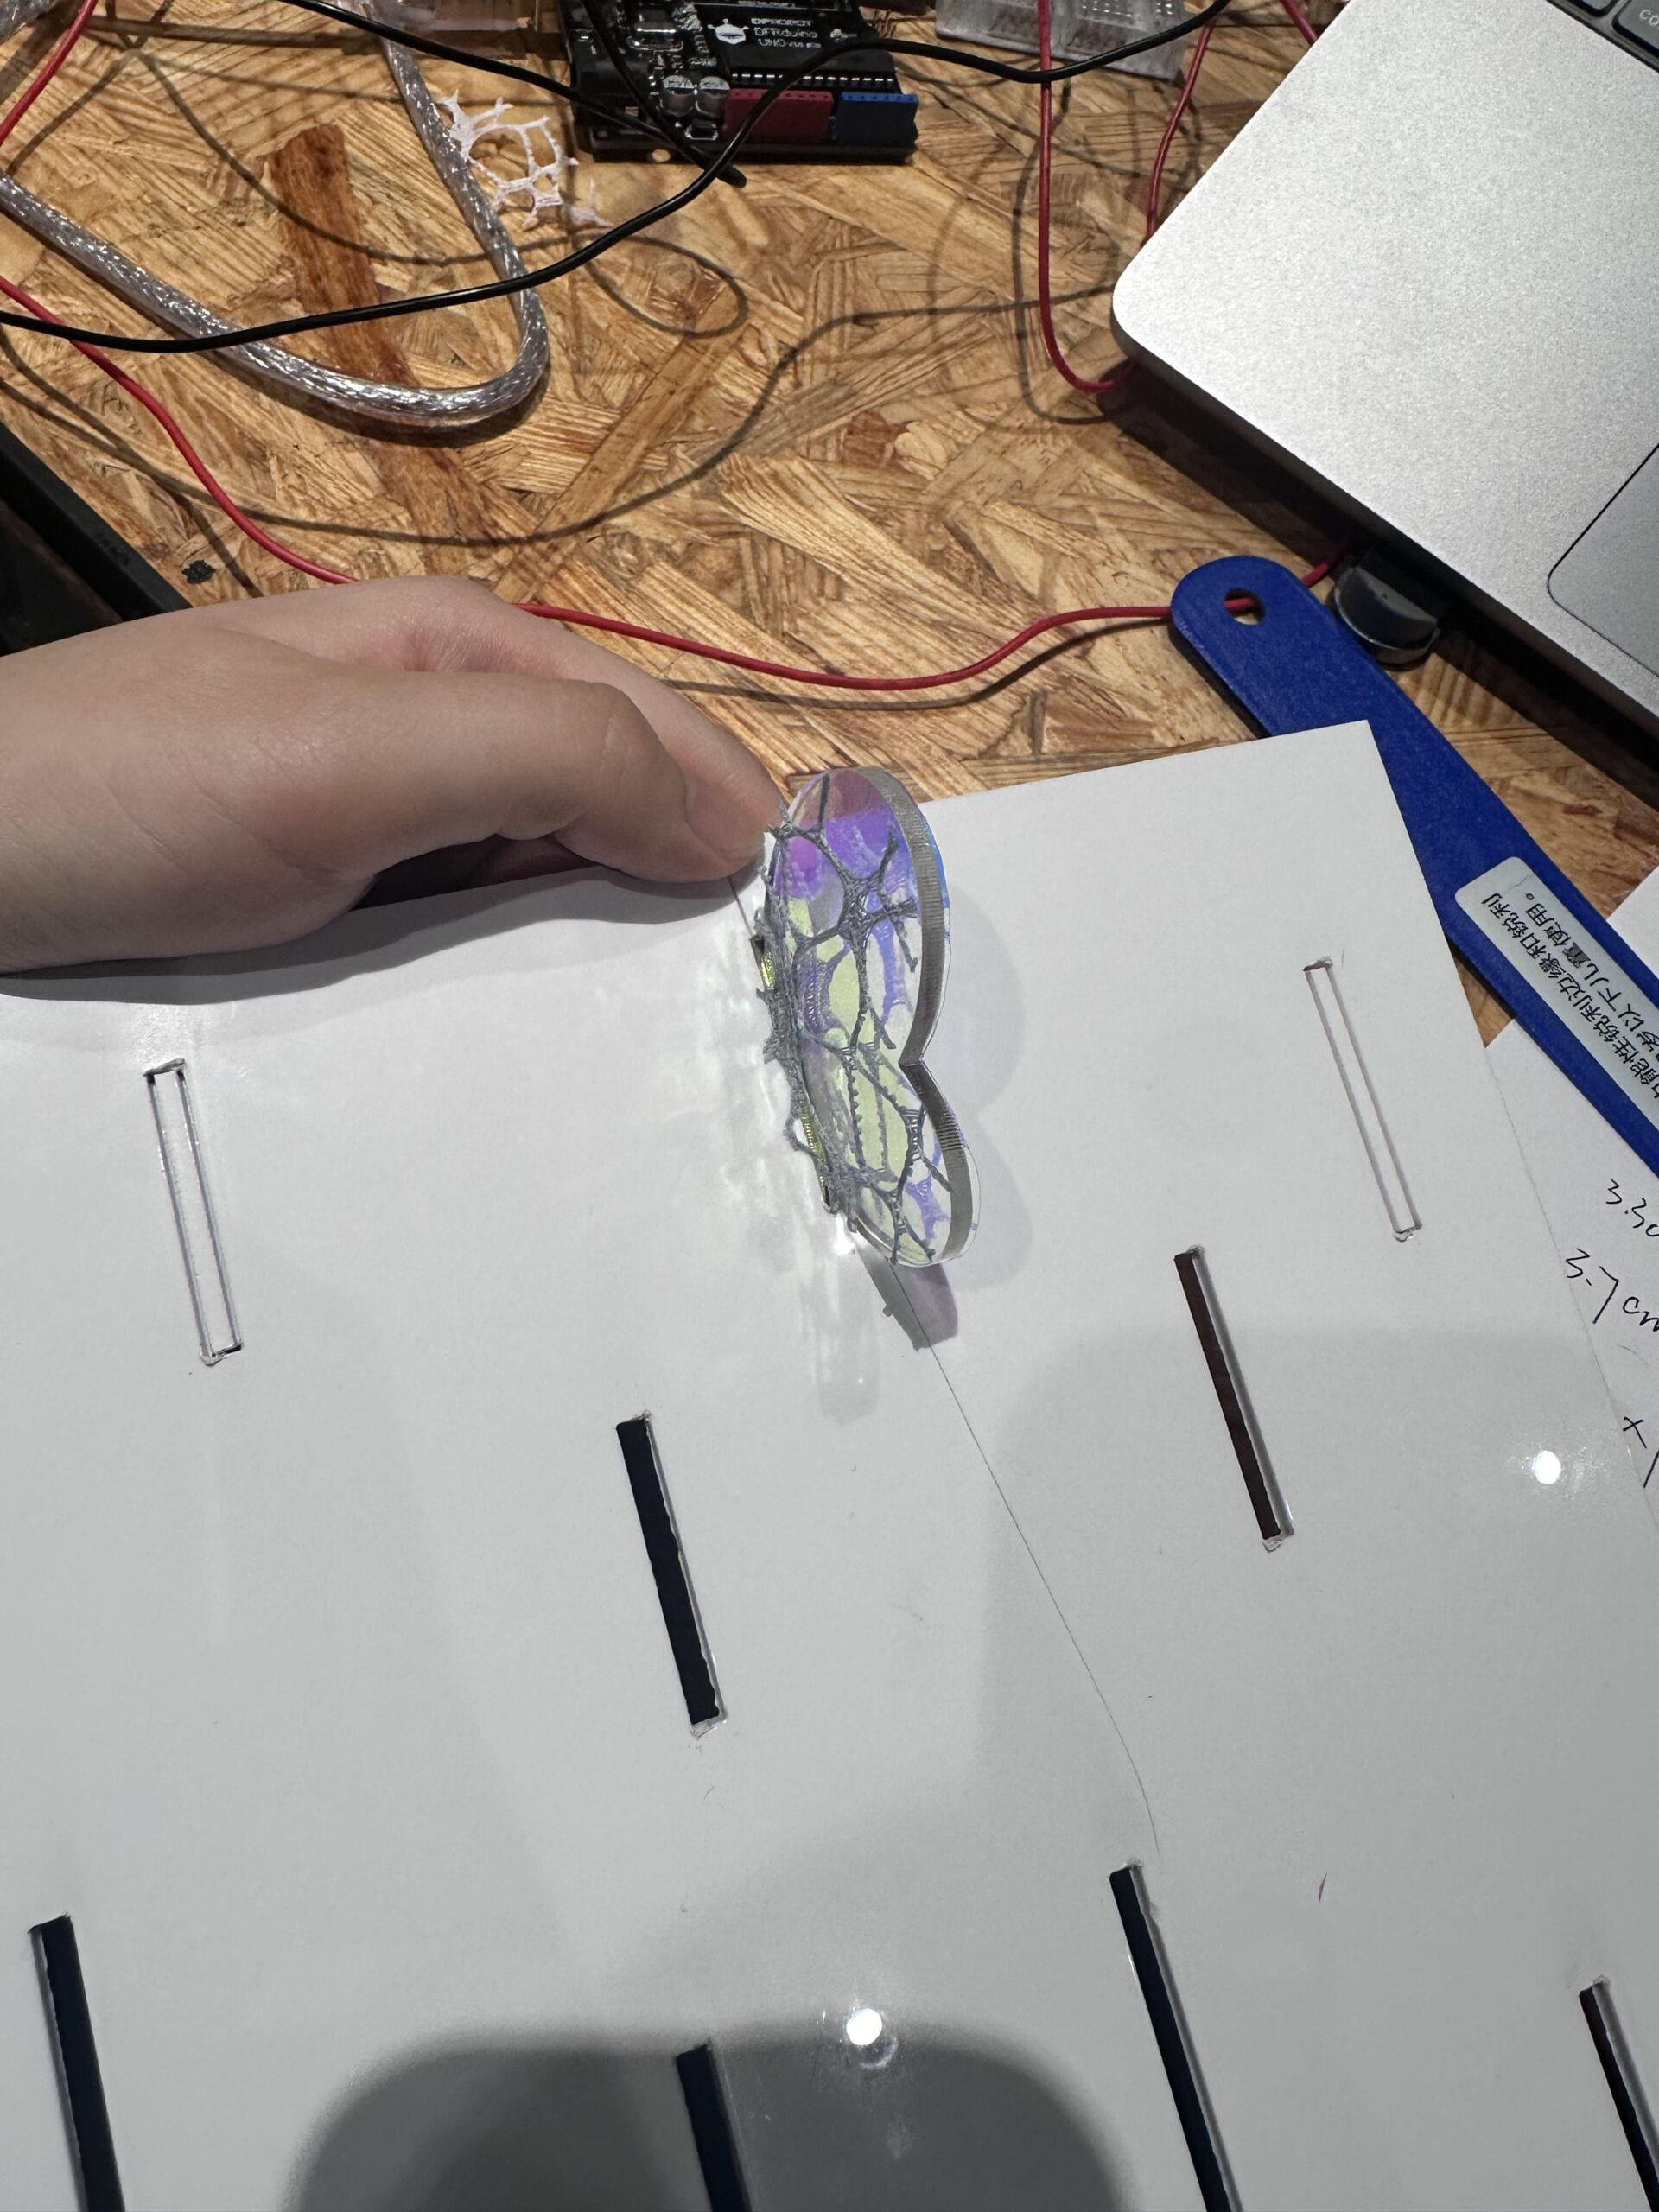
I laser cut butterflies on transparent acrylic boards. Then, I used acrylic glue to glue the preselected paper I bought with textures on the board and cut the materials out of the edge of the board. I experimented many times for superior effects. Usually, it will be different materials on the both sides of the board. One is for texture, and the other one is for color. To clamp the butterflies, I cut twelve slots.

However, I found the effect using halogen lamps was even worse than phone flashlight.  The yellow color of halogen lamps mixed and ruined the colors of light reflections of the materials. So I need brighter and whiter light. Then I found Eric to obtain the spotlights.

To make the color more distinct and focused, I glued a piece of white paper on the acrylic butterfly wall. The interesting thing I found is that when the spotlight was spot on the mirror, there would be better light reflection of the butterfly wings. 


But eventually, it was hard to code with the spotlights directly. We tried to play with the position of spotlights and saw different amazing effects it made. However, the machine was too heavy and the box was too fragile. We had to use the servos with black paperboards on them to cover the light to mimic the effect of turning it on and off. For better user experience, users need to come as close as possible, even till they tuck their heads in the box.

Link to my Arduino code

E. Presentation

 The presentation went very well. Everyone praised the beauty of this project. I was satisfied that audience showed their understanding of transcending space and light reflection in their feedback.

However, if the box can be bigger, then everyone can see it clearly and feel the transcending space better. Now, it is hard for people to tuck their head in my box because there are two servos right in front of the boxes. 

Additionally, the sounds of two servos were super annoying for a calm space. They distracted people’s attention a lot.

(Here are two documentation videos)  
F.  Improvement

If condition permits, I will make a mirror room, like “YAYOI KUSAMA: INFINITY MIRROR ROOMS“, or make it big enough to put a hole in it so that people can tuck their heads. In a word, BIGGER!!! Also, because of the thickness of mirror acrylic boards, we can see the edge of every wall clearly. If I chose the real mirror, the whole space will not be segmented.

Moreover, I felt a little bit pity that I didn’t have the chance to code for the automatic light change. Using servos with black paperboards was still like manually turning the light on and off. If there were brighter and whiter light bulb that I could use, I could use code to fade them. Also, I believed fading will make the butterflies flutter more smoothly and remove the annoying noise of servos.

G. Conclusion
About my research and proposal, I was once overwhelmed that I felt I got trapped in conventional art form and hardly had any inspirations to jump out of the routine. I started to create my project with a little bit self-negation and repulsion. However, during the creation, I got amazed that even when I was making something that had been done many times before, a little new try can make a big surprise. I was surprised by the experiment on the composition of light reflection and shadow of different materials once and once again. The composition of color and textures made some butterfly wings look like real butterflies. After the butterfly wall was put in the mirror box, I was shocked by the infinite effects. At last, I also had a lot of fun changing the position of the spotlights to see the different effects. Experiment and process brought the most joy to me in this project.

H. Reference

Clark, R. (2011). Phenomenal: California Light, Space, Surface.

Schuld, D. (2011). Practically Nothing: Light, Space, and the Pragmatics of Phenomenology.

Assignment 3: DMX Composition – 6 RGB Laser Bar

• Concept

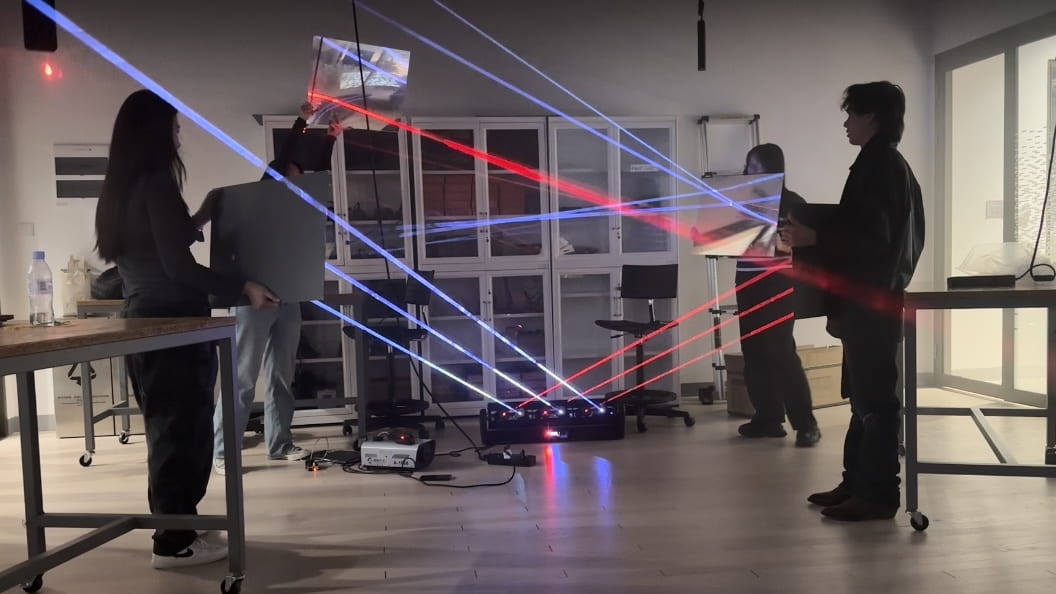
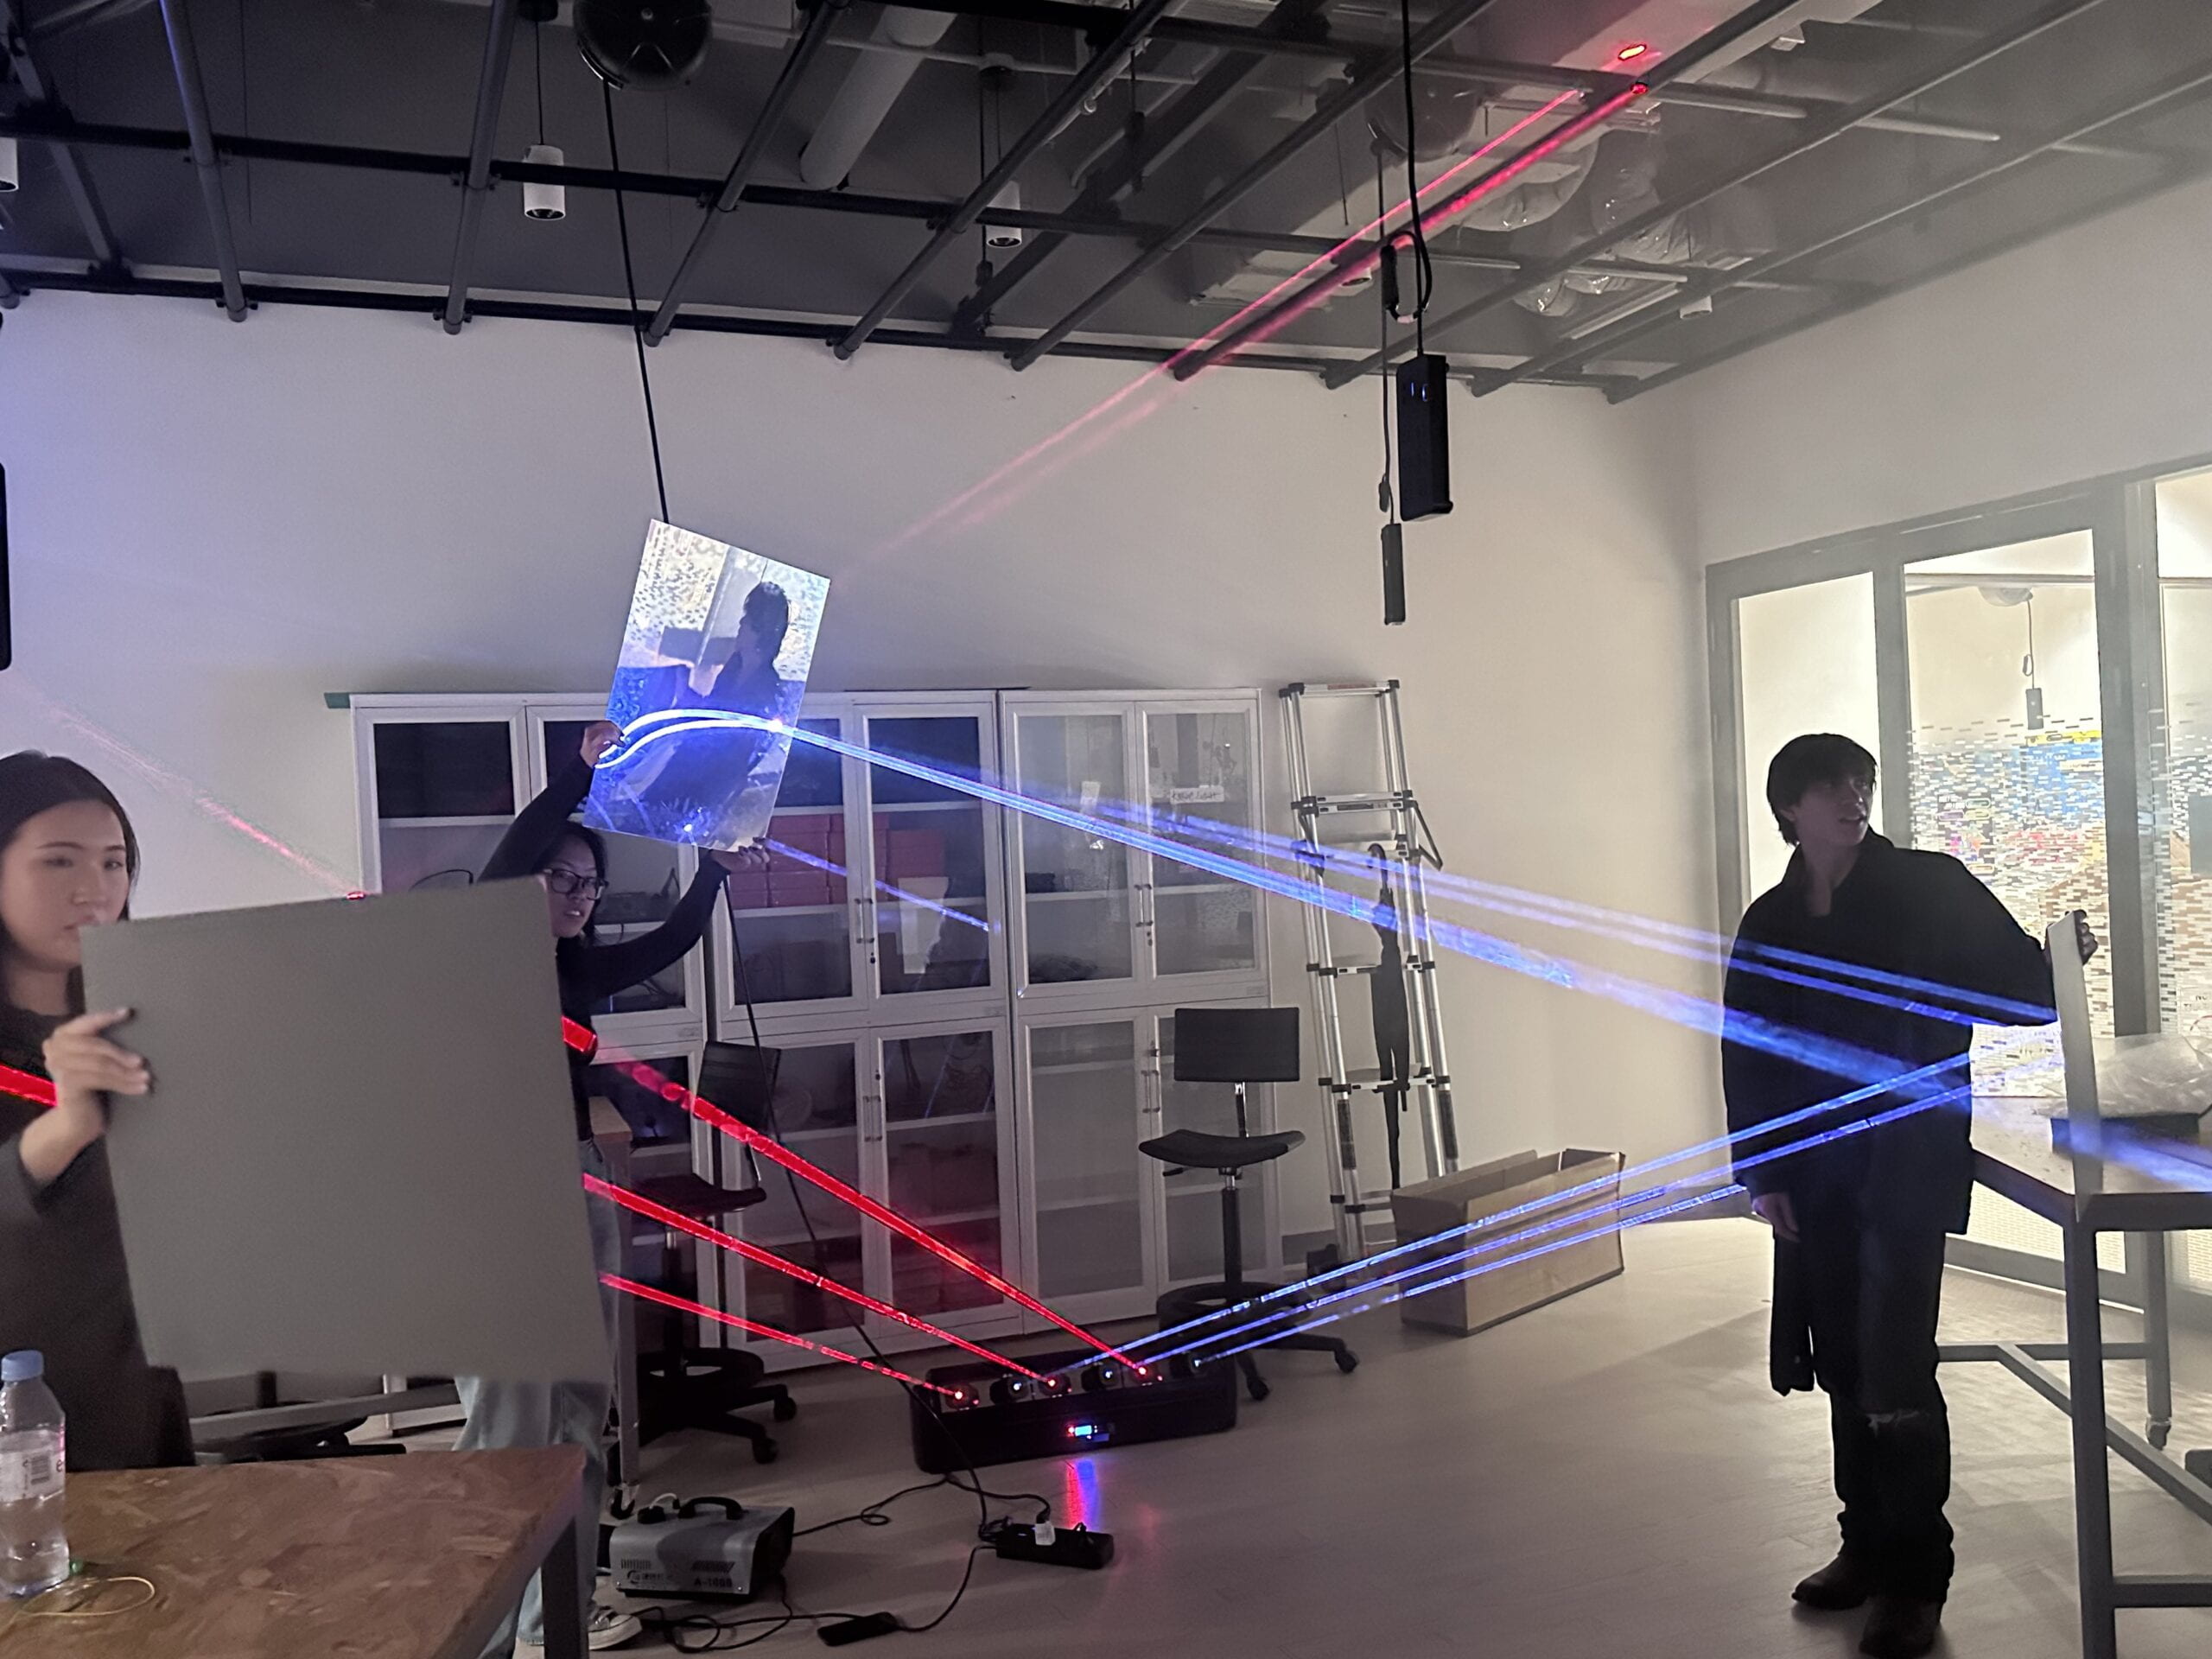
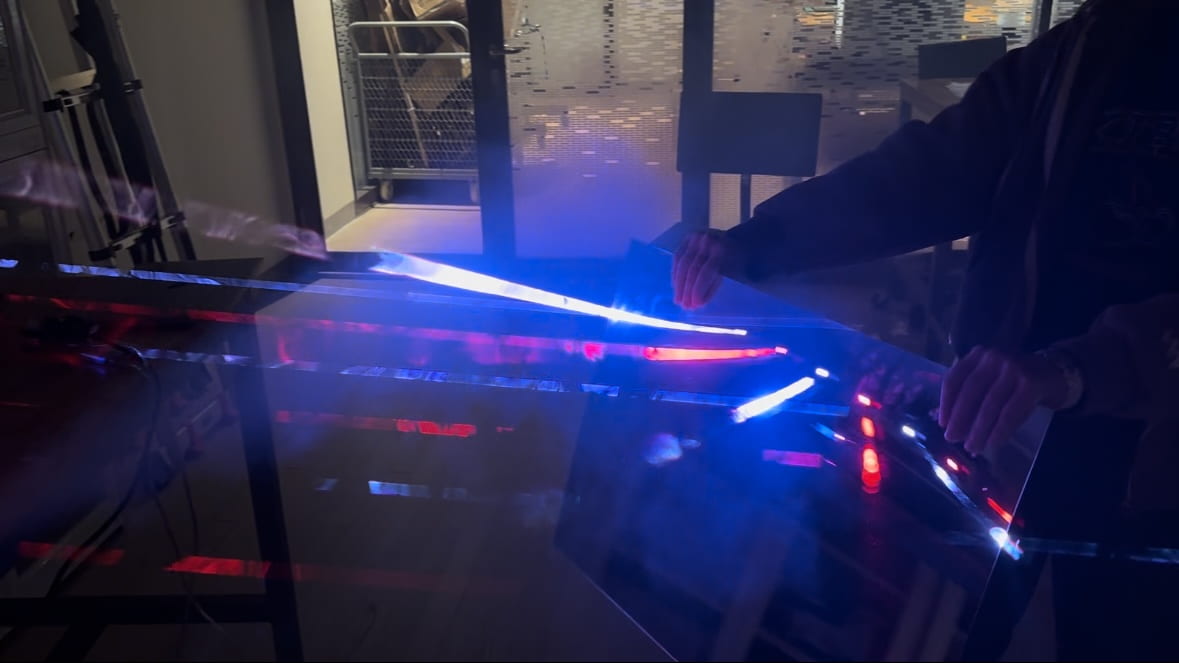
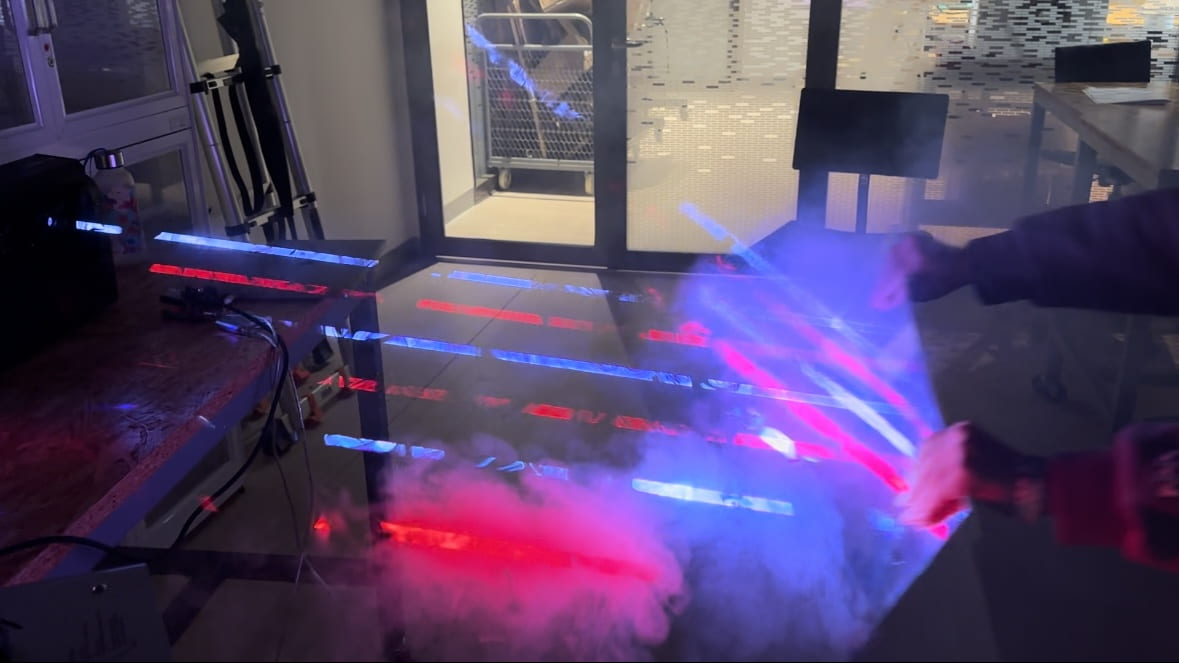
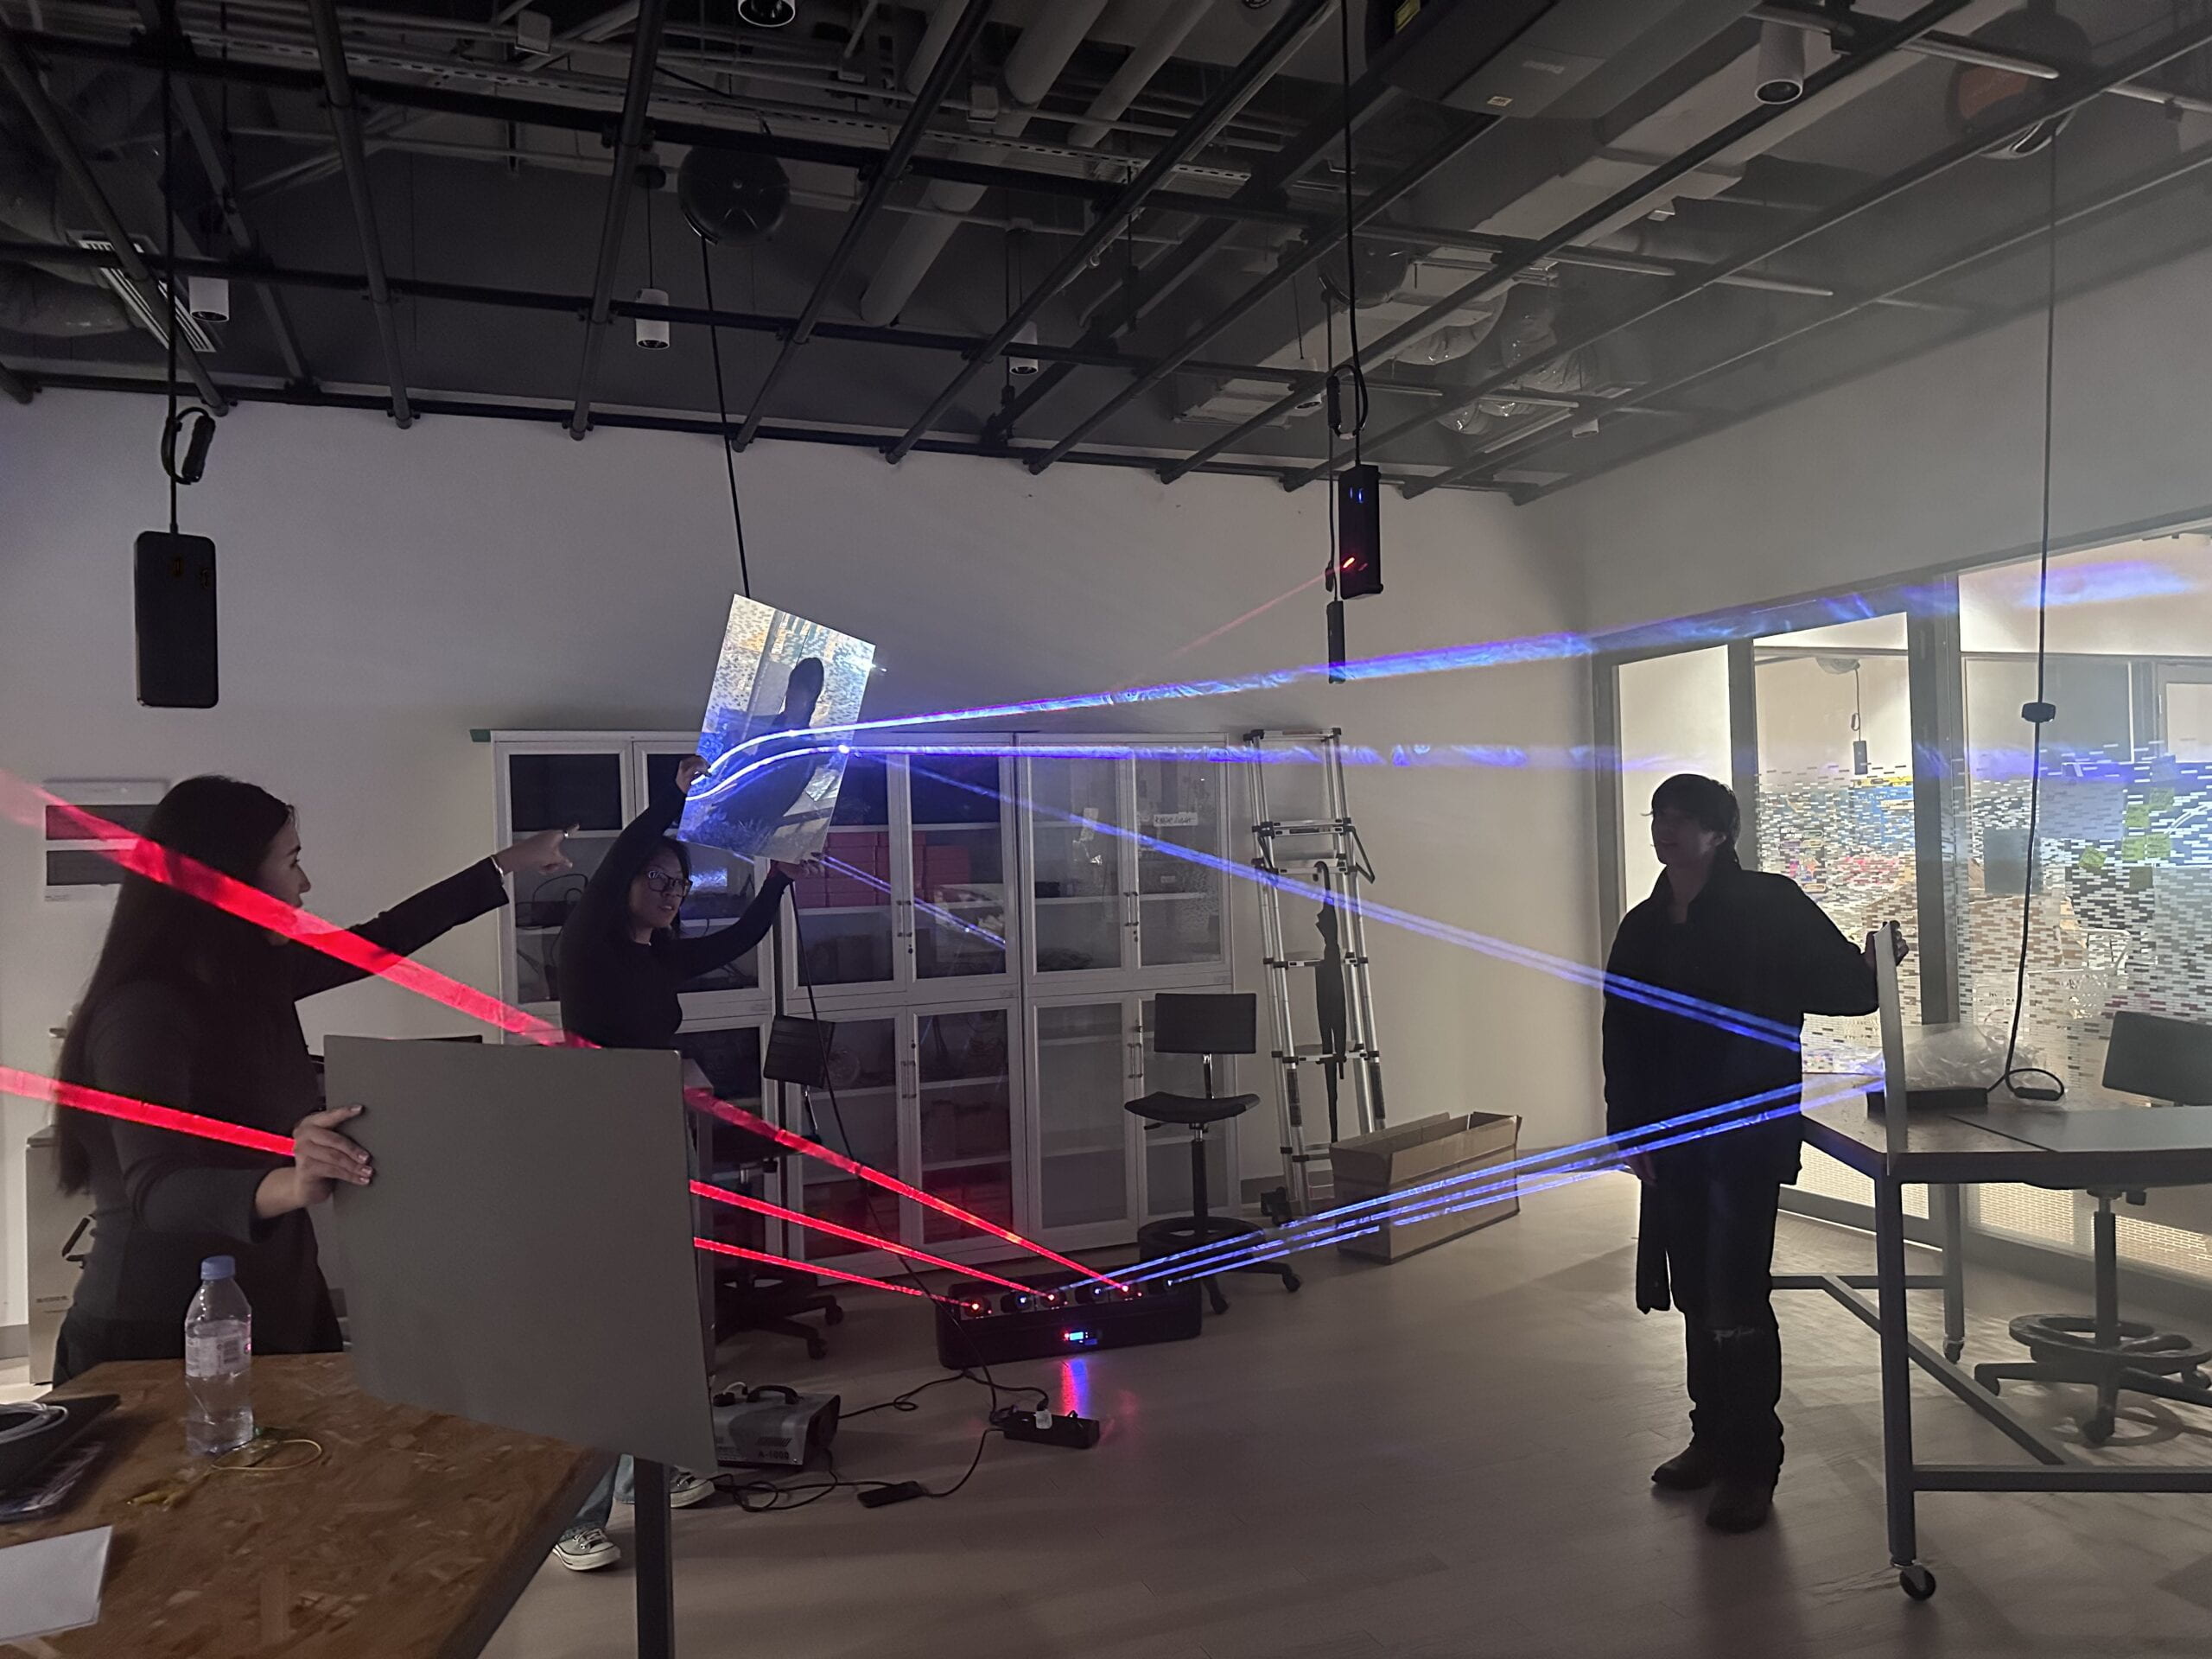
Using a fog machine to make the laser more prominent, we employed an array of mirrors to create different variations in the laser’s trajectory.

• Process

To draw the audience’s attention to the trajectory, we opted for just two colors. Through experimentation, we discovered that the combination of white (appearing blue) and red is both classic and cool.

For the automatic motion of the lasers, we also keep it simple to enhance the impact on the laser motion using the mirror array. The lasers only went up and down and then crossed in the loop. However, mastering the coding was a lengthy endeavor. We needed to figure out which direction was the x-axis or y-axis. Moreover, it was discovered that the angle in the code was actually twice the angle in reality.

We chose the quadratic/triangular shape as the optimal position for reflecting the lasers more times to fill the room effectively. Additionally, we found out the lasers which underwent more reflections got gradually weakened. 

After the presentation, we got the suggestion that if the machine was put in the middle of the room, then there will be performance on both sides of the machine. This setup would alleviate concerns about the brightness of the laser from long distances, as the maximum distance from the walls to the laser bar would be shortened, also leading to a more balanced atmosphere.

• Documentation Video
 (Closer view of the reflection of laser)