Midterm Project: Make, Present & Report

A. Music Hand – Tawan – Rodolfo Cossovich

B. CONTEXT AND SIGNIFICANCE

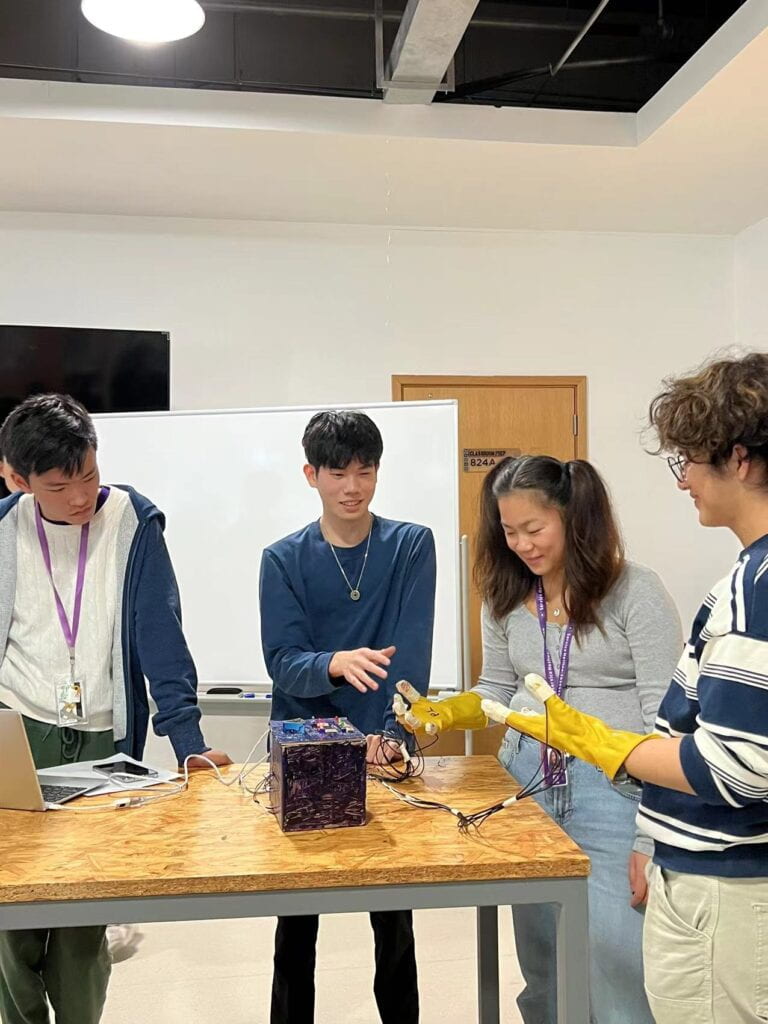
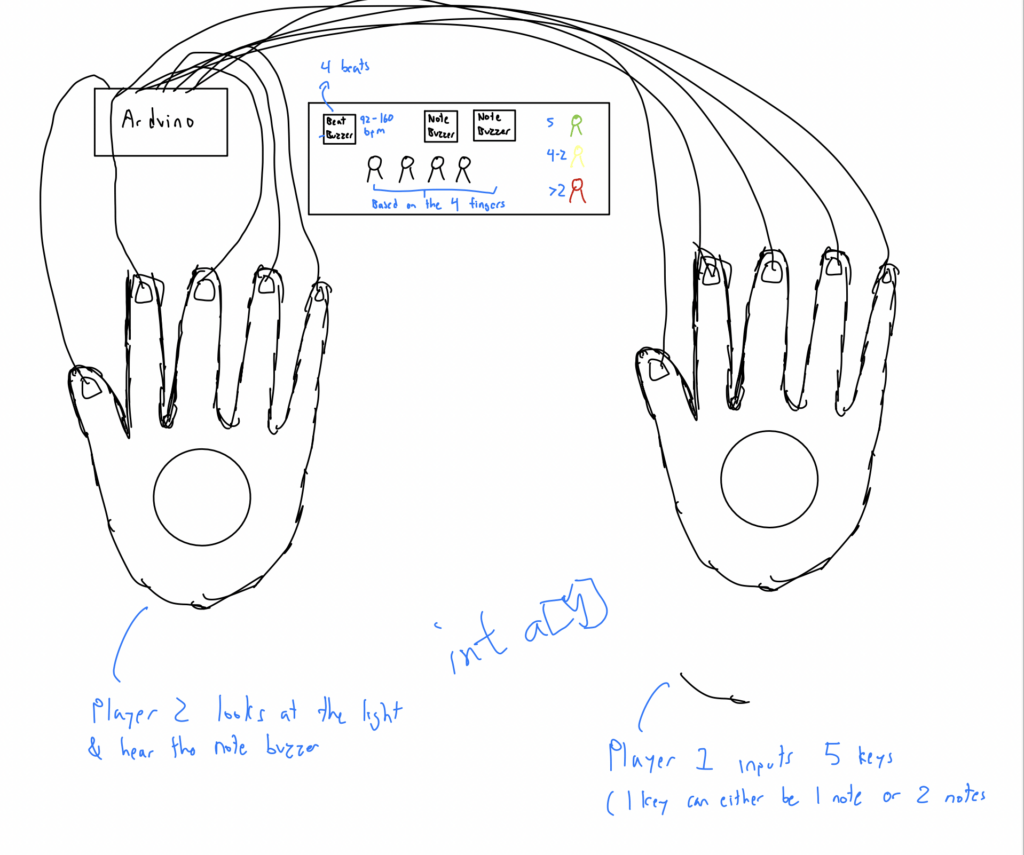
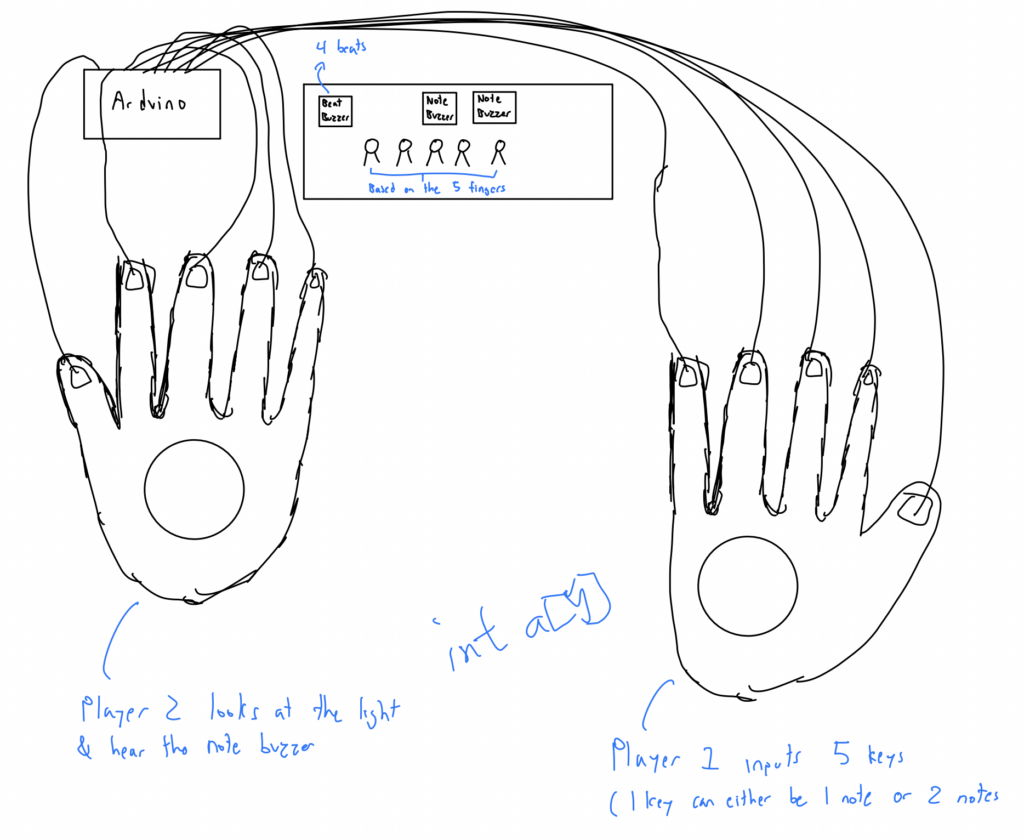
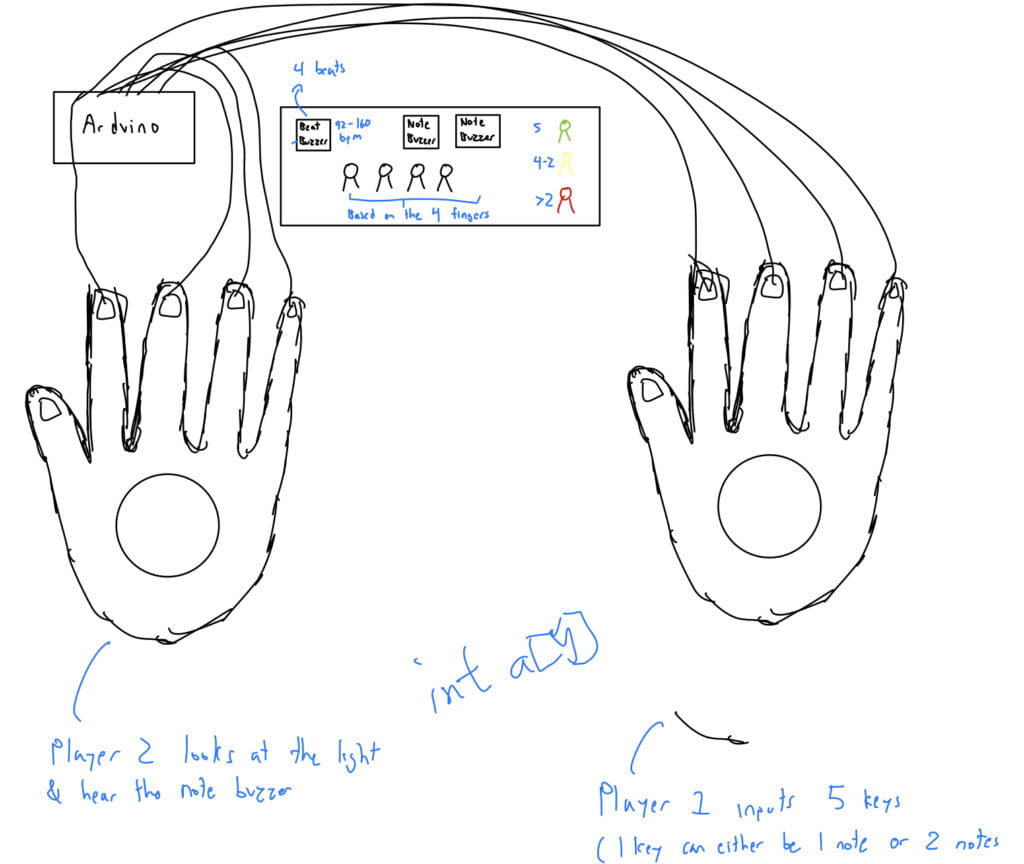
          The previous group project has allowed me to be better equipped for working on a group project. For instance, the time management and the work division are far more efficient than the first group project. This midterm project shows interaction because based on my definition of it, the user sends a signal to the glove and the buzzer and the lights respond back to the user. This project was based on a music game where players have to press the right note, but we’ve elevated it so that there’s much more interaction than just a finger and a screen. We’ve also made it multiplayer, in which musicians can play this game in order to test their memory and hearing skills.
 D. FABRICATION AND PRODUCTION:

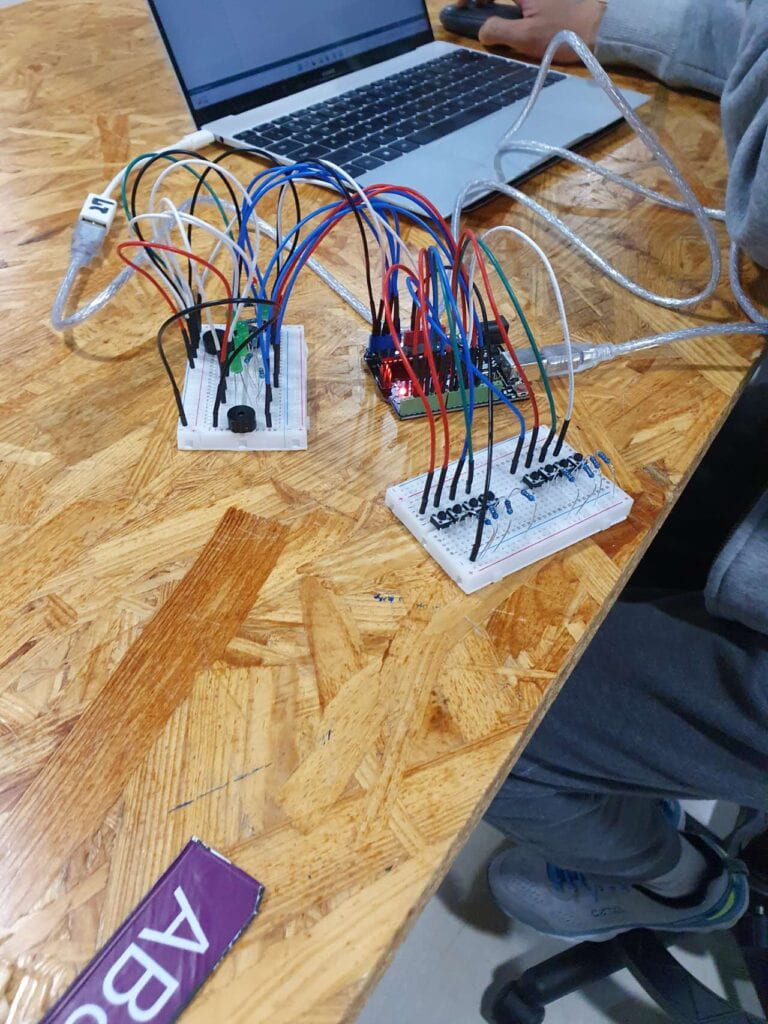
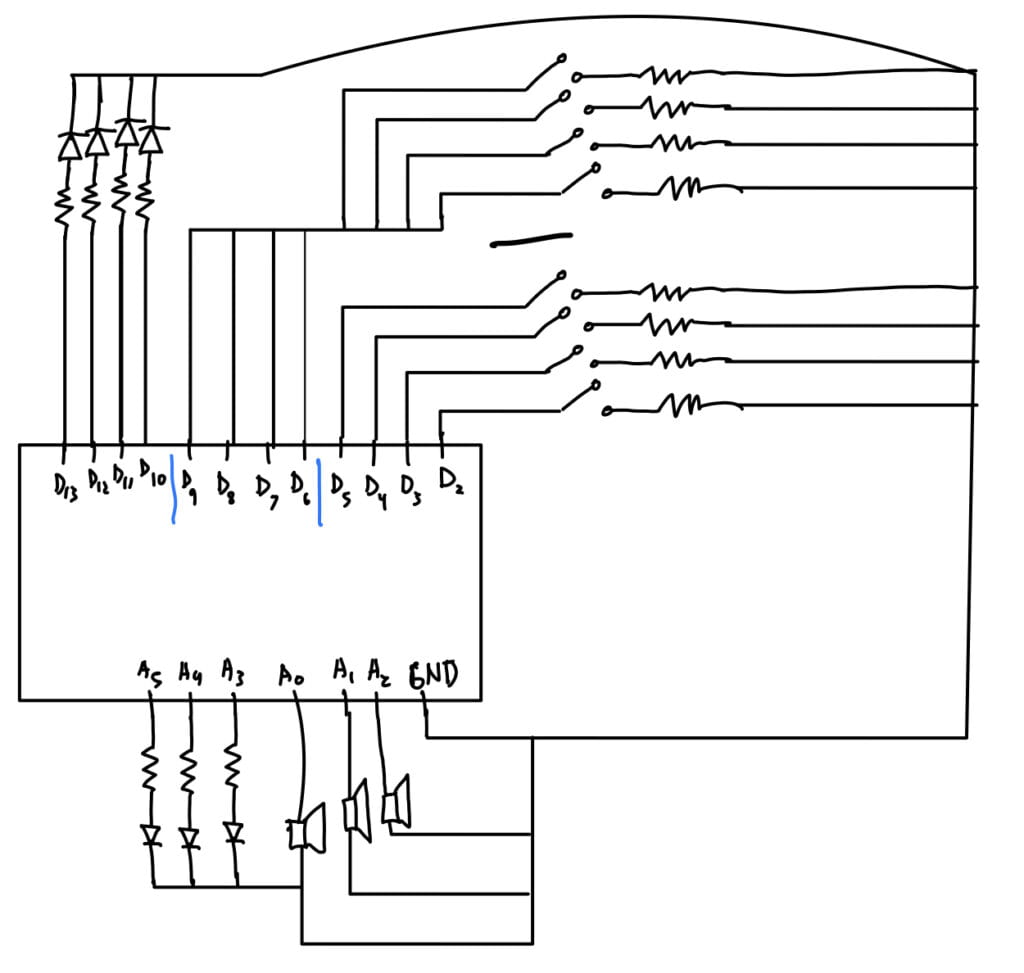
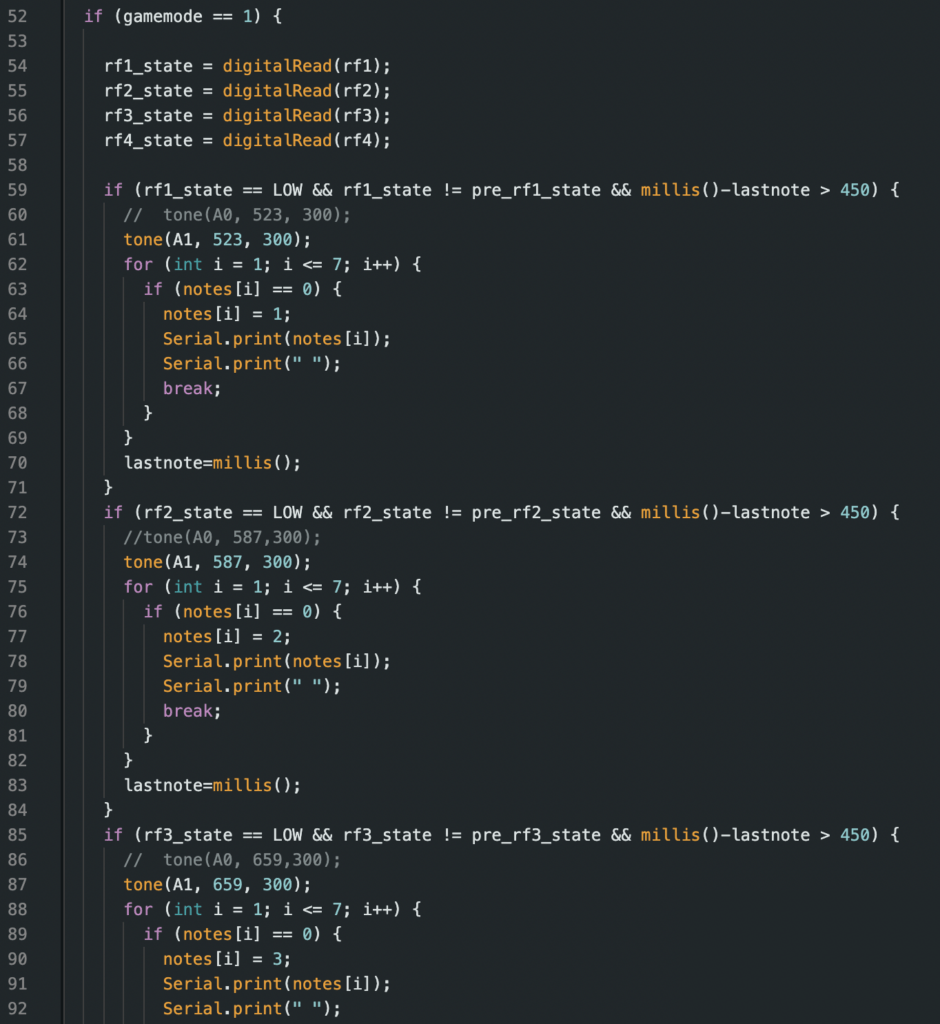
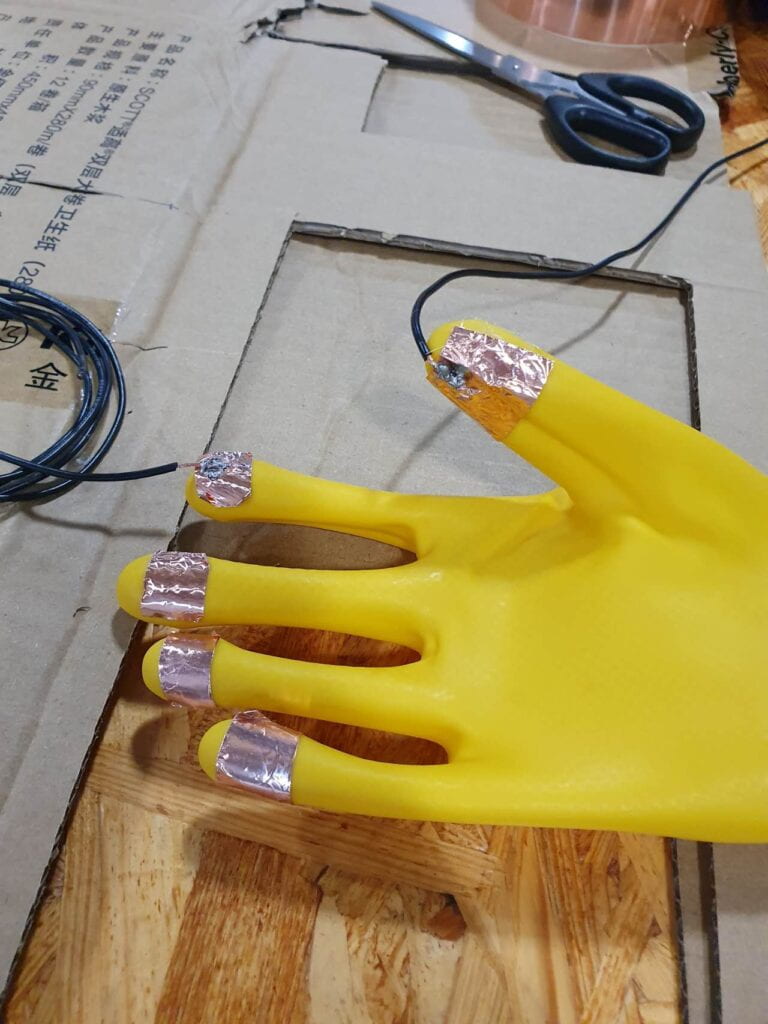
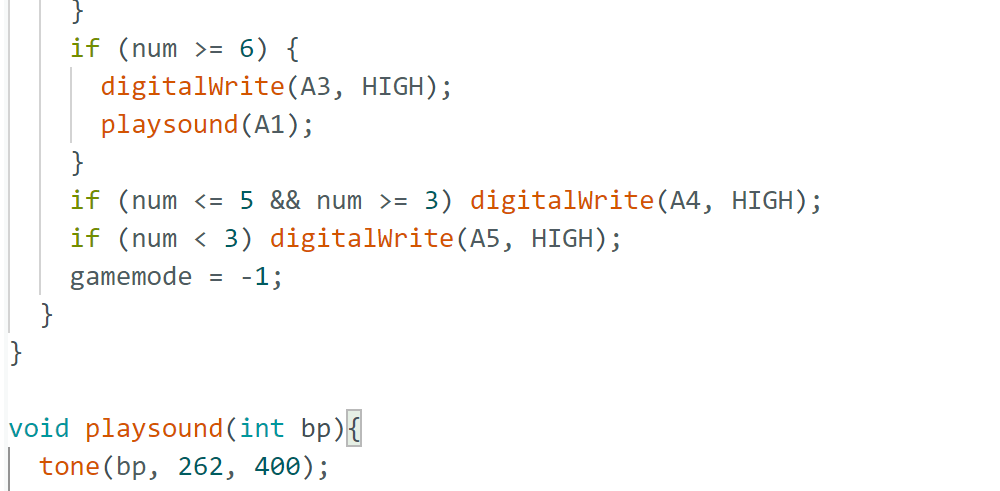
          Throughout the project, we’ve stumbled upon several problems that almost made us change the entire project, hardware and software included. We ran into coding problems where the if-then statement for the competition game part doesn’t work, which would then defeat the whole purpose of this project. We’ve also run into hardware problems such as the aluminum foil not sending proper or accurate signals to the output, which caused some abnormal errors and malfunctions. We’ve got several good feedbacks from the User Testing Session, but one critique that we got repeatedly is to use LEDs as a visualizer for the game so that the player can understand the game better. We didn’t alter anything much after the user testing since we’ve basically finished 80% of the project, so our adaptation after that session was just improving the errors that occurred several times during the testing. We’ve always known that we were going to make an instrument that would also be a game, and we decided to work on the details that would still make this project interesting while not being too much out of our skill level.
E. CONCLUSIONS:

          Our goal for this project always has been to create an instrument that would also act as a game, and I believe that we’ve done exactly that for our final result. This midterm project shows interaction because based on my definition of it, the user sends a signal to the glove and the buzzer and the lights respond back to the user. The audience interacted exactly the same way I expected them to interact with this project. If I had more time, I would definitely improve the finger sensor so that it’s easier to press while also not making the metal plate fall off the glove. I’ve taken away many good and bad feedbacks from this project, such as time management and dividing workload are essential to group projects, and I’ve also realized that most of the time the real result of the project would be much different than the initial plan due to all the setbacks we would face throughout the process. This led me to learn that everything needs trial and error before we can find the most optimal solution to a problem. This project can allow the user to test and improve their memory skill as well as their hearing skill, which would be very beneficial, especially to musicians.

 User Testing:
 

Final product:


F. ANNEX
Recitation 4: Actuators & Mechanisms

Step 1: Build the circuit

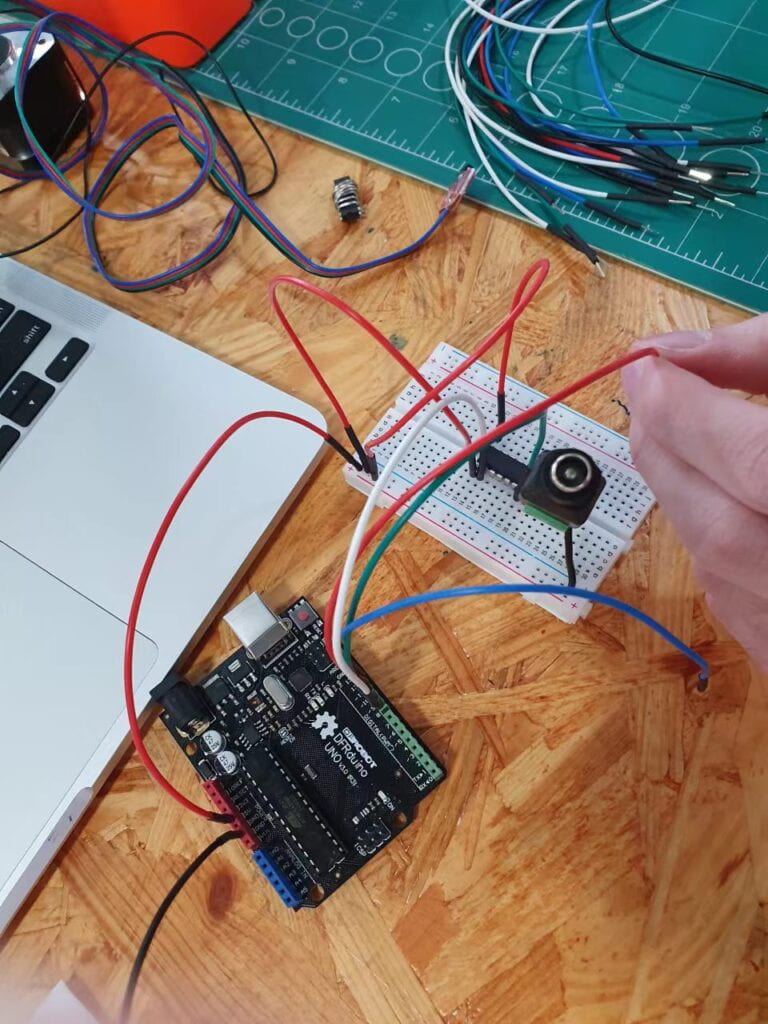
In this step, my partner Stephen and I ran into some problems such as not knowing the name of each component and its functions. After some research and questions, we could figure out the general idea of what this recitation is about. We made sure to follow the hardware diagram carefully since we didn’t want to mess it up and figure out which part was wrong again, so we tried to do it right on the first try. In the end, it worked out in our favor.

Step 2: Build a cardboard mechanism!

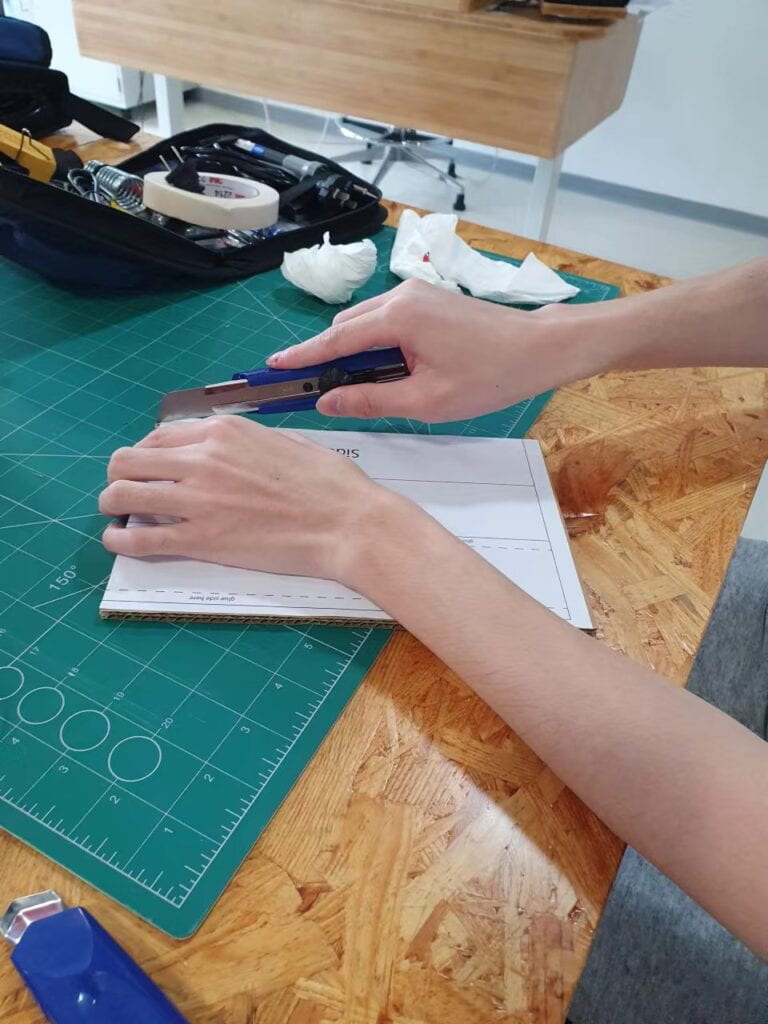
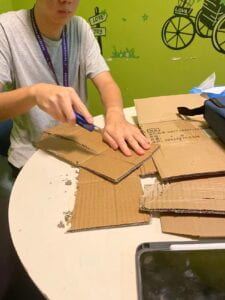
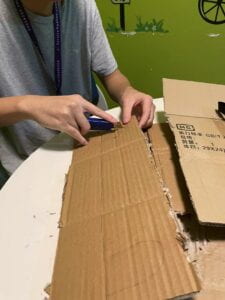
We didn’t really run into any problems in this step because all we had to do was cut out the pieces of cardboard and assemble them together. However, the cutting part took the most time out of all the steps in this recitation. 


Step 3: Personalize it

In this step, we added a triangle in the front of the machine and increase the rotation speed to its max. We also remove the counterclockwise code so that the machine would only spin one way.


Documentation

Question 1: Bill Vorn, Hysterical Machine, 2006

This machine that Bill Vorn made is similar to our recitation project because the legs that he used for the machine also use actuators that move back and forth and works as a joint, or an arm. The artist is likely to choose the actuator based on the function that he wants the part to do.

Question 2: 

The mechanism I’m interested in building for my midterm includes a mechanism that functions on a glove. Me and my partner wanted to make a glove instrument that makes a sound, in which a mechanism that involves hand function would suit our project. Our motor will be different in that instead of using the finger and screen as the input and the output, we will use each finger and sensor as the input and the output. 

INDIVIDUAL PROJECT PROPOSAL

Music Hand – Tawan – Rodolfo Cossovich

Music is our significant topic, however, our project also expands to other significant topics as well, such as interactive wearables, multiplayer games, and inclusive design. Our project is inspired by rhythm games, but our project includes a new level of interactivity that doesn’t only consist of buttons and fingers. The challenge we seek to address is mainly how to make the game multiplayer so that there will be more interactivity among the users. 


Group Research Project: Make, Perform & Report

Script:

Scene 1
Stephen: (pretends to be crying)

Kenneth:

* Walks pasts Stephen and sees him crying*

*stops and switches the button to the “logical” side

*changes attitude*

Kenneth: Hey, I see you’re upset, do you want to talk about what happened?

Stephen: Yes, I can’t finish my recitation blogs. They are too long. It was like at least 800 words for each blog. I can’t take it any more.

Kenneth: I finished mine a really long time ago. You should catch up, you’re so slow.

Stephen: you’re so mean, “switches knob for emotional side”

Kenneth: oh, I can relate. It’s all going to be fine, I can help you do it!

Stephen: thanks bro *hugs me*

Scene 2

Flora: *trips Freddie*

Freddie: *falls and cries*

Tawan: *puts the helmet on*
*switches the button to the logical side*
*changes attitude*
“Next time you should calculate the possibility of that happening so this wouldn’t happen to you again.”

Freddie: How am I supposed to know what she’s going to do?

Tawan: “There’s a high probability that your friend would prank you, 70% to be precise. Your mental capability is just not high enough to see that coming”.

Freddie: “You know that most people would be helping me instead of lecturing me about what to do right?”

Tawan: “Emotions are temporary. Logics are permanent. People can change emotions, but they can’t change facts. I am telling you what to do so you can think more rationally instead of crying like a baby”.

Freddie: “I don’t like you”.

Tawan: *switches the button to the emotional side*
“I’m so sorry bro I don’t know what came over me, you good?”

Freddie: “Yea I’m okay bro, thanks for asking”

Tawan: *holds out his hand to Freddie and helps him get up*

Scene 3
Stephen : *puts the helmet on with the emotional mode*

Freddie: Why don’t we go out tonight?

Stephen: Yay, lez goooo! Where are we going? Clubbing?

Freddie: Yeah, but I really don’t feel like clubbing, maybe dinner?

Stephen: *switches his helmet to the logical side*

Stephen: Yes, that sounds better. We have a lot of interaction lab homework to do. It’s a Wednesday night, Freddie.

Freddie: You’re right, we should finish all of our work today. You are so logical!!

STEP 2: Make

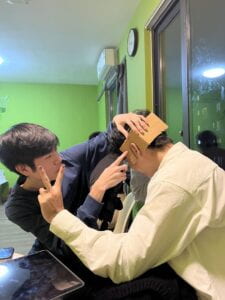
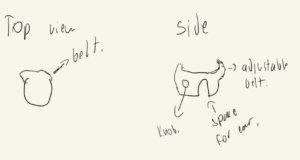
Our group decided to go with my invention for the second story, “The Ones Who Walk Away from Omelas”. After a quick brainstorm, we came up with a helmet that will allow you to adjust your logical thinking and your emotional thinking by adjusting a knob. For example, you could allow your brain to think 100% logically or 100% emotionally, or 50% logically and 50% emotionally. We also researched the existing technologies that are similar to our brainstormed invention, and we came across A.I./Machine learning, which allows you to foresee potential outcomes, but it only deals with the logical side and does not account for emotional thinking.

Evidently, there will be problems that occurred because of this invention, and we listed a few:

  • People won’t be able to think critically without helmets, as they have always relied on them.
  • Lack of emotion may cause society to not be as productive as daily things progress due to the balance between logic and emotion
  • The thinking pattern of human beings would be fixed in a certain ratio of logical and emotional thinking. However, regular everyday thinking doesn’t work in such a way where a certain ratio was all set up beforehand. The ratio at most times was random, and it should be random, freed of restricted patterns.

STEP 3: PERFORM

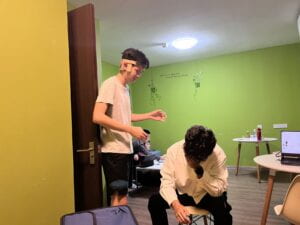
After building the helmet we then work on the script. We decided to include multiple scenarios of people using the helmet to better clarify its function of it without actually saying what it does. We ended up with 3 different scenes where each one utilizes the maximum efficiency of the logic/emotion side on the helmet. We then rehearsed it multiple times until we are all comfortable with the script.


STEP 4: REPORT

In the story of Omelas, everyone doesn’t feel sad because the deprived boy in the basement “experiences” the suffering of every citizen in Omelas. My idea for this story is to create a helmet that can control how severe your emotion can be. After some thinking, I realized that if I decrease/increase emotion, then the reciprocal of that should also increase/decrease. I knew that the reciprocal must be the logical side, so I included that as part of the invention.  

In my research blog, I wrote the definition of interaction as the action when 2 or more objects/persons “play” with each other back and forth. Both my invention and Kenneth’s invention involve interaction since our inventions were fairly similar. Both of our inventions are interacted by our hand adjusting a button, which will result in the helmet responding back in a certain way.

rough draft

I would say our artifact is a success since it came out the way we envisioned it and it does the function that we need it to. Apart from my invention idea, my contribution to the group includes, cutting the necessary components for the cardboard build, writing my part of the script, and acting out the script. 

There is this one group that invented a security glass where you can see previous footage of crime while it also alerts you when the crime happens. This invention is relevant to the first story where the parents got eaten by the lions. With this invention, security guards and police will be alerted when a crime occurs. I really like how well the script was made since it clearly shows the purpose of the glass. However, I do believe that the glass can be better designed because it slightly looks like normal glasses.

Recitation 3: Sensors

Step 4:


Step 5:

Code:

int SENSOR_PIN = 2;
int tiltVal;
int prevTiltVal;

void setup() {
  pinMode(SENSOR_PIN, INPUT); // Set sensor pin as an INPUT pin
  Serial.begin(9600);
}

void loop() {
  // read the state of the sensor
  tiltVal = digitalRead(SENSOR_PIN);
  // if the tilt sensor value changed, print the new value
  if (tiltVal != prevTiltVal) {
    Serial.println(tiltVal);
    prevTiltVal = tiltVal; 
    if (tiltVal == 0){
      Serial.print("Bicep curl:");
      repcount +=1
      Serial.println(repcount);
  }
}
  if (repcount == 8){
    Serial.println("Yay, you've done one set of curls");
    repcount = 0;
    delay(10);
}

Drawing: 

4. 

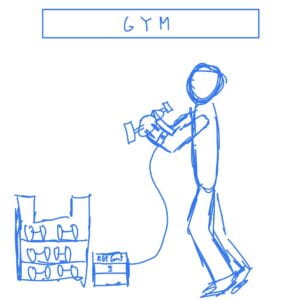
After some trial and error, we found out that the angle of tilt that transition between HIGH and LOW is around 45 degrees. I noticed that sometimes the motor doesn’t register went we tilt it too fast. We also discovered that the motor still registers a change even by shaking it, thus making us do the “cowboy whip workout” for step 5. The length of the wires also seems to affect the tilt. When my partner held the motor close to his palm, it seems to register better than when it’s near his elbow. 

Recitation 2: Arduino Basics

Circuit 1: Fade


The circuit for this one is relatively simple, especially with the diagram for us to follow. I didn’t encounter any problem with this circuit. I basically connect the red wire to the 5v and the black wire to the ground. After that, I linked one of the resister’s legs to the red wire and the other to the positive LED leg. I then connect the negative LED leg to the black wire.

Circuit 2: toneMelody


The circuit for this one is also relatively simple. I also didn’t encounter any problem with this circuit. I connected the red wire to one of the buzzer’s legs and then connect the black wire to the other leg.

Circuit 3: Speed Game

I took my time with this circuit because it looks intricate, and that’s why I didn’t make any mistakes. I essentially followed what the tinkercad diagram showed, and it worked out correctly. I knew that if I messed up even with 1 part, it would ruin the whole build. In the end, I was able to finish it without any errors.

Question 1:

Instead of using just 1 button, we could utilize 5  buttons for all 5 fingers in a hand. This way, there will be more interaction between the person and the circuit board. The person will need to use all 5 fingers to interact and win the game instead of using 1 finger before.

Question 2:

This is because the 10 kOhm resistor acts as a pulldown resistor. This means that it still controls the voltage even when the button is on. Without it, the voltage with overflow through the button and would therefore ruin the circuit.

Question 3:

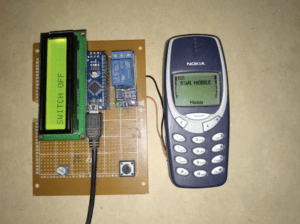
A project that I find interesting is a project that converts an old phone into a remote controller. I find this project interesting because in the book “Getting Started with Arduino”, the second chapter of the “Arduino Way” mentions how hacking toys are a fantastic source of cheap technology to reuse. This means that instead of throwing junk away, we could reuse it and turn it into something that can actually keep being useful to us.

“Convert Your Old Phone to a Remote Switch.” Arduino Project Hub, https://create.arduino.cc/projecthub/vishwasnavada/convert-your-old-phone-to-a-remote-switch-e526f4?ref=tag&ref_id=recycling&offset=8.

Group Research Project: Read

Story 1: The Veldt – Ray Bradbury

The imaginary interactive artifact that I came up with for story 1 is a machine that can print out biological entities based on my drawing. For example, if I draw a dragon, the machine will print out a living dragon. There’s 3D printing technology in modern days, but It is not advanced to the point where it can create living things. There are various potential problems that could come from this machine, such as cloning, biological weapons, and food chain disruption. Humans could use this machine to clone themselves until we’re all overpopulated. Humans could also develop a hazardous virus that could lead to a pandemic. Humans can also introduce a new creature into the outside world, thus creating an imbalance in the food chain.


Story 2: The Ones Who Walk Away from Omelas – Ursula K. Le Guin

The imaginary interactive artifact that I came up with for story 2 is a brain helmet. This helmet will allow you to adjust your logical thinking and your emotional thinking by adjusting a knob. For example, you could allow your brain to think 100% logically or 100% emotionally, or 50% logically and 50% emotionally. There are A.I.s and machine learning today which can facilitate logical thinking, but humans still make the final choice. This machine allows humans to adjust between the level of logic and the level of emotions they want based on their circumstances. There are many problems with this creation. First, if every single human uses logical thinking all the time, we would live in a dystopia. Human creations are beautiful because they have meanings behind them, and being perfectly logical means that you have to be perfectly emotionless. Humans would also lose the ability to think critically by themselves. Using this machine all the time will result in humans not experiencing their own trial and error for mistakes, thus making them `faultless with them.


Story 3: The Plague by Yan Leisheng

The imaginary interactive artifact that I came up with for story 3 is a capsule that allows humans to transform into their fullest potential form. Humans will lie down on the tube and undergo evolution until they’ve reached the apex stage for mankind. There have been a lot of genetic mutations for animals and even human babies in the modern era, but it is not to the point where technology can transform them into a new species like in the story. This invention can lead to heavy inequality between those who have evolved and those who haven’t. This can also create a dystopia where the rich are the newly evolved species while the poor are humans.

Group Project: Step 1 – Research

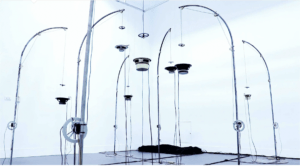
My definition of interaction is the action when 2 or more objects/persons “play” with each other back and forth. The work “Feeding” by Chang Hsin Yu perfectly describes my definition of interaction. In this work, the microphone and the speaker “play” with each other to achieve a single goal: to find the perfect balance of sound. When the speaker gets too loud or too soft, the microphone will adjust its height to find the optimal position to balance the sound. This shows the repetitive interaction between 2 objects. However, the work of “United Visual Artists” contradicts my definition of interaction. This work only shows 1 sided interaction; a person looking at the artwork. It’s true that some artwork has a changing atmosphere to it, but it doesn’t change because of the human but rather because of other factors. This shows that there’s no interaction between 2 entities, the person and the artwork.

(“Feeding” by Chang Hsin Yu)

(“United Visual Artists”)

Citations:

Published by Eric Forman View all posts by Eric Forman, et al. “‘Feeding’ by Chang Hsin Yu.” HelloCircuits!, 2 Sept. 2022, https://hellocircuits.com/2022/05/02/feeding-by-chang-hsin-yu/#more-13510.


Published by Eric Forman View all posts by Eric Forman, et al. “United Visual Artists.” HelloCircuits!, 12 Sept. 2015, https://hellocircuits.com/2013/10/10/united-visual-artists/#more-11804.

Recitation 1: Electronics & Soldering

Task 1:

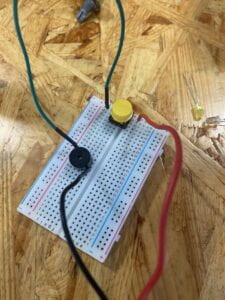
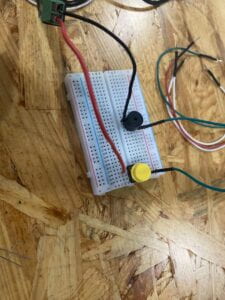
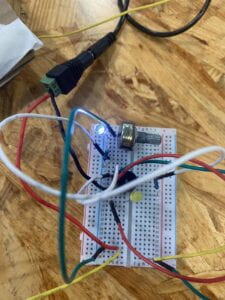
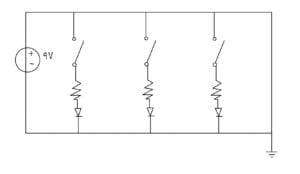
The purpose of this circuit is to make the buzzer ring upon clicking the button. Me and my partner Kenneth started off by studying the circuit diagram and understanding each component.

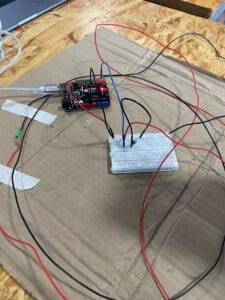
(Step 1) We initially encountered some difficulties with the button due to the fact that we didn’t know how the button was wired internally. The buzzer was constantly ringing when the wires are all connected, and the button wasn’t sending any outputs. Because of that, we decided to ask one of the learning assistants about how the button is wired, and we realize that we had to rotate the button in another direction for the button to send its output through. 

(Initial circuit)

(Fixed circuit)

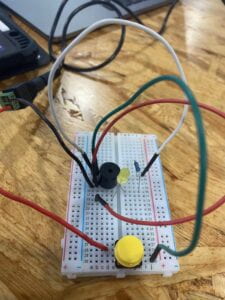
(Step 2) After completing step 1, we started to have a general idea of how the breadboard and circuits work. Although we didn’t encounter any difficulties, our breadboard was starting to look like a mess based on the way we wired each component. We’re starting to run out of space to place each component.

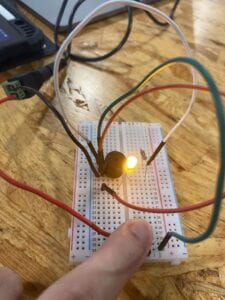
(Step 3) Me and my partner Kenneth were confused about the third circuit diagram, so we decided to ask the learning assistants for help again. We were then able to understand how the circuit is supposed to work with the new components. We were running out of space on the breadboard, so we had to rearrange our circuits. We found that some of the wires were unnecessary, so we started by removing those unnecessary wires and connecting the new circuit in a more efficient method.

Task 2:

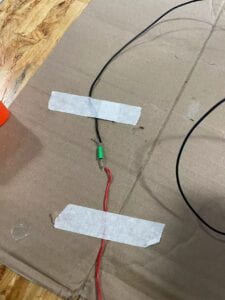
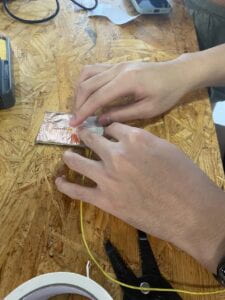
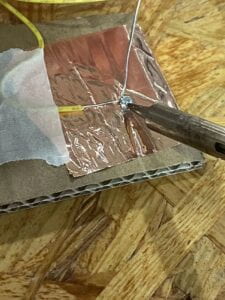
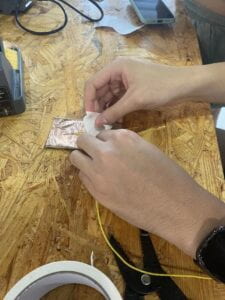
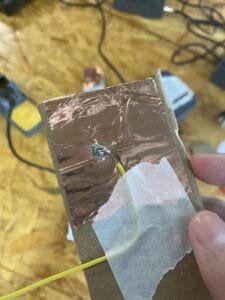
The purpose of task 2 is the create a DIY button using cardboard, wires, and copper tapes. We started by taping the copper over the top of a piece of cardboard so that it covers both sides of the cardboard. We tape a wire on the cardboard in a way that the tip of the wire is touching the copper tape. After that, we burnt one of the wires onto the copper tape and the taped wire so that it acts as a “glue” to both items. I learned that electric signals can be sent through the circuit by just allowing 2 good conductors of electricity to touch each other.

Task 3:

In task 3, me and my partner removed the button and replaced it with the DIY cardboard button instead. We put each end of the DIY button wire into the slot previously occupied by the button. We didn’t encounter any difficulties here since replacing a button with another button is relatively easy. Me and my partner used the word “Hello” as our morse code, and we paired up with another group for them to decipher our code. After some time, they were able to decode our morse code.


Additional Required Questions:

Question 1: The R1 resistor is placed so that the LED1 won’t receive an overflow of energy that could damage it.  R1 resistor will only allow a certain amount of current to flow through to LED1. This way, LED1 won’t receive an exceeded amount of current flowing through it.

Question 2:

Question 3: 

The circuits we built include interactivity because it measures our input from the button, which is listening to interactivity. Then it determines what our input means, which is thinking interactivity. After that, it flashes lights on the LED and rings the buzzer based on our input, which acts as speaking interactivity.

Question 4:

Interaction Design and Physical Computing can be a gateway to various new forms of art. Instead of the traditional art of drawing and painting, new technologies can be implemented so that humans can use other parts of the body to express craftsmanship. For example, a famous YouTuber called Mark Rober engineered a glitter bomb machine that’ll detonate glitter over a certain area once it’s removed from the box. This machine is created to take “revenge” on thieves who steal delivery packages in front of people’s homes. 

Hello world!

Welcome to Web Publishing @ NYU. This is your first post. Edit or delete it, then start creating your site!

Online help is available via the Web Publishing Knowledge Site (wp.nyu.edu/knowledge) and the ServiceLink knowledge base (www.nyu.edu/servicelink). Through ServiceLink, you can find step-by-step instructions, as well as tutorials.

Digital Accessibility

As content creators who create and publish text, images, video, and audio, you must adhere to the NYU Website Accessibility Policy (https://www.nyu.edu/digitalaccessibility/policy) when creating and publishing digital content.

Web Publishing-specific Digital Accessibility Best Practices and examples of how to ensure your content are compliant are available at https://wp.nyu.edu/digitalaccessibility

If you have additional questions, contact the IT Service Desk for assistance. Support is available 24/7/365. For more details, visit www.nyu.edu/it/servicedesk.