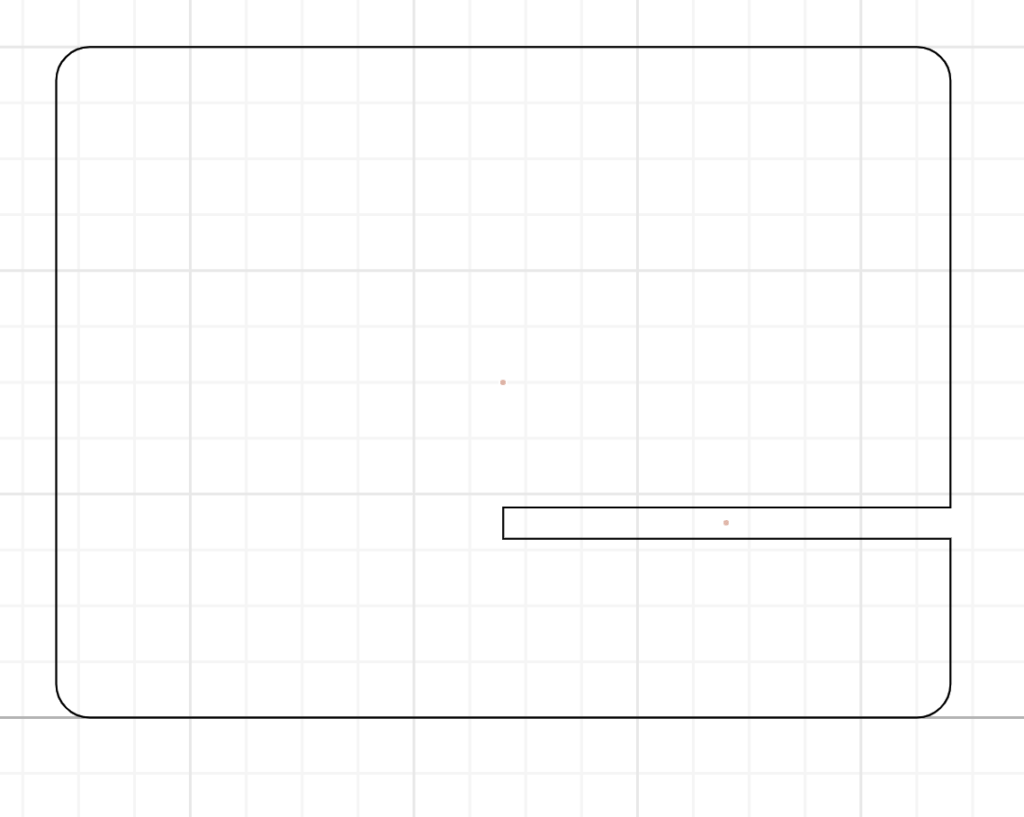
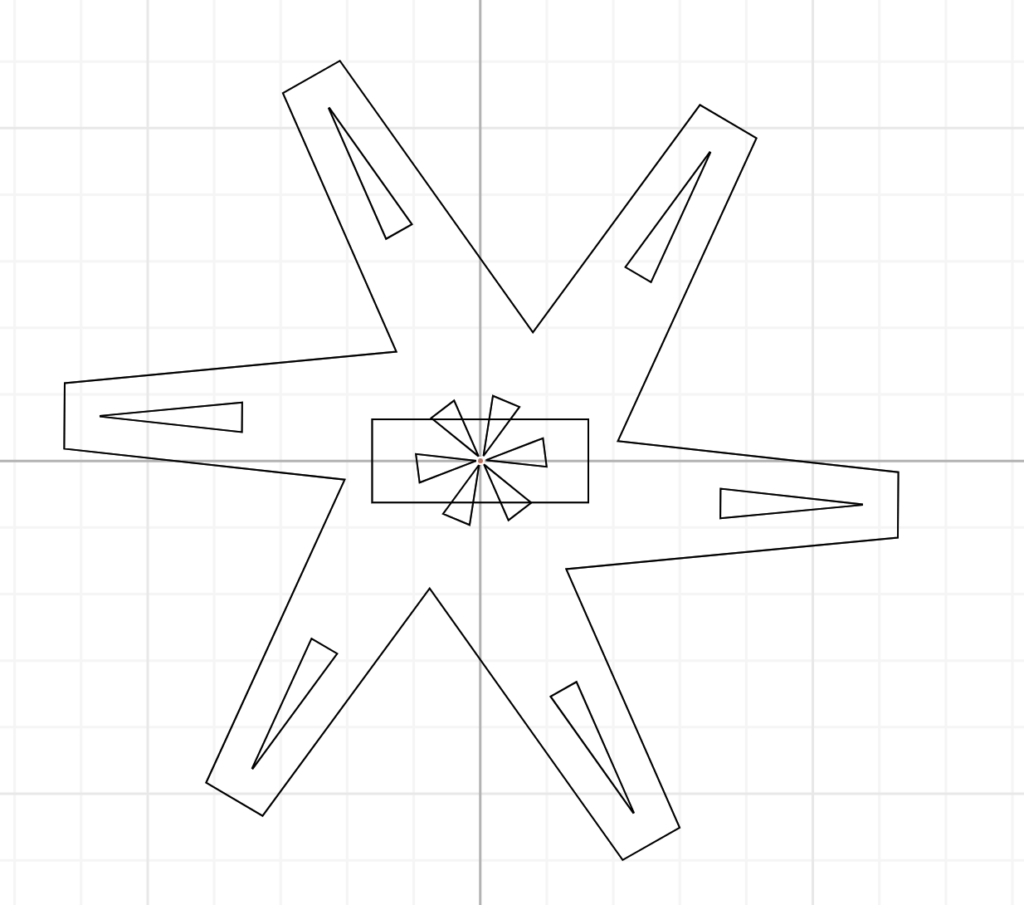
Step 1.1: Design
I worked with Nuri for this recitation class. After discussing with each other, I represented Student B while she represented Student A. Although this step is quite simple, we still took some time since we are both unfamiliar with using cuttle.

Step 1.2: Pattern design
Me and my partner spent most of the class’s time on this step. We couldn’t figure out how to make the pattern work correctly since some designs will result in laser cutting through everything. However, with the help of the professors and the learning assistants, we were able to finally complete our 2 designs on cuttle and proceed to print them.

Step 1.3: Export your design
This step was relatively simple, so we didn’t struggle that much with it. We exported our file as an SVG and then uploaded it into google drive as required.
Step 2: Laser cut
In this step, me and my partner went to the fabrication lab and laser cutter our design. The process itself was amazing to watch, and it didn’t take as much time as I thought it would.
Step 3: Assemble
After we printed our boards, we opened Arduino and follow the steps from the recitation guide. After that, we assemble the boards to the motor and the Arduino, and everything worked out as planned.