Step 1: Design
I paired up with Smile for this recitation session. Since both of us have watched the 4 minute cuttle tutorial in previous class, we move on to step 1.1 directly.
Step 1.1: Stand Design

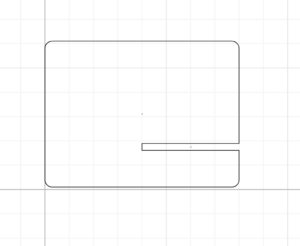
For this step, Smile took the role of Student A, and I took the role of Student B. So, we work separately on creating the stand design. Everything went smoothly in this step as we follow the clear instructions written on the recitation webpage. The image shown on the left is a part of the the stand design that I created.
Step 1.2: Pattern Design

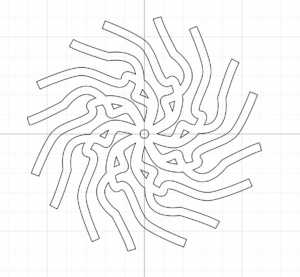
After creating the the stand design, each of us designed a pattern with the basis of a circular pattern of 120 mm in diameter. While creating my pattern design shown on the left, I used the tools: circle, pen, and outline stroke. We decided to attach my pattern to the shaft of the servo which move it in a sweep motion. For that, I created a circle in the middle of the pattern.

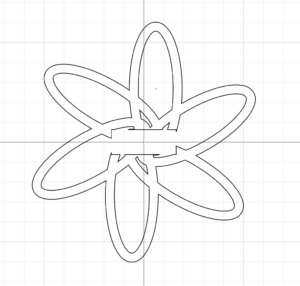
This is the pattern that my partner (Smile) designed.
Step 1.3: Export your design
We exported our file to the shared Google Drive file by first downloading it through the option “Export SVG”.
Step 2: Laser cut
We went directly to the fabrication lab in 823 to laser cut our design and take the two components of the stand.
Step 3: Assemble
We assembled our stand with the servo and circular patterns, and connected the servo wires to the Arduino with the “Servo–> Sweep” example. After uploading the code, we have our kinetic sculpture!