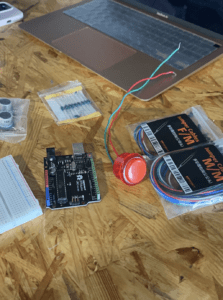
Trashes In – Sarah Ding – Professor Rudi
Context and Significance:
My previous research for group project deepens my understandings on the process and meaning of a successful interactive project. During an interaction, the communicators interact physically, emotionally, or in both ways involving three fundamental steps: listen, process, and reply. Throughout the process of interaction, it is important for the communicators to fully understand or receive the responses of one another. The amazing project that I researched previously, Into the Wind, is an installation that enables people to visual the shape of the air and wind flow. When a person blow their breath into the computer programmed box, the box processes the strength of the breath and creates strong and weak wind flows that produce easeful, slow-moving bubble. The project demonstrates the three fundamental steps of interaction. First, the communicator blow their breathe into the installation, the computer program within the box listened to it. Secondly, the program processed the message(the strength of the breath) that each person uniquely blew, and transforms the breathe into winds that drives the mechanism. Then, the installation responses the audience with the beautiful floating bubbles of different forms, in which it emotionally and visually entertains the audience. Beside deepening my understanding on interaction, the project also inspires my midterm project on how ordinary objects in our daily lives can be inputed into interactive projects. For instance, Into the Wind brings people’s attention to the wind that existed everywhere, and presented it as a force with motions and life that flows in our coexisting space. With this inspiration, I made a decision to create an interactive project that appears to be something that people encounter everyday.
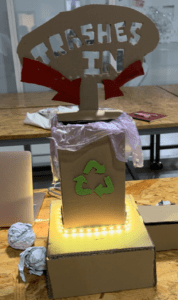
Our midterm project, Trashes In, is an interactive trash bin that responds to the users when they successfully throw or shoot the paper trash into the bin. When the paper ball lands in the bin, the trash bin will respond the user with a beep sound, a yellow LED light, and a heart with “thank you” message from the message box that is placed beside. Although our project is not a game, the concept of the interaction it promotes is similar to the shooting games such as basketball game. The users will entertain and enjoy their accomplishment from succeeding to shoot the object into their targeted destination. Above all, my goal for this midterm project is to transform the ordinary trash bin that we use in our daily lives to be more interactive, creative, and fun.
We do not have a specific audience for this project, in other words, everyone can be the audience, and this project can be placed everywhere including the office, living room, a crowded park and even beside the streets. The most normal and boring act of throwing the trash will be a fun experience with this project, where it complements and responses the user that throw in the trash with a heart and “thank you!.”
Conception and Design
Just like what Tom Igoe argues in his article, Set the Stage, Then Shut Up and Listen, an interactive project has to be clear for the users upon its usage or how to take an action with the project without an instructor telling them what to do, how to act, and what to think. The user should be the one who performs the interaction with the only clues from the project itself. Therefore, my partner(Smile) and I tried to make our project as easier and clear as possible for the users to follow. To do so, we have to make it evident that the installation we made is a trash bin and that the trashes have to be thrown into the bin.
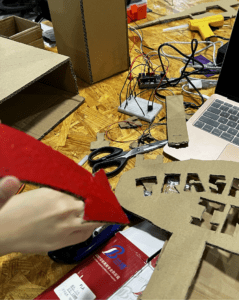
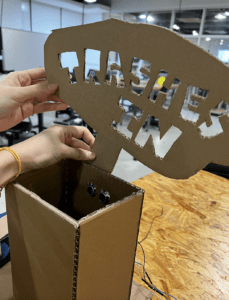
We stick the sign that says “Trashes IN” above the trash bin with an additional red arrow that points the opening of the bin. This delivers the message to the user that they have to throw the trashes into the opening of the bin.
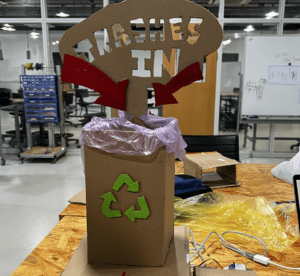
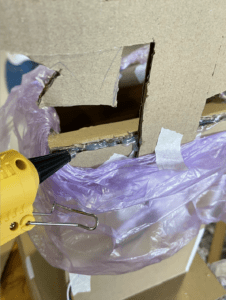
We make a recycle sign out of cardboard and green paint, and stick it onto the box. Then, we took the plastic pieces that somebody left on the table of studio 826 (been laying on the table and floor for 2 days) and wrap it around the opening of the box. This makes our our project to actually looks like a trash bin, and the users will be able to identify it from their first sight.
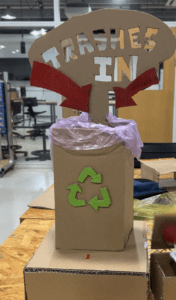

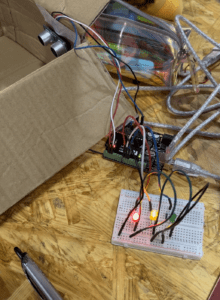
Initially, Smile and I planned to place a small LED pin in front of the trash bin for it to light up when the user throw the trash in. However, we found out that the small LED pin is merely noticeable, and its existence can be easily ignored due to the small size and dim brightness. This will make the response part of the project through LED brighting up totally unnecessary and a little boring. So, we chose to replace it neopixel strip instead, which is a lot brighter, and more visually appealing. (The pictures on the left shows the comparison of the visual affect that the lightings of two types LED gave. The neopixel strip is a lot prettier isn’t it? )
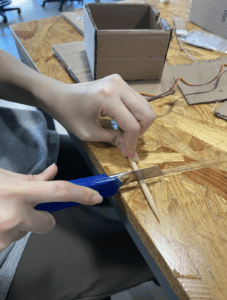
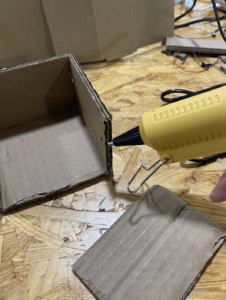
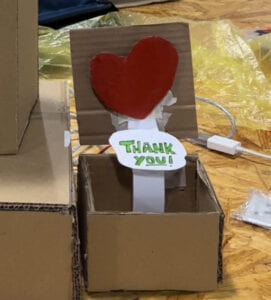 As mentioned earlier, we want to complement the users who throw the trashes into the bin. Before landing on the final decision on making the “thank you” message box, we thought of making a candy box instead. However we rejected the idea since it is challenging for us to control the time and condition when candy box opens and closes for the user. This makes us avoid the fear of candy box closing up before the user take the candy (It will be a sad story, and we don’t want it).
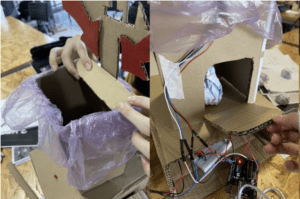
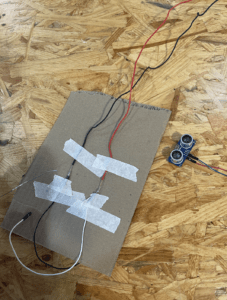
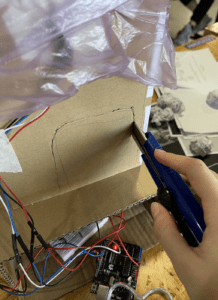
We added a blocking piece of cardboard above the distance sensor(Ultrasonic Ranger Grove) to slow down the trashes that will pass in front of sensor, so that the sensor will have enough time to read and deliver the message. However, we later found out that the sensor was lagging to response due to the overlapping code that we wrote initially, not because of the speed of the trashes. Apart from this, we cut a hole at the back of the trash bin to avoid the paper trash balls to overload, and to make us easier to take the trashes out of the bin.
Fabrication and Production
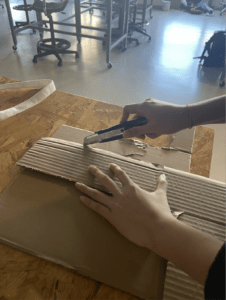
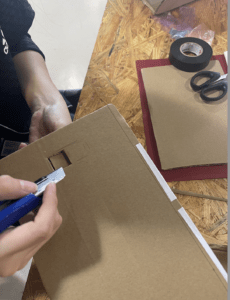
Building the Bin:
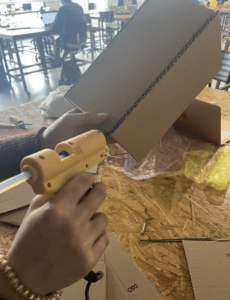
Making “Thank you” Box:
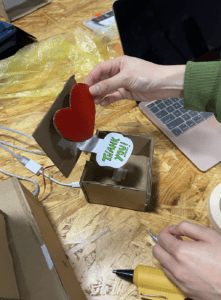
Cutting and painting the signs:
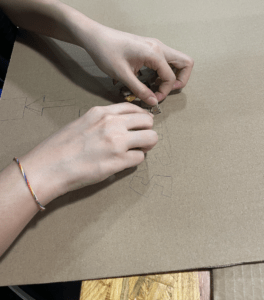
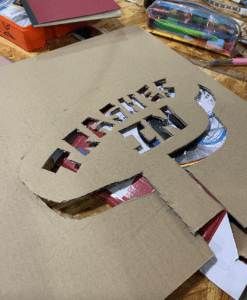
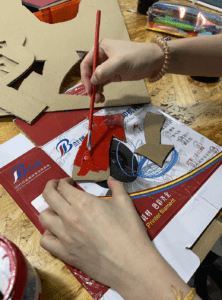
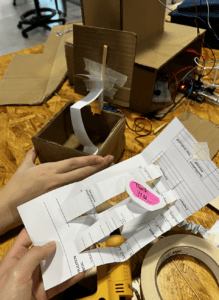
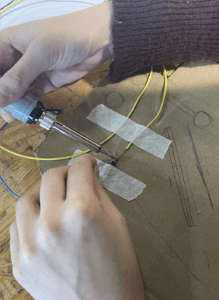
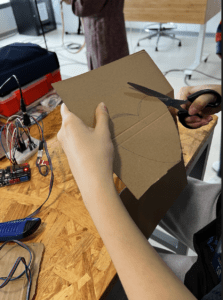
Smile and I build the project together while doing some parts of the production separately. For example, while Smile was building the “thank you” box and the trash bin together with the servo, I took the responsibility to cut and paint the “trashes in” sign, heart shape, arrows, and the recycle bin sign. The building process went fun and smoothly, but it is not the case for the coding part. After we finished coding the overall codes, we faced a few challenges and failures. Fortunately, we were able to solve all of the coding problems under the help of learning assistants(especially Iris) and professor Rudi.
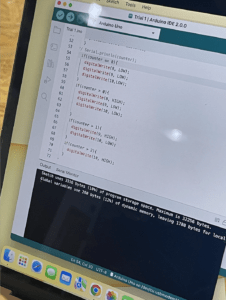 The two main problems of our coding process were to solve the lagging response of the distance sensor, and the servo that kept on going crazy after we inputed the code for the neopixel strip. The distance sensor sometimes did not sense the object that flew pass it and it lagged because we added too many unnecessary “if” conditions that makes it complicated for the Arduino to process the code directly. As a solution, and under the help of Professor Rudi, we simplified the code for the ultrasonic range grover under one condition/ if statement, in which we wrote the instructions only for the response of the sensor under the condition when the trash passes in front of the sensor, and we excluded the instructions for the condition when the sensor does not detect a change in distance. For the servo problem, Professor Rudi provided us with a set of code for the neopixel that does not contradict with the servo. Then, we added delays that stopped the servo from going crazy constantly.
We gained many complements and suggestions from the User Testing Session. All of the users uniformly commented that our project is really clear and straight forward upon the components and the message it wants to deliver. When the users walk by our project, some shot the trashes from a distance, and some throw it directly into the trash bin. They were all surprised by the response from the “thank you” box, and this is exactly what my partner and I aimed for. The biggest improvements that most of the user suggested to work on is to fix the sensor(our project didn’t respond sometimes when the trash got in) and change the little LED light into something that is more eye-catching. They are great comments that can improve our project by making the interaction process between the user and the trash bin more enjoyable. We took both of the suggestion in our final product and presented the result in the final presentation.
Conclusions
A video of our final product:
In general, our goal of this project is to transform the ordinary and boring act of throwing trash into an interactive and entertaining process. The complement that our “thank you” box gave to the users also deliver a message that throwing the trash into the proper place instead of leaving it elsewhere is a right action. This way, we created a trash bin that can respond you when you throw the trash by saying “thank you,” lighting up the celebration LED, and making a beep sound. The users gained satisfaction after they succeeded to throw the trashes into the bin in both ways of directly putting the trash or shooting it in.
Our project result aligns with my definition of interaction by involving the three fundamental steps: listen, process, and reply. The trash bin listens to the message they receive from the user through the object it detects. Then, it processes the distance of the object it detect and reply through lighting up the neopixel strip, beeping the buzzer, and opening the “thank you” box. However, the interaction level is not as high as I thought to be a greatly qualified interactive project. The time of the interaction between the project and the user is too short and fast. Apart from this, I am satisfied with our project because all of the users had fun when they interact with it, and our project is clear for the users to follow. Most of the users first grabbed the paper trash balls from the table and throw it directly into the bin, after receiving the response, they make it more creative and fun by shooting the trash from a distance. Most importantly, they walk away from our project at the end with a smile on their faces.
If I had more time to improve the project, I would like to apply more suggestions that I received from the user testing session, and make the interaction time longer. One of the most memorable yet challenging suggestion that we received from the user testing session is to add more sensors around the outer bound of the trash bin. The sensors will detect the object that does not fall into the trash bin, and it will give a “warning” response to the users in a way that will tell them that it is a wrong act to not throw the trashes into the bin. This idea can further promote environmentally friendly actions of people by clearly implying the dos and don’ts of they way they deal with the trashes. I will be more than happy to work on this idea if I had more time.
I learned many new and valuable things from this project from our successes and failures. Other than improvements on coding, the most significant takeaway I get is to keep on expressing and trying out your ideas, even if you think that it is impossible or too challenging. If you struggle or fail to make your idea alive, always ask for clarification or suggestions, especially from the professors or learning assistants. Through many attempts and experiments, you will get surprising results and bring your ideas into life. Do not step back from failures, they can bring you many valuable lessons. Smile and I almost give up on the idea to add the neopixel strip in our project due to chains of problem it created. Fortunately, after trying different set of codes and asking help from Professor Rudi, we found a solution that can make all the components of our project to work peacefully with the neopixel strip. Both of us learned quite a lot of lessons about the coding from this challenge.
Annex
Full code of our project:
#define echoPin 2  // attach pin D2 Arduino to pin Echo of HC-SR04
#define trigPin 4  //attach pin D3 Arduino to pin Trig of HC-SR04
#include
#include
#ifdef __AVR__
#include <avr/power.h>  // Required for 16 MHz Adafruit Trinket
#endif
#define PIN 3
#define NUMPIXELS 60
Adafruit_NeoPixel pixels(NUMPIXELS, PIN, NEO_GRB + NEO_KHZ800);

Servo servo;
// defines variables
long duration;  // variable for the duration of sound wave travel
int distance;   // variable for the distance measurement
int pos = 20;


void setup() {
  servo.attach(11);
  pinMode(trigPin, OUTPUT);                          // Sets the trigPin as an OUTPUT
  pinMode(echoPin, INPUT);                           // Sets the echoPin as an INPUT
  Serial.begin(9600);                                // // Serial Communication is starting with 9600 of baudrate speed
  Serial.println("Ultrasonic Sensor HC-SR04 Test");  // print some text in Serial Monitor
  Serial.println("with Arduino UNO R3");
#if defined(__AVR_ATtiny85__) && (F_CPU == 16000000)
  clock_prescale_set(clock_div_1);
#endif
  pixels.begin();  // INITIALIZE NeoPixel strip object (REQUIRED)
  Serial.begin(9600);
}
void loop() {
  // Clears the trigPin condition
  pixels.clear();
  digitalWrite(trigPin, LOW);

  delayMicroseconds(2);
  // Sets the trigPin HIGH (ACTIVE) for 10 microseconds
  digitalWrite(trigPin, HIGH);

  delayMicroseconds(10);
  digitalWrite(trigPin, LOW);

  // Reads the echoPin, returns the sound wave travel time in microseconds
  duration = pulseIn(echoPin, HIGH);

  // Calculating the distance
  distance = duration * 0.034 / 2;  // Speed of sound wave divided by 2 (go and back)
  // Displays the distance on the Serial Monitor
  Serial.print("Distance: ");
  Serial.print(distance);
  Serial.println(" cm");


  // if (distance < 8) { // } else if (distance >= 8) {
  // }
  if (distance < 8) {
    servo.attach(11);
    servo.write(pos + 100);
   // Serial.println(pos);
    delay(500);
    servo.detach();
    for (int i = 0; i < NUMPIXELS; i++) {  // For each pixel...
      pixels.setPixelColor(i, pixels.Color(150, 150, 0));
    }
    pixels.show();  // Send the updated pixel colors to the hardware.
    tone(13, 264);
    //delay(10);
    delay(100);
    servo.attach(11);
    servo.write(pos);
    delay(500);
    noTone(13);
    servo.detach();
    for (int i = 0; i < NUMPIXELS; i++) {  // For each pixel...
      pixels.setPixelColor(i, pixels.Color(0, 0, 0));
      pixels.show();  // Send the updated pixel colors to the hardware.
    }
    noTone(13);
    delay(100);

  }

  delay(10);
}
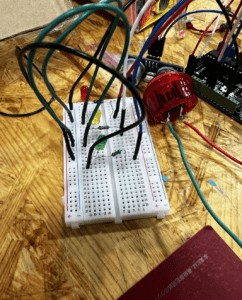
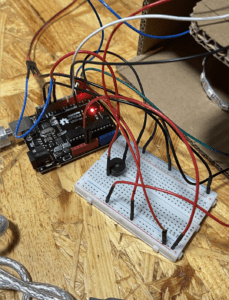
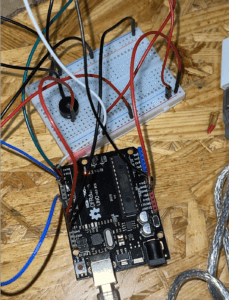
Pictures of our circuit:
Our random hard-works:
Once upon a time, we attempted to make a boring shooting game with unnecessary buttons, but we reject this silly idea:
