“Shoveler’s Waimai Company” by Salina Ngo & Shelia Xie
Context & Significance
Our idea for “Shoveler’s Waimai Company” is a project that we wanted to improve from our midterm, which was “Fluffy the Shoveler”. In our previous project, we had a car where Fluffy sits in and the user would control the car with a breadstick and deliver pearls from one room to the other. This time, for our final project, our intention on this project switched from being a factory worker, delivering pearls from one room to another — to a waimai delivery person, delivering waimai to different houses. Each house has a light sensor that acts as the owner of the houses and has audios being played. The user controls wherever the car goes and it’s an open ended project because the audios are random, there is no “correct house” that the user needs to go to.
During the user test, we got a lot of feedbacks on improving our project. Although our users loved the concept of delivering packages (waimai) to different houses, they did not know that there were audios playing, so one suggestion was to add a speaker. Another suggestion was to add a countdown screen, so that users know when to begin and end. For user testing, we didn’t have these, so it was hard for users to know when to start or end. So, for the final presentation and IMA show, I made some add-ons to the code and made a countdown screen. Overall, I was really happy to see everyone having fun entertaining with our project and wearing our waimai helmet!

Fabrication & Production
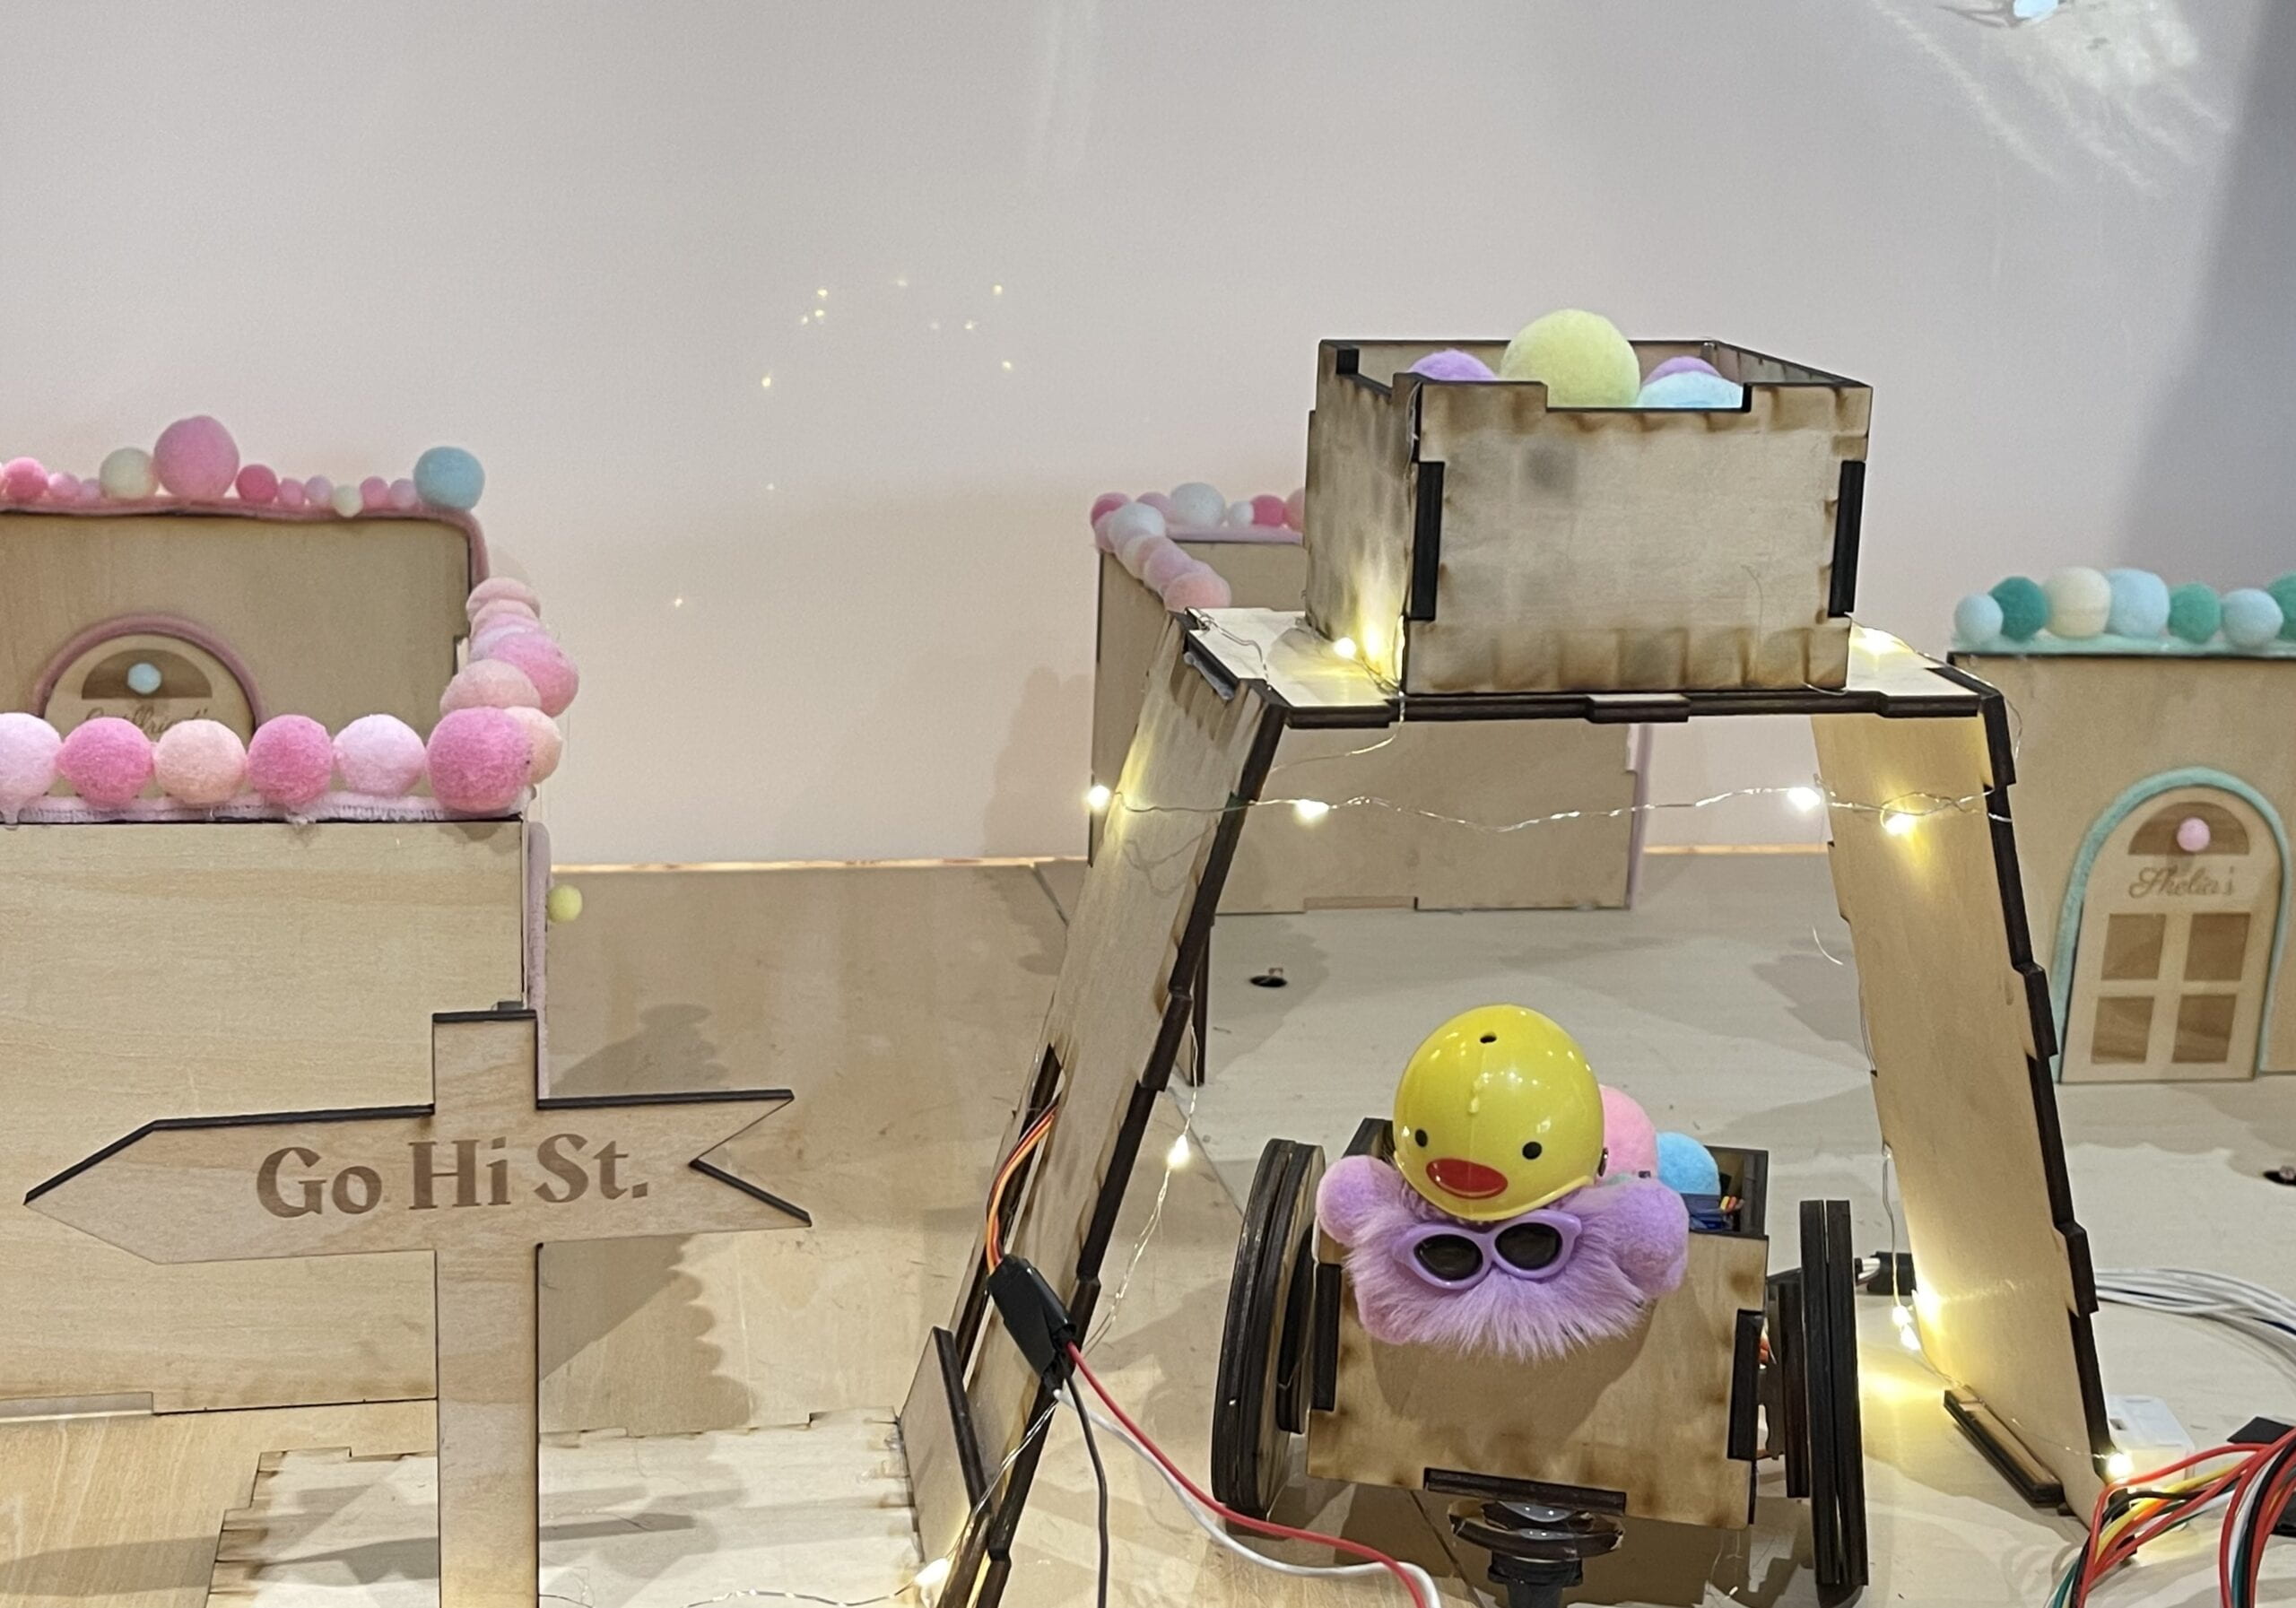
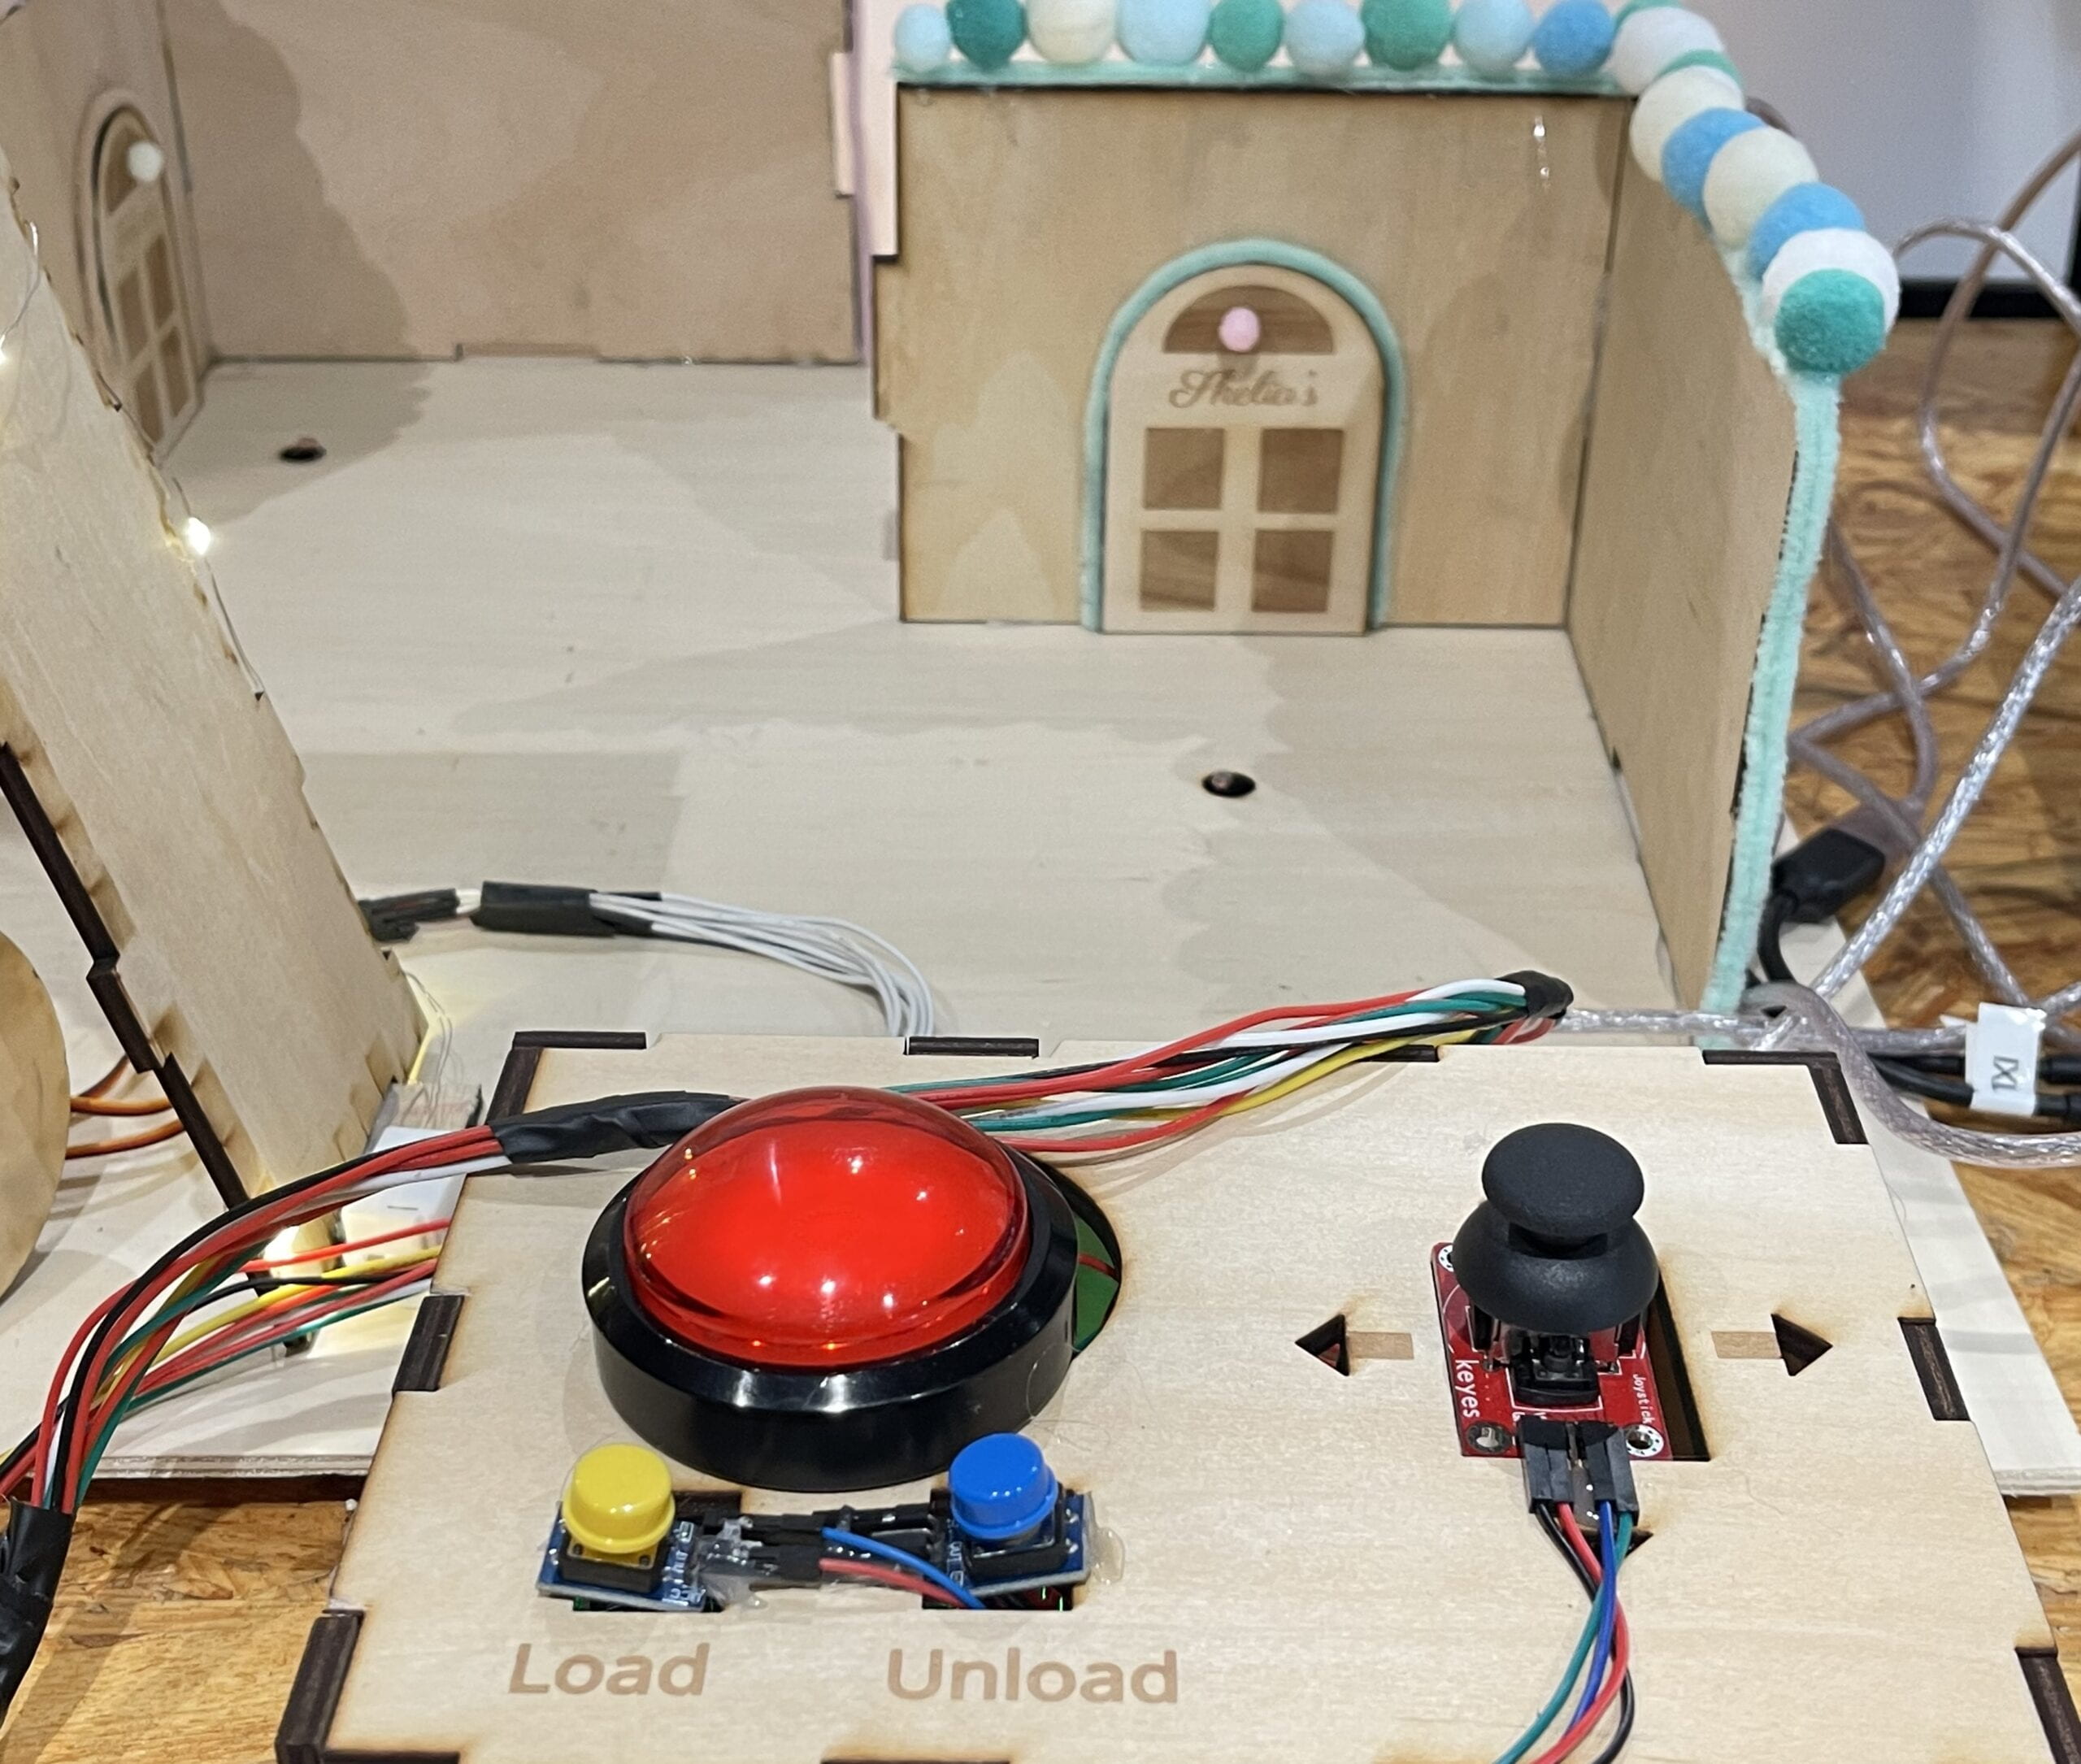
In order to design this project we made a small community of 4 houses, a car for Fluffy, a start point where Fluffy can get the waimais (packages), and light sensors as a “doorbell” like existence, where it give clues for the users to know whether or not they delivered the package to the correct house. We first made a car (laser cutting) for Fluffy to deliver packages. We used two micro servos to be wheels, controlled by a joystick and one extra servo placed inside the car to allow Fluffy to unload the waimai (package) when the user presses the button. Then for the houses, we also used laser cutting to cut pieces of thin wood and connect them together like a puzzle piece.

We also have three buttons. The biggest flashing button is the “Start Button” that users press the start their experience and also starting the timer at the same time. My biggest obstacle was that all the audios were overlapping at first when one of the four light sensors were triggered. That was when I know I didn’t add an array, which caused all of my audios to play when one of the sensors were triggered. Another obstacle was adding a countdown screen, big thanks to Professor Gottfried, after he taught me how to add a countdown screen, I also figured to change the colors of the background for the last 10 seconds, warning the users that time is almost up. I also learned how to code to go back to the start screen after the countdown is finished! However, if I were able to improve this part, I would add a sound for the last 10 seconds so that the users can also hear and know that time is almost up. One thing that I think I did well on was that I set the audio to only be played during the two minute countdown, so even if the light sensors were triggered before or after the two minute countdown, there will be no audio playing.

Conclusion:
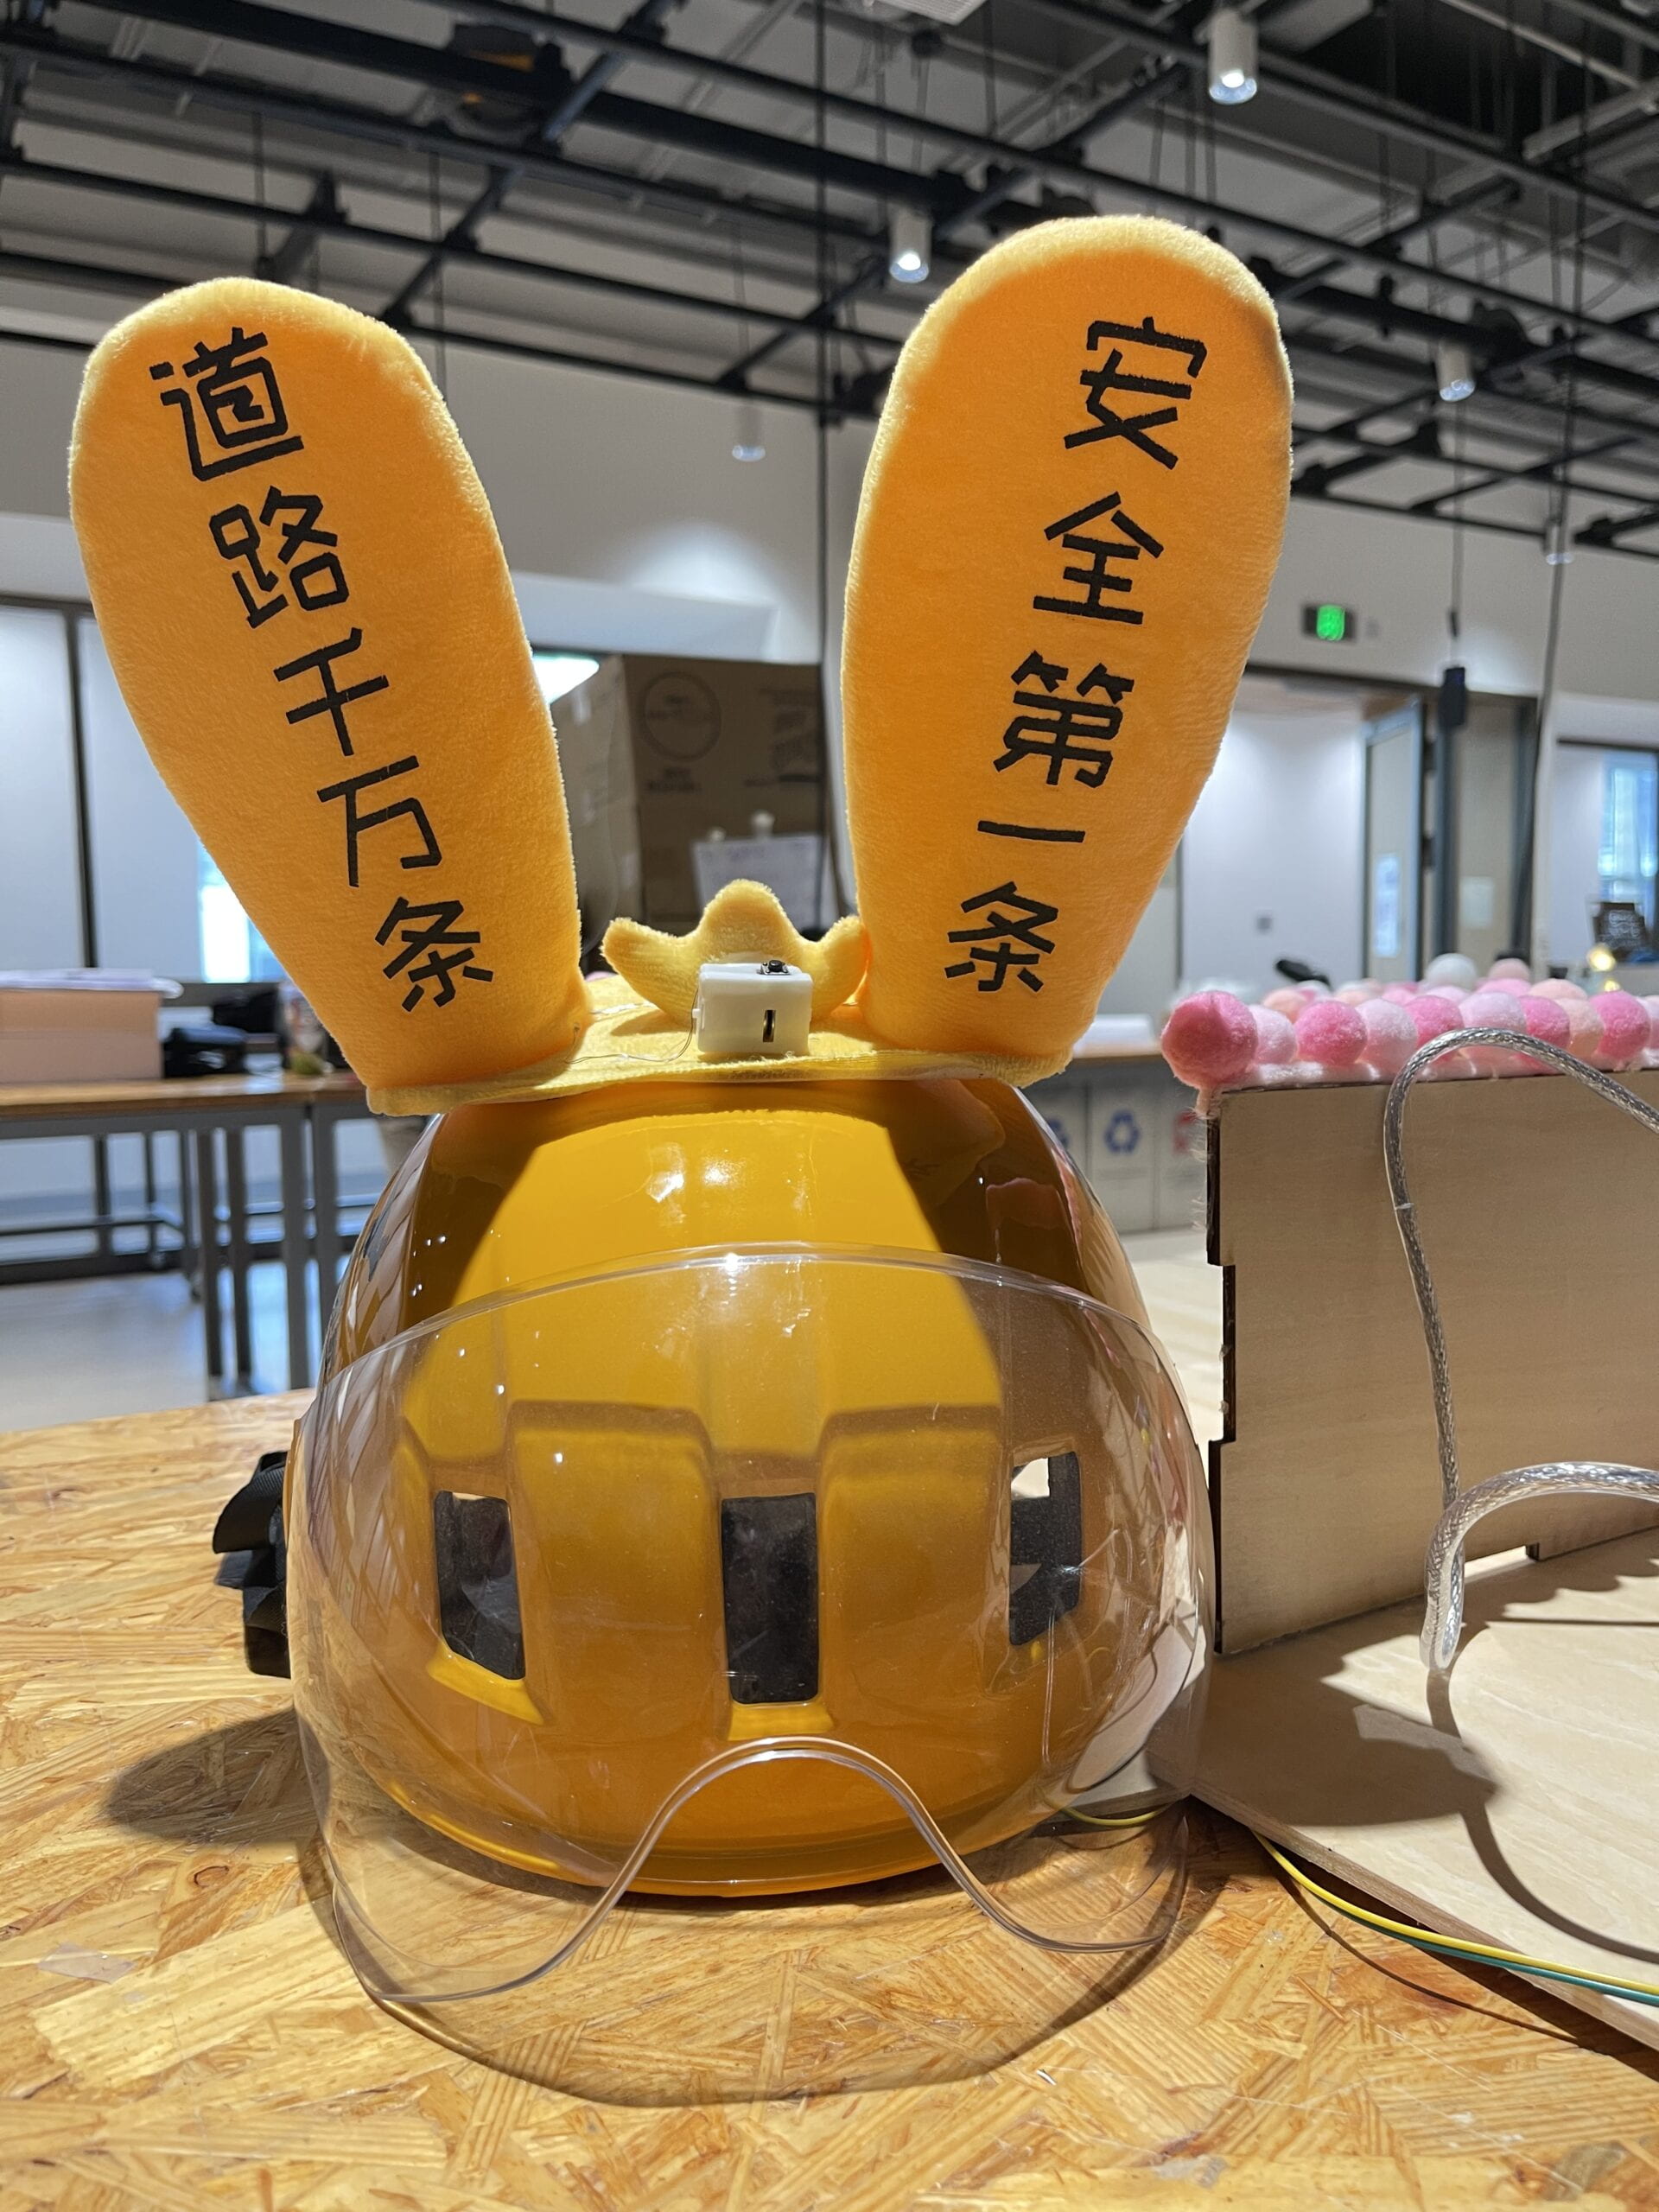
After the IMA show, many feedbacks from the users were connect to our concept. The users clearly knew what to do and why they are doing what they’re doing. They also said that they will say Thank You to the next delivery man who will deliver their waimai! This is also one of the ideas that we want to present. Appreciate the hard work of those who delivers our packages no matter how the weather is and what time it is.
Last but not least, I really enjoyed working with may partner Shelia! We’ve learned so much together, laser cutting, coding, connecting wires, etc. Also, Thank You to all users that gave us feedbacks for us to make so many improvements!
Disassembly:
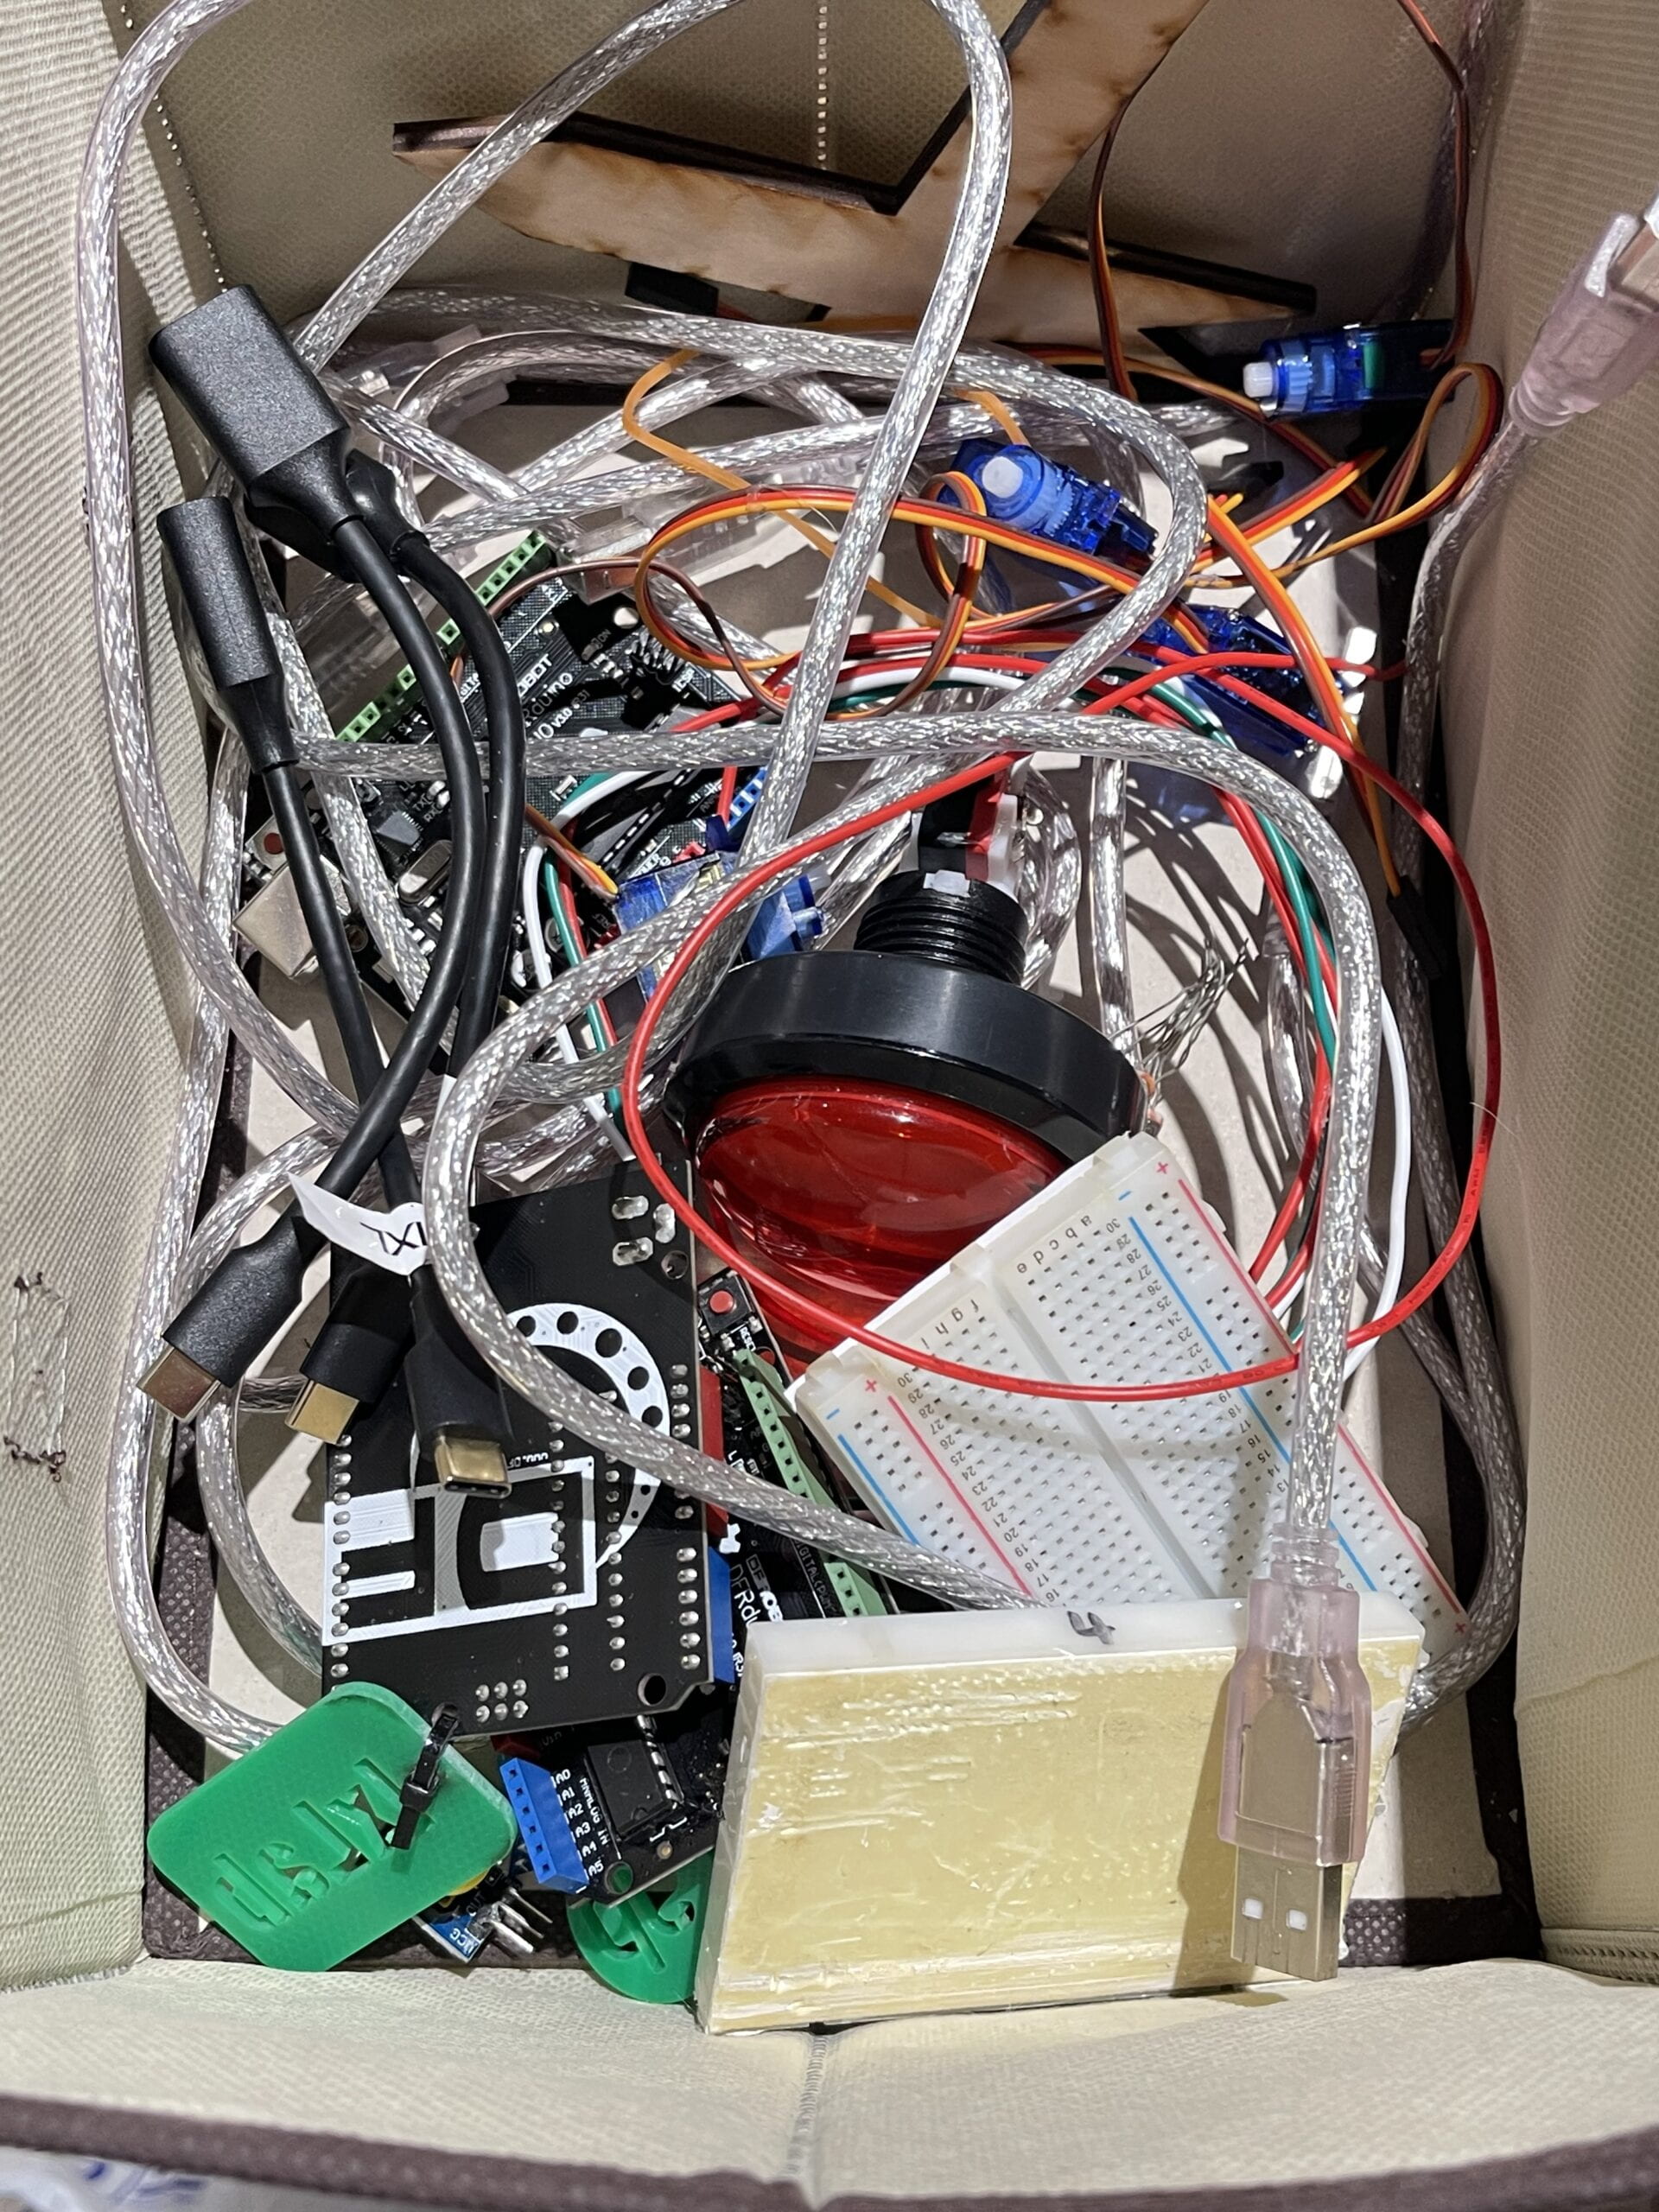
I have already taken everything apart and recycled the bigger pieces of wood (gave it to Professor Andy).

Appendix:
Arduino Code for Big Start Button & Light Sensors (sends to processing):
void setup() {
Serial.begin(9600);
pinMode(2, INPUT);
}
void loop() {
int sensor1 = analogRead(A0);
int sensor2 = analogRead(A1);
int sensor3 = analogRead(A2);
int sensor4 = analogRead(A3);
int buttonState = digitalRead(2);
Serial.print(sensor1);
Serial.print(“,”);
Serial.print(sensor2);
Serial.print(“,”);
Serial.print(sensor3);
Serial.print(“,”);
Serial.print(sensor4);
Serial.print(“,”);
Serial.print(buttonState);
Serial.println();
delay(20);
}
Processing Code that connects big button+light sensors and plays audio+start screen+countdown screen:
int countdown = -1;
int secondsRemaining;
import processing.serial.*;
import processing.sound.*;
Serial serialPort;
SoundFile[] files;
boolean soundPlaying = false;
int NUM_OF_VALUES_FROM_ARDUINO = 5;
int arduino_values[] = new int[NUM_OF_VALUES_FROM_ARDUINO];
int currentScreen = 0;
int buttonPressCount = 0;
void setup() {
fullScreen();
background(255, 204, 0);
serialPort = new Serial(this, “/dev/cu.usbmodem101”, 9600);
files = new SoundFile[] {
new SoundFile(this, “thank you.mp3”),
new SoundFile(this, “its.mp3”),
new SoundFile(this, “get out.mp3”),
new SoundFile(this, “did not.mp3”),
new SoundFile(this, “finally.mp3”),
new SoundFile(this, “wrong house.mp3”),
new SoundFile(this, “hardwork.mp3”),
new SoundFile(this, “long.mp3”),
new SoundFile(this, “blind.mp3”),
new SoundFile(this, “yes.mp3”)
// Add more audio files as needed
};
}
void draw() {
background(255, 204, 0); // Yellow
if (currentScreen == 0) {
drawGameStartScreen();
} else if (currentScreen == 1) {
drawCountdownScreen();
}
getSerialData();
}
int BUTTON_INDEX = 4;
void drawGameStartScreen() {
textSize(50);
String s = “Hello Fluffy, thank you for participating in our Waimai interview. In order to pass this interview, you need to deliver packages to two houses successfully in 2 minutes. When you are ready, press the button to start. Good Luck!”;
fill(0);
text(s, 250, 150, 950, 400);
fill(255);
rect(width / 4, height * 2 / 3, width / 2, height / 6);
fill(0);
textSize(32);
textAlign(CENTER, CENTER);
text(“Start Game”, width / 2, height * 2 / 3 + height / 12);
if (arduino_values[BUTTON_INDEX] == 1) {
buttonPressCount++;
if (buttonPressCount == 1) {
currentScreen = 1;
countdown = millis();
}
}
}
void drawCountdownScreen() {
fill(0);
stroke(0);
textSize(96);
int elapsed = millis() – countdown;
int remaining = 2 * 60 * 1000 – elapsed;
secondsRemaining = max(0, floor(remaining / 1000));
if (secondsRemaining <= 0) {
currentScreen = 0;
countdown = -1;
buttonPressCount = 0;
}
if (secondsRemaining < 11) {
if (secondsRemaining % 2 == 0) {
background(255, 204, 0); // Yellow
} else {
background(255, 0, 0); // Red
}
}
text(secondsRemaining, width / 2, height / 2);
boolean wantPlay = false;
for (int i=0; i < 4; i++) {
if (arduino_values[i] < 350) {
wantPlay = true;
}
}
if (wantPlay == true && !soundPlaying) {
println(“Want to play!”);
int indexLastPlayed = floor(random(files.length)); // number between 0-9
files[indexLastPlayed].play();
println(“Started playing file ” + indexLastPlayed);
soundPlaying = true;
}
if (soundPlaying) {
for (int i = 0; i < files.length; i++) {
if (files[i].isPlaying()) {
return;
}
}
soundPlaying = false;
}
}
void getSerialData() {
while (serialPort.available() > 0) {
String in = serialPort.readStringUntil(10);
if (in != null) {
print(“From Arduino: ” + in);
String[] serialInArray = split(trim(in), “,”);
if (serialInArray.length == NUM_OF_VALUES_FROM_ARDUINO) {
for (int i = 0; i < serialInArray.length; i++) {
arduino_values[i] = int(serialInArray[i]);
}
}
}
}
}
Button Code to Load and Unload:
#include <Servo.h>
const int servoPin1 = 9;
const int buttonPin1 = 2; //blue
const int servoPin2 = 11;
const int buttonPin2 = 3; //yellow
Servo myServo1;
Servo myServo2;
int servoPos1 = 0;
int prevButtonState1;
int servoPos2 = 0;
int prevButtonState2;
void setup() {
Serial.begin(9600);
myServo1.attach(servoPin1);
myServo2.attach(servoPin2);
pinMode(buttonPin1, INPUT_PULLUP);
pinMode(buttonPin2, INPUT_PULLUP);
}
void loop() {
int buttonState1 = digitalRead(buttonPin1); // blue button
int buttonState2 = digitalRead(buttonPin2); //yellow button
// myServo1.write(90);
// delay(1000);
// myServo1.write(-90);
// delay(1000);
// myServo2.write(90);
// delay(1000);
// myServo2.write(-90);
// delay(1000);
if(prevButtonState1 == LOW && buttonState1 == HIGH){
Serial.println(“just pressed blue”);
if(servoPos1 == 0){
myServo1.write(90);
servoPos1 = 90;
}else if(servoPos1 == 90){
myServo1.write(-90);
servoPos1 = 0;
}
}
prevButtonState1 = buttonState1;
if(prevButtonState2 == LOW && buttonState2 == HIGH){
Serial.println(“just pressed yellow”);
if(servoPos2 == 0){
myServo2.write(90);
servoPos2 = 90;
}else if(servoPos2 == 90){
myServo2.write(-90);
servoPos2 = 0;
}
}
prevButtonState2 = buttonState2;
// if (buttonState1 == LOW && prevButtonState == HIGH) {
// Serial.println(“released”);
// if (servoPos == 0) {
// // If servo position is 0, move it to 90 degrees
// myServo1.write(90);
// servoPos = 90;
// } else {
// // If servo position is 90, move it to 0 degrees
// myServo1.write(0);
// servoPos = 0;
// }
// delay(200); // Debouncing delay
// if (buttonState2 == LOW && prevButtonState ==HIGH) {
// if (servoPos == 0) {
// // If servo position is 0, move it to 90 degrees
// myServo2.write(90);
// servoPos = 90;
// } else {
// // If servo position is 90, move it to 0 degrees
// myServo2.write(0);
// servoPos = 0;
// }
// delay(200); // Debouncing delay
// }
// prevButtonState = buttonState2;
// }
}
Joystick Code to Control Fluffy’s Car:
#include <Servo.h>
Servo myservo1;
Servo myservo2;
int val;
int joystickXVal;
int joystickYVal;
void setup() {
myservo1.attach(9);
myservo2.attach(5);
Serial.begin(9600);
}
void loop() {
joystickXVal = analogRead(A1);
joystickYVal = analogRead(A0);
//Serial.print(joystickXVal);
//Serial.print(“,”);
//Serial.println(joystickYVal);
delay(20);
if (joystickYVal < 100) {
Serial.println(“Going forward”);
myservo1.write(110);
myservo2.write(70);
} else if (joystickYVal > 900) {
Serial.println(“Going backward”);
myservo1.write(70);
myservo2.write(110);
} else if (joystickXVal < 100) {
Serial.println(“Going left”);
myservo1.write(-130);
myservo2.write(-90);
} else if (joystickXVal > 900) {
Serial.println(“Going right”);
myservo1.write(130);
myservo2.write(90);
} else {
Serial.println(“Stopping”);
myservo1.write(90);
myservo2.write(90);
}
}
Video of Project:
Leave a Reply