
“The Shovelers” — By Shelia & Salina
Context and Significance
Our ideas for this project came from our previous warm-up project, “GongXiFaCai: Dragon-Ear Headband”, where there’s a sensor that controls the opening of the ears along with a servo. For both projects, we used the same servos (micro servos) and we used a sensor. For “The Shovelers”, we used a light sensor.
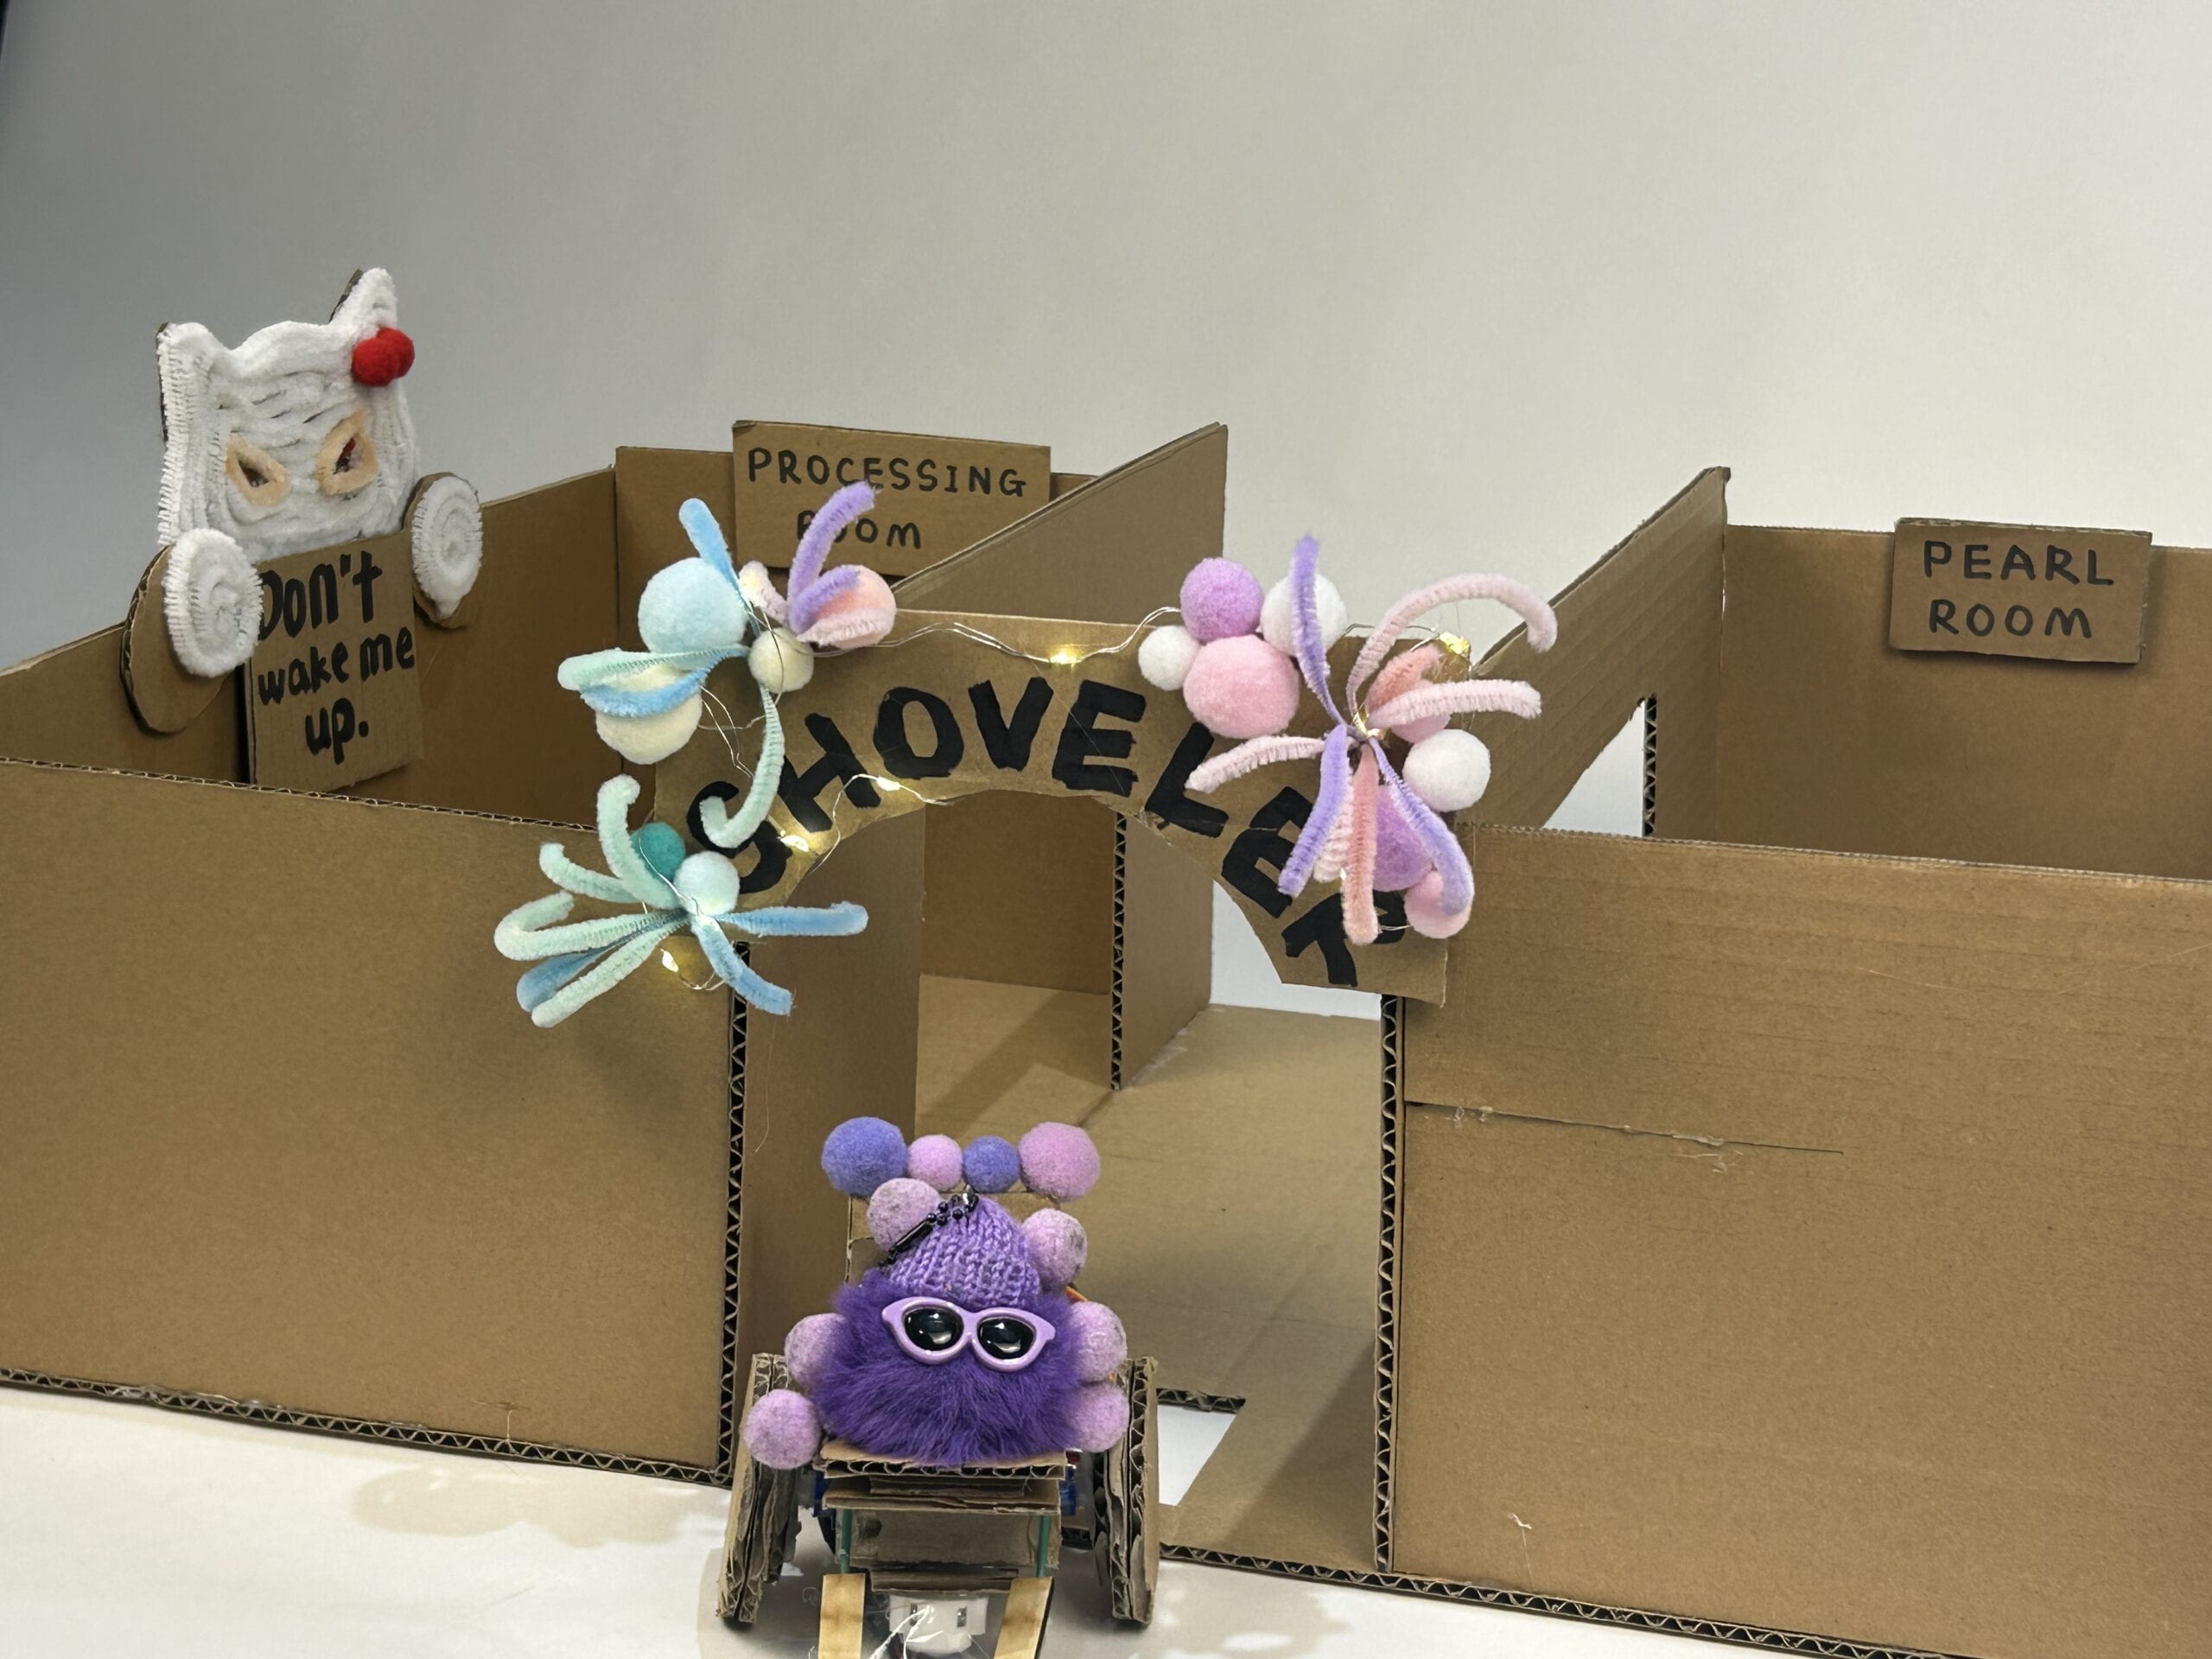
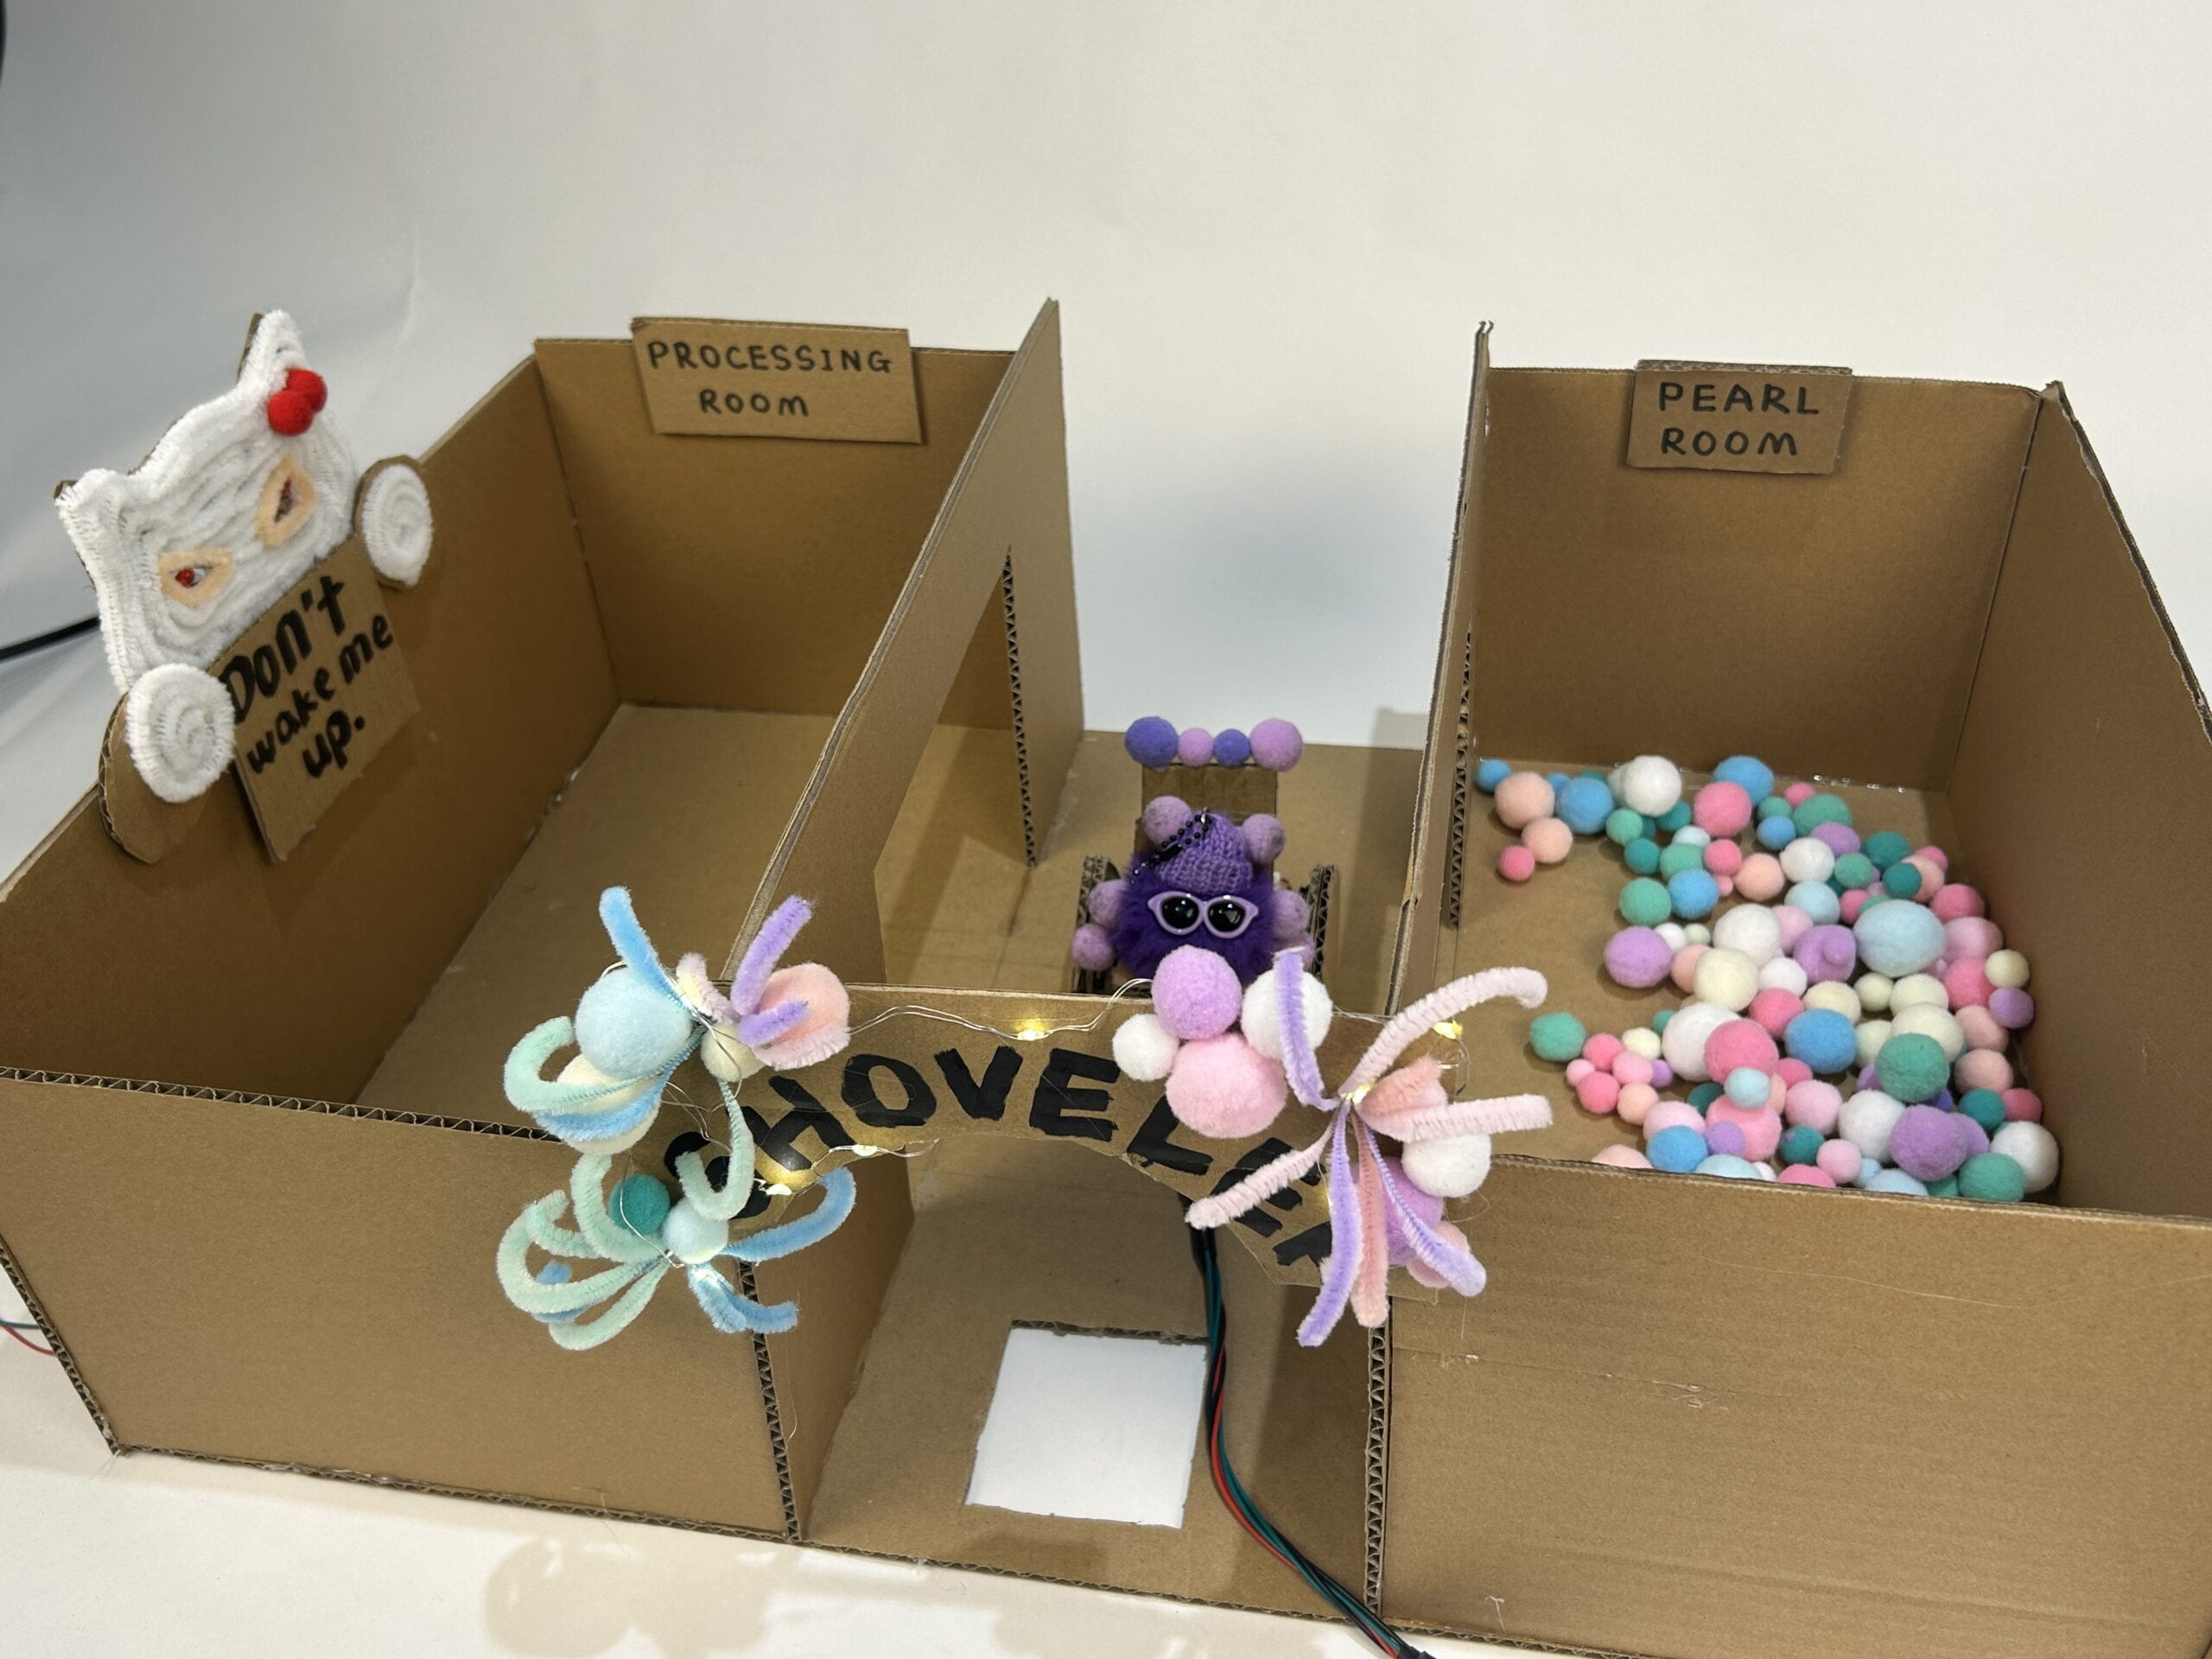
Our intention of “The Shovelers” was designing it as Fluffy (the little purple fluffy ball sitting on the car) is a worker that works in a Pearl Factory, where he needs to deliver balls from the Pearl Room to the Processing Room, without waking up the cat(the cat’s eyes are LED lights where it lights up when the light sensor is triggered). The process of Fluffy delivering the pearls from one room to the other allows me to understand the interaction between Fluffy and the users (people who controls Fluffy’s car). The significant point of our project is how the joystick can allow users to control the car to any directions freely – forward, backwards, left, and right.
Overall, when we see the users interacting with our project, we see that all of them were smiling and everyone’s feedback was that it’s a really fun game. This is also one of our intentions. We don’t want the interaction between Fluffy and the user to be too complicated. Of course, there are still improvements that we can make to make a better project, which this will be what Shelia and I will be working on. How we can make a better Fluffy the Shoveler.
Conception and Design
Before “The Shovelers”, our design was named as “Fluffy the Knight”, where users control the car on a designated route to drive through obstacles that we set with servos and sensors. After finishing the routes and obstacles, Shelia and I thought that there was not enough interaction between users and Fluffy. The only interaction was to drive the car. The most important thing is that the car often gets stuck when we use to route to control where it should go. Therefore, one day before the user-testing day, we remade the whole project, where Fluffy can freely move from place to place, carrying pearls that he wants to deliver.
Materials and Elements:


- Cardboard; Two erasers; A small fluffy keychain; wooden sticks; plastic bag from kit
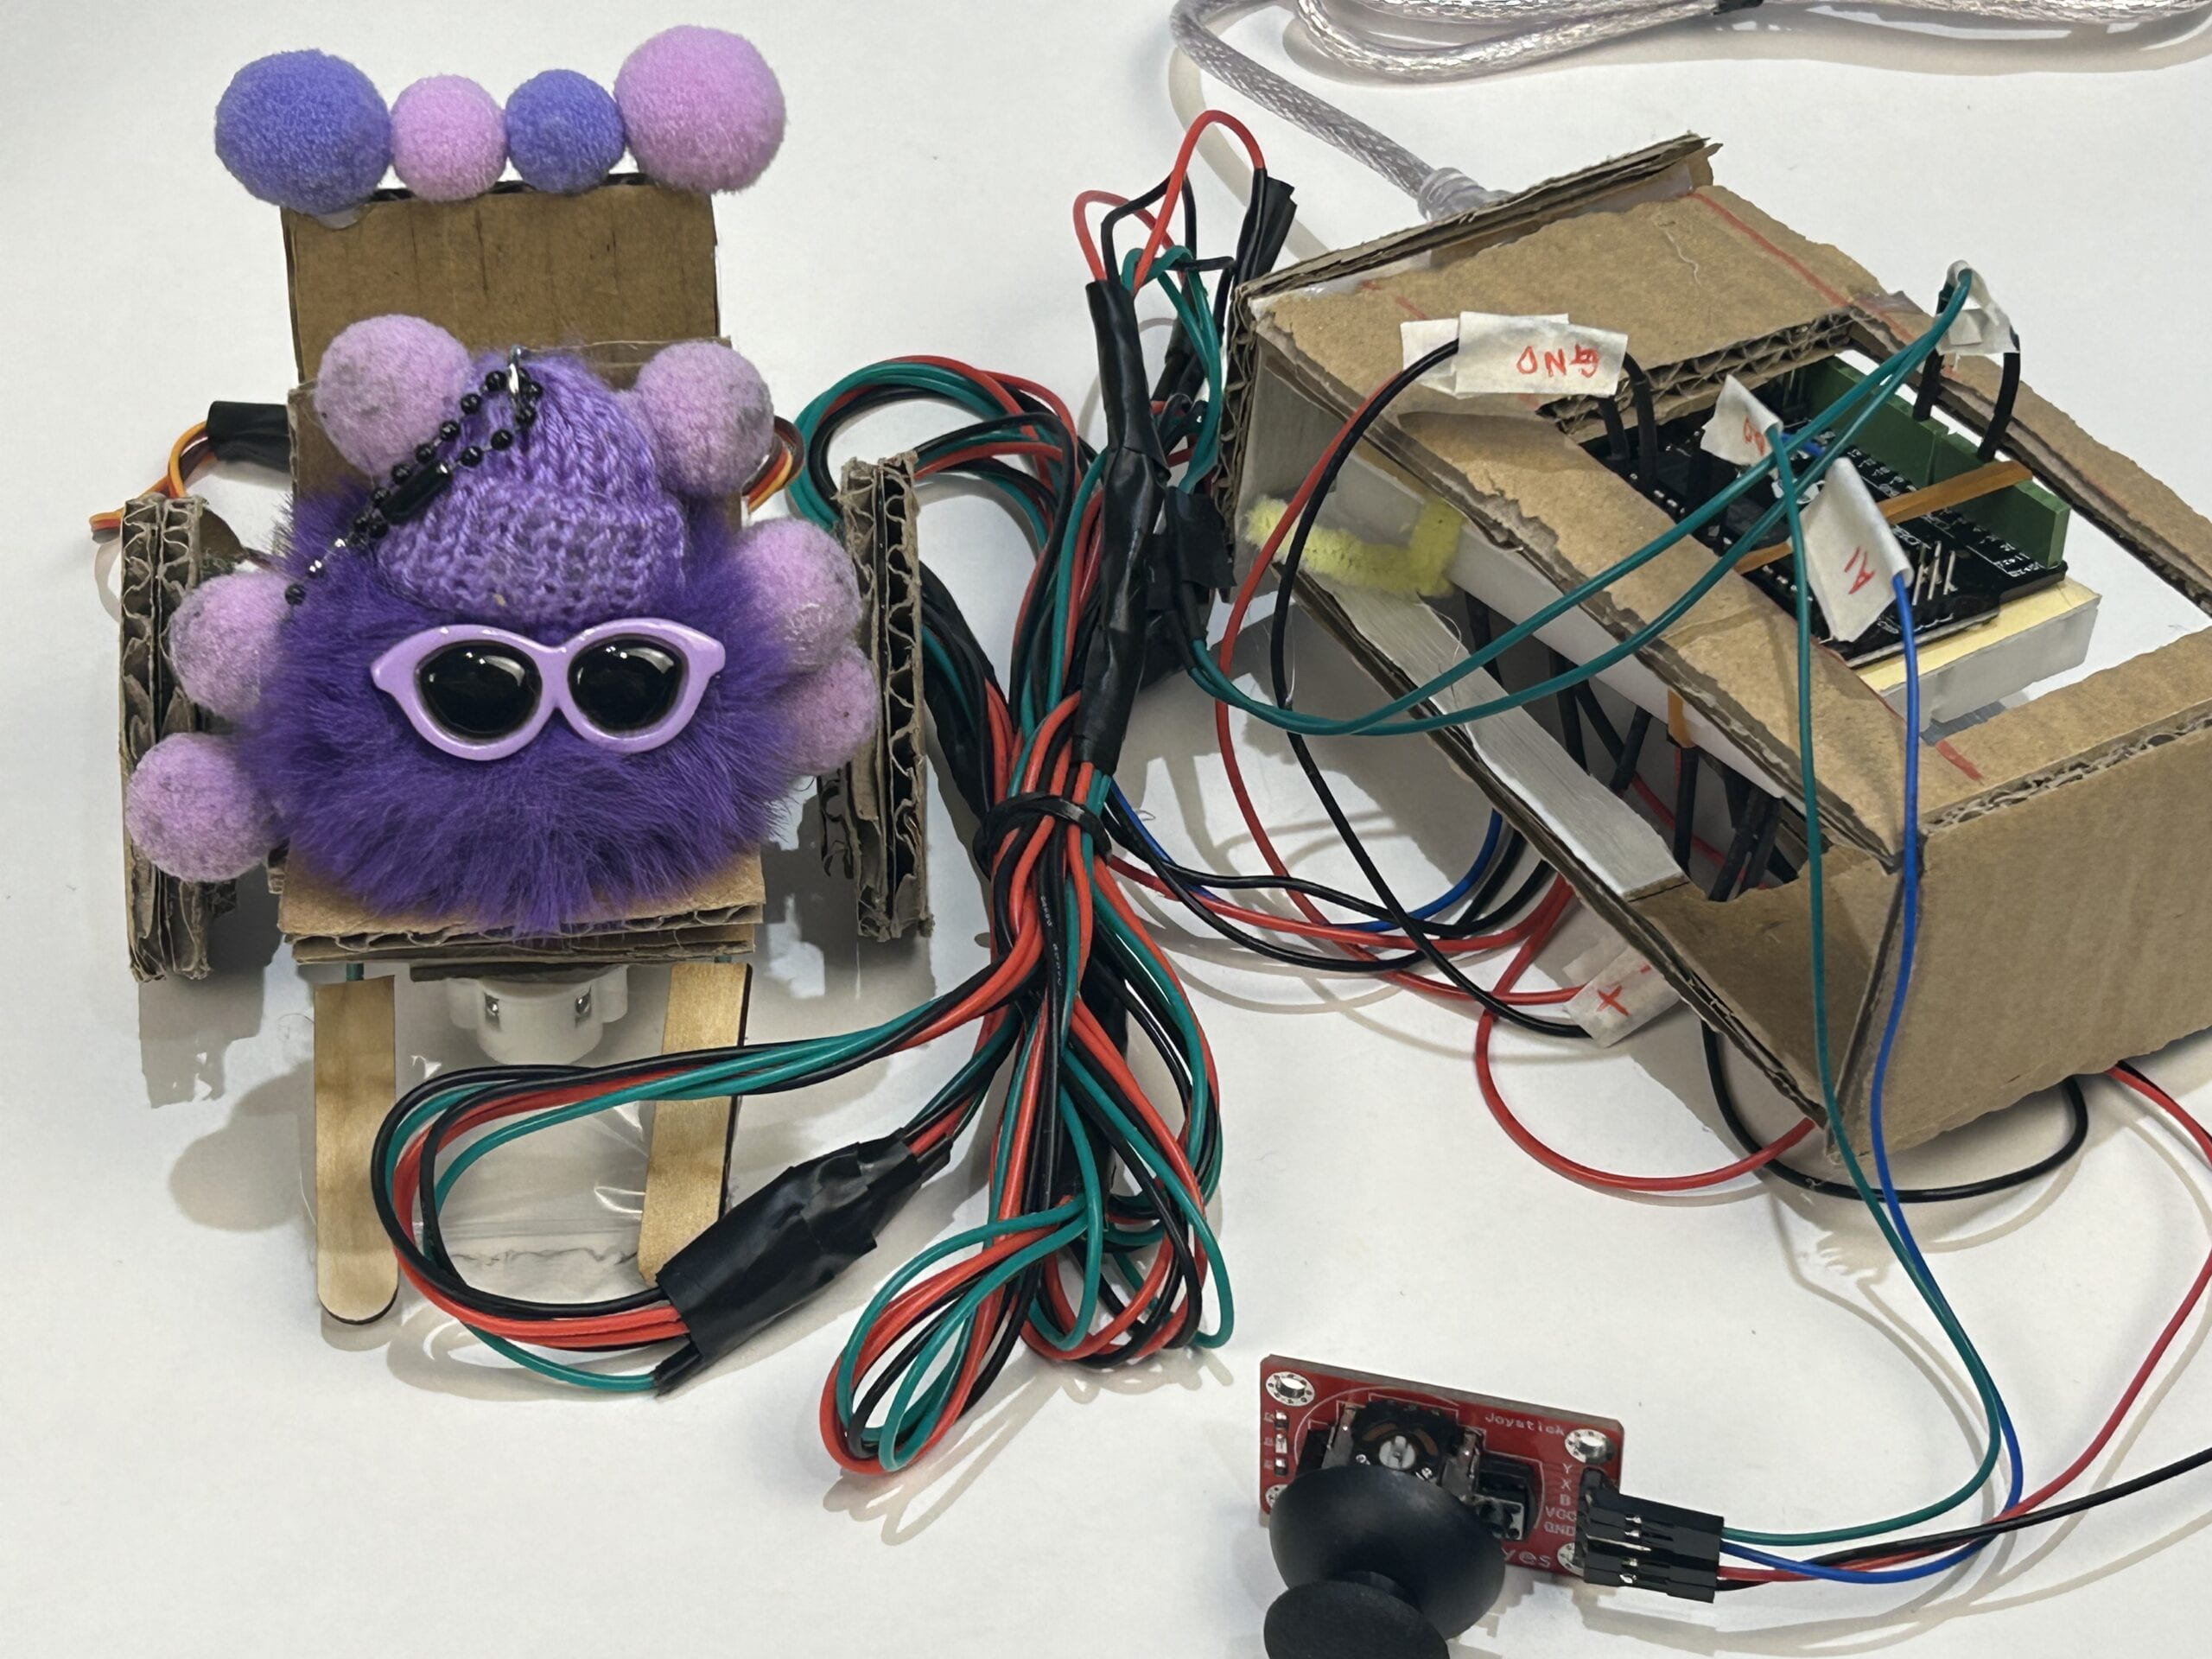
- Two 360 servos; Joystick; Breadboard; Arduino; Cables(Both male and female)
- Light sensor
- Fluffy twistable sticks
Designing and the DIY part is dealt by my partner Shelia, where you can read more about here: https://wp.nyu.edu/nyushanghai-sheliaxie/2024/03/14/fluffy-the-shoveler_shelia-xie_-gottfried-haider/
Fabrication and Production
Shelia and I are both good at different things. She mainly focuses on designing and making the car/decorations and I mainly focus on coding. We both work hard so that my code and her car can work together perfectly. We both agreed that the most challenging part of our project was coding because it was our first time using the joystick. Our first version of the car was using a potentiometer to control the car. It worked really well, but the car can only go forwards and not other directions. Shelia and I thought that it’s not entertaining or interactive enough. So, we ask our LAs for their opinions and they gave us a joystick. After reaching out to our Professor, I wrote the code with him together in about 30 minutes. However, when I tested the code the next day, I found out that the car cannot go backwards. After testing it for a few times, I noticed that it was the angles/numbers that we had to switch up, the numbers cannot be both the same when we want to set the car being able to go forwards and backwards. On the other hand, the LED code was easier. There were no big problems with the coding. We just changed our LED from a touch sensor to a light sensor.
Codes:
First Version Codes:
Car:
#include <Servo.h>
Servo myservo1;
Servo myservo2;
int val;
int joystickXVal;
int joystickYVal;
void setup() {
myservo1.attach(9);
myservo2.attach(5);
Serial.begin(9600);
}
void loop() {
joystickXVal = analogRead(A1);
joystickYVal = analogRead(A0);
//Serial.print(joystickXVal);
//Serial.print(“,”);
//Serial.println(joystickYVal);
delay(20);
if (joystickYVal < 100) {
Serial.println(“Going forward”);
myservo1.write(110);
myservo2.write(70);
} else if (joystickYVal > 900) {
Serial.println(“Going backward”);
myservo1.write(-110);
myservo2.write(-70);
} else if (joystickXVal < 100) {
Serial.println(“Going left”);
myservo1.write(130);
myservo2.write(90);
} else if (joystickXVal > 900) {
Serial.println(“Going right”);
myservo1.write(-130);
myservo2.write(-90);
} else {
Serial.println(“Stopping”);
myservo1.write(90);
myservo2.write(90);
}
}
LED:
//Constants:
const int ledPin1 = 5; //pin 5 has PWM funtion
const int ledPin2 = 6; //pin 5 has PWM funtion
const int ledPin3 = 9; //pin 5 has PWM funtion
const int ledPin4 = 11; //pin 5 has PWM funtion
const int sensorPin = A0; //pin A0 to read analog input
//Variables:
int value; //save analog value
void setup(){
pinMode(ledPin1, OUTPUT); //Set ledPin as ‘output’
pinMode(ledPin2, OUTPUT);
pinMode(ledPin3, OUTPUT);
pinMode(ledPin4, OUTPUT);
Serial.begin(9600); //Begin serial communication
}
void loop(){
value = analogRead(sensorPin); //Read and save analog value from potentiometer
Serial.println(value); //Print value
value = map(value, 0, 1023, 0, 255); //Map value 0-1023 to 0-255 (PWM)
analogWrite(ledPin1, value); //Send PWM value to led
analogWrite(ledPin2, value); //Send PWM value to led
analogWrite(ledPin3, value); //Send PWM value to led
analogWrite(ledPin4, value); //Send PWM value to led
}
Second Version Codes:
Car:
#include <Servo.h>
Servo myservo1;
Servo myservo2;
int val;
int joystickXVal;
int joystickYVal;
void setup() {
myservo1.attach(9);
myservo2.attach(5);
Serial.begin(9600);
}
void loop() {
joystickXVal = analogRead(A1);
joystickYVal = analogRead(A0);
//Serial.print(joystickXVal);
//Serial.print(“,”);
//Serial.println(joystickYVal);
delay(20);
if (joystickYVal < 100) {
Serial.println(“Going forward”);
myservo1.write(110);
myservo2.write(70);
} else if (joystickYVal > 900) {
Serial.println(“Going backward”);
myservo1.write(70);
myservo2.write(110);
} else if (joystickXVal < 100) {
Serial.println(“Going left”);
myservo1.write(130);
myservo2.write(90);
} else if (joystickXVal > 900) {
Serial.println(“Going right”);
myservo1.write(-110);
myservo2.write(-70);
} else {
Serial.println(“Stopping”);
myservo1.write(90);
myservo2.write(90);
}
}
LED:
Conclusion
Our aim of creating this project was to allow people to have fun and interact with our car by allowing them to controlling the car by themselves and deliver pearls from one room to the other. At the same time, players cannot trigger our light sensor (turns on the LED) and wake up our cat.
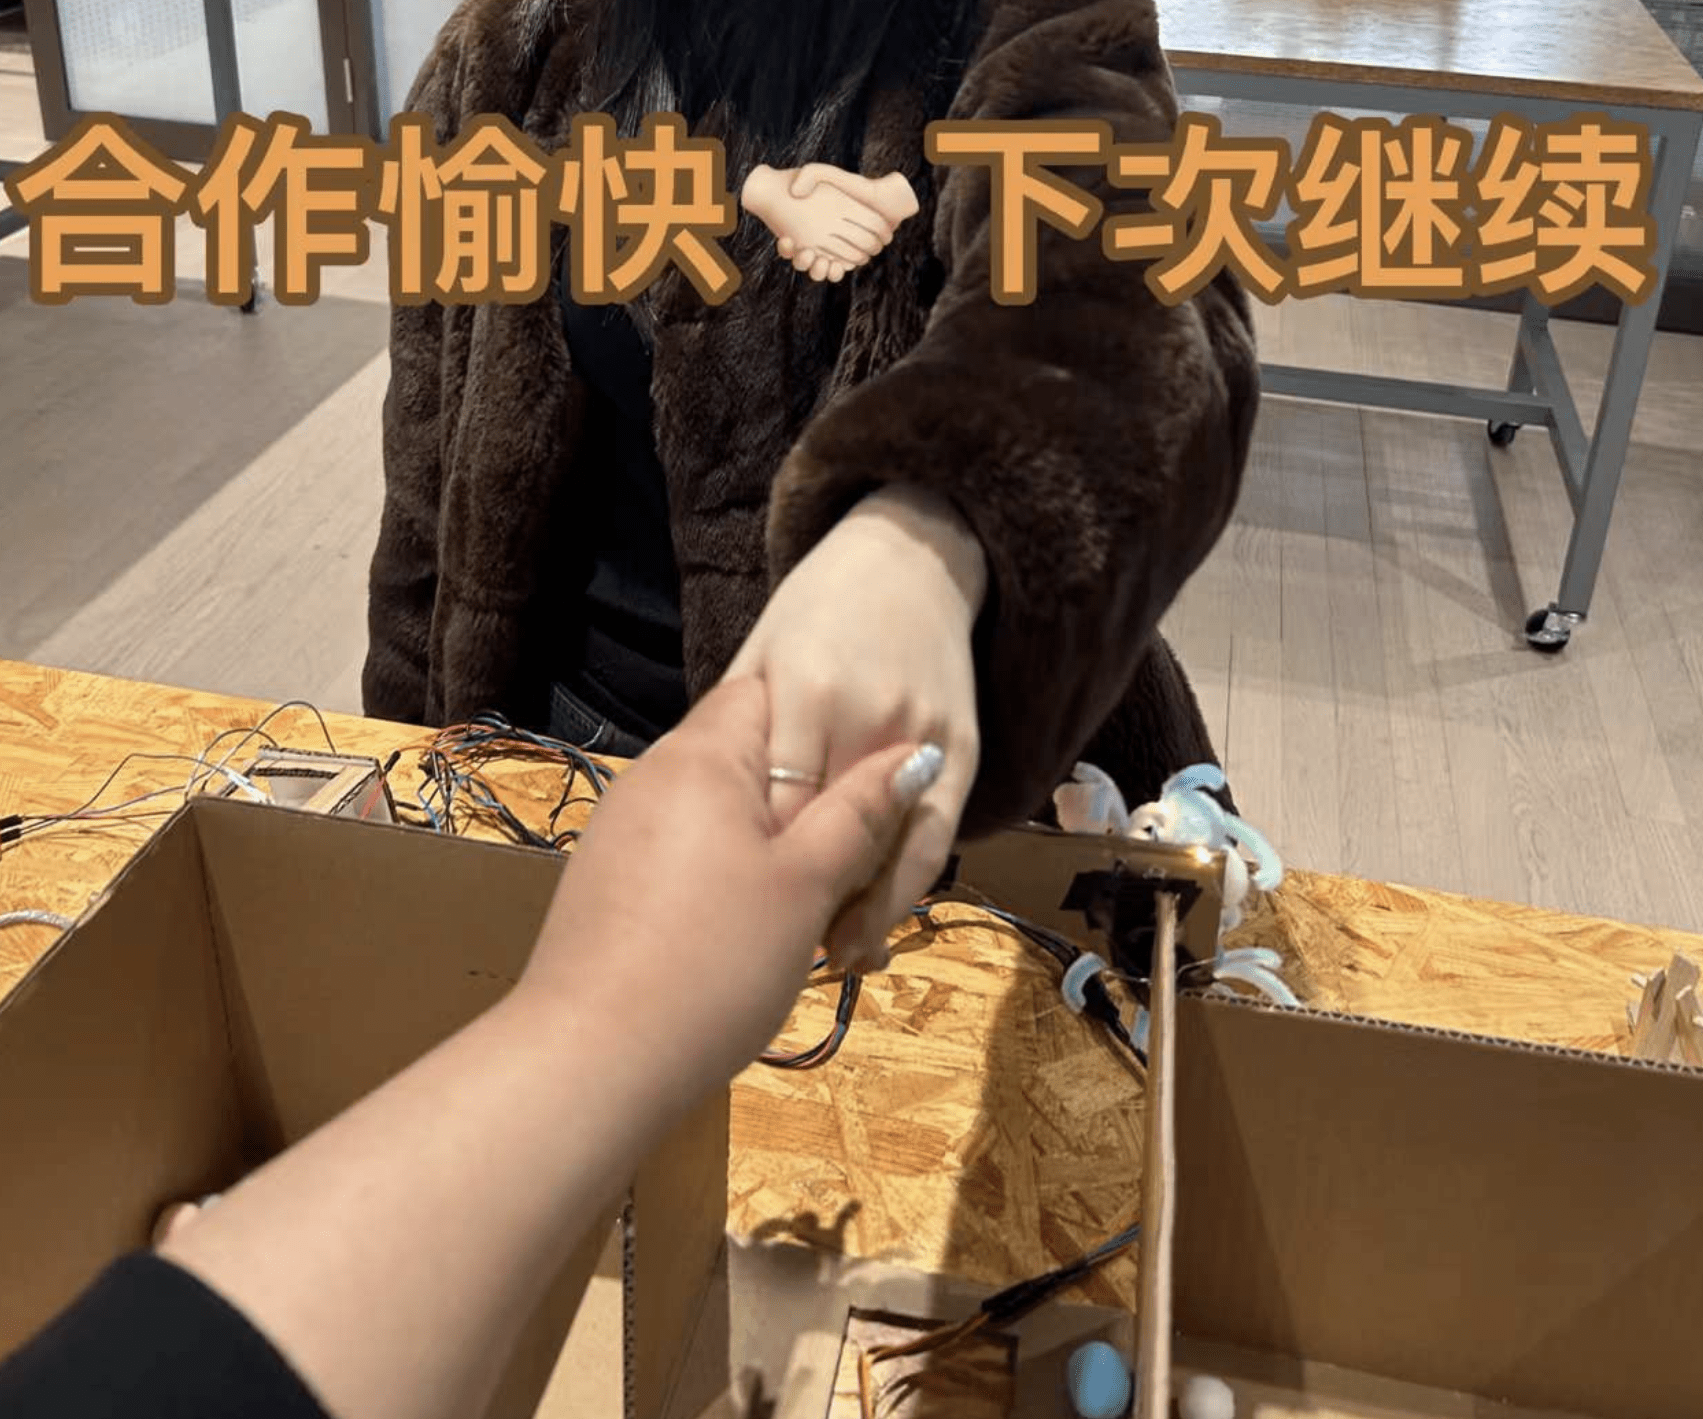
During the user testing session, we got so many useful suggestions, which included changing our sensor and changing the way of interacting with our project. This helped us to improve our project and allowed us to clarify the confusions that uses had during the first testing session. The happiest thing for me and Shelia were the compliments that we got about our decoration and coding of the joystick. Of course, also when everyone is laughing and having fun with our project. It was a pleasure to work with Shelia to make our first project, “The Shovelers”!

Videos:
https://drive.google.com/file/d/1pFEtlgaVwA9YBbjGwaEdFa7Yaj9_ikF-/view?usp=drive_link
My Vlog:
https://drive.google.com/file/d/15fzUawJzLUjB2U_bP9xbDbdXDRlbrjhb/view?usp=drive_link
Me testing the code:
https://drive.google.com/file/d/1wCBO5Sa8Ee-VfvlwhSn4NRkTmfKCh0jp/view?usp=drive_link
Shelia testing on user testing day:
https://drive.google.com/file/d/1wCBO5Sa8Ee-VfvlwhSn4NRkTmfKCh0jp/view?usp=drive_link
Leave a Reply