Circuits
Circuit 1 : Fade
For the first circuit, I connected the wire, resistor and the LED light according to the diagram on the website. The red wire was plugged into the -9 pin mode, after that it went through the resistor and LED, then went back to the ground pin mode. It was an individual work, and I connected them smoothly. Everything worked well.
Circuit 2 : toneMelody
For the second circuit, I changed the LED light into a buzzer. I thought it was an easy work, but then it did not work. I turned to the classmate beside me for help, and he told me that the pin number has been changed, which means I have to plug the first wire into pin mode 8.
After switching the pin mode, I chose the code example of toneMelody, and the buzzer started to beep.
Circuit 3: Speed Game
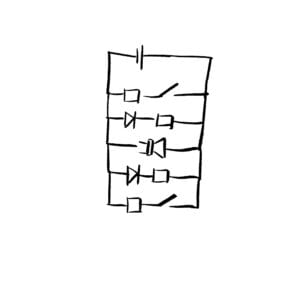
For the third circuit, I clicked the introduction website for the diagram of the circuit. It was pretty complicated, so I followed the diagram step by step. I did not quite understand how the circuit was connected at first, but after I finished connecting, it successfully worked.

Additional questions
1.Rhythm Button
I would design a two player- button for the circuit. It is like a rhythm game that the buzzer would play a short music for 3 seconds. And the player should press the button to replay the music. They have to precisely repeat the rhythm of the original music, and the player who replay the music more precisely will win the game.
The music played by the buzzer is the process of computer speaking (output), and the player would hear the music and replay the music through the button, that is the process of thinking (processing). We human replay the music and press the button in the correct rhythm could also be defined as “speaking”, and the computer would regard it as “input”. It is a game of interacting between players and computers. So I would say this button make the game more interactive.
2. To lower the current flowing the button, preventing it from being burnt.
3.
(https://create.arduino.cc/projecthub/hackershack/make-an-autonomous-follow-me-cooler-7ca8bc?ref=platform&ref_id=424_trending___&offset=10)
The Arduino way is combining something that have already existed, and make them a bigger and newer item.
This tiny fridge is called “Follow me” cooler, and it could follow the user via bluetooth and GPS. In that case, people could get ice drink wherever they are.
The inventors combined the fridge, 3D-printed car, and the app with the Arduino circuit, which made it a completely new thing. And that is what Arduino way is defined.
