My Interaction Lab Recitation 09

STEP 1. 

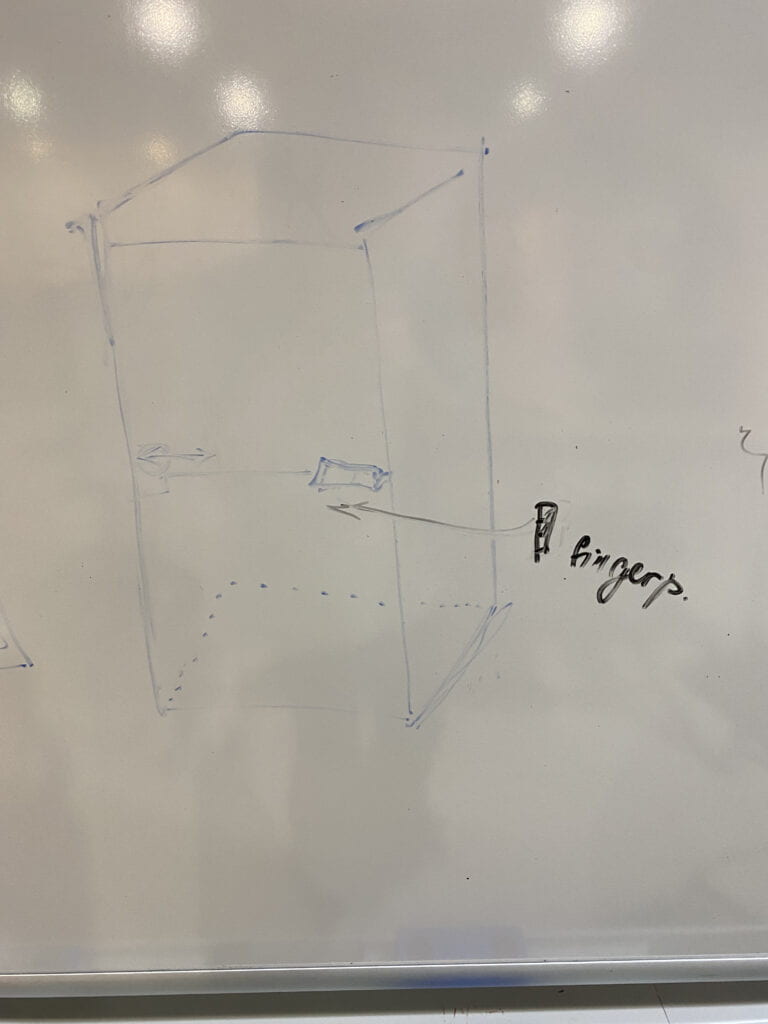
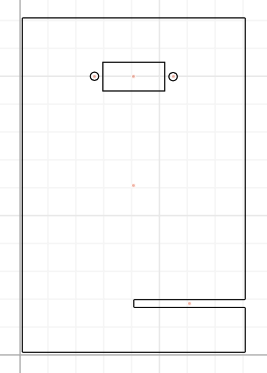
Design of the holder was respectfully easy because there were no complicated corners or multiple lines that needed to be considered since it’s just an rectangular shape. My teammate was Tawan and I was doing the work of a student A. 

Here is the results of the first design: 


STEP 1.2

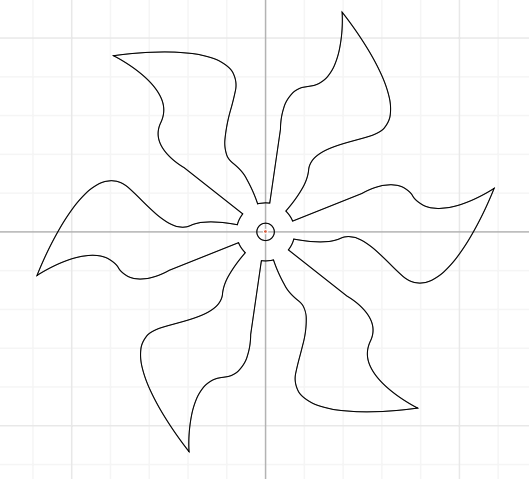
  • This was the hardest part for me since at first I didn’t understand concept of not having multiple intersections since the laser will cut through them and the whole shape will fall apart. However, I was able to do a simple shape.

     Here is the sign of the pattern:
    STEP 2. 

  • For this step we were helped by the staff to insert the images we came up with and he turned on the laser which did all the work. 
  • An important thing that I learned during this process is the position of the material that the design will be cut on because the first time we cut the shape it wasn’t indented strong enough so it was hard to get the shape out and so the surface of the material should be straight. 

    Here is our designs being laser cut:

STEP 3. 

  • This step was pretty straightforward we just needed to attach all the parts. 
  • However we did encounter a slight problem that the whole of the outer shape was a bit smaller than of the Servo, so I think there was some miscalculation in measuring the servo or during creating of the diameter of the whole. 

    Here is the final work:
     

My Interaction Lab Recitation 08

Task 1. 

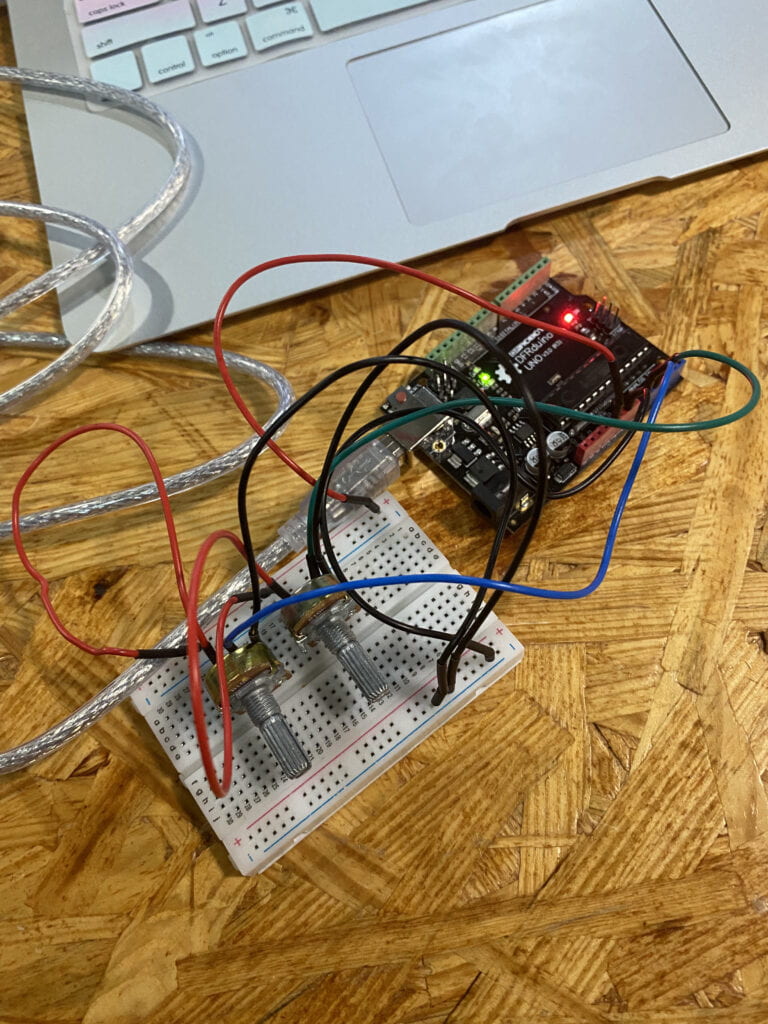
  • At first, connecting the breadboard seemed to be the easiest part of the task, however, the uncareful placement of the jump wires did create some problems with Processing later on. Nevertheless, I think the fact that it was hardly identifiable gave a good lesson on how should I approach the task from the start. 
  • I extremely enjoyed the interaction with the circuit and the Processing as well as the results I was getting. It made me feel like Bob Ross 2.0 which you will, unfortunately, witness when watching the video of me playing with it. 

  • TASK 2. 

  • My teammate was Nicole 
  • We did have a successful ball that was bouncing, however it was extremely hard to sync it with servo. We also only had one servo which made us take a different path. 
  • And this would reflect on the interactivity of the ball, so we thought of basketball like if a player was hitting the ball and the ball was bouncing off of the ground. 
  • Here’s the video of the final work:
  • Arduino code: 
    /*
      SendMultipleValues
    
      This sketch repeatedly sends a record that contains two values:
    
      - The first value is the value of `millis()`, modulo 32768.
      - The second value is the analog value that is read from pin 9. If you attach
        a potentiometer to that pin, you can control this value by moving the pot.
    
      This sketch pairs well with the RecieveMultipleValues example from the
      Processing SerialRecord library
      <https://osteele.github.io/Processing_SerialRecord/>.
    
      Things to try:
      - Connect a second potentiometer to the Arduino, and send the values from both
        potentiometers.
      - Send the value from another sensor, such as temperature or proximity.
    
      by Oliver Steele, 2020-2022
    
      This example code is in the public domain.
    */
    #include 
    
    #include "SerialRecord.h"
    
    // Change this number to send a different number of values
    SerialRecord writer(1);
    Servo myservo;  // create servo object to control a servo
    	int pos = 0;    
    void setup() {
      Serial.begin(9600);
     myservo.attach(6);
     }
    
    void loop() {
      int sensorValue = analogRead(6);
    for (pos = 0; pos <= 90; pos += 1) { // goes from 0 degrees to 180 degrees myservo.write(pos); // tell servo to go to position in variable 'pos' delay(5); // waits 15ms for the servo to reach the position } for (pos = 180; pos >= 0; pos -= 1) { // goes from 180 degrees to 0 degrees
    	    myservo.write(pos);              // tell servo to go to position in variable 'pos'
    	    delay(5);                       // waits 15ms for the servo to reach the position	  }
      writer[0] = sensorValue;
      writer.send();
    
      // This delay slows down the loop. This can make it easier to debug the
      // program.
      delay(10);
    }
    } 

    Processing code: 

     
       float circleY;
      float xspeed = 4;
    void setup() {
      size(500, 500);
    circleY = 0;
    
    
    }
    void draw(){
        background(0);
       fill(150);
      stroke(255);
      ellipse(height/2 ,circleY ,50,50);
      circleY = circleY + xspeed;
      
      if (circleY > height){
      xspeed = -4; 
    } if (circleY< 0){
        xspeed = 4;
    }
    }
     

Midterm Individual Proposal

A. Unlock with “ScanLock” – Nuri Atymtay – Rudi 

B. Sketches & diagram. 

C. Explanation.

My proposal was triggered by the constant problem of unlocking our university locker. It usually takes around 2-4 minutes to unlock the “Master lock”, whereas the “Lehmann locker” approximately a minute to unlock considering all 36 numbers that you have to get through to unlock the locker and my proposal could end our struggles with opening the locker under 3 seconds by using Fingerprint scanner&sensor or NFC(Near Field Communication) like RFID card. 

My Interaction Lab Recitation 03

Step 1. 

Step 2. 

int SENSOR_PIN = 2;
int tiltVal;
int prevTiltVal;
int count = 0;
 
void setup() {
pinMode(SENSOR_PIN, INPUT); // Set sensor pin as an INPUT pin
Serial.begin(9600);
}
void loop() {
// read the state of the sensor
tiltVal = digitalRead(SENSOR_PIN);
//count = tiltVal + 1;
// if the tilt sensor value changed, print the new value
if(tiltVal == HIGH){
count = count + 1;
Serial.println(“Yay, you’ve done one set of curls”);
}
delay(10);
}


Step 4.

I noticed that when tilting the device your hand might go over 90 degrees and that’s when it counts it as “HIGH”, whereas if you were to do exactly 90 without giving it much force the device doesn’t feel the difference and the balls inside will be moving so slowly that the program will not detect it. 


Hello world!

Welcome to Web Publishing @ NYU. This is your first post. Edit or delete it, then start creating your site!

Online help is available via the Web Publishing Knowledge Site (wp.nyu.edu/knowledge) and the ServiceLink knowledge base (www.nyu.edu/servicelink). Through ServiceLink, you can find step-by-step instructions, as well as tutorials.

Digital Accessibility

As content creators who create and publish text, images, video, and audio, you must adhere to the NYU Website Accessibility Policy (https://www.nyu.edu/digitalaccessibility/policy) when creating and publishing digital content.

Web Publishing-specific Digital Accessibility Best Practices and examples of how to ensure your content are compliant are available at https://wp.nyu.edu/digitalaccessibility

If you have additional questions, contact the IT Service Desk for assistance. Support is available 24/7/365. For more details, visit www.nyu.edu/it/servicedesk.