TASK 1.
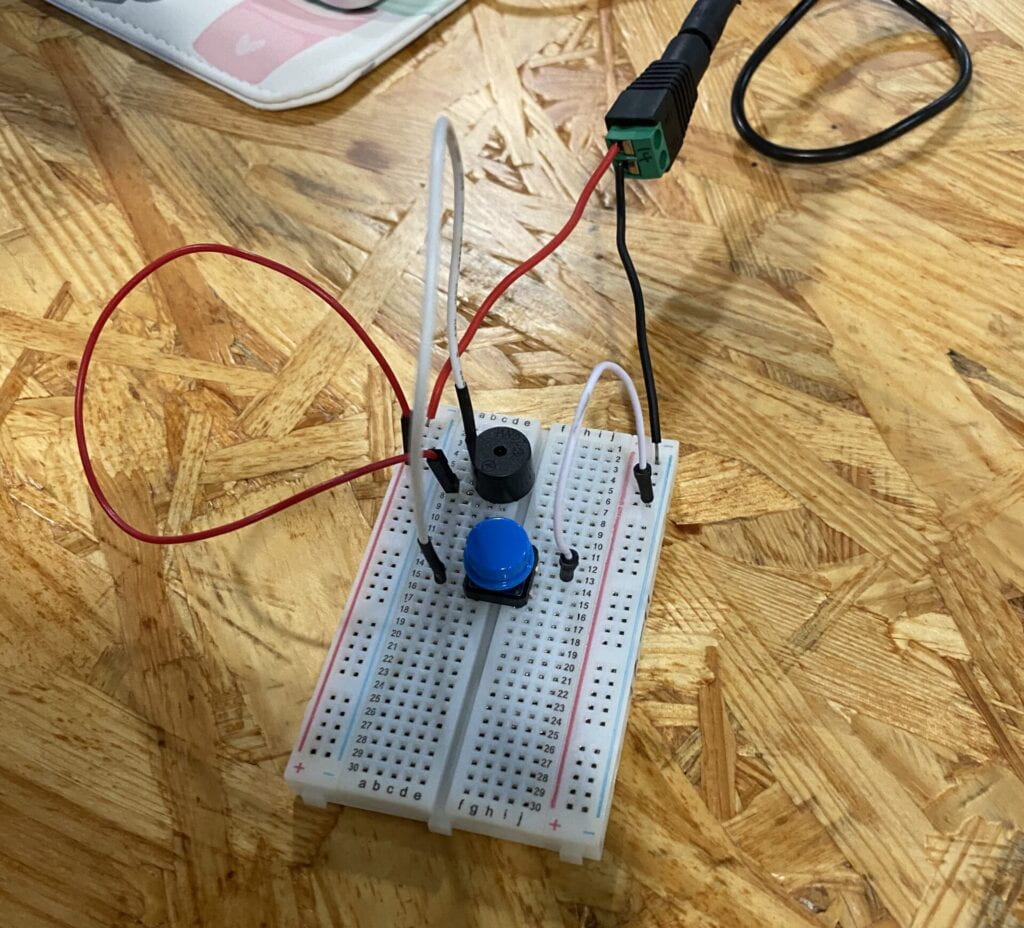
Step 1. My partner and I have connected the buzzer and the button with the necessary wires to the corresponding +/- charges on the breadboard.

Result: We got a board that makes a buzzing noise whenever we press the button when connected to the source of power. There was no complication in the first stage since everything is quite a straightforward match the negative charge to the negative wire and vice versa while connecting the buzzer to the button with the vertical wire.
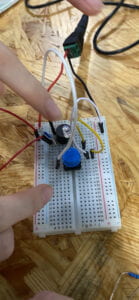
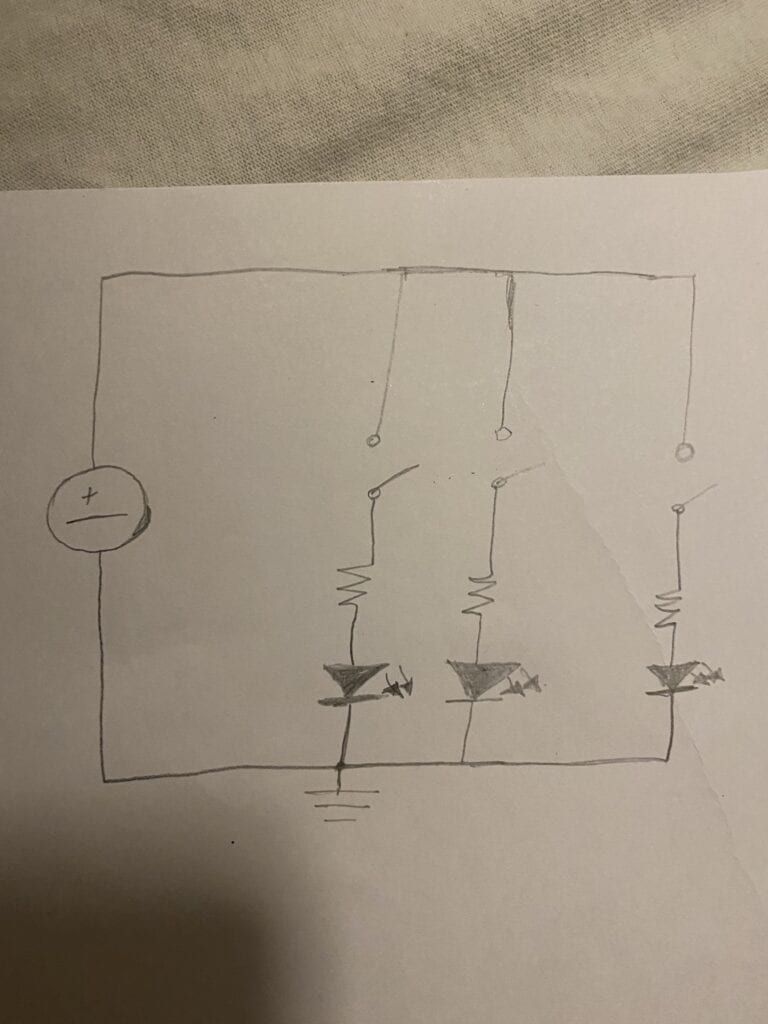
Step 2. We further developed our gadget by connecting it to the LED and the resistor according to the scheme.

Comment: After connecting the LED and the resistor the light wouldn’t turn on. This was our first small obstacle and the issue was the fact that we didn’t push the lead of the LED strong enough for it to connect with the breadboard.
Comment: After a quick fix, it WORKED and as you can hear from the video it was a “Woah!” moment for me.
Result: We now have a buzzing and illuminating device!
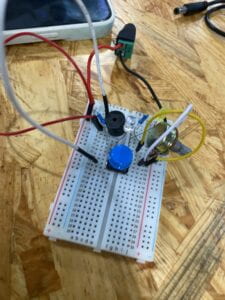
Step 3. On our final step we’ve plugged in additional LED, resistor and POT, which regulates the flow of the current.
 Comment: We have encountered another problem on our way where the second LED wouldn’t light up again when we regulated the POT. After much poking and no result, we got help from the instructor, who told us to replace the POT. After that, it shined again!
Result: As a final result of our first task we have ourselves a device that can beep and light up when the button is pressed and on the other hand an ability to regulate and manipulate the LED when POT is used.
TASK 2.
Tools used: We were given a cardboard with two wires and a thin layered copper as well as some tools such as wire stripper instrument to cut the edge of the wire and to strip it off of its plastic cover and some tape.
Step 1. `We taped two cardboards together, as well as the copper to each cardboard.
Step 2. And then we taped the wires with stripped edges to the copper, so it won’t move.
Step 3. As a final step, we used thin metal (solder) and melted it on a high temperature with the soldering iron kit to attach the tip of the wire to the copper.
Result: We DIY-ed a switch that will replace our button.
TASK 3.
We finally have finished our device, connecting the handmade switch with the real button. And our secret Morse code was “••••••-•••-••—” (hello)
1. Additional Questions:
Q1. The Resistor functions as a sort of shield from the immense amount of current that LED has by suppressing and limiting it to below most allowable current. Because the LED does not regulate how much current it projects, if not used with the resistor it can get damaged.
Q 3. I believe the circuit that I have built today reflects a moderate level of interactivity. This is due to the fact of interactive actions are not as complicated and still need more human interaction and not an automatic response to the action.
Q4. I am convinced that interactive design/art and physical computing if combined and worked together can create endless possibilities for everyone and anyone. Attaching sensors and motion tracking devices to human body and making the ordinary person an artist by construction of a glove that can move on its own to paint/draw an image. You don’t have any skills in painting, but program the glove to produce those actions. Recreating or even procreating the artwork of famous artists based on the patterns and style of the artist to create a physical instrument if coded properly that can imitate the Leonardo da Vinci, Van Gogh would help the footprint of the past to go on.
Summary of the reading: The author has written about the true definition of interactivity, making some valid points with comprehensive and simple examples. On top of that, we see how nowadays this buzzword is becoming more ubiquitous which as result gives us misinterpreted mass production of ads just like with the carpet promotion and more. Given the example of the refrigerator lights and their difference from the broken branch, we can clearly witness the main characteristic contrasts, the fallen branch being reactive and the refrigerator lights being interactive since they respond to certain actions like the door opening and closing. Another important point that has been made is the degree or level of interactivity that goes on with every object and subject, how much are they interacting, whether is it on a high or low level, etc.
