Midterm Project Individual Reflection
By Xiaoyi Cai (Mia) Date: 3/23/2021
 I. Brief Introduction
Project Name: Do you want candy?
Co-designer: Xiaoyi Cai (Mia)
Instructor: Eric
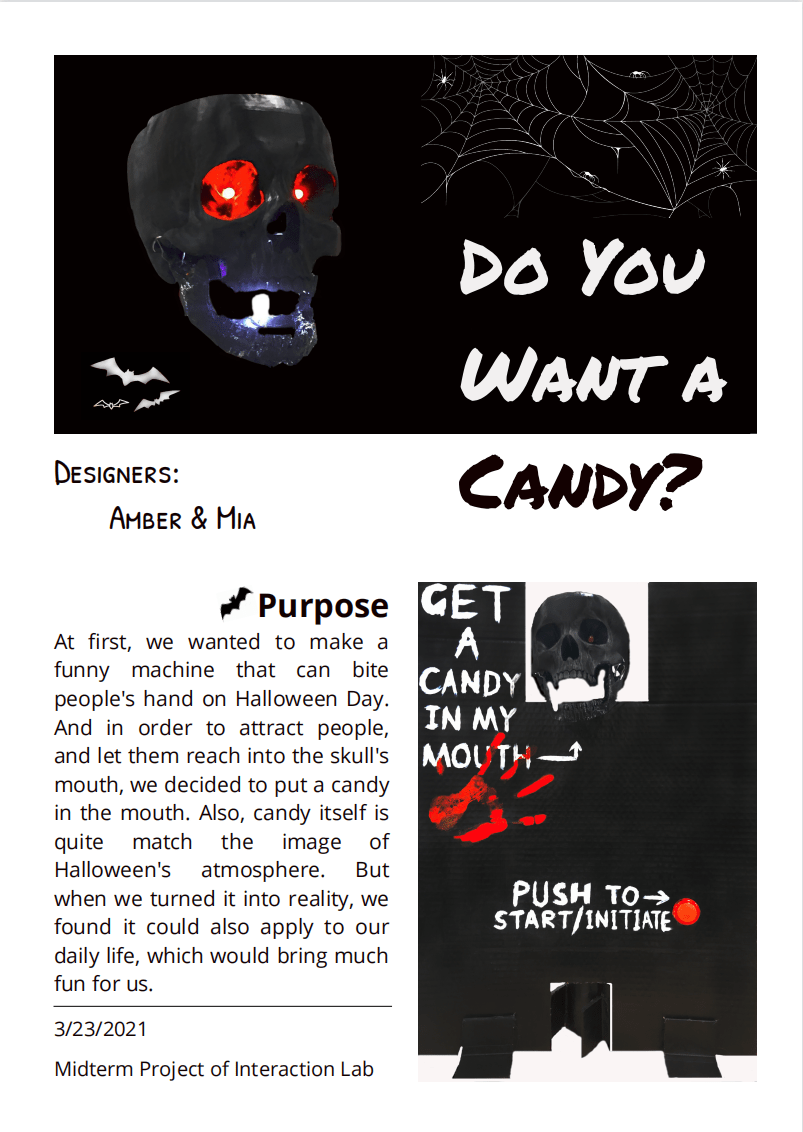
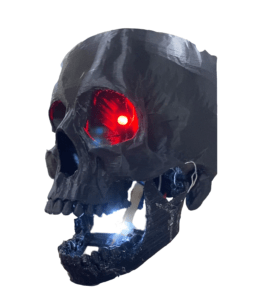
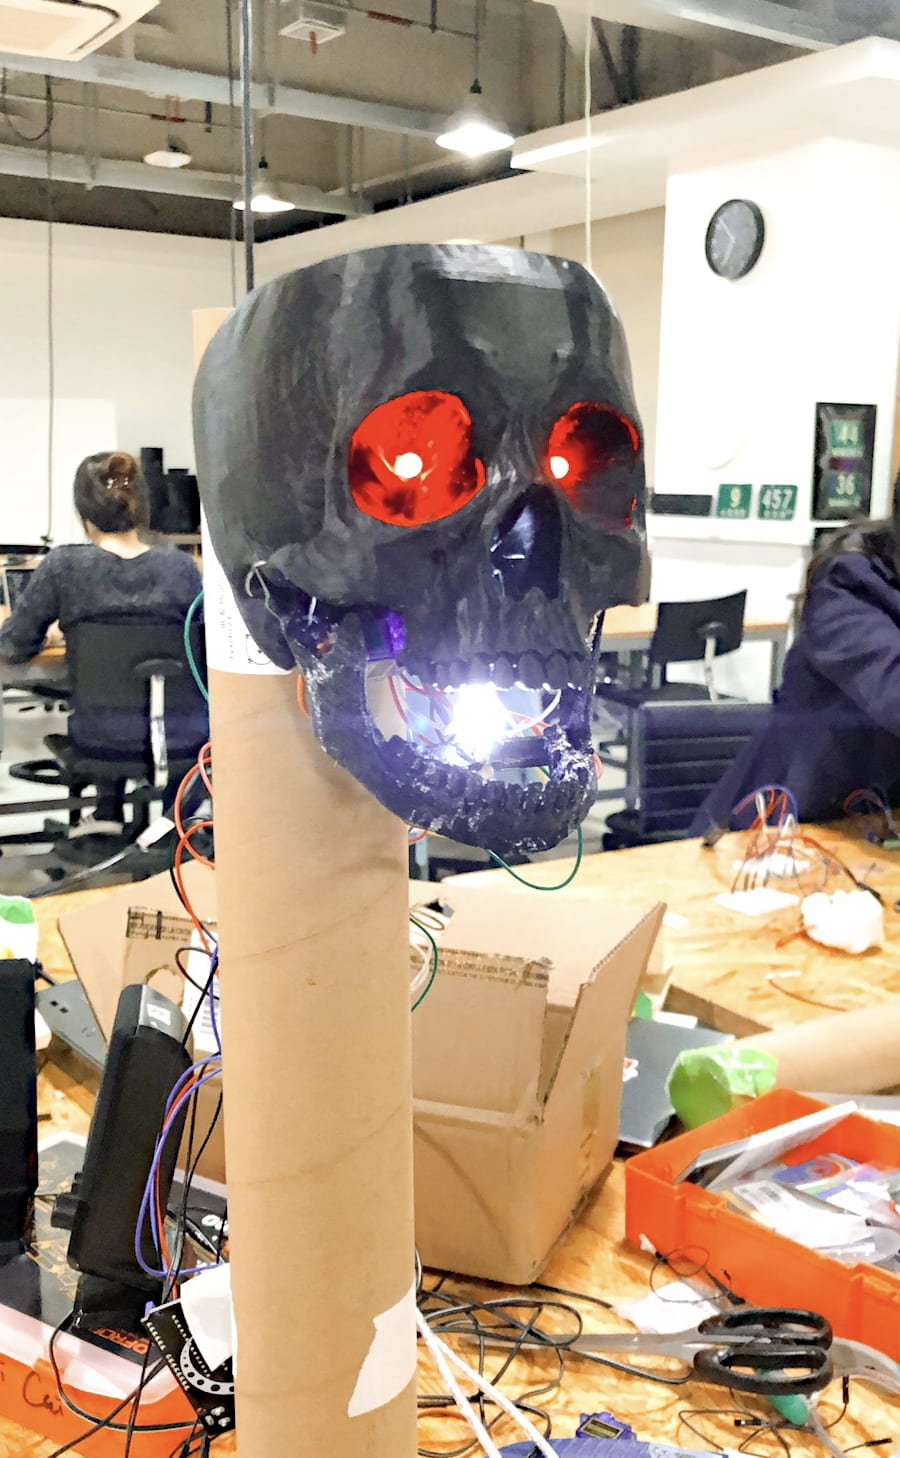
- Here are the overview picture and the video of our project
II. Context and Significance
Group Project helped me to get a better understanding of the project. It told me that we should focus more on how the audience will interact with the project. And I bore it in mind during the process that I was making our midterm project. Both of those two projects triggered me a lot about what is interaction. There must be at least two objects in the process of interaction. Another trait, also I think is the most important feature of interaction, is that with different people “interacting” with the project, it should not respond with a single assigned action. Instead, it should give different responses for people’s different movements, which can provide each person with their own feelings.
As for the special point of my project, in my opinion, it is that, unlike other projects that only provided simple emotion to the audience, our project can enable the audience to enjoy both emotions of happiness and fright. Every time I saw the people play with our skull, at first, they would all be afraid, but they still would put their hands in the skull’s mouth to get the candy. And after they were bitten, instead of being scared, they all started to laugh at last, which is a very interesting thing for me.
In reality, the biting machine/toy has already been on the market, it seems that there is no need to remake it again. However, the biting machine that we made has its own value. First of all, compared with other common biting machines/toys, ours has more function than them, which can bring more fun to the audience. For example, instead of just biting people’s hands, it also can chew the hand. Also, we add many visual and sound effects to it, like fading/blinking red eyes, and growling sound, which can create a more immersive atmosphere. Furthermore, our project has more attractive features in its appearance. As we wanted to put it especially on Halloween Day, we tried the skull as our outer image. We also worked on the color of our project. After deep consideration, we finally chose black, white, and red, which could make a really strong impression, and also fitted with Halloween Day.
III. Conception and Design
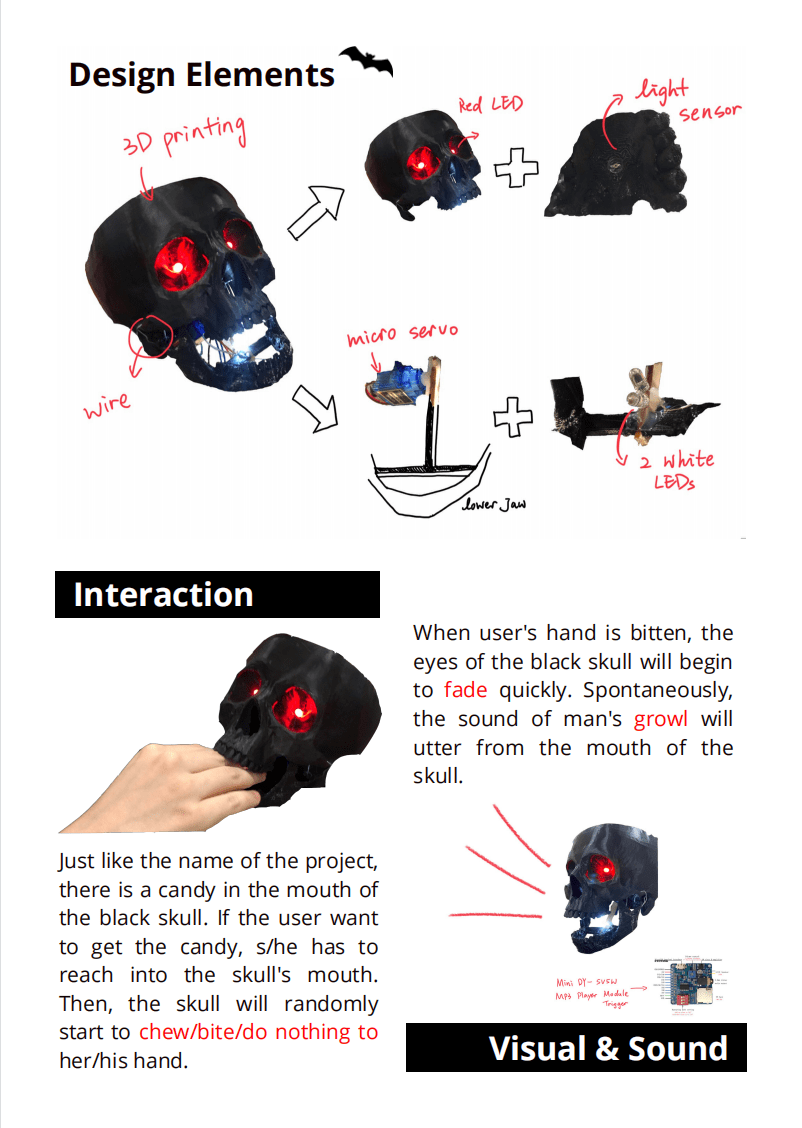
The essence of our project is a biting machine, therefore, the first function we consider to make is how to make it bite people’s hands. Before we start to let it bite people, the first thing we have to think about is how to connect the upper jaw and the lower jaw. To deal with this problem, we drilled two holes in the two corners of the lower jaw and used two wires through the hole to connect the upper jaw to the lower jaw. Then, in order to realize the function of biting people, we chose to connect the micro servo and the lower jaw with a stick. By gluing the micro servo on the upper jaw, finally, with the power of micro servo, our biting machine could be able to bite the hand. However, if our project only has the function of biting, it’s definitely not enough, because it cannot differ our project from other biting machines. Therefore, we totally added three functions of biting, chewing and doing nothing to our project. And those three functions will randomly appear.
Then it comes to the problem that how to detect people’s hands and let our skull start to work. As for this question, we tried to use the light sensor and set it up on the upper side of the skull’s mouth. Also, we added two white LEDs to the stick that connected the servo and the lower jaw. The reason why they had two LEDs instead of just one is to make sure that no matter the mouth of the skull was open or close, the sensor could get stable input.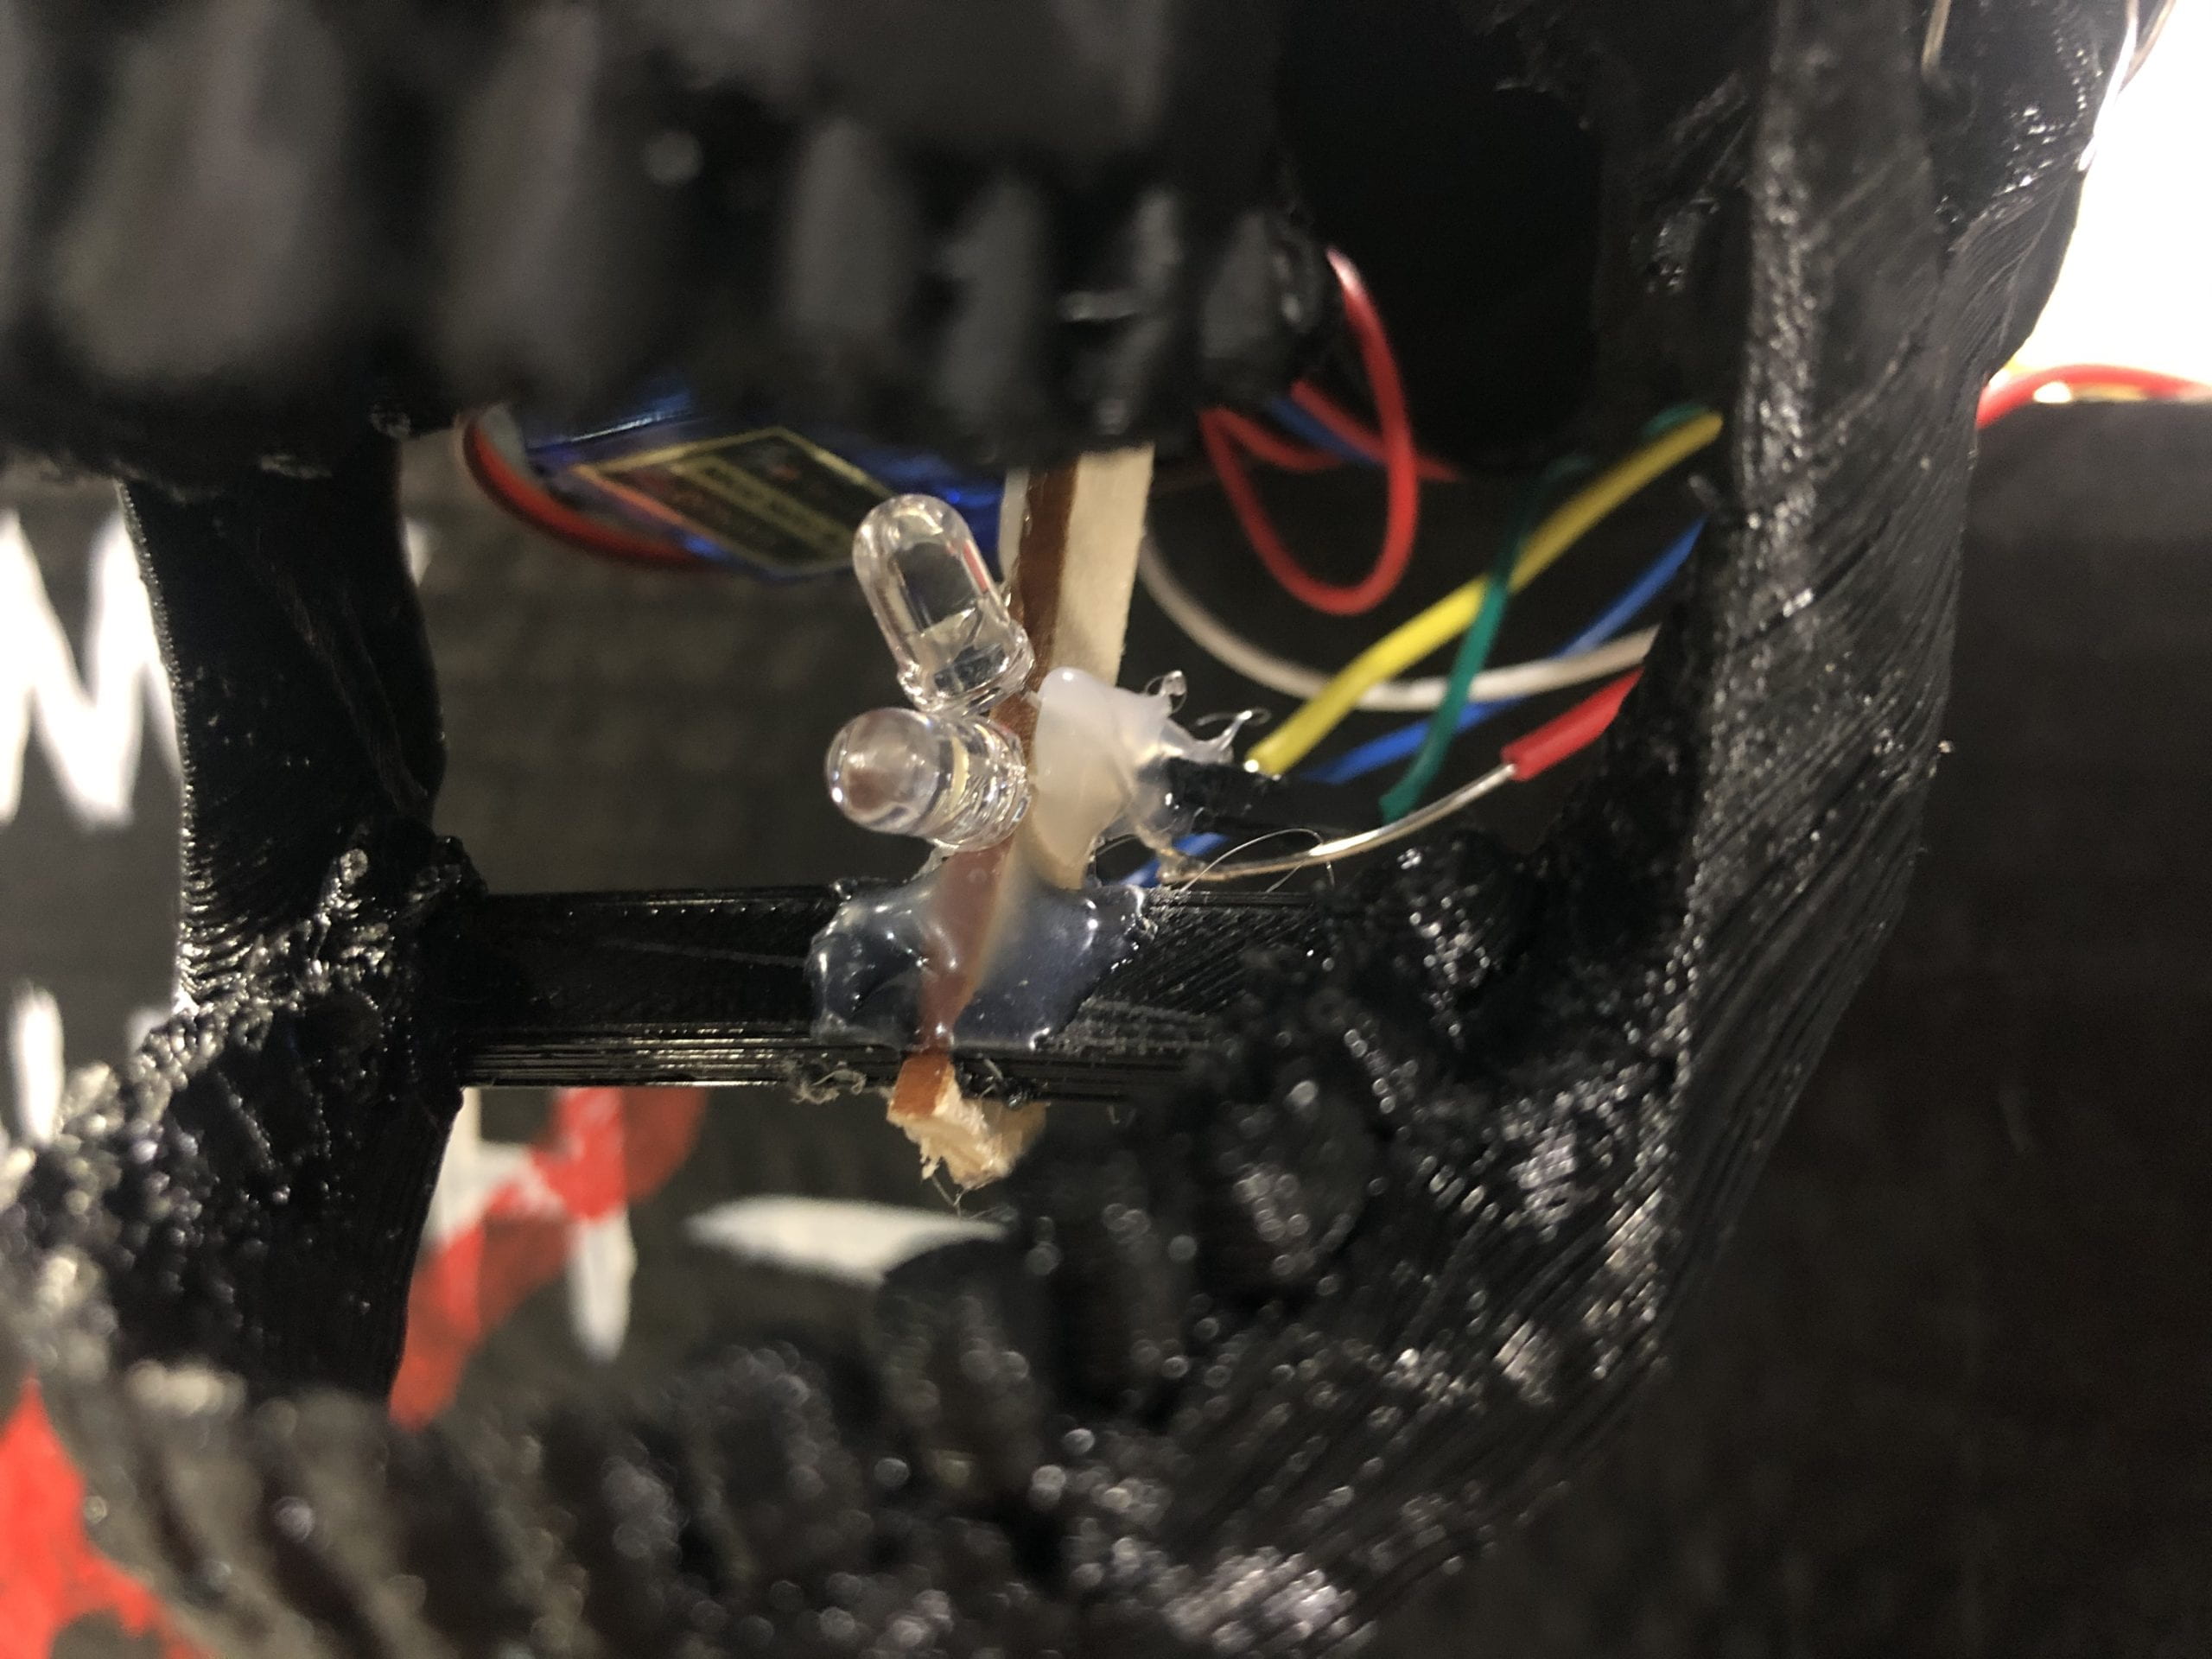
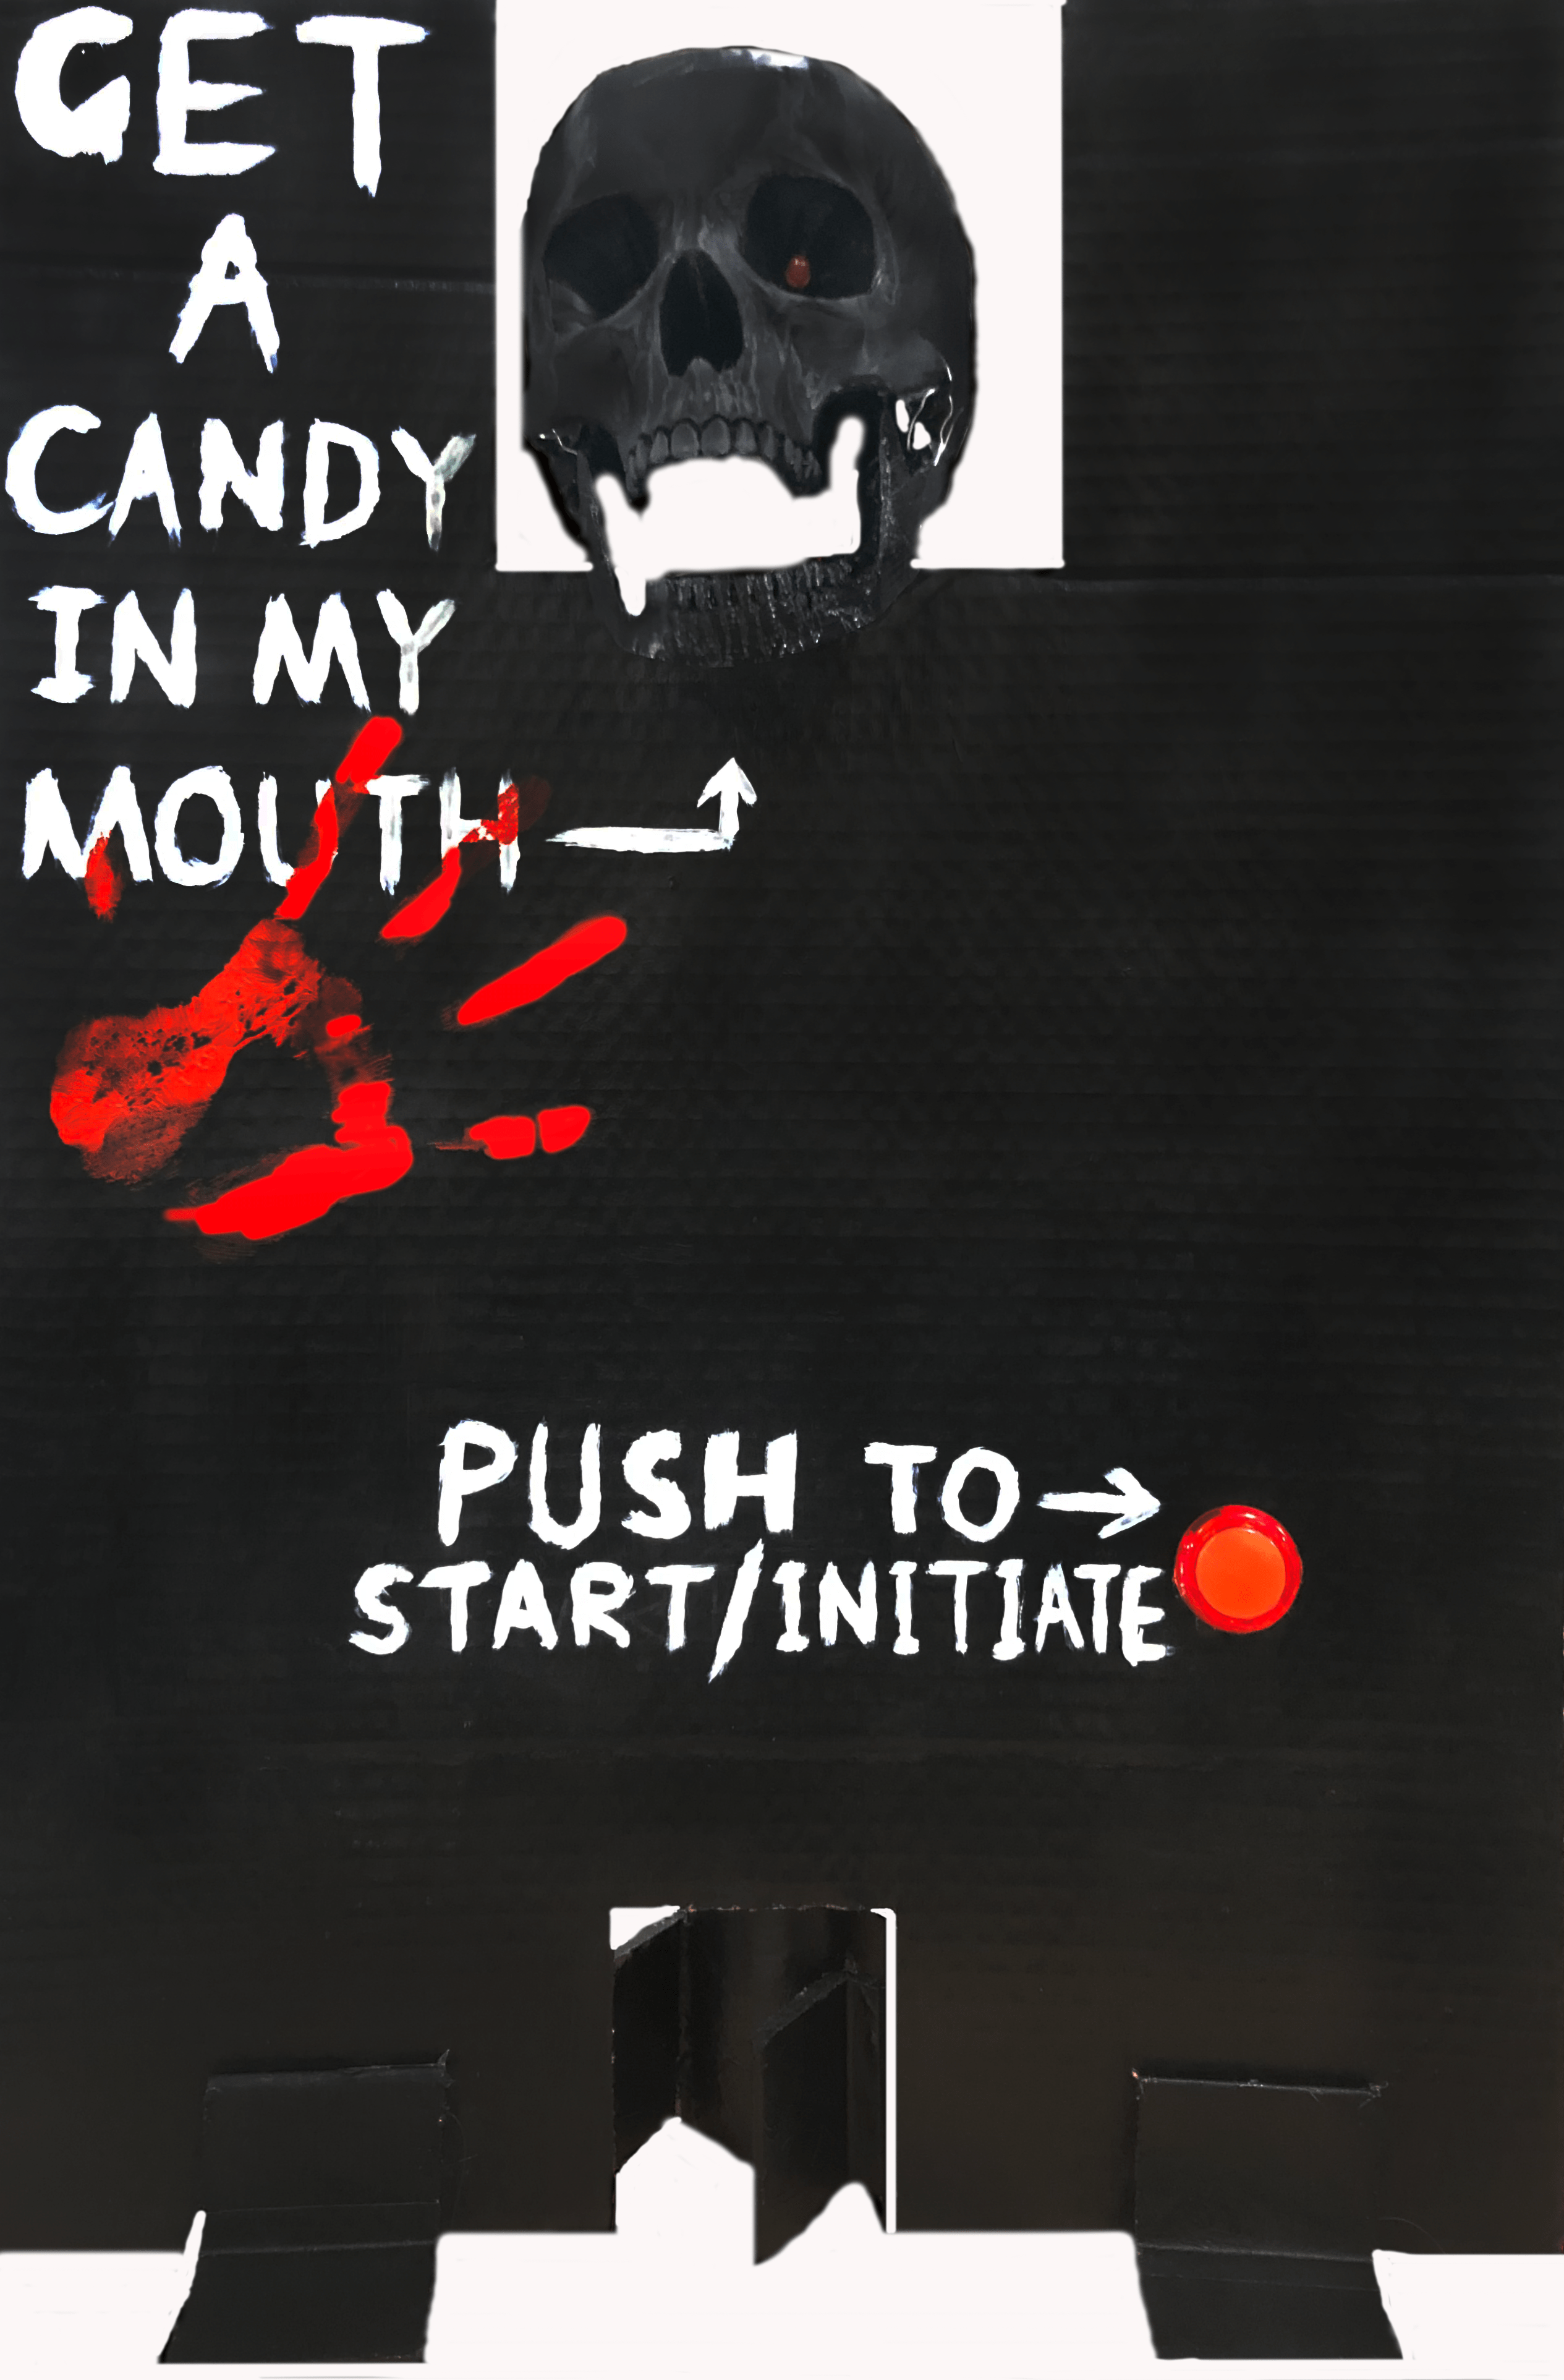
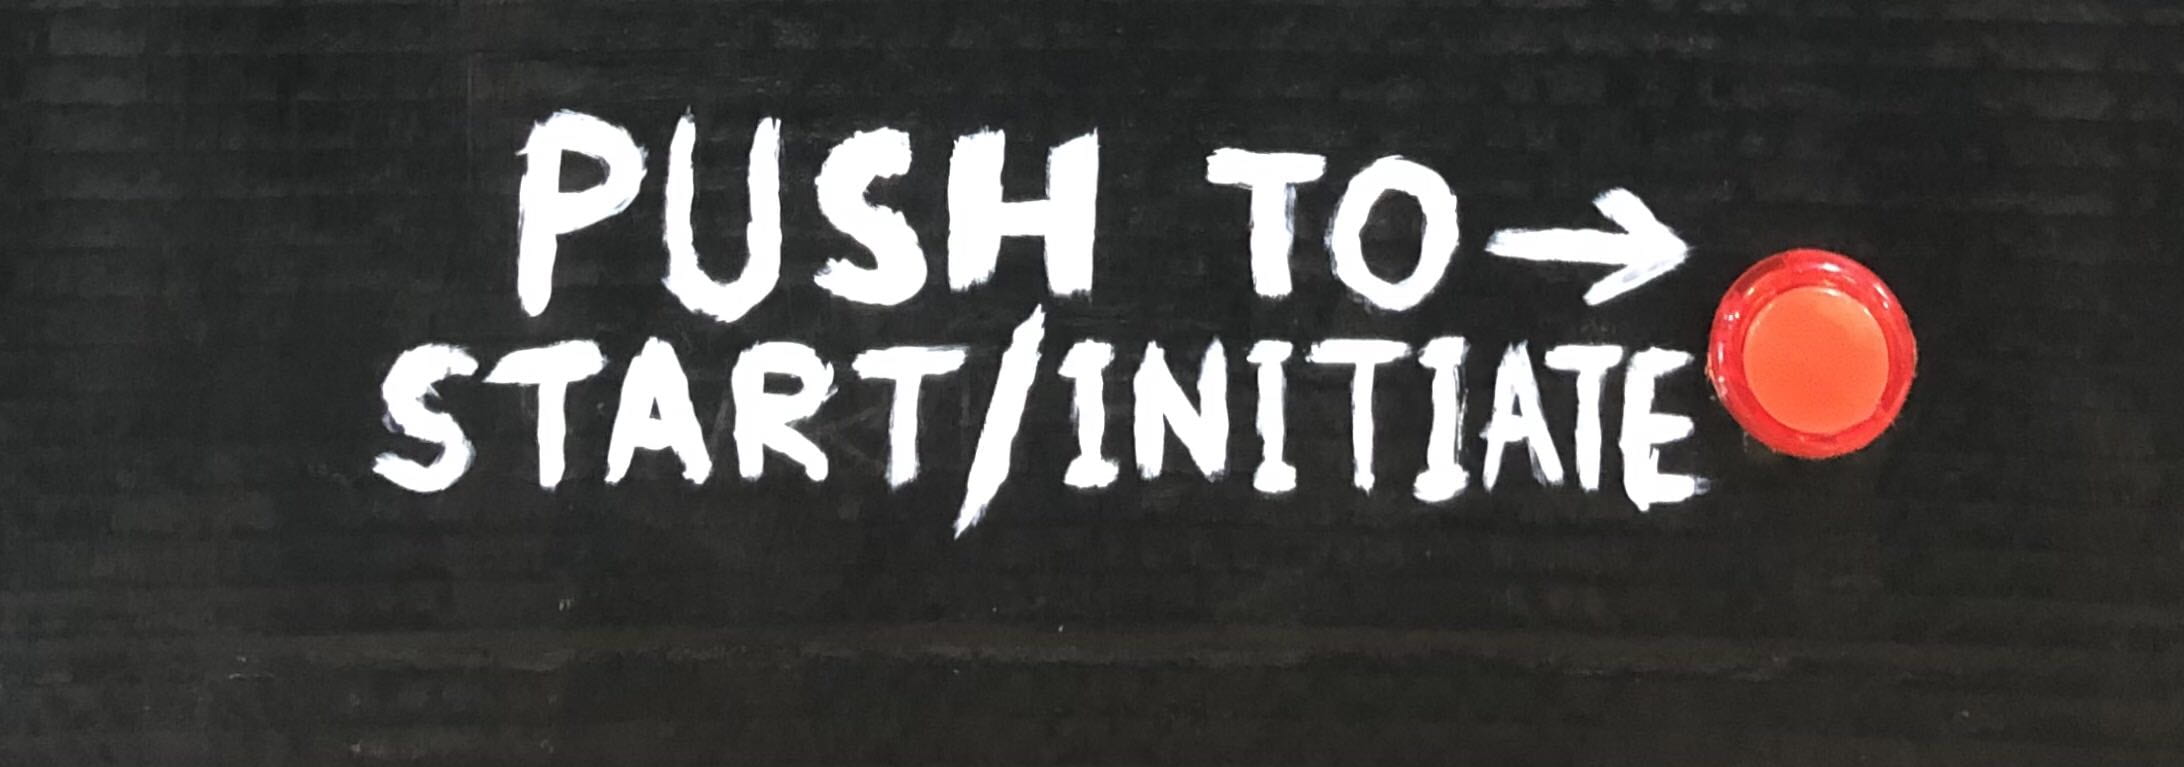
After we finishing the above, we still thought that it was not enough, because when no one tries to play with the skull, the skull would do nothing but just open the mouth. Therefore, we created a button to start the game, which meant that only after the audience pressed the button, the skull would be ready to detect people’s hands, and then bite them. Before pressing the button, the skull would just make its mouth open and close at an assigned speed.
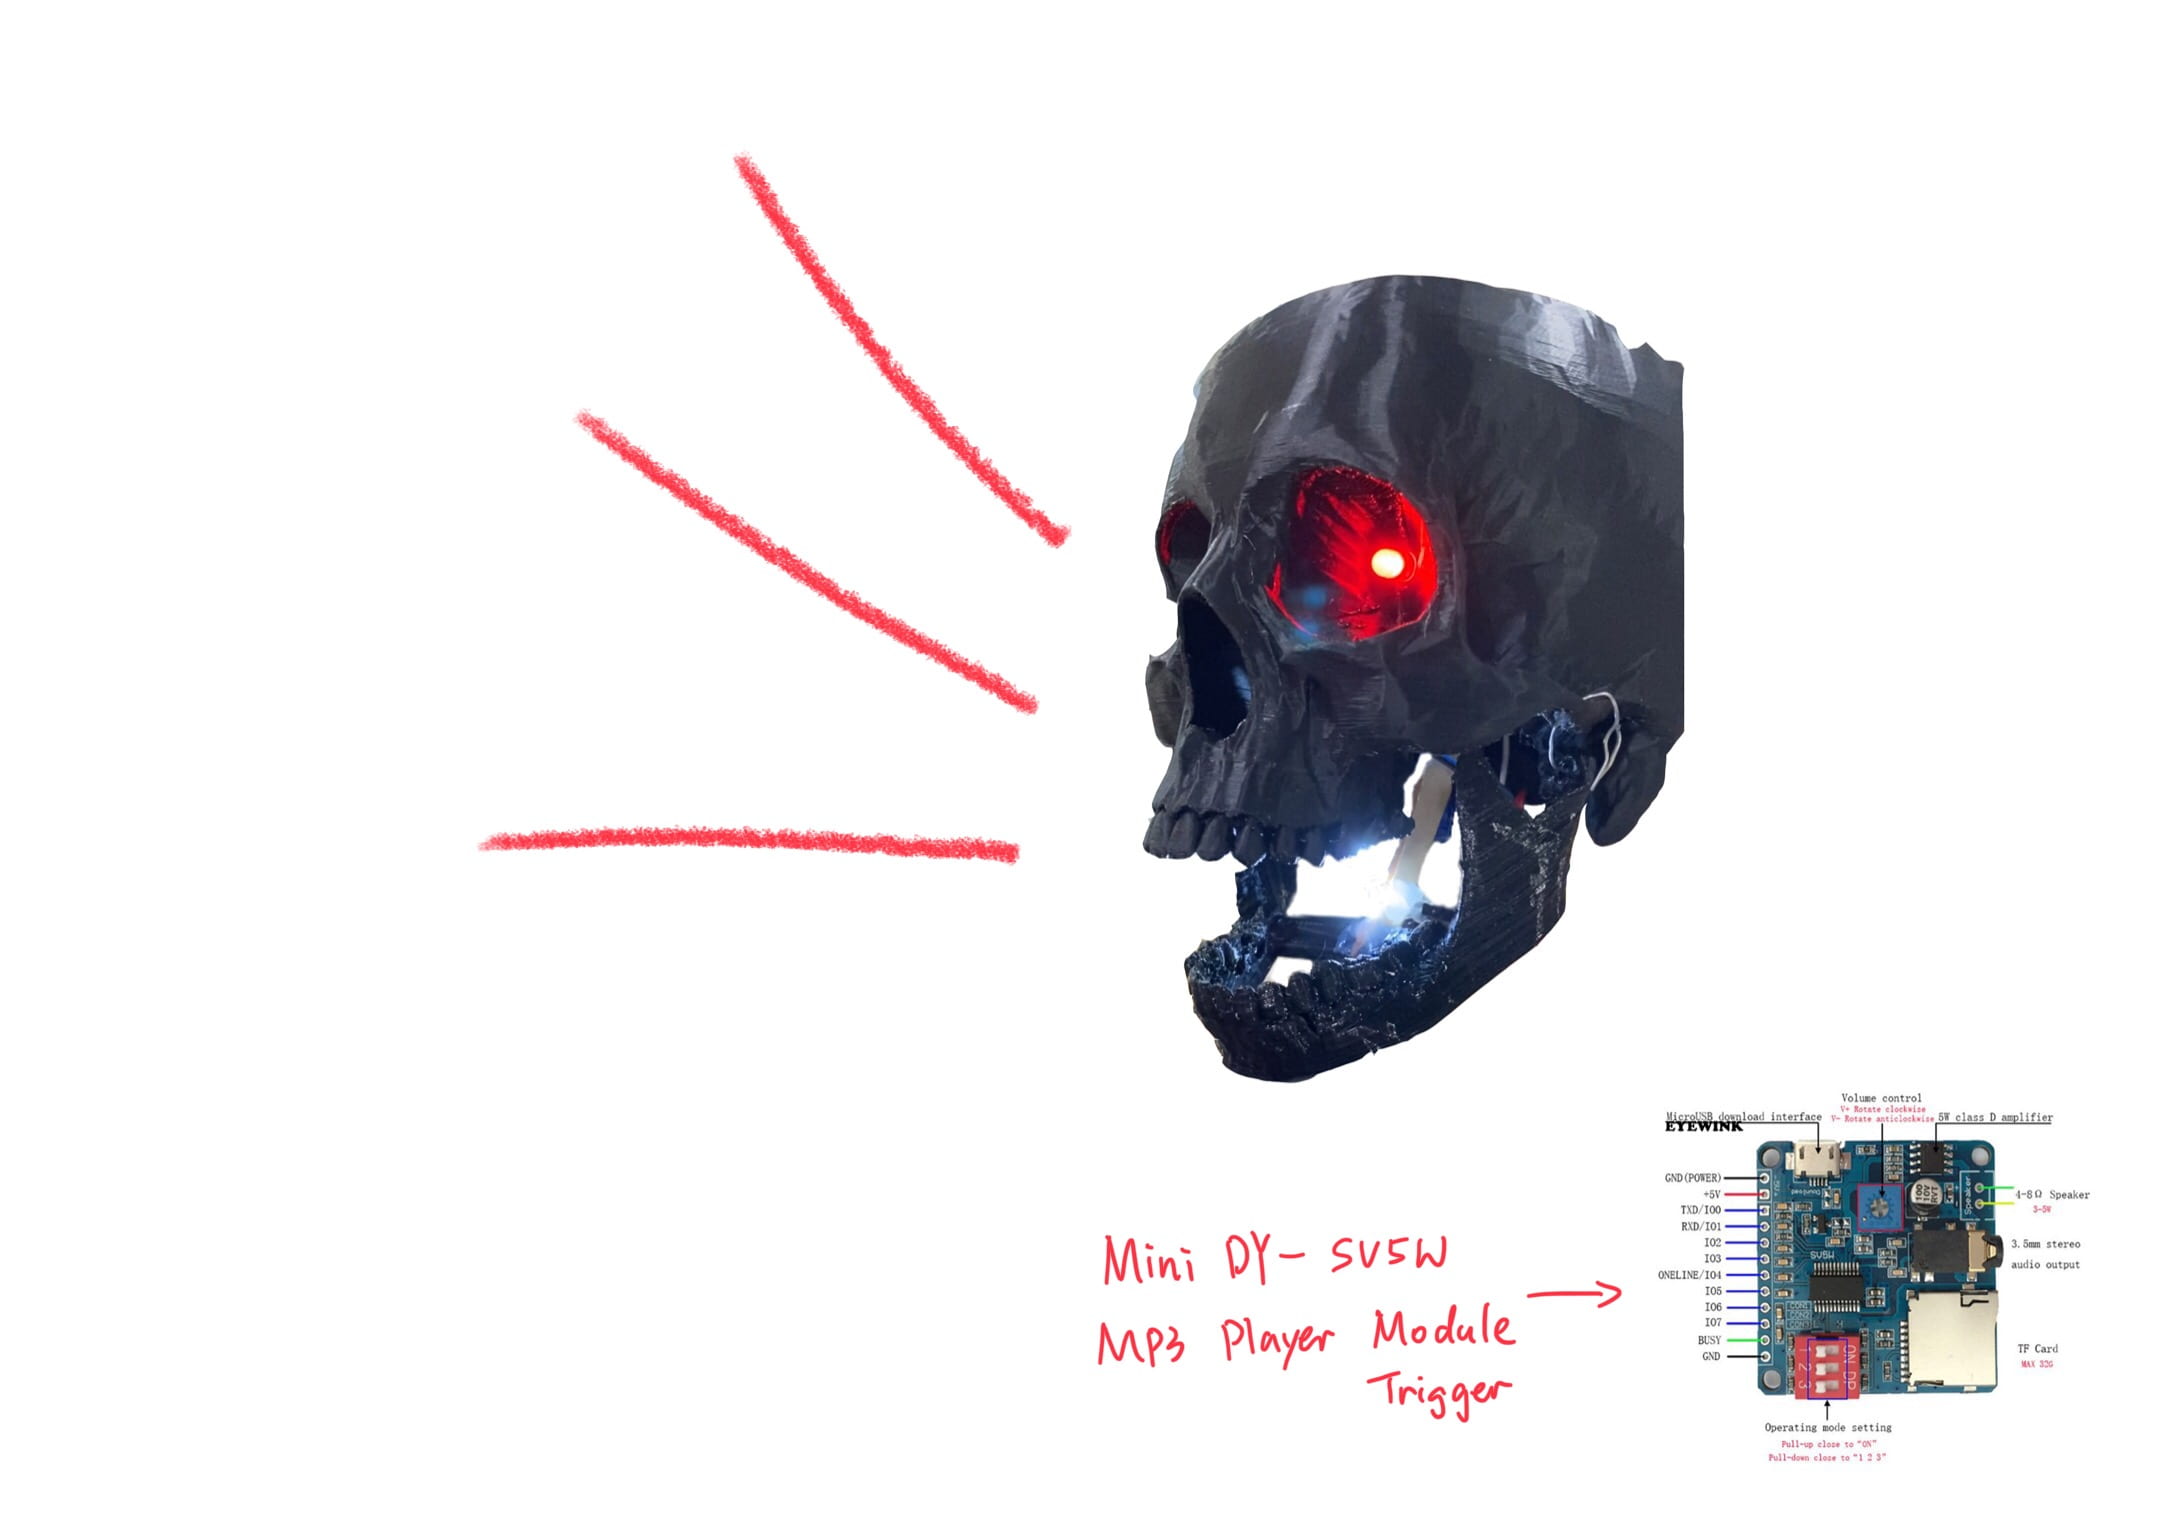
To make our project more interesting, we also added both visual and sound effects to it by using LEDs and an MP3 player shield. When the audience was bitten/chewed, the skull’s eye would start to blink, and it would utter a scary sound of a male’s growl.
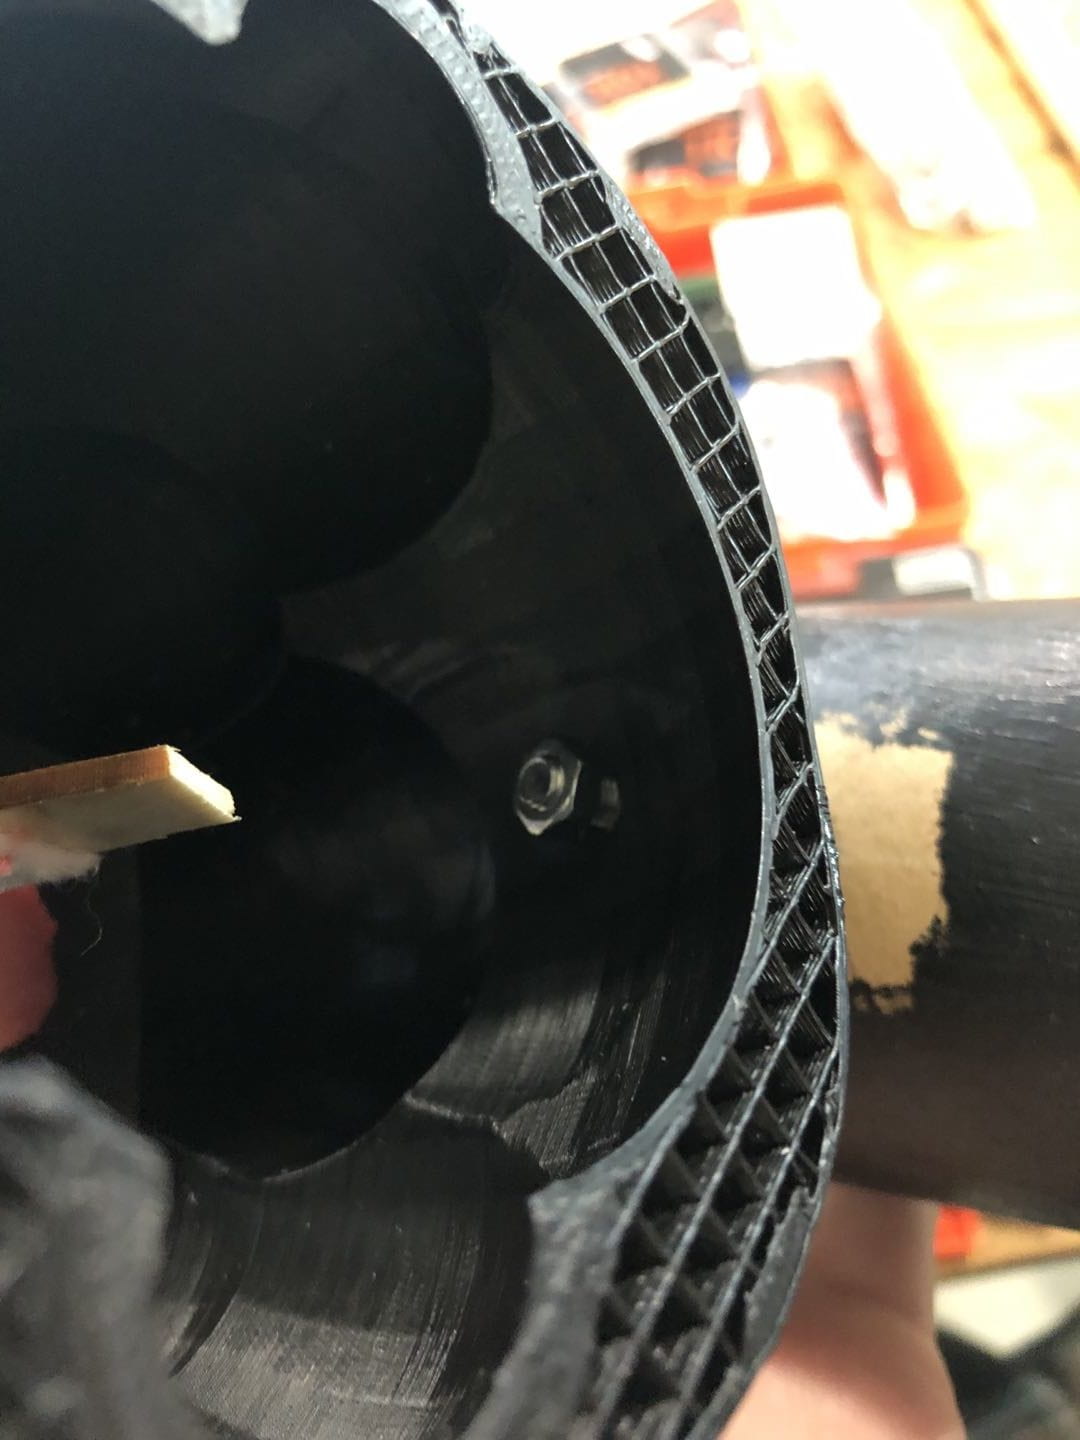
Considering that most of the audience would stand to play with the skull, hence, we decided to fix it on the stick by the nail and put it on the table, which could let most of the audience be convenient to see it and play with it. The stick we chose was made of hardboard, which was stable enough for us to put on the skull.
IV. Fabrication and Production
As for failures, to be honest, since the beginning of this project, we have always been encountering failures. And there are five main failures.
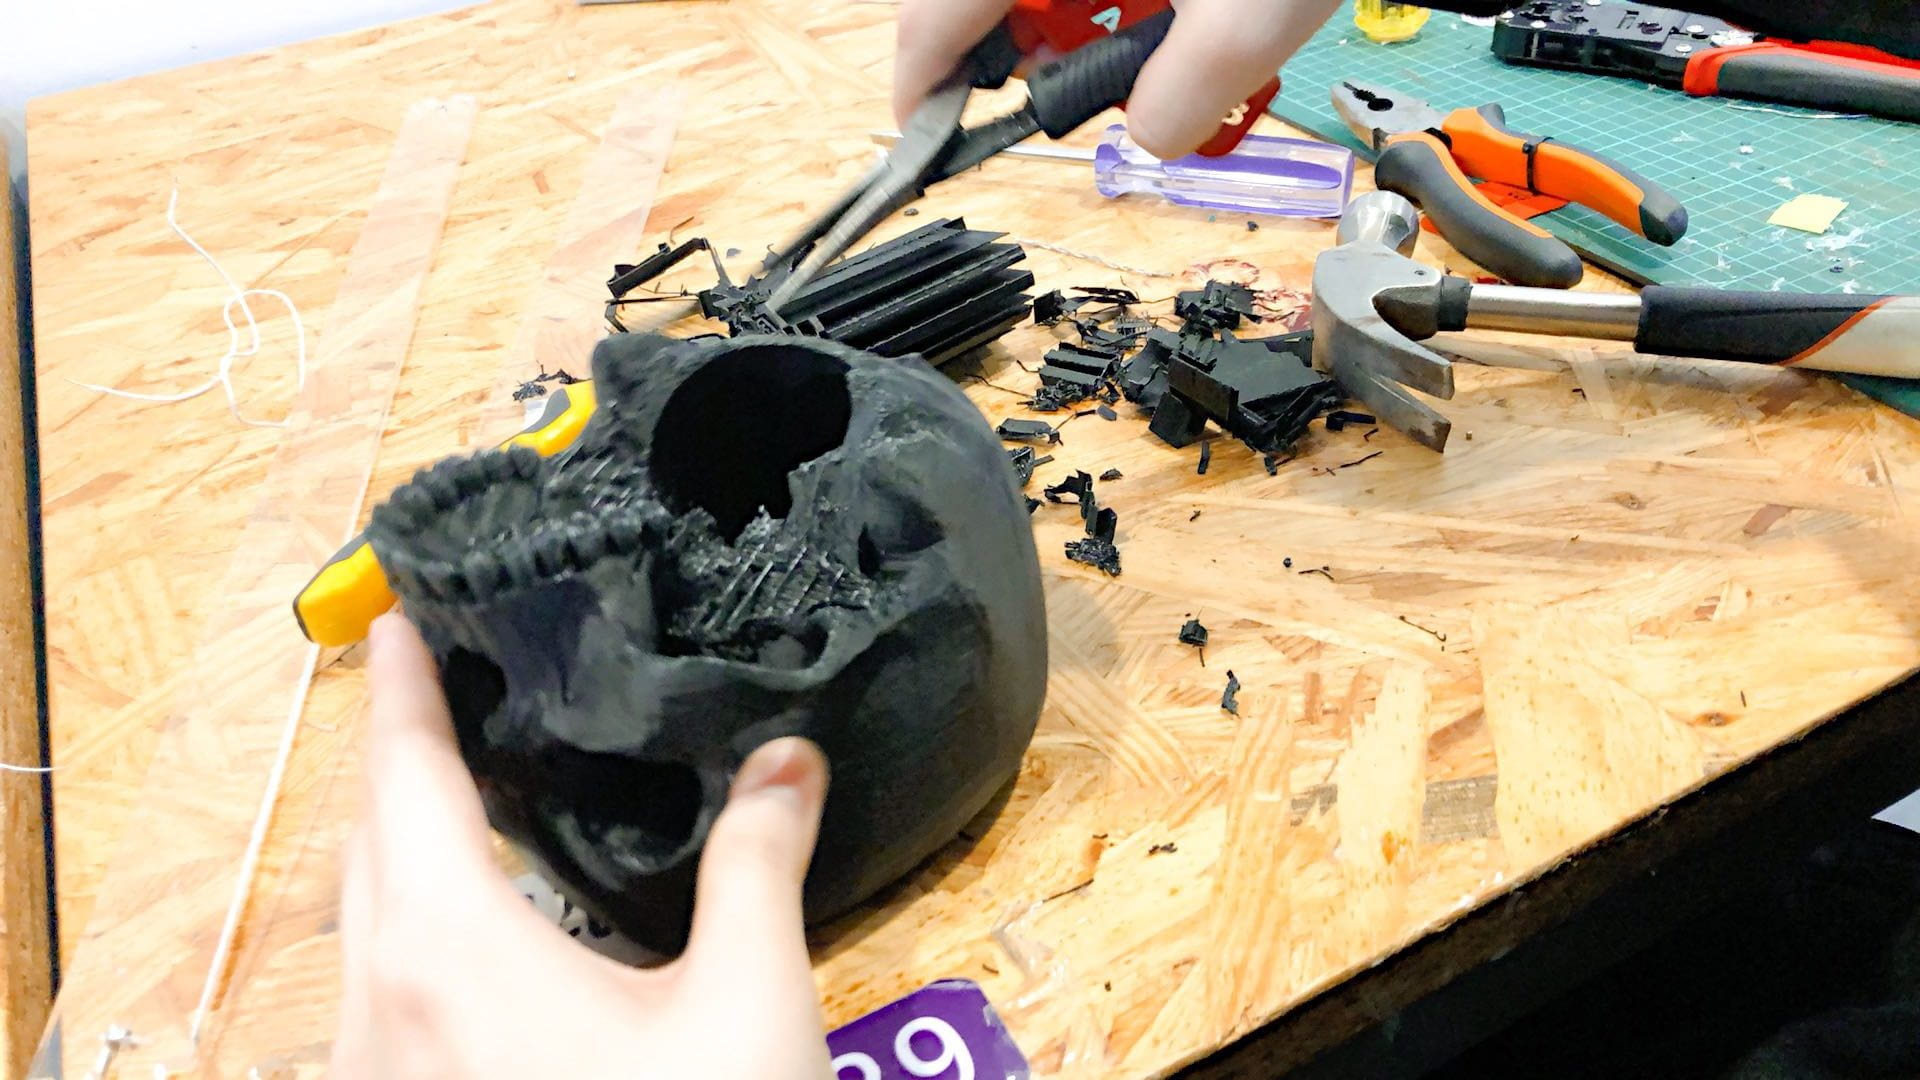
- The first step we did in our project is to print our skull with 3D printing. After we upload the file of the skull that we revised on our own from the original module downloaded from the website, we found the 3D printer got some problems, which means we could not use it. Then, we tried the other two printers. The lower jaw took about one to two hours, while the upper jaw took us about 24 hours. After 24 hours, we decided to pick the upper jaw, but we found that the upper part of the upper jaw was not printed, because the whole module was so big that the printers ran out of the materials. At first, we were very worried about it. However, later we found that the hole in the skull’s head was very convenient for us to do the assembling.
- As we wanted the lower jaw to move up and down, we faced the problem of how to connect the micro servo with the lower jaw. In the fabrication lab, we found a thin stick, therefore, we’re considering using it to connect the servo and the crossbar in the lower jaw. However, the contact surface of the stick is too small. After several tries, we decided to cut the crossbar of the lower jaw and stuck the stick into the gap, and glue the servo on the bigger surface of the lower jaw. We also did several tests to examine the angle that should be between the stick and the lower jaw. After finding the right angle, we glued the stick and the lower jaw together. It seemed to be fine, however, there’s still be a really serious problem that it’s very unstable for the mouth to open and close. Even if the mouth was open, the mouth opened too small. Thanks for the user test, we got precious advice for this question from professors, fellows, and peers. Inspired by their suggestions, we reassembled our device that made its mouth open and close. To enhance the effect of the servo, we reset the servo and placed it in the lower part of the stick to reduce the moment arm. We also glued it to the lower part of the upper jaw.
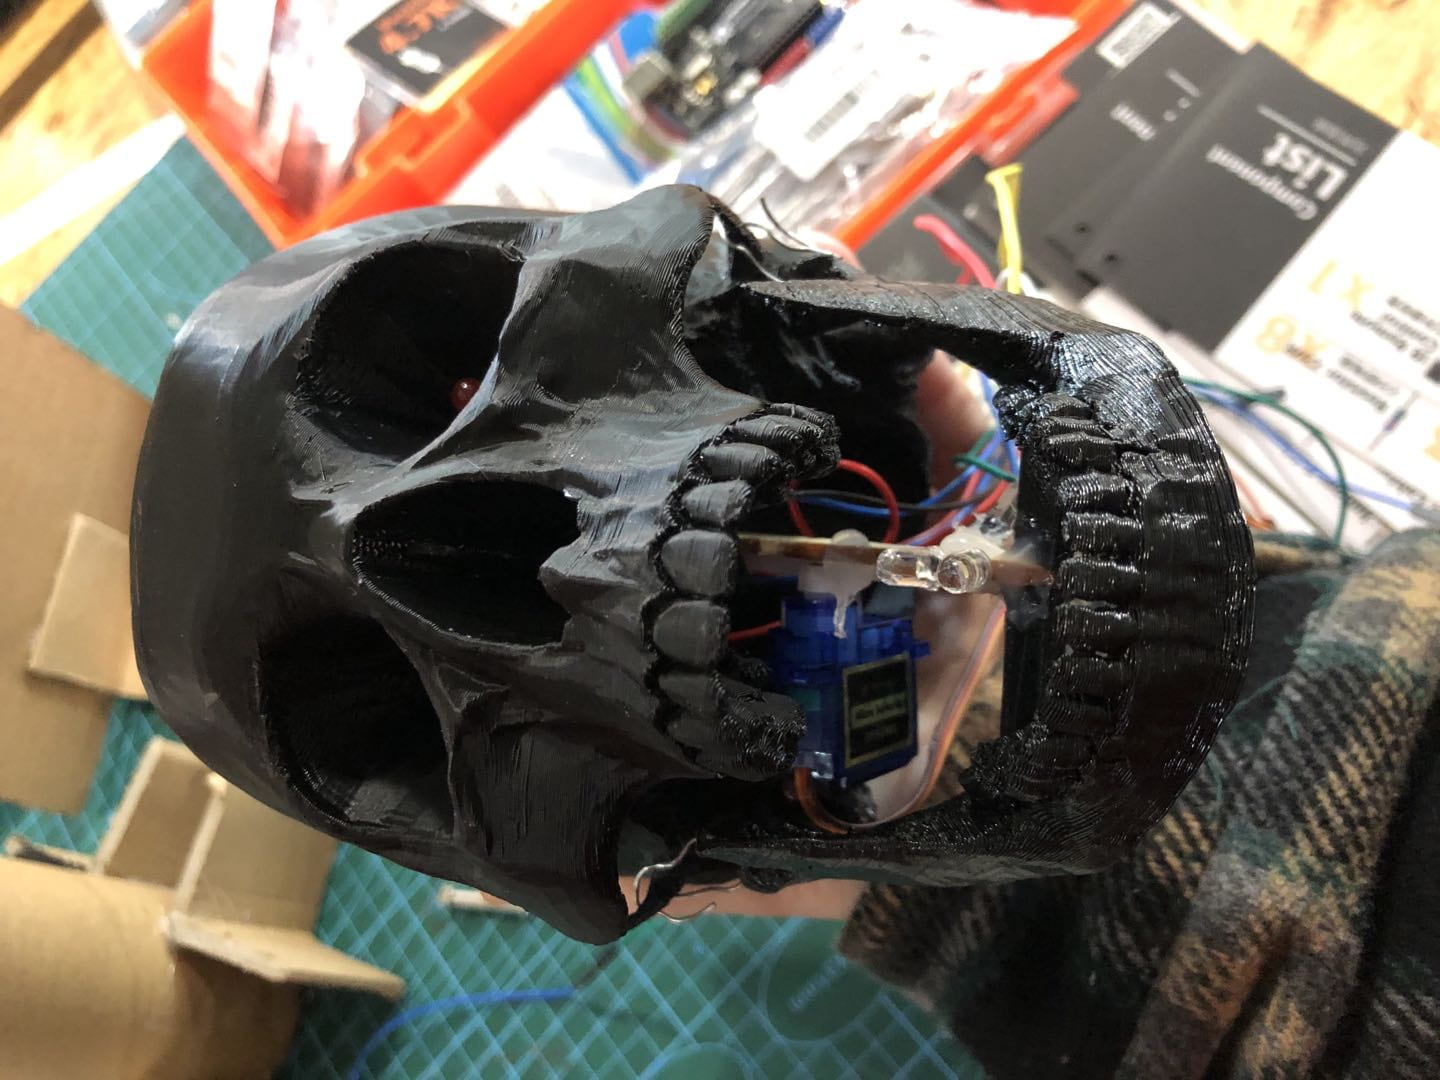
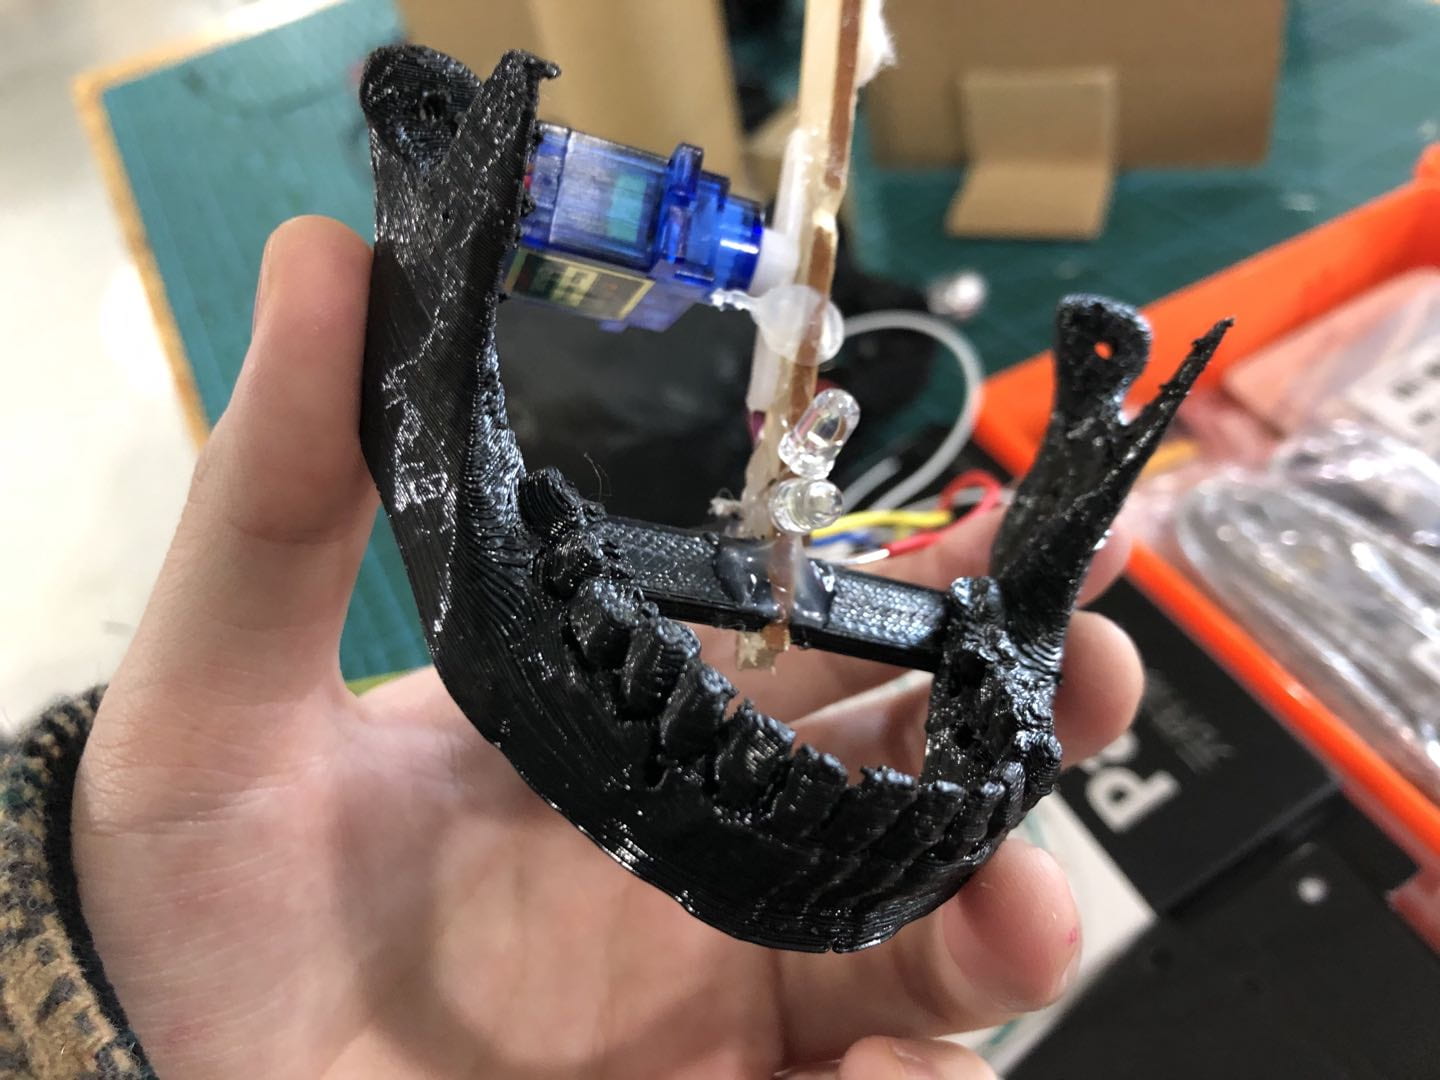
- We were planning to make the mouth open and close, hence we chose to print the upper jaw and lower jaw separately. However, when we got the two modules, we found it’s really hard for us to connect them. Both the shapes of the lower part of the upper jaw and the upper part of the lower jaw were irregular. At first, the best way we found was to hold them by hands. However, it’s definitely the thing that we should not do. Therefore, we turned to Professor for help. Inspired by the professor’s advice, we drilled two holes on the upper part of the lower jaw and connected them with the holes in the lower part of the upper jaw with the wires. However, it’s also hard for us to control both sides of the tightness of the wires. After several tries, we finally succeed to find the best way to control the wires.
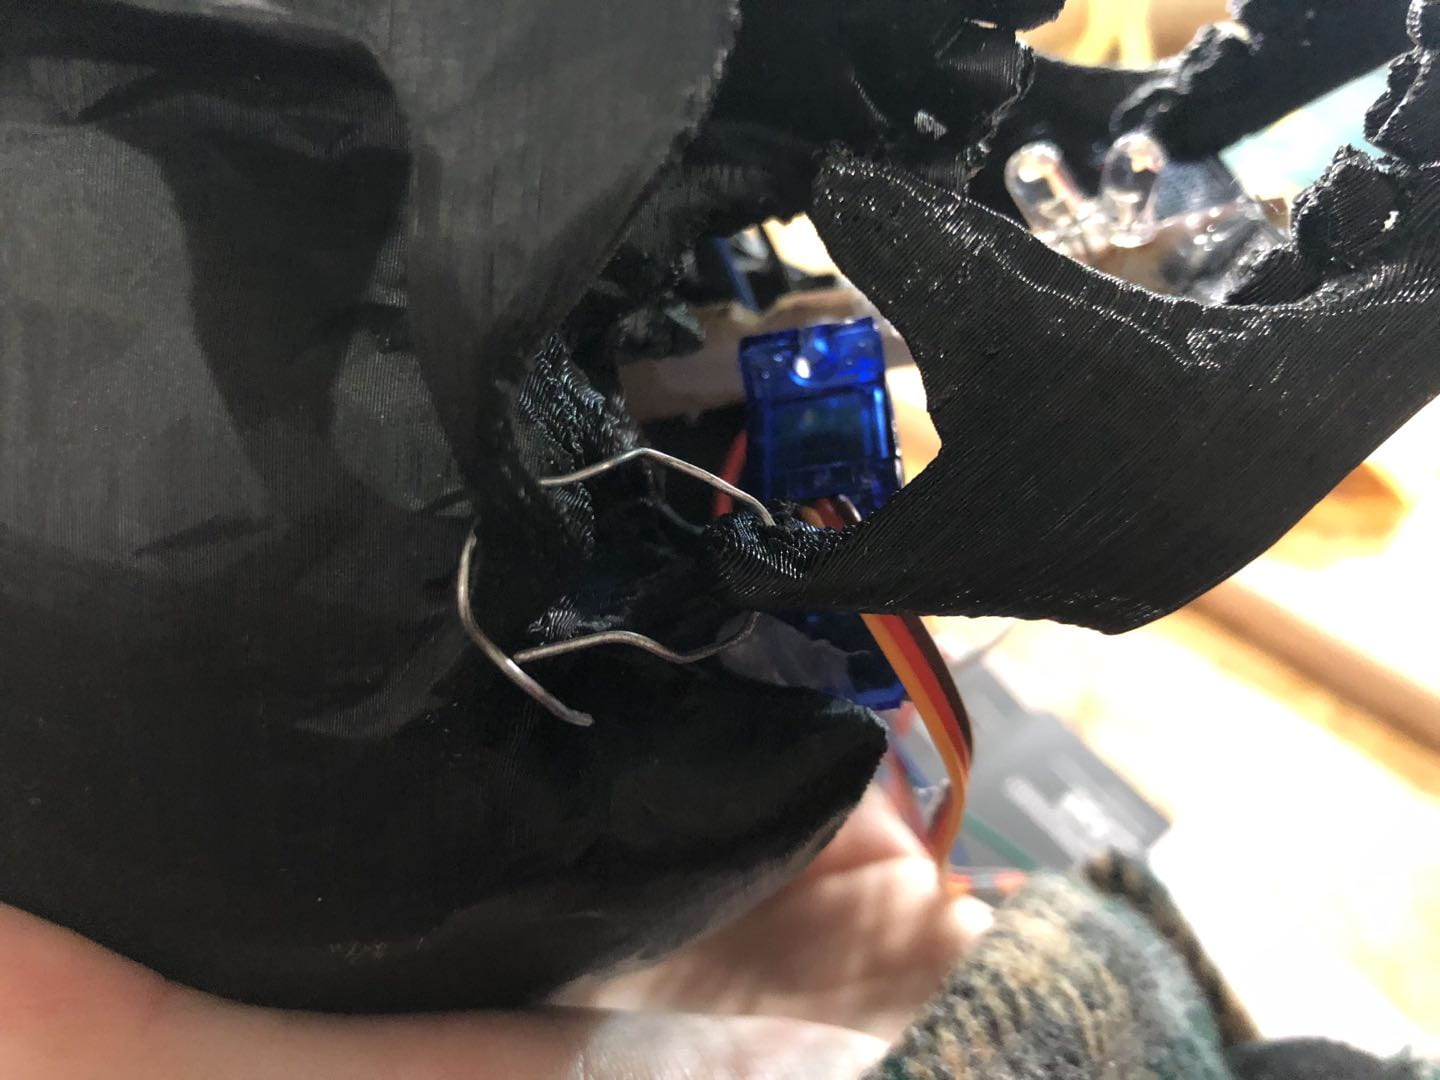
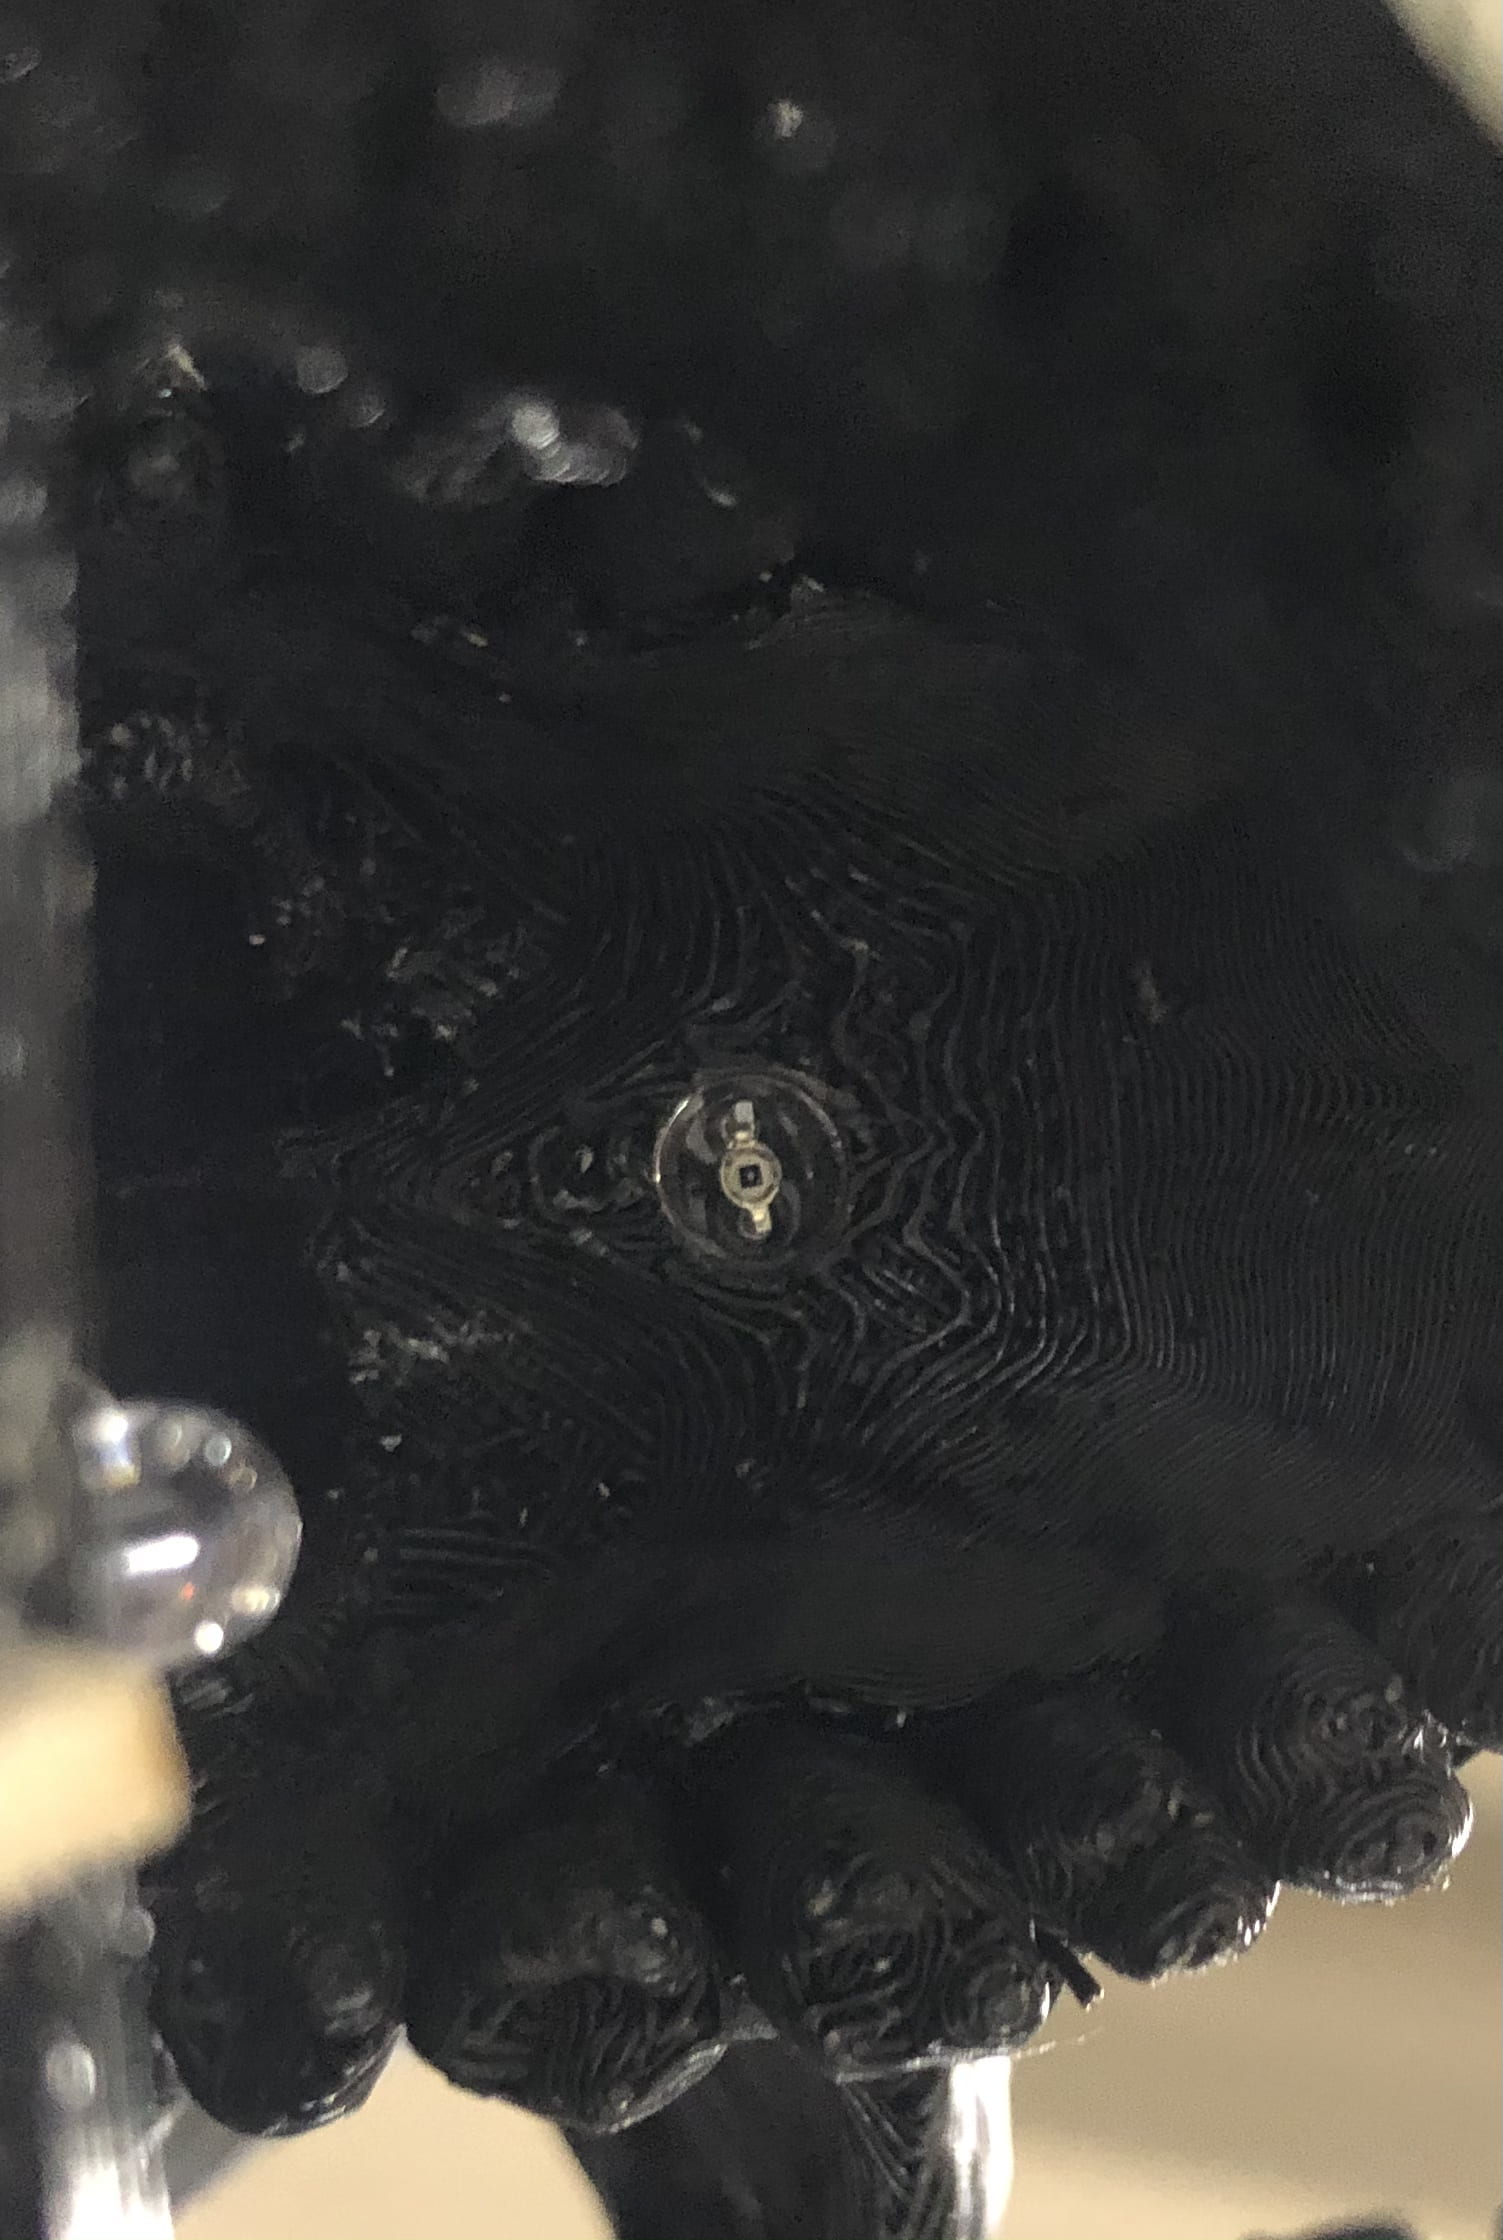
- Another big problem was with the light sensor. At first, we tried to put a LED in the mouth. However, the brightness of the LED in our kit so dark that could not influence the light sensor at all. Therefore, we turned to use the lighter of our phones. However, during the user test, we found it not always works well. Based on Professor Eric’s advice, we chose another light sensor that was more sensitive and borrowed brighter LEDs from the equipment room. After we replaced the original ones with them, we found another problem that the LED was too bright, and the new light sensor was too sensitive. Therefore, this combination still could not work well. Then, we restart to use the original light sensor and found the effect was better. However, there’s still a little instability. Therefore, we added another LED. Finally, they worked perfectly.

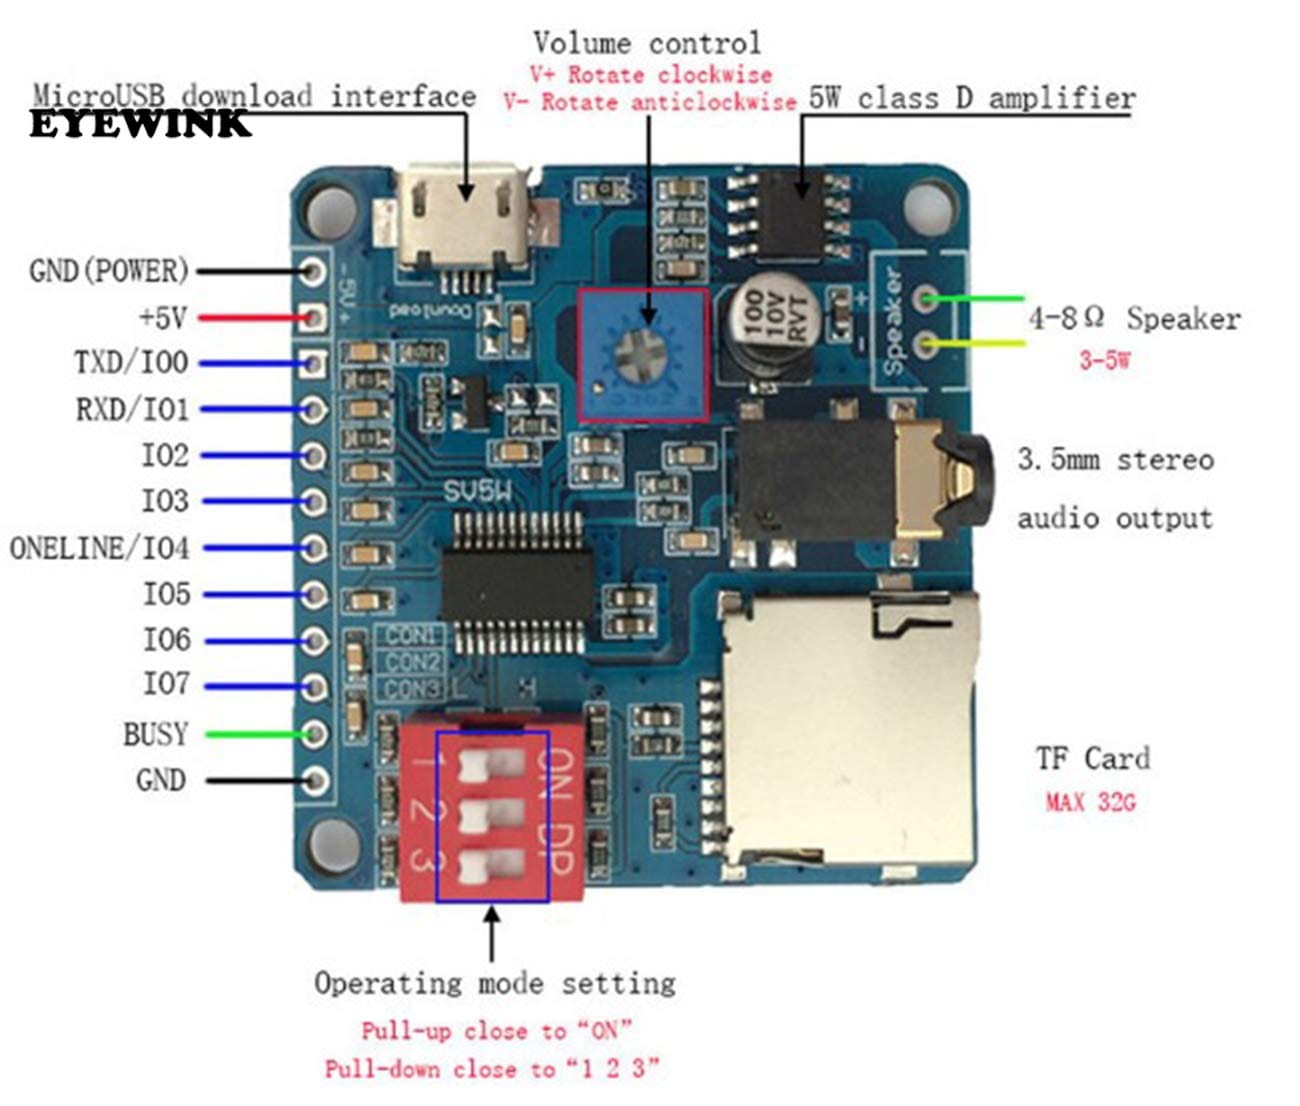
- We also struggled with the problems of using MP3. Actually, we borrowed three kinds of MP3 shields from the equipment room in total, and we studied all of them to figure out to use them. With the help of professors, we finally got the most suitable one and knew how to use it. After learning how to use an MP3 player shield, we started to prepare the audios that would apply to our project. We found some sound effects from Adobe and turned them into mp3 format with 441000hz. We also recorded the sound audio that contained detailed sentences by ourselves and used Audition to adjust it. Unfortunately, only one of those files could work well. It’s the male’s growling sound that is presented in the class. Until class time, we still kept working on how to add other sounds to our project, but we failed at last, which was really a pity for us.
- Here’re all the audios we prepared:
We used this one in the presentation👇
“You got the candy.” recorded on our own
“Human Male Yield” from Adobe
“Human Indian Chant” from Adobe
Besides the two pieces of advice from the user test that I mentioned before, we got one more piece of advice from the user test. The audience suggested us to hang our skull, which creates a scarier atmosphere. Therefore, inspired by their suggestions, we drilled a hole in the back of the skull, and fix it with a thick stick. Finally, we added four bases to the stick in order to make it stable.
V. Conclusion
The goal of our project is to enable the audience to enjoy both the emotions of happiness and fright simultaneously by the machine that randomly bites people’s hands. I think our project partly fits my definition of interaction. Just like my definition of interaction, in the process of playing with the skull, there must be at least two objects. Also, when different people interacted with it, it could give them different responses. The reason why I said our project did not fully match with my definition of interaction is that I’m not sure that whether the audience would have different feelings about it because the sample of the audience was too small.
In our original thought, the audience should first press the button to start the game, and the skull would stop biting at an assigned speed. Then, the audience would reach into the skull’s mouth to get the candy, and they will be bitten/chewed/get the candy. At last, they might get the feeling of happiness and scare. In the presentation, the audience interacted with our project. However, their interaction was not exactly the same as what we thought before. When they put their hands into the skull’s mouth, luckily, the skull didn’t bite them, which was part of our imagination. However, maybe because our instructions were not clear enough, our audience didn’t clearly know the function of the button and pressed it several times when playing with the skull.
If we could have more times, first of all, we would deal with the problem of MP3 player shield and add more audios to it. In this way, our project would be more interesting and interactive. Furthermore, we would make clearer instructions for our project, or replace the button with a new idea that would not confuse the audience. Also, I think we could more functions to our project. For example, we could create robotic arms in our project in order to make a scarier atmosphere.
After experiencing so many failures, I got something really inspiring. I found that failure is not always a bad thing. The most important thing is how to treat our failure. If you use it on the right track, failures sometimes can provide benefit for you, just like our skull that was not completely printed. Even if failure cannot be your advantage, it can also help you find a path to success. However, if you never treat your failures seriously, failures will hurt you a lot. For example, when we test the angle of how to out the servo, we did not make the record. Therefore, we actually wasted a lot of time on it.
After our project was successfully done, I got many skills, like coding, and more understanding of how to make a project. Furthermore, I deeply felt the importance of self-learning, and never being afraid of asking questions. While we were making our project, we found that many functions that we wanted to realize actually hadn’t been taught in the class, hence we have to learn them on our own with efficiency. And when we got some problems that we really could not address, we would turn to professors or fellows or other classmates for help. During the conversation, we gained many inspirations.
- Here’s the poster of our project 😉
