 Title
Title
Revival
Project Description
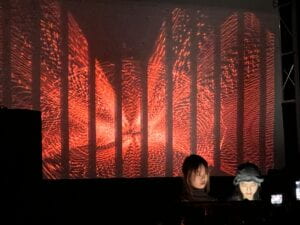
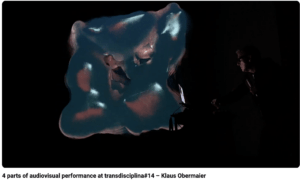
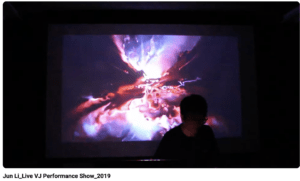
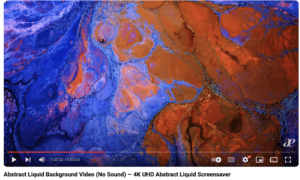
The theme of our project is explosion. The 10-minute piece depicts the process of how an explosion happens from the beginning to the end. We started with the chemical reactions at the early stage of an explosion, gradually moved to the huge explosion part, and finally ended with the particles of the bomb. We were inspired by the movie Oppenheimer, as well as other audio-visual performances that include stunning explosion scenes (see reference). We wanted to create dynamic visuals with exciting audio to fit into the scenario.
Perspective and Context
Our project fits into the historical context of visual music, abstract film, live cinema, and live audiovisual performances. The depiction of the explosion process, from chemical reactions to the eventual dispersion of bomb particles, resonates with the tradition of abstract film and visual music, where artists often explore non-representational and dynamic visual elements paired with sound to evoke emotional responses. Our project embraces this idea by translating the auditory and visual dynamics of an explosion into a synchronized audiovisual experience. Our intent to create dynamic visuals with exciting audio aligns with the principles of live cinema, emphasizing the immediacy and co-presence of image and sound.
We tried to follow the artistic and stylistic characteristics we learned in the early abstract film section. Take Norman McLaren’s work as an example. The synesthetic relationships between the visuals and the sound are very interesting. The presence of different shapes signifies the sound in his work. This is what we try to accomplish in our work.
Furthermore, our project engages with the theoretical aspects discussed during the semester. In the reading Live Cinema by Gabriel Menotti and Live Audiovisual Performance by Ana Carvalho from The Audiovisual Breakthrough (Fluctuating Images, 2015), I learned that Live Cinema tends to be more narrative-focused, integrating cinematic elements into live performances, VJ-ing typically involves real-time visual manipulation during music performances or events, often using software to mix and manipulate visuals, and that Live Audiovisual Performance encompasses a broader spectrum, including both VJ-ing and Live Cinema but often places a stronger emphasis on the integration of sound and visuals as equal components. Our project tells the narrative of the process of explosion and includes realtime audio-visual manipulation during the performance.
Development & Technical Implementation
We first had the idea of making a performance with the theme of explosion. Our first step was to create visuals for the explosion. We started by trying to film some short videos and modified them with Max to create abstract visuals. We experienced many setups, including paint, ink, and hot glue, and filmed the clips. We then uploaded them in Max to experiment with different effects together.
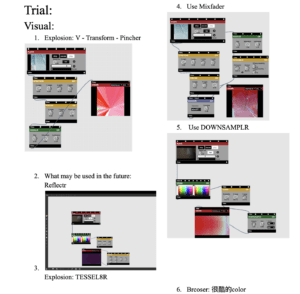
We documented the cool and useful effects we found in the Google doc to prepare us for the visual building. When we felt like the materials and the effects were enough for the 10-minute piece, since we did not want to make it too complicated, we started to make outlines for the project. Our initial thought was to make a narrative that thinks of the nuclear bomb as a living thing with a mind that watches itself form, explode, and displace.
This is the timeline we created:
Timeline:
- 0:00 – 0:30 formation of the bomb: visual:bubble(preset 2); audio:sound in a science lab
- 0:30 – 1:10 transition to the final formation 1:WYPR cage effect, bubble spread audio:stage opening sound
- 1:10 – 1:50 transition to the final formation 1:kaleido mixfader e2
- 1:50 – 2:30 completion of the bomb:visual bubble (先调mixfader 1再调m2),注意这时候是扩散的,可以调速度/扭动
- 2:30 – 3:10 bombs gather: visual 扩散效果调为0,用zoomer配合heartbeat
- 3:10 – 3:50 fuse:red lines (preset 3),可以扭动,可以加笼子
- 3:50 – 4:30 explosion:red line to 3d model(flicker effect)
- 4:30 – 5:20 3d explosion:调BRCOSR和PINCHR
- 5:20 – 6:20 explosion to ink
- 6:20 – 7:00 before restart:ink调fogger,old TV stuck
- 7:00 – 7:40 restart:ink to spread bubble
- 7:40 – 8:20 restart finish:bubble to bomb
- 8:20 – 9:00 bomb crash:scrambler
- 9:00 – 10:00 end with particles
These are pictures of the original clips we filmed and the final output with the effects.
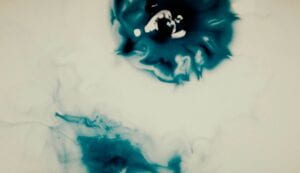
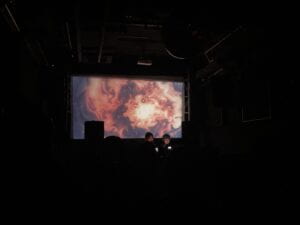
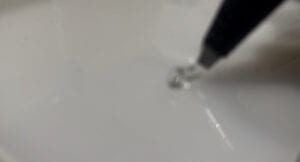
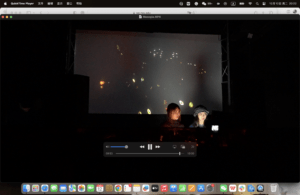
For the visuals, we also used the jit.mo model. Sophia adjusted some parameters, and we added effects on the model to create various visuals. 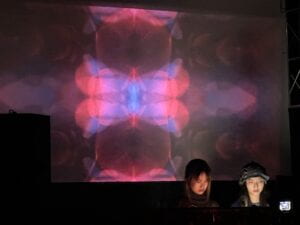
For the 3d modeling part, I used a donut model I made before and modified it with other effects. 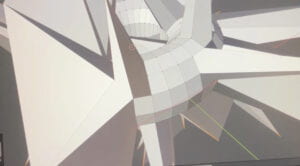
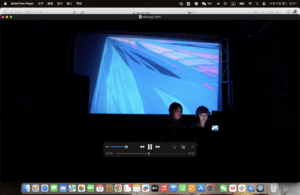
Below is the visual Max patch:
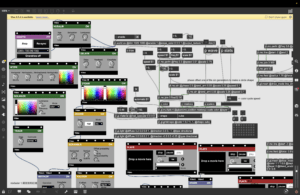
We made the visuals first and then composed the audio accordingly. When Sophia was adding effects on the visual, I found and downloaded the sound samples online. I at first tried to use the drum sequencer and the piano roll sequencer, but it was hard to reach the effect that I wanted. After Sophia was mostly finished with the overall flow of the visual, I started composing the audio using Garageband. I used different piano effect in the software to compose the piece accoding to the visual progress. I also made use of the sound effects downloaded there. 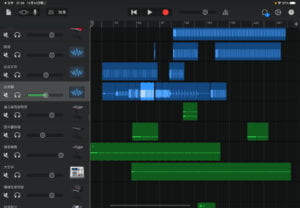
I first tried to find the base sound. I used the noise module in Max. It was useful because I could also use this sound for the fogger part of the visual.
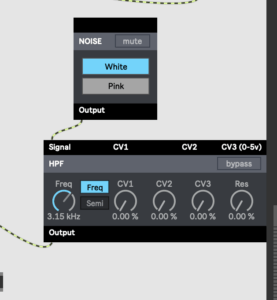
I first add a relatively soft audio as the beginning of the whole piece, and I gradually added music pieces and sound effects, drum beats to correspond to the visuals. I intentionally put obvious sound effects for each transitions part so that Sophia can have a bettern sense of time when manipulating the MIDI. For the explosion part, I tried to add strong and heavy beats, and integrated the explosion sound samples to make the audio dynamic and explosive. In the ink part, the audio gave audience a sense of the water fluid, but when each drop of ink fell in the water, there was a drum beat. For the last part of the particles of the bomb, the audio turned to sparkle-ish, and I adjuested the frequency to have a more misty sound.
For the performance setup, we control the visual MIDI together since we need to constantly add video clips and effects. I also controlled the audio by myself. I already have a base sound, so I add the sound samples and adjust the parameters of the effects during the performance. For the recorded sound samples, the visual controller manipulate it to match the audio. For instance, Sophia changes the size of he bubble according to the sound og the heartbeat. I may also play some short samples according to he visual.
The link to the Max patch: https://drive.google.com/drive/folders/1f5aYERLiX967pw6qx4fdpd_Oow1N7u9P?usp=share_link
Performance
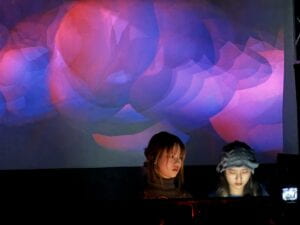
The proformance went well generally. We all made tiny mistakes due to nervousness, but we didn’t make big mistakes. One regret is that the explosion effect that I expected the most didn’t work. The explosion audio sample was too loud when I played it so I didn’t have the time to manipulate the flicker effect in the visual MIDI. Also, our transitions were still not very smooth and the screen was black for a short period of time.
In the performance, Sophia is in charge of most of the visual manipulation. I’m in charge of some visual manipulation, all audio manipulation, and looking at the time. As a group, we coordinated well.
Performing in a club with the big screen and the audio setting felt completely different than I practiced. Since our theme is explosion and we have the dynamic visuals, putting them on a big screen made the visual seemed a lot better and immersive. The audio also sounded a lot better. The strong beats and the explosion sound effects became more heavy. The whole setup in the club helped to create a more immersive experience of our performance.
Conclusion
In the research part, we researched many famous audiovisual work and gained a lot of inspiration from them. For the creation part, we initially had many ideas for creating the visuals, including filming videos, modeling and building with Max. However, using one or two approaches is enough, so we mainly used the model in Max and two videos we recorded. One thing to improve is that we didn’t really know how to build the visual we wanted simply using Max so we modified the jit.mo model. In the future we might try integrating more models we made by ourselves. I discovered that we could make amazing visual effects simply using one model and modifying the parameters. Sometimes simplicity is good and we can’t accomplish that much in 10 minutes.
However, I think the major problem is that we used multiple visuals and their transitions is not smooth. The connection between the audio and visual is not that coherent. There is still a lot of effort we can make to create a visual-audio performance that is more consistent. Also, I recorded the 10-minute base sound, so I only manipulated the sound effects and some parameters. This time the two of us must work together to control the visuals due to its complexity. Next time, I hope that the audio can also be more live if possible.
Video reference:
https://www.youtube.com/watch?v=jgm58cbu0kw
https://vimeo.com/user14797579
https://www.youtube.com/watch?v=MzkfhANn3_Q
https://www.youtube.com/watch?v=08XBF5gNh5I