Preparation:
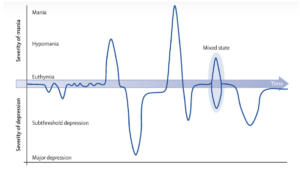
For this week’s assignment, Chanel and I both want to integrate elements from what we’ve been working on into our final project. Initially, I proposed designing our pattern around the Periodic Curves of Emotion of bipolars. Then we searched together for suitable placements. I remembered last week in class when Chanel stuck that double-sided adhesive to her arm and created a good effect, so I suggested we decorate the elements on both sides of our arms. Then we started using Grasshopper to achieve this.
Grasshopper learning and modeling:
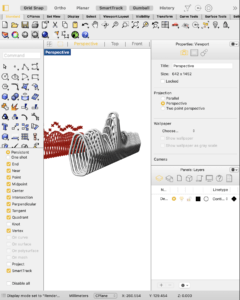
Chanel started working before me, and she experimented with a linear pattern that resembles the shape of a bullet, which would pump up with our finger tips to show emotional fluctuations. She arranged them unevenly in height to display mood changes. Chanel also gave me a Grasshopper tutorial. I downloaded Professor Marcela’s file for the linear pattern. First, I added pipes to make the curves into 3D pipes.
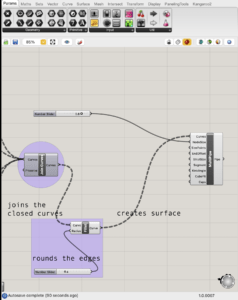
Then I played around with other buttons, changed the shape of the wave in the Graph Mapper, and remapped them to make the numerical changes more significant (later I asked Marcela and found out I did it wrong 😅). I also changed the curve connected to the wave. From there, I created a shape that was quite bizarre, but I was somewhat satisfied with it, resembling feathers. (I didn’t take a screenshot of that. And I don’t have that file now🥲😅). However, it seemed like this shape couldn’t be printed, so I sought Marcela’s help with my issue.
First, she explained to me the relationship between Evaluate Curve, Move, and Graph Mapper, and then made adjustments so that the entire shape looked much more normal, with at least the base all on one plane.
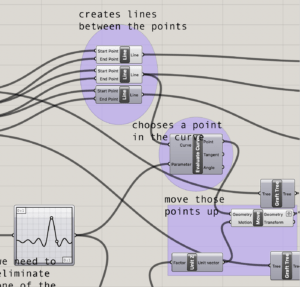
Then she taught me how to correctly use Construct Domain, Remap, and connect them with Graph Mapper to make the wave changes of the line of points I wanted to change more significant.
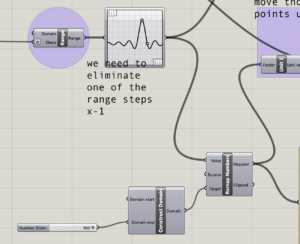
In addition to this, I also asked Marcela how to create my own desired wave instead of using existing templates. Marcela helped me search for tutorial videos and told me to download the Pufferfish plugin to achieve this idea. However, after discussions with Chanel, we ultimately decided that using the existing wave was sufficient because the emotional fluctuations of bipolar disorder are not exactly like the reference images we found. We felt this approach made more sense, so I ended up using a Sinc wave. Additionally, I adjusted the arrangement of five points to make their shape resemble a variant of the pipe version of the shape Chanel modeled—similar to the shape of rubber fingertips. Then I moved on to the 3D printing stage. (Though I turned back to modify my 3D modeling when I got troubles in 3D printing with Andy’s suggestion.)
3D Printing:
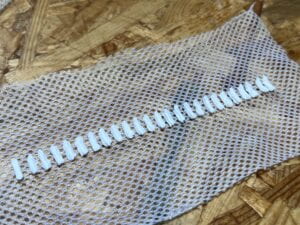
First Body: (with Brim)
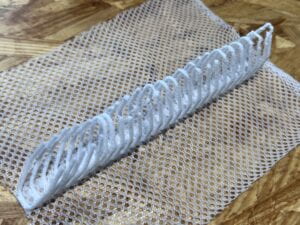
Everything went smoothly at the beginning. However, when it’s only about 20 mins left to be done. One edge of the fabric went up —— the one I didn’t put tape on. So I thought it was that caused the issue and decided to give it a second try.
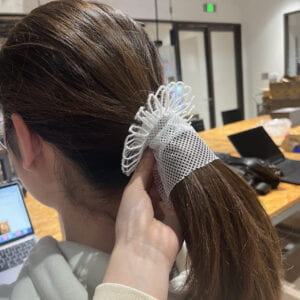
(I later want to adapt this body into a decorative hair band.)
Second Body: (With Brim)
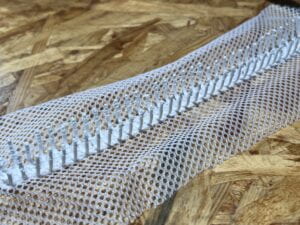
Don’t know what happened but the fabric is so moveable. Since the second half of the printing process, things messed up.
Third Body: (Without Brim)
I took Professor Andy’s advice to add the thickness of my model to get things more stable. However, the machine started to touch and move the model right from the beginning.
Fourth Body: (Without brim)
No photo. I failed even before I put the fabric
Dalin and I struggled to solve the issues together. In conclusion, I failed because:
- Thickness is too thin.
- The middle part of my model is wider than the bottom part of my model.
- My model is tall.
- The elasticity of the fabric is too high.
- Things are fragile without brim.
Fifth: The Survival (Thanks Andy. Thanks Dalin. Thanks Marcela~) (With Brim. Bigger thickness.)
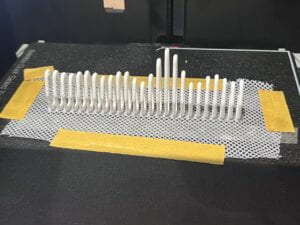
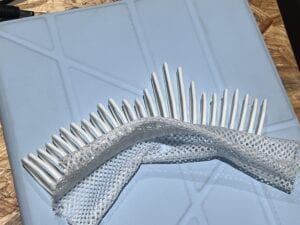
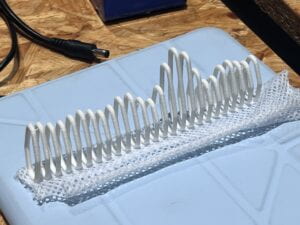
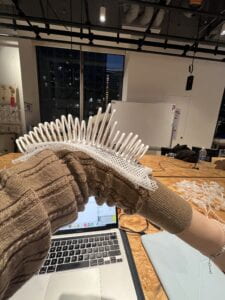
But I also found those failing bodies beautiful. So I might further develop them and include them in our final project also!
Leave a Reply