Rhino Exercises:
In-class exercise 1:
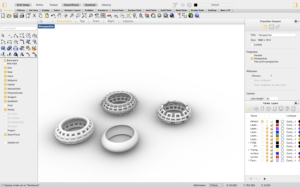
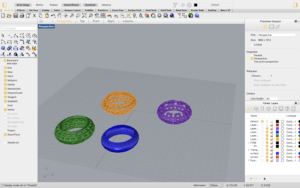
The stuff I did following Prof. Marcela’s step.
In-class exercise 2:
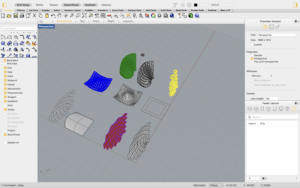
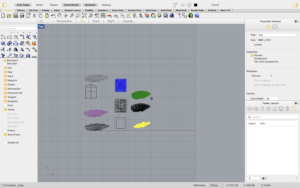
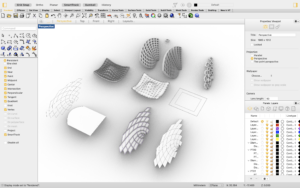
The stuff I did by following the given YouTube tutorial about paneling tools.
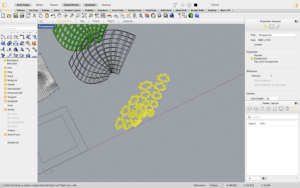
When I used the offset border tool in Rhino, it didn’t go out the same as what I saw in the video. Not all the star shapes have a hole inside them. But I think the shape is quite unique. 😅~ I later consulted Prof. Marcela and she said it might have something to do with the geometry. And I later 3D printed this model out. (Seen in the section below).
After-class exercise 1: Organic Bangle.
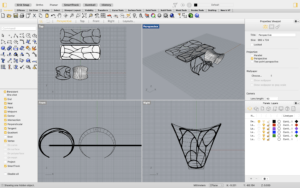
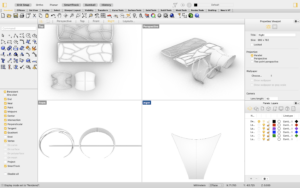
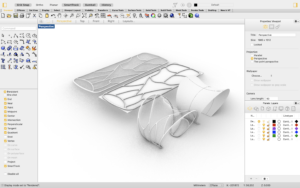
After-class exercise 2: Mask
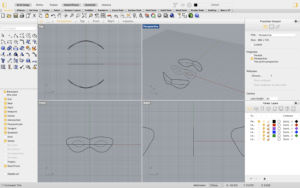
(working process)
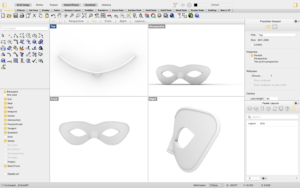
(finished work)
I learned how to properly use the projection tool in this exercise. I had to “tell” Rhino the direction to project, so I had to select the surface that things were projected on in the “front view.”.
3D-Printed Work:
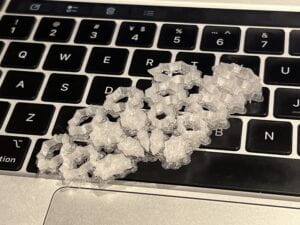
I didn’t remove the support because, firstly, it’s a bit difficult to dismantle, and secondly, I think its thin layer looks nice, and I can make the curvature of this model more pronounced by bending it.
Reflections:
These exercises mark my first formal attempt at Rhino. The overall process, following a YouTube tutorial, went relatively smoothly, despite the difficulties and issues I mentioned earlier. I find the paneling tool incredibly powerful. In our final project, Chanel and I might use a similar approach to model bipolar emotional curves and make them wearable. We are also considering using 3D blocks connected with each other as our textiles, perhaps even making them move together with the motion of people.
Leave a Reply