Actuator
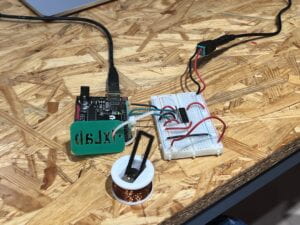
Mechanisms
1: Turn the handle, and the fish will move up and down.
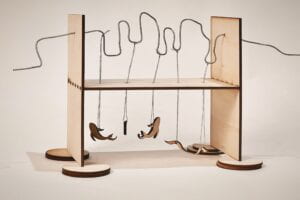
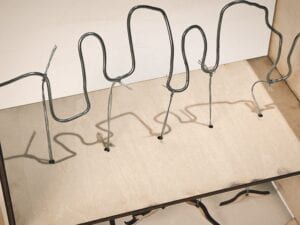
We may probably include this as a decoration rather than a mechanism that’s going to rotate in our final project.
2: “Robot Arms” ——> “Breathing Pump”

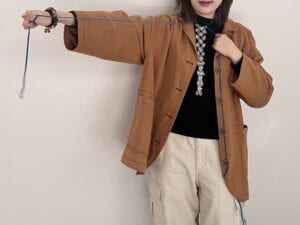
Initially, we built a prototype with cardboard and toothpicks. And later, after we decided that we were going to integrate this mechanism into our final project, we made this one with acrylic and nails.
We also tried to get this mechanism up and down (less gap in between/more gap in between) by attaching them to the actuator or servo, but neither of them worked well (The strength of the actuator is too small, and it makes it waving rather than making it be more open or closed).) (The servos keep rotating in the process. We couldn’t fix their position, or the mechanism couldn’t be achieved anymore. But the rotation of the servos was annoying to us.)
We later decided that we were not going to use either an actuator or a servo in our project. (Partly because they don’t work really well. Partly because we don’t need to use them anymore. We found a better way to integrate it into our project. The concept is similar to what we’ve done in the Week 2 Assignment.)
3: Pneumatic Movements ——> “Breathing Balls”
The circuit is the same as what we built in W7. Yet we tried to change the materials that were going to contain the air. We asked Prof. Marcela how to make silicone and made 2 prototypes with her help. Yet, later, when it comes to our final project, we may not necessarily use silicone but rather the fingertips of rubber gloves. Thus, we tried to make a prototype of the fingertips of rubber gloves with pumps. And this motor (the pump) is the motor we gonna include in our next project. But it’s not the only part that gonna move in our final project. But only this movement needs a motor. (At least, up till this second, it is the only part.)
Leave a Reply