- Working Process
- Inspiration
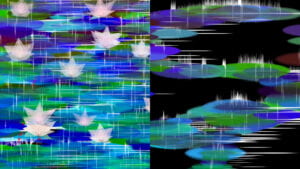
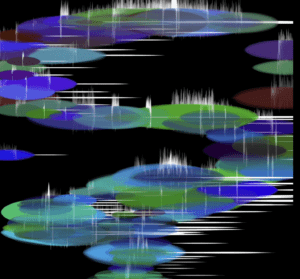
At the beginning, I was simply altering the shape and motion functions of the ellipse in the example code provided by the teacher to gain inspiration. Through a series of serendipitous attempts, I achieved the visual result shown in the video. It resembles leaves in the rain. This association led me to Monet’s water lilies, prompting me to decide to build an image of rain-soaked water lilies using Dynamic Objects with Vectors.
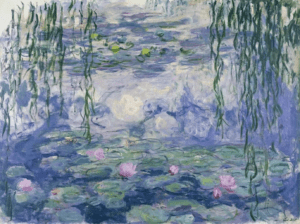
[Les Nymphéas bleus et Saules, 1916, Musée Marmottan Monet, Paris]
- How Lotus got developed
My code consists mainly of three Classes:

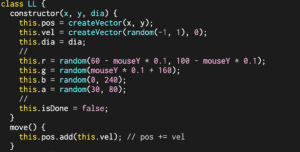
 In Class LL, there are three main patterns: lotus leaves, ripples (referred to by some friends as water reflections), and rain, closely related to mouse interaction. In Class LF, the main pattern is lotus flowers. In Class SH, the main pattern is fish. Since both flowers and fish start with ‘f,’ I have assigned them both to be controlled by the ‘f’ key.
Class LL:
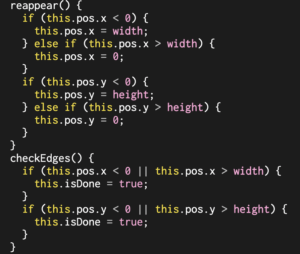
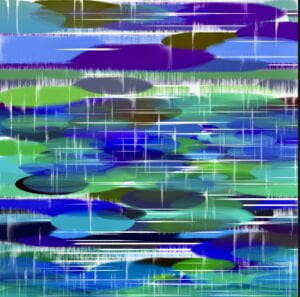
In Class LL, all three shapes appear at the mouse position when the mouse is clicked. Once they appear, they only move along the x-axis. Their limit is set to 1200, sufficient to cover the entire screen. Due to the continuous changes in their x-coordinates and the diameter of the ellipse, a flickering effect is generated, creating the sensation of rain and water reflections. The reappear and checkEdges functions contribute to a sense of flow in the lotus leaves.
Inspired by Monet’s original work, I want to create an overall reddish-purple tone in the upper part of the screen and a bluish-green tone in the lower part. Therefore, I have used mouseY as one of the parameters to change the color of lotus leaves.
Class LF:
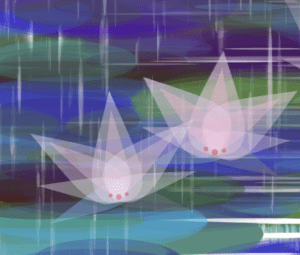
In Class LF, the lotus flower’s design is derived from the Sharingan pattern in my first Rinnegan assignment. I modified their angles, scales, and rotations, adding decorations (circles) inside. I adjusted the colors and transparency to make them resemble lotus flowers more.
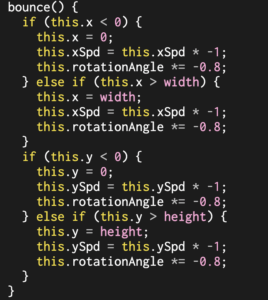
Due to the rainy environment, I wanted the lotus flowers to undergo some natural changes in their angles during movement. Therefore, in the move function, I implemented the following settings:
In this class, I mainly utilized the bounce function to give a sense of direction change upon collision with the borders. I didn’t set this.rotationAngle to -1, considering the effects of forces and aiming for a more realistic depiction.
Class SH:
In this class, the dynamics of the small fish are crucial. I aimed to avoid complete overlap of the fish positions with the flowers, so I implemented the following operations:

The initial orientation of the small fish is random. When it collides with the borders, it needs to turn around and swim back. Therefore, I implemented the following operations in the move and bounce functions:
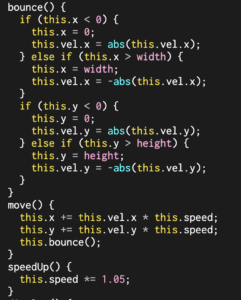
From the image above, you can also see that I implemented the speedUp function. When the ‘s’ key is pressed, the swimming speed of the small fish increases.
- Finished Work:
- Video:
- Photo:

- Click to see more
- Reflections/Lessons Learned
In this assignment, my biggest takeaway was learning how to use classes because I wasn’t familiar with this feature before. Additionally, I experimented with various functions such as bounce and speedUp and learned how to implement them. While working with the bounce function, I also discovered the use of other functions like abs. Simultaneously, I gained an understanding of the principles behind arrays, something that I didn’t fully grasp in interlab. Although my code may appear somewhat intricate at the moment, I believe that with more learning, it will become more concise over time.
- Link to the Sketch (Click it!)
Leave a Reply