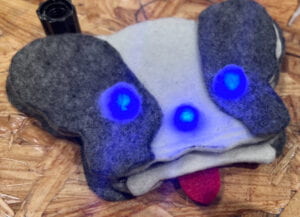
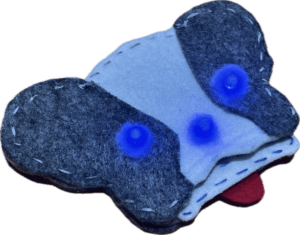
What I made:
Hungry Border Collie
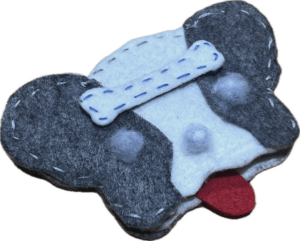
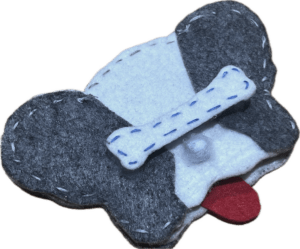
Class Exercise:
Build a circuit on the breadboard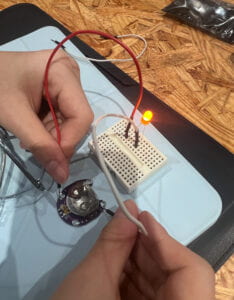
How I came up with the idea to make a Border Collie:
I like an idol named Yaxuan Song, and he has a Border Collie named Mouse. That dog is especially cute, and I’ve always wanted to have a Border Collie too.


[Song and his dog, from Weibo]
Materials:
3 LEDs; 3V coin battery; non-woven fabric; conductive fabric; cotton thread; conductive thread; cotton.
Layout Plan:
- The effect I want to achieve:
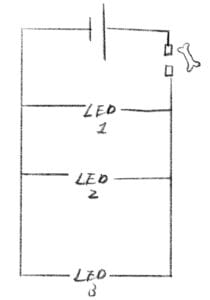
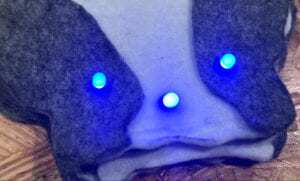
I used a total of three blue LEDs for the dog’s eyes and nose. (As for why I chose blue: 1) Other colors like yellow, green, or red for the eyes seemed too frightening; 2) Blue is the support color for that idol. )When a bone is placed in the dog’s mouth, the circuit will be activated, and the LEDs will light up.
- Pattern Demo:

- Circuit Diagram:
- Connection scheme:
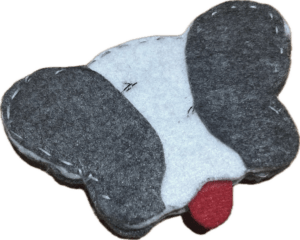
The dog is composed of a total of five layers of fabric:
Layer 1: black fur around the ears and eyes + 2 LEDs for the eyes.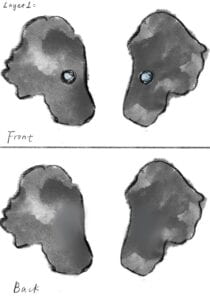 Layer 2 (front): white face + 1 LED for the nose.
Layer 2 (back): two conductive threads connected in parallel to the LEDs.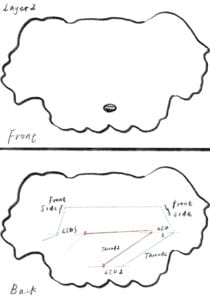
Layer 3: an insulating layer to prevent interference between the back of the second layer and the front of the fourth layer (two conductive threads passing through).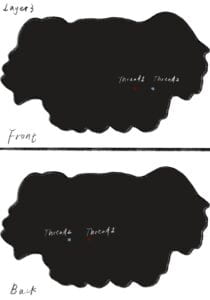
Layer 4: coin battery placed in the middle of the dog’s head + two pieces of conductive fabric.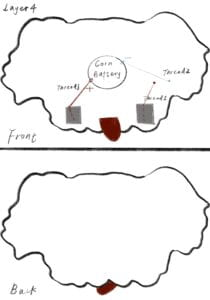
Layer 5: black fur around the ears and eyes.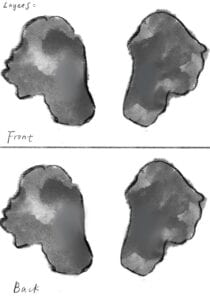
There is also an additional product, the crucial bone: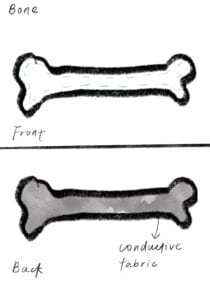
Its front side is non-woven fabric, and the back side is conductive fabric. When it touches and connects the two pieces of conductive fabric in layer 4, the entire circuit should be activated, and the three LEDs should light up simultaneously.
Working Process:
- Fabric Preparation:
I started by cutting out large pieces of non-woven fabric that I needed. The process went smoothly, but unfortunately, I forgot to take photos.
- Sewing Practice:
Since I had no prior experience with sewing, I watched tutorial materials and consulted friends who were skilled in sewing to learn. Although I ultimately used the simplest stitching technique, I felt that this style suited the dog the best. I used a single-strand conductive thread for the electrical components. The entire dog’s five layers were sewn together with four-strand cotton thread.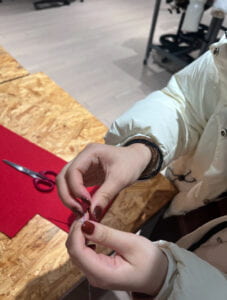
[Our friend Ting is teaching Maggie and me.]
- Simple Test:
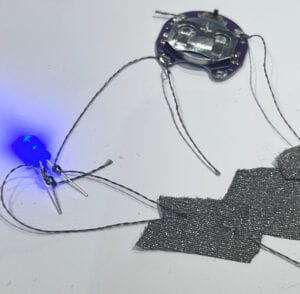
Before formally starting the production, I connected the materials I needed into a circuit to check the feasibility of this approach.
- Bone Making:
I had a total of two bones. The first one had electrical tape on the back. For the second one, I sewed conductive fabric onto non-woven fabric. Initially, I thought the first bone was cuter, but after completing the final product, I felt that the second one matched better with the overall style of the dog.
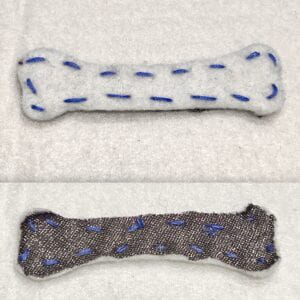
[The bone I finally used]
- 1st Try:
Following the specific operations outlined in the layout plan, I embarked on the production and sewing process.
I first secured the coin battery to the fourth layer of fabric. I passed a conductive thread through the positive pole, connecting it to the left-side conductive fabric. Starting from the LED designated as the nose, I threaded it through the fabric, tying a fabric thread on each leg. I repeated this process for the other two LEDs. The conductive thread connected to the positive pole passed through the insulating fabric and was sewn onto the right-side conductive fabric. The conductive thread connected to the negative pole passed through the insulating fabric and got connected to the negative pole.
Before fully securing them by sewing onto the right-side conductive fabric/negative pole, I tested whether the LEDs would light up (placing the threads on them without sewing). They all lit up!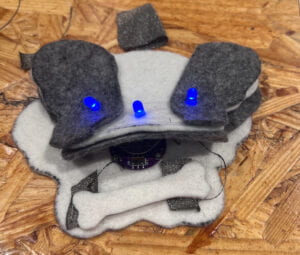
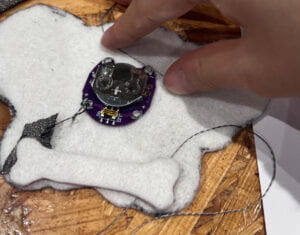
I was thrilled, thinking I could finish quickly.
However, after completing the sewing, I noticed that the lights were sometimes on and sometimes off. I tested with a multimeter and found that it sometimes showed no issues, but other times, it indicated no current passing through. Initially, I thought it might be a problem with the wire I sewed onto the right-side conductive fabric, but it was fine. I then suspected that when I used conductive threads to connect the LEDs, the two threads might have touched, causing a short circuit, but that wasn’t the case either. Later, I thought I might have damaged the LEDs. My friend, La Amelia from Interlab, suggested I check if the coin battery was the issue. The multimeter showed that it was fine. As I continued my investigation, ruling out the possibility of a logical error in my circuit, and with the threads already loosened, the lights went from intermittent to not lighting up at all, and I mistakenly cut one strand of conductive thread.
In the end, I thought it could be one or a combination of the following reasons:
- LEDs were damaged;
- Conductive thread tied to the legs of the LED wasn’t tight enough, leading to poor contact;
- Conductive threads suffered damage during the inspection, preventing the flow of current.
So, I decided to dismantle the threads and start over.

Leave a Reply