
For the “Remote Sensing for Heritage Information” project, I chose “红梅阁” (The Red Plum Pavilion) as the subject for interpretation. I captured aerial footage of it using a drone and performed post-production editing and clipping on the materials using Adobe After Effects. Ultimately, I completed an introductory video for “The Red Plum Pavilion”.
Brief Intro to 红梅阁 and why I chose it
Location: Tianning, Changzhou, Jiangsu Province. Inside Hongmei Park
Function and History:
It was initially constructed during the reign of Emperor Zhaozong in the Tang Dynasty. In the Song Dynasty, it served as an examination hall for imperial scholars and later became a Taoist temple. Legend has it that Zhang Boduan, the founder of the Southern School of Taoism and known as the True Man of Ziyang, gathered disciples here for cultivation. It was destroyed in the late Southern Song Dynasty due to warfare.
During the Yuan Dynasty, the Taoist temple was reconstructed and renamed Xuanmiao Temple in the first year of the Yuanzhen era, and the Feixia Tower was built to the northeast of the temple. The Feixia Tower was destroyed at the end of the Yuan Dynasty, and in the Ming Dynasty, the Hongmei Pavilion was built on the site of the old tower. After periods of prosperity and decline, it was finally destroyed during the Taiping Rebellion. The existing buildings were reconstructed in the 26th year of the Guangxu reign in the Qing Dynasty (1900).
Why I chose it:
Because it is located in Hongmei Park. This park is right next to my home. The scenery there is very beautiful. I often go there for a walk, and when friends visit Changzhou, I also take them there. In Hongmei Park, there are two other famous attractions: Tianning Temple and Wenbi Pagoda, both of which are more well-known than the Red Plum Pavilion. However, the entire Hongmei Park is actually built around the Red Plum Pavilion, but it is not as famous. Moreover, there is very little information about Red Plum Pavilion online, and the quality of aerial videos is not high. I feel that something should be done to make this ancient Taoist temple known to more people.
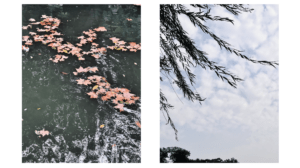
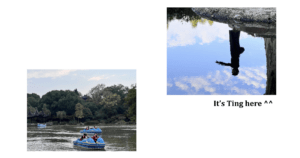
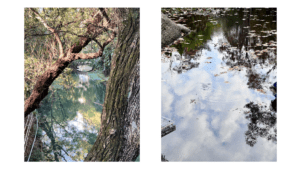
[Pics of Red Plum Pavilion by Luna ^^]
Working Process:
- Footage Shooting
On the weekend of the shoot, I returned to my hometown. My dad helped me buy a drone (thanks, Dad!). After learning the basic flying operations at the DJI store and discovering that Red Plum Park was not a restricted flying zone, I went there to shoot. I was quite scared while shooting because I was afraid the security might stop me, and there was no one with me (only my mom and her friend sitting on the side). I was also afraid of accidentally hitting the ancient buildings. Luckily, I didn’t hit any ancient buildings, but towards the end of my shoot, security informed me that I needed to register at the police station to continue shooting; otherwise, it wouldn’t be allowed. Fortunately, I had already captured almost all the materials I needed, so I apologized, assured them I wouldn’t do it again, and then left.
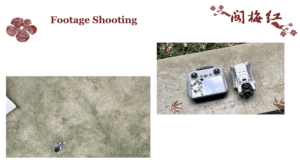
[Me&My Drone]
- Footage Classification
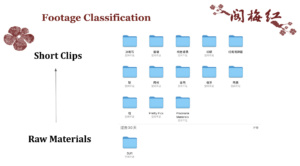 I categorized and trimmed my large and memory-consuming raw materials into smaller clips based on the structure of the content I wanted to convey. I then organized these clips into their respective folders.
- Cultural Research
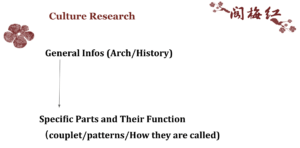 To be honest, these things are very difficult to find. There are no detailed descriptions at the scenic spot, and the online information is also unclear. In many places, like the decorations on the roof, I only managed to find them through online searches after asking Professor Chen for guidance on some specific parts, such as 鸱吻 and 牌楼.
- BGM
Inspired by Michelle + I had no idea as to how I should cut the clips (like how long, how many shots, etc.) I decided to choose a BGM for my video first. In the end, I chose the background music for the Wuzhen documentary “Jiangnan Water Town” by Xu Helie. (江南水乡——徐赫力)
- Clips Cutting and Composition
Based on the background music (BGM), I began trimming my footage. In order to maintain a consistent frame rate, I sacrificed many clips and also omitted certain aspects I initially wanted to include—such as the surrounding scenery or a particular ice plum stone outside the building. Additionally, when integrating data later on, I spent a considerable amount of time strategizing (given the limited time and the abundance of information I wanted to convey, I pondered on concise wording). Rather than extending the music editing or being less stringent with the frame rate, I preferred sacrificing some footage because I believe the music is crucial; without proper synchronization, it would be quite uncomfortable. Moreover, those omitted clips were not absolutely necessary, so I chose to let them go.
- Integration of Data and Clips
Firstly, I chose Chinese as the primary language for my video, with English as the secondary language. Since the Chinese fonts available in After Effects were not to my liking, I decided to type out the text in my preferred font in a commonly used document. I then combined the Chinese and English text with a plum blossom pattern that I drew myself to convey the information. Afterward, I assembled, cut, and adjusted the colors using Procreate before uploading the files to my computer for editing and use in the final cut.![]()
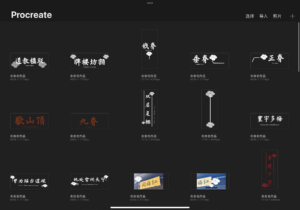

Furthermore, in this aspect, I spent a considerable amount of time contemplating how to refine the information and strategizing how to arrange these details in terms of their positions and effects before actually incorporating them into After Effects.
- The Use of AE
Exercises and Demos
Because I initially wanted to use masks and motion tracking to create the gradual emergence of a plum blossom, illuminate the ridge beast on the eaves when the camera turns toward it with a darkened background, and perform image cutouts, I sought guidance from Professor Chen.
He demonstrated it for me several times and saved a demo for my learning purposes. Later, I opened a new file and attempted to master these techniques on my own. However, in the final outcome, I did not make the plum blossom gradually emerge because I felt it didn’t fit well with the surrounding clips. Additionally, I chose not to use the tracking feature in my final work. While I acknowledge its utility, I found it more efficient and effective to manually adjust the image positions by adding keyframes each time I needed to make changes.
I experimented with the roto brush to cut out the ice plum stone, but unfortunately, After Effects crashed on my computer right after I finished the extraction. The good news is that after selecting the background music, I decided not to include footage of the ice plum stone, so I didn’t need to use the roto brush feature. I plan to revisit these functionalities during the winter break, but not now because I’m quite tired and I want to get some sleep.

Techniques I played with in my final work
I achieved most of my main effects by adding masks and keyframes and adjusting size, position, transparency, and rotation.
Here are some screenshots of the compositions and different effects I played with in the specific composition.
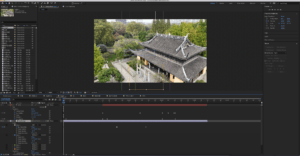
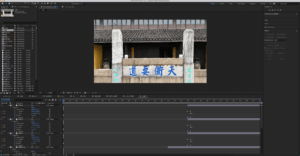
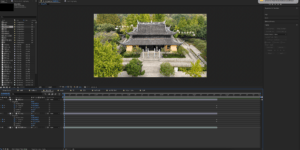
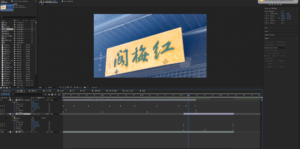
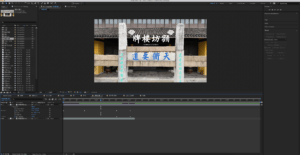
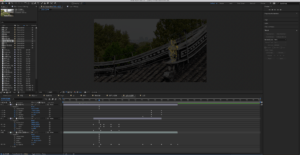
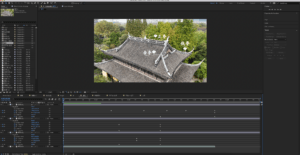
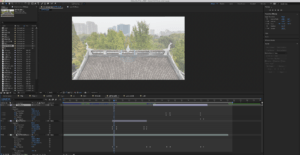
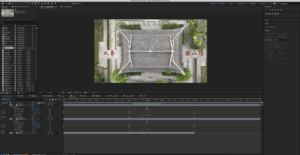
I think they are quite clear, but I may illustrate how to get them to work by the winter vacation.
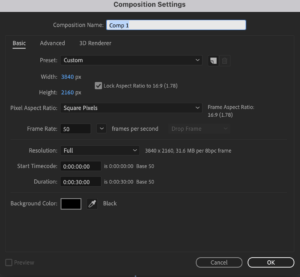
Whenever I created a composition, I would set its size to 4k (3840*2160) and its frame rate to 50 fps since my raw materials were shot in 4k.
Final Work
Takeaways
- Draw a storyboard next time
- Enough storage space left for the footage
- Do backups in Google Drive
- Complexity + Clean Rule when editing
- High-Resolution Strategy on Procreate
- See more in Notes along my working progress
Things to Work On
- English as primary language version
- The balance between Data and Footage
- Adobe Ae Tracking Skill
See you next spring there!

Leave a Reply