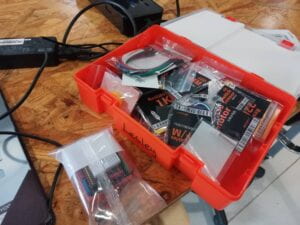
In today’s recitation we received an introduction to the basic function of Arduino and how it works. we started off by receiving a kit that has all the essentials and equipment that will be required programming with Arduino.
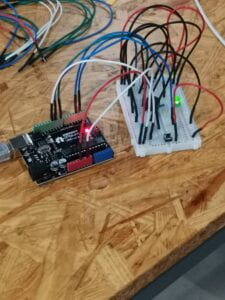
The first task we had was to create the “Fade” circuit and run. This was first done by building the circuit using an LED and 220 ohms resistor. I connected the cables to the Arduino Uno board. The Arduino Uno board connects to the computer via USB and the program can run from there. I then opened and ran the “fade” program to see how it worked. I followed these steps Arduino IDE > File > Examples > 03.Analog > Fading . The outcome was see the LED slowly fade on and off.
The second task was more complicated and involved running a program called “Tone Melody”. The goal for this project was for a certain melody to come out of the buzzer. Building the circuit was pretty easy and I didn’t encounter any issues. However I did notice that there was a change of where I insert the cables on the Arduino board. So instead of leaving the wire on the D9 component, I moved it to the D8 component. The reason for this is so that the device can process the code. Different components have different functions. These are the steps I followed in order to run the code, Arduino IDE > File > Examples > 02.Digital > toneMelody.
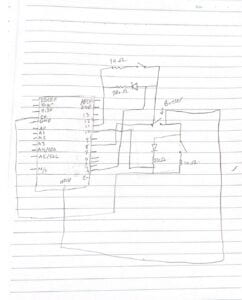
The last task was to build a speed game with our partner. I have to say that building this unit was particularly hard because it consisted of a lot of component and it was very easy to get lost. We followed the diagram very meticulously. The components we had to include were, 2 switches, 2 LED’s, 4 resistors and a bunch of cables. The diagram was available on TinkerCAD and it also had the code for the “speed game “program. 

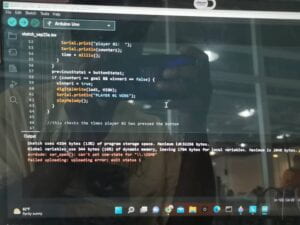
After finally finishing assembling the unit, I ran through an issue I had never encountered. It was not a matter of syntax error. It was actually an issue the instructors couldn’t find out. Eventually we did find out we just had to reboot the program by disconnecting the component and putting it back together. I learnt that this is an error that can occur often and it must always be checked.
I played the game together with my partner and it was the person who clicks the switch time the fastest becomes the winner. Unfortunately because we ran out of time we could not work together as 4 people. However playing this game with my partner was eye-opening in seeing how the program runs and the sequence of the steps that take place. We were also able to view the information output as we played the game.
1.I think possibly adding a button that lets out a beeping sound every time that it is pressed. This can act as a response to the human acknowledging that it is being interacted with. This creates a more engaging experience that allows people to be more interested in the game. It also means that you know that the game is working and is not biased because you can hear the buzzes.
2. This is because when the button is not being pressed, the current is high and energy is being wasted, this is why you need a resistor to stop damage in the circuit.
3. After reading the Arduino Way, what I think I resonate most with is the part where it talks about Tinkering. Tinkering is when building technology without an end goal in mind. It is rather to experiment with the circuit or technology and see where it takes you. In that way we are able to see and discover new things while playing with the technology. In the reading, it specifically quotes, “Reusing existing technology is one of the best ways of tinkering.” The project that I found I have decided to tag a link to it because it explains it clearer https://www.youtube.com/watch?v=vZVrT8OGRaI . The kid from home alone gets his toy truck, breaks it down and joins a camera to record footage while driving it. Almost like a drone! This is an example of tinkering and getting a different outcome at the end.
