This week was a working week. We continued our progress of creating pieces on the mold and continued with our overall progress.
Remade in China Week 9 Journal
Measuring Grape Trellis’s Size & Collect Material
This week, our group went to the New Garden again to measure the size of the grape trellis, which was the destined location of our installation. We measured the length, the width, and the hight the trellis so that we can map our design on our computer in our designing phase. With the tape measure that Angela provided, the measures of the trellis are as follows: length — 520cm; width — 250cm; height –.
During our last meeting with Mr.Yu, we mentioned our idea of utilizing water bottle caps to create a table. Once hearing such an idea, Mr.Yu kindly suggested that he could also contribute his effort to our design — he would contact Mr.Lu who is in charge of collecting and sorting wasted resources from building no.5 and ask him to collect bottle caps for us. Moreover, he could also help to bring the caps to school by driving a car. We have been very appreciated of Mr.Yu and Mr.Lu’s help of collecting caps, so we told him that we could come and get the materials by ourselves. Therefore, after measuring the size of the grape trellis, we went to collect more water bottle caps from Mr.Lu. The materials we collected from the building no.5 include bottle caps and plastic bags, and we carried all materials from the New Garden to the school. The reason why we collected plastic bags along with water caps was that we were afraid that the number of water caps might not be able to form a table we design. We also asked the professor if we could use plastic bags for forming the table, and the professor gave us a positive answer. The only point that we needed to be aware is that we need to iron various plastic bags together and shred them or else the plastic bags might tangle within the shred machine.
Determining Our Design
After bringing the materials from the no.5 building and measuring the data of the New Garden, we discussed and tried to determine the exact design of our installation. We drew the overall size of the grape trellis on the Rhino 7, and we tried various designs within the boundary of the trellis. We adjusted the number and the size of the tiles that composed the flower-shaped table after considering the possible workload that we might have and the limited time we have. We eventually got the exact measurement of flower-shaped table and that of the tiles:: we would produce We also communicated our design idea with professor Garcia, who suggested that we needed to stick the tiles to a wooden board so that the table can be firm enough. Moreover, other than creating a single table, we also added two another smaller flower-shaped mini tables aside the big table, by designing so, we think that the overall design would be more creative and enjoyable. The following picture shows our design on Rhino 7:

Designing & Buying Molds
When we were discussing the final design for this project, both professor Godoy and professor Garcia suggested that in order to massively produce tiles in a faster pace, we could design and buy molds.By using the molds, all we needed to do was filling the molds with the plastics we needed and placing the molds into the heating machine. Therefore, based on the measurement of the tiles, we drew the design of molds on Rhino 7 as well. We also contacted the seller from Taobao and got to know the deviation between the actual physical product and the design. The seller told us that the deviation would be 0.01mm, so we reduced the sizes of the holes that were used to connect the planes with screws by 0.01mm in diameter. Later on, the seller requested, we transformed the file into DXG version. For the material of the mold, we chose stainless metal. The following pictures show our progress in designing and buying molds:


Attempt to Produce The First Tile
Right after receiving the molds, we immediately tried to put the shredded plastics into the molds. For the first tile, we chose the red and white caps since these two colors are the most frequent ones seen in our collections. We thought that by using the most frequent ones, we can have more chances to try if we failed. However, with other colors which are rare, we might not have the chance to try again. With the shredded plastics in the mold, we turned on the machine to melt the plastics. Initially, we put only one layer that could cover the bottom of the mold. Then with the first layer melted, we added another layer. We repeated the same process again and again until the whole mold has been filled. After the pressing stage, we get the mould out and put it into cold water to cool down. Finally, we use different tools to open the mould and get out our tile. The following pictures show our progress:

Mold Modification
Based on the first tile that we created, we found out that one of the main problems was that the planes of the mold were not tightly connected, so the plastics would spread out during the melting process due the the openings to air. Therefore, we asked professor Garcia for help — we needed to put screws into the holes of the planes so that there would be no air between planes. Professor Garcia helped us to open four larger holes on the bottom side of the last layer of our mould so the screws could fit into the mould very well and have a flat bottom. By doing so, there would be no any air getting into the mould and the we would get a better out come. In addition, we cut the screws to just the height of our mould to make it totally fit.


We also guess that the cause of our tile not being flat enough may because the limited number of pressing so we decided to press our tiles for more times. Moreover, we advanced our cooling process by getting out two water buckets and reuse the water we used before again and again to prevent waste of water.

Producing Tiles Massively
Based on the experience of producing the first tile, we repeated the same process again and again, and the following pictures show the products we have made:

Remade in China Week 8 Journal
Material Experimentation Documentation
Updates
Plastics From Water Bottle Caps
To have smooth edges, we created a wood scaffold and developed the plastic within the scaffold. The problems with this would be inconsistency of tile piece, tile size, and waste of wood.
Bioplastic From Orange Peels
After waiting 2 weeks, the condition of the bioplastic was terrible as it had molded. This led us to consider more durable materials rather than degradable materials.
Sketches & Ideation
We imagined how the material from the plastic caps can be used to make a hanging exhibition holder.

We looked into continuous tile patterns for our product, eventually leading to the shape in the middle photo being chosen and a flower like structure to be created.

Meeting With Art Ladies
We met with the art ladies and discussed how we could collaborate with them for creating an exhibition in the presence of the neighborhood committee and understood their needs.

We found the issue of weight of the art so we decided to only display smaller pieces. In addition, we also needed to get consent from the neighborhood committee.

New Experiments
Making Plastic Strings
We experimented with the plastic string machine, creating thin layers of plastic that had similarities to a 3d pen that printed pieces in small strings.
- Steps 1: Grinding
- This step is similar to what we did last week. You could find that in the ppt in the first part of this journal. One thing to keep in mind is that to grind several times and make the pieces as small as possible.
- Successes: We used some of the little pieces professor have and some of the larger pieces we made by grinding bottle caps last week. It seems that both of them worked.
- Failure: It may due to that our pieces were too big, the string came out really slowly and stop at some point. We had to keep increasing the temperature and use a wooden rod to squeeze the plastic pieces in to the machine as showed in the below pictures.
- Step 2: Using the Machine
- Firstly, we need to turn on the machine, set the temperature of each part of the machine, and wait the temperature to rise to the point we set. When the temperature is hot enough, we turn on the speeding part of the machine which is behind all the temperature screens. Then we need to hold on something (we used a cup here) to receive the strings coming out. This step should be processed slowly under great patience. In addition,we need to make the strings to connect with each other and when we think we have enough strings together forming the shape we want, we could stop and close the machine.
- Failure: At first, we cannot control the strings which cause it sometimes to become very thin or eventually break. Another failure we encounter is that since we put different colors of plastics into the machine, the strings came out to be a dirty purple color which was not that nice.
- Successes: After several practice, we realized that we should be very patient and move slowly, so we could make some really nice and smooth strings with similar thickness. The strings actually connected with each other and form a complete shape.
- Step 3: Polishing
- For this step, we just need to remove the string structure we made from the thing (for us is the cup) we used to hold the strings. After that, we could use some sanding paper to make our product smoother.
- Failure: We tried several time and used different tools by ourselves but we could not remove the material from the cup. Finally, we need to ask others for help.
- Successes: Under help of professor Andy, we finally remove our material from the cup.
What are the advantages of your material(s)?
- Durable
- Breathable
- Mendable
What can the material be successful in?
- Can be applied to lanterns
- Create decorations
What are the current existing resources you found to create this material?
- Plastic bottle caps
- Plastic Bags

How can the material or technique that you used be improved?
- Smaller shredded pieces.
- Single colors
- Polishing/Sanding
- Experiment with patterns
What can prevent the material from success?
- Lack of patience
- Large plastic pieces
- Dirty mixture of colors
What’s the potential you see in your material(s)?
- If we become more proficient of the whole process, we may be able to use the material to create beautiful patterns and clean or even double or gradient colors for each lantern.
How could you use them to create your final project?
- We could apply it to lanterns

Making A Plastic Tile
Describe and assess the most significant steps in your creation process, both in terms of failures and successes.
- Steps 1: Classification
- In this stage, we used the bottle caps we collect from our community and separated them into different colors to make sure that the final piece came out would be a nice color. Then, we choose to use the green ones and part of the white ones to do our experiment.
- Step 2: Grinding
- The grinding process is totally similar to what we did last week.
- Step 3: Heating
- Before pressing, we first need to turn on the machine and let it heat up to the right temperature. We also make a simple mould for our materials. It is also really important to put baking papers on both the top and the bottom to protect the machine. During the process, we need to keep adding in plastics and wait for each layer to melt. Moreover, we could also get out the plastic, wear glove and use our hand to stretch it a bit to blend the color more evenly.
- Success: We successfully melt the plastic and blend the color nicely.
- Failure: Since we didn’t nail the wooden mould together, it gradually deform during the process. Moreover, we realized the material we have is not enough so we rearrange our mould shape to create a smaller area for our material.
- Step 4: Pressing
- In this step, we need to push the two button on the machine as well as open the little machine on the floor to all gas come in and out to trigger the upper board to press the plastic. This step should be repeated several times until we are satisfied with the outcome.
- Failure: At first we accidentally turn on the emergency button which cause that even when we push the two button, the machine would not turn on.
- Success: We asked other professor who knew how to use the machine and he taught us how to solve the above problem. For the first problem, we should close the emergency button and then push down the two button. For the second problem, we need to turn on the little machine which control the gas in and out. After these problem was solved, the pressing process goes quite smoothly.
- Step 5: Cooling
- The process is quite easy, just leave the machine still pressing while lowering the temperature. Or if you don’t mind the surface to be a little bit rough, just get the piece out.
- Failure: When we leave the plastic being pressed in the machine and try to wait everything to cool down, we realized that the machine cools down quite slowly. Finally, we lose our patience and get the piece out. Thus, the surface become still not totally flat.
- Step 6: Cutting
- At first we want to use CNC to cut the piece so we drew it on computer using Rhino 7. However as this was only one piece, I used the cutter saw to cut instead.
What are the advantages of your material(s)?
- The material is quite hard and the color it form is really beautiful. It is easy to cut and could form into the shape we want.
What can the material be successful in?
- The material could be successful in making the exhibition table we want to make. It could also be used to make other small furniture such as chairs.
What are the current existing resources you found to create this material?
- The current existing resources we found to create this material is bottle caps. If the material we have recently is not enough, we may try other materials such as plastic bag and face masks as well.

How can the material or technique that you used be improved?
- We could order some mould to make sure that the material is in the shape we want. Moreover, having a mould could make our process more quickly as the cutting phase is not needed.
- We could try other plastics as bottle caps may not be enough.
What can prevent the material from success?
- The top and bottom is not smooth enough due to lack of patience.
- The color is not blend in a nice way due to less or too much stretches.
- We still not sure how could we stick the tiles together.
What’s the potential you see in your material(s)?
- The material look really nice and colorful when putting together. The community members living in the upper floors would see it and feel being more attached to the little garden.
How could you use them to create your final project?
- We could make several tiles, stick them together to make a table. Use some metal strings to connect the table from grape trellis.

Present the three most relevant references for design you found in your research and describe how they inspired your experimental process.
- Nendo’s Sinuous Display

At first, when we start to design the exhibition table idea, we are inspired by the above design and thought of making it into a long shape and placing it on each side of the pavement. However, later we realized that the little garden was under government construction and we could not change the area near the pavement so we start to look at other ideas.

Later, we was inspired by this floating table to think of making something floating connect to the ceiling. Moreover, as we realized that there was a empty area under the grape trellis, we were thinking about hanging the table we design under the grape trellis.

Another problem we met was how could we create a table that is larger than the machine we have in school. Inspired by the above structures made by using colorful tiles made of recycled plastic, we realized that we could make several pieces of colorful tiles and assembled them into a table.
Conclusion & Reflections
- Regarding the mapping of our plans, we found out that it is always efficient to form a specific design among the teammates before searching for materials. The reason is that with specific designs, we would have a clear goal within our mind about which typical type of materials we are looking for. In other words, we would have a direction rather than being aimless. For example, before sitting down and discussing our design seriously, we were thinking of exploring all kinds of materials, such as the bioplastic from orange peels. However, after we forming the typical design, our focus became sharper and deeper — we would search the design-related materials and our progress became more efficient.
- Regarding the point of searching for inspirations, I think that keeping on searching for new ideas and novel designs can always serve as a catalyst for our imagination. For example, originally, we did not think of using tiles for our design. However, with the search online and our discussion with the professor, we decided to choose such an idea because we would be able to create gradient colors with tiles. Moreover, the individual tile can be much more easily created compared to forming a big size of flower petal.
Project III
My project revolves around creating a currency for the moon. Rather than creating a physical currency, I imagined the constraints of the moon, the reasons why we would have to go to the moon, and how currency should be sustainable and accessible to all. These includes constraints of the moon in terms of natural resources and air where the reason that we would go to the moon is because the earth has already become uninhabitable. Because it has become uninhabitable, we would then consider the necessity of humans to preserve their existence in the moon. Because of this need, we would then require a state system that is strictly governed to monitor and preserve humankind. For this currency, I designed it as a system that’s proposed to the forum as an informed and logical solution to being utilized in which the proposal is a social credit system. This currency is then an exchange of resources such as food, water, and shelter, for the worker’s completion of tasks which is monitored by the State. In doing so, the state of the moon would then be a safe working environment that’s sole purpose is survival. While this system is authoritarian and illogical to create a progressing civic state, it is necessary to enforce power and restrictions upon humans to work and preserve the human existence.
As for the system, it doesn’t have any monetary connections as money is the reason of environmental devastation that caused the earth to become uninhabitable due to exploitation of industry and natural resources. sIt is also because of this imagined logic that money becomes a censored topic of this State as it is illogical to be supporting a system that caused most of the world to be erased. Hence, because of the dangers and evils of money along with the necessity of humans to become morally righteous, money is absent in this currency system. Instead, it is based on scanning the face of the member of society and checking their work progress to promote moral righteousness as well as state contributions for the healthiness of society. From all this, the society that they live in will be very centric and organized where the members of the State will also be imposed very strict schedules to promote orderliness and stability in the system. As everybody is partitioned the same food and water with the same amount of time for sleep, it will become a system in which everyone becomes like each other. This will then allow for the usage of currency in the city to be simple by simply scanning the proletarian work of farming and agriculture and the face of the members of the State to check that everything has been completed normally.
This was inspired by novels of Brave New World, colonial America, the Communist Manifesto, and the partition system of China in the 1900s. Firstly, when I was thinking of a currency, I imagined places to which it could be applied, where, and why. The moon then came up as my destination of interest. I then researched the conditions of the moon with various sources and considered the moon my primary location for this. The most important aspect would be considering the premise for being on the moon and using currency which would be that the Earth must be uninhabitable, otherwise, there would be no point due to the costs of being on the moon. This then moved me towards research of past currency in the QUID which was a space currency revolving around a circular shape of space-grade material that would be safe to use. This caused me to evaluate many sources in which the images could all be found in the proposal presentation. As for how the texts/history influenced my idea of a social credit system, I was inspired by Brave New World’s World State that implied control over all aspects of civilians lives and had them based upon working for the state. In addition, I also considered John Smith’s quote of colonial America when the colonists were on the brink of survival being that every man must work to eat. In all of this, it inspired me to think about humanity on the brink of survival where we must only think about our basic needs rather than any economic interests. Furthermore, I also thought about the Marx’s Communist Manifesto which incorporates proletarian culture and how it could be applied to my state. Lastly, I considered the partition system of China in the 1900s where it was the State or the local village that had a communal food area that allowed for people to eat together. All of this would lead to the system that I have proposed to be incorporated in my imagined scenario.
Lastly, the documentation of my project is a slideshow which can be found in the link.
https://docs.google.com/presentation/d/18MhnVGG69tGLK56VEPhKLtVl6LOZ0IbL2EsvFAd19x8/edit?usp=sharing
Weekly Assignment 5.0
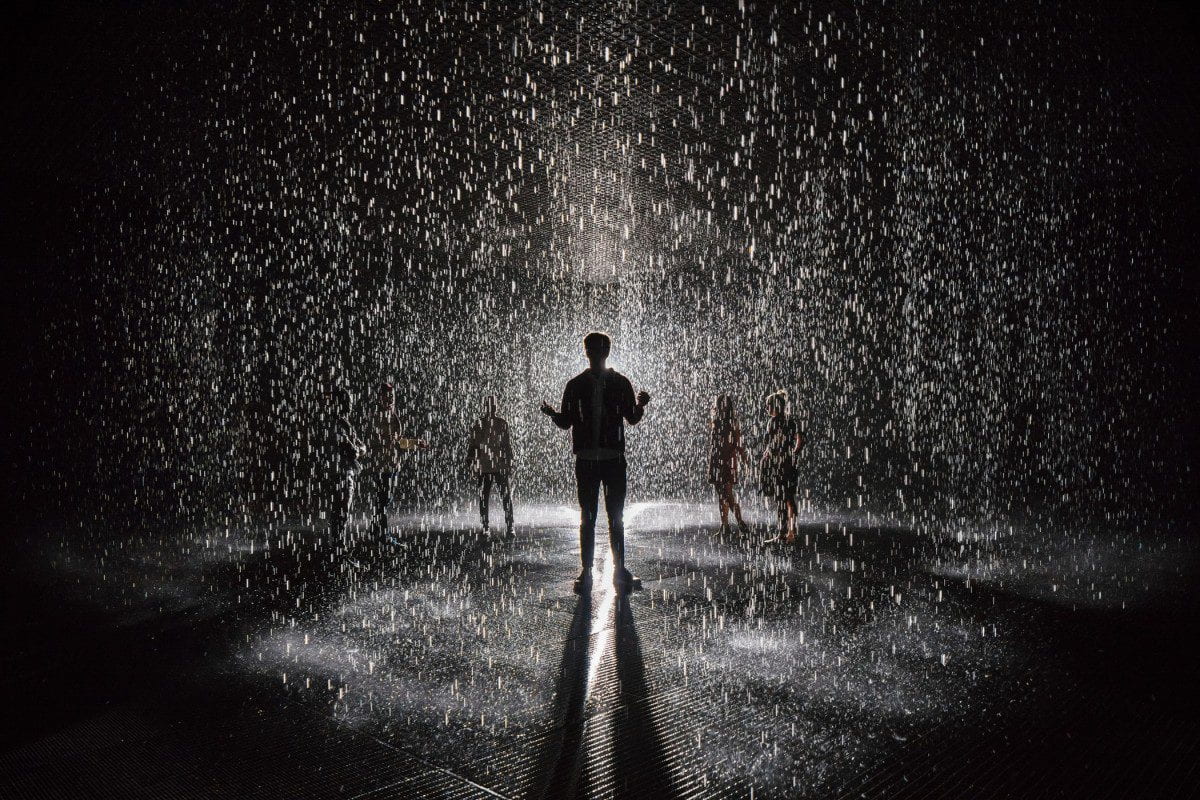
Work Analyzed: Rain Room by Hannes Koch and Florian Ortkrass
About the Work: Rain Room is an immersive installation project revolving around falling water in a room that stops upon detection of a human body. It essentially provides humans a sense of control on nature as rain falls around them rather than on them at every point of the installation. This work has toured around the world and brought this immersive experience to many around the world. It has brought to them an experience of digital interpretation of controlling nature.
Reflection of Experience
For the experience, it has two connections to the course being the manipulation of reality as well as the distancing of the individual from nature. Firstly, the project engages with the manipulation of reality in the sense that one doesn’t sense what they see and hear. For instance, while we normally feel rain falling on us and can hear it when we stand in the rain, this manipulates the experience of reality when we can hear and see but not feel. This would then boost an immersion of the experience of reality through the distancing of the feeling of reality. It is similar to the experience of eating without light or eating in the dark where the disabling of one or more senses can influence and make the focus of other senses more stronger for an immersive experience.
In addition, the distancing of the individual from nature creates a divide between reality and the fake. This sort of distancing is something that occurs to the real that we understand in rain, but the lack of experience of rain would create a psychological impact of distance. This then promotes an understanding of our reality as something distant from nature through the fabrication of the experience. Moreover, as this experience takes place in a closed setting, it allows for a closed experience of reality. It defines the boundaries of reality and breaks the laws of nature of reality to create this feeling of unrealness in the midst of reality.
Weekly Assignment 4.0
Work Analyzed: At the Door by Yanran Bi
About the Work: At the Door is an immersive installation project revolving around presenting the experience of an old Shanghai site through photos, audio, and digital presentation. This work wants to highlight home as a place of belonging, but also the abandonment of old communities where there is a division between occupied and vacant homes. Hence, this work also aims to provide the experience of the lives of the people to the audience through the audio and digital presentation which is something that could also be visited in Shanghai.
Reflection of Experience
For the experience, it has two connections to the course being the relation to the real that can be verified as well as the usage of photos and sound to create a narrative. Firstly, the project is based upon a real setting that can be verified. This creates an element of real into the project that provides it objectivity and substance, allowing for it to be interpreted as something that was created from verifiable location. Having a possible verification option would boost the overall belief of the immersion of this experience which would allow for an interpretation of it as a realistic experience that is indifferent from reality while being a framed installation piece.
In addition, the usage of photos and sound do allow for supporting this narrative of a reality that’s sprout from a reality, namely a part of the real from the real. This essentially refers to the use of empirical evidence through photos and recorded sound. For example, all of the photos are of the real and not fabricated (through verification) which allows for this evidence to support the experience of realness. This is likewise supported by sound which was real sound from the location that’s presented which again can be verified when one goes to the actual site. Essentially, the verifiability of such a project allows for the immersion of a fake fragmented experience to feel real and wholesome due to the controlled portrayed subjects from the real experience.
Weekly Assignment 3.0
Work Analyzed: Jabuticaba, Cipós, and Sapucaia by Alex Cerveny
About the Work: Jabuticaba, Cipós, and Sapucaia is a painting triptych of humans representing trees and trees representing humans to create a connection between humans and nature. This work was to highlight nature as the root of humans, showing how trees may appear to have human forms. While the relation of nature is such, the relation between humans and nature is one that isn’t cultivated and natural as their isn’t major growth occurring but moreso there is nature that is growing around and away from humans.
Reflection of Experience
For the experience, it has two connections to the course being the forced interpretation of a connection between the two subjects in three pieces as well as using movements to create an imagined narrative. Firstly, the project incorporates the forced interpretation of connection between nature and humans where these are the only two figures/symbols seen. This sort of forced interpretation of a connection creates an imagined connection that may not be there. For example, if viewed as an individual piece, all of the works show something about form and possibly nature, but if viewed as a whole, there is a forced interpretation of a conversation between the three works. This essentially utilizes association of proximity to create an alternative narrative that may be fiction but is viewed as intention and reality.
Furthermore, the movement of the pieces itself in the project is also something that creates an imagined narrative. For example, what is the meaning of hands being raised down and stuff growing out of it? This sort of meaning tied to movement and direction creates forced interpretations that would build more narrative behind the piece. It can also be noticed that there is something that challenges reality in the piece on the right where it grows down which is inorganic. This paradox would create new meaning as it is unorthodox and unconventional.
Project II: Parafiction
Project Title:
Interpreted Zora
Part 1:
Part 2:
Project Description
This project revolves around creating a parafiction experience of the conceptual experience of Zora. Being an imaginary city, Zora possesses the feature of being unforgettable. I wanted to create an interpretation of this unforgettableness through creating a dynamic city that continuously had the colors change to generate a sense of visual memorization to the audience. This sort of dynamic change becomes the memorable aspect of Zora where colors constantly deflect. As the city of Zora was described to be lost in time, the city should be unknown to humans, however, to explain how the city is known, the dream narrative was created. To portray the feeling of a dream, I created a video to show the hysteria and fear of this city due to the unworldly nature of it. This part of the project was meant to explain the feeling of seeing something so unworldly that it creates an unforgettable TRAUMA to the viewer as traumatic memories are more vivid due to being recalled to the amygdala. This was also presented in the presentation where Zuk was traumatized yet intrigued by the unworldliness of Zora. As the dream includes the city of Zora, it was vital to create this model of a city to show the interpretation of the fragments of memory of Zora.
The project was based on research of city models, light installations, metal wire installations, and photography narratives. I researched a lot of city model installations, in particular, Forest City by Stefano Boeri. This informed me of the overall structure and design of the piece. Furthermore, I looked at light installations by Lee Eunyeol to allow me to create a clear imitation of light of Zora. This was followed by research of Alexander Calder and how metal wires could be utilized to create certain effects, especially diffraction which will be iterated below. There was also research on Duane Michals’s Things are Queer project which creates a continuous narrative with 9 photos that interact with one another, informing my documentation as well as the video. This can be found in this link. Aside from research, there were experimentation of materials and reference to physics, specifically referring to the diffraction of light. I brainstormed a lot on materials and methods to create the dynamic moving atmosphere where lighting and metals such as wires and CD’s were the creative solution that I thought out. This led me to experiment with lighting to create an imitation of Zora which was vital to the narrative of a changing city defined by colors (and therefore light). Other than research of lighting, I also completed a lot of experimentation with camera aperture, shutter speed, and ISO to add to the narrative. These can be seen in the documentation of the project below.
While the project is artistic and aims to create a feeling of this lost city, it’s important (in relation to parafiction) because I want to challenge the constraints of the fake being fake, the imaginary being imaginary, and an interpretation of an imagined reality as a reality. What I mean by this is that I aimed to create a fake narrative and the atmosphere of a city feel possible to the audience. While the experience may not be immersive where the audience is distanced from the piece, the space and feeling of this city is constant in providing the interpreted reality. This interpreted reality isn’t meant to feel like a reality but is meant to create the feeling of a dream and unworldliness that Zora was described as. It is to make something that was memorable like the city concept for the audience, essentially showing the audience that a memorable unworldly city could exist even if it was artificially constructed, Furthermore, it also shows how a fake can incite the emotions and feelings of hysteria and chaos while not being related to the real. This essentially introduces the fake as a real feeling for the audience where the feeling isn’t a feeling of connection, but a feeling of the city as a bystander. This feeling isn’t personal due to the nature of this city to be more distanced from society. While I could’ve created something that was a part of a real city and appeared connected to human society, the loss of a city is in essence a lost of culture. It is the lost of something stranger, of something foreign where the feeling of connection isn’t necessary as connection would then create a sense of similarity which wouldn’t make Zora memorable and unique anymore.
Documentation: The Story of Zora
Note: none of these have been edited…
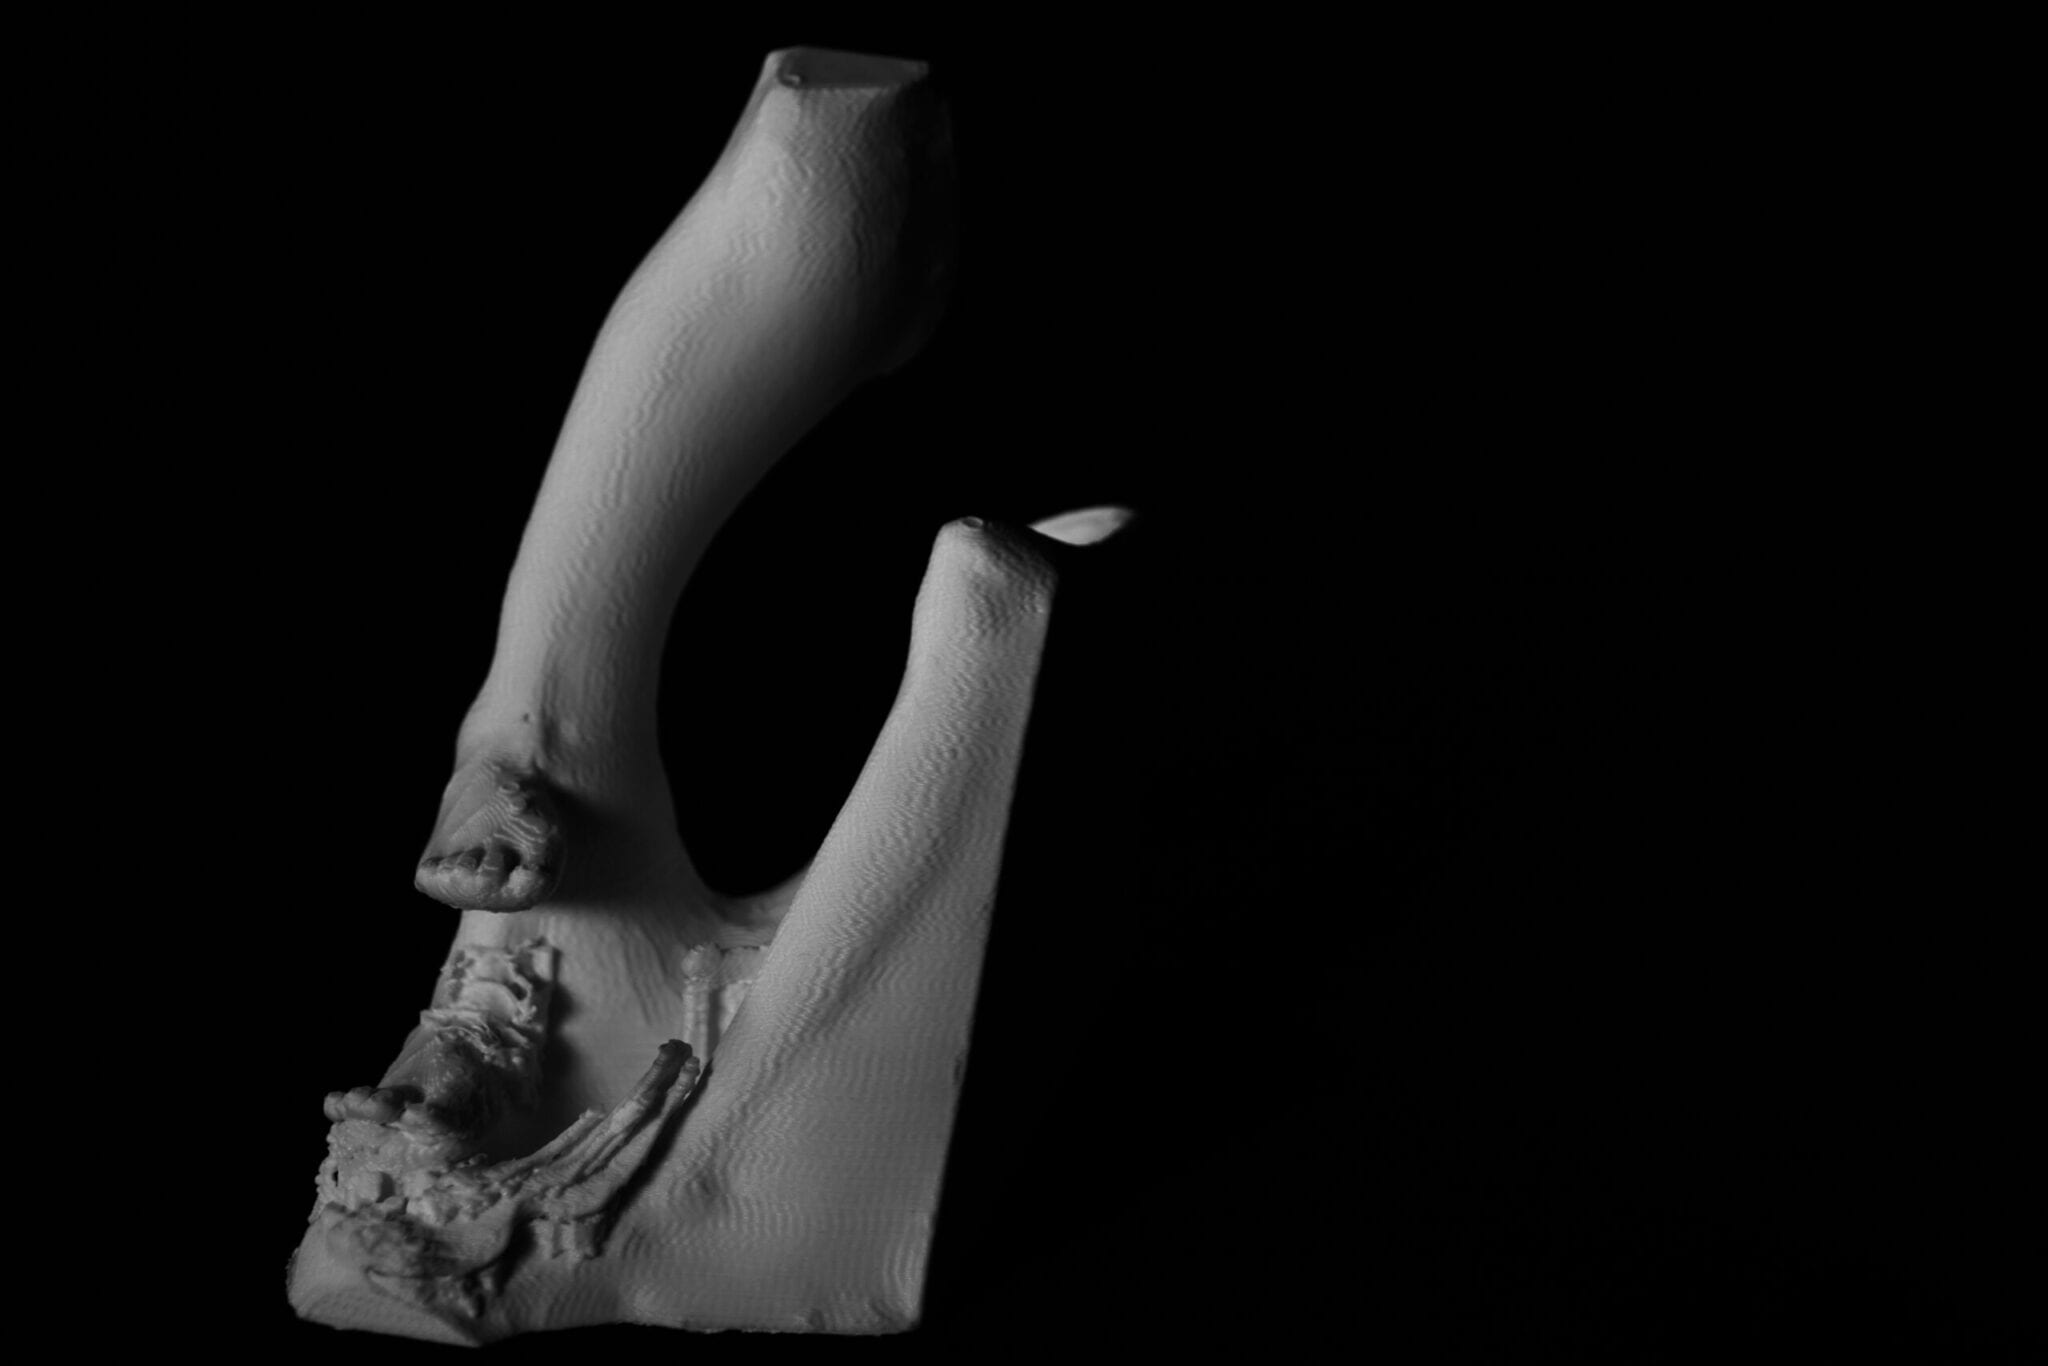
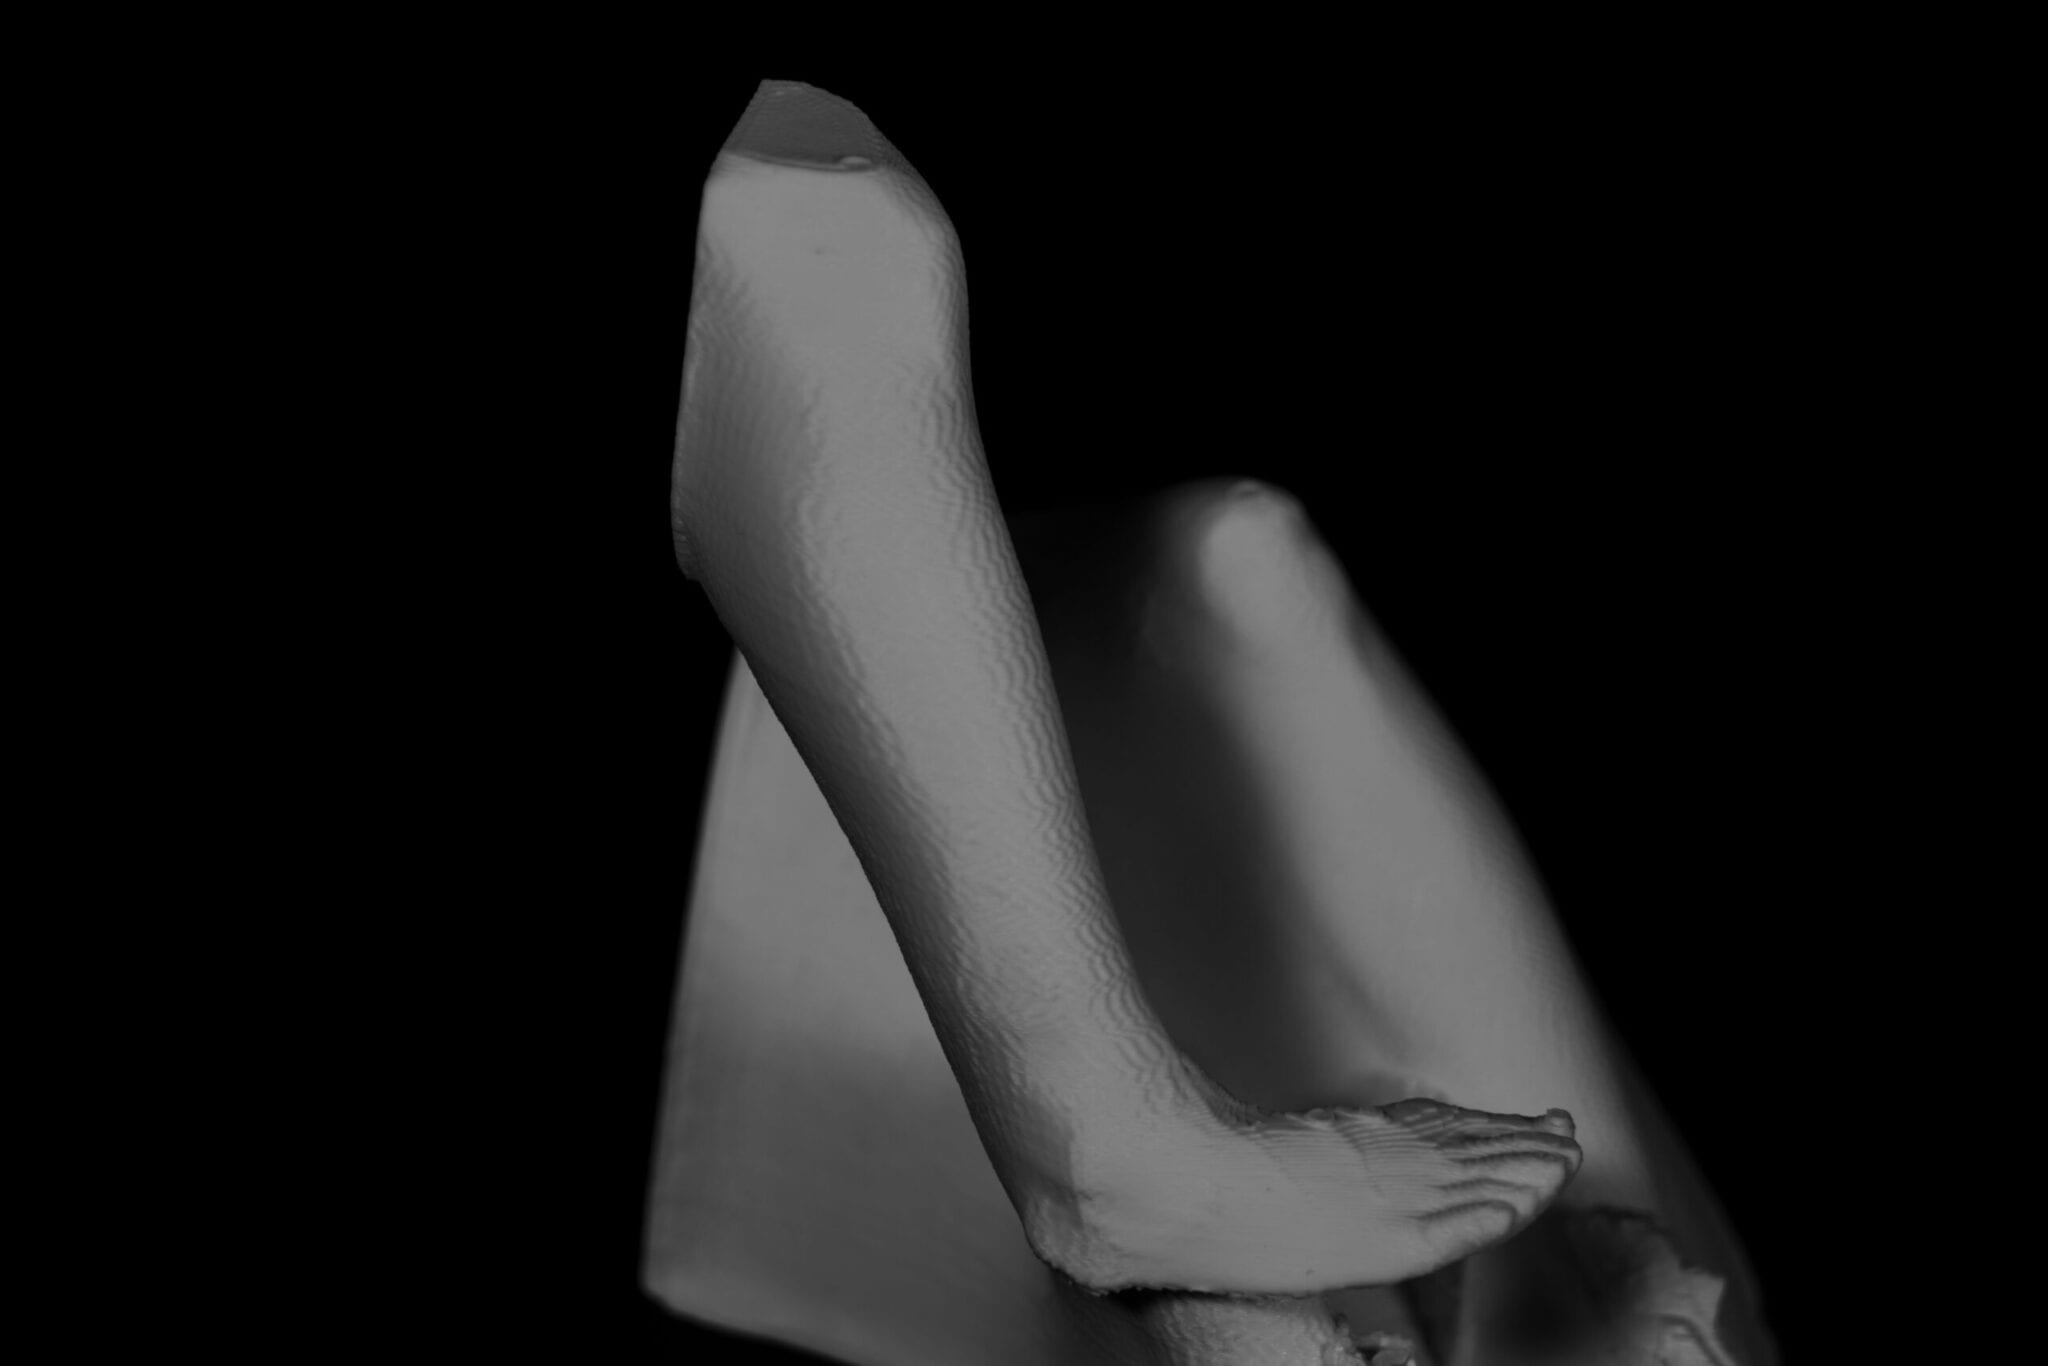
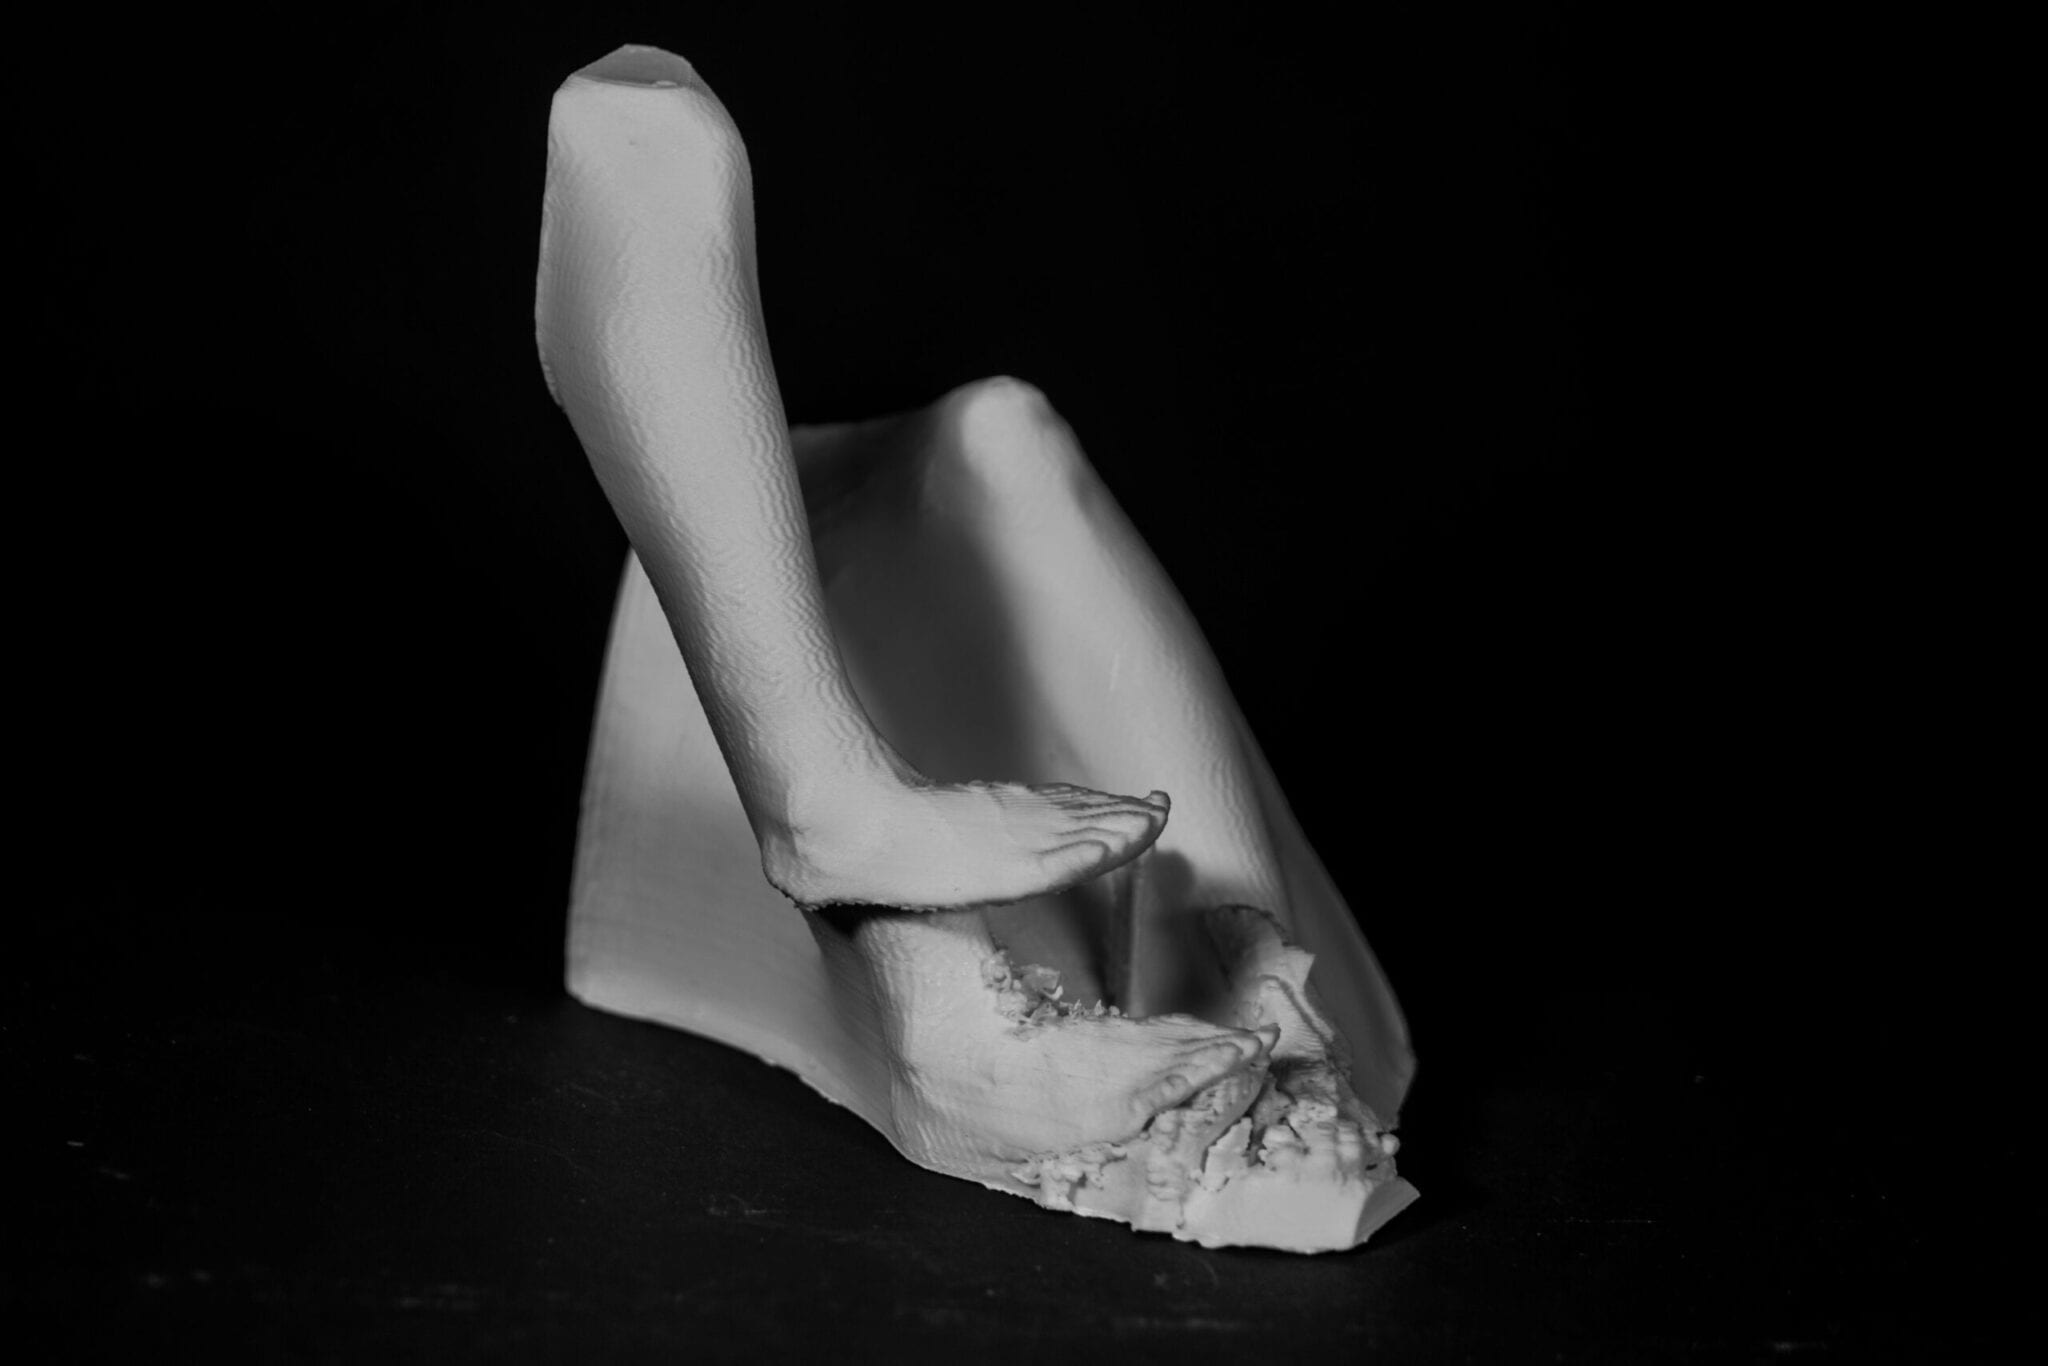
Photos that tell a story…
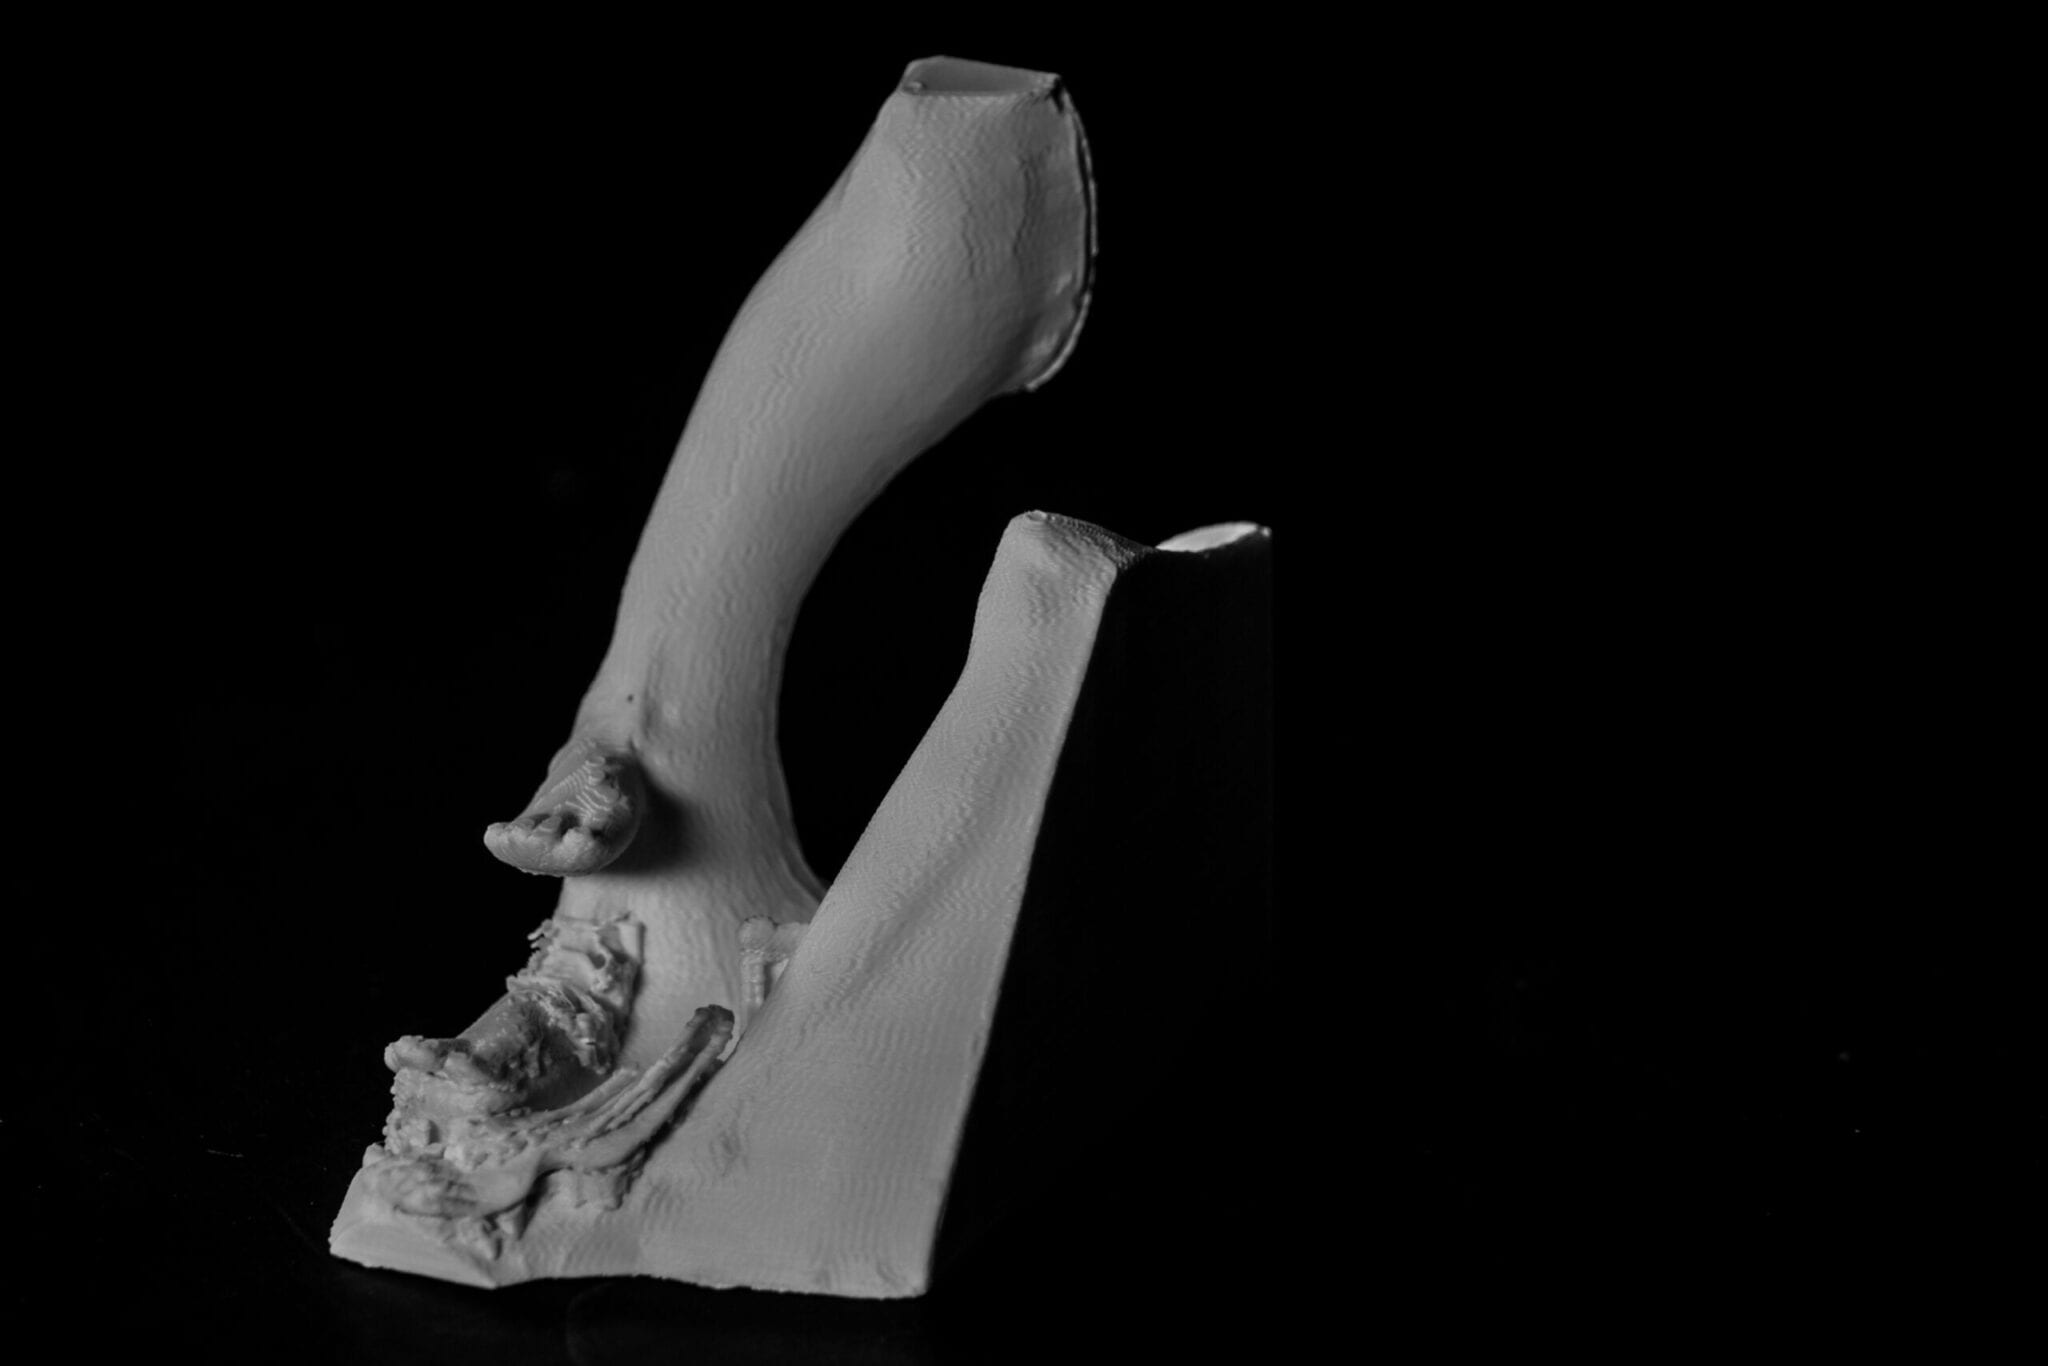
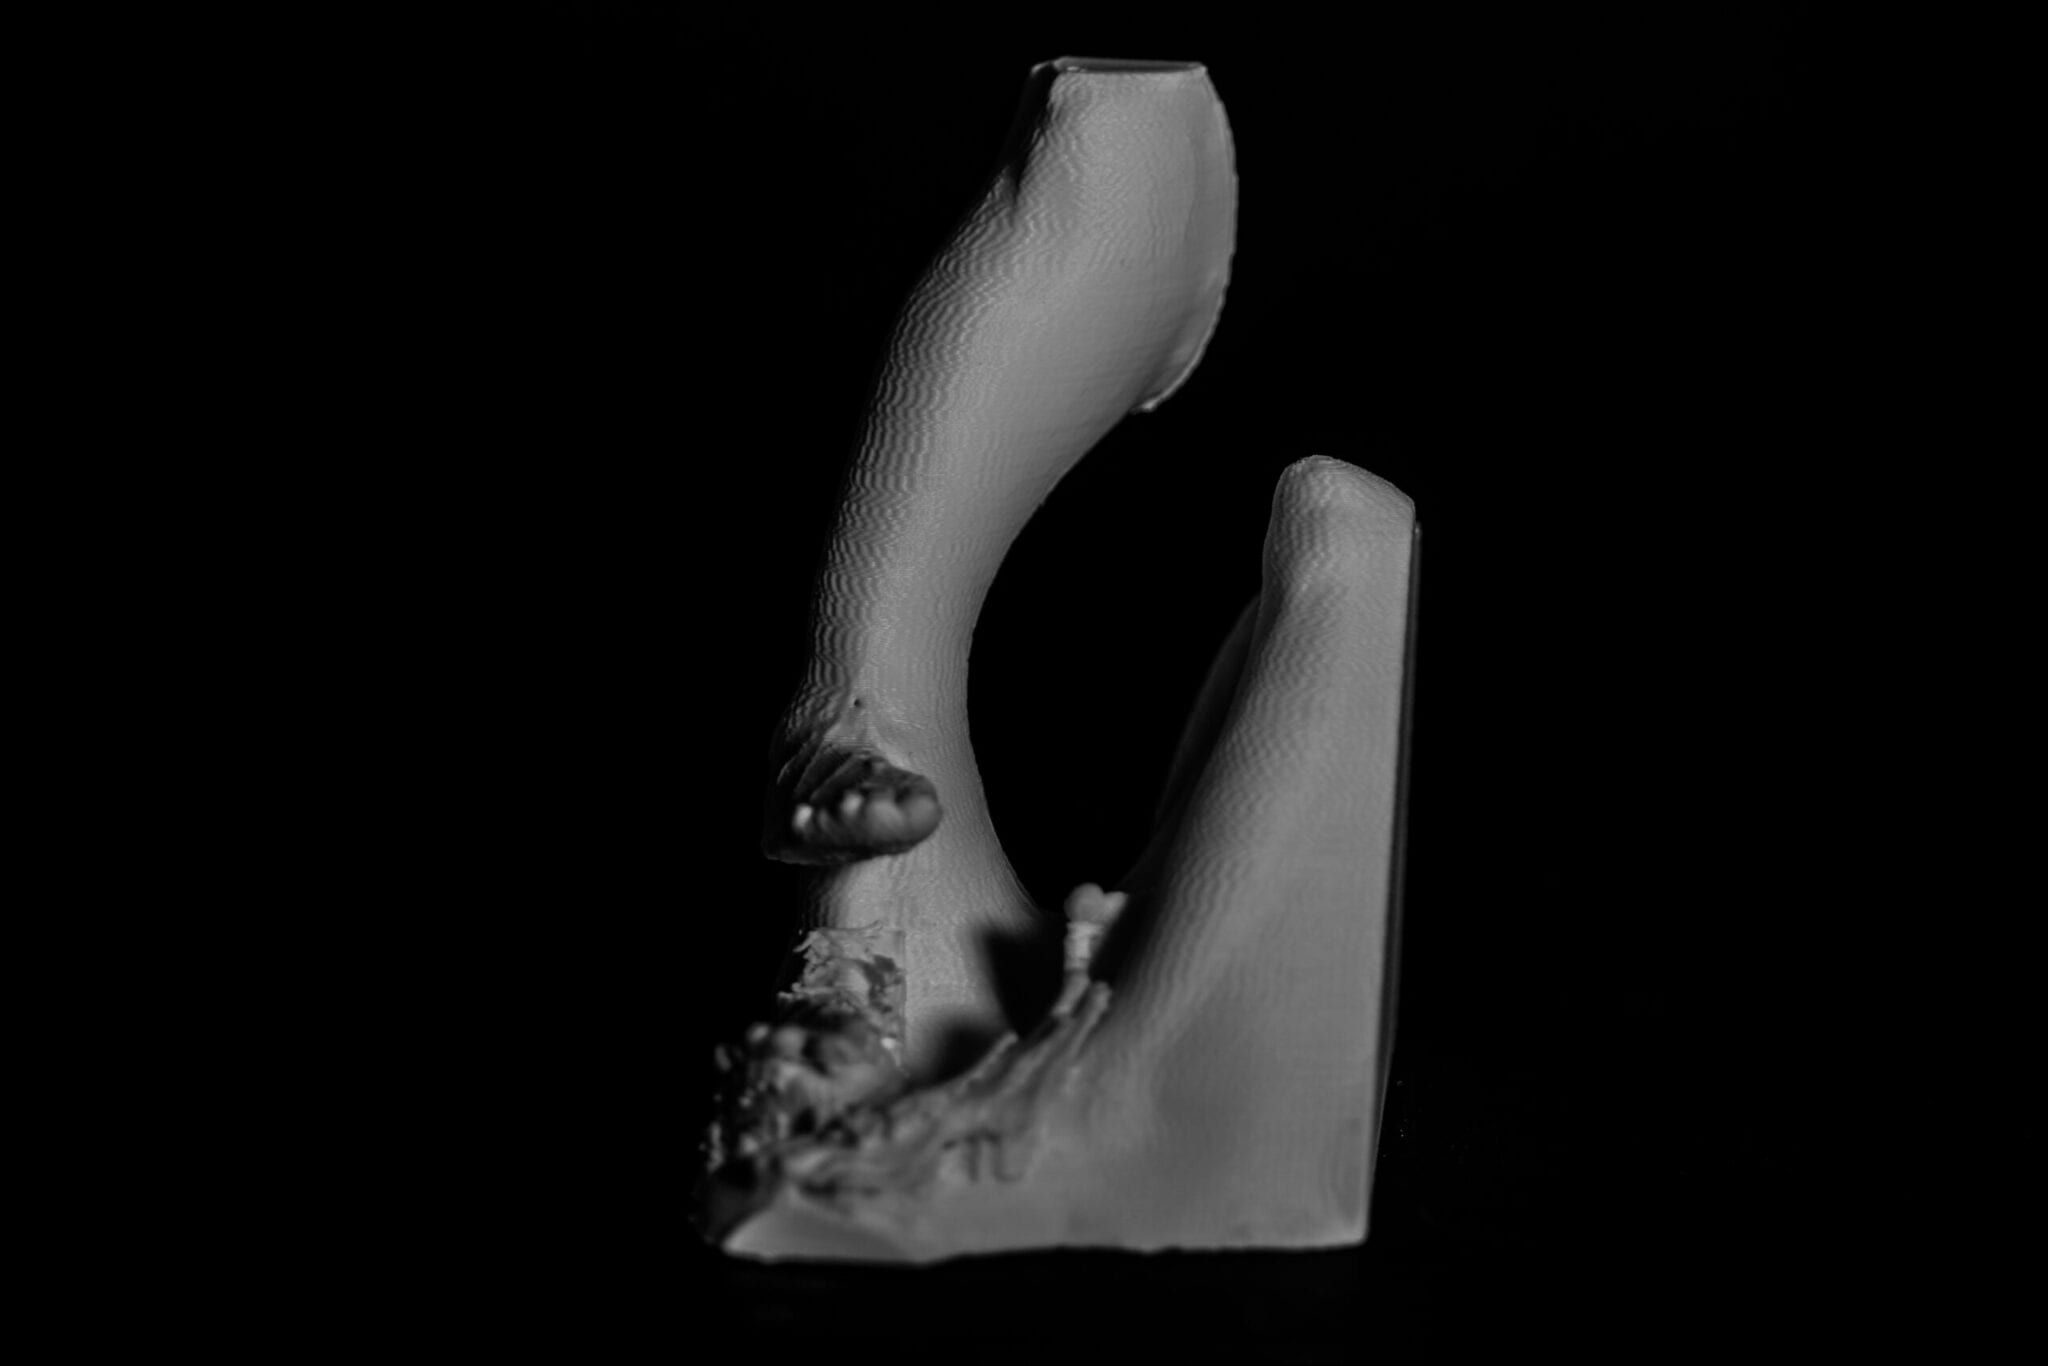
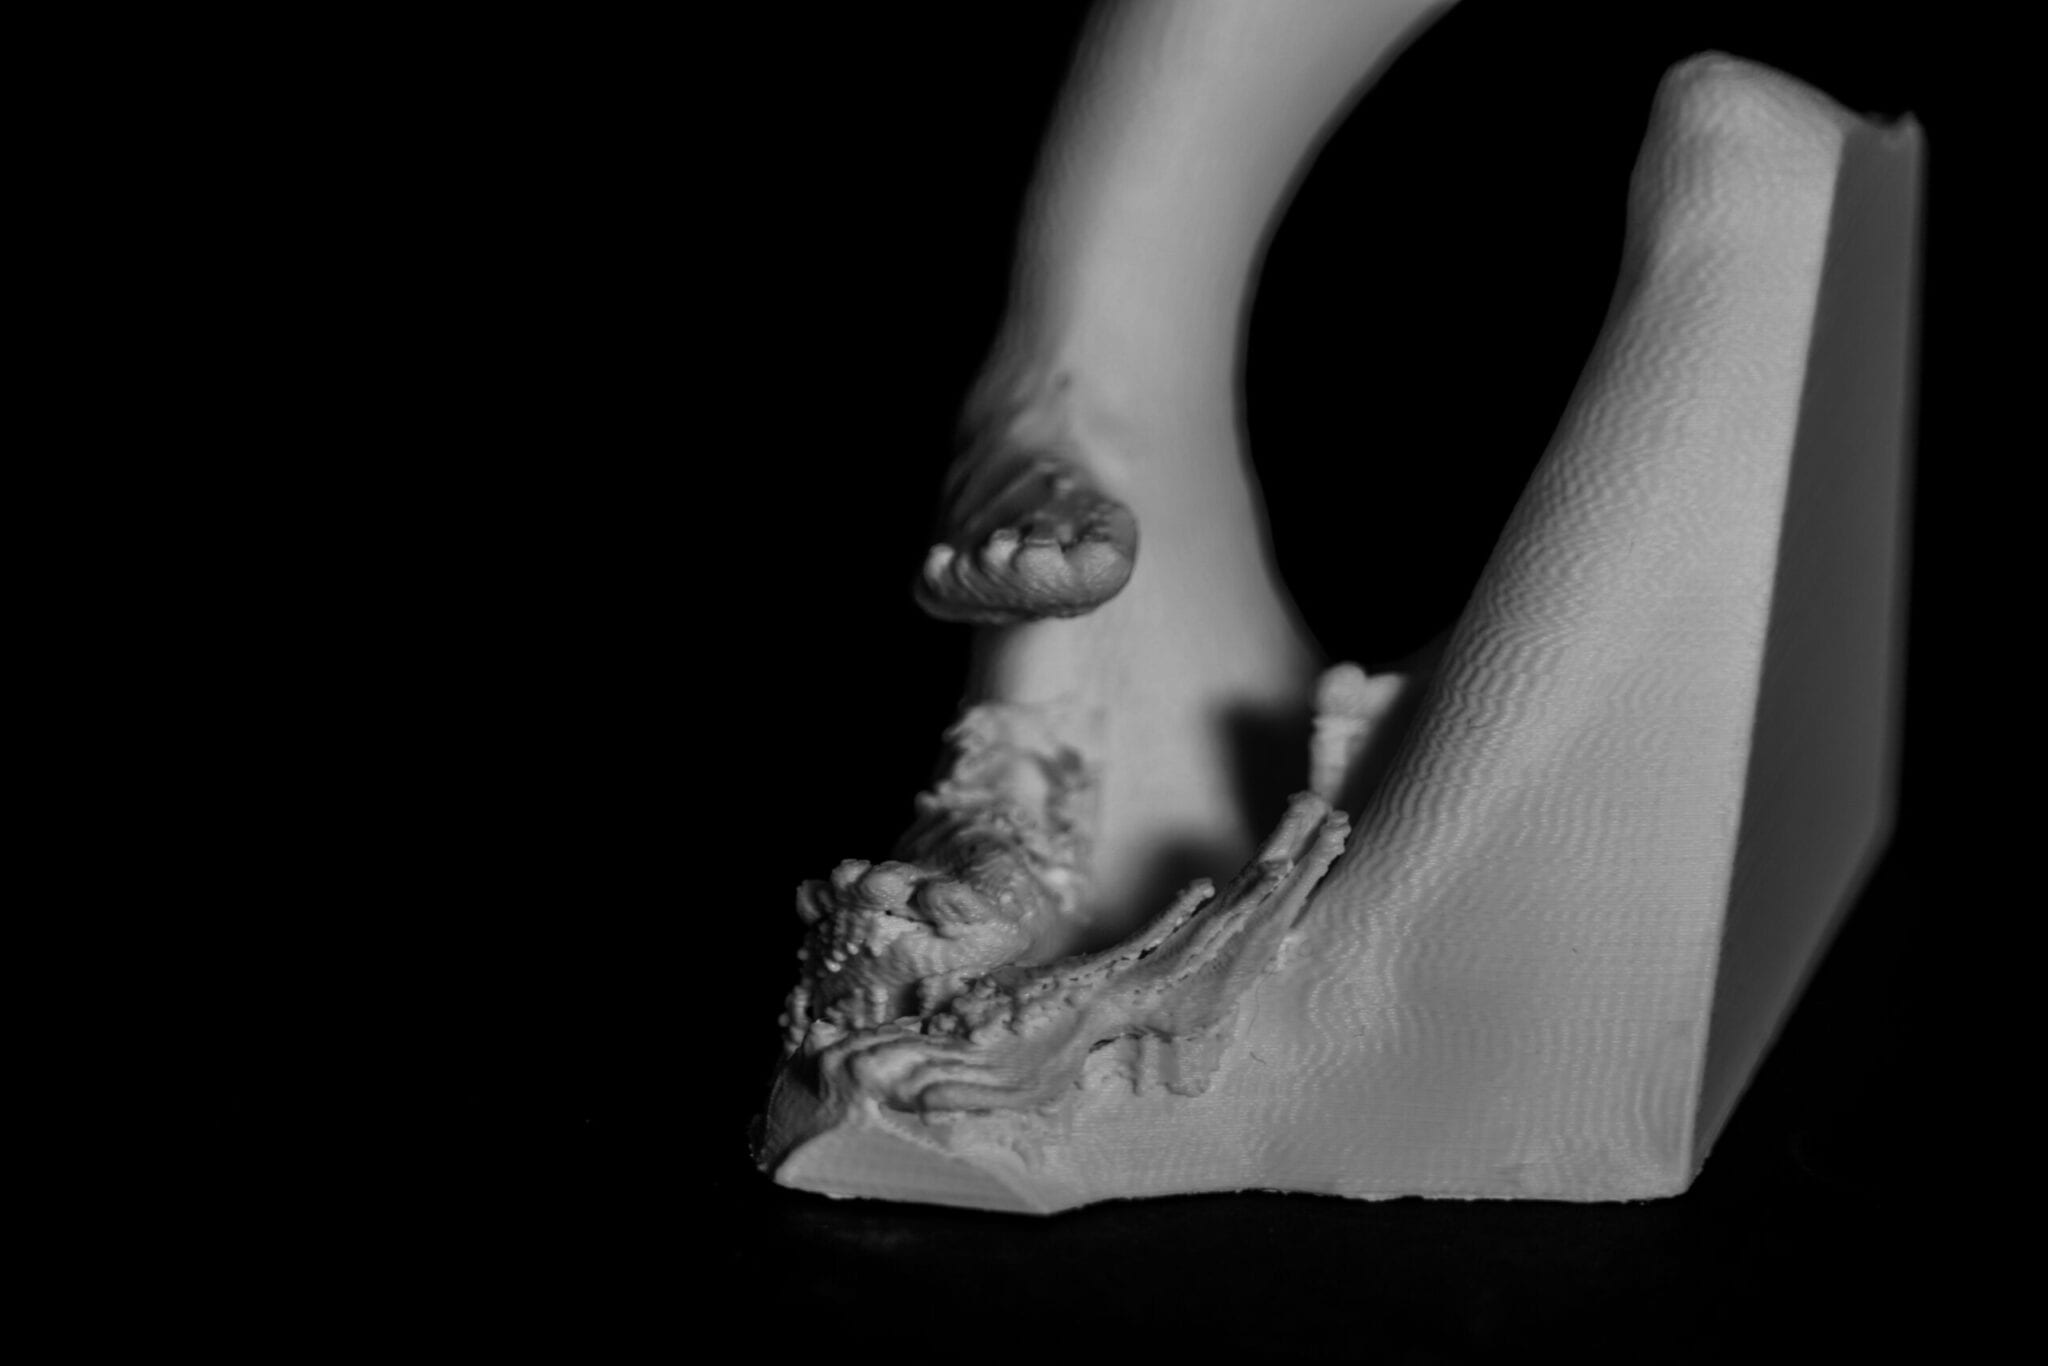
Assignment 5 Portfolio Photos
Remade in China Week 7 Journal
Material Experimentation Documentation
https://docs.google.com/presentation/d/1uD3nT2jdRM8rCwbQSrk3yEv-09KeoePeh3mcWCKXMVo/edit?usp=sharing
Documentation of Experiments
Bottle Caps


Orange Peel Bioplastic


See slides for process of experimentation and analysis of materials
Meeting with Community Partner
In the afternoon of October 23rd, Angela, Ken, Natasha, and I visited Mr. Yu and the little New Garden again. Natasha was in the group whose focus was art ladies. She came along with us due to the possible collaboration between us and her group — we planned to set up an art installation in little garden, which could present art ladies’ works. At 2p.m, we arrived the little garden and Mr. Yu introduced us the current condition of the garden: the government decided to reconstruct the community, so the garden is under the process of construction as well. The followings are the main updates:
- The pavement would be decorated with colored and patterned blocks.
- The surrounding walls of the garden might be removed.
- During the period of construction, the little garden stops its opening to residents. However, we are still welcomed to settle any installation in the garden.
- Mr. Yu plan to add a zone for children to play in the garden after the construction finishes.
Beyond realizing the updated condition of the garden, we also explored the gardens facilities detailedly. The followings are the discoveries we found during this visit:
- The light that the ground lamp and the lamp of the pavilion emits are both yellowish.
- The twinkle light wrapped around the pavilion utilizes solar energy to charge itself. There was a device settled at the pillar to absorb solar energy and transform it into electricity.
- The lamps hanged at the pavilion was powered by electricity from outlets. The electric wires of the lamps were organized to be settled along the frame of the pavilion and grouped together in a tube near their end. Mr. Yu told us that if we plan to improve the look of lamps, all we need to do is replacing the outer shell of the lamp. We do not need to change the bulb.
- There were glass fragment embedded among the grass.
Since both of our visits to the New Garden were during daytime, we decided to visit the New Garden at night by ourselves. Here is the picture that Mr. Yu showed to tell us about the night view of the garden:

Moreover, regarding our desire of collaborating with Natasha’s group, Mr. Yu showed his great interest and encouragement. He told us that the subdistrict office and neighborhood committee both hope that the residents could organize events by themselves within the community. Therefore, he believe that our settlement of art installation would be highly appreciated by the subdistrict office. To support our design, Mr. Yu would collect bottle caps, plastic bags, and wasted woods in the neighborhood. Our group planned to get the materials from him once a week.