Doorbell for the Deaf by Ken Wu and Cherie Tan, Instructor: Eric Parren
When working on this midterm project, I was influenced by my group project in three ways being user-friendliness, practicality, and purpose. For my group project, it was a helmet that transferred memories and data of an individual to a robot where they could continue to live through the body of a robot. This group project’s purpose was to warn about the implications of cryogenics and the longing for preservation of one’s life for the future as it was performative in nature. When the prompt changed to creating something functional, I considered the impracticality of the memory helmet and wanted to create something that could be used in the real world via the function. Due to this, the purpose of my product was constructed to be something that could be used by people everyday in their life. Our product for the helmet also lacked in being user-friendly as it required more components that weren’t intuitive. From this experience, I wanted to create something that was usable and intuitive to people where it should build upon existing products that are intuitive with a special purpose.
As our group project was a one time interaction, it lacked economic practicality in the sense that it could not be used more times. Due to this, my understanding and aim of creating interaction is that it must be continuous rather than a one-and-done feature. From this, I think that my definition of interaction has evolved to include the property where input and output should be continuous and not be limited to single usage. Moreover, there should also be an action that is caused as a result of the input and output of a product.
In our project, we created a doorbell for deaf people. My initial inspiration for the specific audience of deaf people is my great-grandmother who has difficulty hearing where one of my childhood memories is being locked out of the house and being unable to contact her and let her open the door. Knowing that deaf people or hearing-impaired individuals lack the ability to hear, we wanted to create signals to them that would let them be alerted from a doorbell. In the market, there are already existing products such as lights to create signals to deaf people. We thought that it would be more practical if the product had to do with the sensation of “touch” or “feel”. We then thought of the notification system to be an input of a doorbell to the output of a vibration that could be felt on the user. This would solve the purpose of notifying the individuals and it built upon preexisting products of watches and doorbells which made the product easier to understand and more user-friendly. As doorbells only have one switch, it becomes intuition to press on it to alert another individual hence the interaction is already systematically engrained in ourselves. Watches or bracelets are also common objects in human life where wearing such a product would not require humans to learn how to use such a product. Using these two existing products, we combined them to create a product for a specialized purpose which is to alert deaf people of visitors. This is mutually beneficial as the individual seeking to approach the deaf person can alert them to let them know that there is someone at the door while it is also beneficial for the deaf person to know when guests arrive.
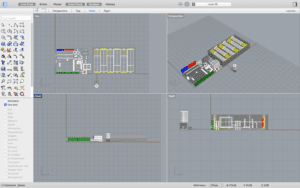
For the designing of the project, I was in charge of creating it where I wanted it to be minimalistic, clean, and easily understood without users being confused. This meant simplicity for the designing of the doorbell and simplicity in the bracelet. Knowing that Arduino circuits take up space due to the Arduino, battery, breadboard and etc, I tried to hide the inessential objects that would confuse the user so I enclosed it in a box. When designing the box, I measured out every single component within the box so that it represented the height, width, and depth clearly and avoided the box from being too small or too big. This was then 3-d modeled to provide a basic idea of how it would look like. Below are photos of the 3d modeling process.
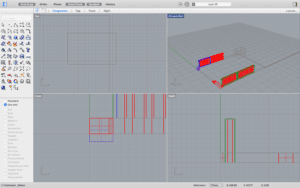
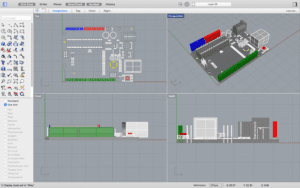
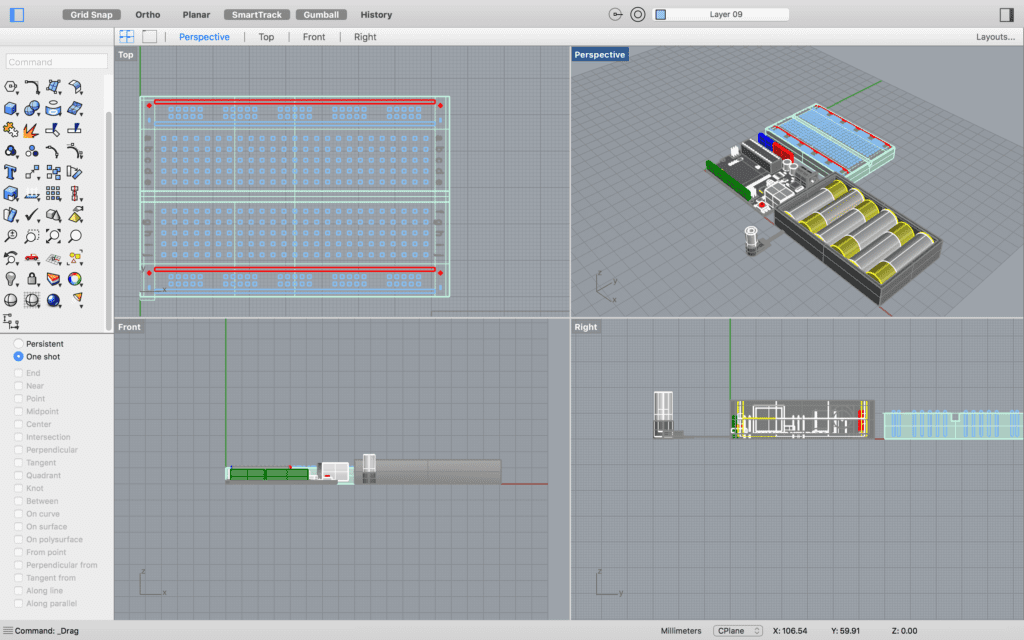
Firstly, I began with creating a model for the Arduino, power, and breadboard. This was created in different layers and colors that represented the product which allowed me to render later to decide materials.

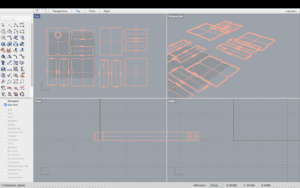
This was further developed by moving the components and creating a box with a button to represent the doorbell. The individual pieces for cutting would again be created using Rhino and Adobe Illustrator for Laser cutting.
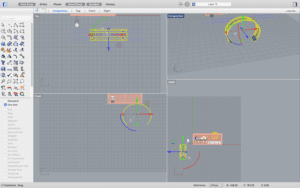
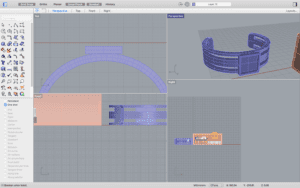
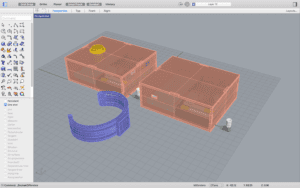
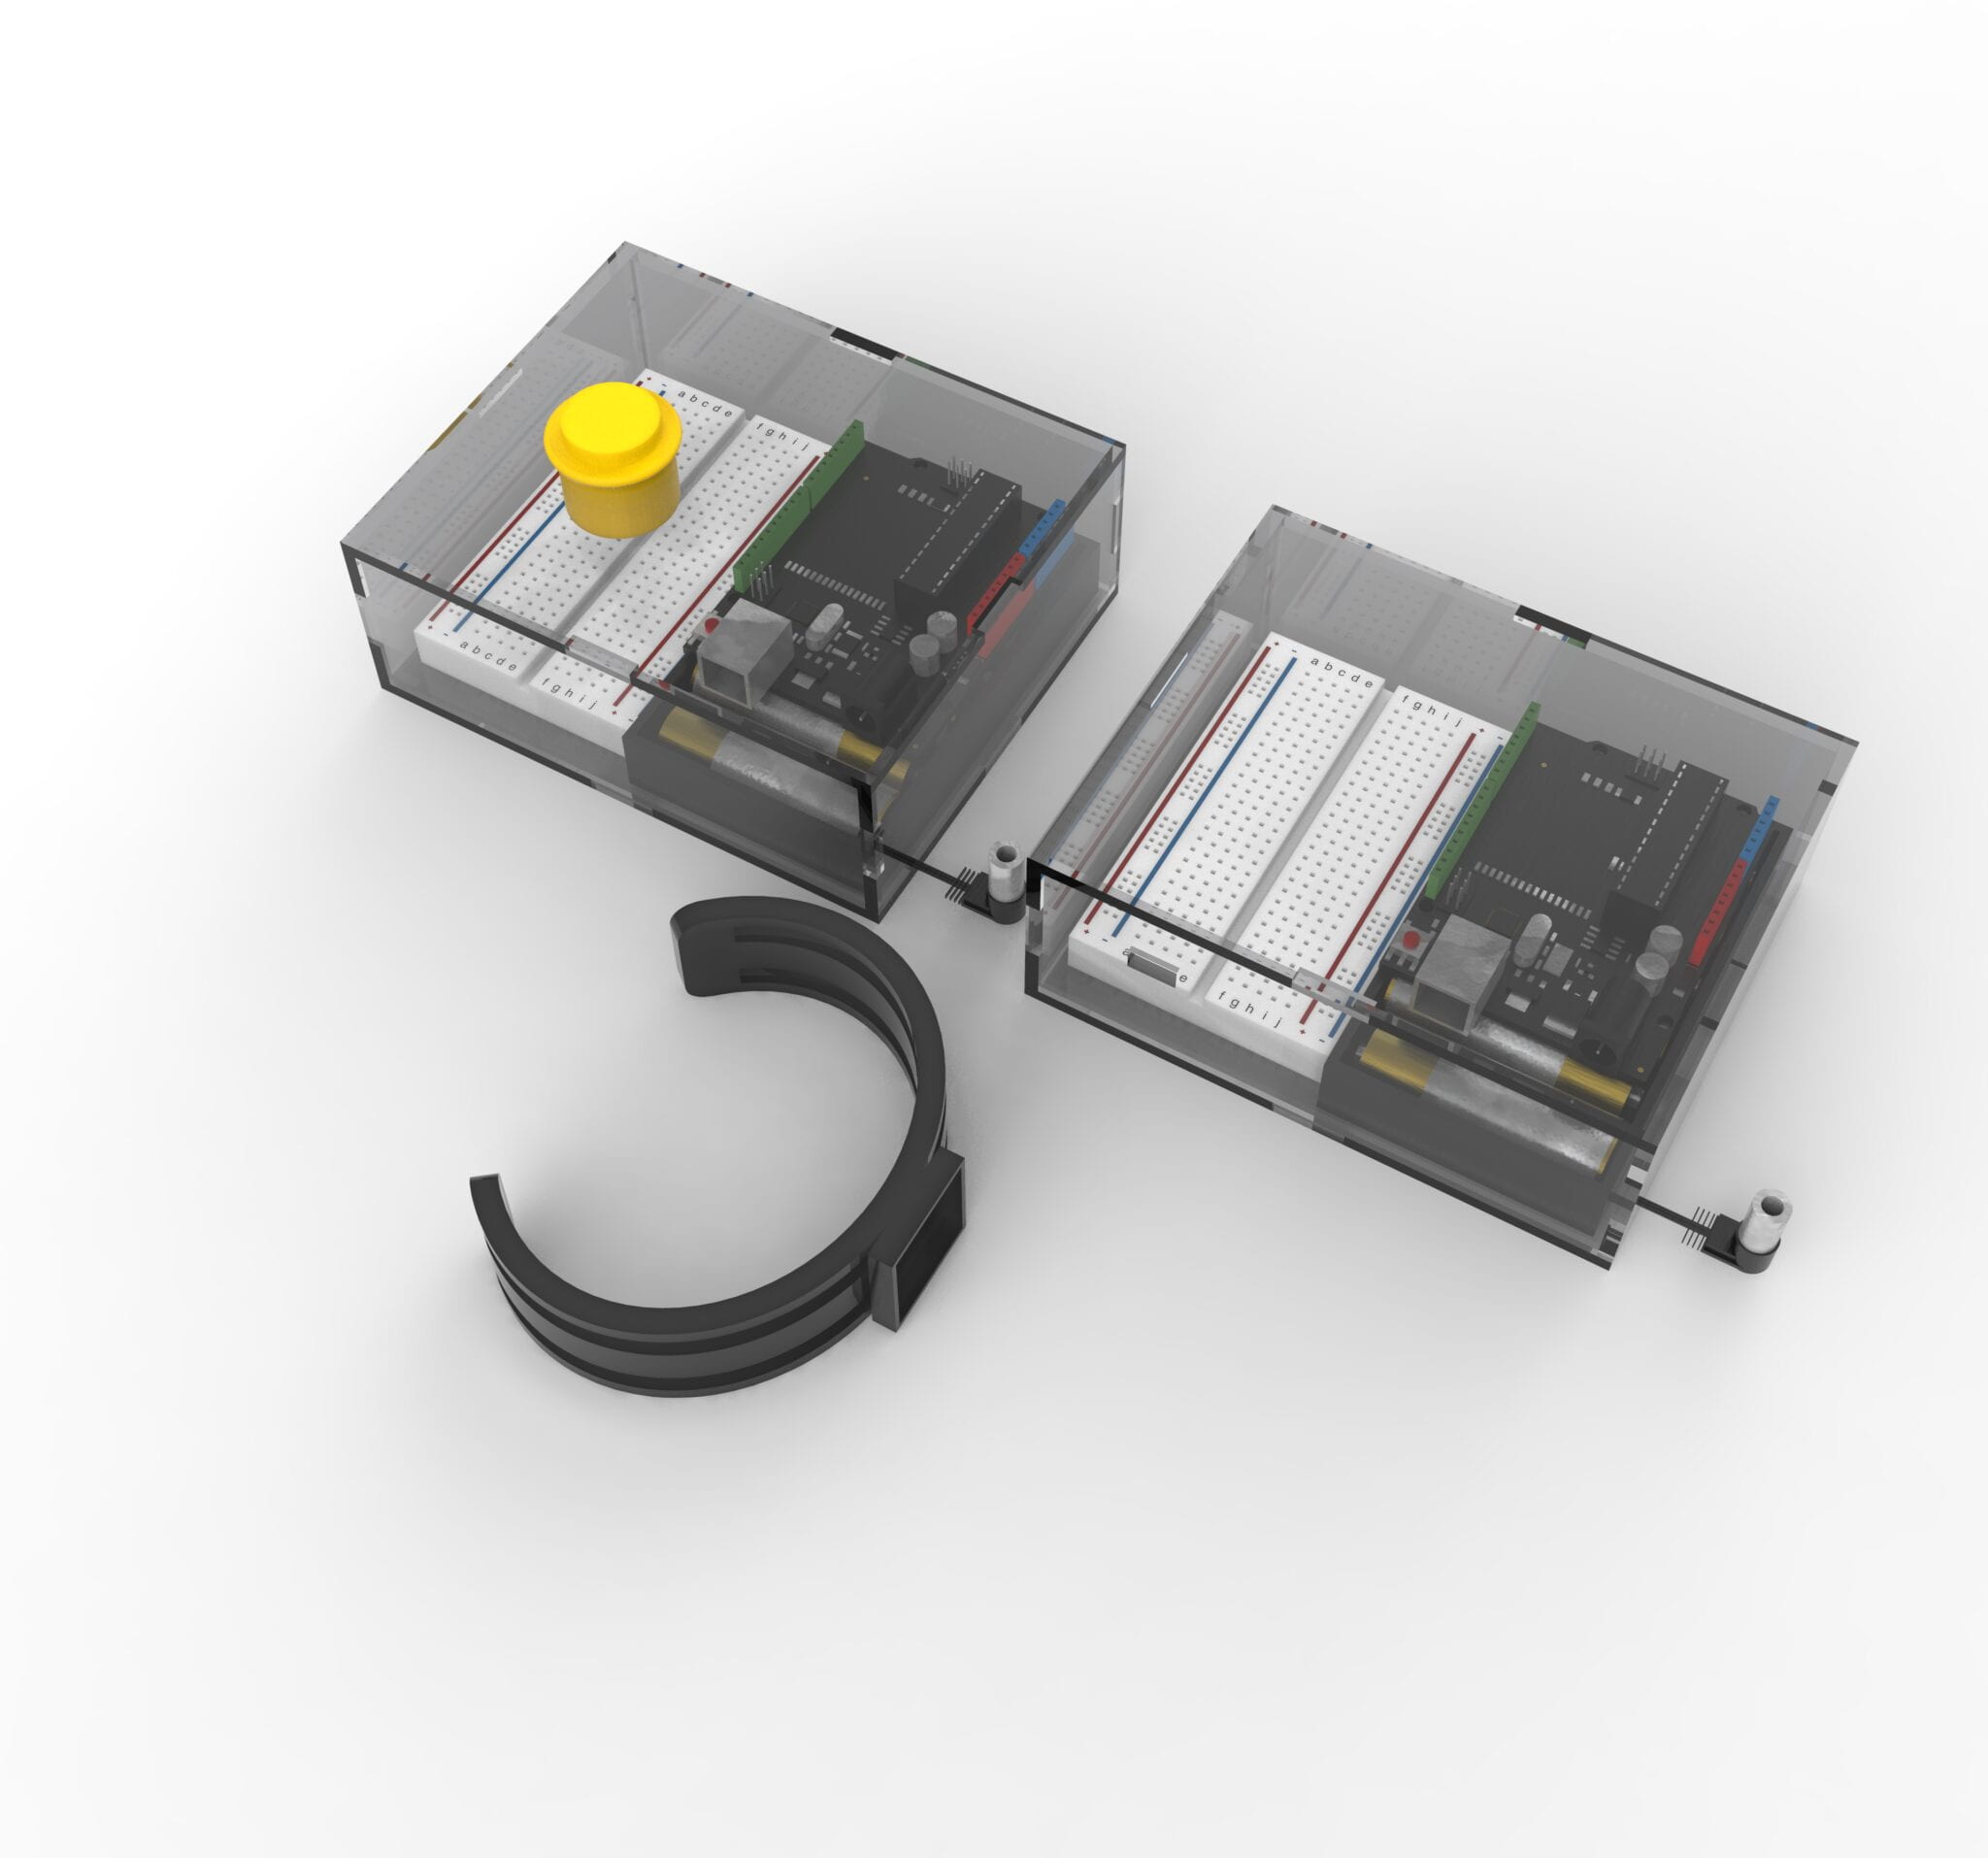
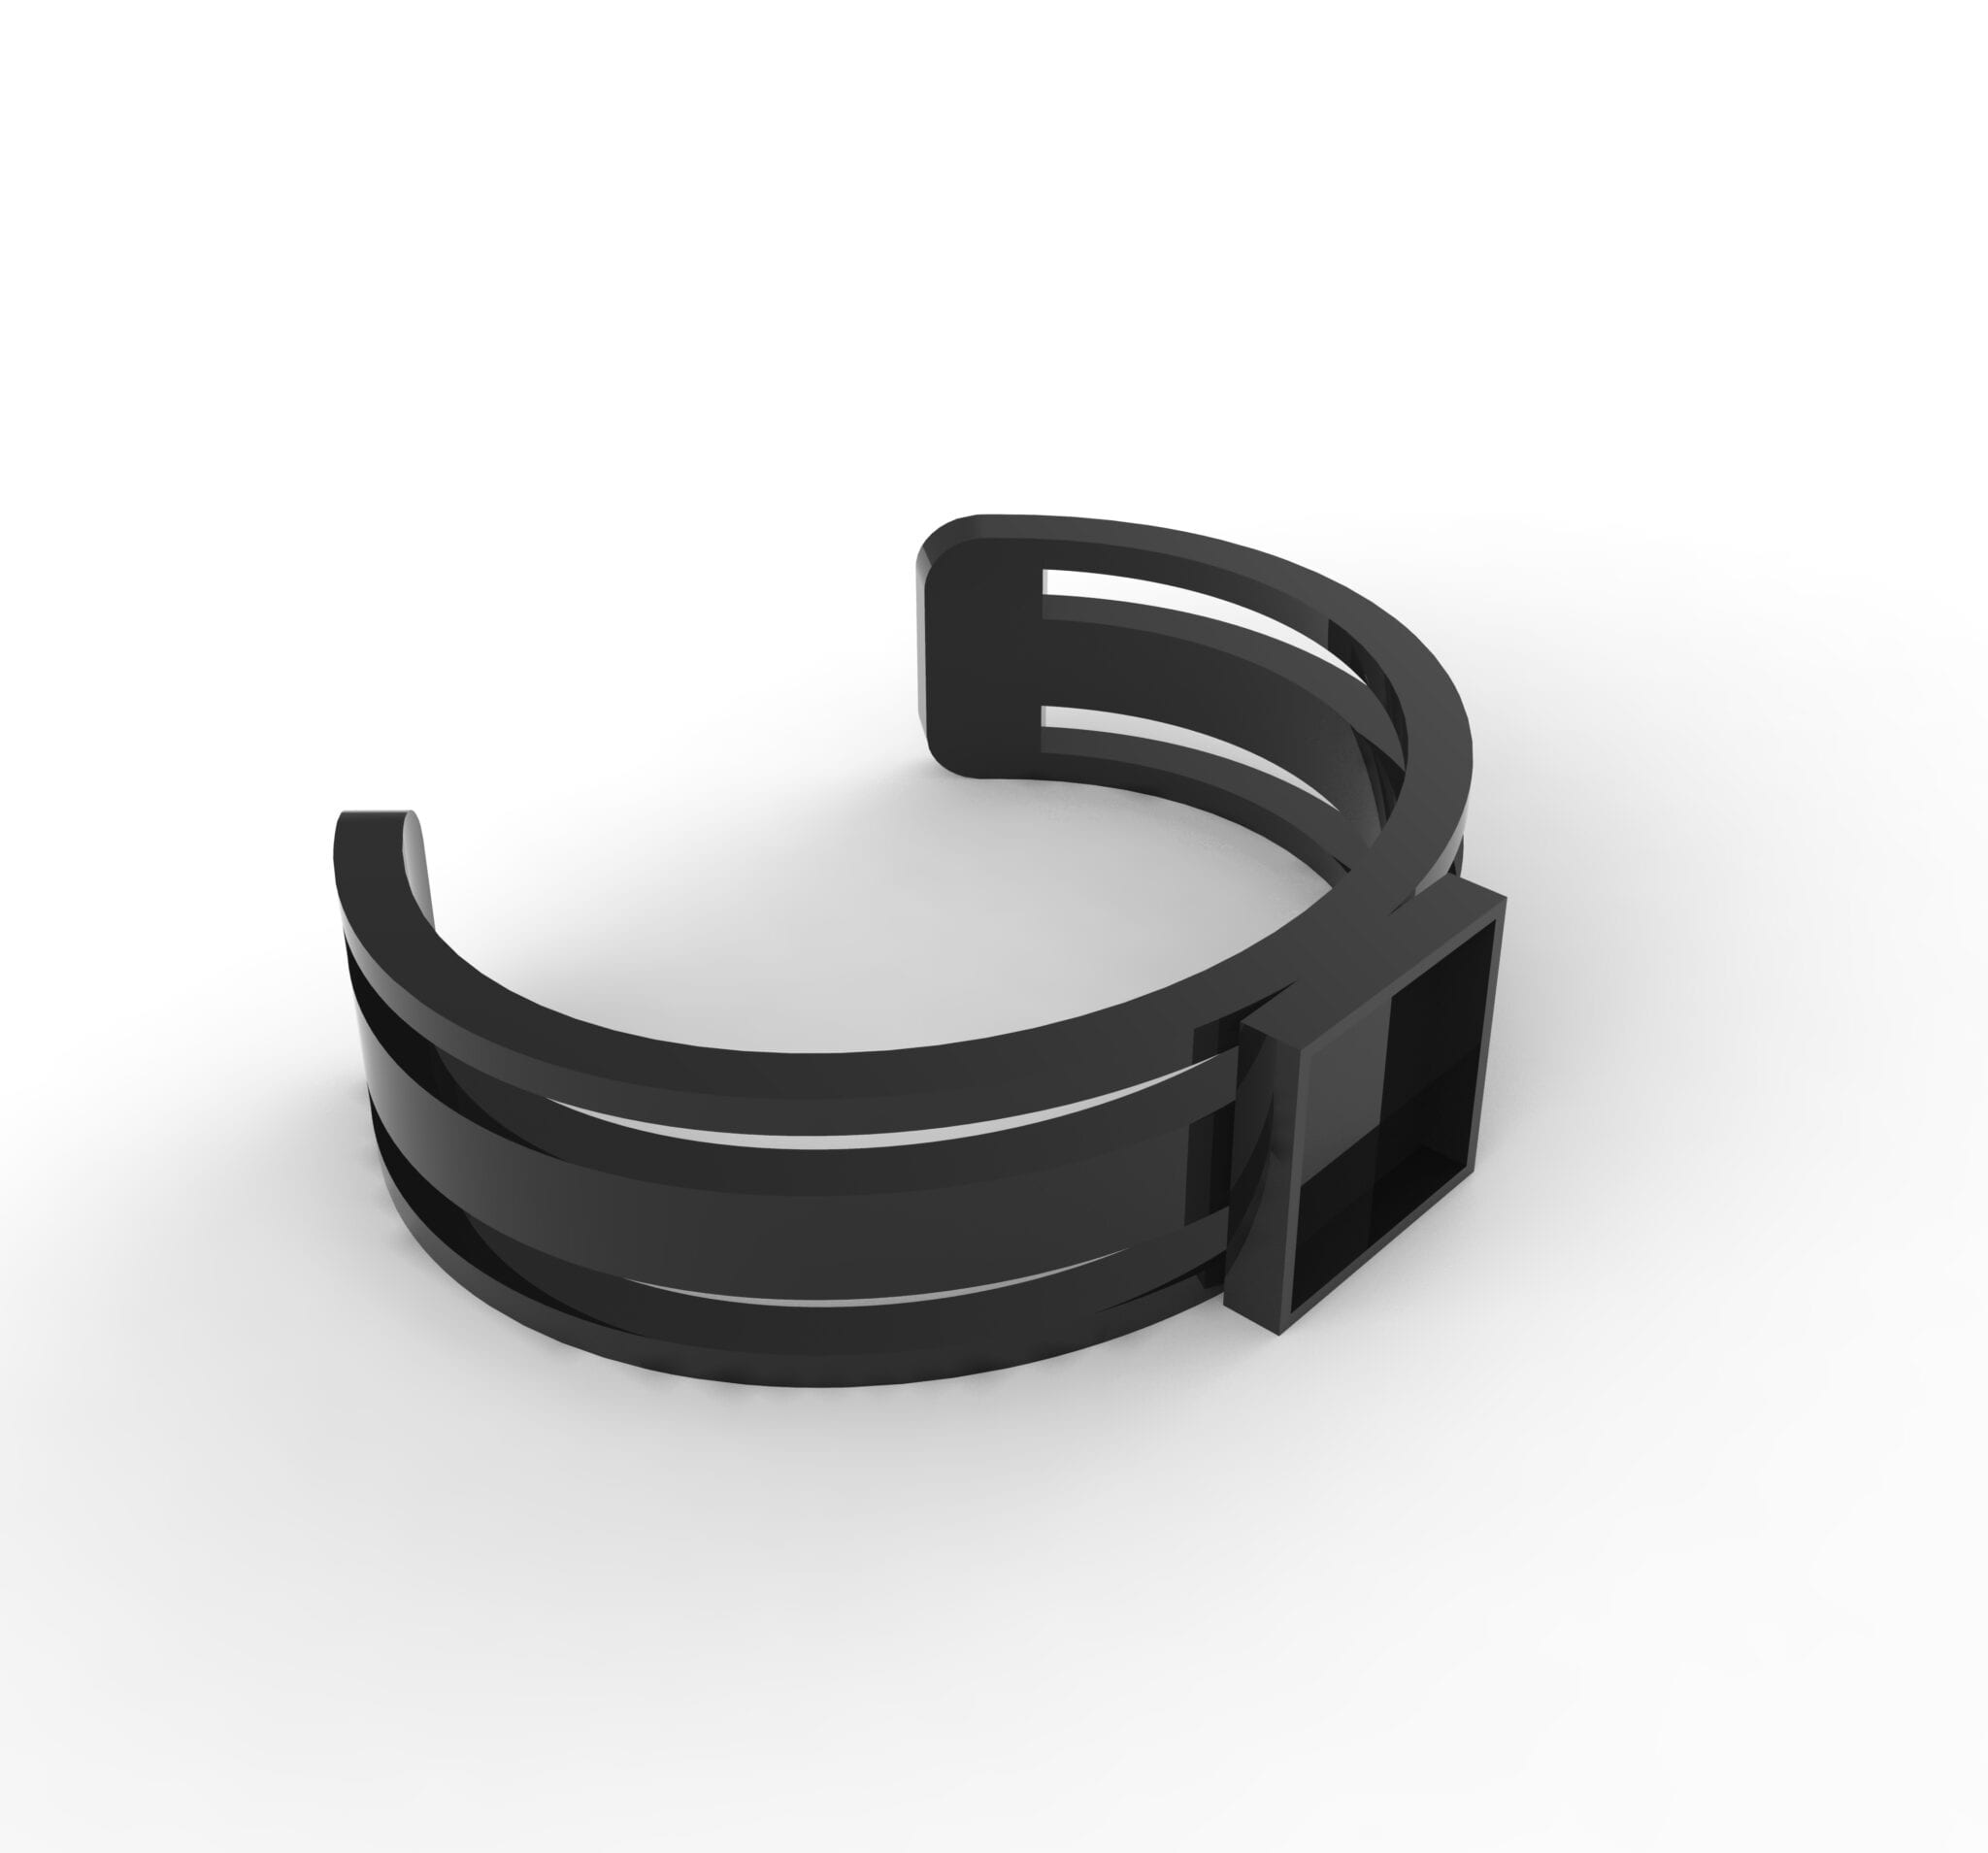
When creating the bracelet, I wanted to make it wearable where it should be flexible enough for different users to be able to wear it. The design isn’t closed to allow for users to easily wear it. After creating the bracelet, I put it side by side to the boxes that supplied the power for important components to know the size that this product would be (other than the prototypes made with cardboard which will be described later).
When deciding the material that the box should be I experimented with rendering to test out certain colors of the box and whether or not I wanted it to be opaque or transparent. I enjoyed the transparent look of the box which looked more authentic and beautiful as compared to an opaque color masking everything else so I decided to use clear acrylic for the boxes. As for the wristband, I wanted the material to be more flexible to allow for users to wear it the way they like. Being fully designed, I imagined the products to look something like the renderings below.
For the production section, it was actually complementary to the designing and conception process. When we thought of our product, we already thought of the object of output hence our product revolved around two commonly seen objects. During the user testing session, Cherie was in a recitation before me so she would user test first. I had no class during that time so I also attended. At the time of the session, our product didn’t have a prototype bracelet made yet which confused individuals as to what the product would look like. I received some of this feedback in her session and made the changes during lunch time by creating a prototype that simulated what it would look like in the future. When this was shown, it started to make more sense to the individuals user testing where they would know that they should wear it to receive the output. As our bracelet was huge during user testing, we made changes to the size for the design of the 3d-printed object.
Honestly, the adaptations made were adjusted when we were cutting the parts of the box and printing the bracelet. There weren’t many design flaws due to 3d modeling before printing and cutting, but the only issue was the size of the bracelet and it not being the result that we wanted. At first the printed bracelet was oversized and hard which was the opposite of what we wanted so I talked to Andy about printing in plastic that could be more flexible for our purposes. I changed the dimensions of the circumference of the wristband as well. Below are the bracelets where the before is seen on the left and after is on the right.
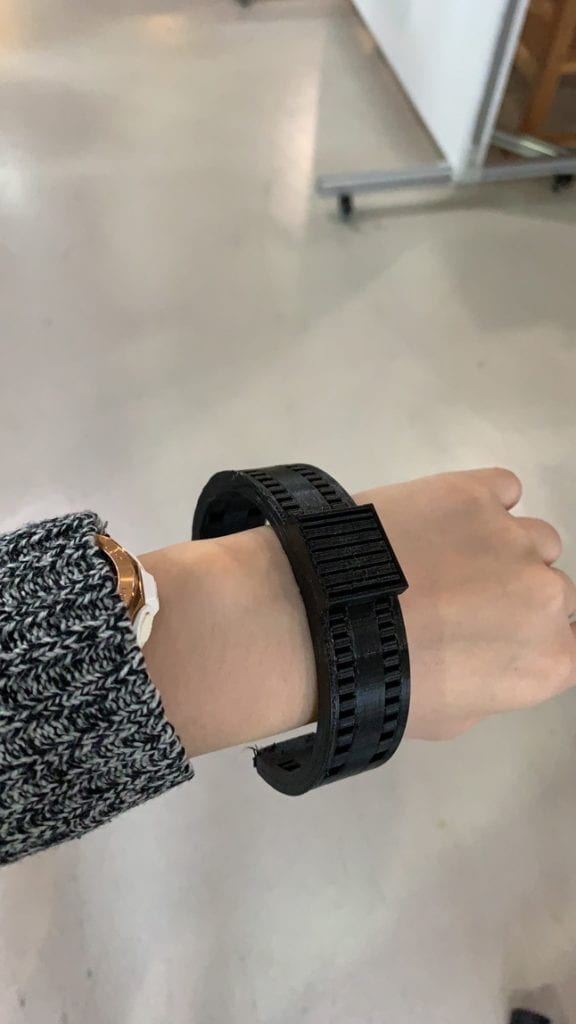
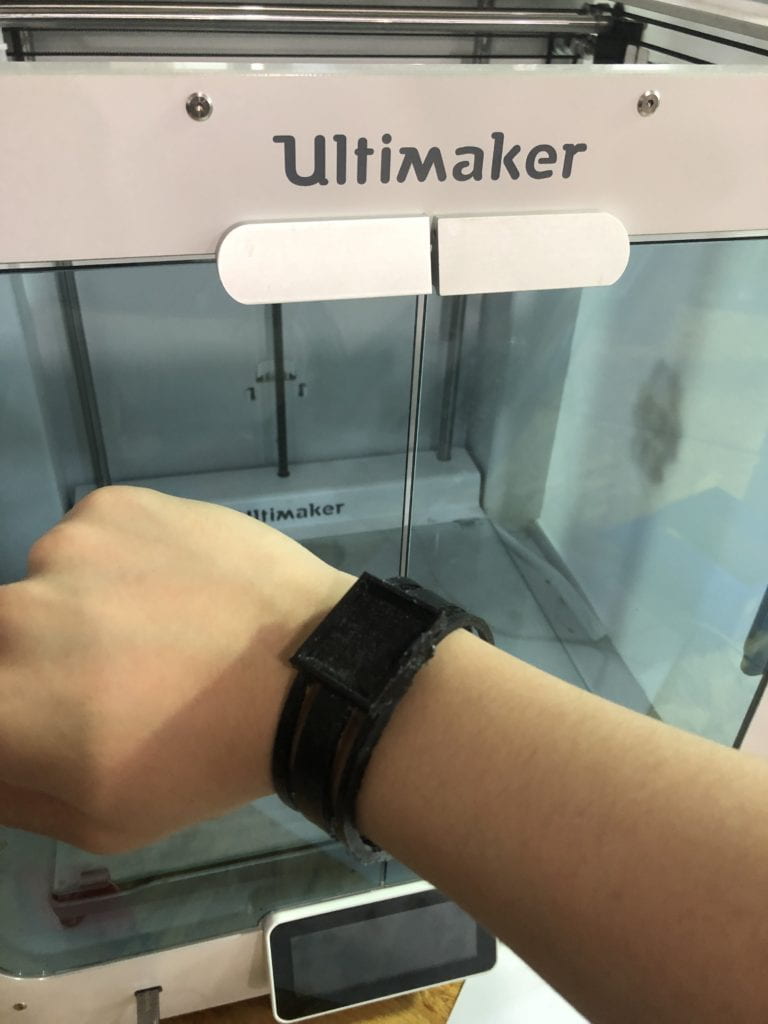
Our project aligns with the definition of interaction proposed as our input and output aren’t limited to single usage and it creates an action to be taken from the user as a result of the output vibration. While it causes an action to be taken, the action is more so limited which might not allow for interaction to occur on a higher degree, but I think that this is the most practical solution that could be taken and applied. The audience interacted with it according to our planned input output system as the design of the product is simple in nature. We removed anything that could mislead users such as having more buttons, lights, and etc. There were some issues with the transmission process from the transmitter most likely due to the direction that antennas were in, but it overall performed the intended function for the intended purpose. While the range and functionality weren’t the best or showed the product’s potential to the highest degree, it was still a product that showed the applicability to the real world.
I would improve this product’s transmitter and receiver by buying better products so that it is more stable. The current version of our product lacks the potential that could actually be used in the world right now. The components aren’t made small enough. In the ideal situation, the vibrator, battery, and receiver of the watch should all fit within the square component of the bracelet in a lightweight manner, but due to lack of skill and technology, that isn’t possible at this stage. I think that from this experience of creating a product, I became more aware of the design capabilities with an Arduino in terms of form and more aware of the process of refining a product to be exactly what is wanted. Moreover, I developed more skills in conceptualizing the product and imagining the looks beforehand.
To conclude, the design process is a long struggle where issues are brought about by lack of skill, consideration, or technology. To fully develop a product to the maximum potential, there must be careful planning beforehand for what IS to be created and what CAN be created. If the planning of IS and CAN is not synonymous, the product fails to achieve the maximum potential which may not be well if presenting to investors of the product. Moreover, for the product, there should be a clear purpose so that one can truly contribute something meaningful to society. In my conversations with Andy during the brainstorming and conceptualizing process, he continually asked me what is the concept and why am I creating this product. He challenged me to think of the design concept beforehand and research products like the one I imagined. Having rejected a couple of my design ideas, I became more aware of the importance of concept in design and the originality of concept where design is not for the sake of creating a project. It is the creation of a concept.
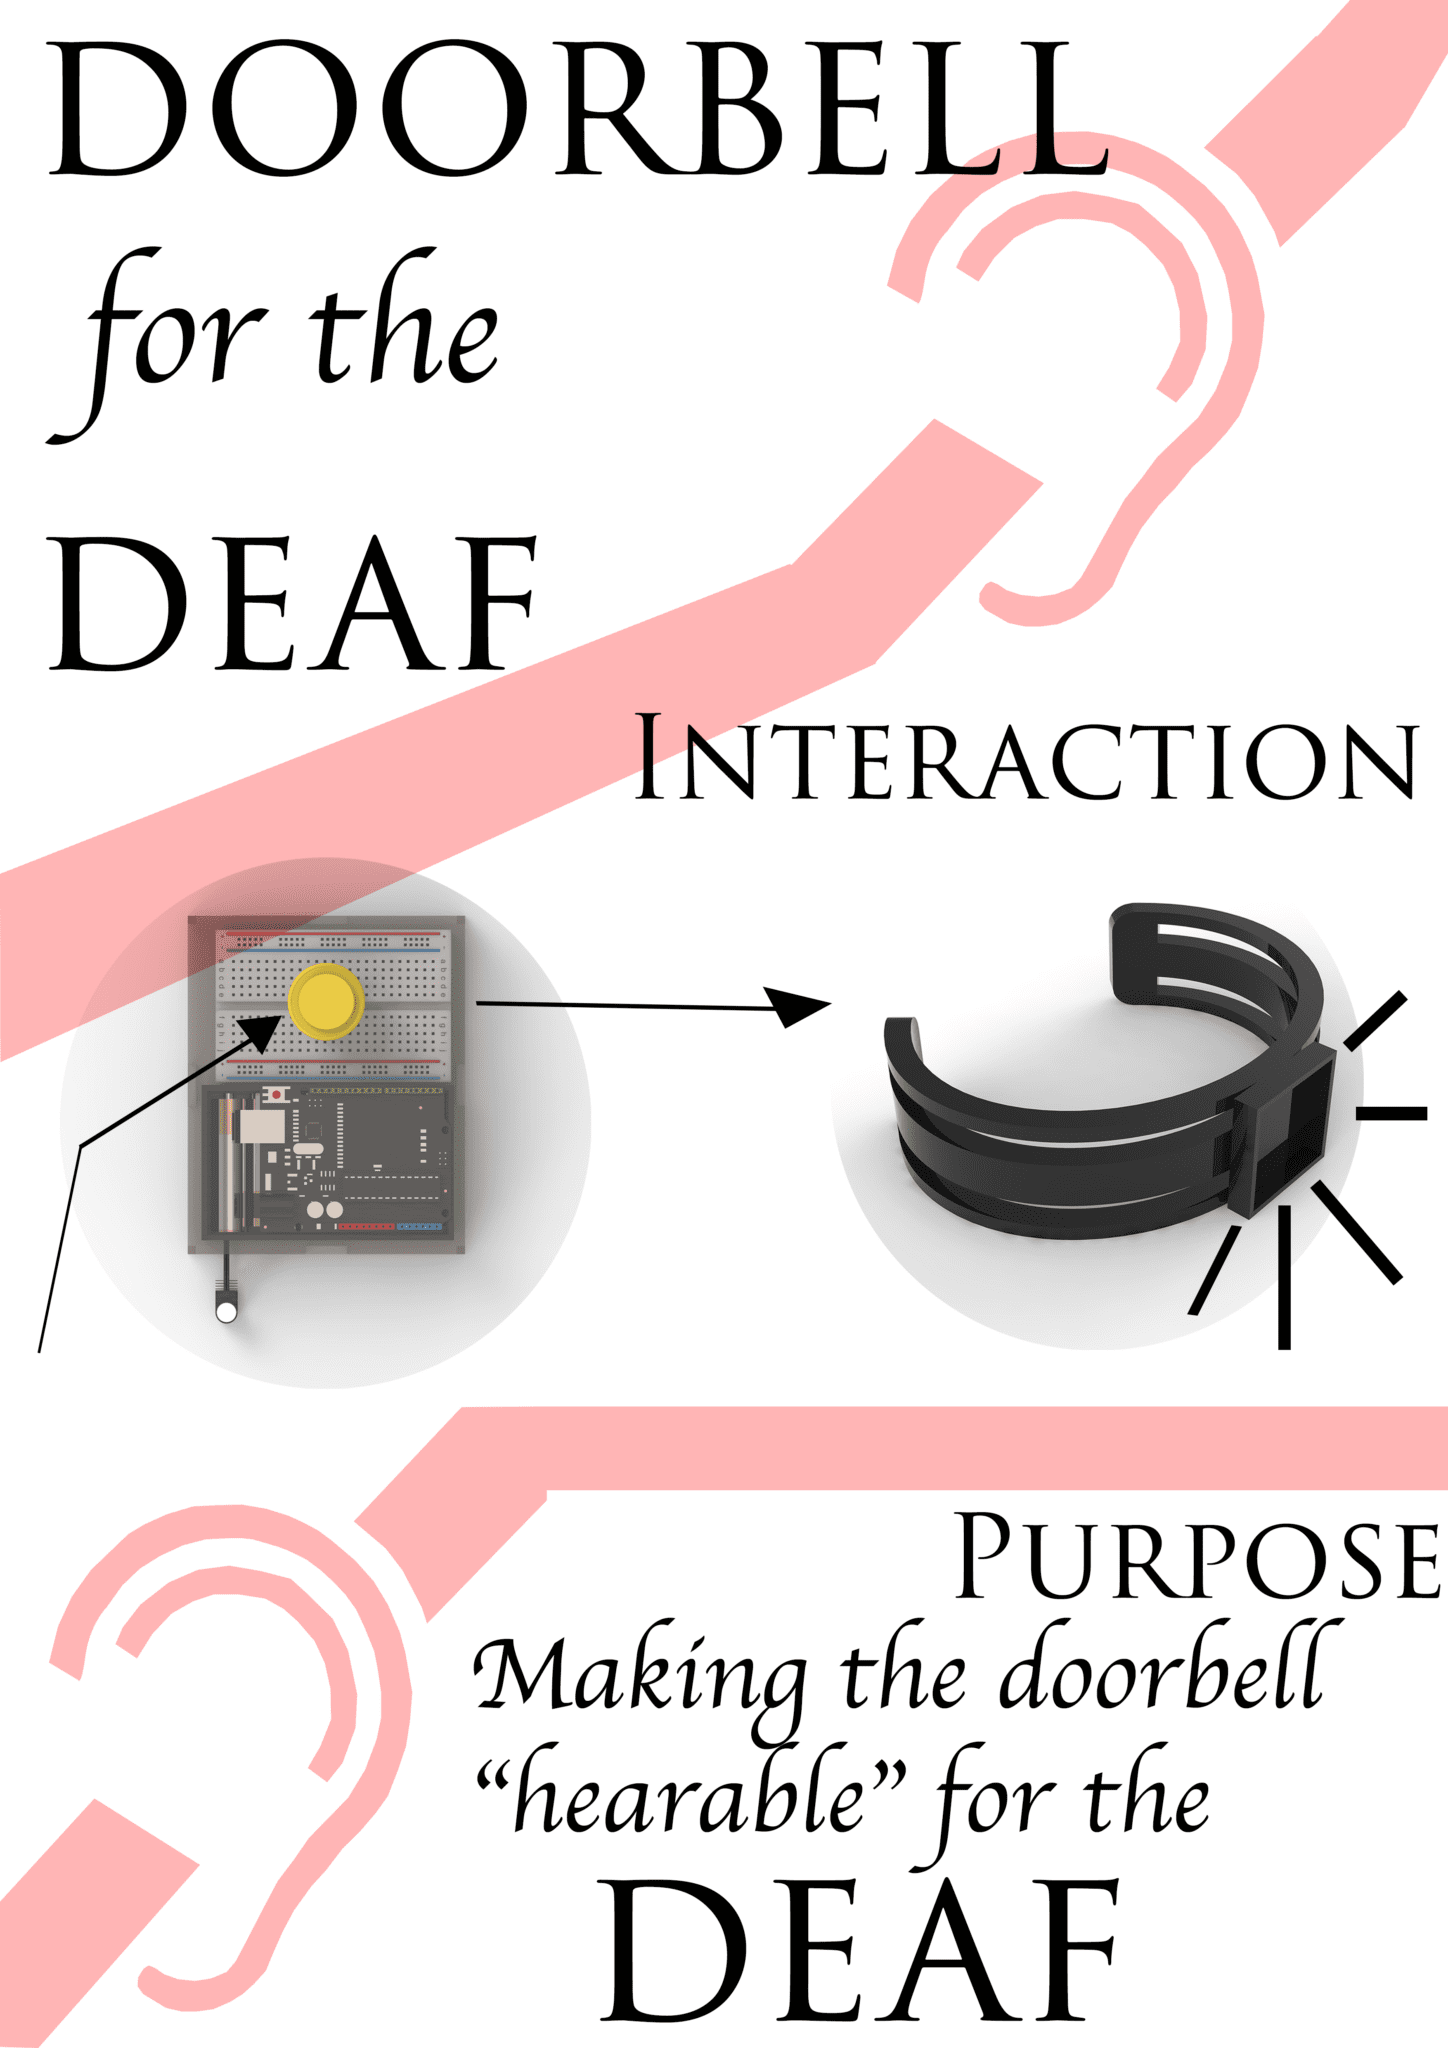
Below will be a video of how the product works, poster to the audience, and the code.
//Transmitter

#include <VirtualWire.h>

//Grove - 315(433) RF link kit Demo v1.0
//by :http://www.seeedstudio.com/
//connect the sent module to D2 to use
#include <VirtualWire.h>

int RF_TX_PIN = 2;
const int buttonPin = 3;
int buttonState = 0;


void setup()
{
  vw_set_tx_pin(RF_TX_PIN); // Setup transmit pin
  vw_setup(2000); // Transmission speed in bits per second.

  pinMode(buttonPin, INPUT);

}

void loop()
{

  buttonState = digitalRead(buttonPin);

  if (buttonState) {


    const char *msg = "hello";
    vw_send((uint8_t *)msg, strlen(msg));  // Send 'hello' every 400ms.
    delay(400);
  }


}


//Receiver

//Grove - 315(433) RF link kit Demo v1.0
//by :http://www.seeedstudio.com/
//connect the receive module to D2 to use ..
#include <VirtualWire.h>

int RF_RX_PIN = 2;
int v=9;


void setup()
{
  Serial.begin(9600);
  Serial.println("setup");
  pinMode(9 ,OUTPUT );
  vw_set_rx_pin(RF_RX_PIN);  // Setup receive pin.
  vw_setup(2000); // Transmission speed in bits per second.
  vw_rx_start(); // Start the PLL receiver.
}

void loop()
{
  uint8_t buf[VW_MAX_MESSAGE_LEN];
  uint8_t buflen = VW_MAX_MESSAGE_LEN;
  if (vw_get_message(buf, &buflen)) // non-blocking I/O
  {
    int i;
    // Message with a good checksum received, dump HEX
    Serial.print("Got: ");
    for (i = 0; i < buflen; ++i)
    {
      Serial.print(buf[i], HEX);
      Serial.print(" ");
      //Serial.print(buf[i]);
    }
    Serial.println("");
  }

  vibrate();
}

    //vibrate
    void vibrate(){
       digitalWrite(v, HIGH);
        delay(2000);
        //turn transistor ON
        digitalWrite(v, LOW);
        delay(500);
        digitalWrite(v, HIGH);
        delay(1000);
        //turn transistor ON
        digitalWrite(v, LOW);
        delay(500);
        //turn transistor OFF
        digitalWrite(v, HIGH);
        delay(1000);
        //turn transistor ON
        digitalWrite(v, LOW);
        delay(500);
      }
Leave a Reply