NYUSH’S QUIDDITCH–Midterm project
NYUSH’s Quidditch–Kelly–Instructor:Eric
-
- Previous project: Last project that we made was Goggle. It is a small headwearing machine that can be used to observe everyone’s feelings. Through this project, I got to know interaction more, which means a project can be called interactive art must make a bond between project itself and human beings. What people think, consider, react will be reflected on the project. Therefore, the project can be called a successful interactive project. In addition, I think, the interactive project should be accessible for everyone. Even if you don’t understand the background information, you can also understand what is the project function clearly.
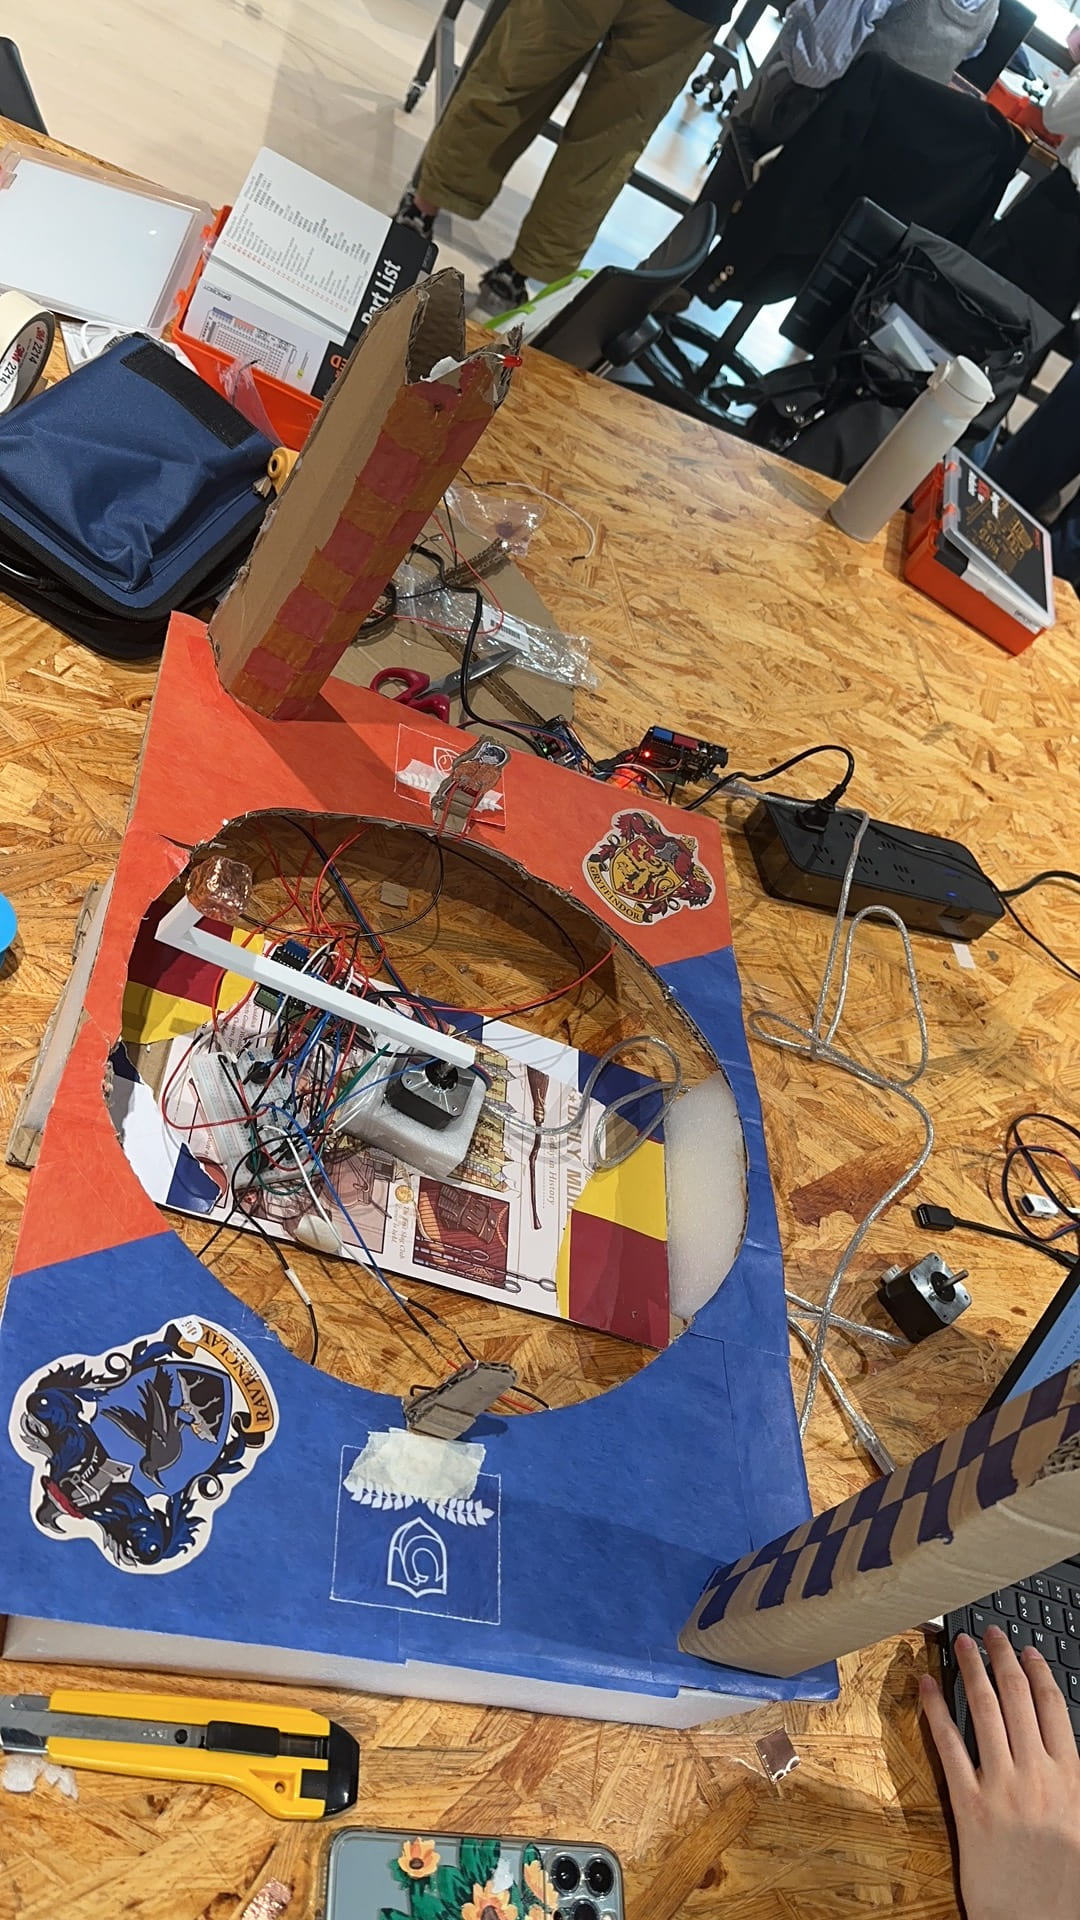
- Concept and design: Our project is inspired by Harry Potter. As we all know, Harry Potter created a magic land for everyone, including adults and children. Therefore, we supposed that the magic can be a really perfect tool for us to do interaction. So, we decided to make a quidditch game. However, at the very beginning, we were hesitated to make a decision between qudditch games and spiral staircase. In the end, we considered the difficulty of using the Arduino and the degree of interaction, and then we finally chose to make the quidditch game. At first, considering the way of using Arduino, we decreased the numbers of players to only two. Then, we only prepared the golden snitch, if one of the players catch the ball, it will declare that the person becomes the winner.
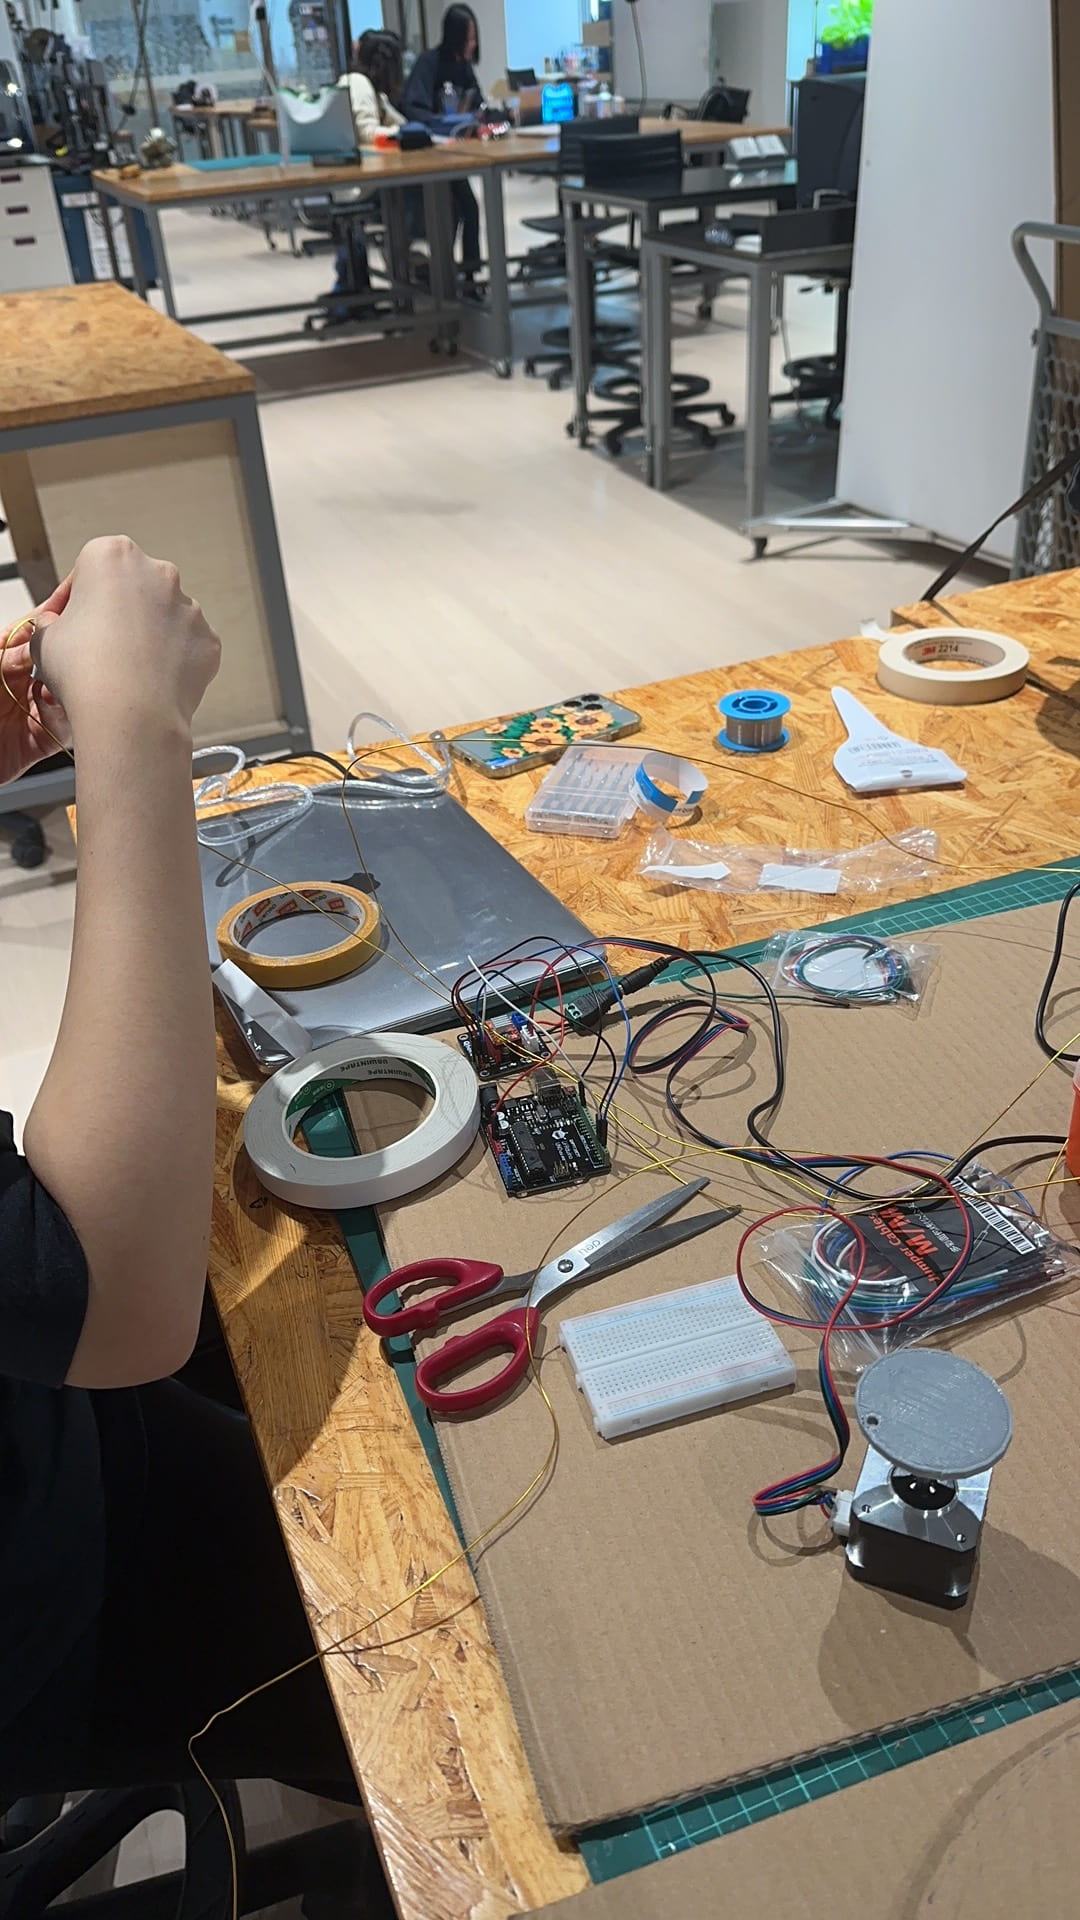
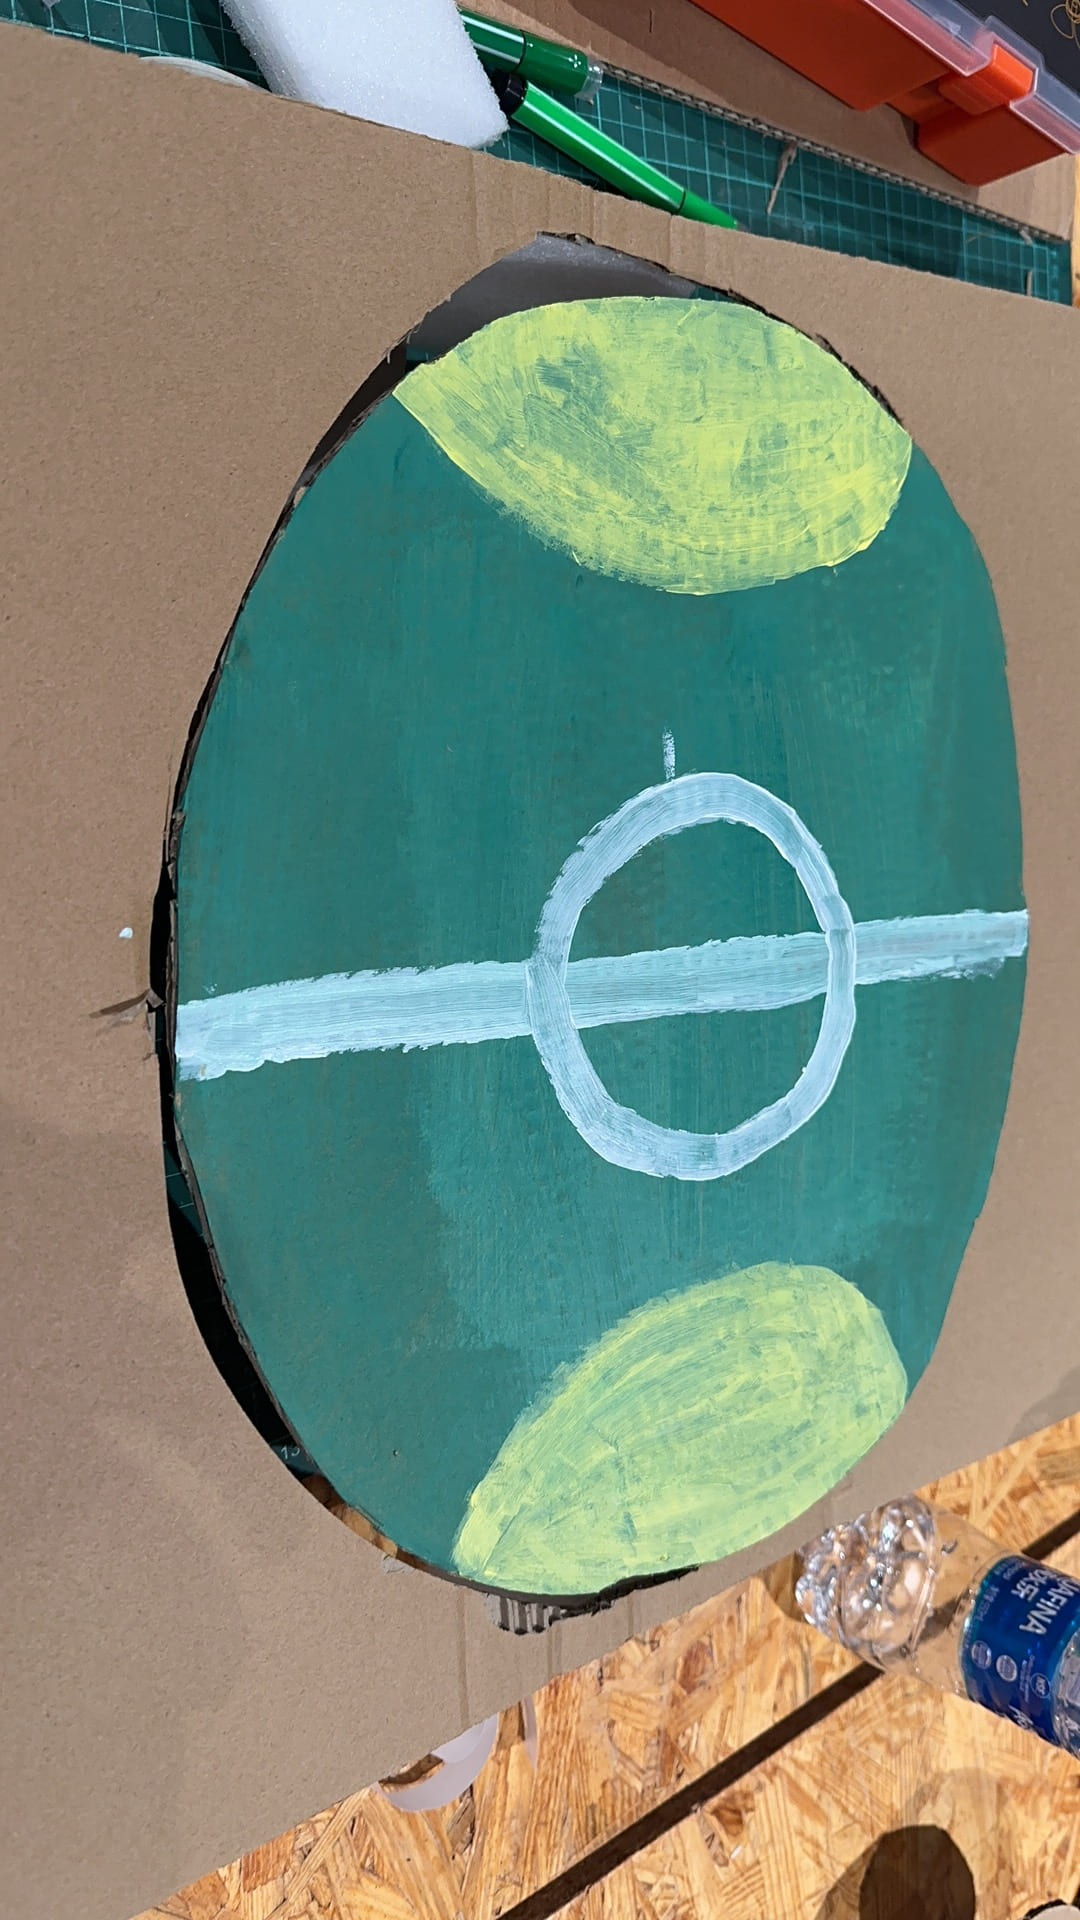
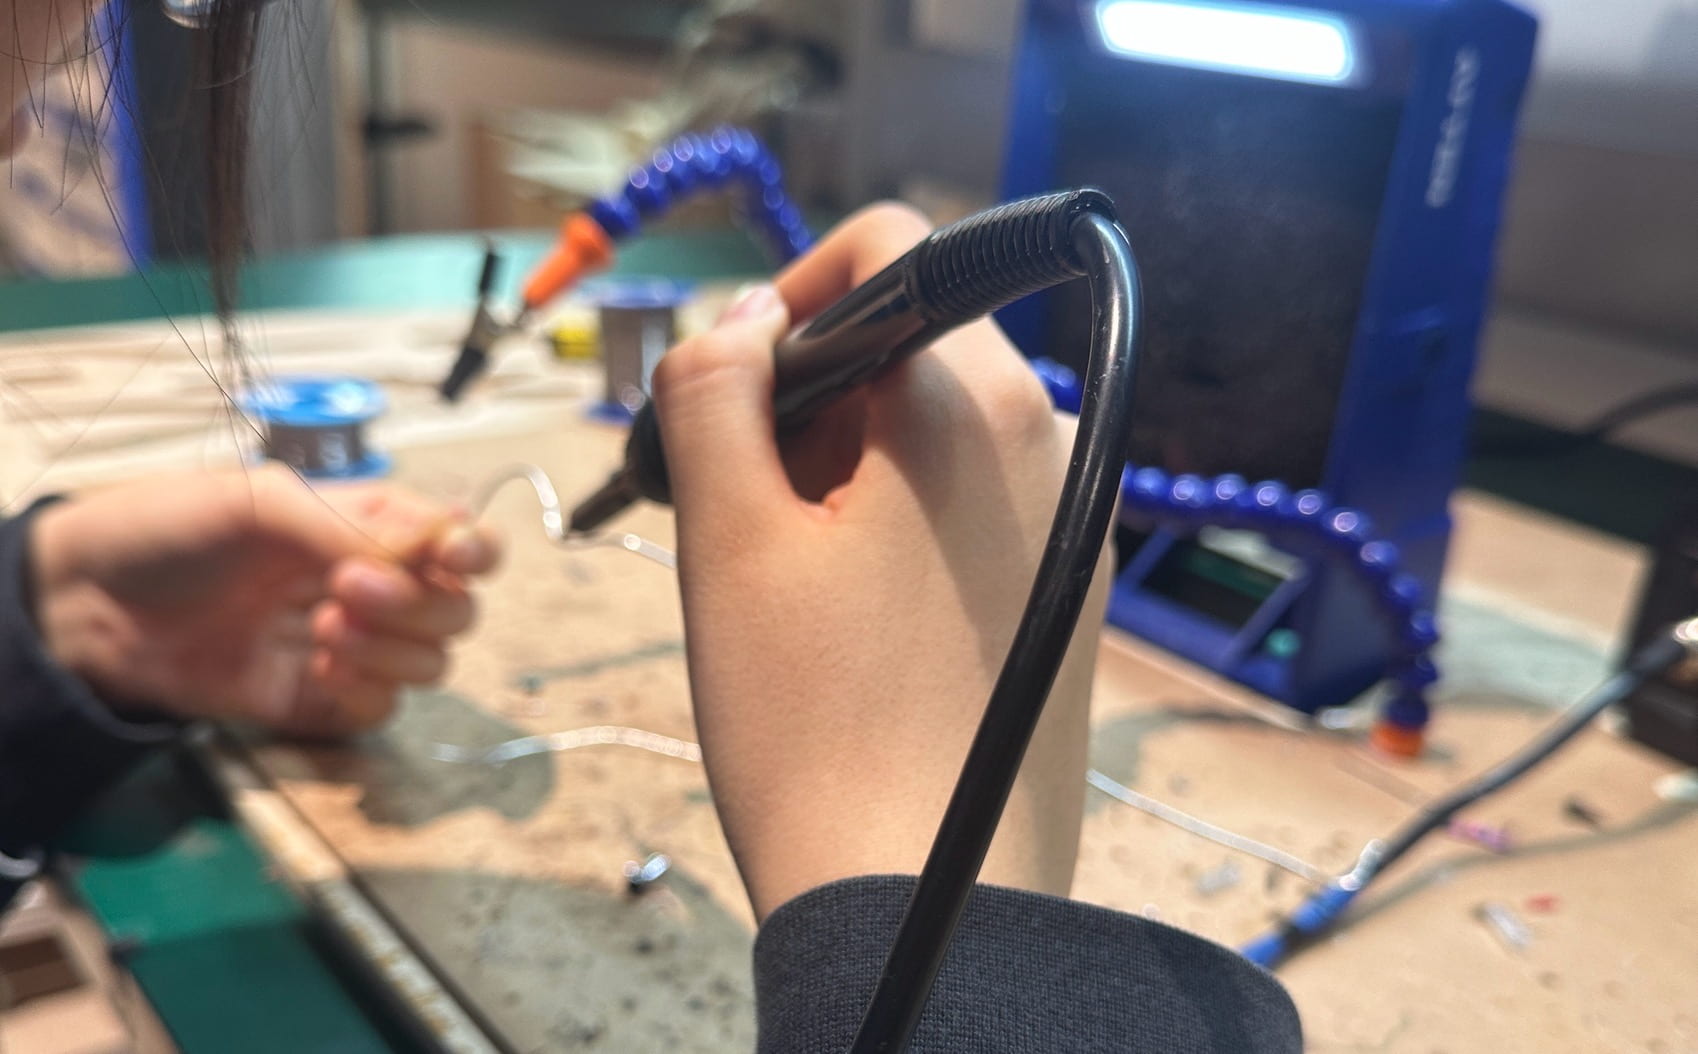
- Fabrication and production: This is the most important and difficult part in the whole project!!! At first several days, we focused on making the spinning carousel with gold snitch and pitch–spinning part.
 Then we met problems: First, we didn’t have the tool to draw a circle and this was caused that the golden snitch would be choke. We had no choice but to make a new one.
  Then we tried to figure out how to make the ball spinning. We used step moter but here came the problem that we cannot stick the ball to the chopsticks stably. In the end, we decided to use 3D printer to make a light and tough one.
What is more, the most challenging thing is about how to write the correct code to make the ball running. Thanks for the help from LAs, we make the code that can control the ball to run randomly.
 However, we found that the spinning carousel cannot be “float” without any support. Even we tried to directly sticked cardboard to the motor and use string to hang it. But all failed. Therefore, in the end we decided not to use the spinning carousel any more, just letting the ball spin. Here is the code:
int STEP_PIN = 3;
int EN_PIN = 4;
// Define a stepper and the pins it will use
// AccelStepper::DRIVER means a stepper driver (with step and direction pins)
AccelStepper stepper(AccelStepper::DRIVER, STEP_PIN, DIR_PIN);
void setup() {
// Enable the stepper driver by setting the
// EN pin to LOW
pinMode(EN_PIN, OUTPUT);
digitalWrite(EN_PIN, LOW);
// The run() function will accelerate up to
// the speed set here
stepper.setMaxSpeed(1000);
// Set the desired constant speed for use with
// runSpeed()
stepper.setSpeed(1000);
}
void loop() {
stepper.runToNewPosition(400);
stepper.runToNewPosition(0);
After the user test, we found we need to change the score mechanisms into touching to score. Here is the code:int Pin1 = 7; // blue person
int Pin2 = 8; // red person
int LED_1 = 12;
int LED_2 = 13;
int prevVal1;
int prevVal2;
int val1;
int val2;
int buzzer1 = 9;
int buzzer2 = 9;
int DIR_PIN = 2;
int STEP_PIN = 3;
int EN_PIN = 4;
int state1 = 0;
int state2 = 0;
long startTime;
void setup() {
Serial.begin(9600);
pinMode(Pin1, INPUT); //blue person
pinMode(Pin2, INPUT); //
pinMode(LED_1, OUTPUT);
pinMode(LED_2, OUTPUT);
}
void loop() {
val1 = digitalRead(Pin1); //blue
val2 = digitalRead(Pin2); //red
Serial.print(“val 1: “);
Serial.println(val1);
Serial.print(“val 2: “);
Serial.println(val2);
delay(100);
if (prevVal1 != val1) {
if (val1 == HIGH) {
digitalWrite(LED_1, HIGH);
state1 = state1 + 1;
tone(buzzer1, 2000);
} else {
digitalWrite(LED_1, LOW);
noTone(buzzer1);
}
}
prevVal1 = val1;
Serial.print(“State 1: “);
Serial.println(state1);
if (prevVal2 != val2) {
if (val2 == HIGH) {
digitalWrite(LED_2, HIGH);
state2 = state2 + 1;
tone(buzzer2, 3000);
} else {
digitalWrite(LED_2, LOW);
noTone(buzzer2);
}
}
prevVal2 = val2;
Serial.print(“State 2: “);
Serial.println(state2);
if ((state1 > 5) || (state2 > 5)) {
digitalWrite(LED_1, HIGH);
digitalWrite(LED_2, HIGH);
playMelody();
//startTime = millis();
}
// int counter starts counting
// when counter > 3 secondsm turn lights off
// if(startTime > 10000){
// digitalWrite(LED_RED,LOW);
// digitalWrite(LED_YELLOW,LOW);
// }
// Serial.print(“startTime: “);
// Serial.println(startTime);
}
void playFreq(double freqHz, int durationMs) {
//Calculate the period in microseconds
int periodMicro = int((1 / freqHz) * 1000000);
int halfPeriod = periodMicro / 2;
//store start time
long startTime = millis();
//(millis() – startTime) is elapsed play time
while ((millis() – startTime) < durationMs) {
digitalWrite(buzzer1, HIGH);
delayMicroseconds(halfPeriod);
digitalWrite(buzzer1, LOW);
4. Conclusions: We initially want to make this project more competive. But due to the time limited and less experience of using Arduino, we cannot make it more interesting and competitive. In addition, the wire that connect players and board would harass the ball. In order to solve the problem, we can make a higher foundation to hide these wires. During this project, I learnt that problems will always arise, even up to the last minute, and all we can do is keep trying, improving, solving problems and not giving up easily.
5. Appendix: the video being recorded:

