Step 1: Design
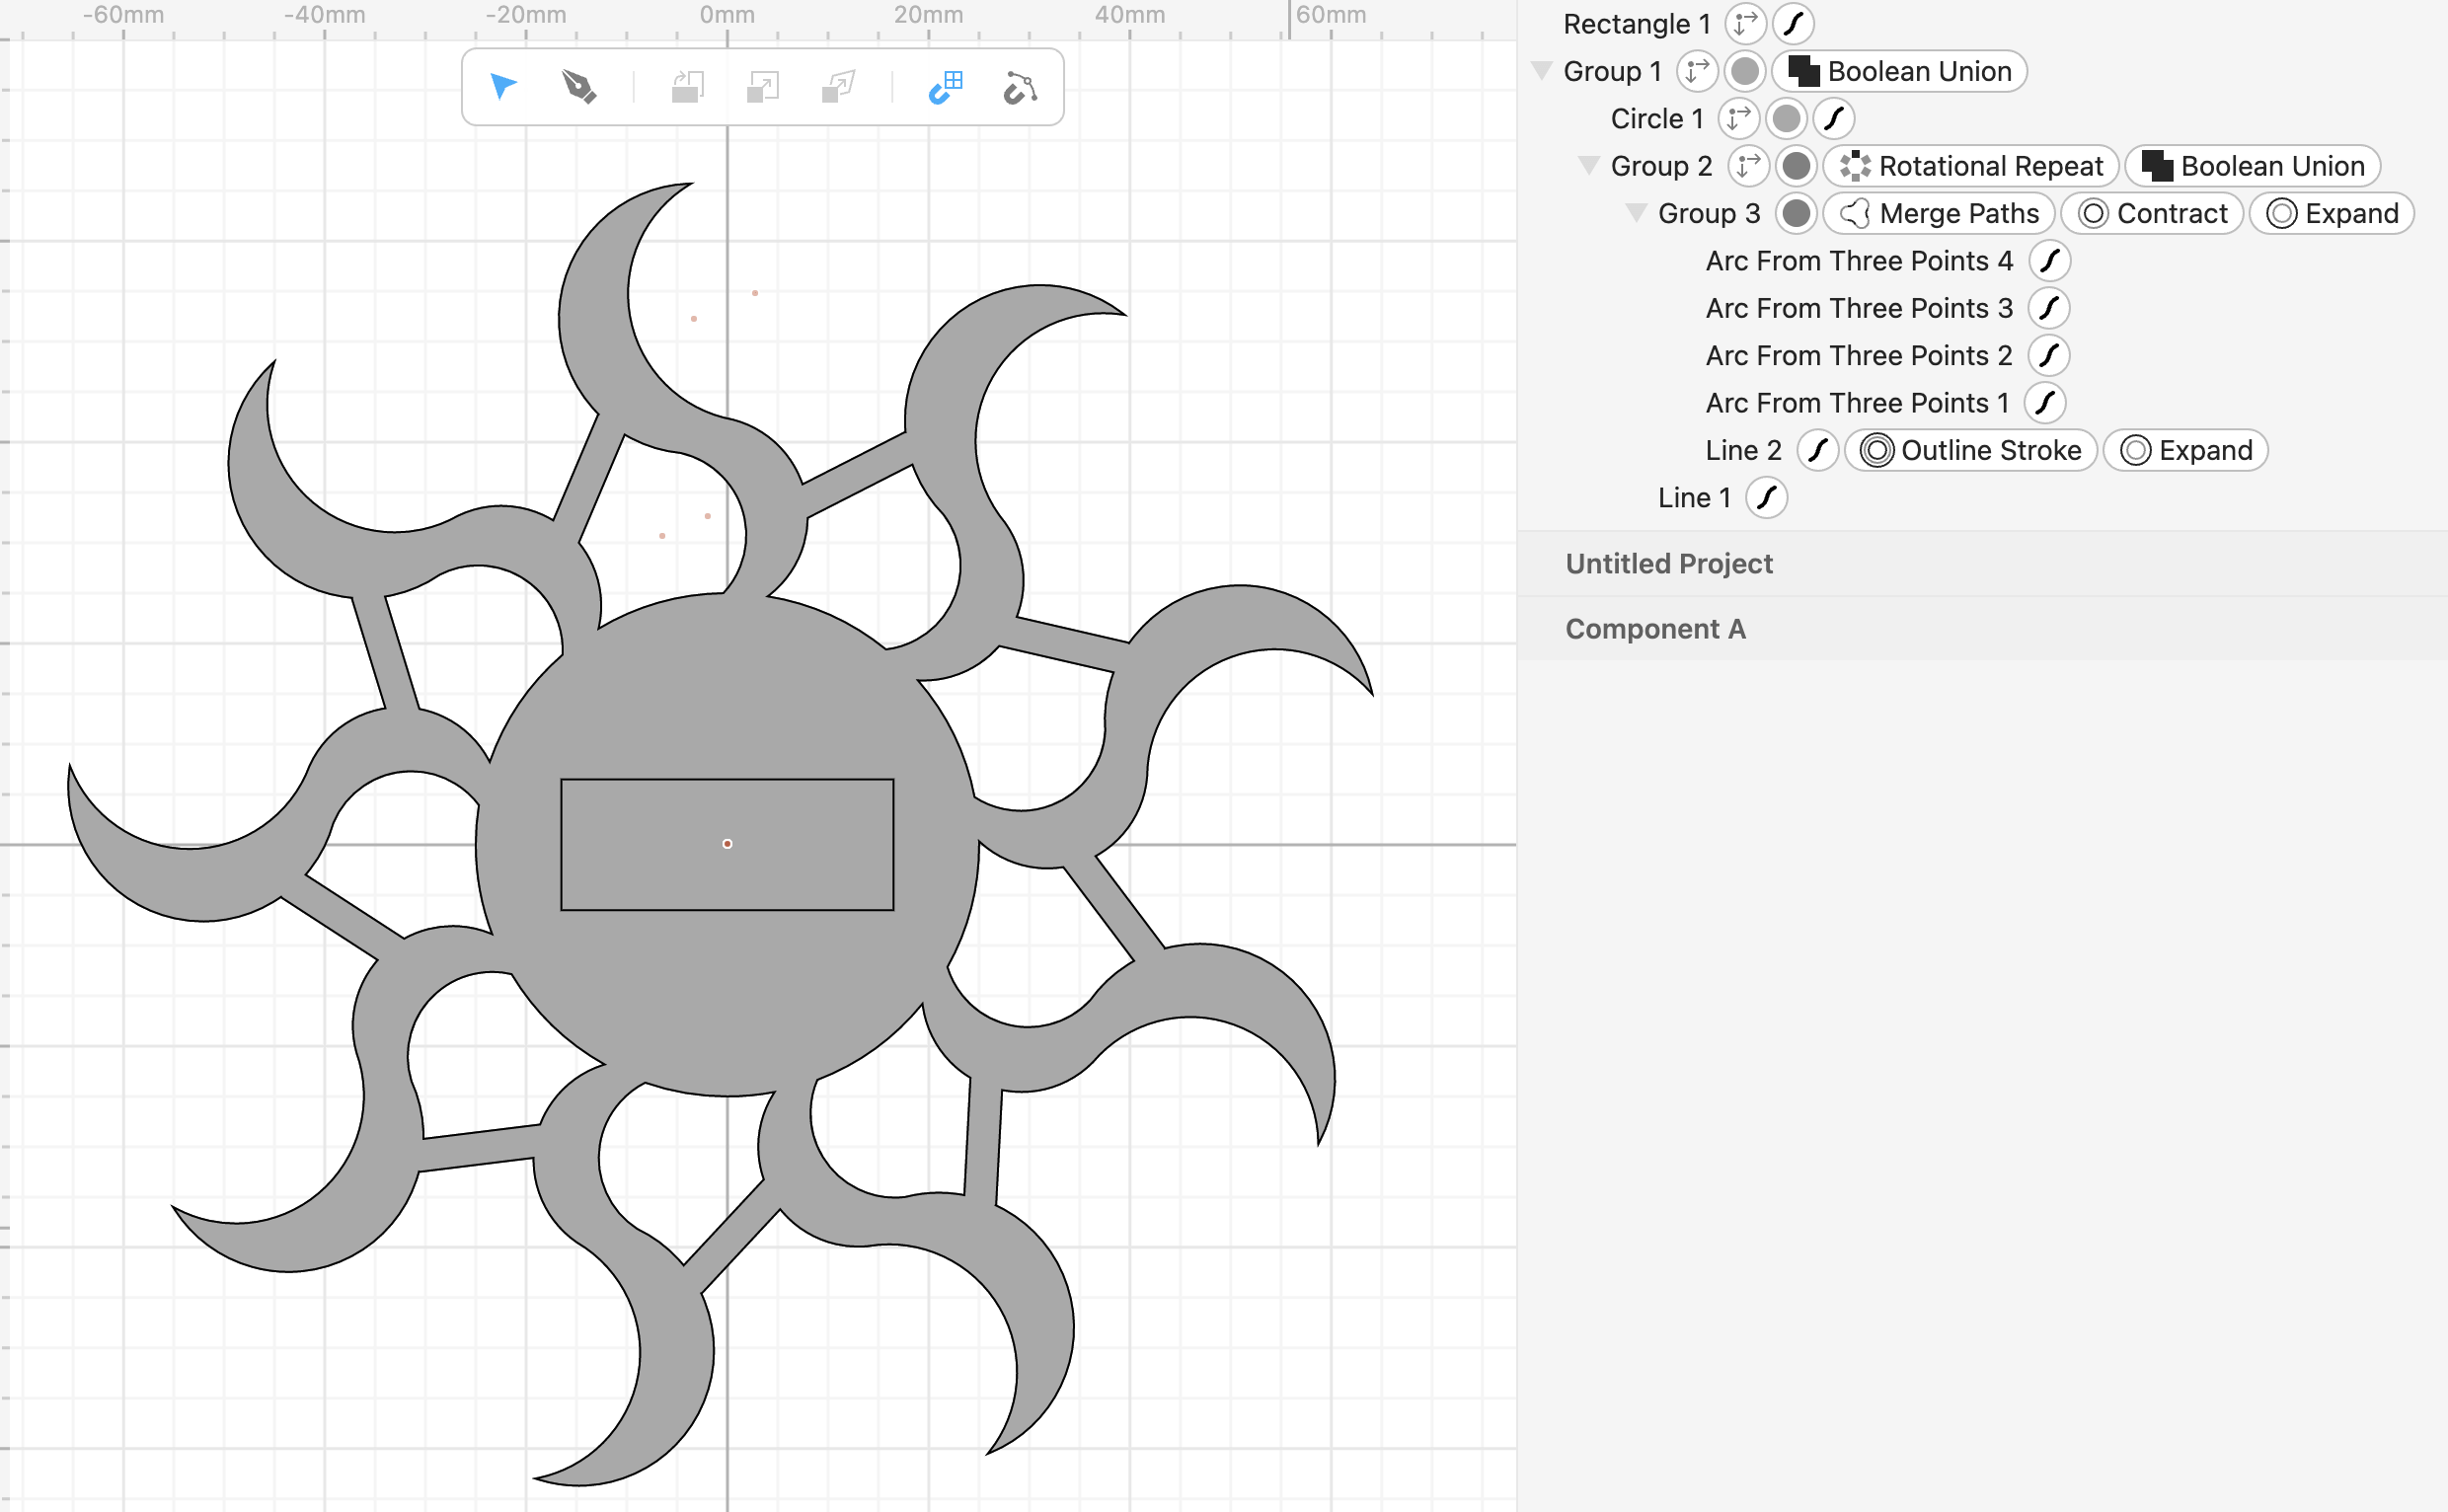
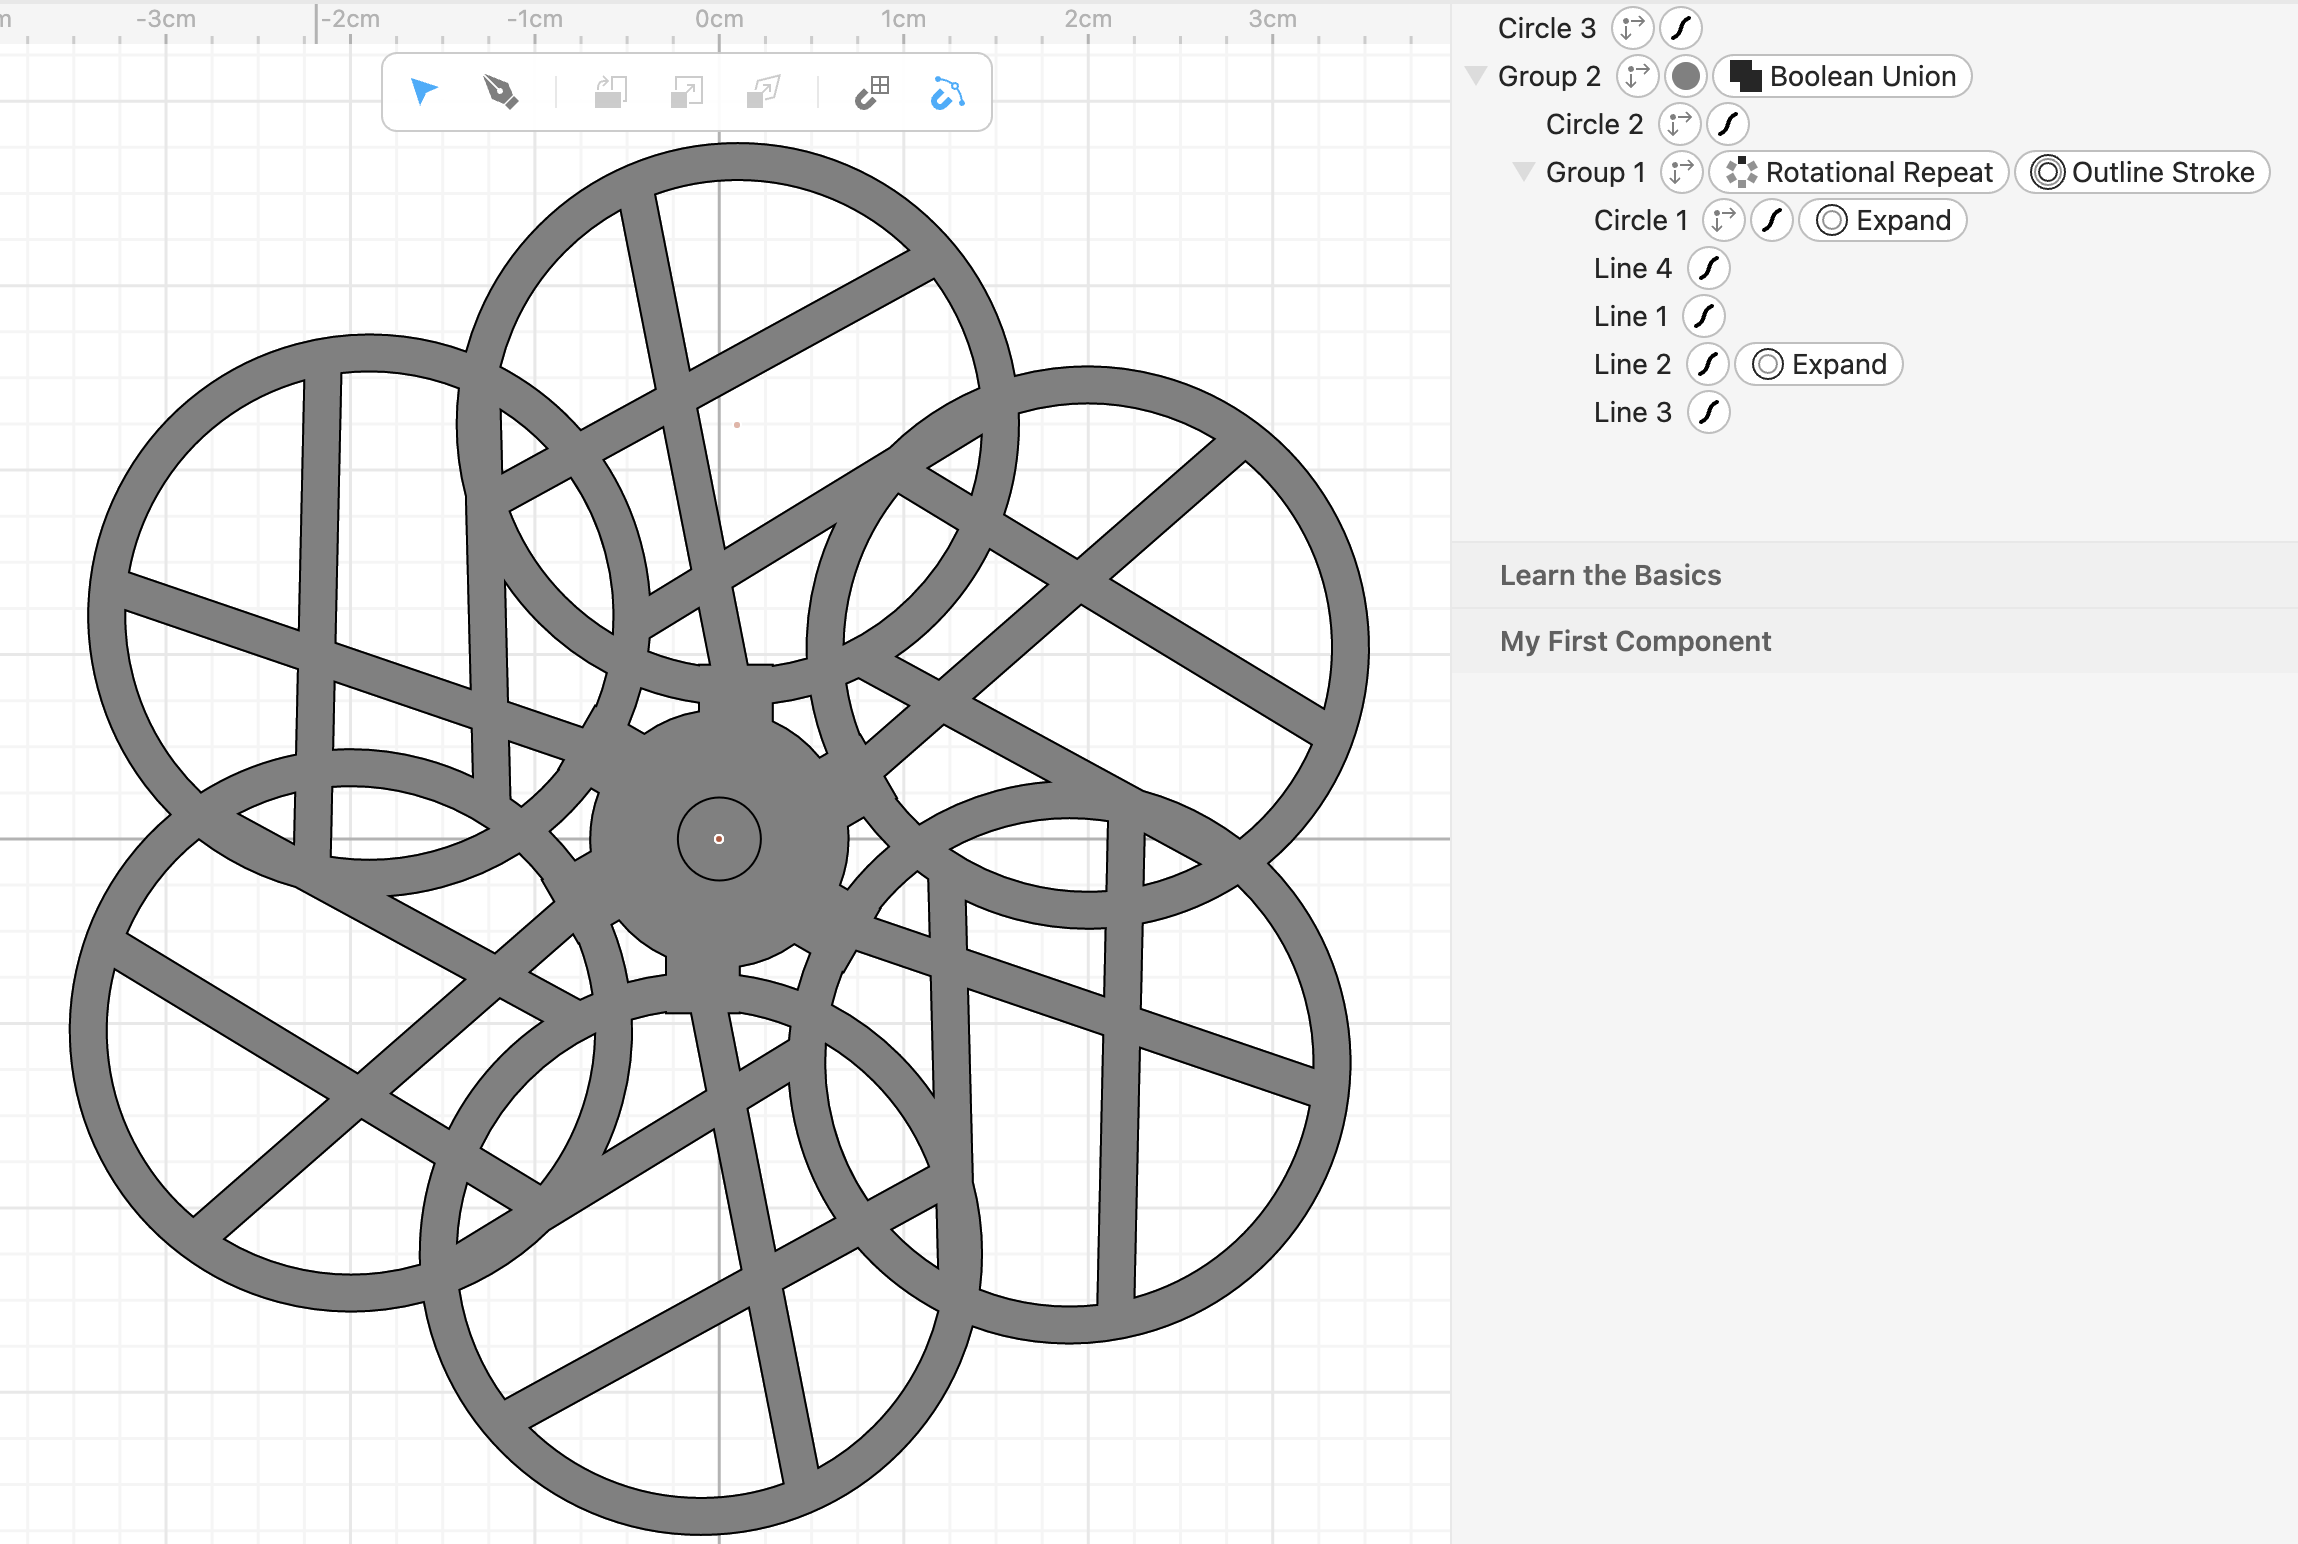
My task is to design the decorating part and the rotatable part of the work and Jack, my partner, will finish the two stands to fix the servo and the other components. The bottom seemed easy but not until when I got down to the task did I find it not the case. I made multiple attempts but always failed to unite the components as I wished, or they just changed into another shape when I tried to group them as a union or fill them with color. For example, an unwanted arcuate appeared suddenly when I tried to operate “boolean union” on a closed figure composed of arcs and lines.
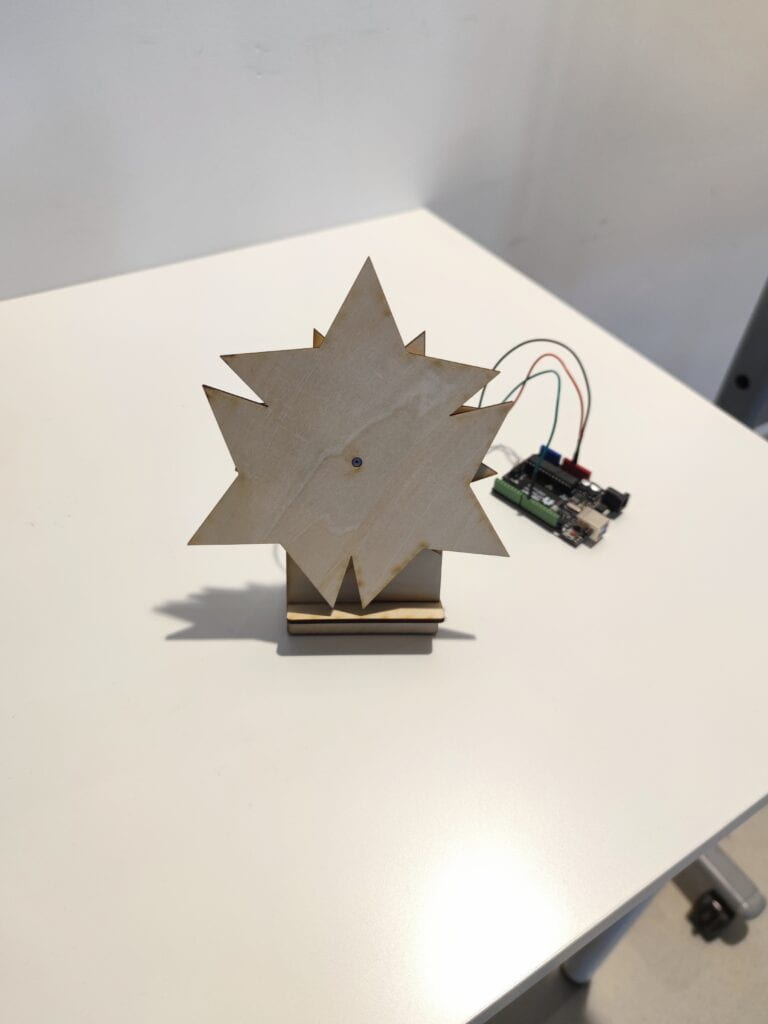
I also went to the instructors right in class but the problem wasn’t solved because the reason was uncertain. Actually I haven’t figured it out even up to now when I’m writing these words, but I just made it after dozens of tries. Below are the figures we intended to use, but it just took too long as I mentioned above and I failed to finish them completely before the laser cut, so we opted for more basic ones which are designed by Jack, which are shown below them.


Step 2: Laser Cut
When Jack went to the laser cutting lab and waited for the final output, I was still struggling for our intended shapes. Though it might never come to reality, anyhow I’d devoted so much time and effort to them, so I insisted on finishing them. Then we can see our components processed slowly along with other groups’, and there was nothing to do but wait.
Step 3: Assemble
After that, we got all the materials and the assembly work was mostly done by Jack. However, things didn’t go on as we expected. The hole was found not large enough to fit in the servo. I guess it’s because of the error of the devices, including the laser cutter, which made the holes smaller than expected. So we had to expand the holes with the utility knife. Then we just ran the codes and the kinetic sculpture started to move.
