Prototyping Blog Documentation Week 9
For this week, we finally got to make our prototypes in CAD. For this, I wanted to primarily focus on the tube storage system I was working on as the previous two storage prototypes could be made without the use of CAD and 3d printing. Below are the results thus far with the work I’ve done on CAD.
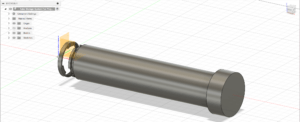
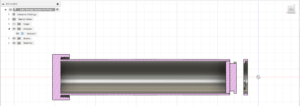
These two screenshots showcase the tube storage system itself, primarily the one that’ll cover up the bike tube once implemented. It will cover the bike tube via a screw on system on the left of the second screenshot, to which the bike tube will have a small device for the cap of the storage tube to screw on and in place in the bike tube. The idea then is that you can screw the cap off from the storage tube to be able to place items into the tube.
To take advantage of the bike tube length, we want to try make it so that multiple storage tubes are able to connect with one another for maximum storage and convivence. We borrowed a connective locking system from a gardening unit that has the following designs to be able to store individual plants onto one connective build.
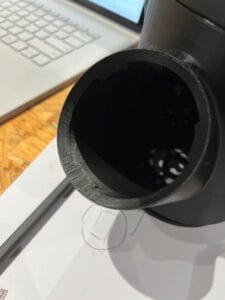
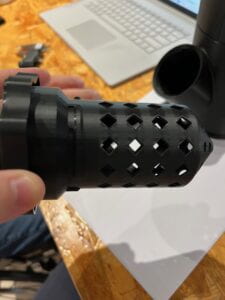
To which we replicated in CAD as seen in the following screenshot.
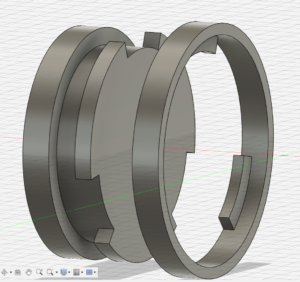
The left part would be on the bottom of a respective storage tube and the right part would be where the hole of the tube would be where you could place items into. In practice, this should make it so that each tube would allow for another to connected and locked onto each other while closing off each respective tube as to prevent items from falling out. Each storage tube would also be identical and be able to fit with one another in a very convenient fashion. Thus, using this system we would create a system in which maximizes storage in a convenient and easy way.
For the next week, I will be expecting to continuing modeling in CAD and trying to find ways to further improve on the current design, and maybe will get to 3d print them to test them out!
