Endless Dancers
Jingchen Gao
Instructor: Eric Parren
I. Project Description
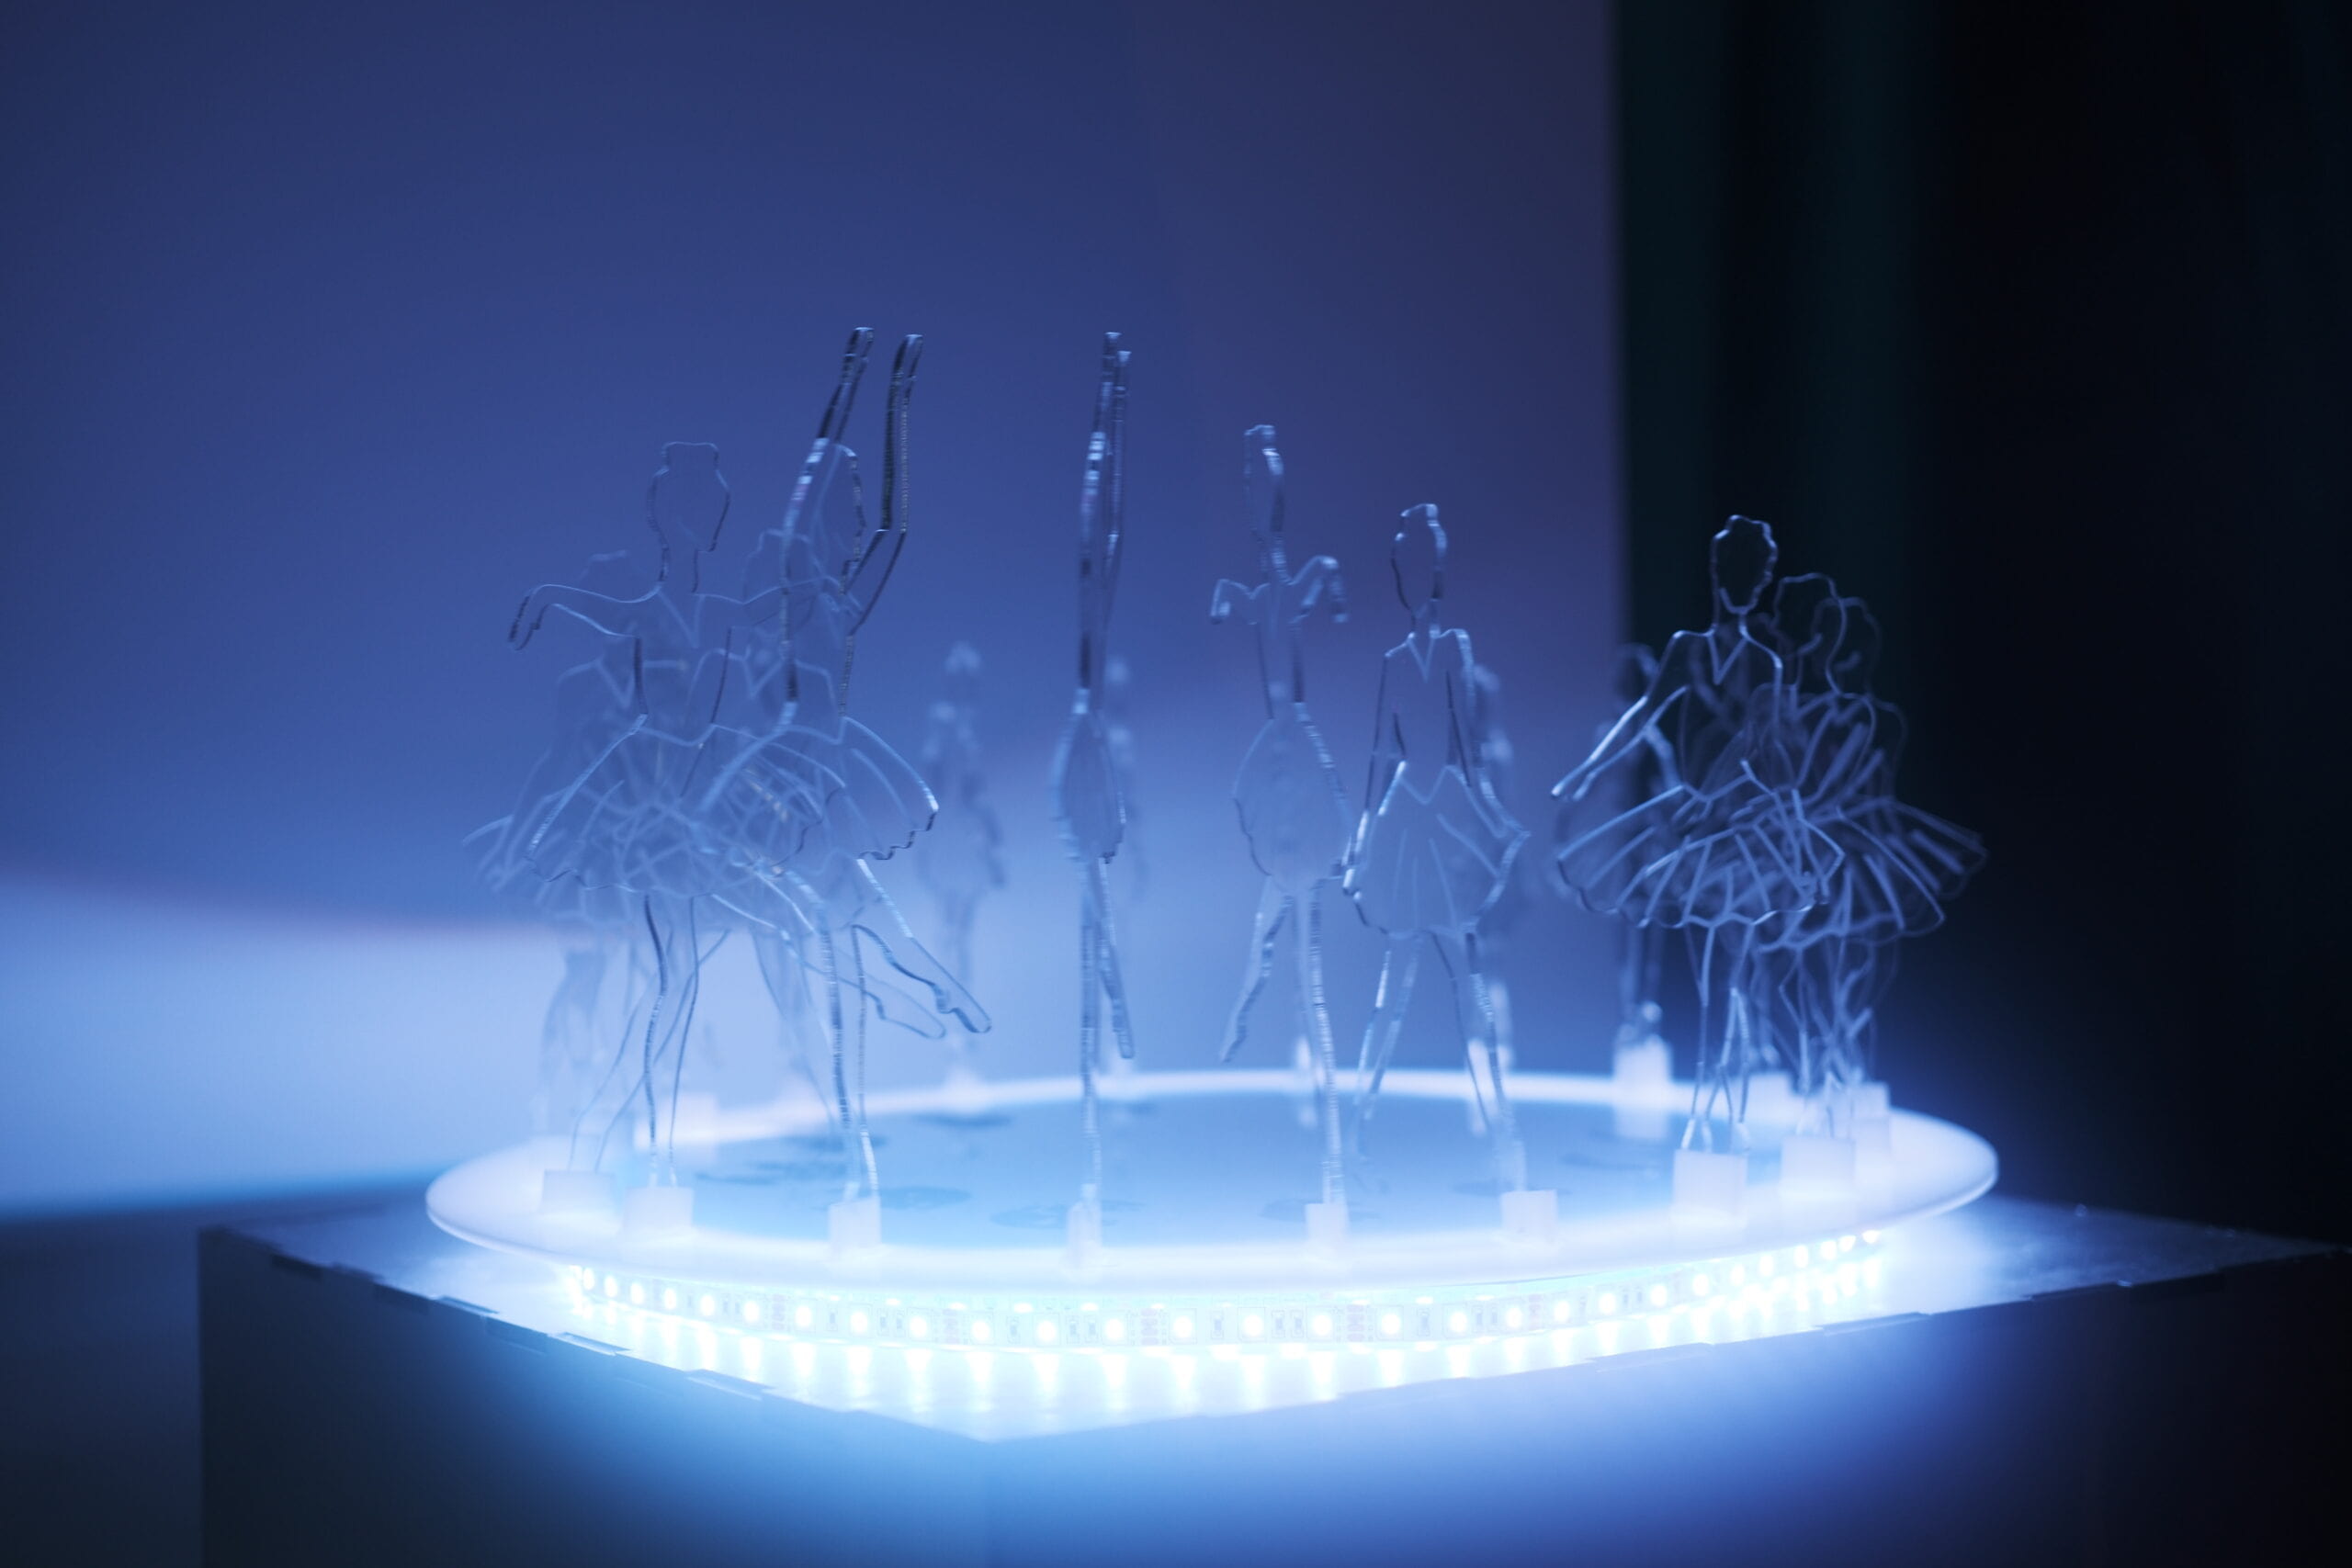
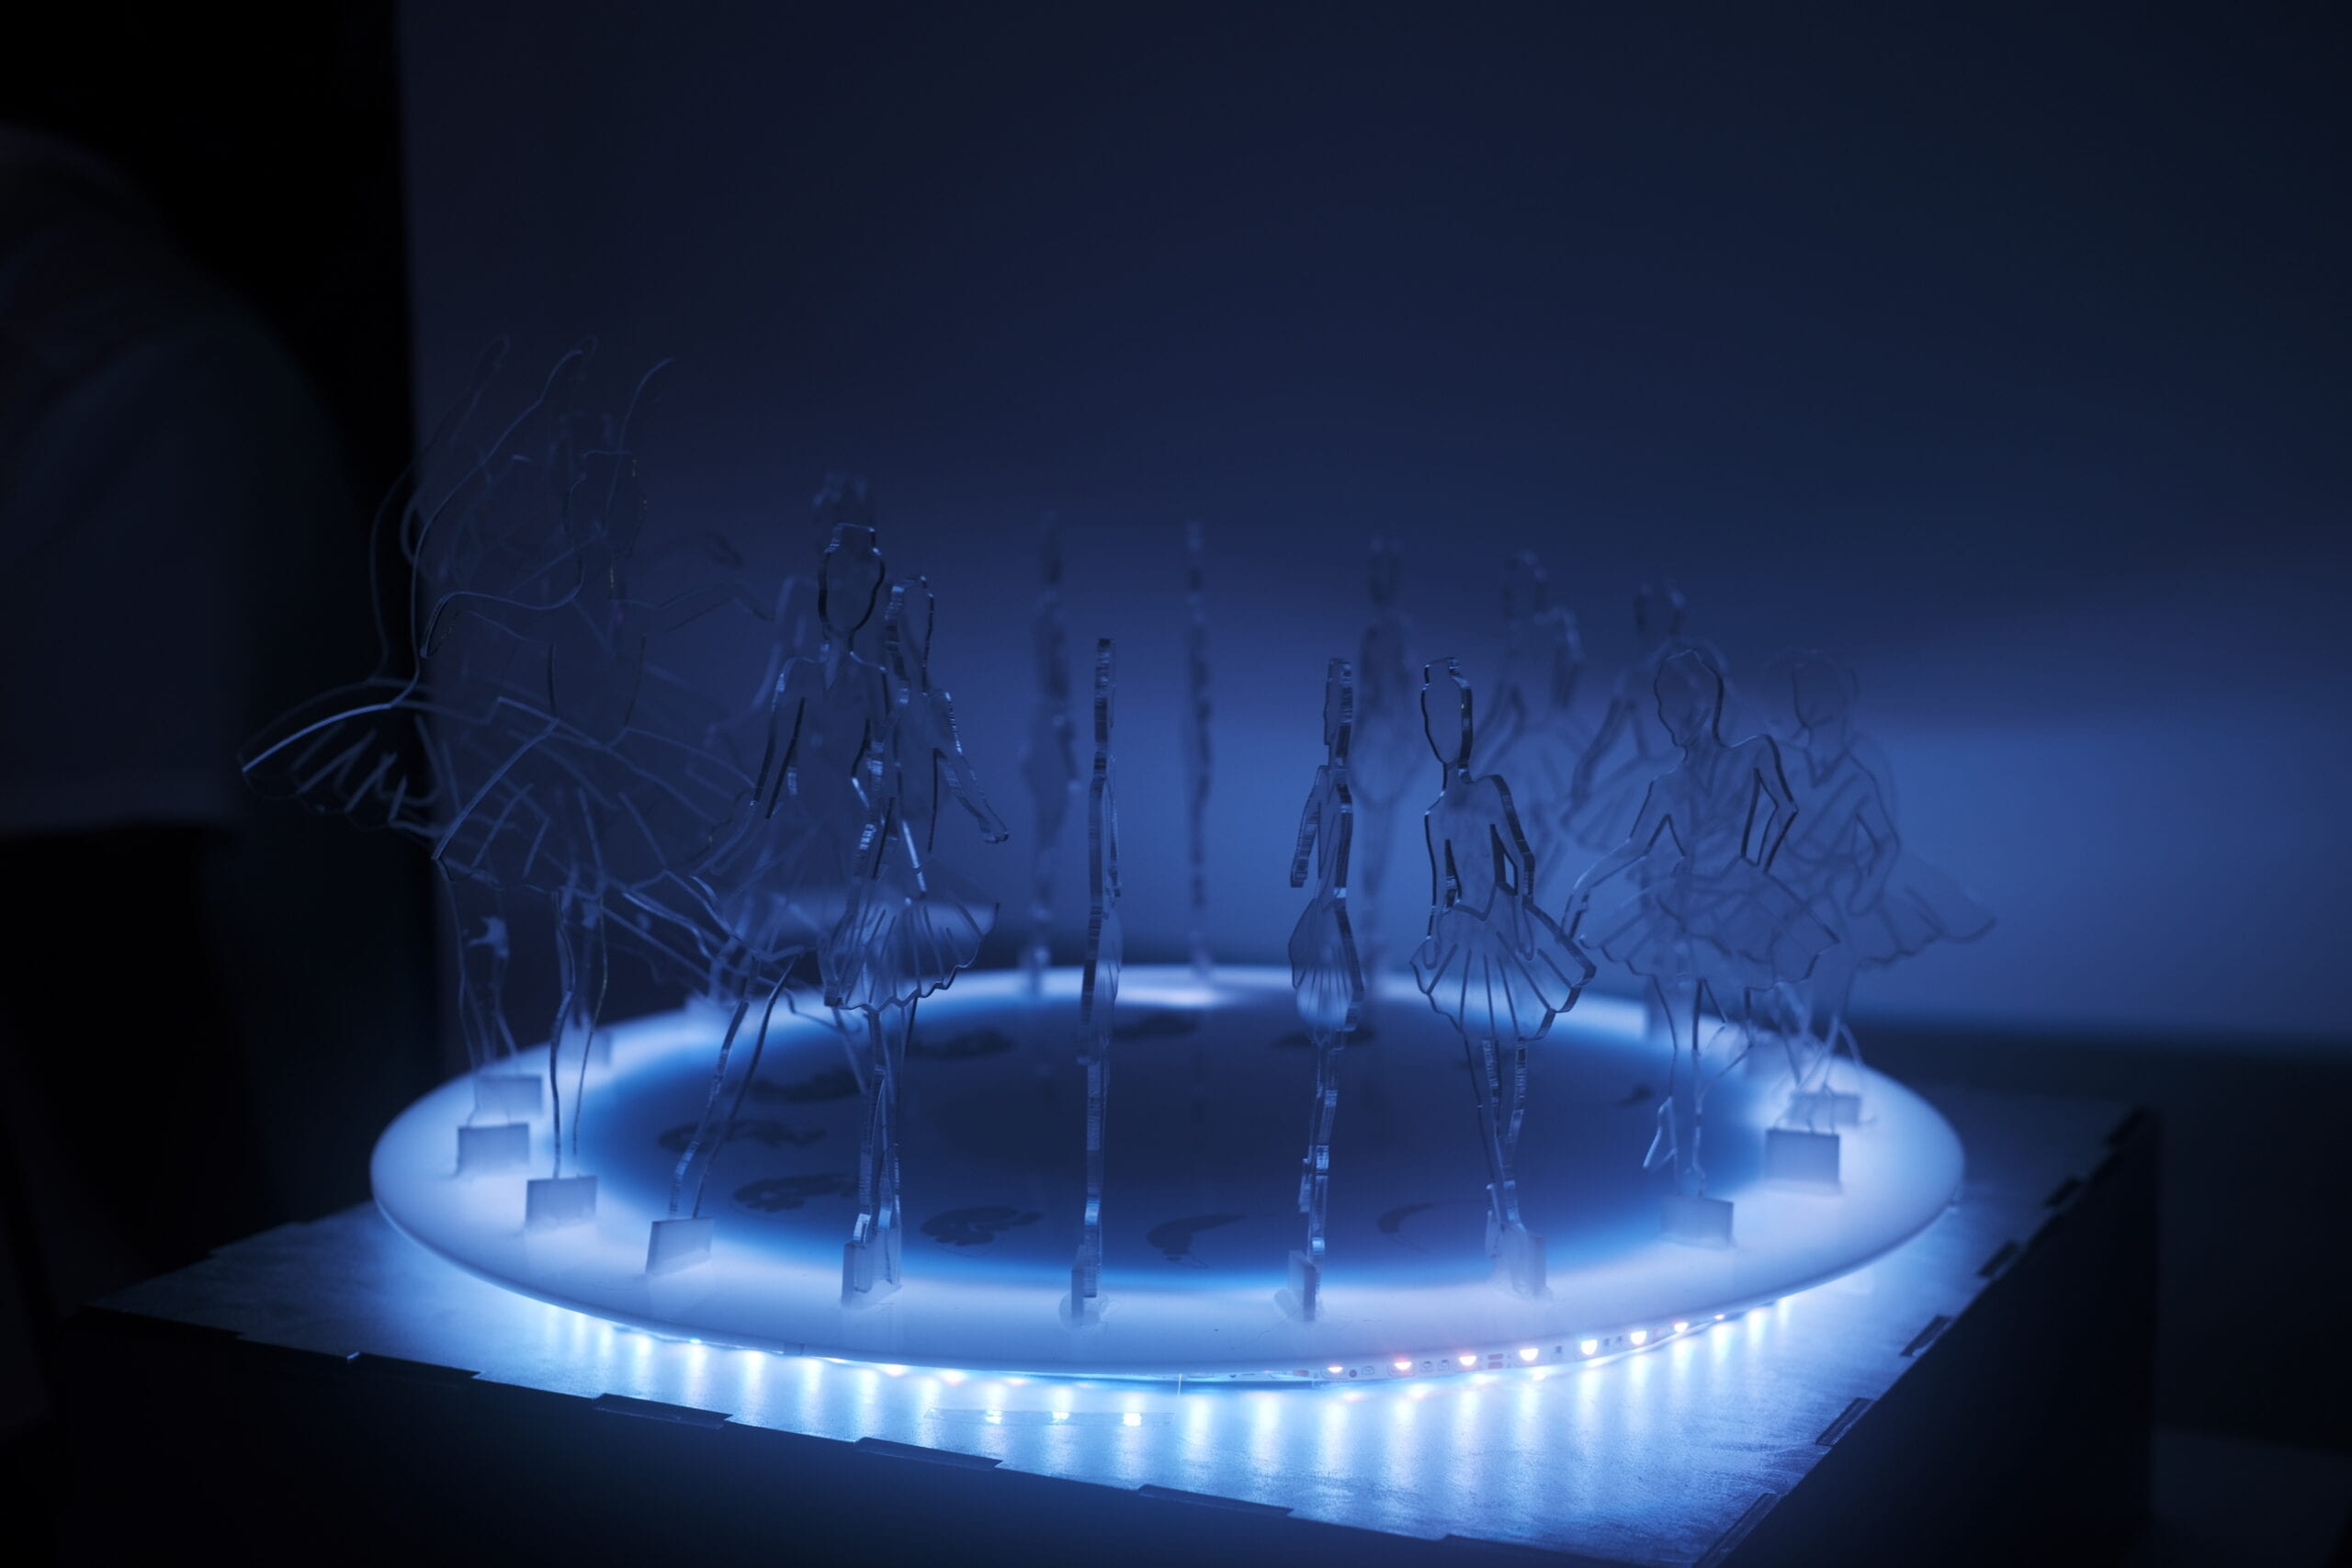
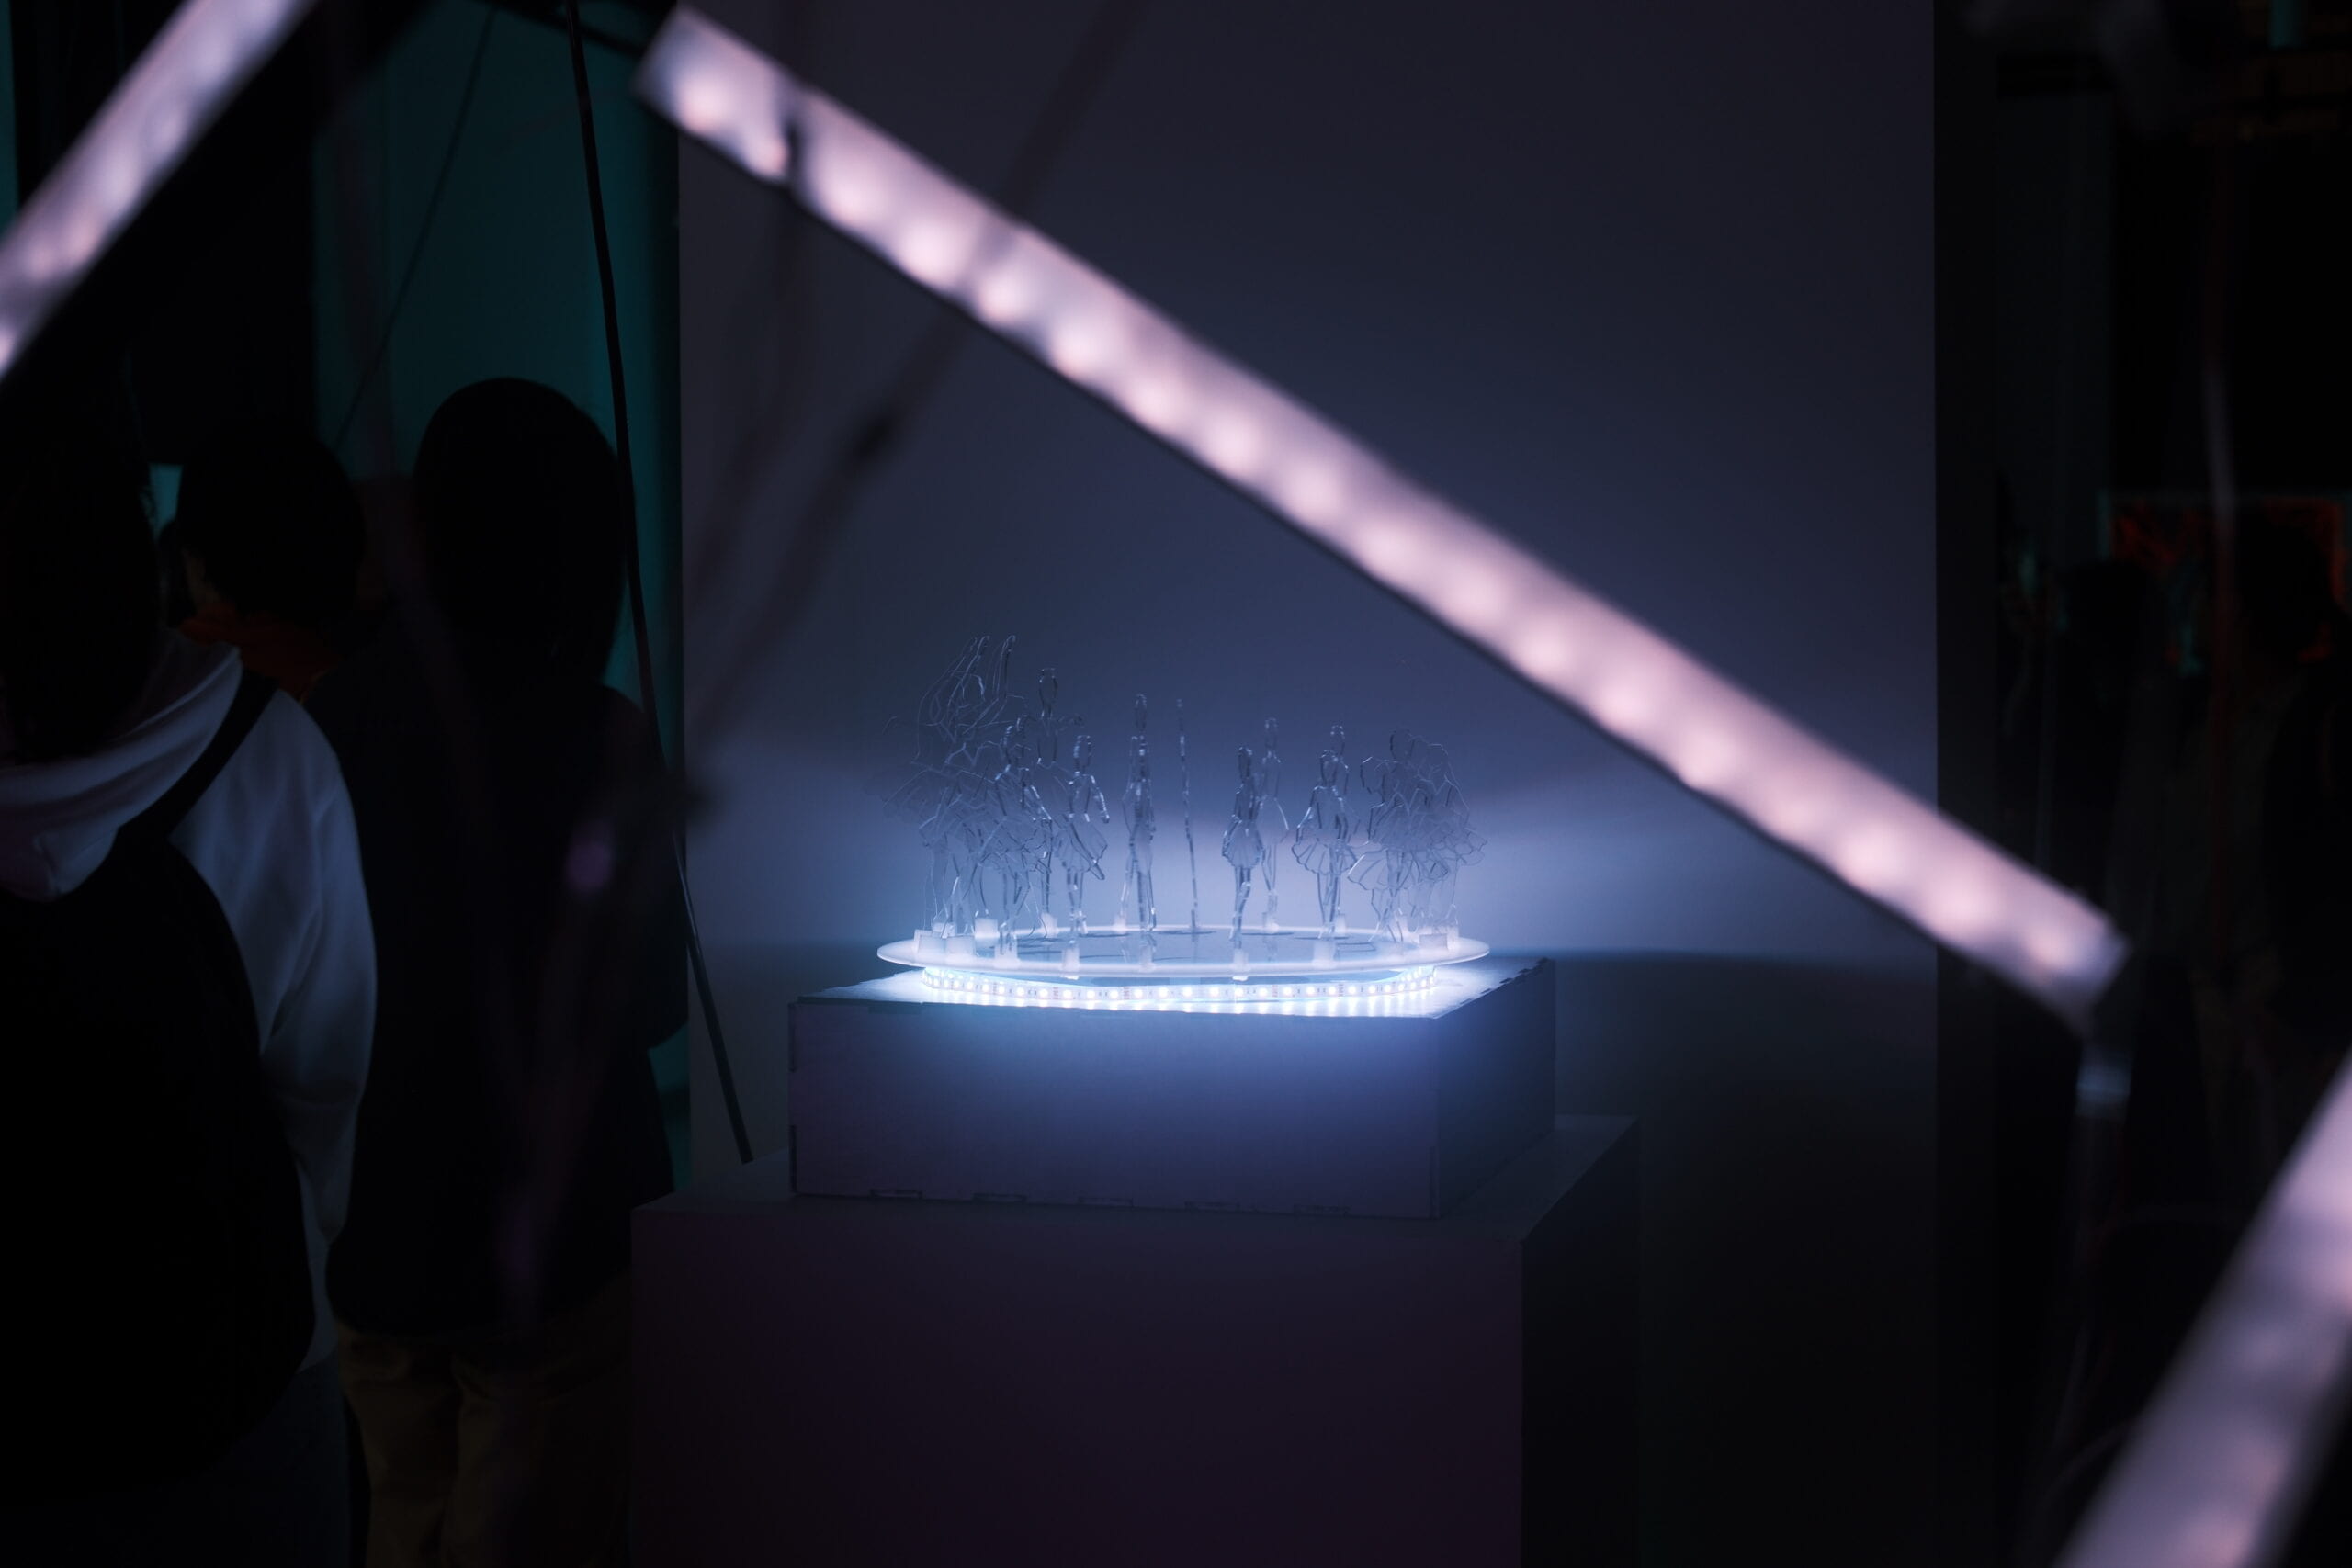
The inspiration for my project originates from stage performances I have previously watched. Music opera and dancing are art forms that I deeply appreciate. While I thoroughly enjoy the process of spectating performances from the audience seats, I also comprehend the challenges faced by the actual performers during their rehearsals. Hence, I aim to emulate, through a series of dancers assuming various bodily postures, their journey from exhaustion and desmay to gradually rising again to perform under the spotlight, and to return to a phase of rest after the performance. Part of my inspiration also draws from lunar phases. By arranging these dancers’ diverse postures around a circular disc, I seek to convey the notion that human experiences mirror the phases of the moon, exhibiting waxing and waning, just as the lunar cycles do.
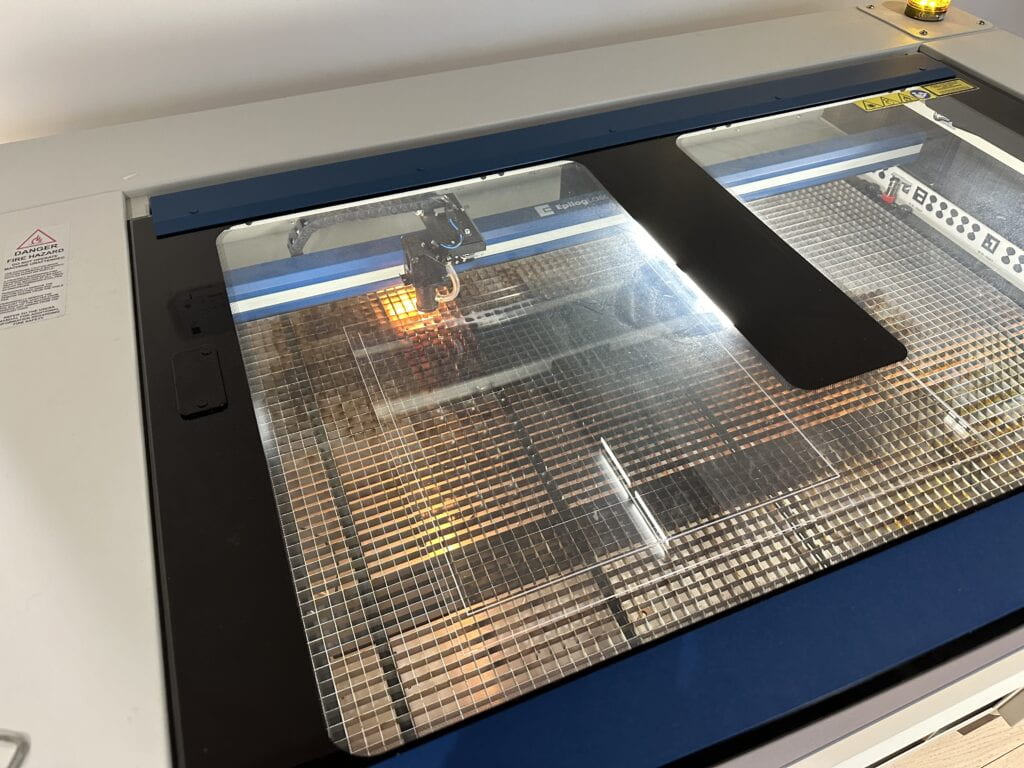
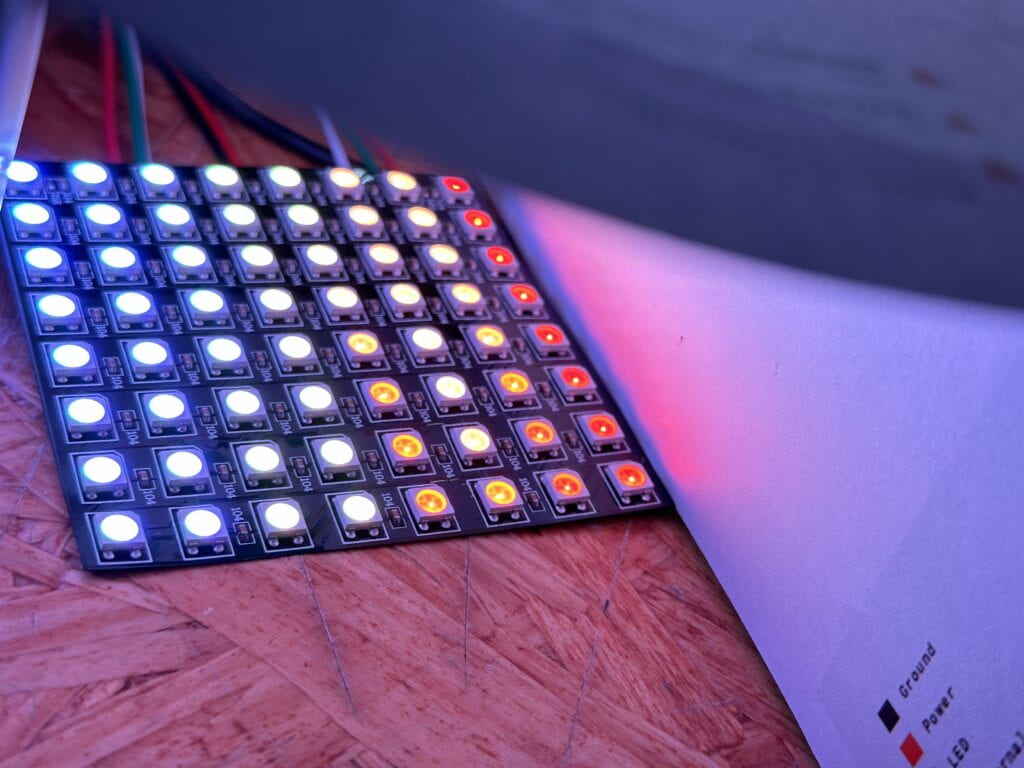
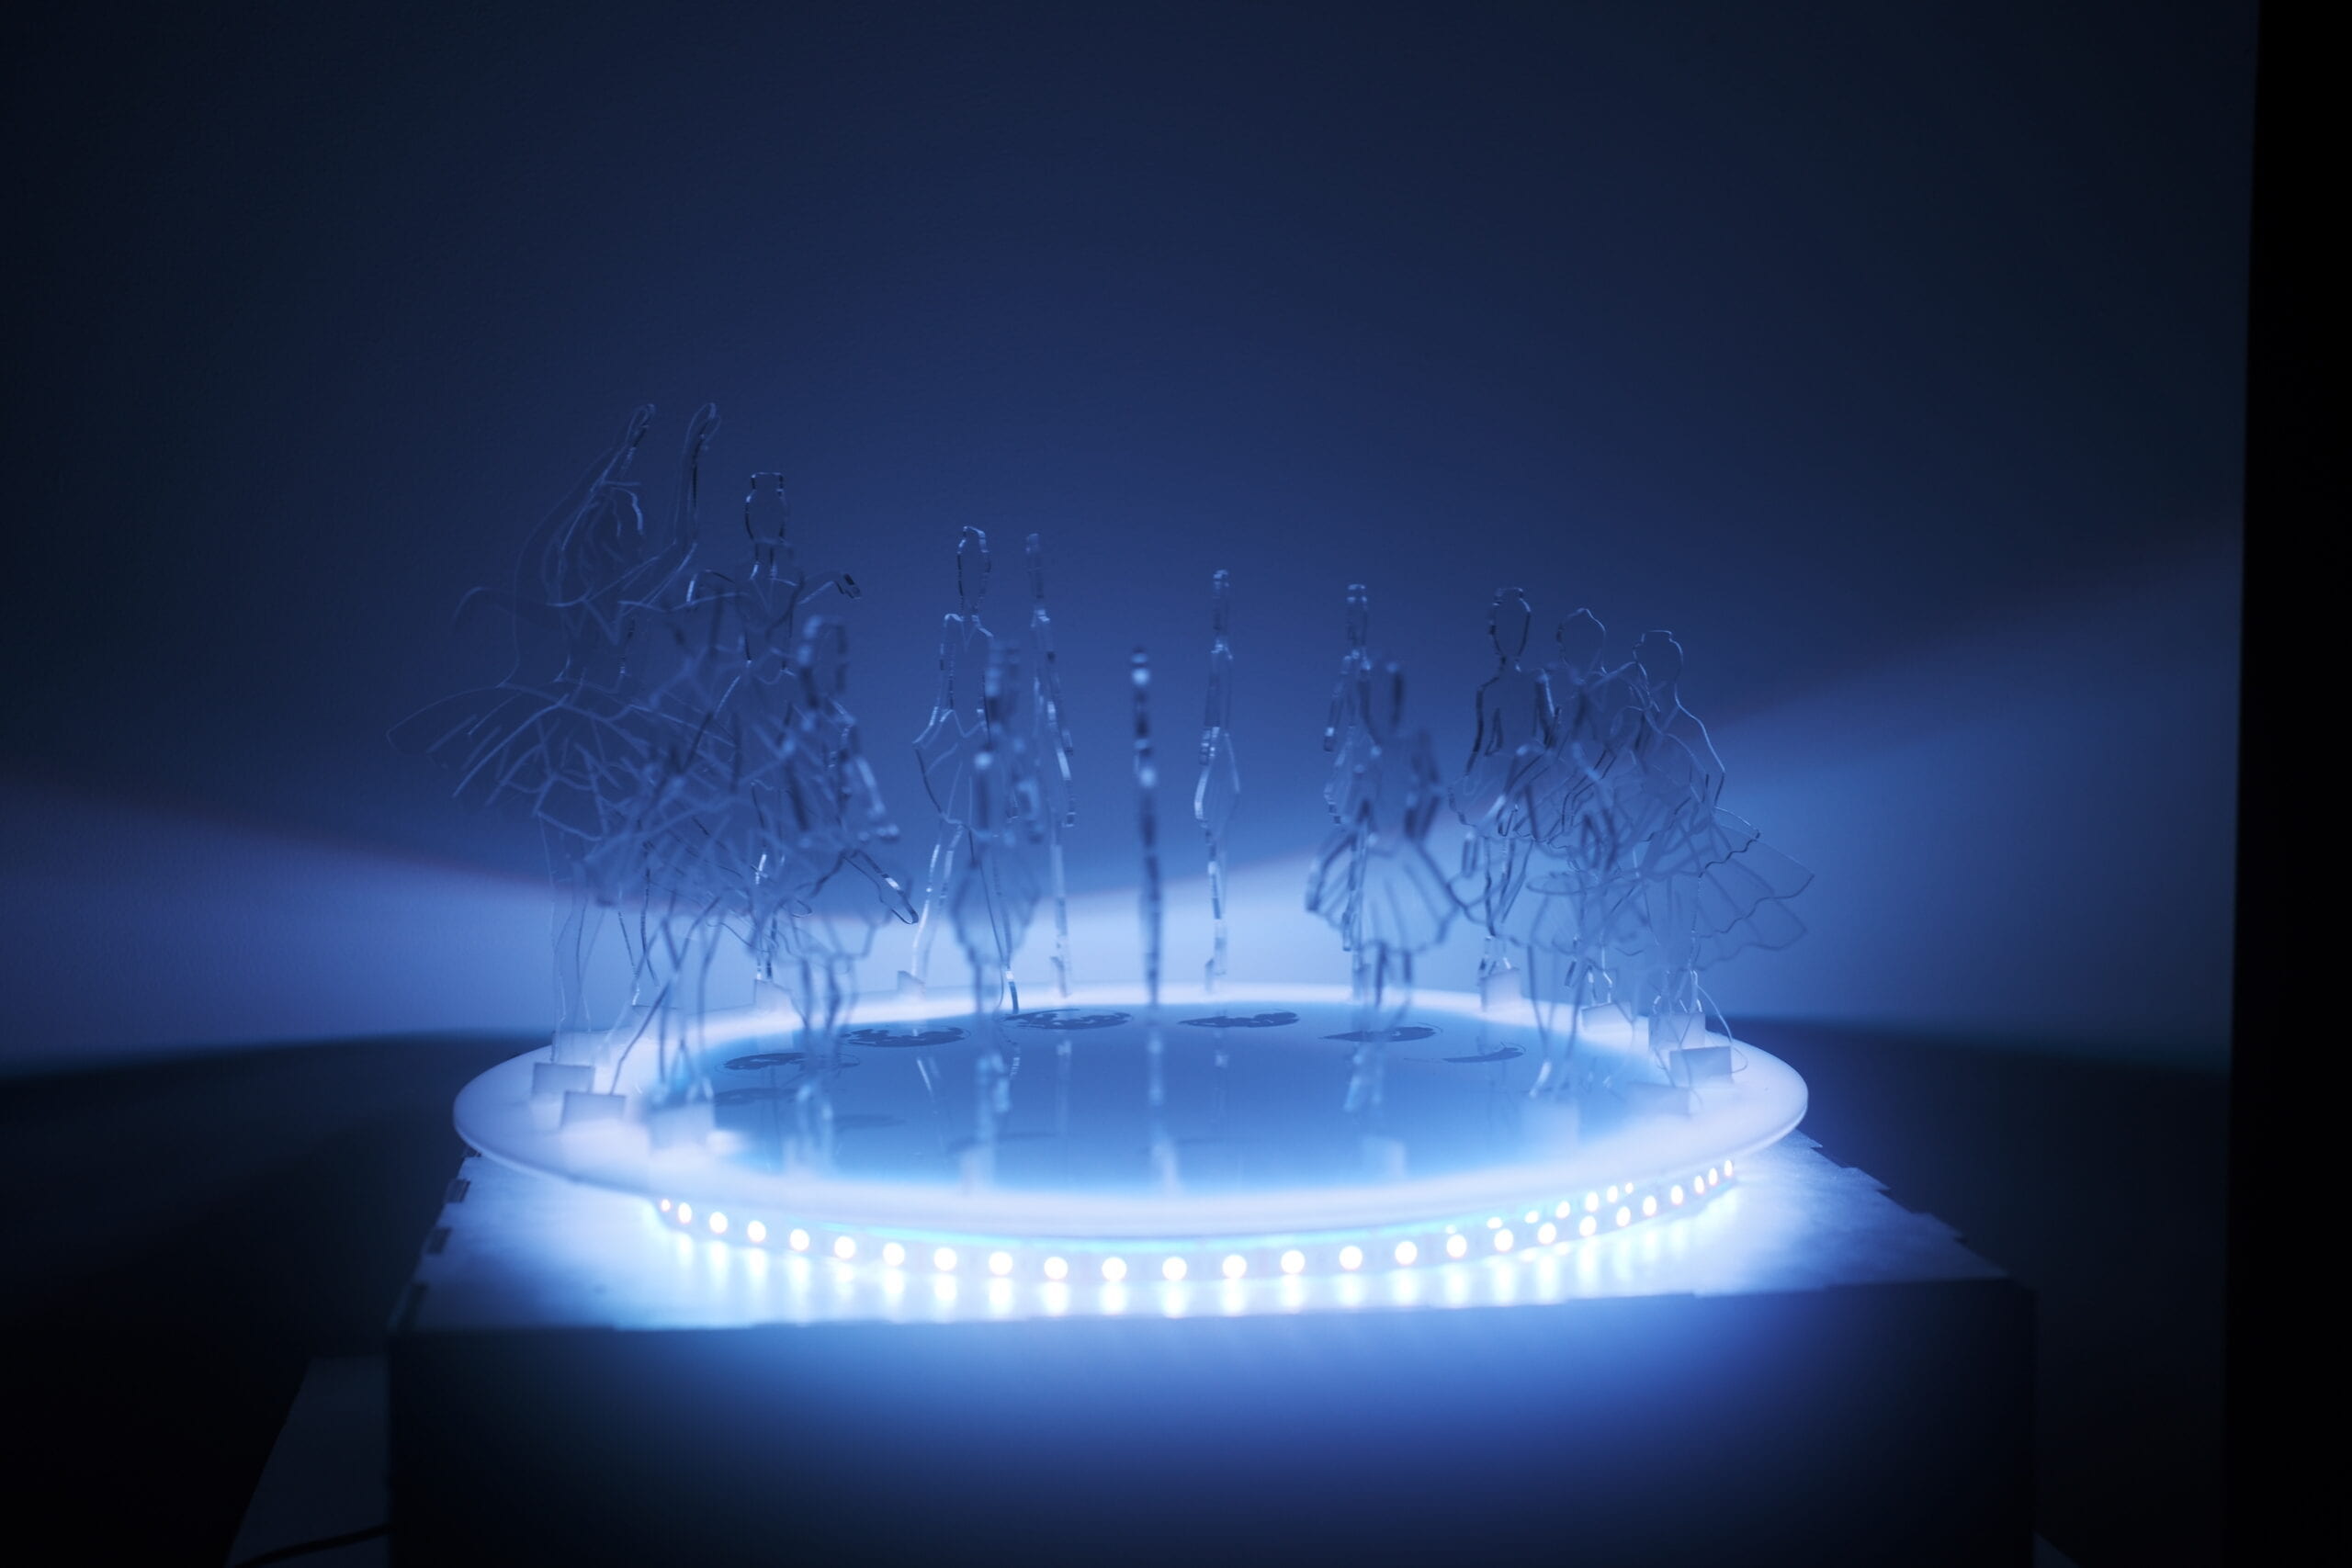
I intend to create this project using materials that are overall concise yet effective. Regarding the physical construction, I plan to utilize transparent or semi-transparent acrylic boards, employing laser cutting and engraving techniques to achieve the desired visual effects. I aim to incorporate addressable LED strips to illuminate the project. Simultaneously, for the rotational movement of the base disc, I propose employing a high-torque motor to drive the mechanism. Ideally, I envision my audience experiencing the integration of lunar phases and dance postures through my composition of light and motion, enabling them to perceive the fluctuations in energy and emotions of the dancers.

II. Perspective and Context
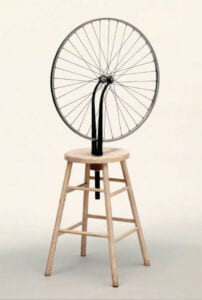
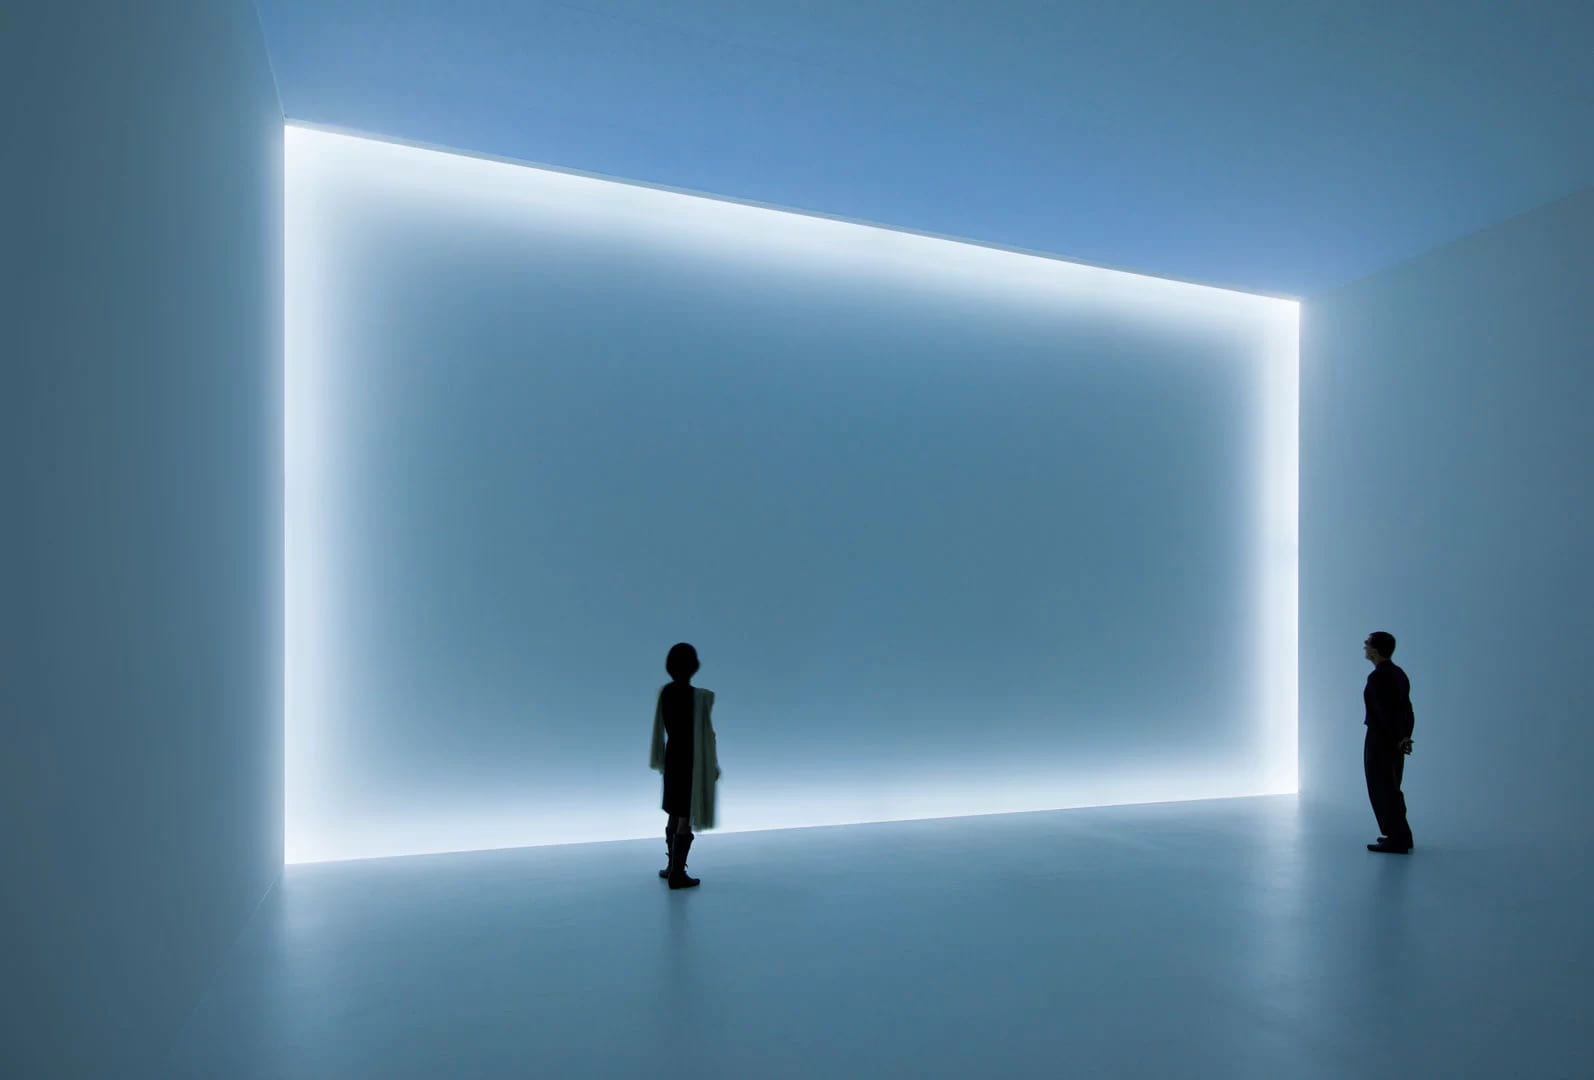
Later in the 20th century, “kinetic art” became popular as a specific type of machine art. Kinetic art involved artworks that had actual movement, either through mechanical methods or by using light, sound, or other elements. Kinetic artists aimed to explore the relationship between art, technology, and how people perceive things. They wanted to engage viewers on a sensory level, creating immersive and interactive experiences that challenged the idea of art being still and unchanging. Kinetic art expanded the possibilities of sculpture by incorporating motion as a key element.
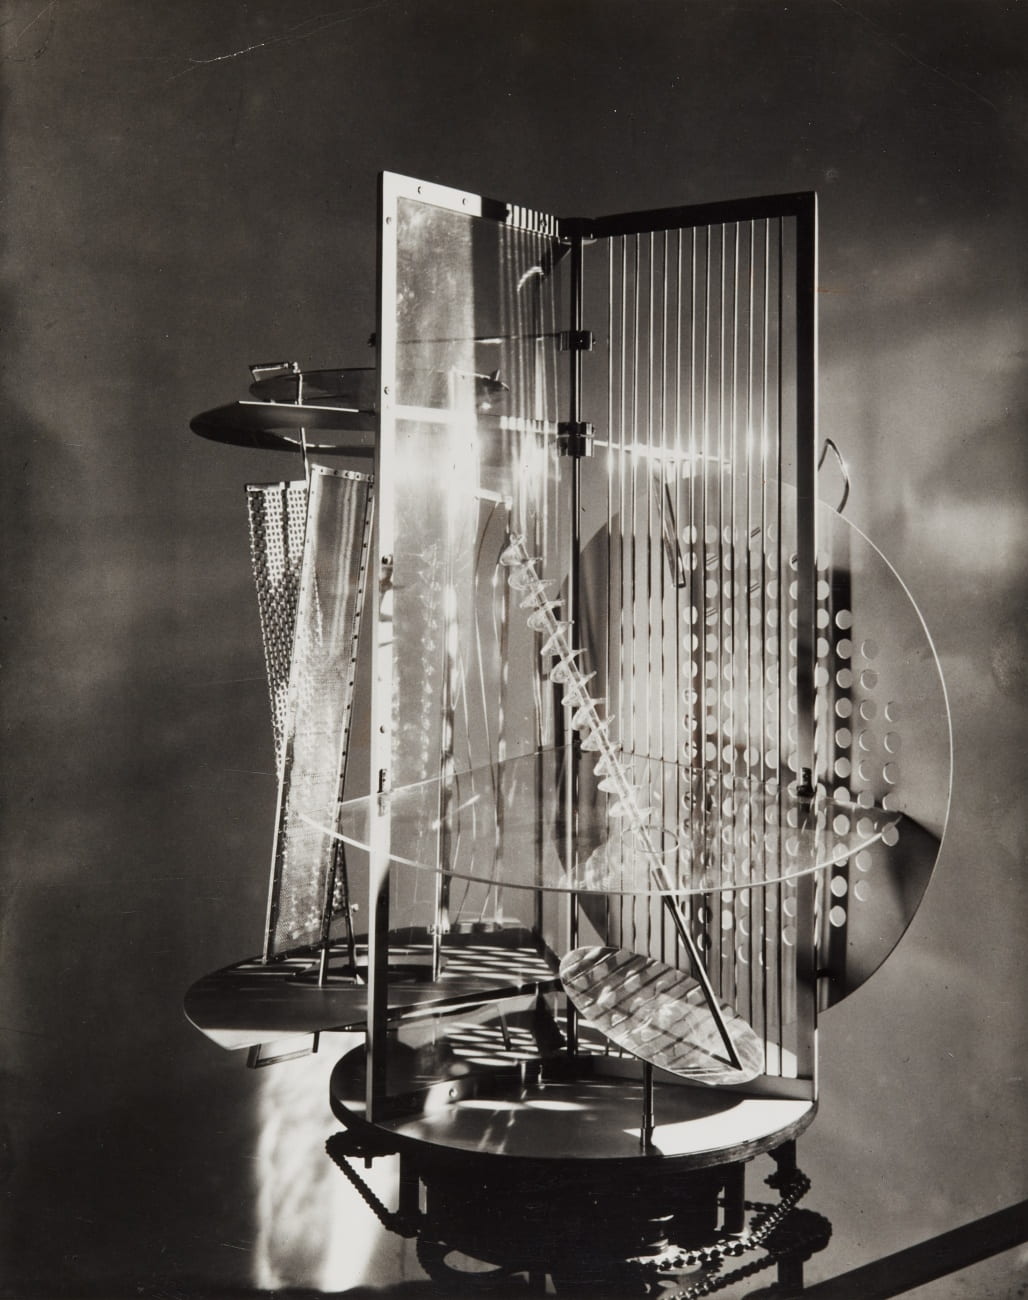
As mentioned in our previous readings, machine art now encompasses aspects of digital art. I believe this integration serves as one of the primary objectives of this project, aiming to harmonize light, mechanical movement, and programming. Dance, as an art form performed by the human body, possesses characteristics such as grace, strength, and flexibility, intimately tied to human expression. However, by merging the regularity and orderliness of mechanical movement with the fluidity of dance, as well as integrating the rigidity of machinery with the softness of dance, I aspire to provoke fresh insights into the intersection of human artistry and movement. Simultaneously, drawing inspiration from artist Moholy-Nagy, I seek to explore new possibilities in light and shadow sculpture.
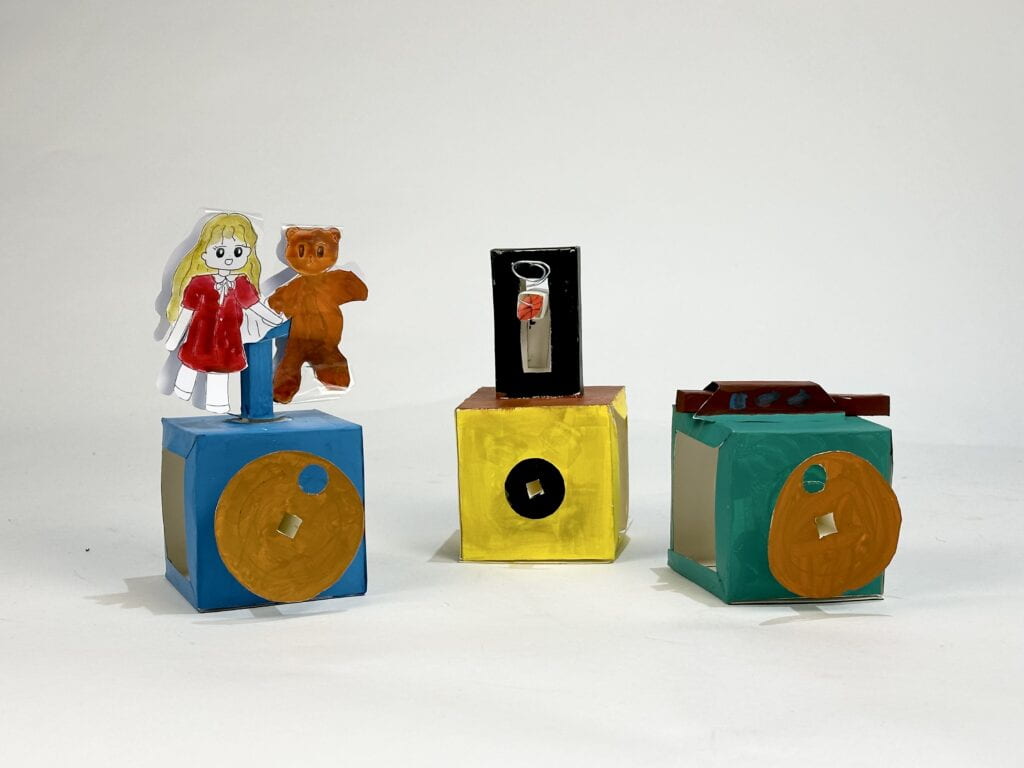
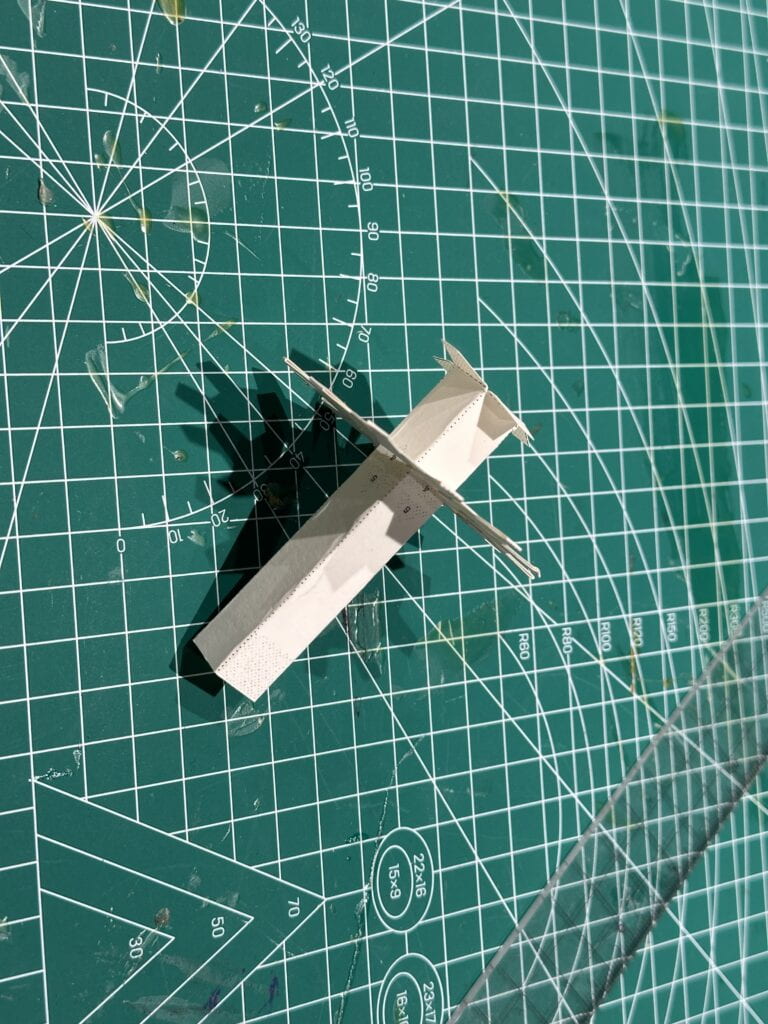
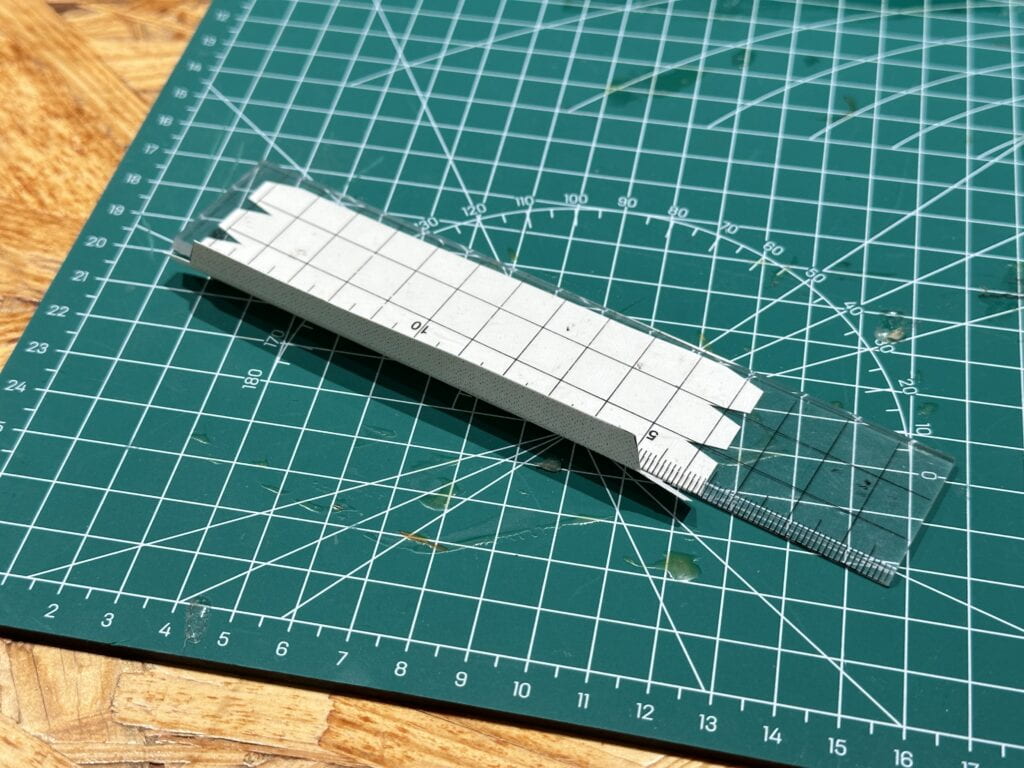
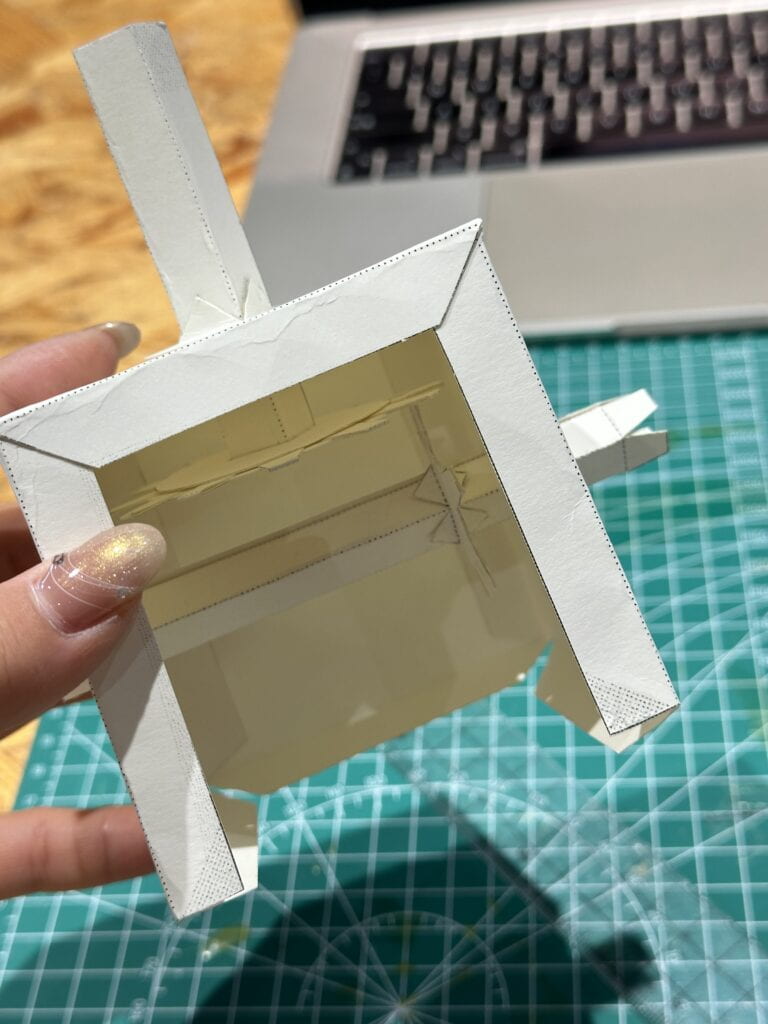
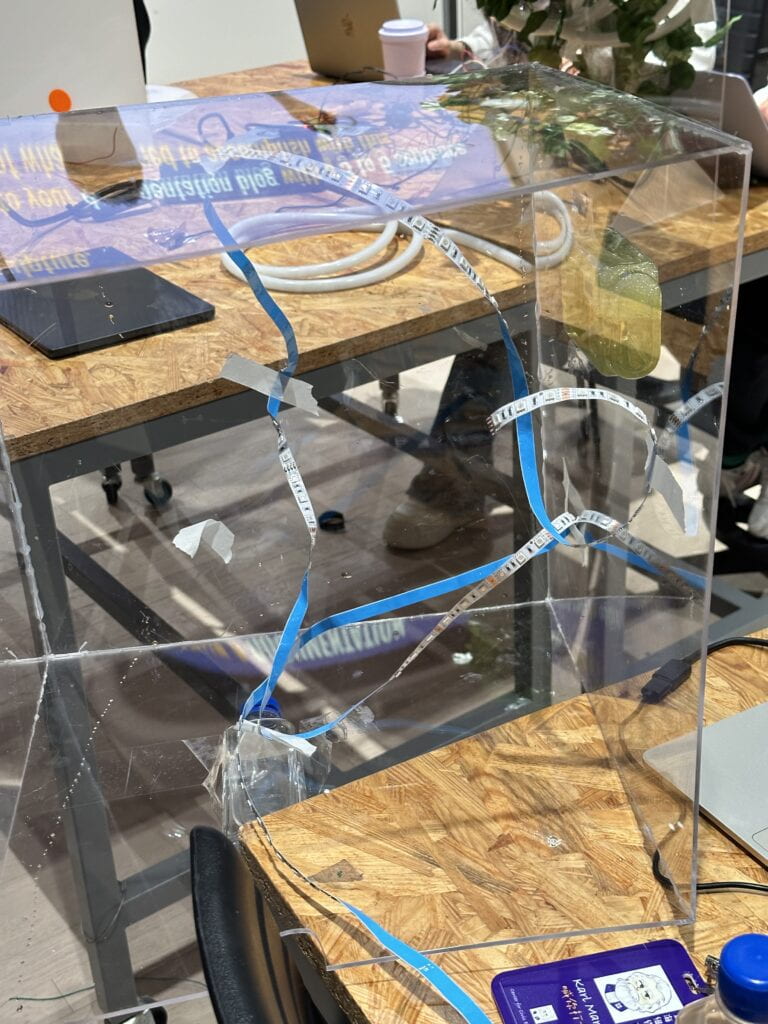
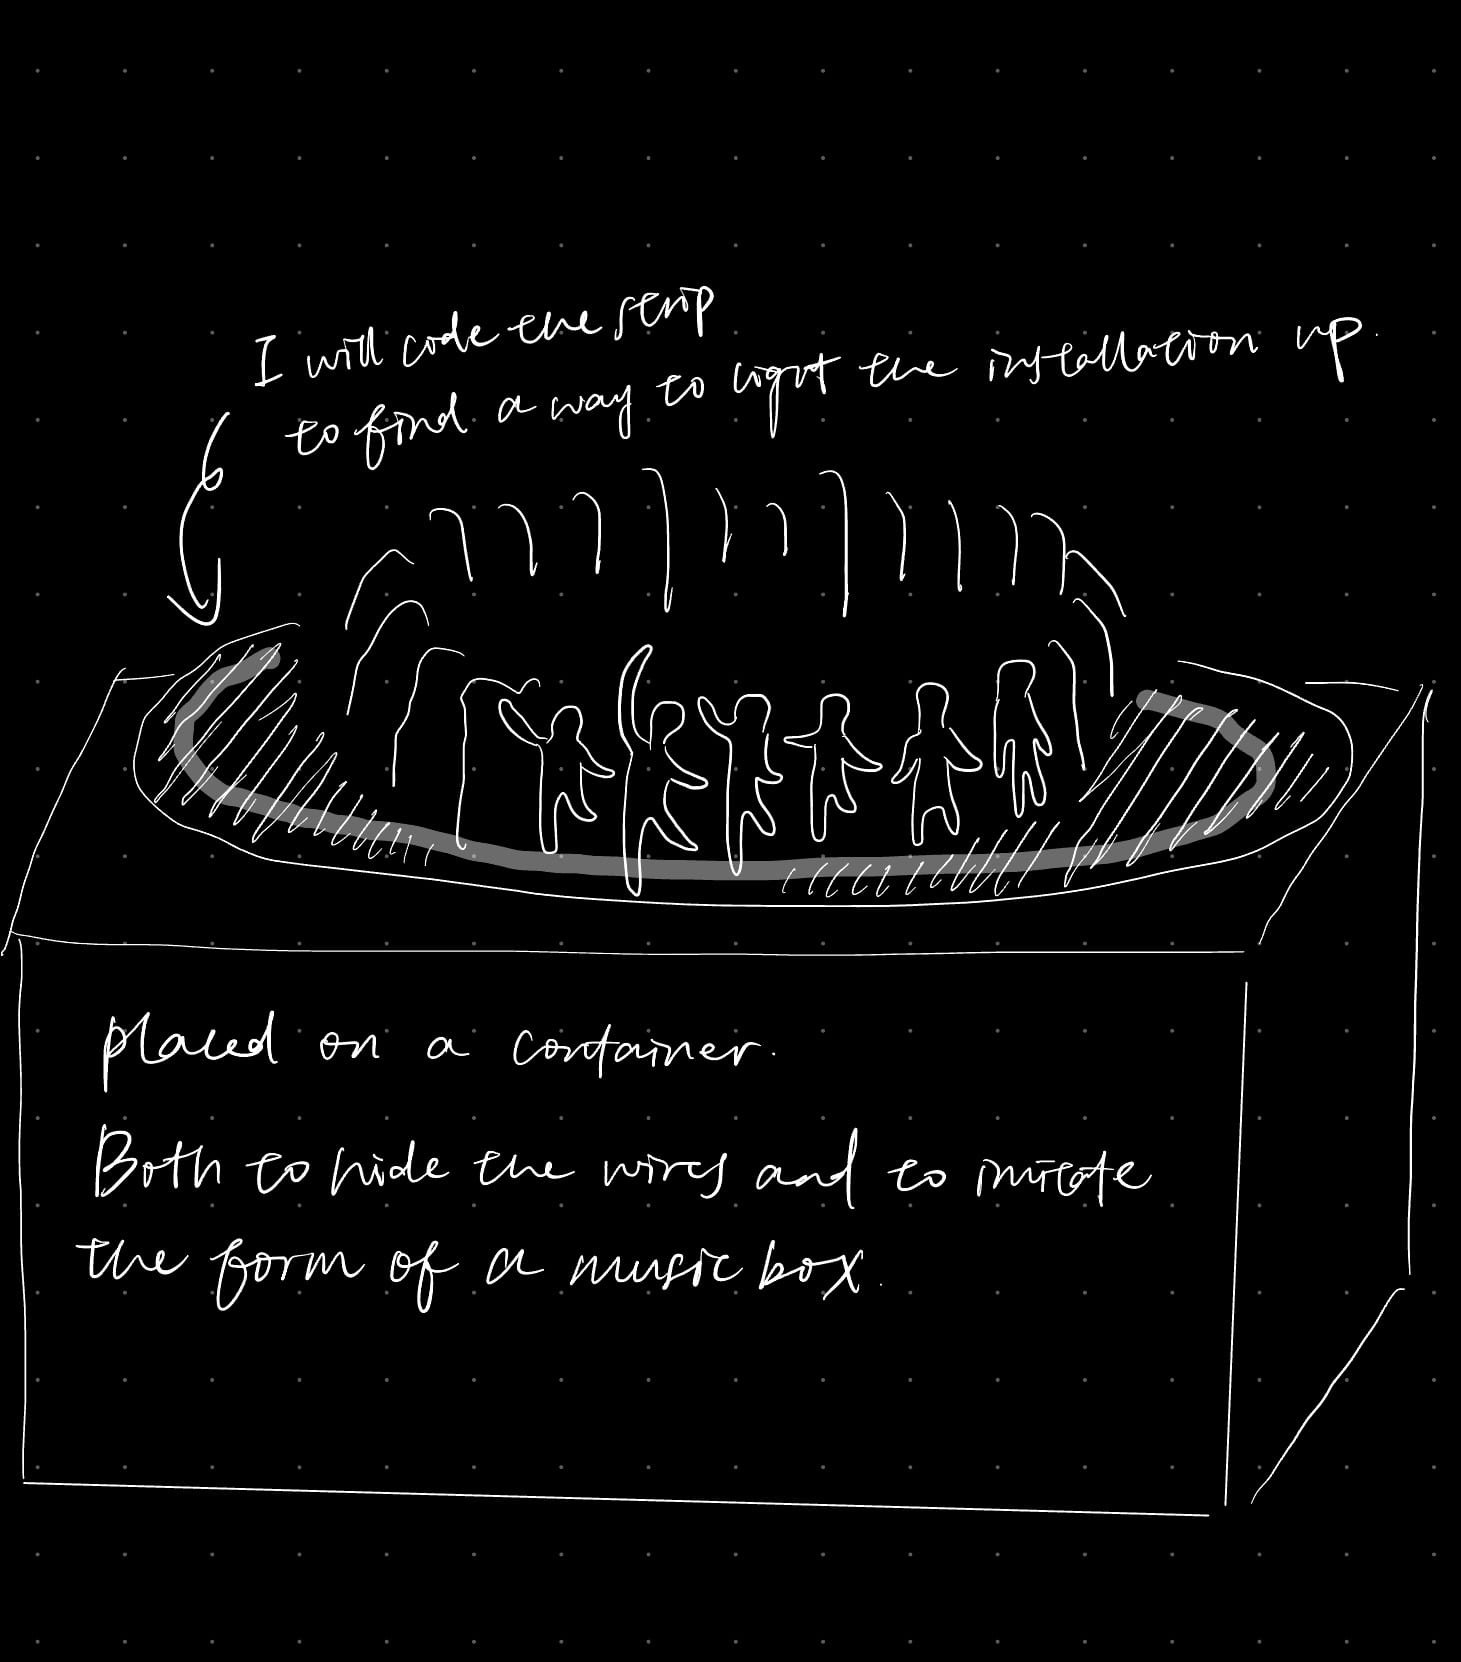
This course, Kinetic Light, aims at incorporating machine art with light art and creating an intriguing effect of kinetic light. I would like to implement this in my project, so I planned to let the motor and the LED strip to interact with each other somehow and create an atmosphere where the audience can clearly sense the existence of both light and movements. Hence, instead of making the project sculpture-like, I came up with the idea of making its appearance similar to a music box. The toy which most of us have been familiar with since our childhood is usually an excellent example of motion, for as soon as we rotate its spring it will start to turn clockwise. By making it like a music box, the audience will be suggested at first sight that these dancing figures are bound to turn. The light can be incorporated nicely as well, since the figures need to be shed light on to look appealing to the audience. Therefore, from the step of designing the shape of Endless Dancers, I have started to implement the practice of kinetic and light art in my project.
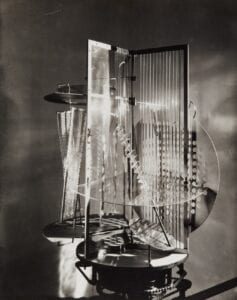
As I have mentioned above, I was inspired by artist Moholy-Nagy. His works demonstrate a strong connection to technology and embrace the aesthetic possibilities of machines. One of his famous works “Licht-Raum-Modulator” (Light-Space Modulator, 1930) is an example of a kinetic sculpture. It consists of rotating and reflecting elements that manipulate light and shadow, transforming the surrounding space. Through this play with kinetic functions, Moholy-Nagy expands the expressive potential of sculpture and blurs the boundaries between art and technology. I was amazed by his choice of how the light and motion interact with each other, and this became part of my inspiration when I was brainstorming for my own project.
III. Development & Technical Implementation
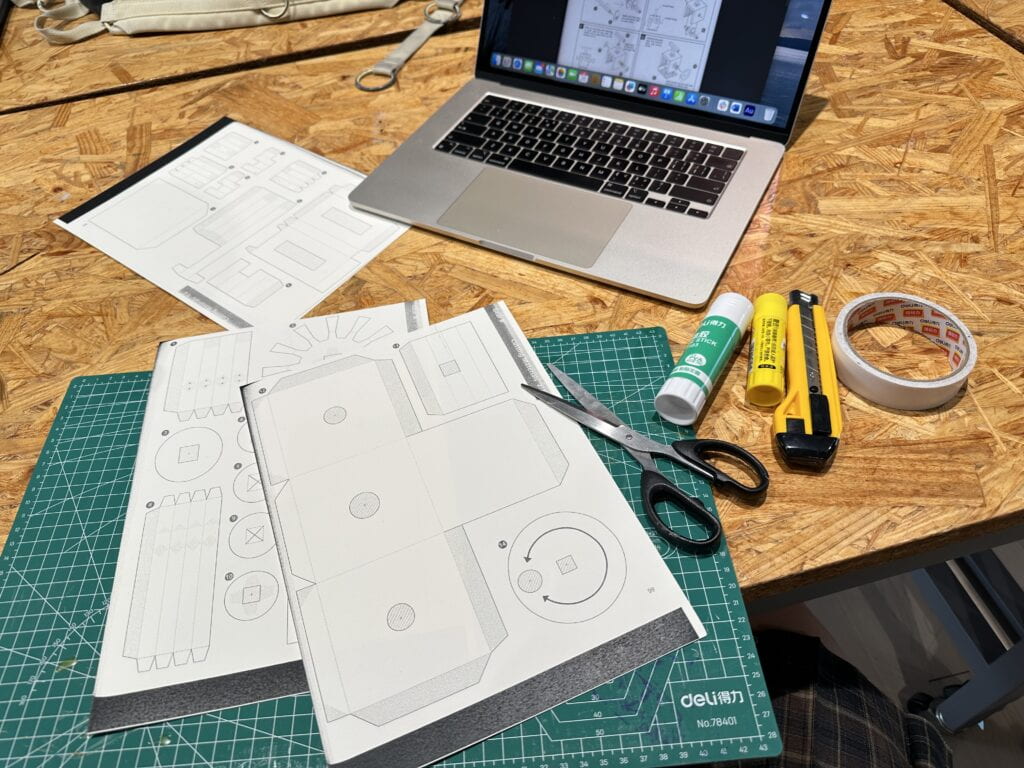
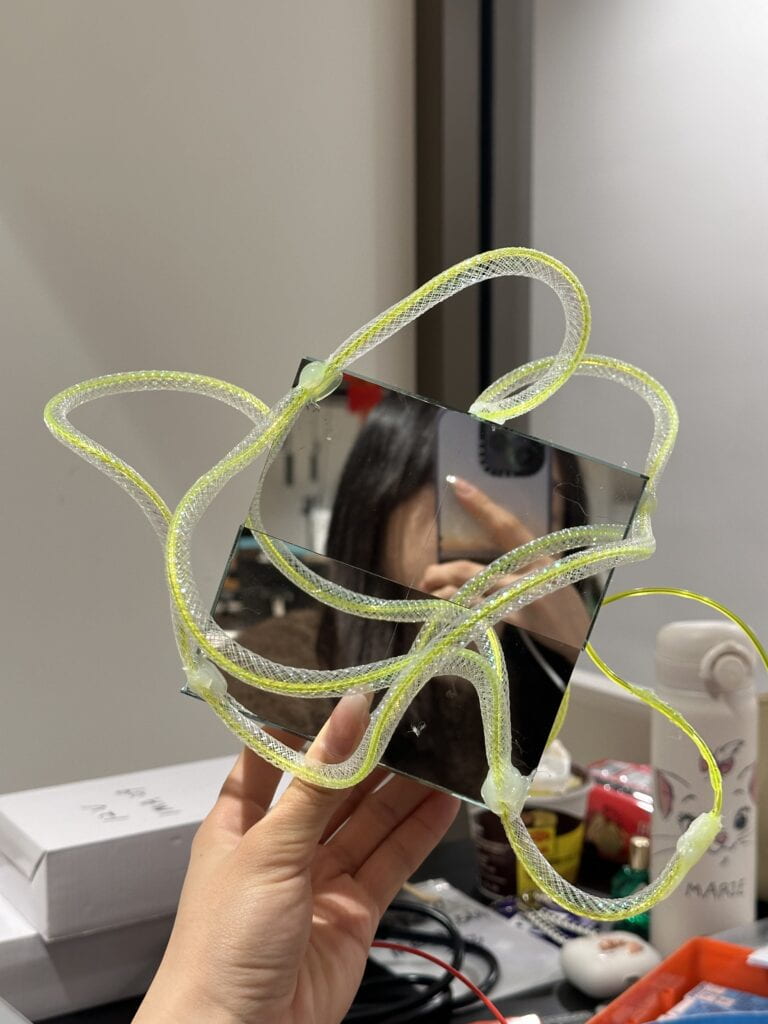
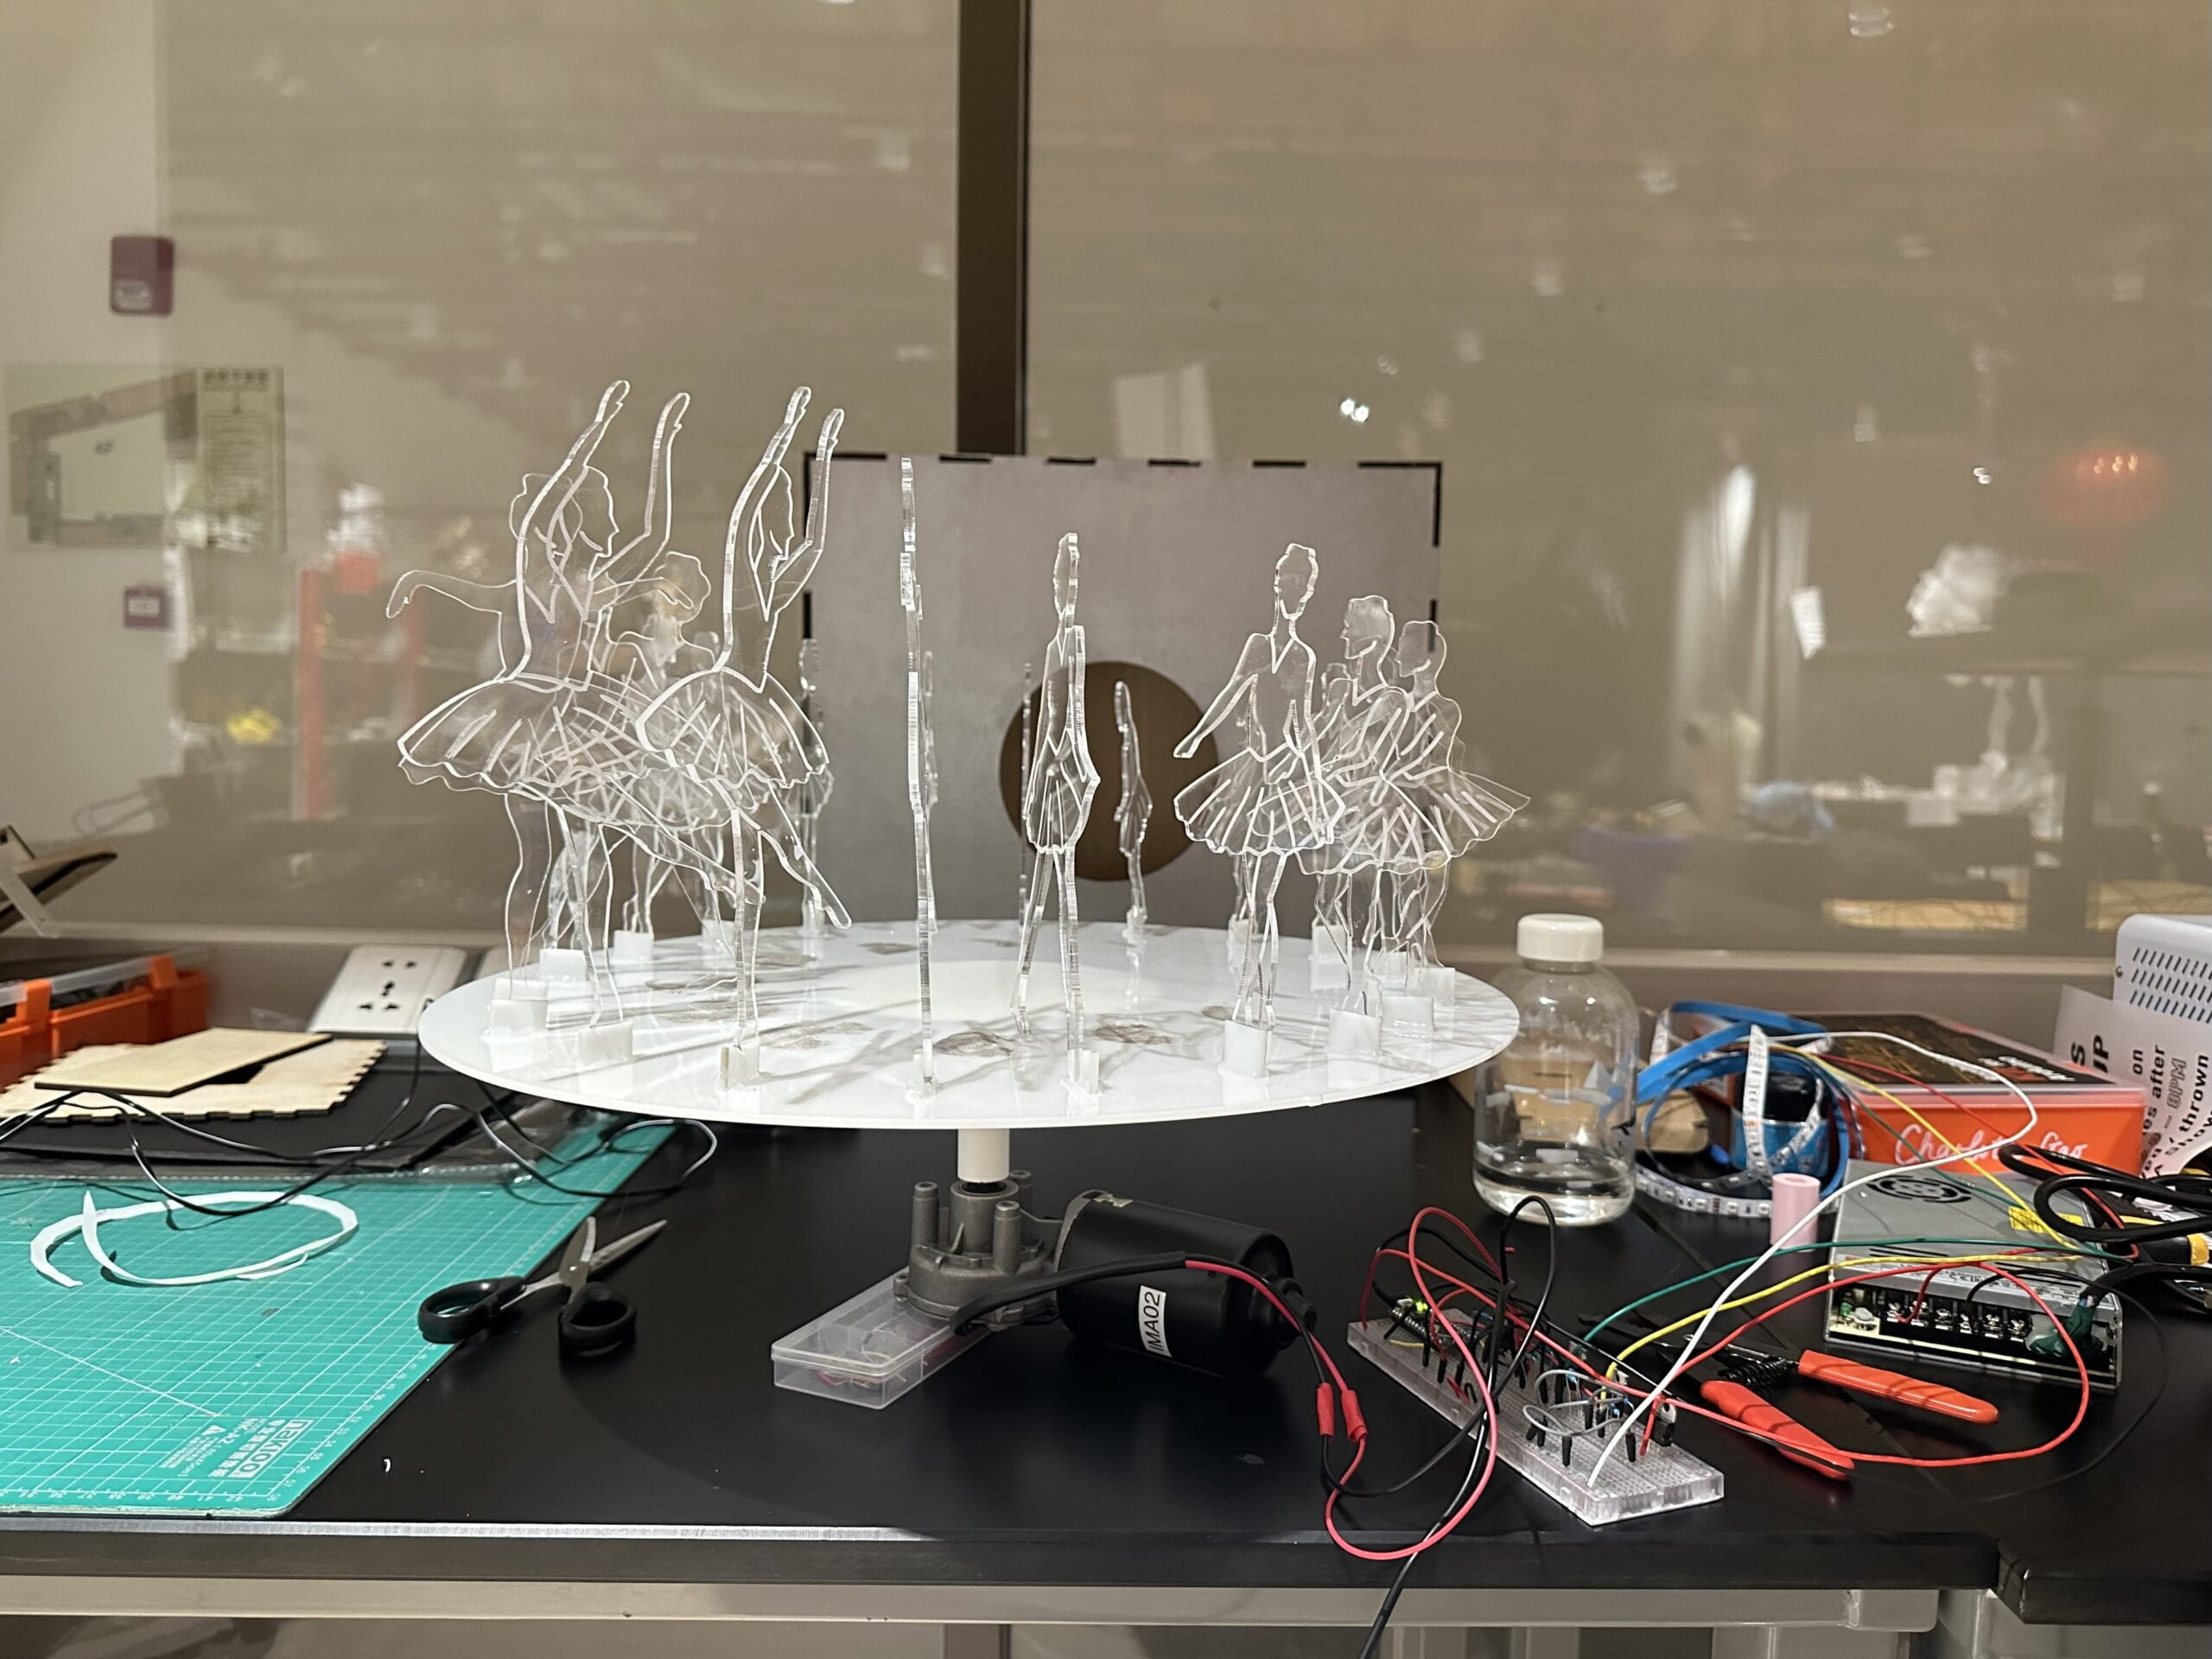
As I have noticed above, after doing relevant research on the history of kinetic and light art, I have decided to build a box slightly larger than the upper part of my project to both hide the wires and imitating the look of a music box. Besides, the research process made me start to reflect on the interaction between light and motion. I started to ask myself how I can make the pattern of the LED strip in line with the motion of the DC motor that I use, and the result can be seen in both my Arduino code and the video. In the initial phase of my making process, I have made a plan for my work, and in general I have implemented my plan. As I consider the dancing figures the key of my project, I started by drawing the figures on my iPad and creating ai files of the images on my Adobe Illustrator so that I can use laser cut to cut them out. As I have not learned Ballet myself before, I searched on YouTube and found the video of a female Ballet dancer for my source of inspiration (https://www.youtube.com/watch?v=zV1qLYukTH8&t=13s). I picked a sequence of about 30 seconds in this video, paused it for multiple times, and depicted the elegant figure of this dancer on my iPad using simple lines. After I have finished 10 different drawings, I made a screenshot of each of them and uploaded them on Illustrator so that I can use the pen tool on Illustrator and create the file for laser cut. This process took me several days in total and is also the place where I have spent most of my effort, but the result was quite worthwhile. Below are the pictures I took during this process:
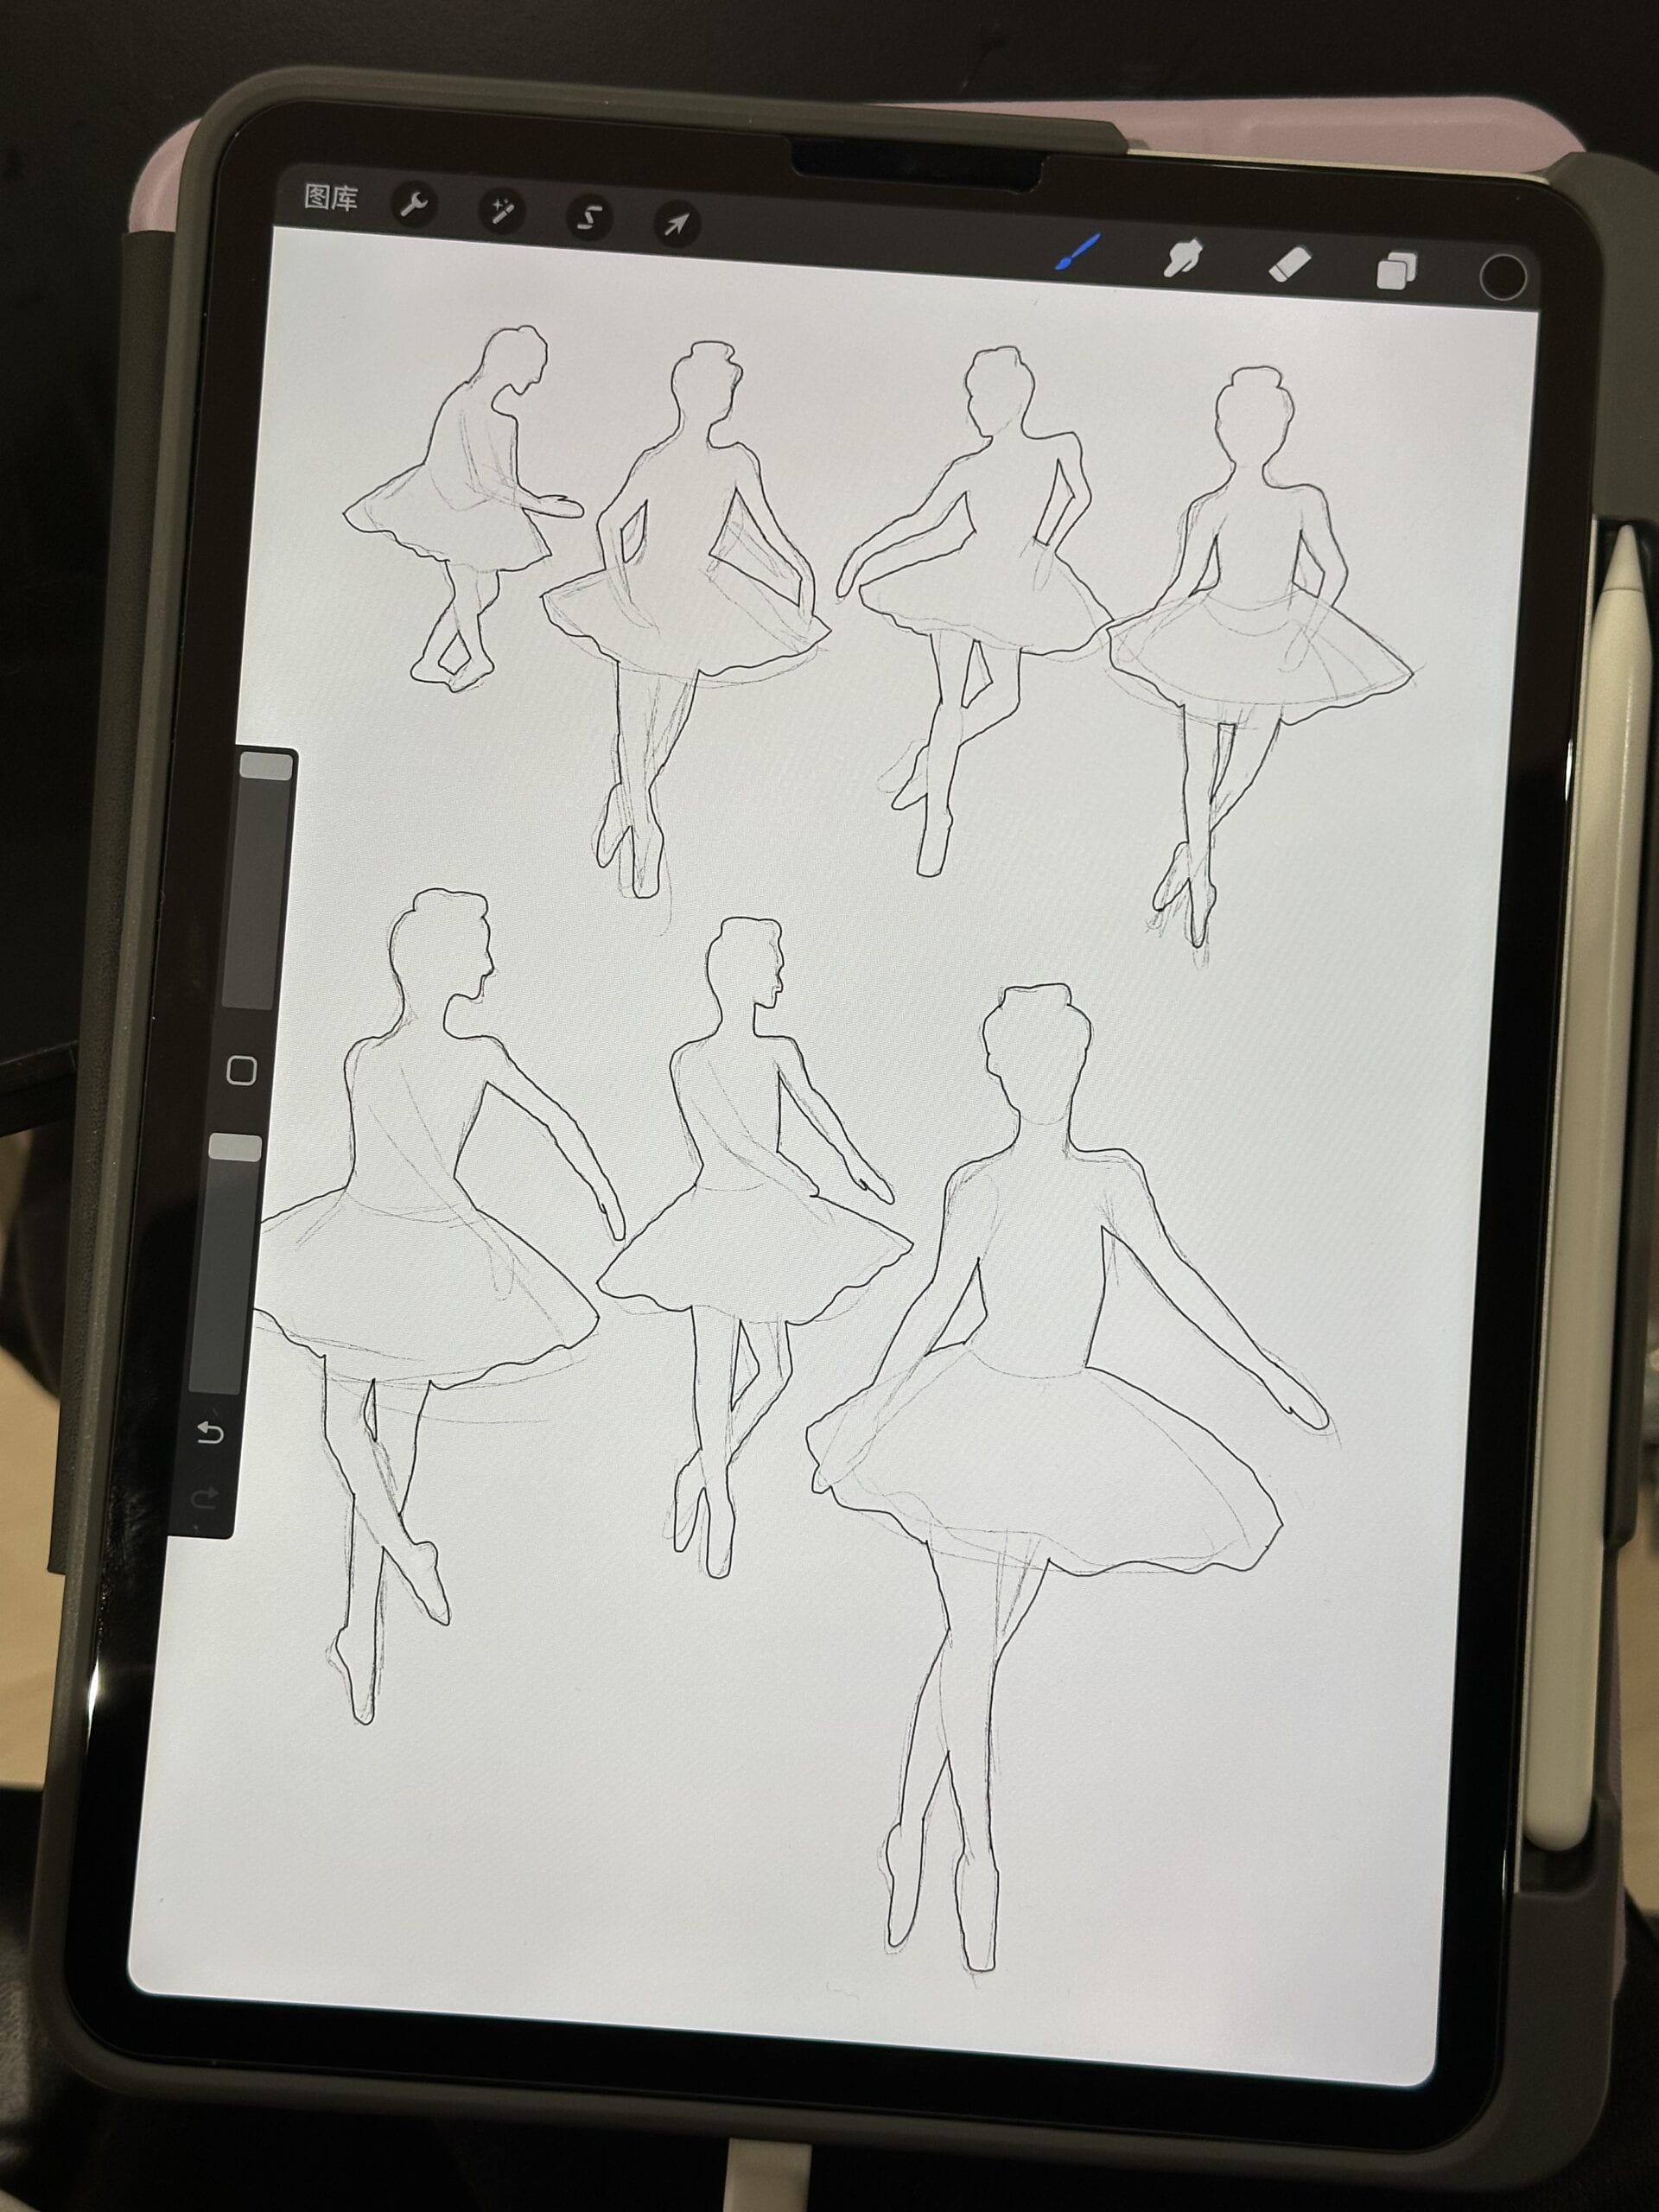


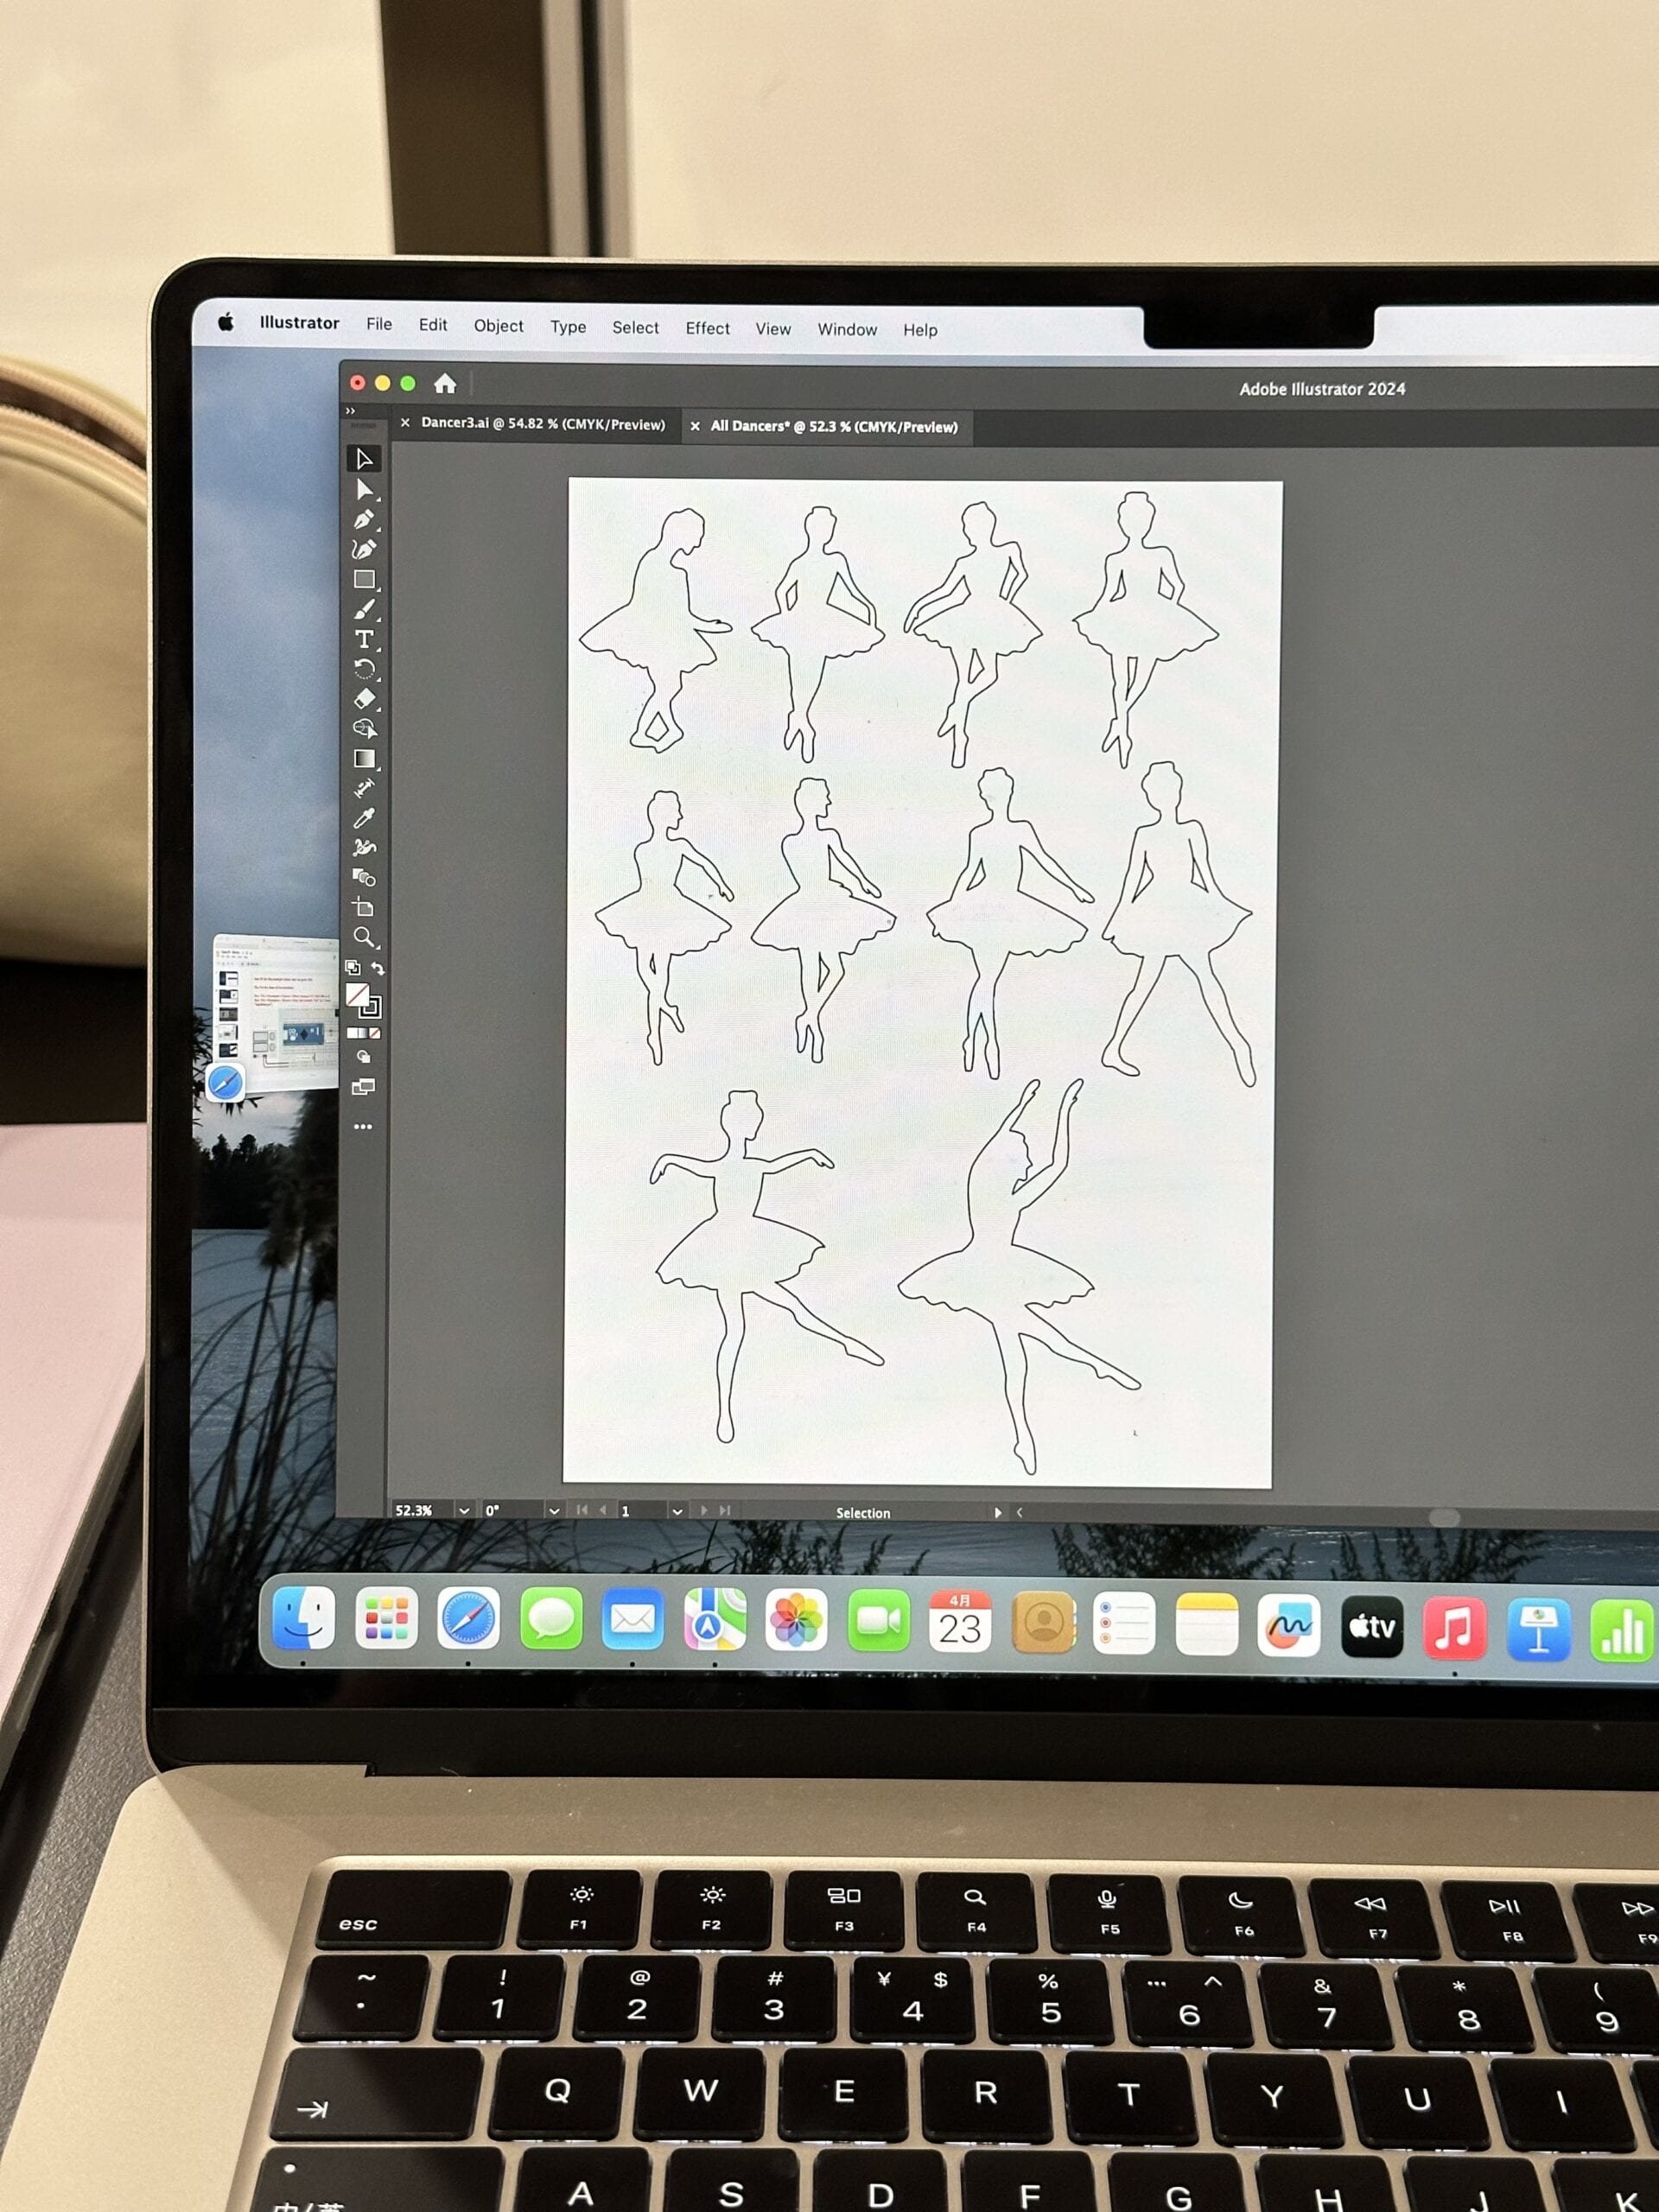
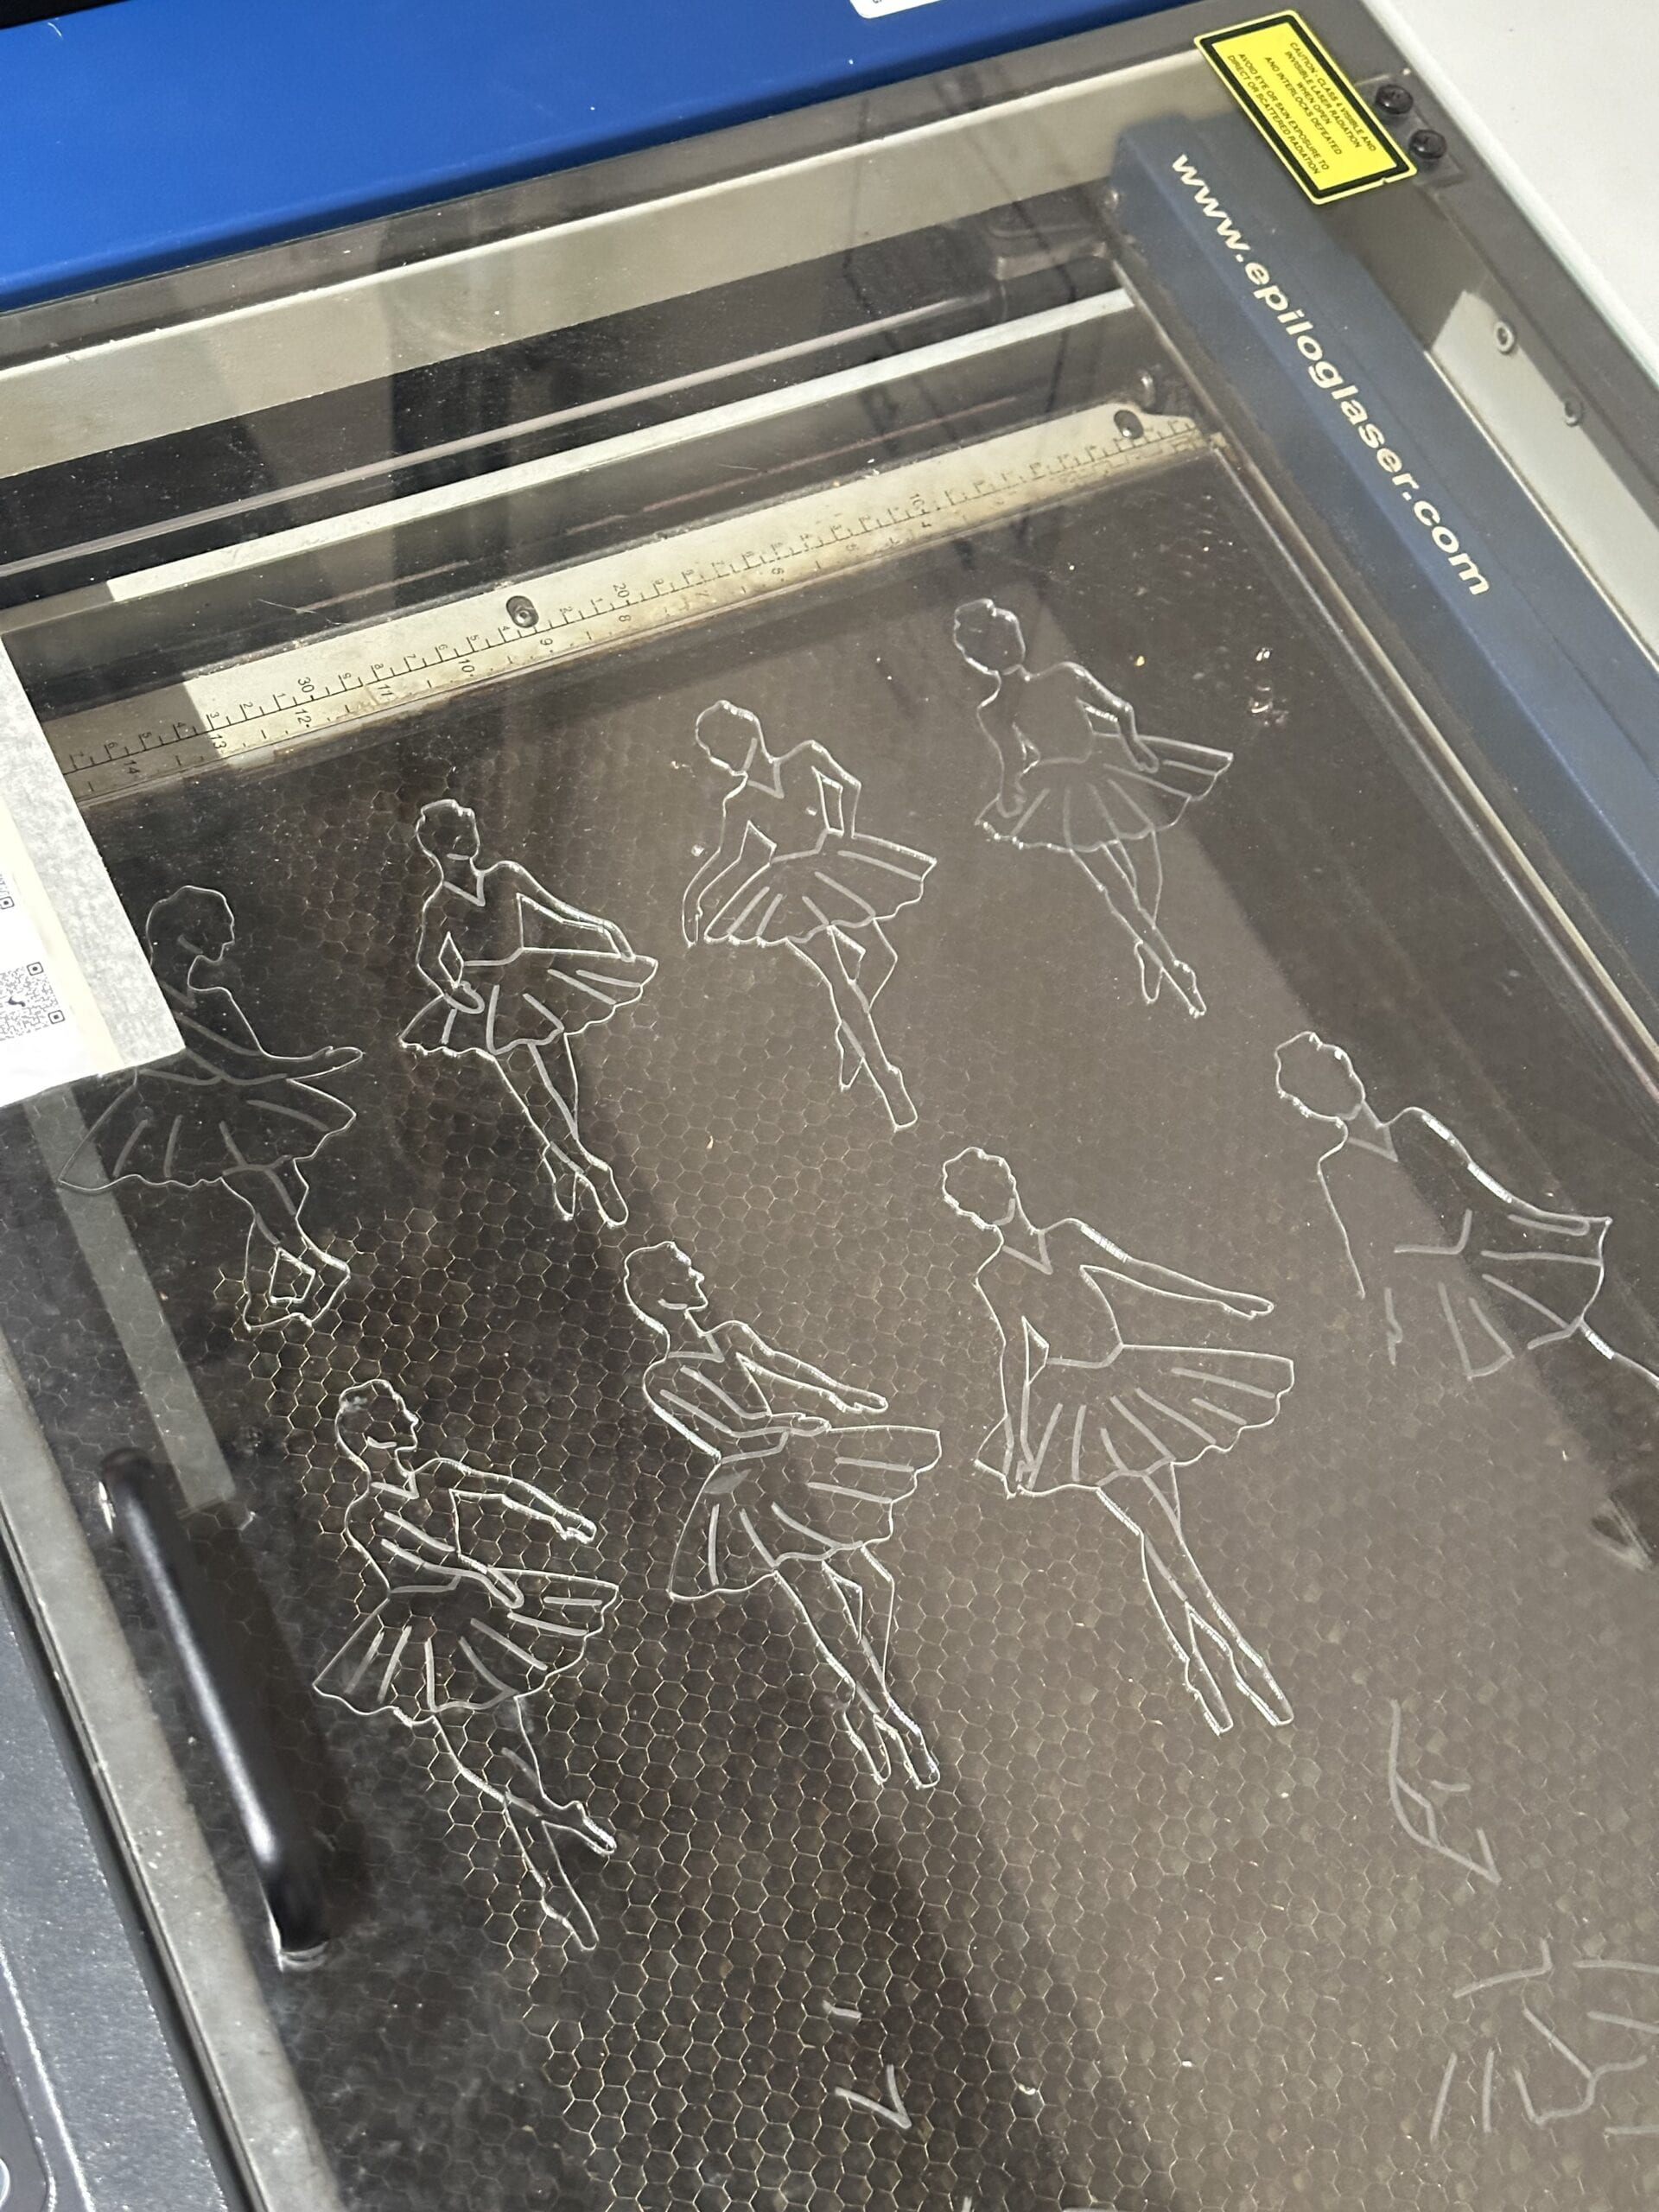
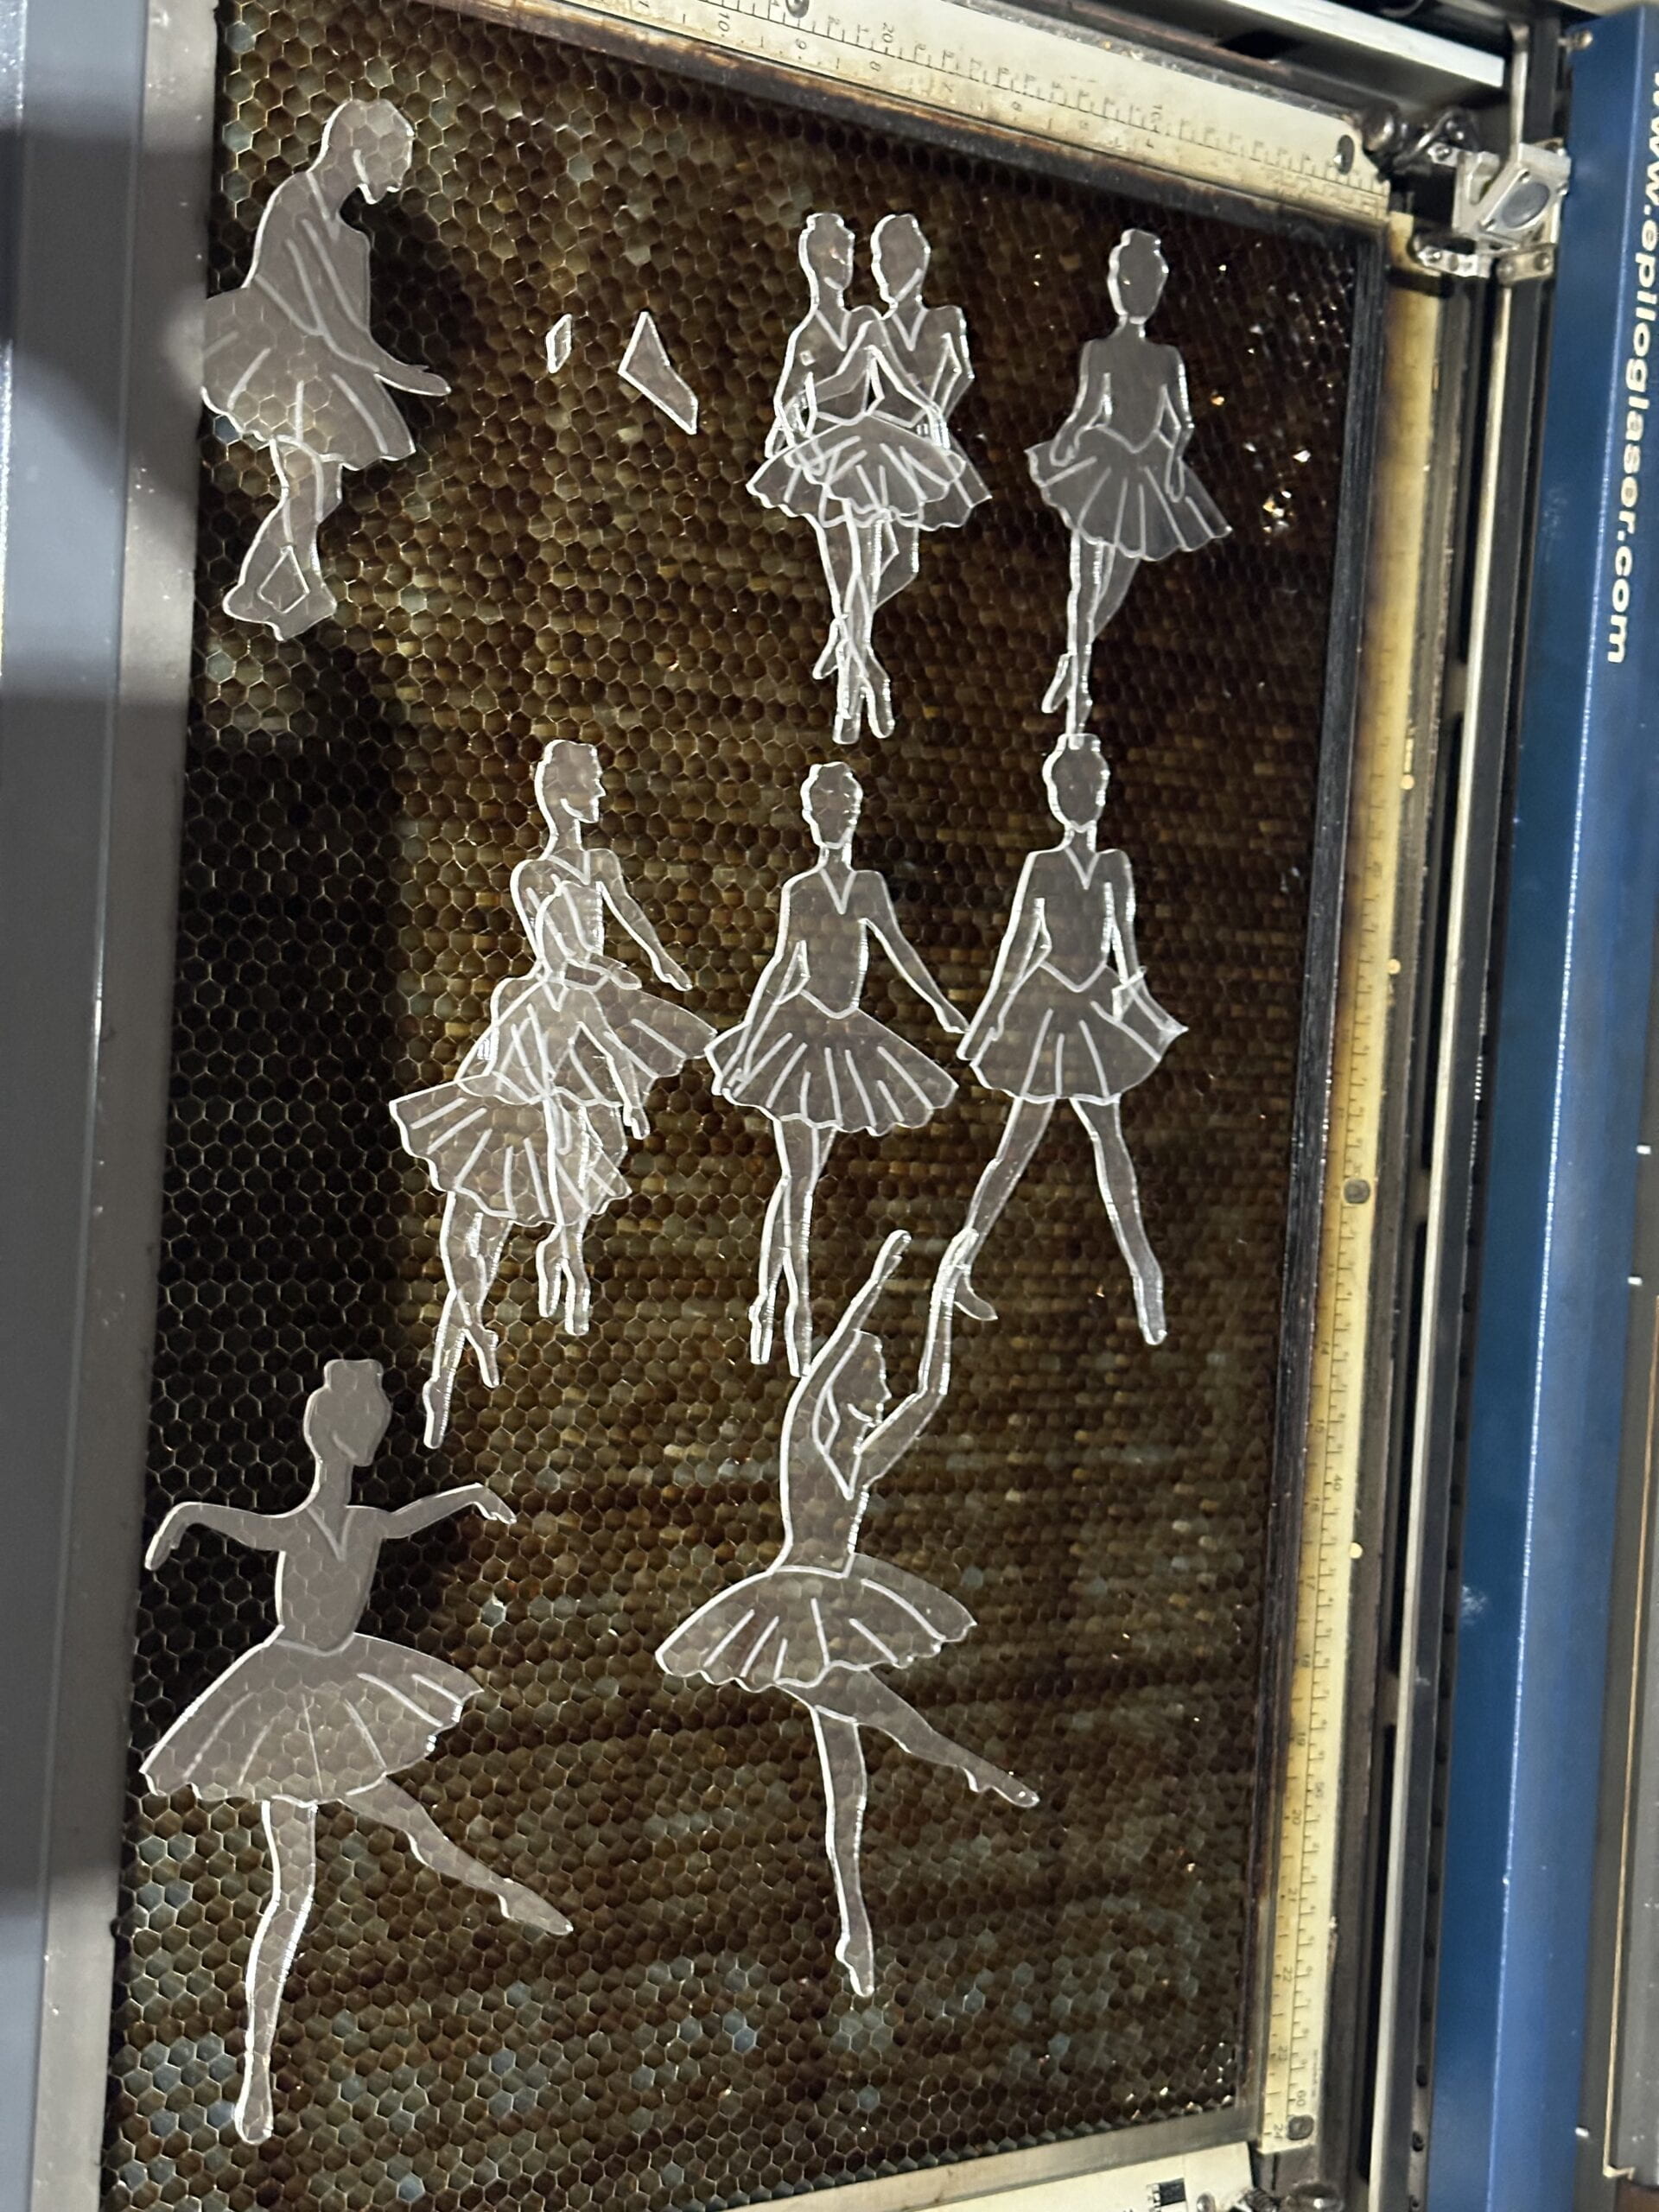
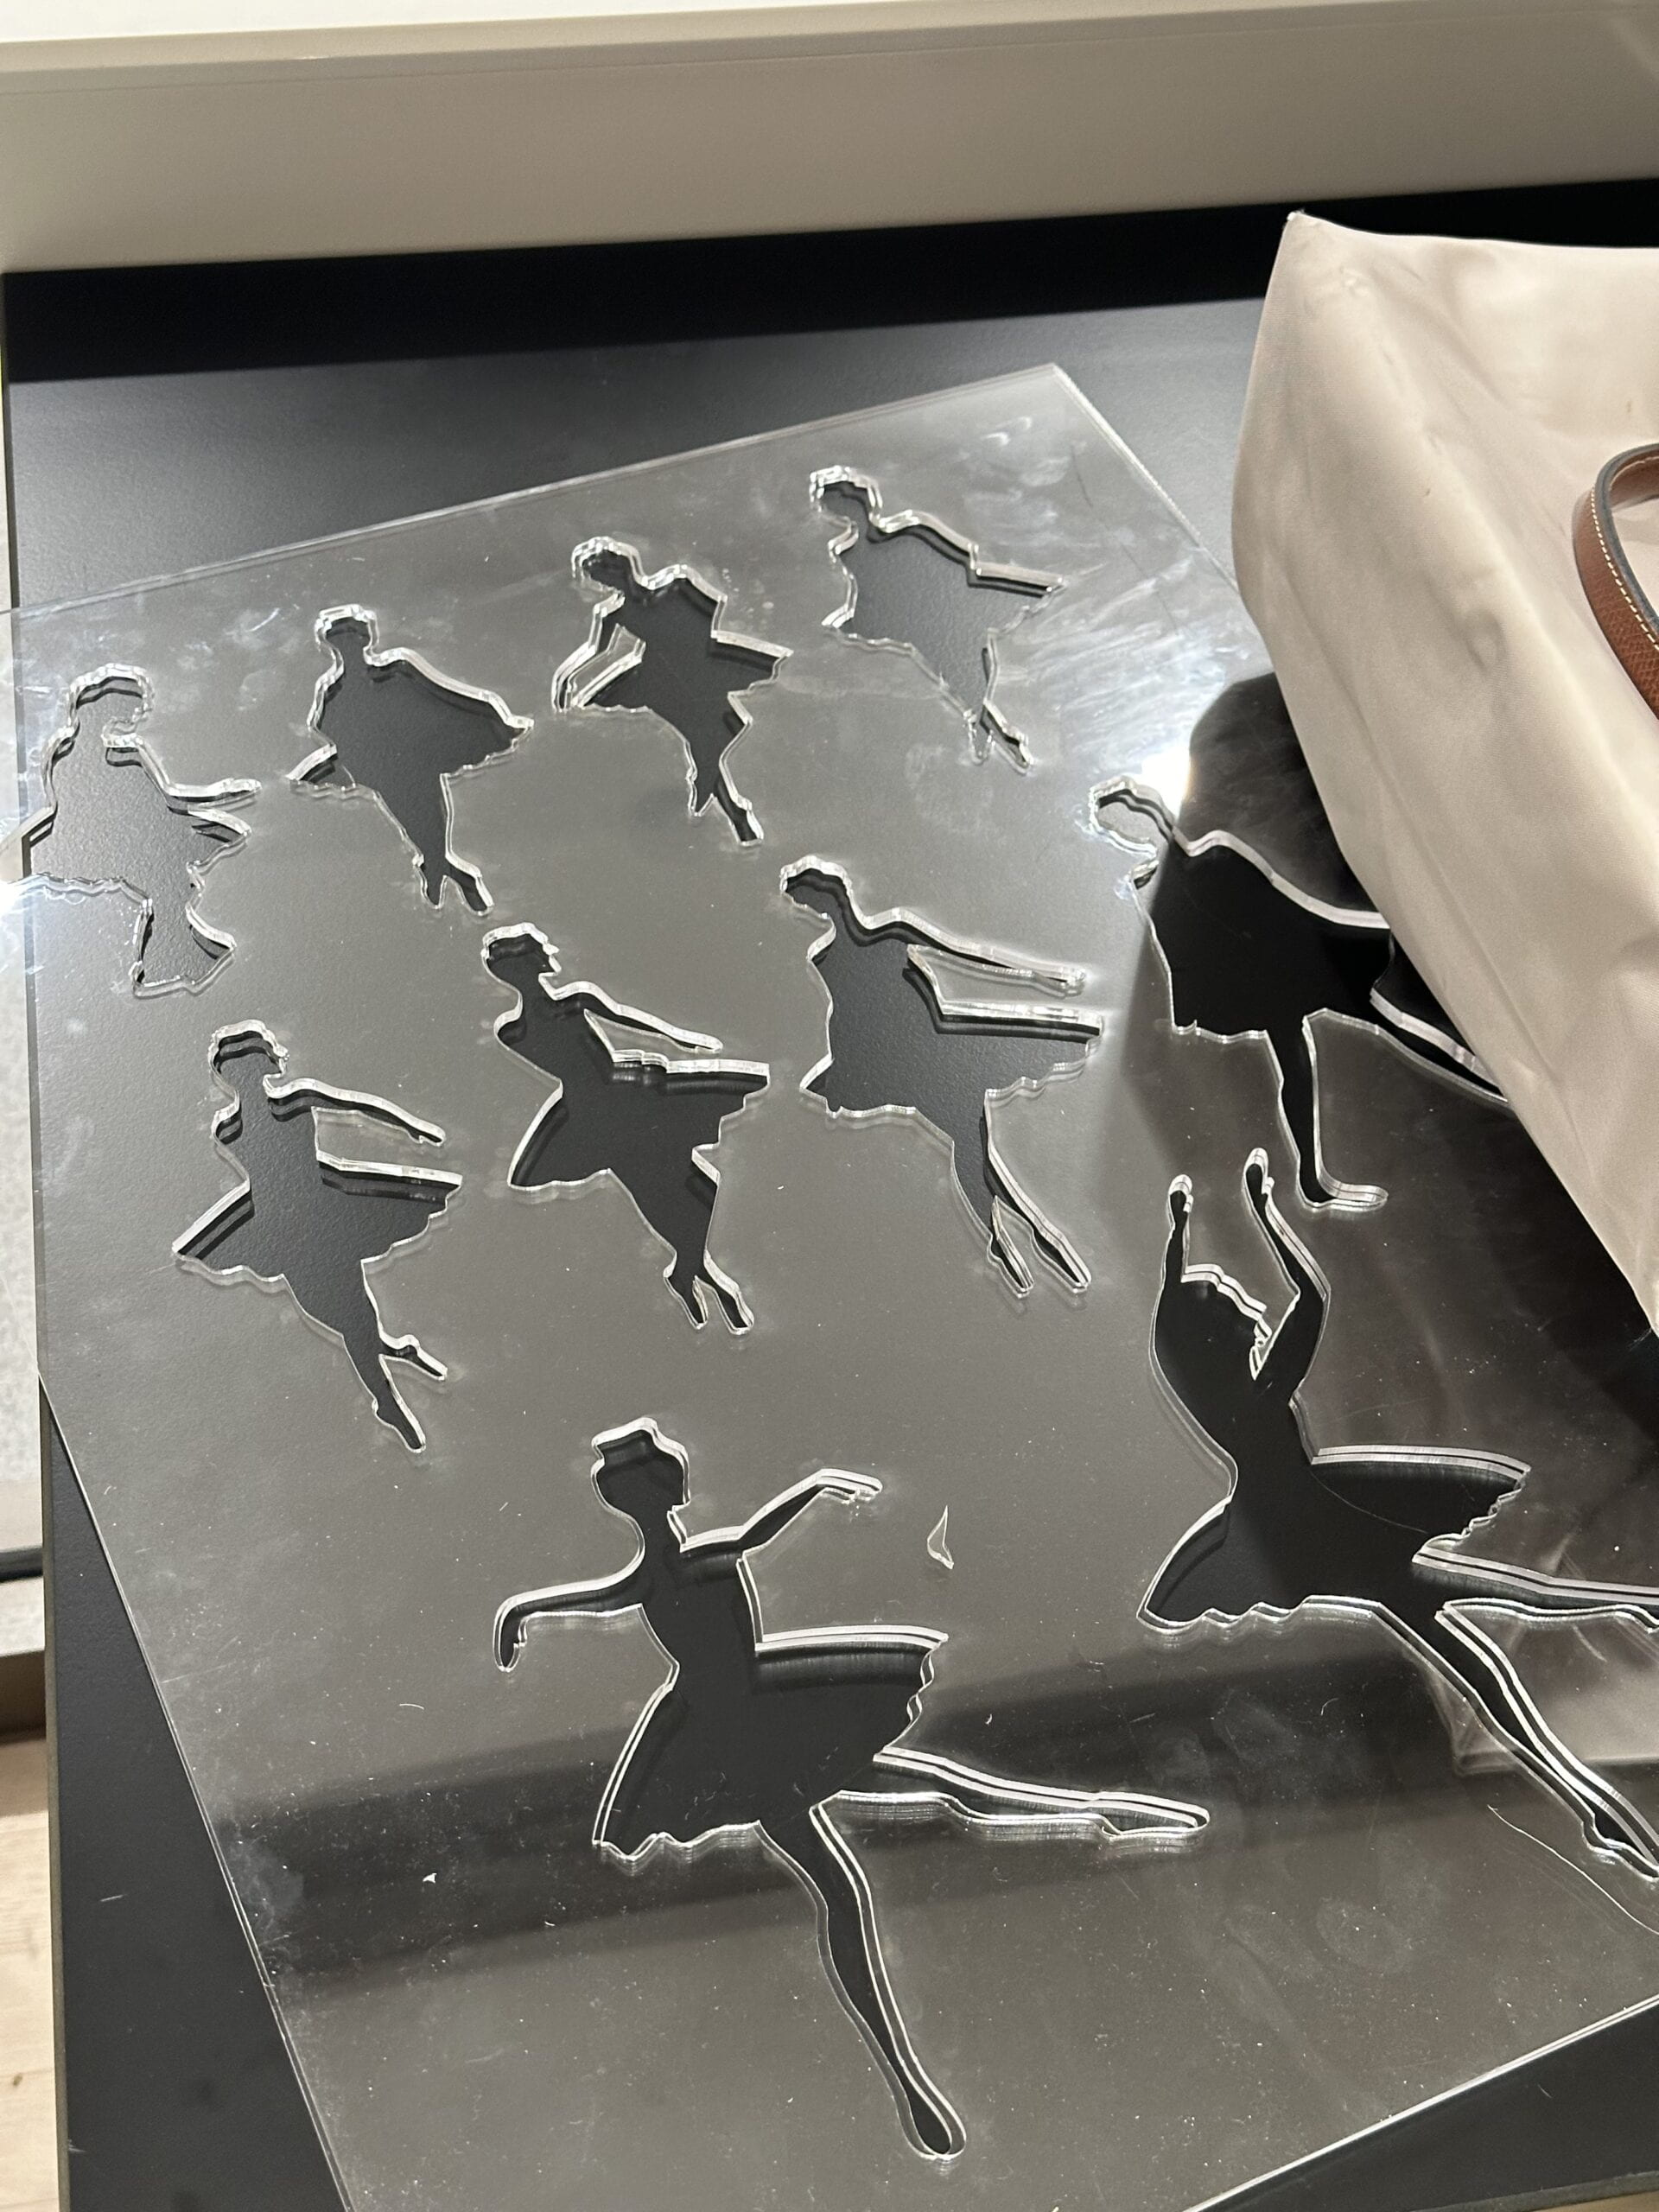
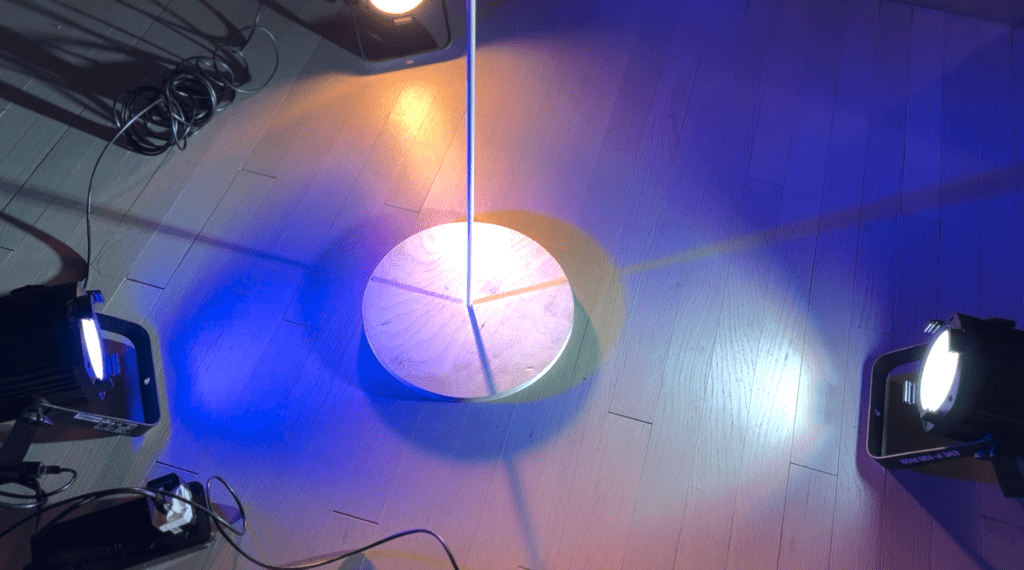
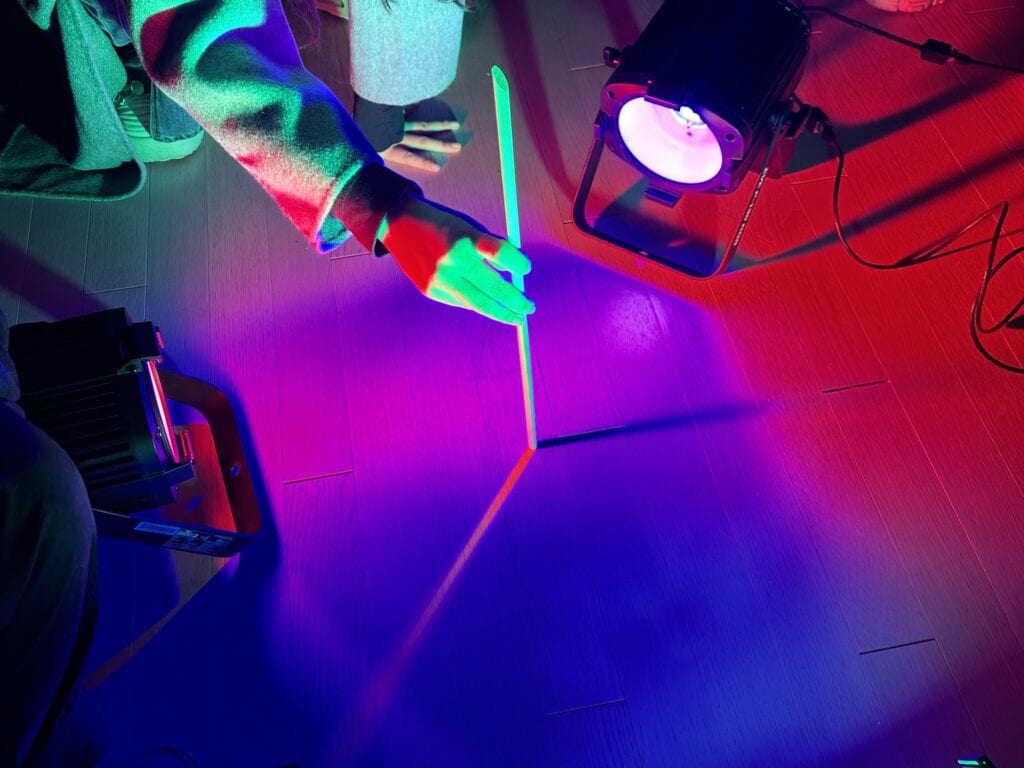
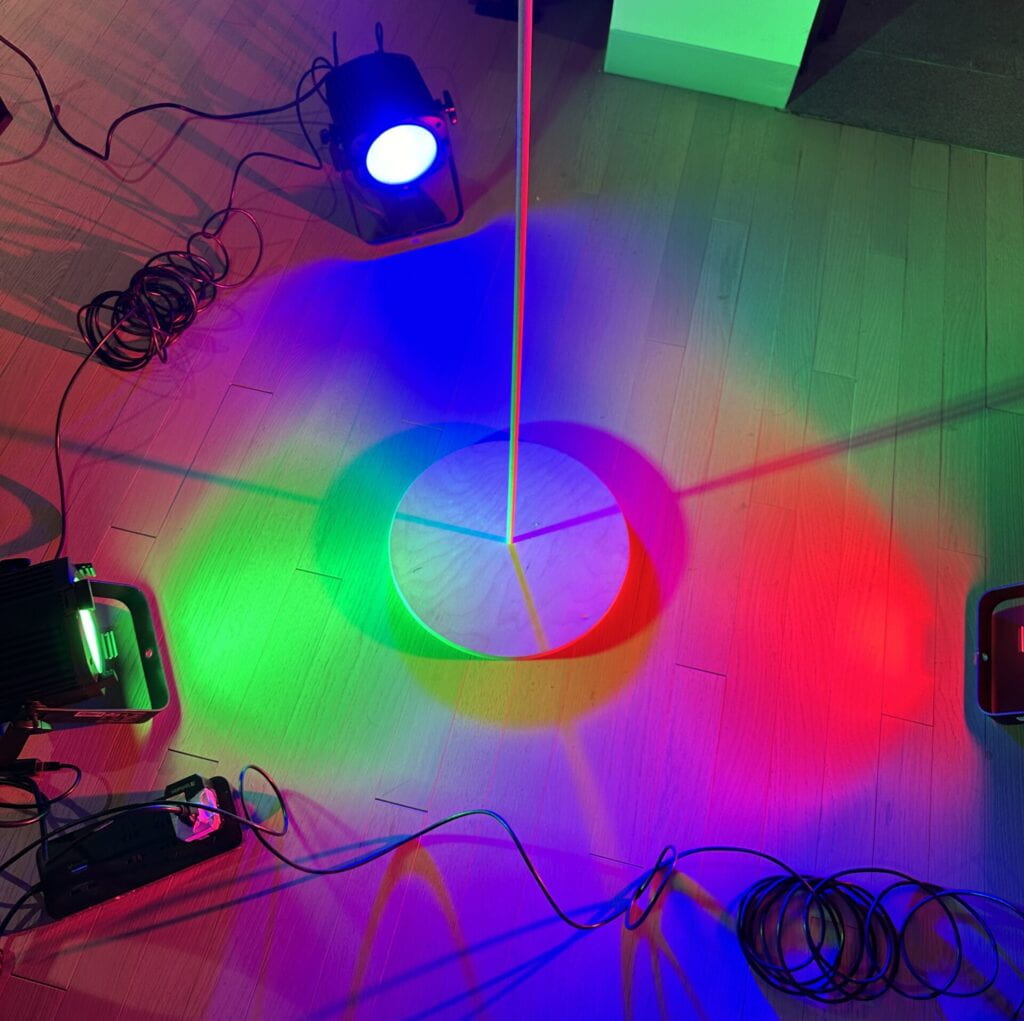
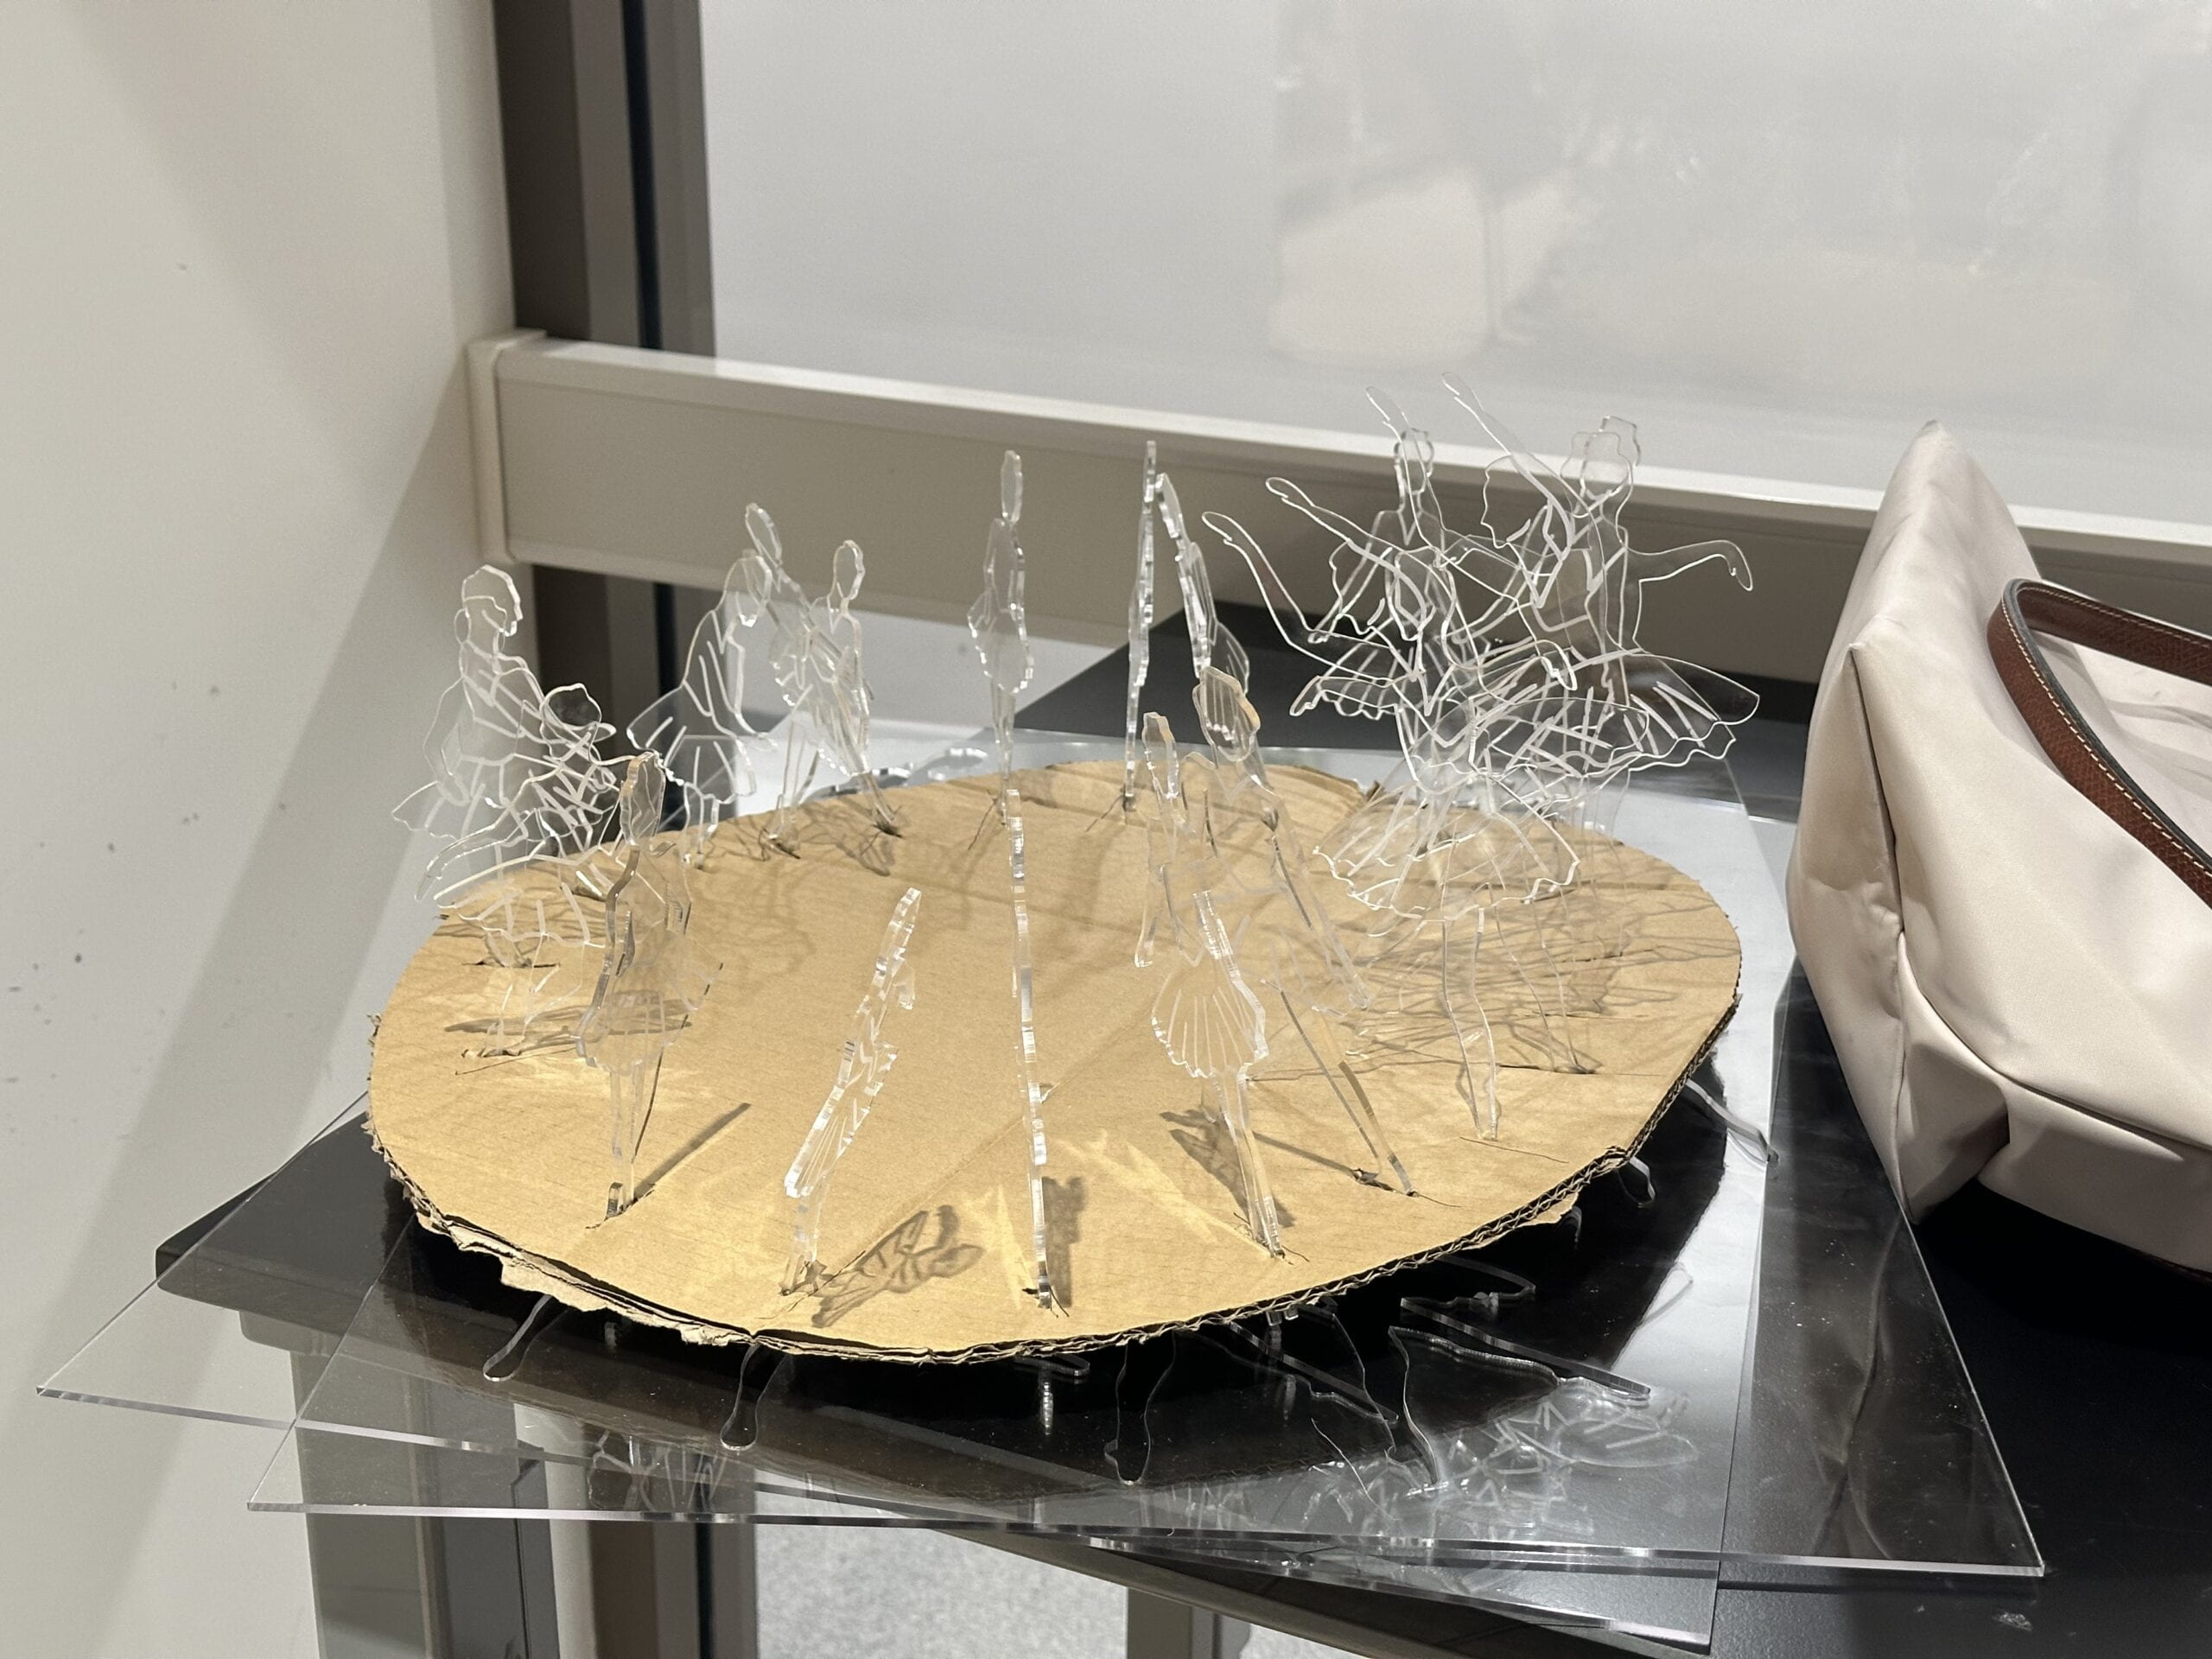
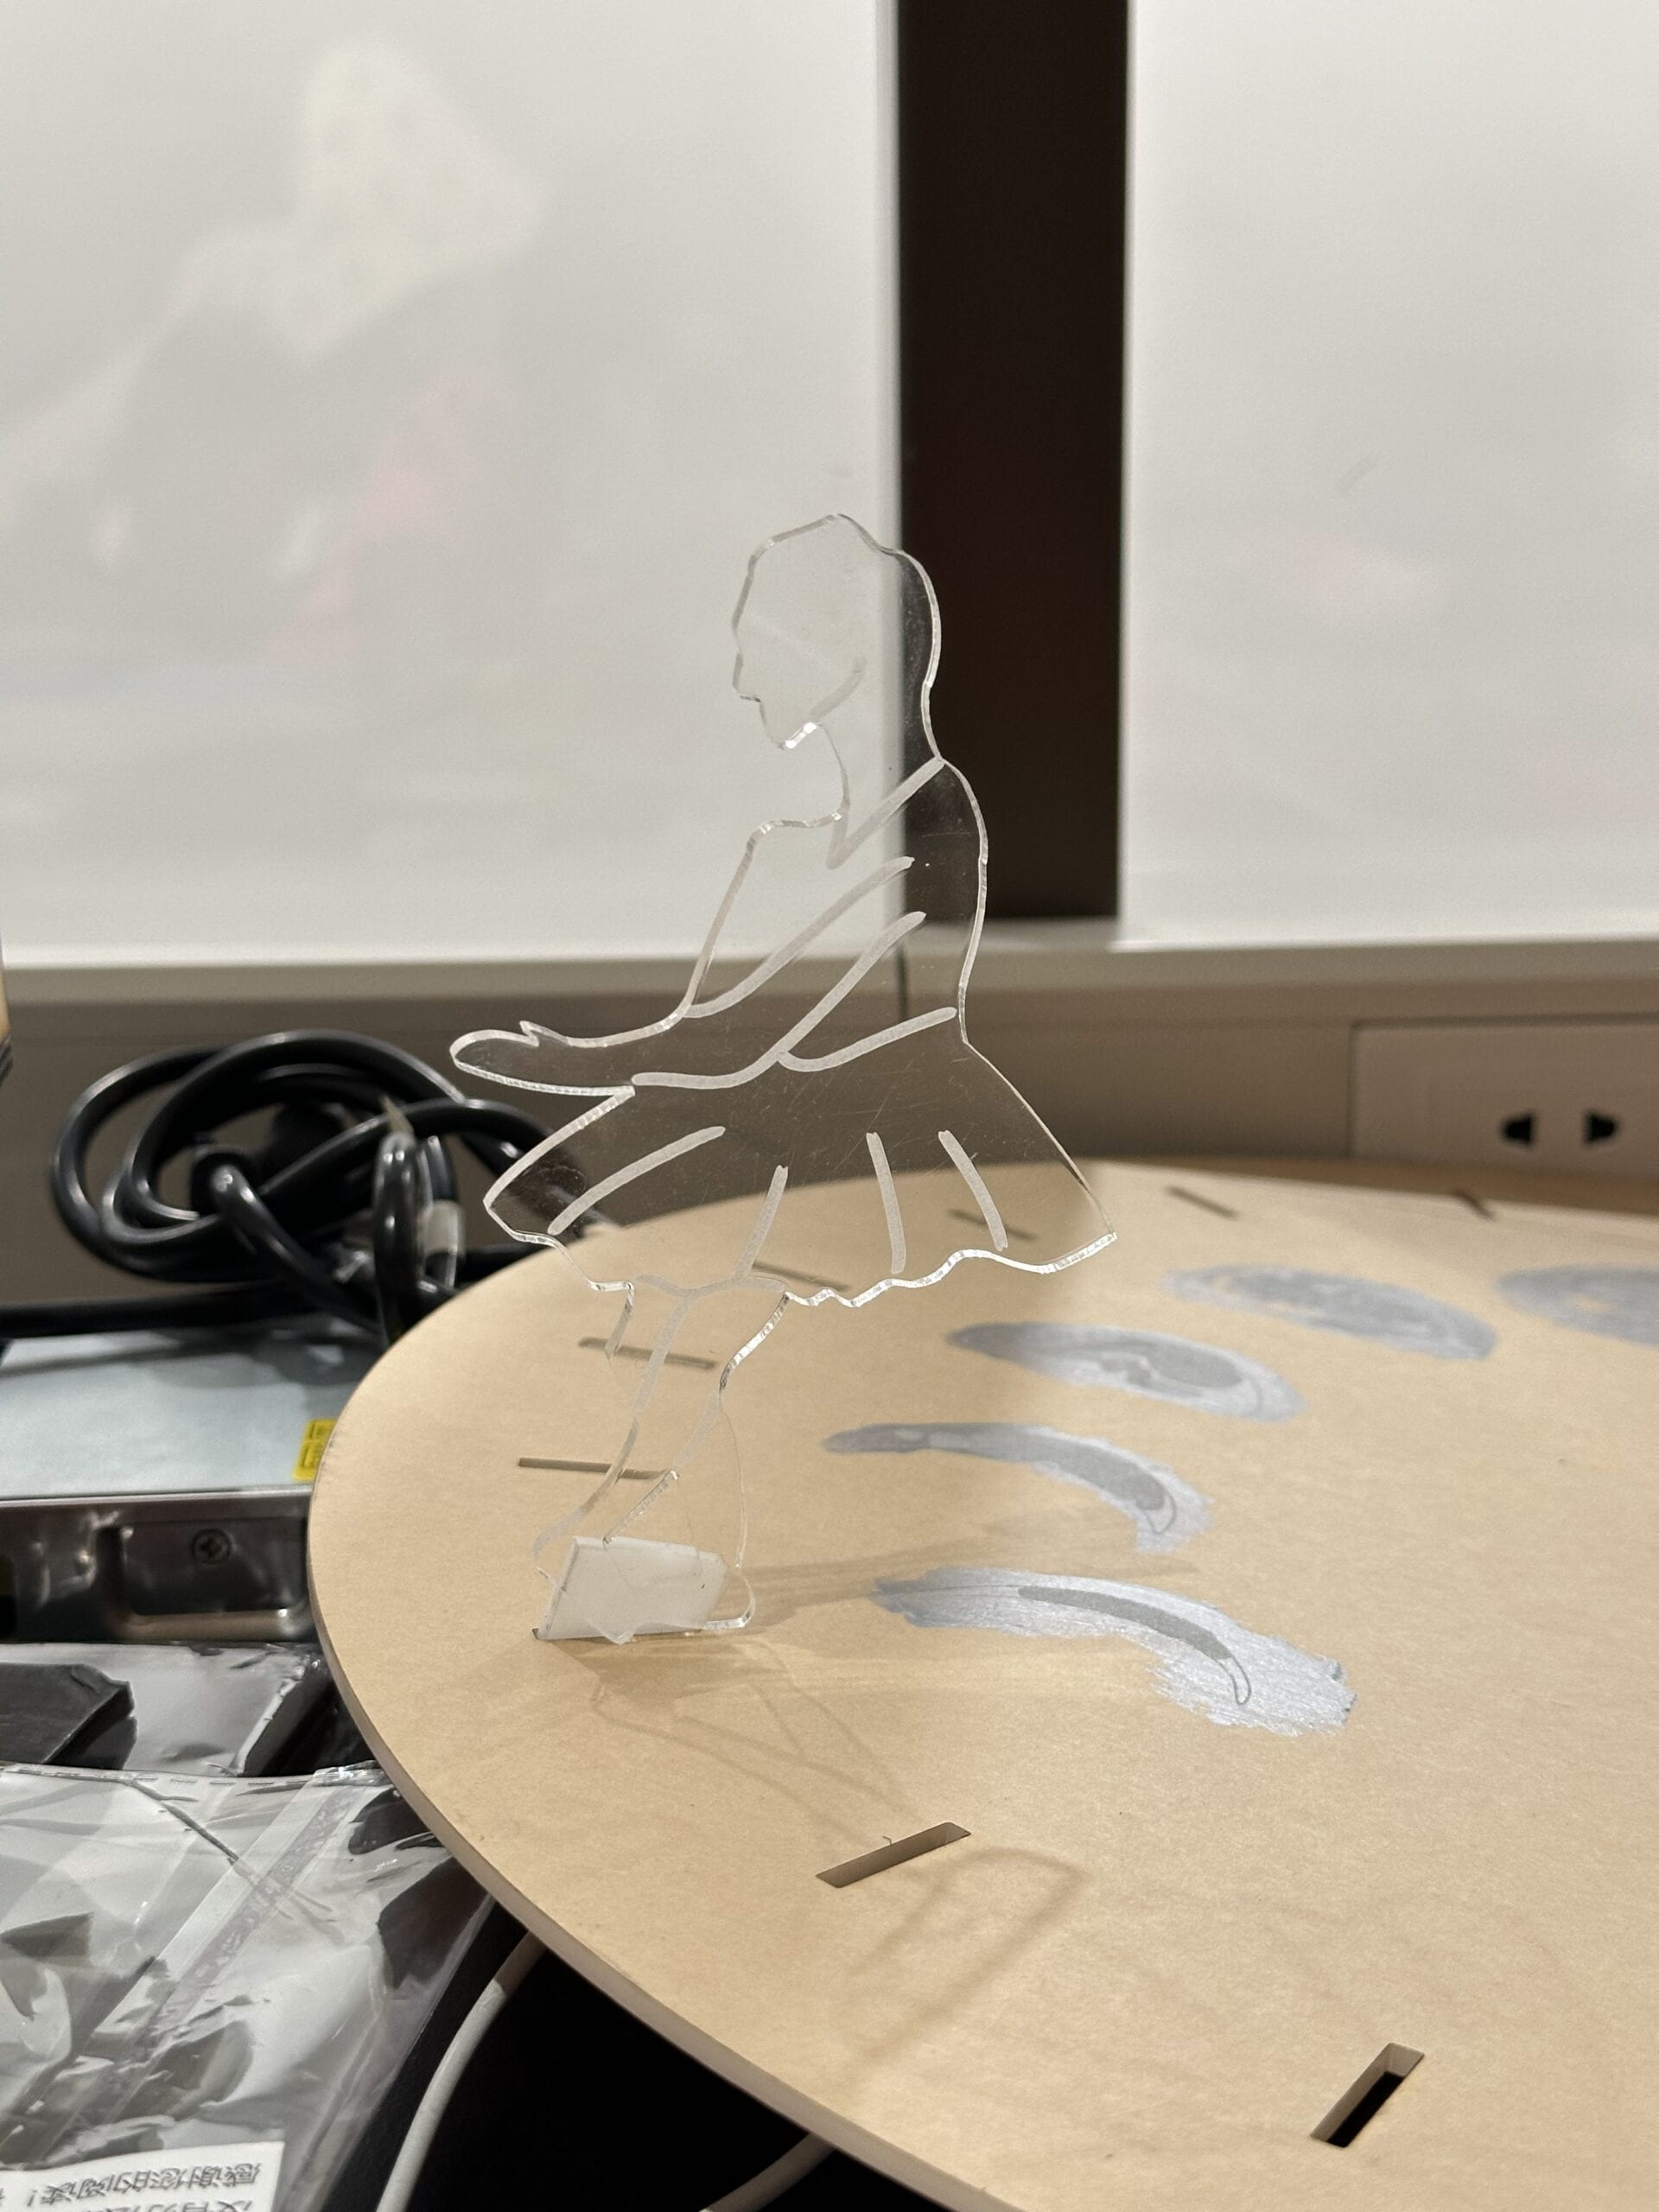
After finishing this process, since I was unsure how the dancing figures would look like on a round pedestal, and also thanks to my professor who suggested me to make a prototype for my project ahead of time, I cut a simple round pedestal for the figures using cardboard and installed all of them onto the pedestal. Much to my surprise, they look pretty good on the cardboard prototype and the whole project worked surprisingly well when it started to turn (I put it on a turning chair in the IMA studio). I was very excited and took a video of it turning under the lights. The most intriguing part is actually beyond my expectation and is the shadow of the acrylic figures on the cardboard. I didn’t expect that the engravings on the acrylic boards can be clearly shown in the shadows, and in order to keep them, I also changed my choice and decorations of the pedestal of my project.
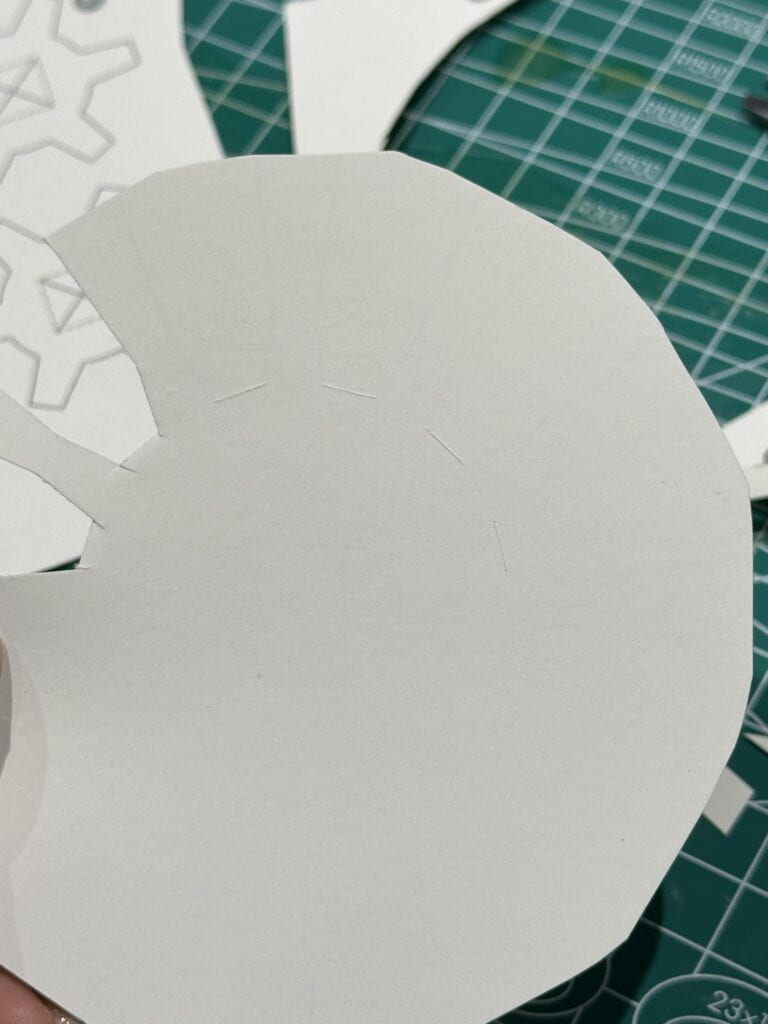
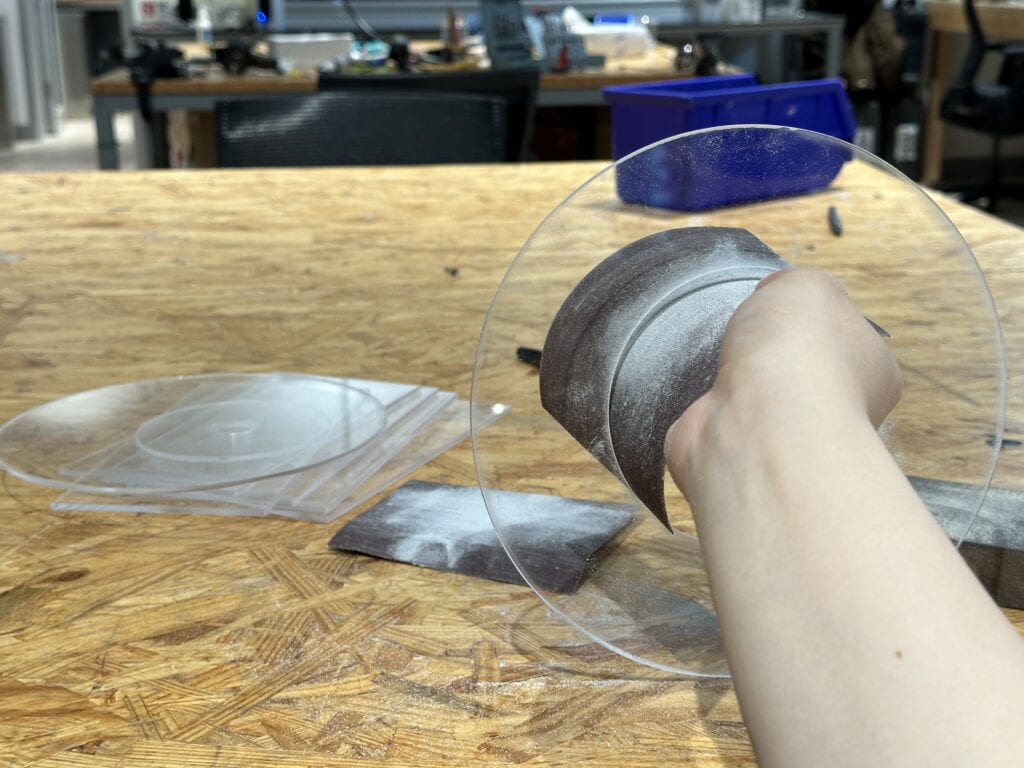
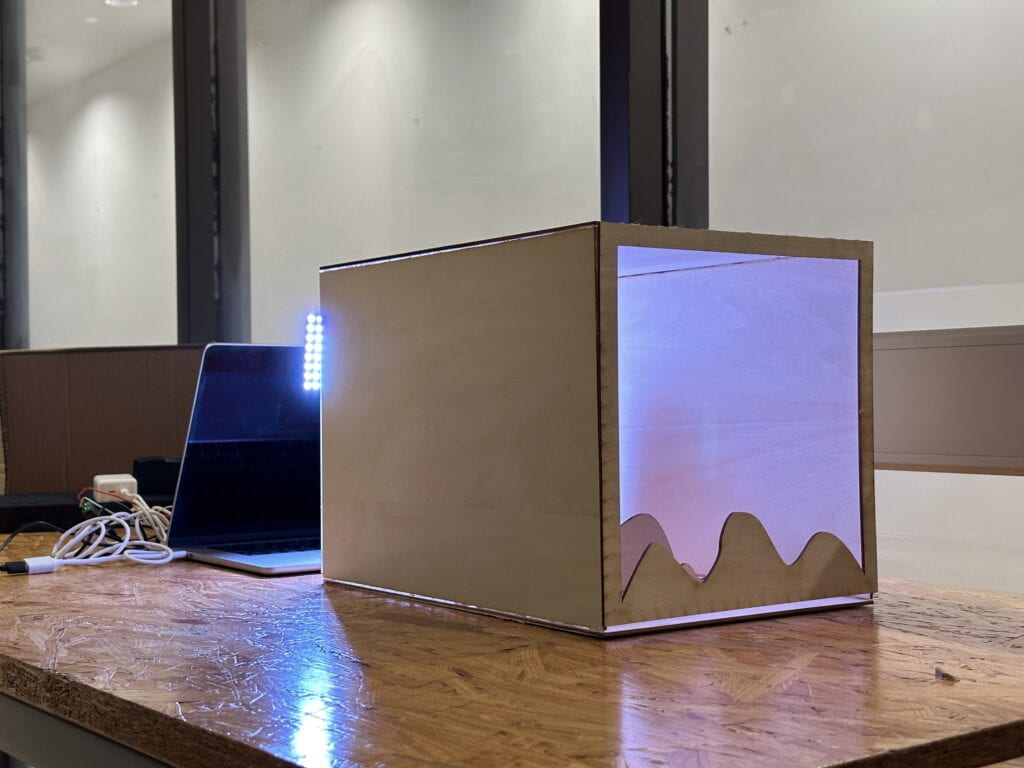
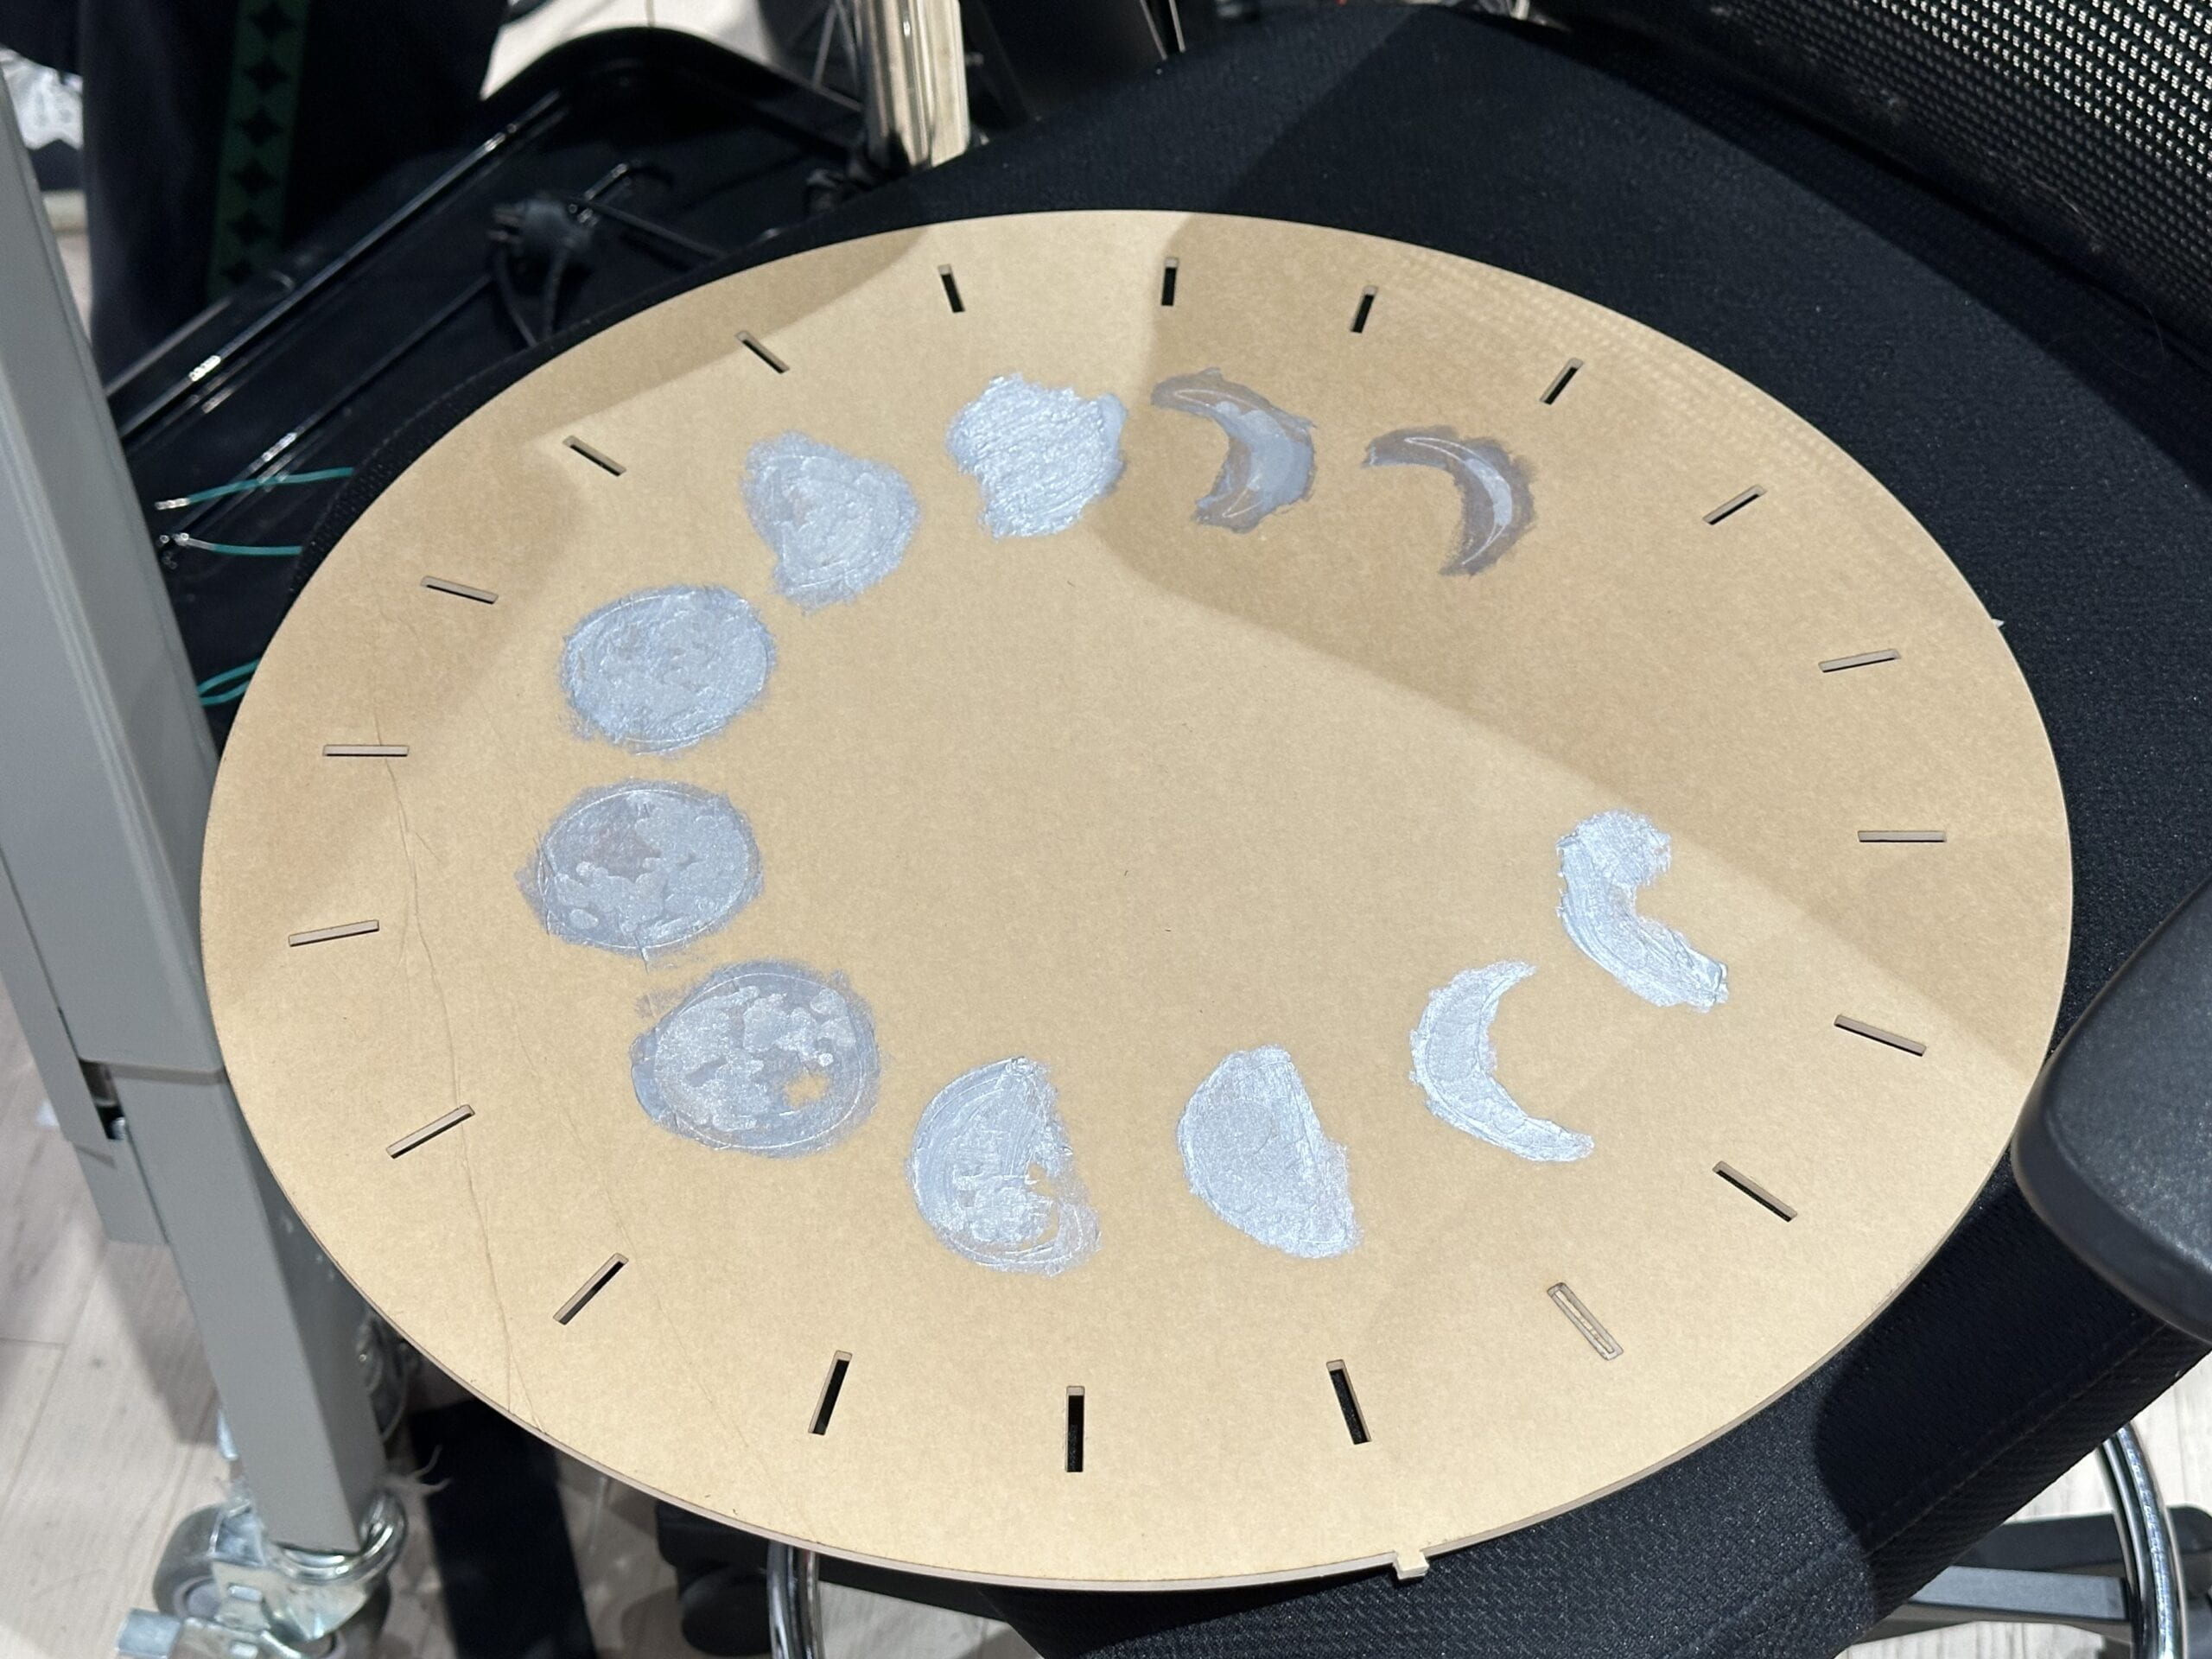
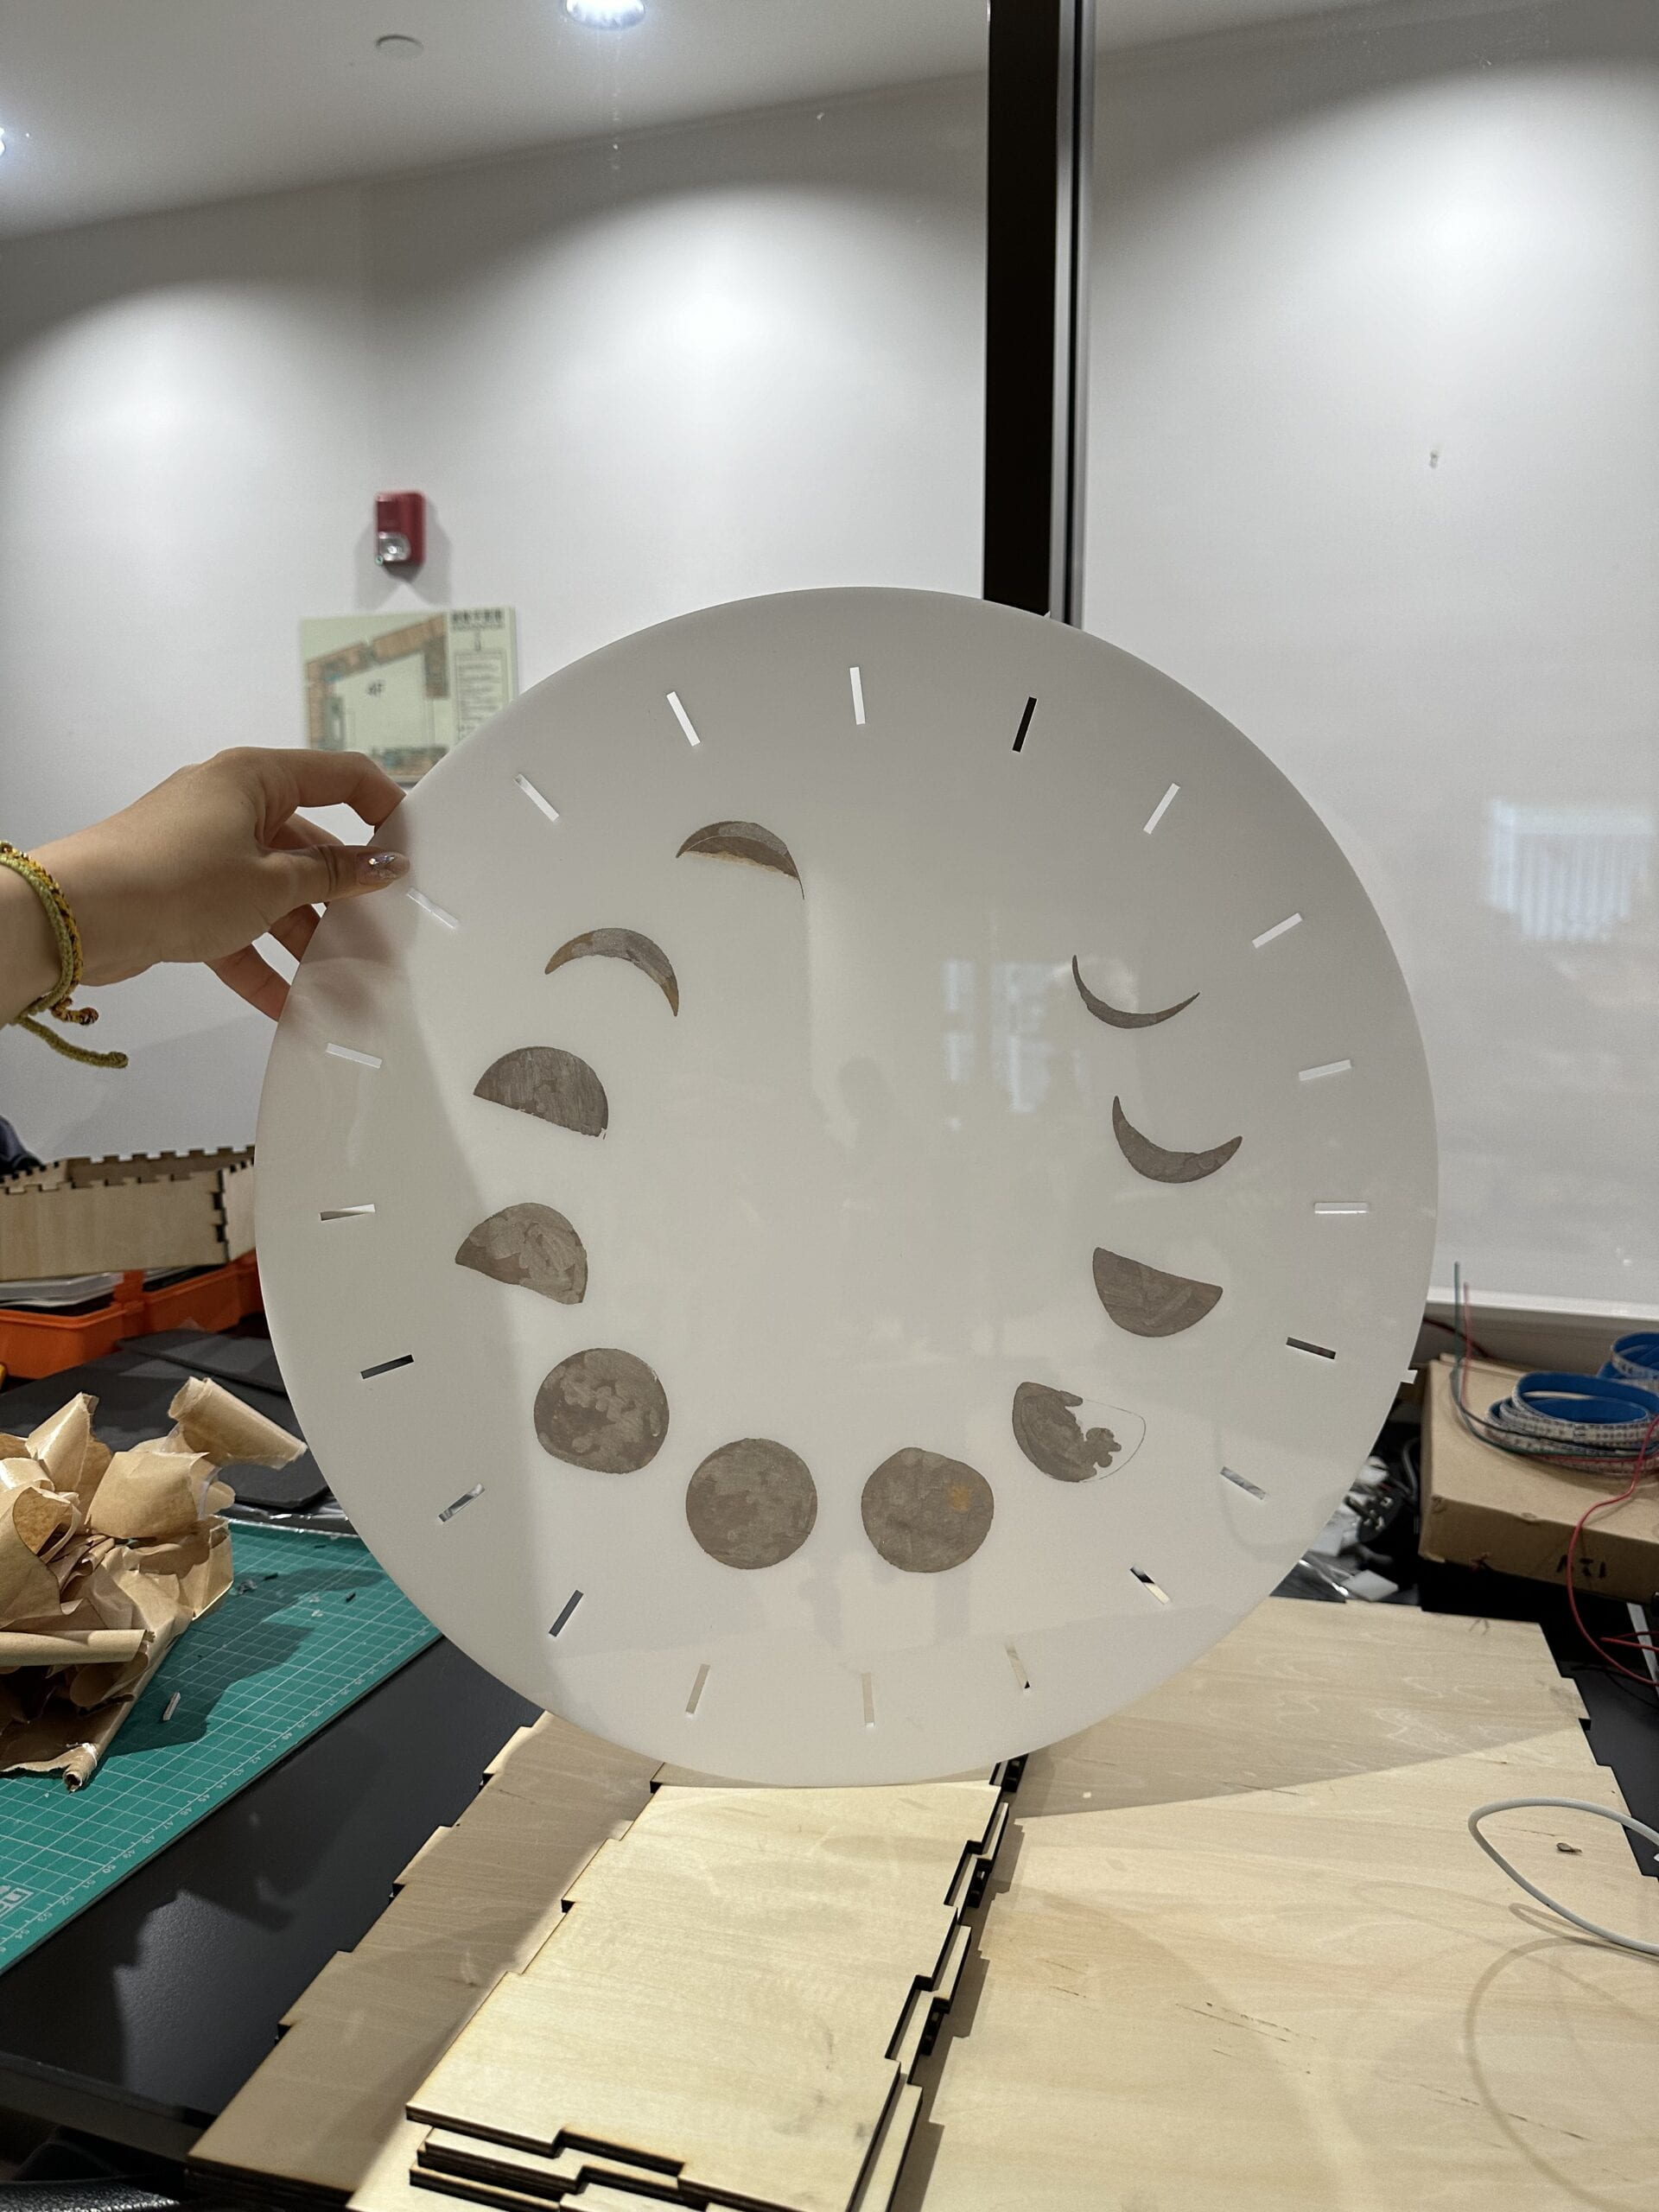
After that, I started to design the pedestal for my project. I have mentioned before that in order to match the shadows, I changed the design of the pedestal, and indeed I used white acrylic board instead of a semi-transparent one. Besides, I started to think of ways to make the colors on the board more solid in order to better reflect the light and shadows, and I came up with the idea of creating a series of patterns that symbolizes the series of the moon. I searched online for inspiration, and used the same method as I employed before for the dancing figures to engrave them onto the white acrylic board. Basically I first drew on my iPad and then I exported the file onto Illustrator, and used the pen tool to copy them again in the software. I also bought silver paint to color the patterns and make my project prettier. When I asked the fabrication lab assistant Freddie for help, he suggested me to keep the wrap on both sides of the acrylic board, otherwise the board may be ruined by the burn marks of the laser cut machine. I listened to his advice, and it turned out that I became more grateful than I have anticipated. In the beginning I planned to engrave first with the wrap off the board, and then use my brush to paint the board following the engraved patterns, but my brush was way too big than I have imagined, and it would be impossible for me to use that brush to draw thin lines on my pedestal, which would be disastrous for the whole design of it. However, with the wrap still on the board, what I can simply do is to paint freely on the board, make sure that the engraved white parts were fully covered by the silver paint, and in the end peel the wrap off so that all the unnecessary paints can be removed from the board. I did so and the result was very satisfactory, and I really appreciate Freddie for his kind advice. He may not have expected what I was going to do with the board, but his suggestion has made my making process much easier.
The next process is to fix the figures on the board. In order to do that, I used the transparent acrylic glue as well as the glue gun to make sure that the fixation is solid enough. I also used the extra silver paint to paint my whole wooden box I made as the pedestal silver, so that it can better integrate with the style of my whole project. I want to express a bit of my excitedness here. The time when the first dancing figure stood on the acrylic board, I was so deeply touched that I stopped for quite some moment. At that time I suddenly had the feeling or maybe fantasy that all the dancing figures were alive, and they were indeed dancing freely under the moonlight. I realized that every project that I have and will spend effort in is like a child of mine, which needs time and effort to grow but will bring me surprise and sentiment in the end.
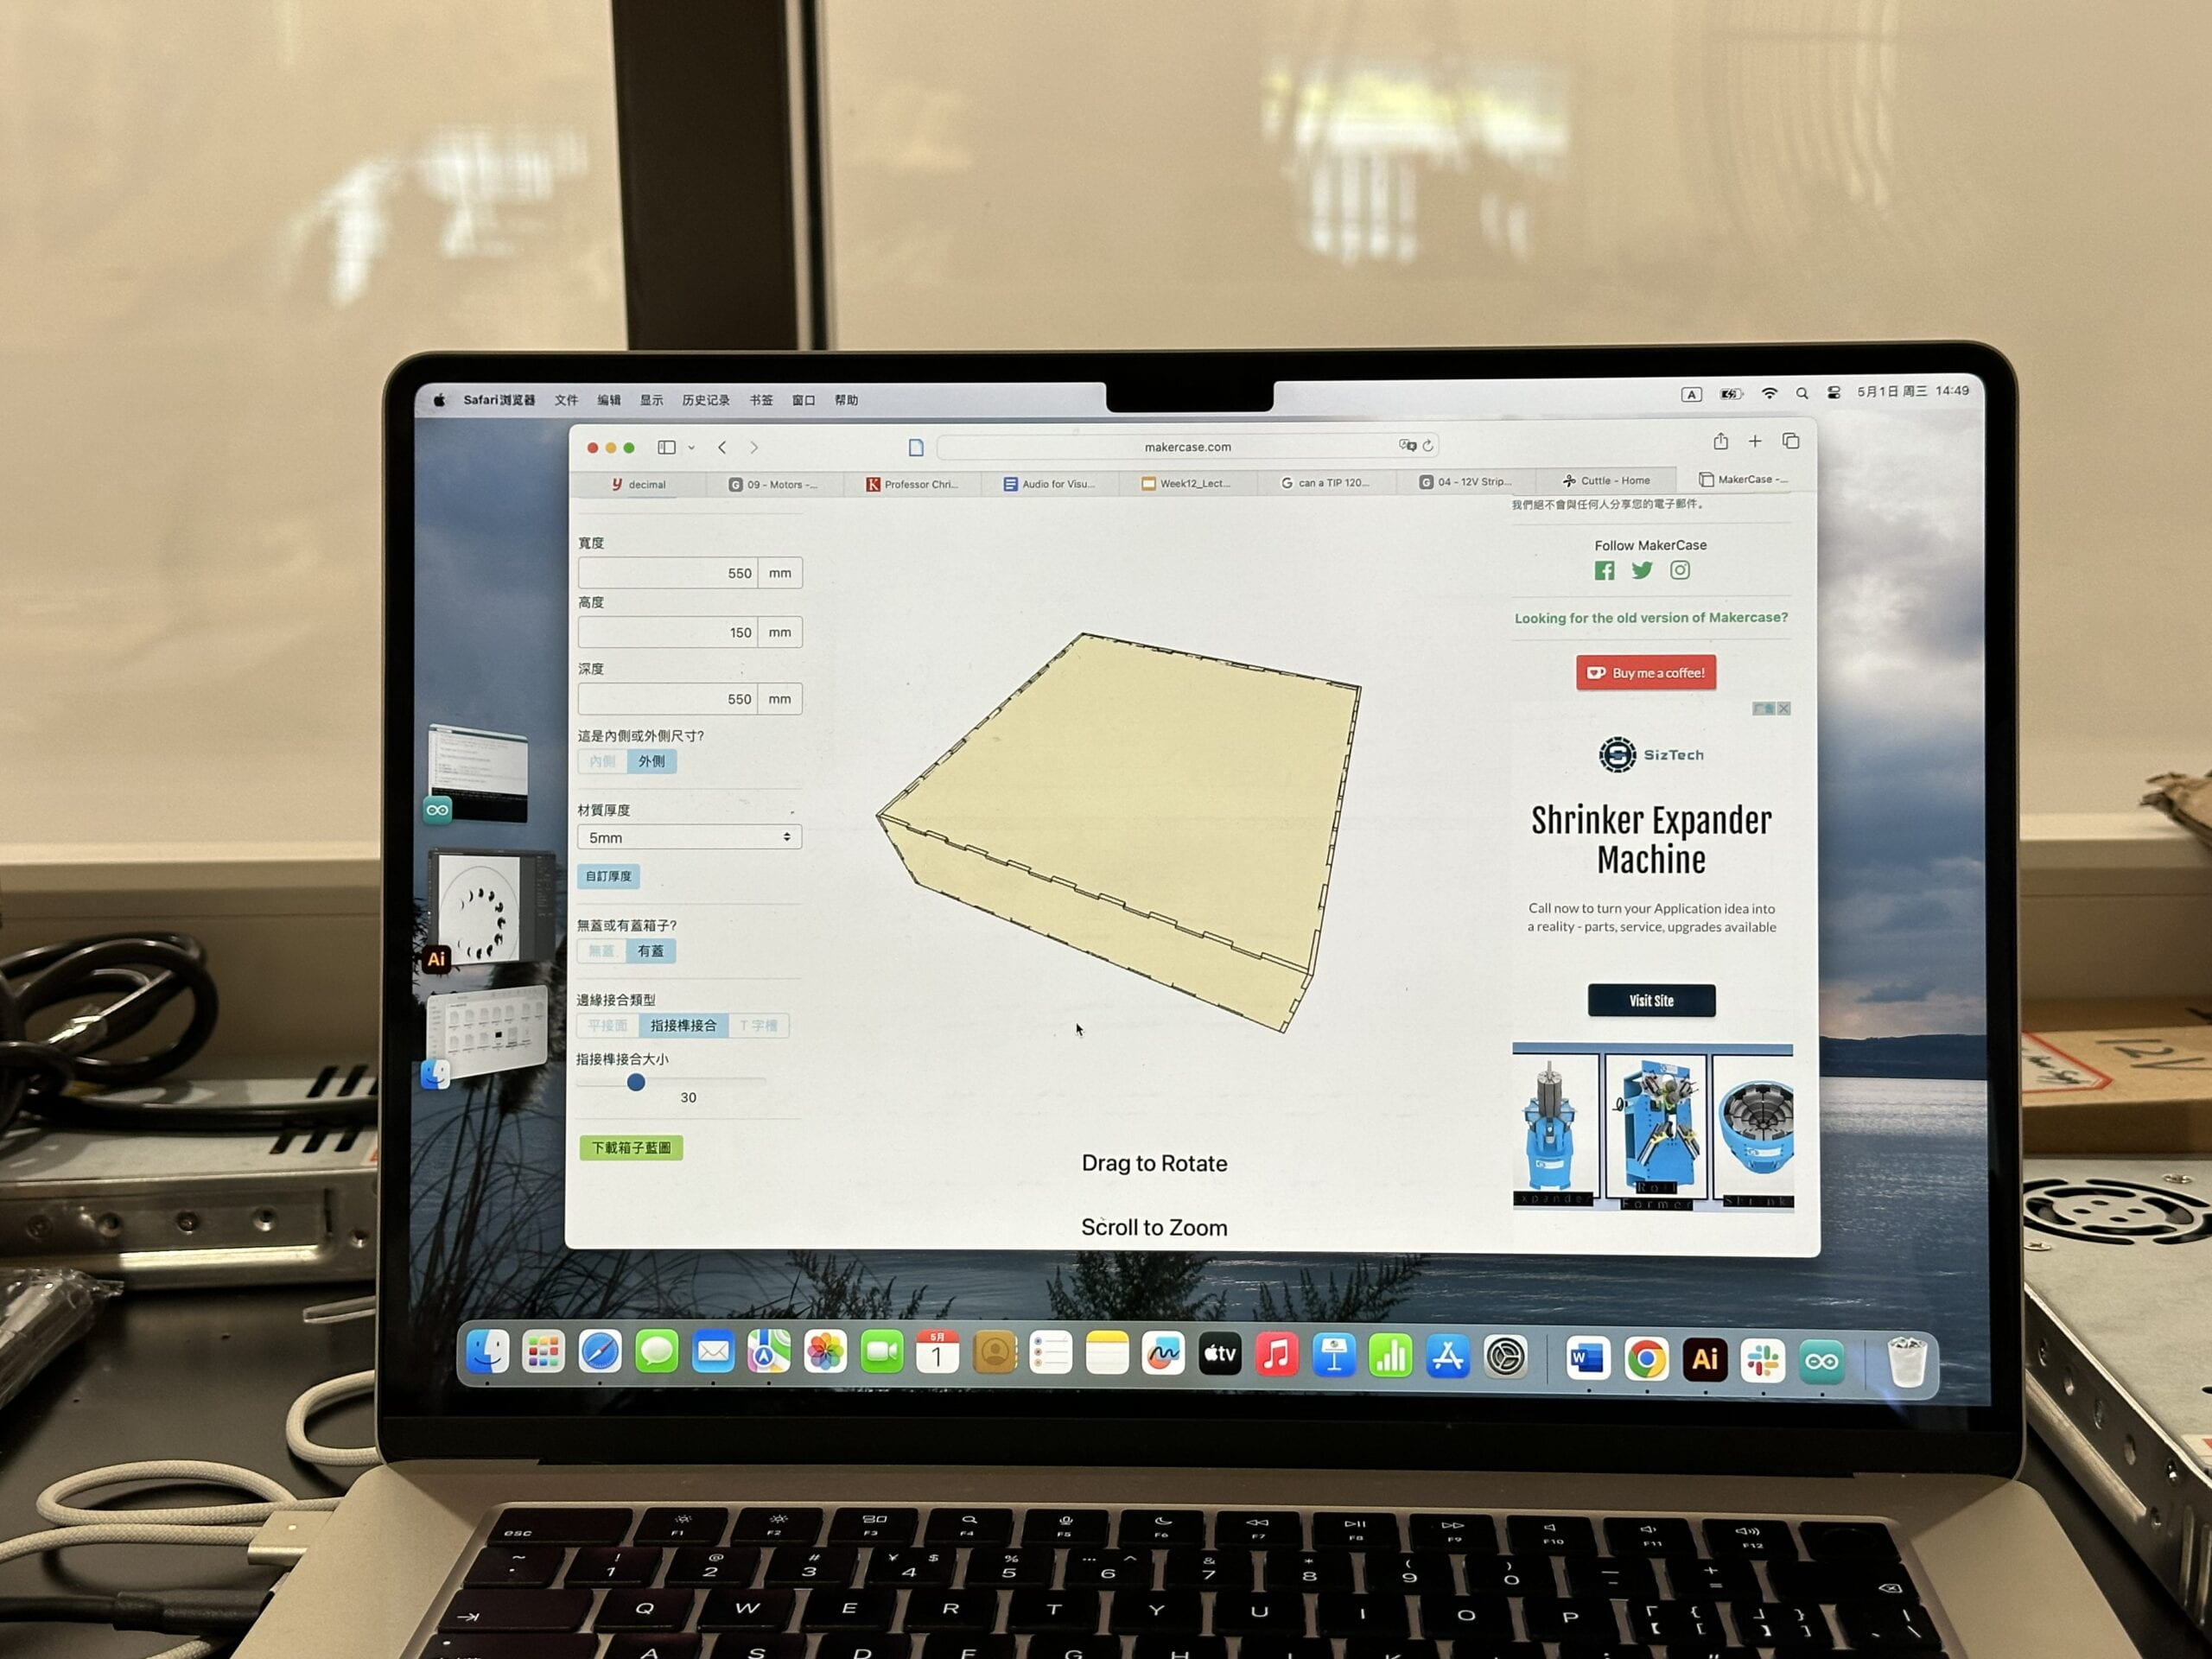
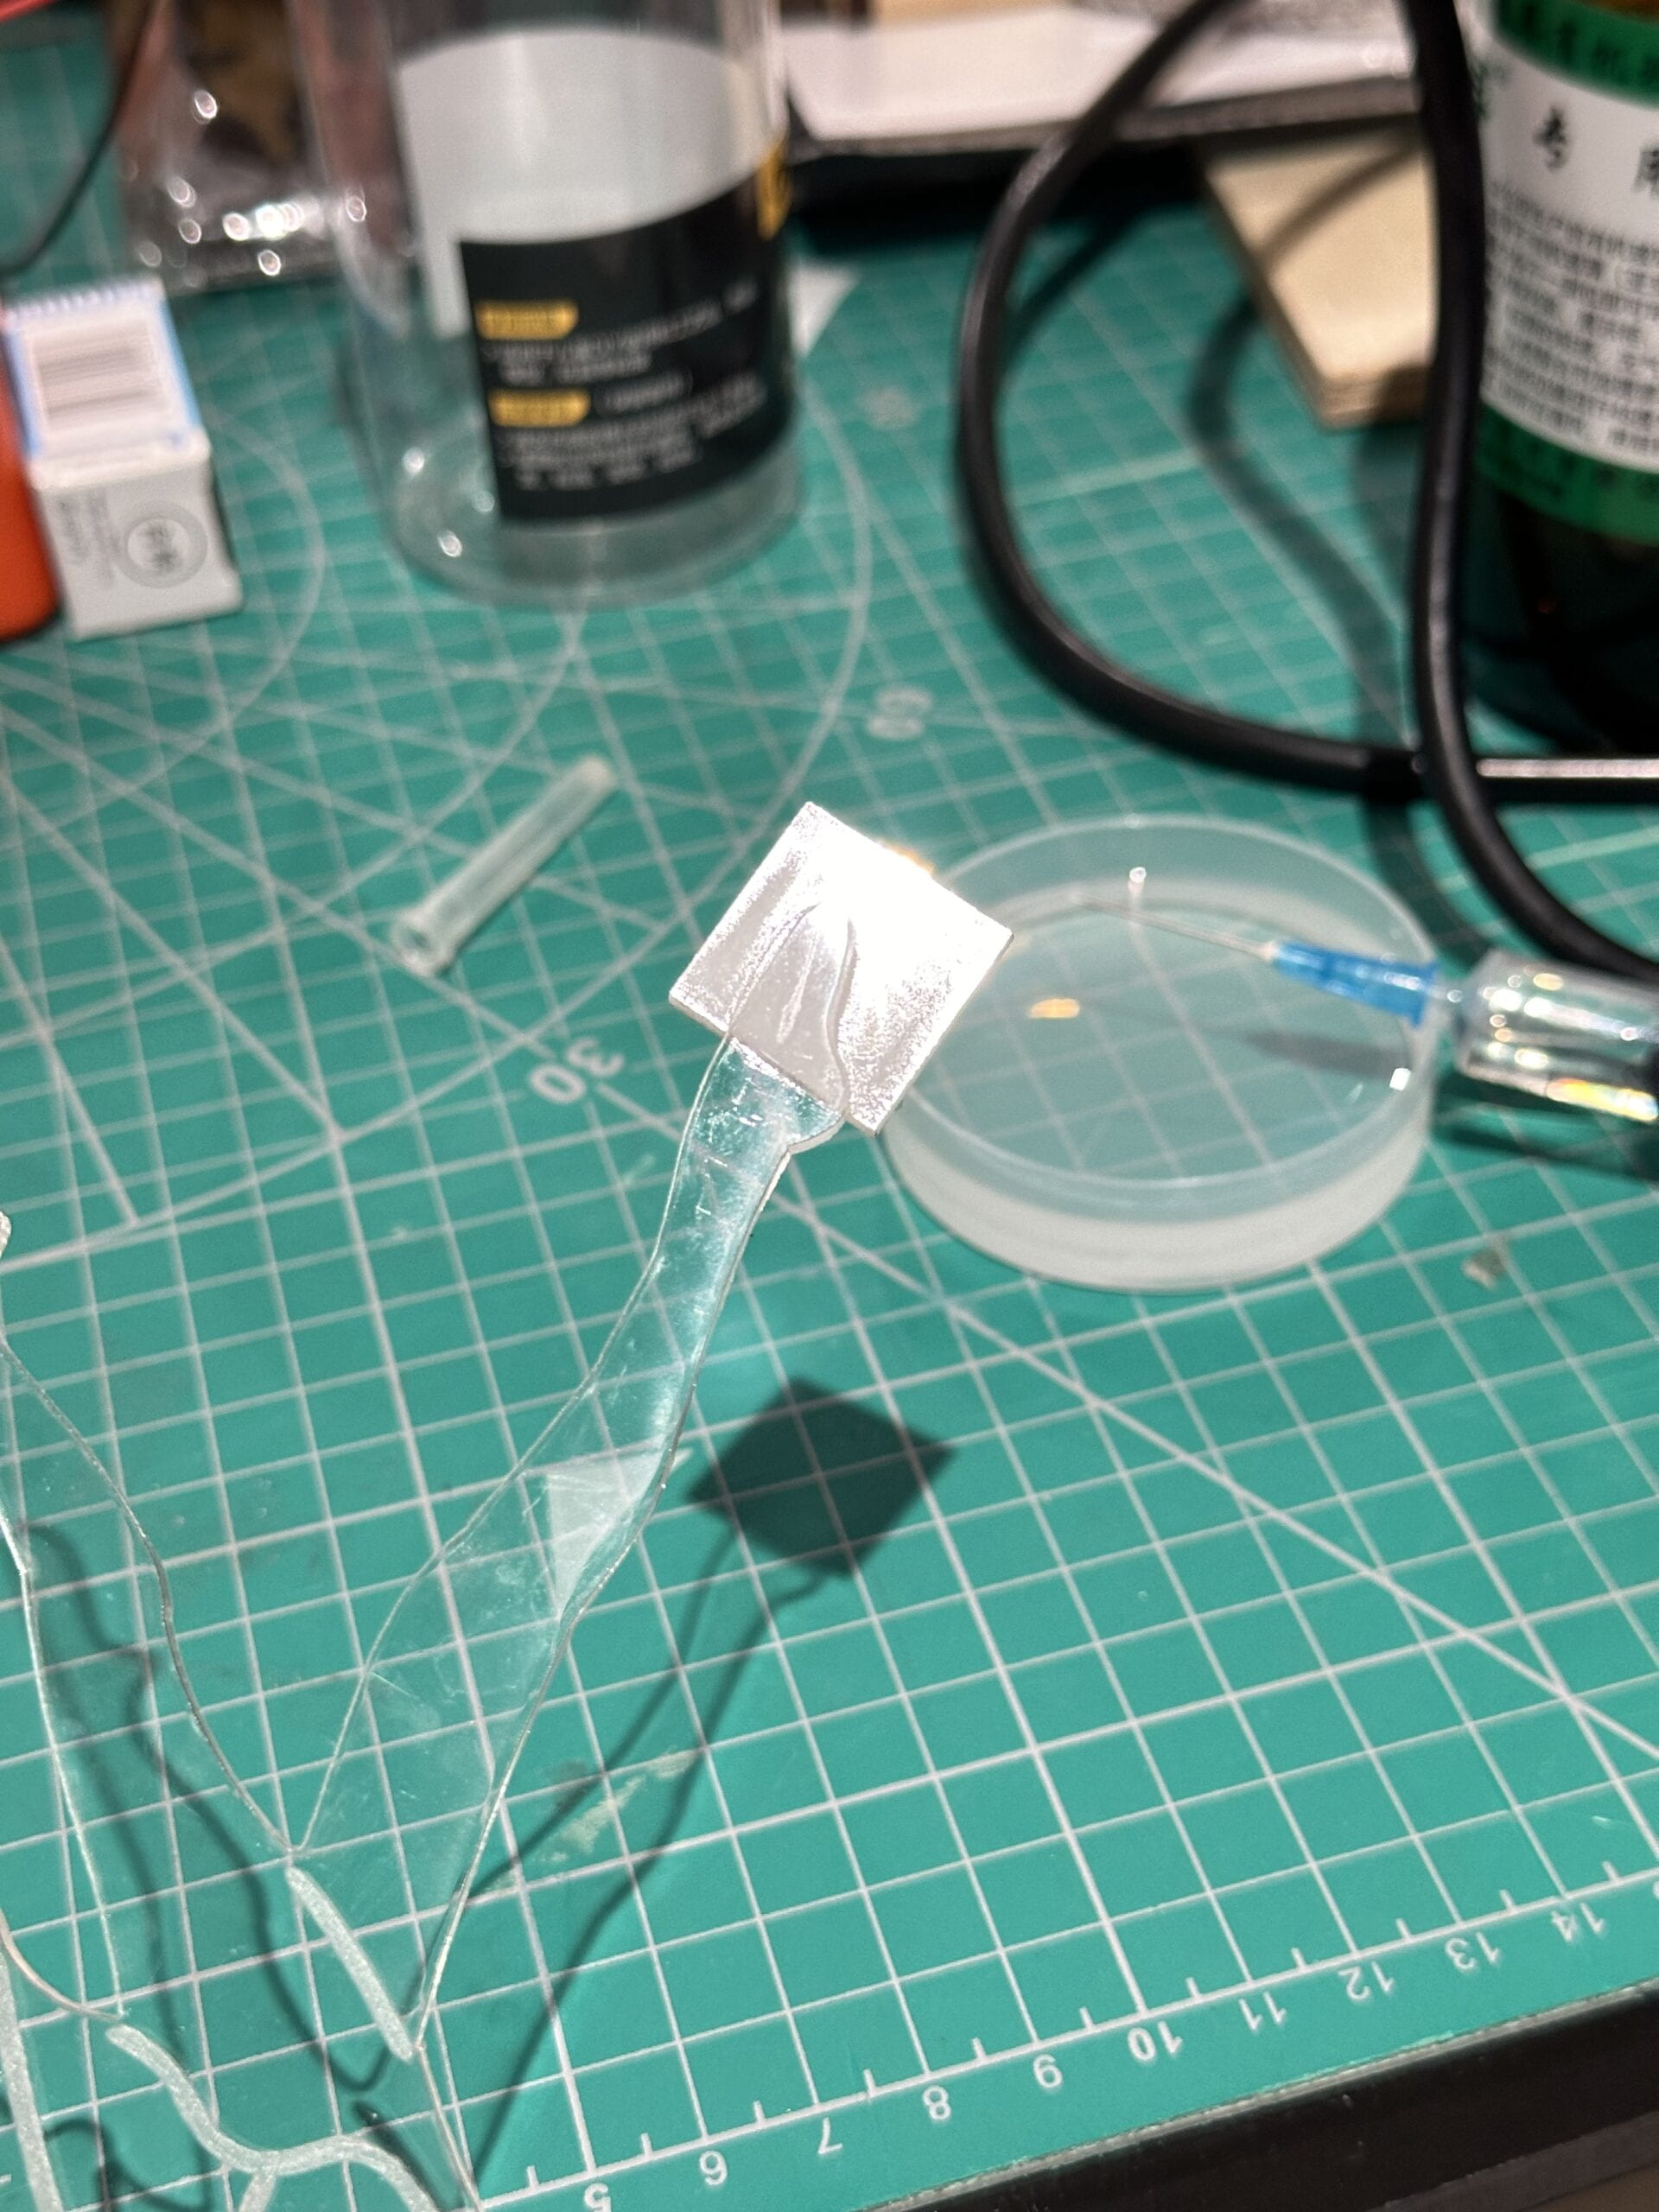
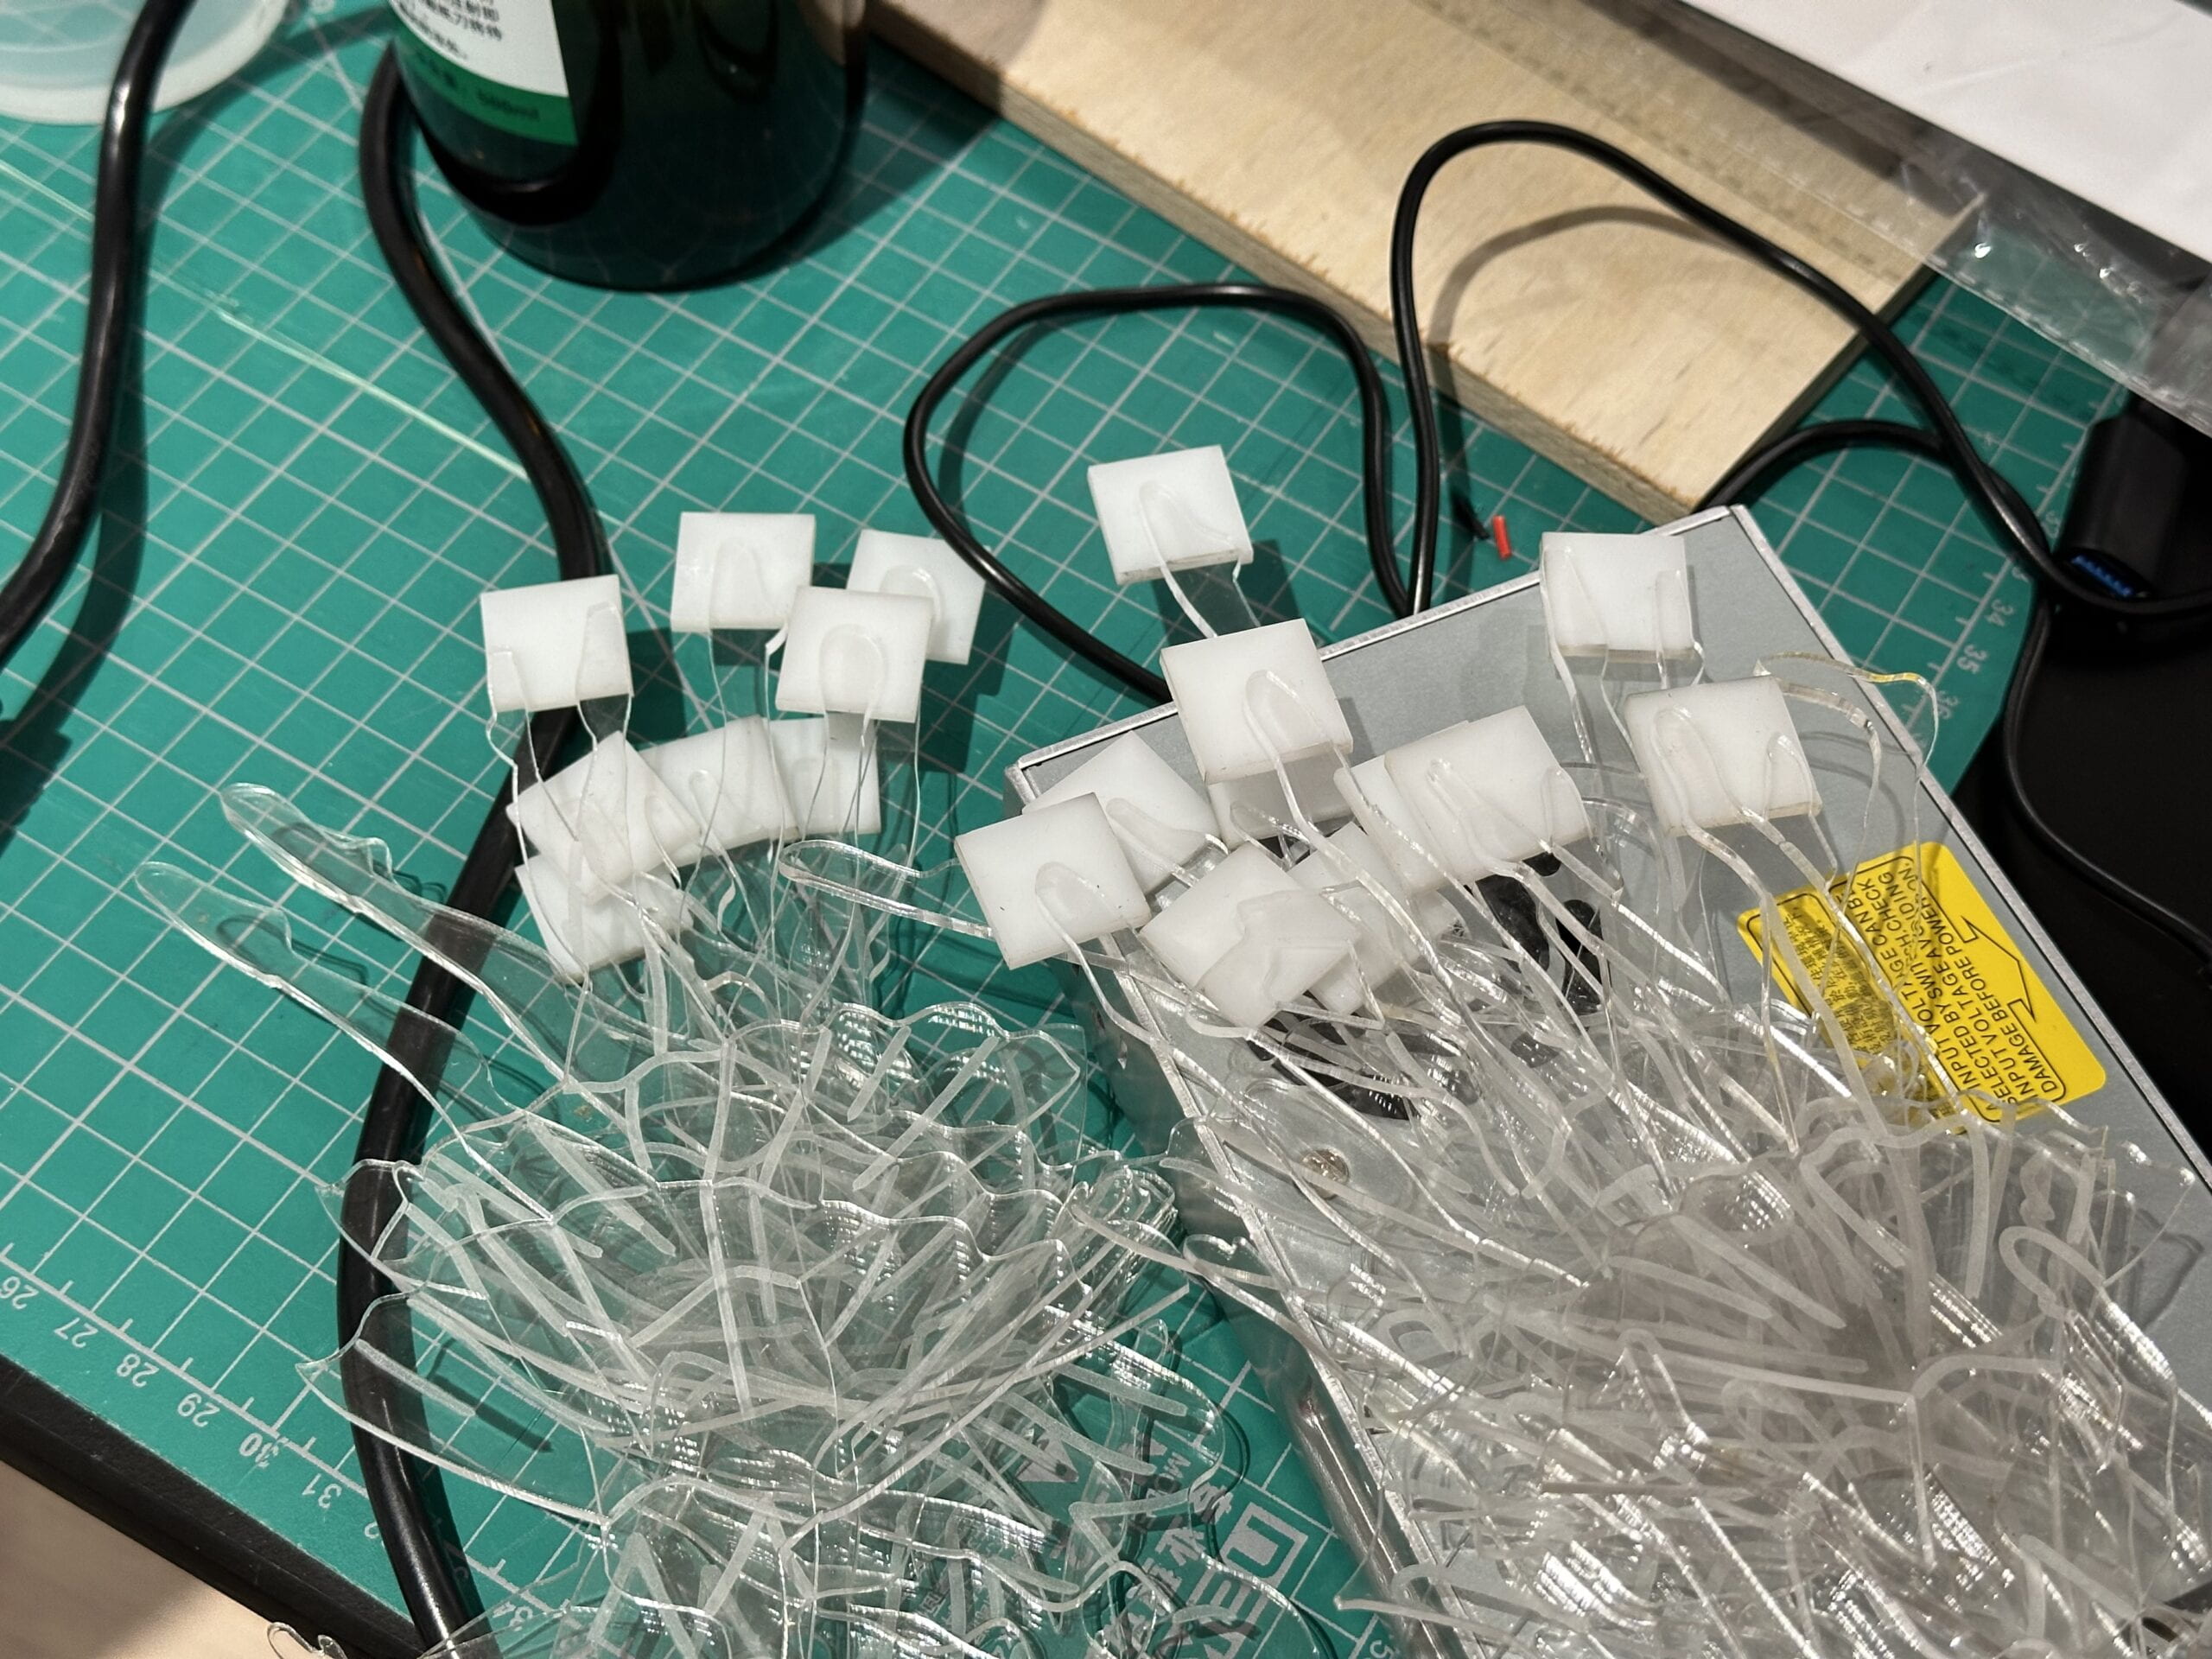
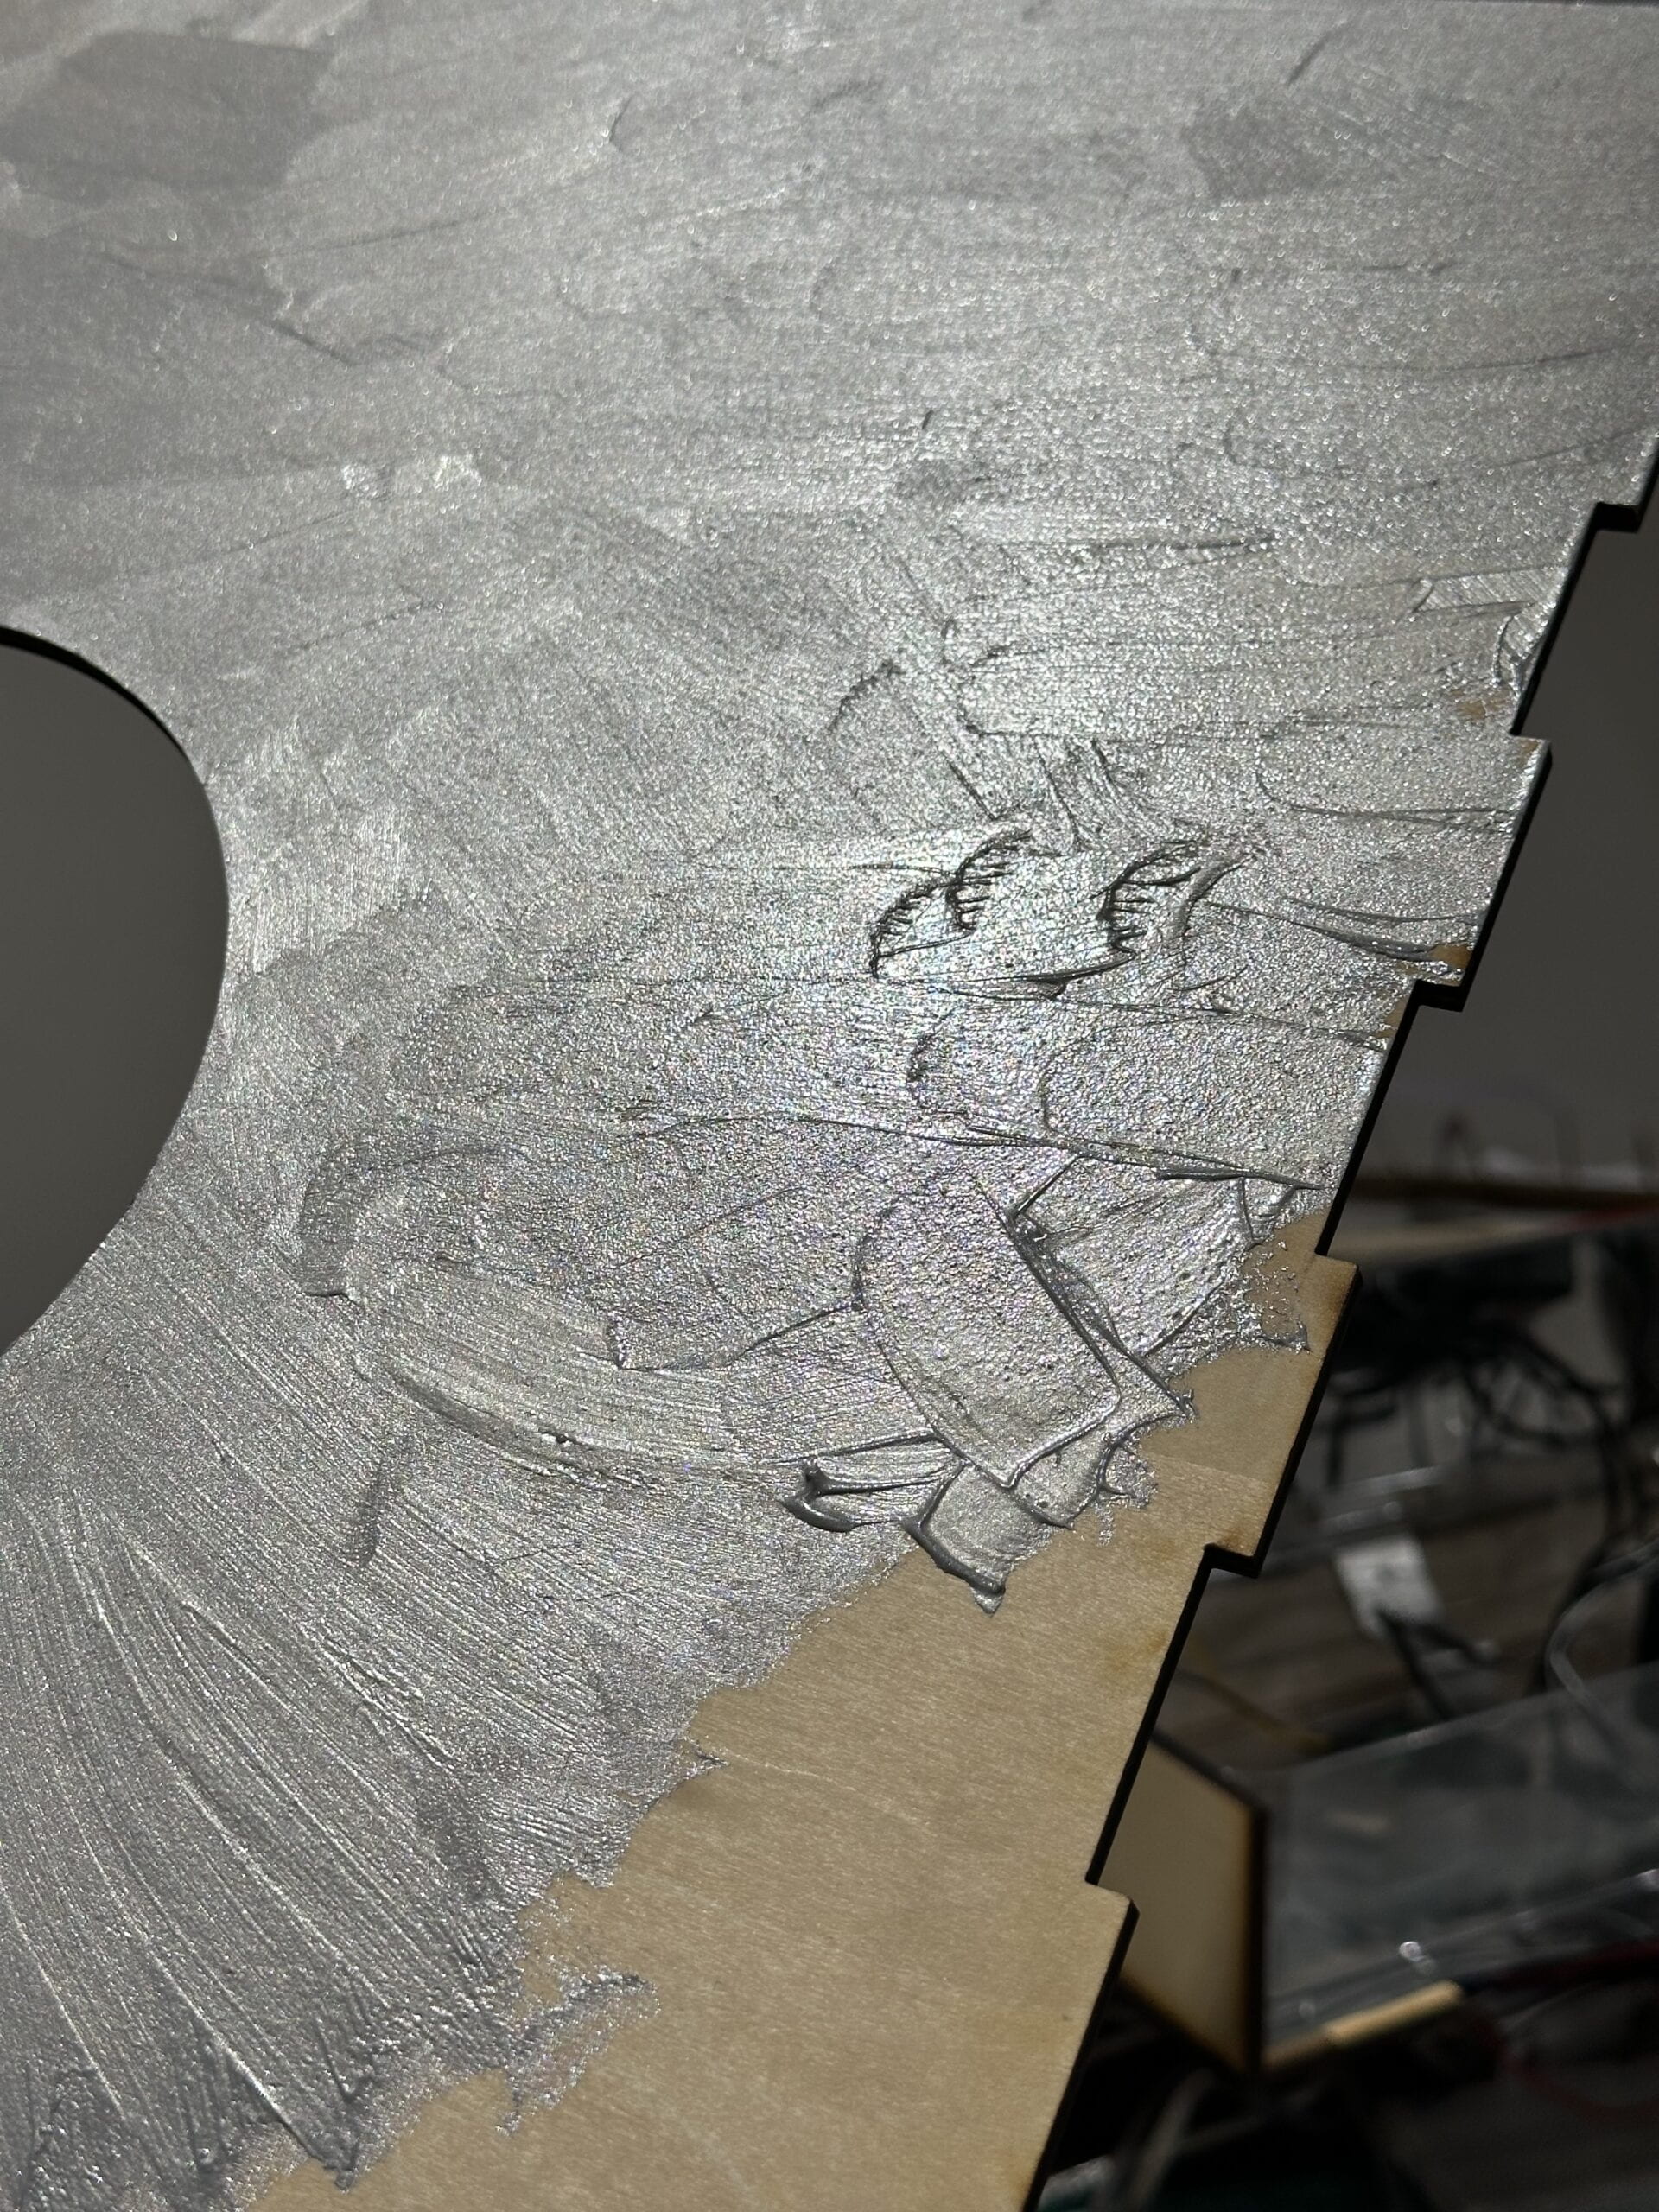
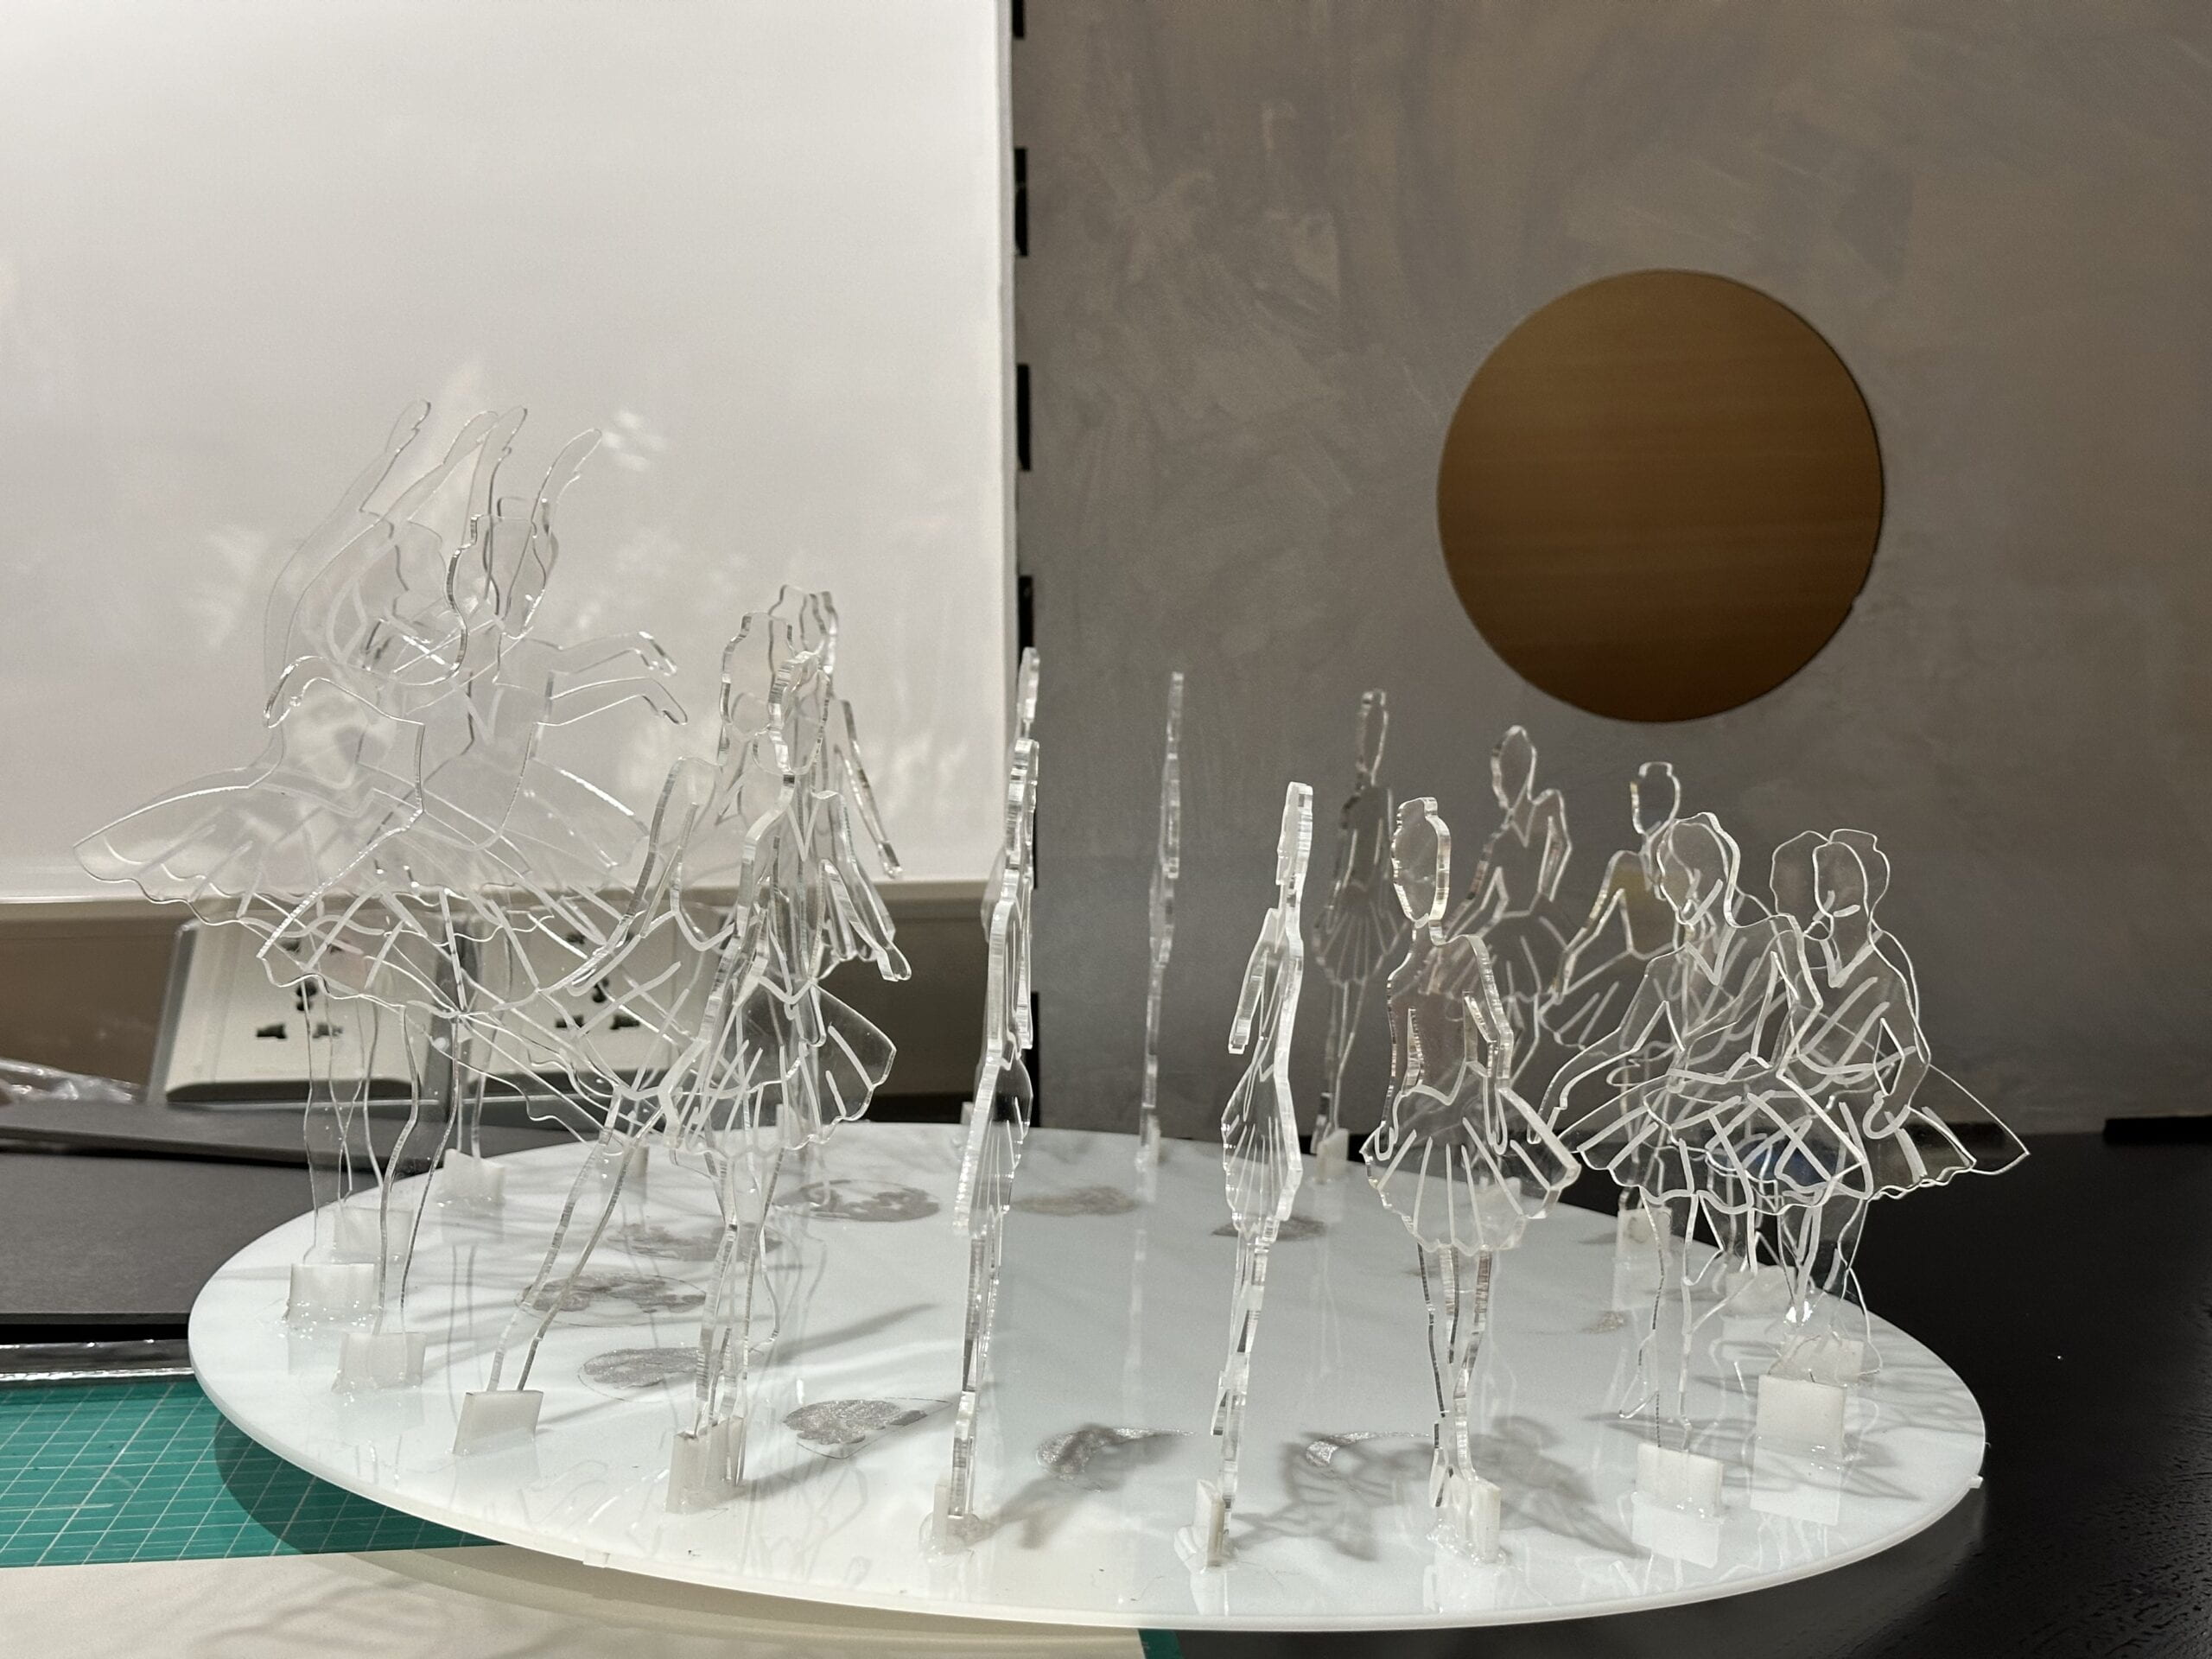
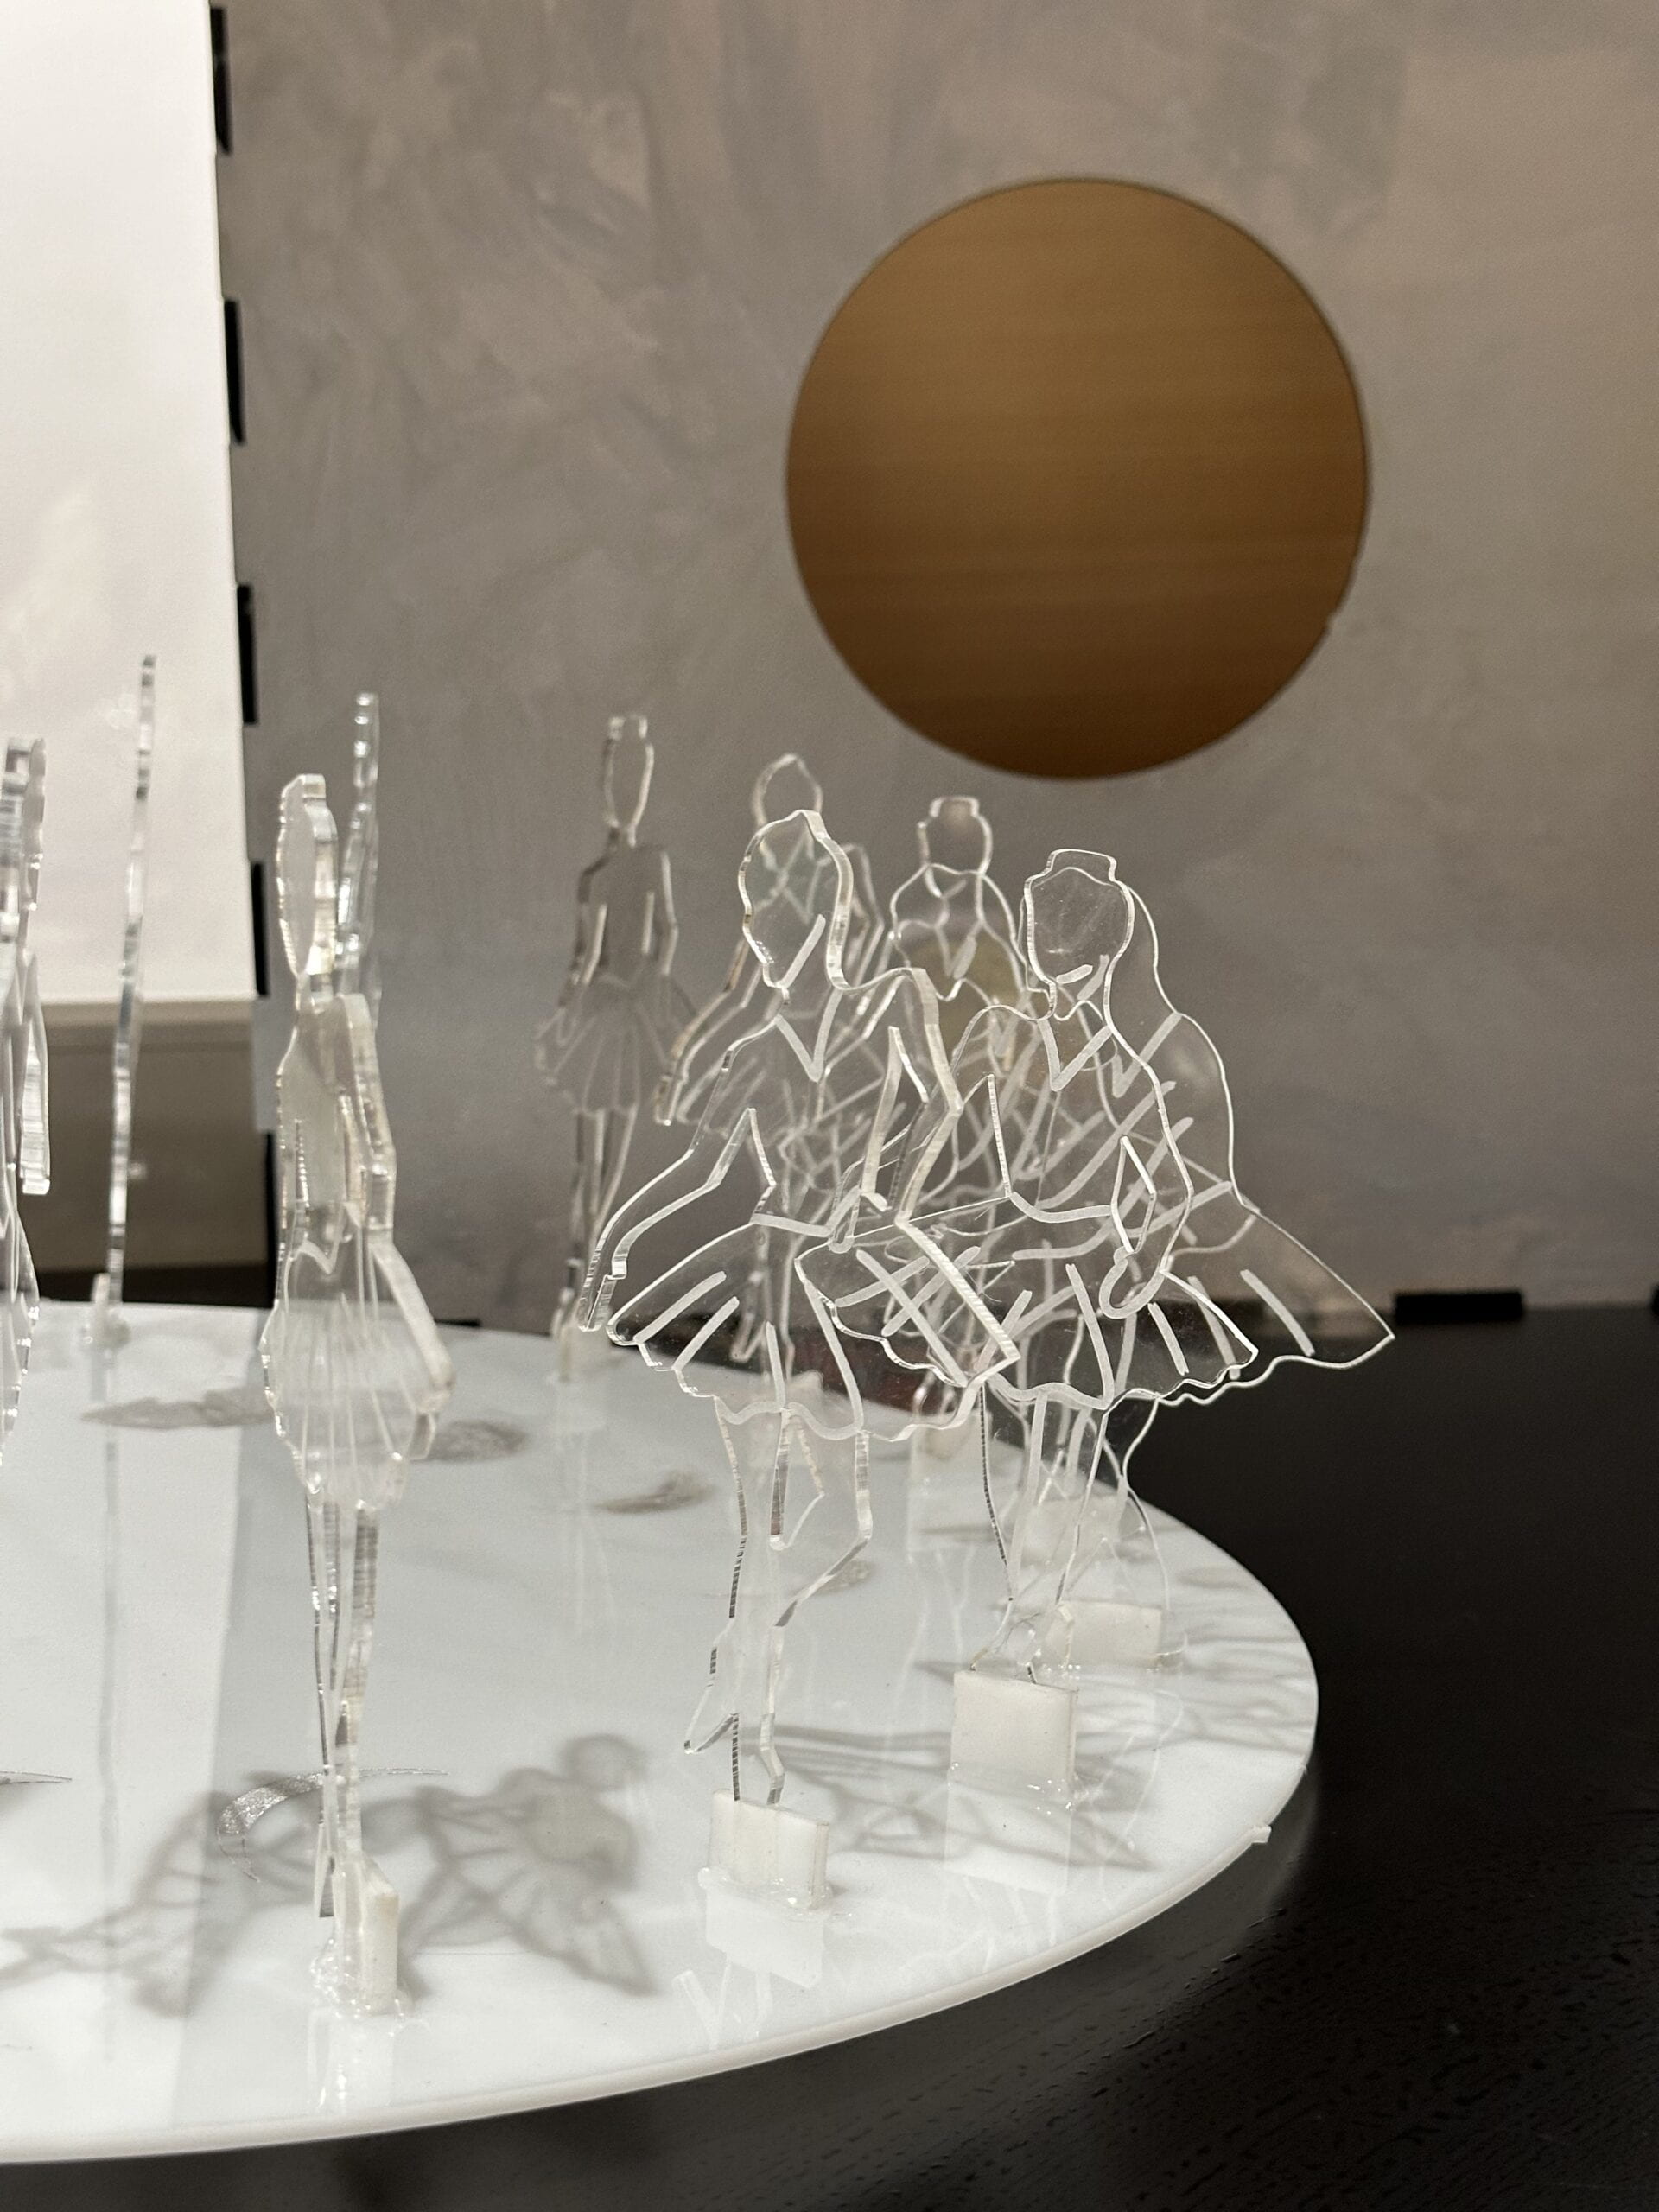
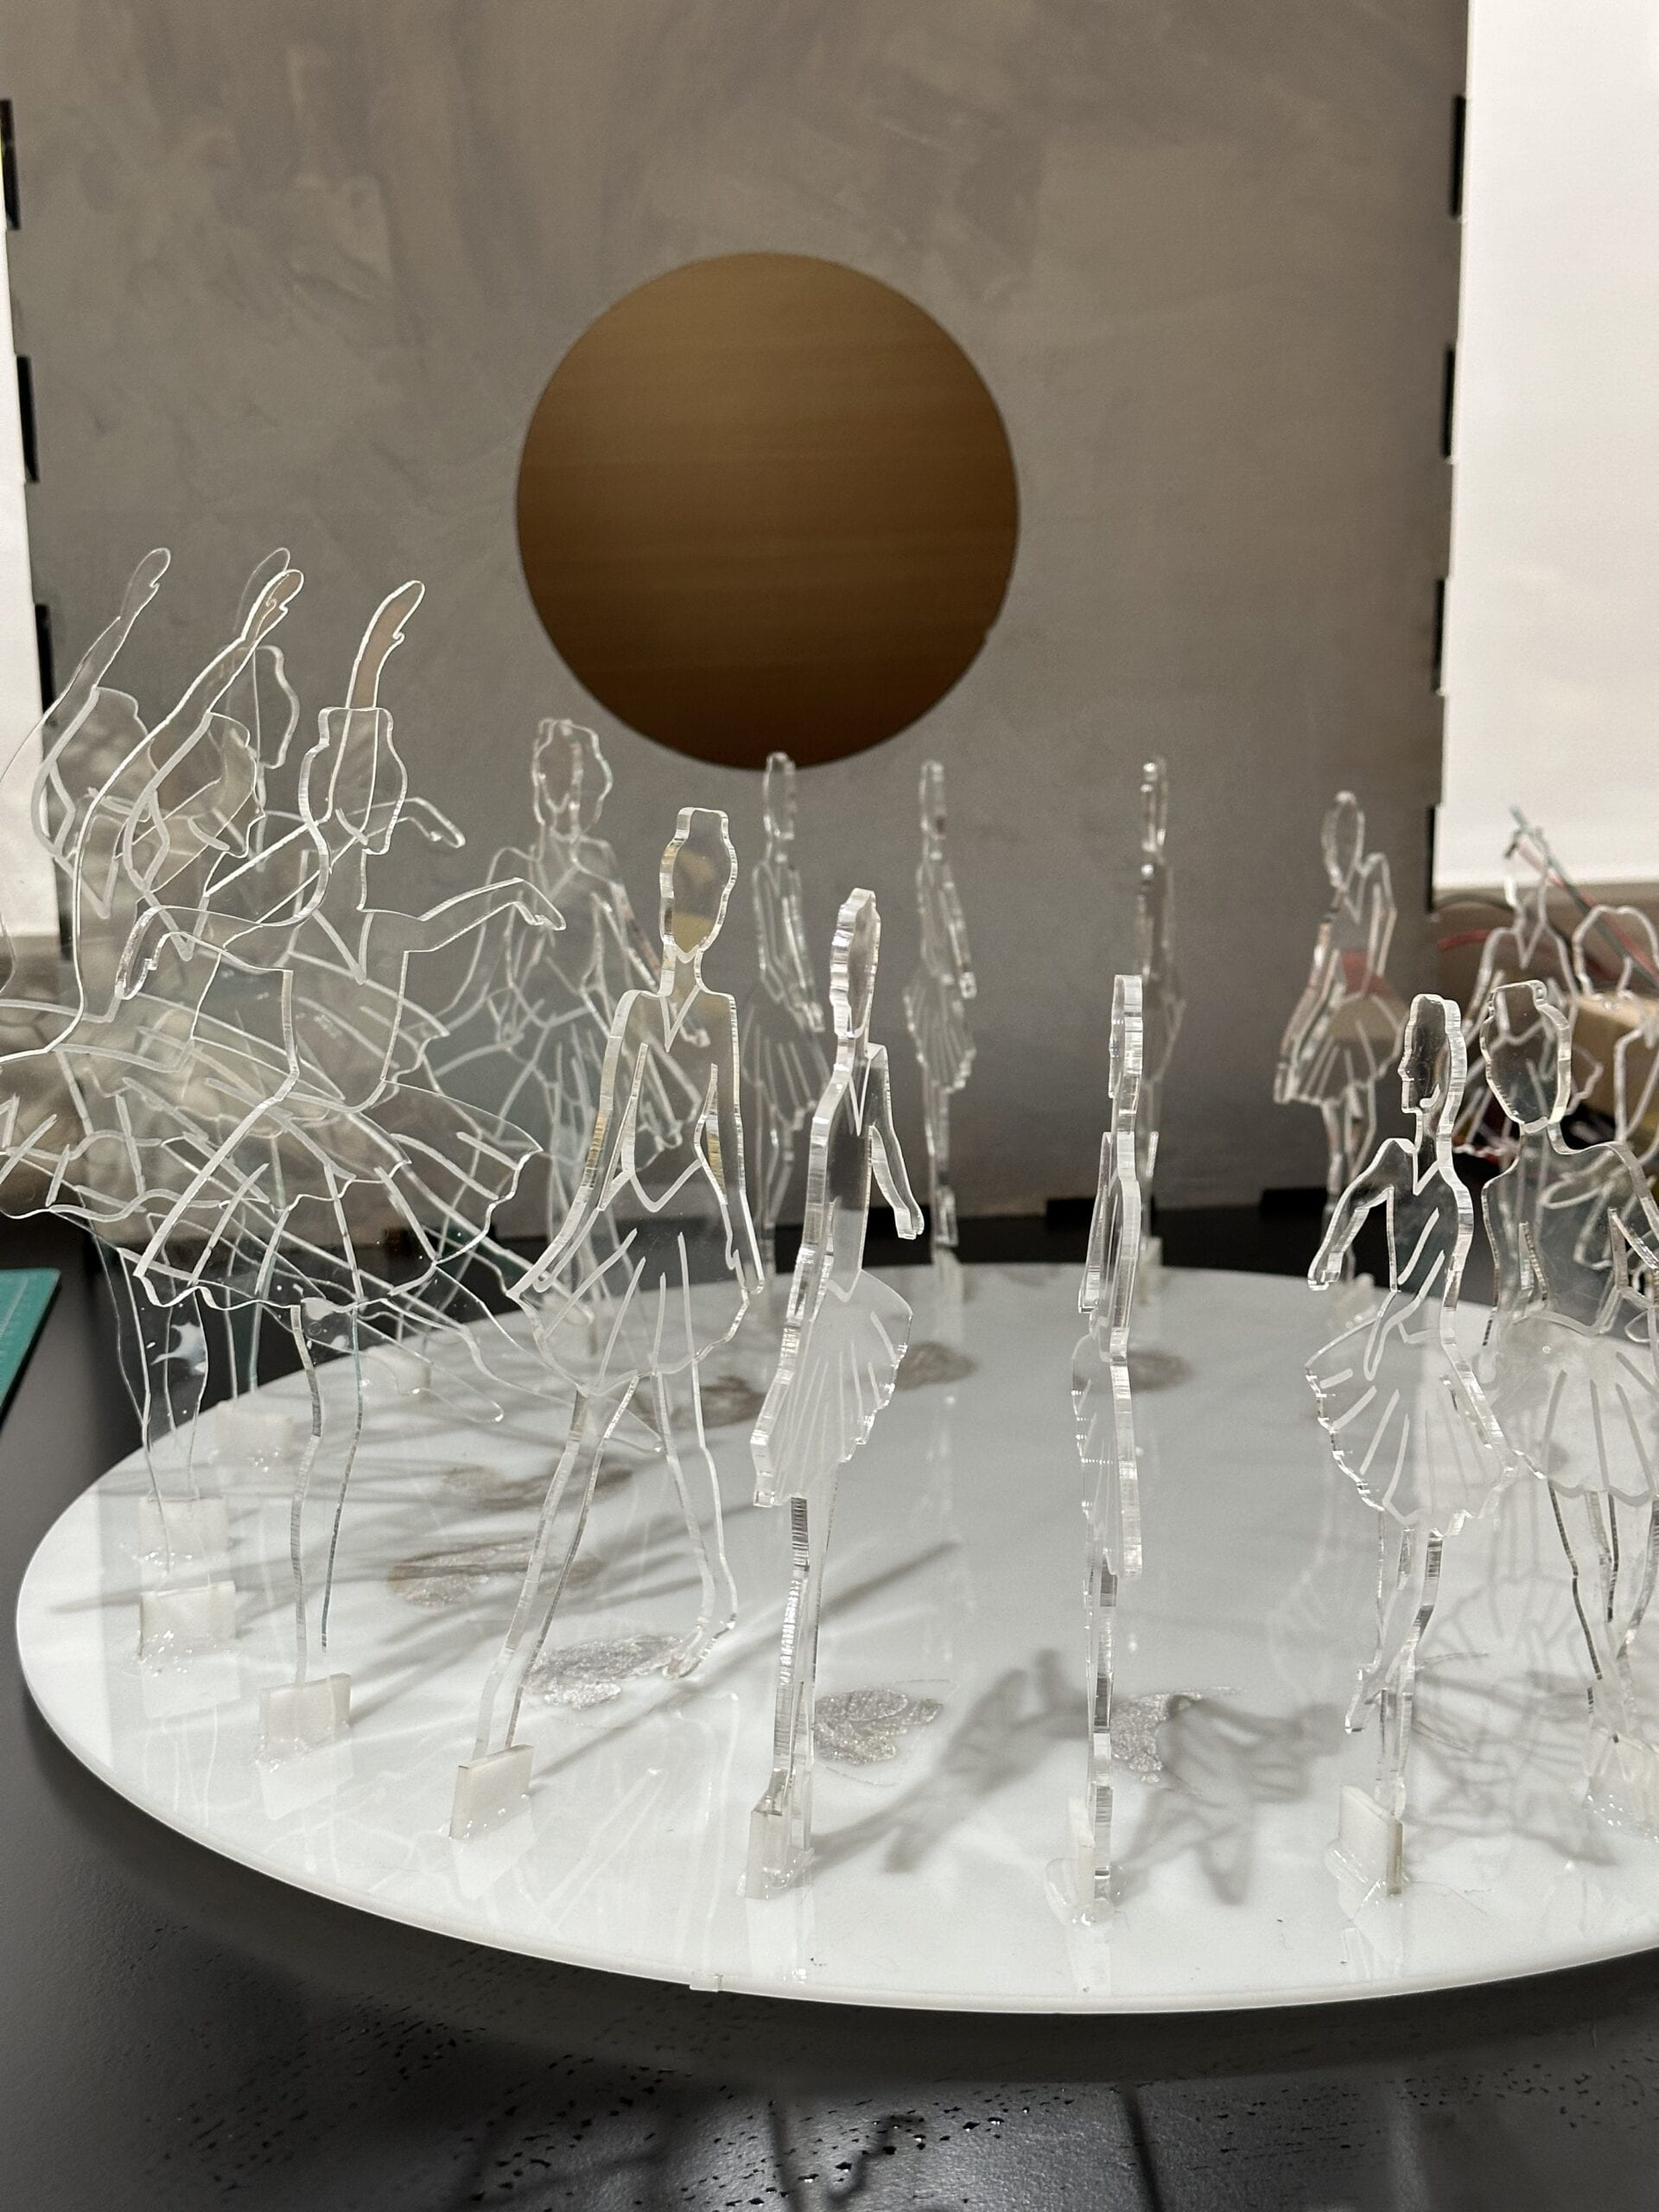
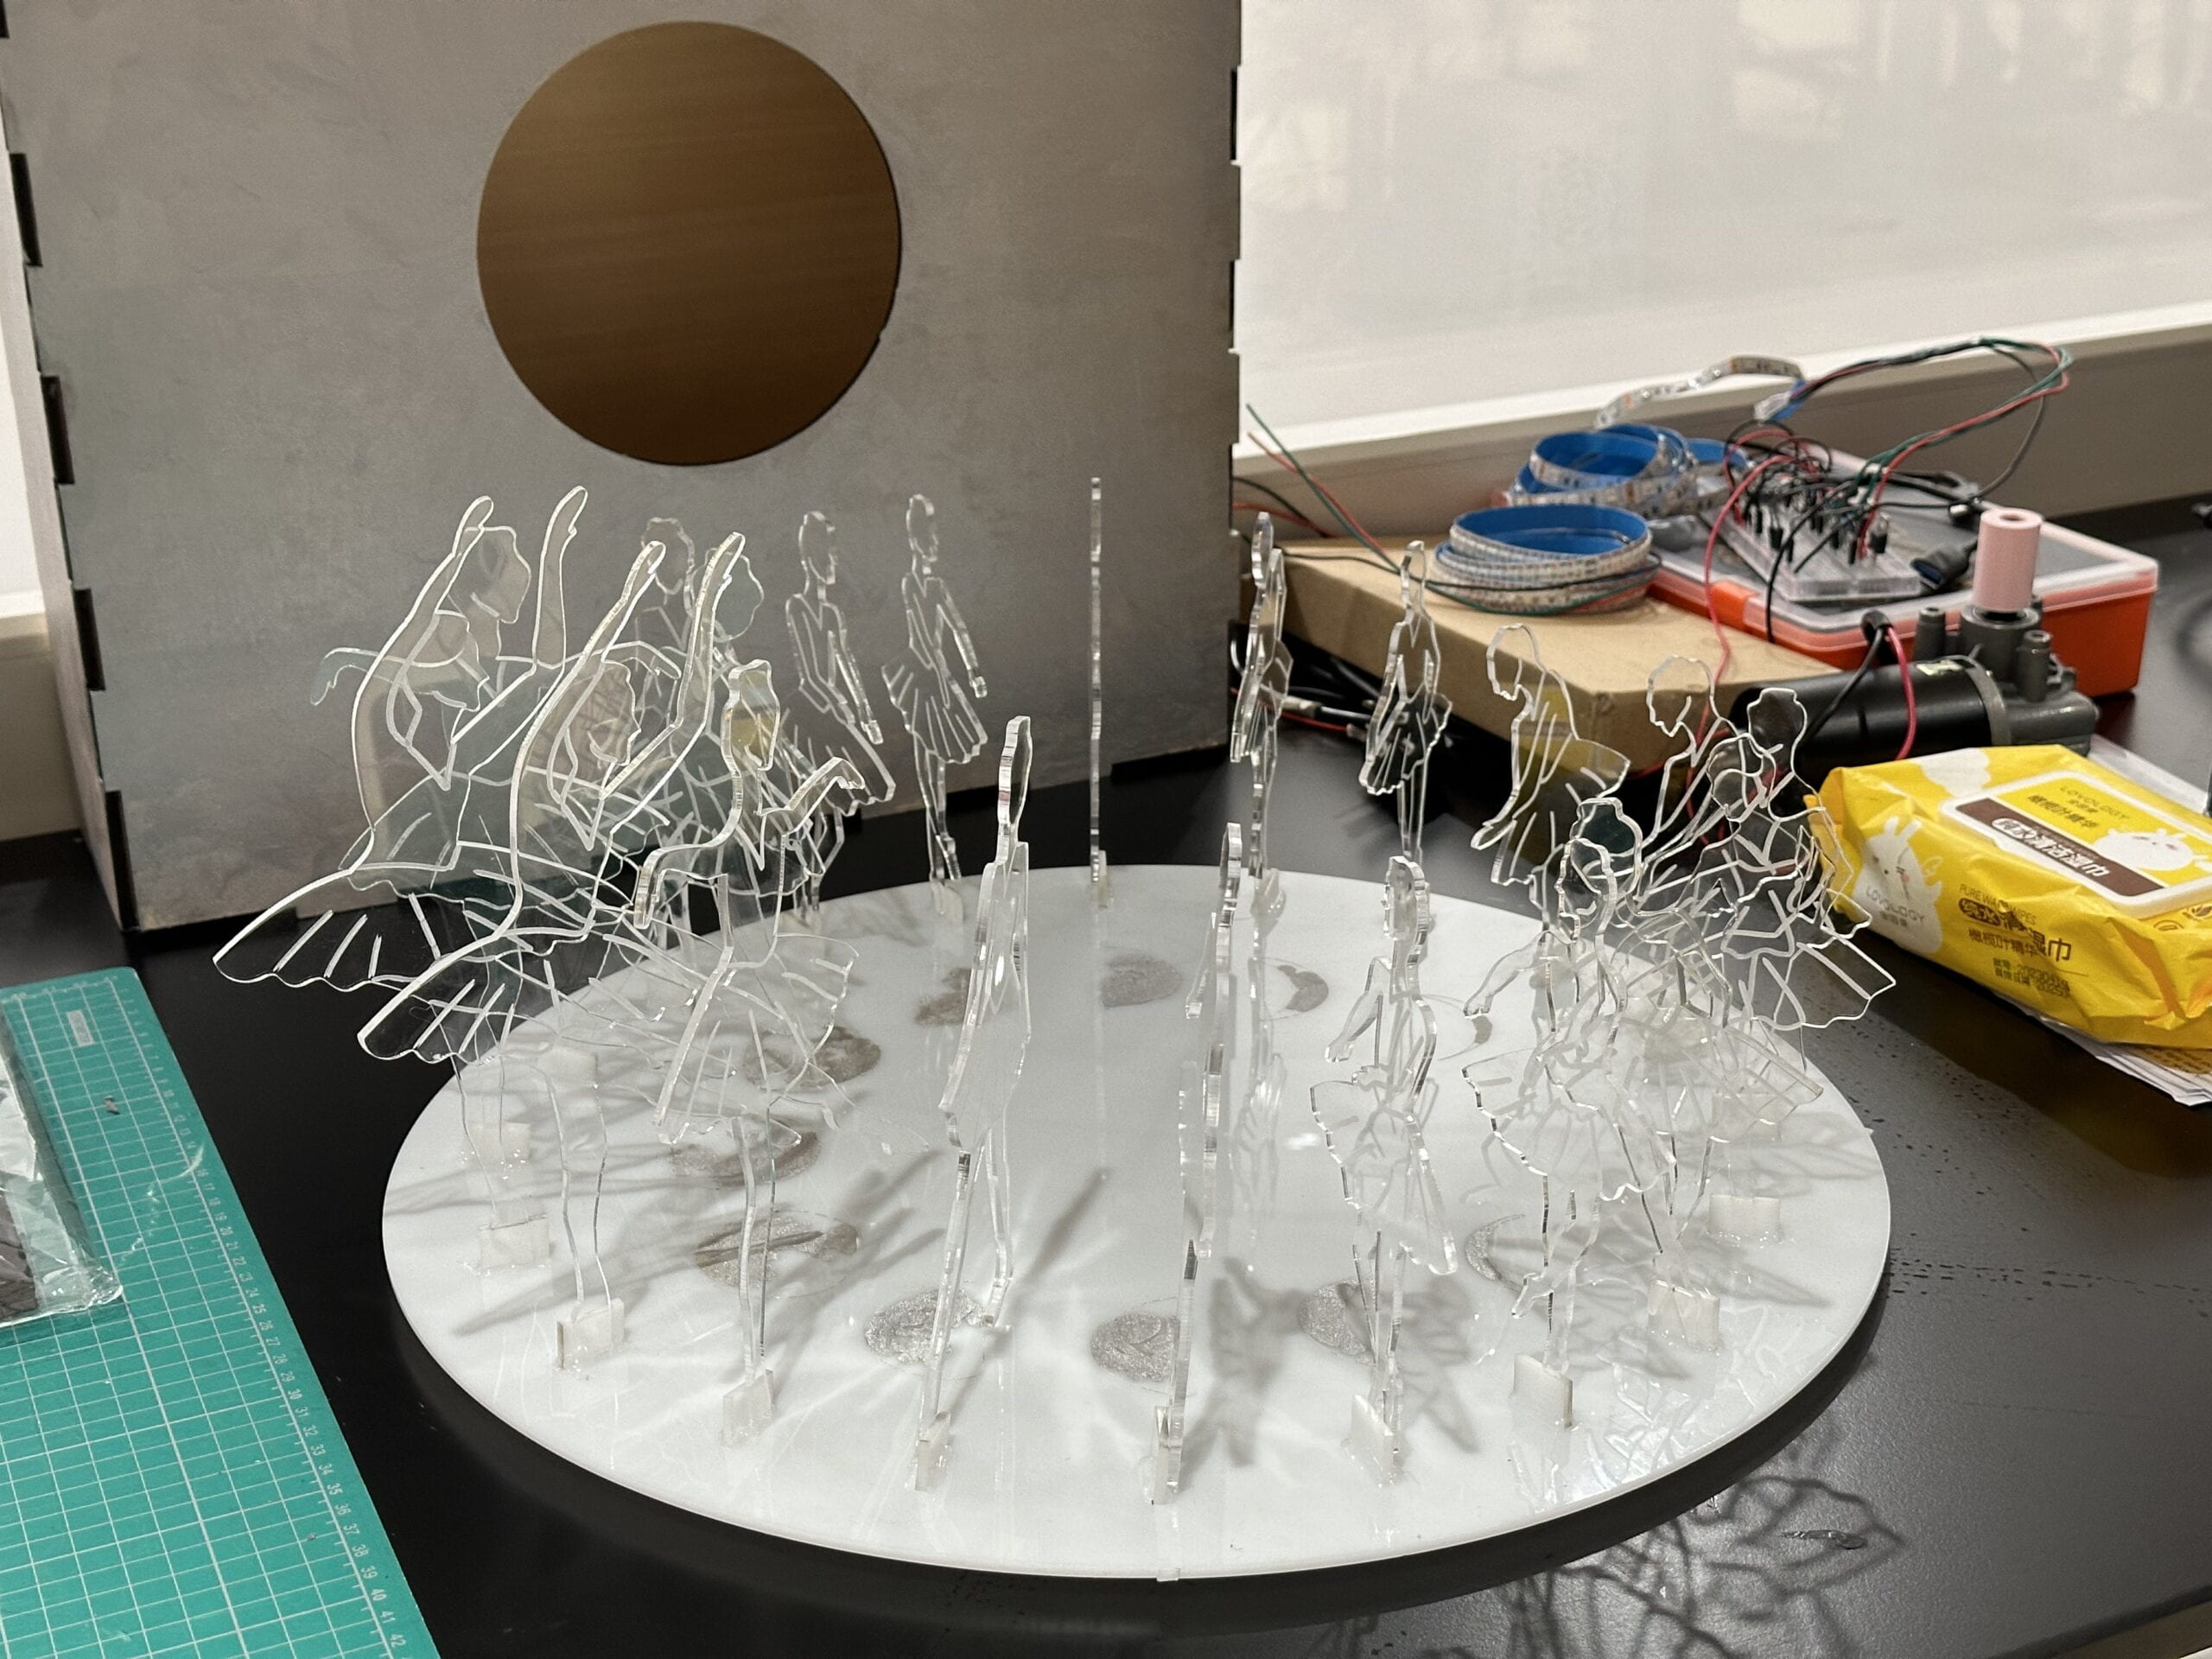
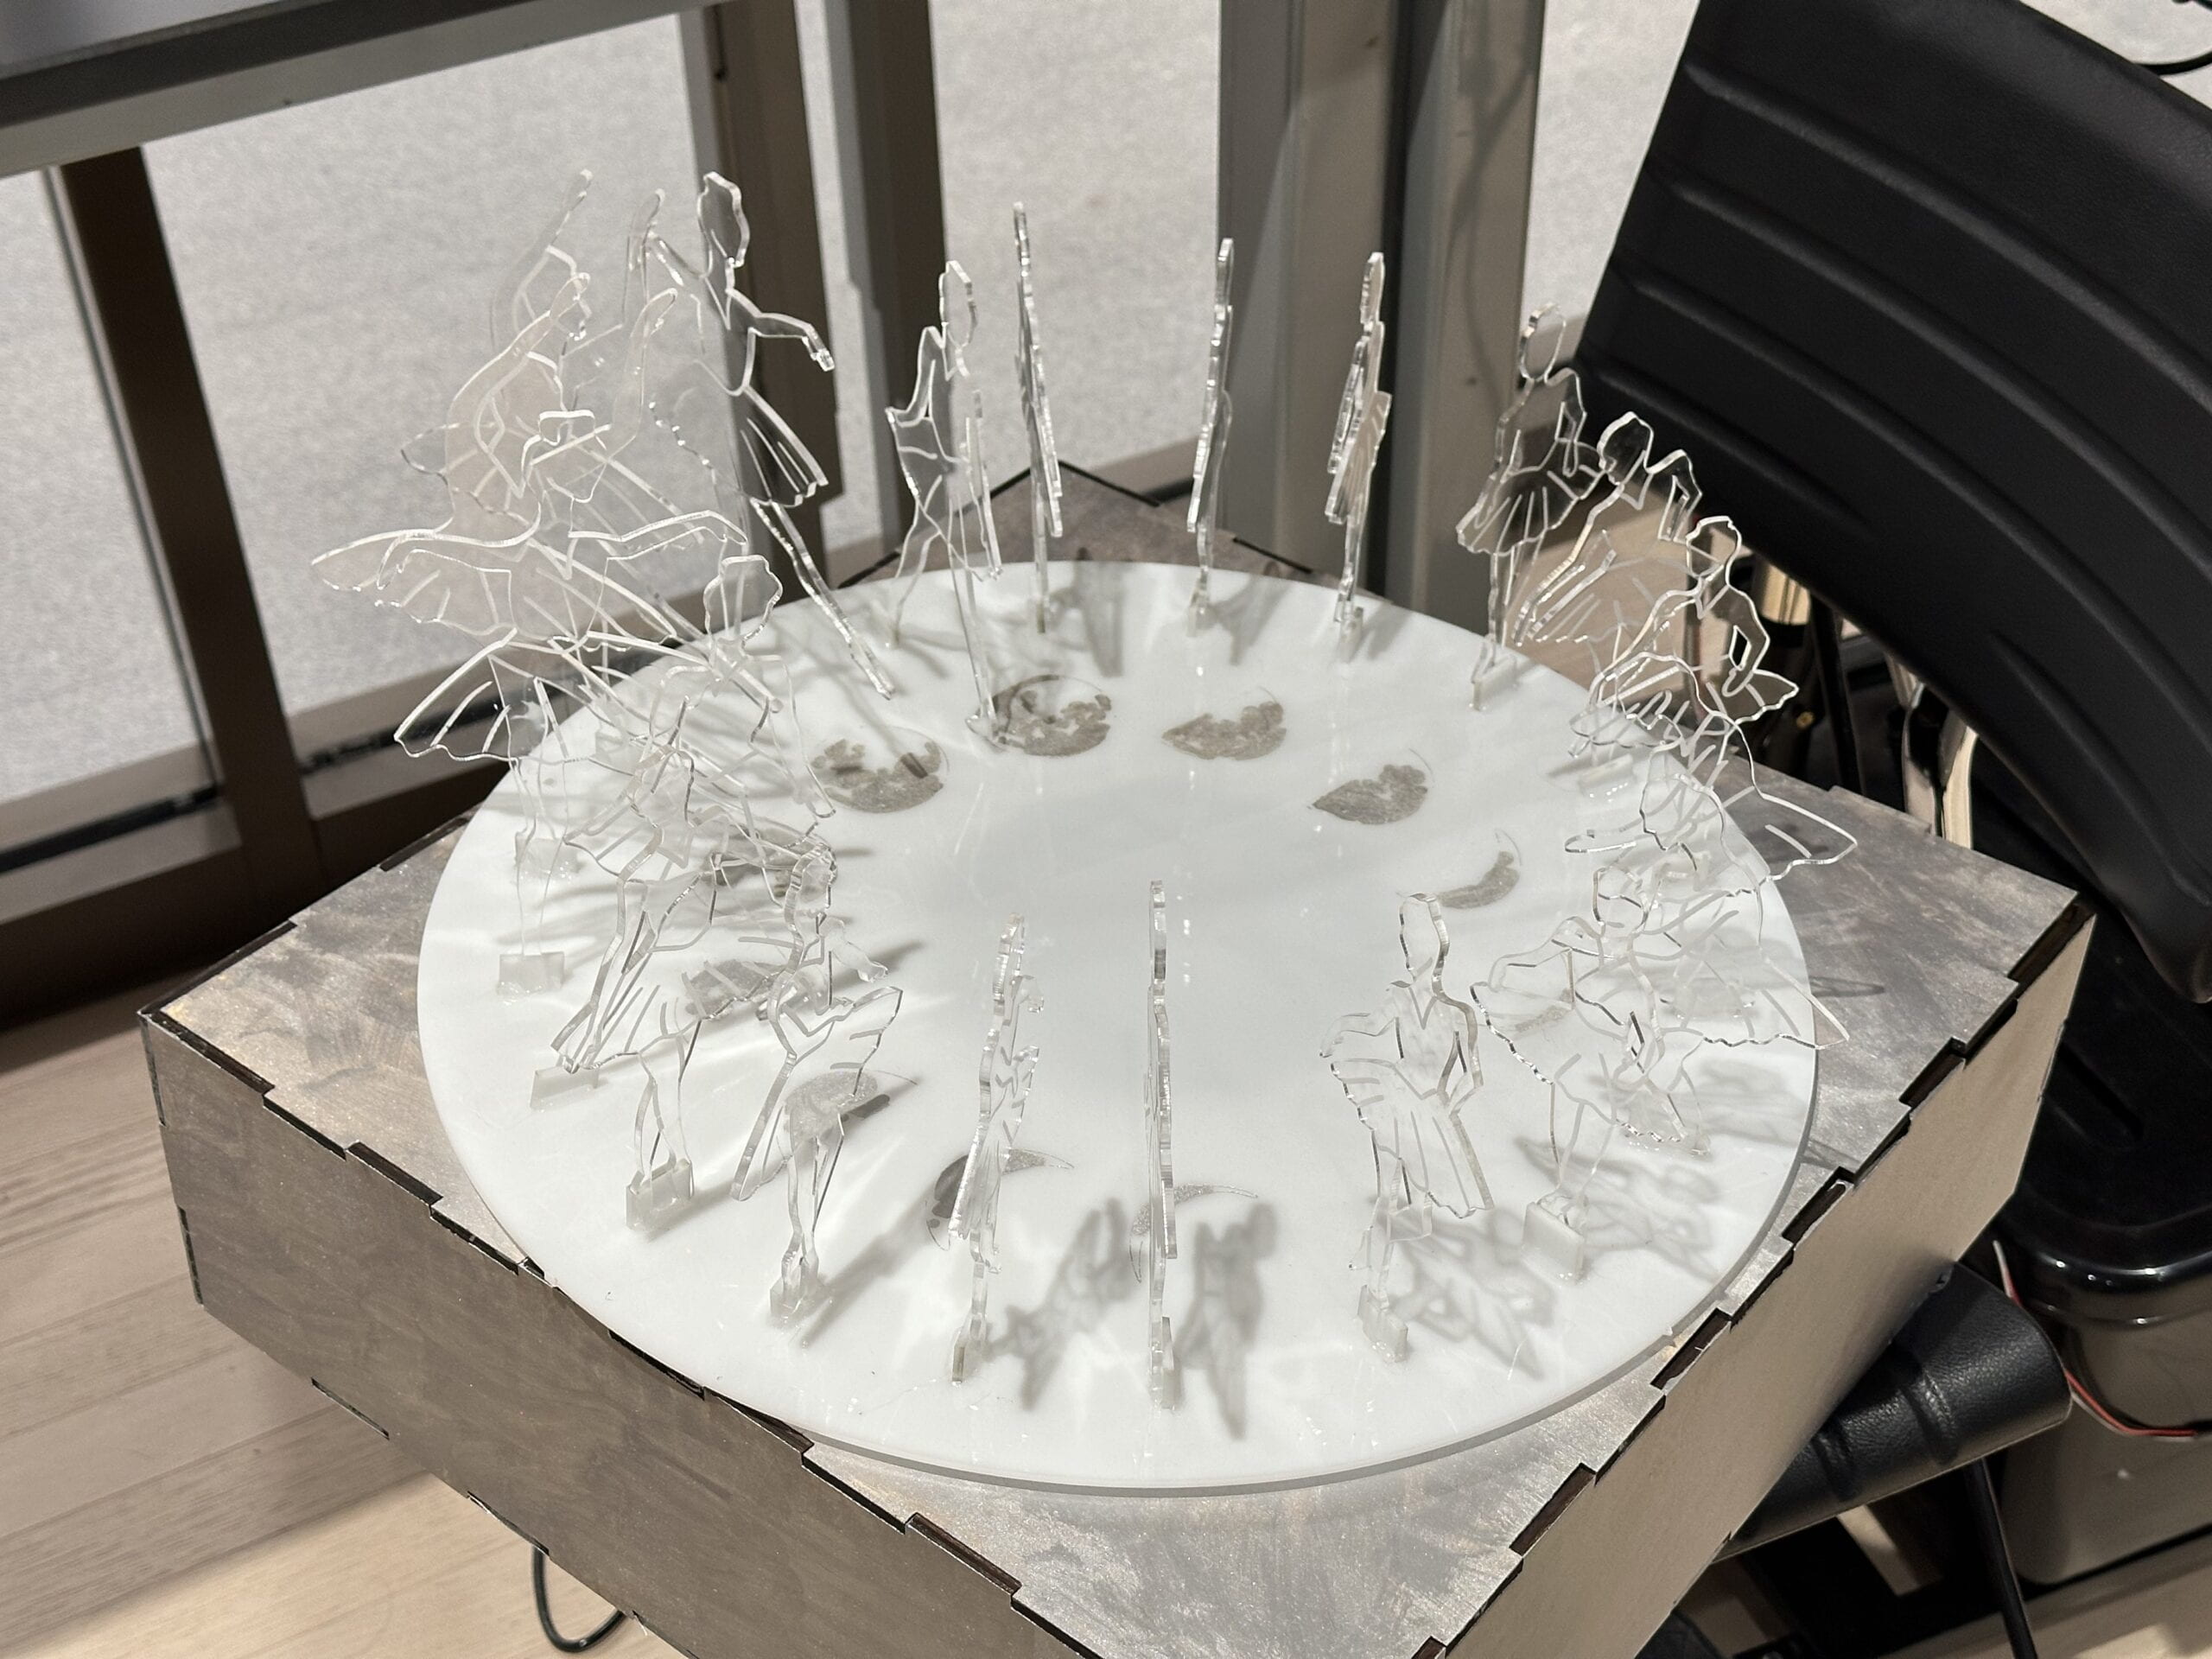
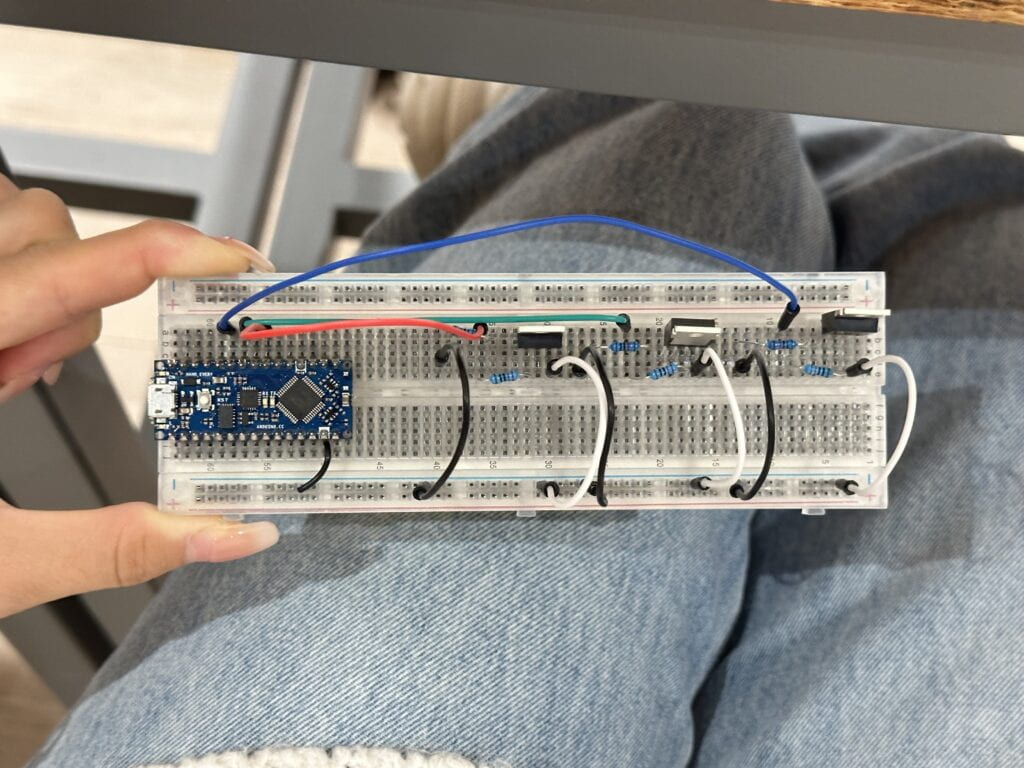
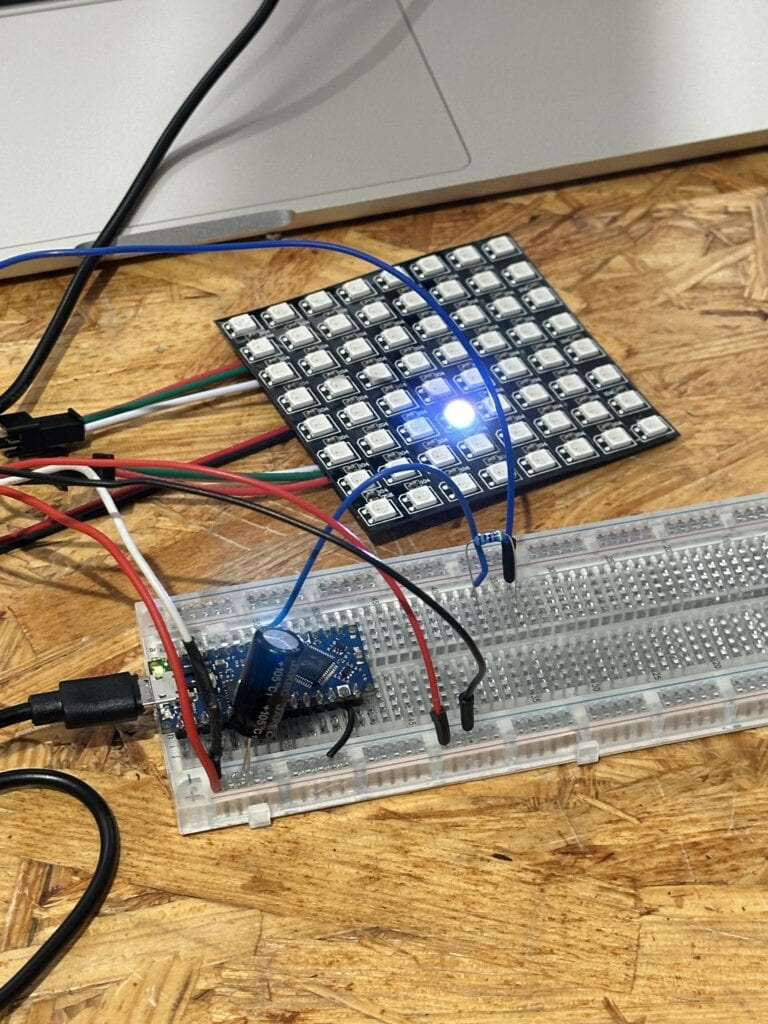
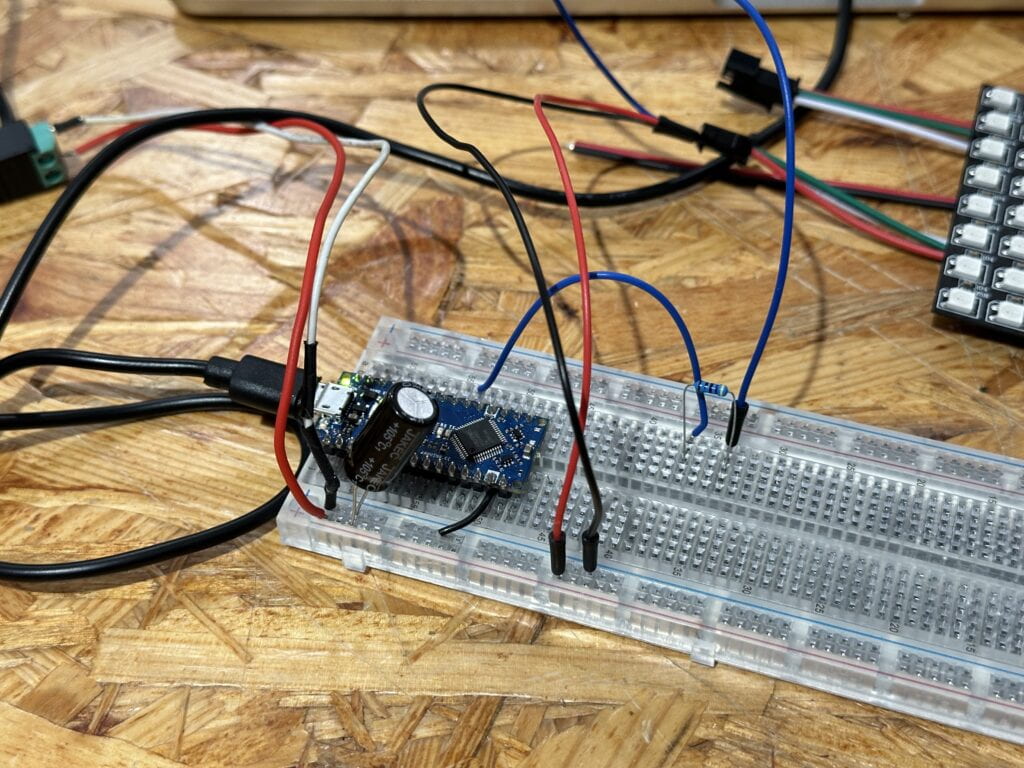
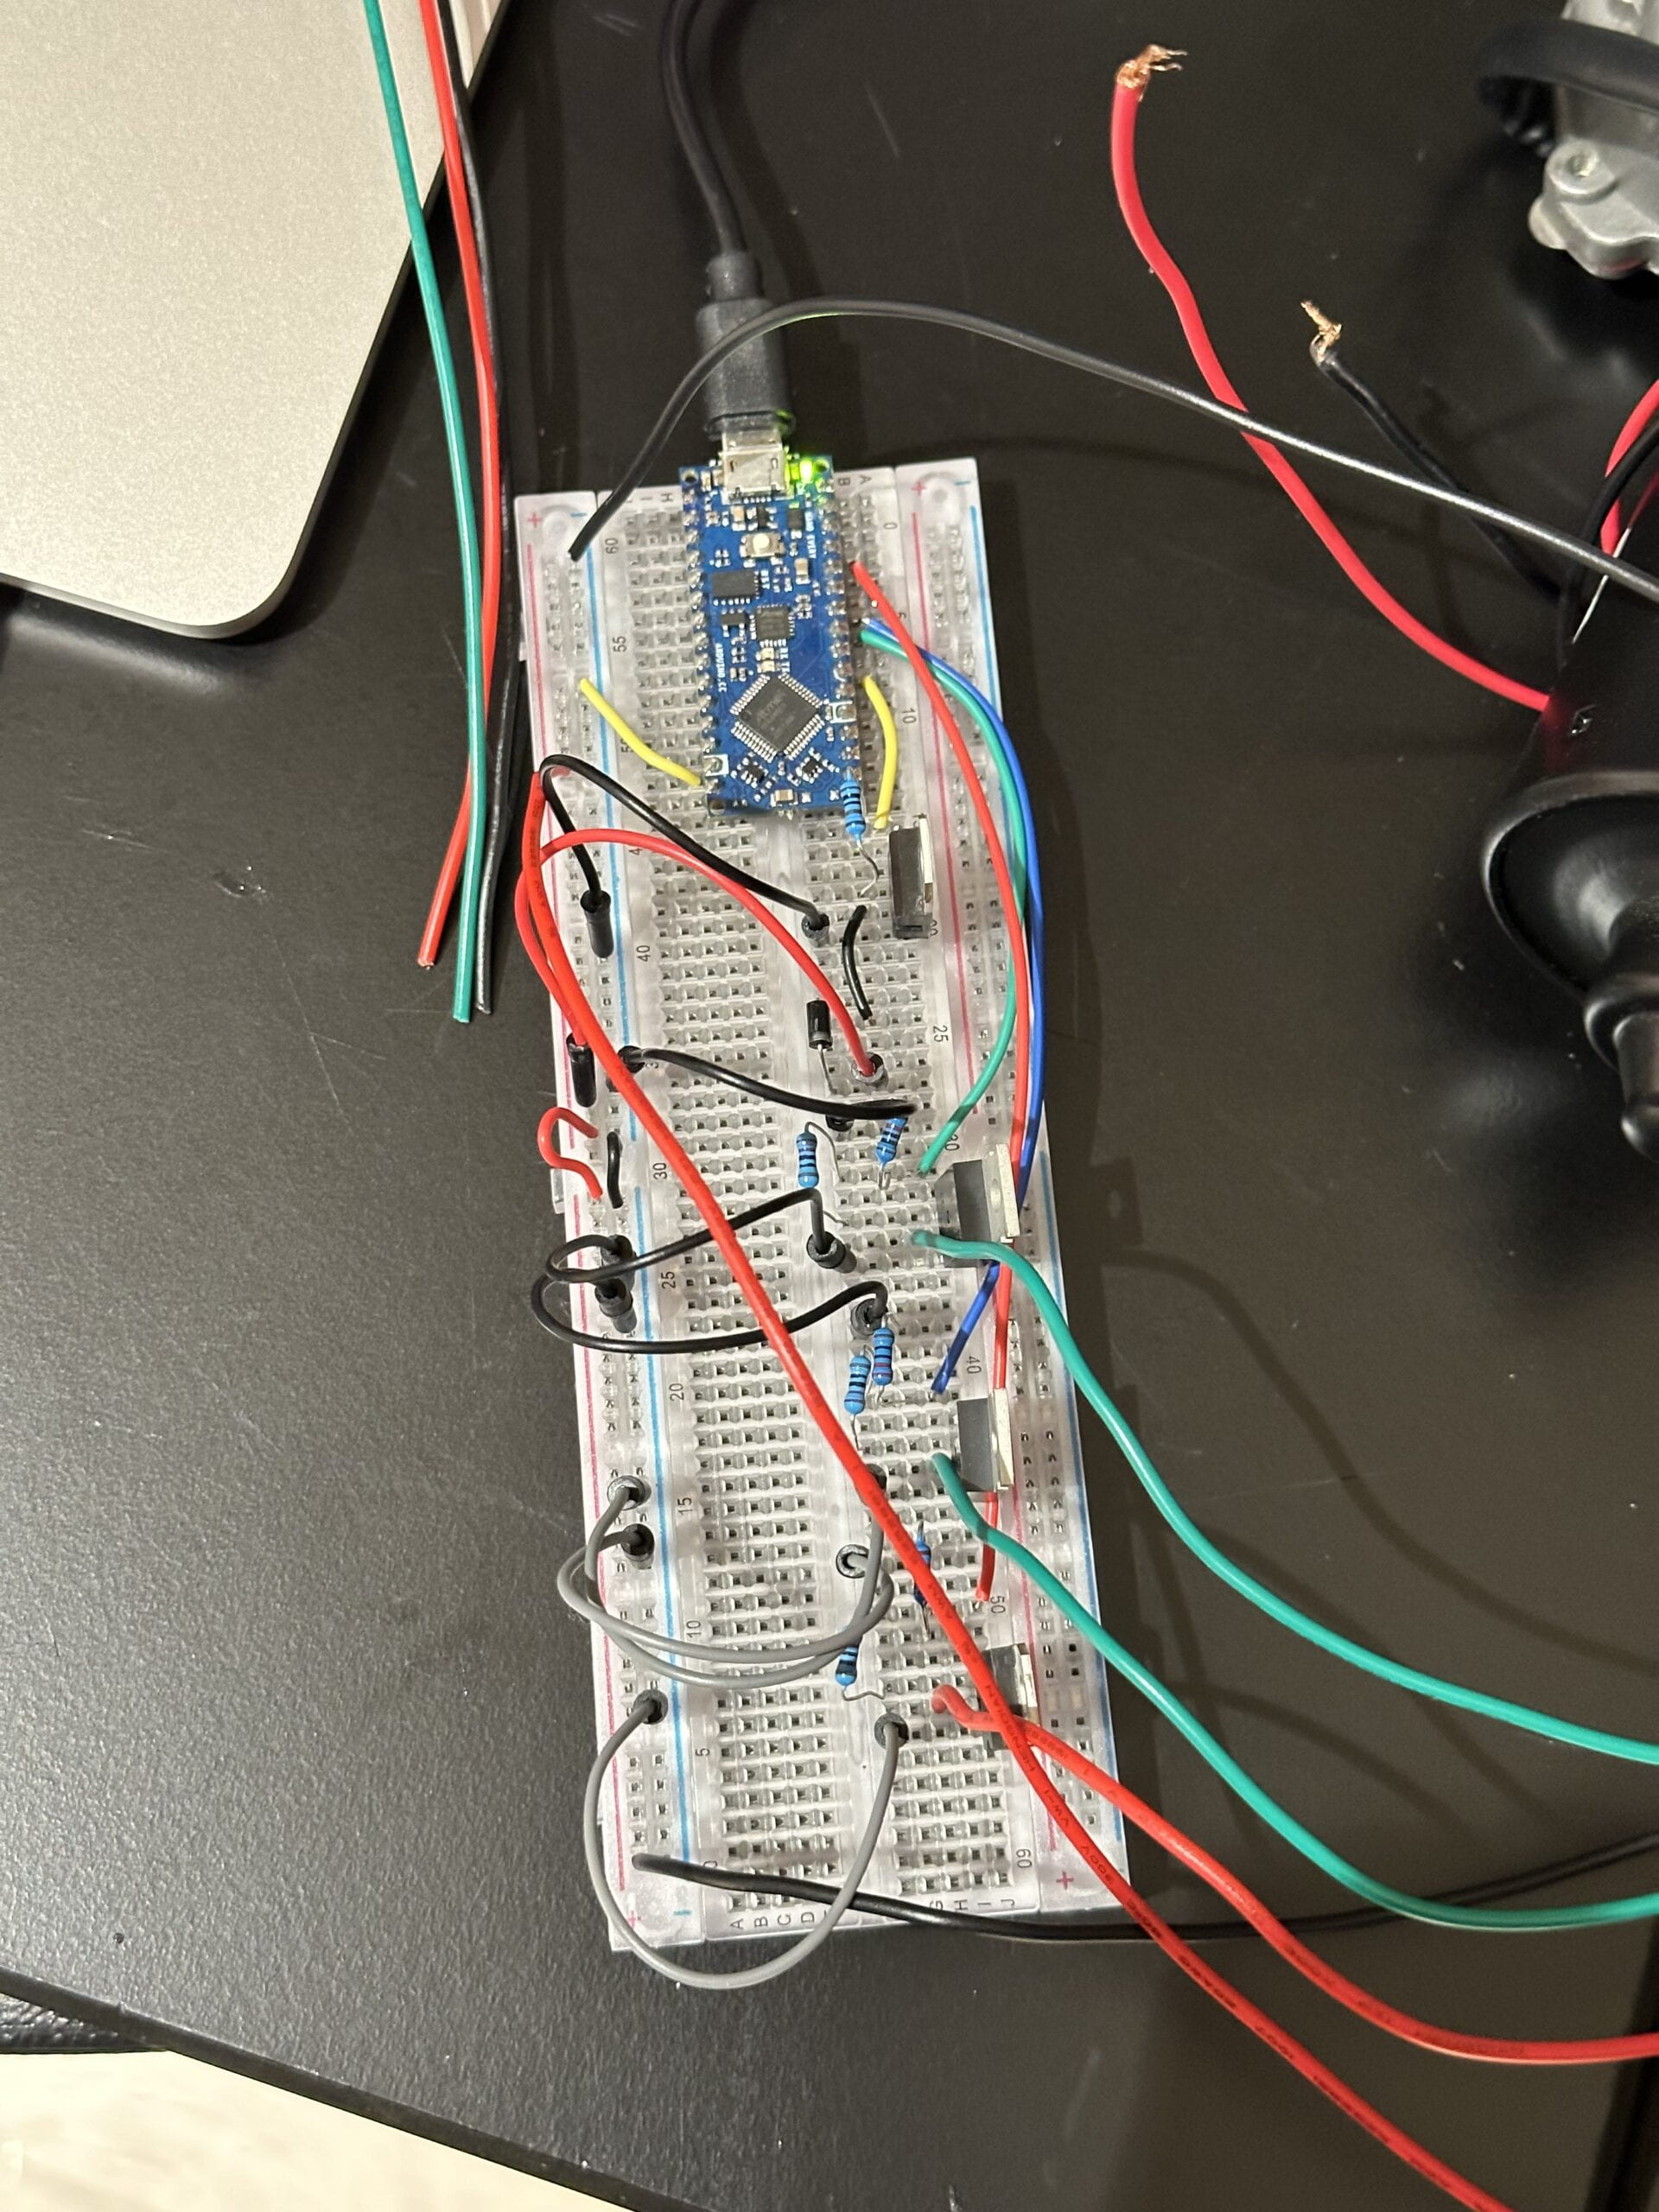
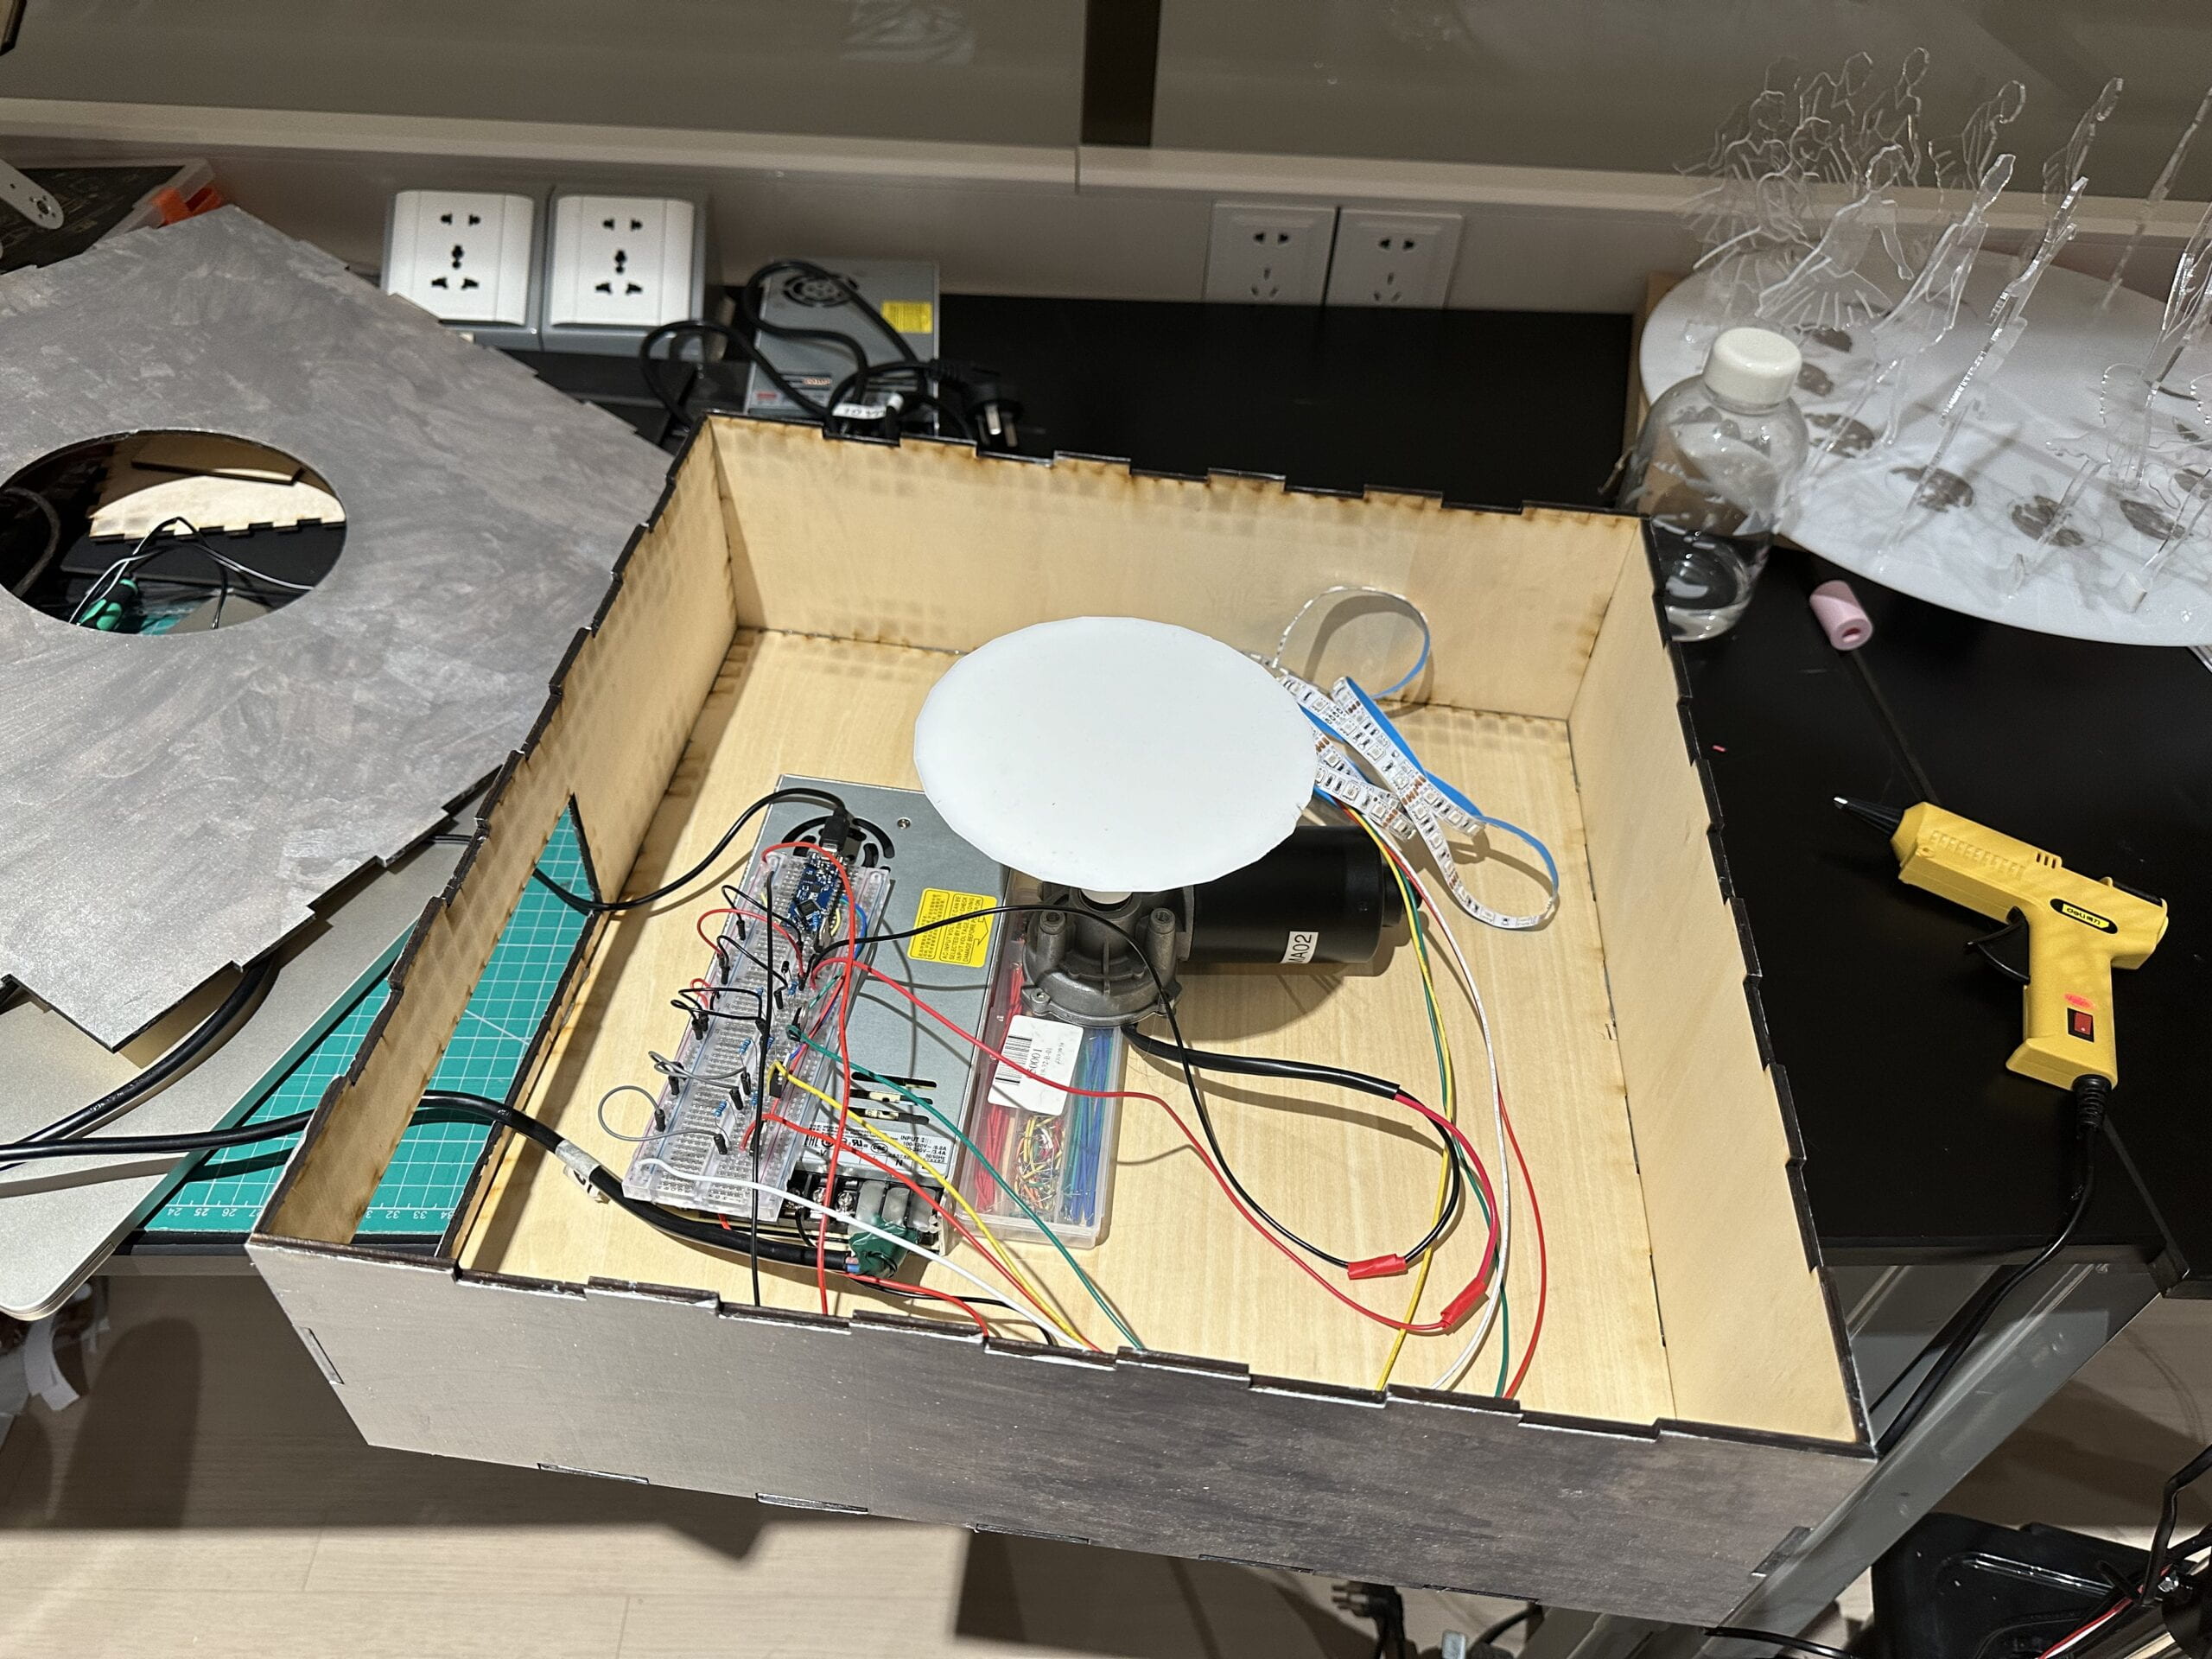
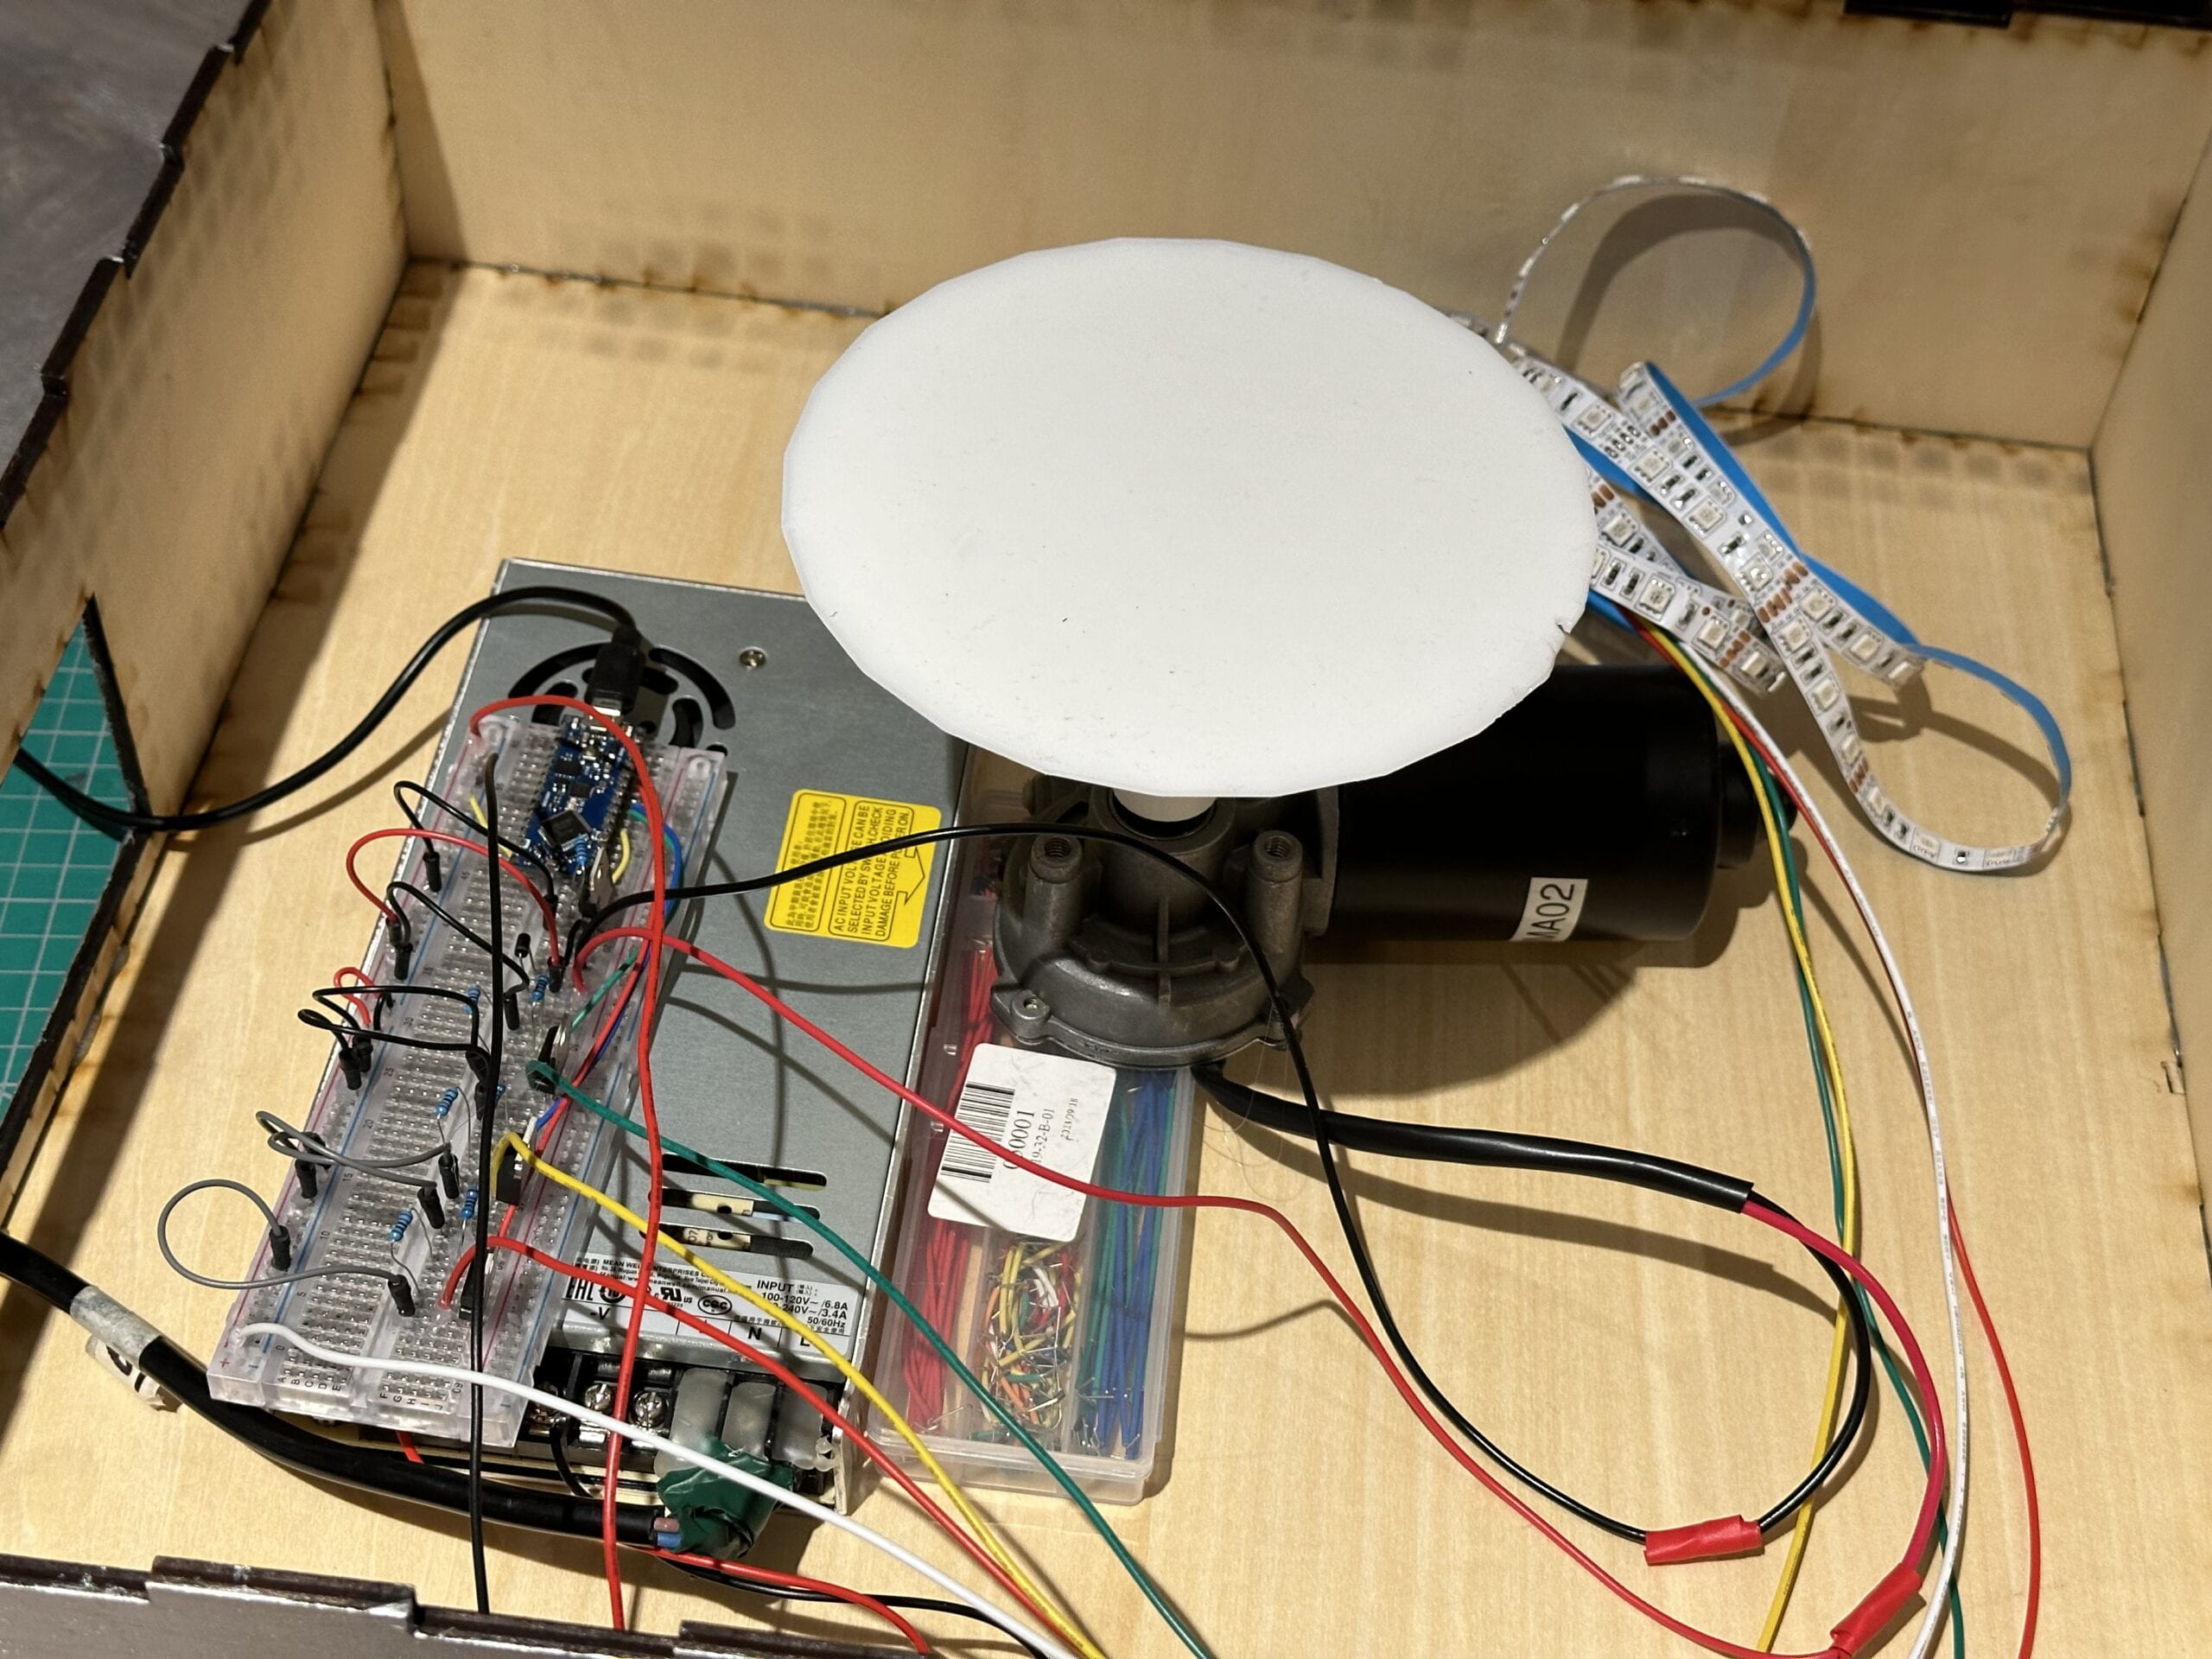
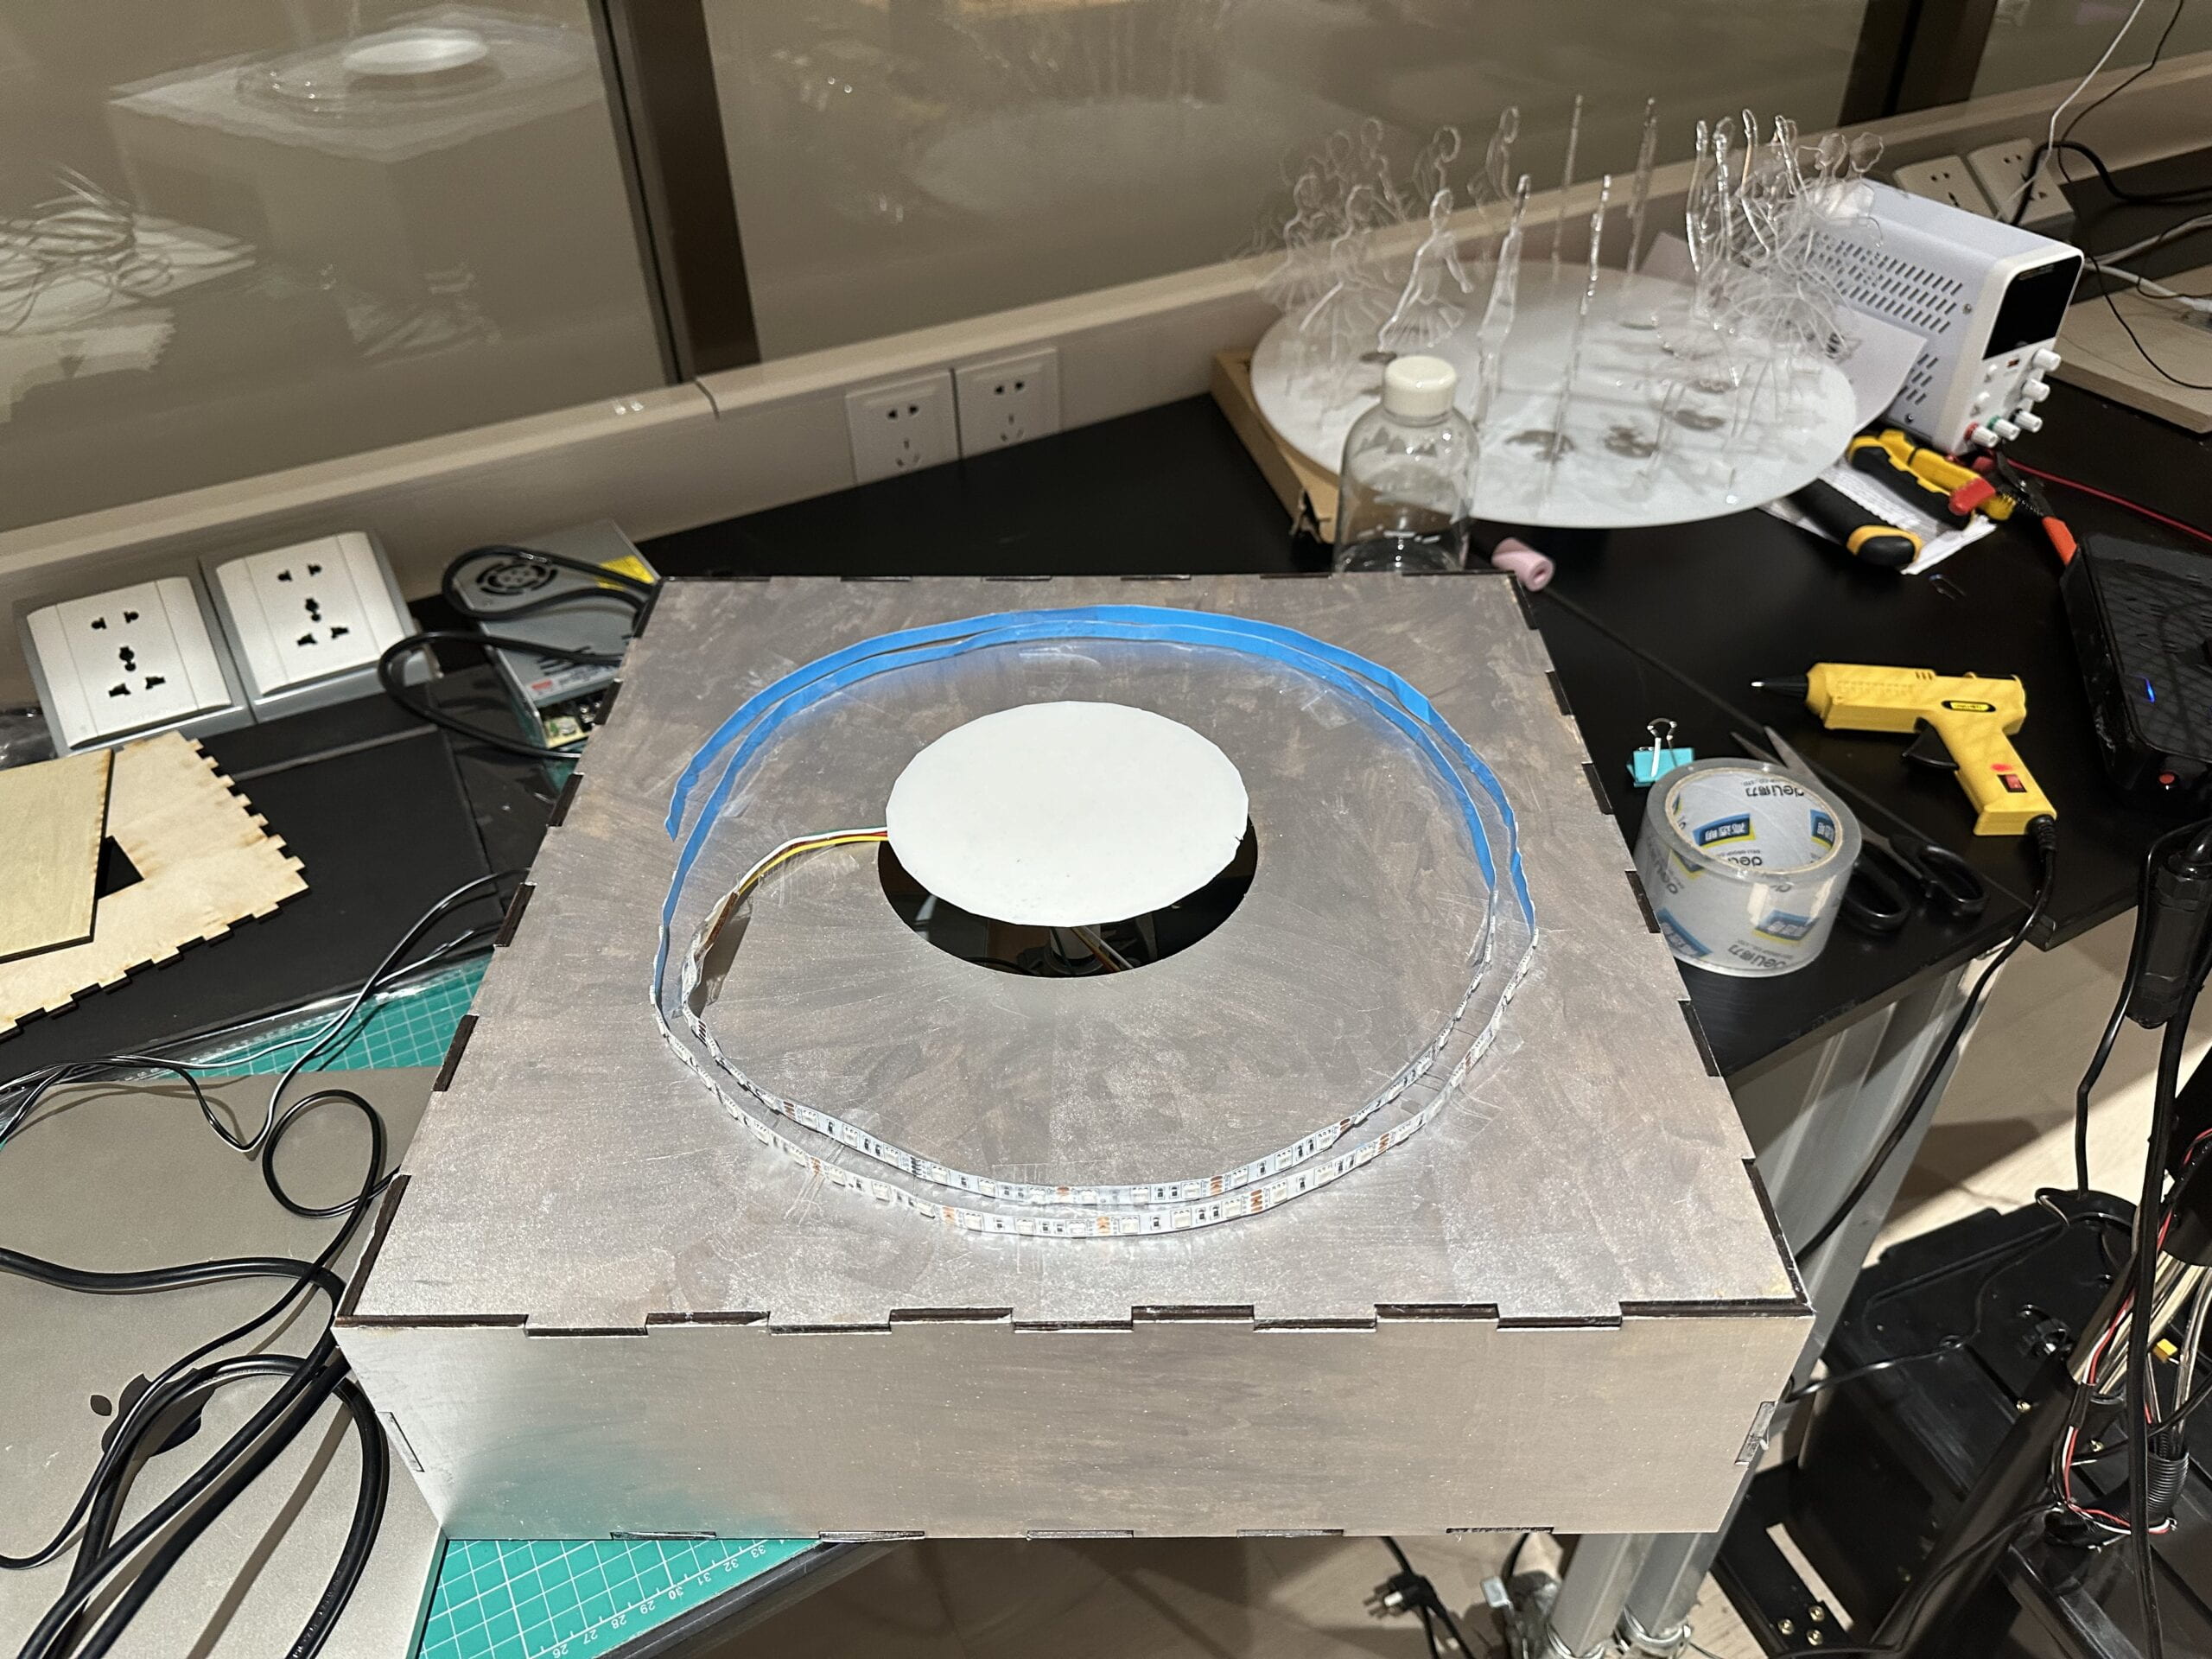
As I have finished my physical fabrication process, the next step is to build the circuit for both the motor and the LED strip and the motor and write the code. For the circuit, I just combined the circuits of a 12V DC motor and that of a 12V analog LED strip that were in the class slides. And for the code, I struggled a bit when I was trying to come up with patterns of the interactions between the strip and the motor, but overall the process went rather smoothly. I also employed 3D printing to generate a new shaft to fix on my motor and connect the motor and the acrylic board. Here I want to give my special thanks to my professor Eric Parren and the fabrication lab manager Dalin. Eric saved me from the soldering process which I failed multiple times, while Dalin patiently adjusted the 3D printing machine for me. Without their help I could never have finished building my project in such a smooth way.
Below are relevant pictures and the code:
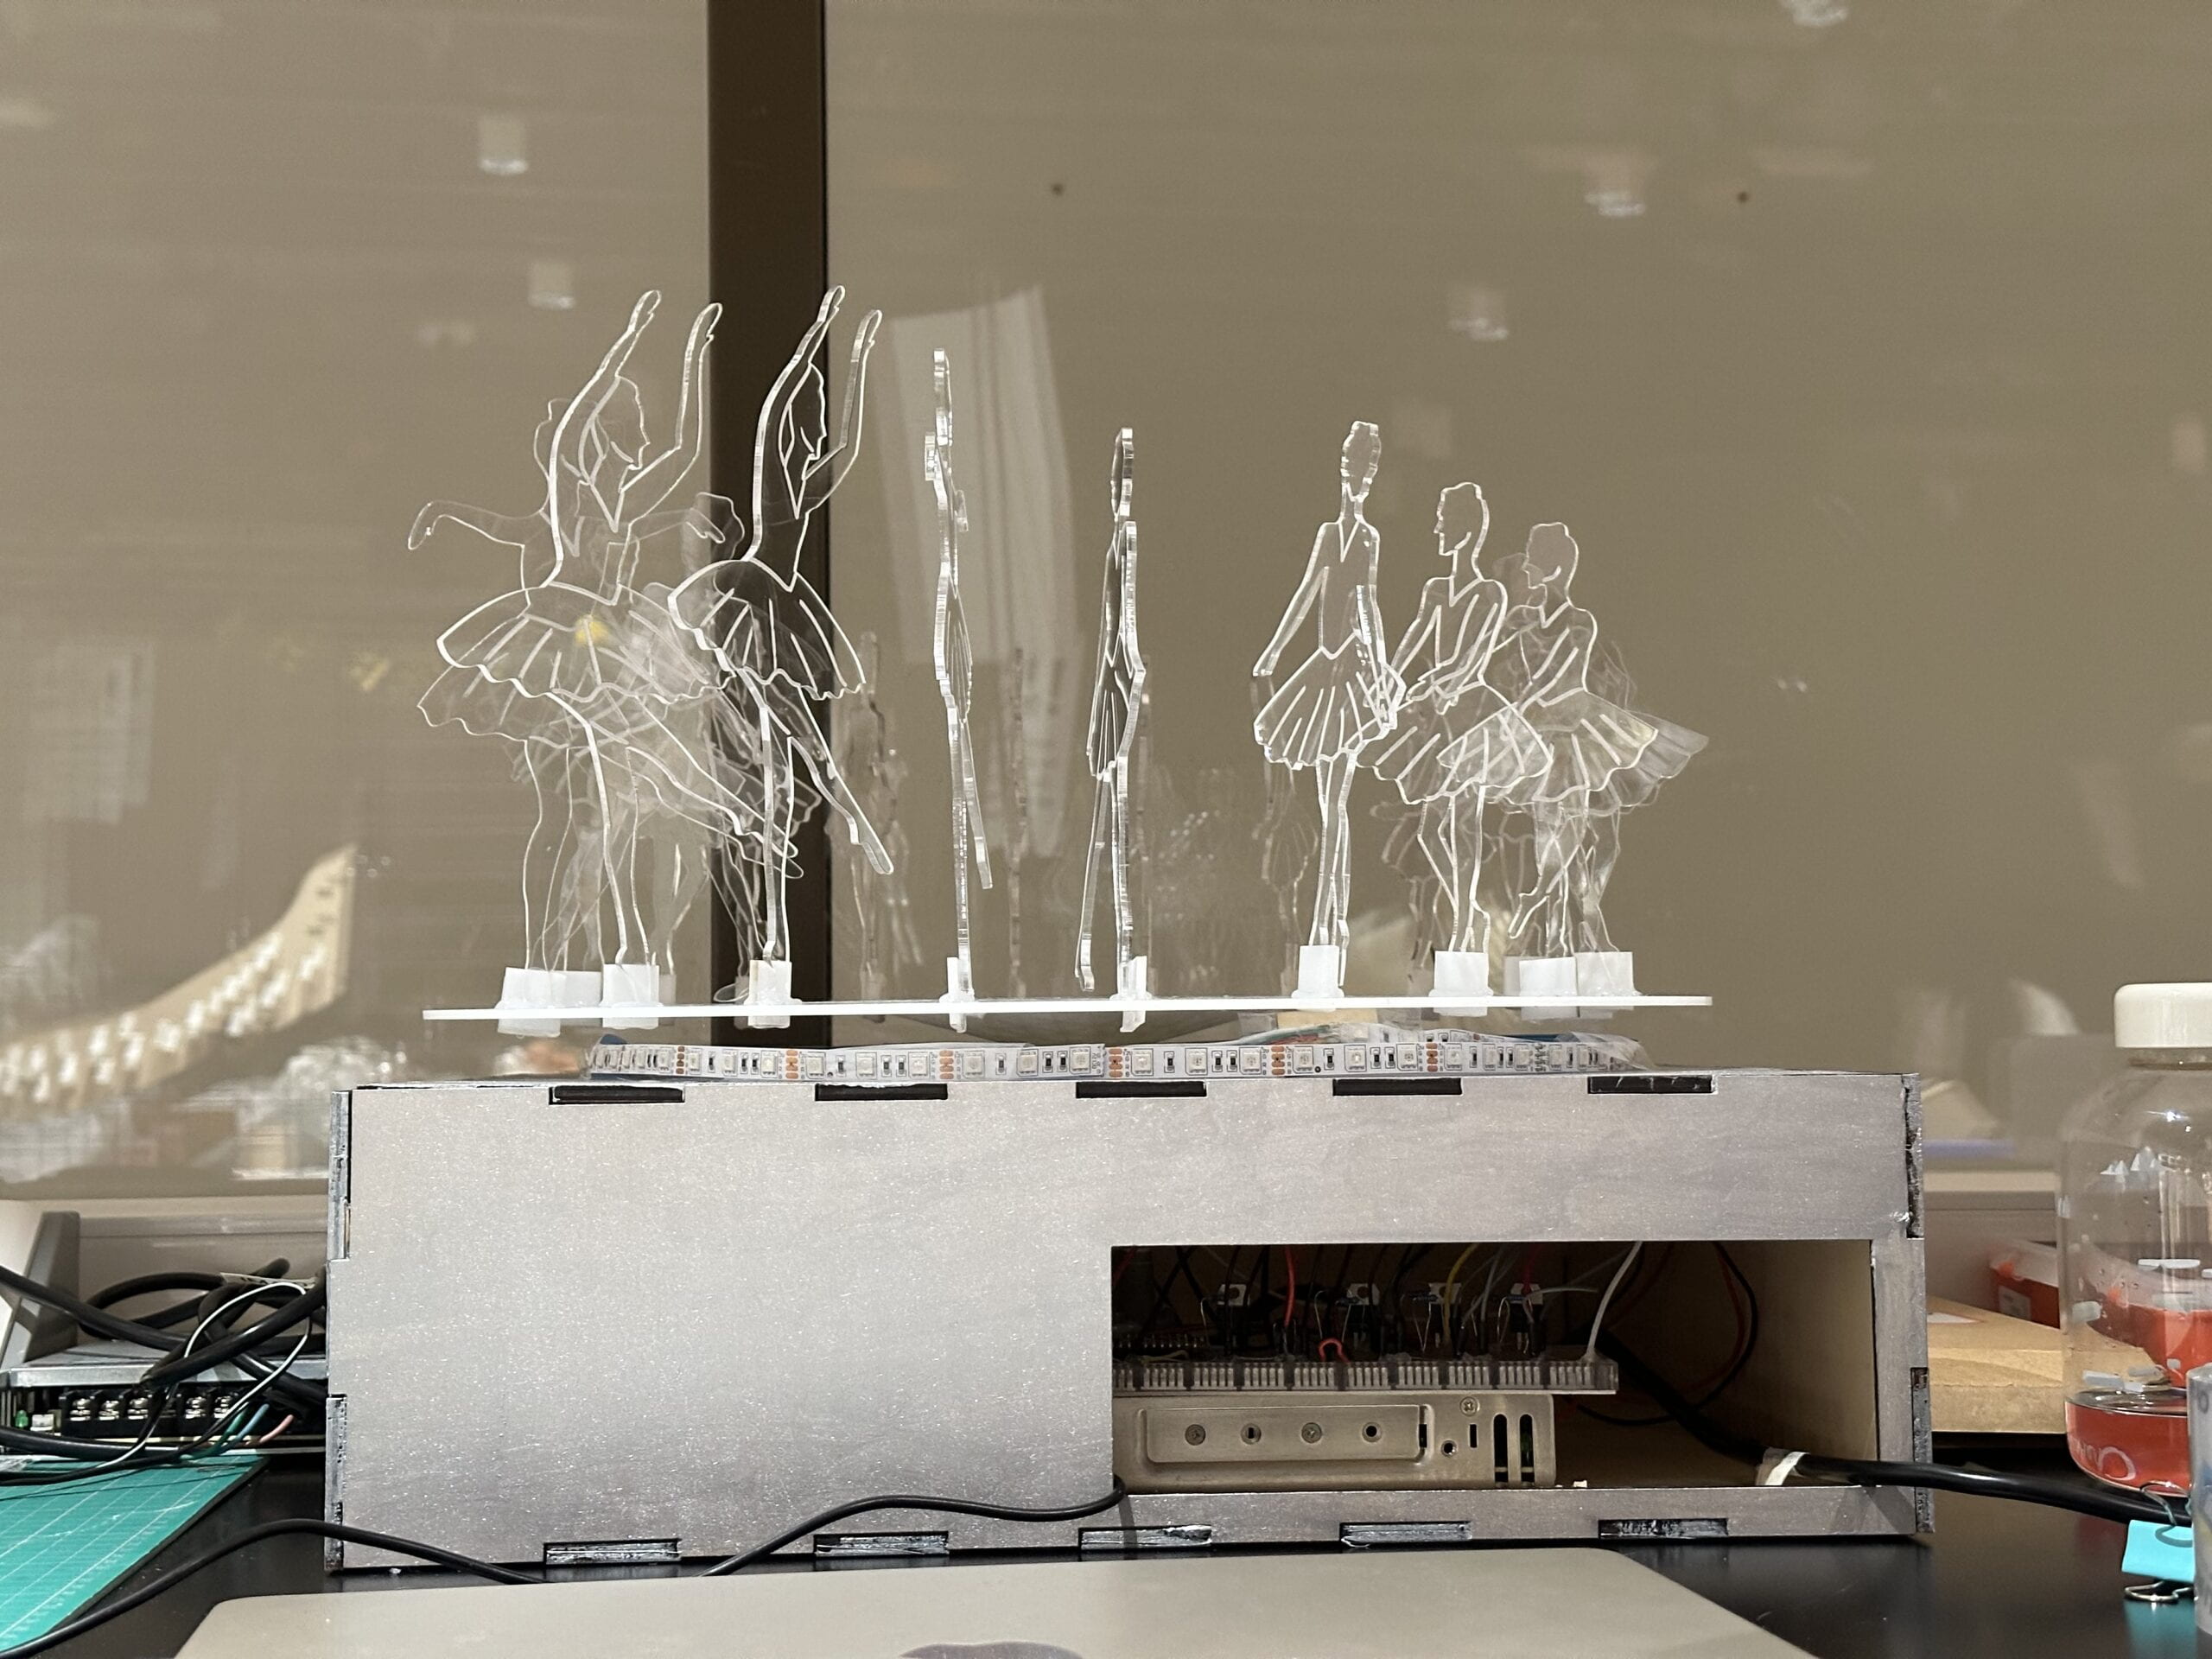
https://drive.google.com/file/d/1Zj58S85vD57IOe-aRFfoamDShaGEeDsR/view?usp=share_link
#include

#define MOTOR_PIN 3
#define RED_LED_PIN 9
#define BLUE_LED_PIN 6
#define GREEN_LED_PIN 5


void setup() {
  pinMode(MOTOR_PIN, OUTPUT);
  pinMode(RED_LED_PIN, OUTPUT);
  pinMode(BLUE_LED_PIN, OUTPUT);
  pinMode(GREEN_LED_PIN, OUTPUT);
}

void loop() {
  // Step 1: Motor turns for 10 seconds, LEDs fade on and off
  analogWrite(3, 90);
  for (int brightness = 0; brightness < 255; brightness++) { analogWrite(RED_LED_PIN, brightness); analogWrite(GREEN_LED_PIN, brightness); analogWrite(BLUE_LED_PIN, brightness); delay(19); // Adjust the delay to control the speed of fading } // Fade out white for (int brightness = 255; brightness > 0; brightness--) {
    analogWrite(RED_LED_PIN, brightness);
    analogWrite(GREEN_LED_PIN, brightness);
    analogWrite(BLUE_LED_PIN, brightness);
    delay(19);
  }

  // Step 2: Motor slower for 10 seconds, LEDs stays on
  analogWrite(3, 70);
  analogWrite(RED_LED_PIN, 255);
  analogWrite(BLUE_LED_PIN, 255);
  analogWrite(GREEN_LED_PIN, 255);
  delay(10000);

  // Step 3: Motor turns on and off for 10 seconds, LEDs blinks for 10 seconds
  analogWrite(3, 80);
  digitalWrite(RED_LED_PIN, LOW);
  digitalWrite(BLUE_LED_PIN, LOW);
  digitalWrite(GREEN_LED_PIN, LOW);
  delay(1000);
  digitalWrite(3, LOW);
  analogWrite(RED_LED_PIN, 255);
  analogWrite(BLUE_LED_PIN, 255);
  analogWrite(GREEN_LED_PIN, 255);
  delay(1000);
  analogWrite(3, 80);
  digitalWrite(RED_LED_PIN, LOW);
  digitalWrite(BLUE_LED_PIN, LOW);
  digitalWrite(GREEN_LED_PIN, LOW);
  delay(1000);
  digitalWrite(3, LOW);
  analogWrite(RED_LED_PIN, 255);
  analogWrite(BLUE_LED_PIN, 255);
  analogWrite(GREEN_LED_PIN, 255);
  delay(1000);
  analogWrite(3, 80);
  digitalWrite(RED_LED_PIN, LOW);
  digitalWrite(BLUE_LED_PIN, LOW);
  digitalWrite(GREEN_LED_PIN, LOW);
  delay(1000);
  digitalWrite(3, LOW);
  analogWrite(RED_LED_PIN, 255);
  analogWrite(BLUE_LED_PIN, 255);
  analogWrite(GREEN_LED_PIN, 255);
  delay(1000);
  analogWrite(3, 80);
  digitalWrite(RED_LED_PIN, LOW);
  digitalWrite(BLUE_LED_PIN, LOW);
  digitalWrite(GREEN_LED_PIN, LOW);
  delay(1000);
  digitalWrite(3, LOW);
  analogWrite(RED_LED_PIN, 255);
  analogWrite(BLUE_LED_PIN, 255);
  analogWrite(GREEN_LED_PIN, 255);
  delay(1000);
  analogWrite(3, 80);
  digitalWrite(RED_LED_PIN, LOW);
  digitalWrite(BLUE_LED_PIN, LOW);
  digitalWrite(GREEN_LED_PIN, LOW);
  delay(1000);
  digitalWrite(3, LOW);
  analogWrite(RED_LED_PIN, 255);
  analogWrite(BLUE_LED_PIN, 255);
  analogWrite(GREEN_LED_PIN, 255);
  delay(1000);

  // Step 4: Motor spins fast for 10 seconds, LEDs blink five times
  analogWrite(3, 150);
  analogWrite(RED_LED_PIN, 255);
  analogWrite(BLUE_LED_PIN, 255);
  analogWrite(GREEN_LED_PIN, 255);
  delay(1000);
  digitalWrite(RED_LED_PIN, LOW);
  digitalWrite(BLUE_LED_PIN, LOW);
  digitalWrite(GREEN_LED_PIN, LOW);
  delay(1000);

  analogWrite(RED_LED_PIN, 255);
  analogWrite(BLUE_LED_PIN, 255);
  analogWrite(GREEN_LED_PIN, 255);
  delay(1000);
  digitalWrite(RED_LED_PIN, LOW);
  digitalWrite(BLUE_LED_PIN, LOW);
  digitalWrite(GREEN_LED_PIN, LOW);
  delay(1000);

  analogWrite(RED_LED_PIN, 255);
  analogWrite(BLUE_LED_PIN, 255);
  analogWrite(GREEN_LED_PIN, 255);
  delay(1000);
  digitalWrite(RED_LED_PIN, LOW);
  digitalWrite(BLUE_LED_PIN, LOW);
  digitalWrite(GREEN_LED_PIN, LOW);
  delay(1000);

  analogWrite(RED_LED_PIN, 255);
  analogWrite(BLUE_LED_PIN, 255);
  analogWrite(GREEN_LED_PIN, 255);
  delay(1000);
  digitalWrite(RED_LED_PIN, LOW);
  digitalWrite(BLUE_LED_PIN, LOW);
  digitalWrite(GREEN_LED_PIN, LOW);
  delay(1000);

  analogWrite(RED_LED_PIN, 255);
  analogWrite(BLUE_LED_PIN, 255);
  analogWrite(GREEN_LED_PIN, 255);
  delay(1000);
  digitalWrite(RED_LED_PIN, LOW);
  digitalWrite(BLUE_LED_PIN, LOW);
  digitalWrite(GREEN_LED_PIN, LOW);
  delay(1000);


  // Step 5: Motor on for 10 seconds, whole strip fades
  analogWrite(3, 100);
  for (int brightness = 0; brightness < 255; brightness++) { analogWrite(RED_LED_PIN, brightness); analogWrite(GREEN_LED_PIN, brightness); analogWrite(BLUE_LED_PIN, brightness); delay(19); // Adjust the delay to control the speed of fading } // Fade out white for (int brightness = 255; brightness > 0; brightness--) {
    analogWrite(RED_LED_PIN, brightness);
    analogWrite(GREEN_LED_PIN, brightness);
    analogWrite(BLUE_LED_PIN, brightness);
    delay(19);
  }

  // Step 6: Motor off for 10 seconds, LEDs blink twice and stays on
  digitalWrite(3, LOW);
  analogWrite(RED_LED_PIN, 255);
  analogWrite(BLUE_LED_PIN, 255);
  analogWrite(GREEN_LED_PIN, 255);
  delay(1000);
  digitalWrite(RED_LED_PIN, LOW);
  digitalWrite(BLUE_LED_PIN, LOW);
  digitalWrite(GREEN_LED_PIN, LOW);
  delay(1000);
  analogWrite(RED_LED_PIN, 255);
  analogWrite(BLUE_LED_PIN, 255);
  analogWrite(GREEN_LED_PIN, 255);
  delay(1000);
  digitalWrite(RED_LED_PIN, LOW);
  digitalWrite(BLUE_LED_PIN, LOW);
  digitalWrite(GREEN_LED_PIN, LOW);
  delay(1000);
  analogWrite(RED_LED_PIN, 255);
  analogWrite(BLUE_LED_PIN, 255);
  analogWrite(GREEN_LED_PIN, 255);
  delay(6000);
}
After I have finished the fabrication, resembling, and coding part, the building process of my project has come to an end. Basically, the movement of the motor will continue for a long time, but the speed and the rhythm of spinning will vary. I have also added a longer pause after each round of movements to symbolize the rest of the ballet dancers as well as the lunar eclipse. The light effect is decided based on the kinetic part, and I interlaced the light and the motion intentionally to make sure that the interaction is neither too boring nor too distracting. As suggested by my professor, the project does not aim at creating an interactive experience between the project itself and the audience. Instead, it should be designed as an intriguing kinetic light sculpture which can catch the attention of the audience. The audience can stand either near it or afar to feel the atmosphere and emotions that are brought about by the installation, and that is my purpose as well. I hope that by looking at the endless dancers and immersing oneself in the kinetic light dream, one can have a glance into the wax and wane of the lunar phase as well as the emotions of the dancers.
IV. Presentation
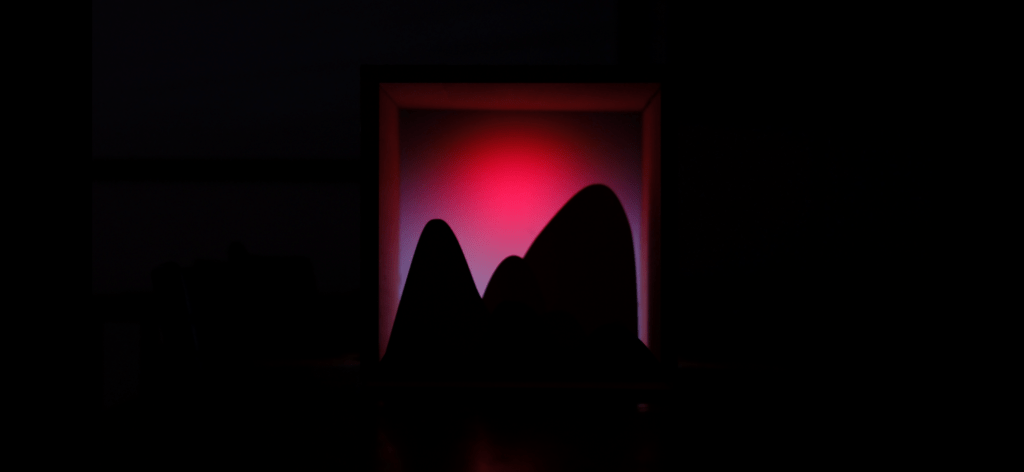
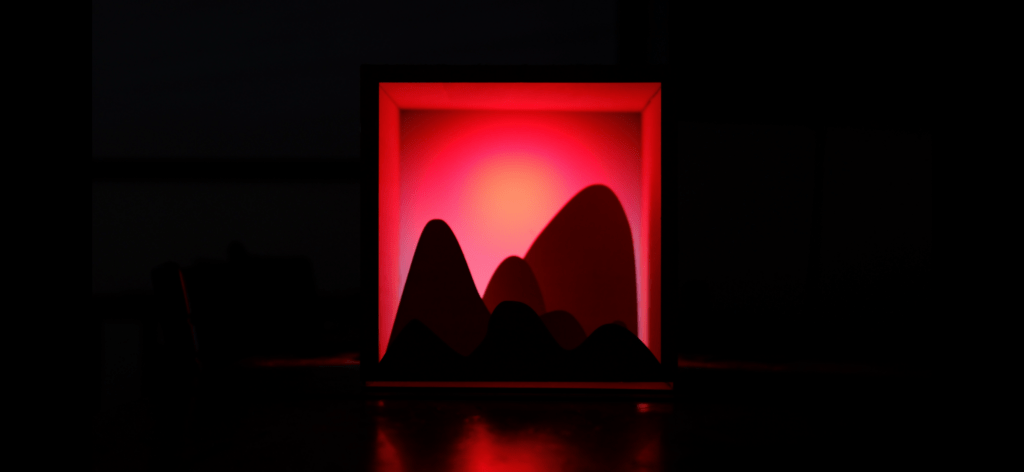
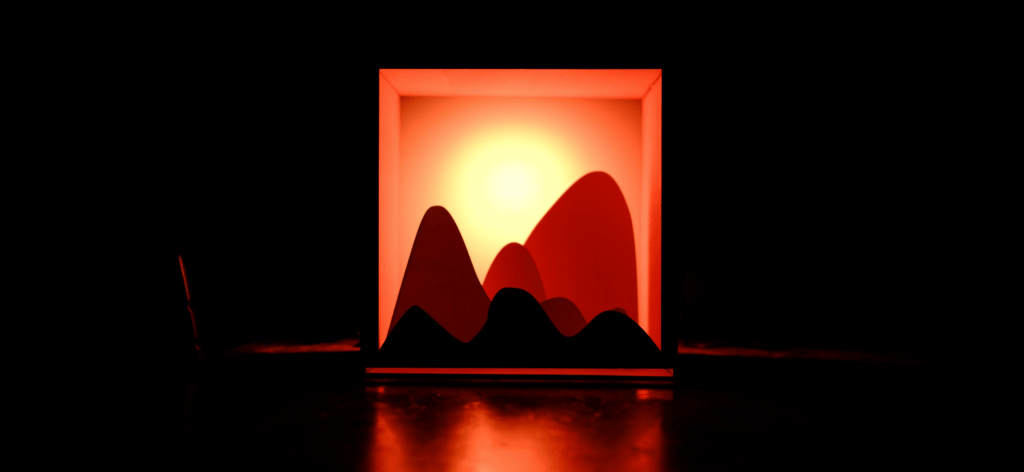
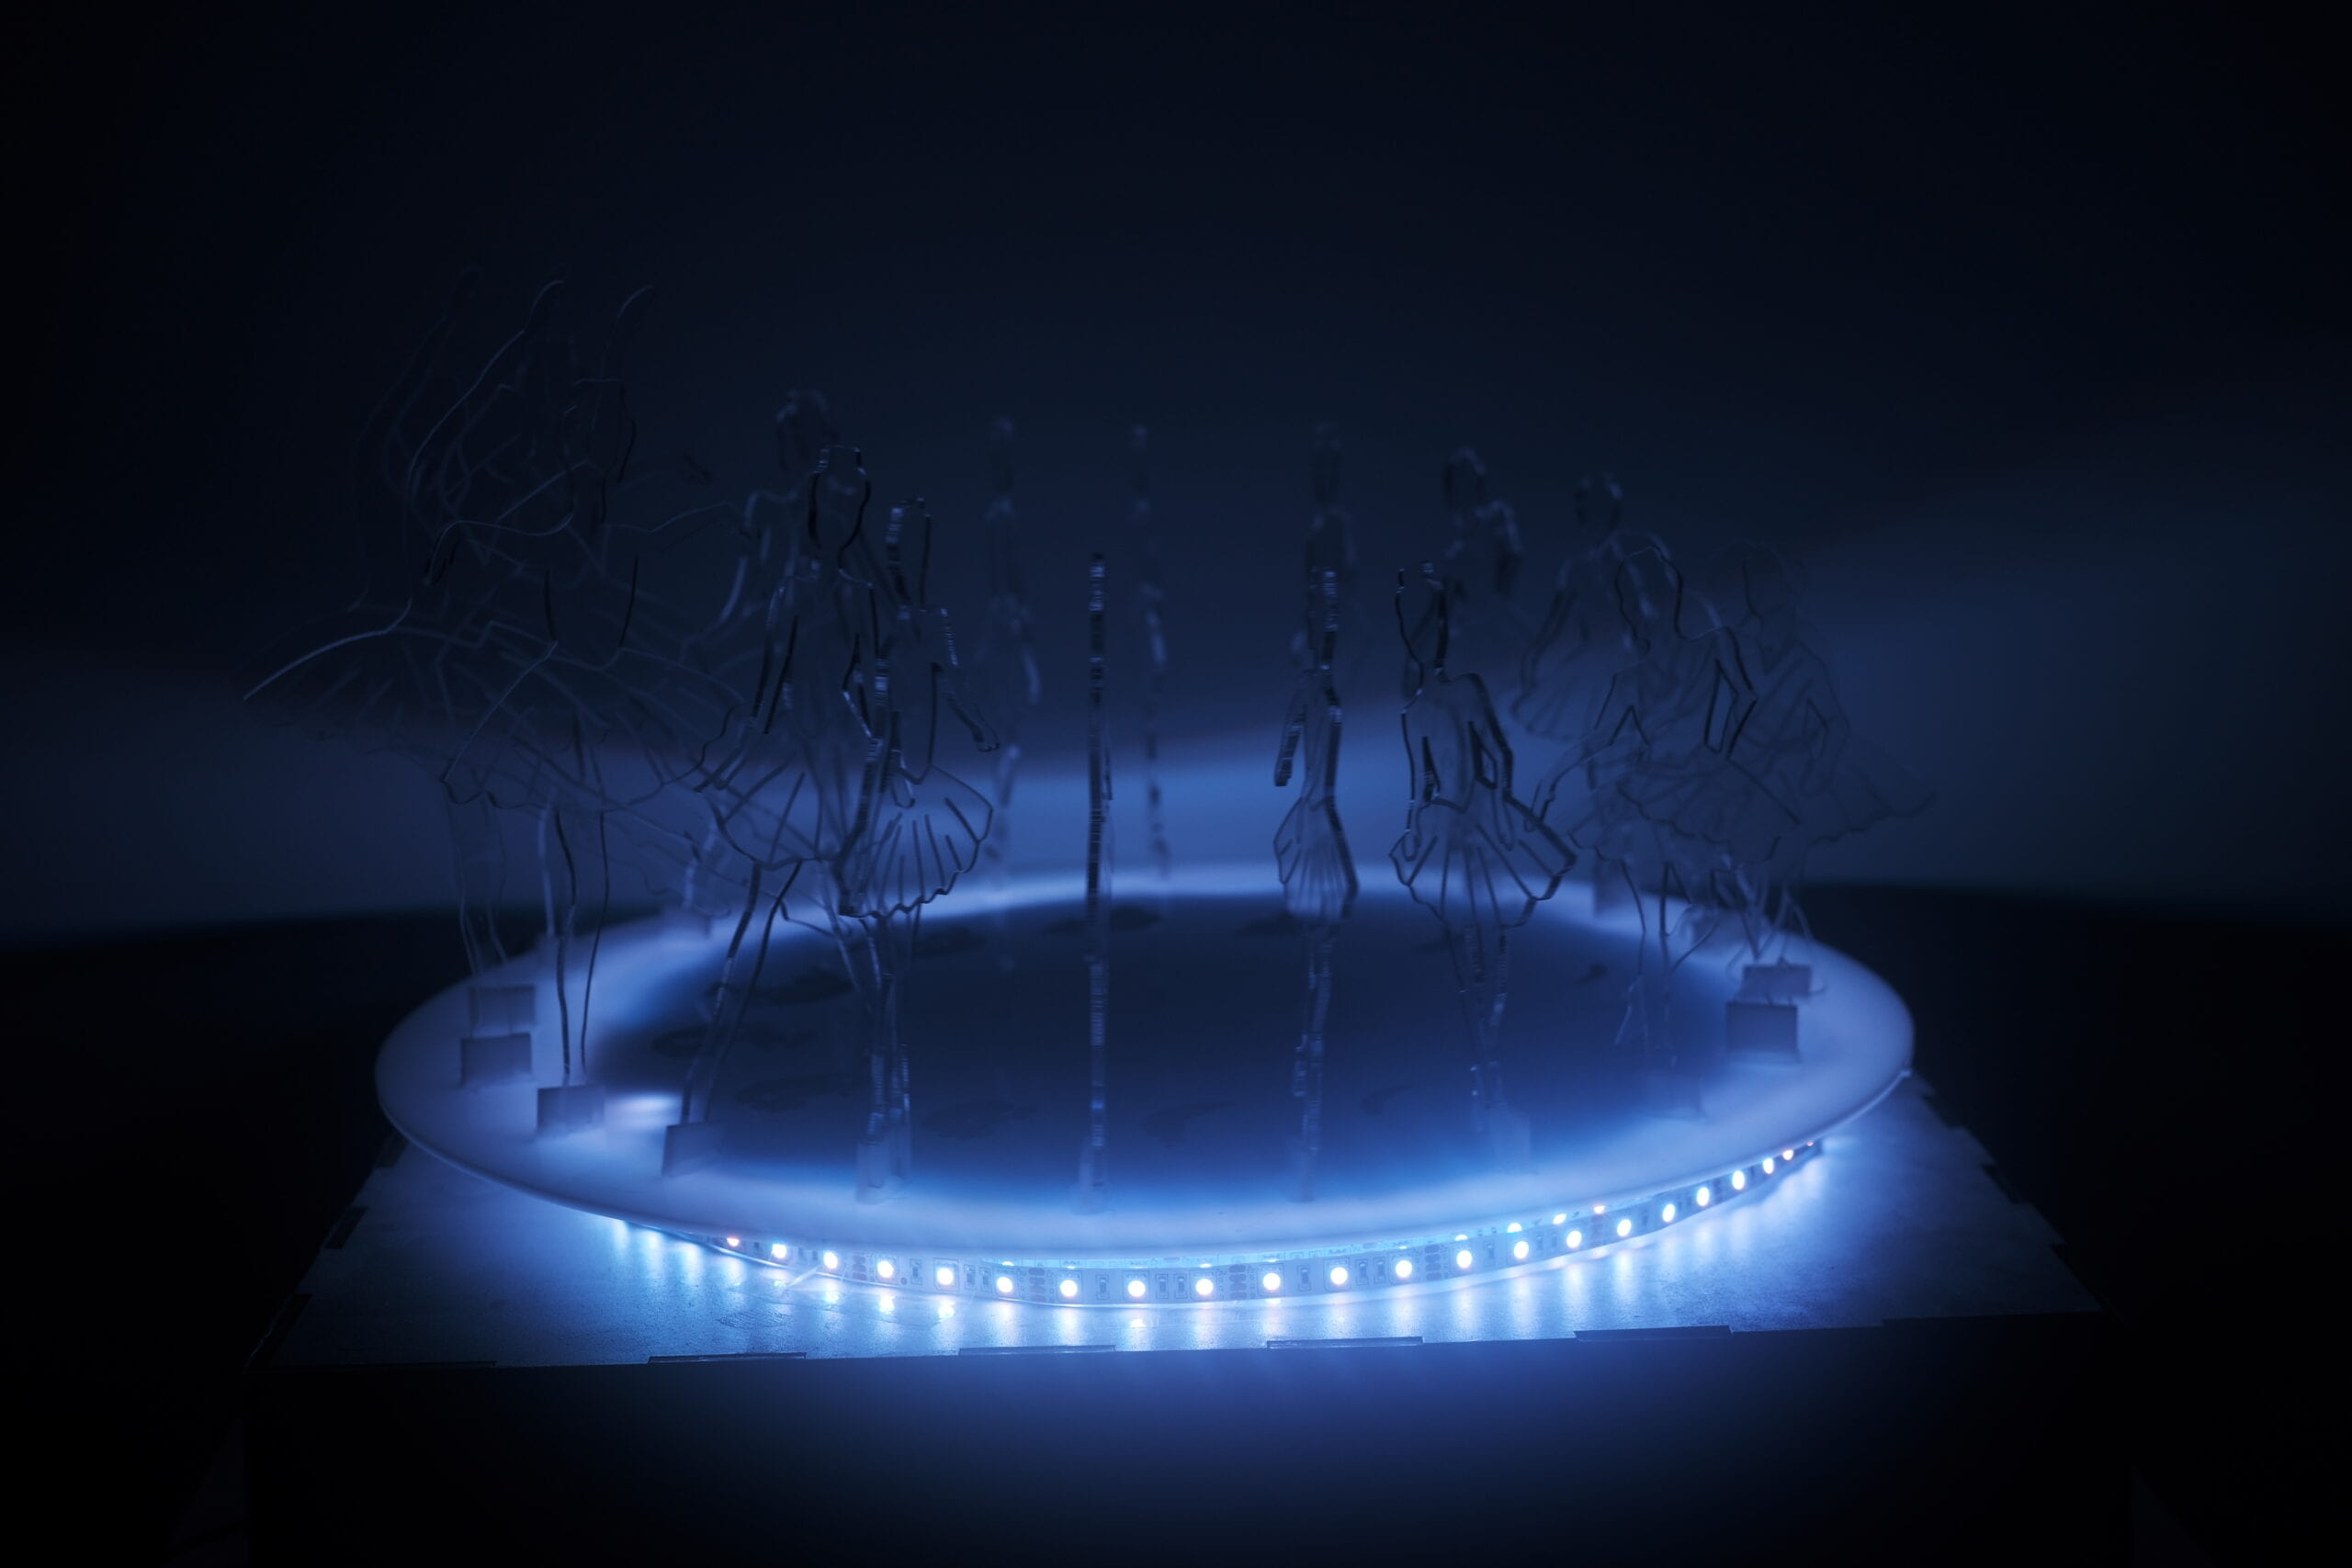
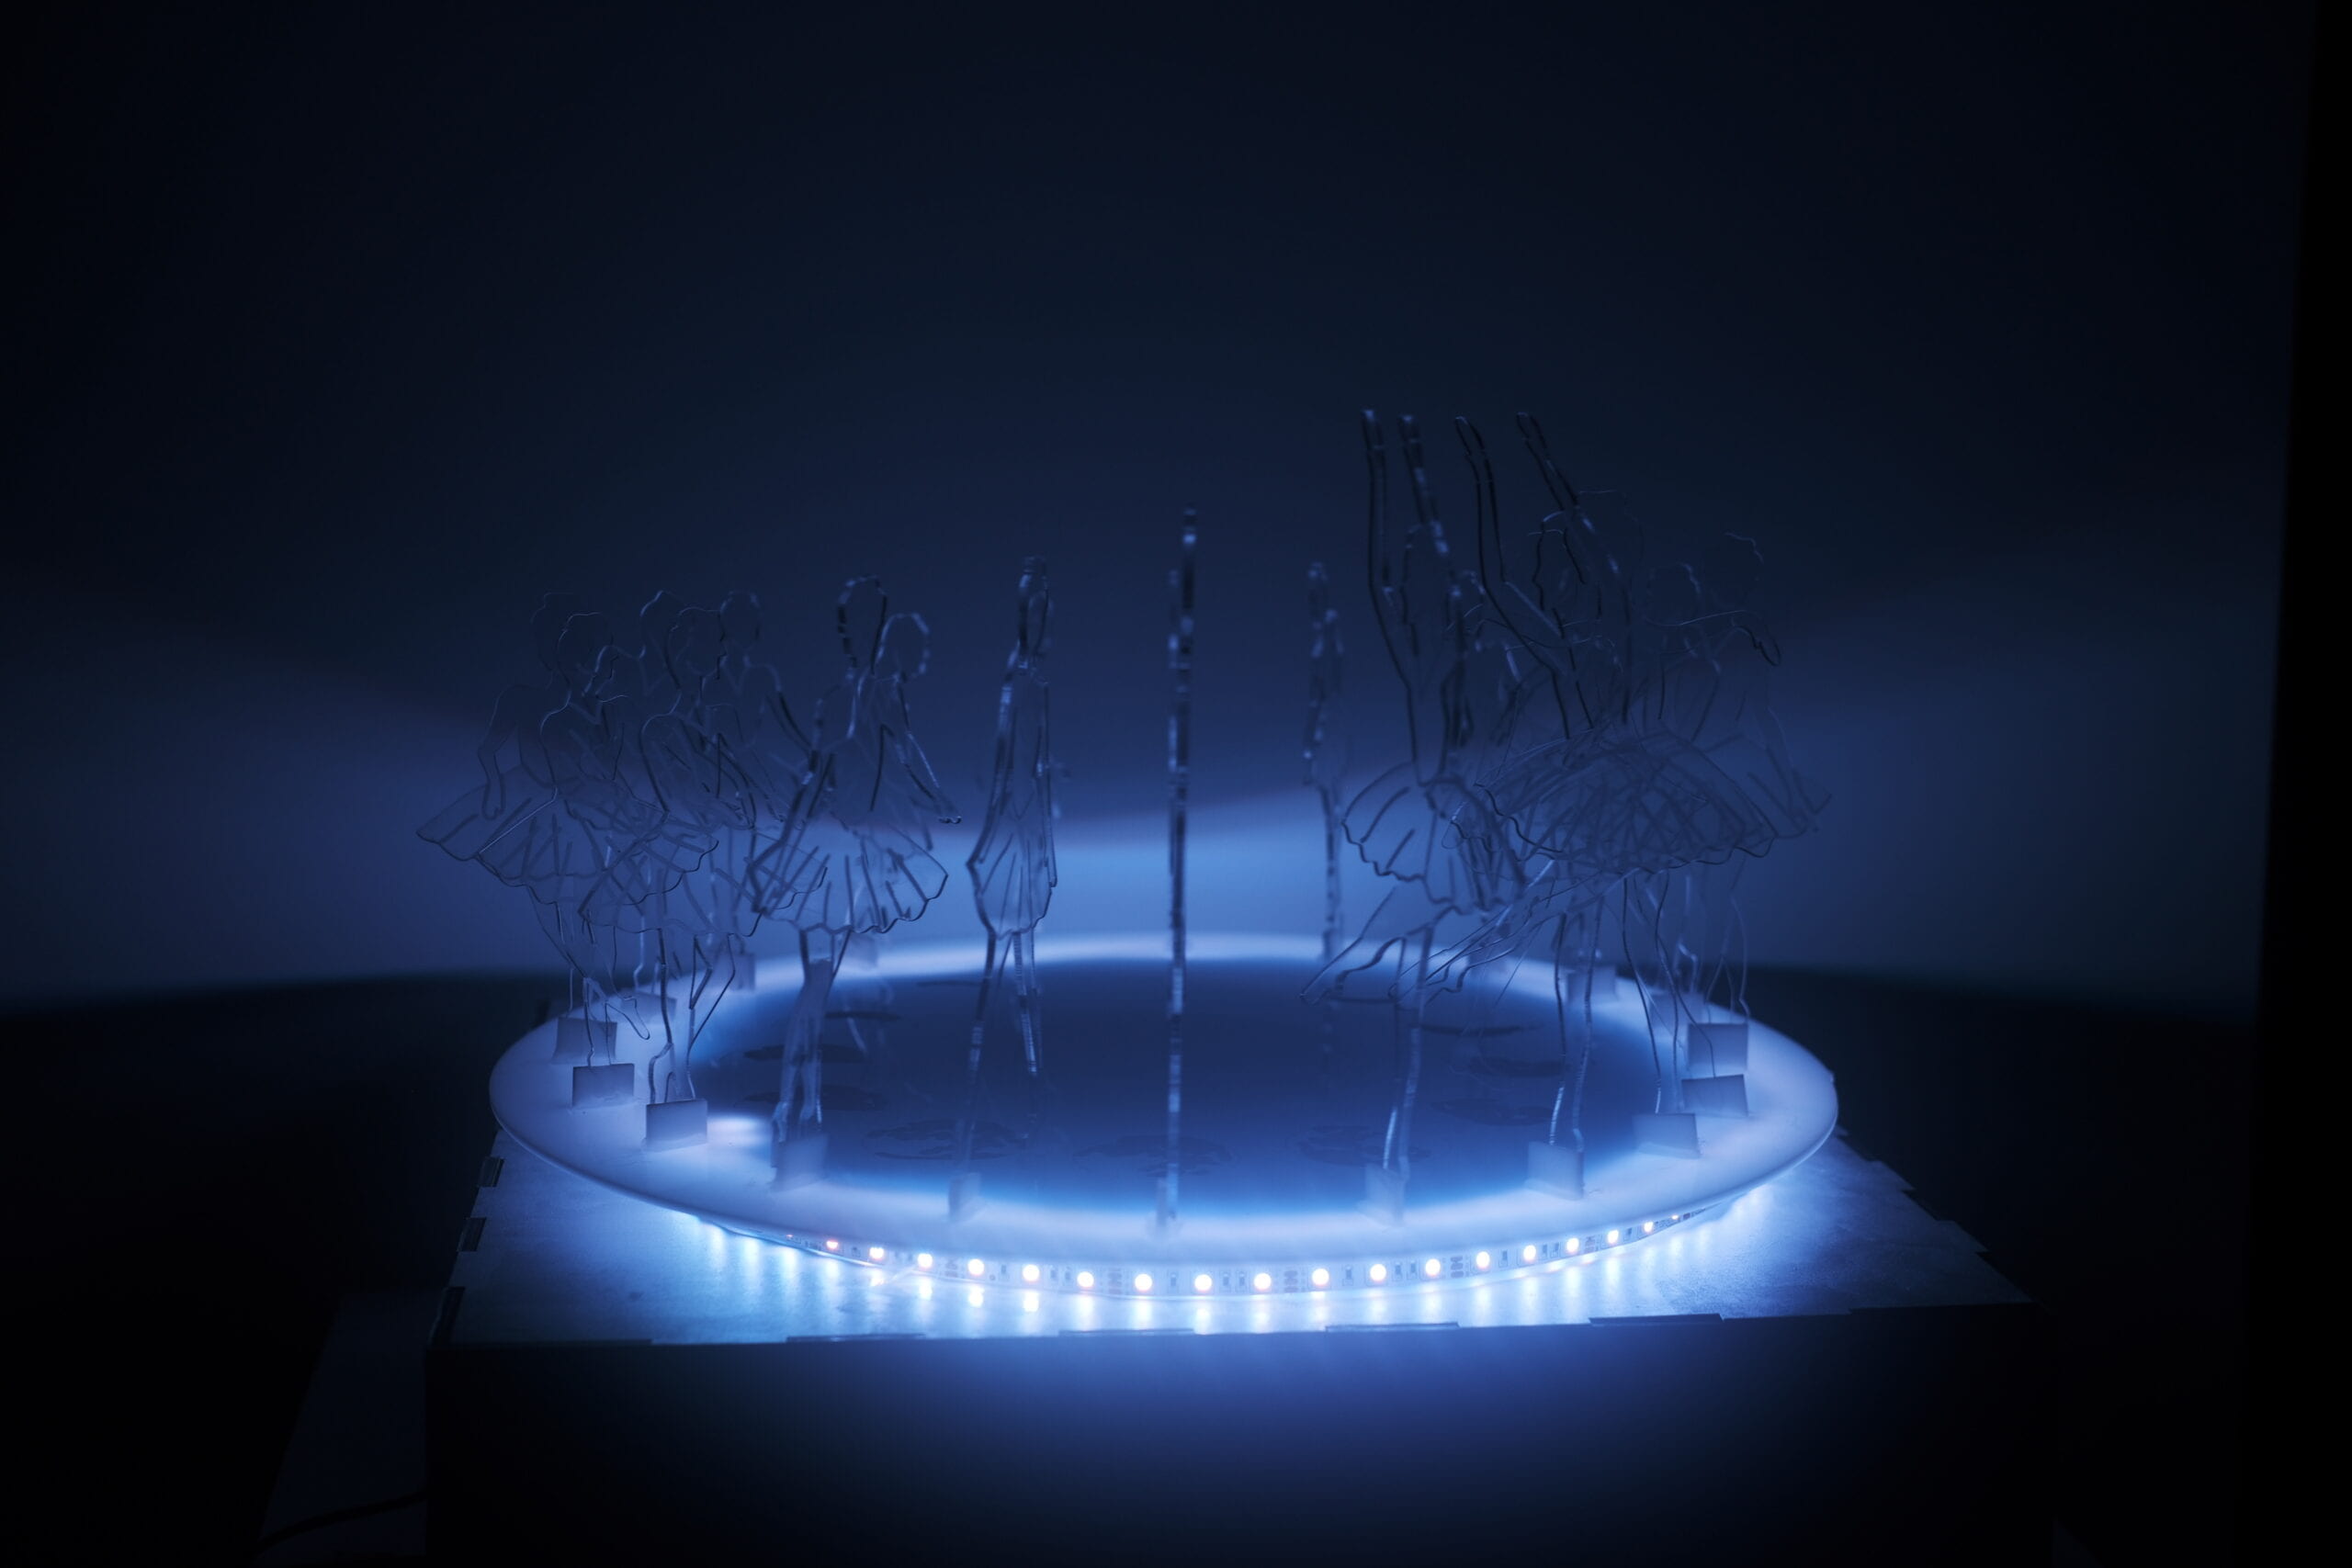
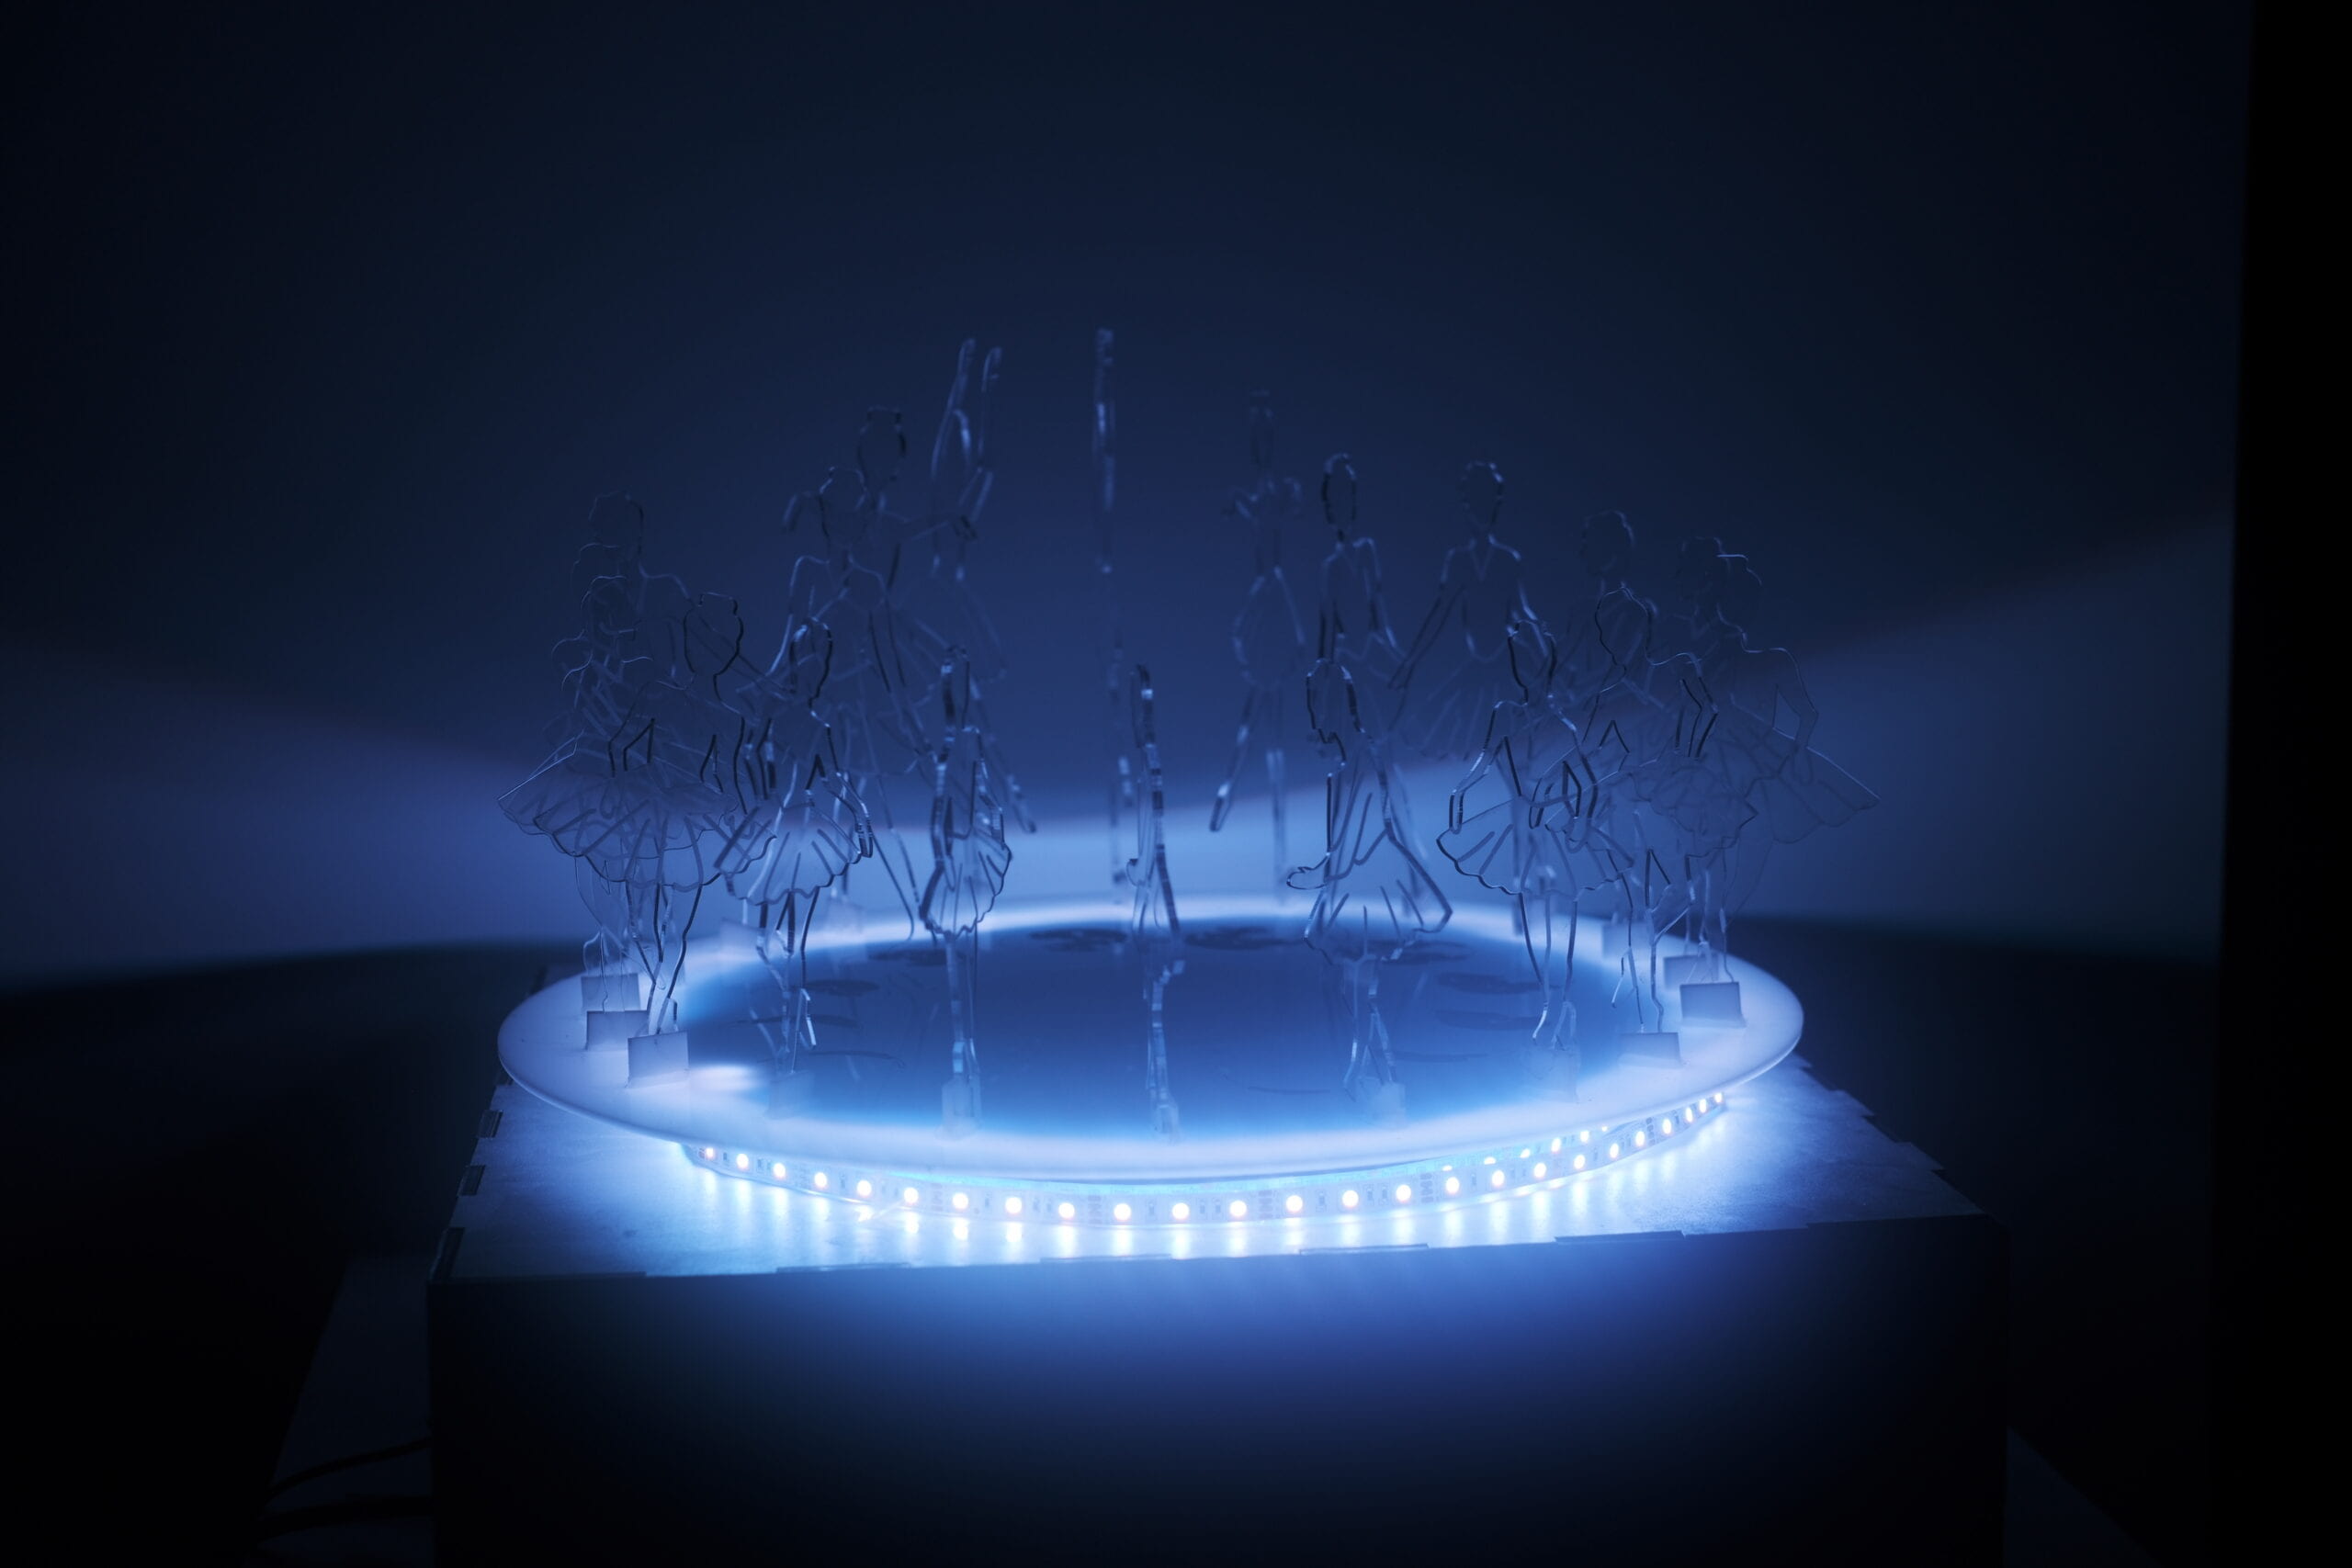
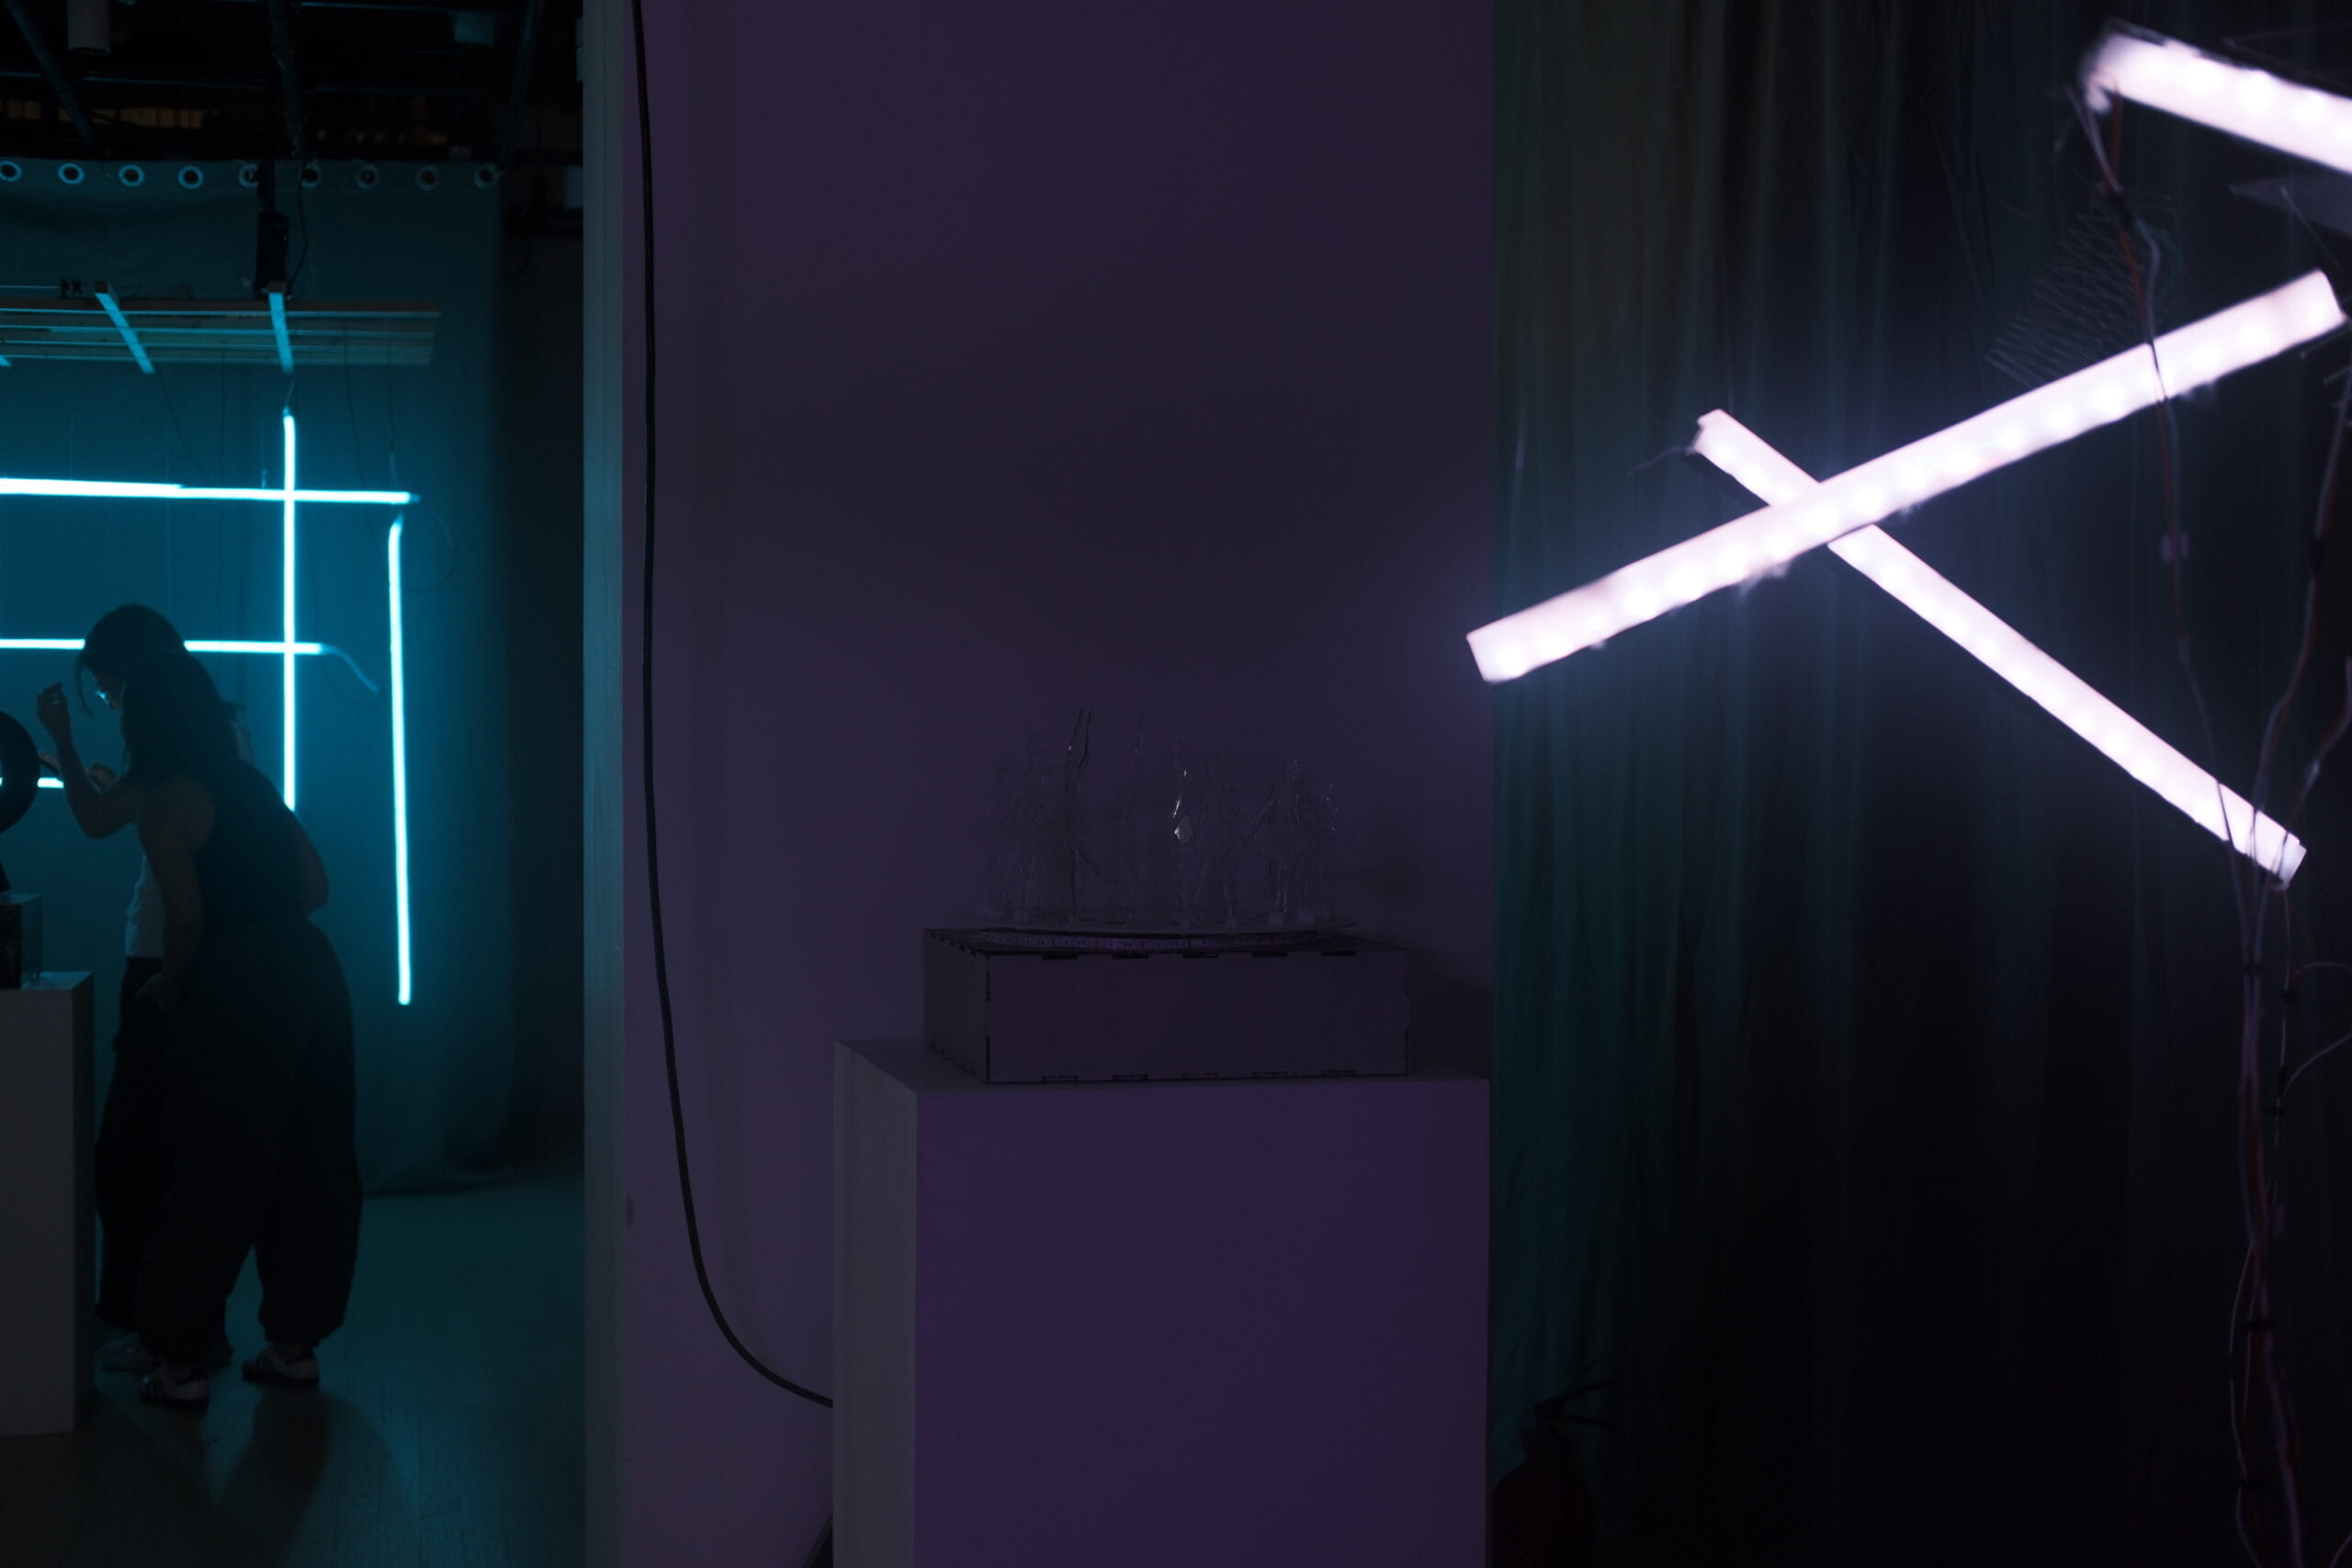
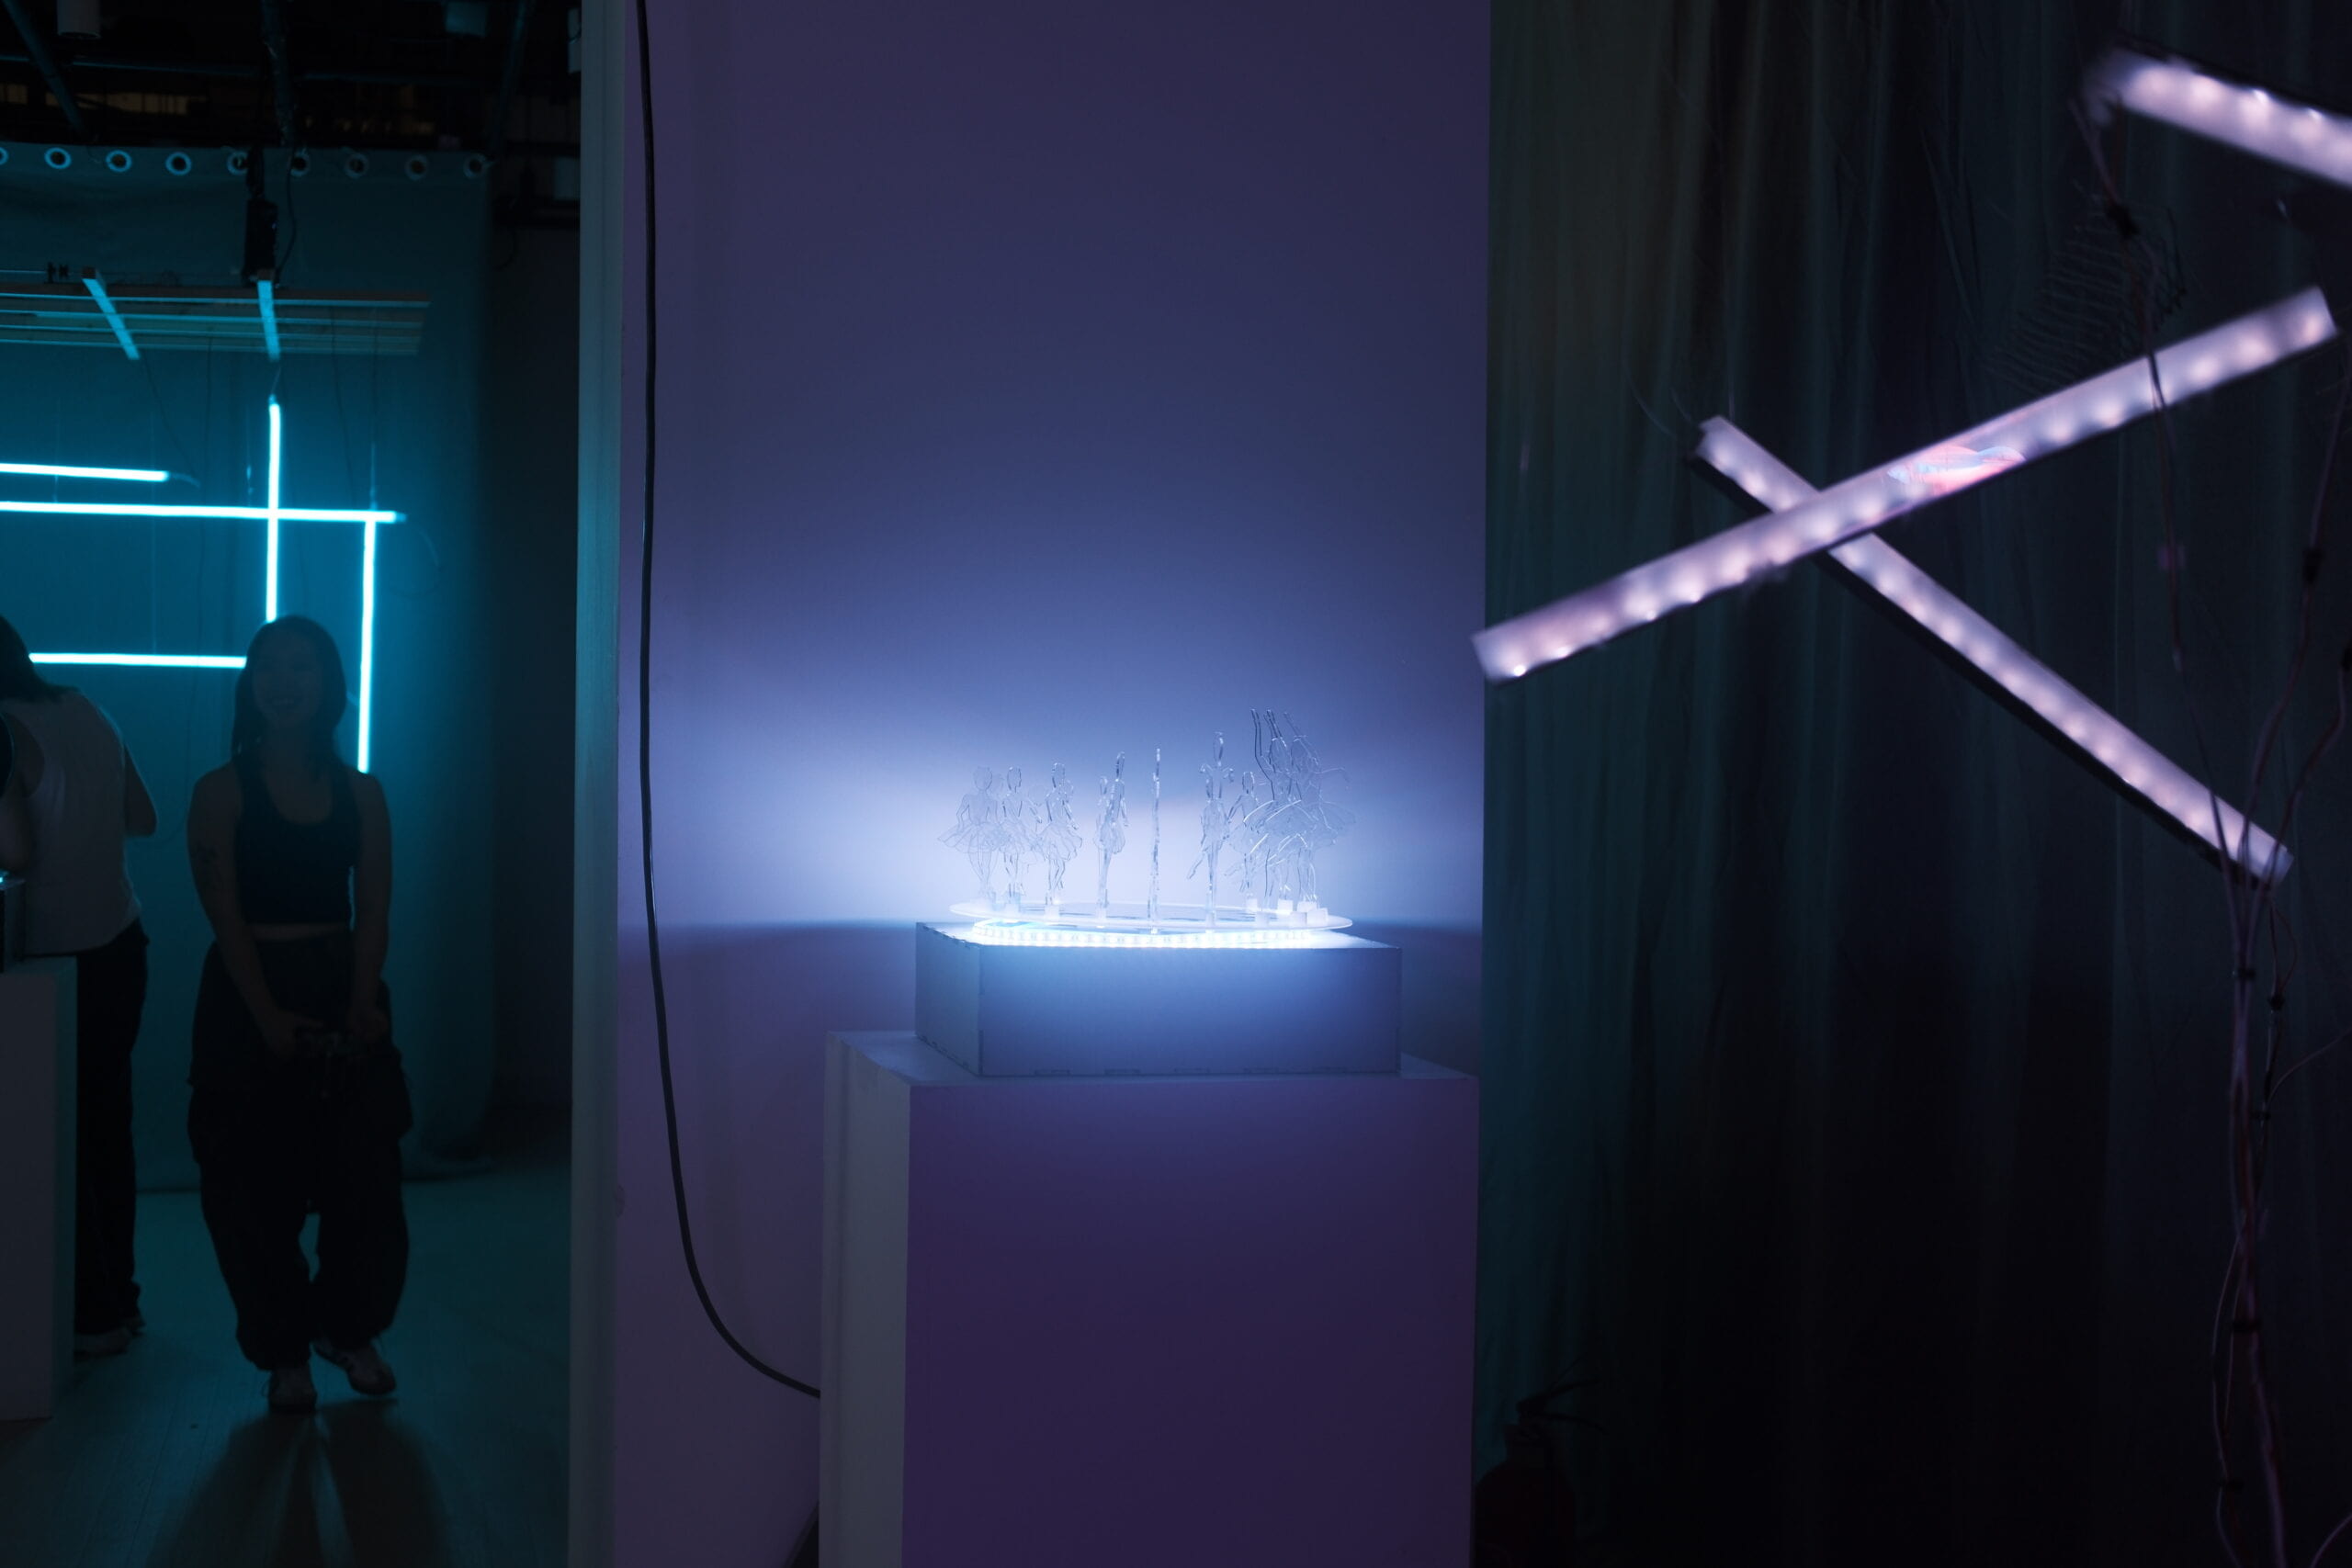
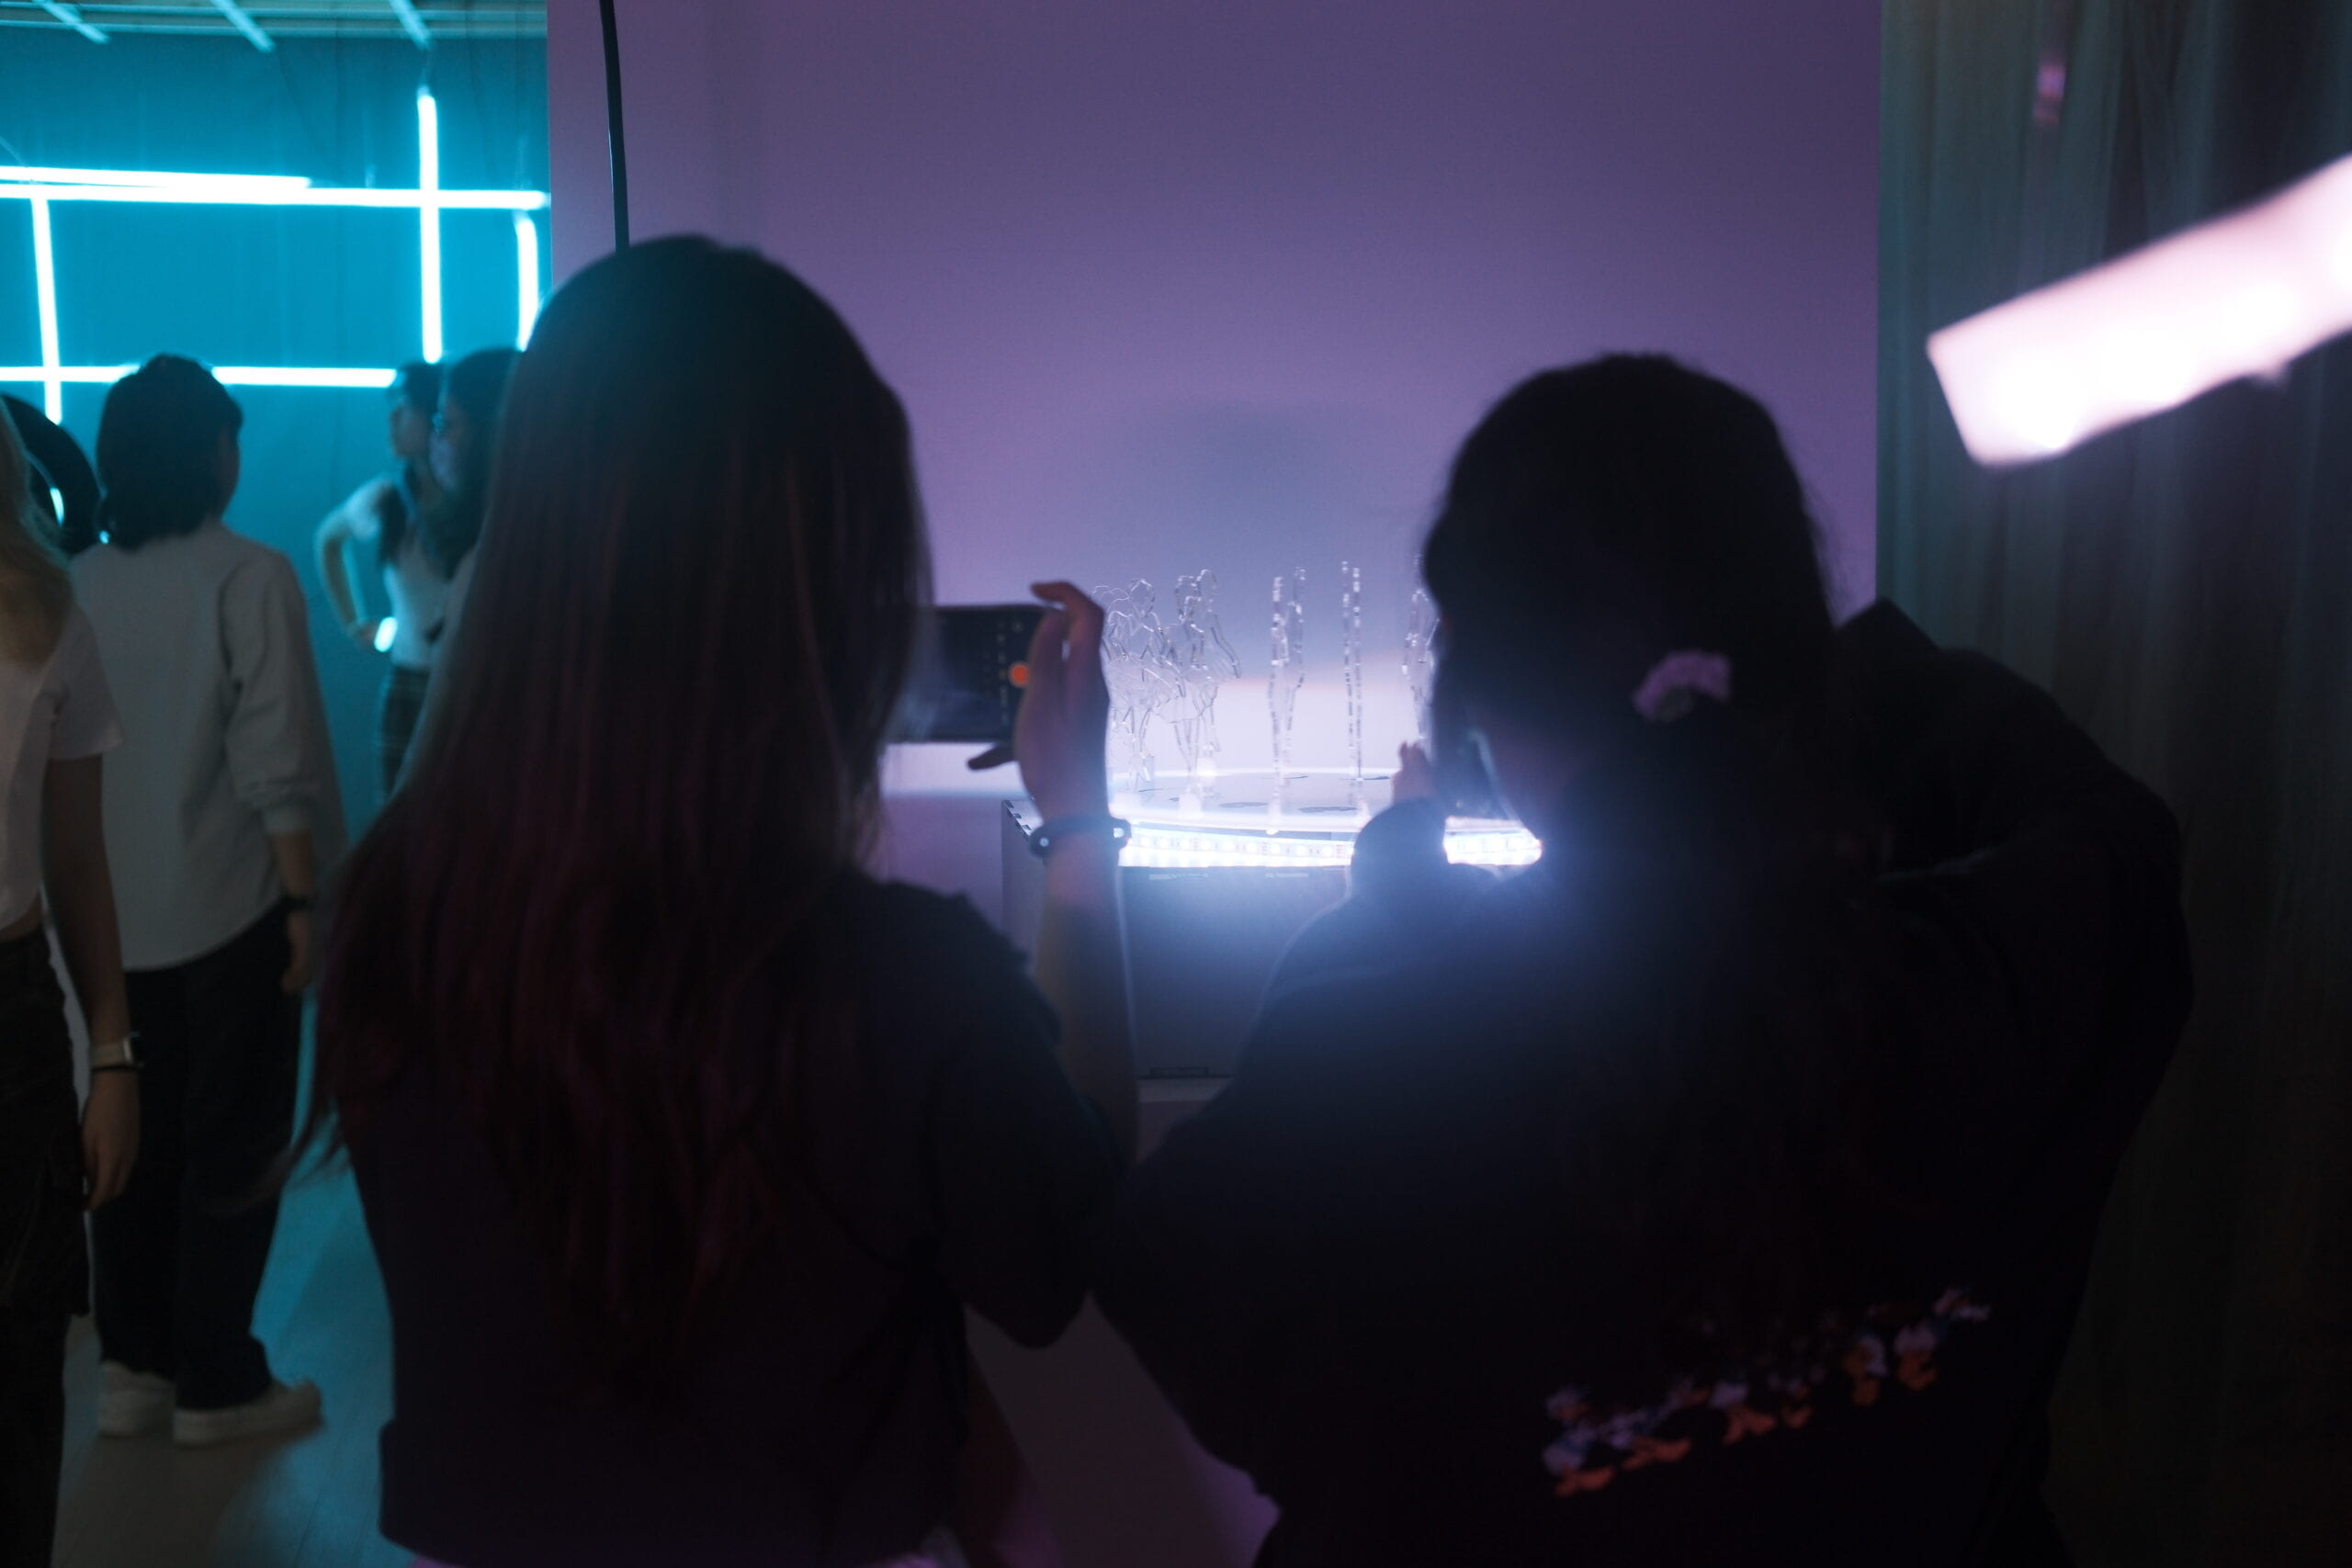
The presentation went well during both class and the IMA show, which means that nothing went wrong and it functioned appropriately. My classmates and friends have expressed their likes for this project, especially for the acrylic dancing figures on the top, and it looked beautiful in the darkness. To my surprise, though the shadows on the white pedestal disappeared during my presentation in class, they appeared again during the IMA show due to the brightness of the whole environment created collectively by other Kinetic Light projects. What’s more, there are even shadows on the wall behind my project as pointed out by a professor in our school, which created diversity for the endless dancers.
However, thanks to the suggestions, I also realized that my project is far below perfection. During class, my classmate pointed out that I could have created a more appealing light effect by using the digital LED strip instead of the analog one. This is also the problem I realized during my previous conversation with my professor, but in the end I didn’t hold tight to the idea because the length of my digital LED strip is way shorter than my analog strip and is not enough for my project. I could have prepared in advance to avoid this problem. Meanwhile, as pointed out by my professor, I could have made the LEDs pointing inwards than letting them face the audience. These are the problems that I didn’t manage to solve before the presentation, and I do feel that my project has a lot to improve.
In general, the presentation part ran smoothly and I was more than happy to see that my project acted exactly as I had expected. To be honest, in my past projects there would always be some small problems during the final presentation, but this time it just went very well. Though knowing I still have a long way to go in the future, I feel proud when I heard my professor say “beautiful, congratulations” and when my friends told me how much they like my Endless Dancers.

V. Conclusion
In all, the whole making process went well and everything was on track. I believe the biggest reason is that my professor has given us enough time (about a month!) to plan our building process carefully and left us much more space for revision. Meanwhile, I also became more experienced during my past year studying at NYUSH IMA.
The biggest thing I learned is not about the project itself but about my building process of the final project. It was that the biggest improvements of a project come from the conversation between the creator and the project. This idea came from a field trip to The West Bund Museum. I watched a video there created by an artist call Gao Yan, who created a series of artwork called Octopus Mountain. In that video, she said that when you put endeavor into your work, not everything will go as you expected. However, it is the feedback and reflection from your project that will give you new inspiration and will also lead you to the way that you may have never anticipated, but will benefit you and your work to a great extent. That applies to my situation as well. When I asked Freddie for help to engrave the patterns on the white pedestal, I didn’t expect that his suggestion of not peeling the wrap off at first will benefit me in such a great way. Besides, my interaction with other people such as Dalin and my professor Eric both taught me a lot. The biggest thing that moved me during my building process is that when I have just finished the cardboard prototype, installed the acrylic dancing figures onto the cardboard, put them on a chair and started to turn them, the shadows really moved me, amazed me, and made me want to cry. It suddenly gave me a sense that I have not noticed before in my past year of learning that somehow my artworks are alive. They are not really alive, but alive in a way which can talk to me and give me new inspiration. If I didn’t build the cardboard prototype I wouldn’t have realized that the interaction between motion and light can create such a stunning light and shadow effect, and if I didn’t participate in the IMA show, I wouldn’t have realized that the projection of the dancing figures on the wall can also create the beautiful shadows. I realized during the building process of this project that new inspiration comes from hands-on experiences, comes from the interaction between me and my project, and comes from my action, not envision. This is the thing that moves me the most, and I really hope that during my future endeavors, I can put more effort in immersing myself in the interaction and communication between me and my project, listen to what my project wants to convey and improve myself together with my artworks.
In terms of what I failed at, I have mentioned it during the presentation part of my documentation, and that works the same with what I succeeded at. When it comes to what I can improve and what I want to do in the future, I wish I could be more experienced at coding in order to create a more complex pattern on the LED strip or other media. I feel that I have improved my fabrication skills a lot during my past year of learning in Interaction Lab and Kinetic Light, but as I didn’t put much effort in improving my coding skill, I feel that compared to my ability in fabrication, my coding is still very weak. I hope that I can improve both in my coding part and in the depth of my ideas and inspiration so that I can both improve my projects at technical level and enhance my own creativity.
Overall, I really want to express my thanks to this class, to both my professor, Eric Parren, and my classmates who have either worked with me or gave me critical and extremely helpful suggestions on how to improve my project. I really grew a lot during this semester. Besides, as a freshman, this class is also the first elective of IMA that I have taken at NYU Shanghai. Unlike interaction lab which is a foundational course, this elective really exposed me to some really hardworking and talented sophomores, juniors and seniors that are highly outstanding, and I wish that by my own effort I can become someone like them in the future. By immersing myself in such an artistic class, I feel that my ability has enhanced quite a lot, not only at the technical level, but also in terms of my own feelings of art and how I want to express the art of myself. I feel that just like Interaction Lab, this class Kinetic Light is a very typical IMA class in our school. It is like a Utopia where every one of us can express ourselves freely and convey what we feel is the best of art in our own ways. I really appreciate this environment and feel more than touched to interact with the whole class as well as the professor throughout the past half year. This class has given me confidence and inspiration, and also most importantly, has strengthened my determination of majoring in IMA. Again I really appreciate all that I have encountered in this class. It is really my honor to study here, and I feel grateful to carry out my plan for Endless Dancers and make it to the end of IMA show. Thank you so much.

