Dangling
Jingchen Gao
I. Project description
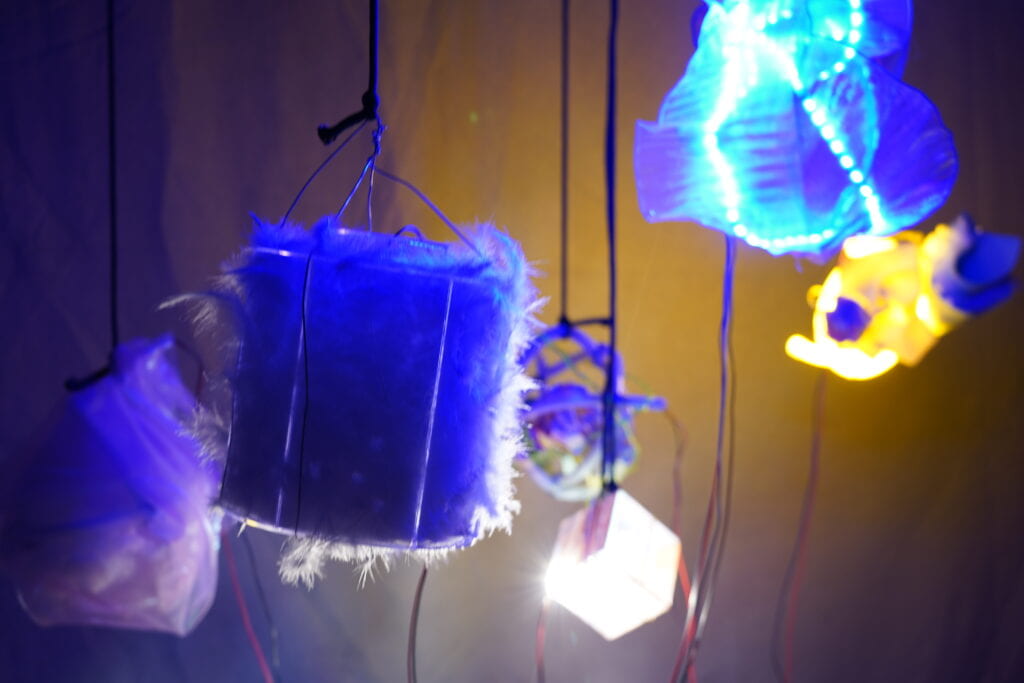
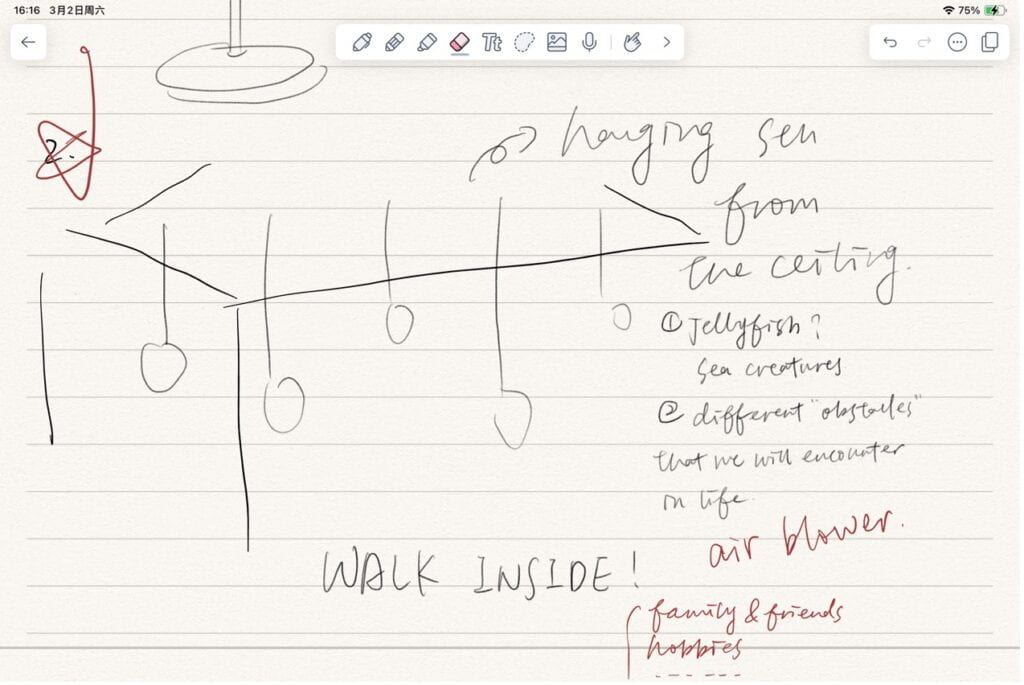
My inspiration of this project was that I wanted to create an installation which goes beyond a still sculpture and involves the interaction and participation of the audience. Therefore, I had come up with the idea of hanging some light objects from the ceiling and inviting people to walk through them. This notion further inspired me that I could use this installation to symbolize the different obstacles that we would
encounter in our lives, such as the pressure of school application, difficult relationships with others, problems in raising children and so on. I intended to create abstract patterns and use various external decorations such as irregular pieces of glass and cotton to make these dangling objects. After talking to my professor, I decided not to make the shapes too concrete to represent the meanings I impose on them. Instead, I would like to use the changes in color and brightness to invoke the audiences’ own interpretation of my light installation.
My initial intention was that I would like to hang the light objects from the ceiling, and fix the whole wiring part near the ceiling so that people wouldn’t be bothered by the wires on the ground. What’s more, I also wanted to introduce air blowers to add motion to my installation. By doing this, people will need to change their positions when interacting with this project so that they wouldn’t be hit by the objects hanging from above. This adds more interaction to the users’ experience and creates a change in space over time.
II. Perspective and Context
One thing that inspired me the most during my previous learning is the term synesthesia, indicating that some people may have the ability to link one (or more) sensory with another, thus having a transaction between different perceptions. This is one of the most important reasons for me to try to introduce the air blower and create physical motion in my project, because by doing that my intention is that the body movements and vision of the audience can be related together, thus form a similar effect as synesthesia does to people who have it.
Another thing that I was reminded of is the phenomenology of Maurice Merleau-Ponty. The most crucial feature of this philosophy is that it prioritizes the experiences of individuals, and argues that the aesthetics of people comes from their own experiences of relevant conditions. I didn’t realize that until my professor suggested me in his feedback on my proposal that I should not create too concrete things which display exactly the concepts I wanted to convey. Instead, I should work on the variation of the dangling objects and leave room for the audience to generate their own interpretations.
In general, my initial purpose was to create an installation of a series of dangling objects, with each of them displaying a different light effect. Meanwhile, by introducing the kinetic factor of air blower, I intended to engage the audience in the interaction with my project and invoke their feeling similar to synesthesia and their subjective understanding of the dangling objects that I created.
III. Development & Technical Implementation
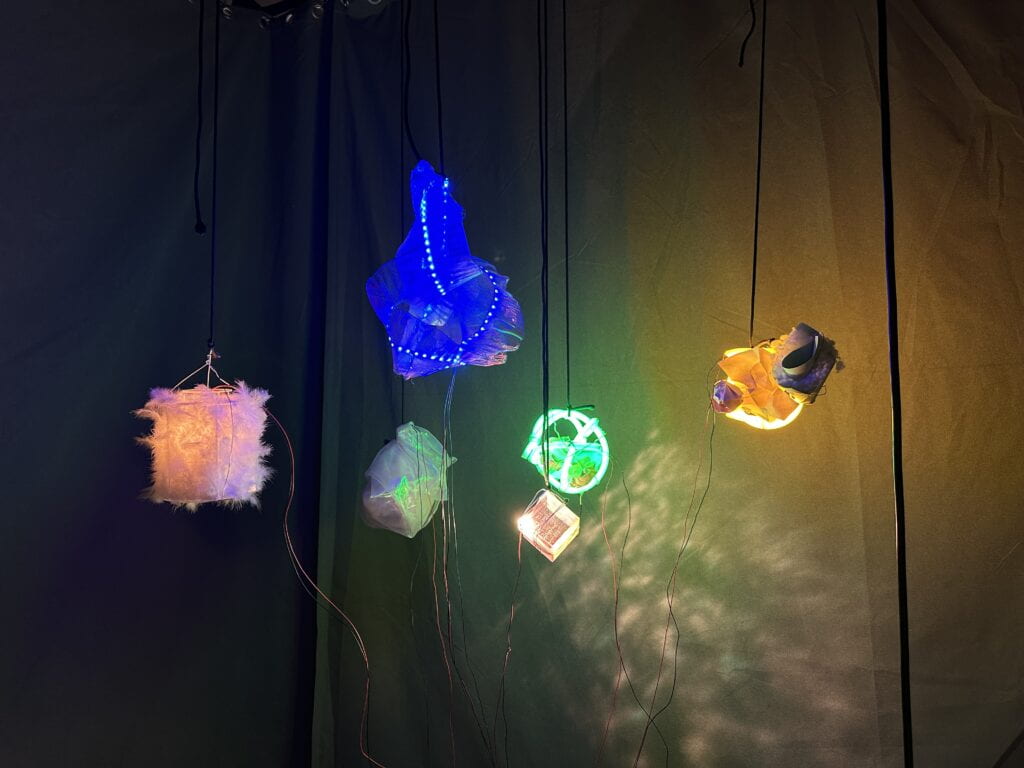
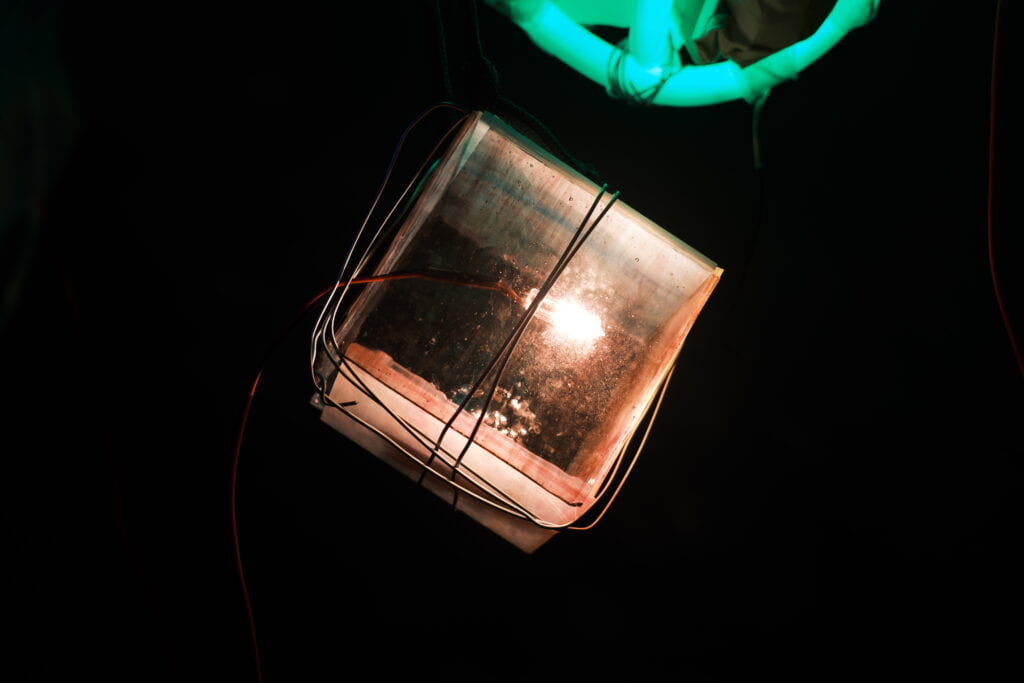
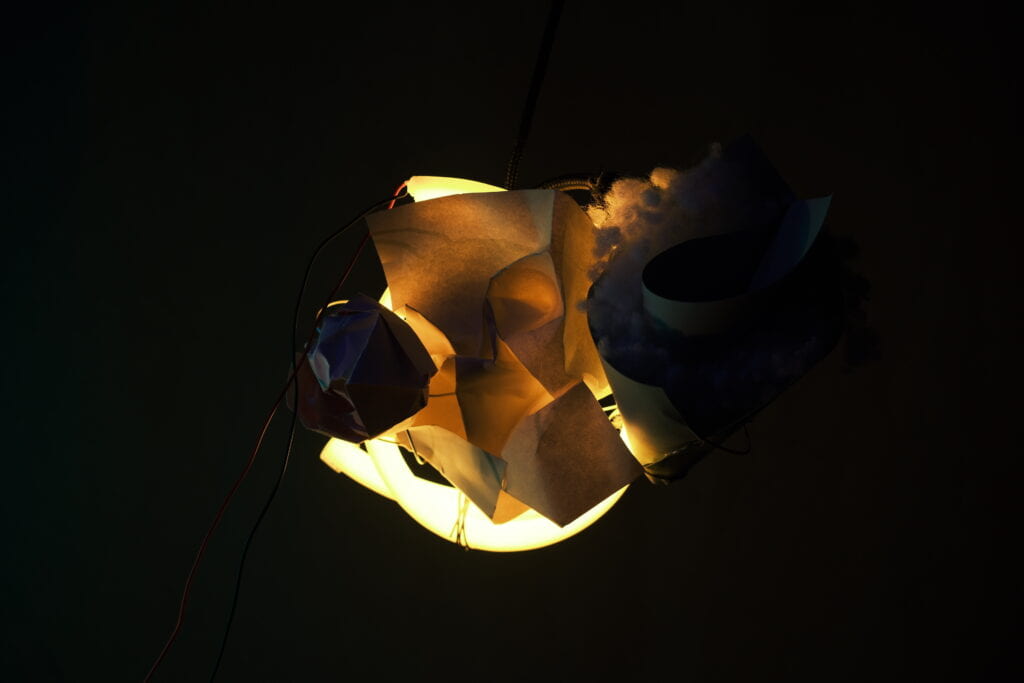
I started from the physical fabrication and installation part which I considered to be the foundation of the coding and the wiring parts. As my idea was to create several objects which are distinctive from each other, I came up with different ideas about how to make each of them and started separately. I started with one half of a tube made by mirrors that I ordered on Taobao, and intertwined a yellow EL wire onto it. After that, I built several other objects made by materials that either I had or I ordered on Taobao to finish this physical creation part. During this process, I utilized laser cutting, and enhanced my ability of hands-on work by using pliers to bend iron wires, polishing acrylic boards with sandpaper, folding paper into various shapes, and so on. These are the abilities that I would never achieve if I didn’t do these hands-on works, and I appreciate that a lot.
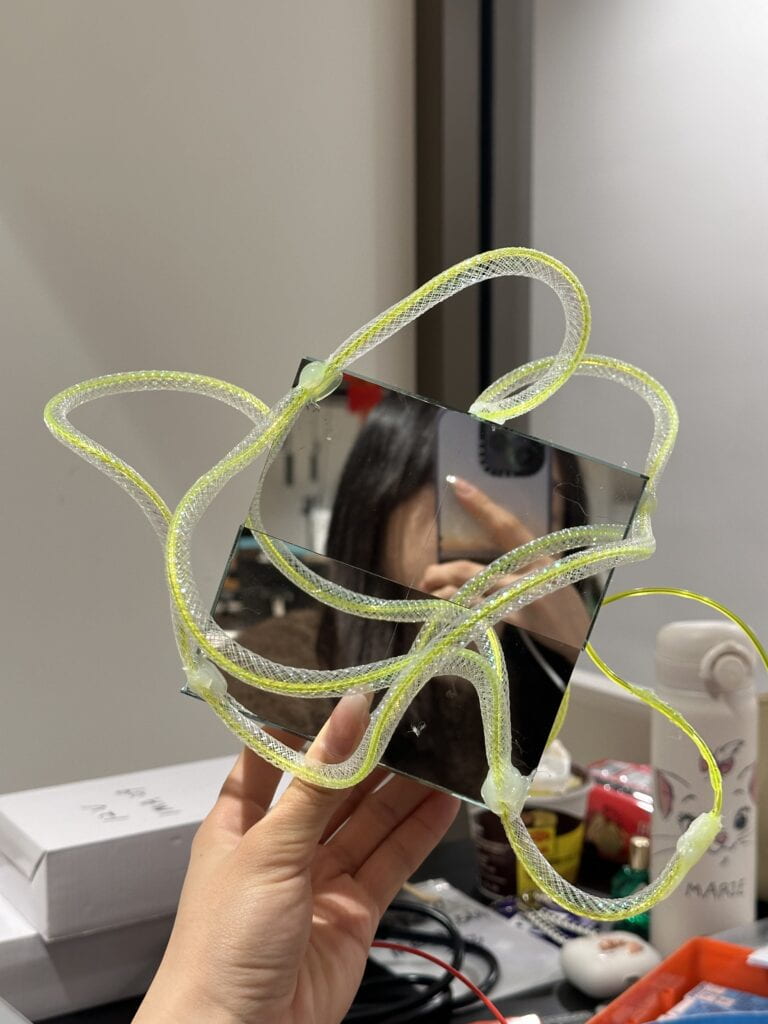
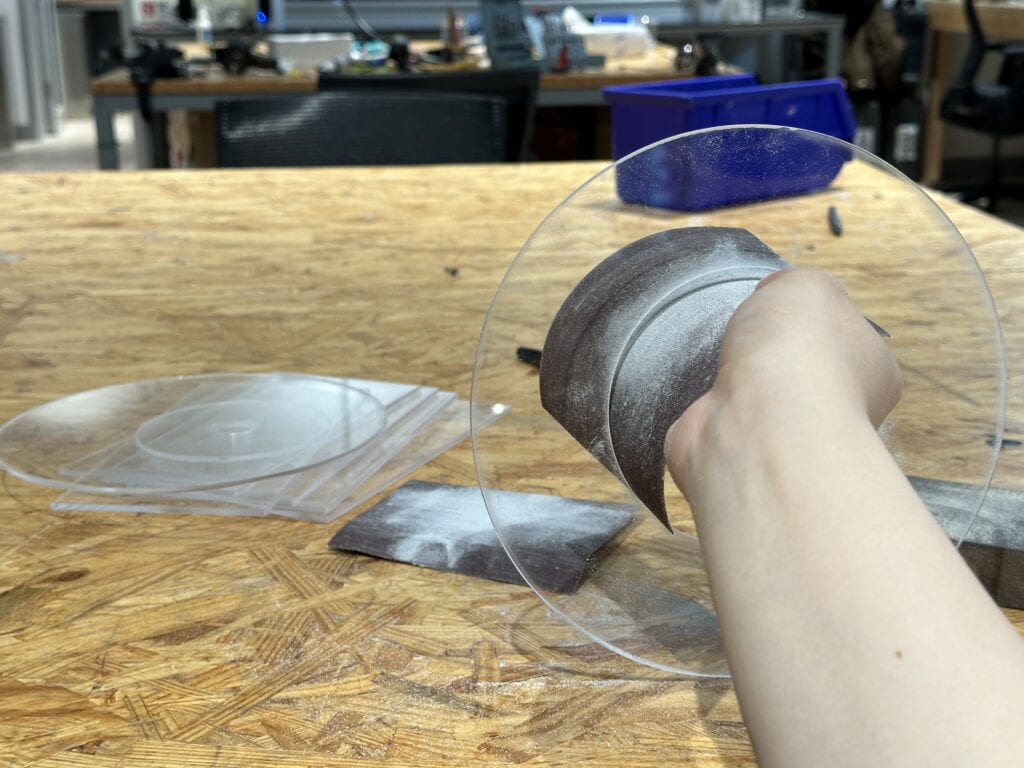
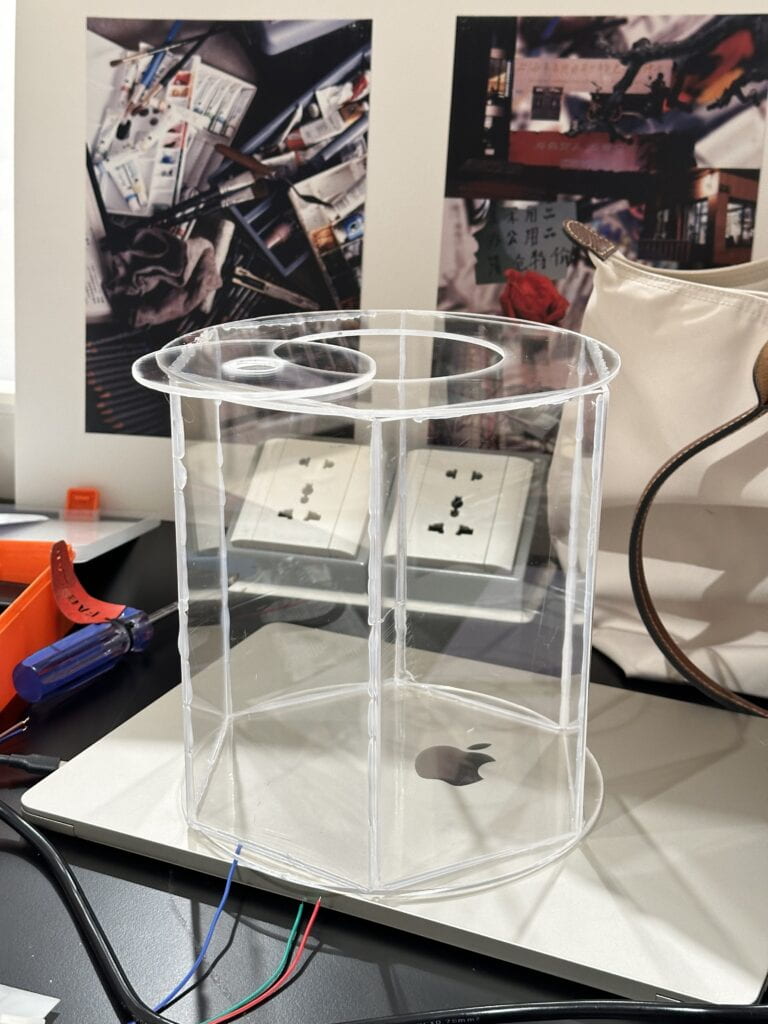
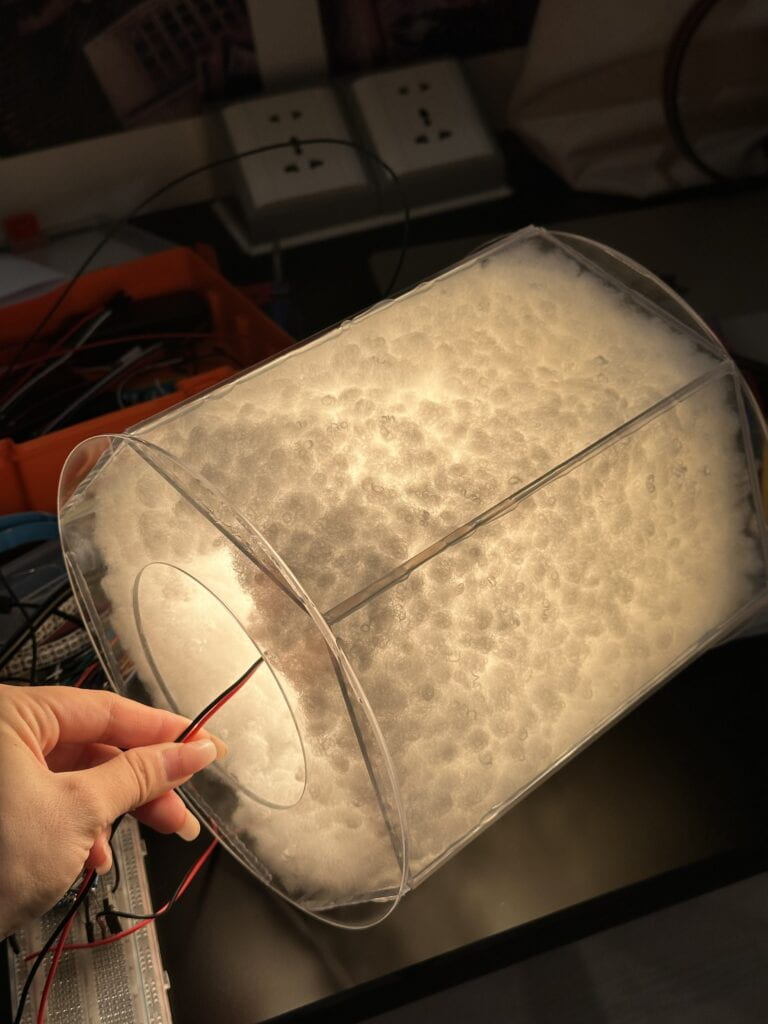
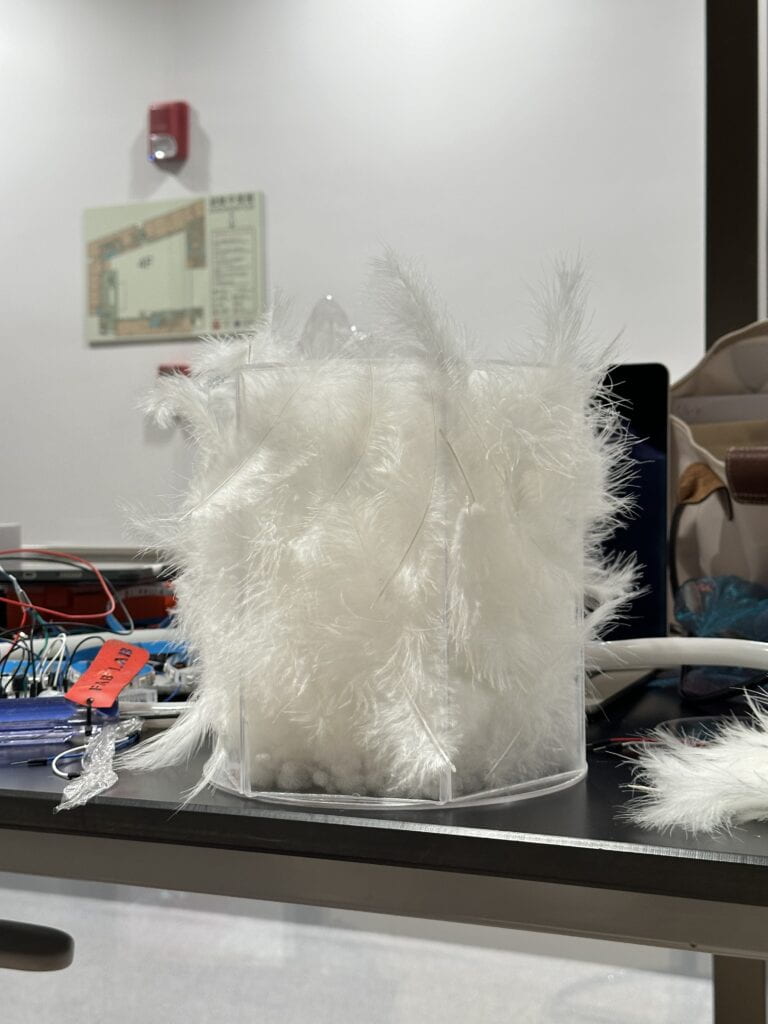
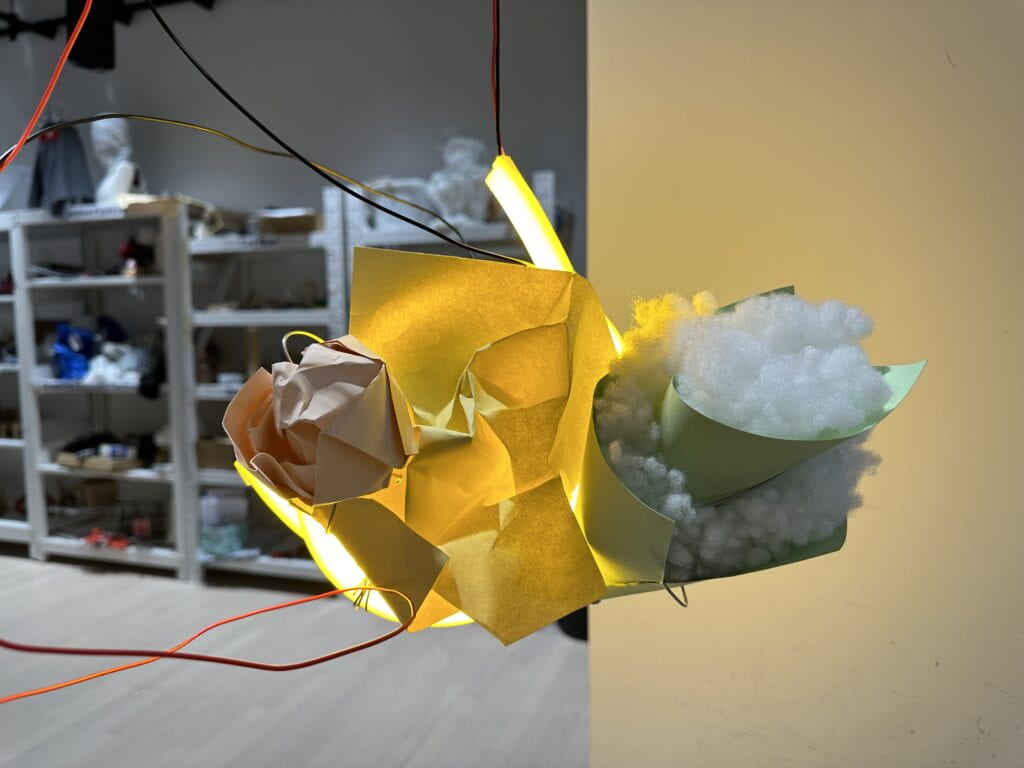
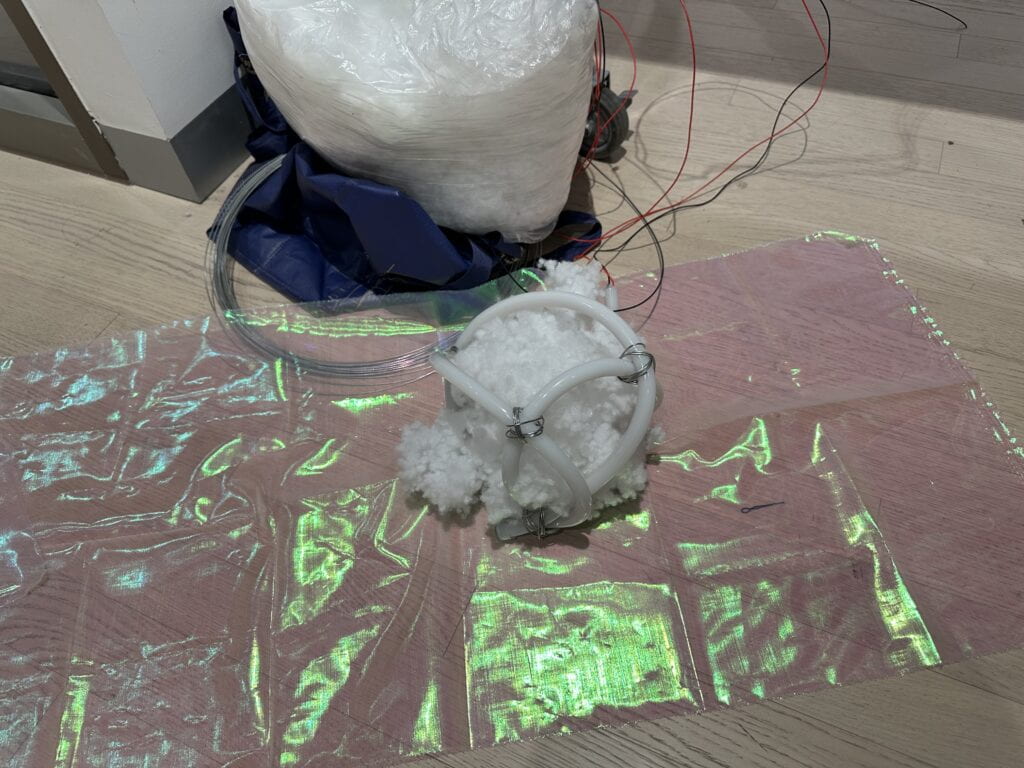
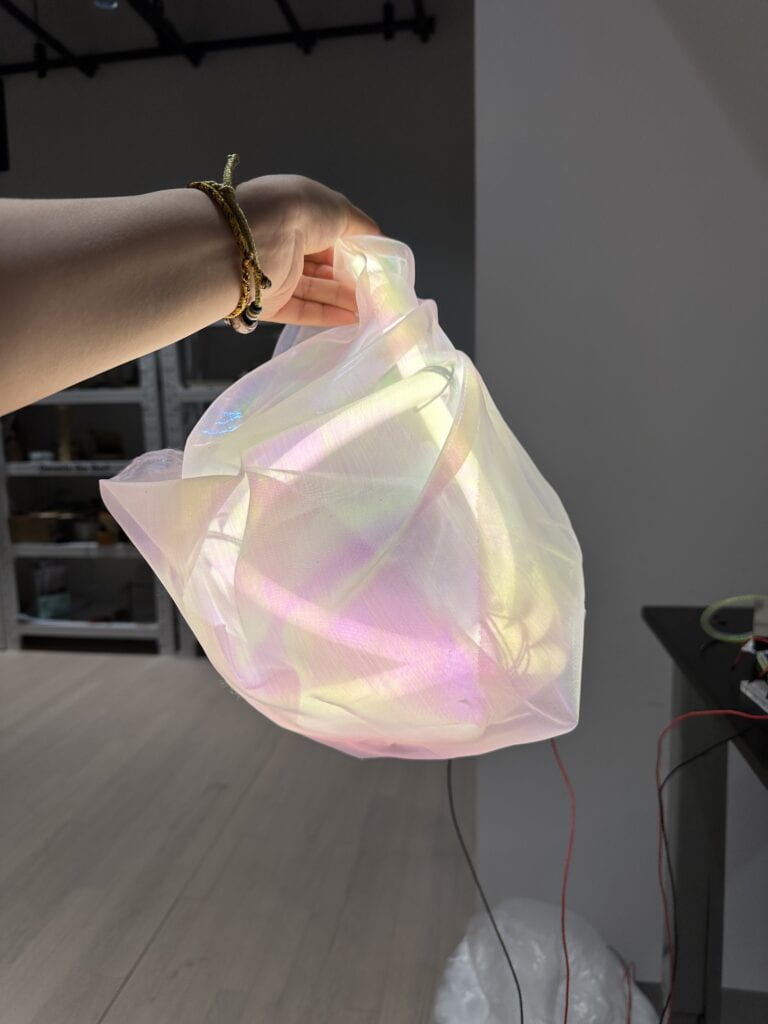
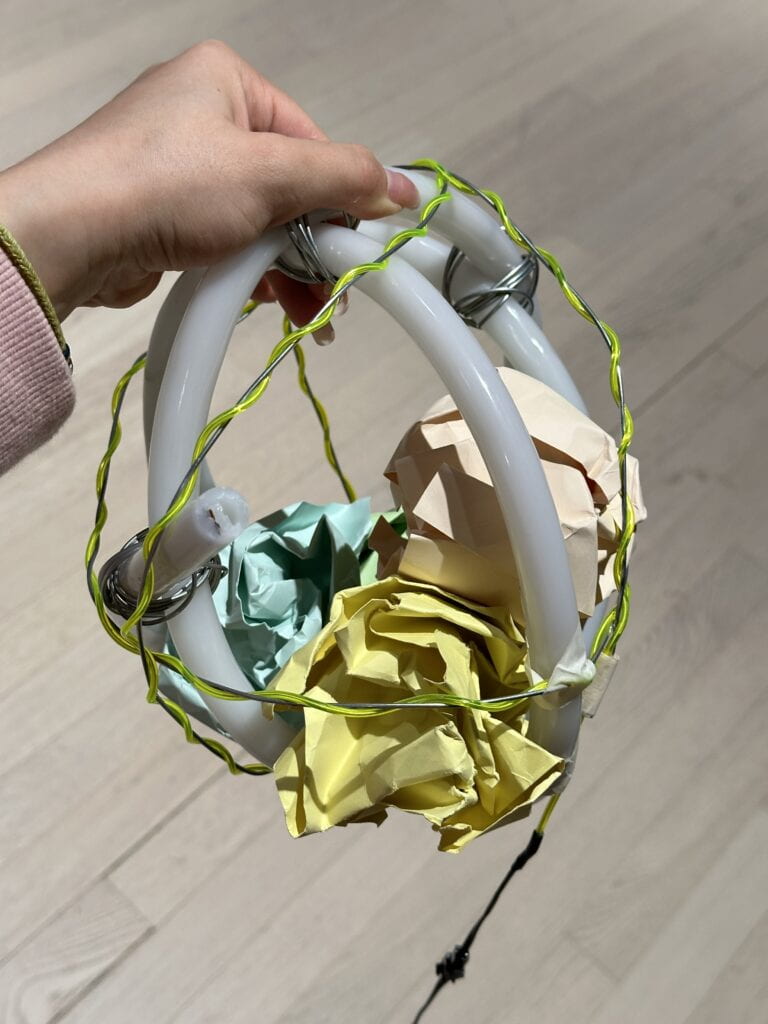
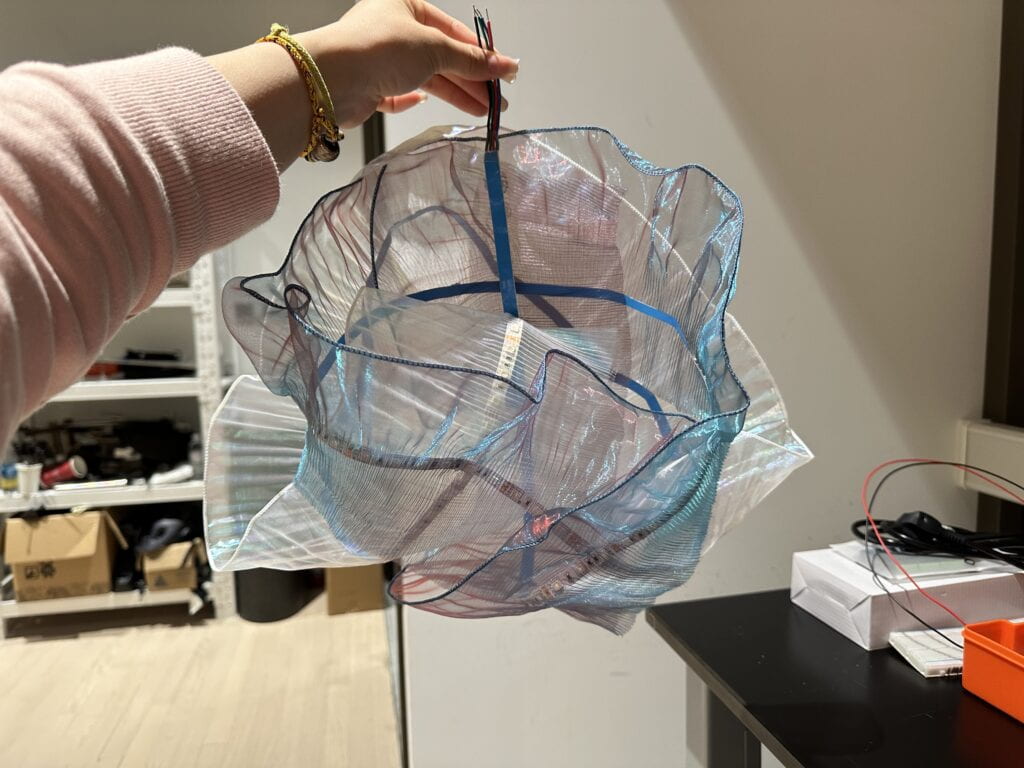
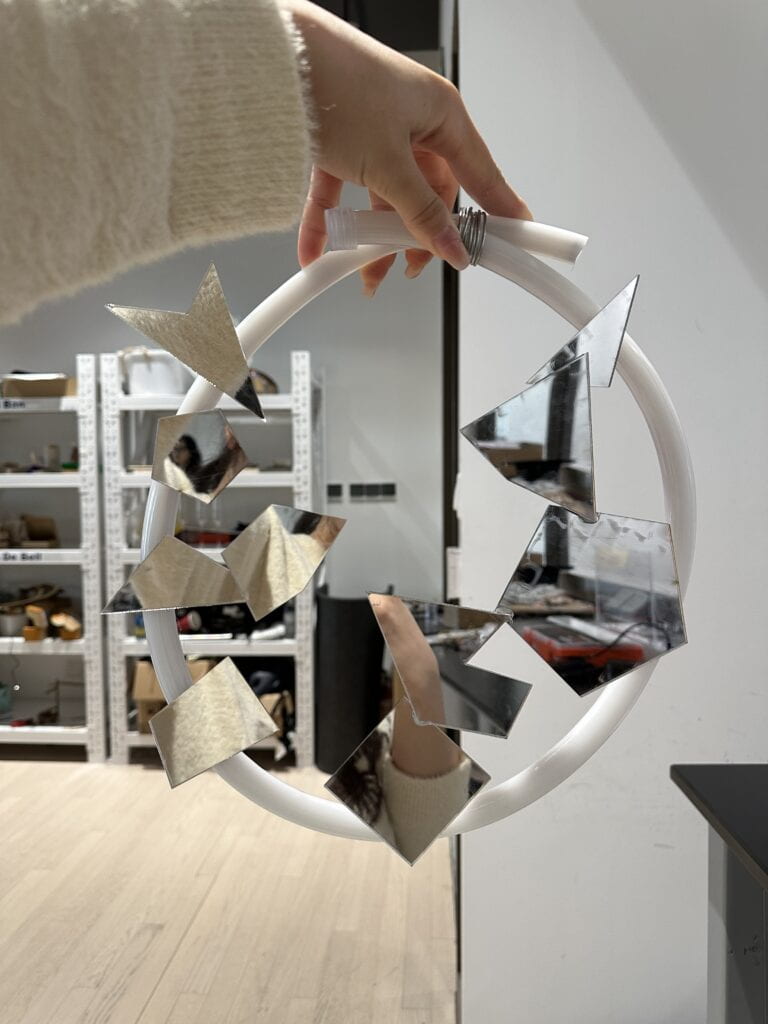
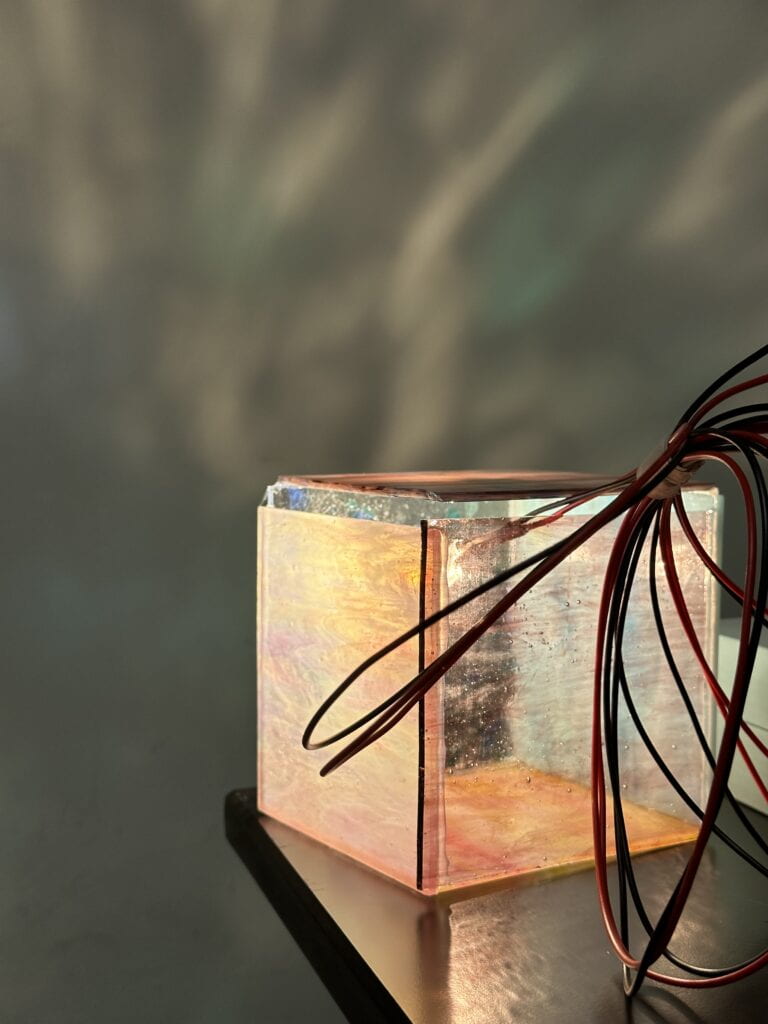
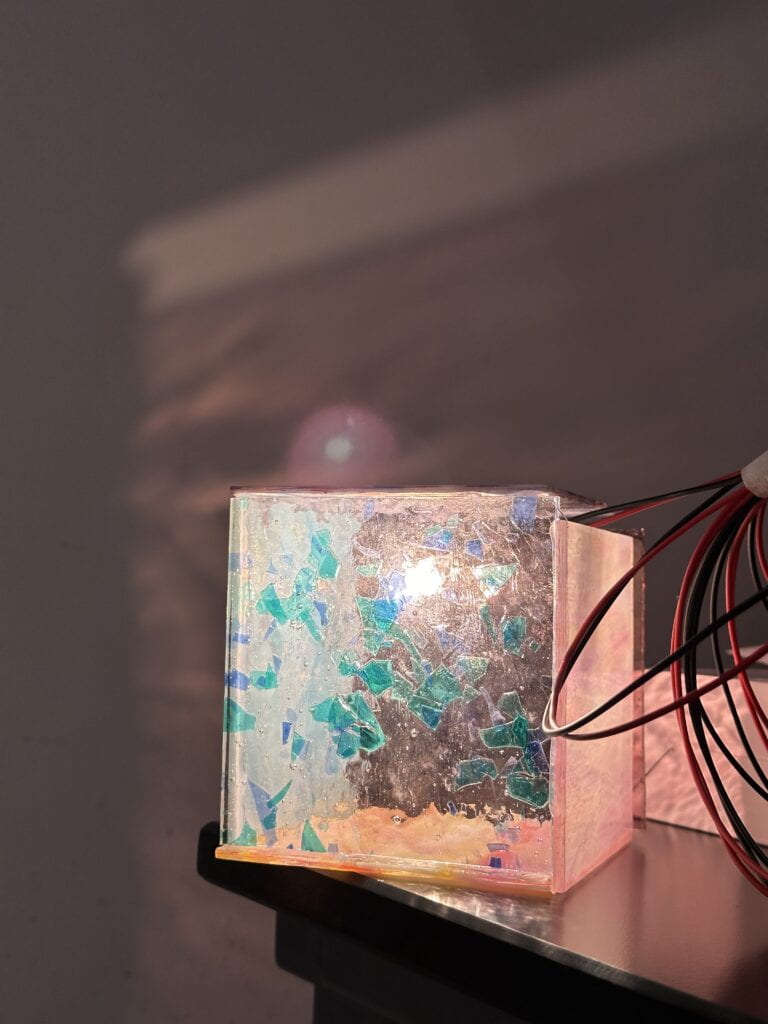
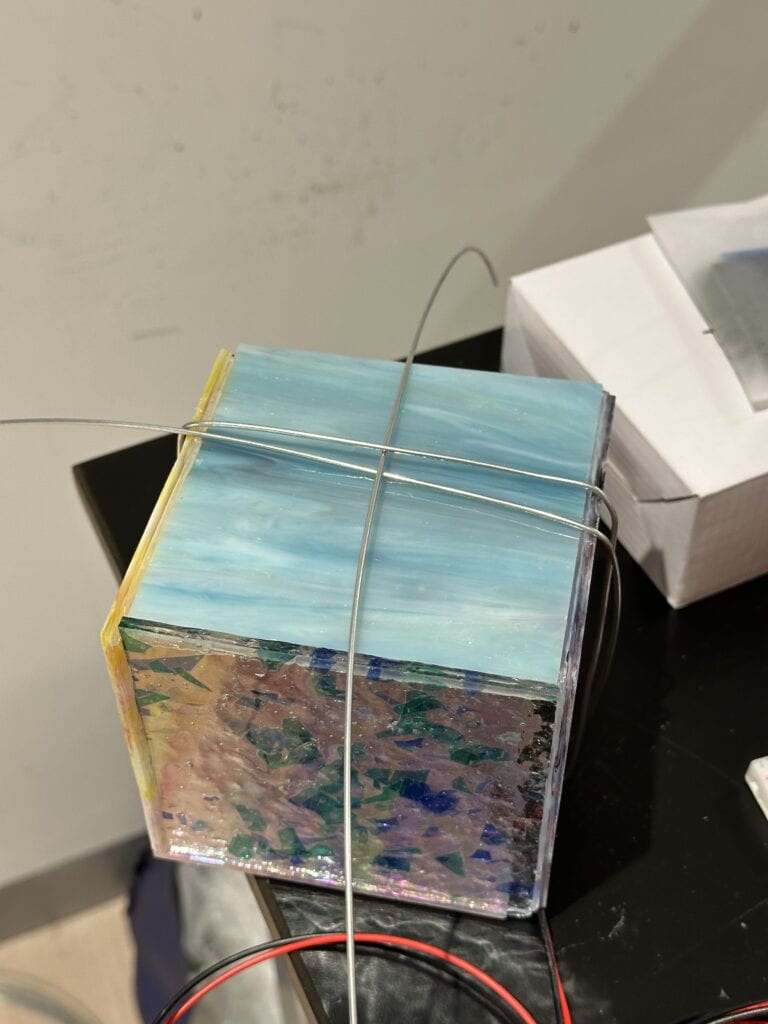
Having finished this part, I started to build the circuit of this project. I referred to the class slides and combined the circuit of all objects in one breadboard. One thing that I tried out at this stage was that I tried to use a transistor for several lighting objects. It seemed to work well in the beginning, so I just kept it and used the glue gun to secure the whole circuit.
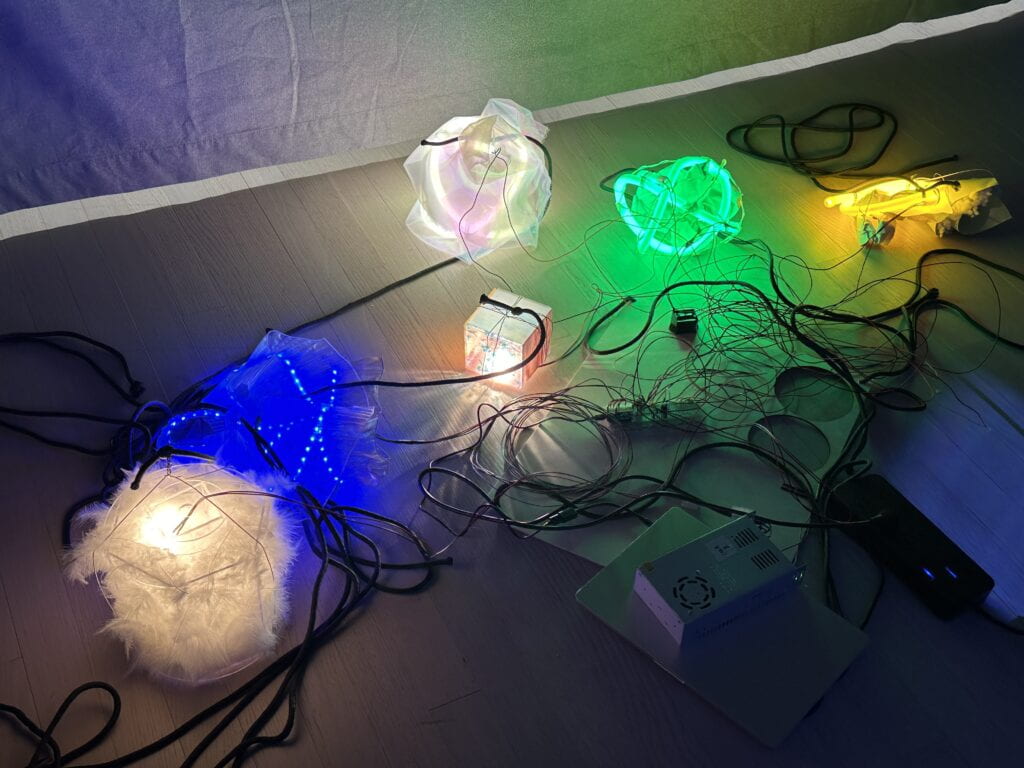
Then, I wrote the code for my project. The code was easy, because both my professor and I thought that it would be better if I focus more on the shapes and looks of the objects instead of the complexity of the code. Therefore, I used basically the “blink” and “fade” function in the Arduino to light up my objects.
//pick a plywood, drill four holes, build the circuit and glue everything together!
//dont forget about the air blower!!!

//white neon tube: connected directly to the power supply (breadboard 1)
//yellow neon tube: fade 6 (breadboard 1)
//green neon tube: fade 10 (breadboard 1)
//EL wire: blink 9 (breadboard 1)
//red neon tube: blink 5 (breadboard 2)
//halogen bulb 1 (feather): blink 11 (breadboard 2)
//halogen bulb 2 (glass box): connected directly to the power supply (breadboard 2)
//analog LED strip : fade 3 (breadboard 2)


int brightness = 0;
int fadeAmount1 = 5;
int fadeAmount2 = 5;
int fadeAmount3 = 5;

void setup() {
  pinMode(6, OUTPUT);
  pinMode(5, OUTPUT);
  pinMode(3, OUTPUT);
  pinMode(11, OUTPUT);
  pinMode(10, OUTPUT);
  pinMode(9, OUTPUT);
}

void loop() {
  analogWrite(6, brightness);
  brightness = brightness + fadeAmount1;
  if (brightness <= 0 || brightness >= 255) {
    fadeAmount1 = -fadeAmount1;
  }
  delay(30);

  analogWrite(10, brightness);
  brightness = brightness + fadeAmount2;
  if (brightness <= 0 || brightness >= 255) {
    fadeAmount2 = -fadeAmount2;
  }
  delay(30);

  digitalWrite(9, HIGH);
  delay(1000);
  digitalWrite(9, LOW);
  delay(1000);

  digitalWrite(5, HIGH);
  delay(1000);
  digitalWrite(5, LOW);
  delay(1000);

  digitalWrite(11, HIGH);
  delay(1000);
  digitalWrite(11, LOW);
  delay(1000);

  digitalWrite(9, HIGH);
  delay(1000);
  digitalWrite(9, LOW);
  delay(100);

  analogWrite(3, brightness);
  brightness = brightness + fadeAmount3;
  if (brightness <= 0 || brightness >= 255) {
    fadeAmount3 = -fadeAmount3;
  }
  delay(30);
}
Here is the link to my Arduino code in the Google Drive folder:
https://drive.google.com/drive/folders/1k21VBfOEJiNWq-h65GKsnVgKdZsPIJ8s
However, there were a lot of problems before the final presentation due to the timing problem. First of all, some of the objects just stopped working before the final presentation. Later when I was disassembling the project, I found out that it was because one transistor burnt out before the presentation starts, which proved that one transistor may not be able to function several objects at the same time. Meanwhile, there were also some attachment problems, for example the words attached to one of the neon tubes would only light the tube up at one certain angle. All of these are problems that I should pay attention to in the future.
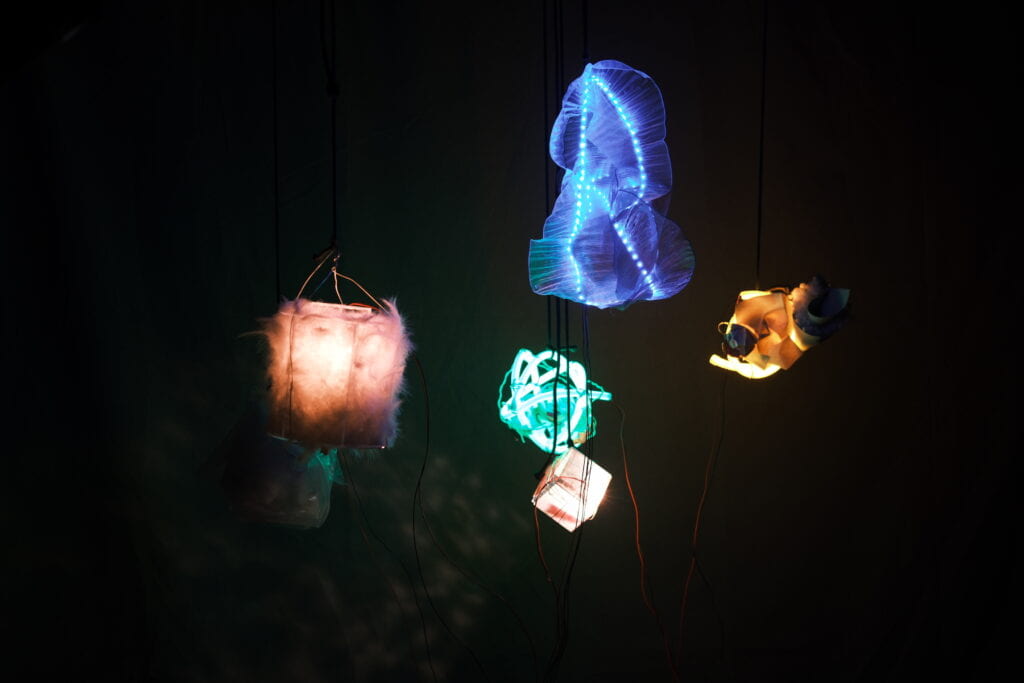
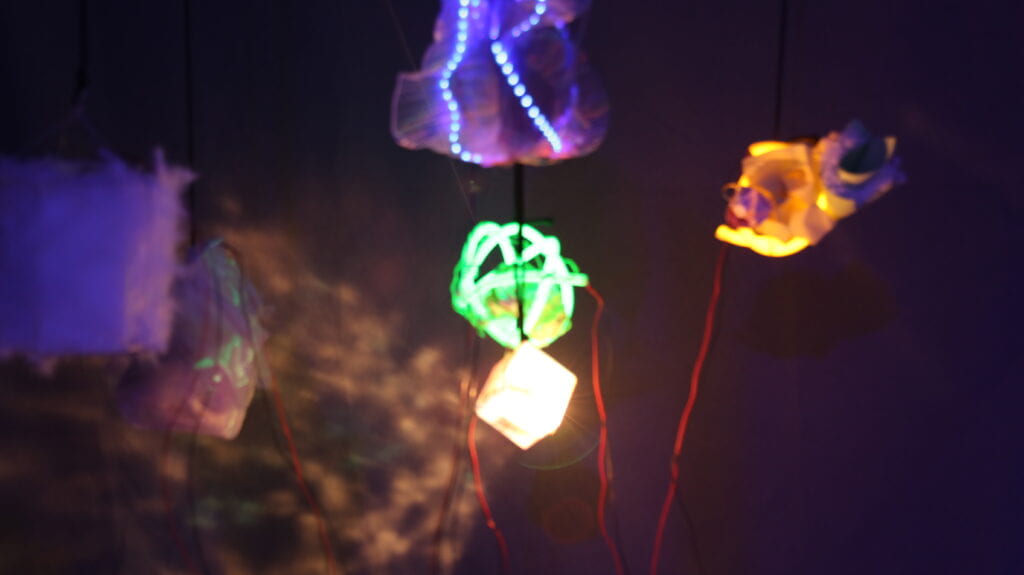
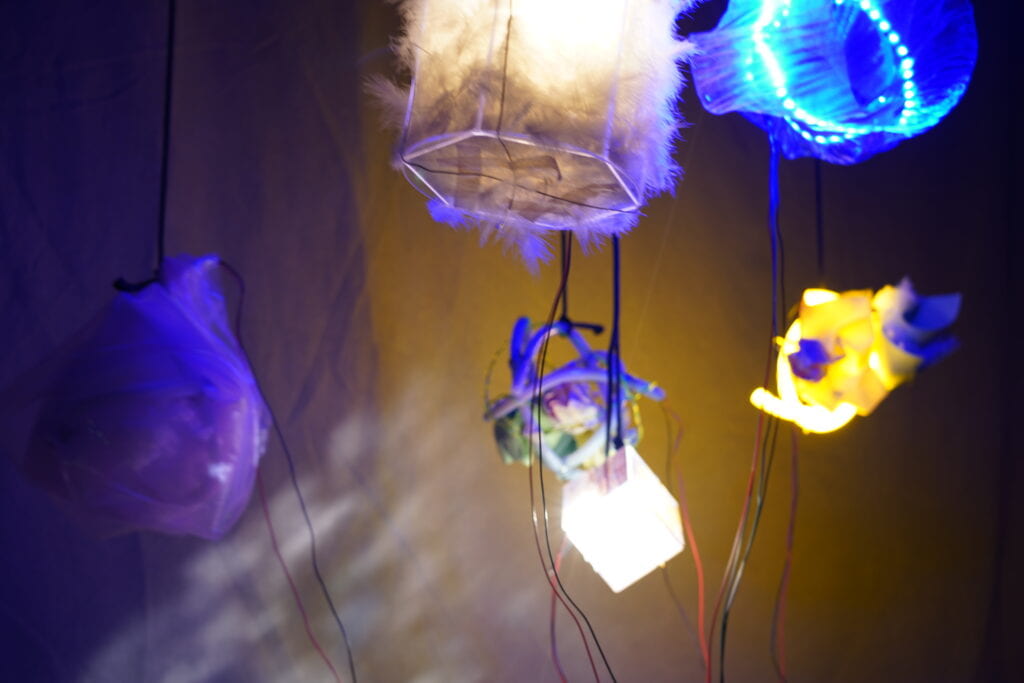
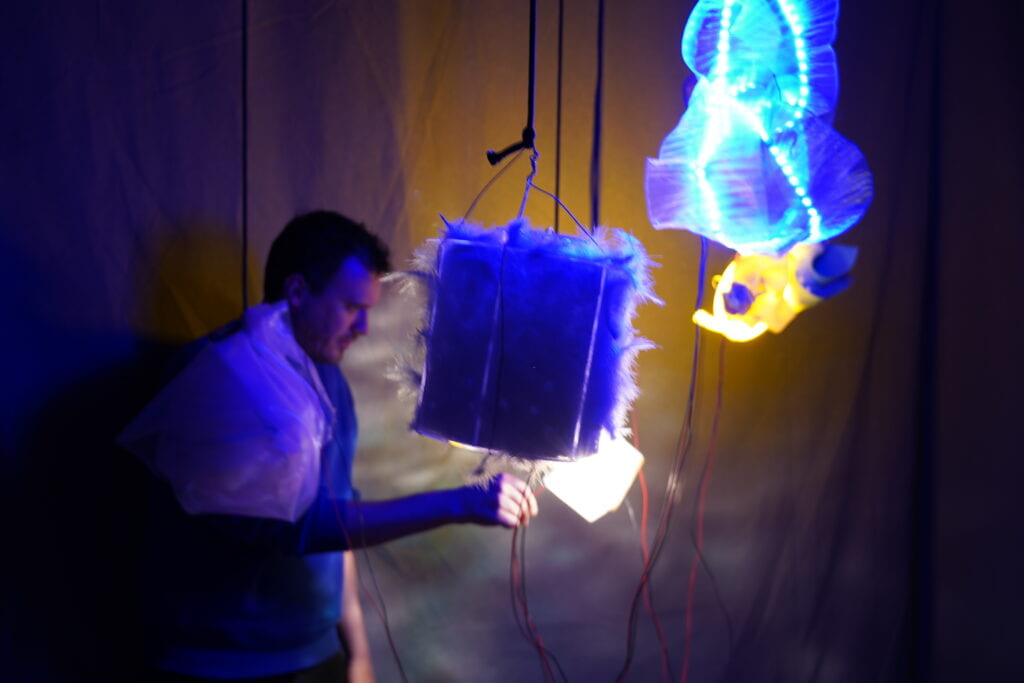
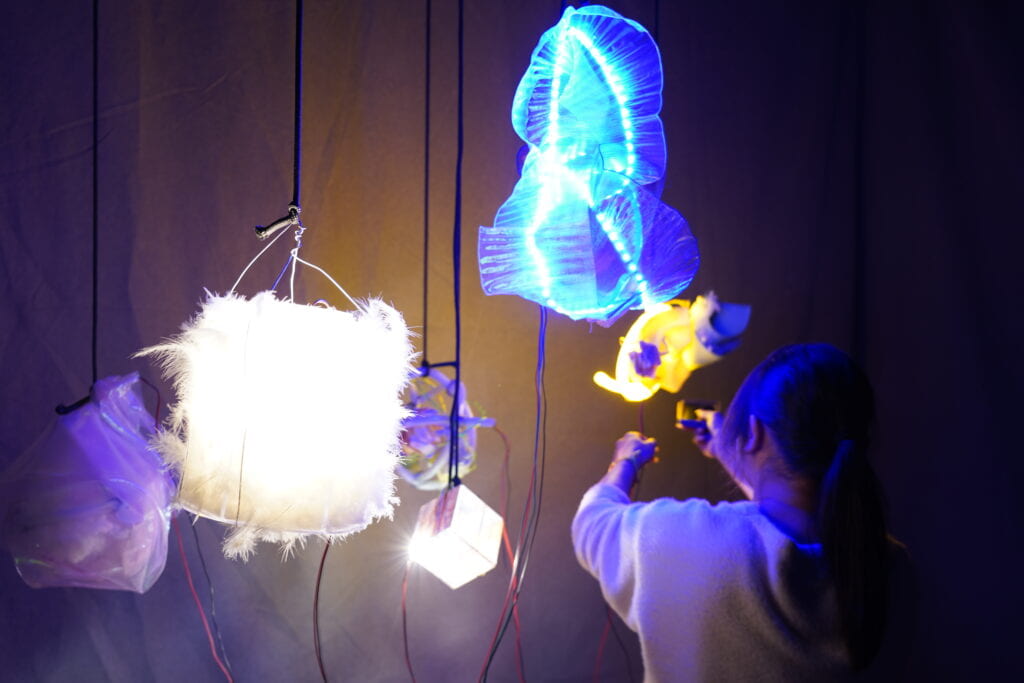
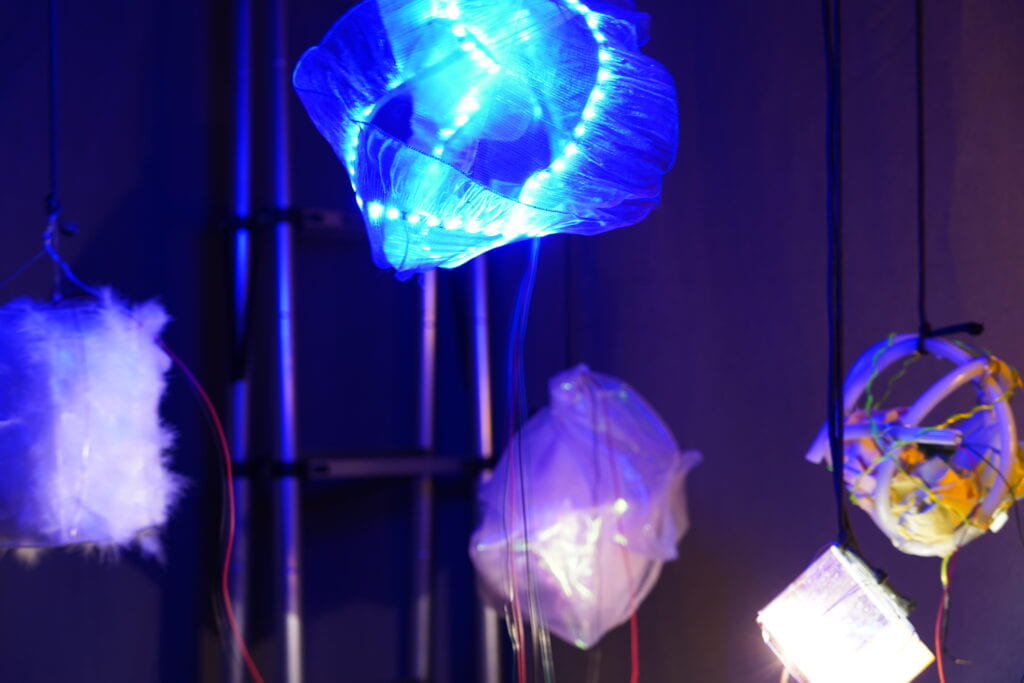
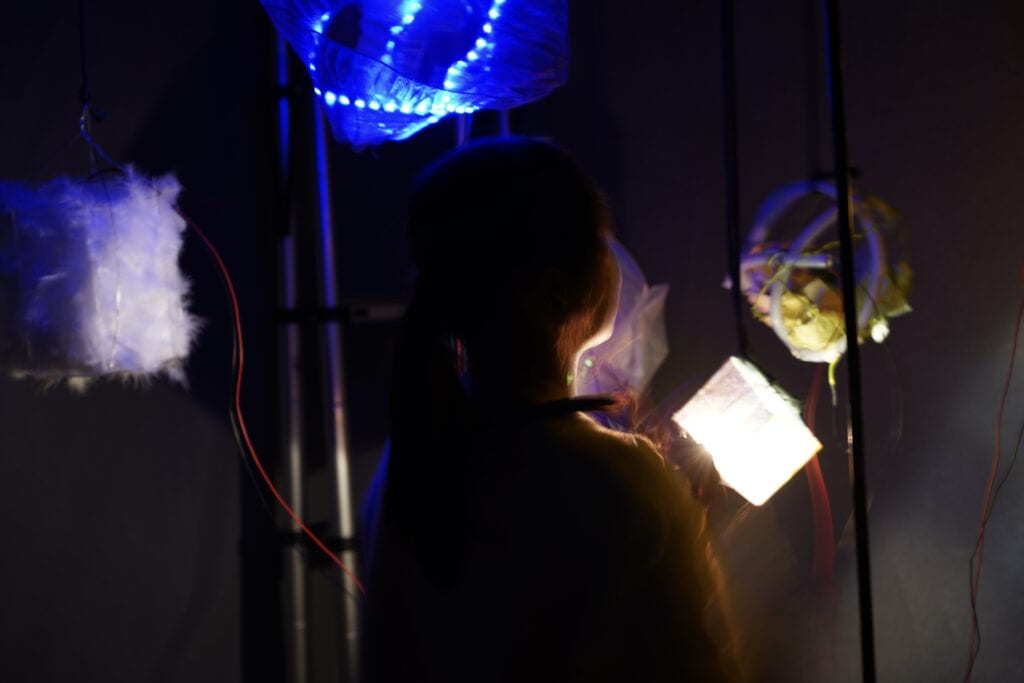
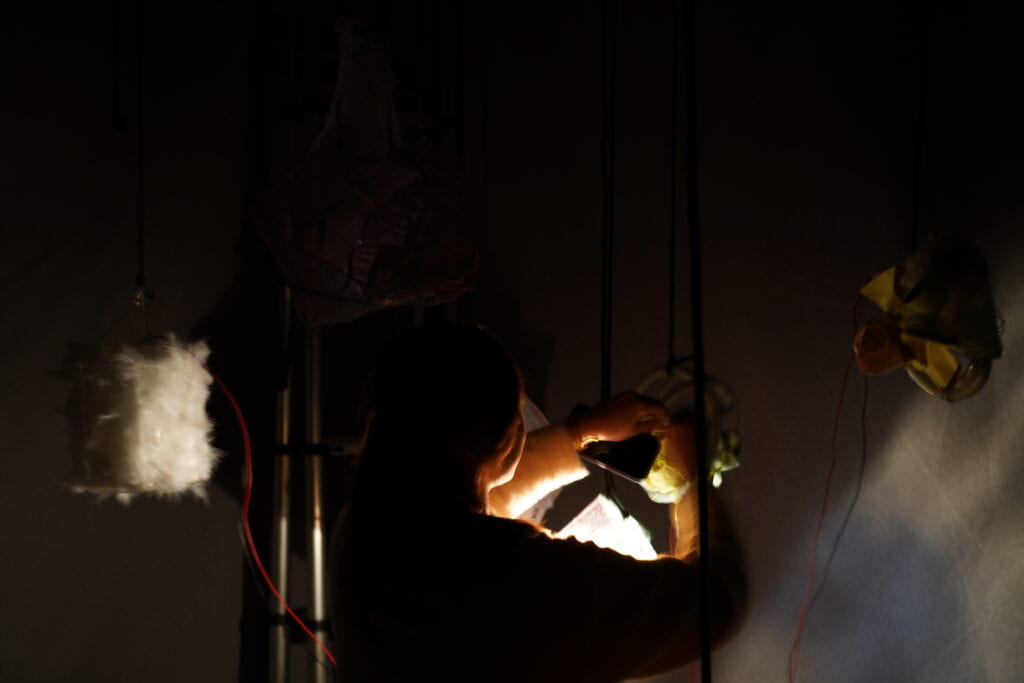
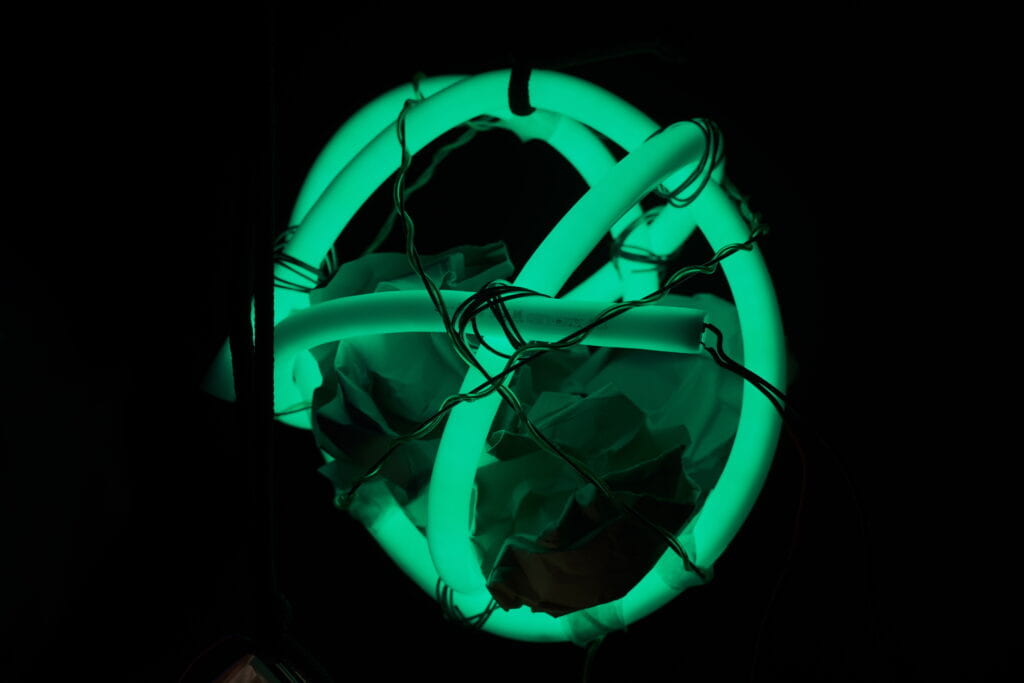
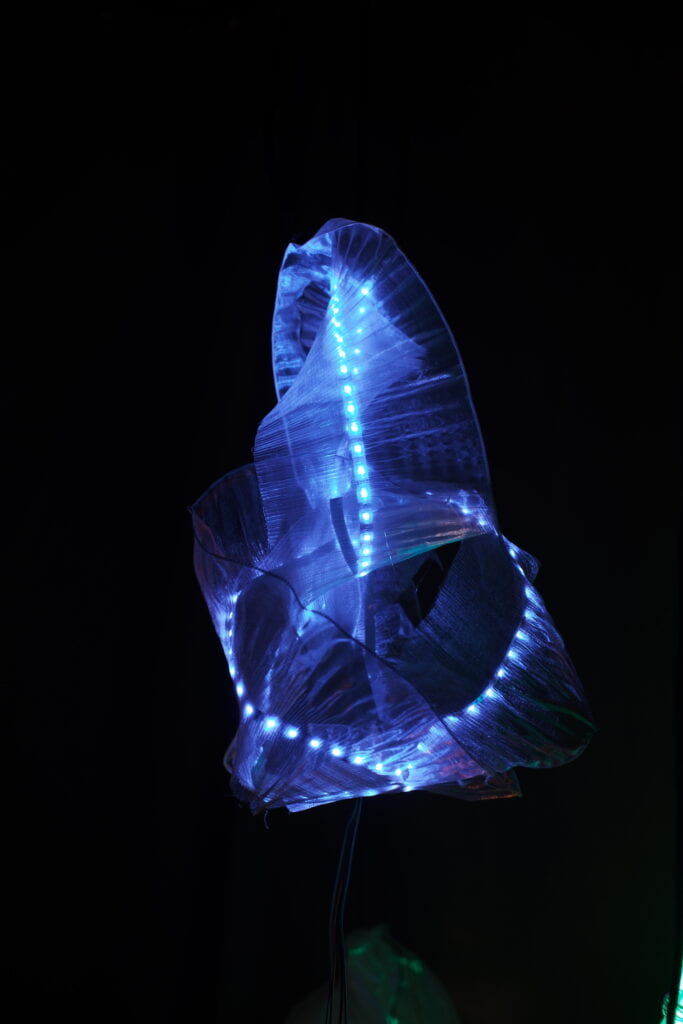
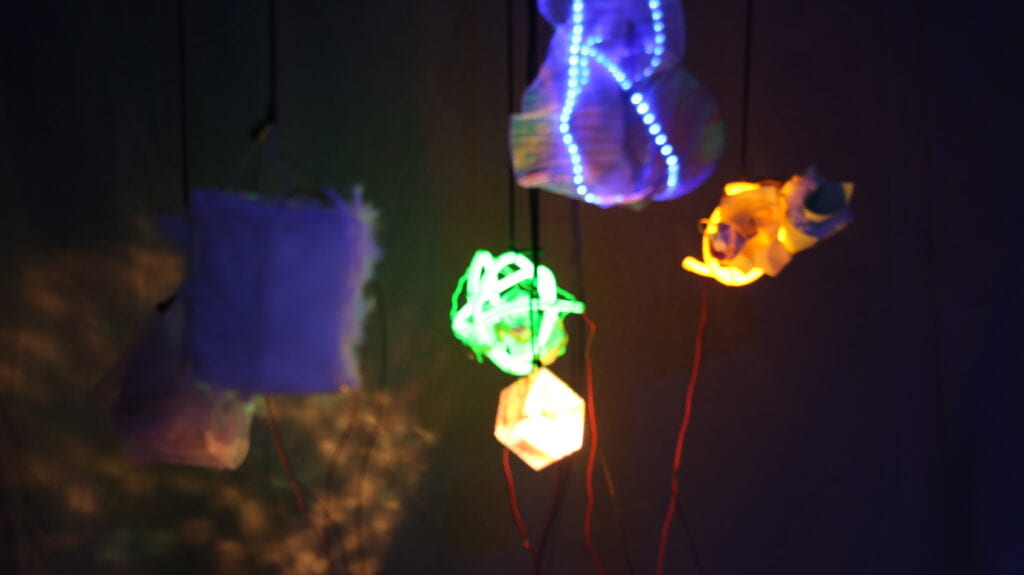
When it comes to the final implementation, basically I just hang my installation from the ceiling, and the audience could sit around it and look at it when the lights changed. The six objects changed at their own rhythm both in light and in motion, but altogether they formed a space where all kinds of light generated by neon tubes, halogen light bulbs and analog LED strips echoed with each other and generated a place where all of us could sit down , rest for a while and reflect back upon our own memories and generate our own understanding of the installation as a whole.
IV. Presentation
The biggest problem before or during presentation was that I was running out of time. I didn’t even start to hang the objects onto the ceiling before the class starts. Meanwhile, when I was carrying out the last step of installation, a lot of things went wrong. When my presentation started, at first the green neon tube didn’t turn on, but later on it functioned in the way I expected it to do, and one white neon tube didn’t turn on from beginning to end. Besides, I didn’t had sufficient time to hang the board with my computer and all the wires on it to the ceiling, which greatly affected the visual experience of the installation itself. One comment given by my professor was that he liked the black nylon ropes I used to hang the dangling objects. This corresponded with my initial intention of informing my audience that the objects were hang from the ceiling, not floating in the air, and is the main reason why I didn’t choose those thinner and transparent ropes to hang my objects. Another suggestion mentioned by one of my classmates is that one of the objects that I coded to blink has too much time to stay in the dark, and this does not align with most other objects which were either fading or staying still. She suggested that I could make that object light up longer, and that would also do good to the visual effect. I consider both comments really helpful and hope to improve more in the future.
When it comes to the air blower, I tried it in advance but it turned out that it was way too noisy and could even surpass my own voice. Nevertheless, during the presentation, as the professor and some of my classmates touched either the ropes or the objects, the installation turned out not to be still and encompassed some motion, which coincidentally melted my initial expectations.
The biggest thing I learnt during this experience was that I should have started earlier in order to make more space for me to make mistakes. Next time I wish I could come up with a more detailed plan about what to do and when to finish so that things wouldn’t end up all in a mess!
Below are some of the photos and videos of my project:


V. Conclusion
In general, this project taught me a lot in not only the domain of knowledge and physical fabrication but also the arrangement of time and energy. The research process where I came up with the initial idea went too smooth for me to evaluate the difficulty of this project correctly. I had greatly underestimated the time required for me to finish this project completely and I ended up running out of time. In a word, I was a bit too ambitious in the beginning, but the reality was that I had too much work during the mid-term that I didn’t spend as much time as I anticipated in advance to start earlier. This is indeed something I would like to improve in the future.
Nevertheless, I learned quite a lot during the creation and execution processes of this project. Not only did I improve my fabrication skills and tried coding all by myself for the first time and received success, but I also achieved my ambition in a complete though not perfect way. Therefore, I would like to cherish what I have gained from this precious experience and try to be more mature when carrying out my projects in the future!

Leave a Reply