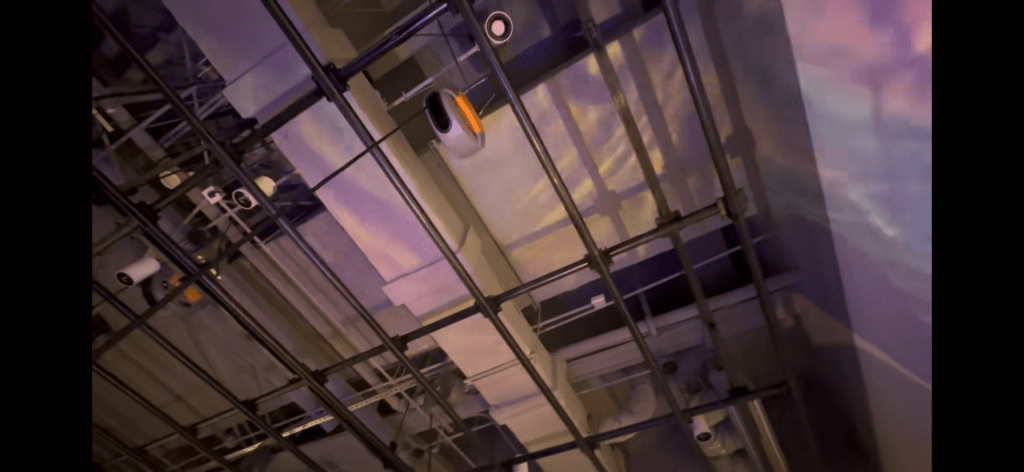
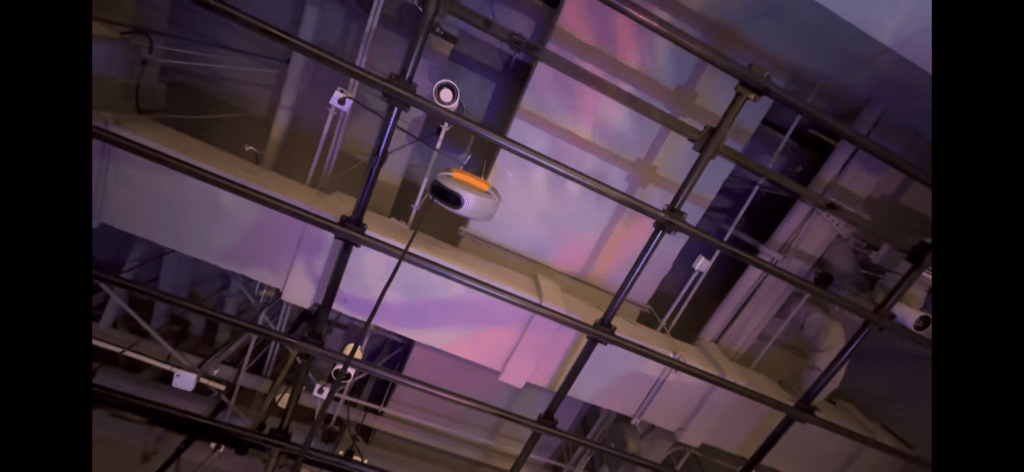
Our idea for this project is to use the water to create water ripples on the wall in order to create an intriguing light effect. Our inspiration came from my partner when she sent me a video of her using the smartphone flashlight and a water bottle to create some light effects. After watching this video, we decided to work on this idea and use the casting of the water ripples on the walls to make the light fill the entire room.
At first, our proposal was to combine two bottles together, put the light installation within the inner bottle and fill the space between the two bottles with water. We spent some time building our bottle installation, and tried different methods such as the lighter and glue gun to fill the gap between the two bottles.
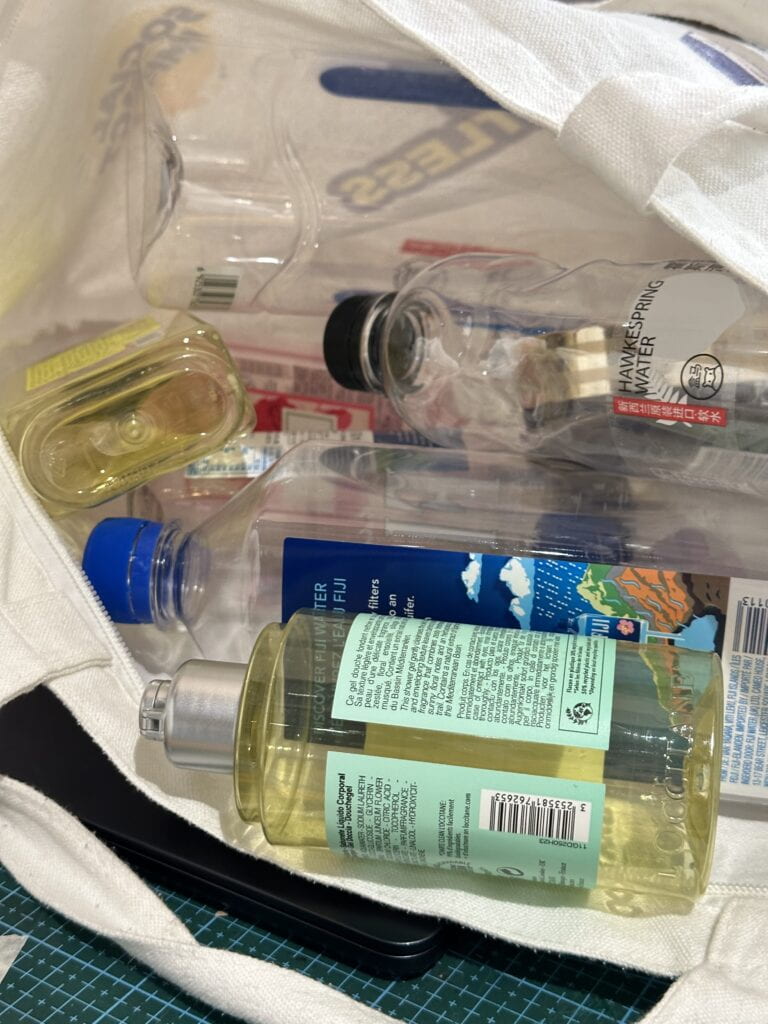
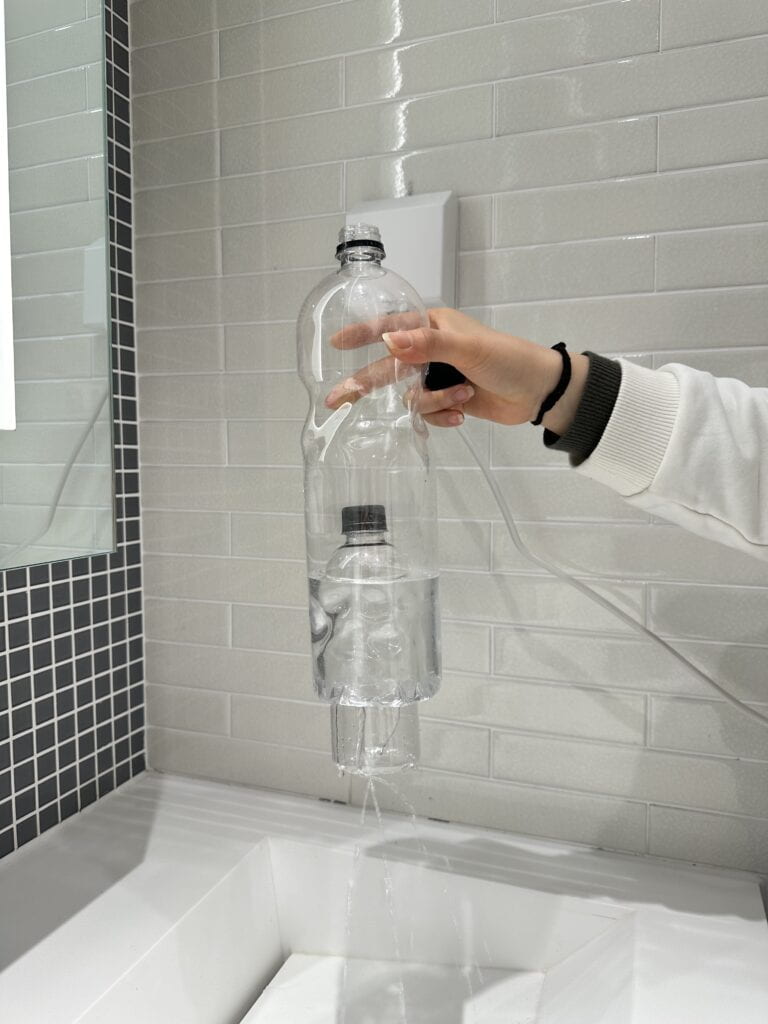
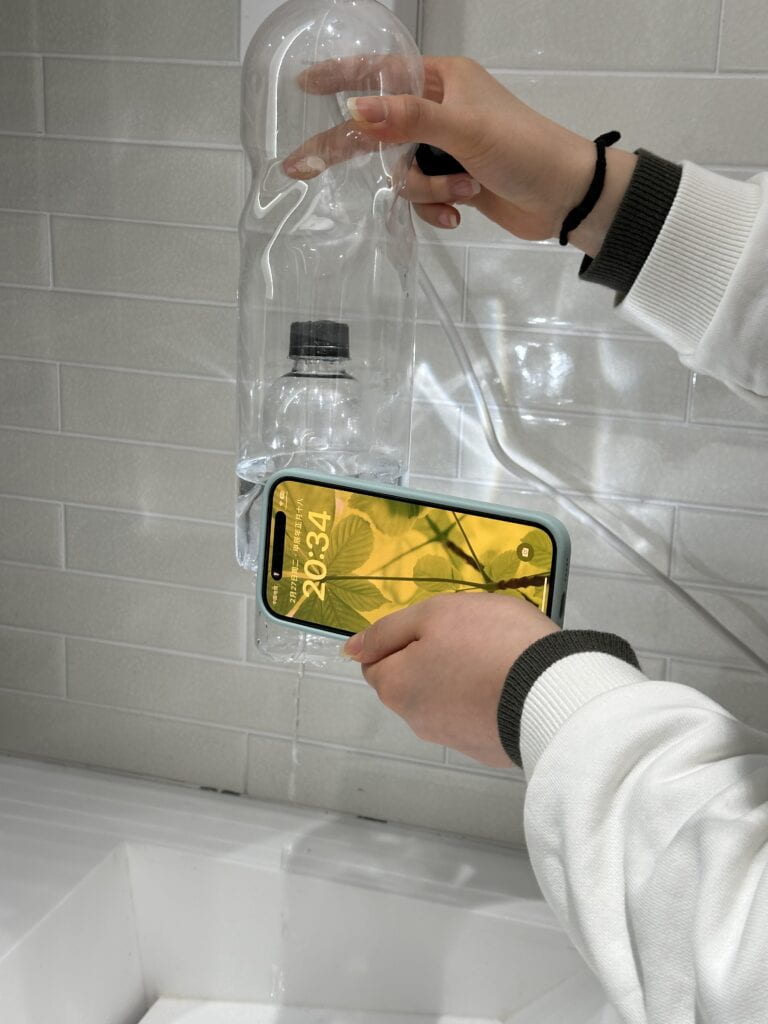
However, it kept leaking so we had to change our plan. Not only did we need a waterproof box for adding water to our project, but we also needed a bigger space for installing the light bulb and the RGB strip. Therefore, I suggested that we could use two separate semi-enclosed acrylic boxes created by laser cutting for our project. We can put one onto the other, fill water into the upper one and put our light installation in the lower one.
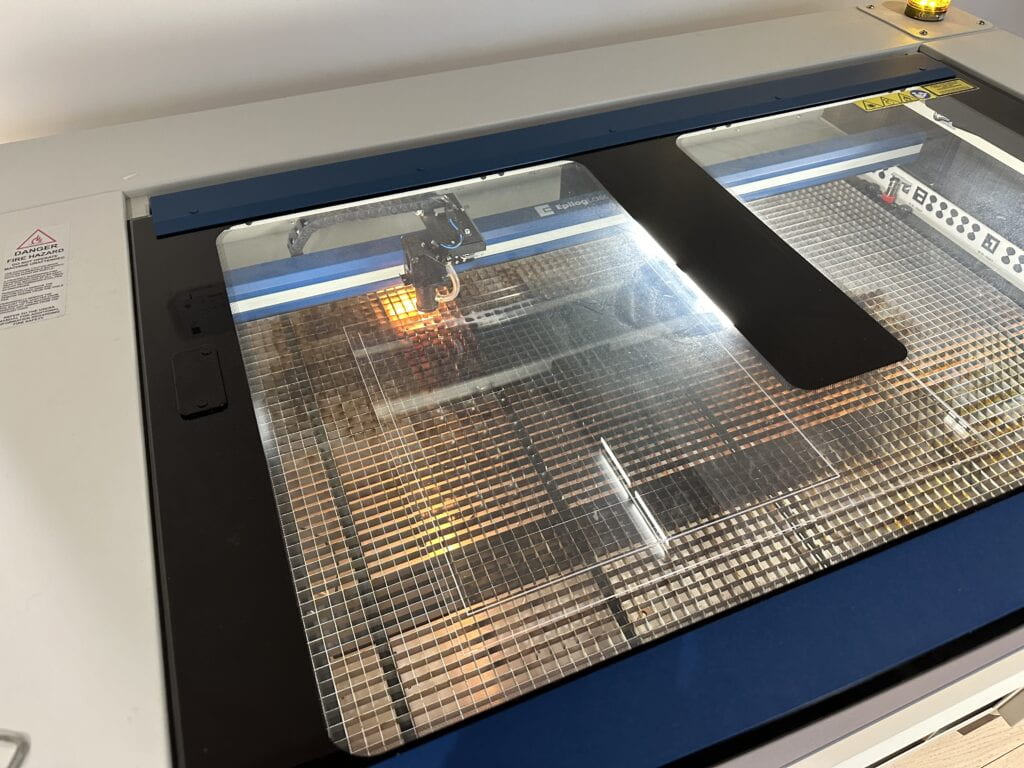
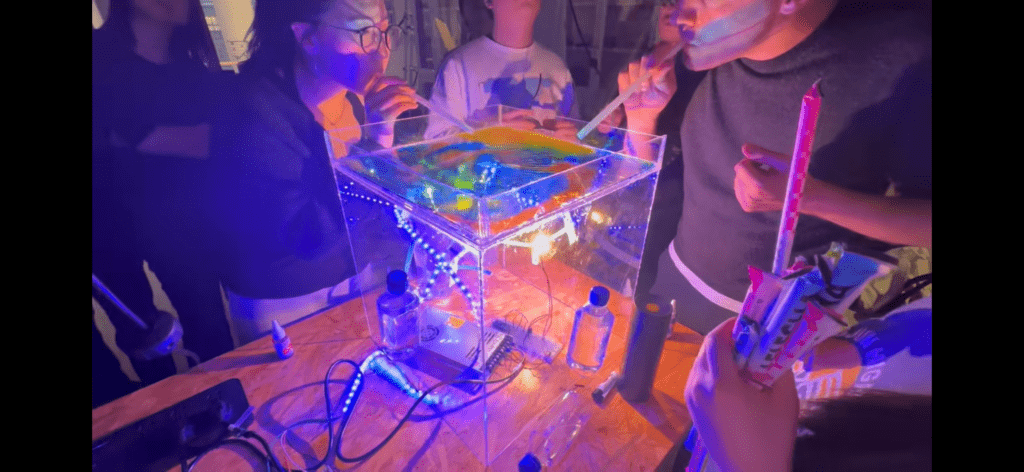
After we have cut the transparent boxes, we started to paste the RGB strip inside the box so that it could be fixed. At this point, my partner had come up with the idea that we could also introduce straws and water-soluble pigment into our project so that the ripples projected on the ceiling could be more colorful. And by adding pigment to water and using the straw to blow on the water, our classmates could have more interaction with our project and become more engaged during our presentation.
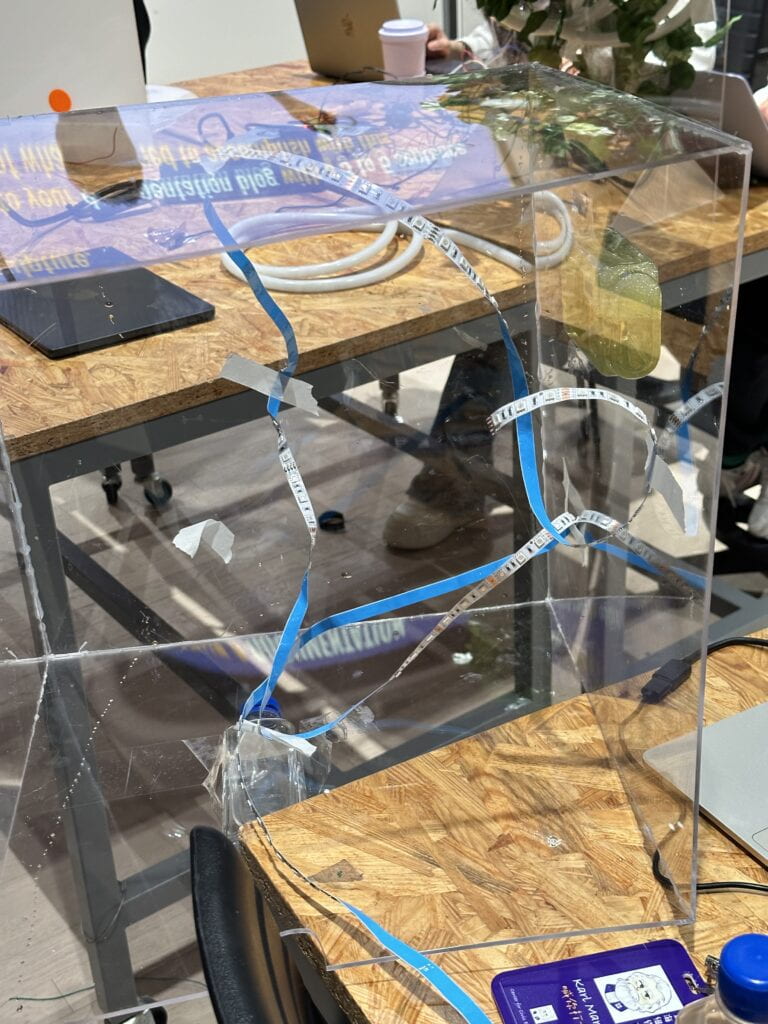
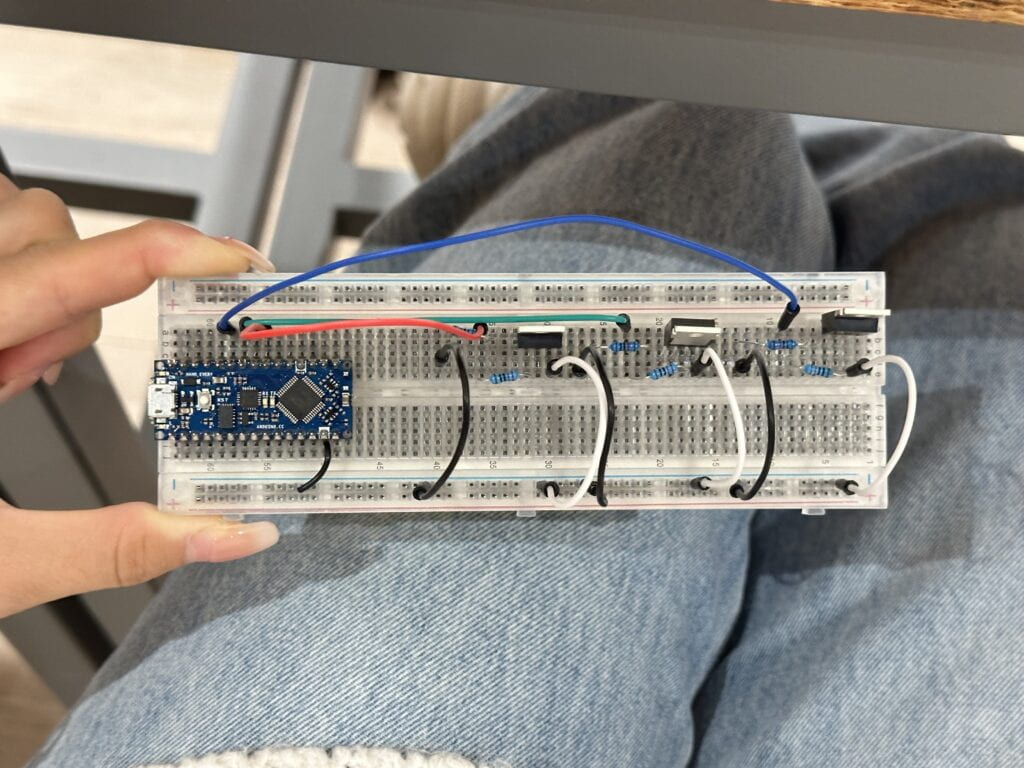
When choosing the lighting techniques, we first decided to only use the analog RGB strip and make its color blue. However, when testing its effect before class, we found out that its brightness was not enough to project the colorful water ripples onto the ceiling, which differed a lot from our original inspiration, since the effect created by a smartphone flashlight was even stronger than that of the RGB strip. Therefore, we made up our mind to introduce a halogen light bulb to provide more brightness. In the end, we used both the analog RGB strip and the halogen light bulb to create a mixed effect for our project. We simply set the color of the RGB strip blue and lit the light bulb up without any special lighting effects, because we wanted people to focus more on our installation and the interaction with water.
During the in-class presentation, we displayed both our original idea, which is the (leaking) bottle, and our final installation. The two videos can be seen below.
In fact, we have encountered a lot of challenges and difficulties during our process of setting things up. Firstly, we used my analog RGB strip at first, but somehow it just didn’t work. Hence, we spent a lot of time checking and revising the code but nothing worked out. Therefore, we switched to my partner’s strip and it worked quite well. Our guess was that it was because she soldered the wires onto her strip while I used the clip, so maybe mine had a bad attachment. Secondly, we tried hard to prevent the laser-cut boxes from leaking, but in the end it was still not 100% waterproof. The physical installation part was also tiring because the boards were large and the hot glue dries really quickly, so I had trouble glueing two boards together.
Though the building process was challenging, both of us gained a lot during this precious experience and we also enhanced our ability of tackling unexpected problems. Personally, I enjoy the working experience of this project a lot, and I was really amazed by the final effect when all the lights were off and the water ripples were shone by the light bulbs!

Leave a Reply