Magic Stairs is a project made by my partner (Sara Siniecka) and I (Jingchen Gao) and instructed by our professor Gottfried Haider.
I. Context & Significance
This is my second project in the Interaction Lab class. Last time me and my group members carried out a project called “the Mirror”, and it was not until that time did I really start to comprehend the concept called “interaction”. Before the group research project, I had already looked into several interactive art pieces such as Luciferins — an interactive installation inspired by invisible networks of bioluminescent fish and internet network traffic (https://www.creativeapplications.net/member-submissions/luciferins-an-interactive-installation-inspired-by-invisible-networks-of-bioluminescent-fish-and-internet-network-traffic/) and Arduino Powered Lucky Cat As Physical Webcounter(https://www.instructables.com/Arduino-powered-Lucky-Cat-as-physical-Webcounter). In my opinion, what the two projects have in similarity is that both of them have considered the need of the users fully and have developed a creative method to concretize the reaction process of the project. In my opinion, “interaction” is no longer a unidirectional process where only the humans can operate the machinery, but is rather like a conversation between the humans and the project where each of them can have the opportunity to display their “ideas” and react to each other. The group research project, though does not contain any technological elements, gave me a basic idea of what “interaction” was like, and brought me a lot of fun when I was interacting with the artifact, so this time I decided to make a game which includes the process of “playing” that goes beyond the idea of simply displaying the functions of the project. In my opinion, I would like to make an entertainment project which can attract people’s interest so that they will like to play with my project over and over again. In other words, I would like to try my best to make something that is “immersive” and really appealing to people.
I got my inspiration from the movie Harry Potter, and in one of its most famous scenes Harry, Ron and Hermione are waiting for the floating stairs. It suddenly stroke me that I could design a game which consisted of several moving stairs and the player could control the stairs by himself/herself to let the small ball reach the destination. Me and my partner could use some sensors to make the project more technology-based, and we could also paint the cardboard facade to make it more visually appealing.
Here is our proposal:
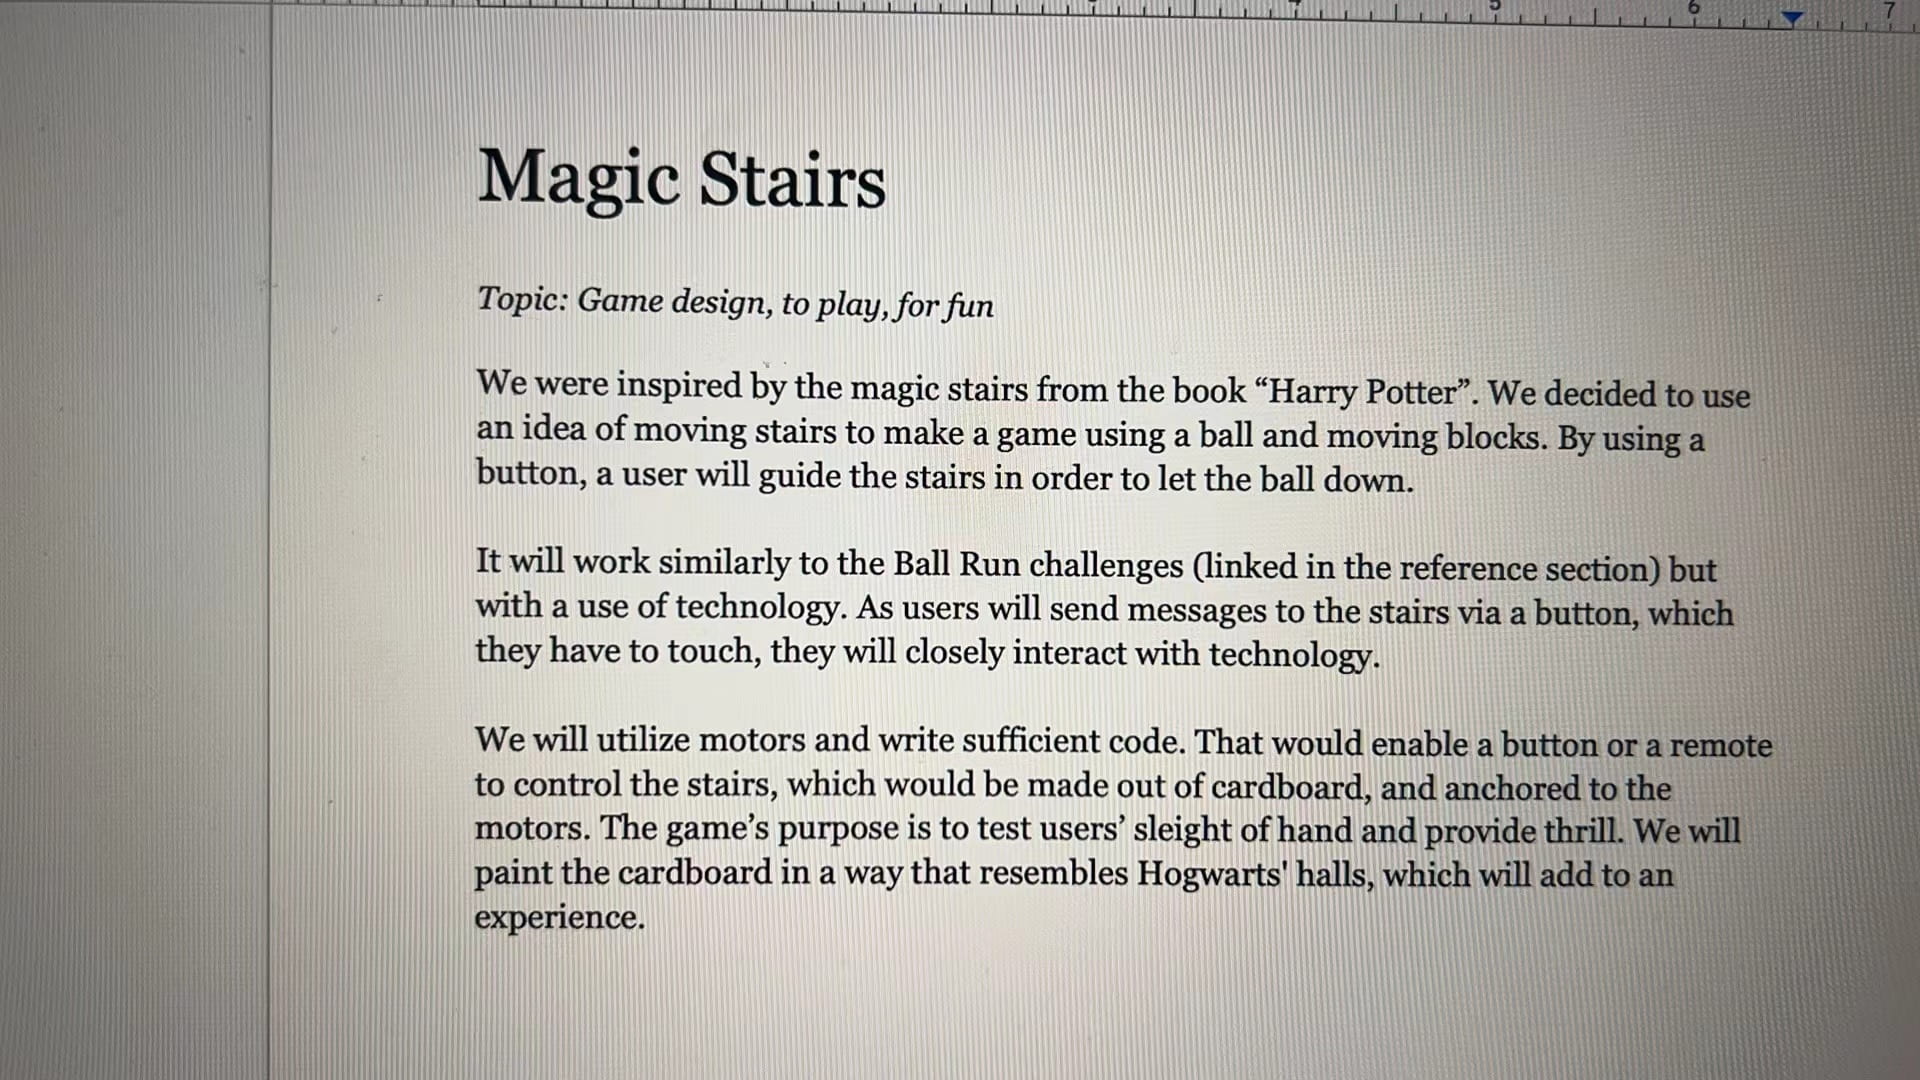
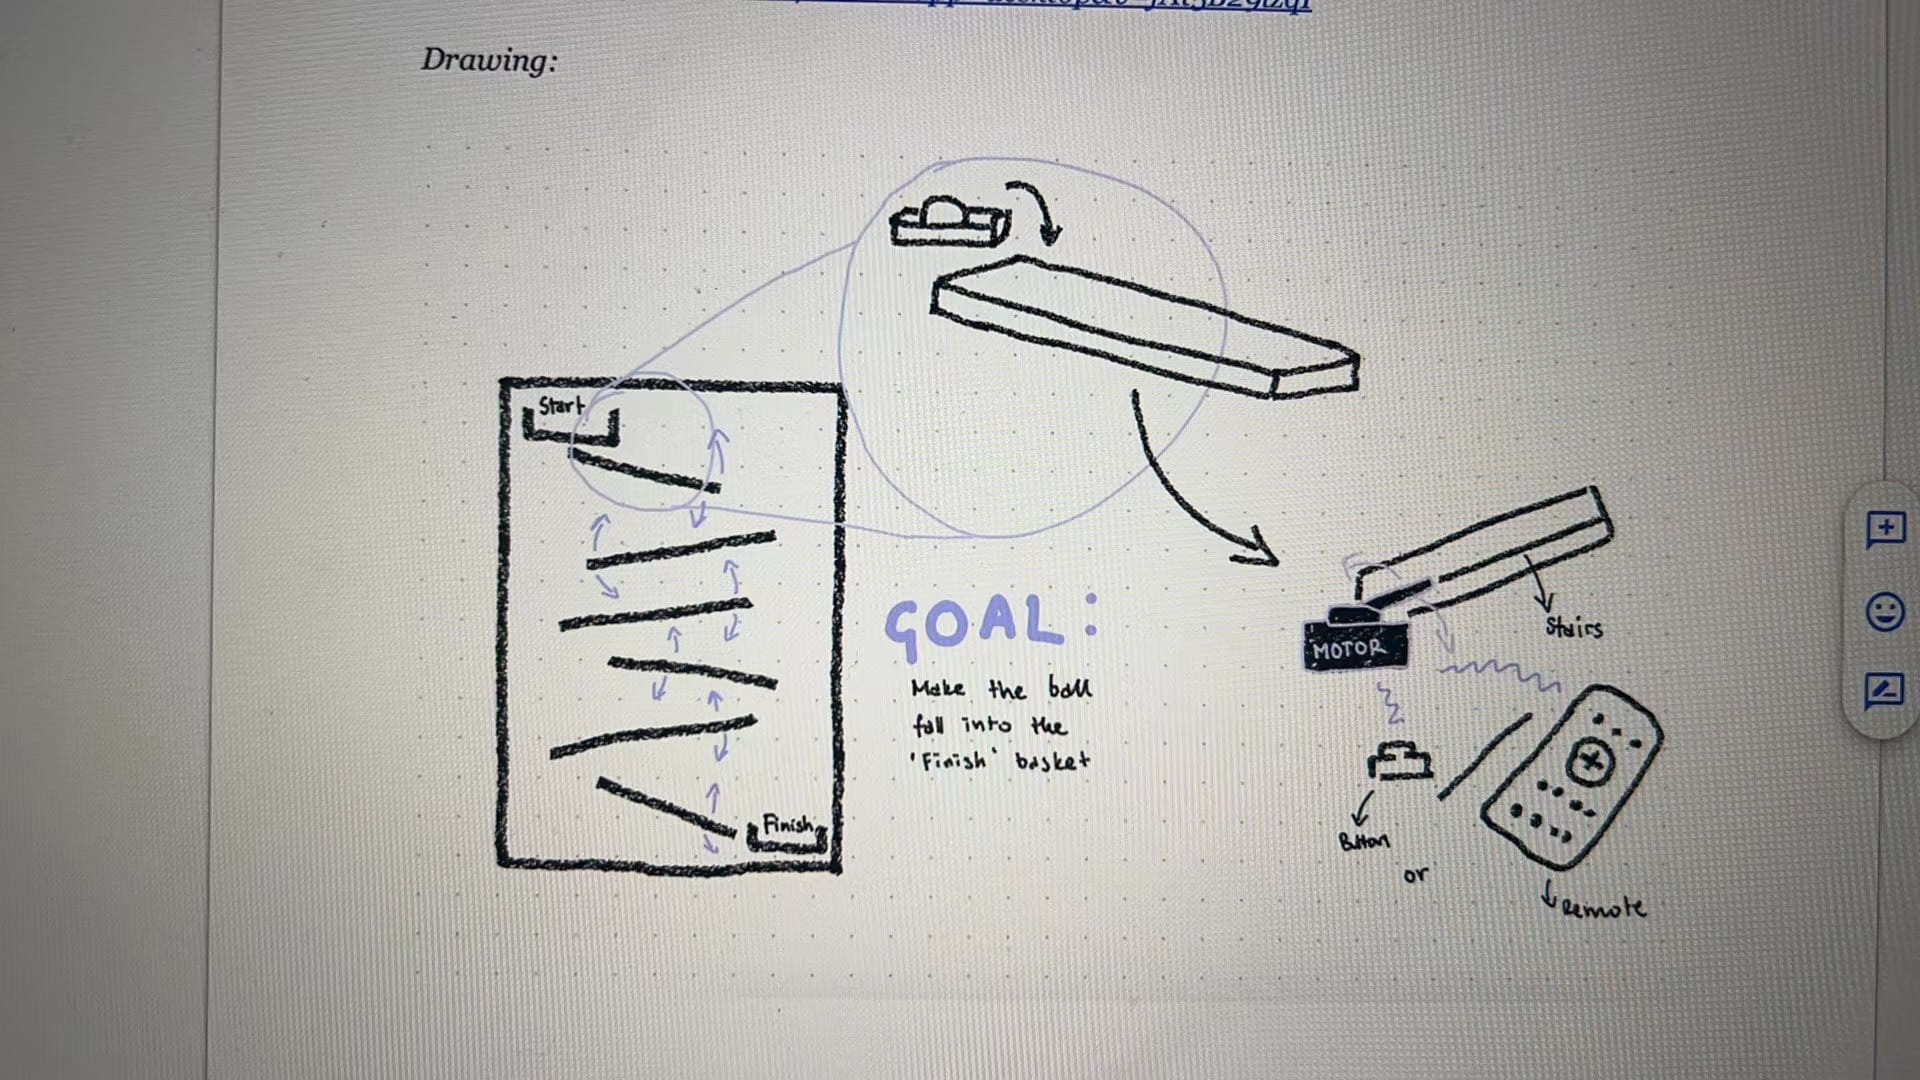
Our intended audience is only limited to a small range — our professor, the LAs and our classmates — because it is considered a mid-term project within our Interaction Lab class. We wanted to apply what we have learned in this course to the people I listed above, and try to bring them some fun when they are interacting with our project. We also wanted to inspire other people about the possibilities of some sensors and to bring our peers some inspiration of their future projects if possible. In our project, we tried our best to make full use of the ultrasound sensor, the servo motor and the potentiometer as well as combined the technology-based project with the well-known movie series Harry Potter, so we hoped to inspire our peers even to a small extent.
II. Concept & Design
As soon as we had the idea of building such “Magic Stairs” and connecting the stairs with a game, we started to think in a more detailed way about our building process. As we already had the experience to build art crafts by cardboard and had attended a cardboard workshop previously, we immediately decided that we should build the main body of our project by cardboard. However, when it came to the part of electrical components, we hesitated. We first thought of using the remote control, but just as what our professor has pointed out, that would be too hard for us, as “remote controls normally make for very unintuitive interfaces”. I also considered using the Stepper Motor which we used before in one of our’s recitation classes, but I didn’t know how to combine it with the stairs as it was too heavy. However, when we were talking to our professor about our worries, he reminded us that we could use the servo motors to control the stairs because servos were good at controlling angles, and it would be possible for us to control several motors by one potentiometer.. That would be easier for the user to control all the stairs at the same time and in the mean time make coding easier for us. We realized that this was a brilliant idea, because as our project was a game, we would like to make the process of playing as easy to understand as possible, so that the technological problem would not add to the difficulty of playing the game. We wanted to make the the rules simple, and let the users fully experience the pure fun of playing with and only with their control of the stairs. Therefore, we adopted this idea with delight.
Another change we made is also about the technological process. At first, just as shown in our project proposal, we didn’t think of what the project would do to react to the winners at all. However, just as our professor reminded, a game wanted to bring its players as much joy and senses of accomplishment as possible, so maybe we should consider adding another sensor at the destination of the ball. This was a useful idea, not only because it made the player feel better when he/she successfully controlled the ball to reach the destination, but also added challenge to our coding and building process. We would also learn more during the process of challenging ourselves. Therefore, we adopted this suggestion too. After talking with another professor about the choice of the sensor, we finally decided to use the ultrasound sensor instead of the touch sensor because the former was easier to use and better at detecting the ball. The touch sensor, though was able to detect the pressure sent by human fingers, could not detect the ball because it was an analog sensor.
III. Fabrication & Production
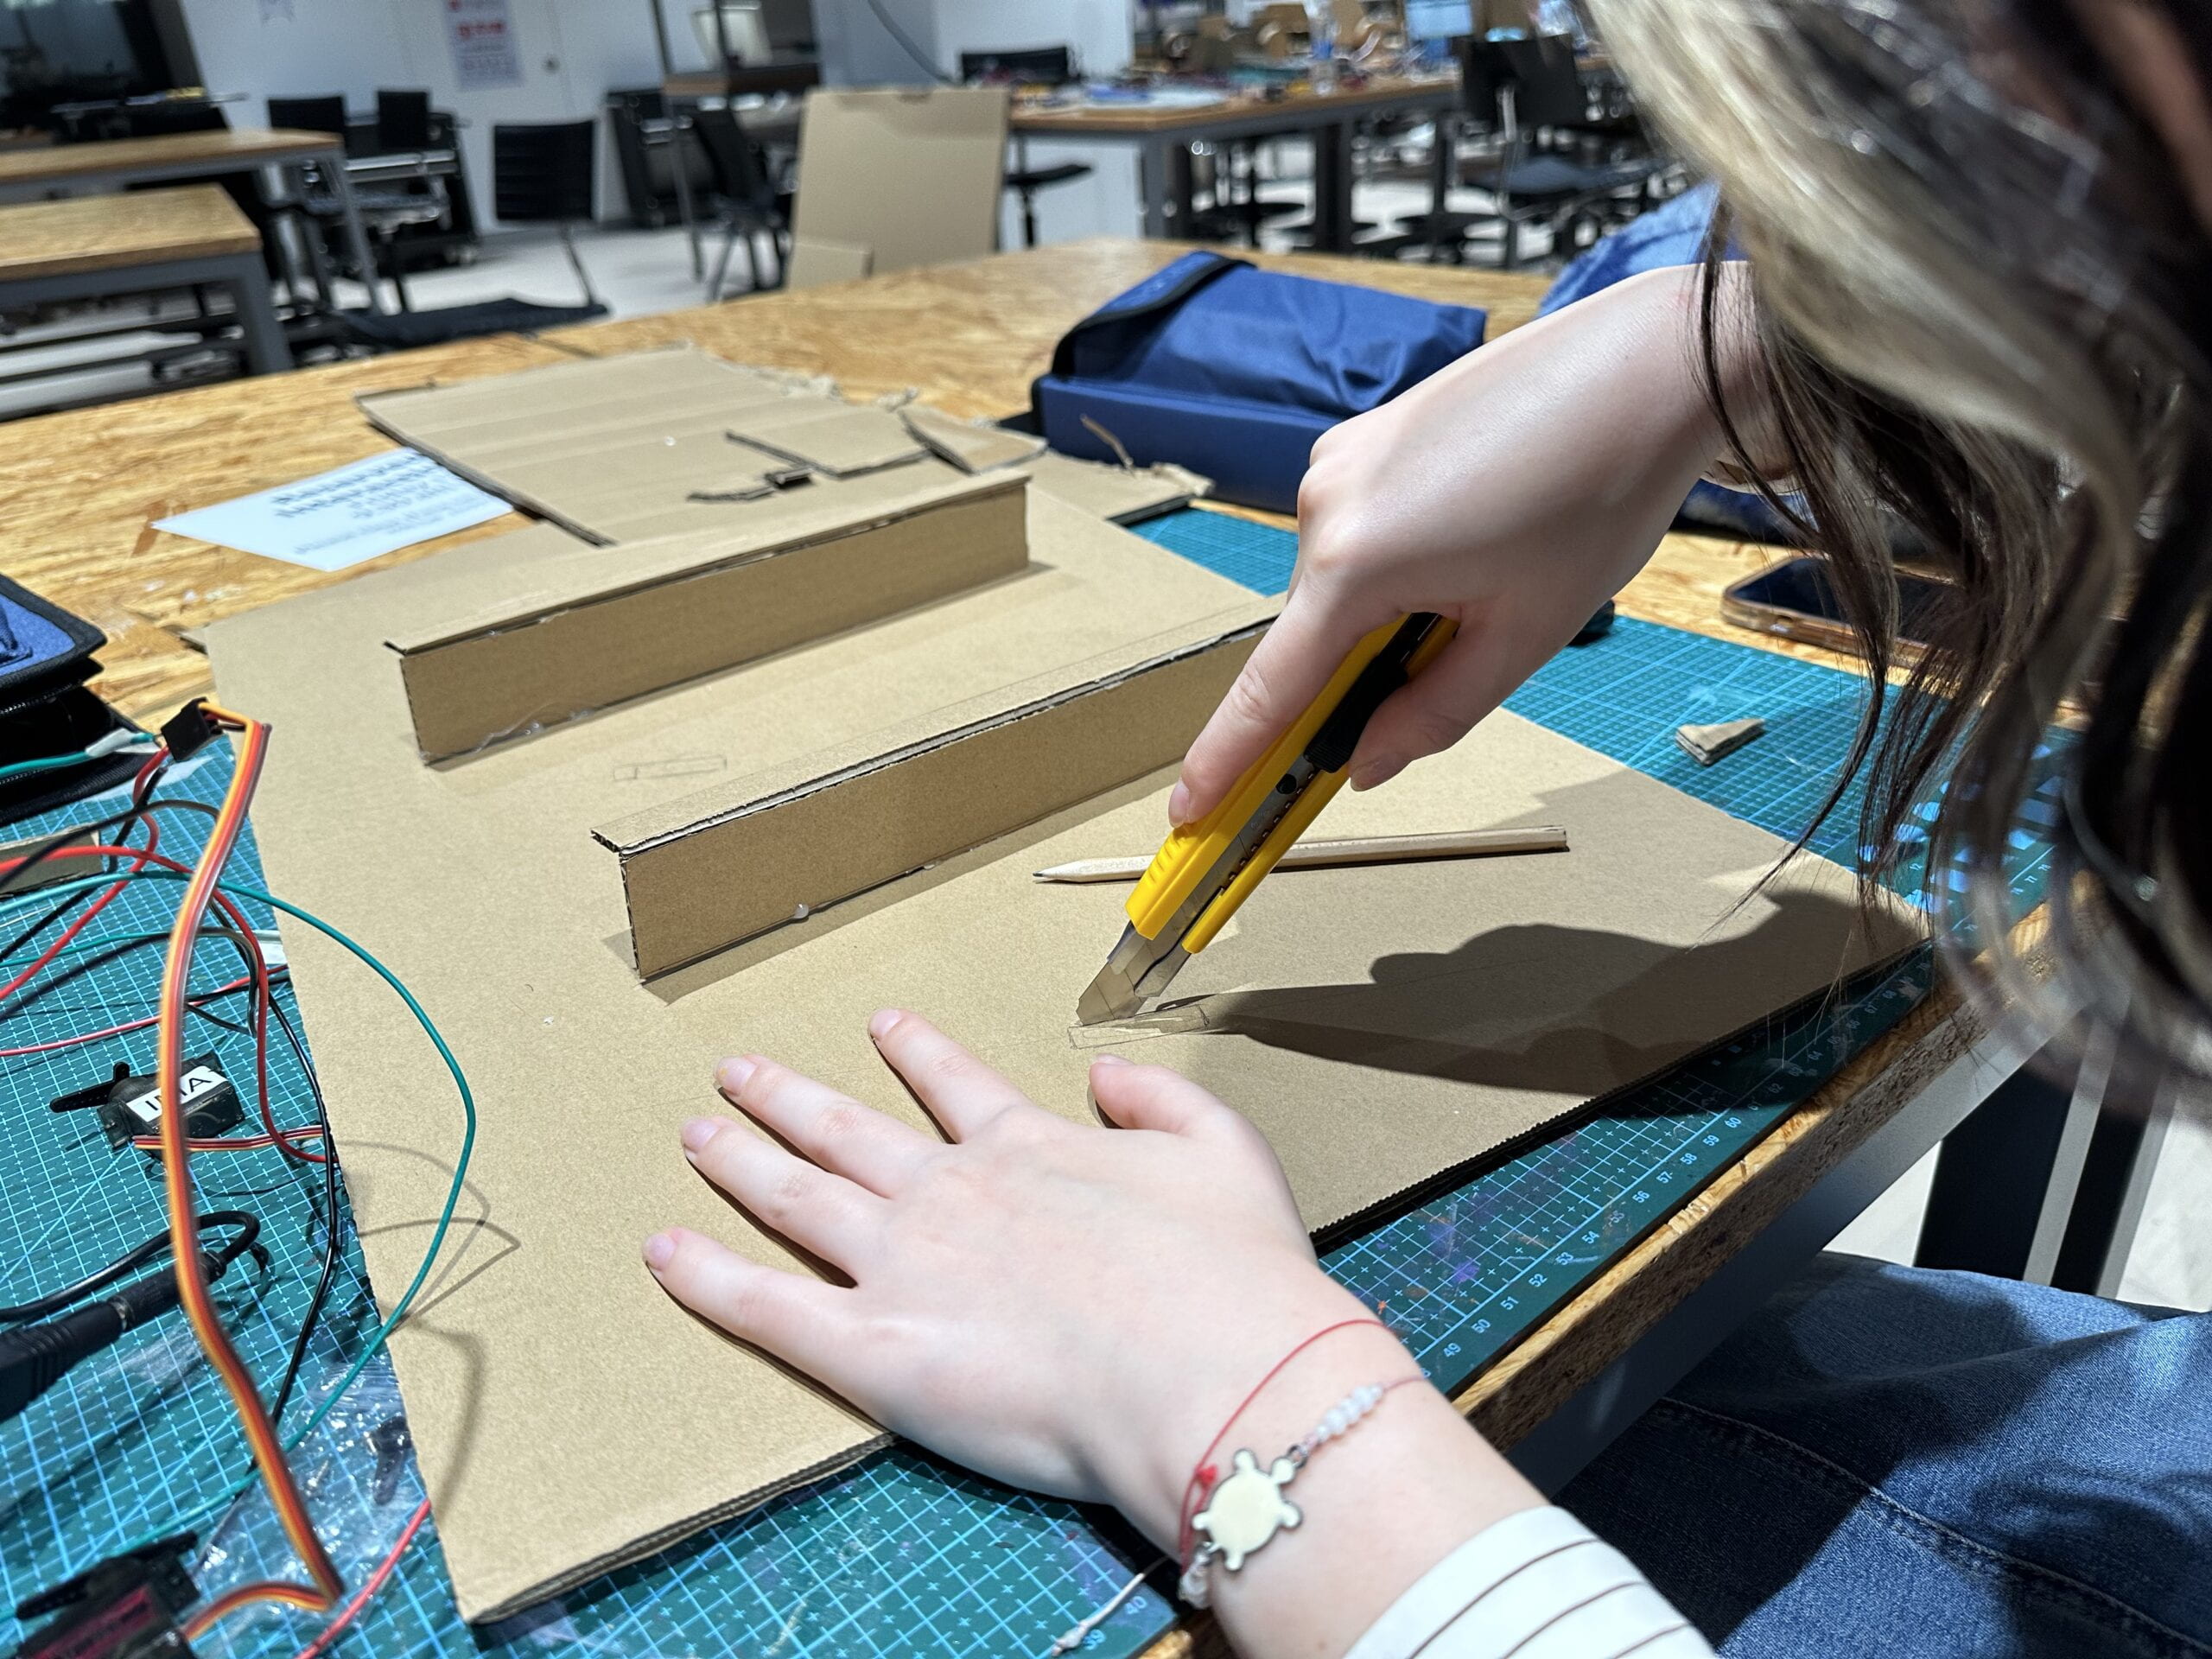
After fully discussed our ideas on making the project, we began to put our hands to making the “Magic Stairs”. We first cut the cardboard in pieces and glued some parts of it together to form a facade and the stairs.
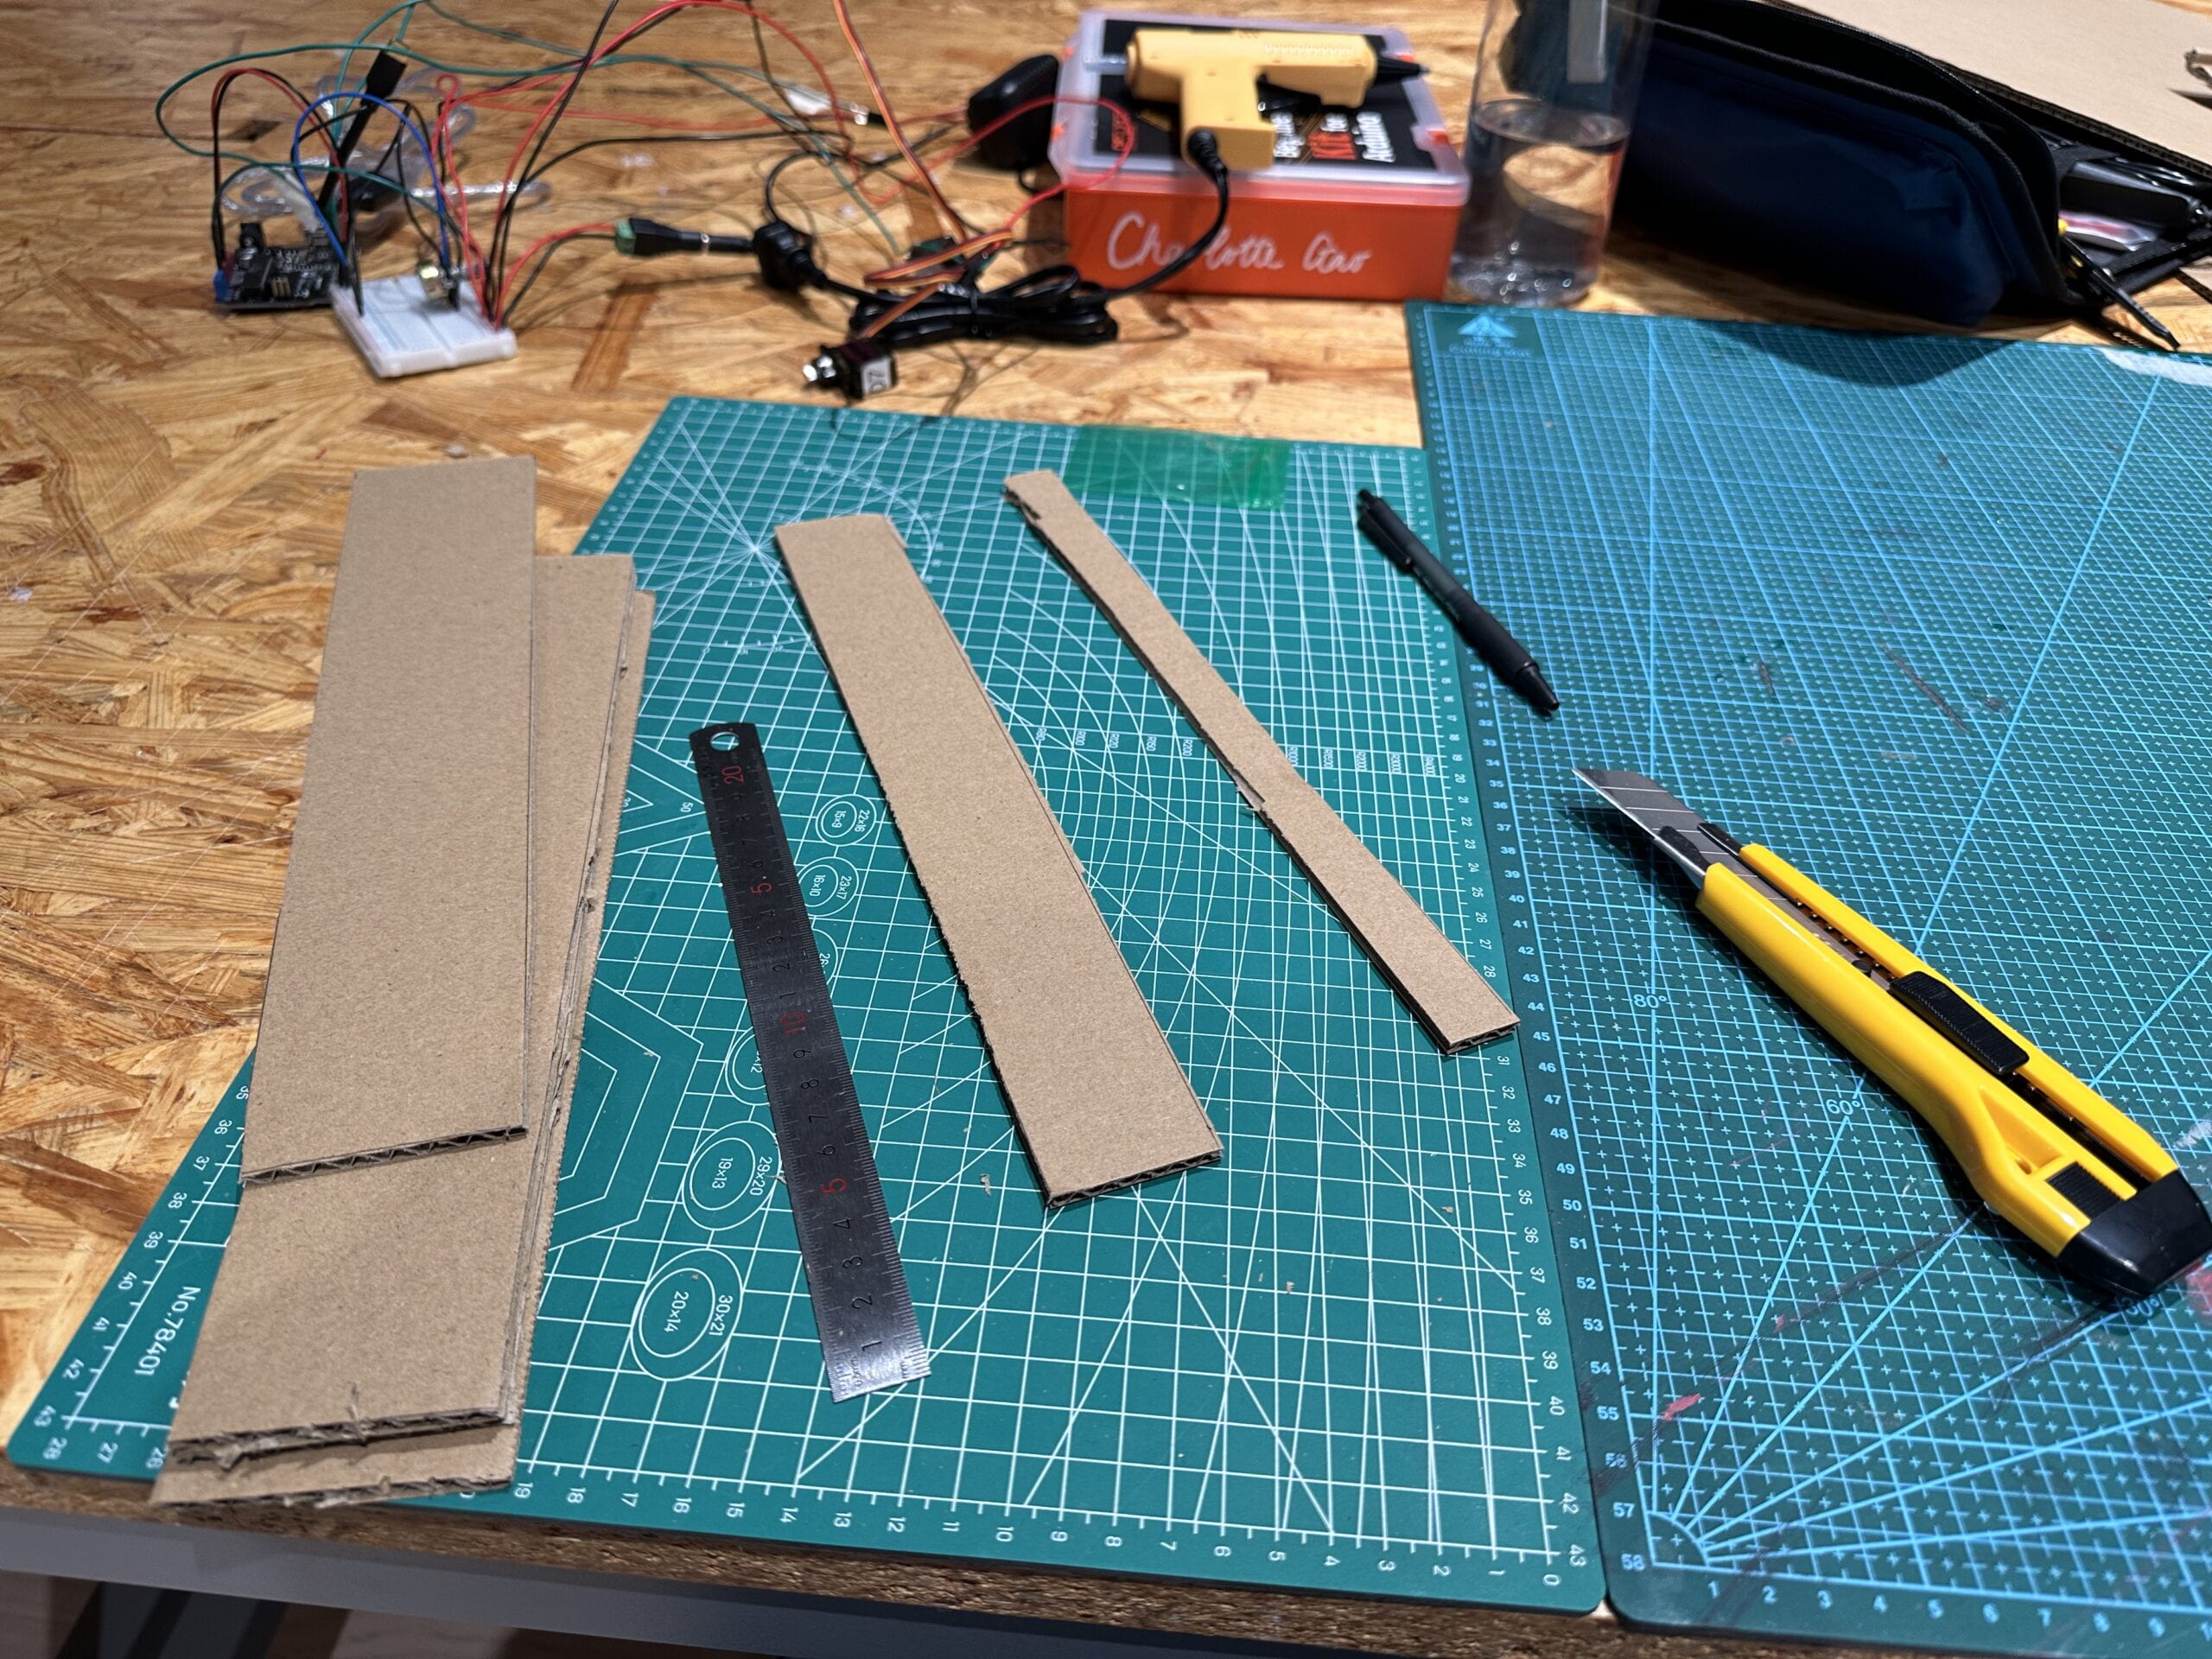
In this process, I suddenly had the idea of making two stairs fixed and meanwhile stick the other three to the servos so that it would be much easier for the player to control the ball. The two fixed stairs should be parallel with each other so that the ball could roll down automatically whenever it reached the fixed stairs. I shared my proposal to my partner and she approved.
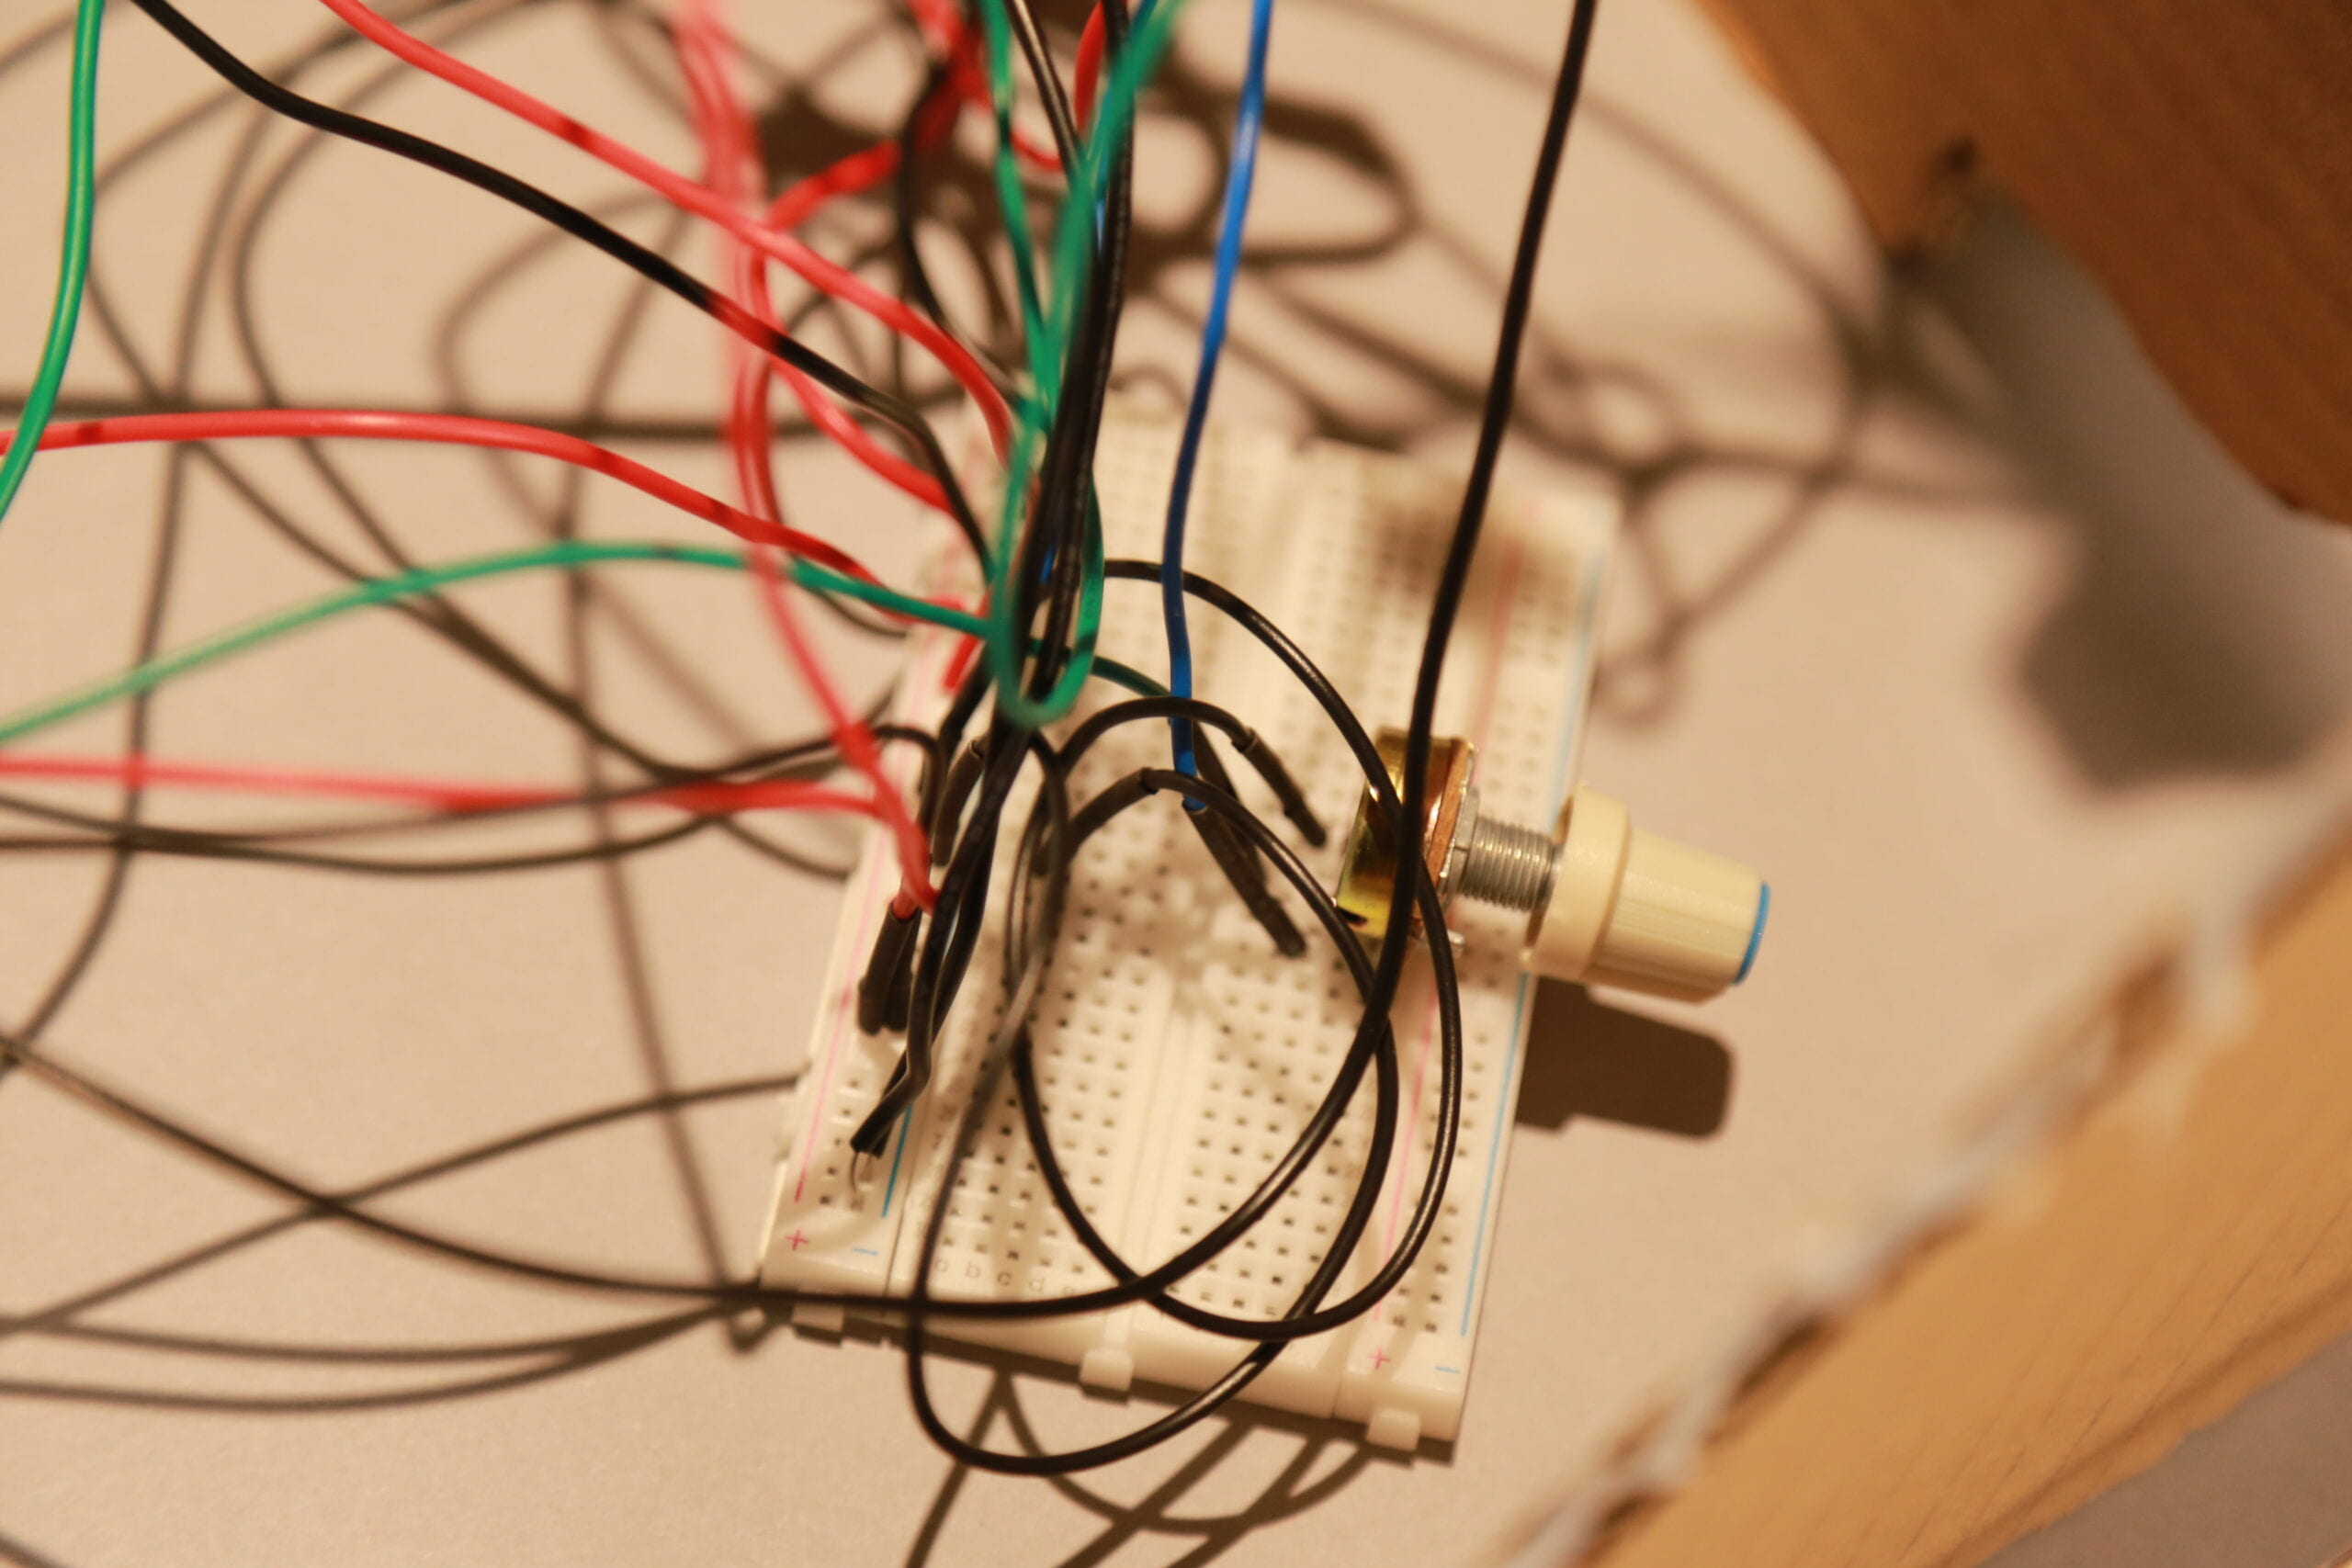
Then we began to build the circuit for the servos. As all the servos must be attached to the cardboard and they were not of the same height, we decided to cut the wires by ourselves and “customize” the length of the wires to make the building process easier. Then, we connected the servos to a breadboard, and added a 5V battery to serve as a power supply. We also added a potentiometer to the circuit to control all the three motors.
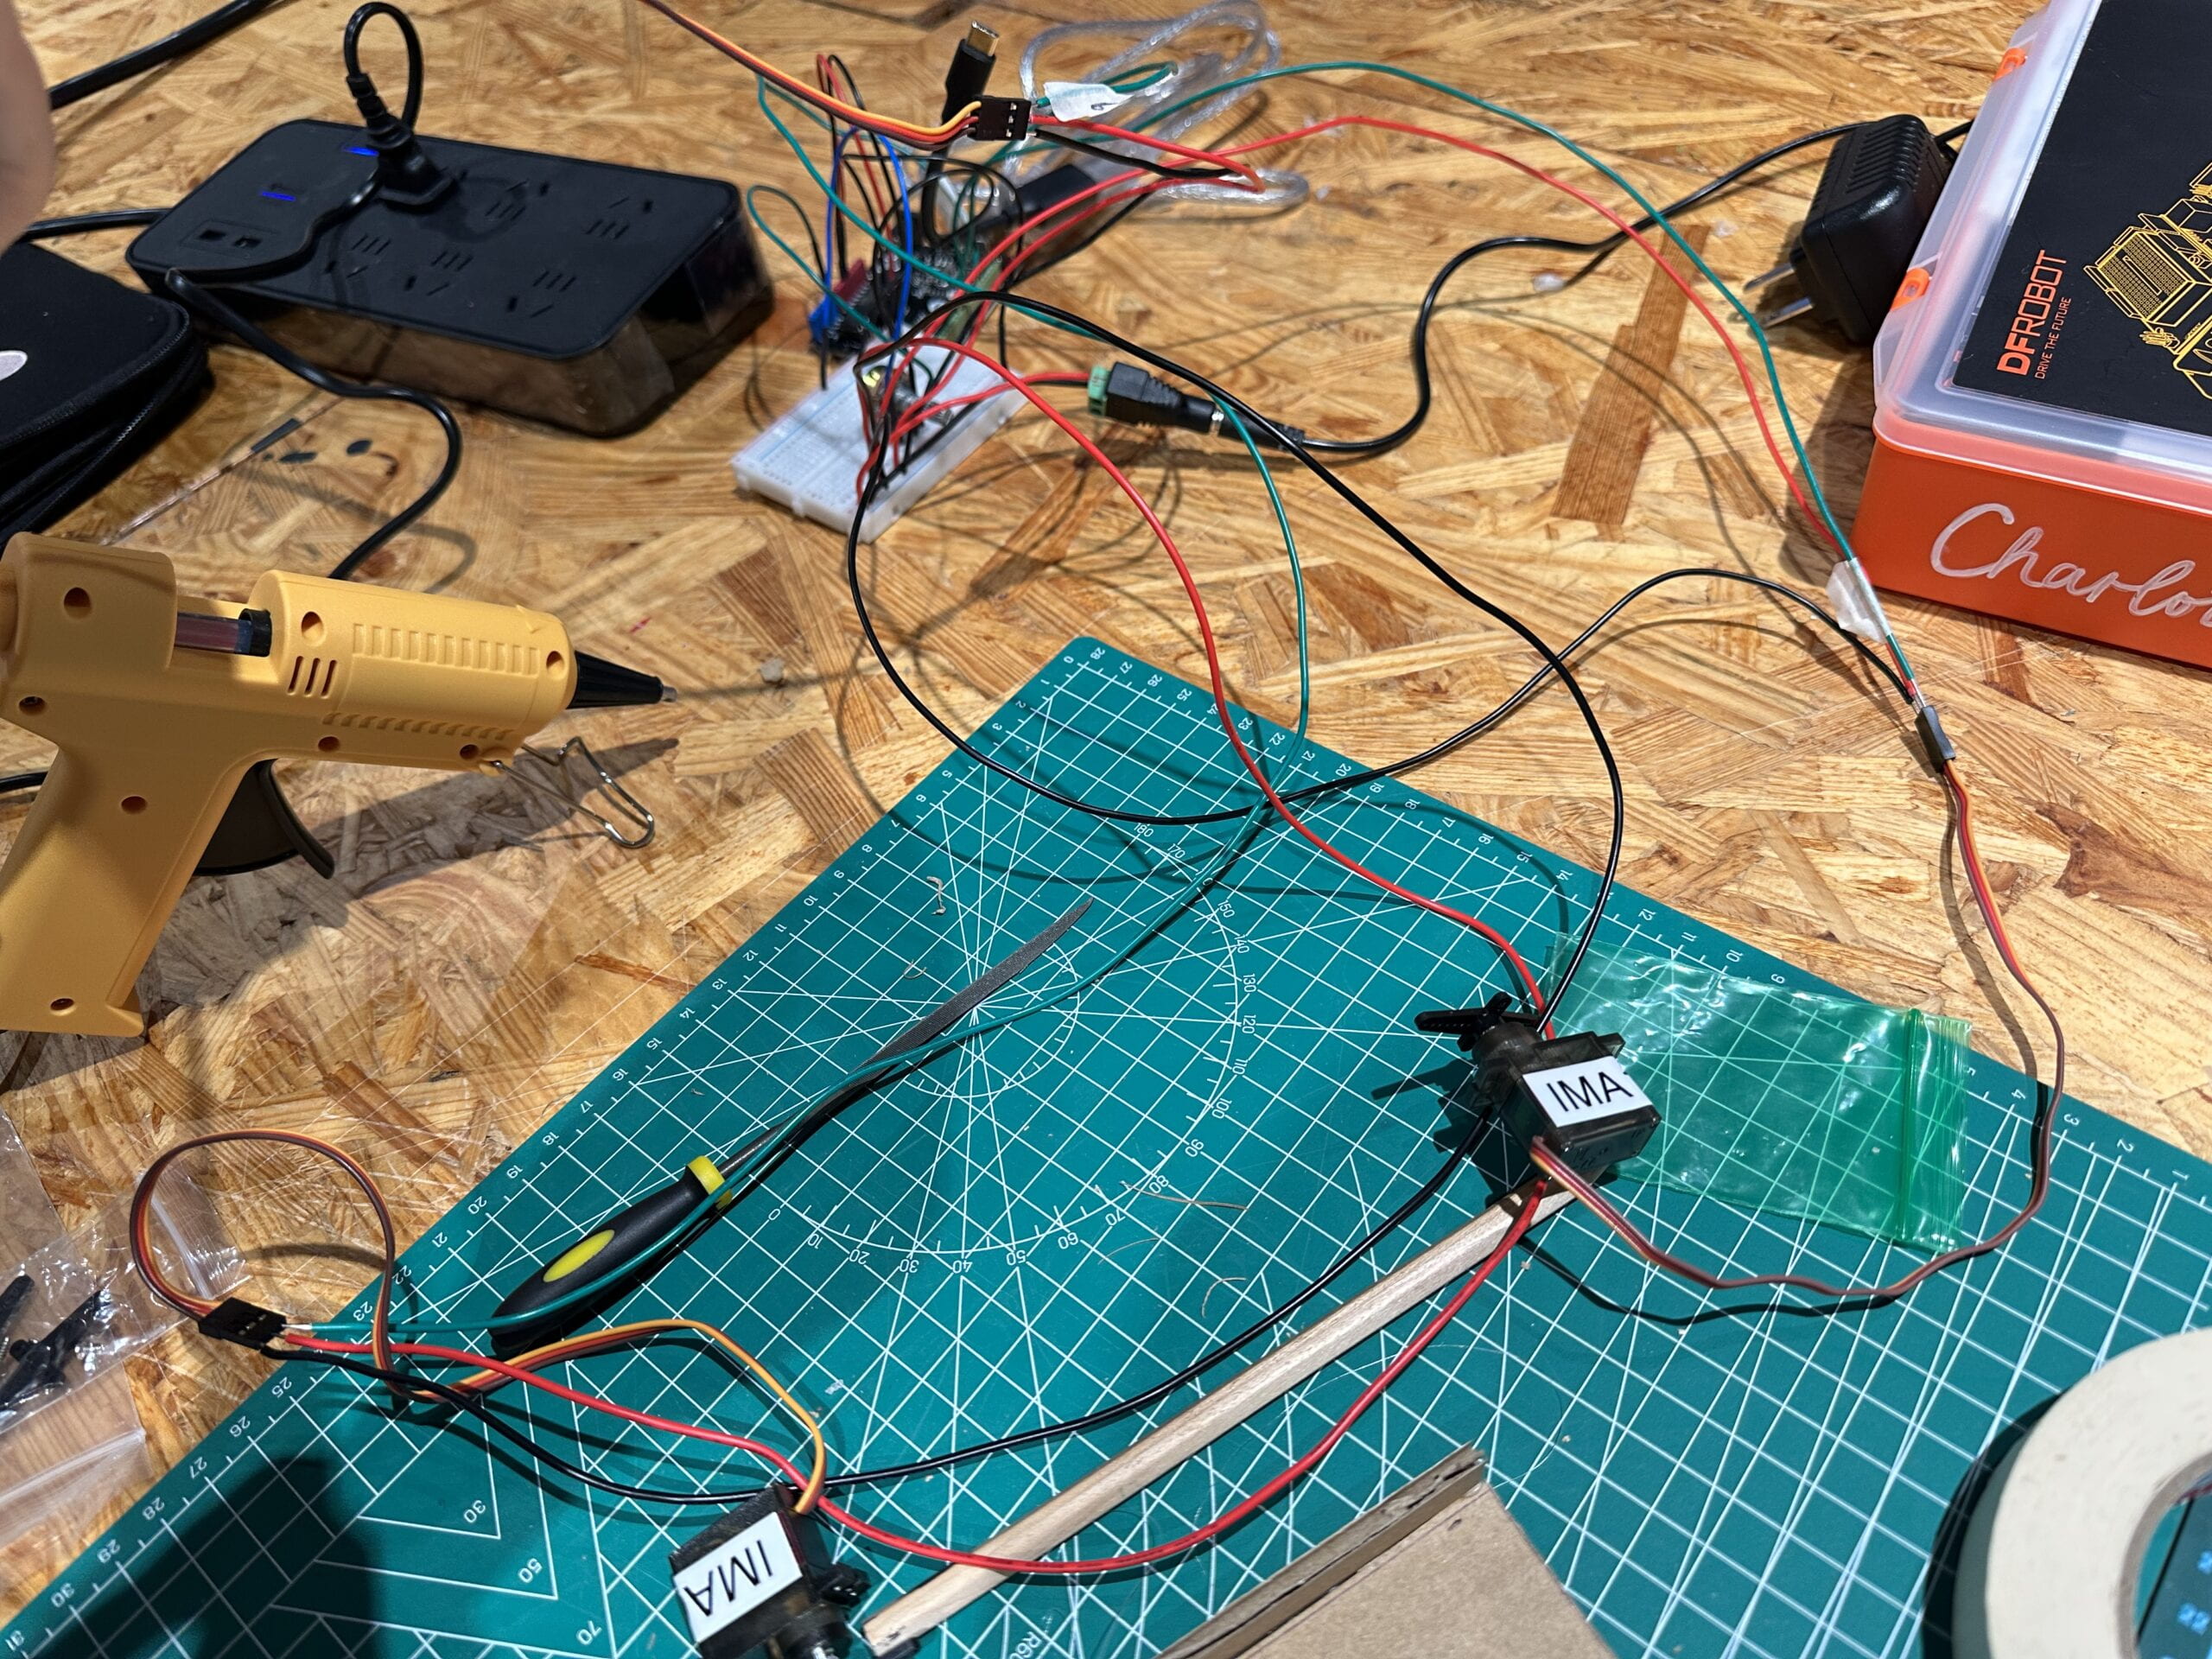
After that, we tried to figure out an appropriate way to attach the servos to the cardboard. In this process, we had the idea of cutting some holes on the cardboard and using tapes to fix the motors on the cardboard. We had tried several times before making the size of the hole suitable for the “wings” on top of the servo to pass through.
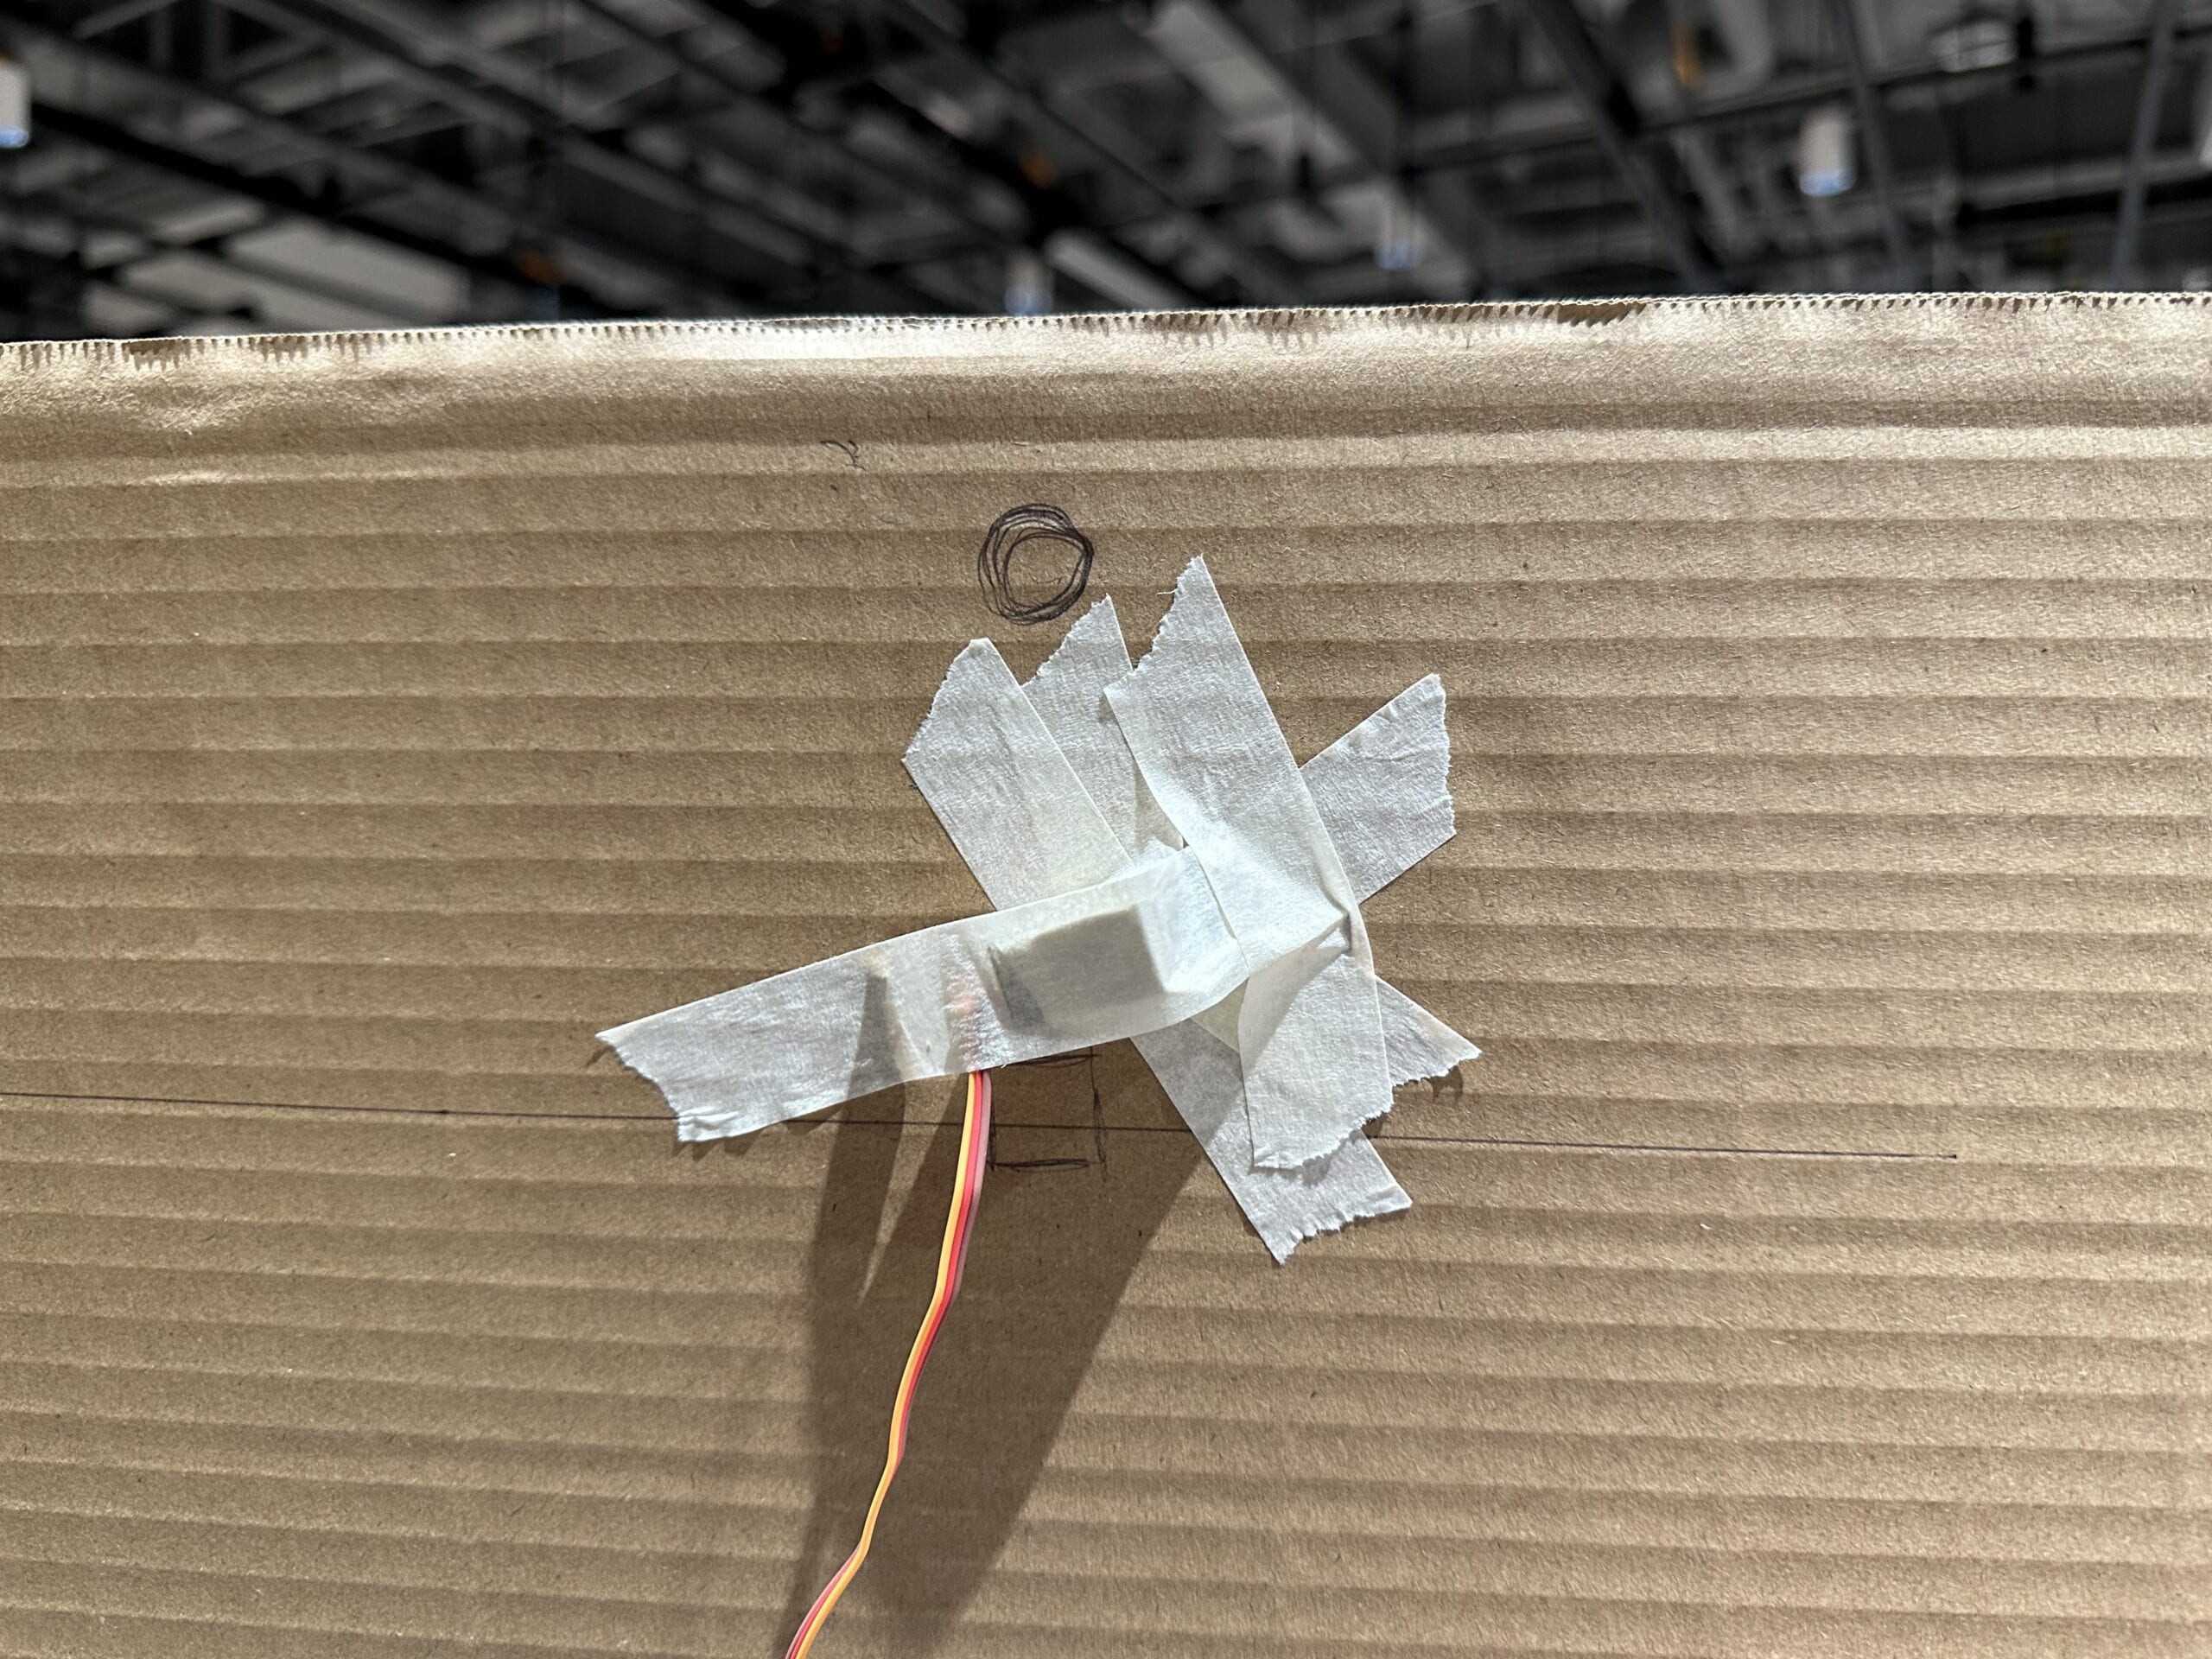
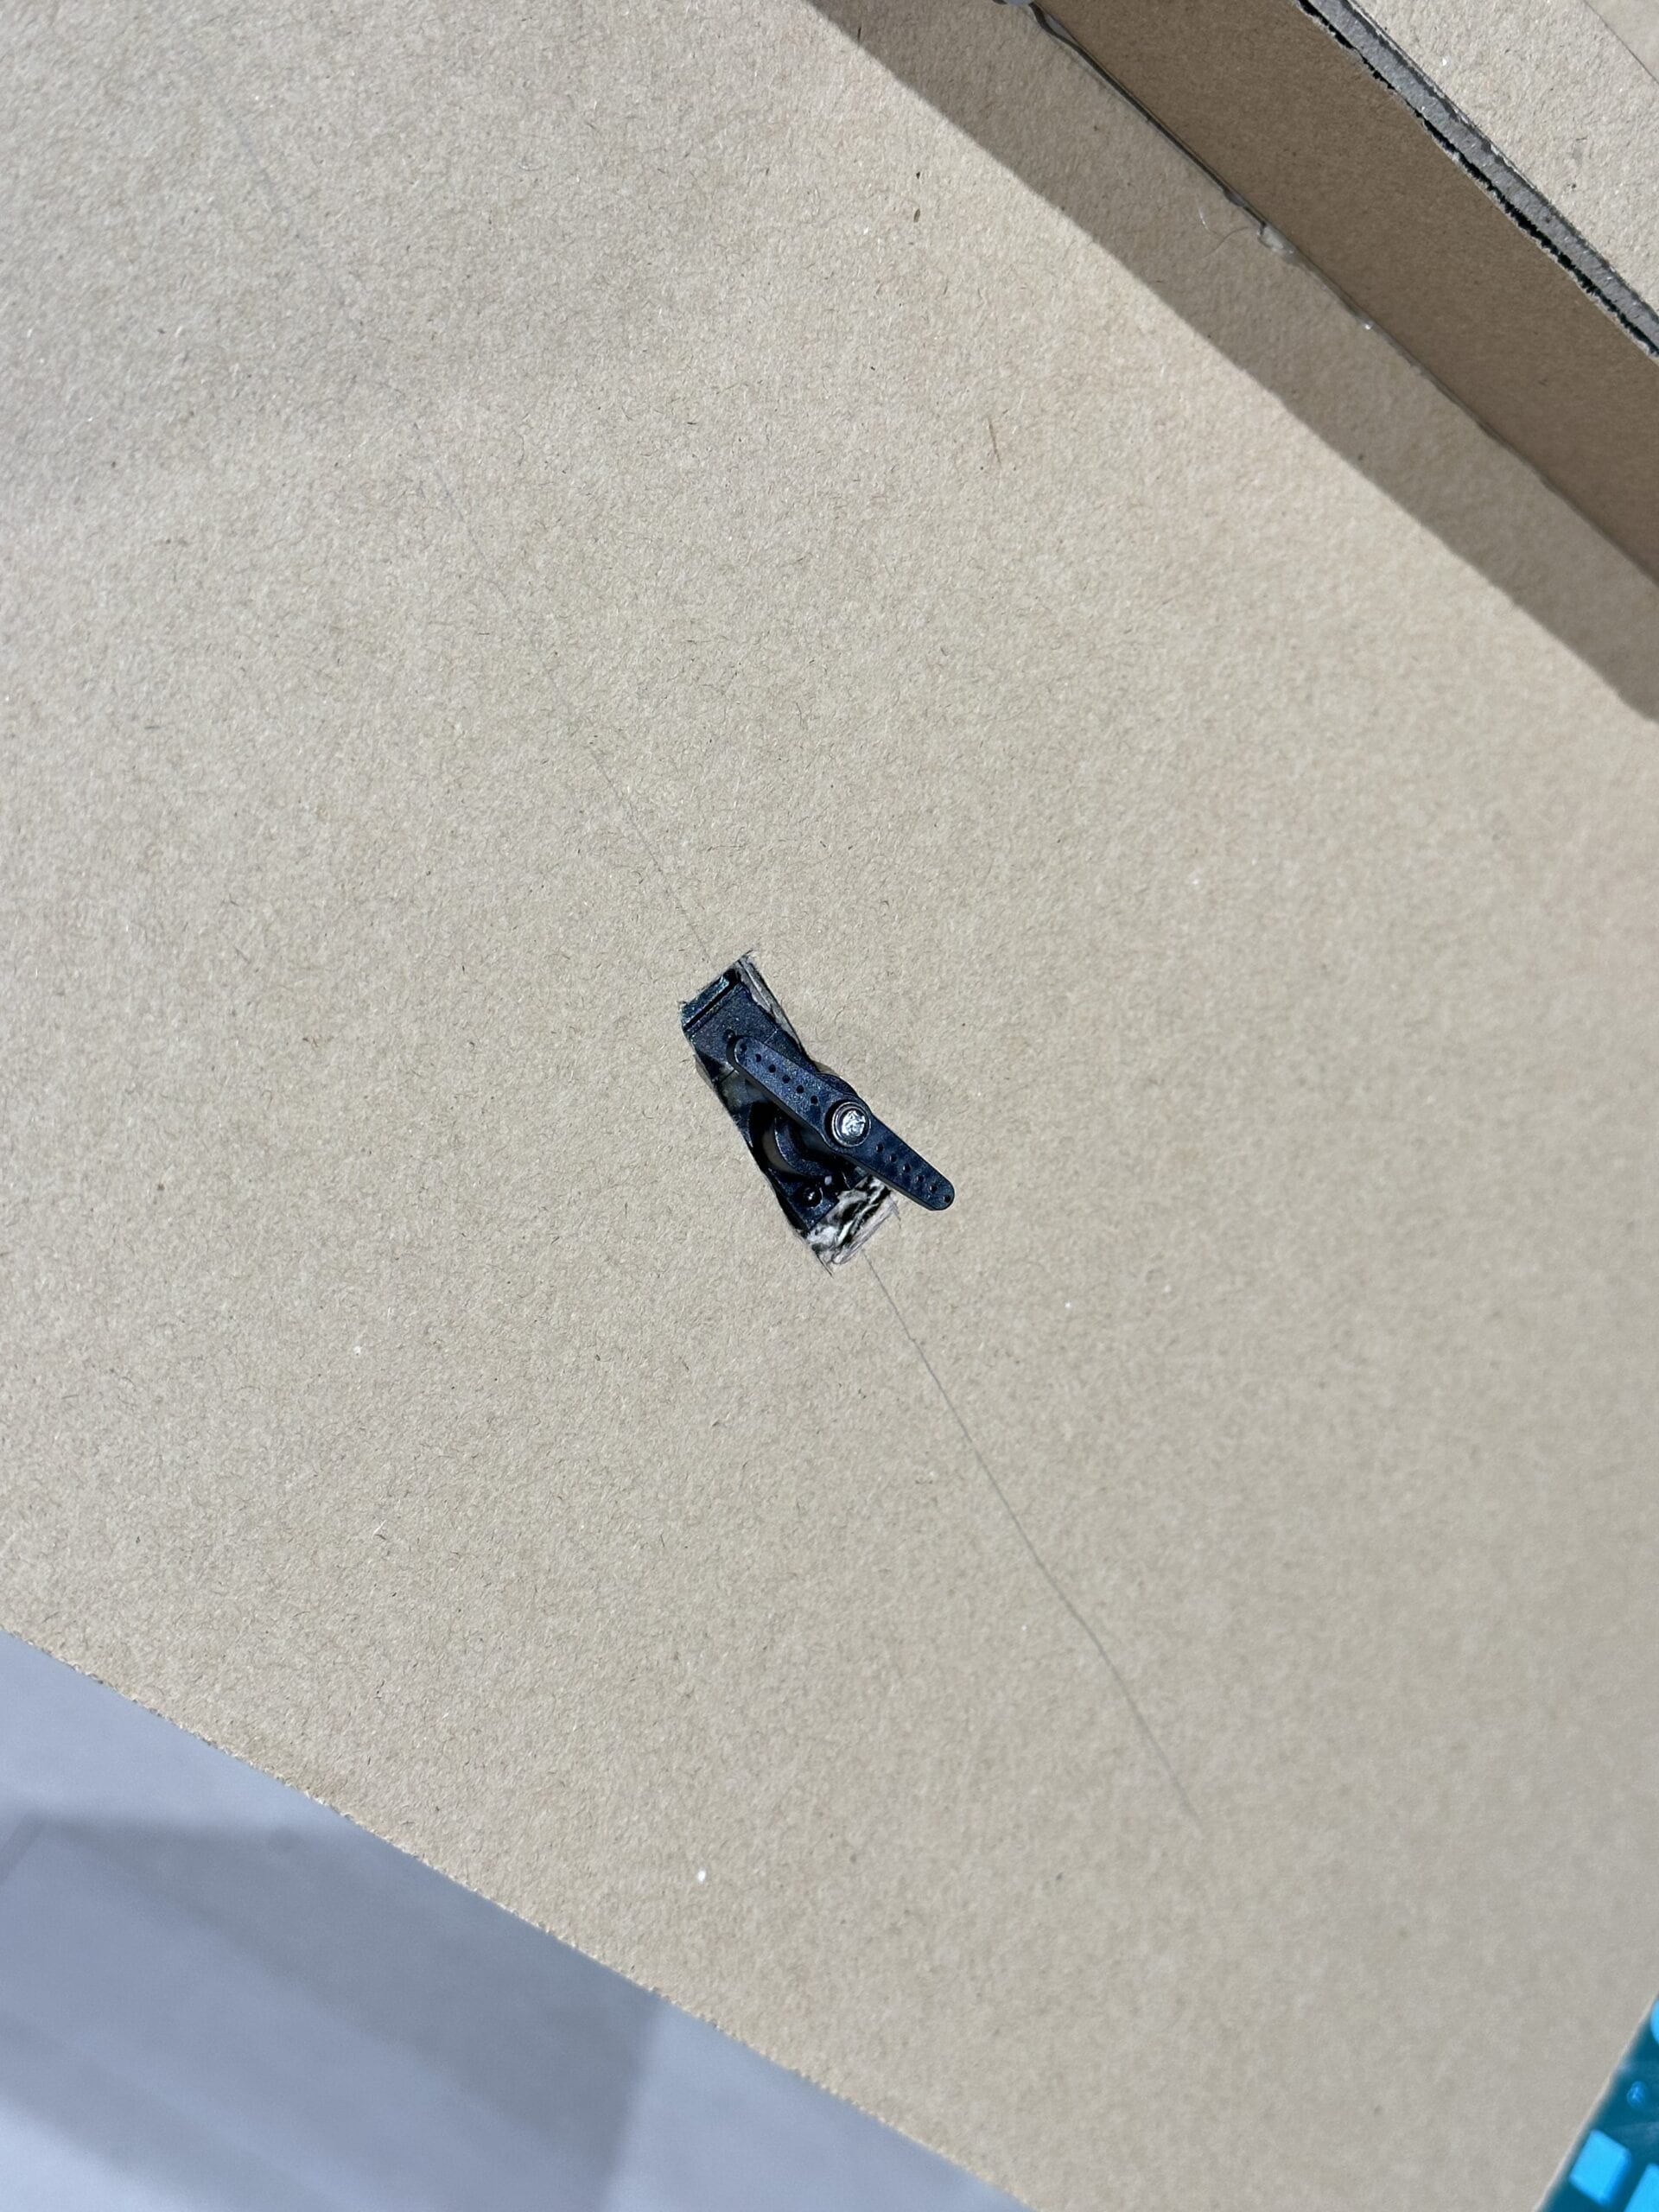
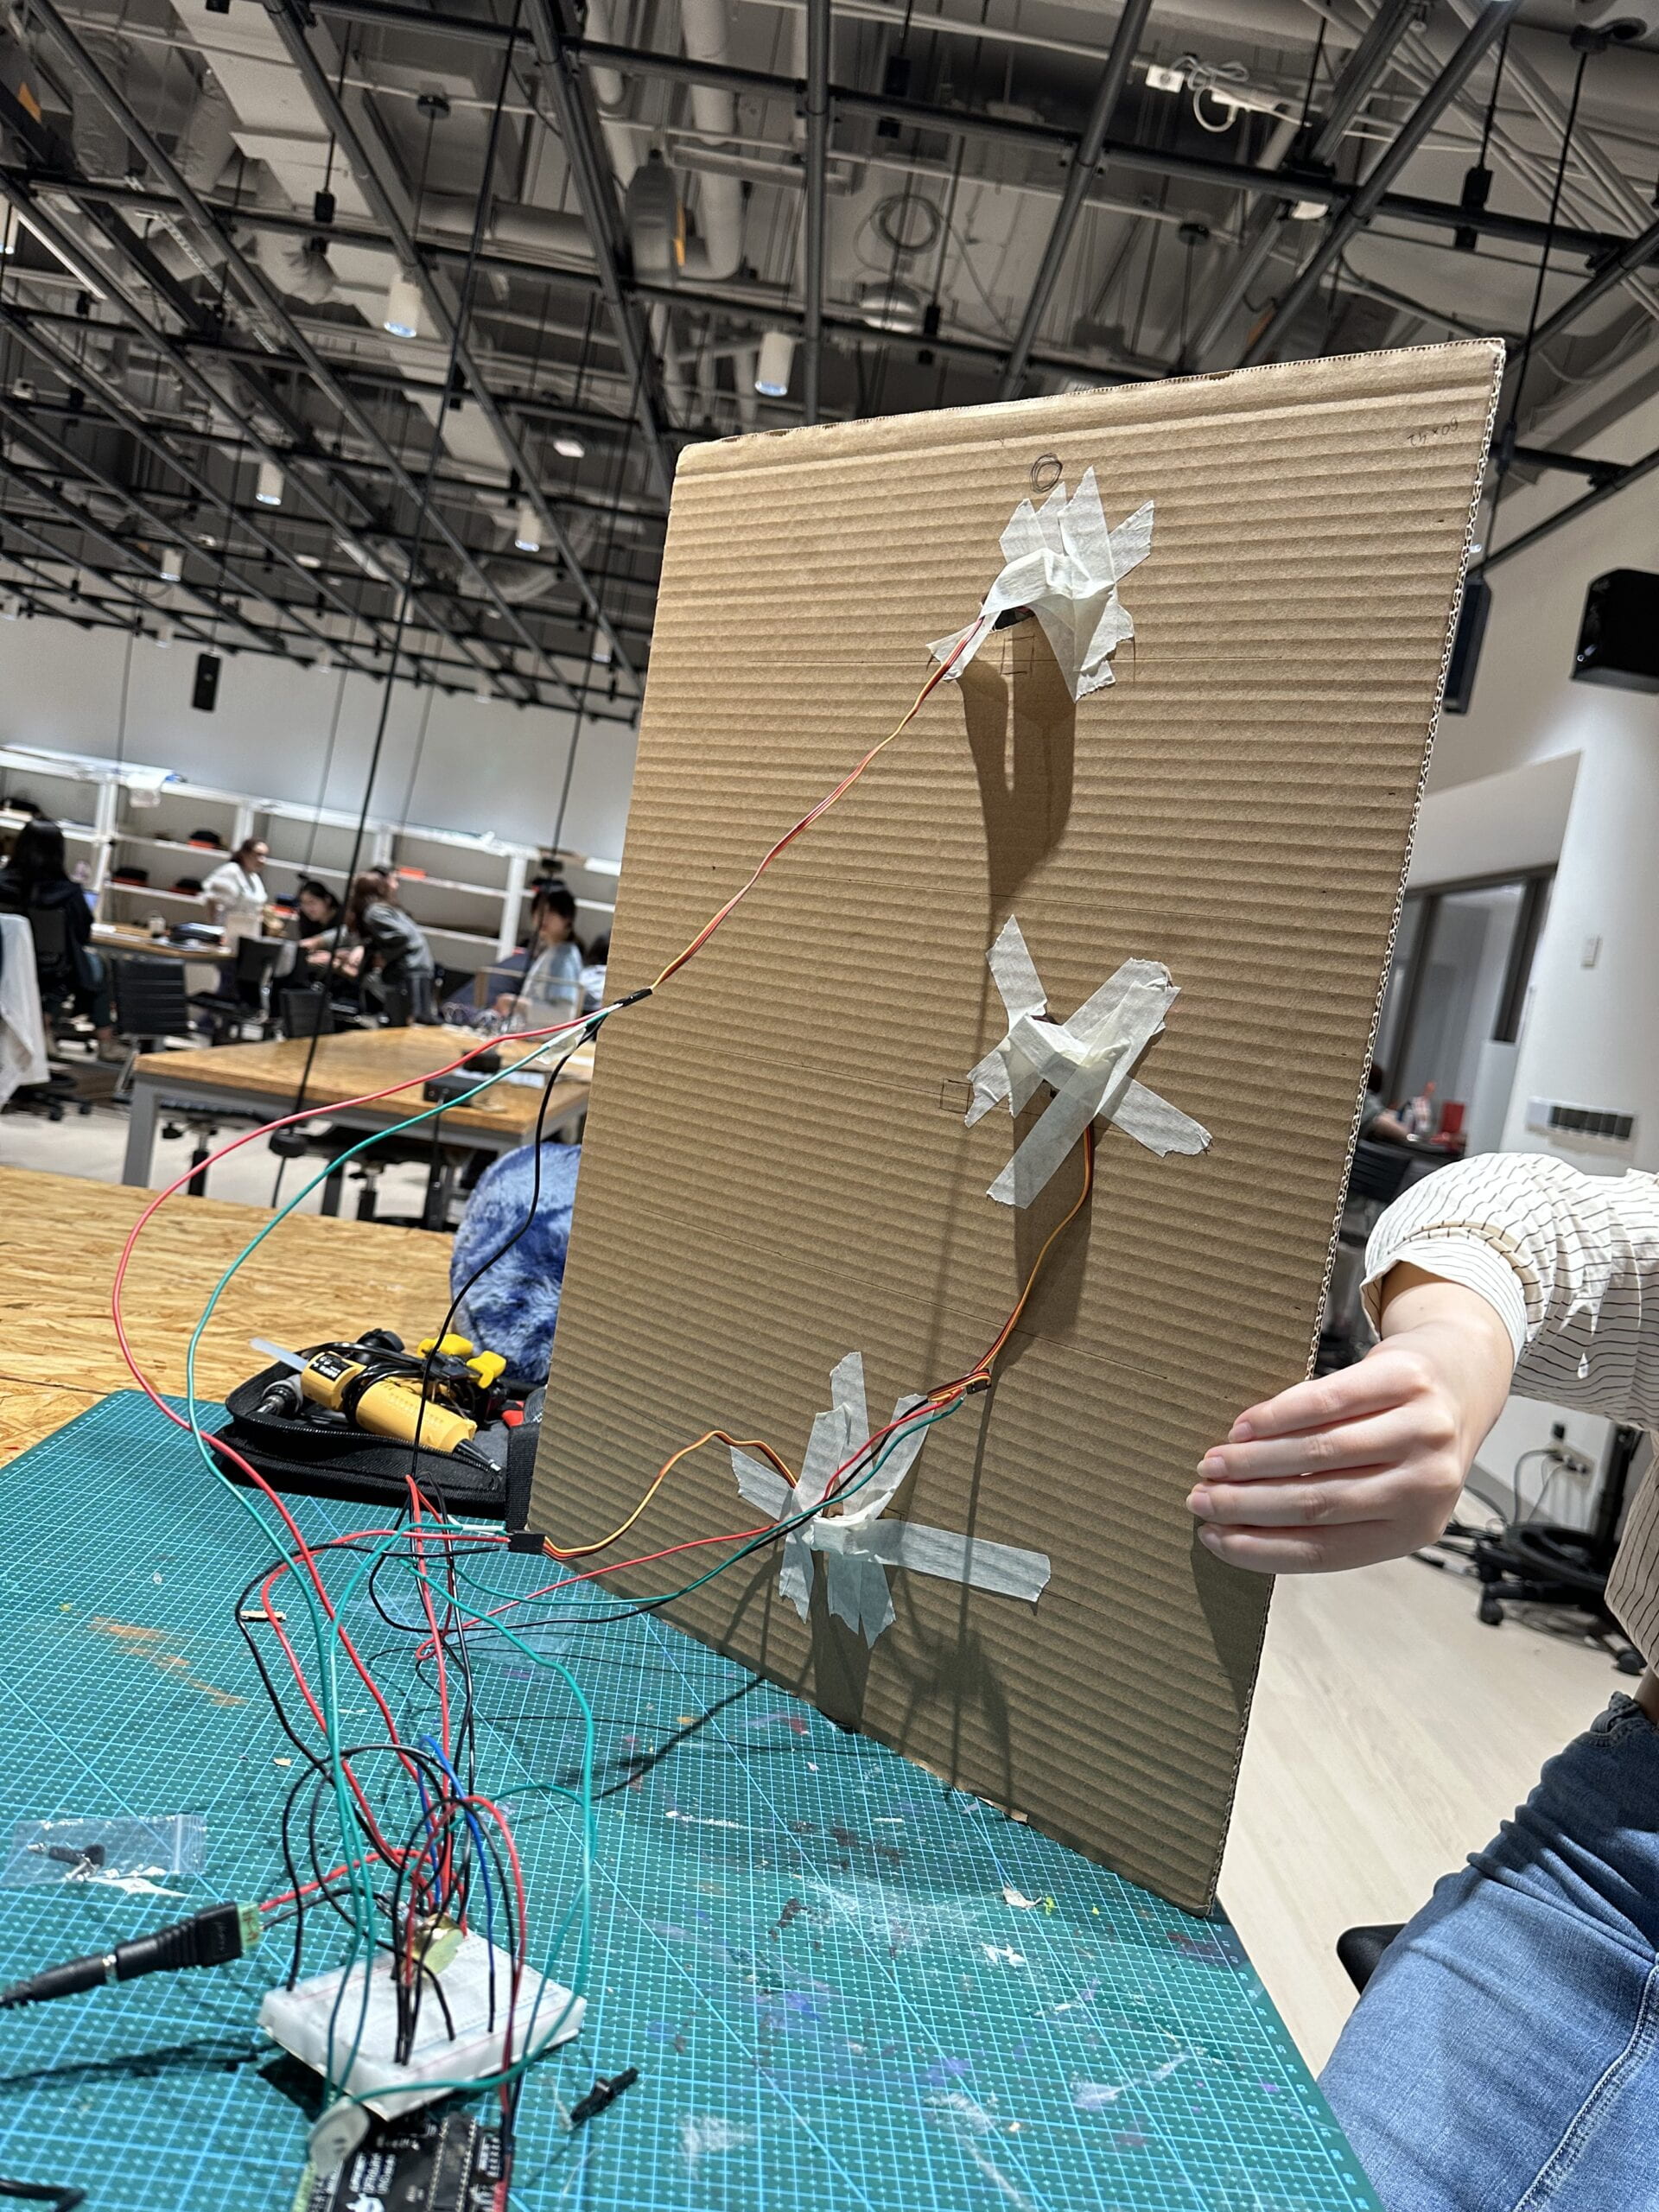
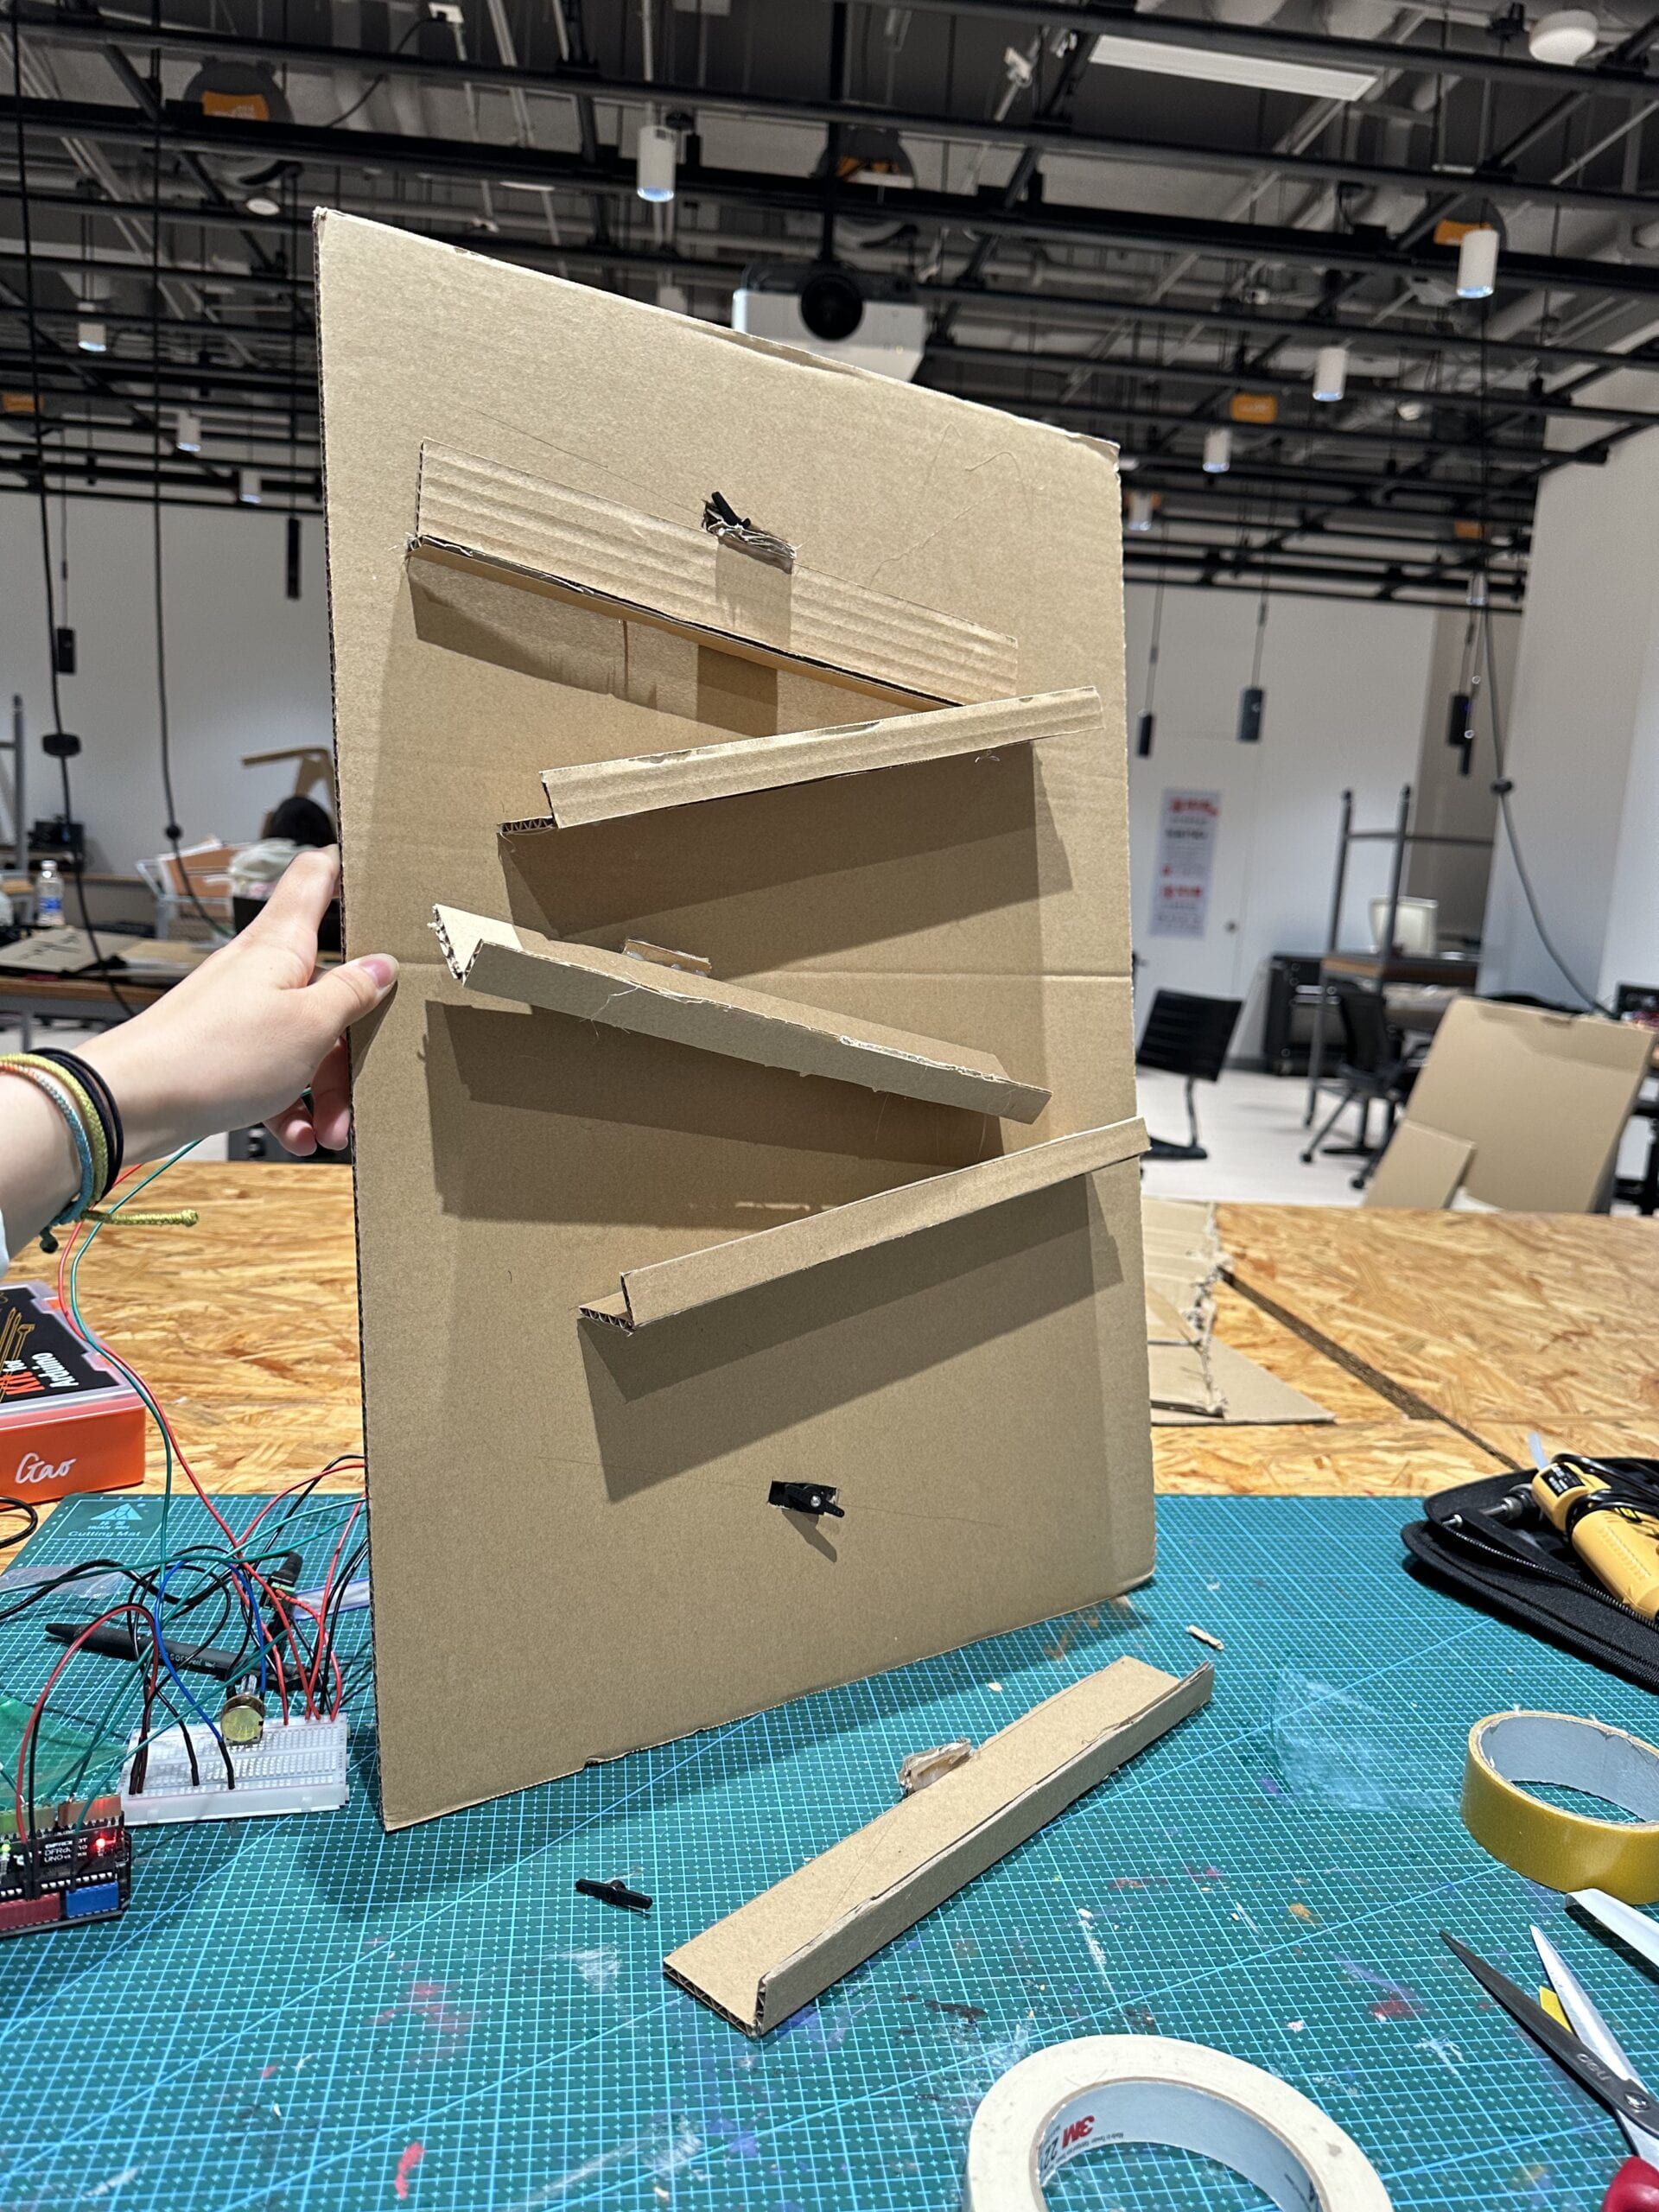
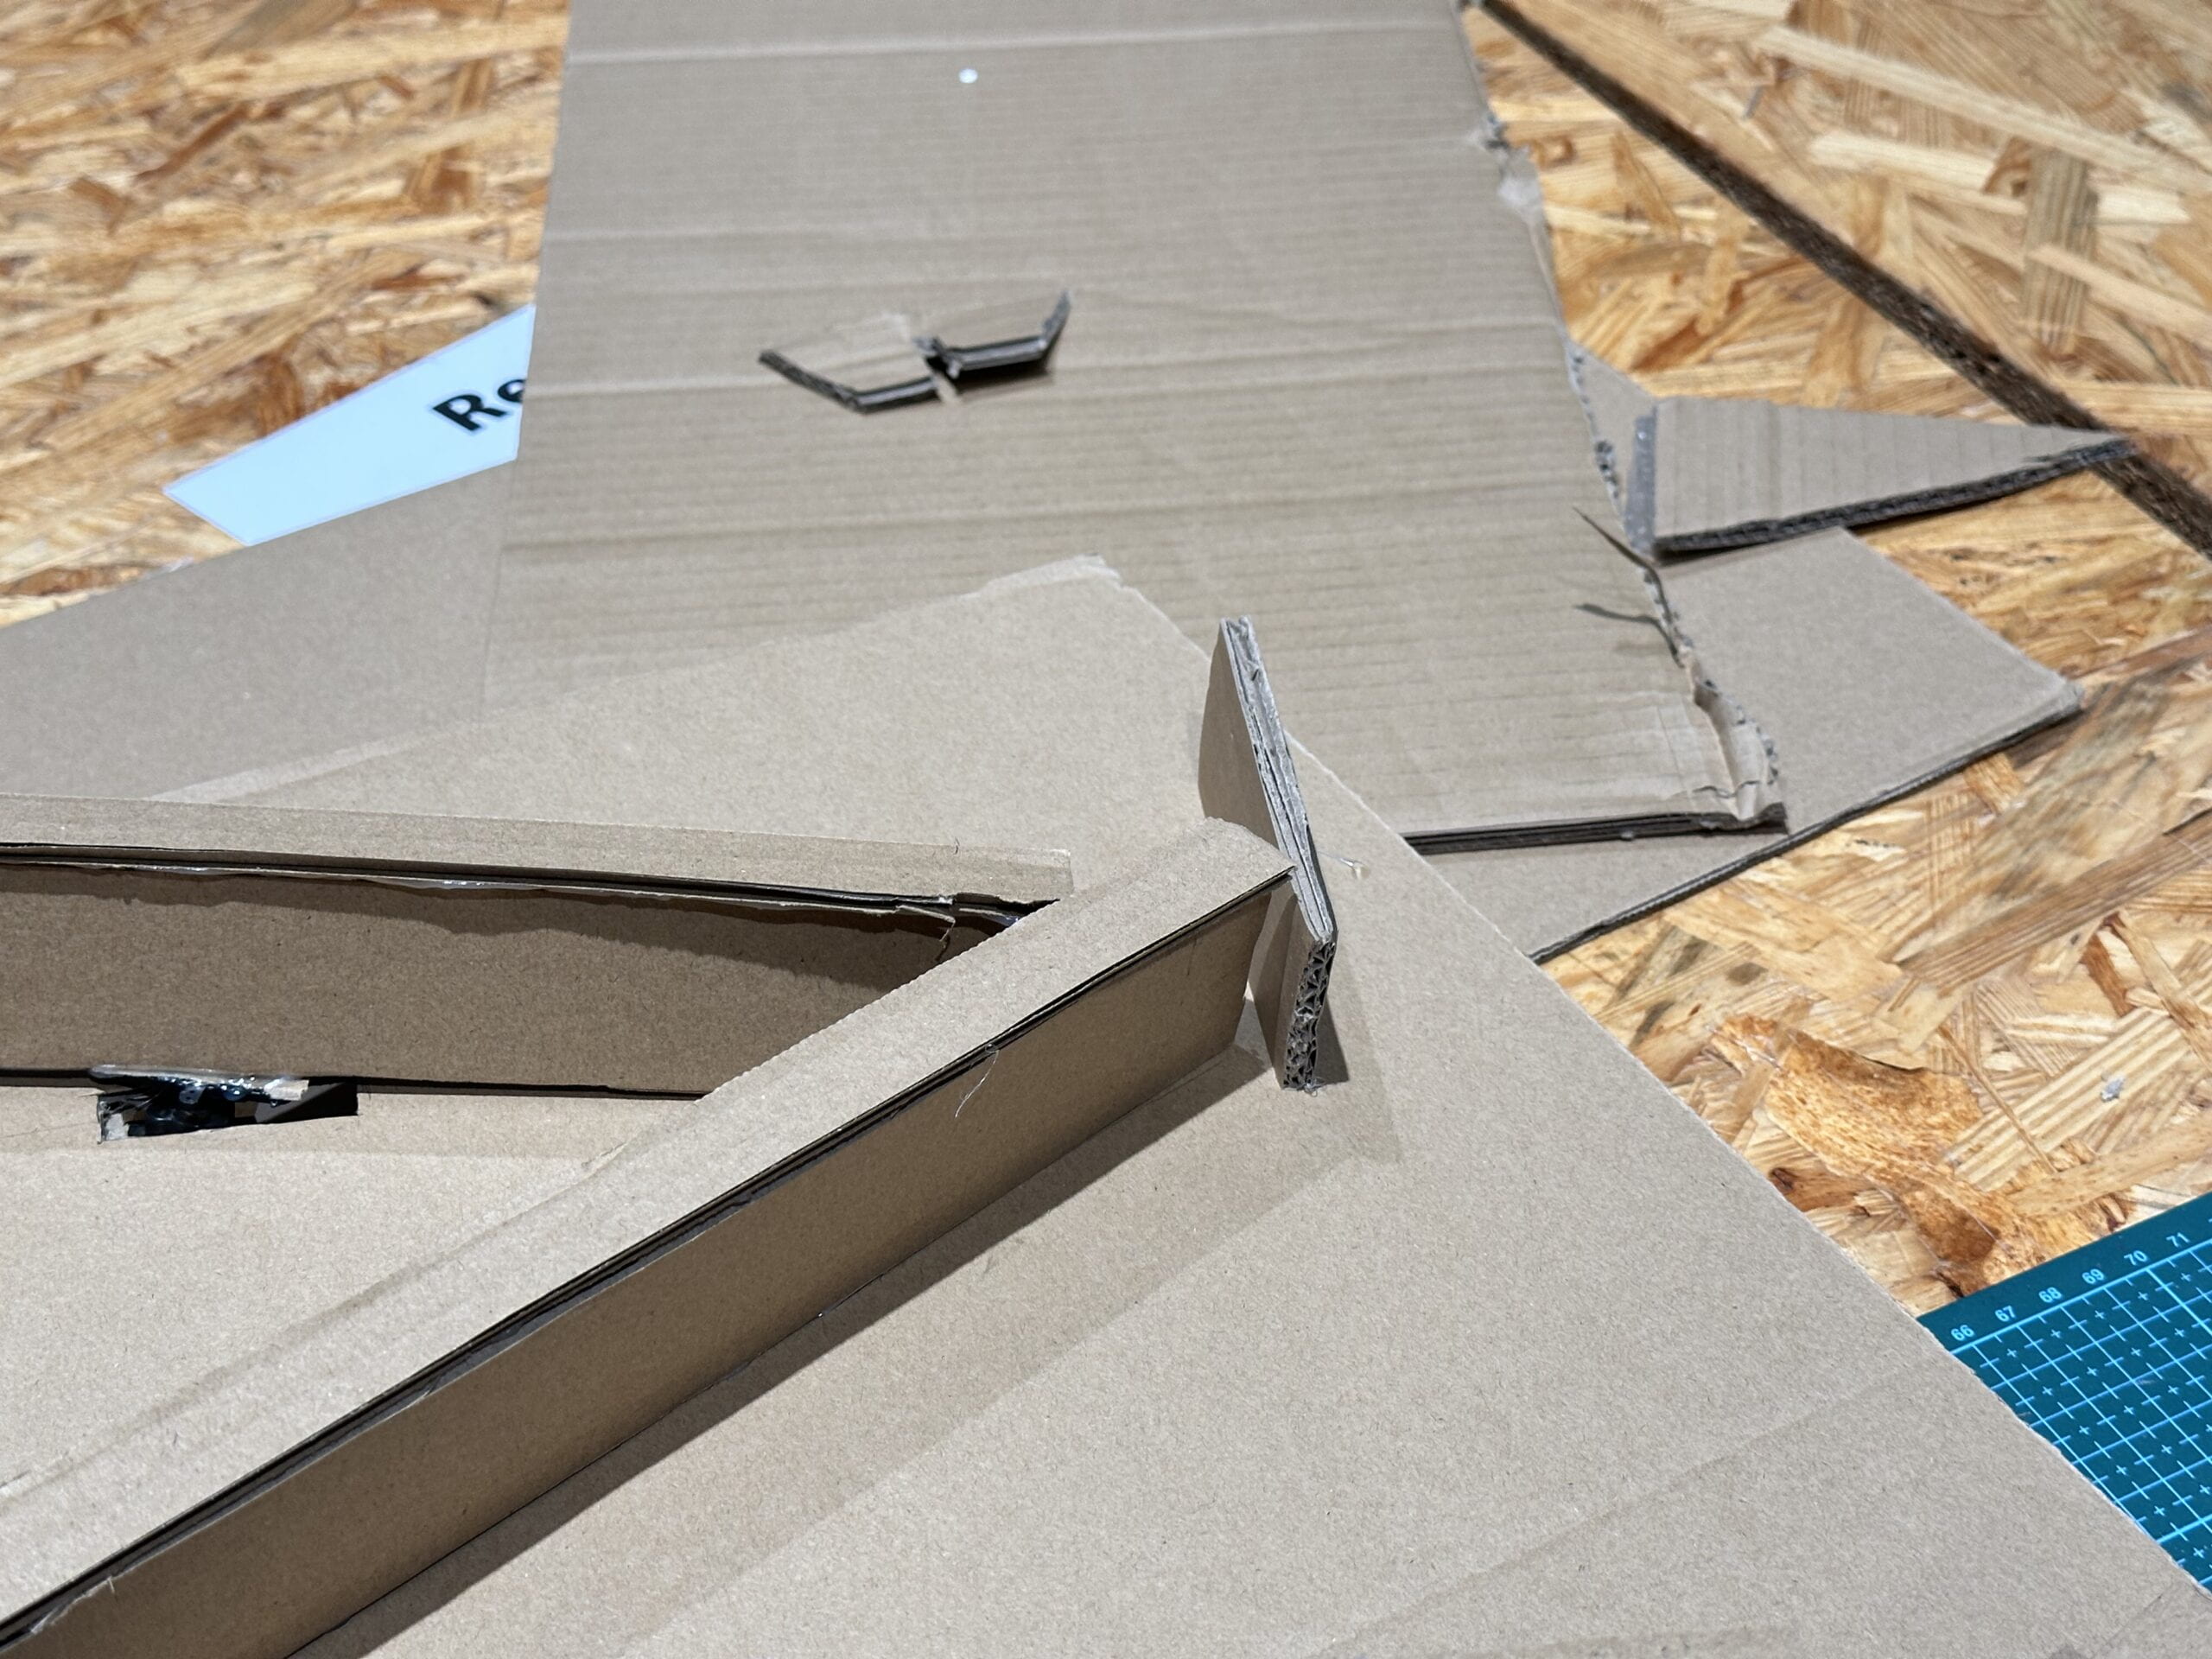
After we had finished this step, we tried to play the game ourselves , but we quickly found that it could be easy for the ball to fall down at the corners of the stairs. So I suggested that we should add a few baffles to the corners in order to prevent the ball from falling down over and over again.
We also wrote the code of our project. We found an example code of the servo motor and the potentiometer online (https://arduinogetstarted.com/), and then revised it to better fit our own project. However, as the example code only included one servo motor and we didn’t not know how to add two more servos to the code, I went to ask our LA for help. We first tried to add two more “void setup()”s and two more “void loop()”s, but it didn’t seem to work. After checking our code, the LA told me that we should instead add two “Servo myservo”s before the void setup to define the servos, and then simply copy and paste some of the lines in the void setup() and void loop() sections, but the pin numbers should be changed. I tried accordingly and it really worked!
Here is our code for the user testing day:
#include   // add servo library
Servo myservo1;
Servo myservo2;
Servo myservo3;  // create servo object to control a servo
int potpin = A0;  // analog pin used to connect the potentiometer
int val;    // variable to read the value from the analog pin
void setup() {
 myservo1.attach(9);  // attaches the servo on pin 9 to the servo object
 myservo2.attach(11);
 myservo3.attach(6);
}
void loop() {
 val = analogRead(potpin);            // reads the value of the potentiometer (value between 0 and 1023)
 val = map(val, 0, 1023, 0, 180);     // scale it to use it with the servo (value between 0 and 180)
 myservo1.write(val);                  // sets the servo position according to the scaled value
 delay(15);
 myservo2.write(val);
 delay(15);
 myservo3.write(val);
 delay(15);
}
Here is the video we recorded before the user testing day:
Then it came to the day of user testing. Before we set off to display the project to our peers and welcome them to play with our prototype, we modified the angle as well as the length of the stairs for several times in order to let the ball fall down smoothly. During the user testing, we talked to about 15 people and listed their suggestions so that we could work on that later. Basically the suggestions were about the controller (knob of the potentiometer), the appearance of the project, adding more sensors and difficulties and so forth.
Here are the notes that my partner took on the user testing day:
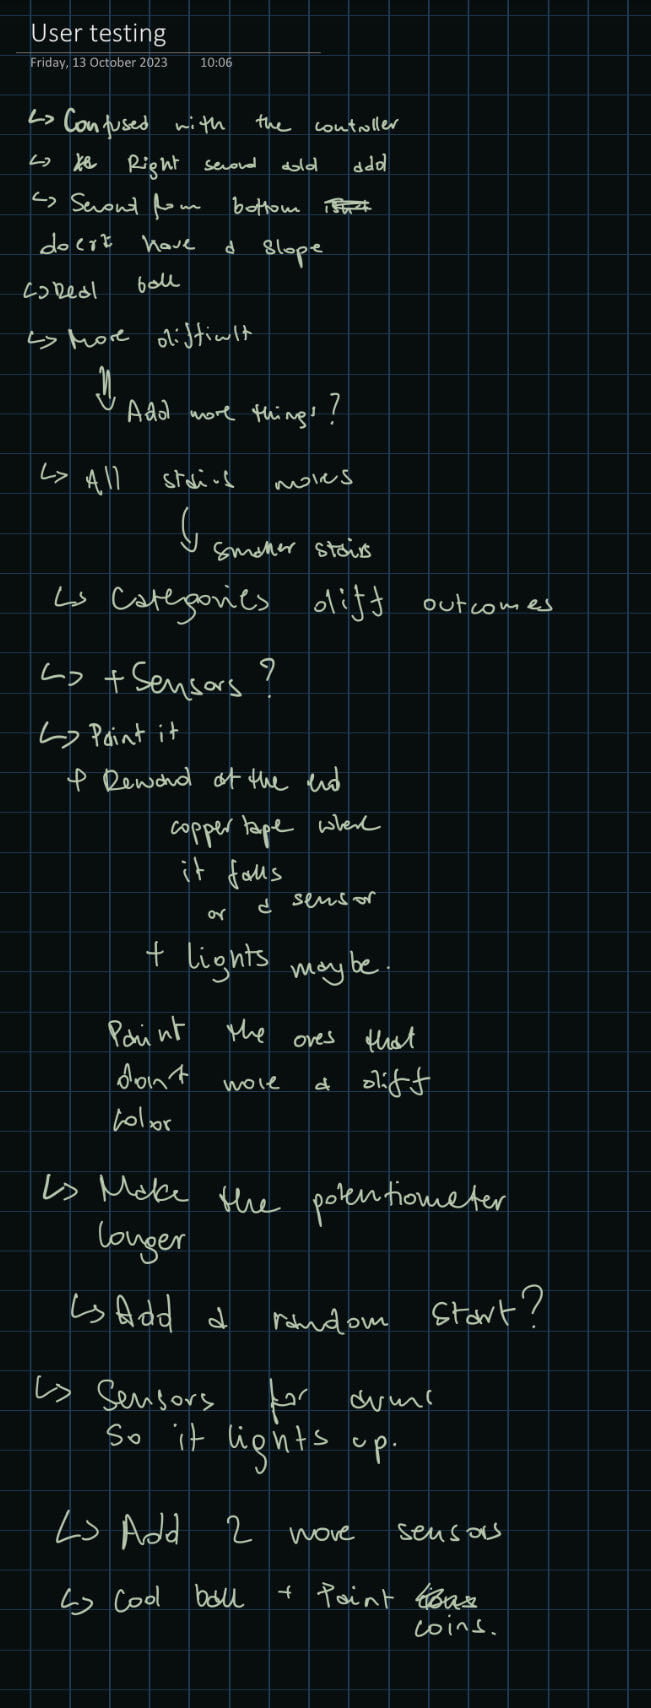
We really gained a lot during the user testing day. Later on, we decided to modify our project mainly as follows:
(1) Paint the project to make it more appealing;
(2) Add another sensor at the destination to inform the player that he/she wins;
(3) Add a knob to the potentiometer and make it recognizable from the front so that the players won’t get confused and we won’t have to say anything to inform the players of what they had to do.
We further developed our project before the final presentation day. My partner was responsible for the drawing while I struggled to modify the code for our project. When it came to the sensor that we would like to add, at first we thought of using the touch sensor, but after asking one of the professors, he said that it wouldn’t work because the touch sensor was an analog sensor while the ball was only able to trigger a digital one. Instead, he suggested that we should try using a ultrasound sensor because as the destination between the sensor and the board was fixed, the body of a ping-pong ball would easily block the pathway between the sensor and the board and therefore reducing the distance automatically. We thought that this was a good idea and adopted it joyfully.
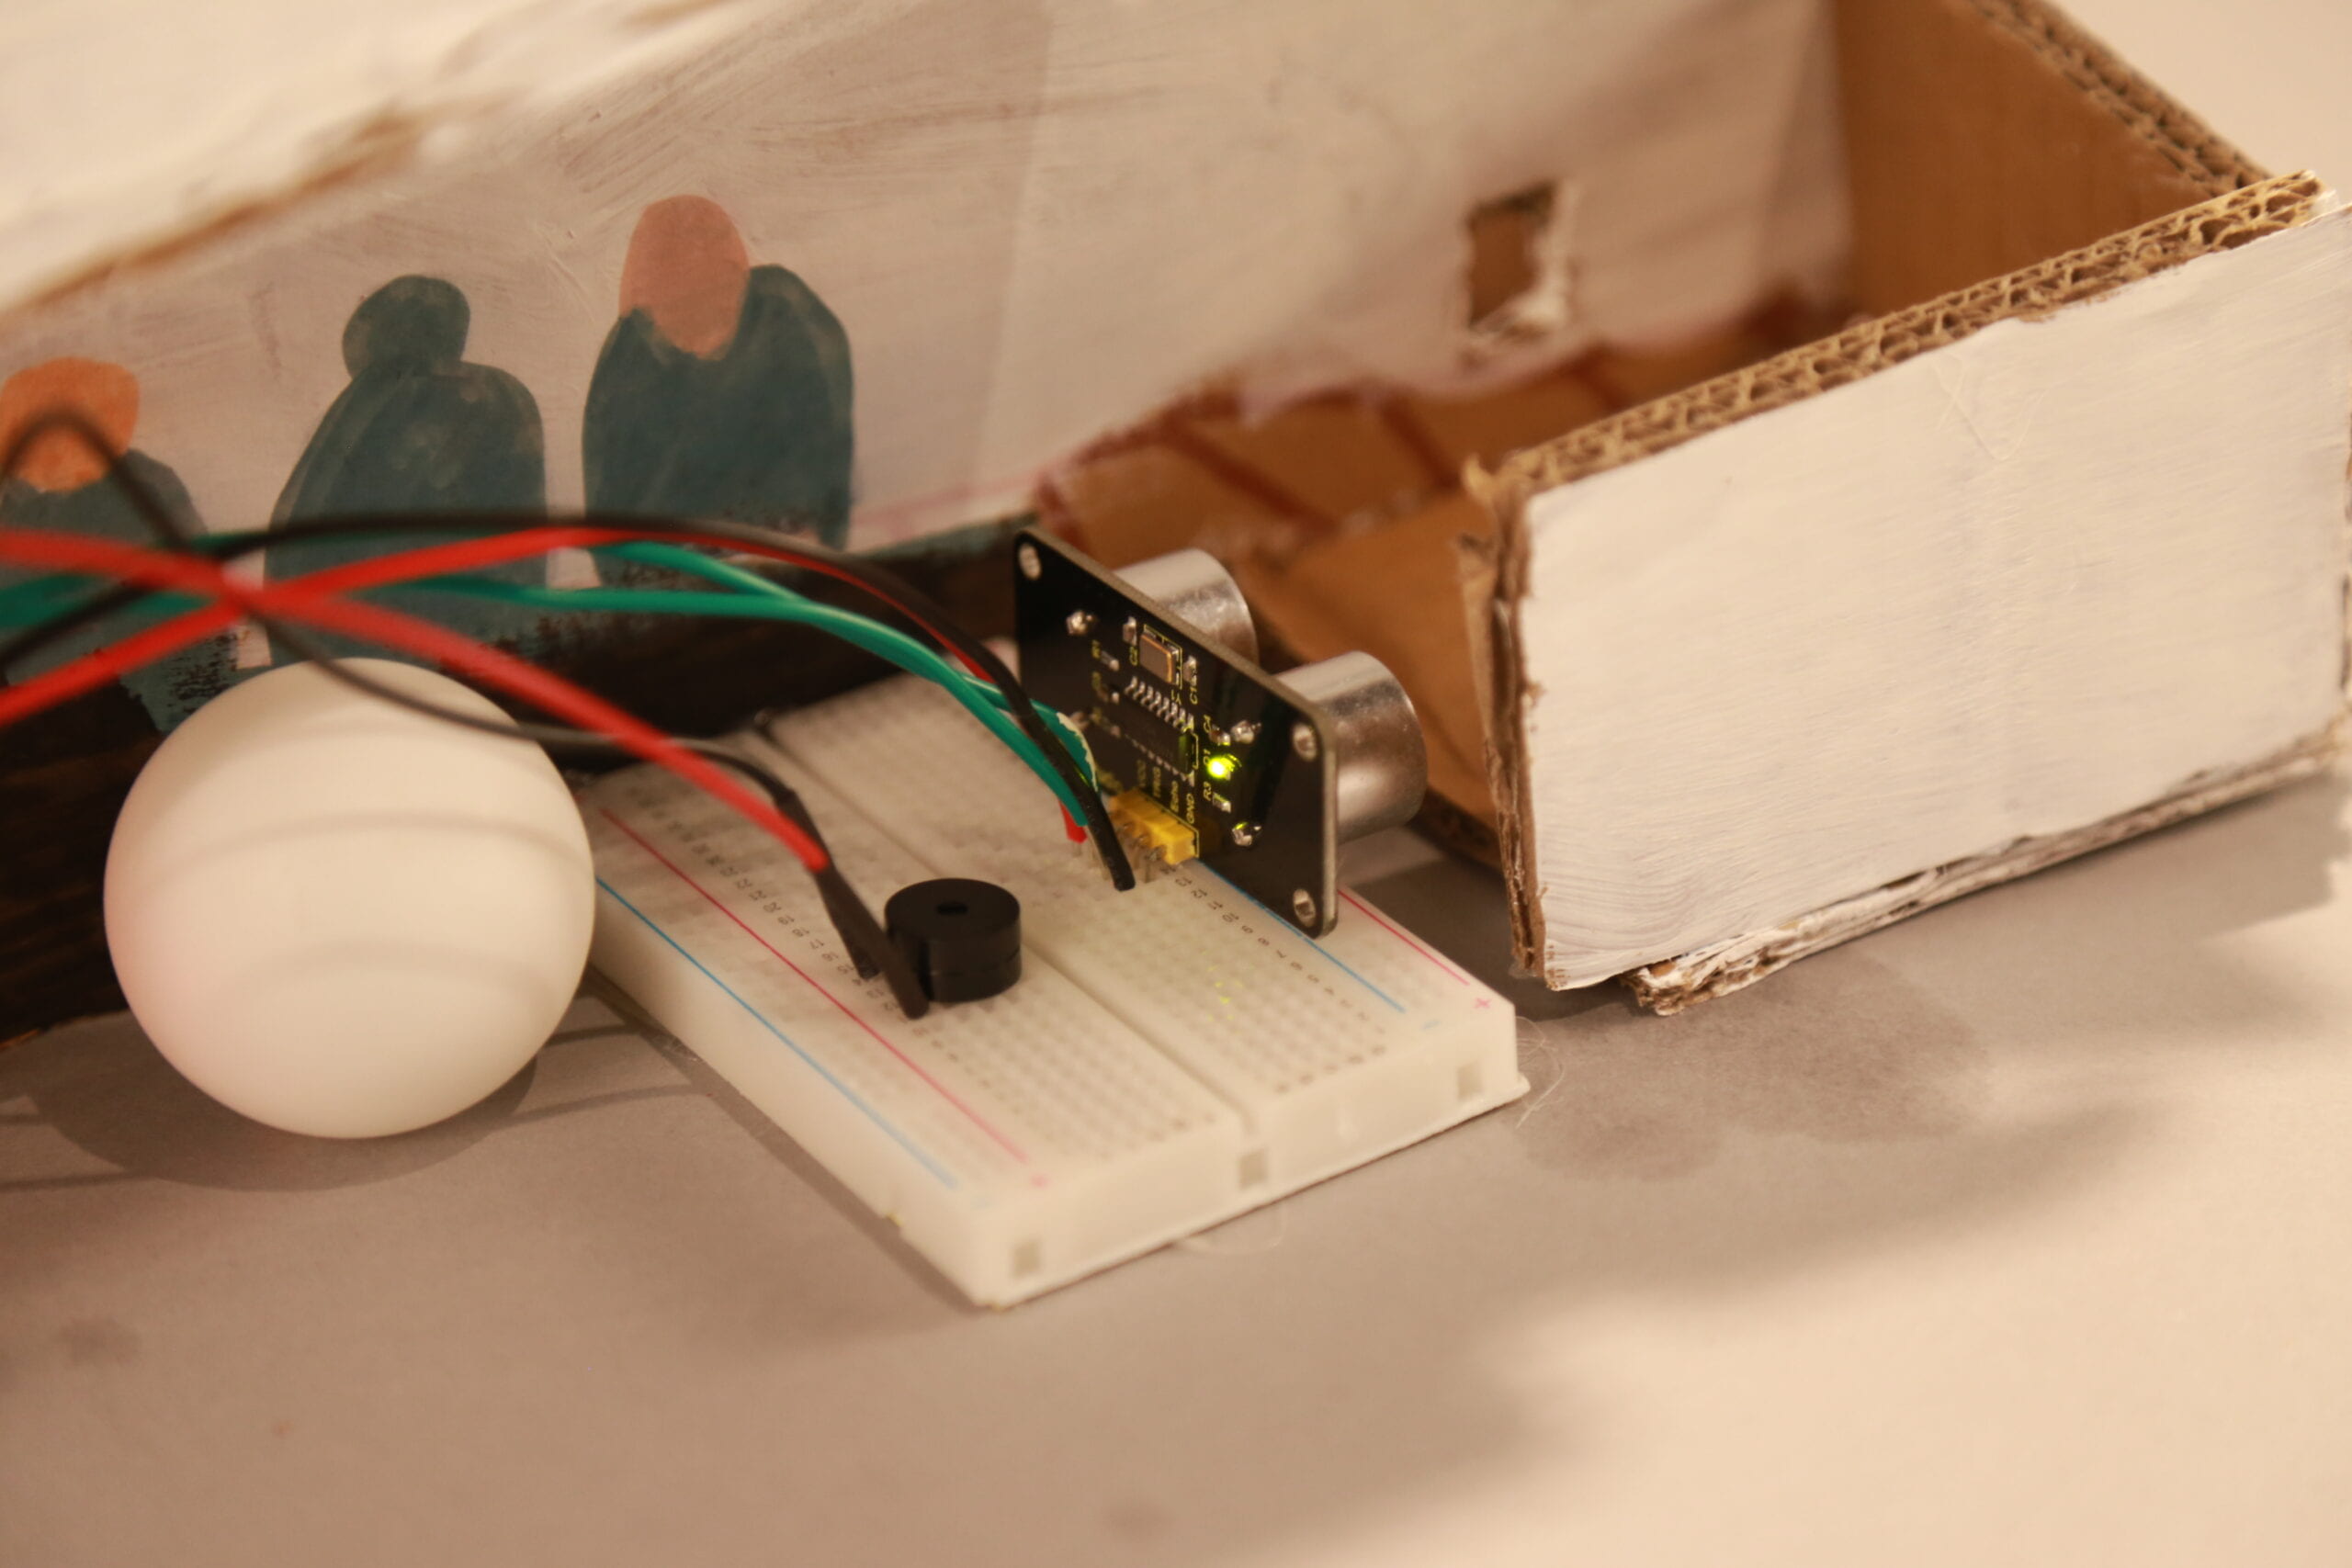
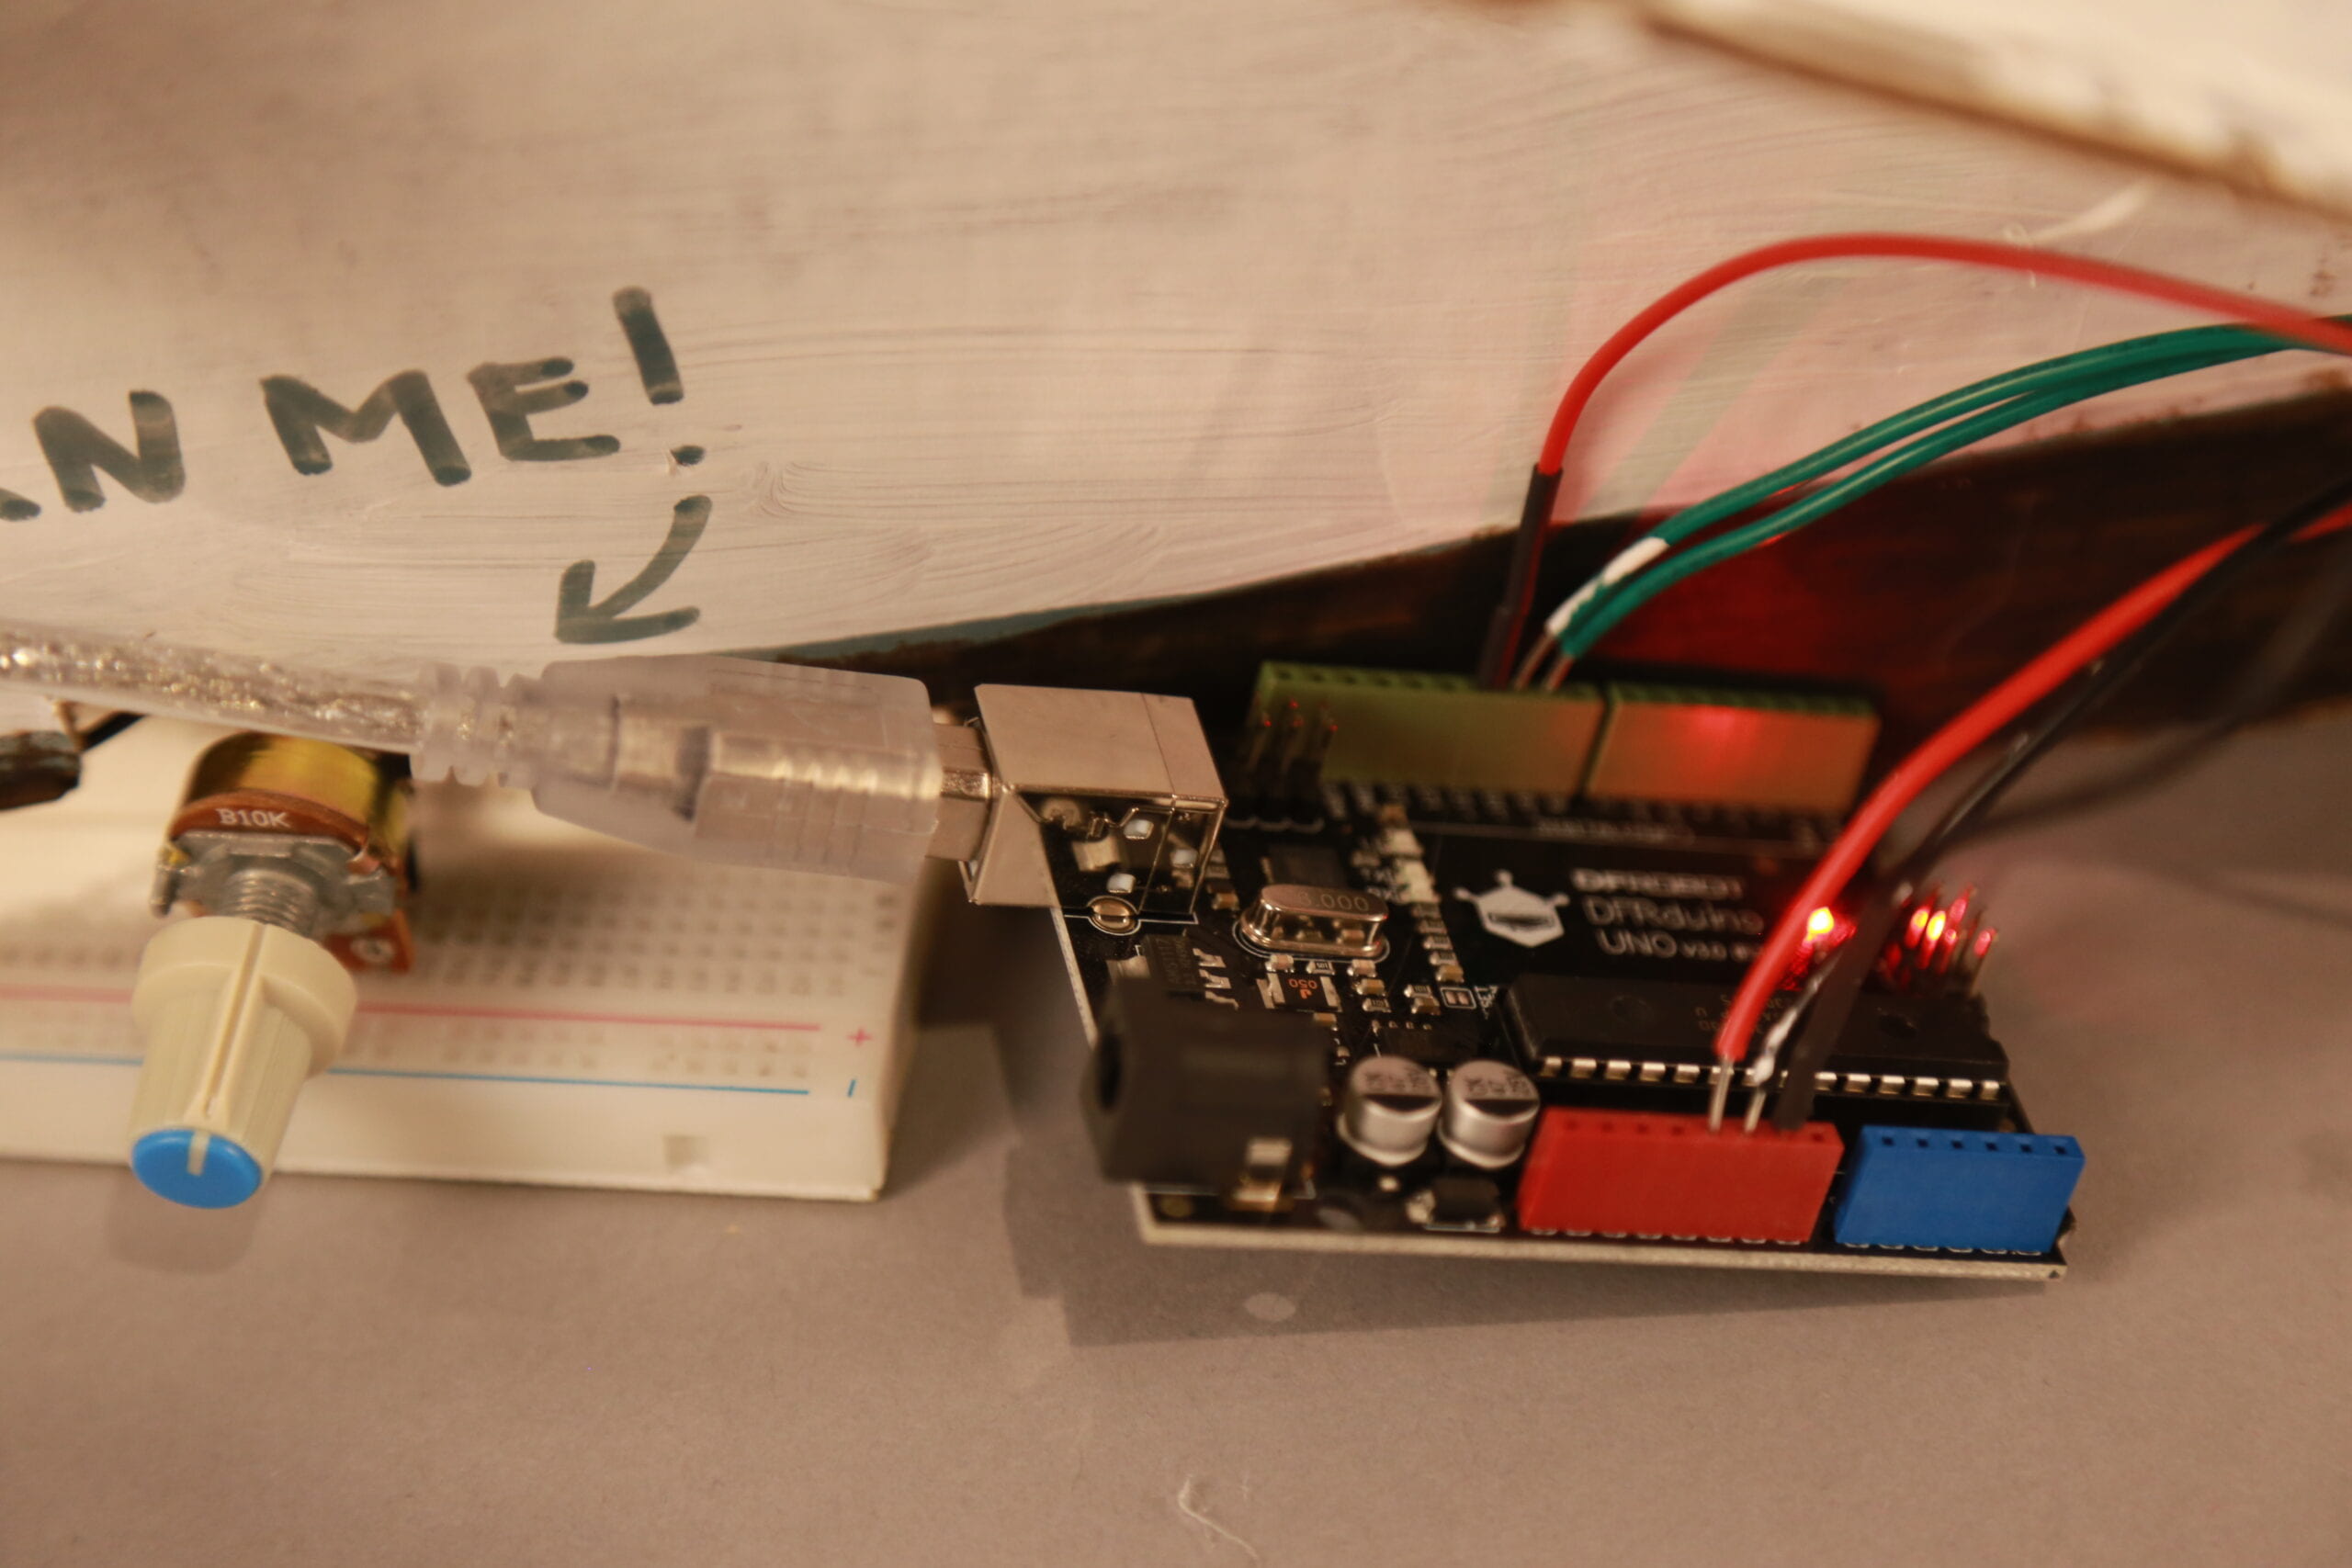
While the drawing was finished quickly, I still didn’t know how to combine a new code which was about the ultrasound sensor that I found on the internet (https://arduinogetstarted.com/) with our original code. Therefore, I asked the professor and he said that what we needed to do was to copy the code in the void setup() section in the new code and paste it to the void setup() section in our original code and do the same thing to what was in the loop. I tried and succeeded. However, I soon realized that as the pins on our original Arduino was not enough for a new sensor, we needed to use another Arduino and build a new circuit for the ultrasound buzzer and the sensor. I found a tutorial online (https://www.youtube.com/watch?v=HynLoCtUVtU) and built the circuit accordingly. I solved the problem of power supply by using a 5V battery to support the three servos and the one potentiometer, and using my computer to power the ultrasound sensor and the buzzer. It all seemed to work well, despite the fact that although everything was correct and the light of the ultrasound sensor would light up once it was triggered, the buzzer just could not make any sound, even though I had tried using several different buzzers. Nevertheless, we were running out of time and could only leave the problem unsolved before the final presentation.
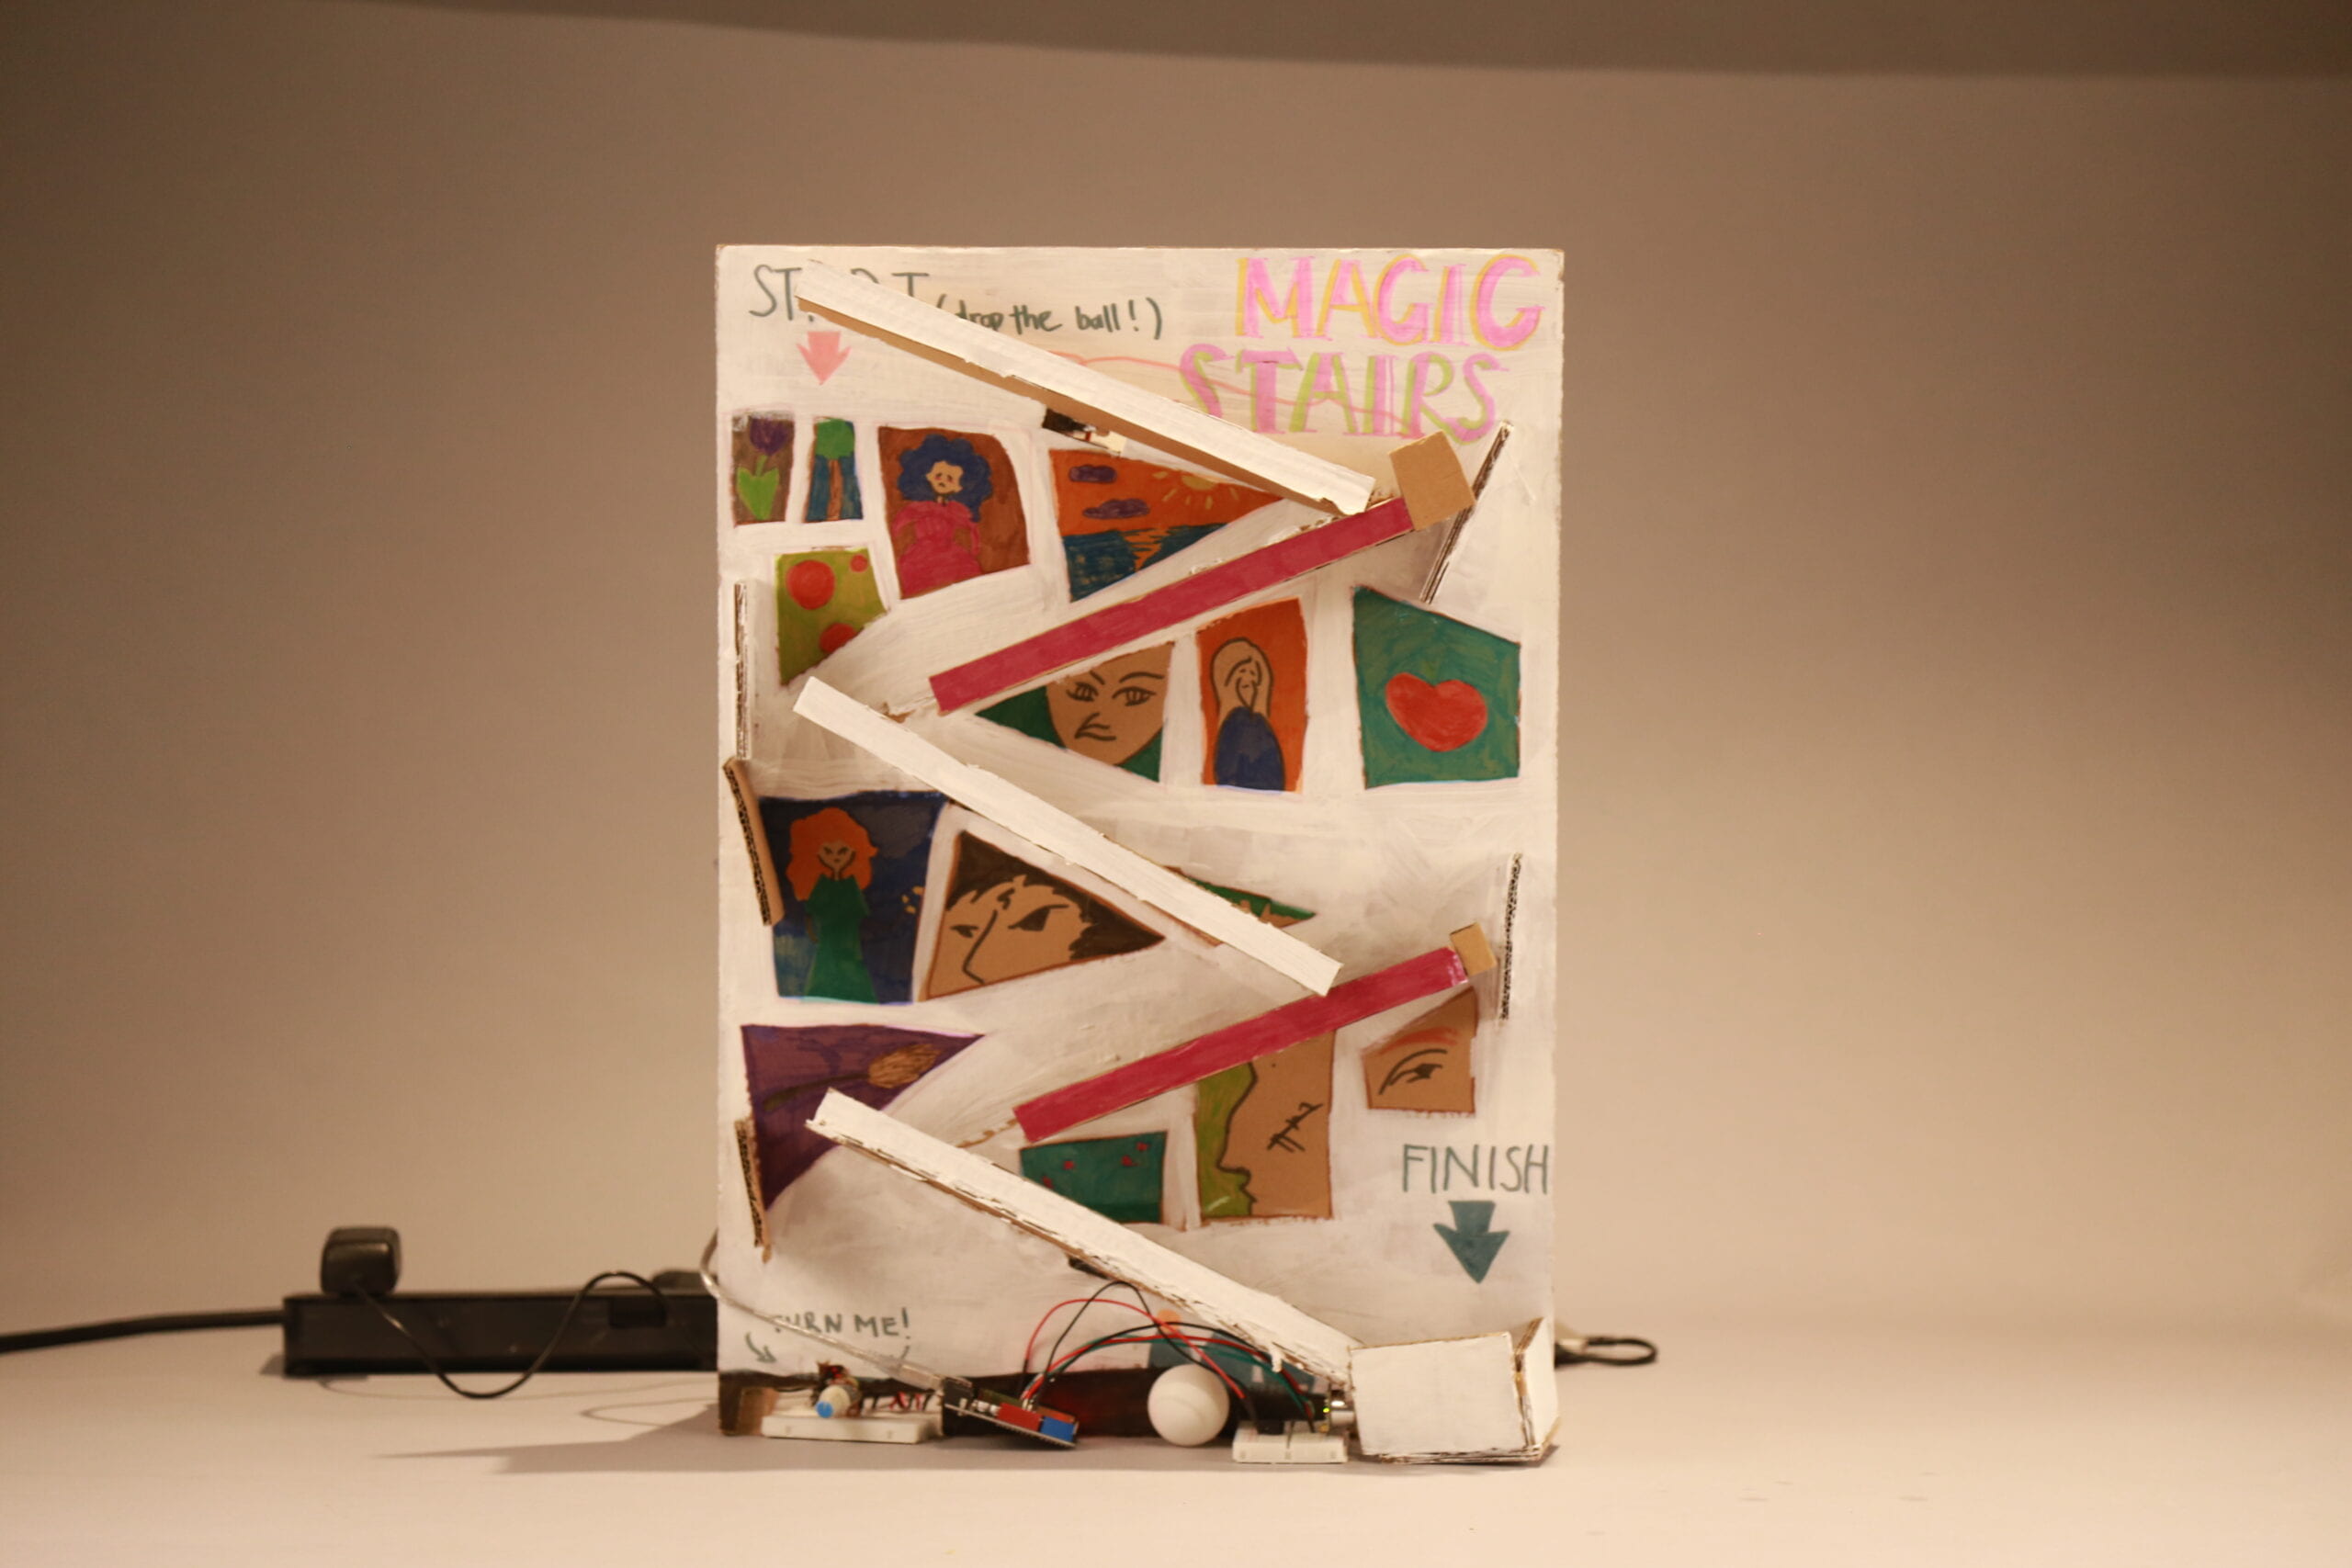
Here is how our project looked like on the final presentation day:
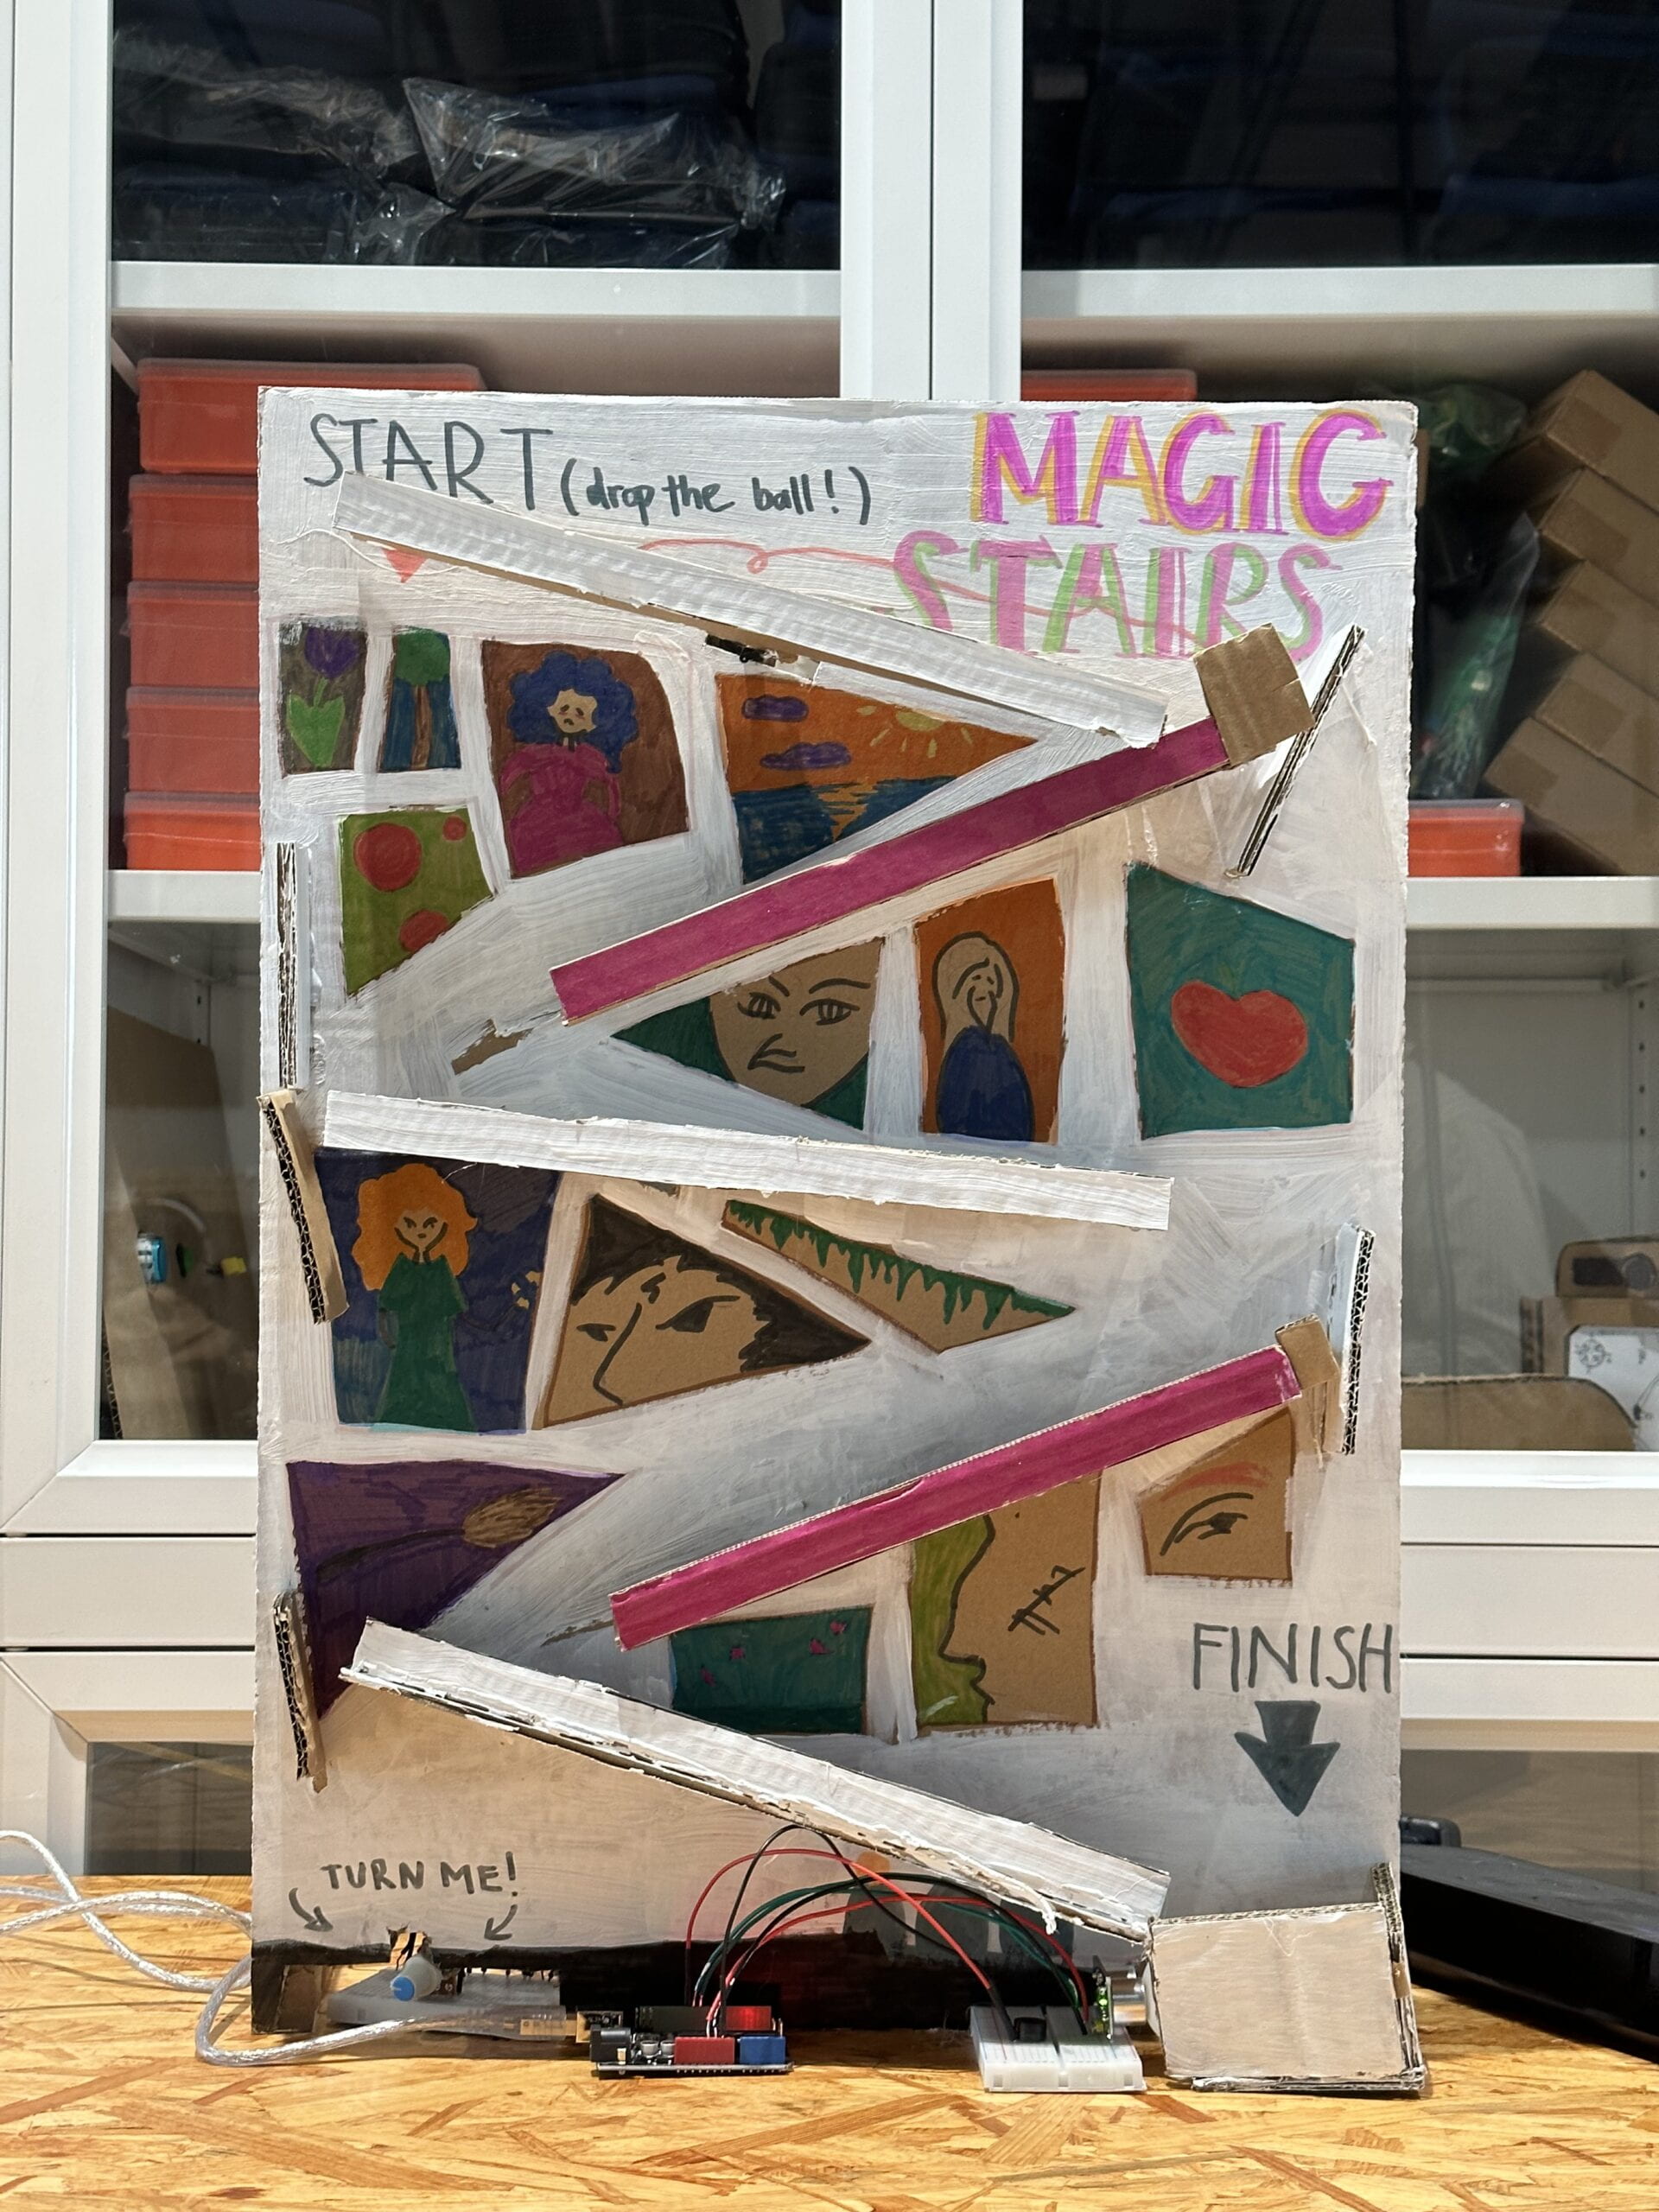
We displayed our project again on the final presentation day and it turned out to be successful, though far from perfect. People seemed to enjoy playing with our game, but one professor suggested that next time we could try using something more complicated in our project. He said: “If I were a wizard, why can’t I control the ball by waving my wand?” This triggered my thoughts. Maybe next time we could try to use a remote controller to control the stairs, so that the playing process could better serve our goal of making the game an immersive and happy experience and better please the players.
After the class ended, I booked an office hour with my professor Gottfried Haider to ask him about the problem of the buzzer. After checking our code, he said something astonishing to me — that the buzzer in our kit is different from the type of buzzer included in the code. There were actually two kinds of buzzers! I was shocked because as for me, the buzzer in the video looked exactly the same as the buzzer that I already had, so I took it for granted that the “simple” buzzers must be the same. This reminded me of my ignorance about Arduino and the electrical components, and made me more modest and cautious when treating a situation like this. Our professor also told me that I could use the millis() function to make the sensor be more aware of whether it was triggered.
Here is our final code:
// defines pins numbers
const int trigPin = 9;
const int echoPin = 10;
const int buzzer = 11;
const int ledPin = 13;

// defines variables
long duration;
int distance;
int safetyDistance;

long startBuzzer = -1;


void setup() {
pinMode(trigPin, OUTPUT); // Sets the trigPin as an Output
pinMode(echoPin, INPUT); // Sets the echoPin as an Input
pinMode(buzzer, OUTPUT);
pinMode(ledPin, OUTPUT);
Serial.begin(9600); // Starts the serial communication
}


void loop() {
// Clears the trigPin
digitalWrite(trigPin, LOW);
delayMicroseconds(2);

// Sets the trigPin on HIGH state for 10 micro seconds
digitalWrite(trigPin, HIGH);
delayMicroseconds(10);
digitalWrite(trigPin, LOW);

// Reads the echoPin, returns the sound wave travel time in microseconds
duration = pulseIn(echoPin, HIGH);

// Calculating the distance
distance= duration*0.034/2;

safetyDistance = distance;
if (safetyDistance <= 5){ tone(11, 440); startBuzzer = millis(); digitalWrite(ledPin, HIGH); } else{ digitalWrite(ledPin, LOW); } if (startBuzzer != -1 && millis()-startBuzzer > 1000) {
  noTone(11);
  startBuzzer = -1;
}

// Prints the distance on the Serial Monitor
Serial.print("Distance: ");
Serial.println(distance);
}
IV. Conclusions
Later on, I borrowed a camera and a tripod from the Equipment Room of our school to better document our project. I felt so proud when I was taking the photos, and I really gained a lot of new knowledge when we were building the project!
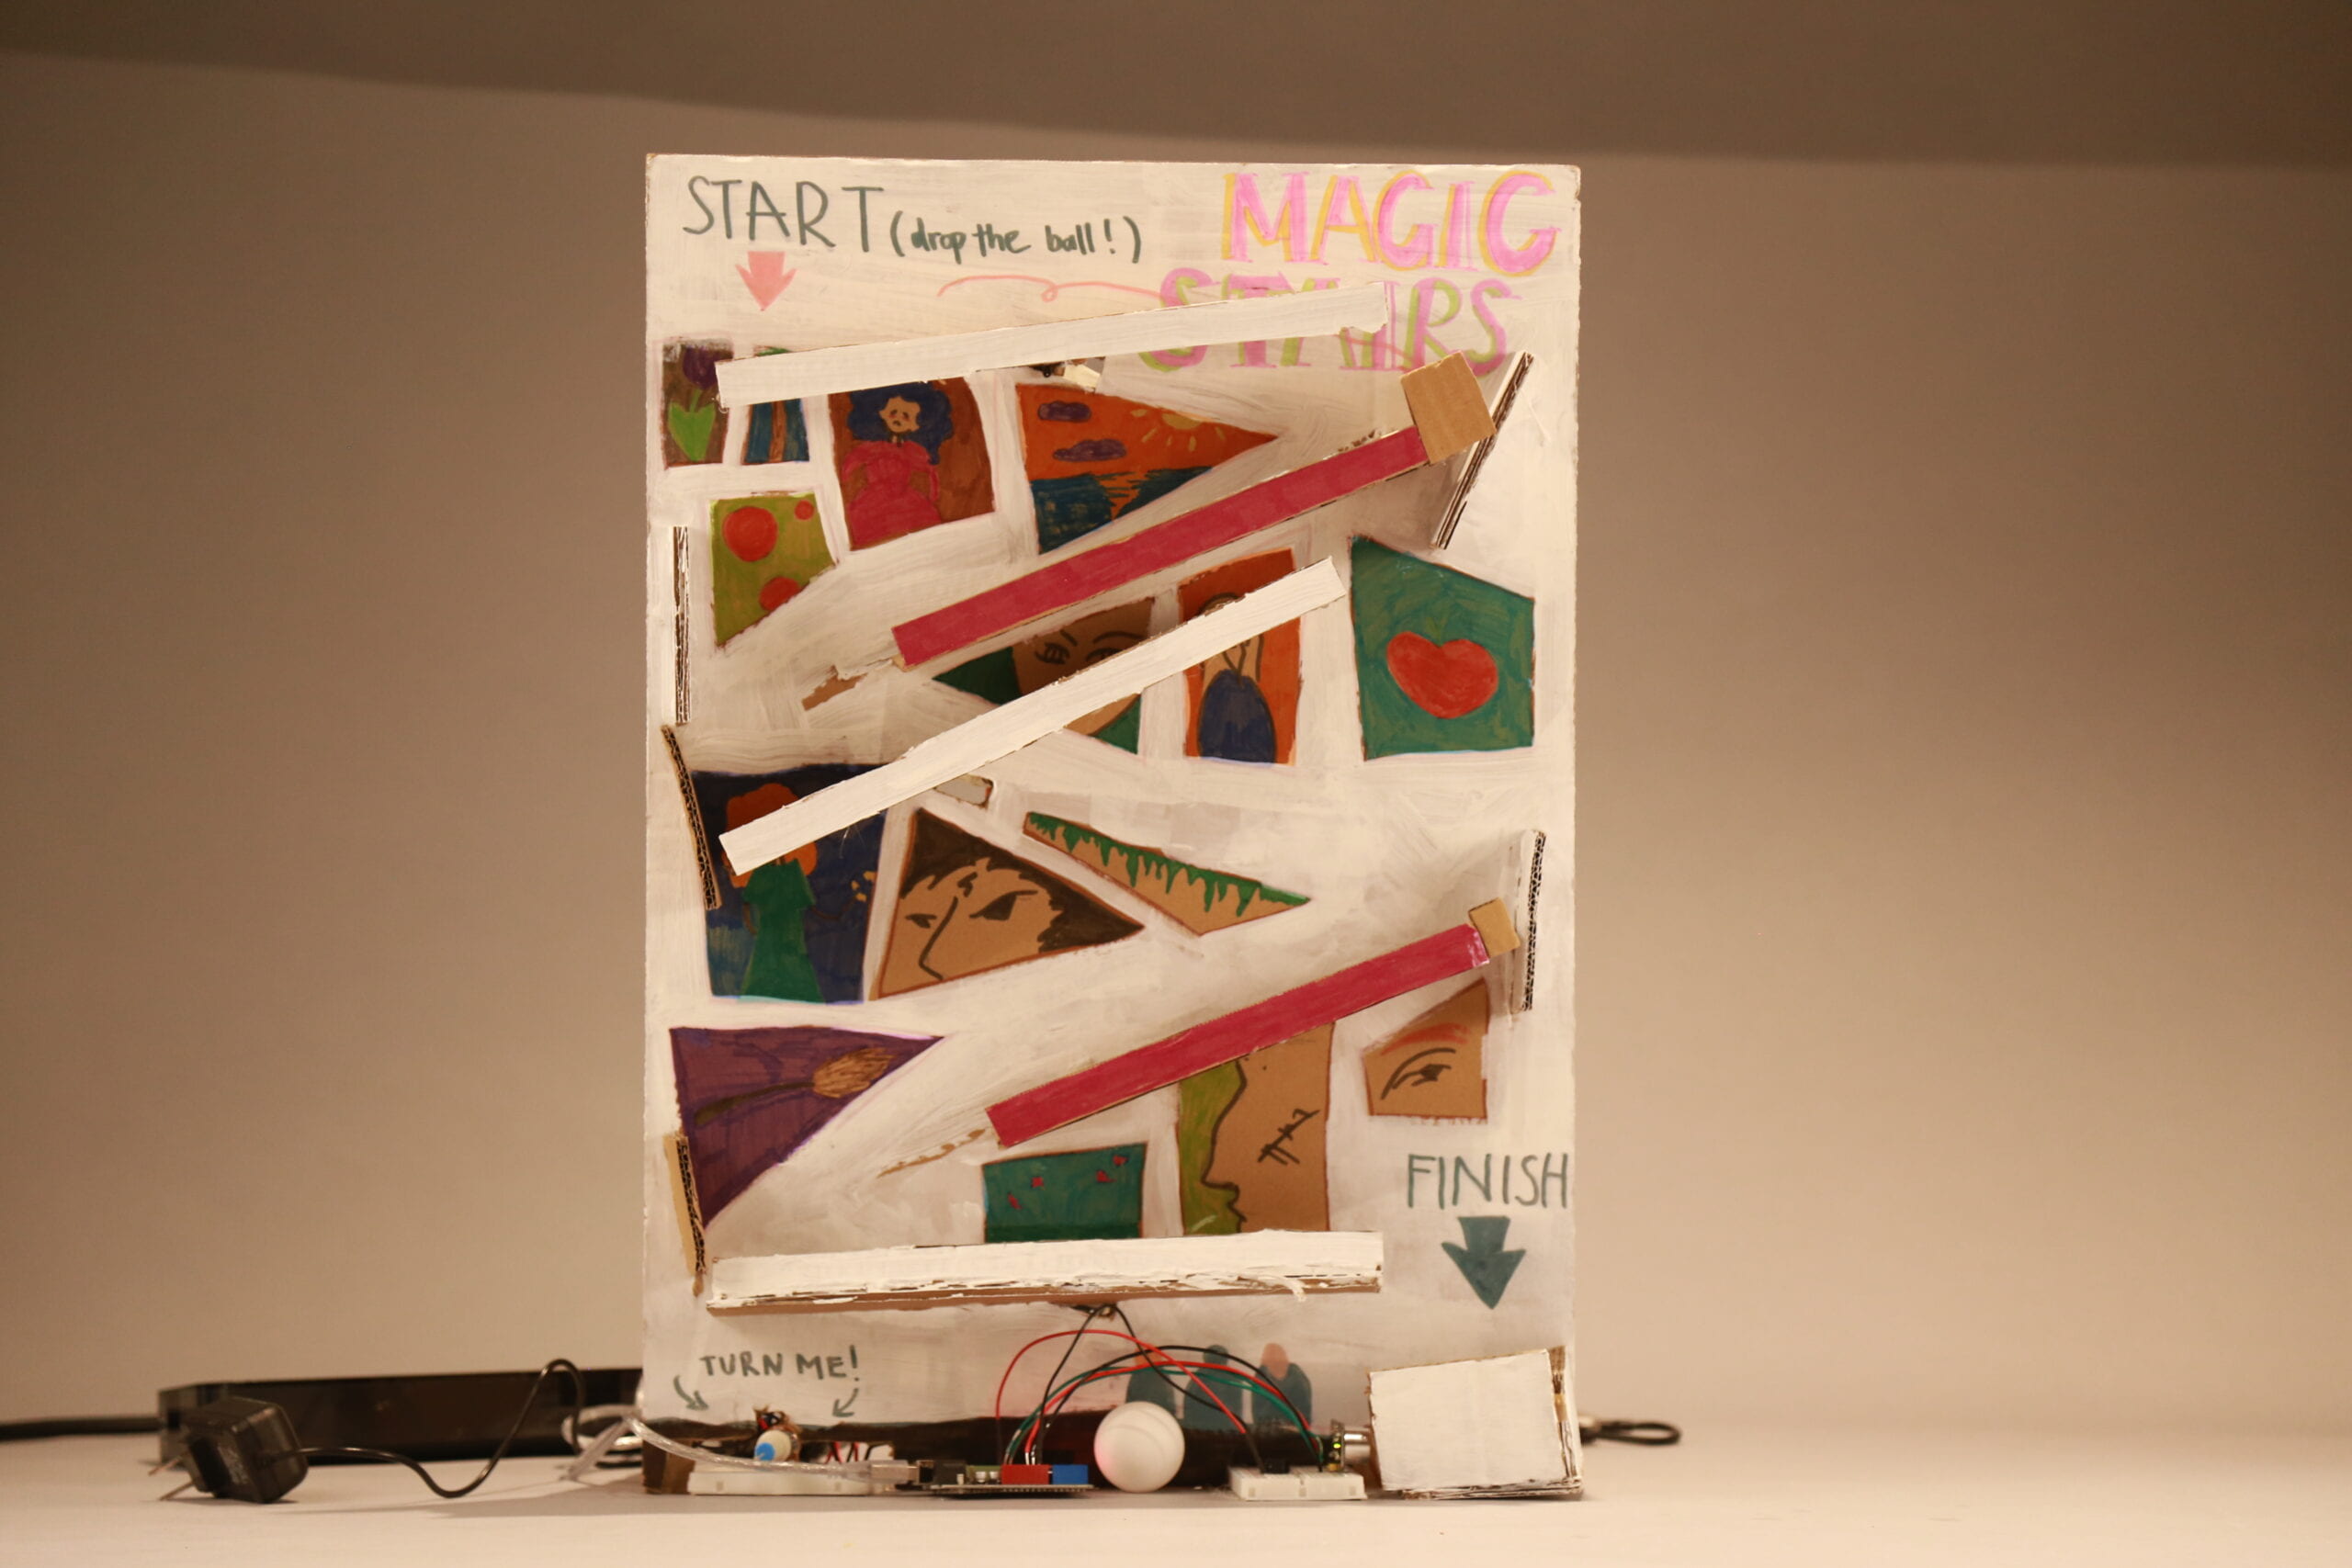
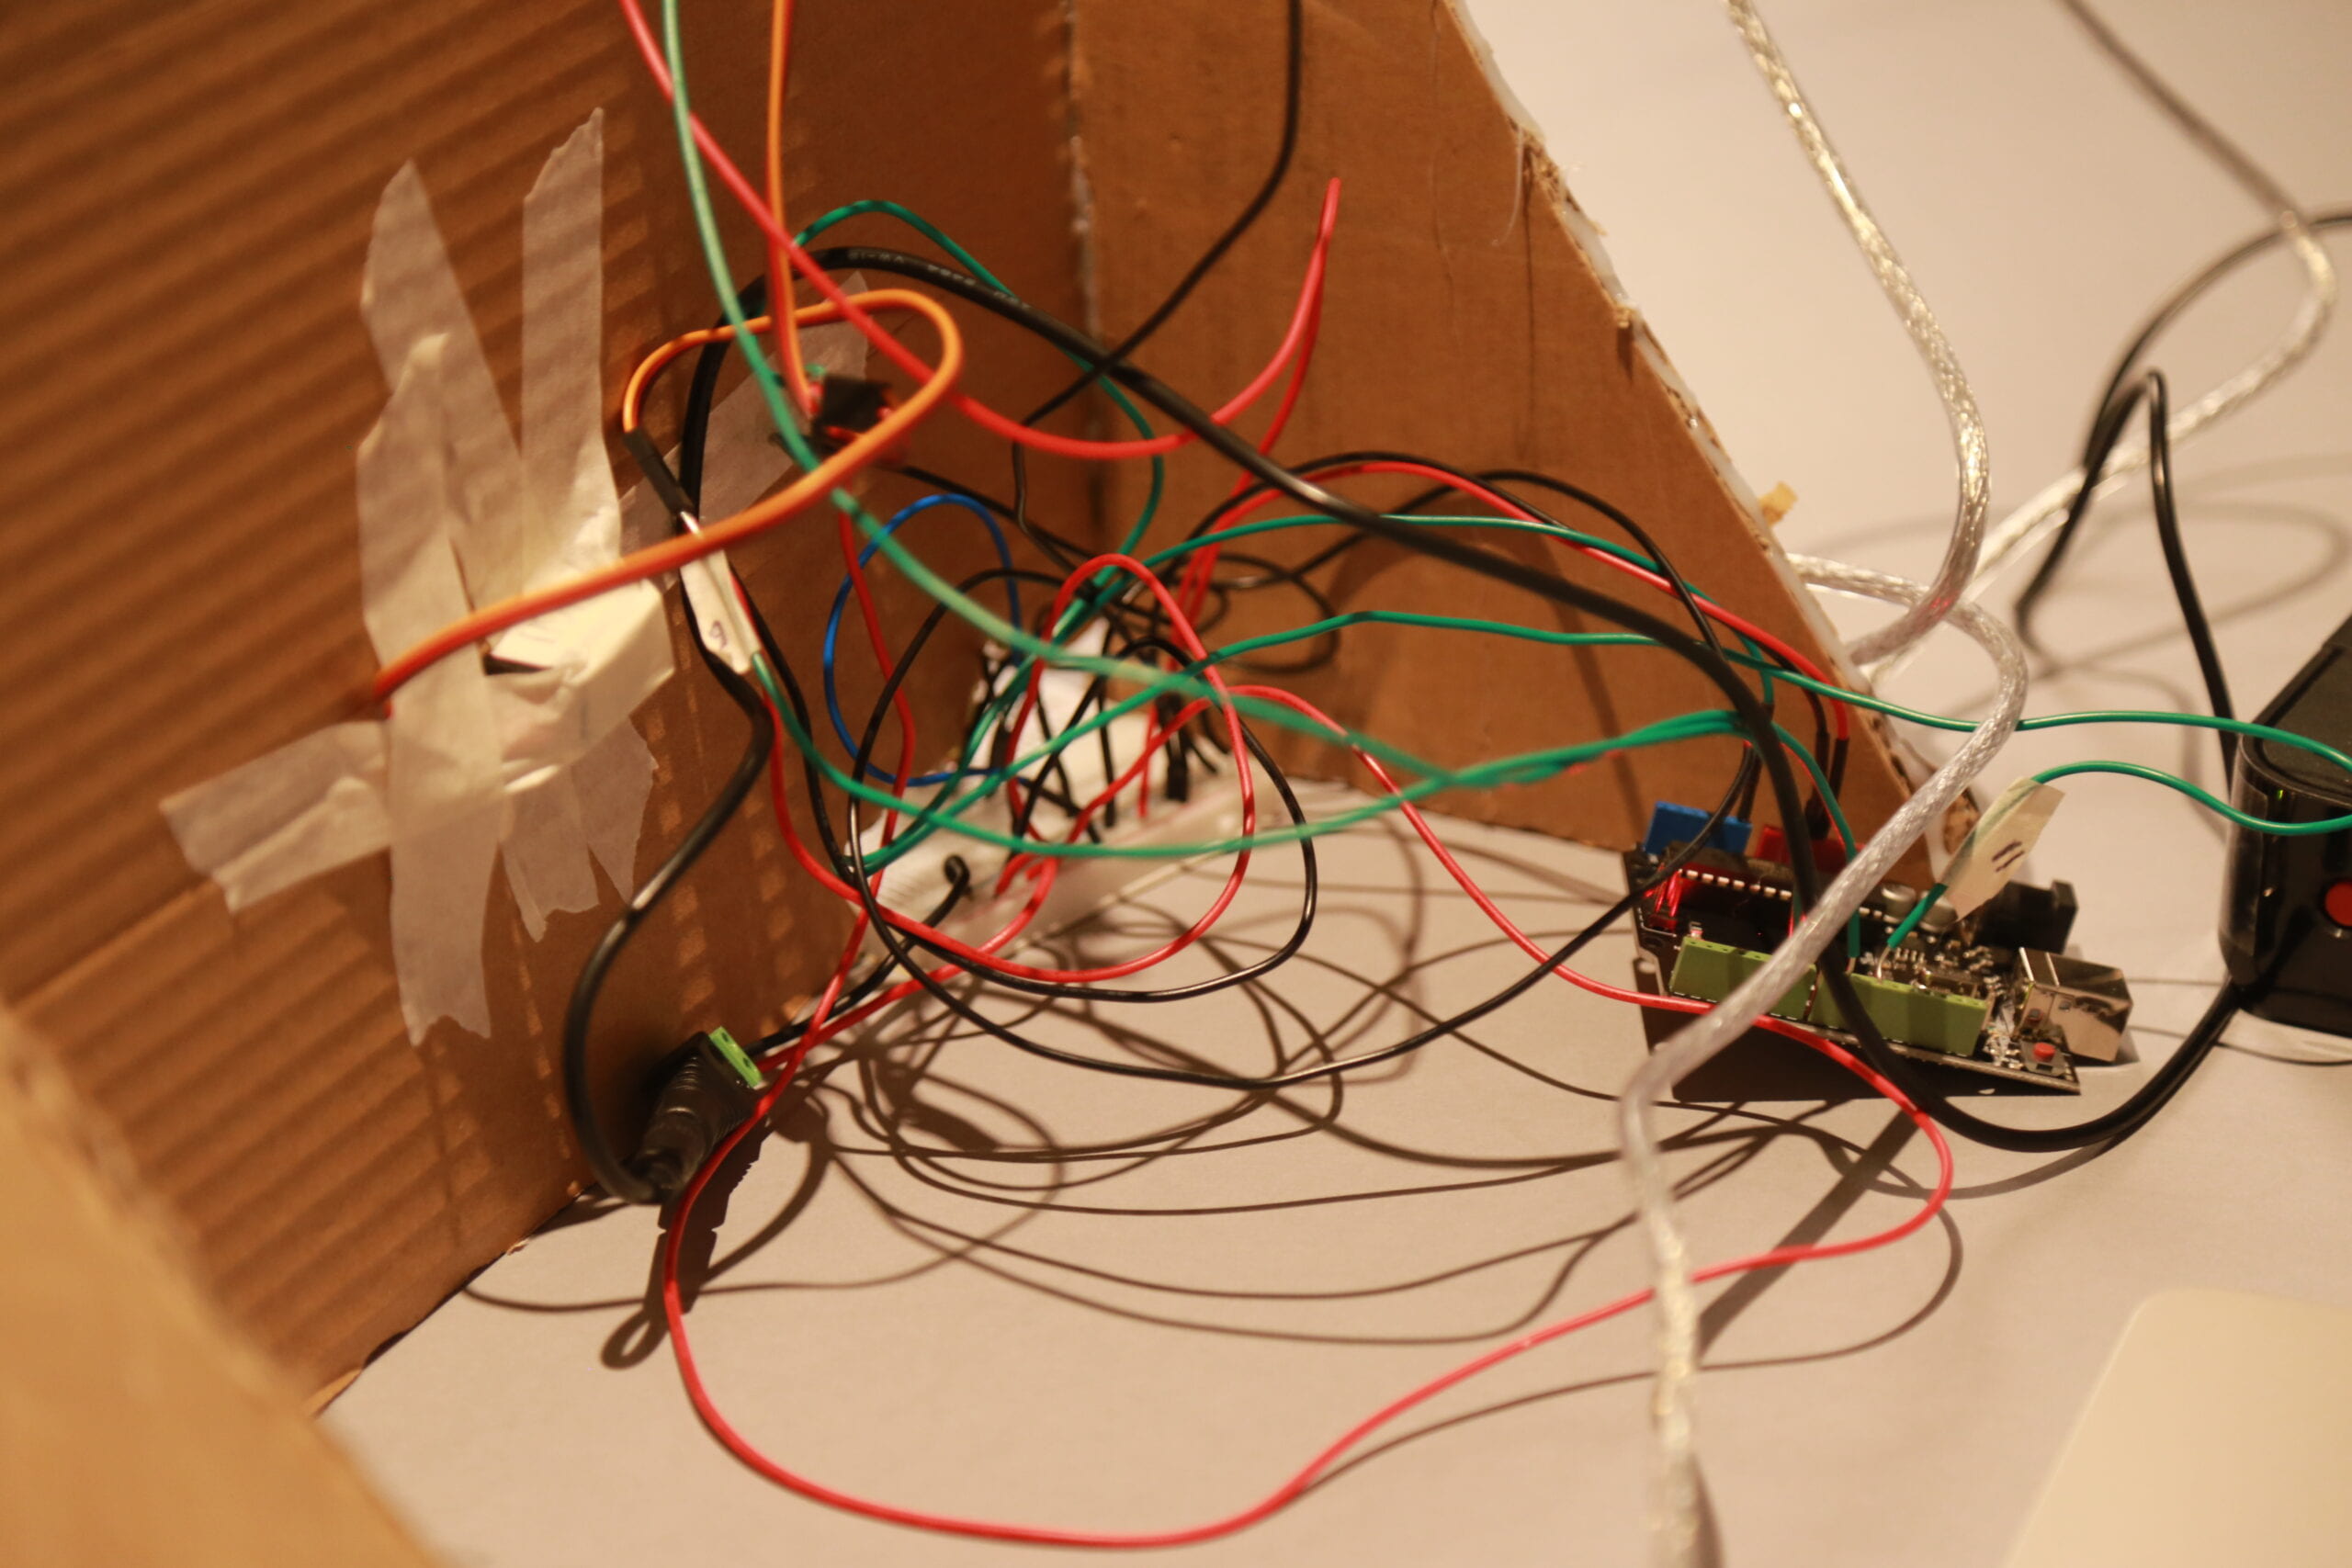
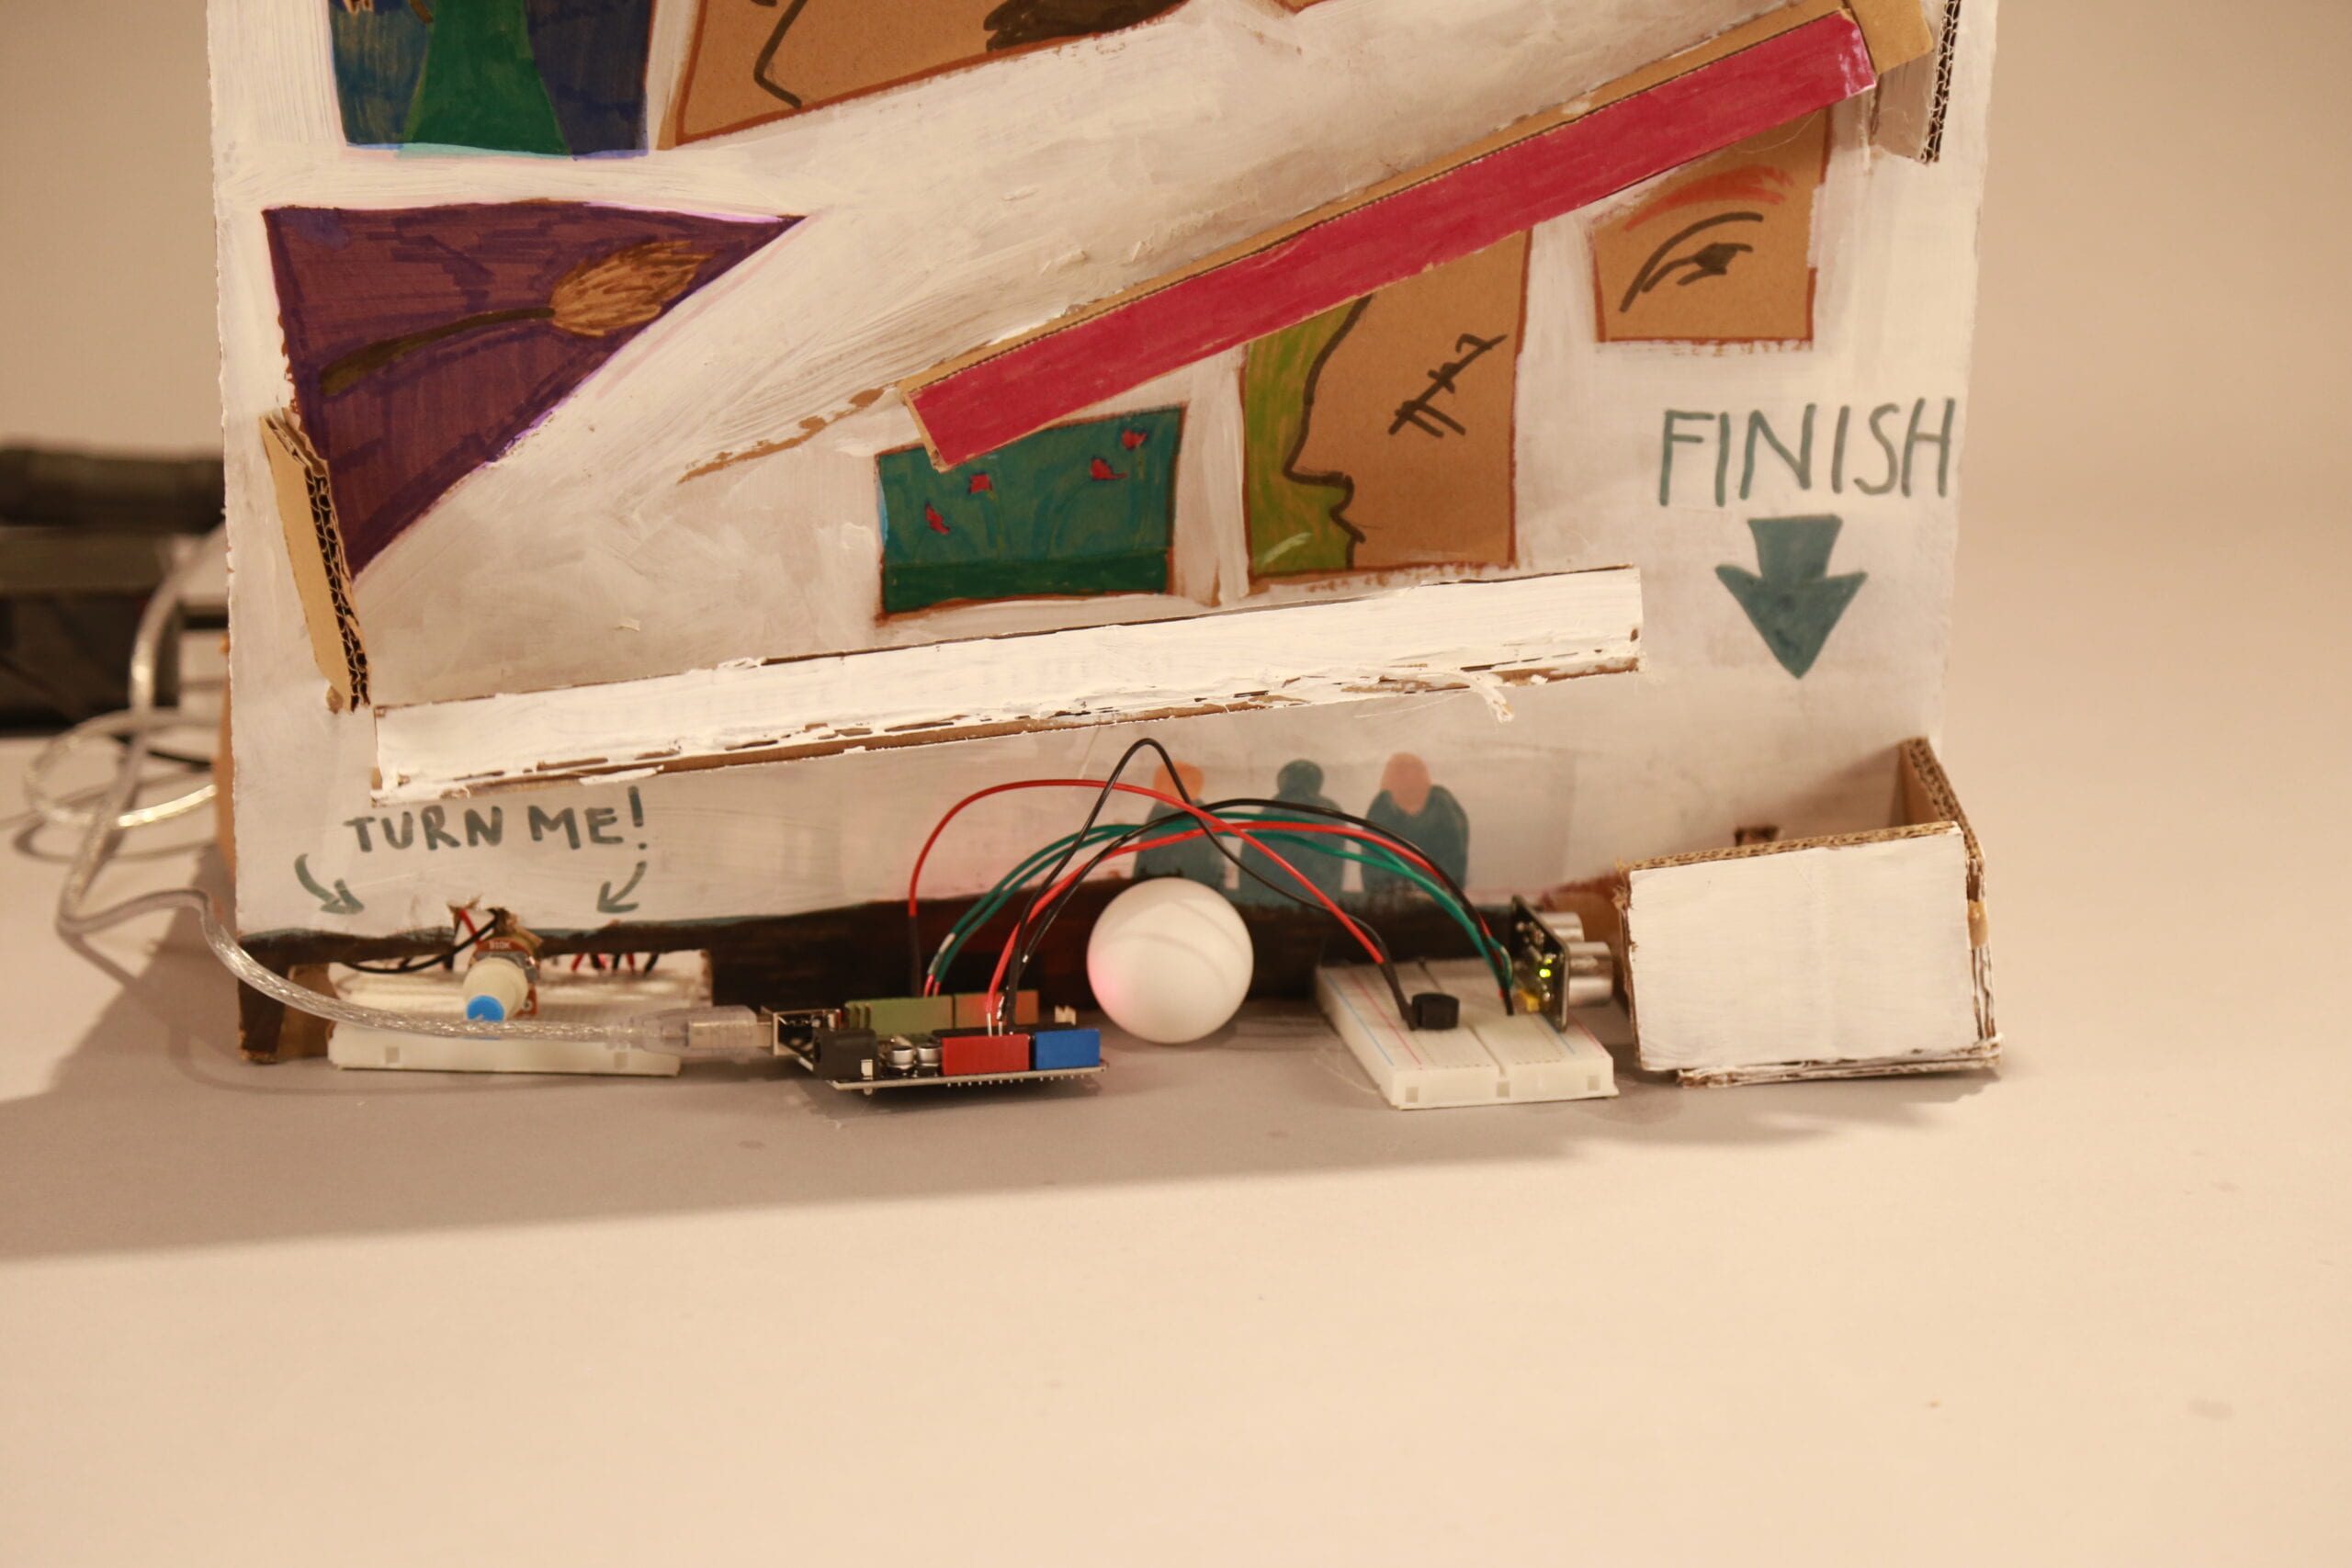
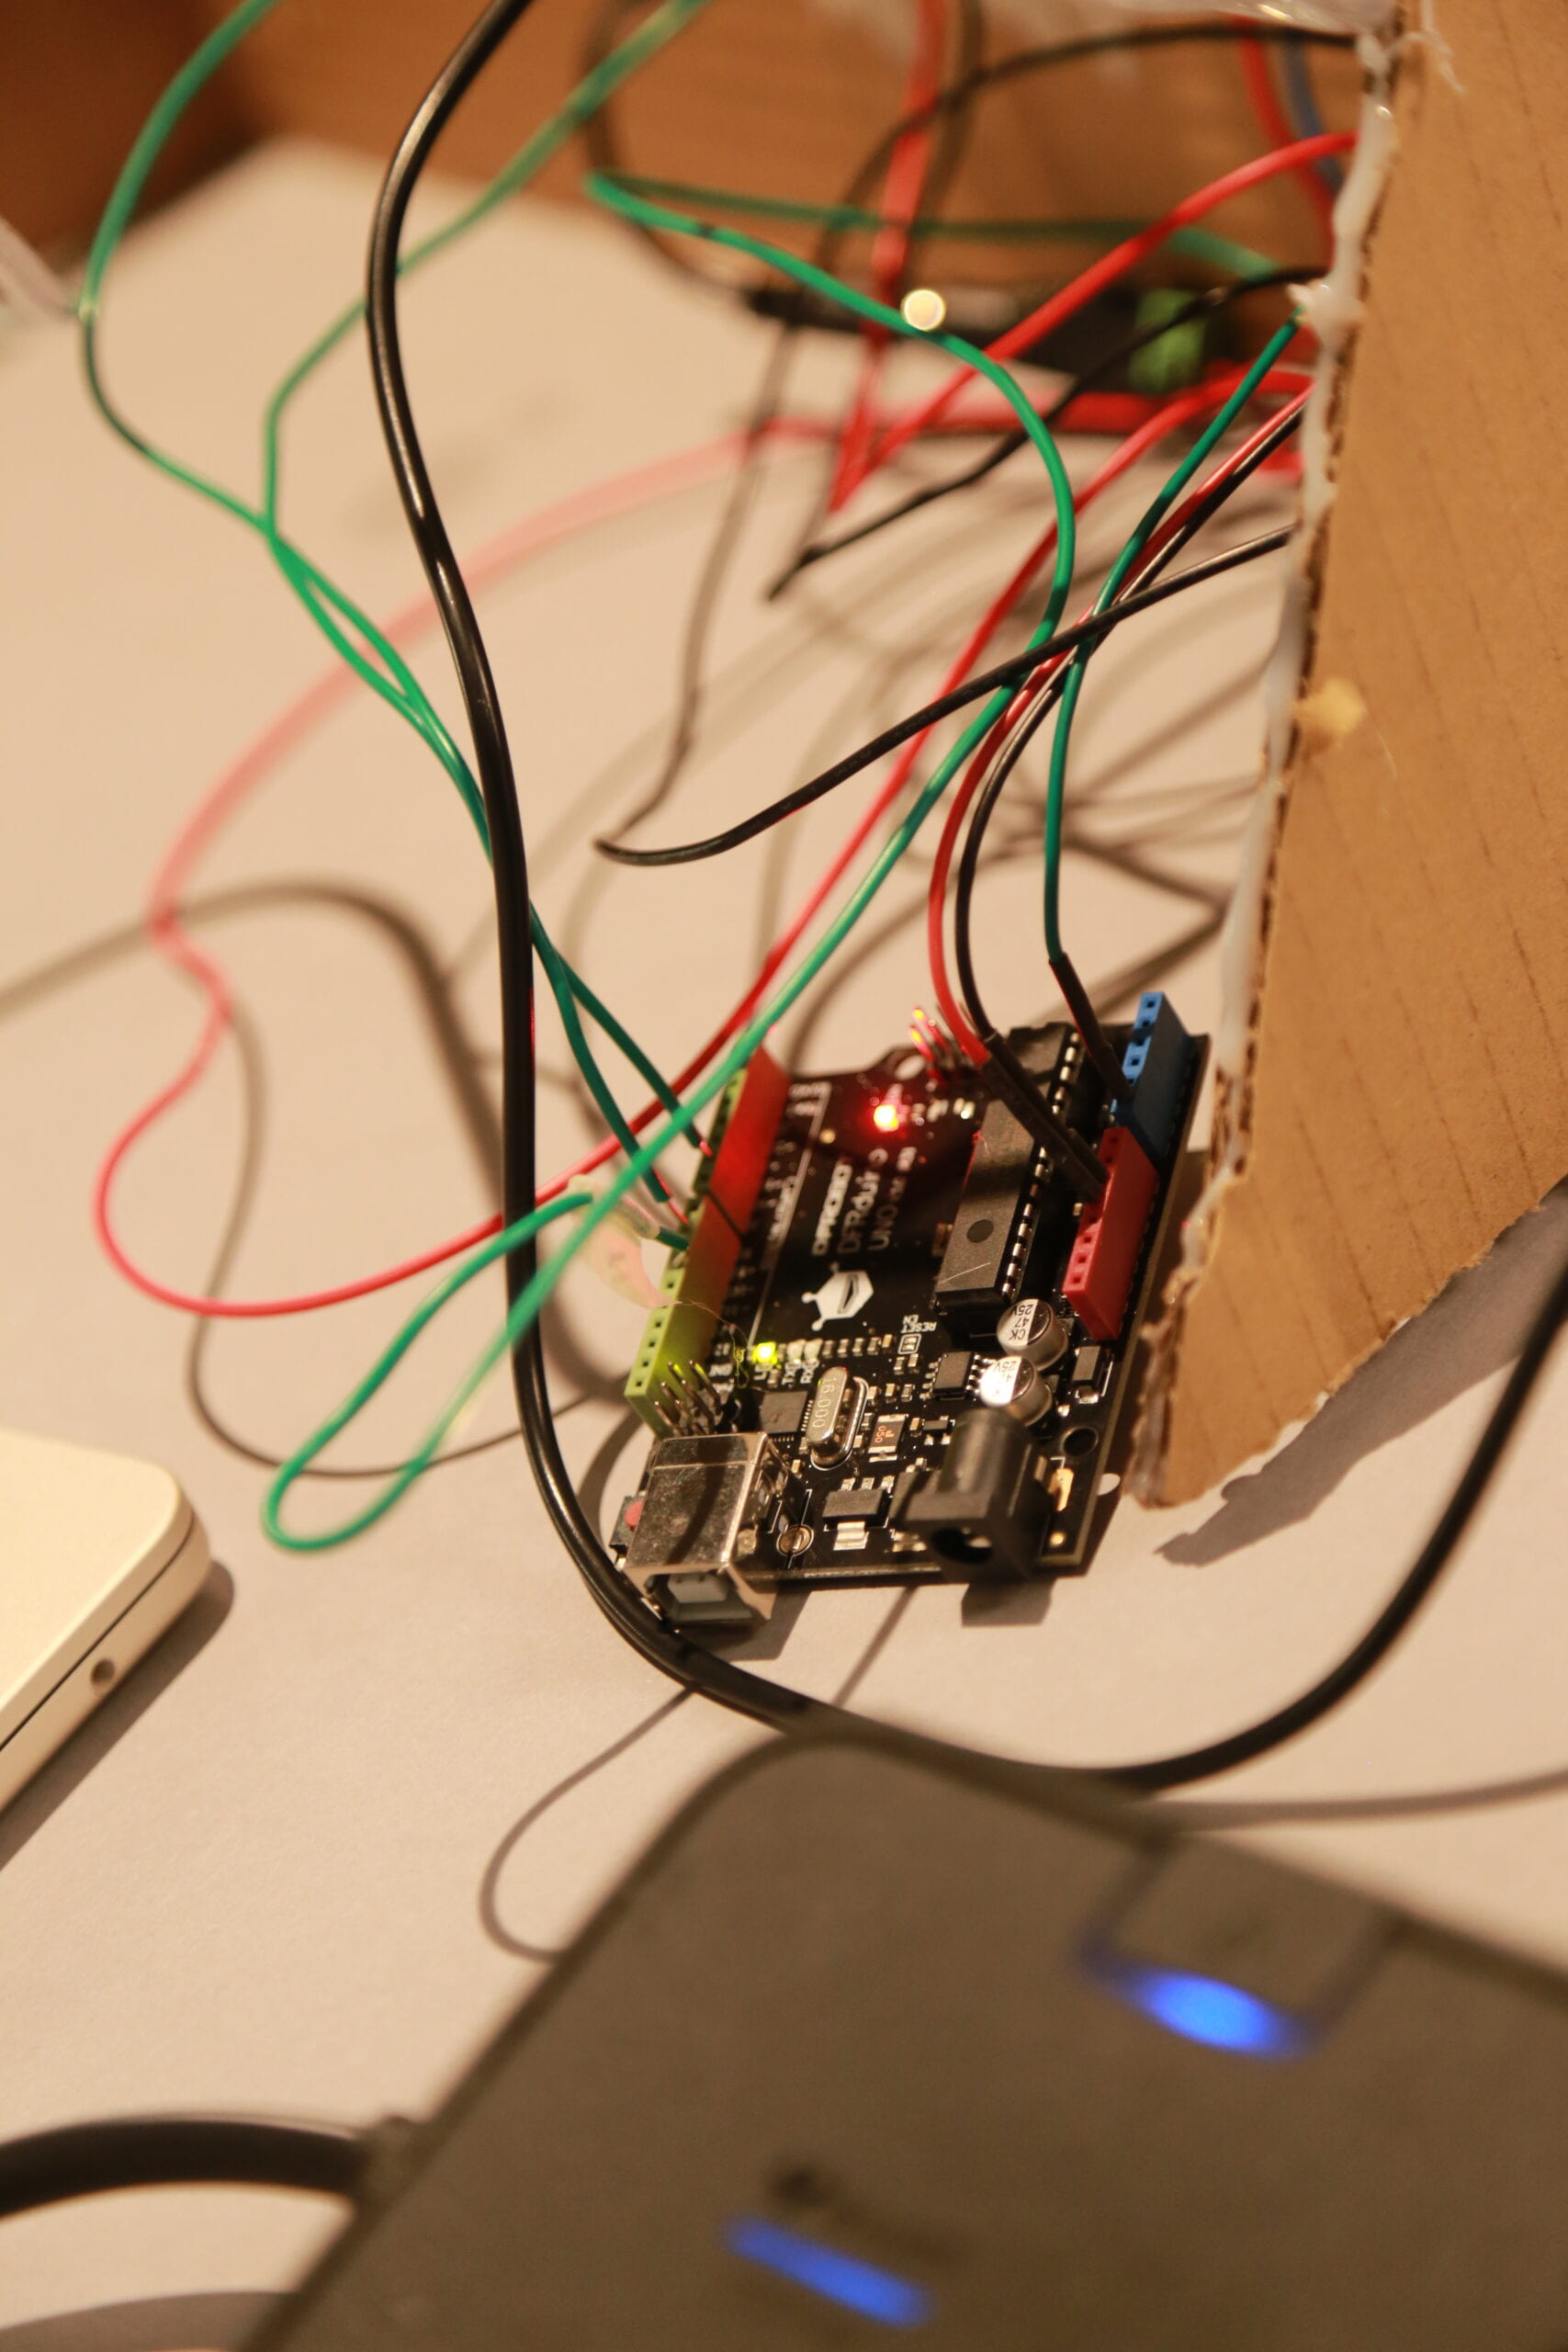
This is the final video of the project:
As I stated before, in my opinion, “interaction” is like a conversation between the humans and the project where each of them can have the opportunity to display their “ideas” and react to each other. I have tried my best together with my partner to make our project align with the definition of “interaction”, and to some extent we succeeded, because the users can control the project totally by themselves and the stairs will move according to their wills. What’s more, the buzzer will also make a sound as soon as the ball reaches the destination, so this step is like a “reply” from the project to human beings. Nevertheless, there are still some aspects which can be improved. In my opinion, the reply from the project to the user is so little compared to all the effort the user makes to control the stairs, and maybe it can be more immersive if we used a remote controller to act as the wand. We could have also added more random functions to give the users more initiative to “display their ideas”.
When it comes to how ultimately did our audience interact with our project, in my opinion, the way they interacted with our project is exactly the same with my expectation. We had expected the audience to get immersed and enjoy the game as they have the complete control over the process of playing with the project, and they did feel fun when interacting with our “Magic Stairs”.
If I had more time to work on this project, I would definitely try the remote controller because in my opinion this is a great idea and it aligns with the source of my inspiration — Harry Potter. What’s more, maybe I would like to try the random function to add more difficulty to this game, which currently is rather easy.
The things that I learned from my setbacks and accomplishments when working on this project are too many to be listed here. However, I do want to state the most important ones. The biggest thing I learned from my failure is that I should always be modest about the knowledge that is currently out of my reach, and though I know that I can and I should ask for help when I meet a difficulty that cannot be solved by myself, I should always spend time before and after asking other people a question. The time spent before is to cultivate my ability to think independently and work alone, and the time spent after is to reflect on the problem itself and think further about what I would do when I face a similar dilemma next time. The most crucial thing I learned from my accomplishments is that I should always be confident and never underestimate my potential. I used to shackle myself in the idea of “I did not know anything about the circuits and coding so I would definitely fail this time”, but it is proven to be wrong. Many of the ideas that I put forward during the making process have been proven to work well, and I worked really hard together with my partner to carry out an idea that seemed to be unreachable at first sight. So next time I will definitely be more confident about myself and work harder to make my ideas come true!
